Hello reader friends ,happy and blessed day today I will be sharing with you a beautiful cake topper of a cute little dancing bear happily carrying her loaded cake in one of her hands, it is very easy to make and does not have much complexity stay with me until the end of the post and see the process to get to this beautiful topper.
Hola amigos lectores ,feliz y bendecido día hoy les estaré compartiendo un hermoso Topper de torta de una tierna osita bailarina que lleva felizmente su torta cargada en una de sus manos, es muy fácil de realizar y no tiene mucha complejidad quédate conmigo hasta el final del post y ve el proceso para llegar a este hermoso Topper.

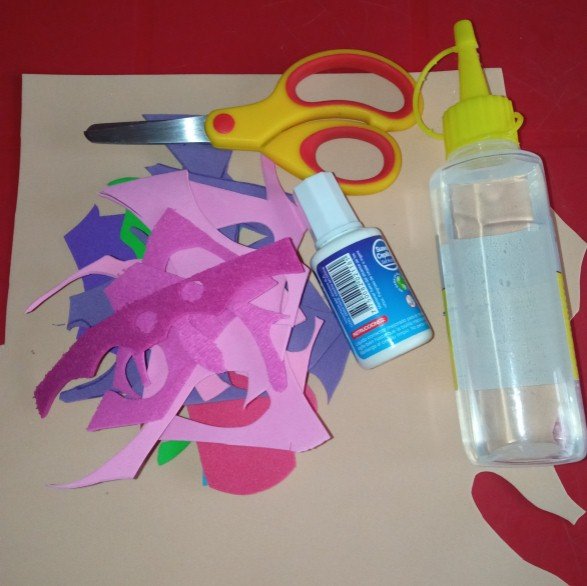
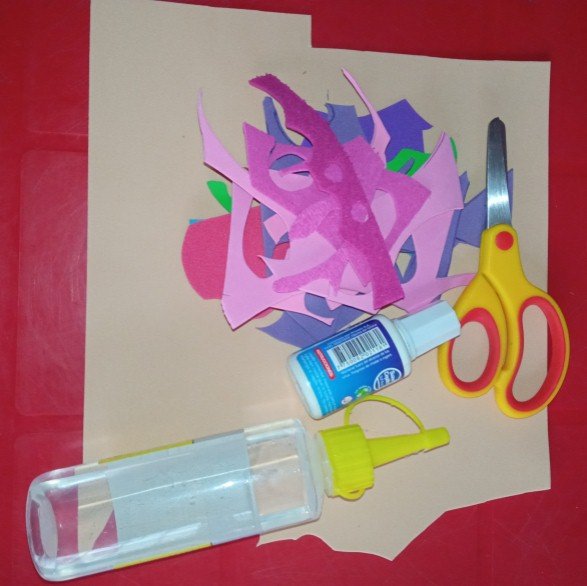
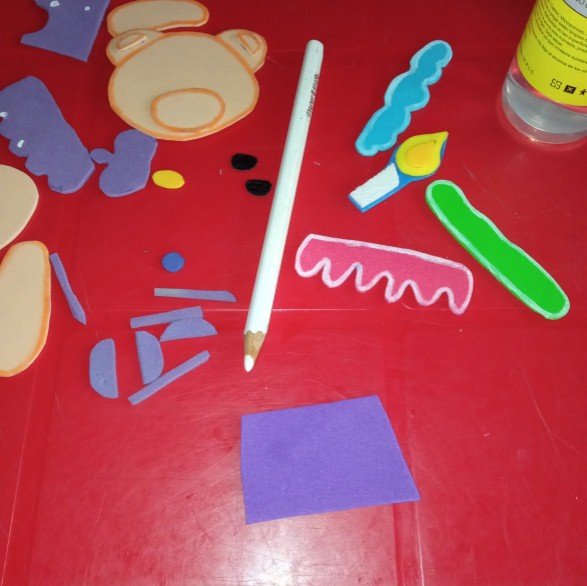
Materials used:
- Scissors.
- EVA rubber.
- Wooden stick.
- Liquid silicone.
- Corrector.
Materiales utilizados:
- Tijera.
- Goma eva.
- Palo de madera.
- Silicón líquido.
- Corrector.
Here I begin the step by step of this fun Ballerina Bear Topper.
Aquí comienzo el paso a paso de este divertido Topper de osita bailarina.


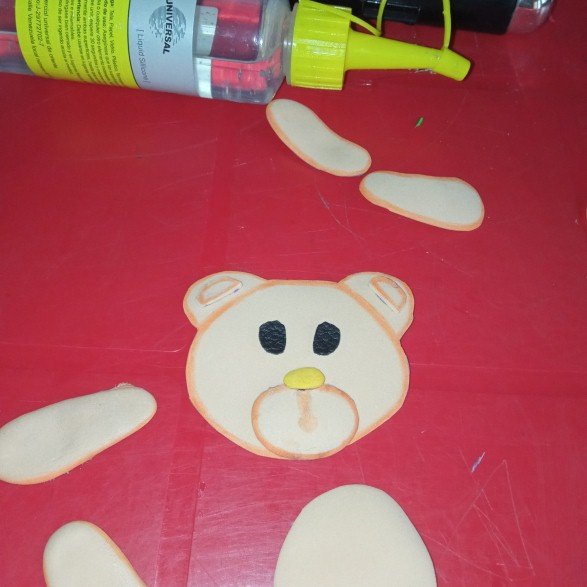
The first thing to do is to make the molds you want on a white sheet, then cut them out and transfer them to the eva rubber and proceed to cut them out.
Lo primero que se debe hacer es hacer los moldes que desea en una hoja blanca, luego recortarlos y pasarlos a la goma eva procediendo a recortar.
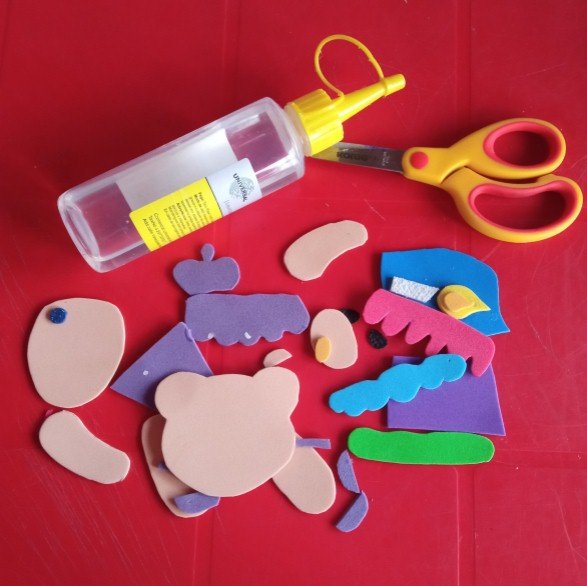
After trimming all the pieces along the edge, we will add a colored border to make it more eye-catching.
Luego de recortar todas las piezas por la orilla le colocaremos un borde con color para hacerlo más llamativo.
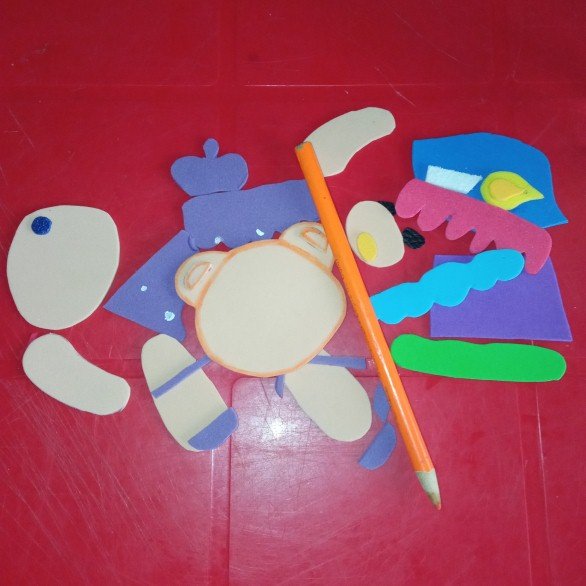
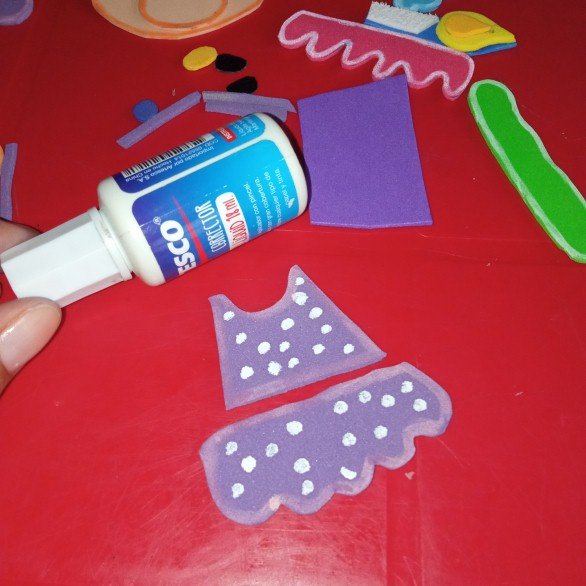
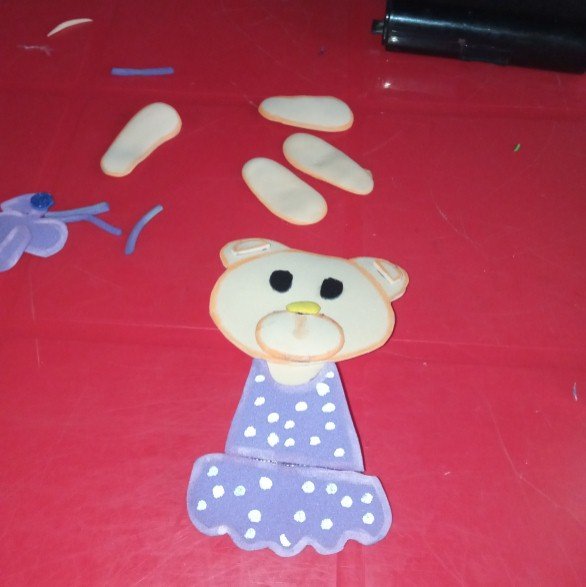
The bear's dress is dotted with concealer or paint.
Al vestido de la osita se le hacen unos puntos con corrector o pintura.
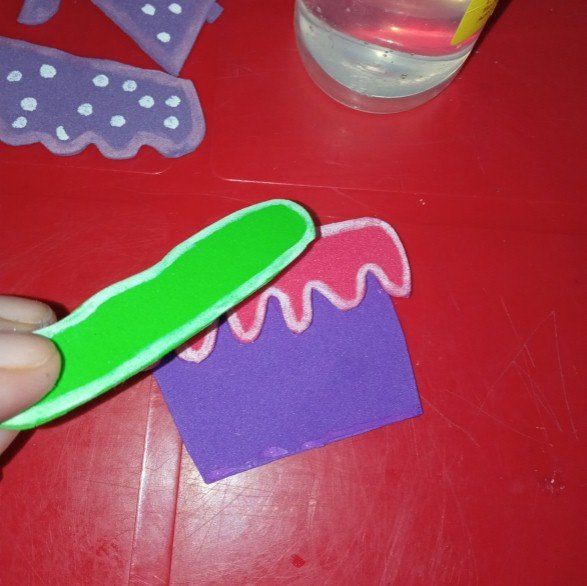
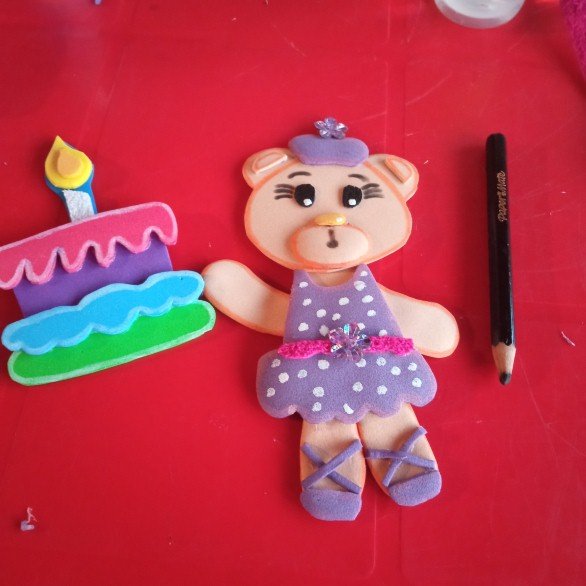
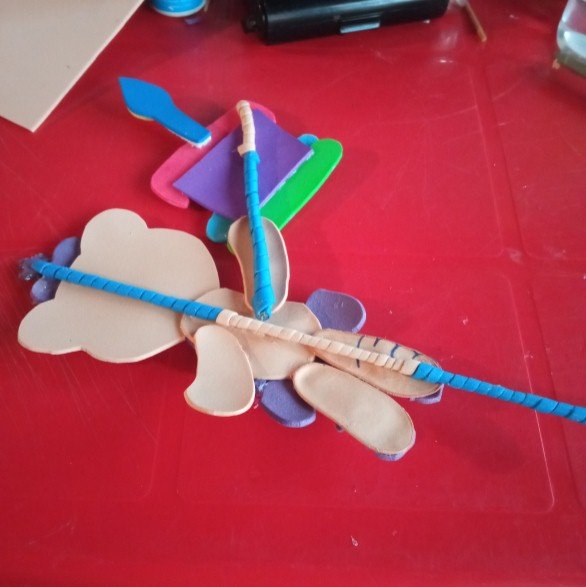
Then in this step you will start to assemble the cake and proceed to glue the pieces with liquid silicone as shown in the images.
Luego en este paso se comenzará armar el pastel y se proceden a pegar las piezas con silicón líquido así como muestro en las imágenes.
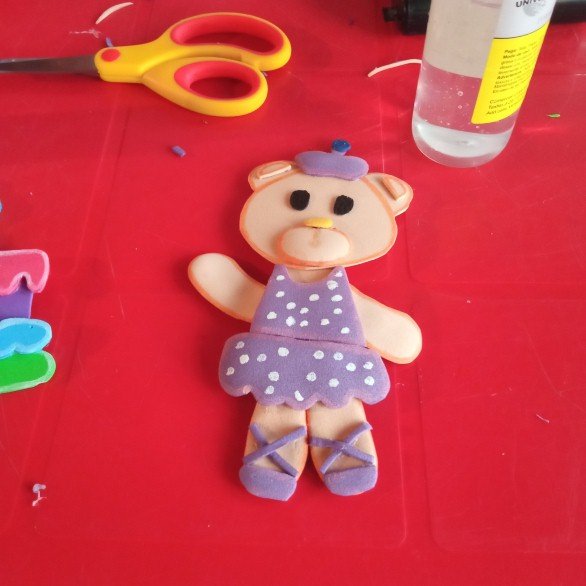
You also start assembling and gluing each piece of the bear, making it super cute.
También se comienza armar y pegar cada pieza de la osita quedando super linda.
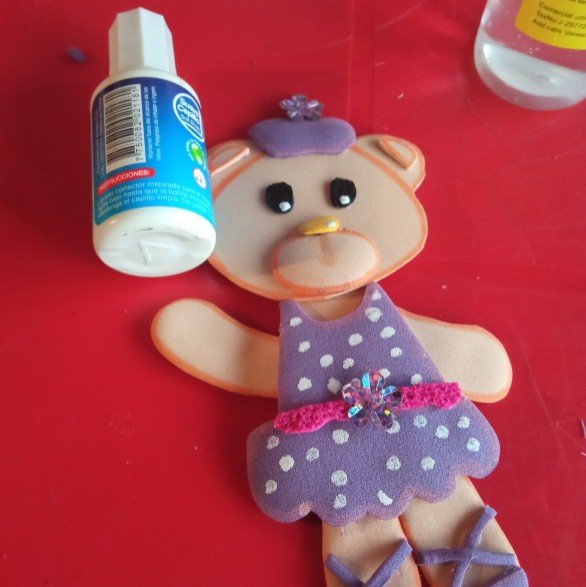
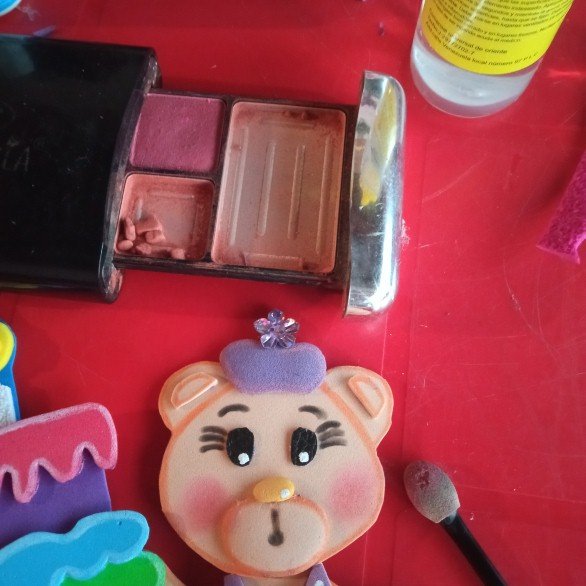
With the concealer I made some white dots in the eyes and nose to simulate brightness, I also grabbed and cut out a very thin piece of fuchsia eva rubber and glued it in the middle of the dress to make it look like a belt and placed a decorative flower and as the blue circle seemed a little simple the crown I grabbed and glued a decorative flower on top and it was beautiful.
Con el corrector le hago unos puntos blancos en los ojos y nariz para simular brillo, también agarro y recortó un pedacito de goma eva fucsia muy finito y pego en el medio del vestido para hacer ver como cinturón y le colocó una florecita decorativa y como con el círculo azul me parecía un poco simple la corona agarre y le pegue una flor decorativa encima y quedó preciosa.
Black color is used for eyelashes and eyebrows.
Con color negro le hacen las pestañas y cejas.
With the blush we give color to the cheeks.
Con el rubor le damos color a las mejillas.
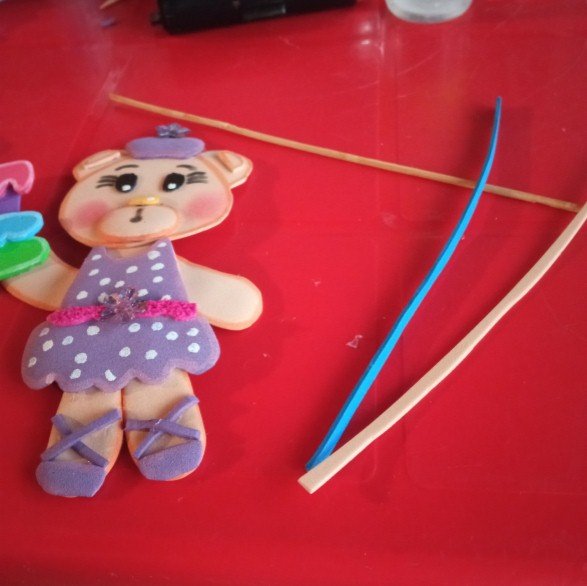
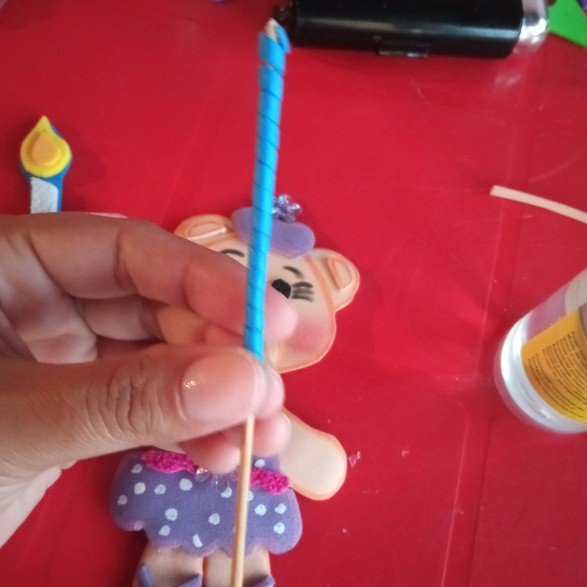
The wooden stick is lined with strips of eva rubber, as you can see in the pictures.
El palo de madera se forra con tiras de goma eva, como podrán apreciar en las imágenes.
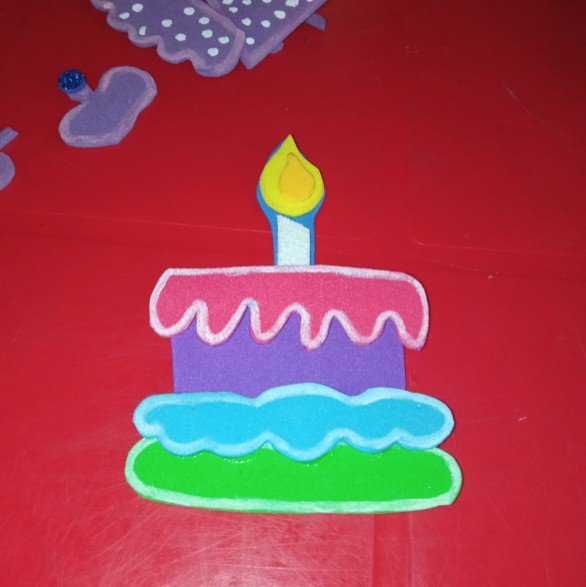
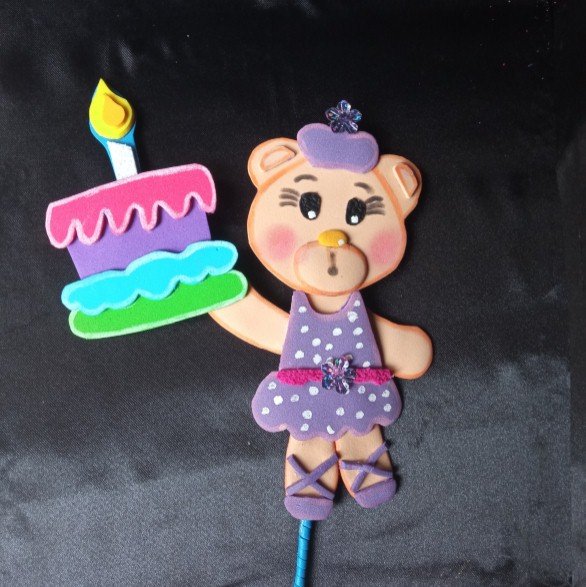
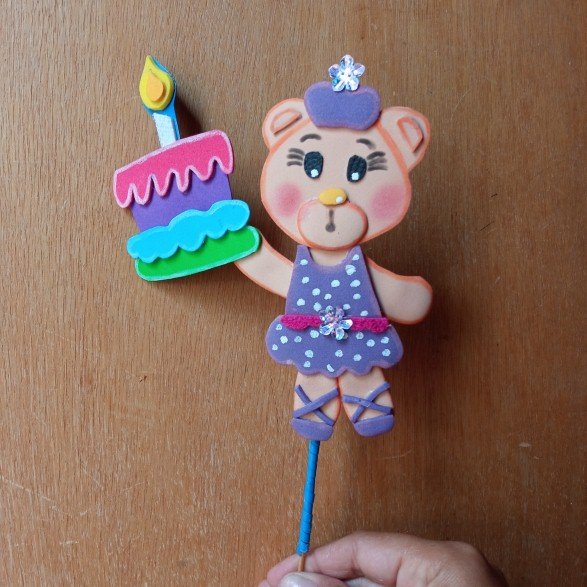
As always I leave you with the final result of the finished Topper.
Como siempre les dejo el resultado final del Topper terminado.
Note: some parts such as the nose, arms, legs, the dress at the bottom are heated with an iron.
Nota: algunas piezas como la nariz, los brazos, las piernas, el vestido en la parte de abajo se le da calor con la plancha.
Without more to say and hoping that this craft post is to the liking of every reader I say goodbye with a big hug, love you @shirahoshi.
Sin más que decir y esperando que este post de manualidad sea del agrado de cada lector me despido con un gran abrazo, los quiere @shirahoshi.
The photographs are my own and were taken by me with a Redmi 9 and were edited in powerpoint.
Las fotografías son de mi autoría y fueron tomadas por mí con un Redmi 9 y se editaron en powerpoint.
The Step by Step Gif was made by me in AdobePhotoshop CC2014.
El Gif de Paso a Paso fue realizado por mi en AdobePhotoshop CC2014.
The logo was designed by me in Adobe Illustrator CC 2015 and its animated version was made in After Effects CC 2017.
El logo fue diseñado por mí en Adobe Illustrator CC 2015 y su versión animada la realice en After Effects CC 2017.
Language corrector used Deepl.
Corrector de idioma utilizado Deepl.

My social networks-Mis redes sociales