![1[1].png](https://images.hive.blog/DQmNwi7rbTdCNLyNumeZZX8FJaEhN2qpGwANSMp3zVSjvya/1[1].png)
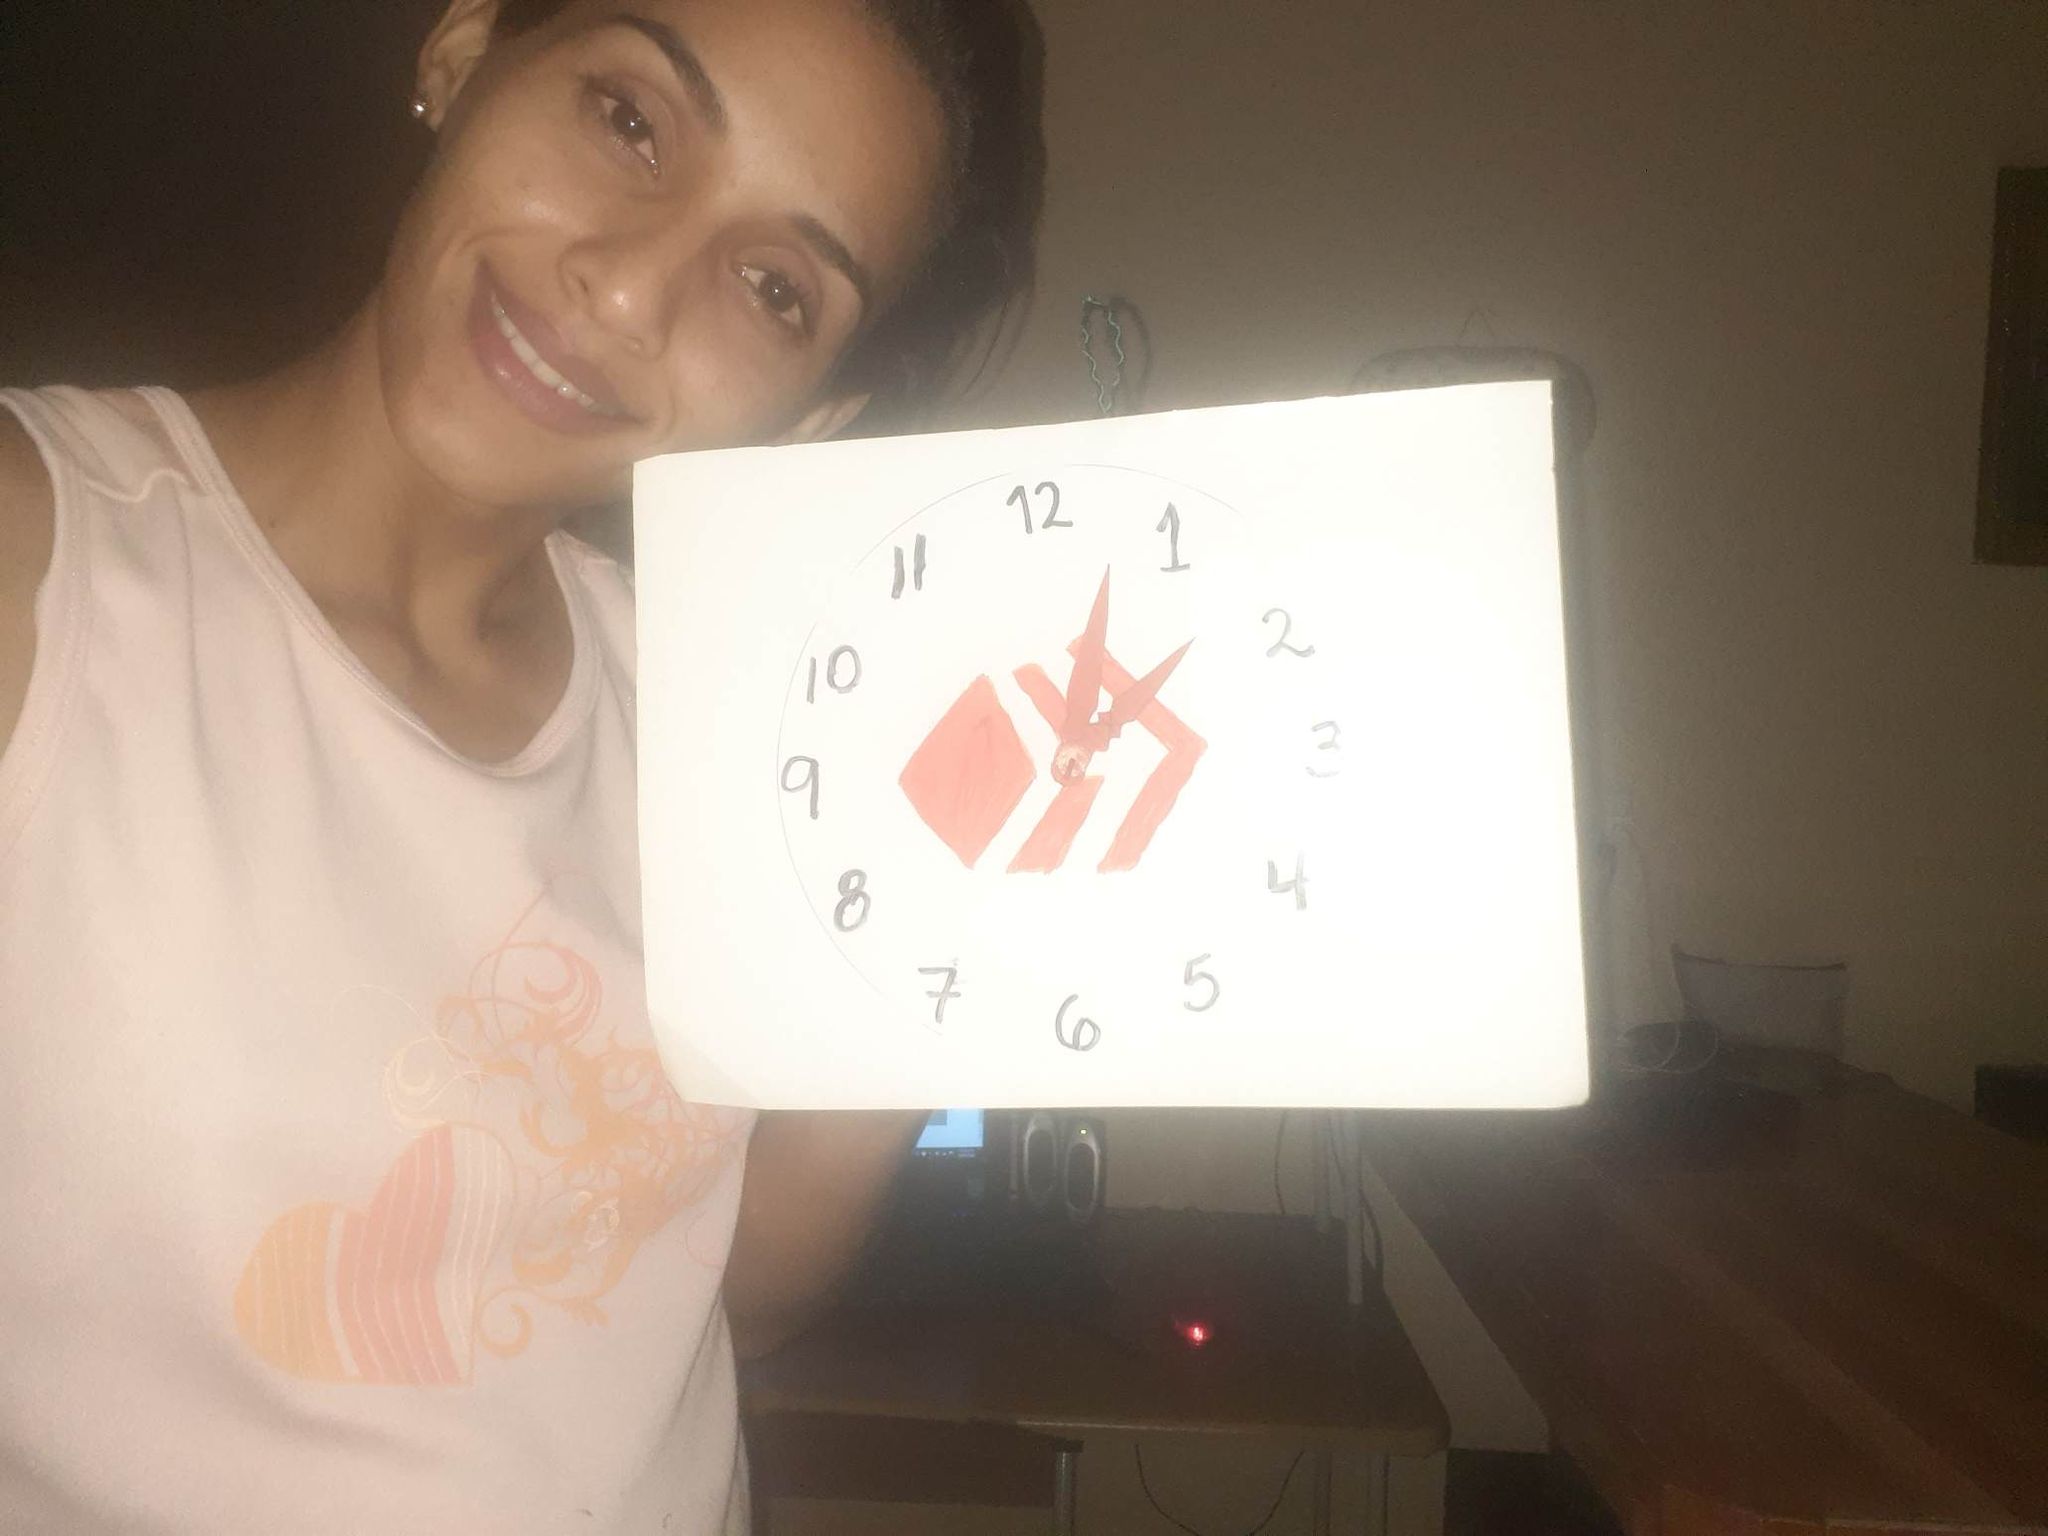
Familia Hive, Momentos en las que nos inspiramos, creamos, hoy quiero compartir con ustedes un reloj con el logo de Hive realmente me llamo mucho la atención realizarlo muy sencillo.
Hive Family, Moments in which we are inspired, we create, today I want to share with you a clock with the Hive logo really caught my attention to make it very simple.
Here I will leave the materials I used.
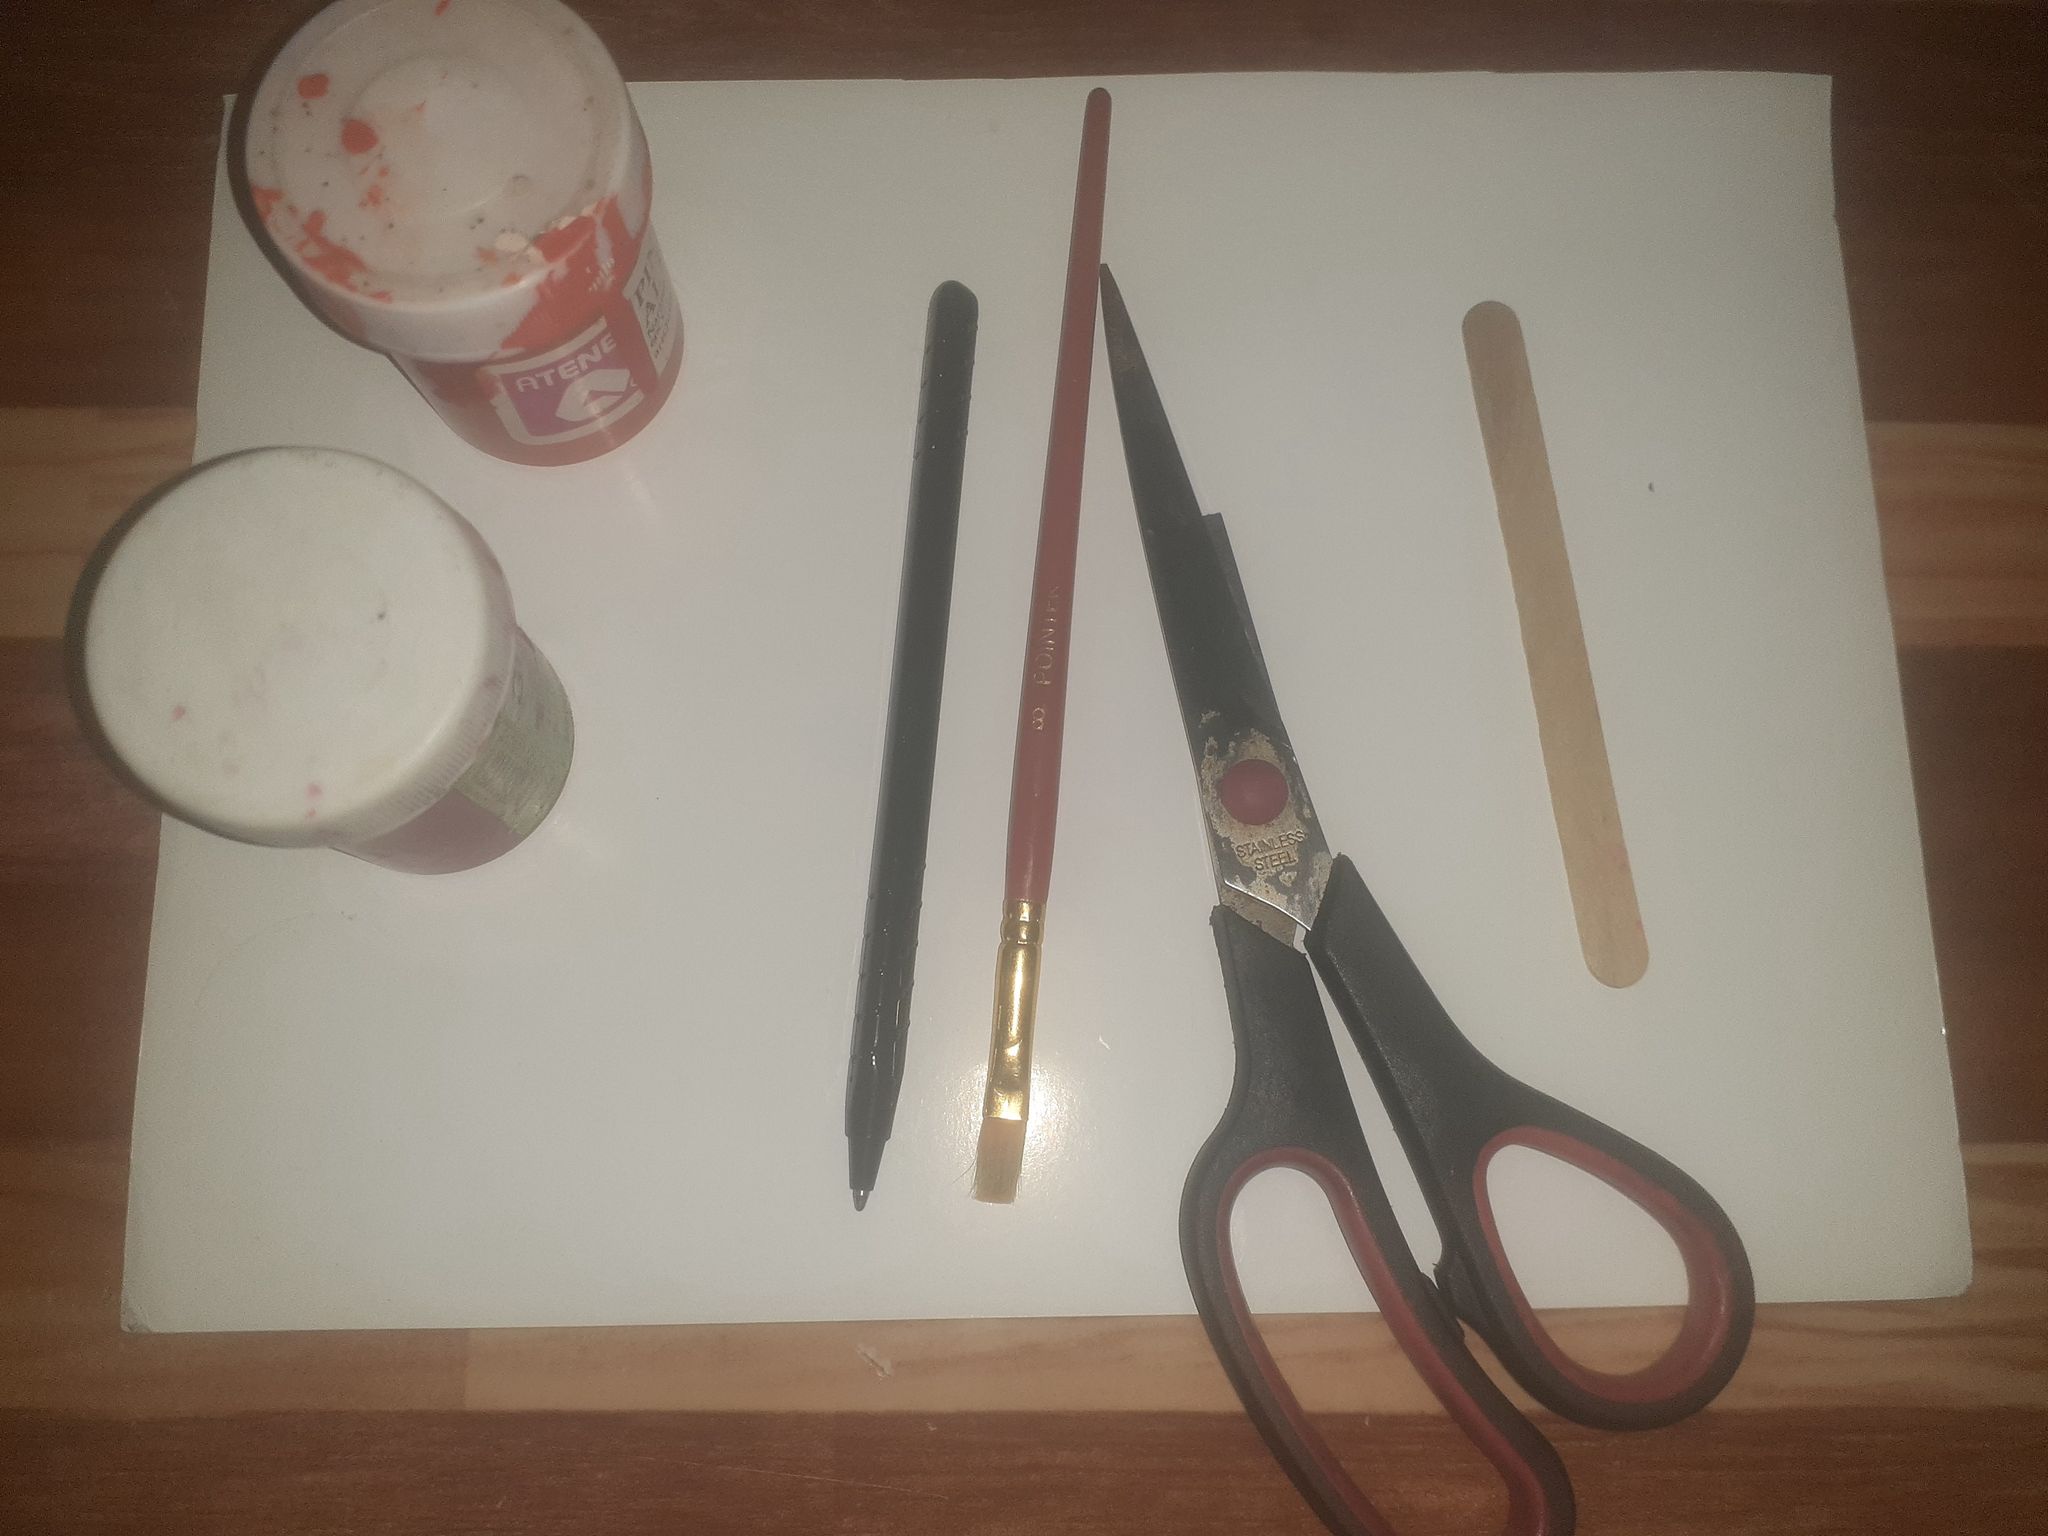
- Silicon.
- Cartulina.
- Pincel.
- Tijera.
- Pintura al frió.
- Regla
- Lápiz.
- Paleta.
- Marcador.
- Silicon.
- Cardboard.
- Paintbrush.
- Scissors.
- Cold paint.
- Ruler
- Pencil.
- Palette.
- Marker.
.png)
.jpg)
.jpg)
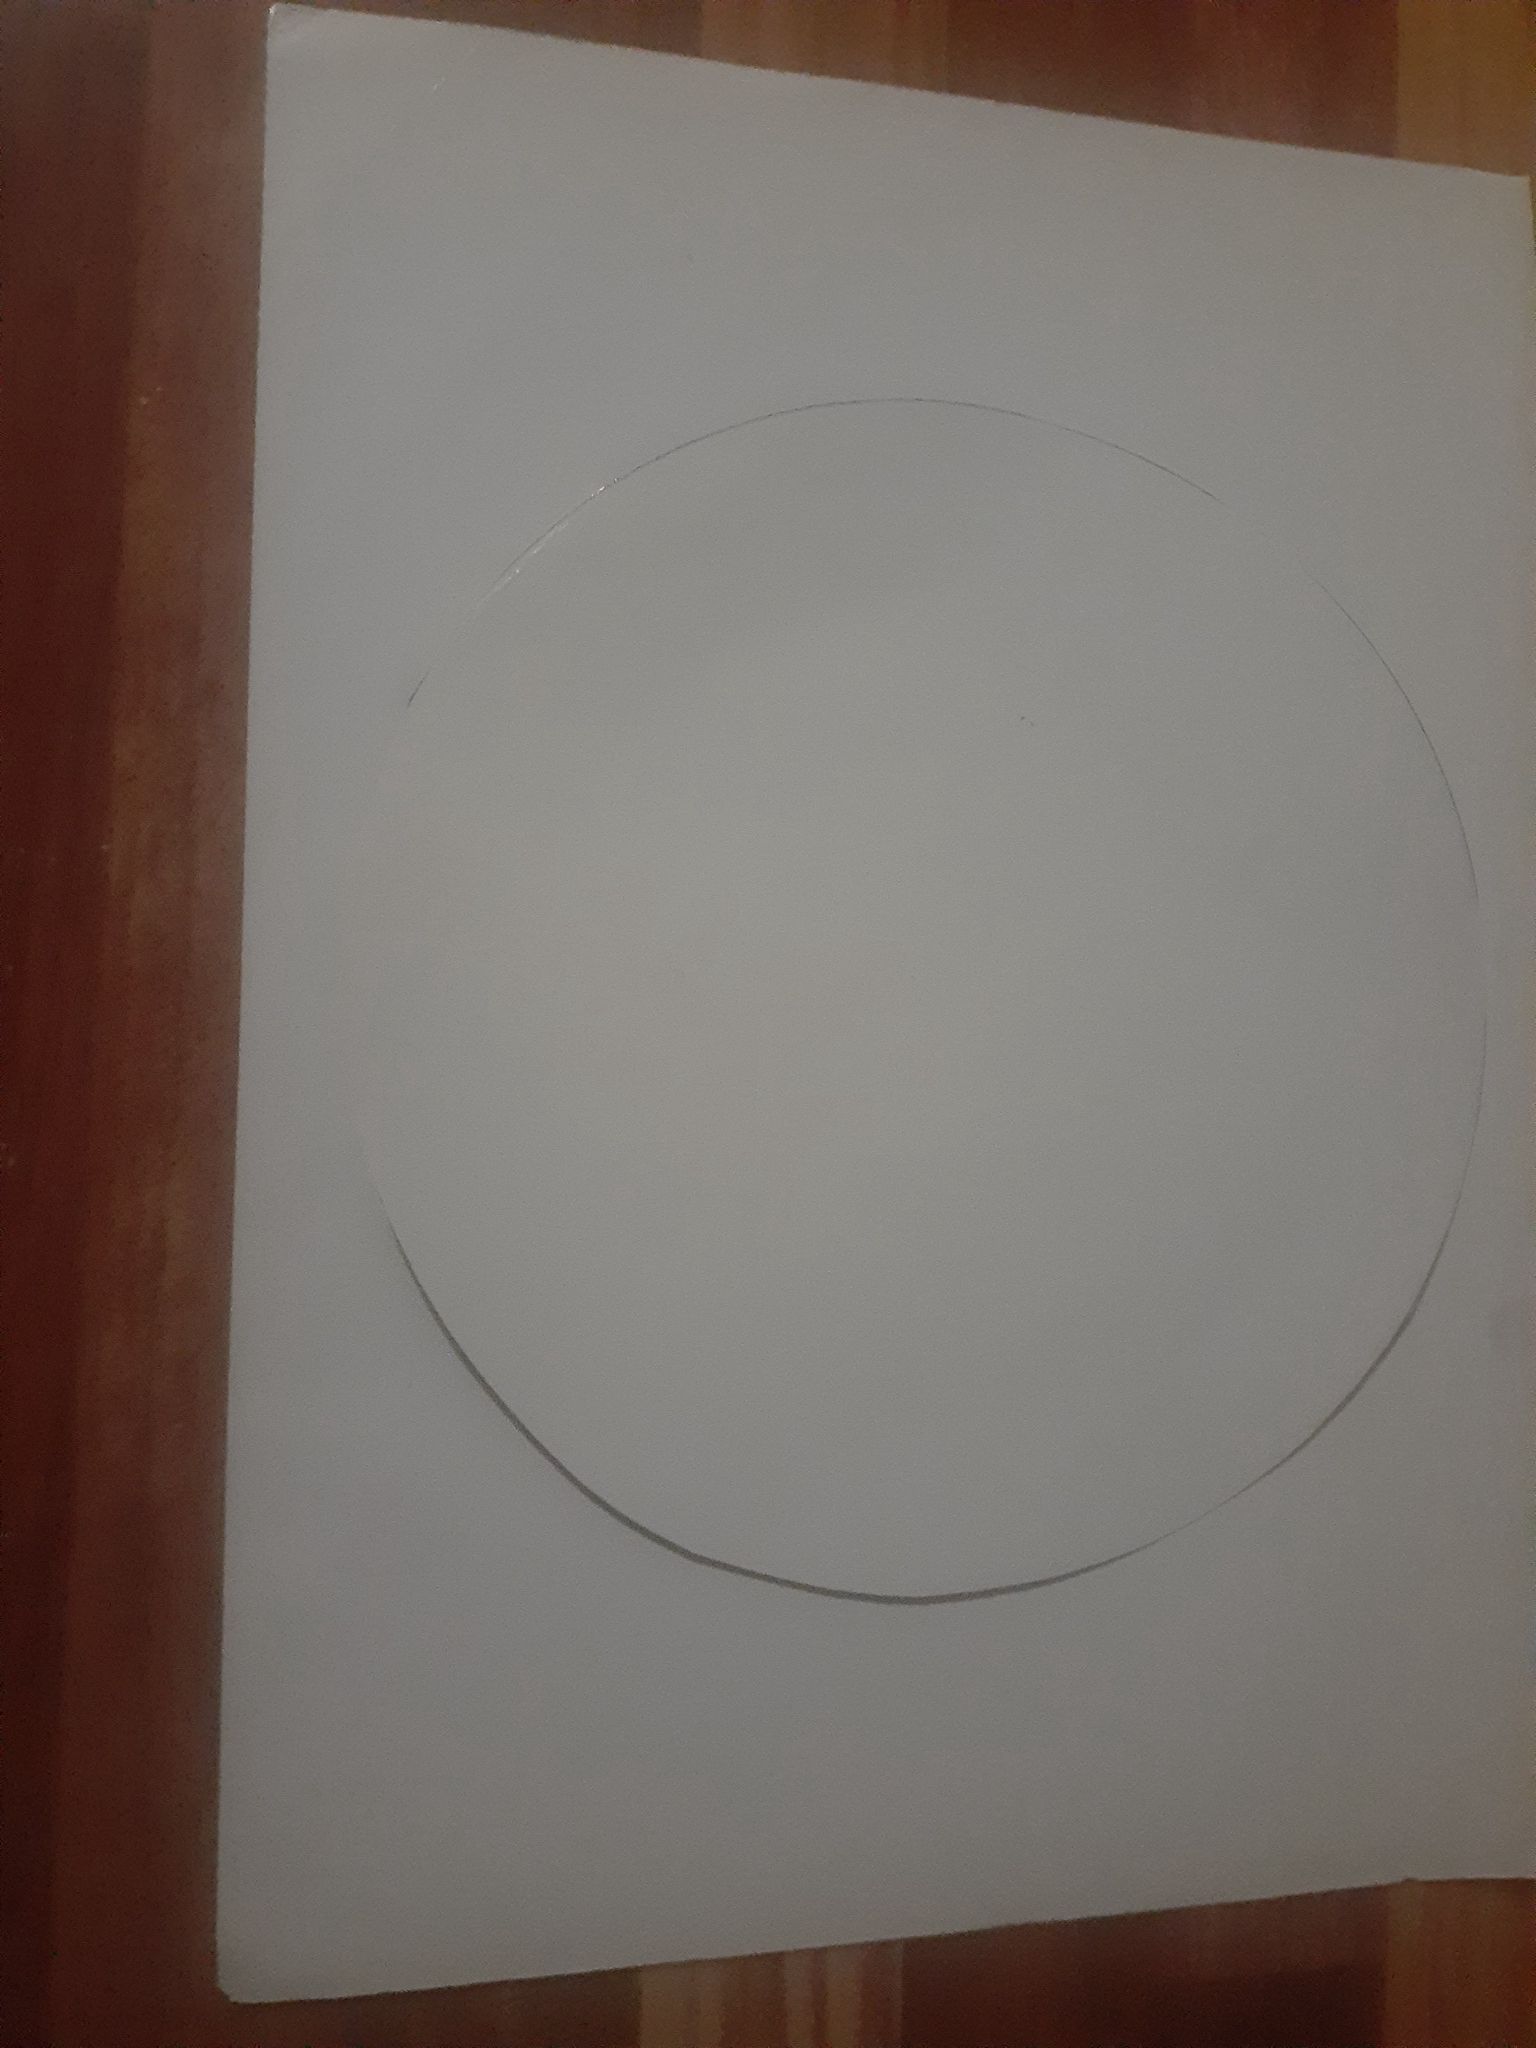
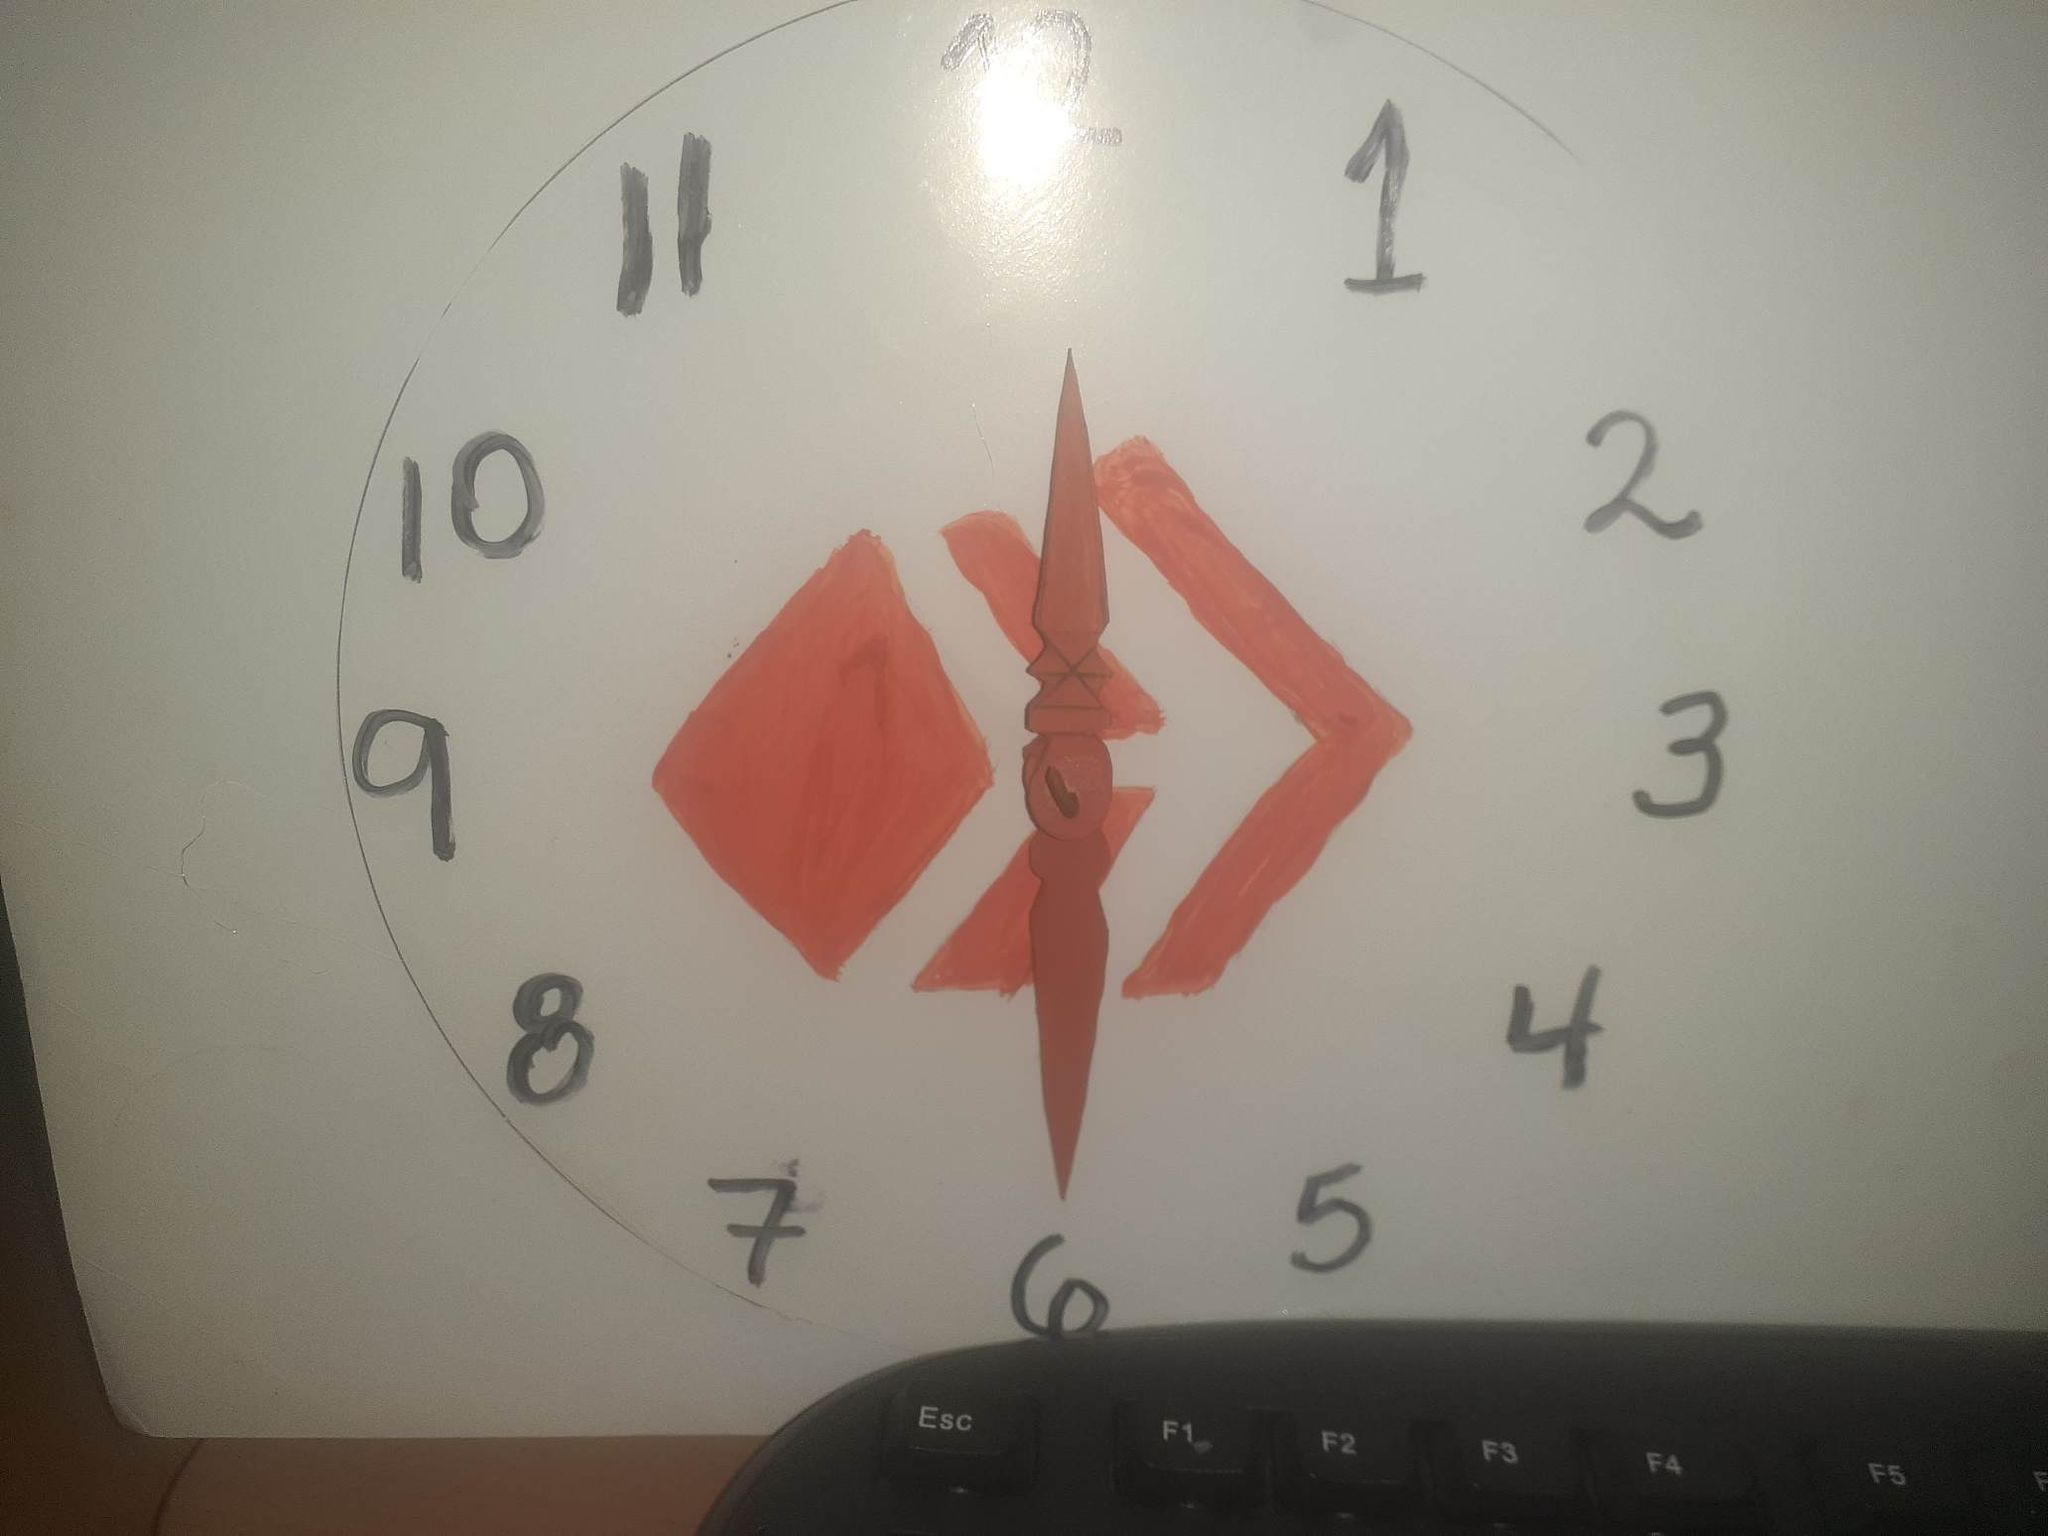
1- Comenzamos a realizar el reloj Hive, en una cartulina realizamos un circulo al tamaño que deseamos el reloj, al realizar el circulo lo pegamos con silicón a una base que seria otra cartulina.
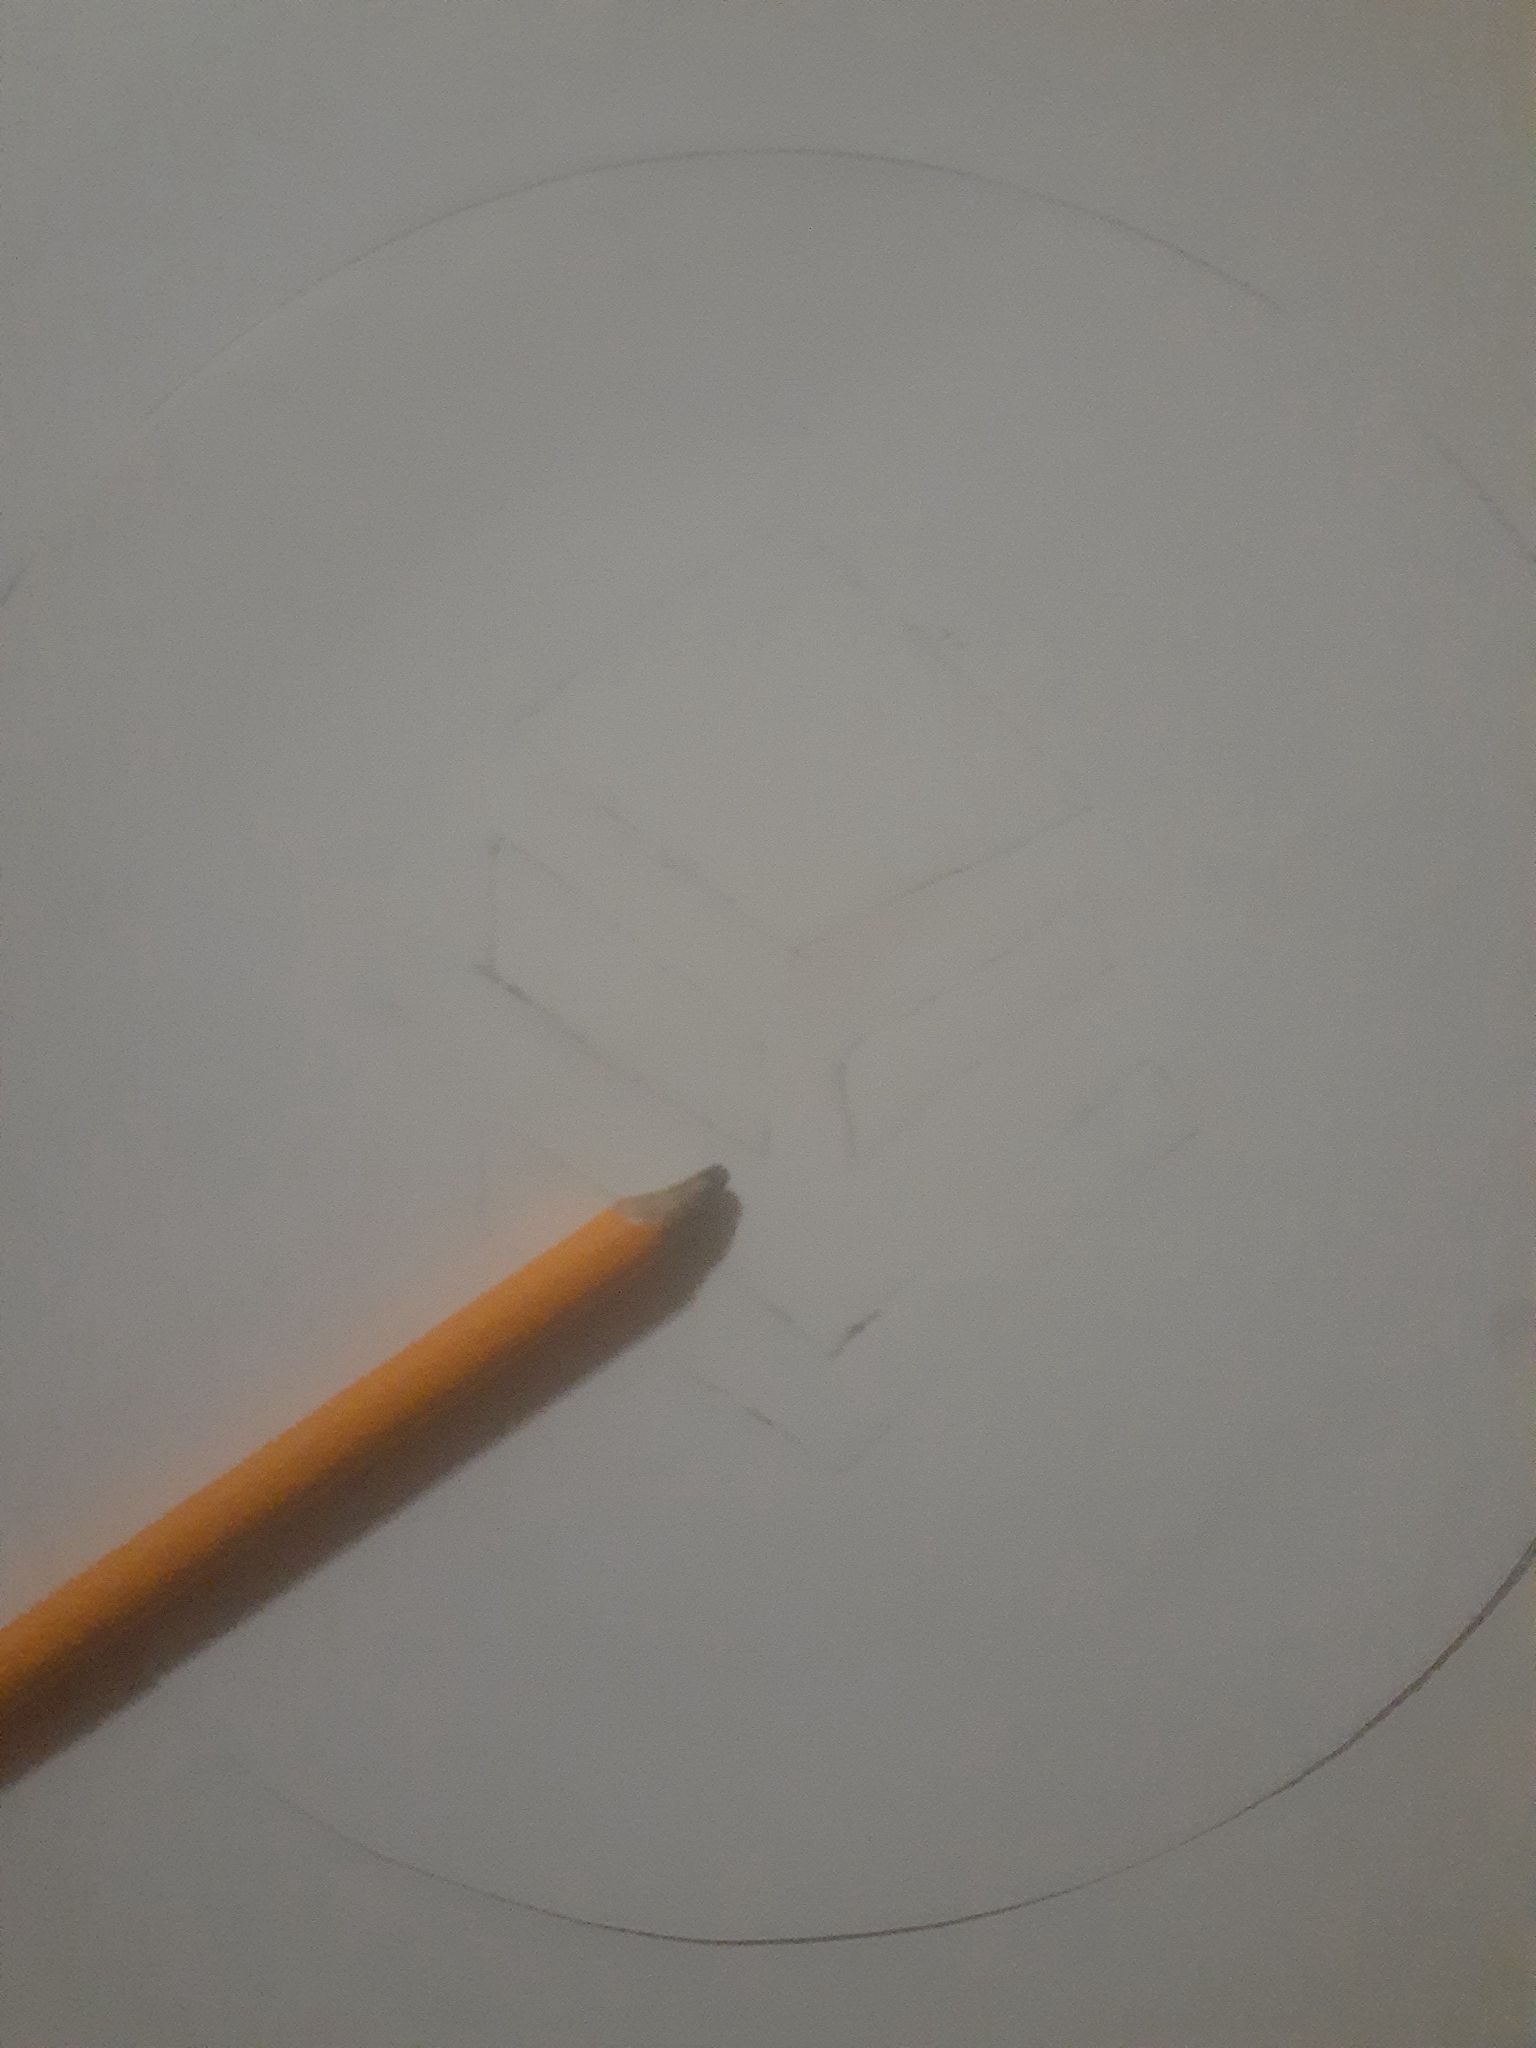
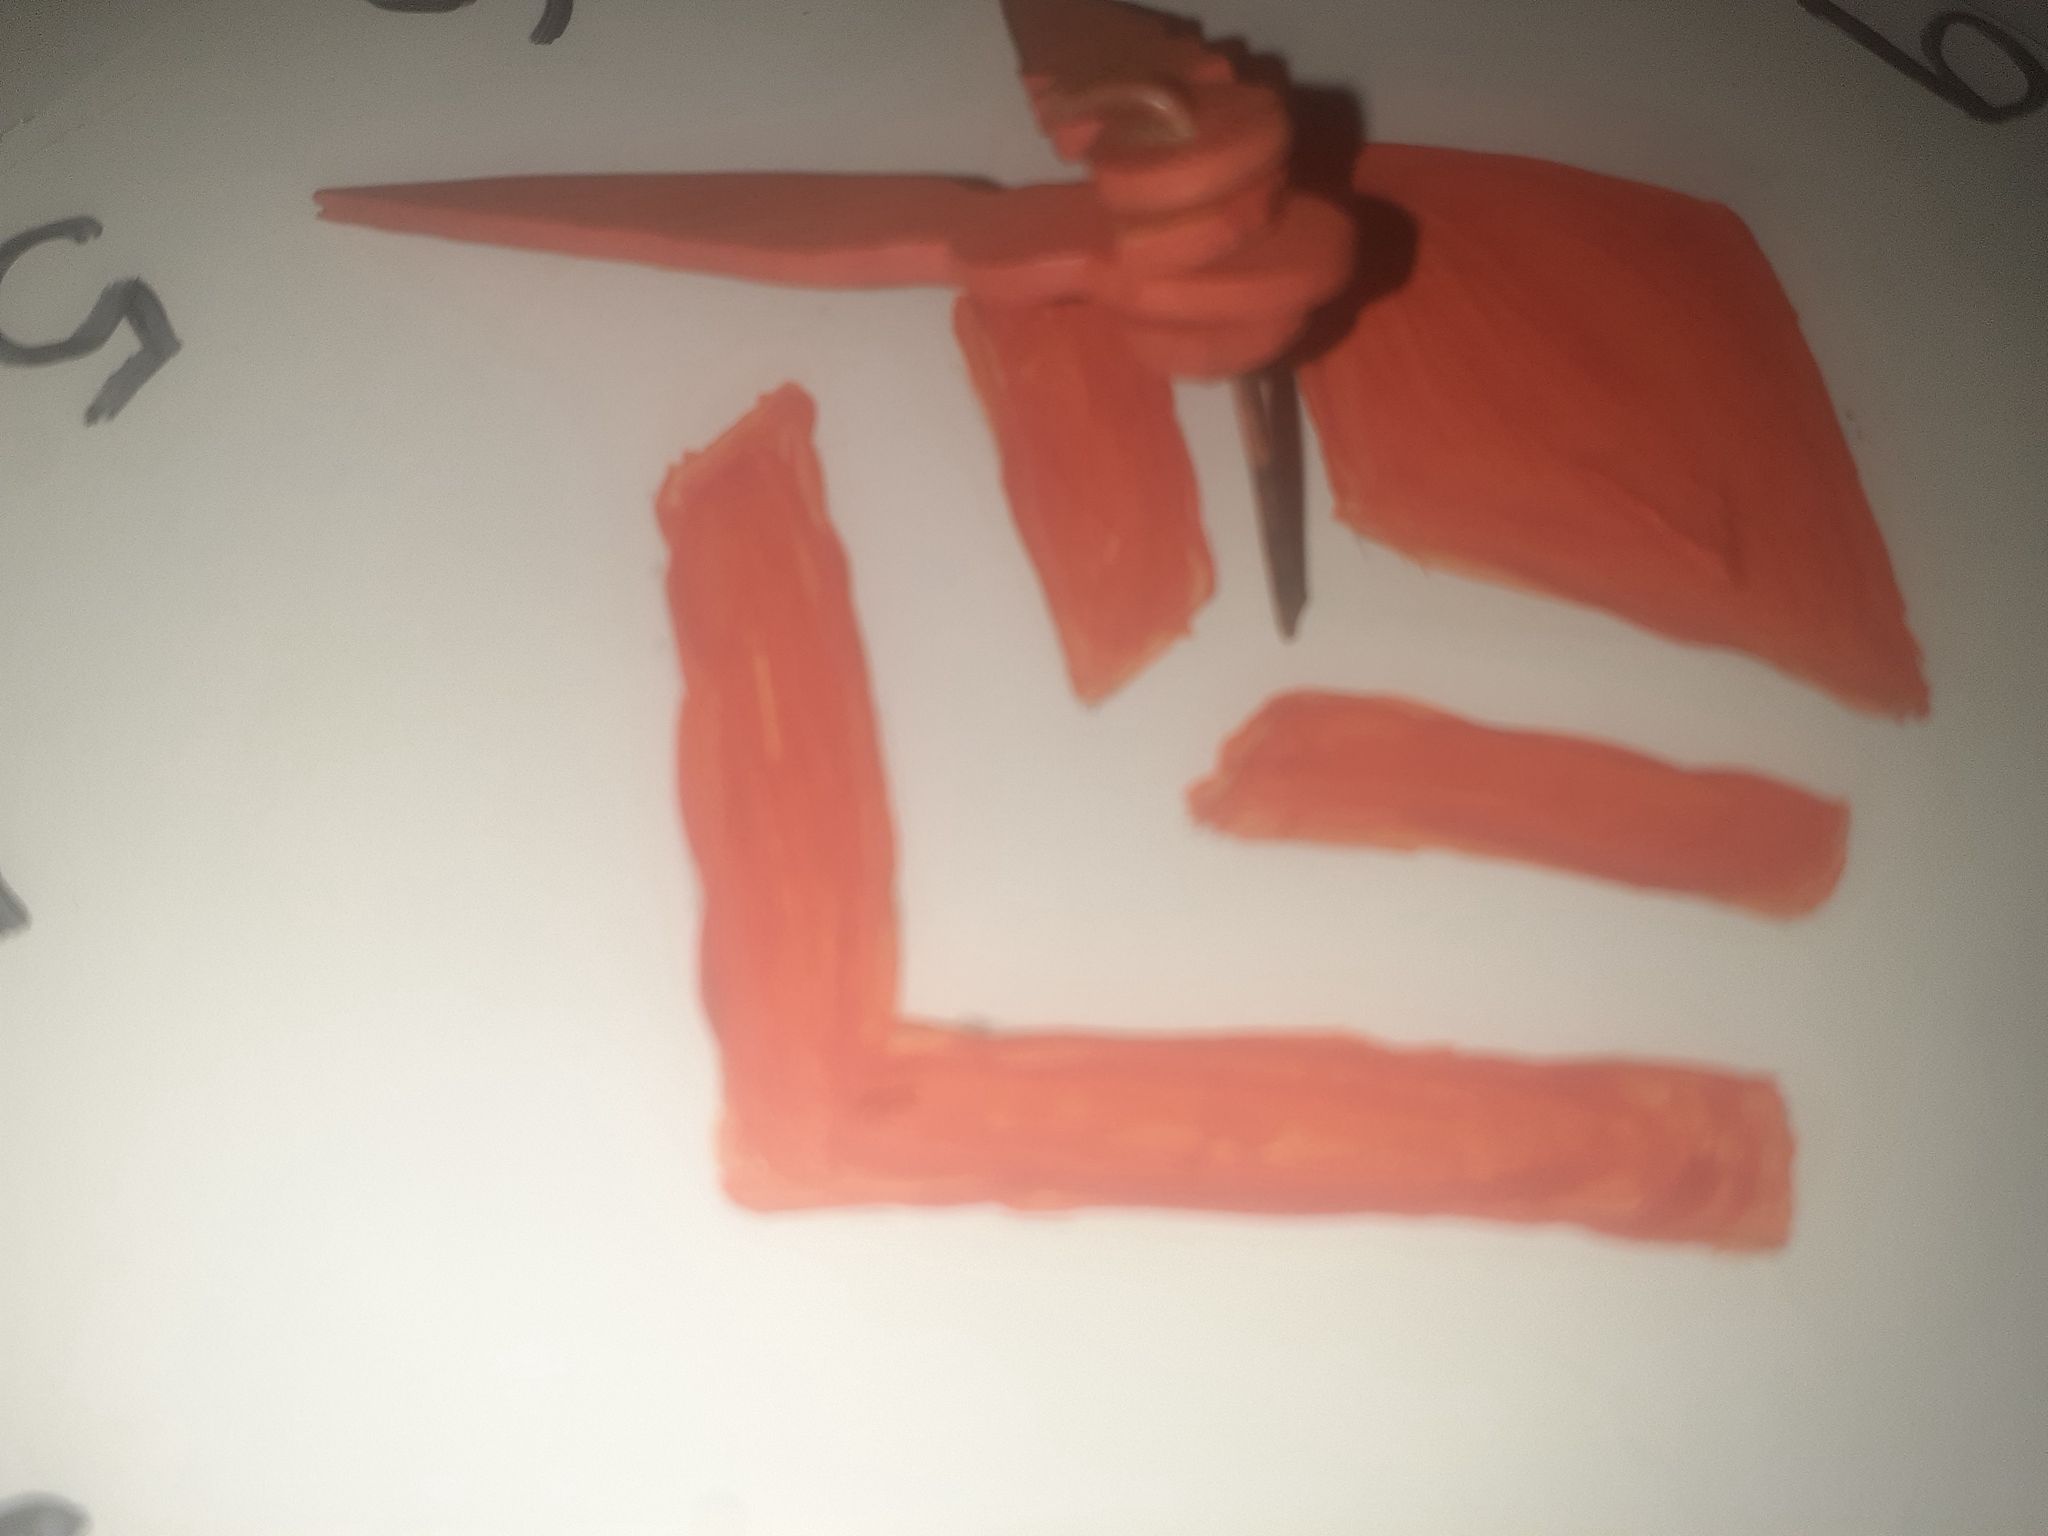
2- Con un lápiz hacer el logo de la plataforma ***Hive ***
1- We begin to make the Hive clock, in a cardboard we make a circle to the size we want the clock, when we make the circle we glue it with silicone to a base that would be another cardboard.
2- With a pencil draw the logo of the ***Hive *** platform.
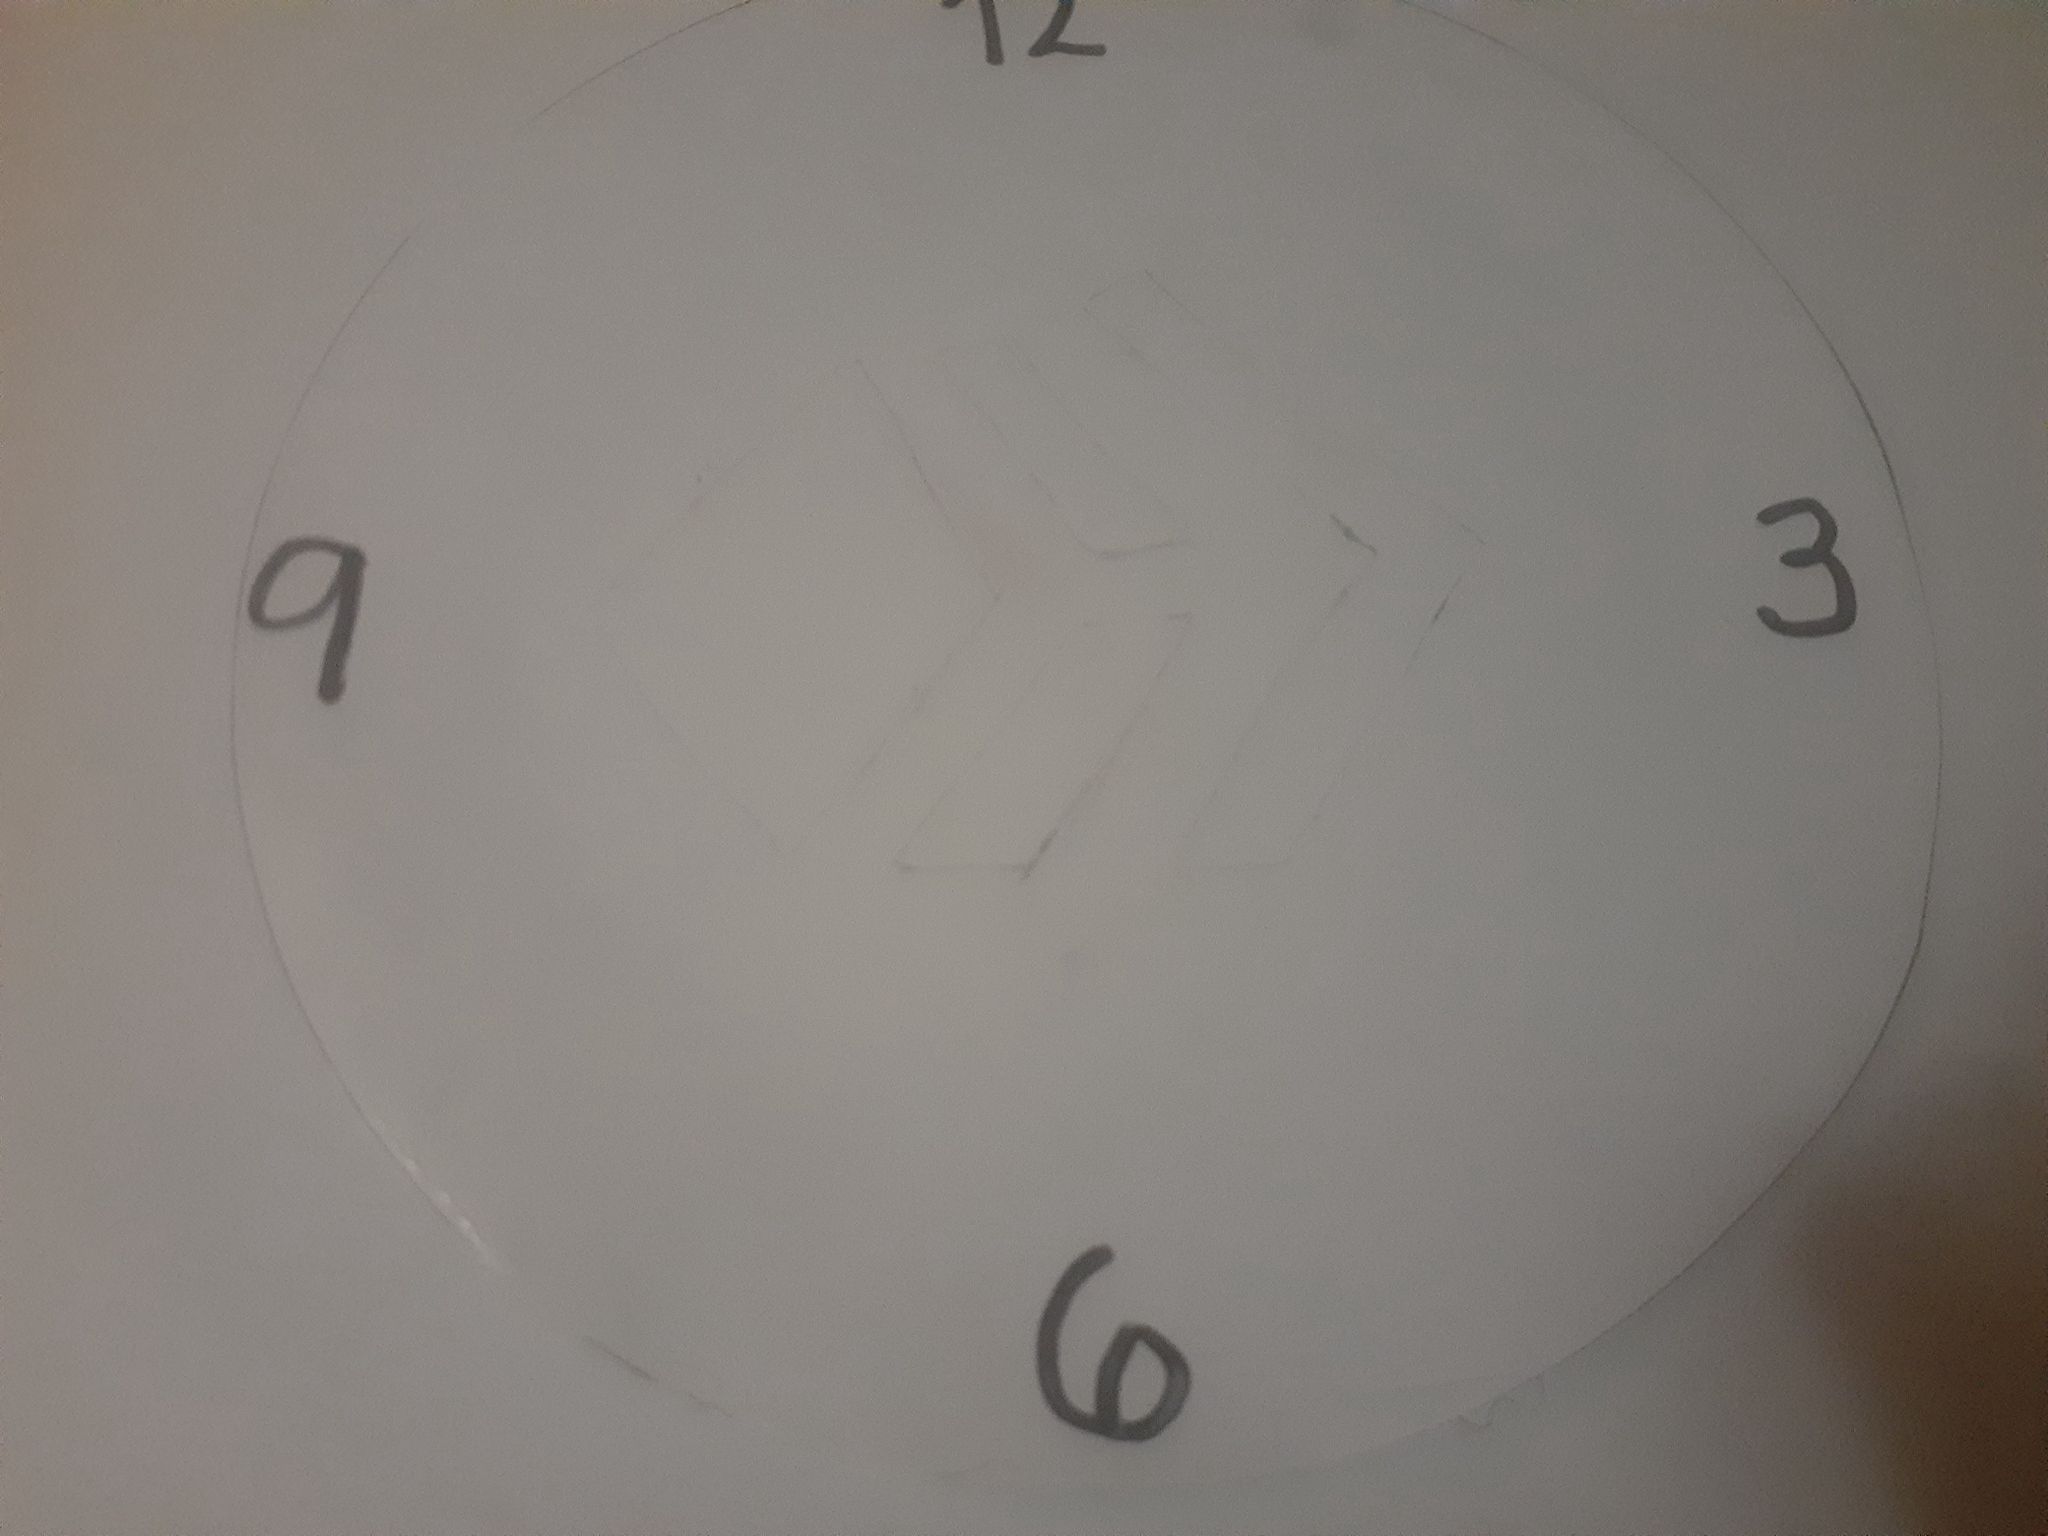
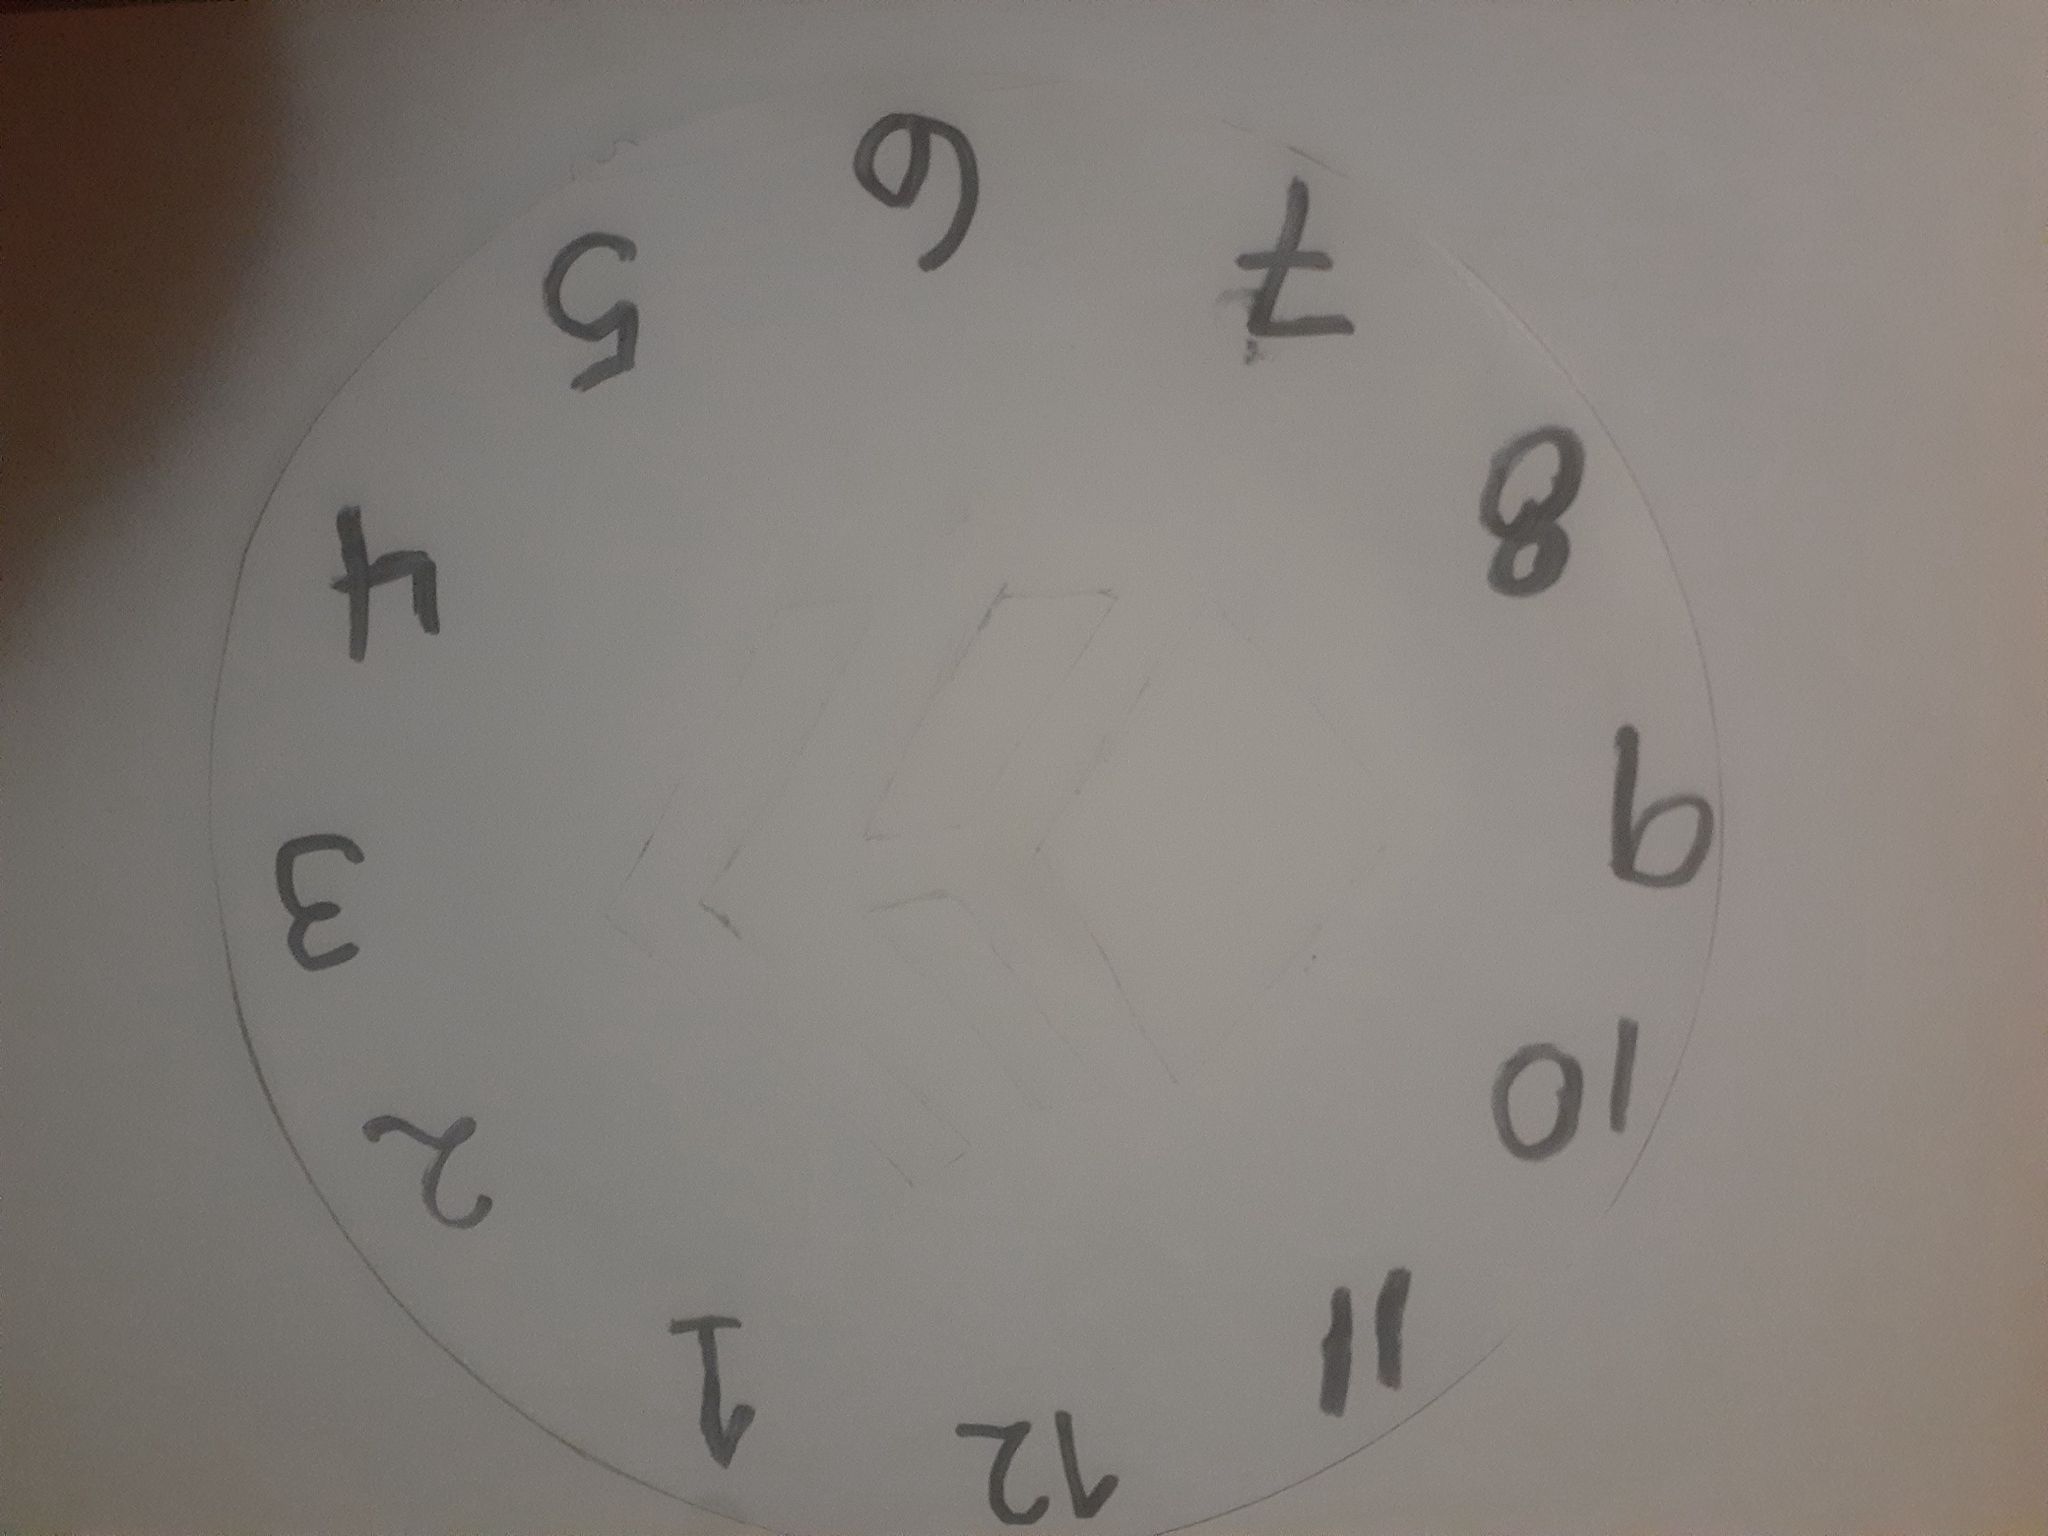
3- Procedemos a marcar con el marcador las 4 horas del reloj las circunferencia, luego marcamos las horas en su respectivo espacio.
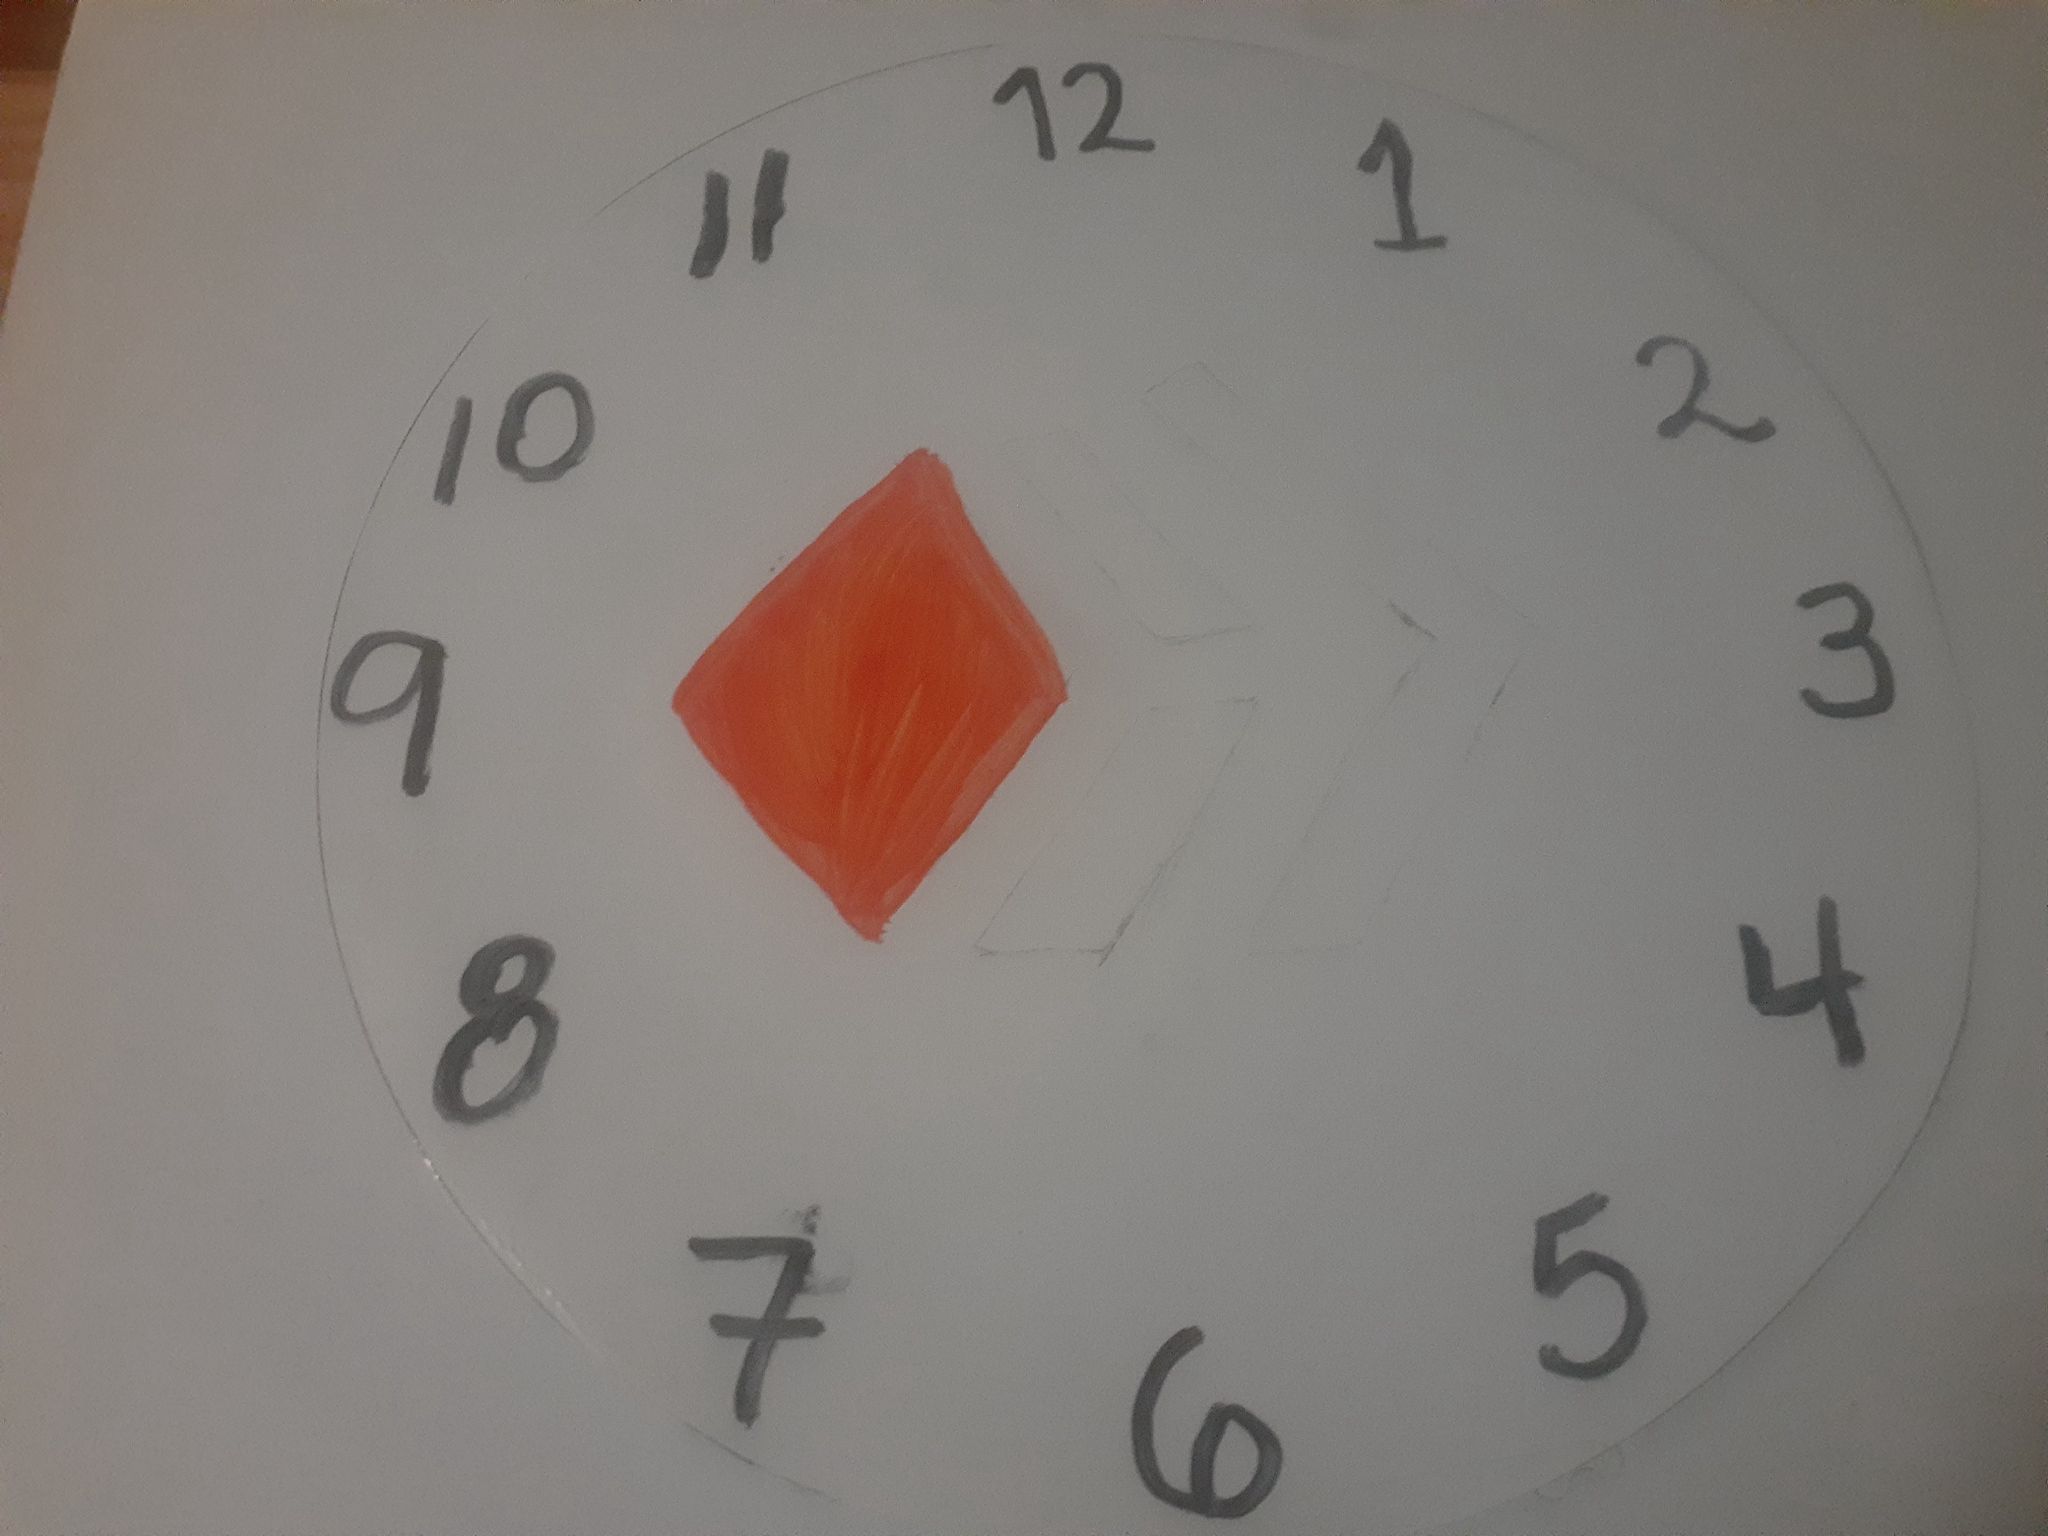
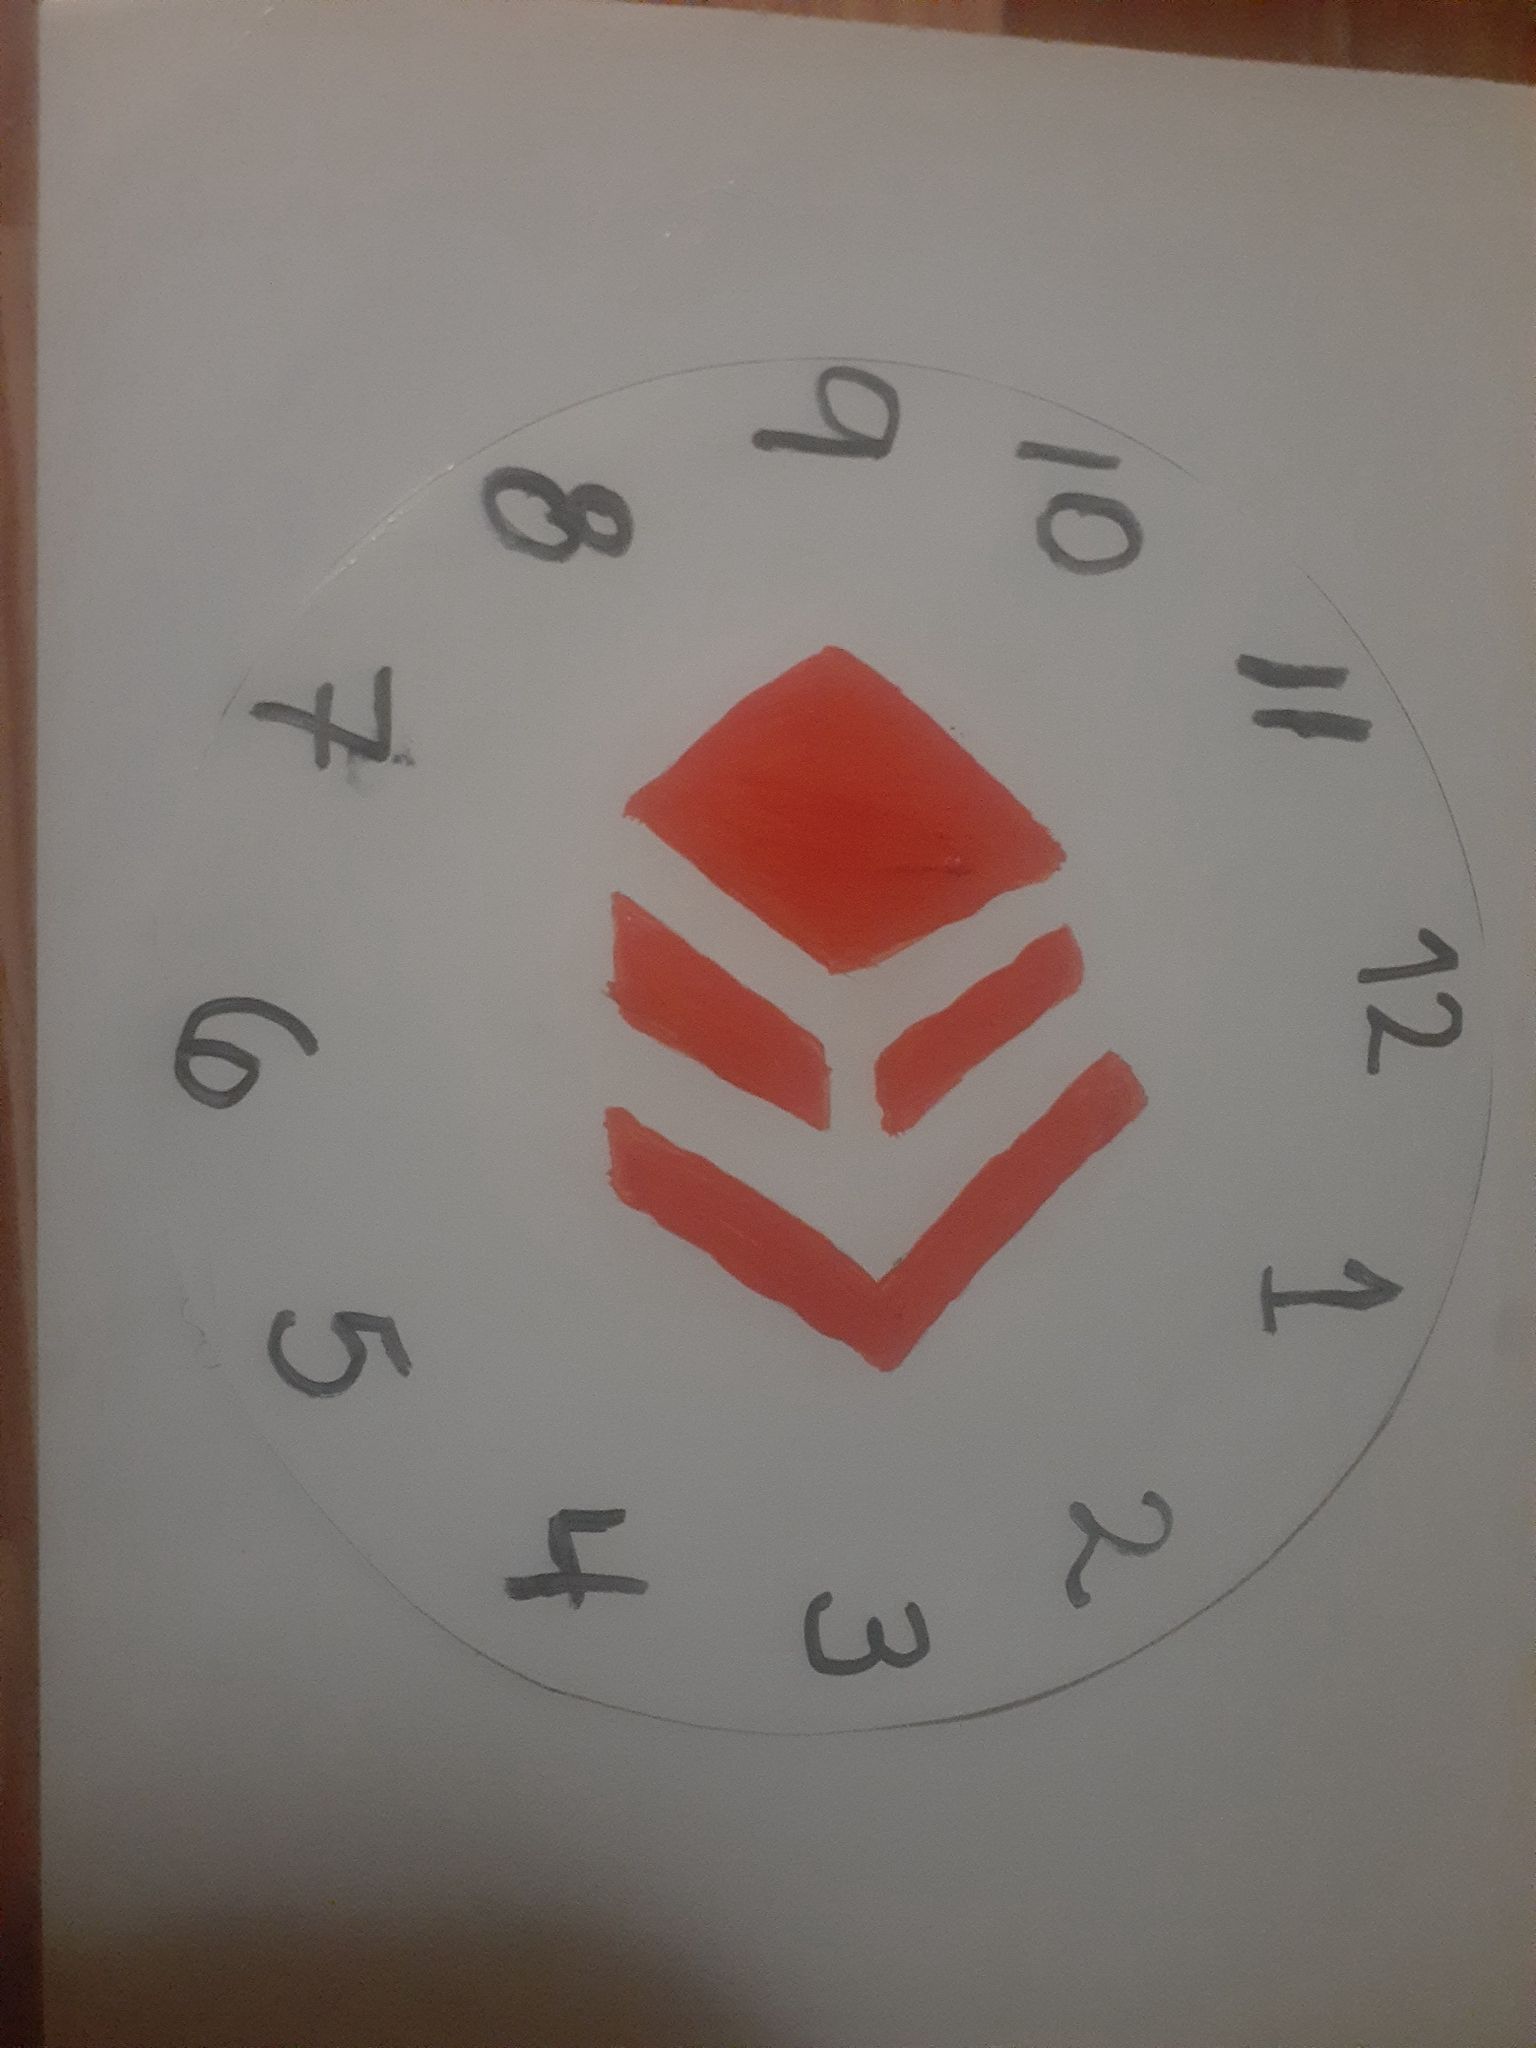
4- Pintamos el logo de la plataforma Hive.
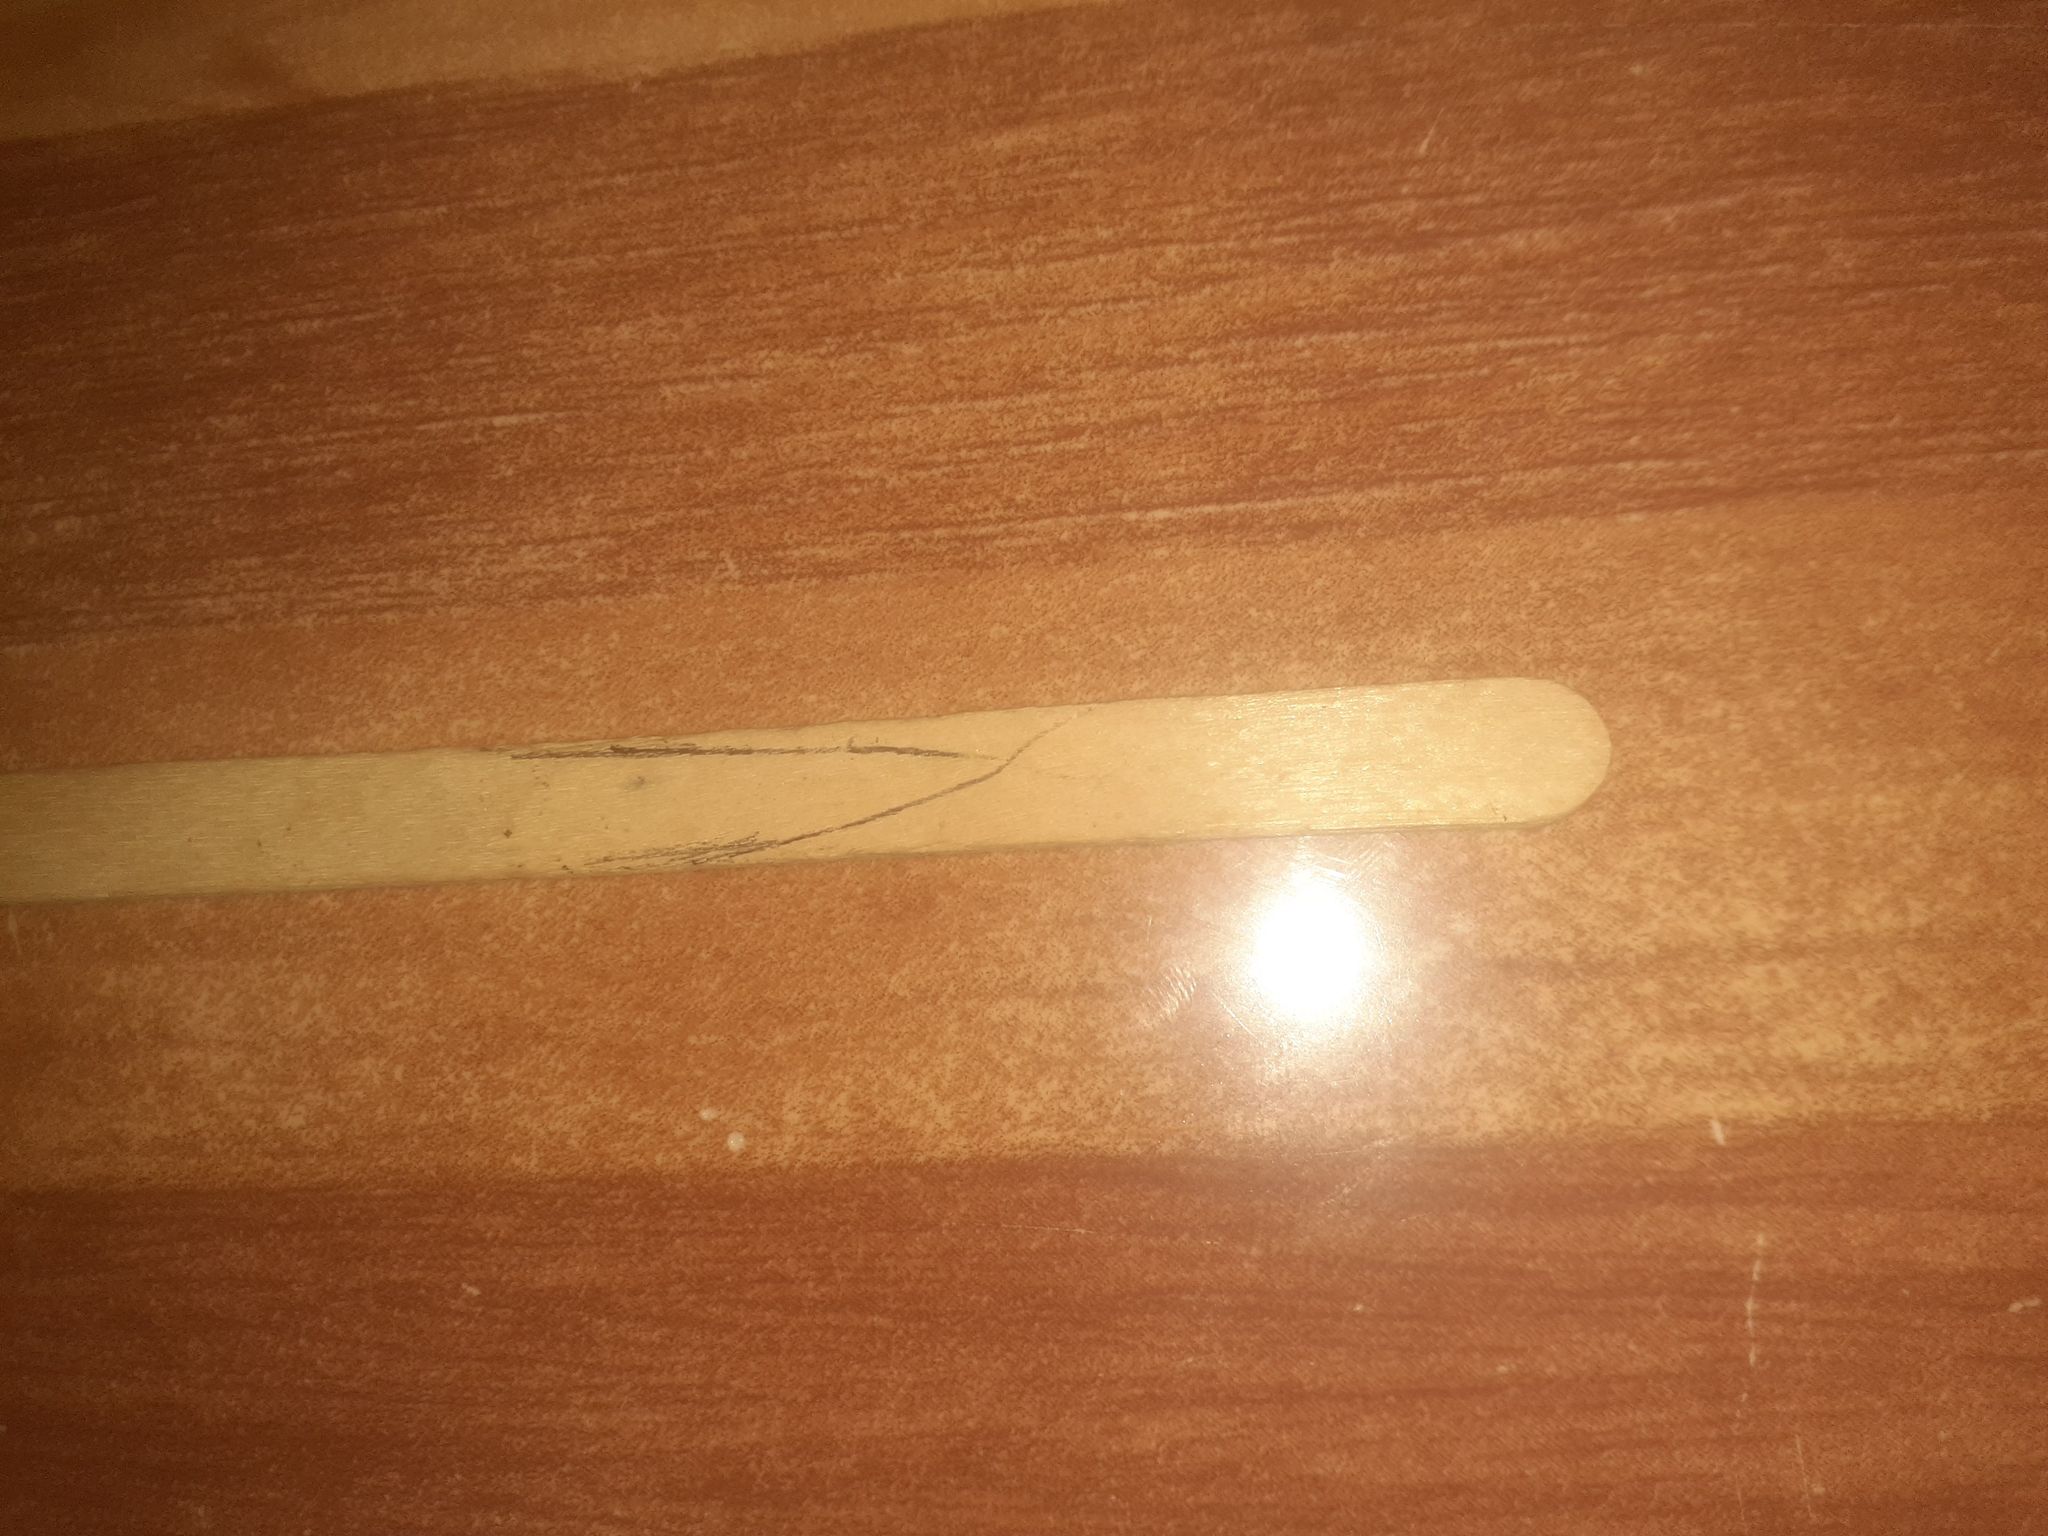
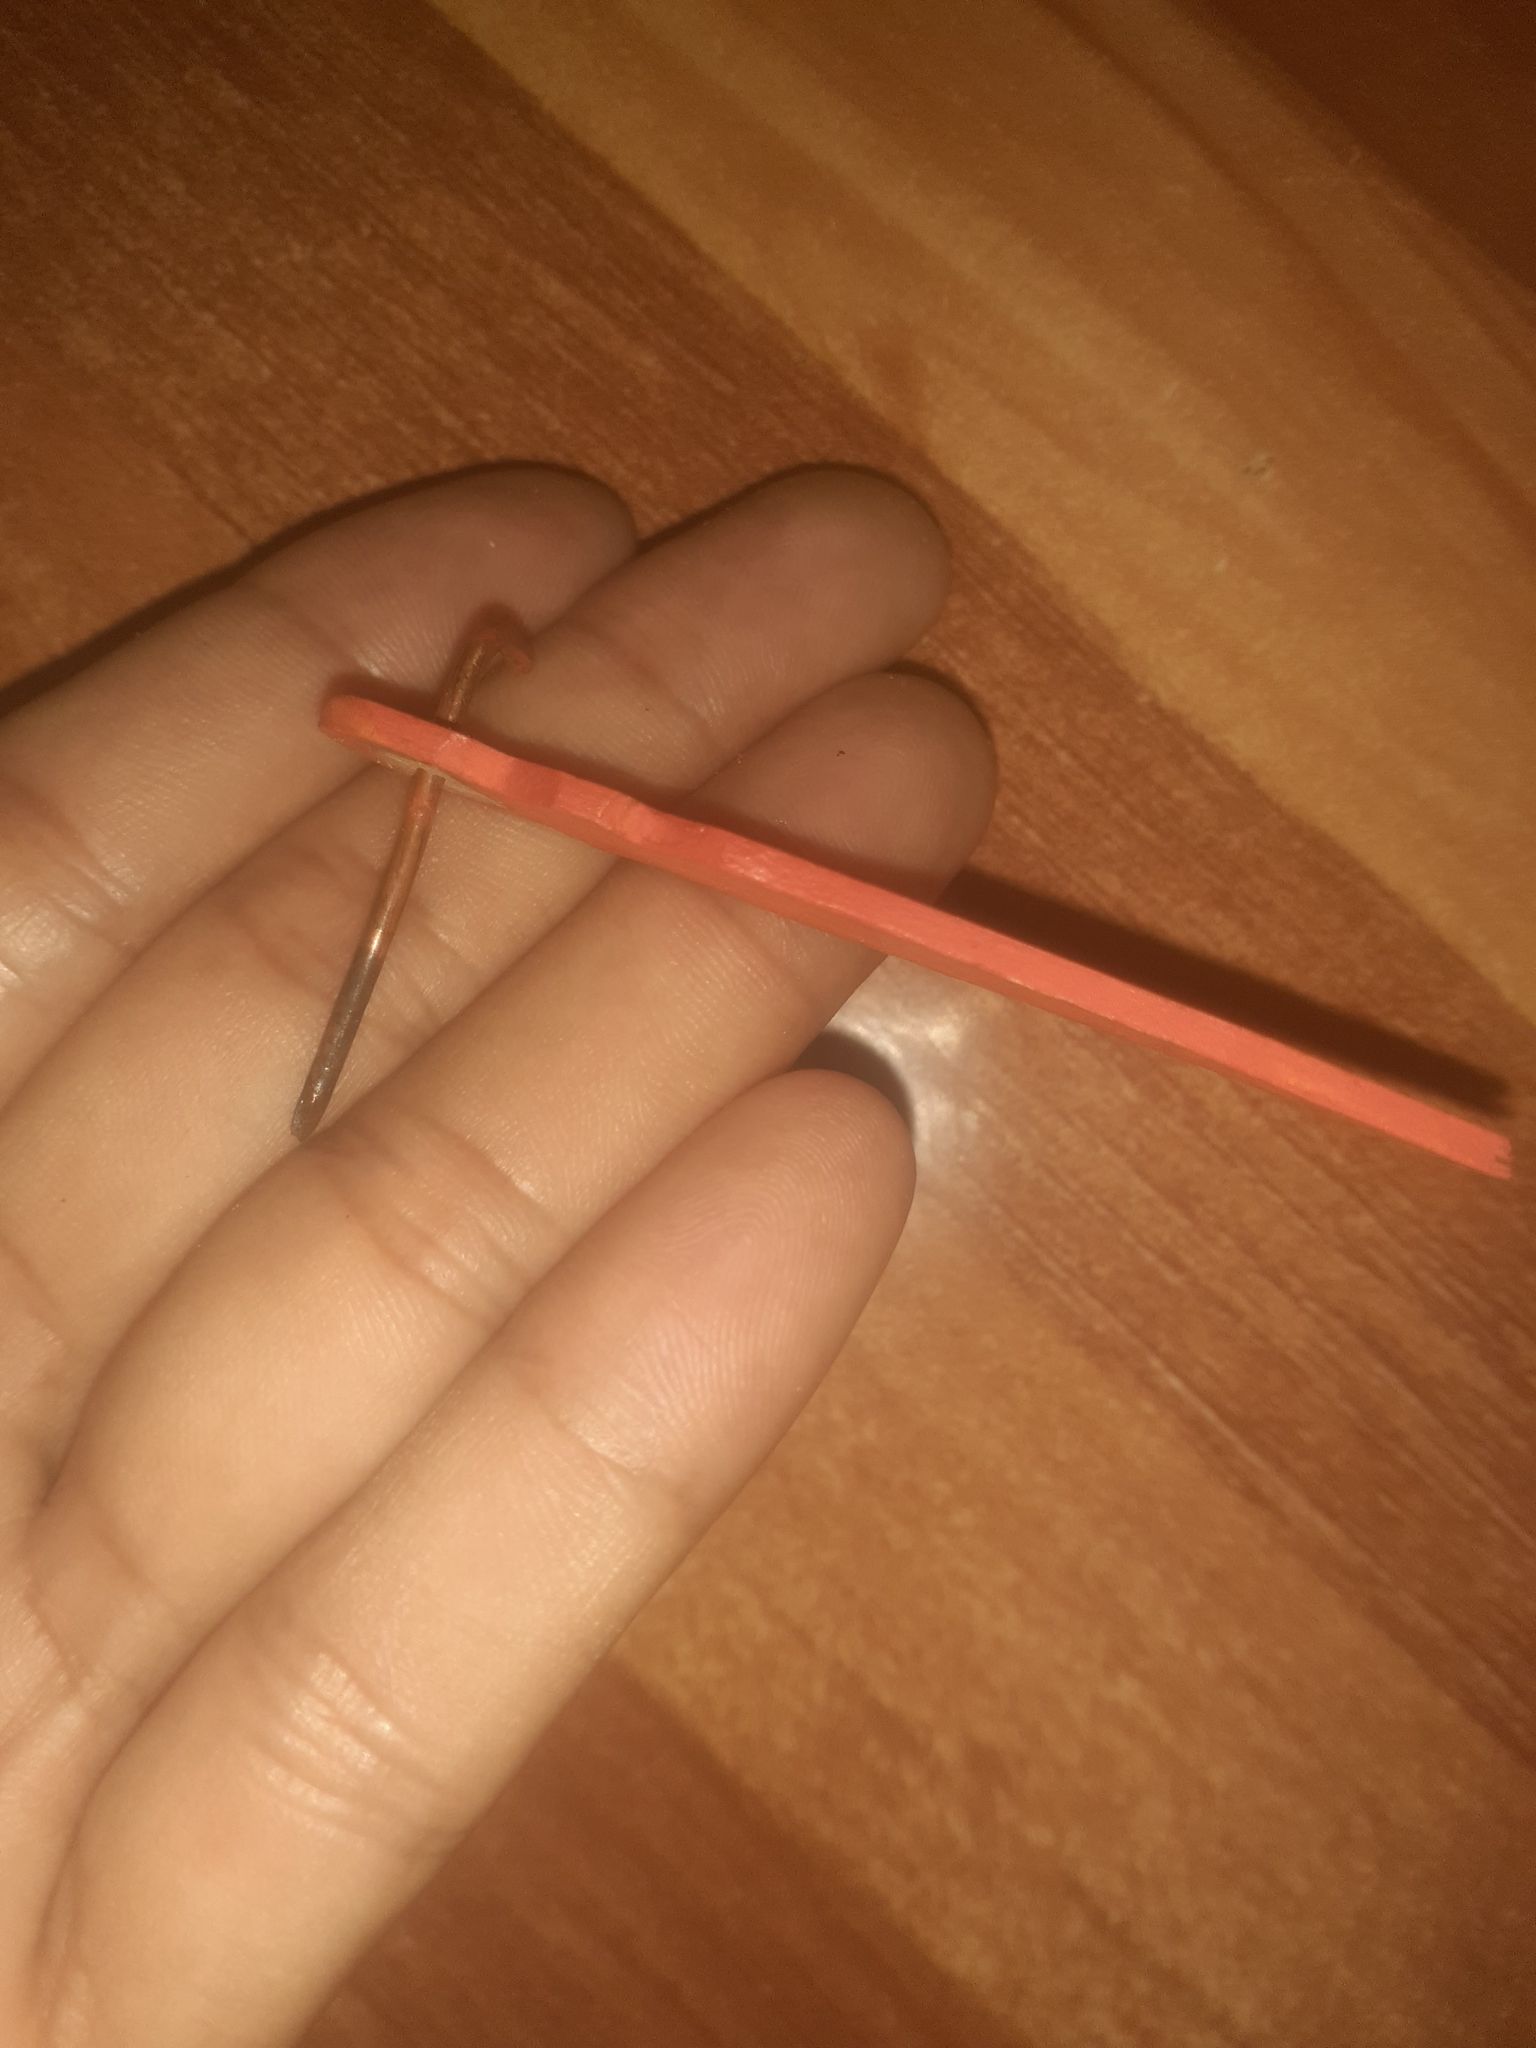
5- Realizamos las agujas con unas paleta, para así ubicarlas en el punto central donde ubicamos las flechas, la cual realizamos una de las agujas mas larga y la otra mas corta ya que nos indica los minutos y la otra nos indica la hora.
3- We proceed to mark with the marker the 4 hours of the clock circumference, then we mark the hours in their respective space.
4- Paint the Hive platform logo.
5- We make the needles with a trowel, in order to place them in the central point where we place the arrows, which we make one of the needles longer and the other shorter as it indicates the minutes and the other indicates the hour.
.png)