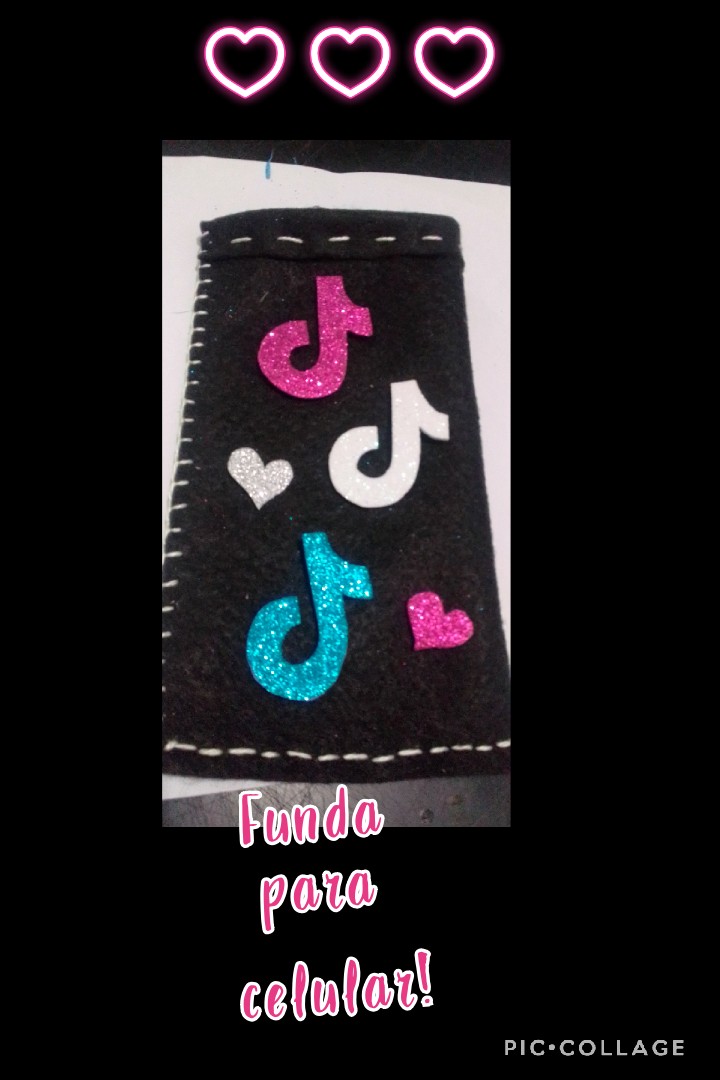
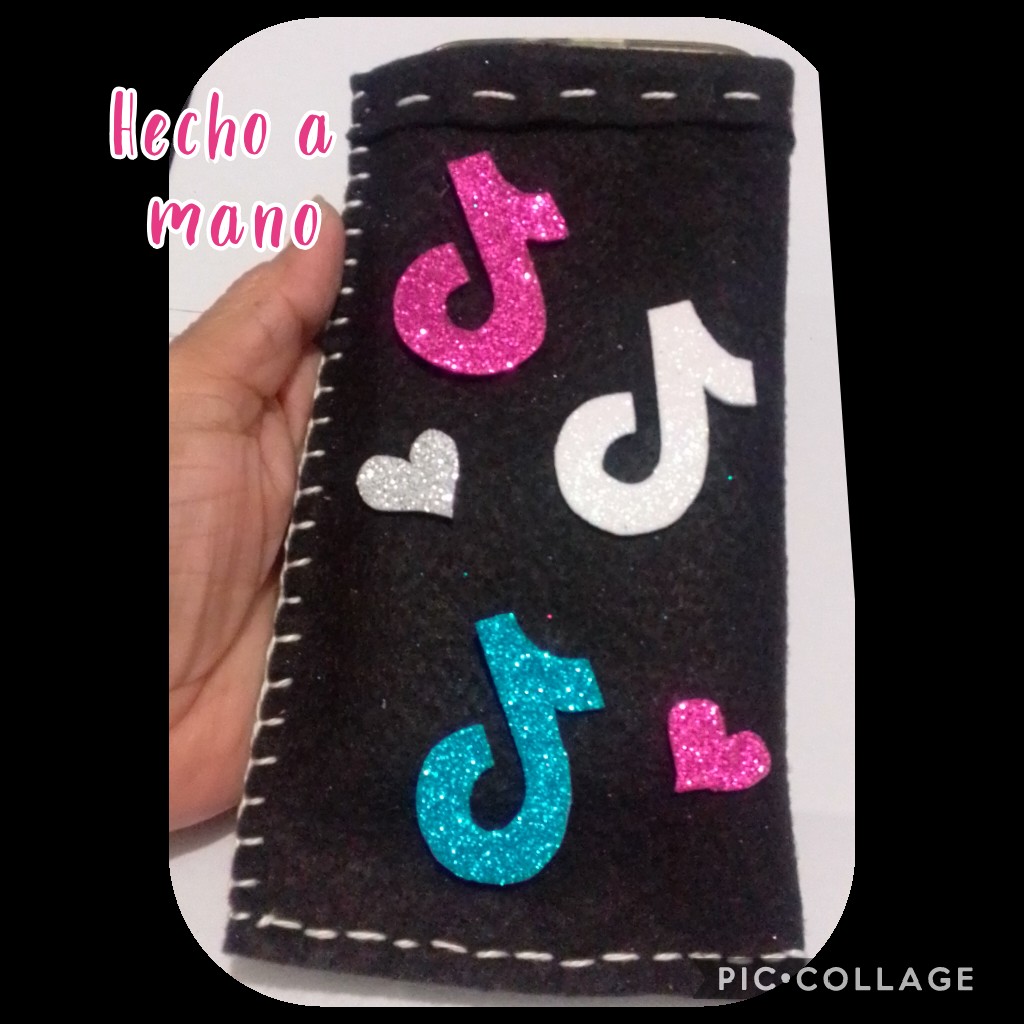
MUY BUENAS NOCHES AMIGOS DE HIVE.
HOY LES VOY A COMPARTIR UN PASO A PASO ÚTIL Y MUY BONITO, PARA GUARDAR Y PROTEGER EL CELULAR.
DECIDÍ HACER UNO PARA MOSTRARLES QUE ES MUY FÁCIL ELABORARLO, Y QUE PUEDES DECORAR A TU GUSTO Y EN EL COLOR QUE QUIERAS.
POR ESO SIN MÁS QUE ESPERAR EMPIEZO MOSTRANDO Y NOMBRANDO LOS MATERIALES, QUE COMO SIEMPRE LES DIGO SON ECONÓMICOS Y FÁCIL DE CONSEGUIR...
VERY GOOD NIGHT, FRIENDS OF HIVE.
TODAY I AM GOING TO SHARE YOU A VERY NICE AND USEFUL STEP BY STEP, TO SAVE AND PROTECT YOUR CELL PHONE.
I DECIDED TO MAKE ONE TO SHOW YOU THAT IT IS VERY EASY TO MAKE IT, AND THAT YOU CAN DECORATE AS YOU LIKE AND IN THE COLOR YOU WANT.
THAT'S WHY WITHOUT MORE THAN WAITING I START SHOWING AND NAMING THE MATERIALS, WHICH AS I ALWAYS TELL YOU ARE ECONOMIC AND EASY TO OBTAIN ...
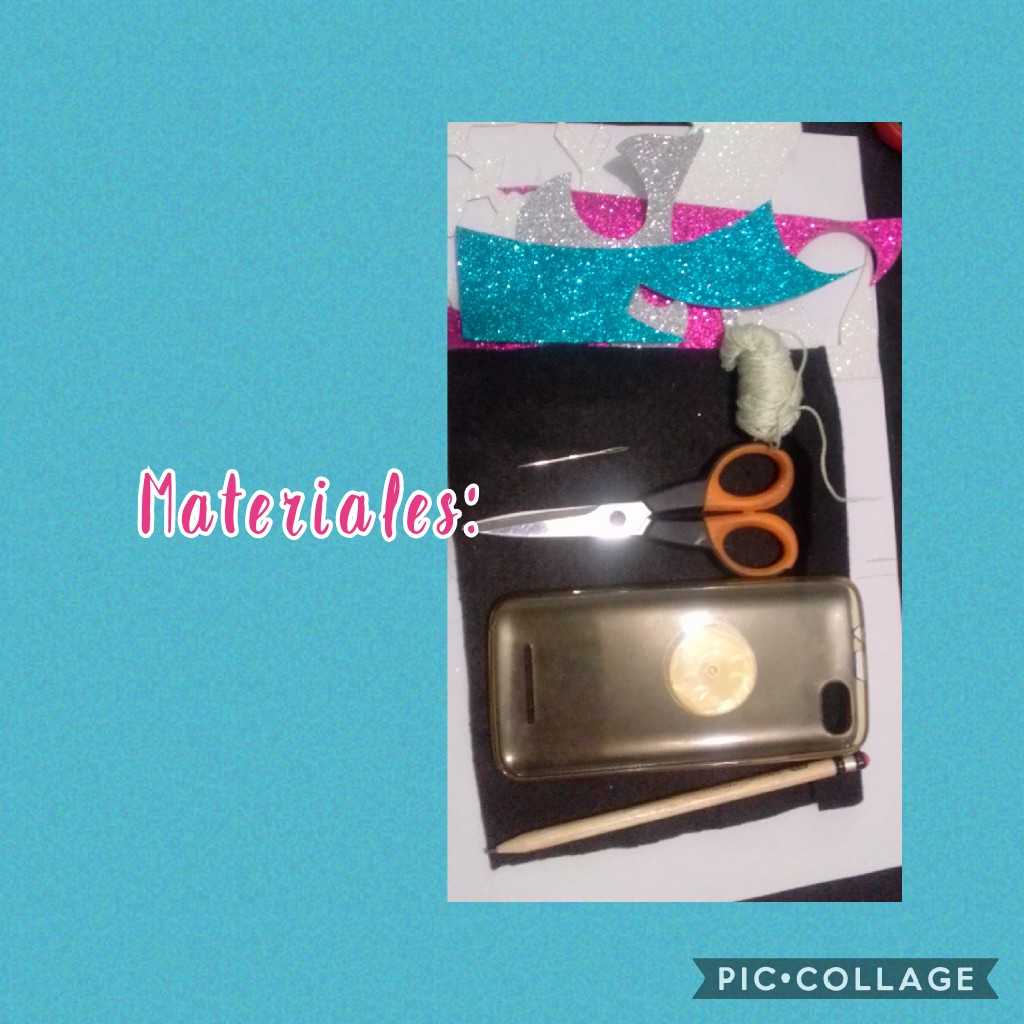
MATERIALES:
HILO, TIJERA, AGUJA, RETAZOS DE FOAMI ESCARCHADO, LAPIZ Y EL FORRO DEL CELULAR PARA MEDIDAS.
MATERIALS:
THREAD, SCISSOR, NEEDLE, FROSTED FOAMI PIECES, PENCIL AND THE CELLULAR LINING FOR MEASUREMENTS.
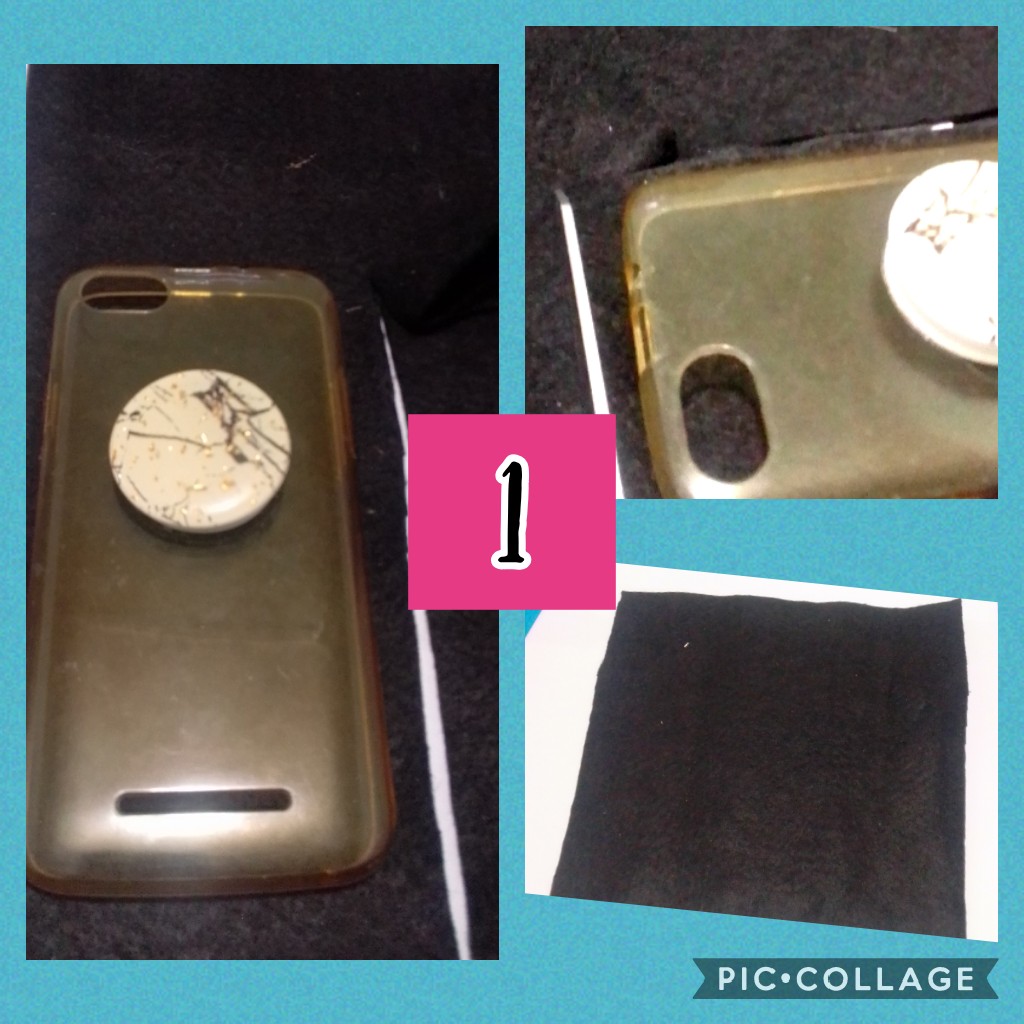
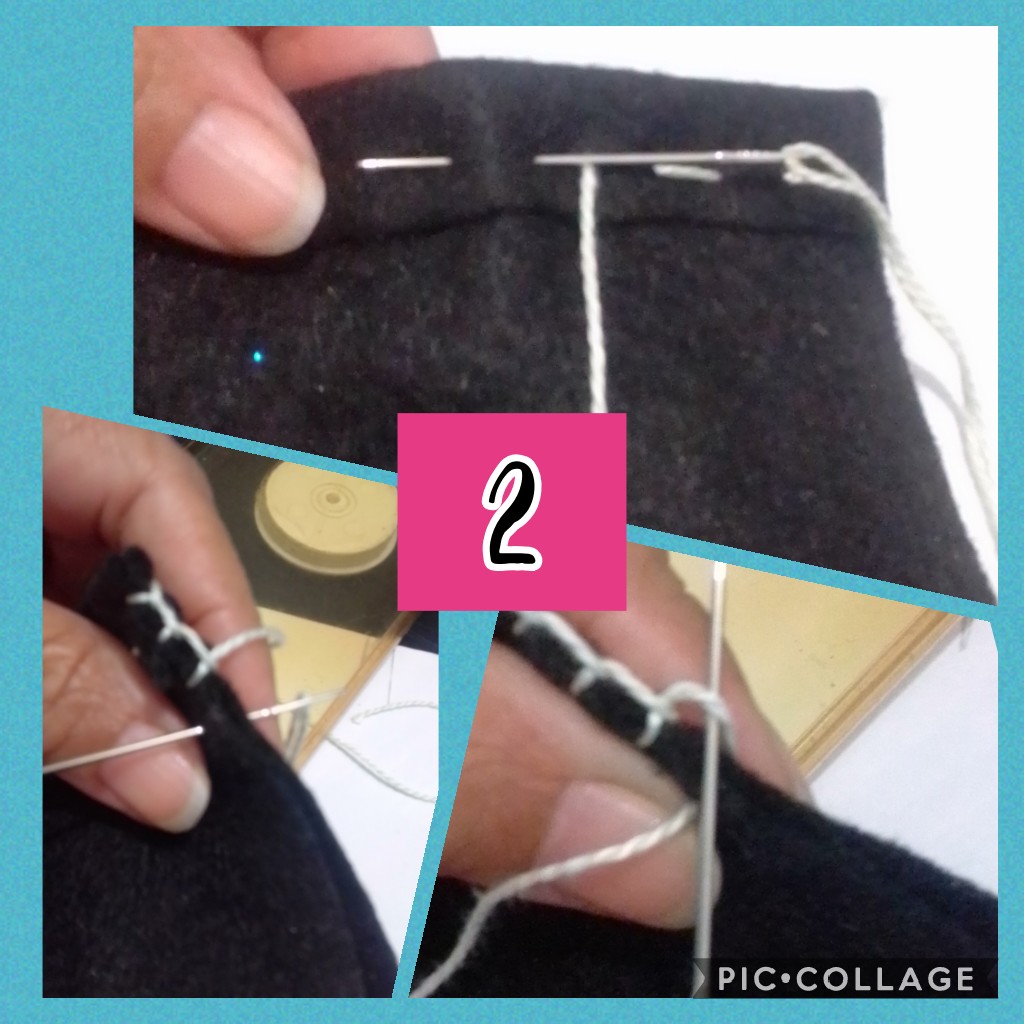
Pasos 1 y 2:
Dobla la tela por la mitad y recorta dejando 1 cm más adicional al ancho y 2 cms más alto del teléfono.
Después de recortar el cuadro, doblas los 2 cms y empieza a hilvanar, o bastear con un hilo grueso para que queden puntadas que ayudarán en la decoración de la parte de arriba, luego empiezas a coser por toda la orilla desde arriba hacia abajo con punto ojal como se muestra en la foto 2.
Steps 1 and 2:
Fold the fabric in half and trim, leaving 1 cm more than the width and 2 cm higher than the phone.
After cutting the square, fold the 2 cm and start basting, or baste with a thick thread so that there are stitches that will help in the decoration of the upper part, then you start to sew along the entire edge from top to bottom with stitch grommet as shown in photo 2.
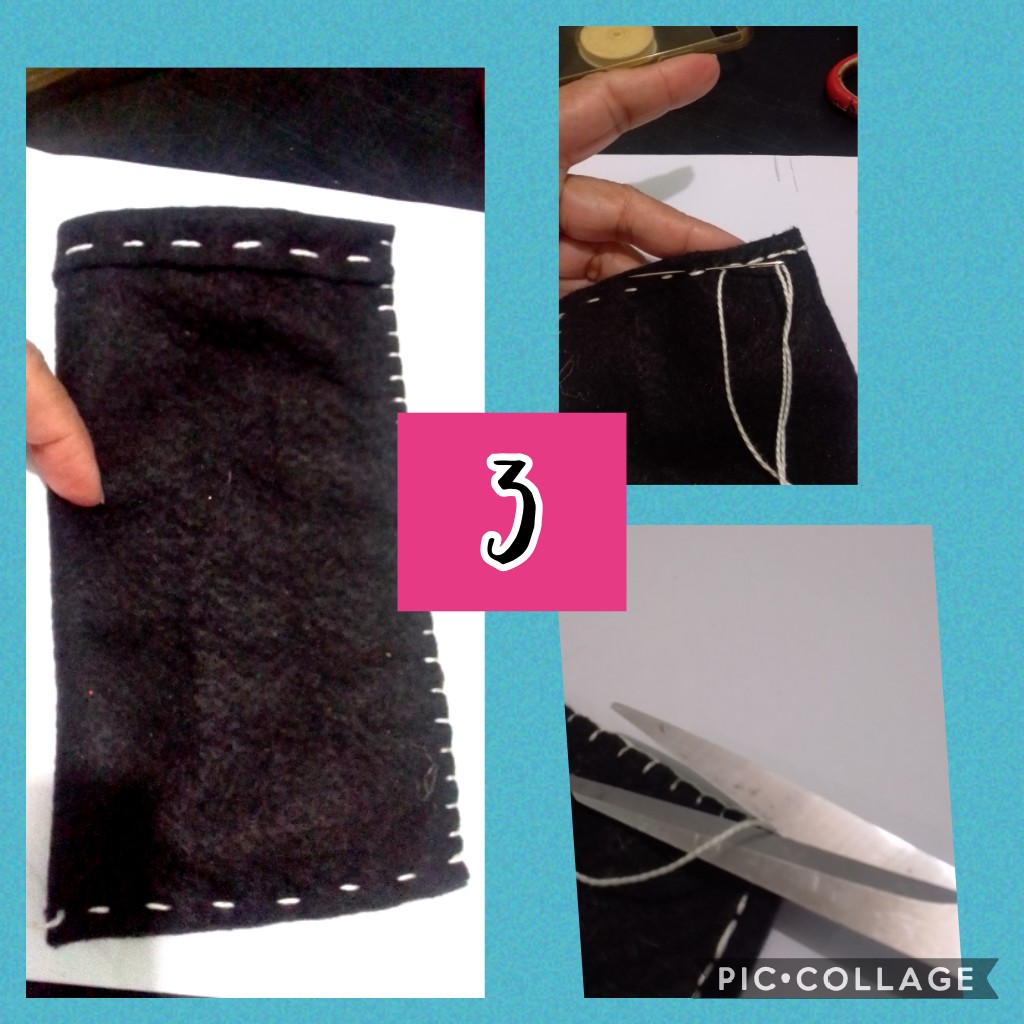
PASOS 3 Y 4:
Cuando termines hasta la parte de abajo con el punto ojal a mano, empiezas nuevamente a bastear la parte de abajo, pero lo haces de derecha a izquierda y de izquierda a derecha haciendo como una costura.
Rematas en la esquina y recortas el exceso de hilo.
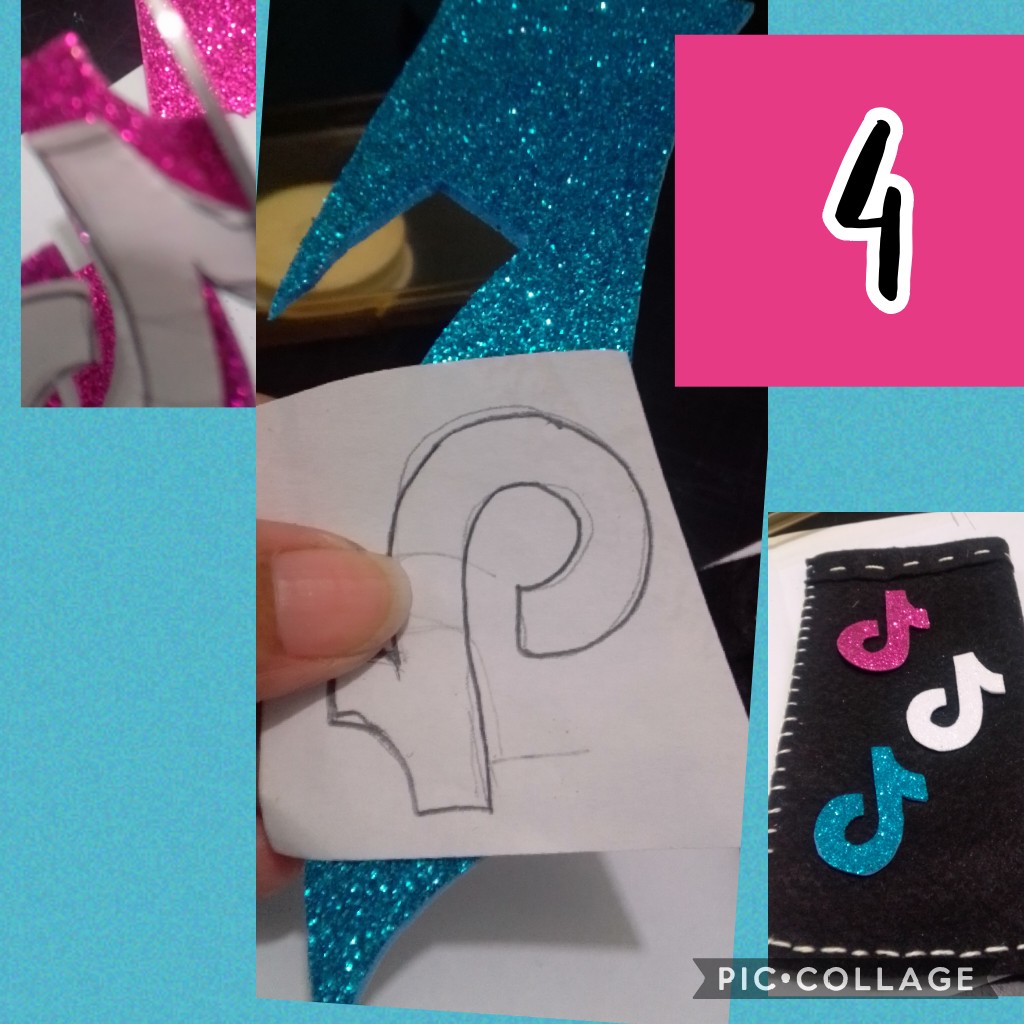
Ahora empezarás decorando a tu gusto yo dibujé el símbolo de tik tok y recorté en distintos colores en foami escarchado .
STEPS 3 AND 4:
When you finish to the bottom with the buttonhole stitch by hand, you start basting the bottom part again, but you do it from right to left and from left to right doing like a seam.
You bind off at the corner and trim the excess thread.
Now you will start decorating to your liking I drew the tik tok symbol and cut it in different colors in frosted foami.
PASO 5:
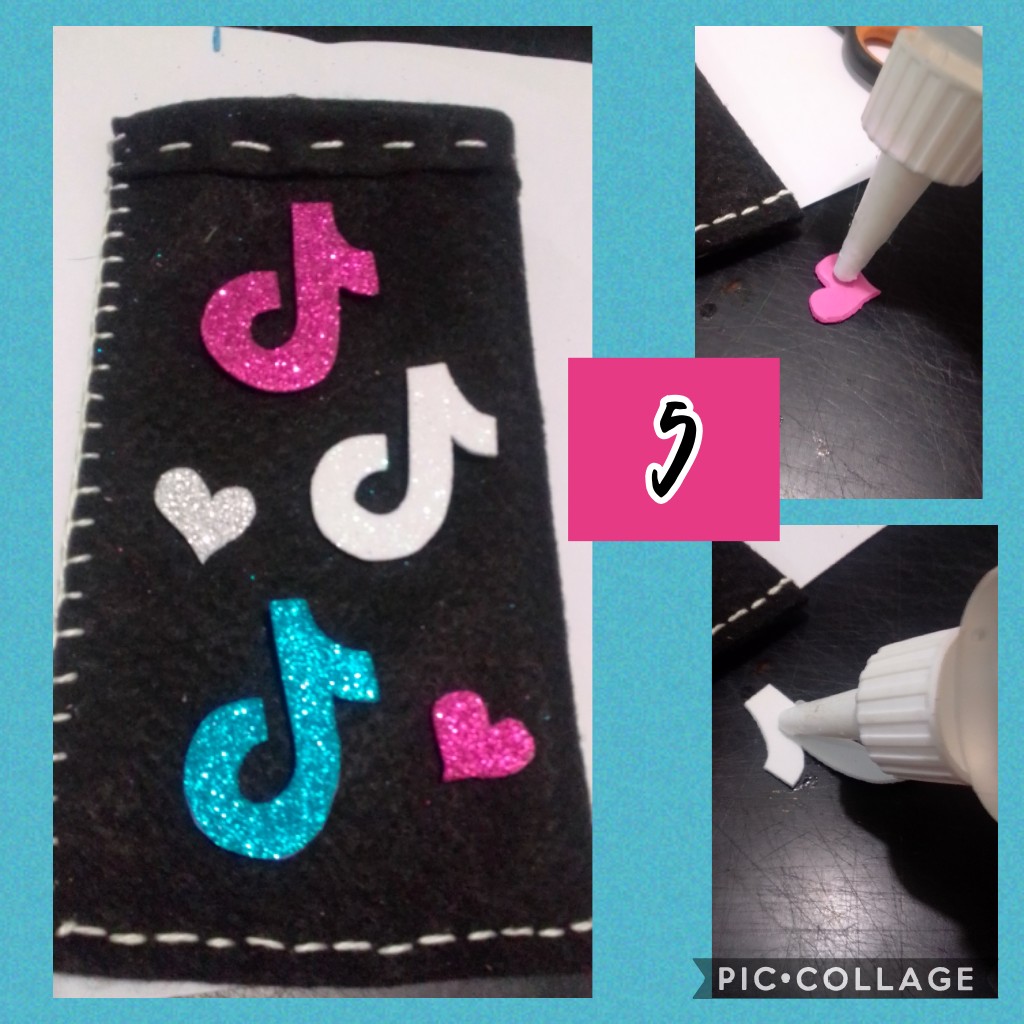
Ahora solo queda pegar los adornos con silicon líquido deja secar bien por 20 minutos y ya está listo para usar..
Como puedes ver es muy facil de hacer!
Espero te guste este paso a paso y muchas gracias por verlo.
STEP 5:
Now it only remains to stick the ornaments with liquid silicone, let it dry well for 20 minutes and it is ready to use.
As you can see it is very easy to do!
I hope you like this step by step and thank you very much for watching it.


Congratulations @bjac04! You have completed the following achievement on the Hive blockchain and have been rewarded with new badge(s) :
Your next target is to reach 100 posts.
You can view your badges on your board and compare yourself to others in the Ranking
If you no longer want to receive notifications, reply to this comment with the word
STOPCheck out the last post from @hivebuzz: