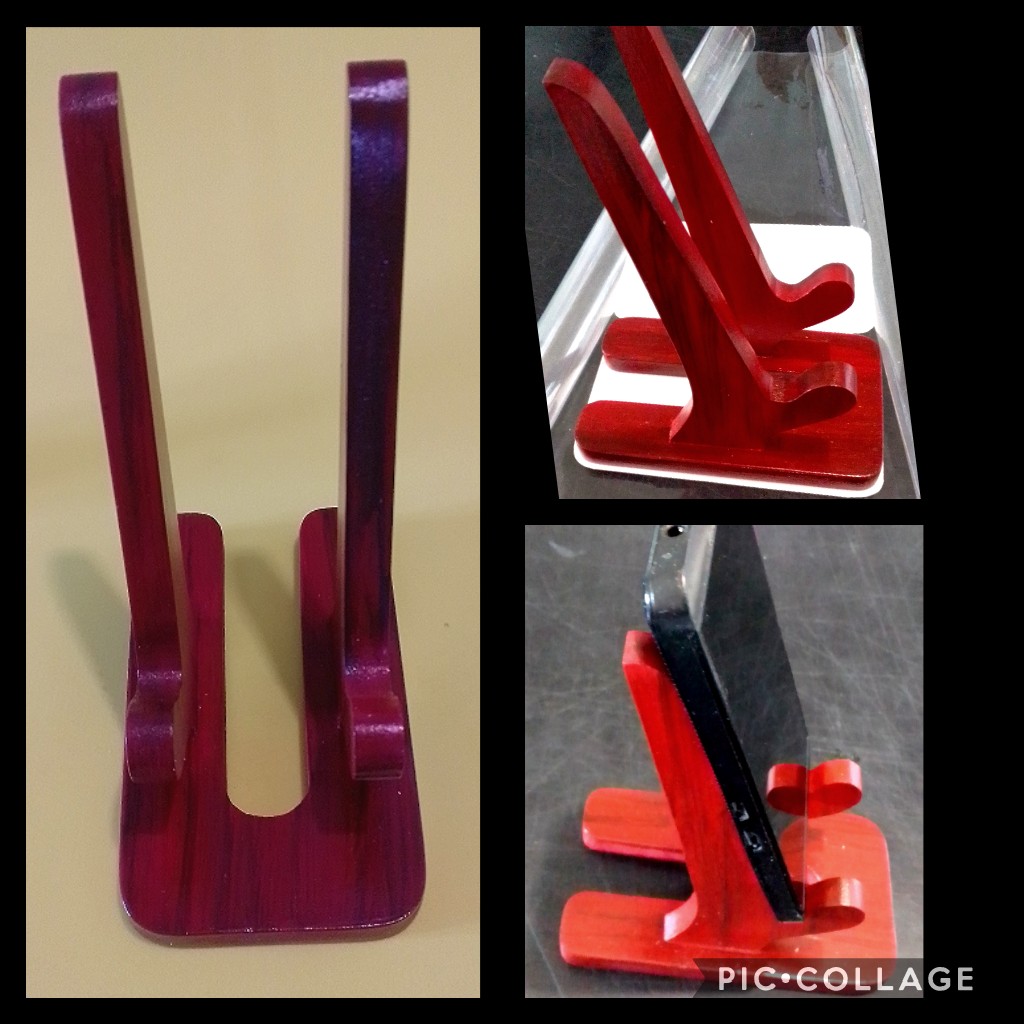
Hola amigos hoy les voy a compartir un breve tutorial, de la construcción de una base o soporte para celular o tablet.
Los materiales son: MDF de 9mm, lija, caladora de mesa, dremel, lapiz, molde, pinturas, pincel.
Hello friends, today I am going to share a brief tutorial on building a base or support for a cell phone or tablet.
The materials are: 9mm MDF, sandpaper, table jig, dremel, pencil, mold, paints, brush.
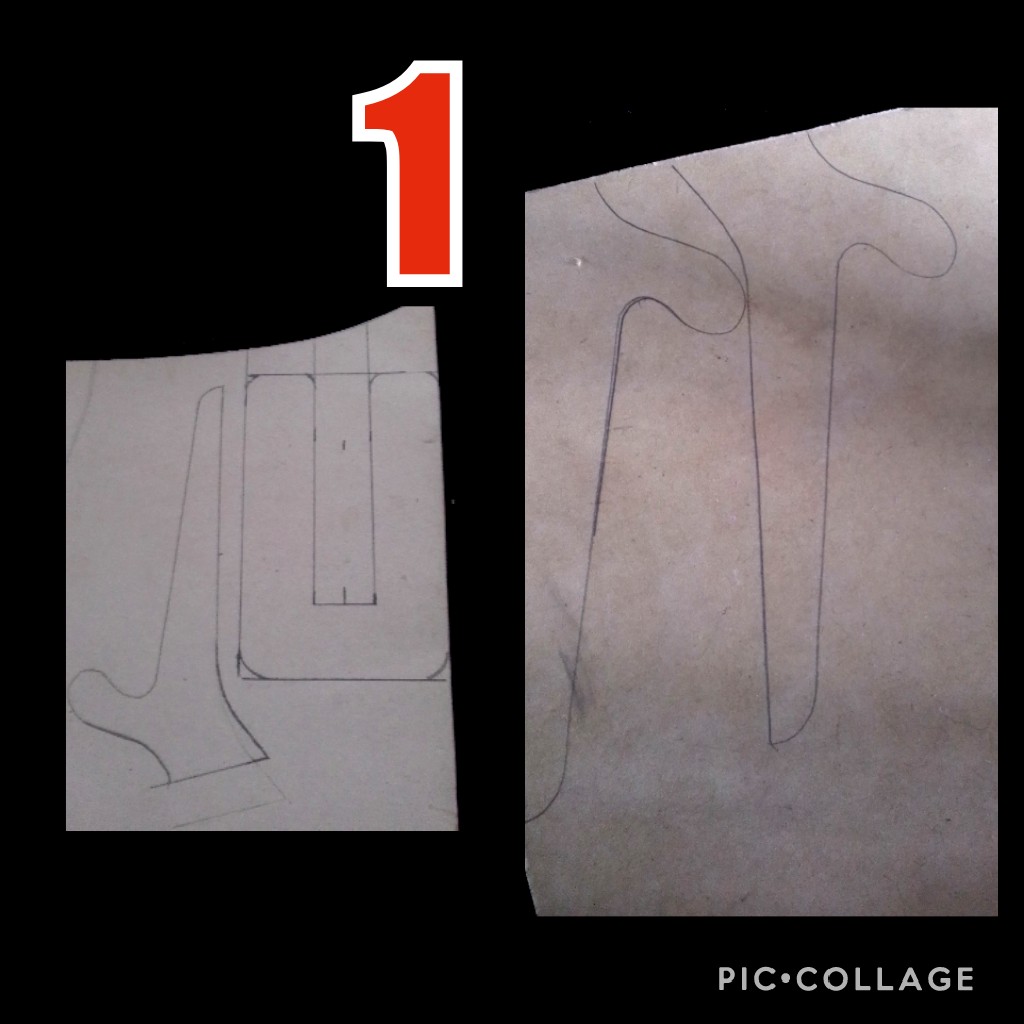
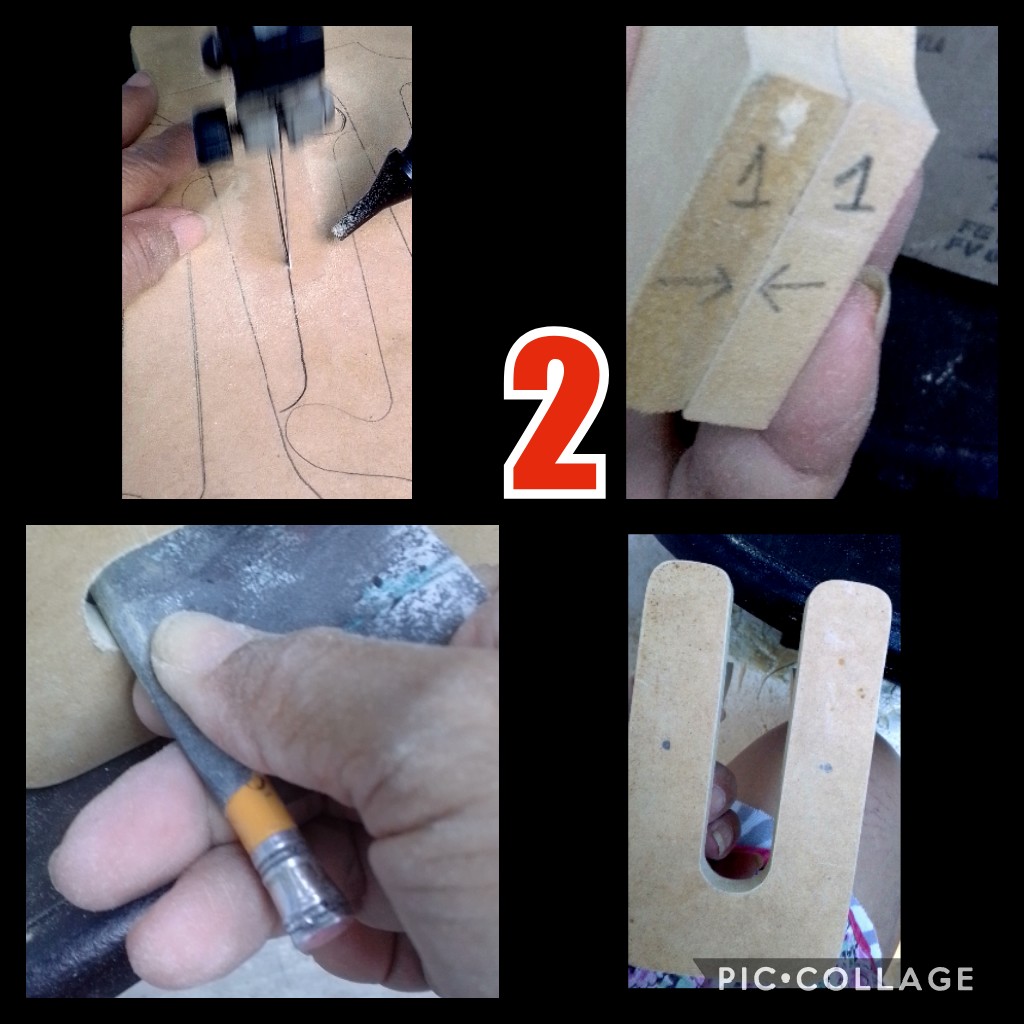
Pasos 1 y 2:
Dibujé un patrón guiándome por imágenes de google, para luego transferir marcando con un lápiz creyón sobre el mdf.
Recortamos los laterales y la base , después marcamos para que queden iguales y lijamos por toda la orilla de las piezas y en la parte del centro tomamos un lapiz con la lija y quitamos las imperfecciones.
luego marcamos en la base un punto en cada lado donde pegaremos los laterales.
Steps 1 and 2:
I drew a pattern guided by google images, and then transferred by marking with a crayon pencil on the mdf.
We cut the sides and the base, then we mark them so that they are the same and we sand down the entire edge of the pieces and in the center part we take a pencil with the sandpaper and remove the imperfections.
then we mark at the base a point on each side where we will glue the sides.
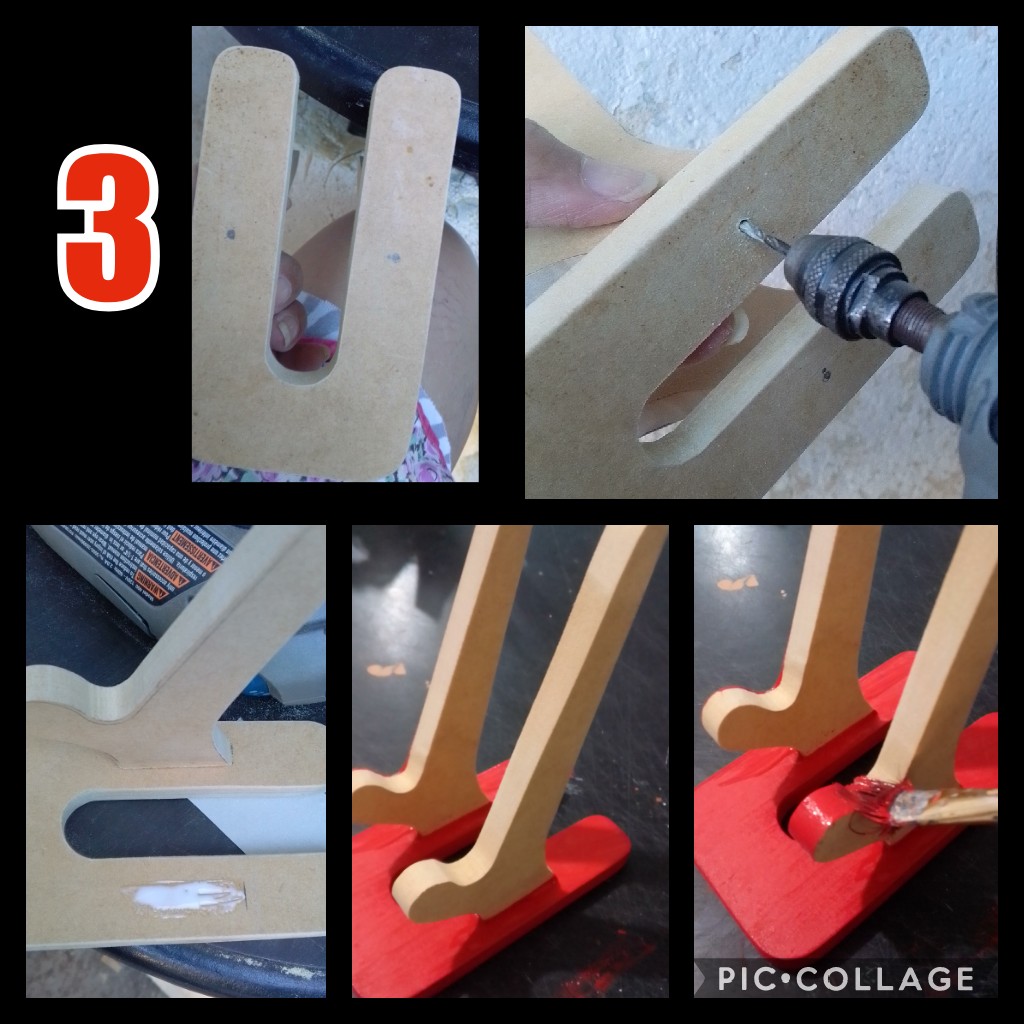
Pasos 3 y 4:
Donde marcamos los puntos, hacemos unos orificios con una mecha delgada para unir la base a los laterales.
Para ello, colocamos pega para madera y pegamos, dejamos secar y luego meteremos un clavo en cada orificio y listo ya la base está lista.
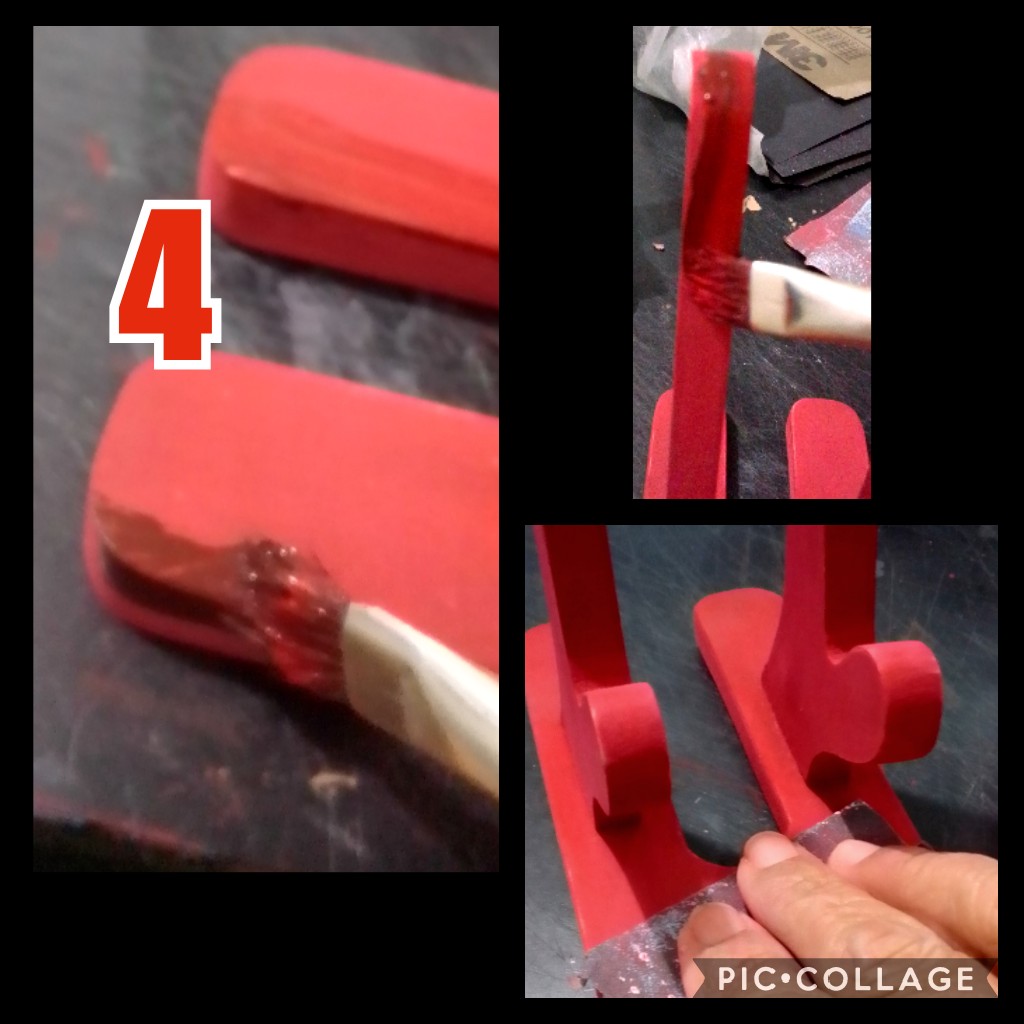
Luego pintamos con el color de tu prefencia.
Dejas secar y lijas con una lija N° 320 para quitar cualquier grumo o imperfecto que quede.
Y repites otra capa de pintura y vuelves a lijar.
Where we mark the points, we make holes with a thin wick to join the base to the sides.
To do this, we place wood glue and glue, let it dry and then we will put a nail in each hole and that's it, the base is ready.
Then we paint with the color of your preference.
Let dry and sand with a sandpaper No. 320 to remove any lumps or imperfect that remain.
And you repeat another coat of paint and sand again.
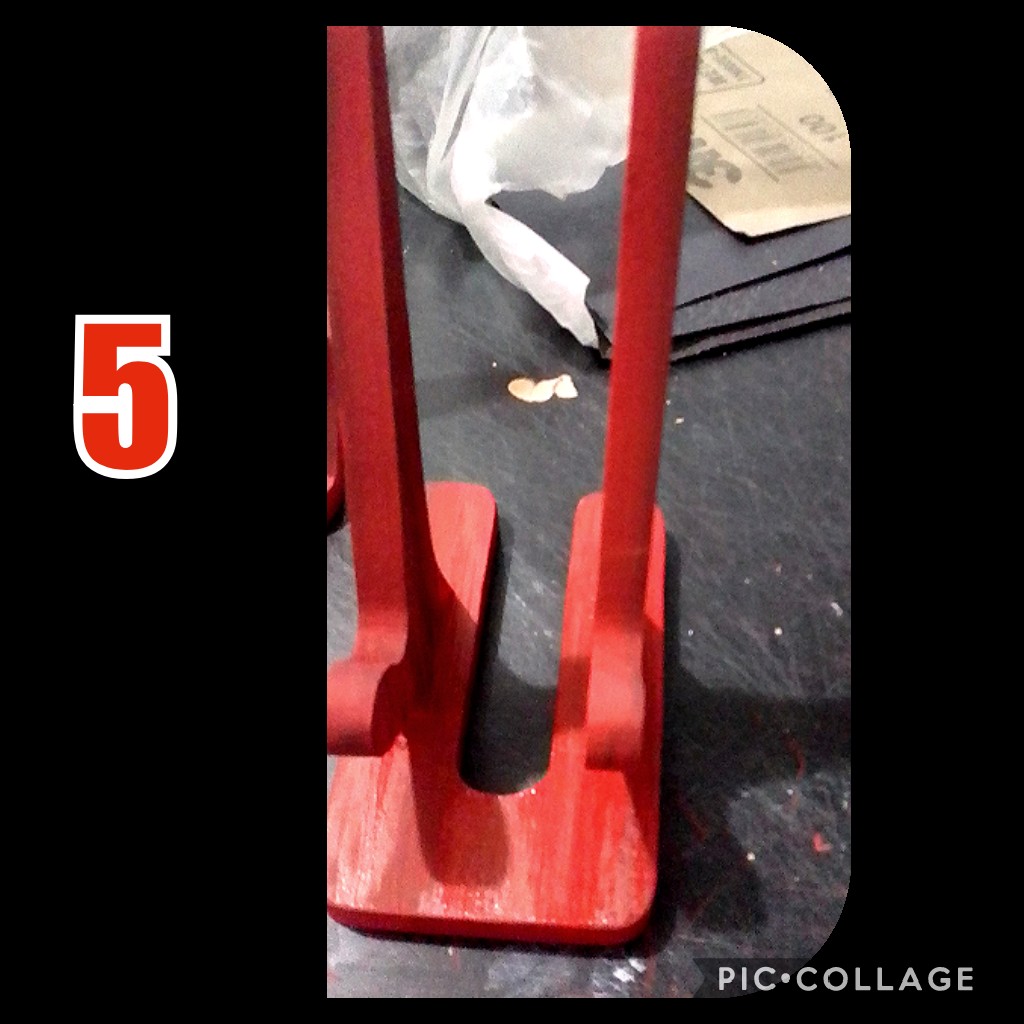
En este paso 5 aplicaremos 2 manos con brillo para madera, dejando secar una de la otra y ya está lista esta bonita base para celular.
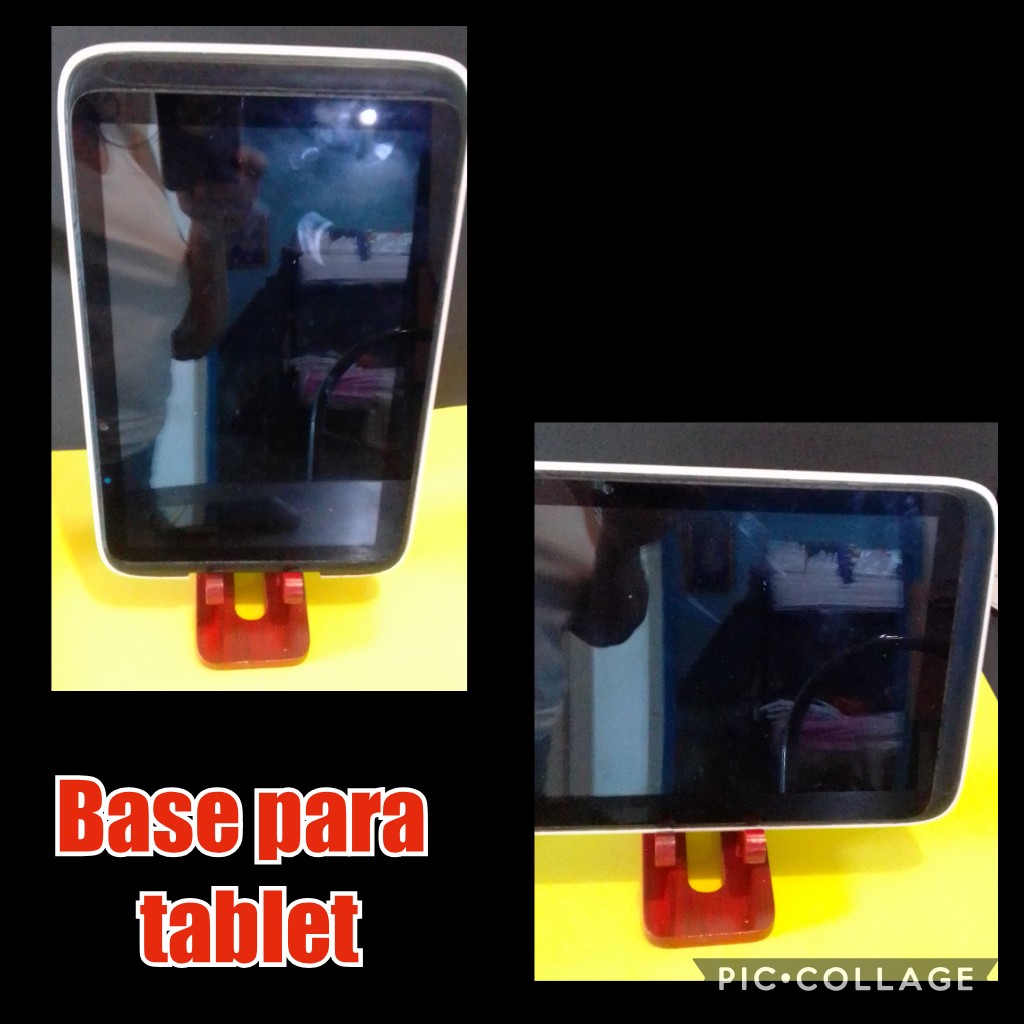
ASÍ QUE TE MOSTRARÉ COMO LUCIRÁ EL CELULAR Y LA TABLET SOBRE ELLA...
dE VERDAD QUE ES MUY ÚTIL Y PRÁCTICA.


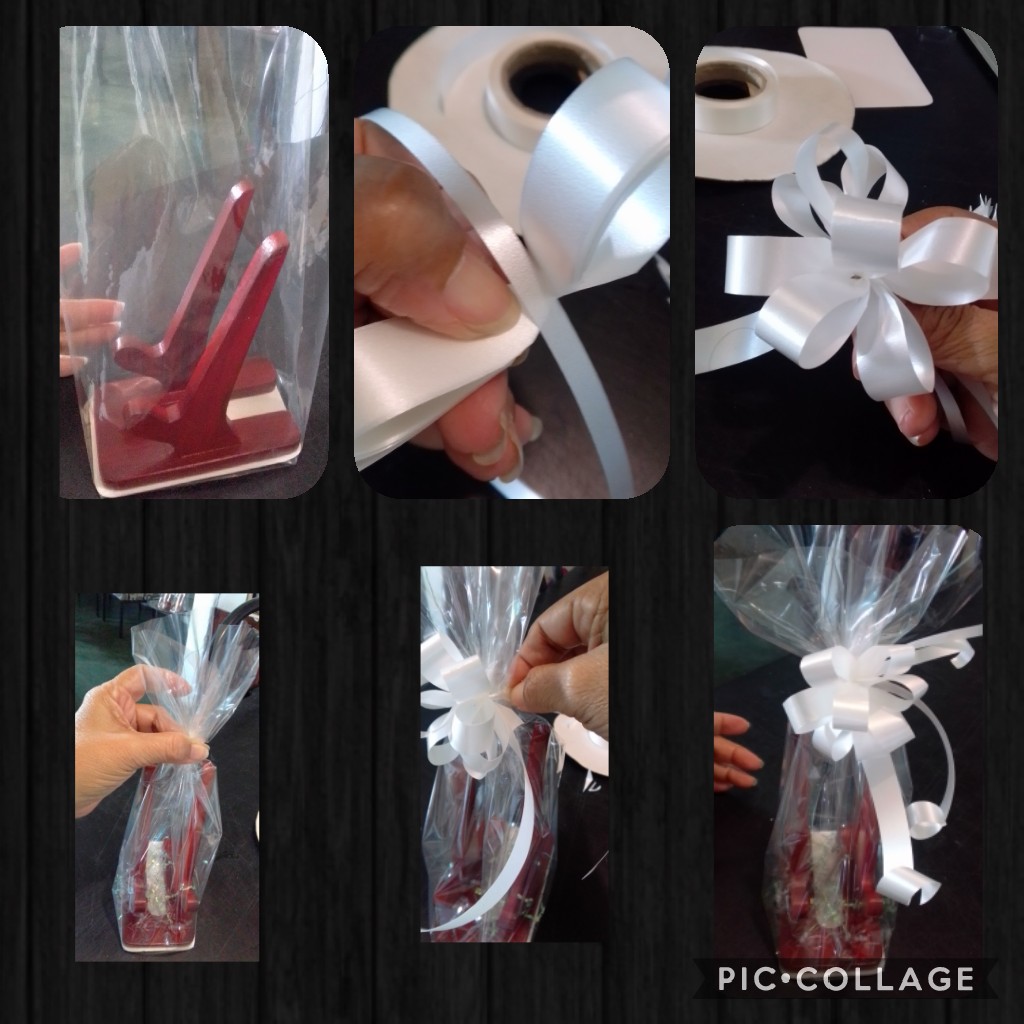
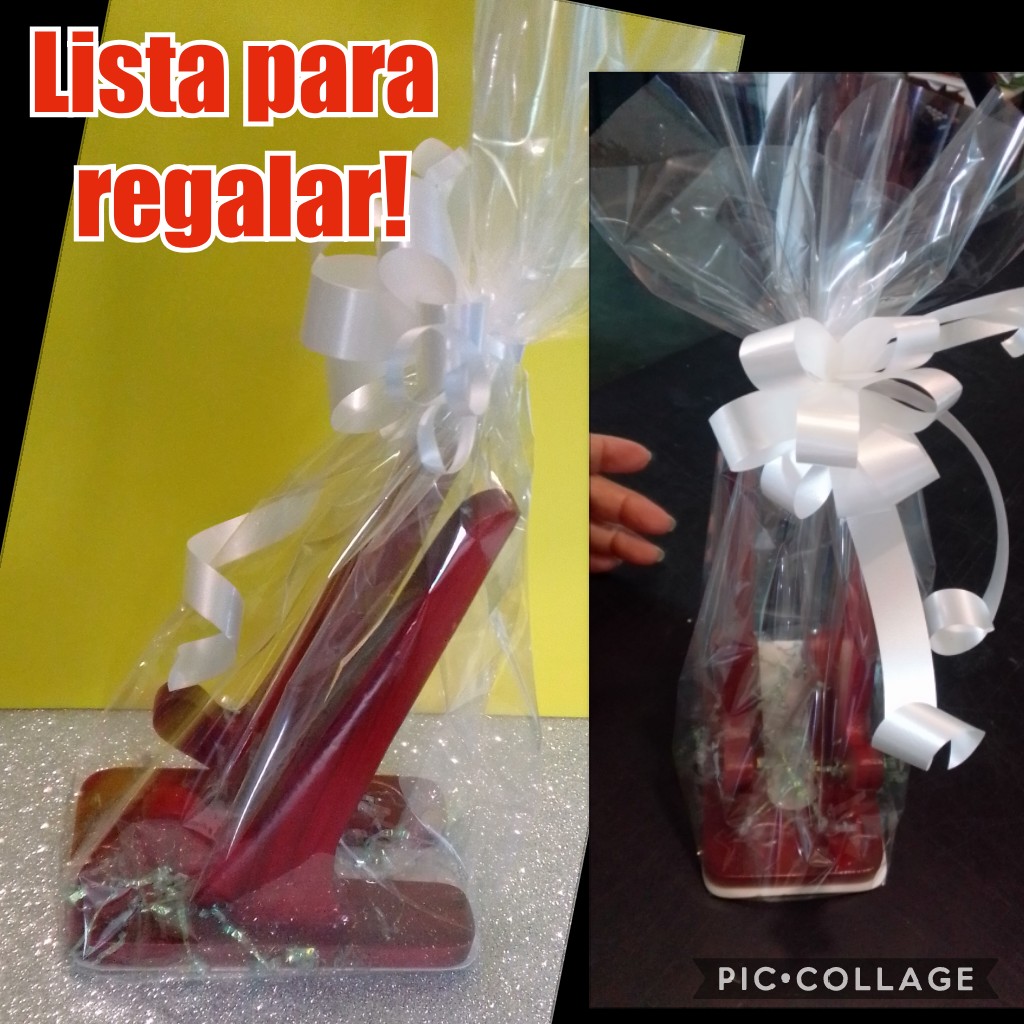
y COMO YA SE ACERCA EL DÍA DE SAN VALENTÍN QUISE HACER UNA BOLSITA CON PAPEL CELOFAN, ARMAR UN LACITO Y ENVOLVER PARA REGALAR.
COMO PUEDES VER ES UN HERMOSO Y UTIL DETALLE PARA REGALAR...
bUENAS NOCHES.
