.jpeg)

Español
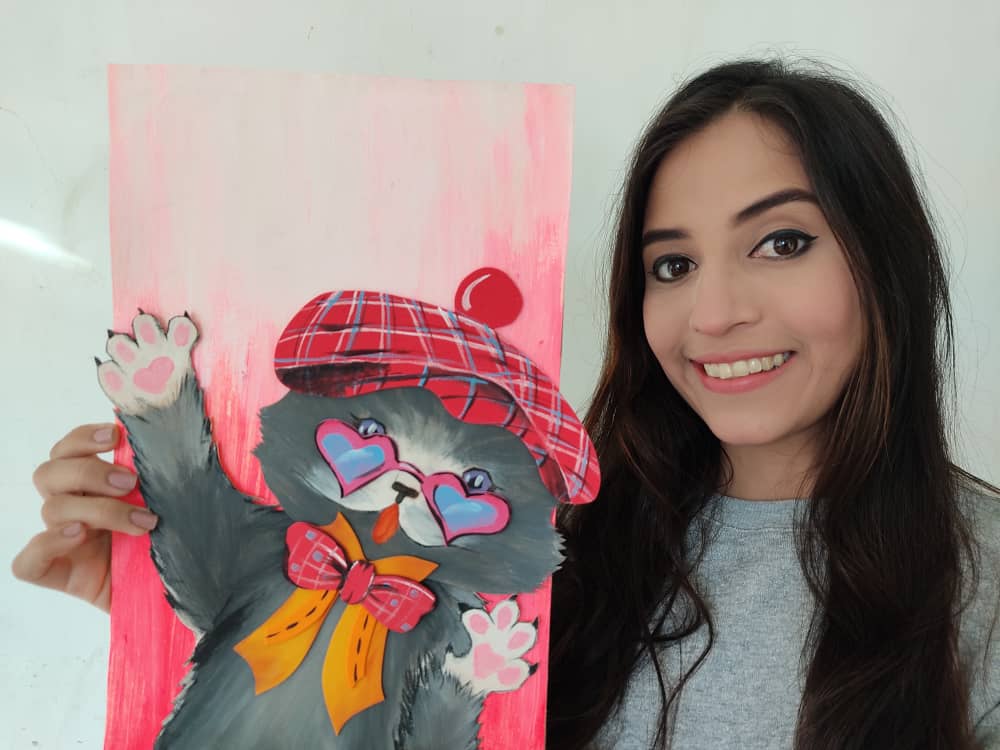
Hola hermosa familia HIVE ❤️Este nuevo día les traigo otro nuevo y divertidísimo tutorial donde aprenderemos a realizar un cuadro de un lindo gatito saludando, una perfecta imagen para decorar nuestras paredes favoritas dando ese toque creativo y personal, y lo mejor de todo es que esta hecho de materiales súper económicos y muy fáciles de conseguir. Así que, los invito a seguir disfrutando de este divertido trayecto, perfecto para el desarrollo de la creatividad de todos, especialmente de nuestros niños.
English
Hello, beautiful HIVE family ❤️ This new day I bring you another new and hilarious tutorial where we will learn to make a painting of a cute kitten waving, a perfect image to decorate our favorite walls giving that creative and personal touch, and the best of all is that it is made of super cheap materials and very easy to get. So, I invite you to continue enjoying this fun journey, perfect for developing everyone's creativity, especially our children.
¿Qué están esperando?
Gracias a esta técnica podemos crear nuestro propio cuadro de lindo gatito, además, una hermosa obra hecha en casa es una manera creativa y muy económica de darle un toque de alegría a nuestro entorno. Antes de comenzar no olvidemos lavarnos nuestras manos.
What are they waiting for?
Thanks to this technique we can create our own painting of a cute kitten, in addition, a beautiful work made at home is a creative and very economical way to give a touch of joy to our environment. Before we start, let's not forget to wash our hands.
[Materiales | Materials]
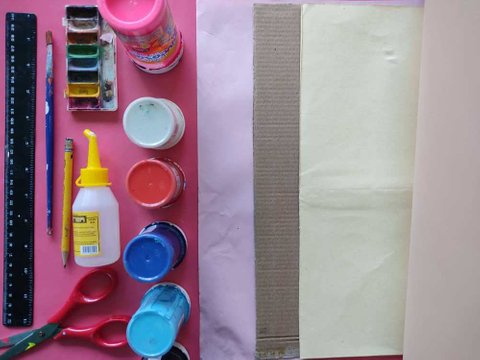
Para realizar esta linda obra necesitaremos:
- Moldes.
- Foamy o goma eva.
- Papel vegetal o calco.
- Lamina de cartón.
- Regla.
- Lápiz.
- Marcador.
- Tijera.
- Cúter.
- Pincel o brocha.
- Pinturas.
- Silicón liquido o pegamento.
To make this cute work we will need:
- Molds.
- Foamy or eva foam.
- Vegetable paper or tracing.
- Cardboard sheet.
- Rule.
- Pencil.
- Bookmark.
- Scissors.
- Cutter.
- Brush or brush.
- Paintings.
- Liquid silicone or glue.
Procedimiento (paso a paso)
Process (step by step)
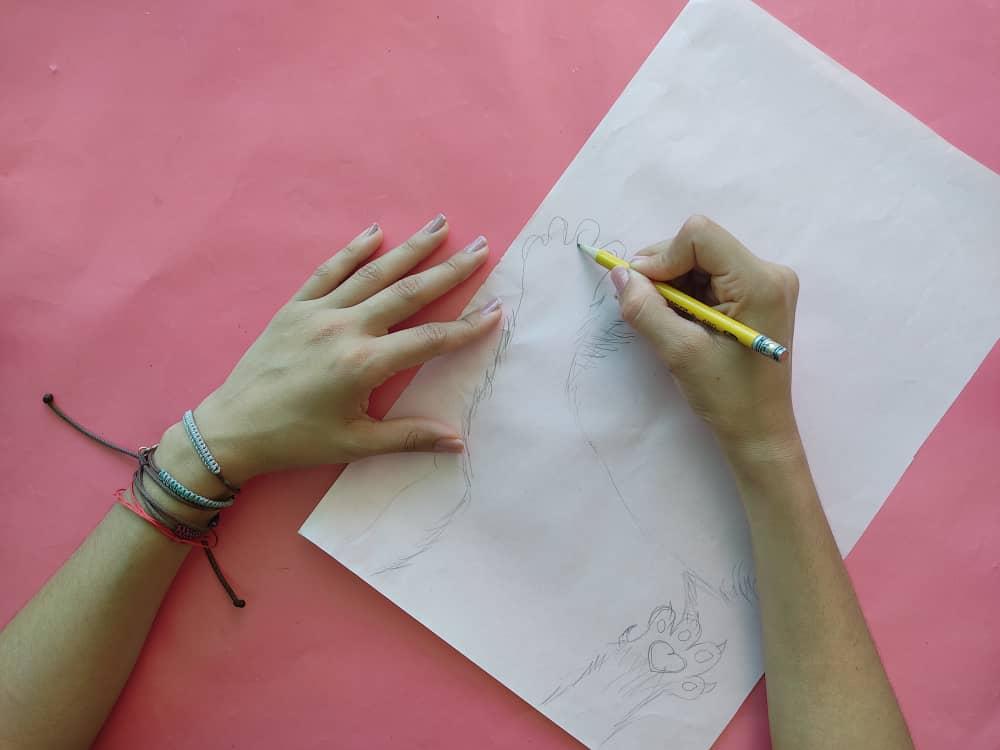
Primero, dibujamos un linda gatito saludando con una de sus patas, y le colocamos hermosos detalles con mucho glamur para que luzca muy elegante.
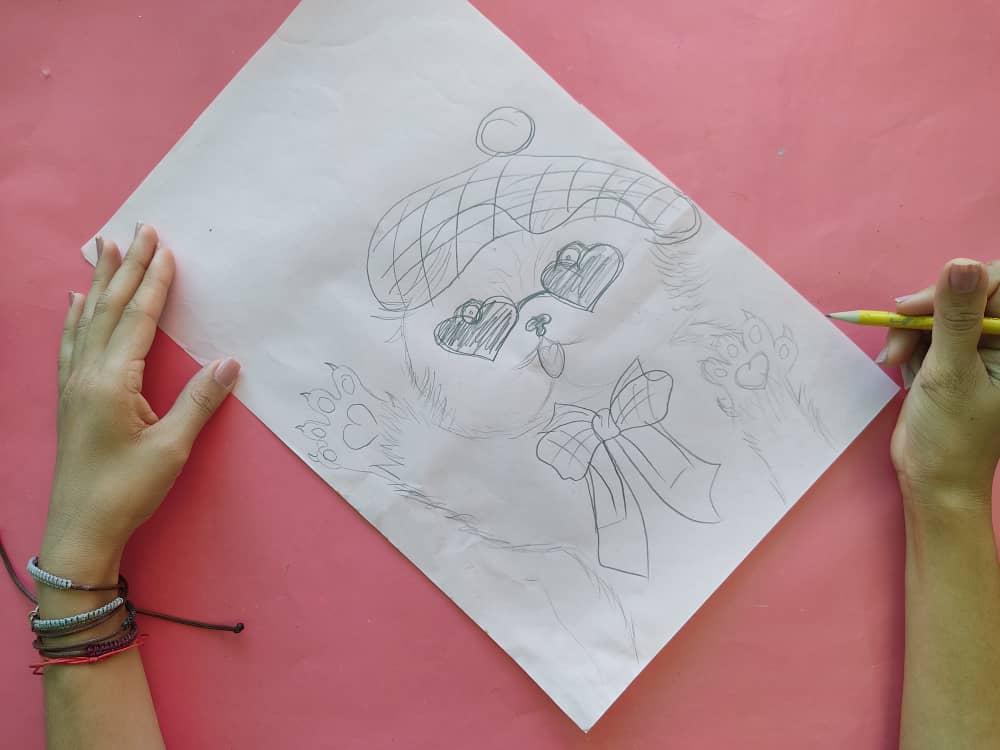
First, we draw a cute kitten waving with one of its paws, and we put beautiful details with a lot of glamor to make it look very elegant.
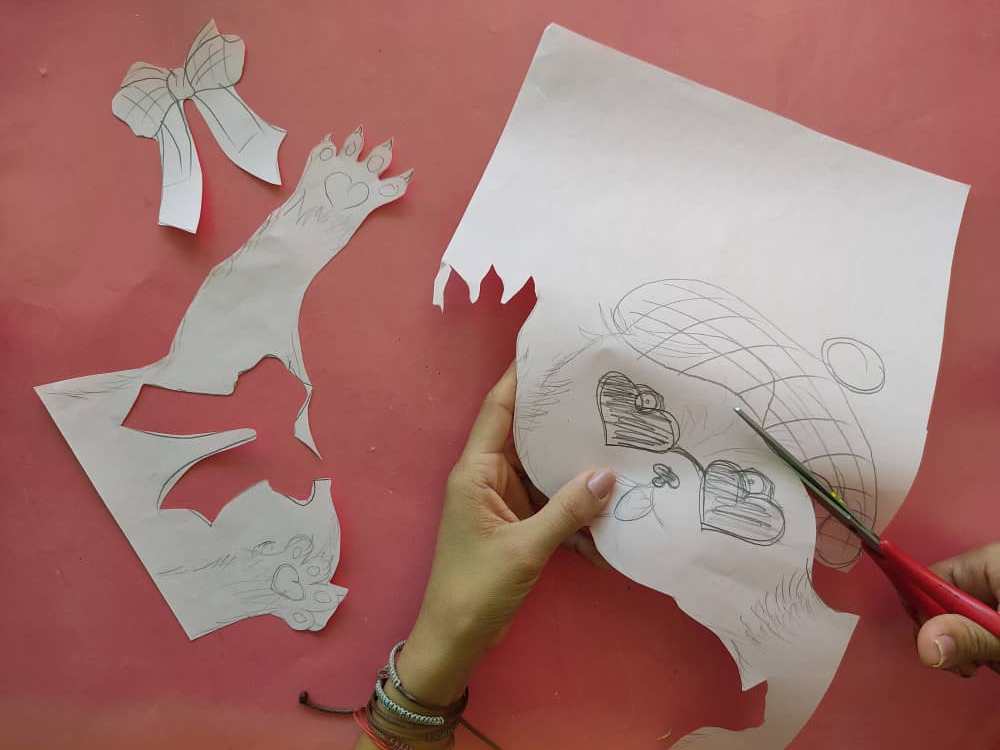
Seguidamente, recortamos el gatito separando cada una de sus partes.

Next, we cut out the kitten separating each of its parts.
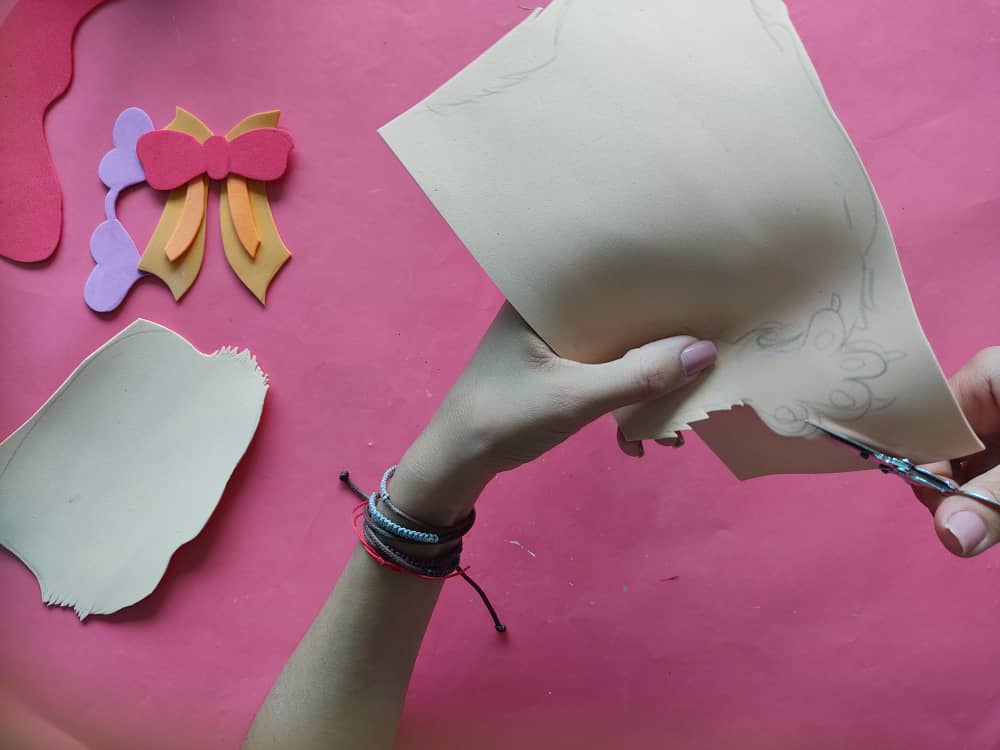
Ahora, transferimos las piezas a los distintos trozos de foamy, seleccionando los colores deseados de acuerdo con sus formas, luego recortamos en este caso opte por elaborar un efecto más real con la tijera pequeña de manera que se pronuncie más el pelaje del gatito.
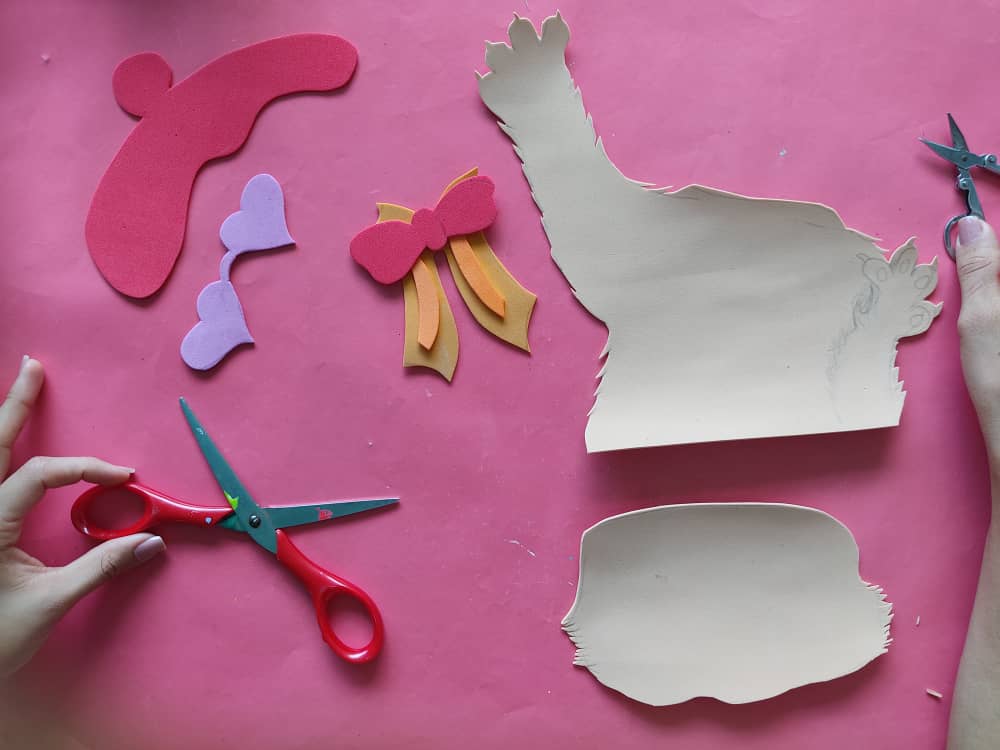
Now, we transfer the pieces to the different pieces of foamy, selecting the desired colors according to their shapes, then we cut in this case, choose to elaborate a more real effect with the small scissors so that the kitten's fur is more pronounced.
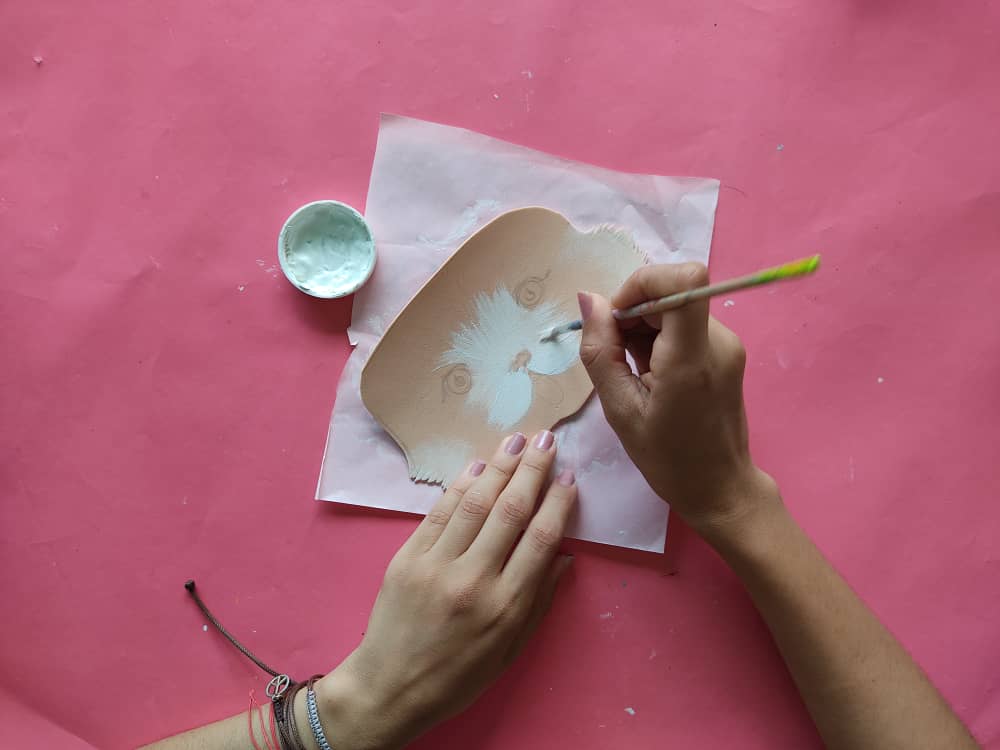
Ahora, comenzamos a pintar las piezas, en primer lugar decidí pintar con un poco de blanco algunas partes de la cara y el cuerpo del gato.
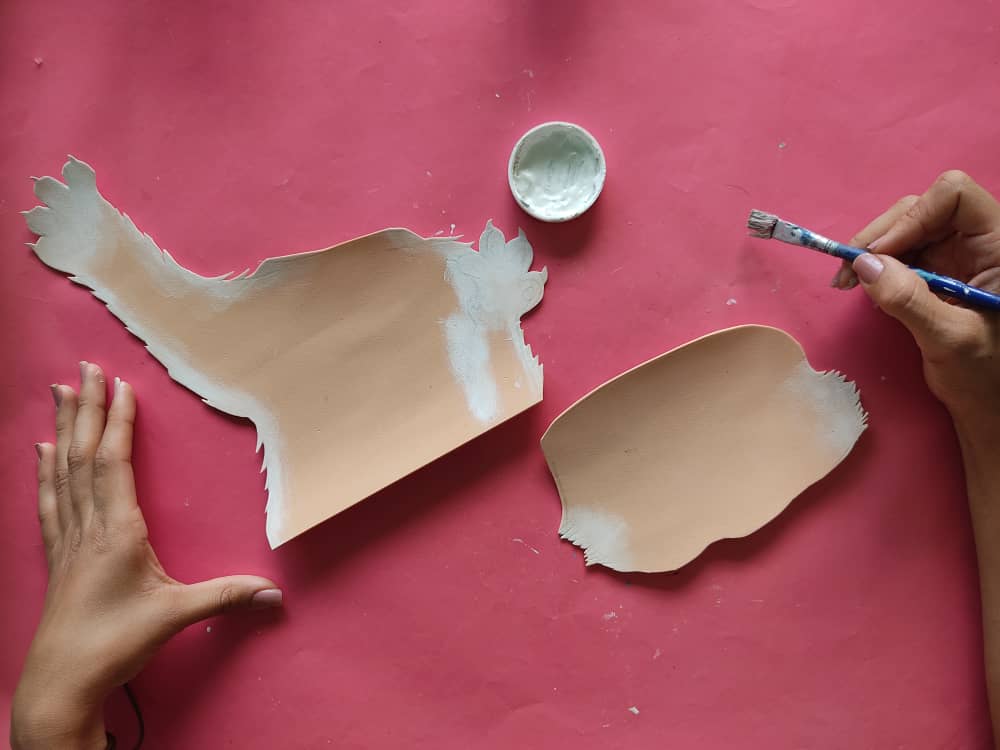
Now, we begin to paint the pieces, first of all I decided to paint with a little white some parts of the face and body of the cat.
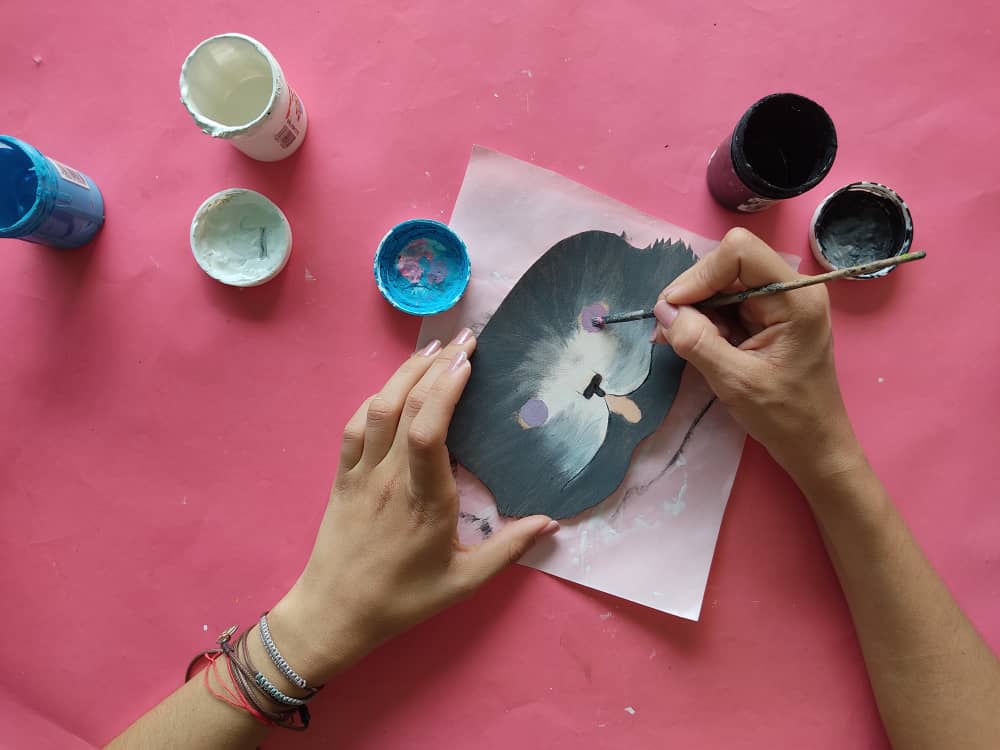
Seguidamente, continuamos con la cara, aplicando colores grises oscuros y claros, de esta manera se verá un poco más real, luego definimos los pequeños detalles en la cara como lo son, los pequeños ojos nariz y boca.

Next, we continue with the face, applying dark and light gray colors, in this way it will look a little more real, then we define the small details on the face such as the small eyes, nose and mouth.
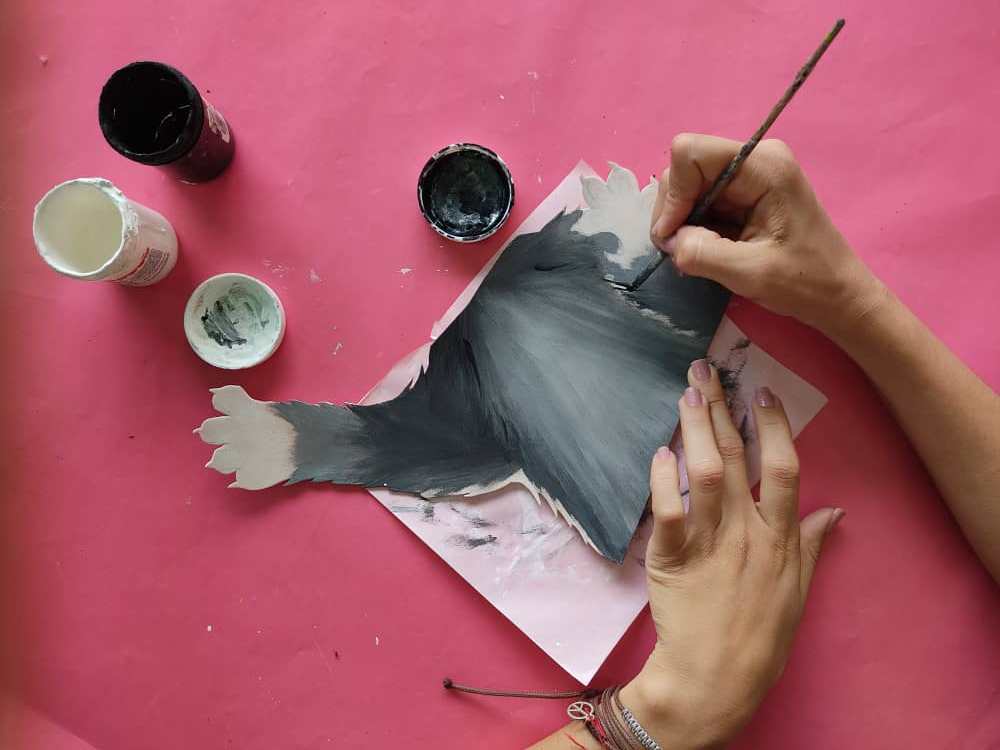
Luego, pintamos la parte inferior del gatito, es decir, su cuerpo de los mismos tonos que hemos usado para su cara, sin olvidar definir sus tiernas patitas.
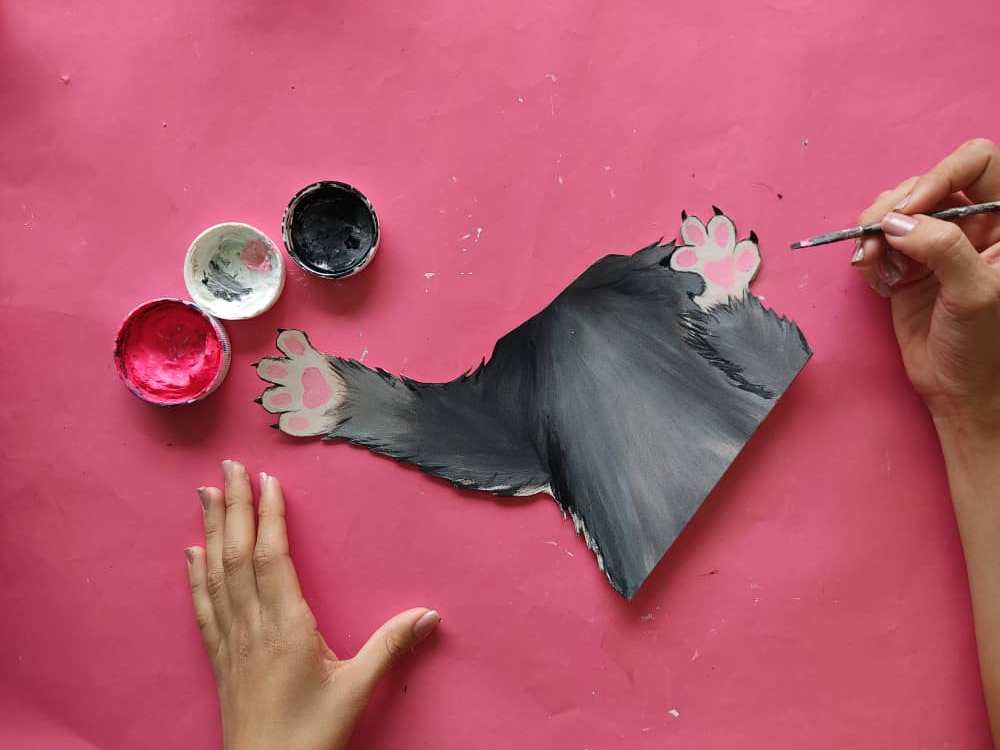
Then, we paint the lower part of the kitten, that is, its body in the same tones that we have used for its face, without forgetting to define its tender legs.
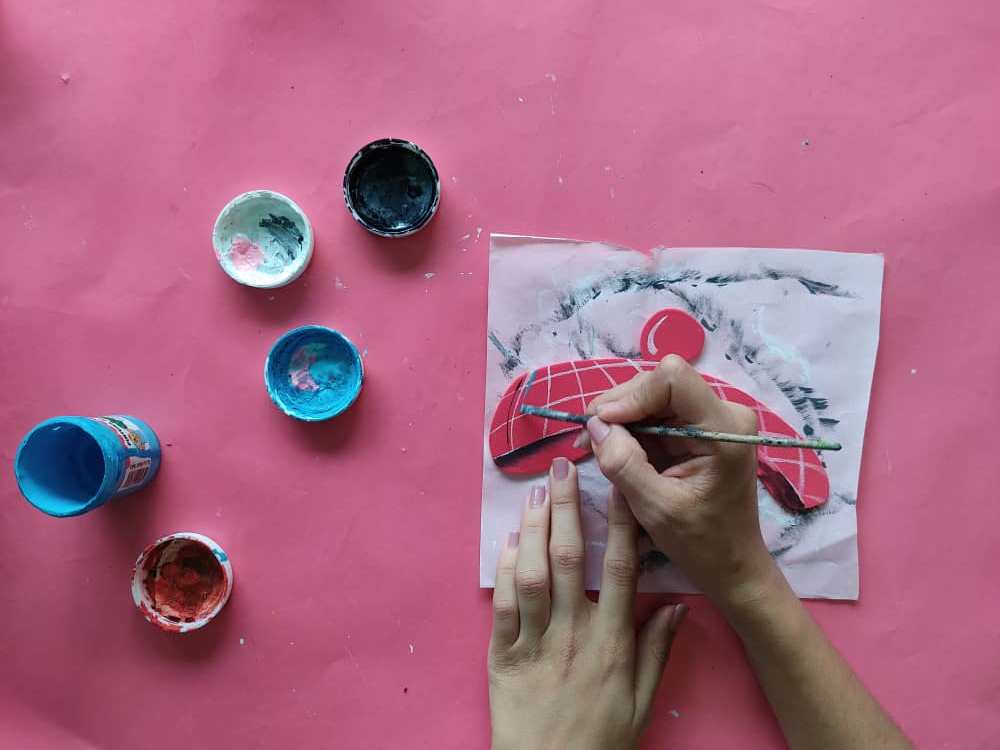
Después, decoramos el lindo gorro de este amigo peludo, en este caso lo pinte con algunos cuadros para darle algo de alegría.
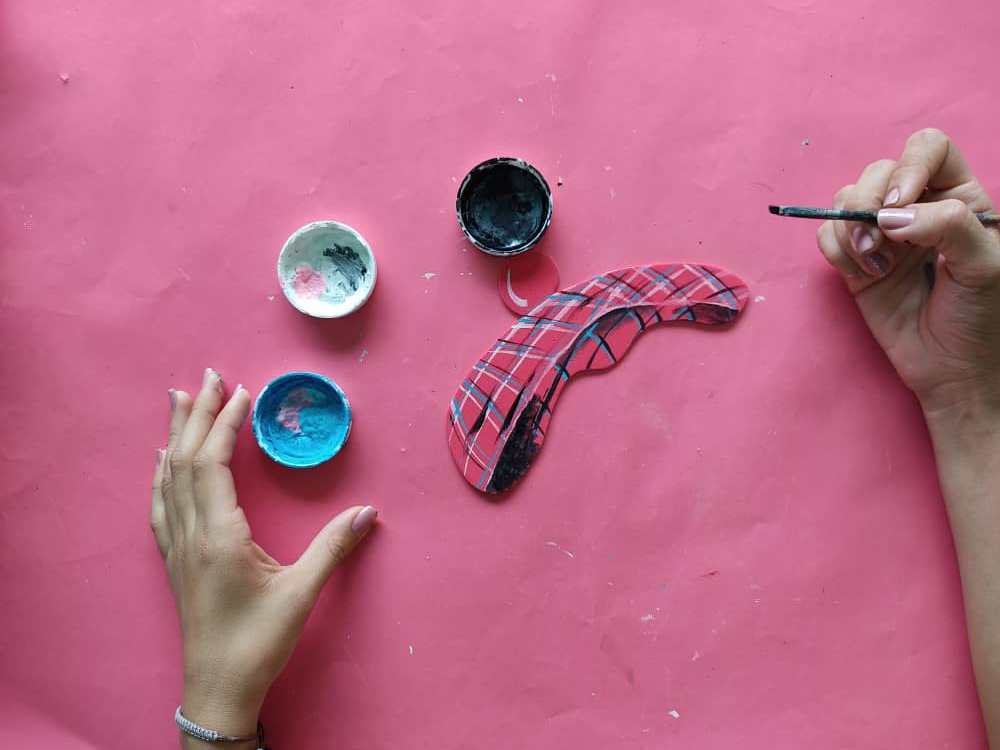
After, we decorate the cute hat of this furry friend, in this case I painted it with some squares to give it some joy.
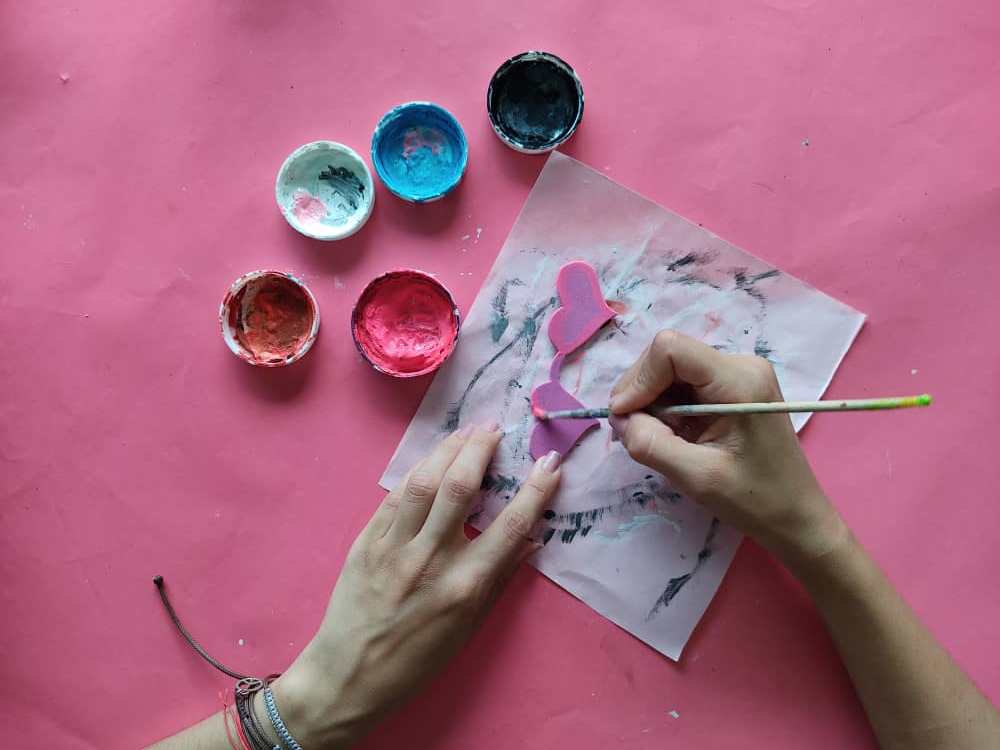
Ahora, pintamos los hermosos lentes que usará este gatito elegante, de colores muy divertidos en este caso rosa neón, y azul cielo, marcando sus bordes de negro para dar un toque más profundo.
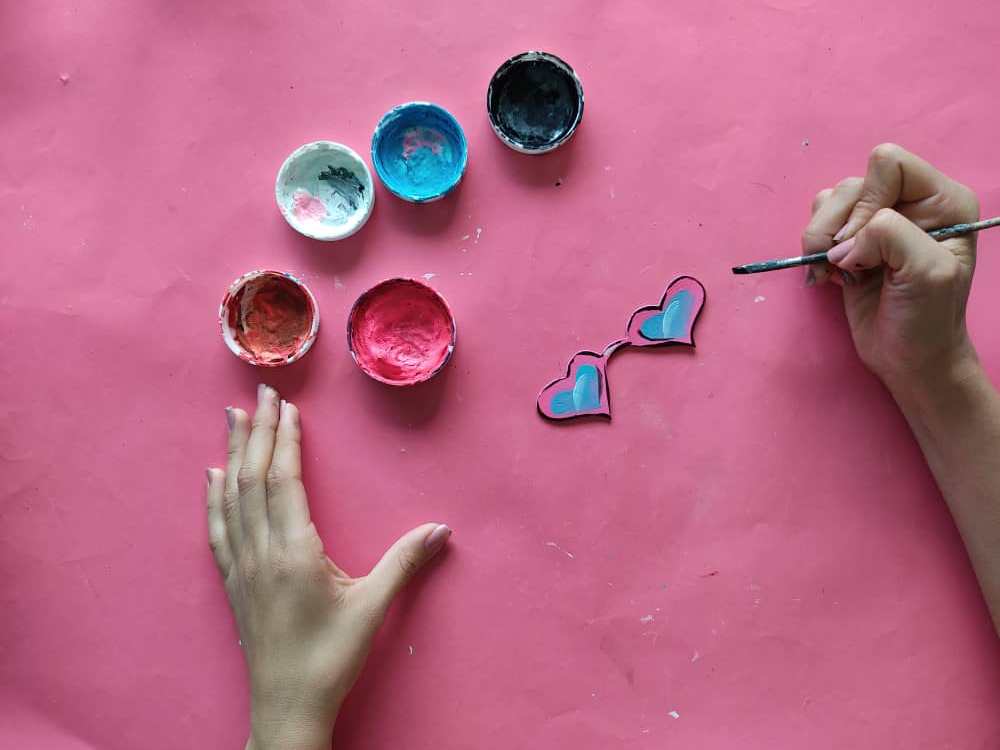
Now, we paint the beautiful lenses that this elegant kitty will use, in very fun colors in this case neon pink, and sky blue, marking their edges in black to give a deeper touch.

Después, pintamos algunos detalles en las partes del hermoso lazo que llevará este gatito, dejamos volar nuestra imaginación para que quede muy original.
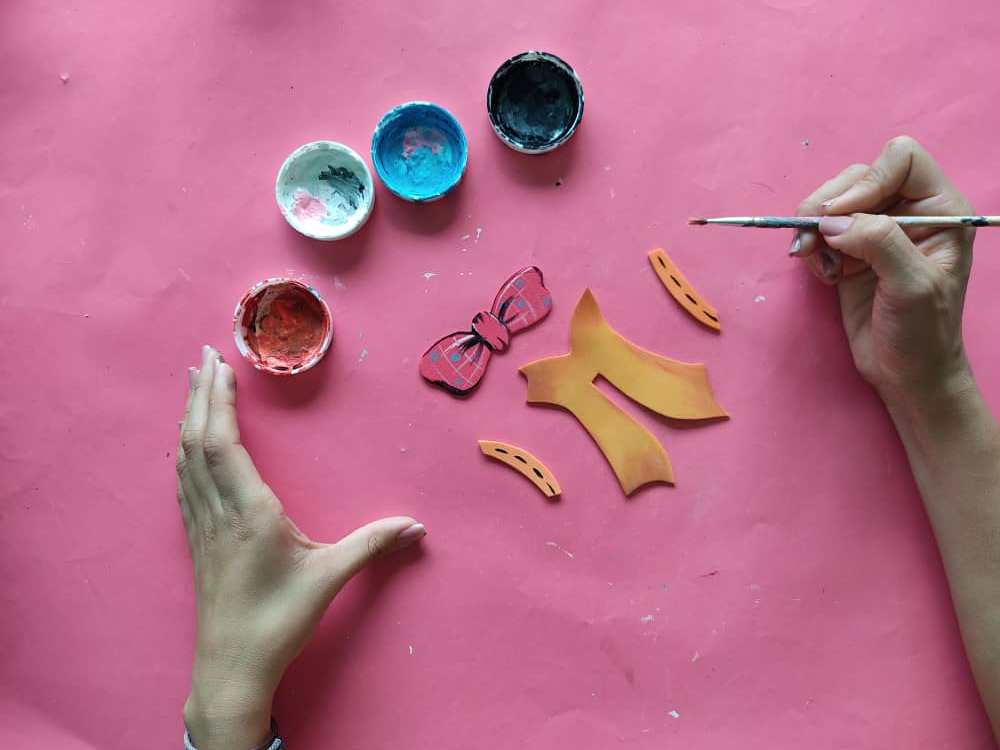
Then, we paint some details in the parts of the beautiful bow that this kitten will wear, we let our imagination fly so that it is very original.
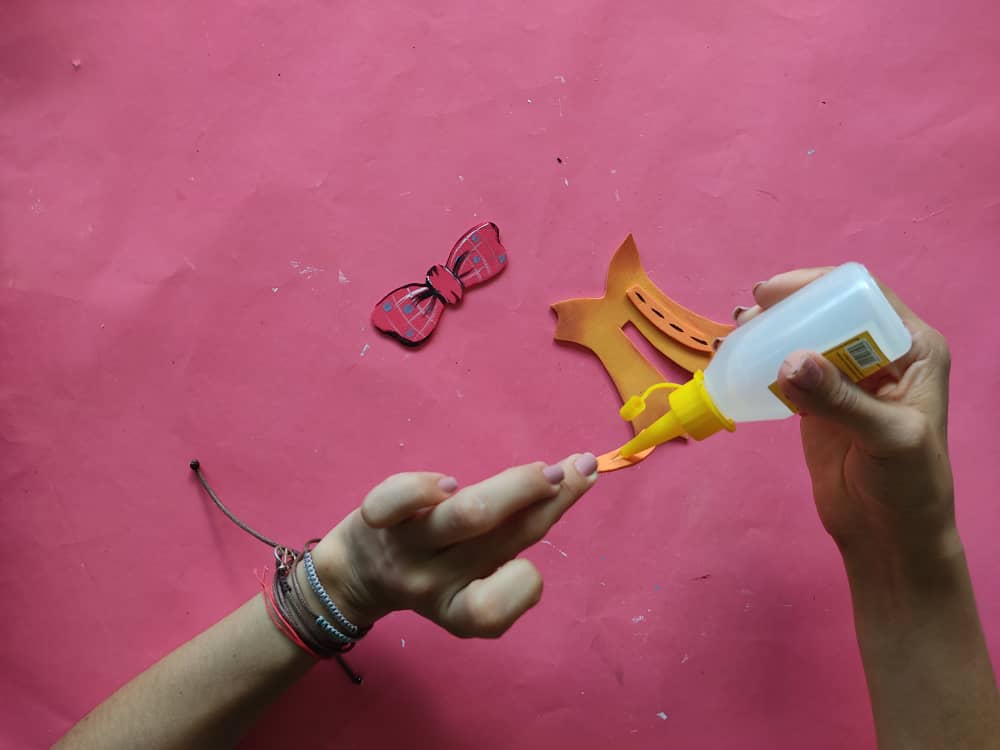
Seguidamente, armamos el lazo utilizando silicón frío y asegurándonos que quede bien pegado.
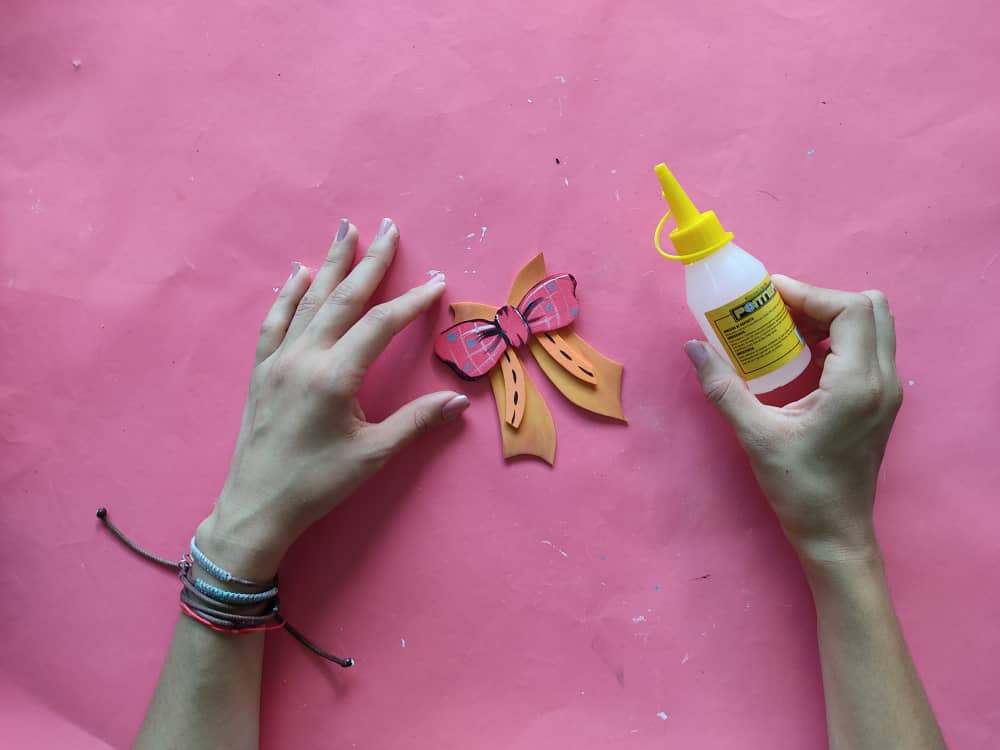
Next, we assemble the loop using cold silicone and making sure it sticks well.
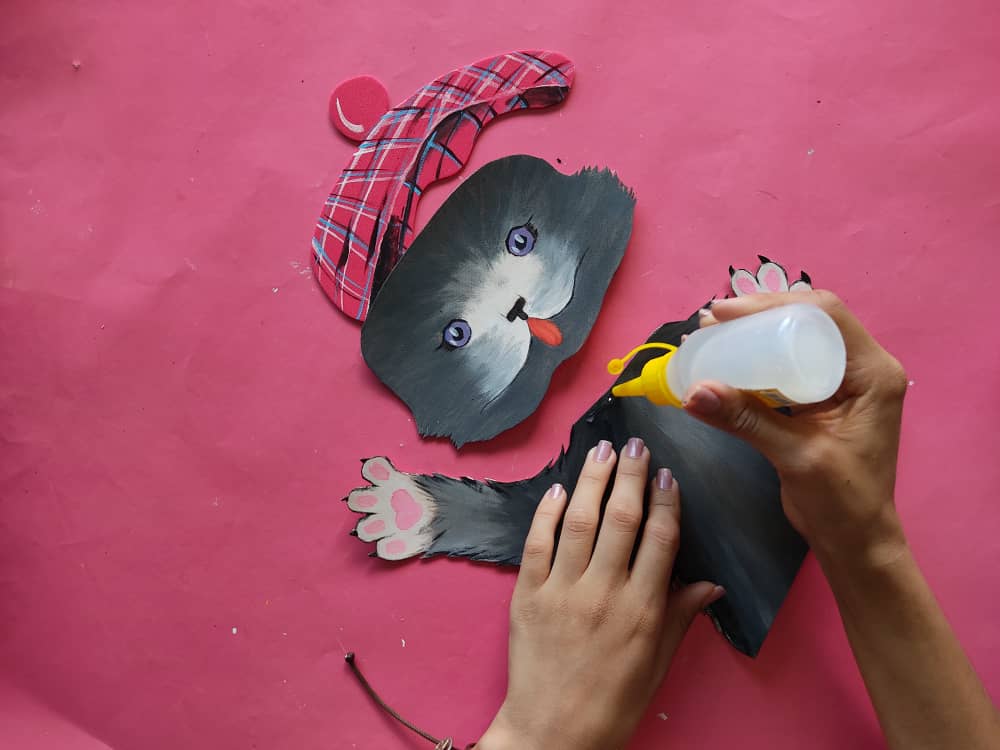
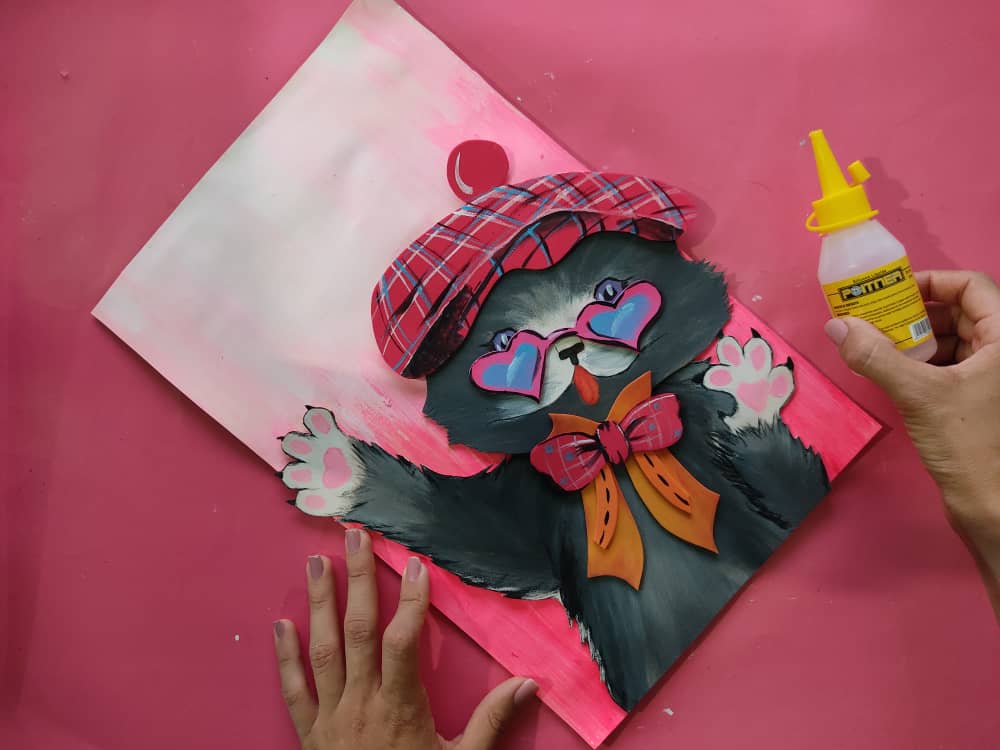
Ahora, armamos nuestro lindo gatito pegando todos estos lindos accesorios que hemos elaborado para él.
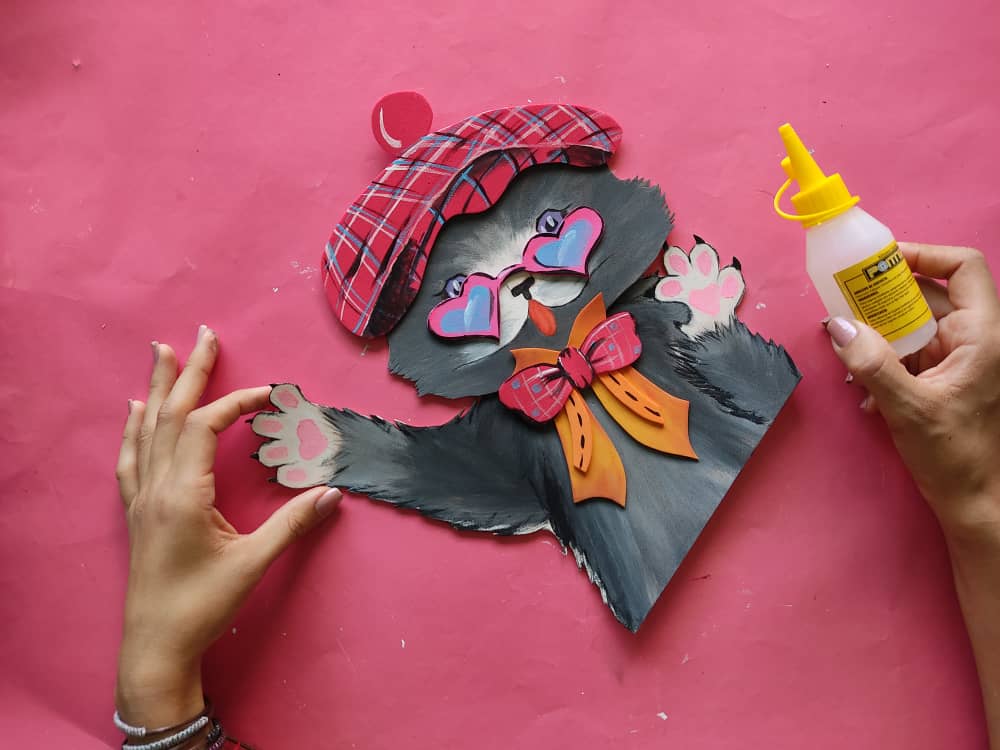
Now, we assemble our cute kitten by gluing all these cute accessories that we have made for him.
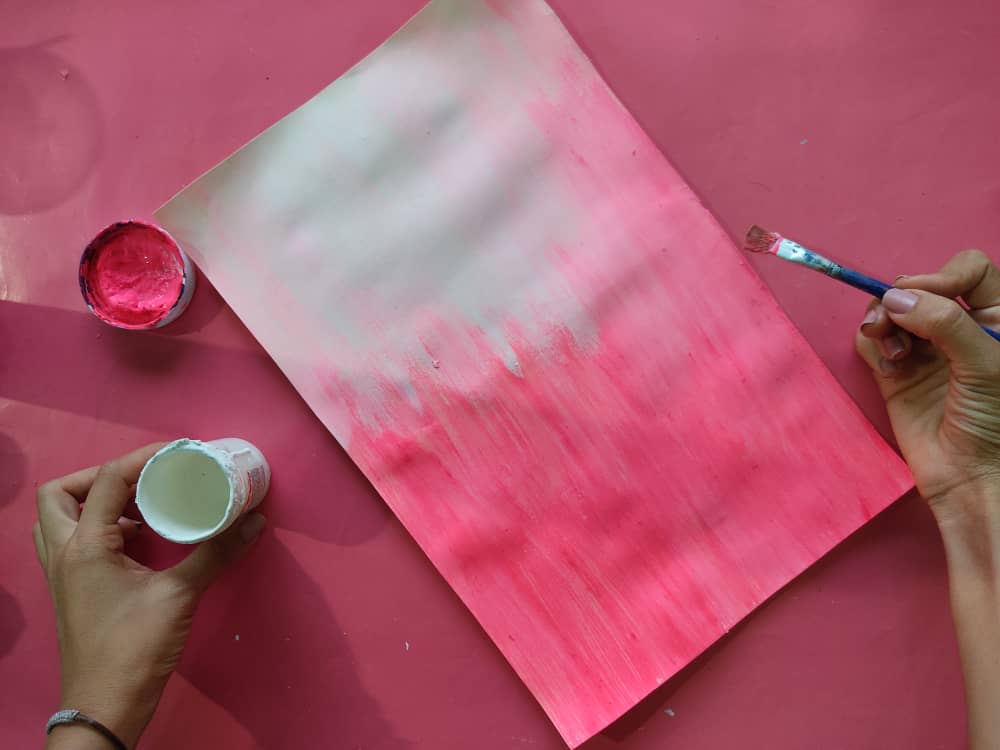
Luego, fabricamos una base de cartón de 22cm por 32cm y lo pintamos con hermosos colores en este caso decidí pintar de rosa neón y blanco. Y una vez que esté totalmente seca la base, pegamos sobre esta el hermoso gato glamoroso.
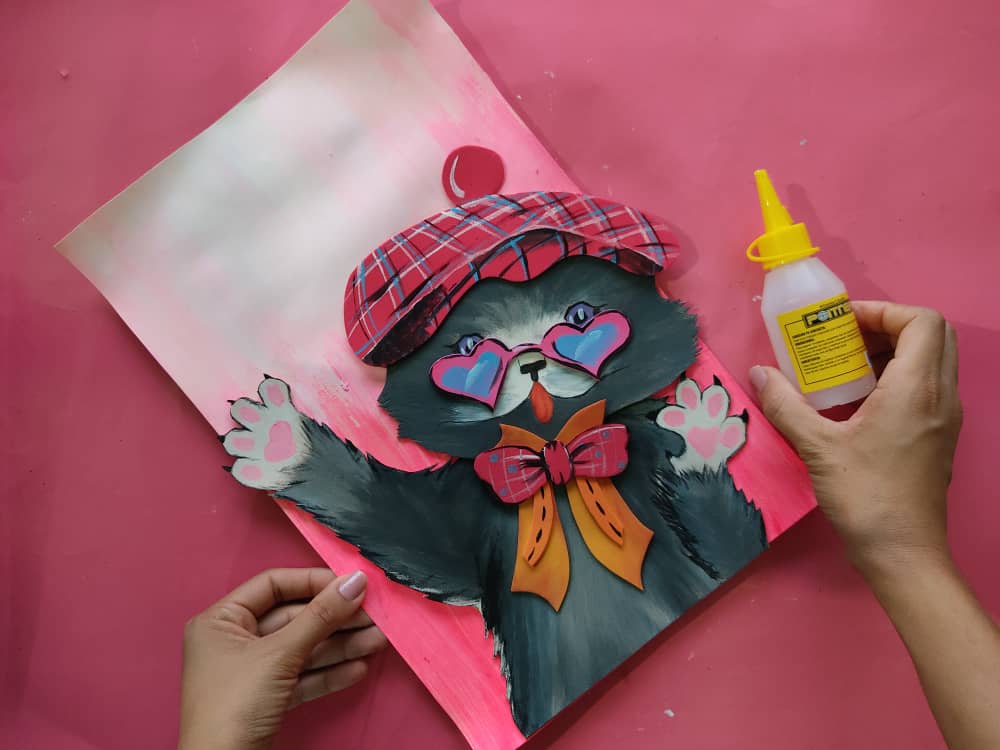
Then, we made a 22cm by 32cm cardboard base and painted it with beautiful colors, in this case I decided to paint neon pink and white. And once the base is completely dry, we glue the beautiful glamorous cat on it.
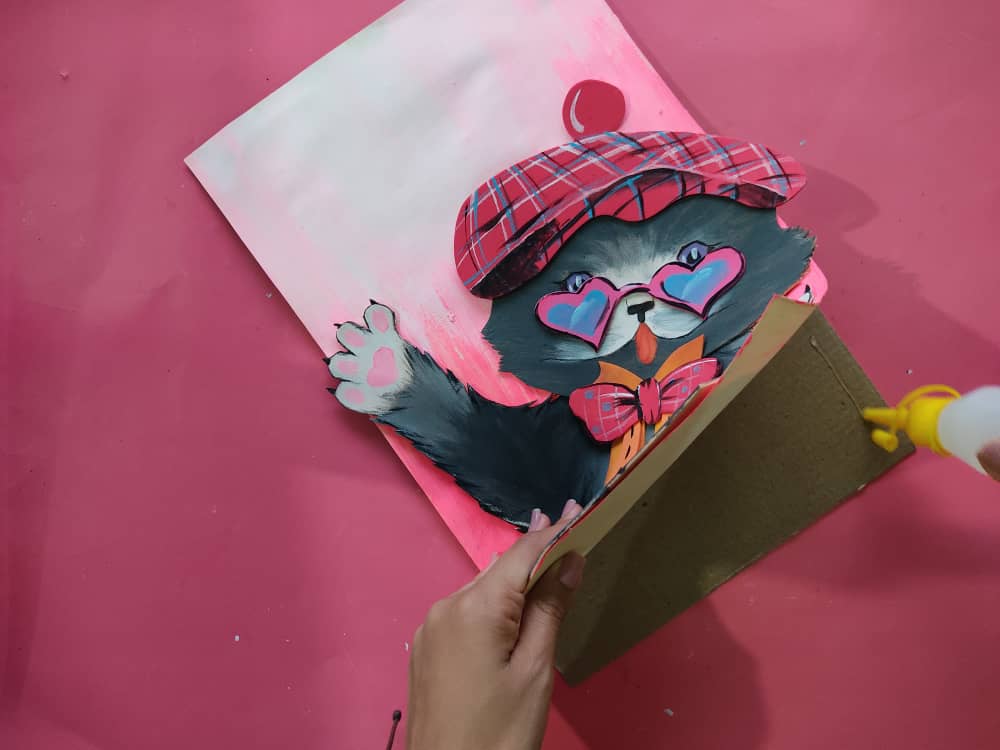
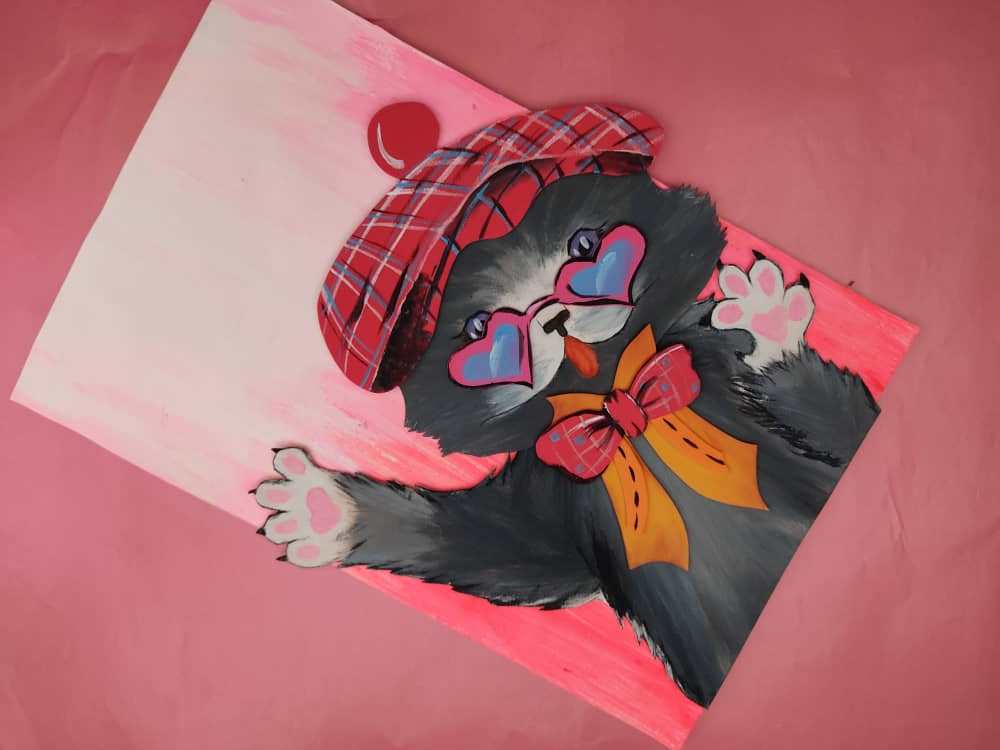
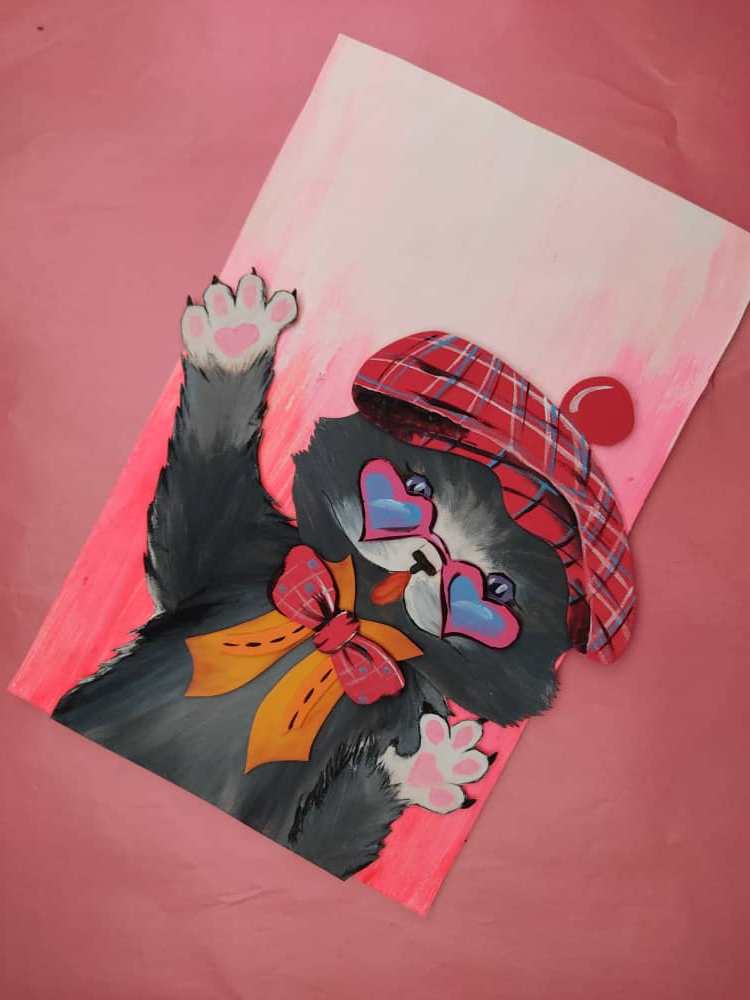
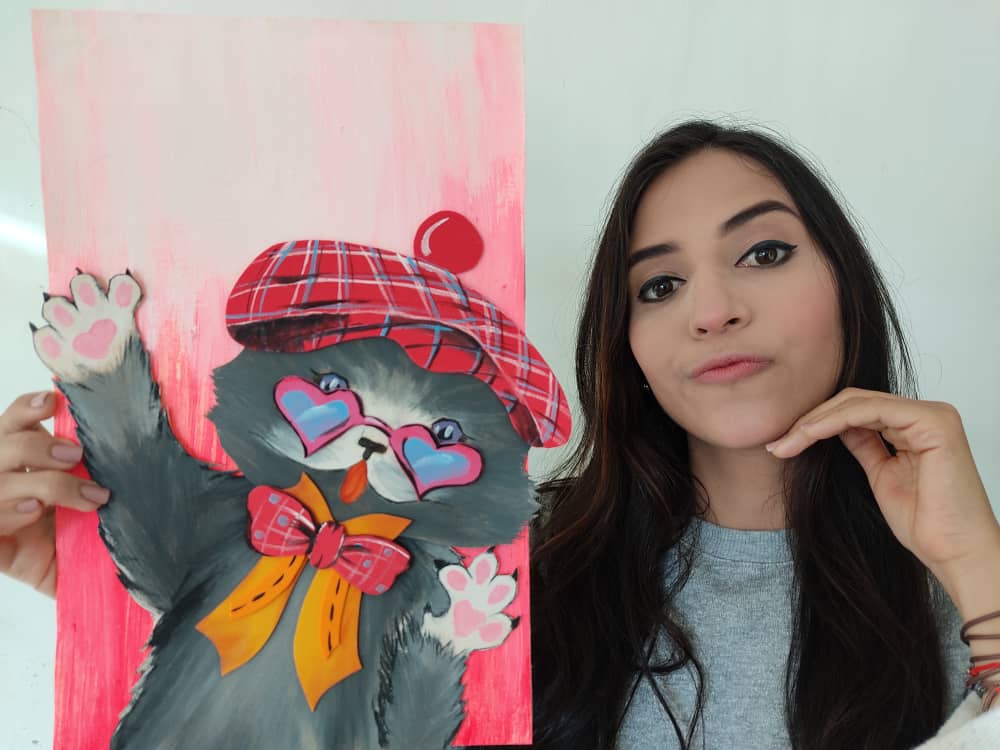
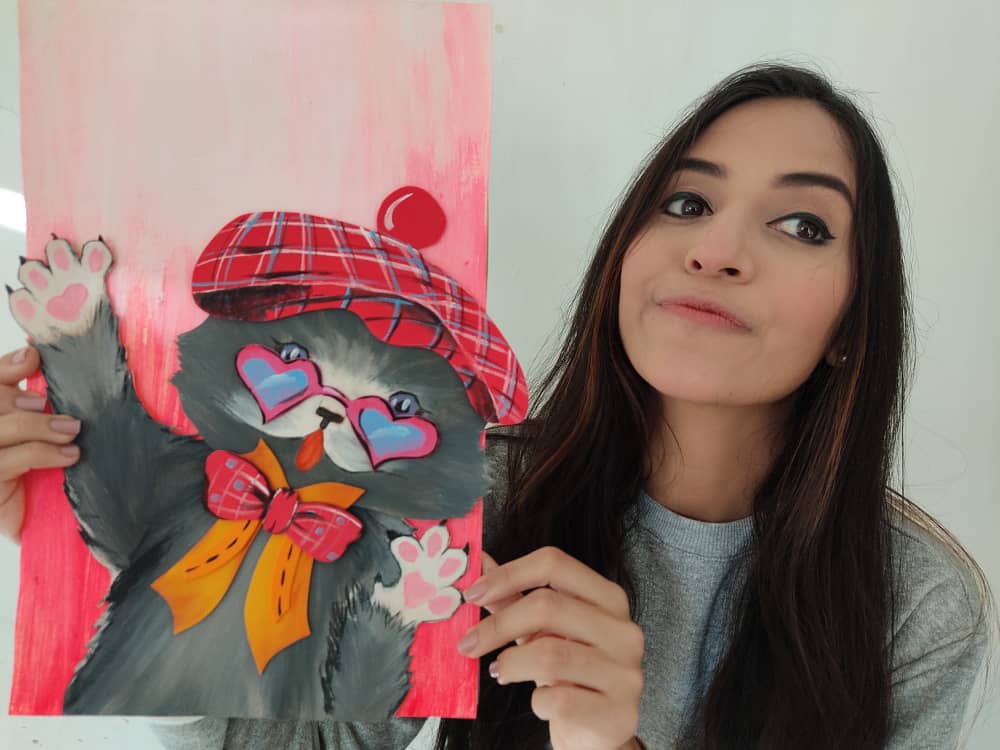
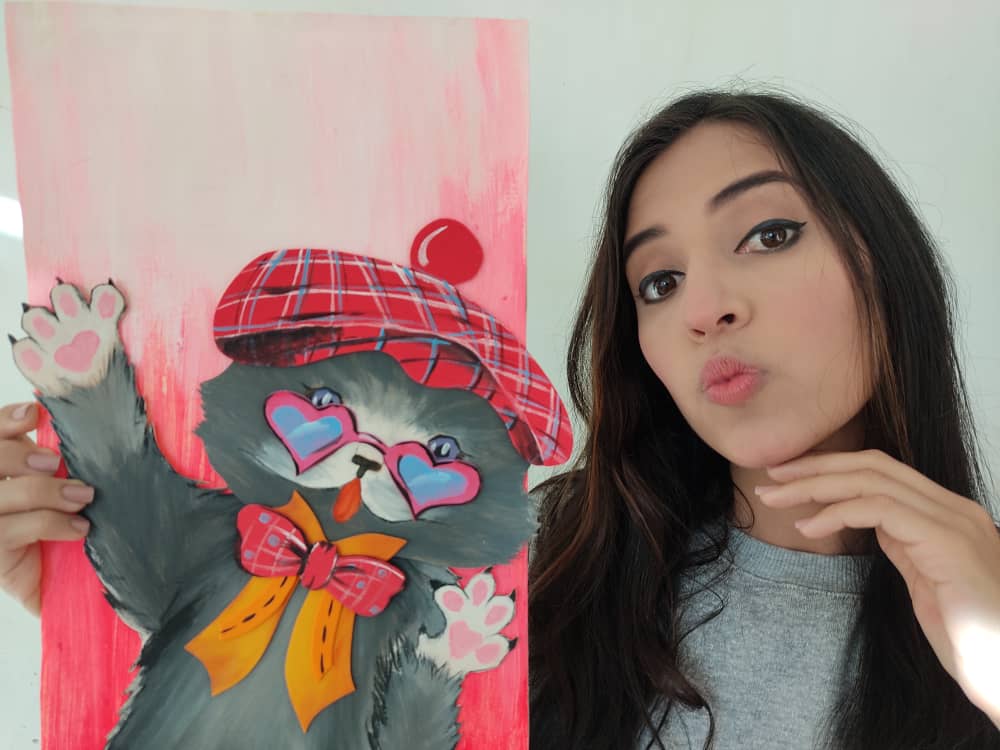
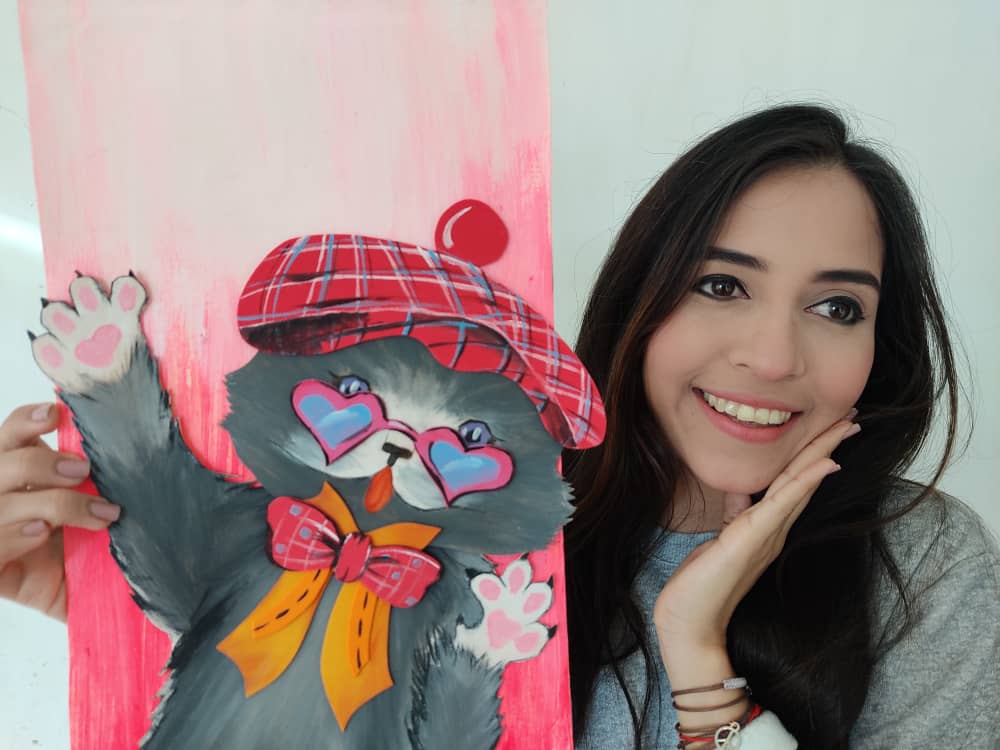
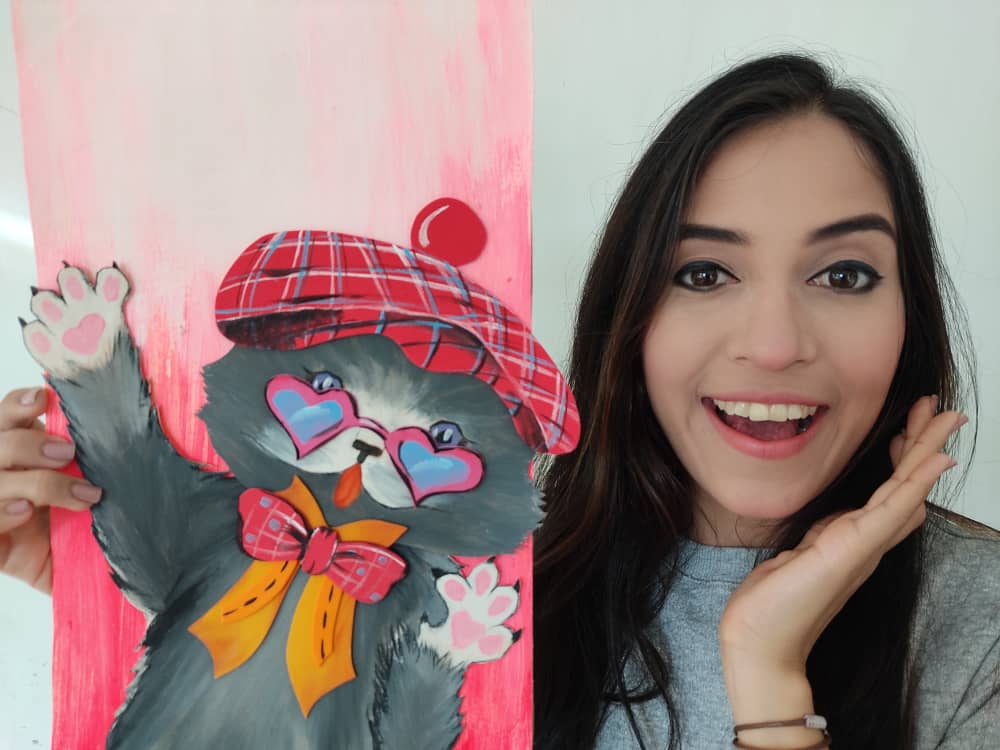
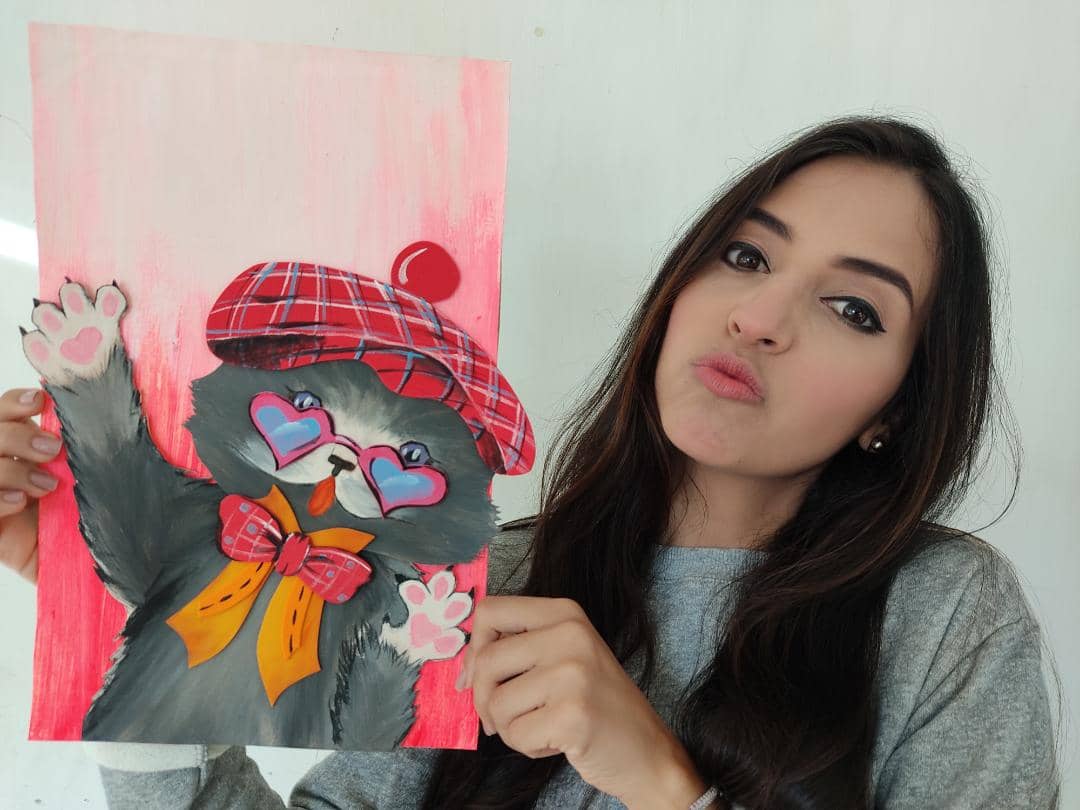
Finalmente, pegamos esta hermosa obra sobre una lámina de cartón más gruesa de manera que le dé mayor firmeza a nuestro cuadro.
Finally, we paste this beautiful work on a thicker cardboard sheet so that it makes our painting more firm.
.jpeg)
.jpeg)
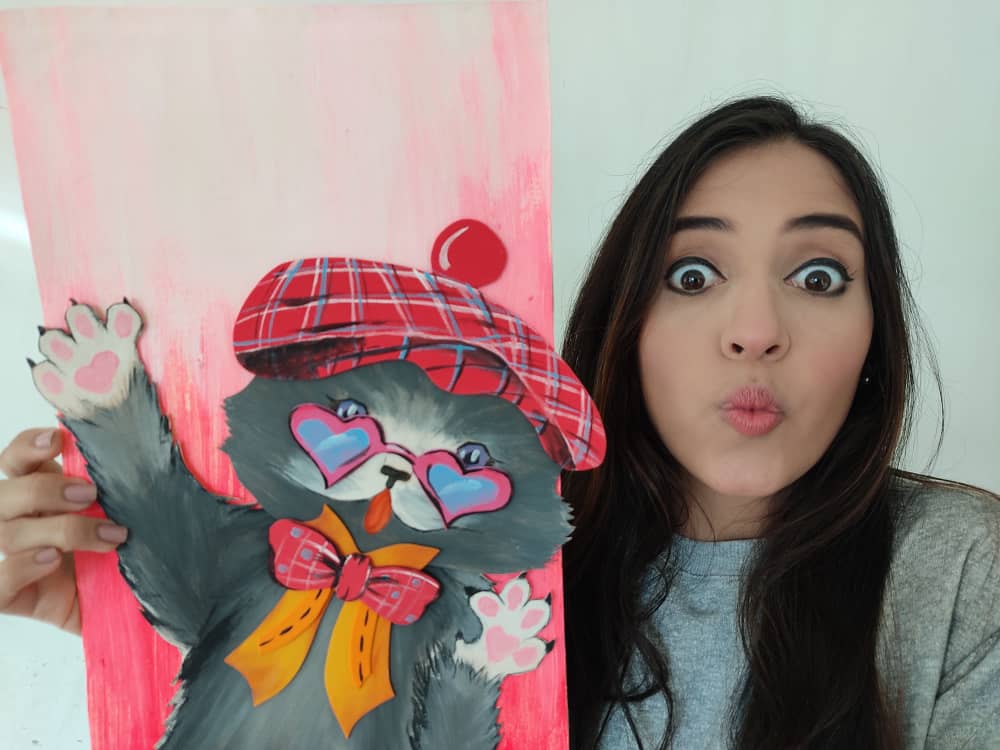
Gracias por acompañarme y espero que lo hayan disfrutado. ❤️
Thanks for joining and I hope you enjoyed it.❤️
.jpeg)
.jpeg)
.jpeg)
.jpeg)
.jpeg)
.jpeg)
.jpeg)
.jpeg)


my twt #posh
¡Muy bonito el cuadro! También muy lindas todas tus fotos. No sé trabajar con foami. Tú lo haces de una manera muy sencilla. Te felicito. Saludos.
muchas gracias querida :D que bueno que hayas disfrutado de mi trabajo.. Yo amo el foamy!
Very nice work here's a small tip 👍🏾 @tipu curate
Upvoted 👌 (Mana: 11/22) Liquid rewards.
Thank you dear for always supporting me in my work, I am glad you like it. : D
No problems my friend 🤝 I really enjoy your work 👍🏾
wow! Very cute
I love your job!
Very much dear thanks for your visit!" XOX
that's very nice.
It would be great to do such crafts with your child.
Thank you. I think that if there are mothers on the site see this, they can make such a treatment with their children)
Of course I practice it and I am happy doing and sharing it and I am more than happy there are people who like what I do. Thanks for the visit. Cheers!
aww que lindo :3 me gusto mucho tu cuadro de gatitoo
Gracias amigo por apoyar cada uno de mis trabajos,.. Saludos!!