.jpeg)

Español
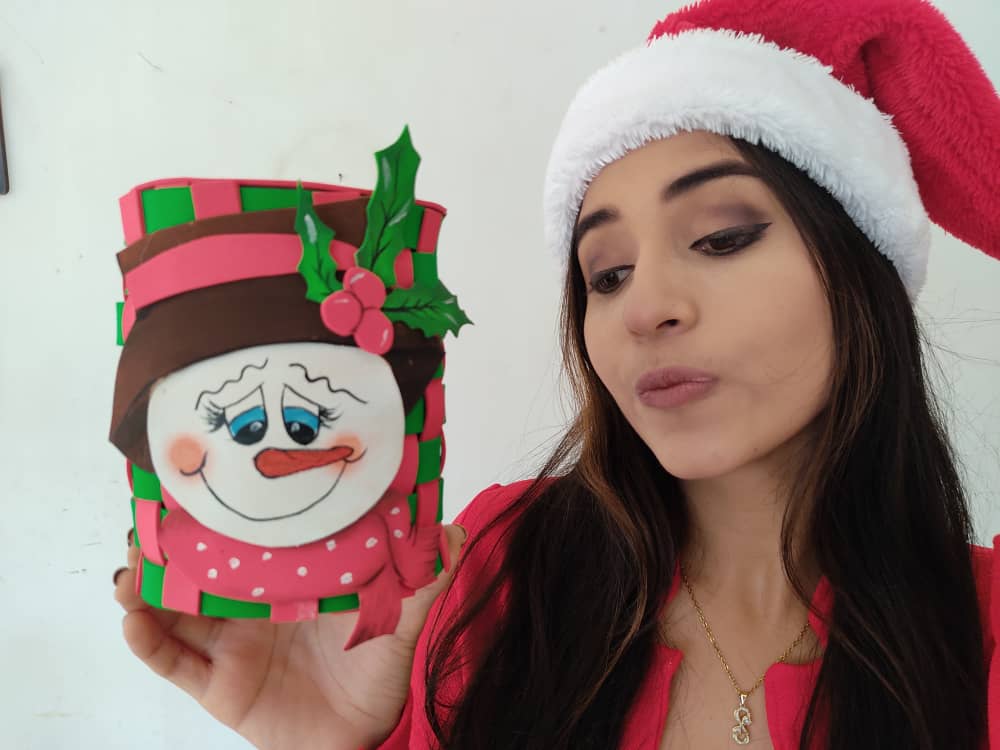
Hola hermosa familia HIVE ❤️ Este nuevo día les traigo otro divertidísimo y navideño tutorial donde aprenderemos a realizar un bello organizador navideño en forma de cilindro con un bello muñeco de nieve, perfecto para decorar nuestro hogar o lugares favoritos en estas fechas tan especiales y lo mejor de todo es que está hecha con materiales muy económicos y fáciles de conseguir, así que, no esperemos más y démosle la bienvenida a esta navidad.
English
Hello, beautiful HIVE family ❤️ This new day I bring you another fun and Christmas tutorial where we will learn to make a beautiful Christmas organizer in the shape of a cylinder with a beautiful snowman, perfect to decorate our home or favorite places on these special dates and the best of all is that it is made with very cheap and easy-to-find materials, so let's not wait any longer and welcome this Christmas.
¿Qué están esperando?
Gracias a este sencillo paso a paso podemos elaborar fácilmente nuestro propio organizador navideño, perfecto e ideal que nuestros niños guarden sus dulces estas navidades y además, podemos decorar nuestro entorno y darle ese toque creativo a nuestra navidad. Antes de comenzar no olvidemos lavarnos nuestras manos.
What are they waiting for?
Thanks to this simple step by step we can easily make our own Christmas organizer, perfect and ideal for our children to keep their sweets this Christmas, and also, we can decorate our environment and give that creative touch to our Christmas. Before we start, let's not forget to wash our hands.

[Materiales | Materials]
Para realizar esta linda obra necesitaremos:
- Foamy o goma eva.
- Lápiz de grafito.
- Pinturas.
- Pinceles.
- Tijera.
- Lamina de cartón.
- Pegamento o silicón liquido.
To make this cute work we will need:
- Foamy or eva foam.
- Graphite pencil.
- Paintings.
- Brushes.
- Scissors.
- Cardboard sheet.
- Glue or liquid silicone.
Procedimiento (paso a paso)
Process (step by step)
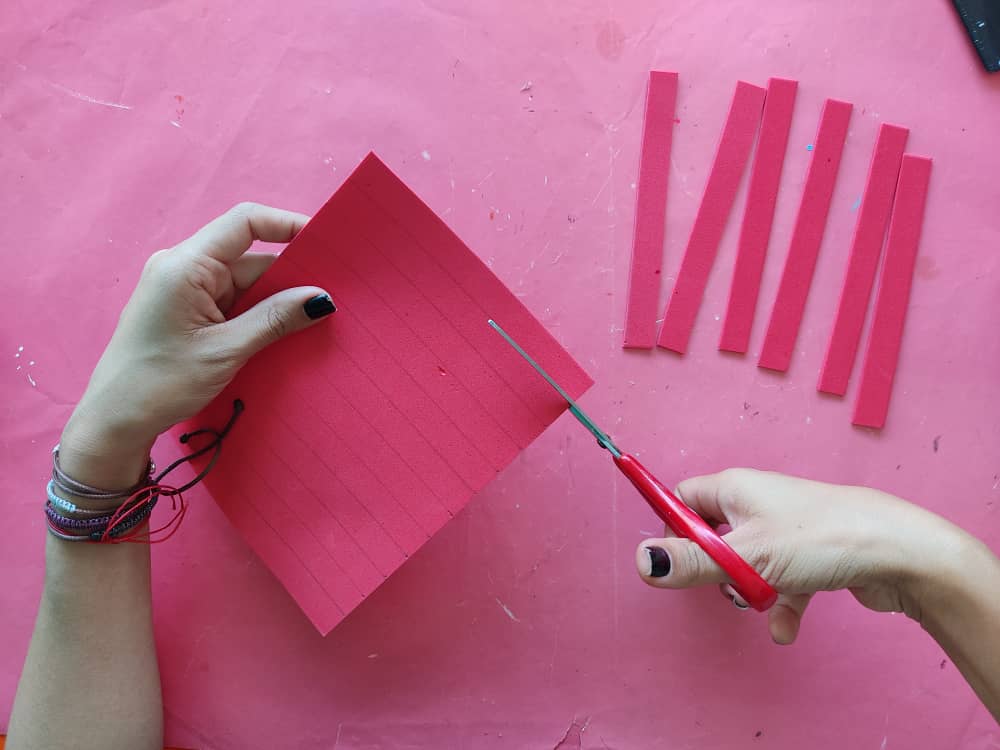
Primero, marcamos 18 tiras de 1,5cm por 14cm en el foamy de color rojo, utilizando regla y lápiz para que estás queden rectas, y recortamos.

First, we mark 18 strips of 1.5cm by 14cm in the red foamy, using a ruler and pencil so that they are straight, and cut.
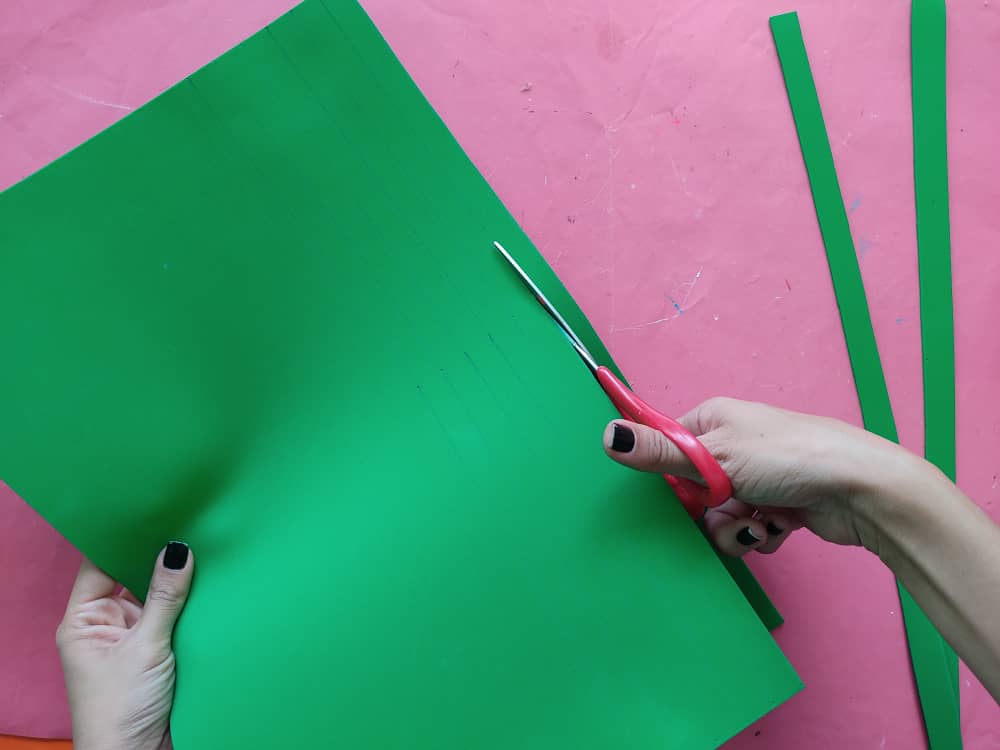
Seguidamente, marcamos 8 tiras de 1,5cm por 34cm en el foamy de color verde, igualmente utilizamos regla de manera que estás líneas queden perfectas, y recortamos con mucho cuidado.
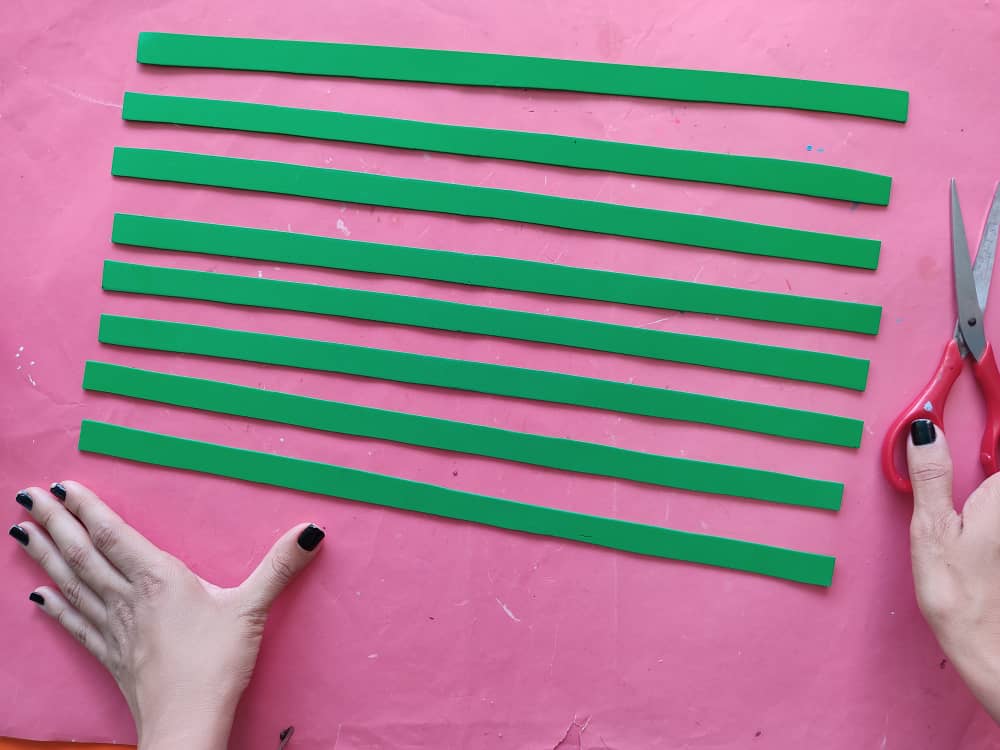
Next, we mark 8 strips of 1.5cm by 34cm on the green foamy, we also use a ruler so that these lines are perfect, and we cut very carefully.
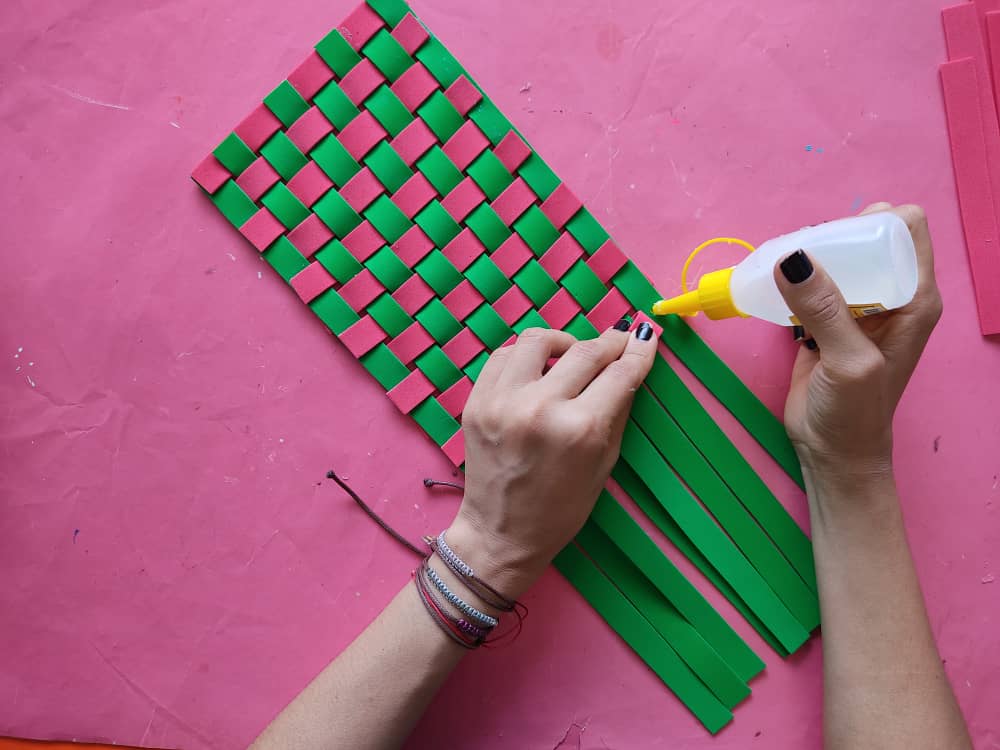
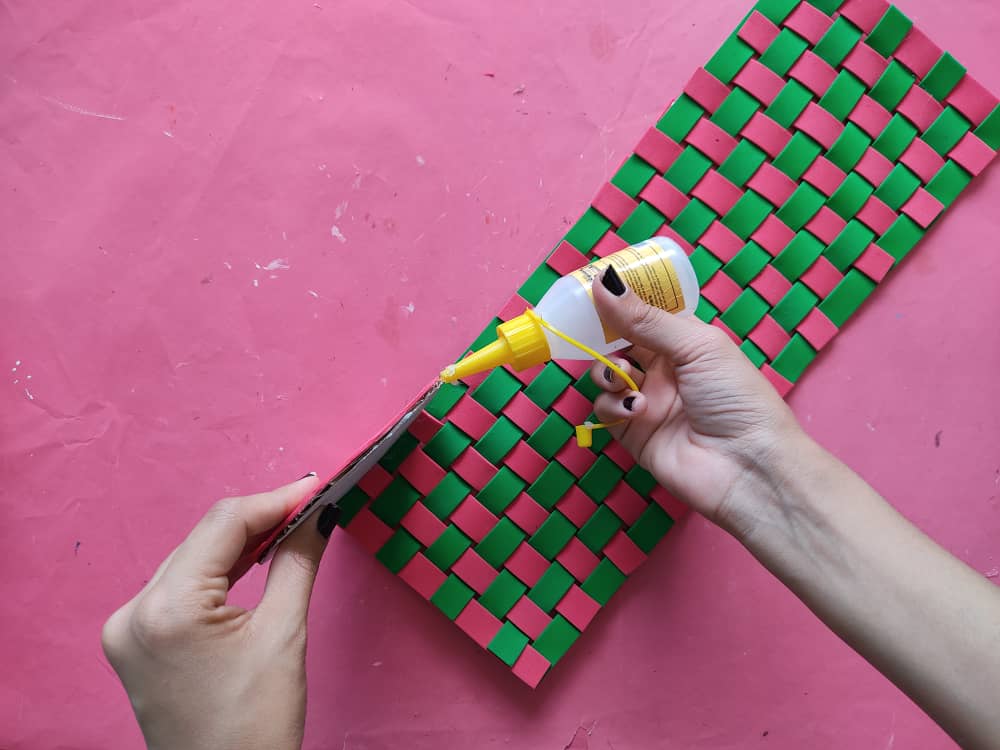
Ahora, hacemos una especie de tejido con las tiras obtenidas, pegando solo los extremos de cada una de estas, de manera que se forme una maya increíble con estos hermosos colores.
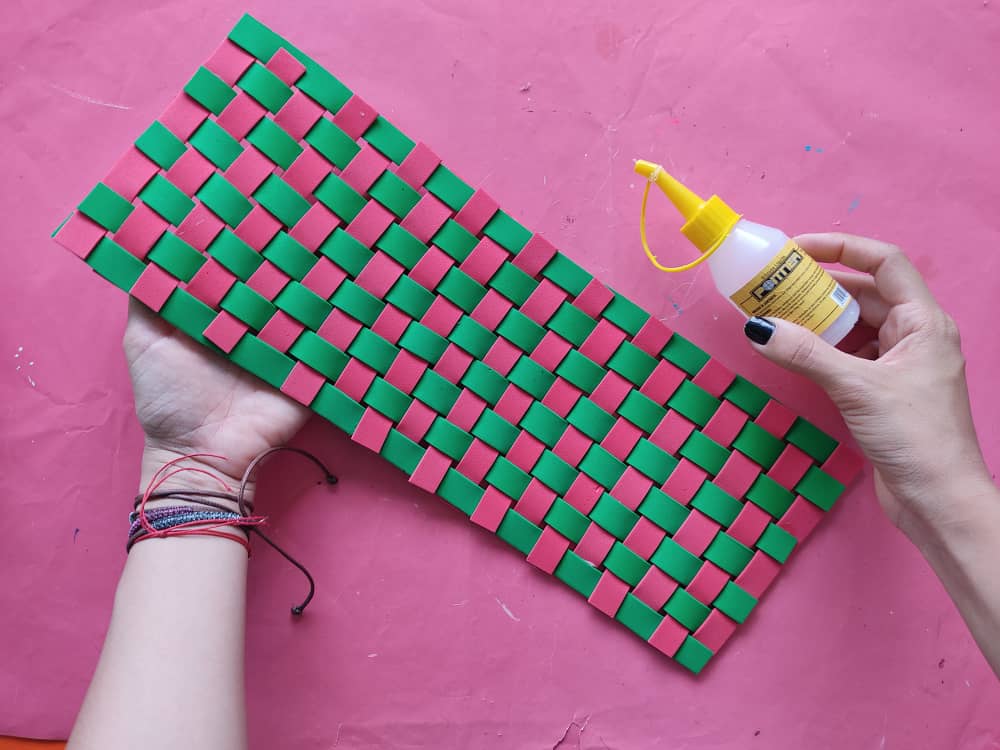
Now, we make a kind of weaving with the strips obtained, gluing only the ends of each of these so that an incredible mesh is formed with these beautiful colors.
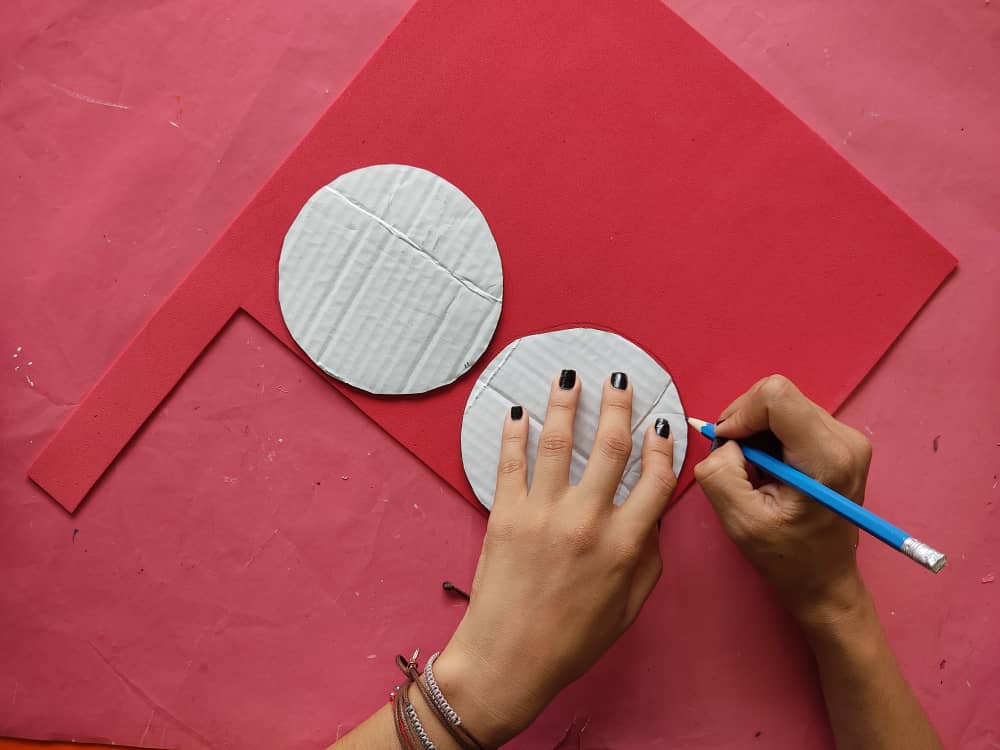
Luego, elaboramos 2 círculos de cartón de aproximadamente 10cm de diámetro estos servirán de tapa y base para nuestro lindo cilindro. Seguidamente, transferimos los moldes de estos círculos al foamy de color rojo. Y unimos los círculos de foamy con los de cartón de manera que queden muy elegantes y a la vez muy resistentes.
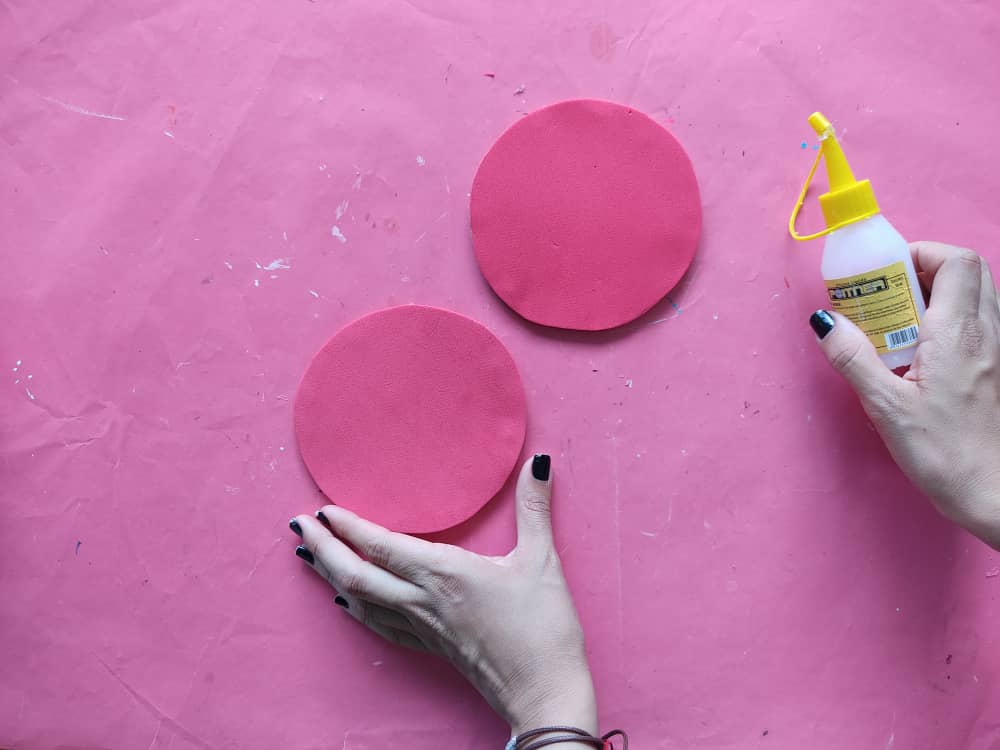
Then, we make 2 cardboard circles of approximately 10cm in diameter, these will serve as a lid and base for our cute cylinder. Next, we transfer the molds of these circles to the red foamy. And we join the foamy circles with the cardboard ones so that they are very elegant and at the same time very resistant.
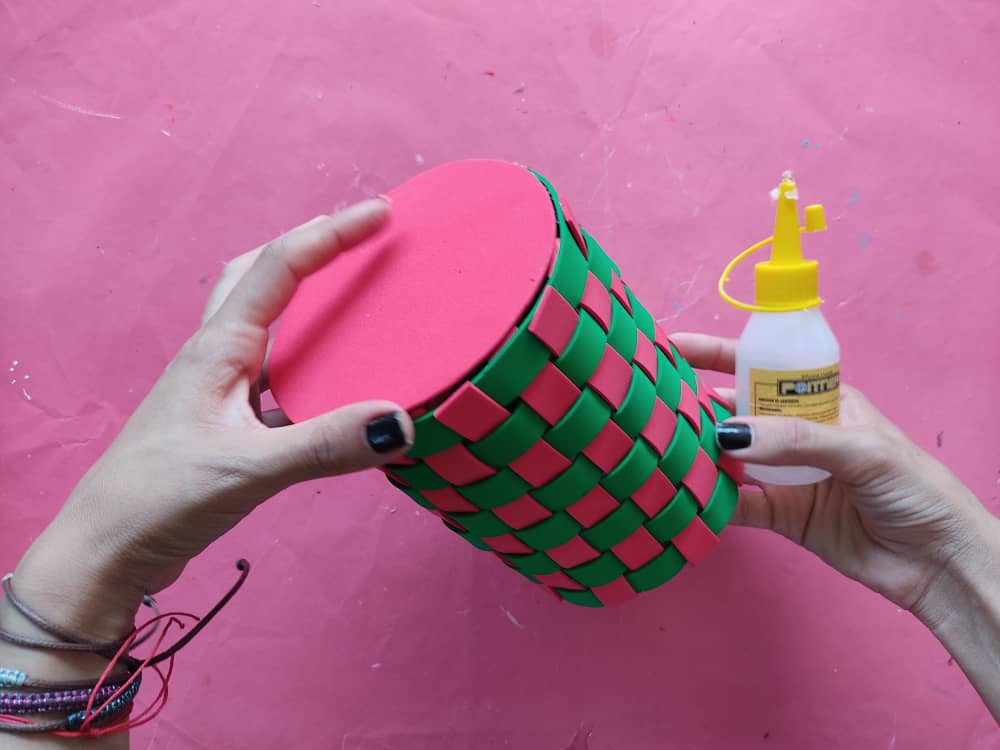
Ahora, pegamos la base que hemos elaboramos a un extremo de la maya y al tener formado el cilindro unimos los extremos asegurándonos que todo quede bien pegado.
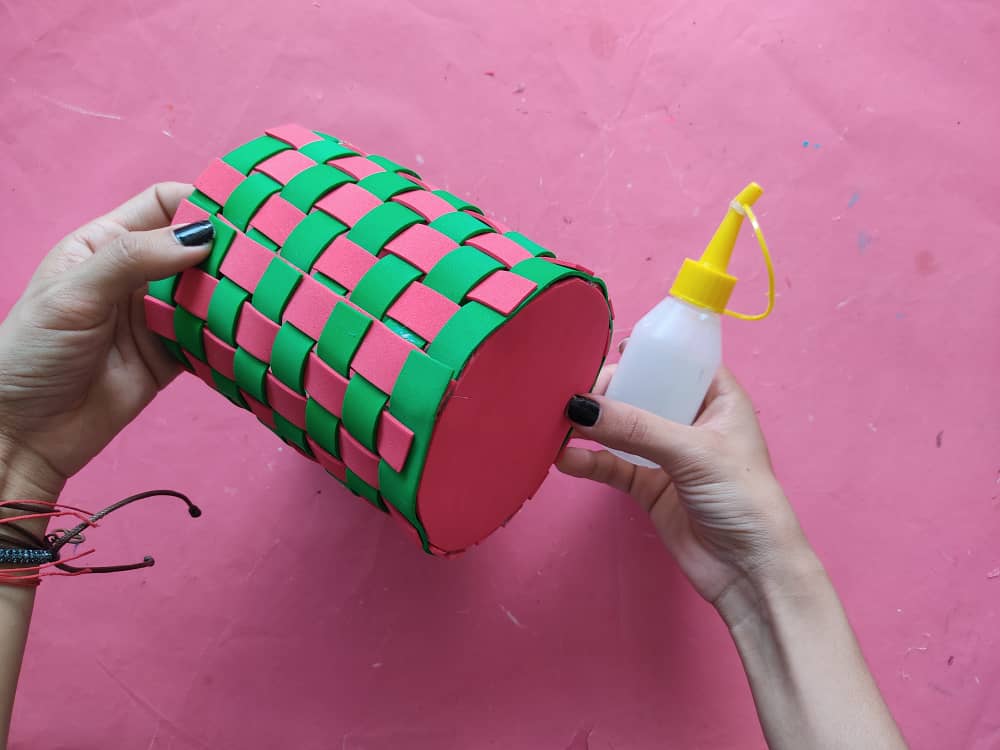
Now, we glue the base that we have made to one end of the mesh, and having formed the cylinder we join the ends making sure that everything is well glued.
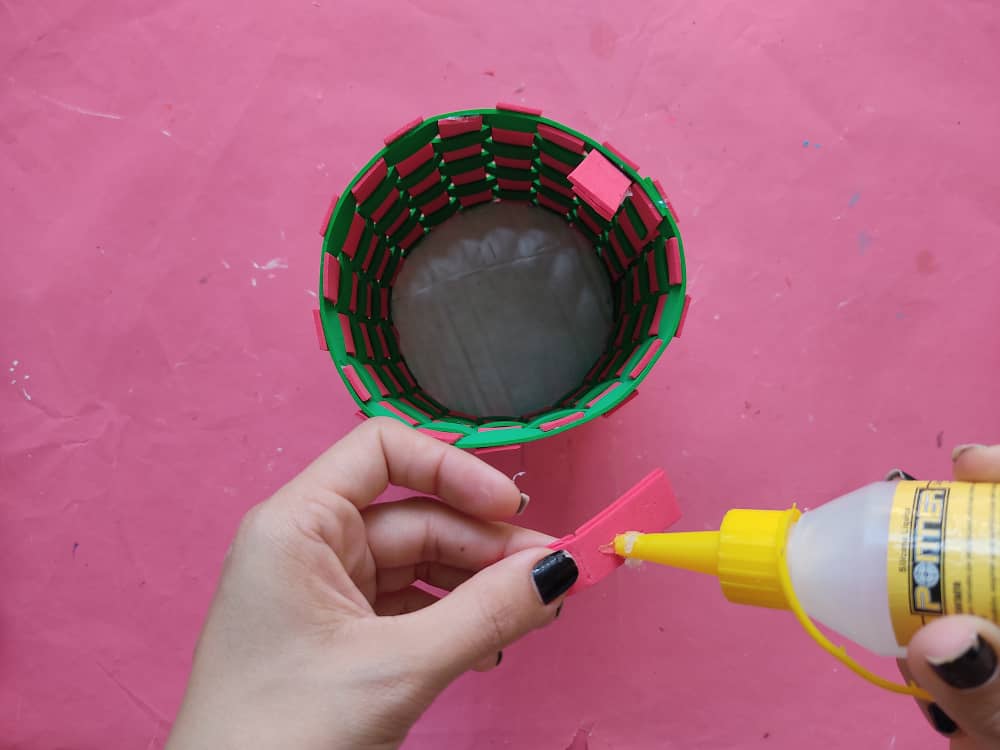
Seguidamente, esto elaboramos dos tiras de foamy de 1cm por 6cm y las pegamos a la parte superior interna del cilindro, estas servirán de soporte para la tapa.
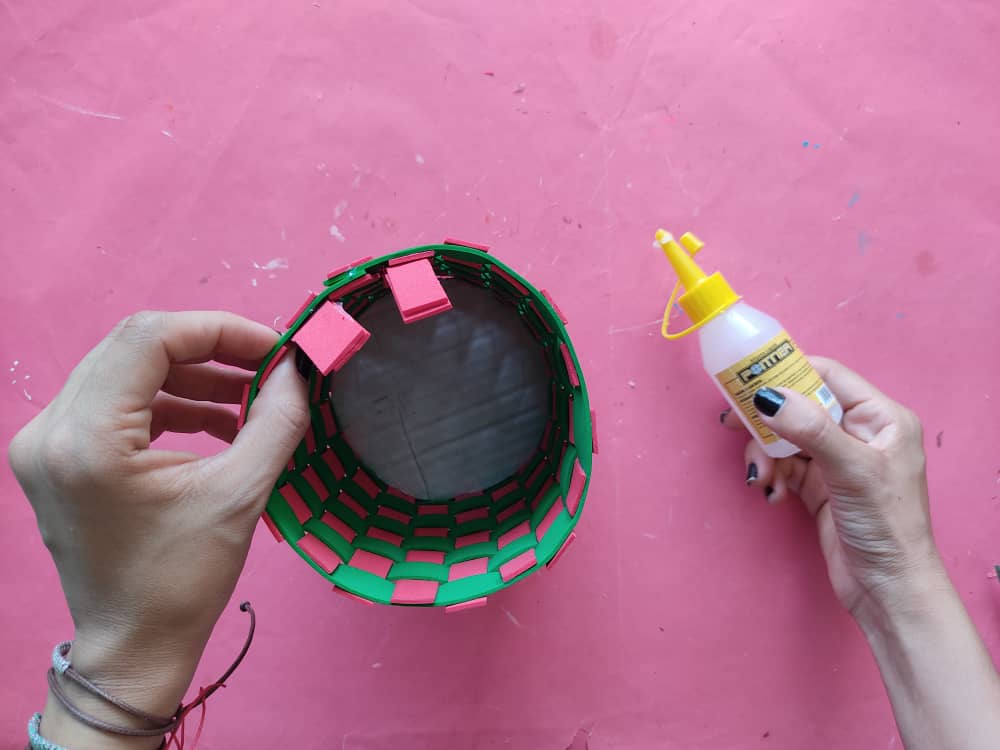
Next, we make two 1cm by 6cm foamy strips and glue them to the upper inner part of the cylinder, these will serve as support for the lid.
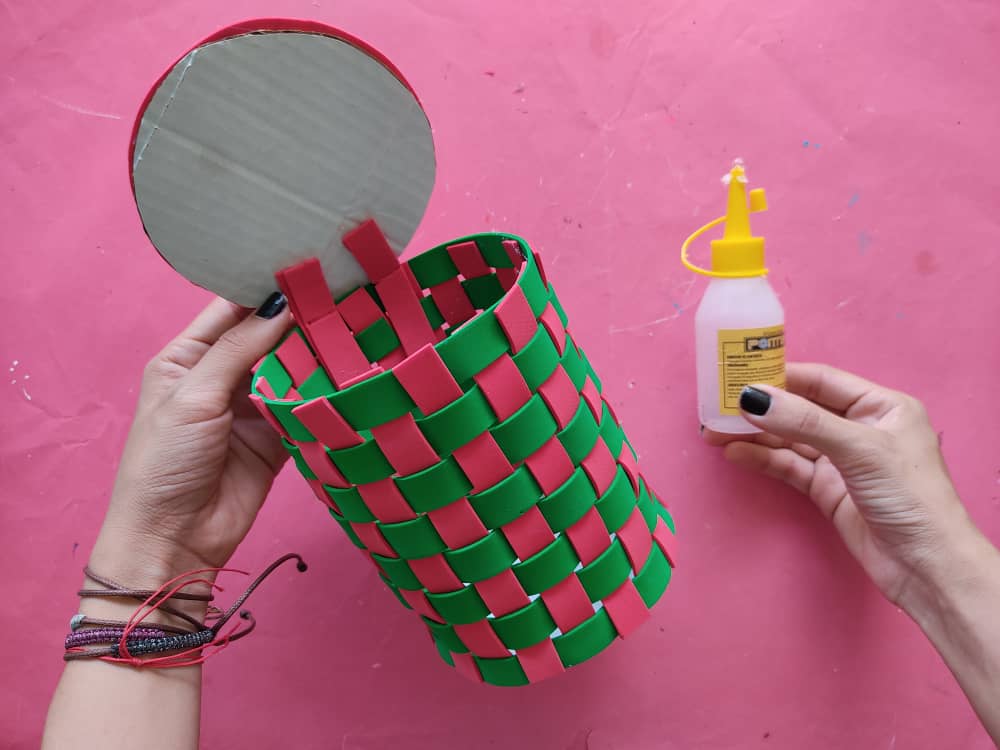
Luego, pegamos la tapa sobre pequeñas tiras haciendo presión por unos segundos.
Then, we glue the lid on small strips pressing for a few seconds.
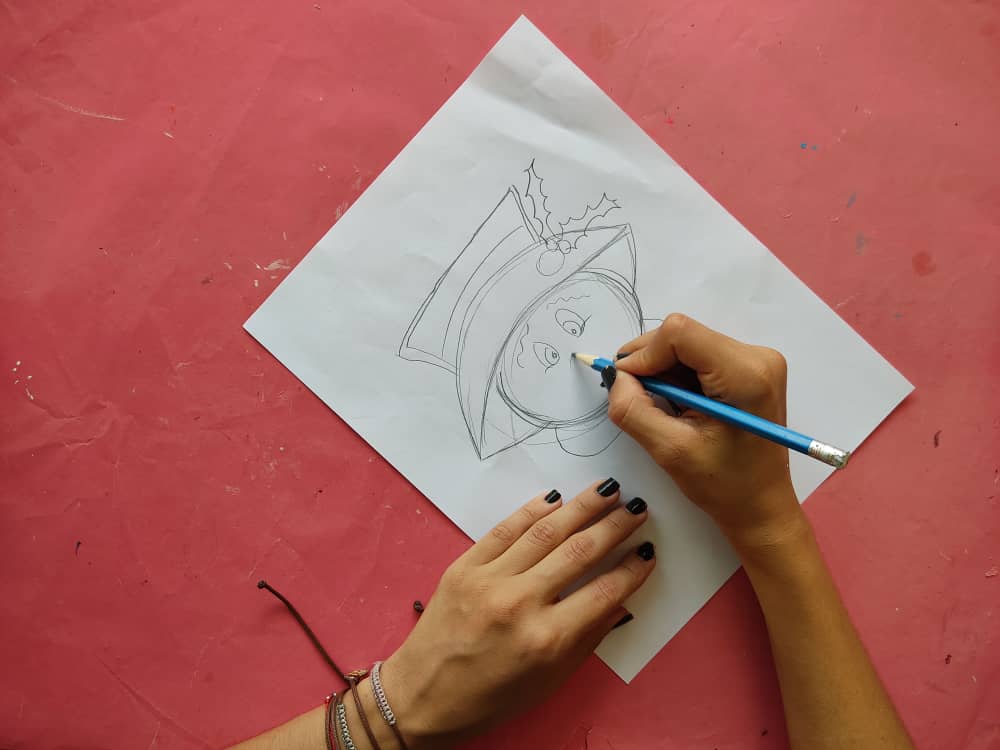
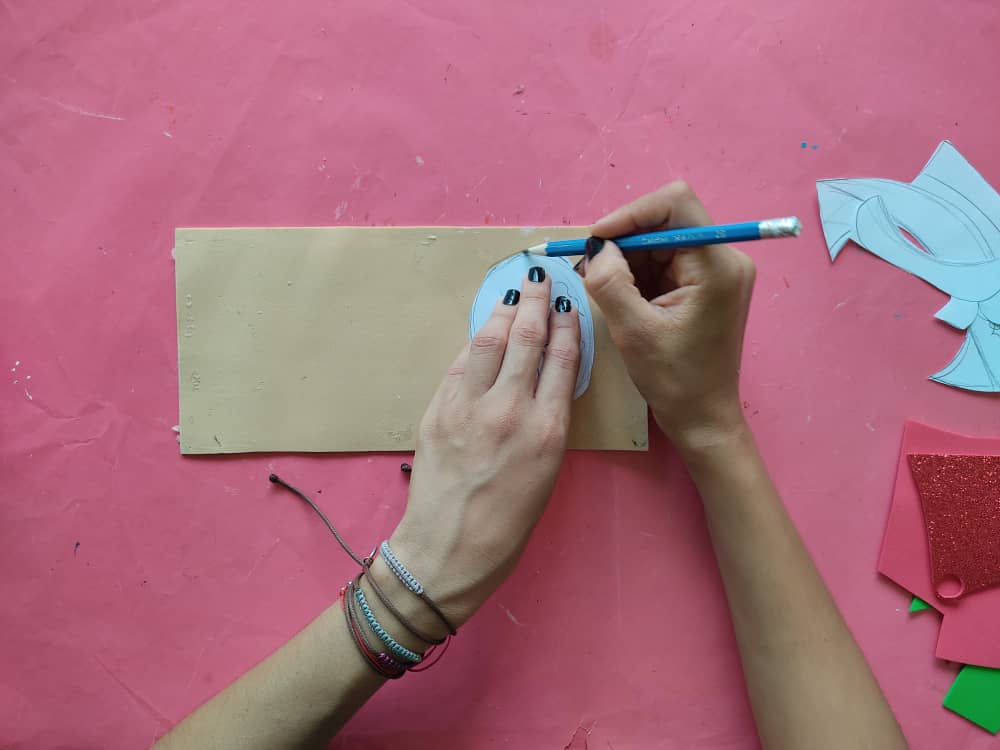
Una vez listo este hermoso cilindro navideño, elaboramos sobre papel el dibujo de un hermoso muñeco de nieve, Seguidamente, recortamos este lindo muñeco separando su sombrero, cara y bufanda.
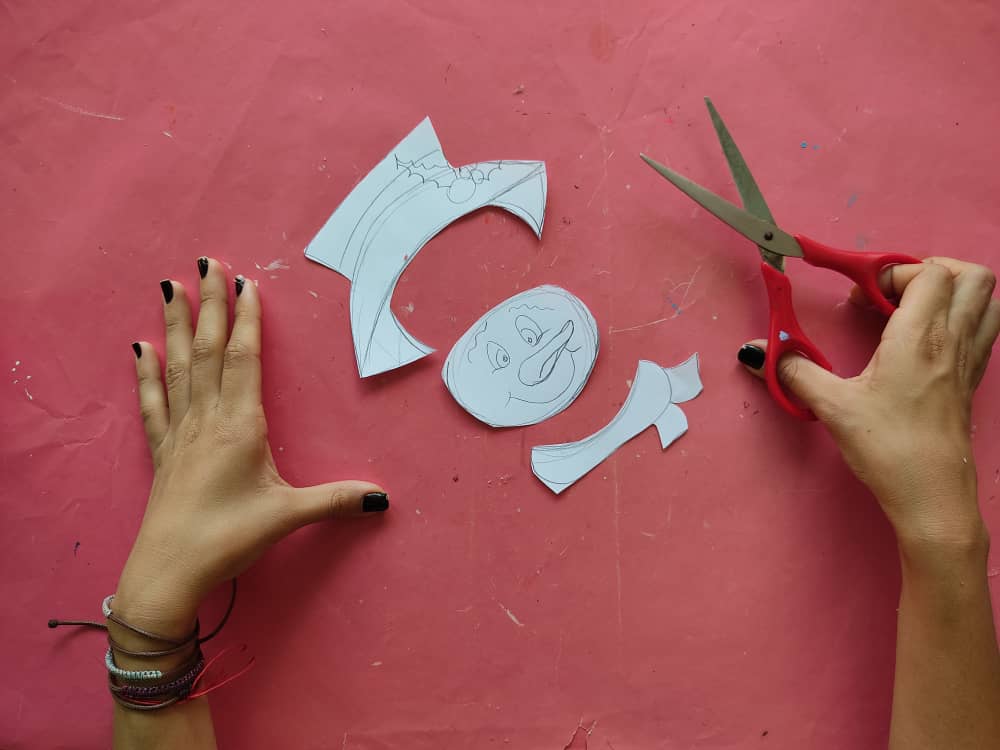
Once this beautiful Christmas cylinder is ready, we make a drawing of a beautiful snowman on paper, then we cut out this cute snowman by separating his hat, face, and scarf.
Ahora, transferimos estas pequeñas piezas al foamy en los colores que deseamos.
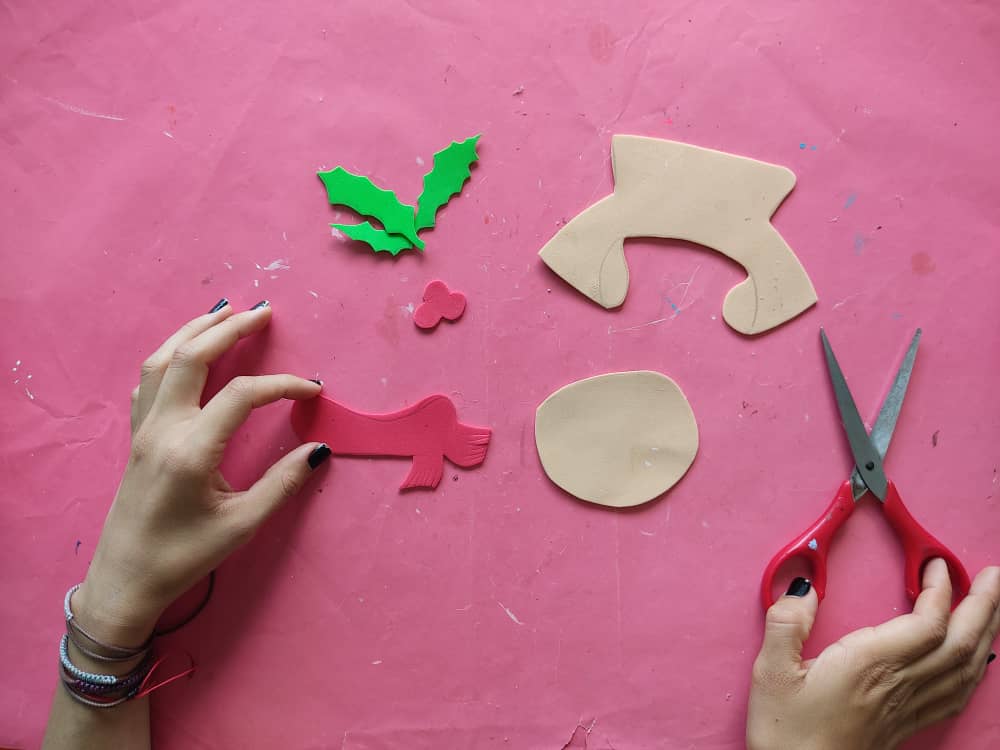
Now, we transfer these small pieces to the foamy in the colors we want.
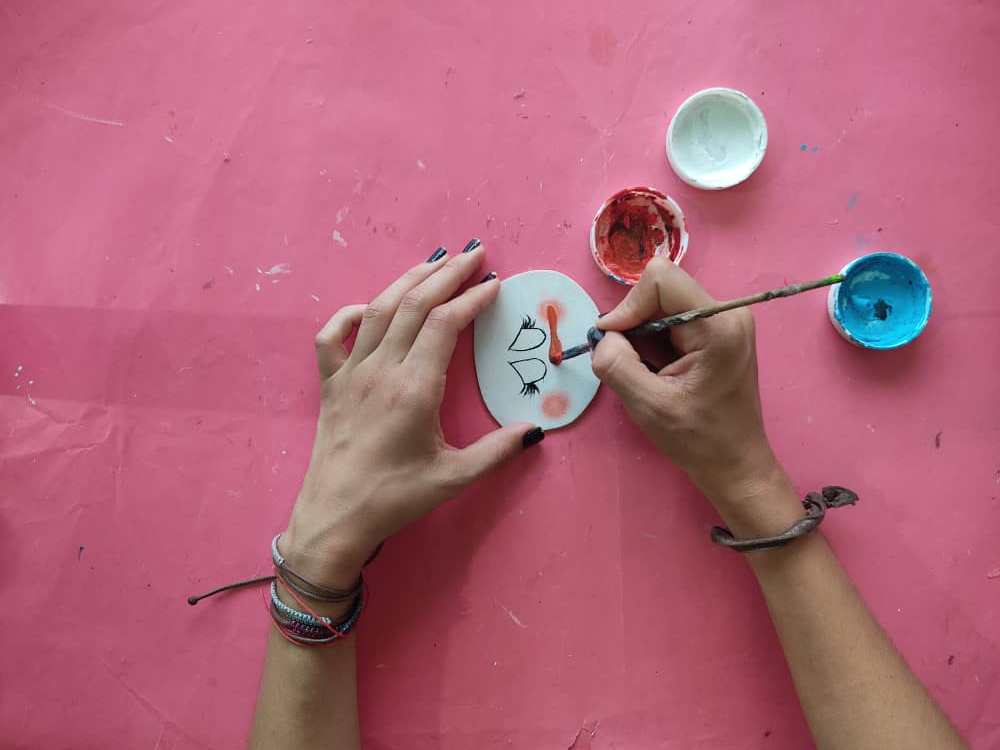
Seguidamente, pintamos la cara de este lindo hombre de nieve, de color blanco. Y definimos los ojos, nariz, y boca de manera que luzca muy hermoso.
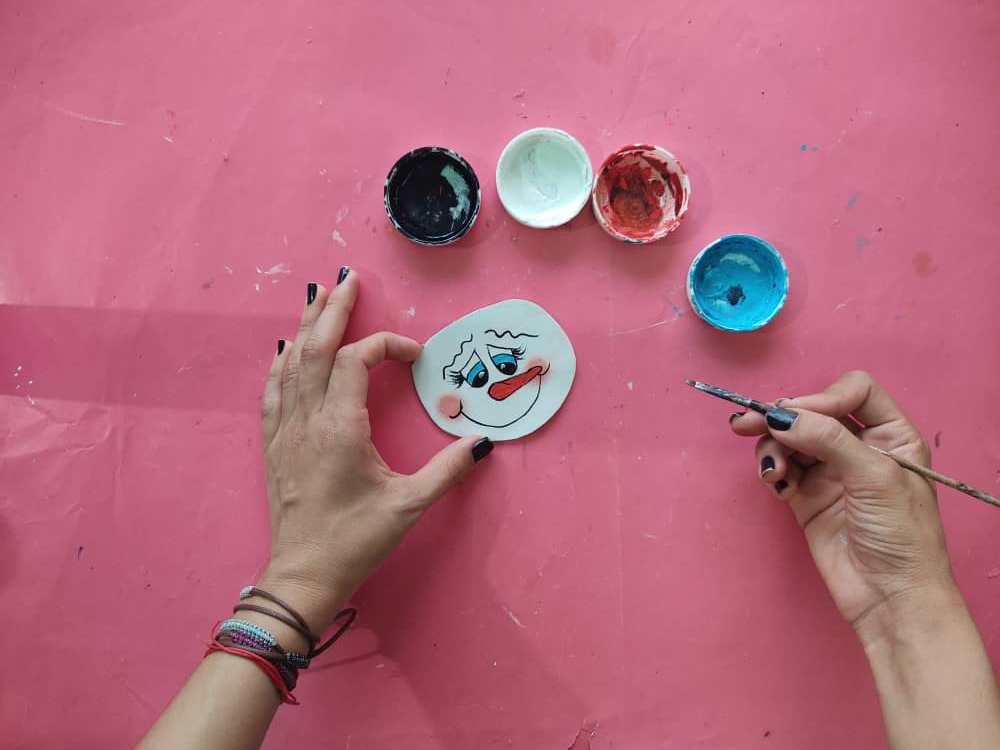
Next, we paint the face of this cute snowman, white. And we define the eyes, nose, and mouth so that it looks very beautiful.
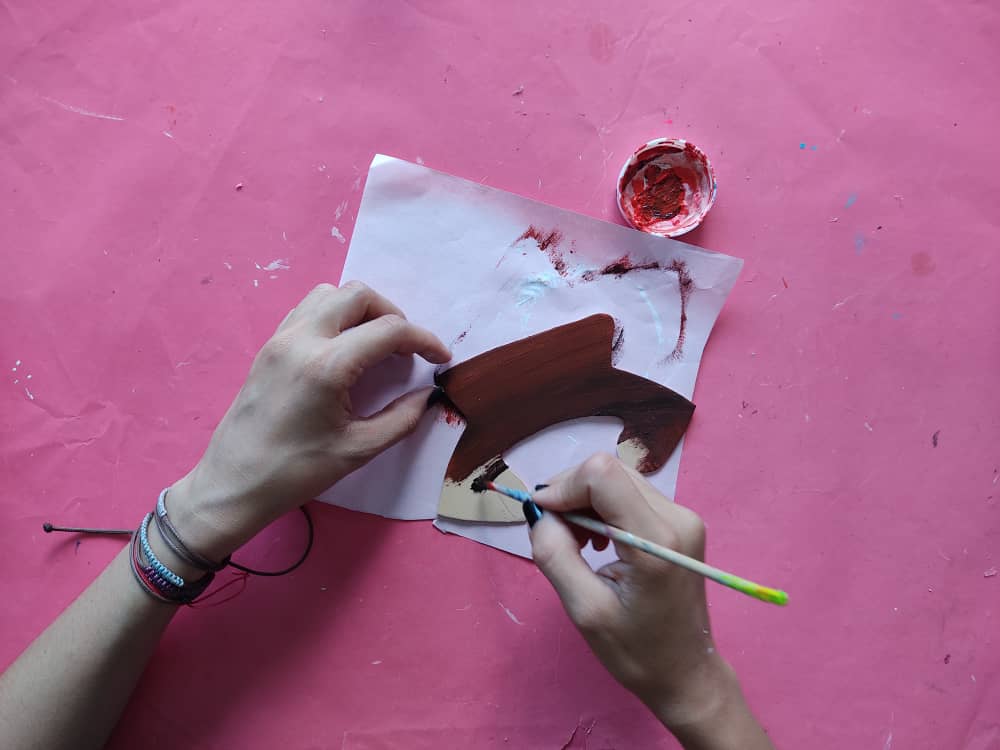
Ahora, pintamos el sombrero de color marrón y el resto de los accesorios de este elegante señor sombreando los bordes y definimos los simples detalles que deseamos en color negro.
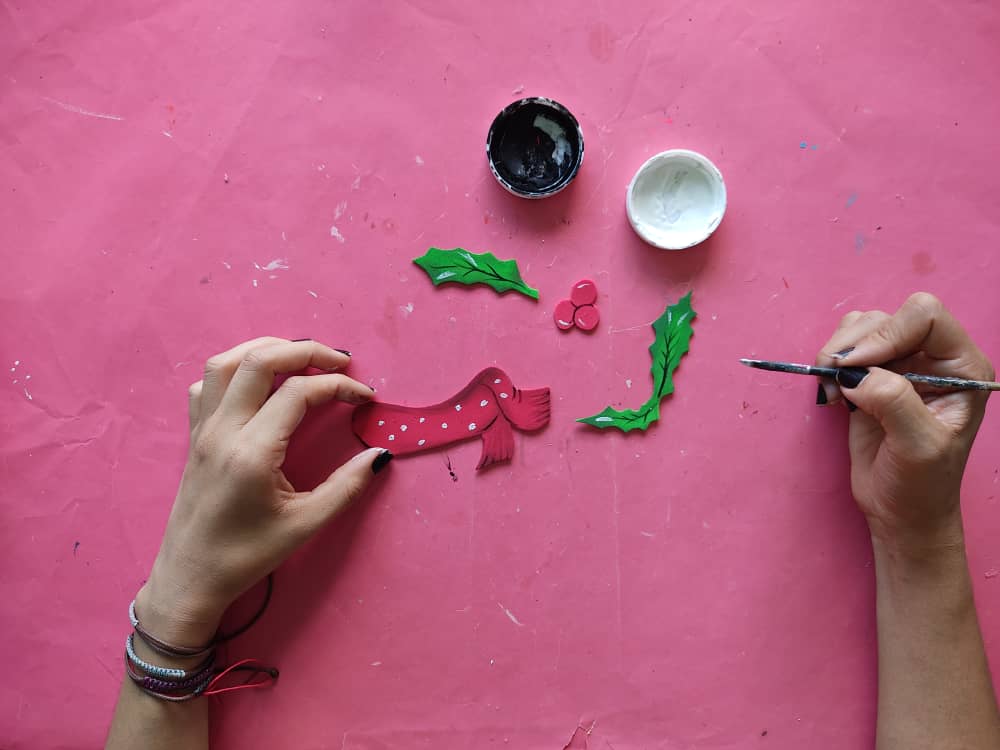
Now, we paint the hat in brown and the rest of the accessories of this elegant man shading the edges and defining the simple details that we want in black.
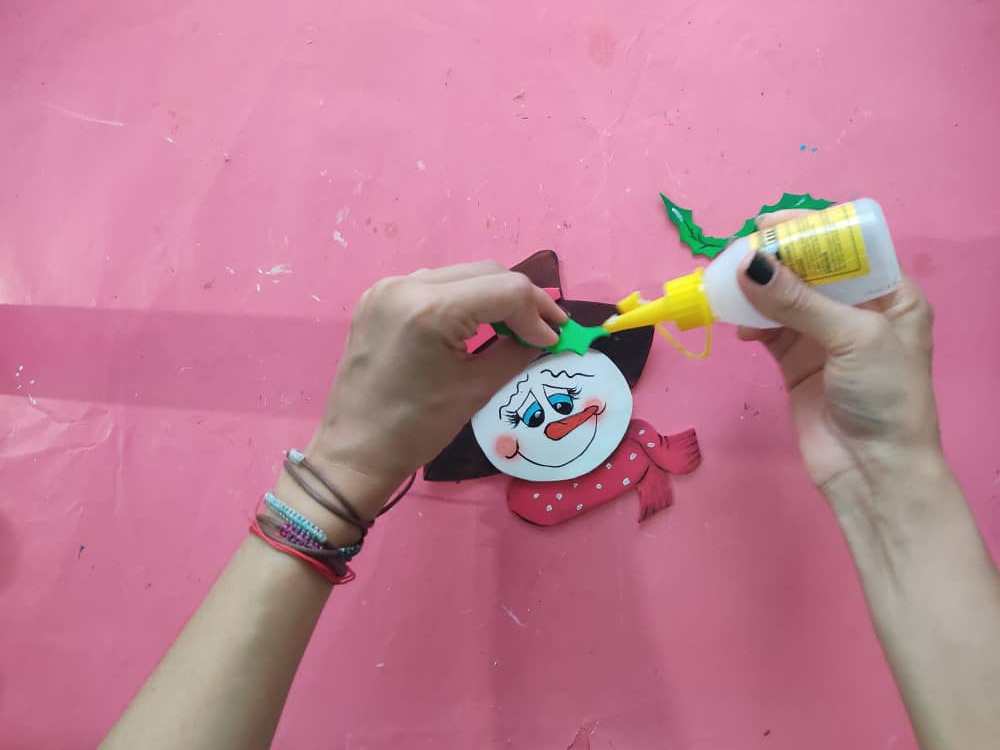
Luego, armamos al hombre de nieve asegurándonos que quede muy bien pegado.
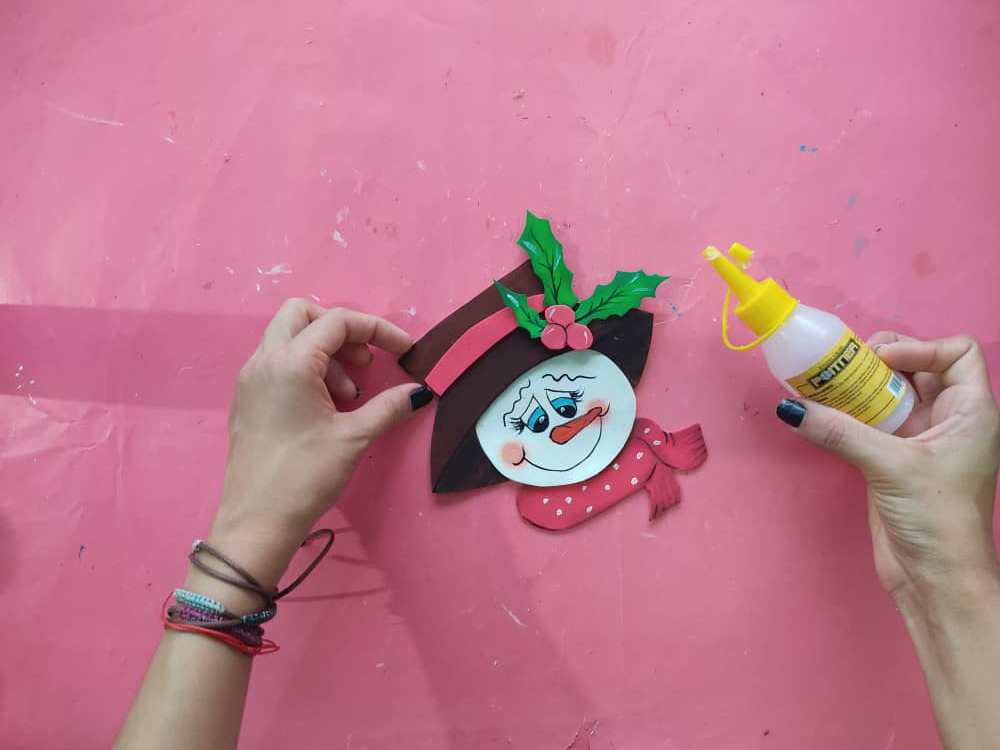
Then, we arm the snowman making sure that he is very well attached.

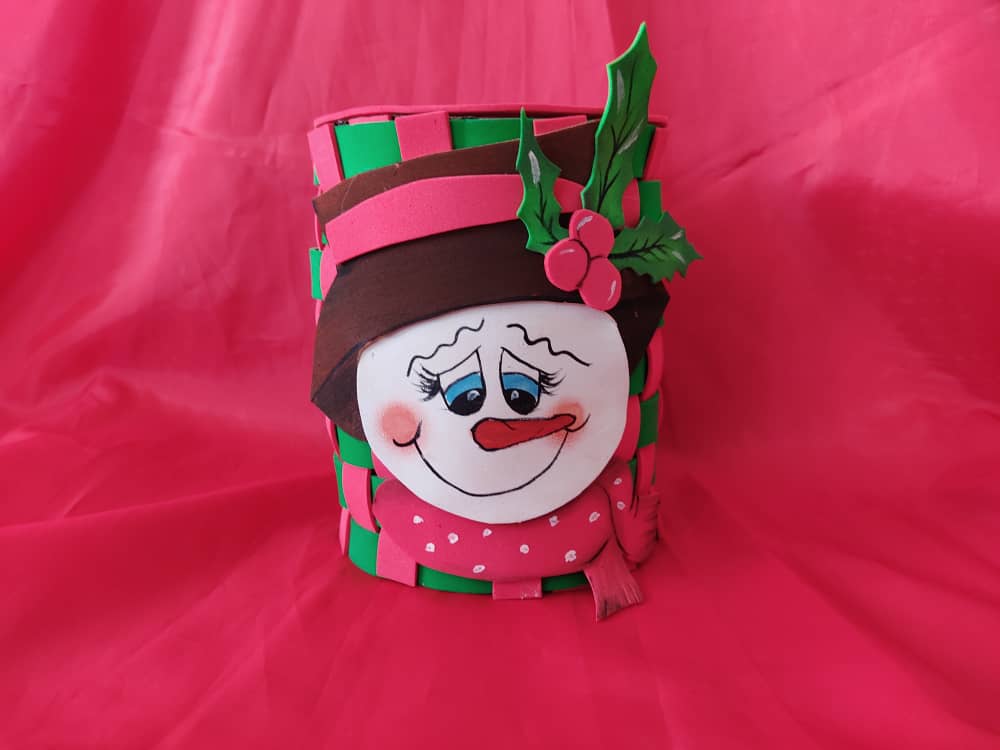
Finalmente, pegamos nuestro lindo muñeco a este original cilindro organizador y listo. Hermoso no?
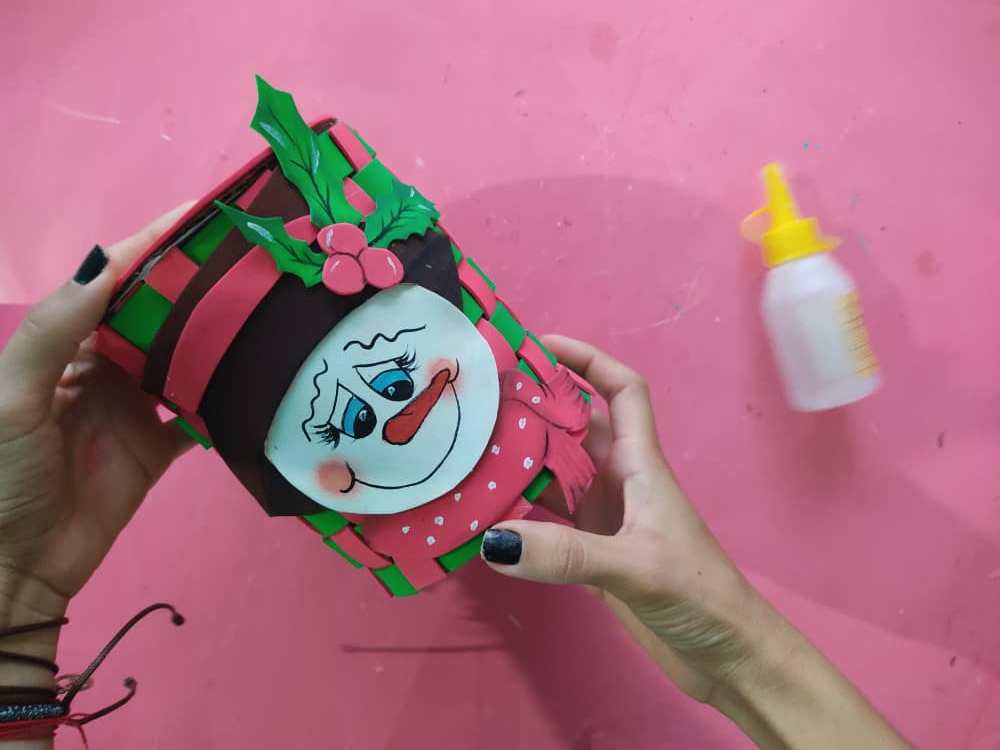
Finally, we glue our cute doll to this original organizer cylinder and that's it. Beautiful no?
Gracias por acompañarme y espero que lo hayan disfrutado. ❤️
Thanks for joining and I hope you enjoyed it.❤️
.jpeg)
.jpeg)
.jpeg)
.jpeg)
.jpeg)
.jpeg)
.jpeg)
.jpeg)
.jpeg)
.jpeg)
.jpeg)
.jpeg)


My twt #posh
Your post has been voted as a part of Encouragement program. Keep up the good work!
Boost your earnings, double reward, double fun! 😉
Support Ecency, in our mission:
Hivesigner: Vote for ProposalTry https://ecency.com and Earn Points in every action (being online, posting, commenting, reblog, vote and more).Ecency: https://ecency.com/proposals/141
Nice :)
Wow, quedo todo muy bien elaborado y muy bonito. Me animare a hacerlo, saludoss!!!