.jpeg)

Español
Hola hermoso HIVE ❤️ El día de les traigo otro nuevo y divertido tutorial donde aprenderemos a realizar un bello portalápices para niña, perfecto para decorar y ordenar nuestra mesa de trabajo y lo mejor de todo es que está hecha con materiales muy económicos y fáciles de conseguir, así que, no esperemos más y démosle a este año nuevo desarrollando nuestra creatividad al máximo.
English
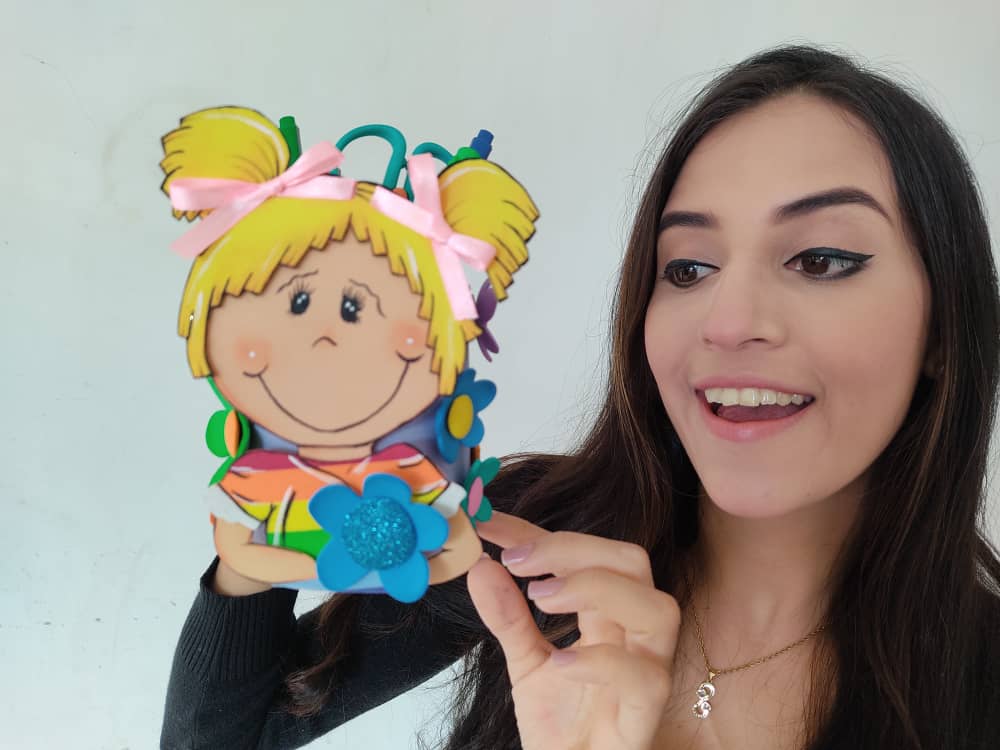
Hello, beautiful HIVE ❤️ On the day of I bring you another new and fun tutorial where we will learn how to make a beautiful pencil holder for a girl, perfect for decorating and ordering our work table and the best of all is that it is made with very cheap and easy-to-find materials, so, Let's not wait any longer and let's give this new year developing our creativity to the fullest.
¿Qué están esperando?
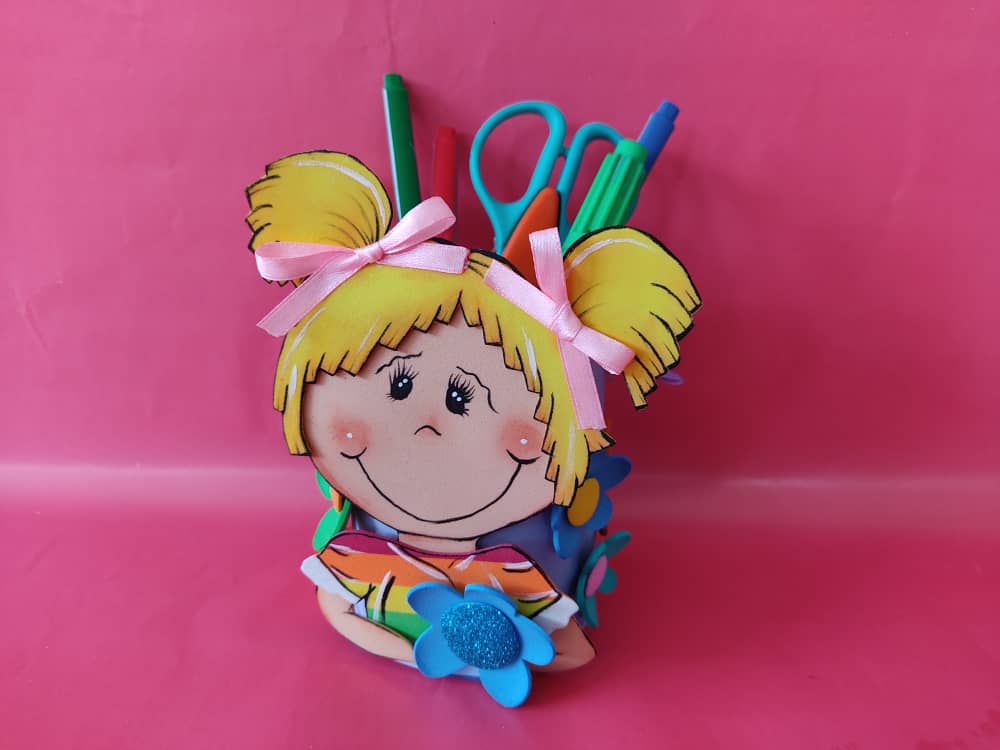
Gracias a este sencillo paso a paso podemos elaborar fácilmente un hermoso portalápices, perfecto e ideal que nuestros niños guarden sus materiales y herramientas de estudios, y además, podemos decorar nuestro entorno y darle ese toque creativo a nuestro hogar y trabajo. Antes de comenzar no olvidemos lavarnos nuestras manos.
What are they waiting for?
Thanks to this simple step by step we can easily make a beautiful pencil holder, perfect and ideal for our children to keep their materials and study tools, and we can also decorate our environment and give that creative touch to our home and work. Before we start, let's not forget to wash our hands.
[Materiales | Materials]
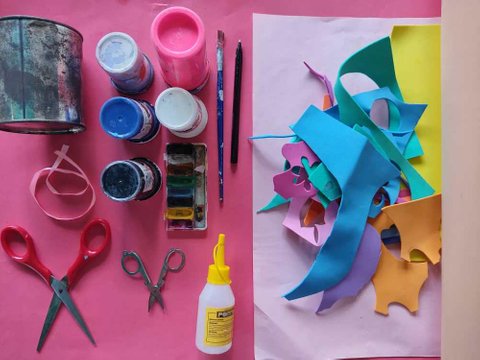
Para realizar esta linda obra necesitaremos:
- Foamy o goma eva.
- Lápiz de grafito.
- Pinturas.
- Pinceles.
- Tijera.
- Latas recicladas.
- Plancha de cabello.
- Cinta decorativa.
- Pegamento o silicón liquido.
To make this cute work we will need:
- Foamy or eva foam.
- Graphite pencil.
- Paintings.
- Brushes.
- Scissors.
- Recycled cans.
- Hair straightener.
- Decorative ribbon.
- Glue or liquid silicone.
Procedimiento (paso a paso)
Process (step by step)
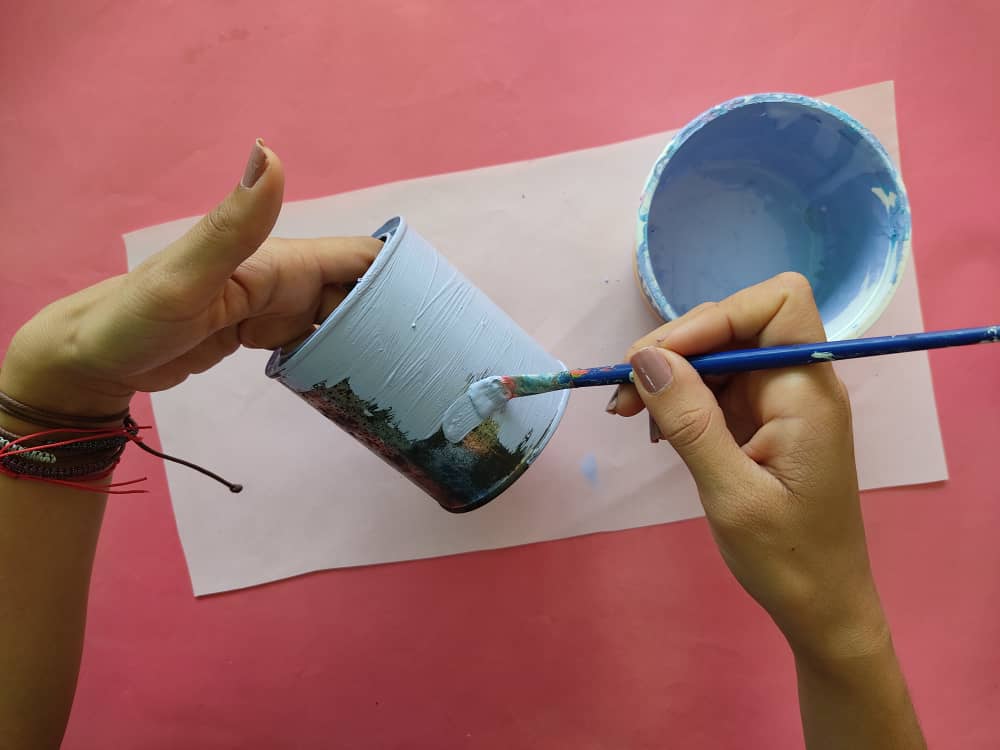
Primero, pintamos la lata de aluminio con un hermoso color lila para que luzca muy delicada y dejamos secar por algunos minutos.
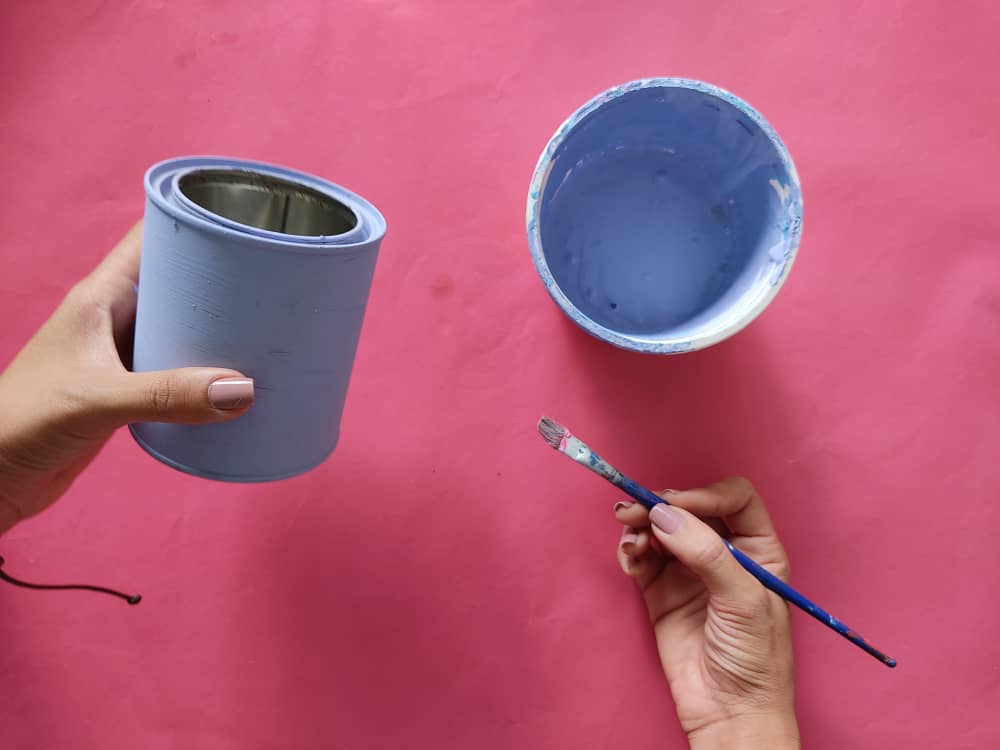
First, we paint the aluminum can with a beautiful lilac color to make it look very delicate and let it dry for a few minutes.
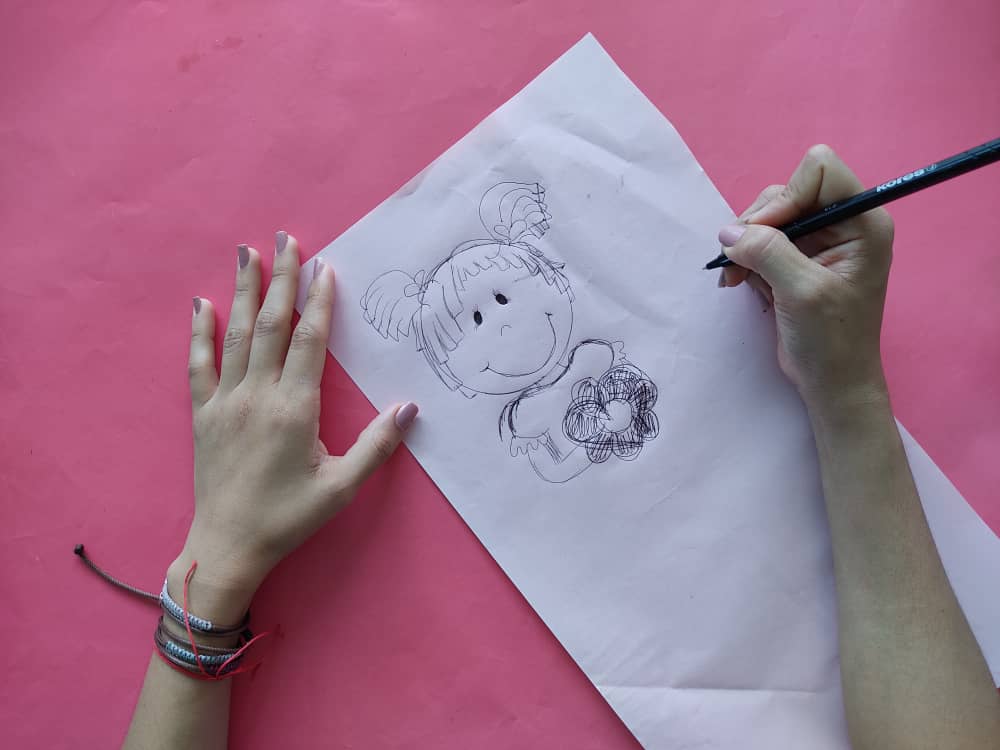
Ahora, dibujamos en un papel la imagen con la que deseamos decorar nuestra lata portalápices, en este caso opte por hacer una linda niña. Seguidamente, recortamos el dibujo que hemos elaborado, separando las figuras del cabello, cabeza, camisa y flor.
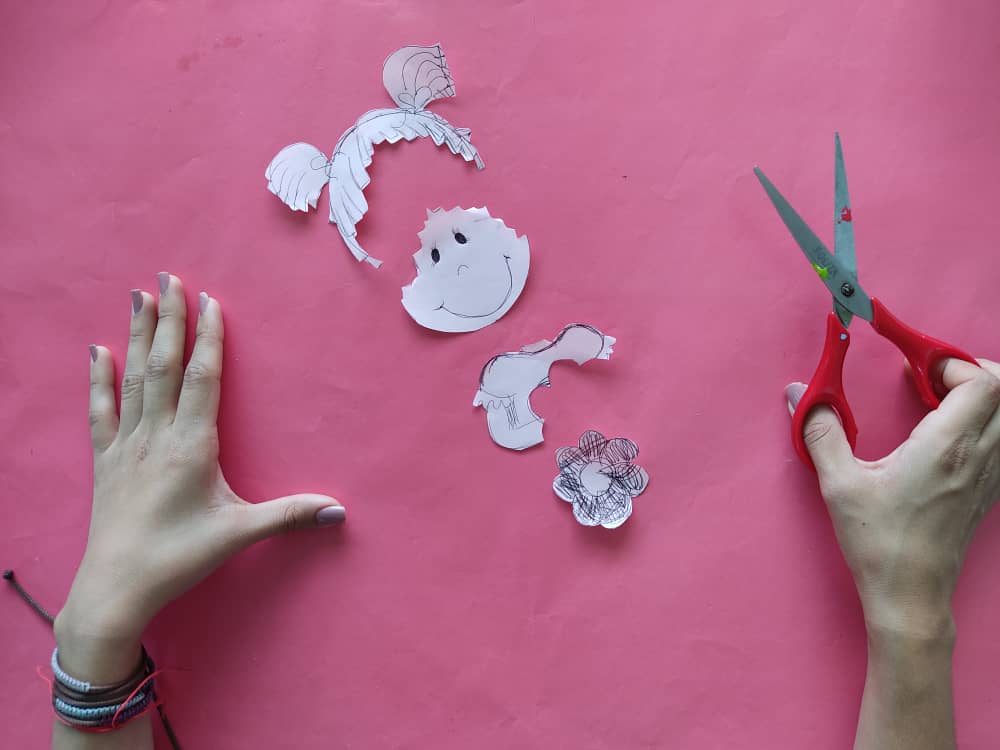
Now, we draw on paper the image with which we want to decorate our pencil holder tin, in this case, I chose to make a cute girl. Next, we cut out the drawing that we have made, separating the figures of the hair, head, shirt, and flower.
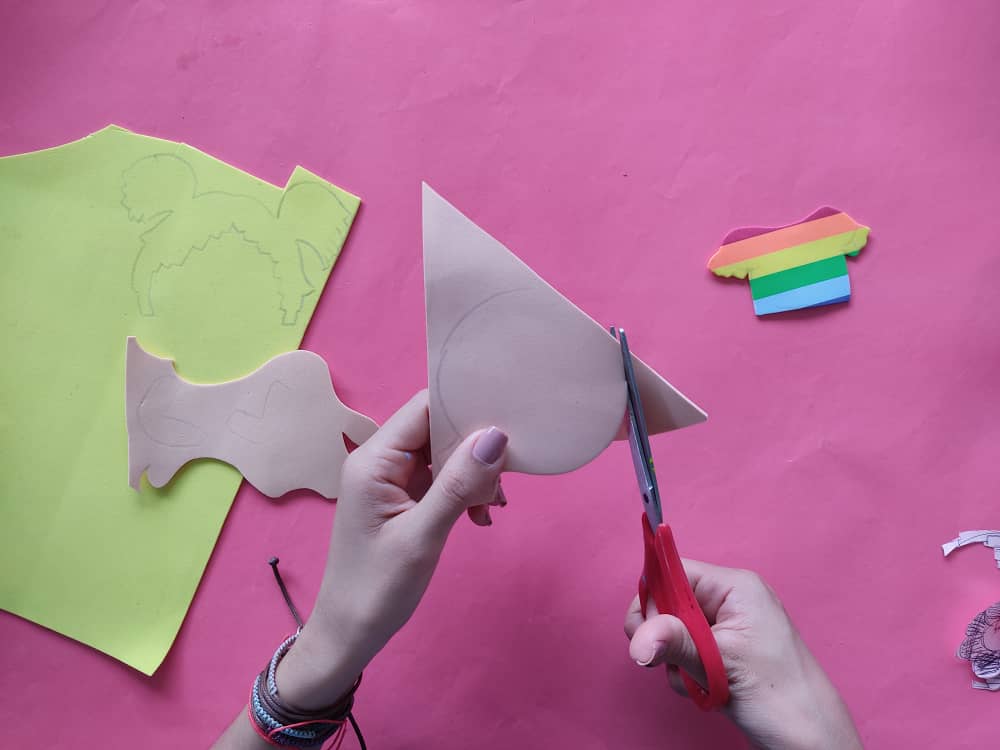
Luego, transferimos las piezas de la niña a los distintos trozos de foamy, seleccionando los colores deseados de acuerdo con sus formas.
Then, we transfer the pieces of the girl to the different pieces of foamy, selecting the desired colors according to their shapes.
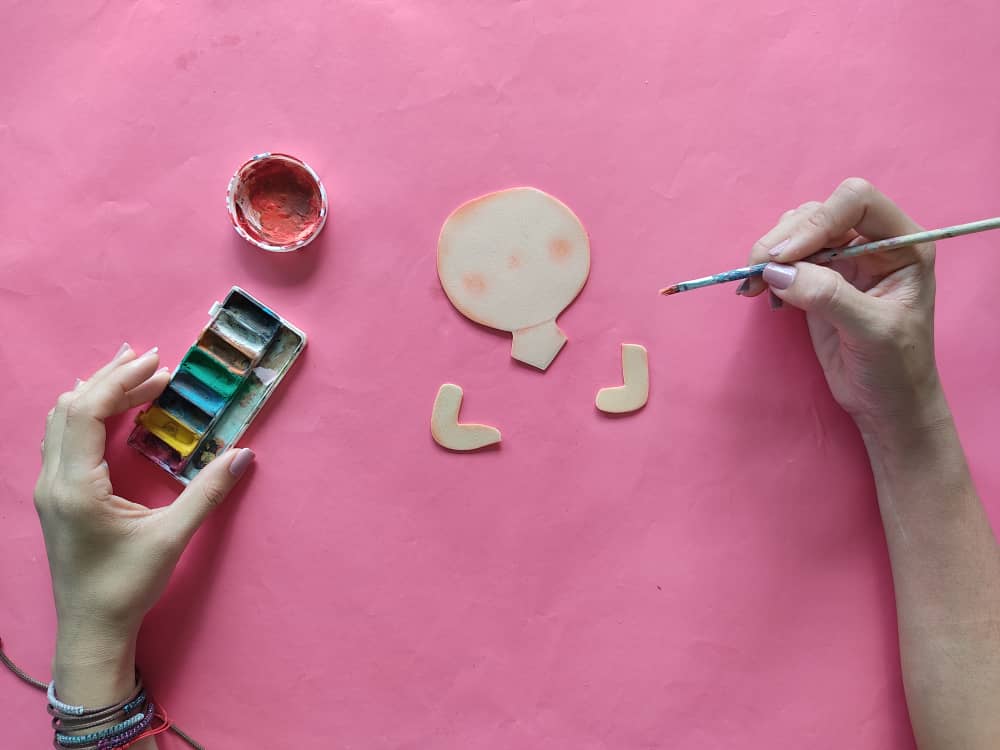
Ahora, comenzamos a pintar las piezas de la cara y los brazos de la niña, sombreando sus bordes de color naranja claro. Y definimos los detalles y bordes con color negro.
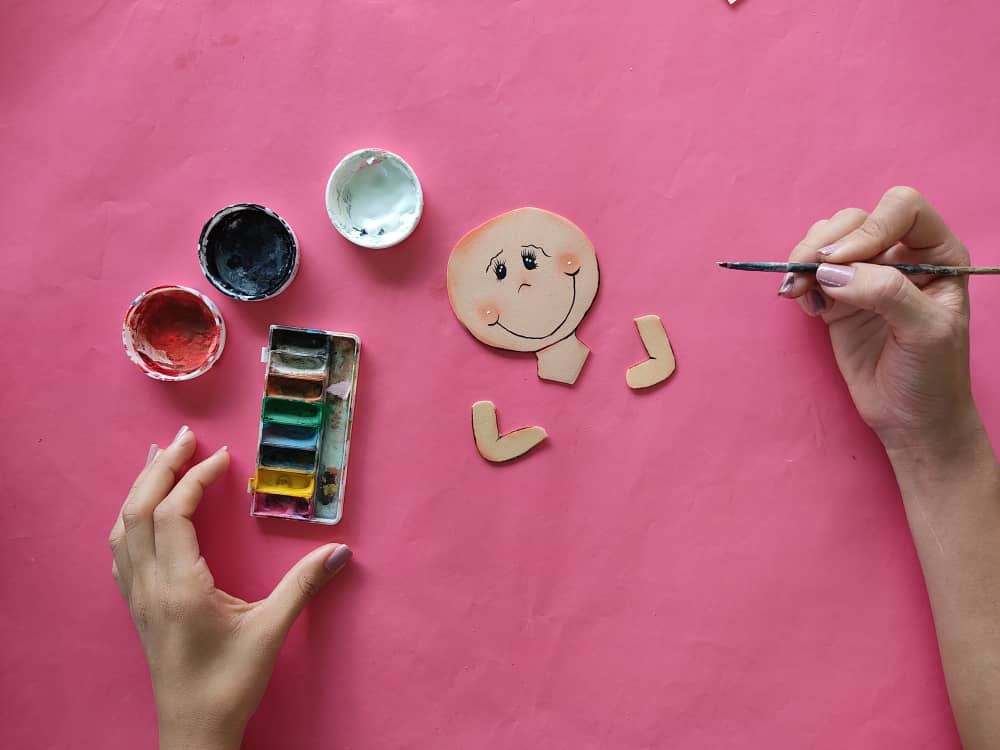
Now, we begin to paint the pieces of the girl's face and arms, shading their edges light orange. And we define the details and edges with black.
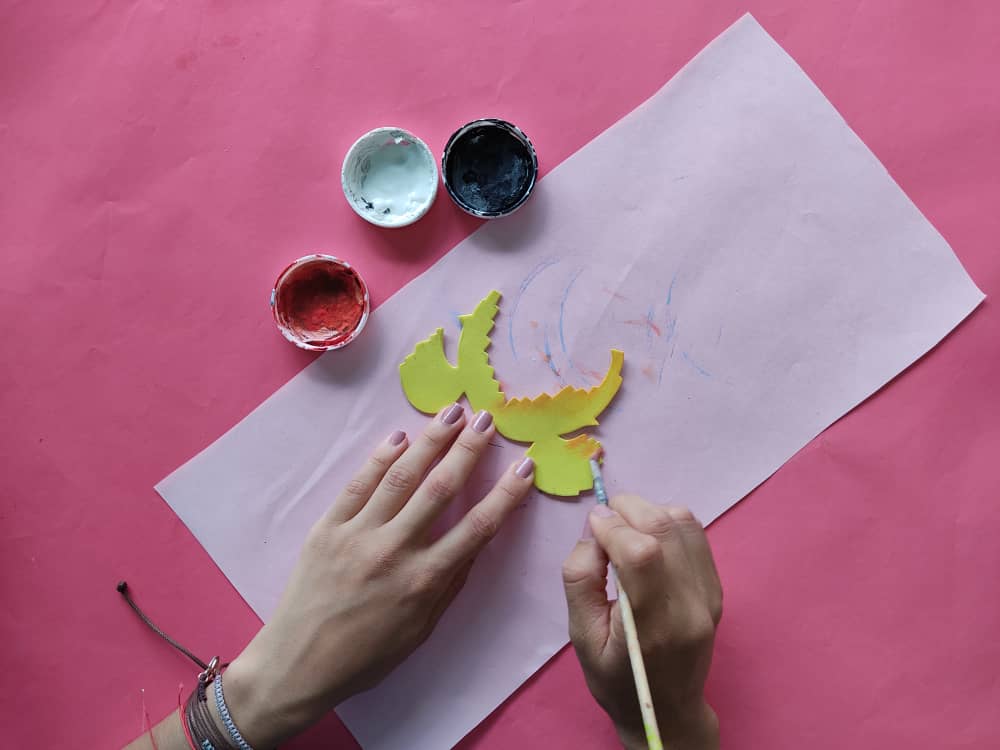
Continuamos, pintando el cabello de la niña sombreando un poco los bordes de naranja para darle un toque de profundidad, luego marcamos los bordes de color negro.
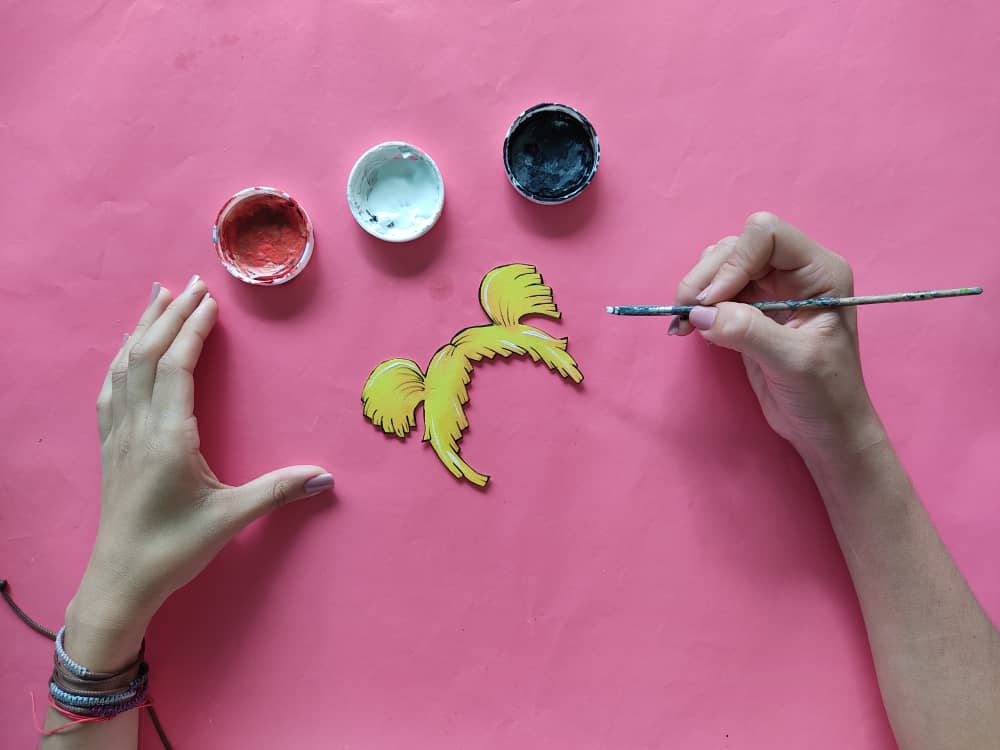
We continue, painting the girl's hair shading the edges a little orange to give it a touch of depth, then we mark the edges in black.
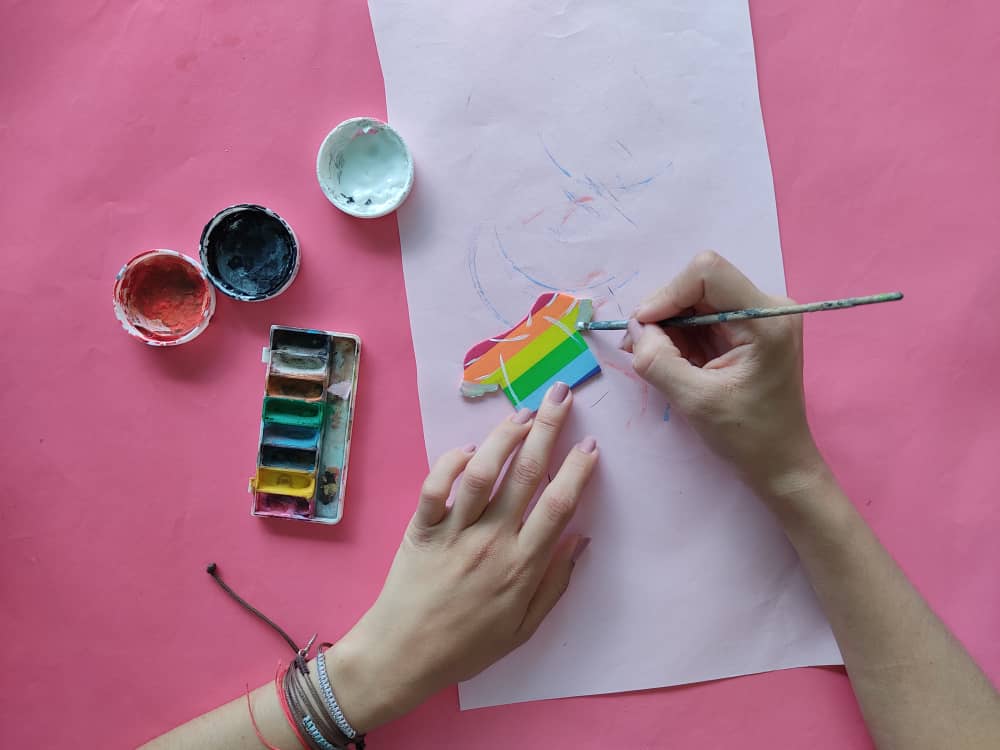
Luego, pintamos la camiseta de la niña definiendo pequeños detalles con colores blanco y negro.
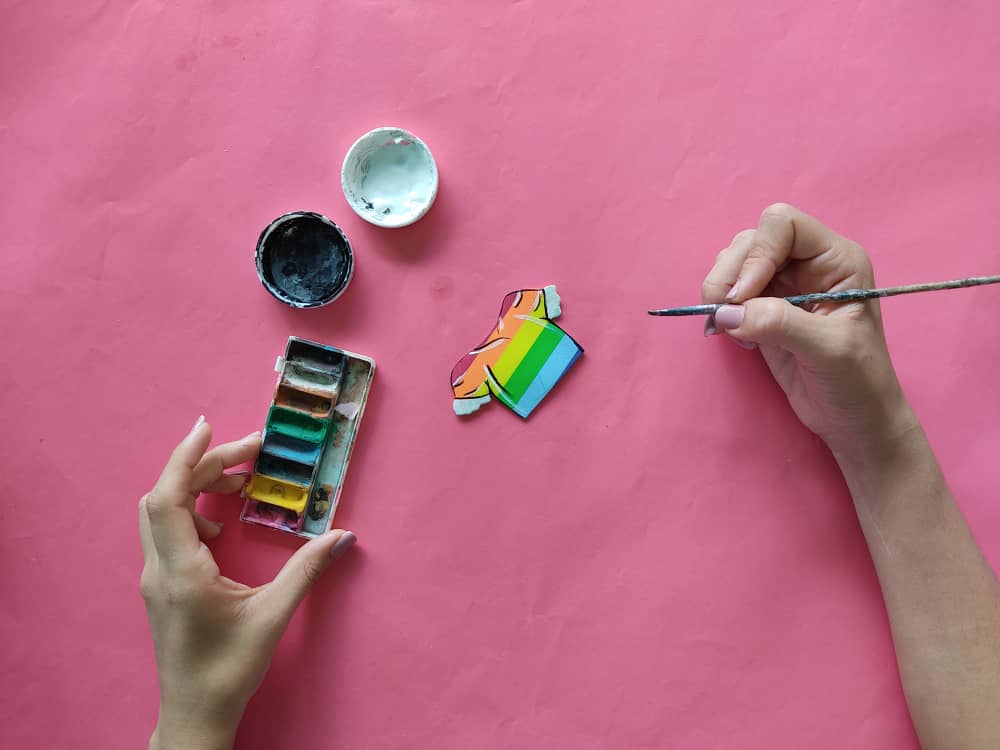
Then, we paint the girl's shirt defining small details with black and white colors.
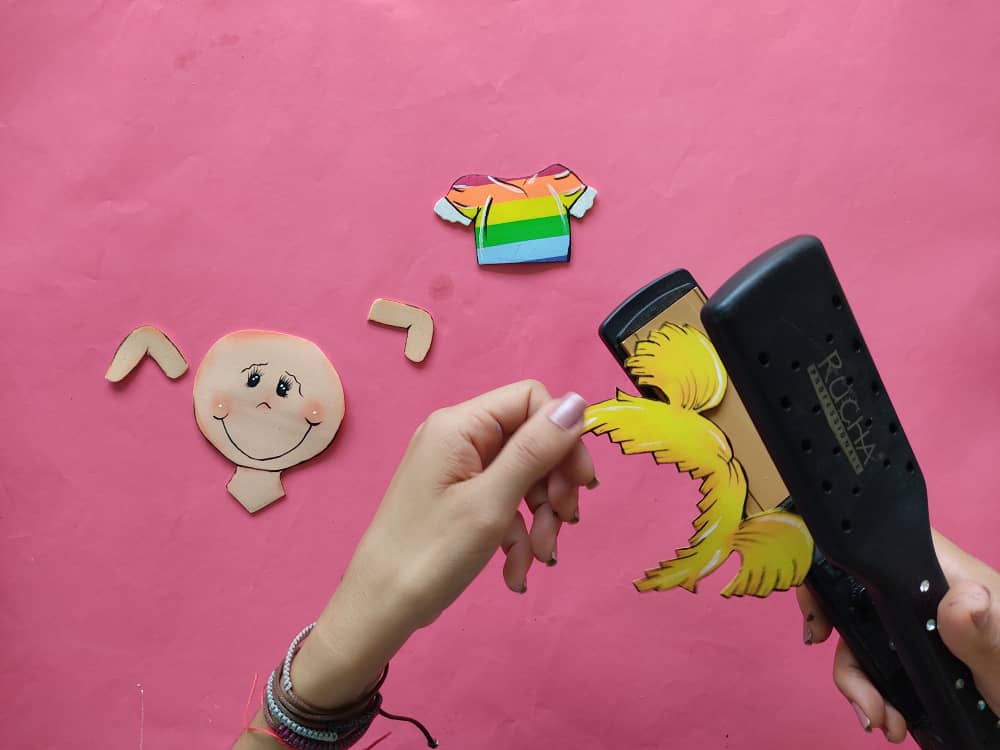
Ahora, aplicamos la técnica del termoformado para darle un poco de volumen a las partes de esta linda niña.
Now, we apply the technique of thermoforming to give some volume to the parts of this cute girl.
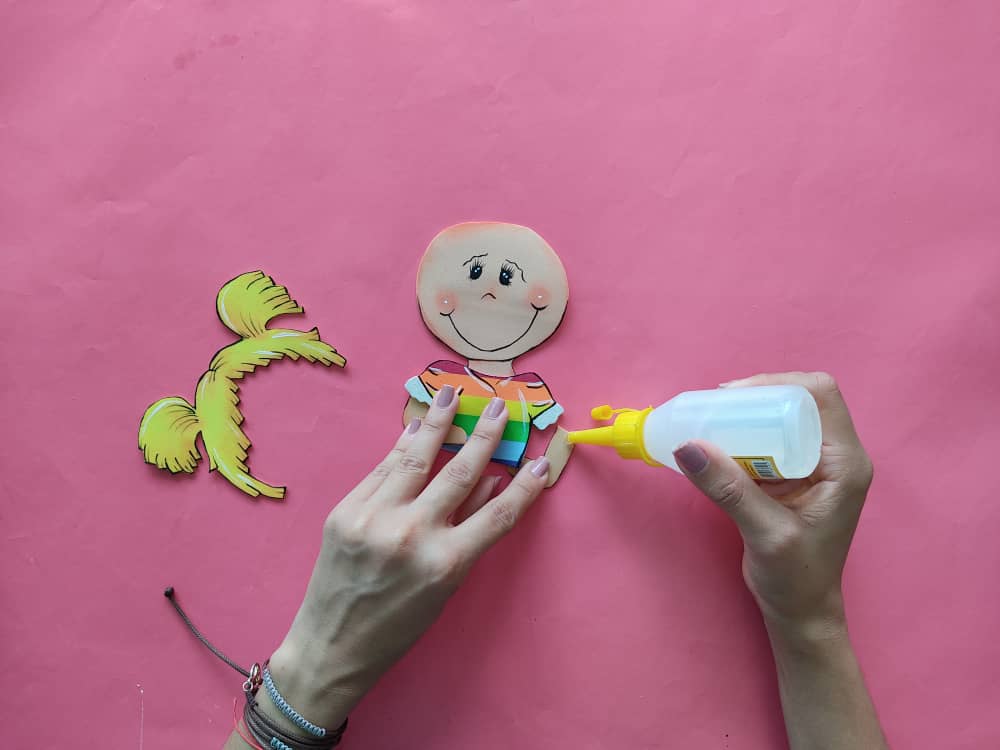
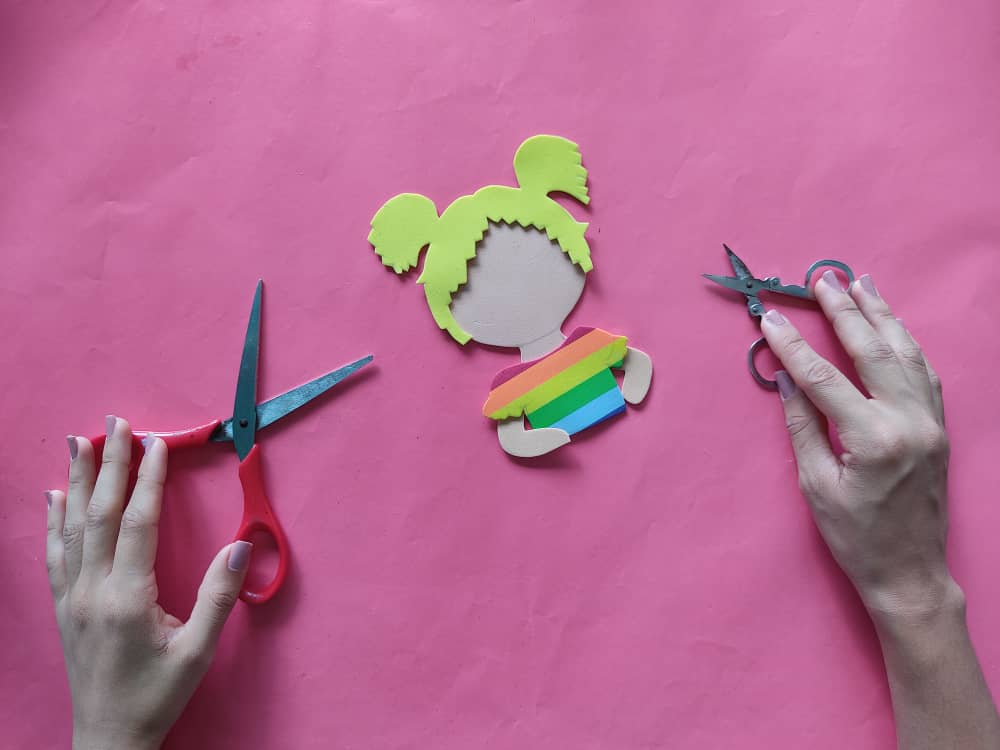
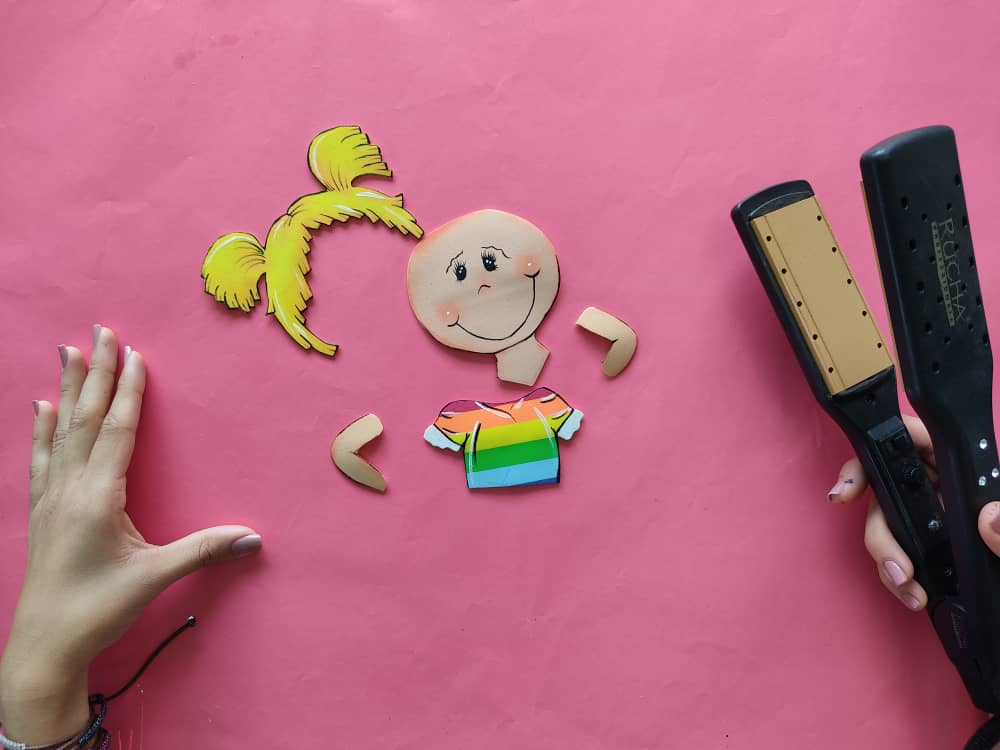
Seguidamente, comenzamos a armar está tierna niña pegando sus partes con silicón frío.
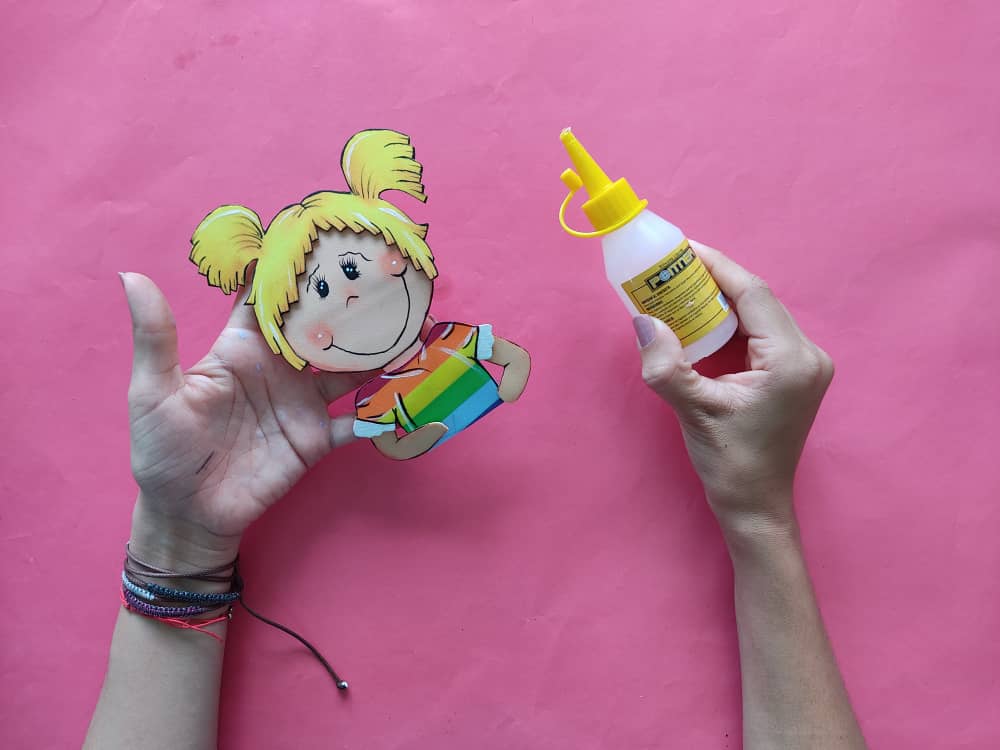
Next, we begin to assemble this tender girl by gluing the parts of her with cold silicone.
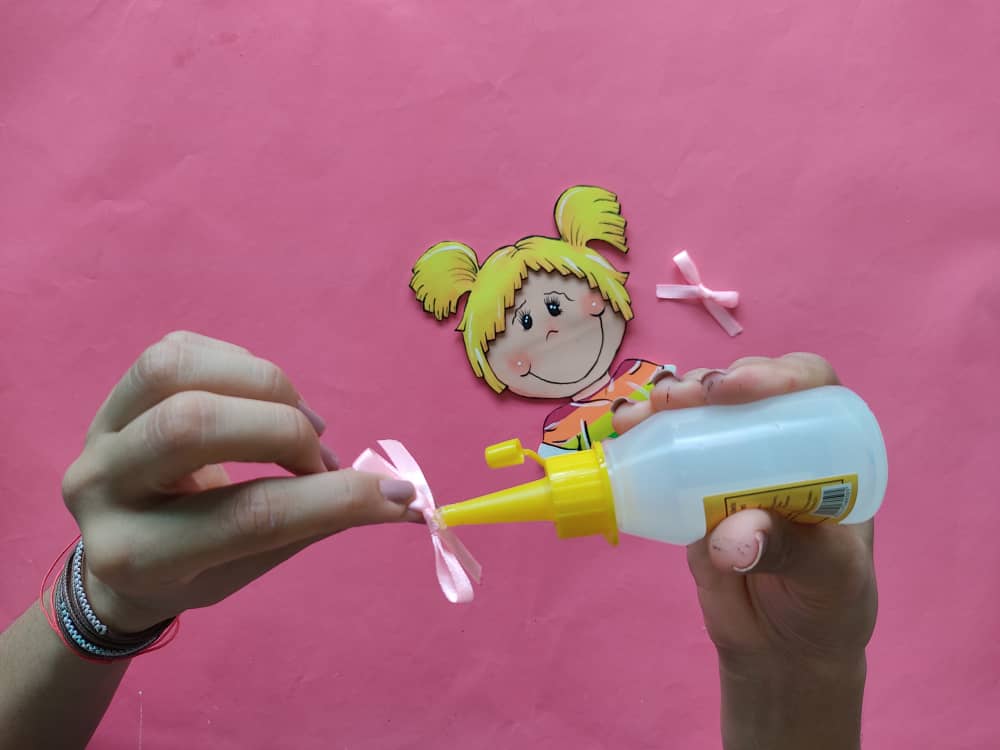
Una vez que esté lista, elaboramos dos pequeños lazos que irán en su cabello.
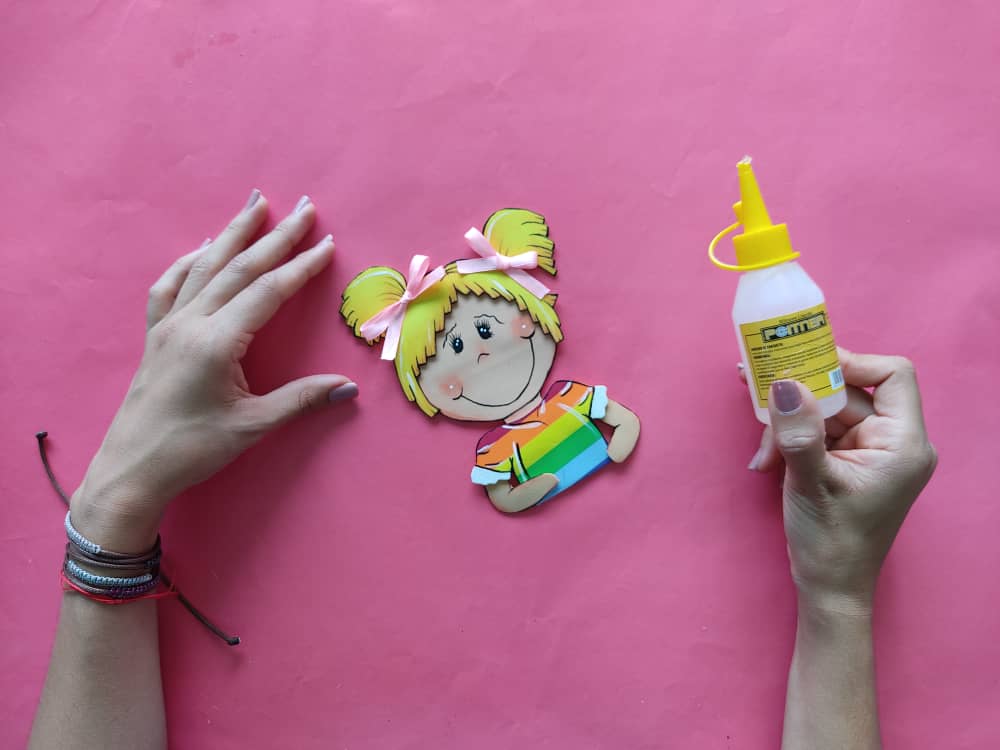
Once she is ready, we make two little bows that will go in her hair.
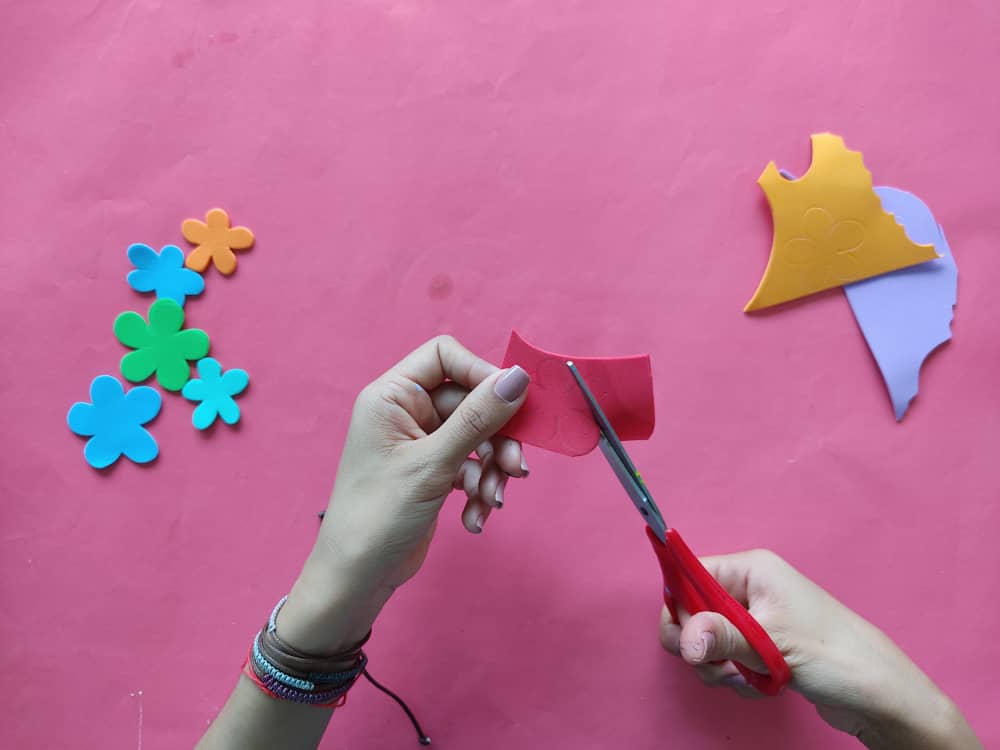
Después, elaboramos varias flores en distintos retazos de foamy de los colores que más nos gusten, sin olvidar los círculos que irán en el centro de estás.
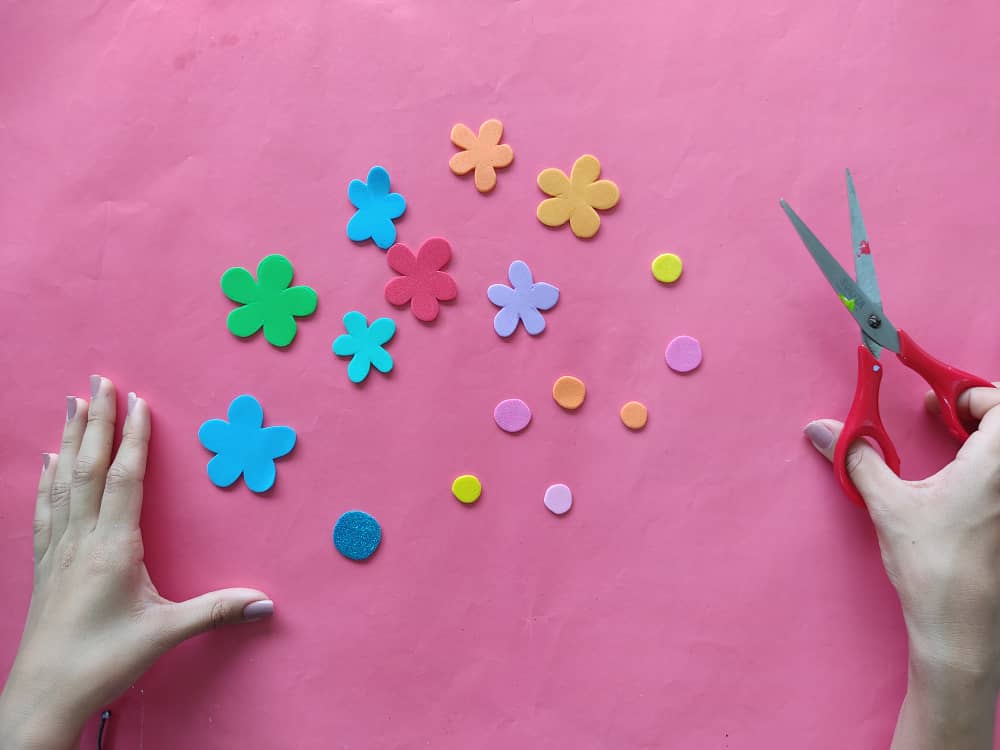
Then, we make several flowers in different pieces of foamy in the colors that we like the most, without forgetting the circles that will be in the center of these.
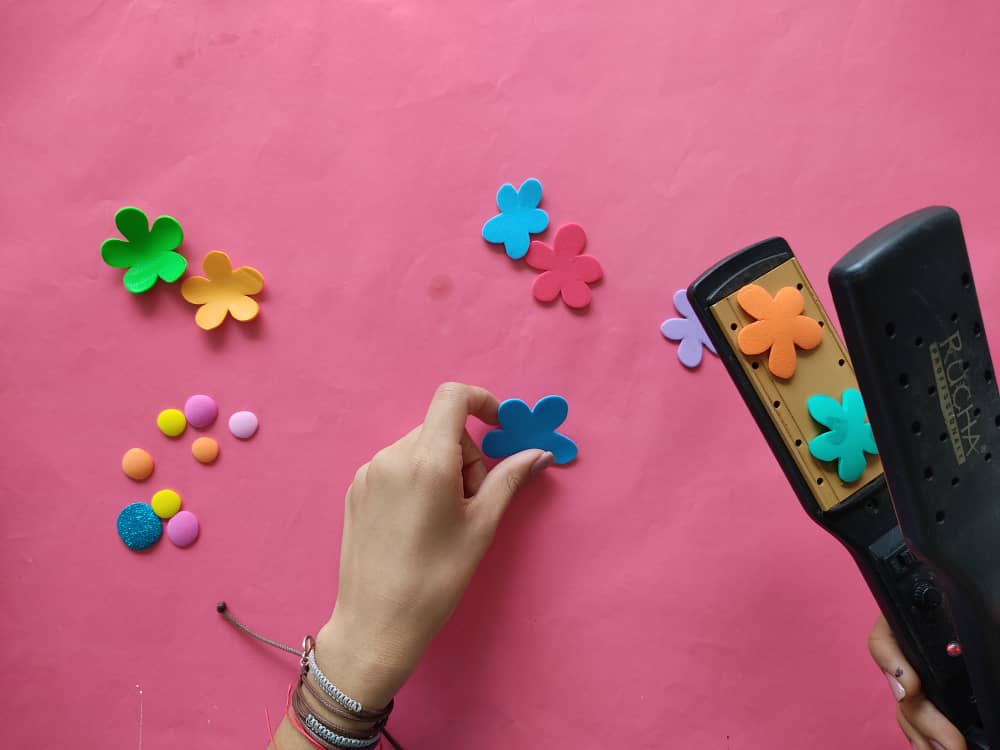
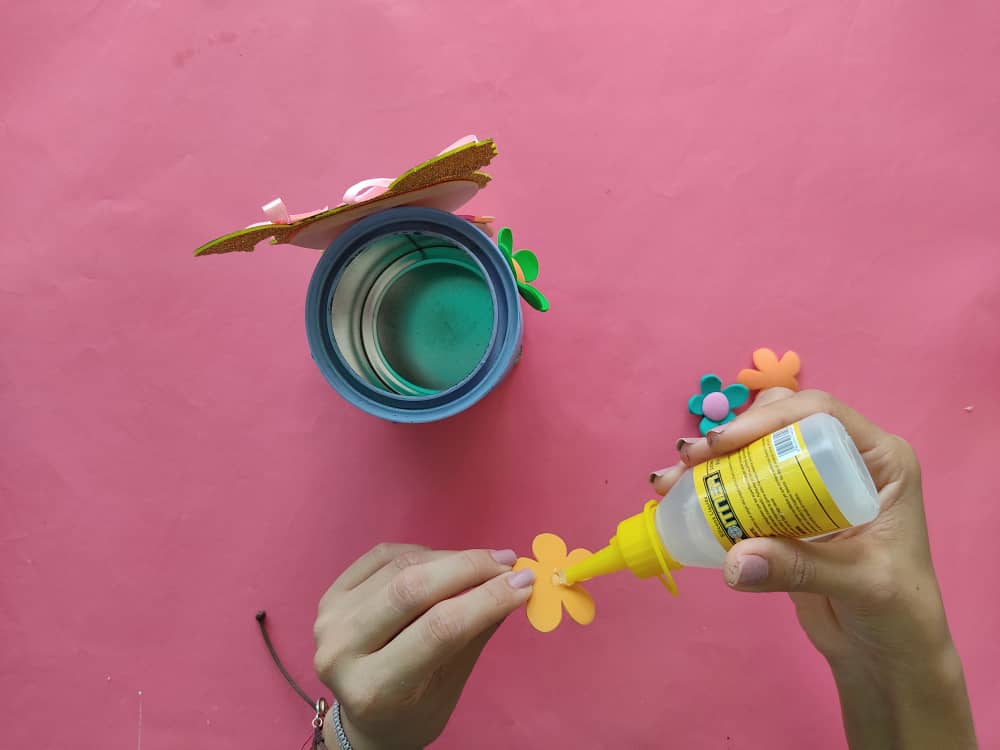
Seguidamente, aplicamos la técnica de termoformado para que nuestras flores luzcan más hermosas. Terminamos las flores pegando los círculos en cada uno de los centros.

Next, we apply the thermoforming technique to make our flowers look more beautiful. We finish the flowers by gluing the circles in each of the centers.

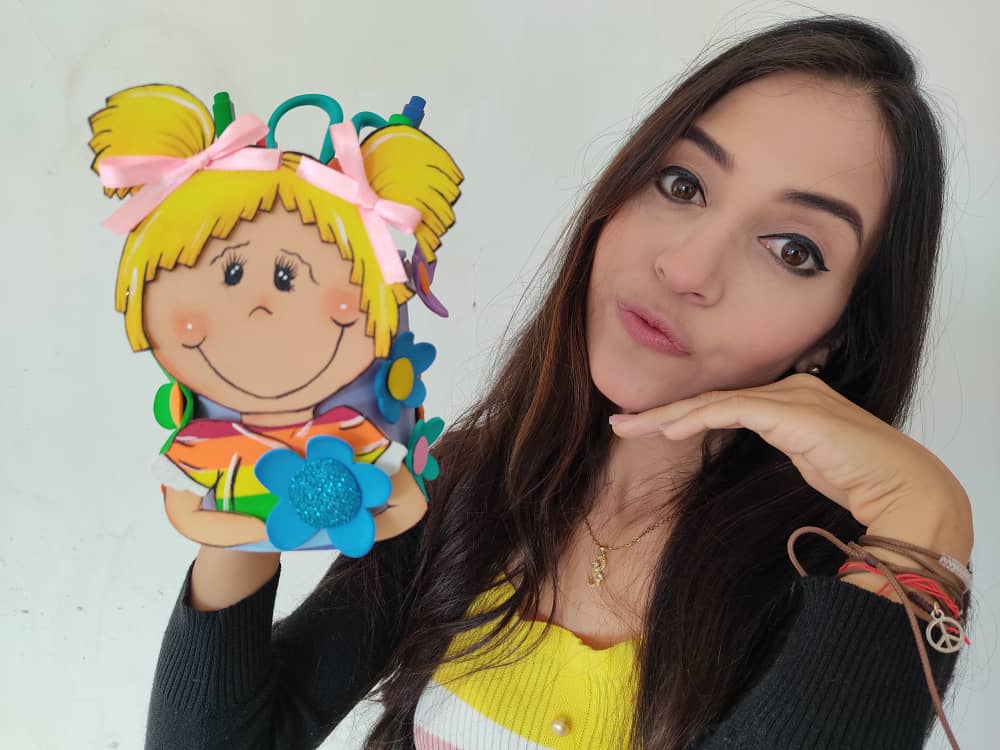
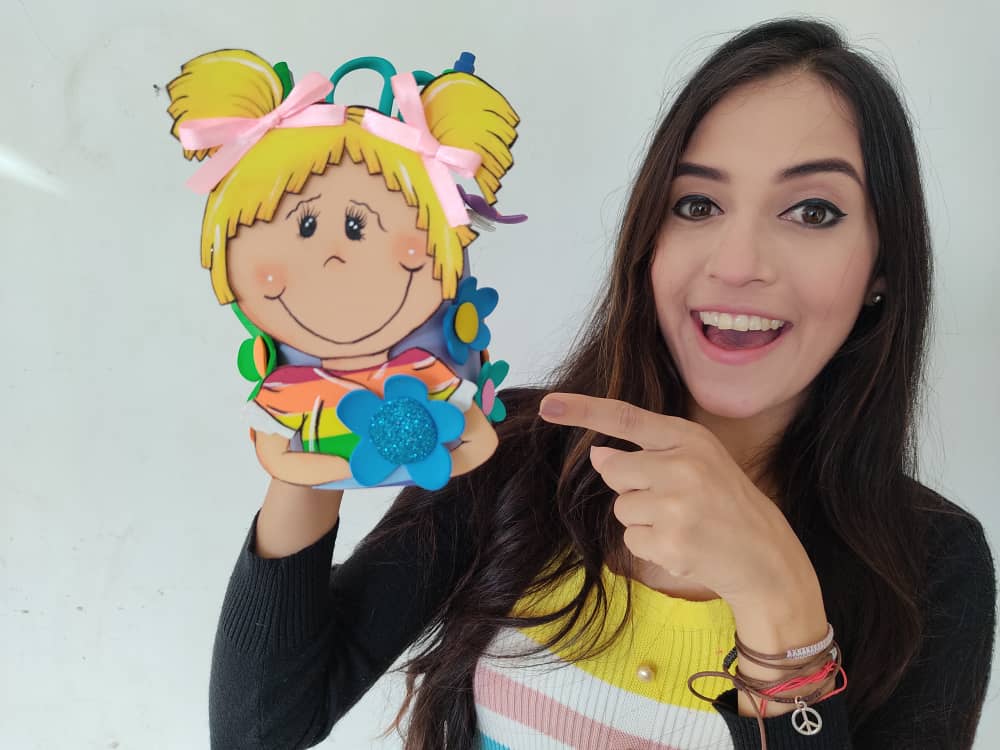
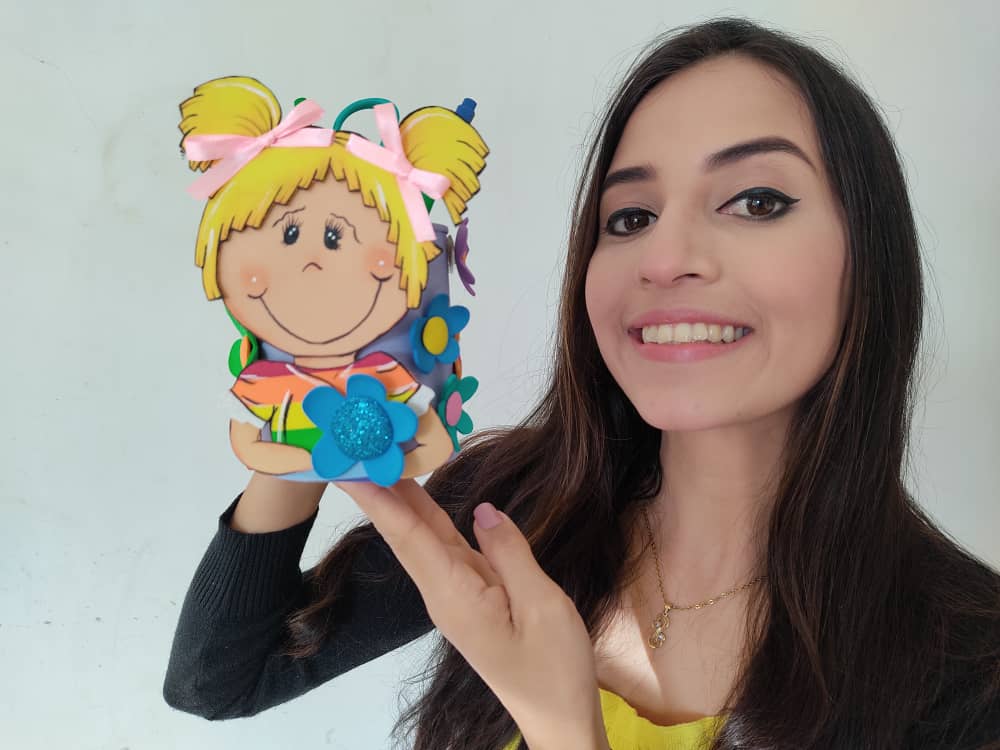
Una vez que la lata este totalmente, seca pegamos a la niña en la parte frontal de esta haciendo presión por unos segundos para que se sostenga bien.

Once the can is completely dry, we stick the girl on the front of it, pressing for a few seconds so that it holds well.
Finalmente, decoramos pegando todas las florecitas que hemos hecho.
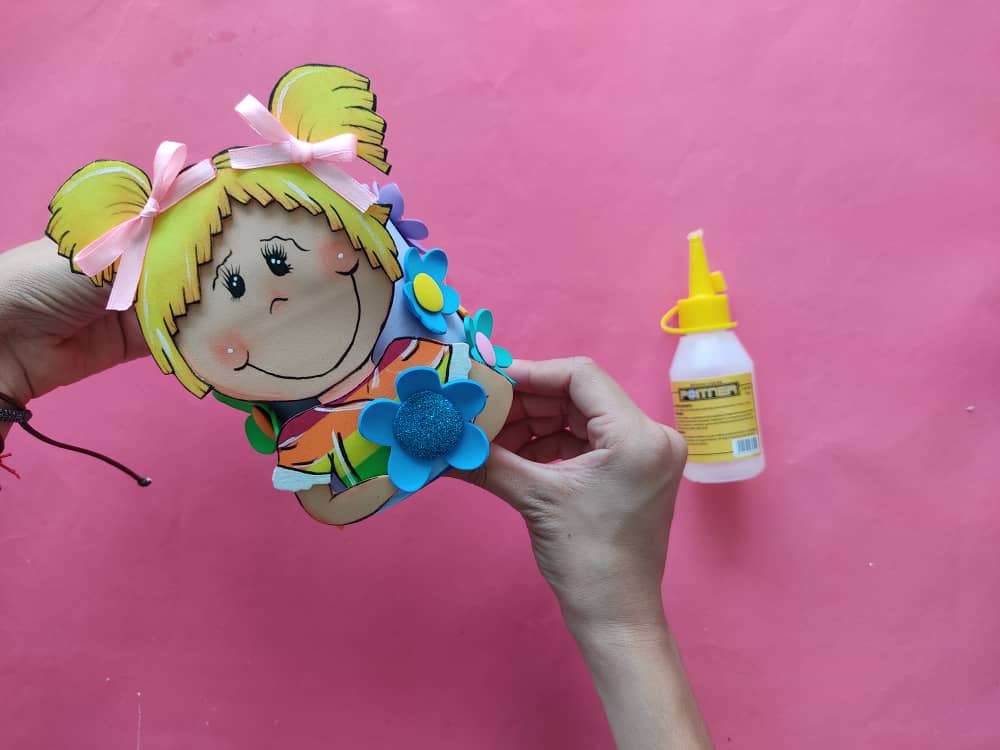
Finally, we decorate by gluing all the flowers that we have made.
.jpeg)
.jpeg)
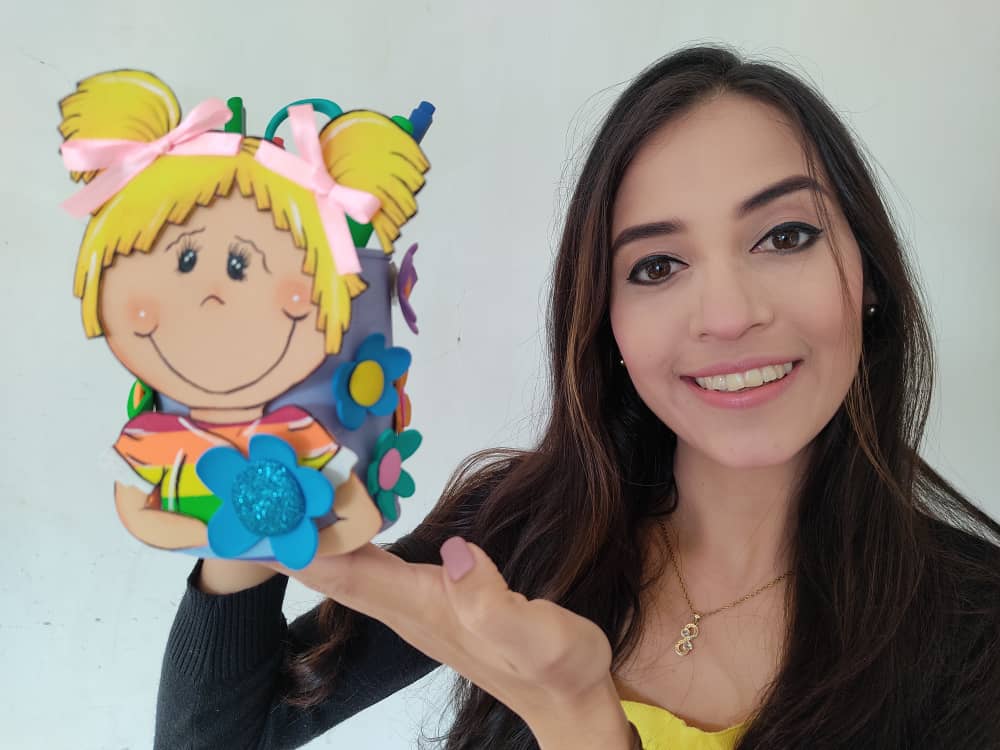
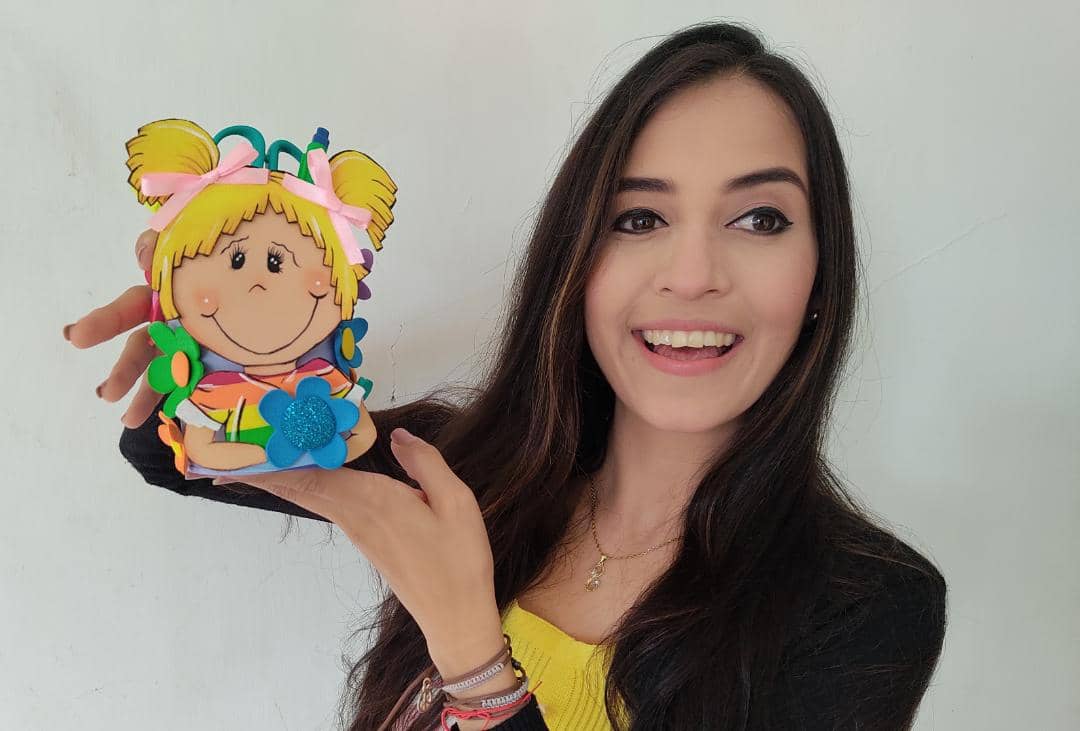
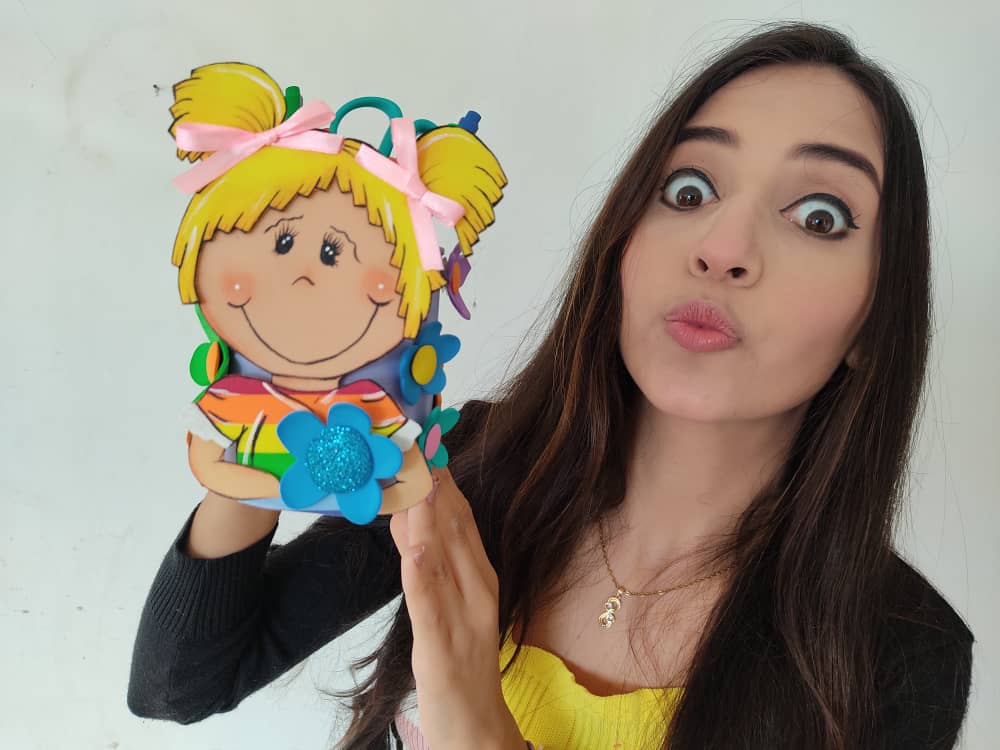
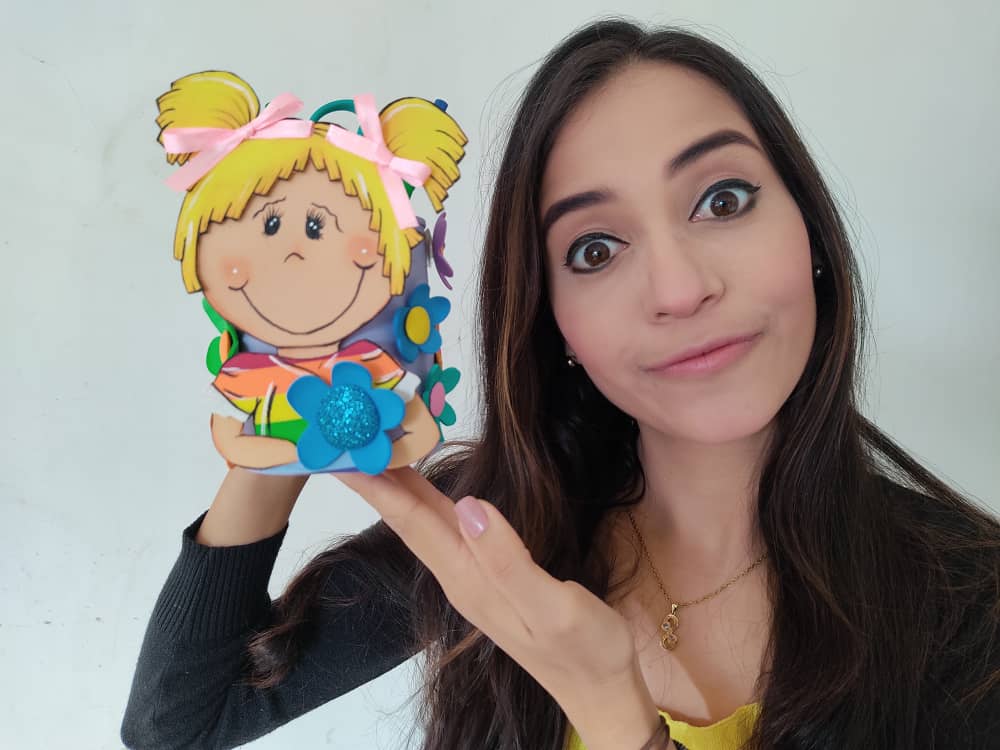
Gracias por acompañarme y espero que lo hayan disfrutado. ❤️
Thanks for joining and I hope you enjoyed it.❤️
.jpeg)
.jpeg)
.jpeg)
.jpeg)
.jpeg)
.jpeg)
.jpeg)
.jpeg)
.jpeg)
.jpeg)
.jpeg)


my twt #posh
Hola Sara, que bonito y práctico trabajo, ideal para que los niños lo elbaoren
Si querida es muy sencillo de hacer muchas gracias por venir a ver este nuevo trabajo saludos!
Great art work of yours
Thanks dear <3 :D Grettings from venezuela!
Congratulations, your post has been upvoted by @dsc-r2cornell, which is the curating account for @R2cornell's Discord Community. Enhorabuena, su "post" ha sido "up-voted" por @dsc-r2cornell, que es la "cuenta curating" de la Comunidad de la Discordia de @R2cornell.
You are a very creative person :)
Thanks for your visit dear. XOXOX Very muchI, hope to see you soon: D And if you don't come I'll go to you haha!
Haha ok :D
So creative! Love it! It's also a great way to kill the time! 😍
Thanks for your visit :D <3 The truth is that it is very good to pass the time and in my case make a living from it!
I'm happy to know you are making a living from it because you are very talented! It's one of the most beautiful things to succeed earning money from your passion that too little people manage to do! You rock! ❤️
how cute.
Good job!
Very much dear friend!