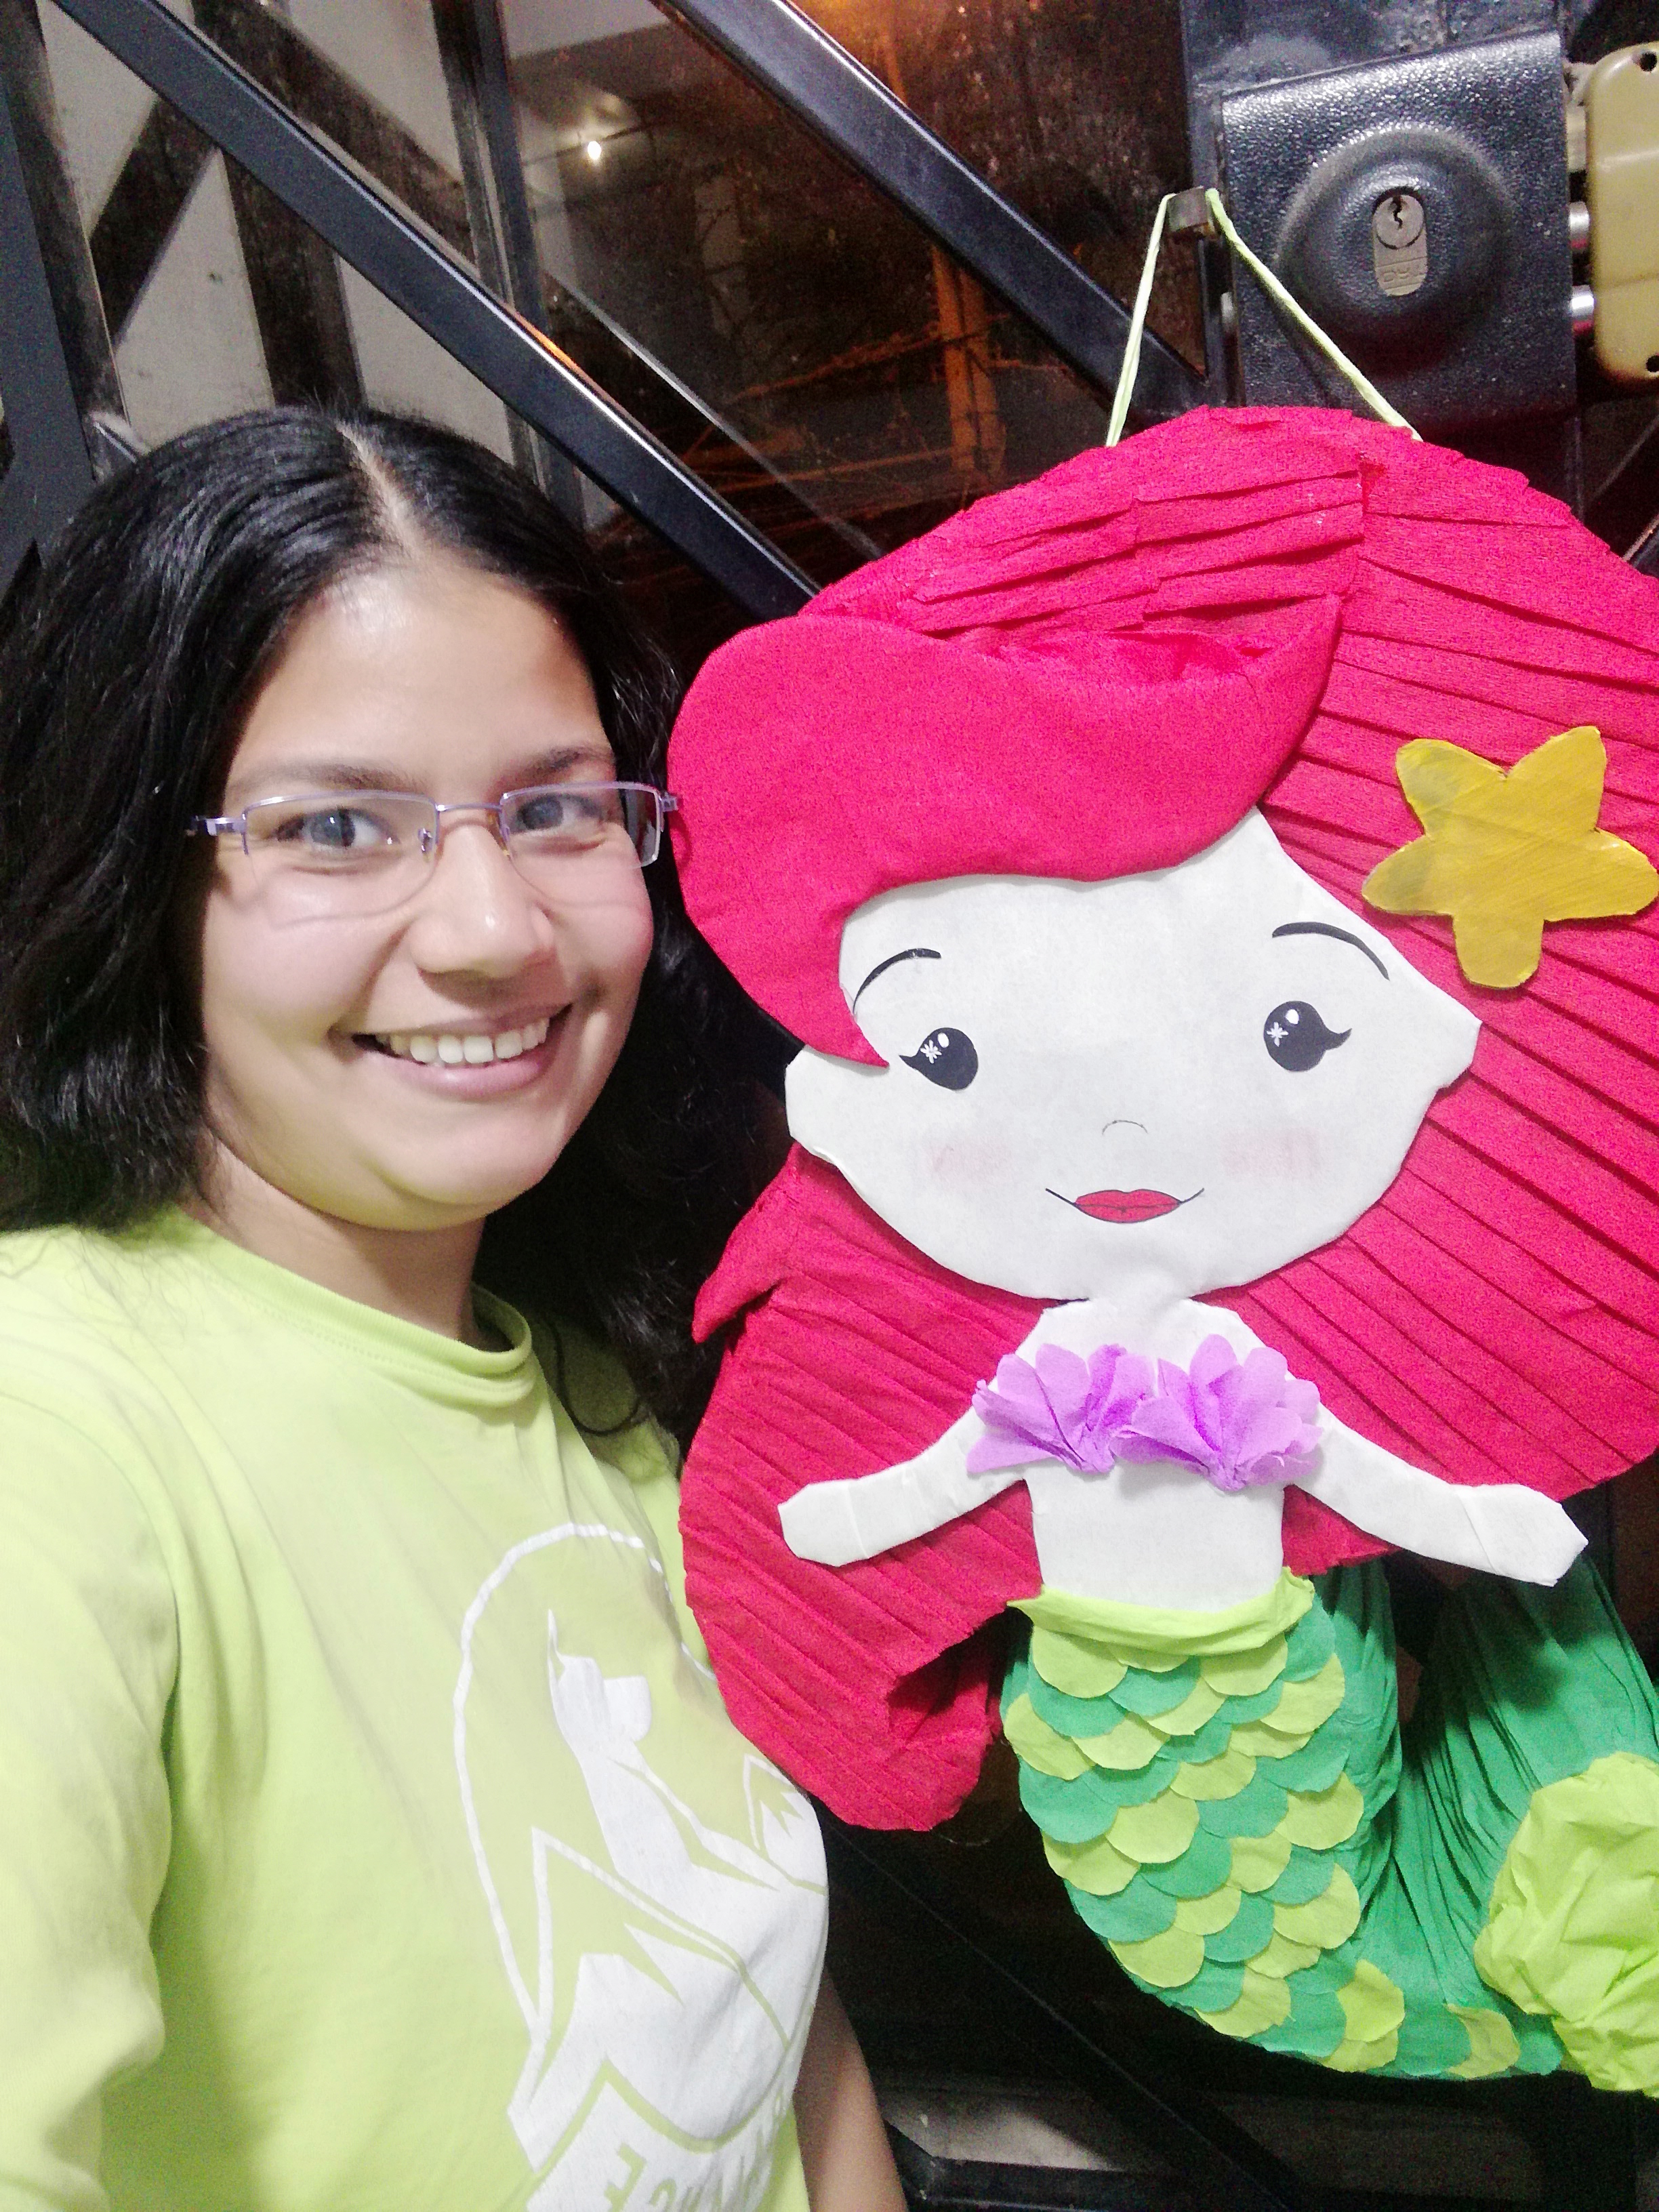
Hello friends of Hive, I hope you are very well, this time I want to share with you a piñata that I made to celebrate the birthday of my niece Julieta, I made it with useful material, this is the second time I make a piñata, I made it of the character of Princess Ariel, my niece already saw her, she was delighted with her piñata, that fills me with great satisfaction and joy, I hope you like it.
Hola amigos de Hive, espero se encuentren muy bien, en esta oportunidad quiero compartir con ustedes una piñata que elabore para celebrar el cumpleaños de mi sobrina Julieta, la elabore con material de provecho, esta es la segunda vez que fabrico una piñata, la hice del personaje de la Princesa Ariel, mi sobrina ya la vio, quedó encantada con su piñata, eso me llena de mucha satisfacción y alegría, espero les guste a ustedes.

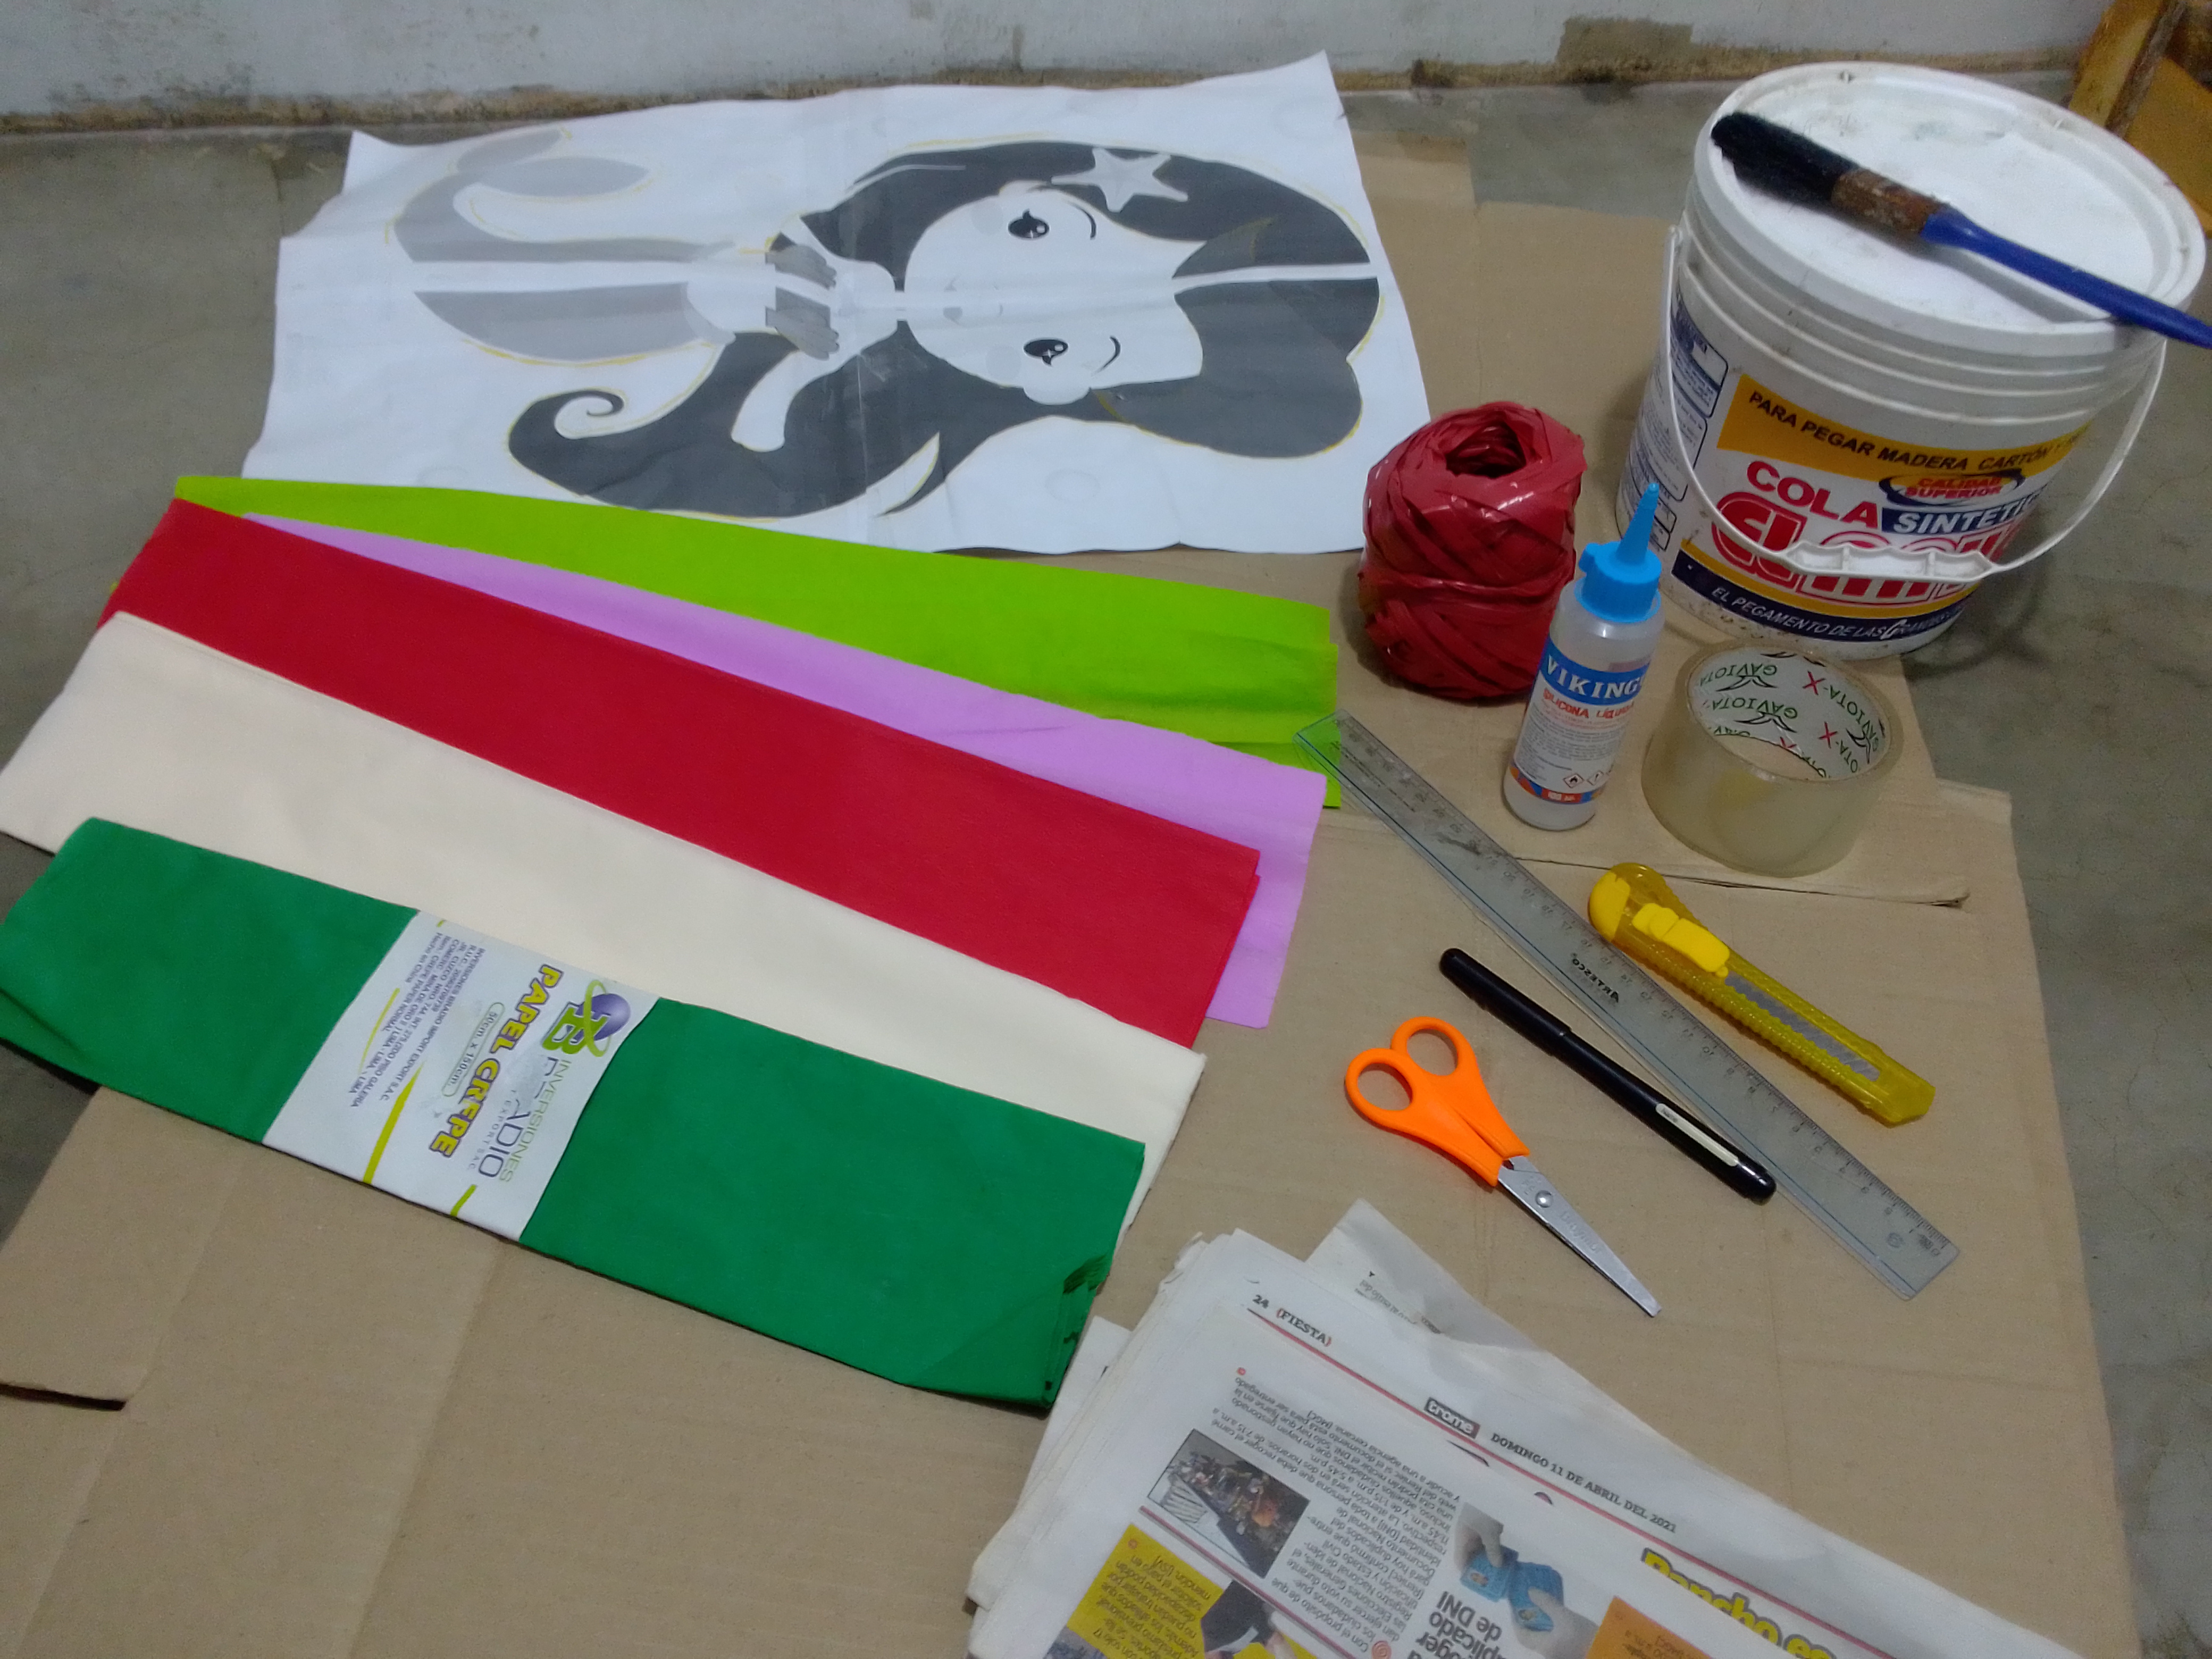
Materials:
Paperboard.
Scissor.
Raffia.
Newspaper.
Glue (I mixed it with a little water to make the paste).
Exact or Cutter.
Scotch tape.
Liquid silicone.
One letter size sheet.
Pencil and black marker.
Brush and small brush.
Crepe paper in dark green, light green, red, lilac and skin color.
Black, white, yellow and red tempera paint.
Materiales:
Cartón.
Tijera.
Rafia.
Periódico.
Pegamento (lo mezclé con un poco de agua para hacer el engrudo).
Exacto o Cutter.
Cinta Adhesiva.
Silicon líquido.
Una hoja tamaño carta.
Lápiz y Marcador negro.
Pincel y Brocha pequeña.
Papel Crepe color verde oscuro, verde claro, rojo, lila y color piel.
Pintura tempera color negro, blanco, amarillo y rojo.

Steps:
Pasos:
Step 1: First download the photograph of the little mermaid from the internet, make the pattern of it in Excel, I am going to make it 50 cm high, after we already have the pattern I saved it in pdf format and I went to a store to have it printed for me. pattern, once printed I joined it as a puzzle with adhesive tape.
Paso 1: Primero descargue de internet la fotografía de la sirenita, realice el patrón de la misma en Excell, la voy a fabricar de 50 cm de alto, después de que ya tenemos el patrón lo guarde en formato pdf y fui una tienda para que me imprimieran el patrón, una vez impreso lo uní como rompecabezas con cinta adhesiva.

Step 2: We place the pattern on the cardboard and with a pencil we mark the silhouette of our little mermaid, refining the pencil so that it is marked on the cardboard (Not very strong so that our pattern does not break), when we finish then with a marker we will highlight the silhouette that was marked on the cardboard so that it has a better visualization and to be able to cut it with more precision.
Paso 2: Colocamos el patrón sobre el cartón y con un lápiz marcamos la silueta de nuestra sirenita afincando el lápiz para que vaya quedando marcado en el cartón (No muy fuerte para que no se rompa nuestro patrón), al terminar luego con un marcador vamos remarcando la silueta que quedó marcada en el cartón para que tenga mejor visualización y poder cortarla con más precisión.

Step 3: Then we begin to cut the cardboard with the help of our cutter, always being careful, our fingers must be in the opposite direction of the razor's edge to avoid accidents, at the end we must cut some 12cm strips which will be the thickness of our piñata, with With the help of the adhesive tape, we are gluing the cardboard strips to our silhouette.
Paso 3: Luego empezamos a cortar el cartón con ayuda de nuestro cutter, siempre teniendo cuidado, nuestros dedos deben estar en dirección contraria del filo de la navaja para evitar accidentes, al terminar debemos cortar unas tres tiras de 12cm de ancho las cuales serán el grosor de nuestra piñata, con la ayuda de la cinta adhesiva vamos pegando las tiras de cartón a nuestra silueta.

Step 4: After everything is well glued, make some holes in the strip to pass the raffia through there (I do this so that the piñata does not break underneath with the weight of the sweets)
Paso 4: Después que todo quedara bien pegado realice unos agujeros en la tira para pasar por allí la rafia (esto lo realizo para que la piñata no se rompa por debajo con el peso de los dulces)

Paso 5: Colocamos la tapa frontal de la piñata con cinta adhesiva, al terminar mezclamos pegamento blanco con agua (preparamos engrudo) y lo aplicamos en la piñata con una brocha y le colocamos tiras de periódico, lo dejamos secar unas horas en un lugar donde salga el sol, al secarse esta quedara dura y aguantara los golpes que le den, jejejeje.

Paso 6: Picar varias tiras de papel crepe de 16 cm de ancho, cuando tengas las tiras procedemos a pegarla en los laterales de la piñata con ayuda del silicón liquido, los vamos pegando realizando unos dobles o haciendo unos pequeños pellizco, empecé por la cola y luego el cabello.


Paso 7: Luego con el patrón saque la pieza del cuerpo con el rostro, el flequillo y la estrella, después las recorté, el cuerpo y el flequillo lo forre con papel crepé y la estrella la pinte con pintura tempera amarilla y la mezcle con un poco de pintura metalizada para darle un toque dorado. También del patrón saque los ojos, cejas y boca, las recorte y pinté con tempera.


Paso 8: Con el papel crepé verde claro forramos la cola, cortamos el sobrante, luego picamos un rectángulo un poco más grande que una de las aletas y enrollamos las esquinas, lo pegamos por el alrededor de la aleta, esto para hacer un pequeño relieve en las aletas de la cola, al terminar con el papel crepé verde oscuro y claro marque con la ayuda de un lapicero unos pequeños circulo del tamaño de un recipiente de tempera, después los recorte con la ayuda de la tijera, las pegue una encima de la otra dejando un pequeño espacio, estas son las escamas de la cola.


Paso 9: El papel crepé rojo lo pegue igual como hice los laterales de la piñata para simular el cabello liso de la sirena, realice el agujero para introducir los dulces y lo forre con mucho cuidado para que no se note el agujero.

Paso 10: En la parte frontal de la piñata marque donde va ubicado el cuerpo, pegue el papel crepé rojo por todo el alrededor una vez terminado con ayuda del silicón caliente pegue el cuerpo y el flequillo.

Paso 11: Después pique un rectángulo de papel crepé color lila, lo doble por la mitad, luego lo doble en forma de triangulo y realice o dobles desde la punta hasta una esquina, le recorte unas ondas para darle la forma de ostra, lo desdoble y acomode dándole la forma que quiero, por ultimo pegue una tira de papel crepé verde alrededor de la cintura, pegue los ojos, boca, cejas, las ostras y la estrella, con un marcador negro de punta fina dibuje la nariz y coloque un poco de rubor en las mejillas y listo, terminada la piñata.


Este es el resultado, espero que les guste mi paso a paso y que puedan divertirse como lo hice yo haciendo esta piñata, muchas gracias por visitar mi blog, nos vemos en una próxima publicación.

Congratulations, your post has been upvoted by @dsc-r2cornell, which is the curating account for @R2cornell's Discord Community.
Enhorabuena, su "post" ha sido "up-voted" por @dsc-r2cornell, que es la "cuenta curating" de la Comunidad de la Discordia de @R2cornell.
Muchas gracias por el apoyo