Greetings everyone! I am back again with a new blog to share with you all.
Last week, my eldest son had told me that their teacher asked them to pass recycled materials. I asked him what he will used in his project and he answered drinking straws is what he will used. After hearing it, I then told him to collect some in their school as there are many drinking straws thrown at the back of their school. The next day he started collecting but it was just few so I told him to collect again in the next days so there will be more because we planned to make a flower vase out of those thrown drinking straws.
The Making of the Flower Vase

Materials:
- Drinking straws
- Scissors
- A circle shape made from cardboard
- Sewing needle and thread
- Scotch Tape ang Electrical Tape (The scotch tape wasn't included in the picture because we haven't bought one yet when we taken this photo.)
Steps in Making the Flower Vase
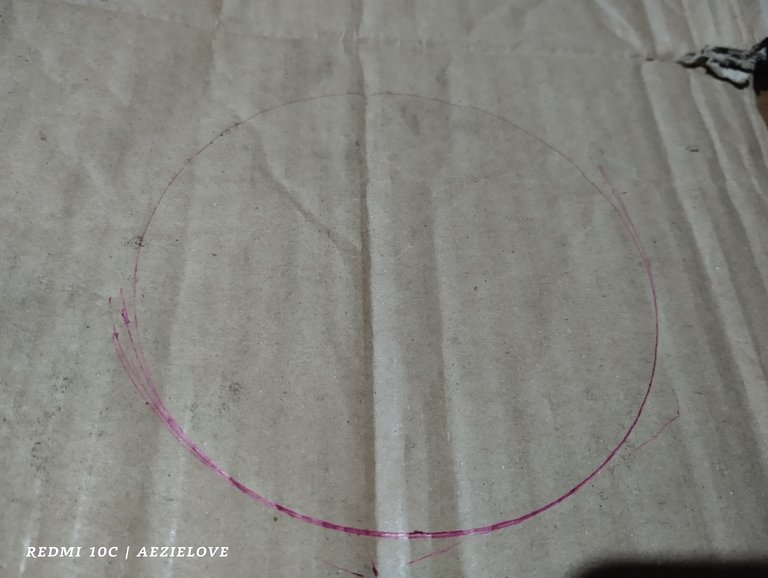
Step 1:
Get a cardboard then draw a circle on it. After drawing, I cut it. This circle will be used for the bottom part of the flower vase. In making the circle, we used the plastic pitcher. The bottom size of it is the perfect size for our desired flower vase
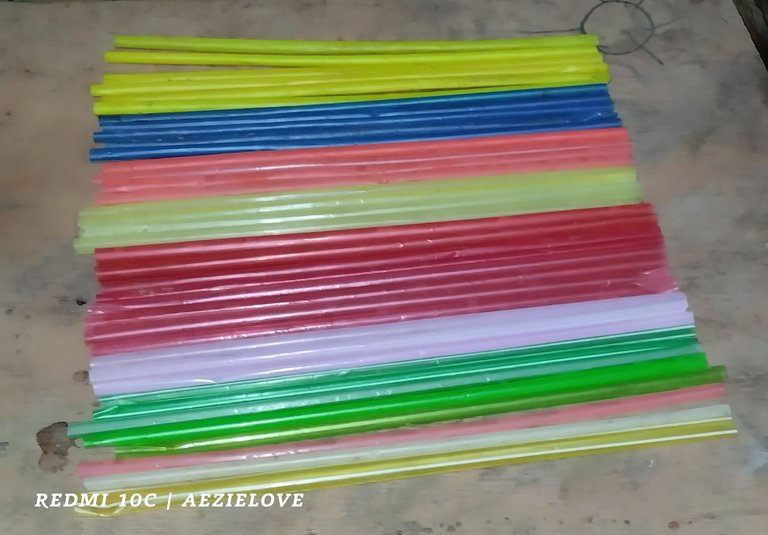
Step 2
Get the straws and arrange it. We arrange it according to it's color and this is the result. There are other straws that are long but no worries, later we will cut it once the vase is already form.
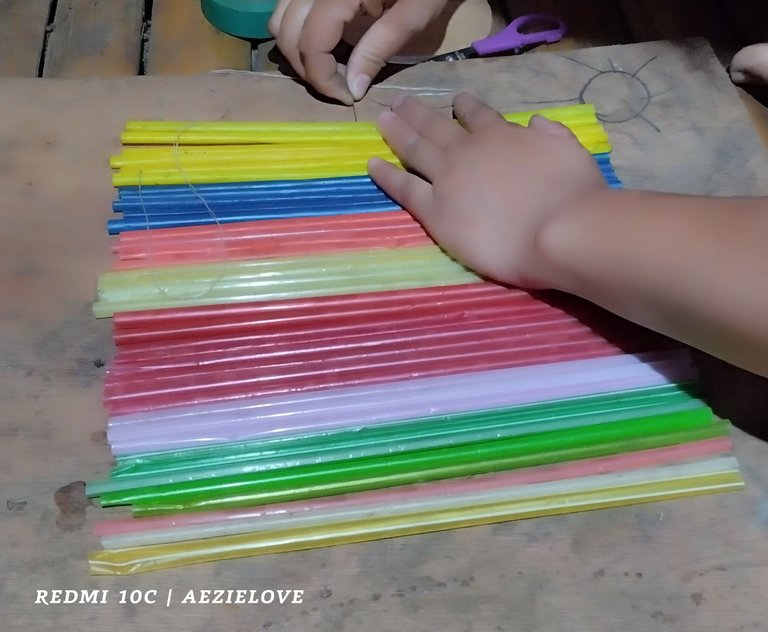
Step 3
I sew the middle part of the drinking straws so it won't be hard to roll it later on as we form the vase.
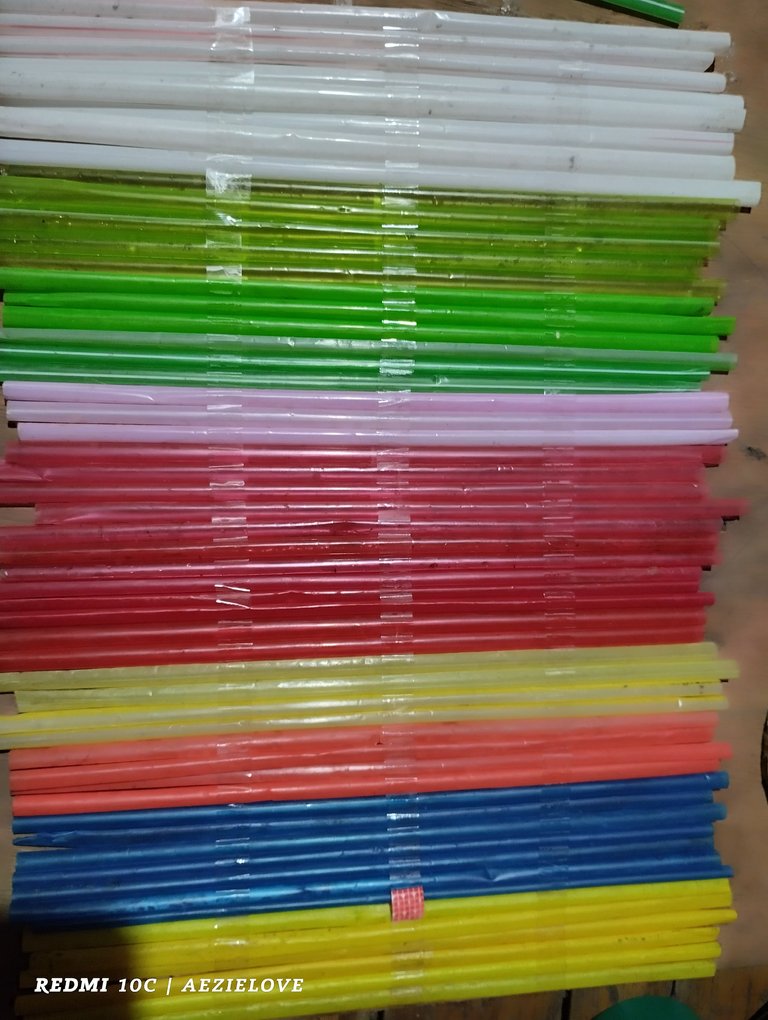
Step 4
To make the straws attached firmly to each other, I used scotch tape. Then I get the circled shape cardboard and I rolled the sewed drinking straws around it and the photo below was the result of it.
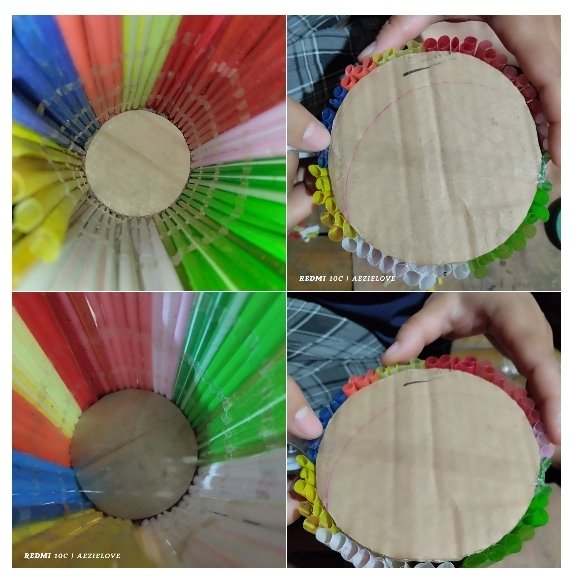
Step 5
After making sure that the drinking straws fit to the circle, I put scotch tape on it so it won't be removed since it played a very important role in the bottom part of the vase.

Step 6
To make sure that the scotch tape that held the circle cardboard wouldn't be removed, I tape all around the bottom part with an electrical tape. I'd used this tape because it sticks firmly than the scotch tape.
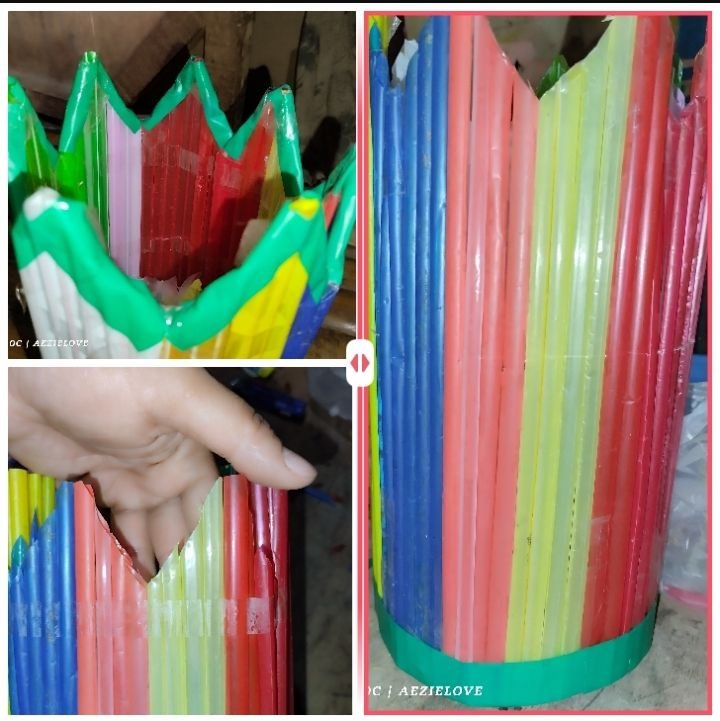
Step 7
Next, I cut V-shape designs all around the opening of the vase. When I finally had finished cutting, I tape an electrical tape so it won't move apart from each other.
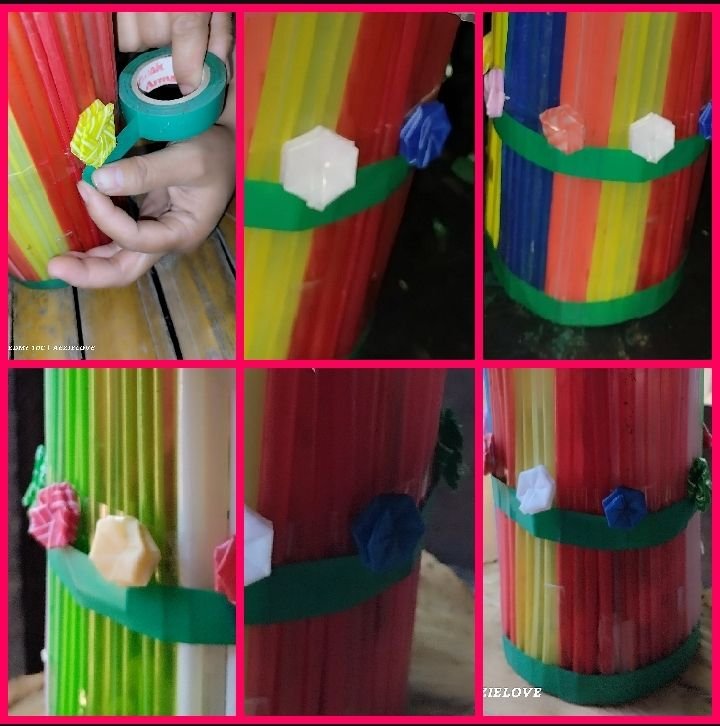
The last step was adding flowers to the middle part of the vase. It's a folded drinking straws made by my eldest son. While I was busy doing the flower vase, he was the one who was busy making those small flowers since I didn't know how to do it.

I thought making those small flowers is hard but I was wrong. It was just an easy one. I let him teach me after forming the flower vase and take a shot in every step on how to do it to share it here.
To make the flower, get a straw. Fold it. Align both ends. Then start folding. Overlap each other until a flower is form. The flower that will be form is consist of 6 sides.
That's how we made the flower vase. Now, what's next?
A flower vase isn't complete without flowers on it. Since the project is about recycling, we think of materials that we will use to make the flower. First, we consider using the drinking straws but later we realize that if we would use the straws for sure we need lot of those inorder for us to make many flowers. So we thought of another material. After discussing with my eldest son, we decided to used plastic bags since we have lots of those at home. He then gathered those, and he also prepared thread that he got from the rice sacks so we would have something to tie the flowers.
Flower Materials:
- Plastic bags
- Scissors
- Straws- this will be used as the stem of the flower
- Thread from the rice sacks
It's my first time to make a flower made of plastic bags so I searched some videos in YouTube on how to it.
This is the YouTube video that I watch before starting to cut those plastic bags. Then, the small pieces that was left from cutting the flowers were then cut into small pieces and I put it inside the vase.
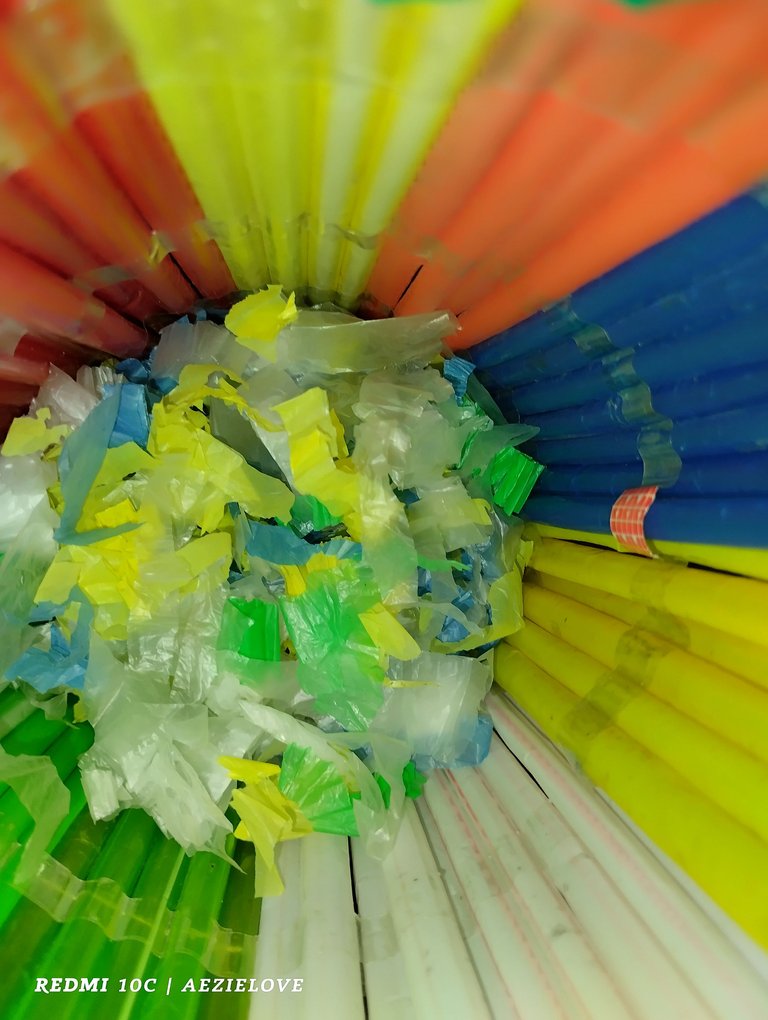
Here are the small cuts of plastic bags. Its purpose is to hold the stems of those flowers that we made. I realized that without putting those, the stems will not stand steadily. Now with the presence of those, I can now design the flowers without worrying that it might be dislocated from the position where I want each flowers to be put.
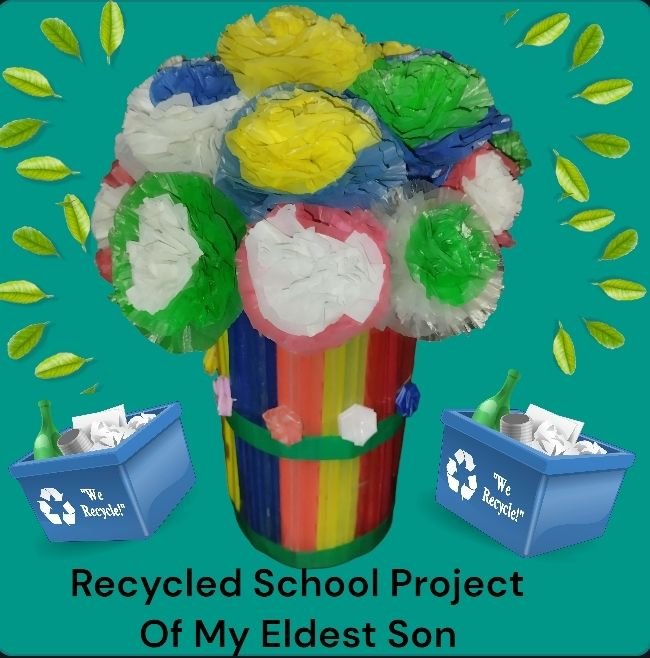
Here is the result of the recycled school project that we made together with my eldest son. How do you find the result? Did you like it?
That's how we made the recycled project. Thank you for reading.
'Til next time guys. Happy Sunday!
Sending love to you all!
🪷 AEZIELOVE 🪷
Congratulations @aezielove! You have completed the following achievement on the Hive blockchain And have been rewarded with New badge(s)
Your next target is to reach 300 replies.
You can view your badges on your board and compare yourself to others in the Ranking
If you no longer want to receive notifications, reply to this comment with the word
STOPThanks @hivebuzz!
All good @aezielove! You're a real Hive pro! Onward to that new goal!
Ang ganda at ang galing naman sis 😍
Yey, maraming salamat sis.
Walang anuman sis.
Yay! 🤗
Your content has been boosted with Ecency Points, by @aezielove.
Use Ecency daily to boost your growth on platform!
Support Ecency
Vote for new Proposal
Delegate HP and earn more
Hala ka creative ba ani sis ui. Nindot sya 👏👏👏..
Daghang salamat sis
That is super awesome, sis!!!!
Thank you sis!