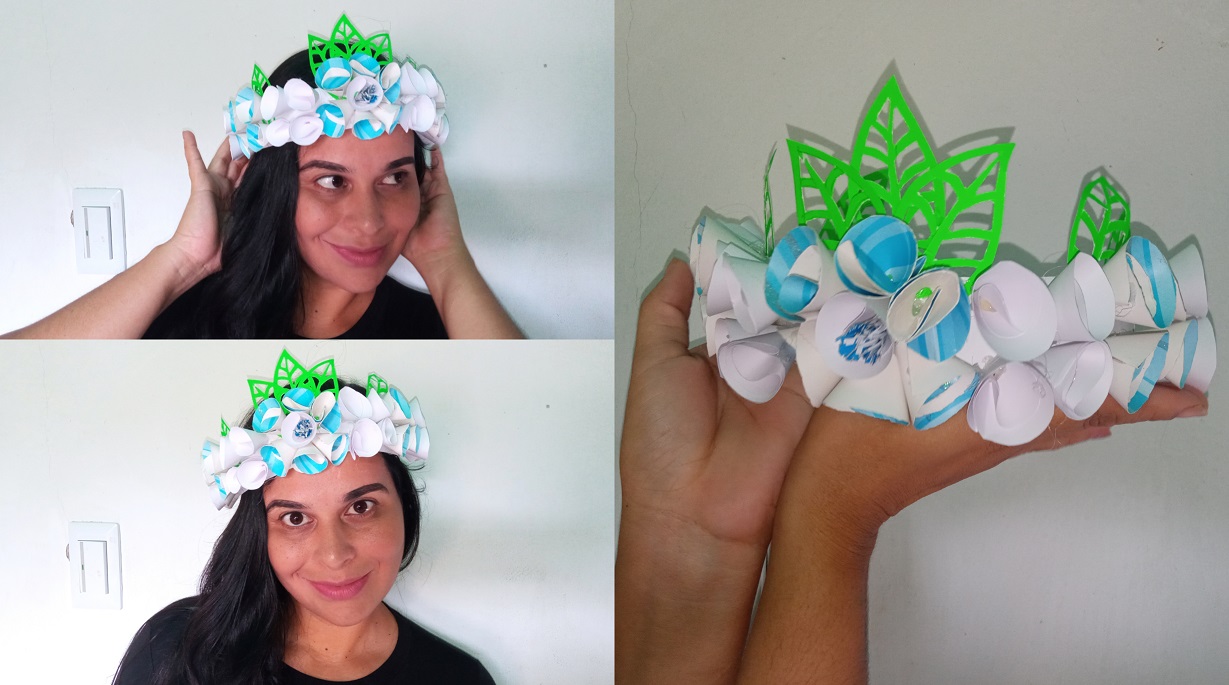
HI THERE! Good night DIY friends, this time I want to share some beautiful and delicate flowers that I have made from cardboard circles and some charming leaves that I have punched out with the exact one to form a very original bohemian style tiara that you will love. I have made this craft on the occasion of my entry into the weekly #HIVEDY contest that has spring as its theme and then I leave you my tutorial on how to make my craft.
¡HOLA! Muy Buenas Noches amigos del bricolaje, en esta ocasión les quiero compartir unas hermosas y delicadas florecillas que he realizado a partir de círculos de cartulinas y unas encantadoras hojas que he troquelado con el exacto para formar una muy original tiara de estilo bohémico que te encantara. Esta manualidad la he realizado con motivo de mi entrada al concurso semanal de #HIVEDY que tiene por temática la primavera y a continuación les dejo mi tutorial de como realice mi manualidad.
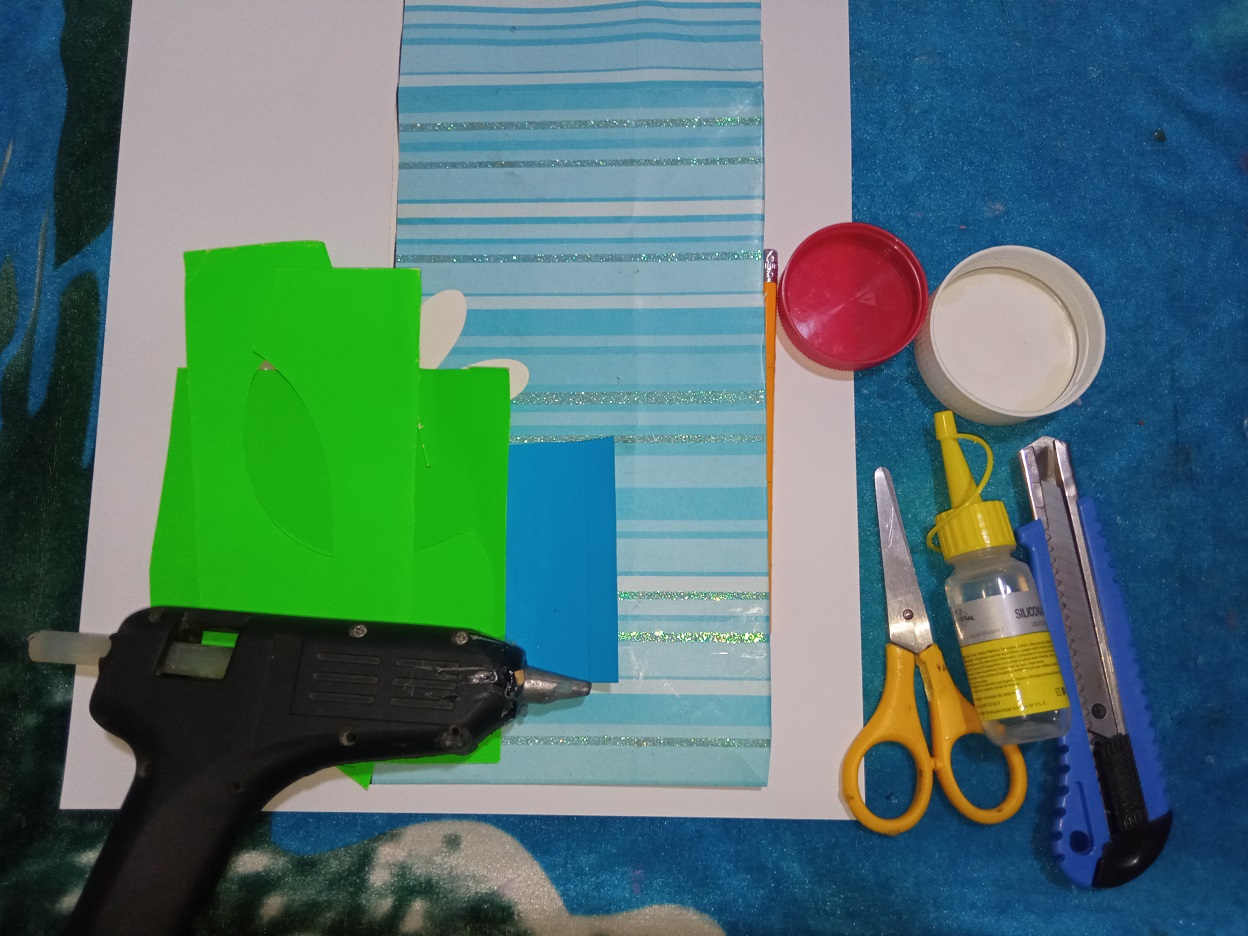
Used materials:
• Card: white, apple green and blue stamped.
• Liquid silicone.
• Stick silicone with your gun.
• Pair of scissors.
• Exact or scalpel.
• Pencil.
• Two plastic caps, one larger than the other.
Materiales utilizados:
• Cartulina: blanca, verde manzana y estampada de color azul.
• Silicón líquido.
• Silicón en barra con su pistola.
• Tijeras.
• Exacto o bisturí.
• Lápiz.
• Dos tapas plásticas una más grande que la otra.
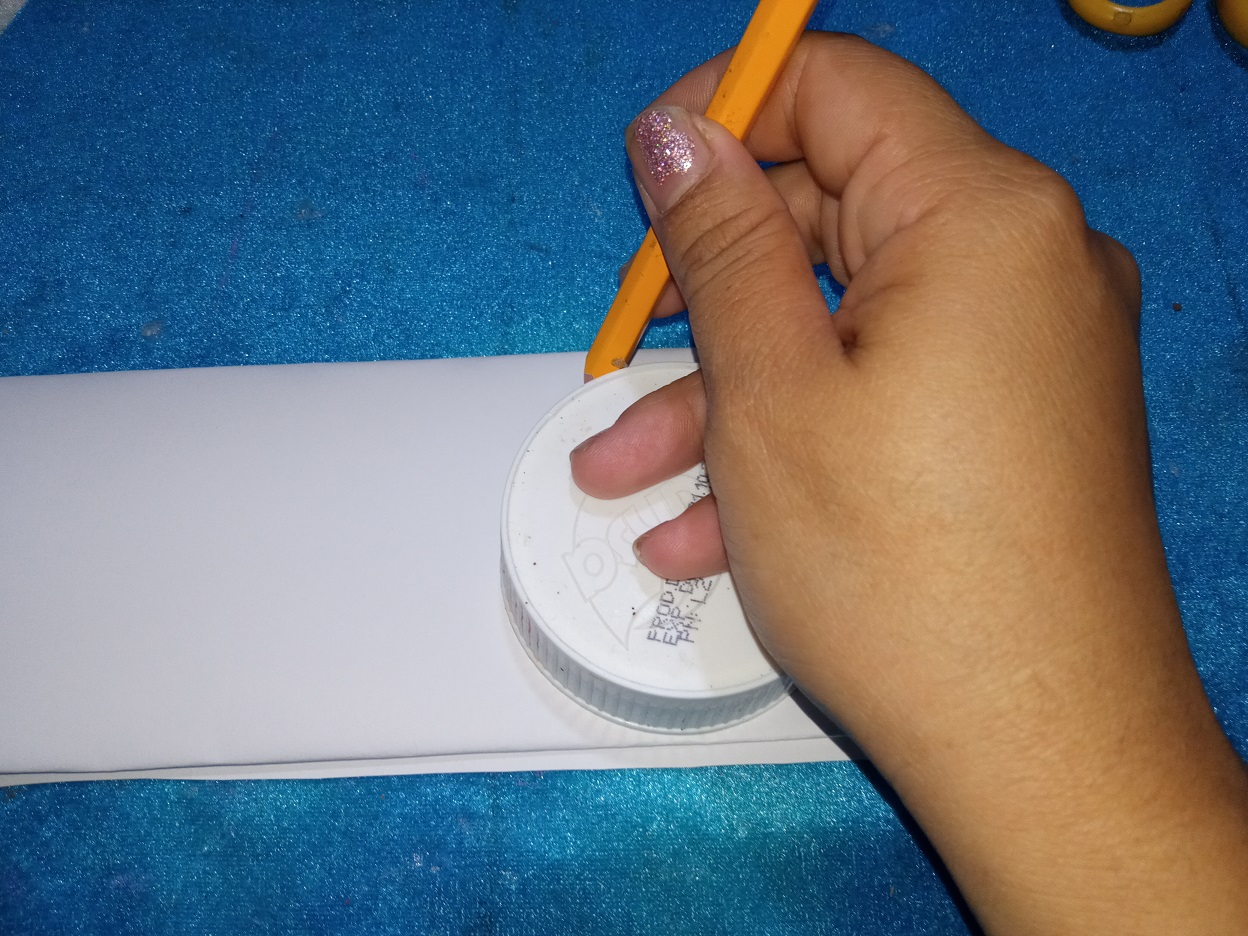
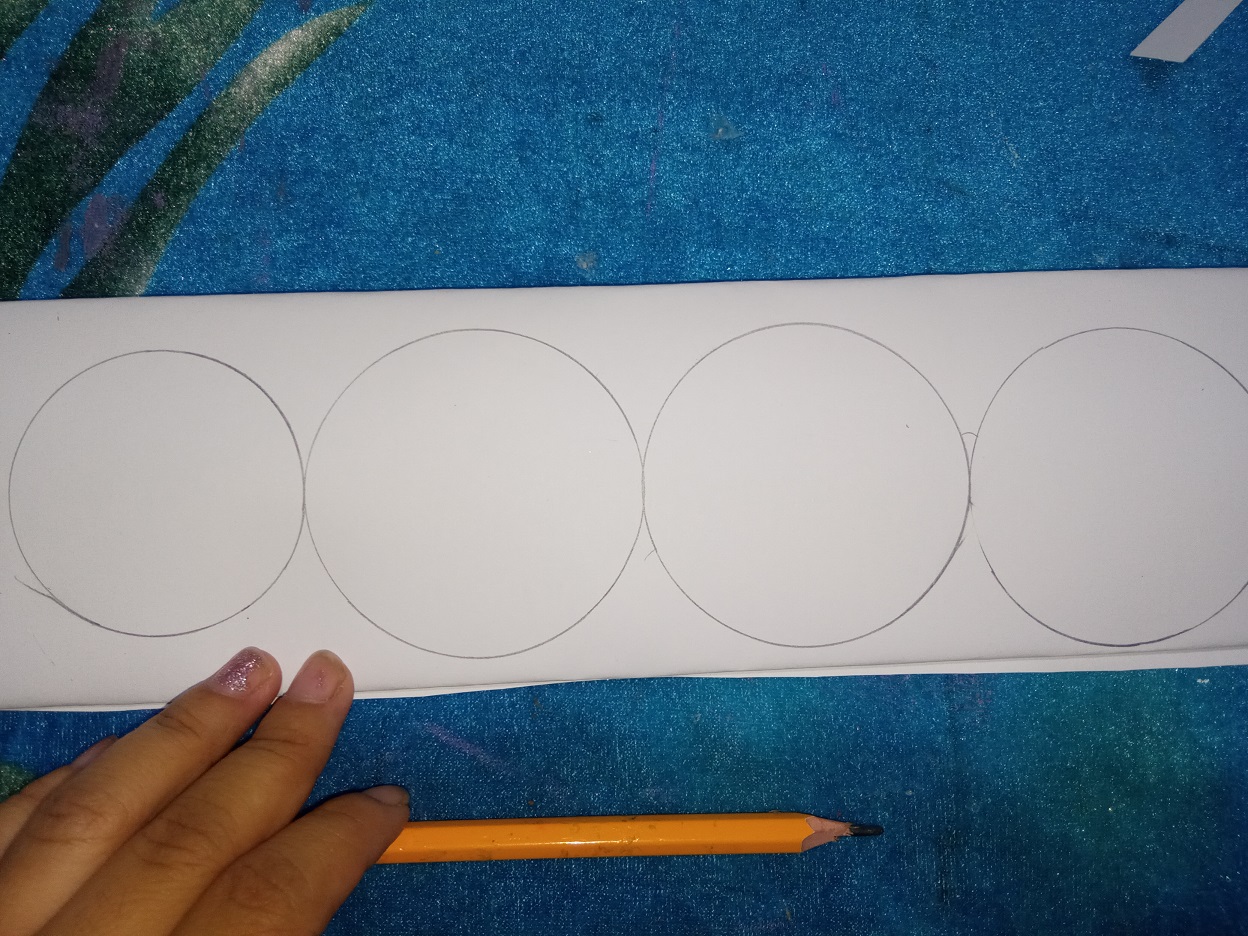
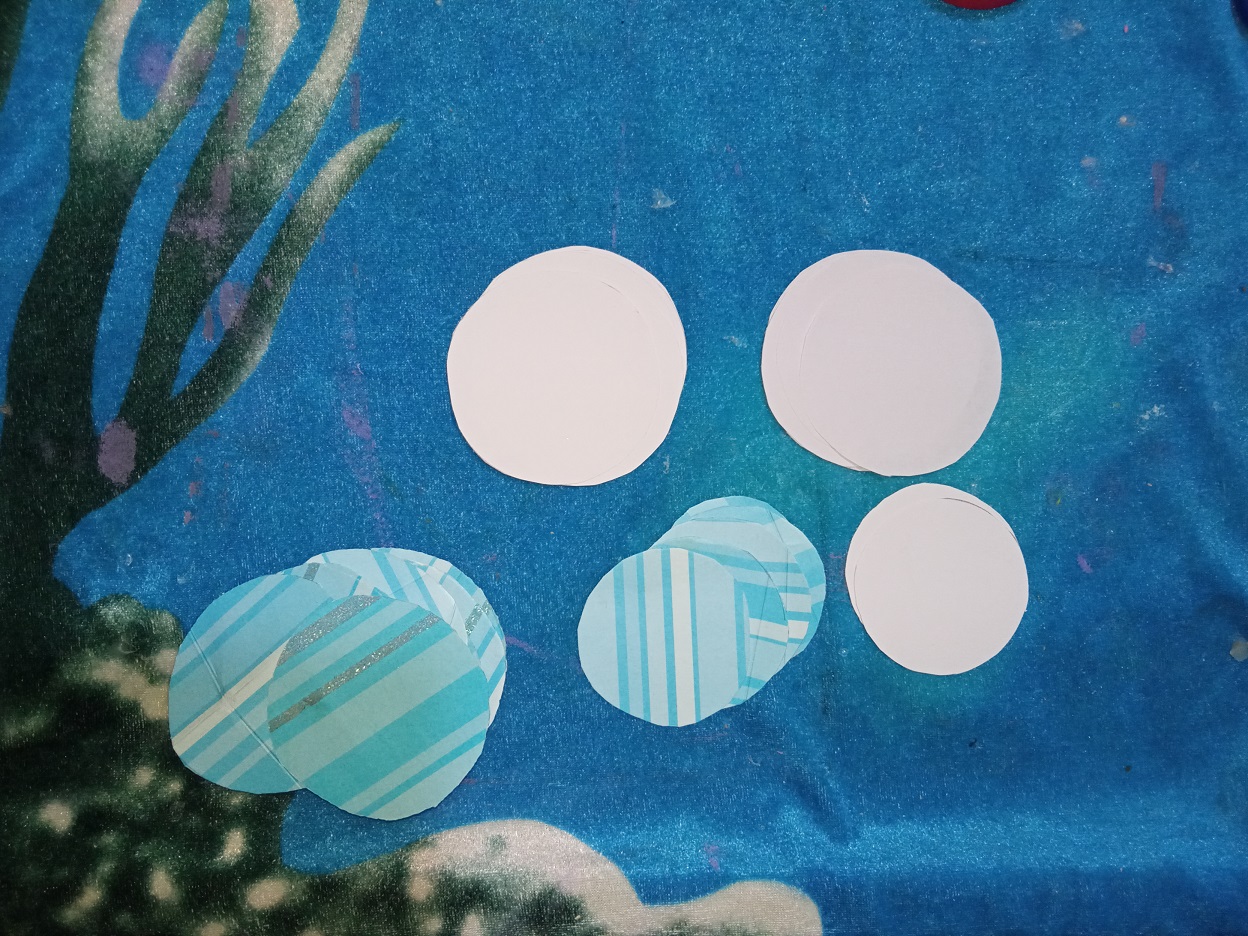
First step: fold the white and blue cardboard to the size of the plastic covers, with your pencil mark the shape of the size of both covers and then cut with the scissors to form the circles with your cardboard.
Primer paso: dobla la cartulina blanca y la azul al tamaño de las tapas plásticas, con tu lápiz marca la forma del tamaño de ambas tapas y luego recorta con las tijeras para formar los círculos con tus cartulinas.
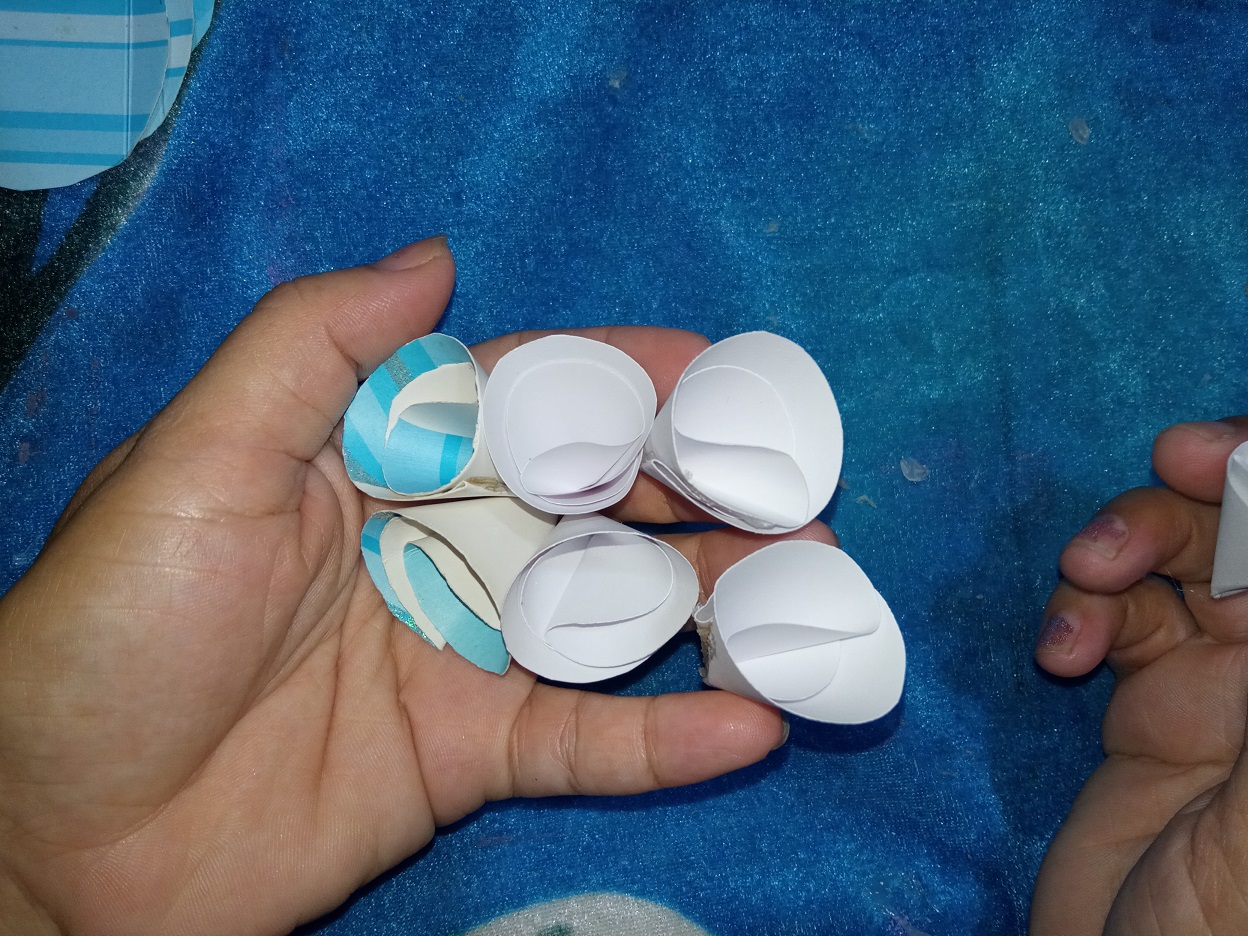
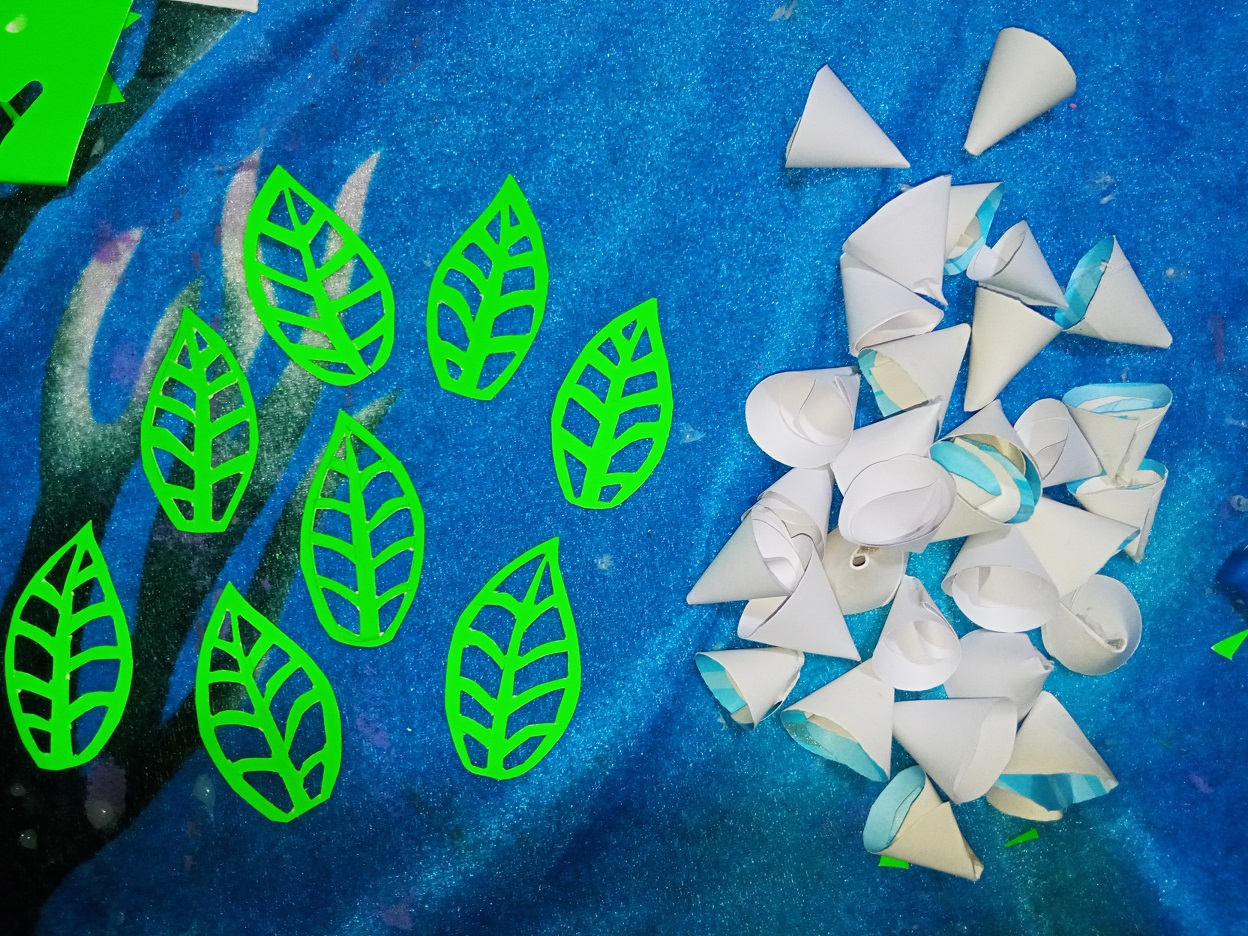
Second step: Take each of the circles individually, fold them to a quarter of their size and then take them between your thumb and index finger of the left hand, turn a little at the bottom so that they take the shape of a cone and then stick with the liquid silicone to form these florets.
Segundo paso: Toma individualmente cada uno de los círculos, dóblalos a un cuarto de su tamaño y luego tómalos entres tus dedos pulgar e índice de la mano izquierda, gira un poco en la parte inferior para que tomen forma de cono y luego pega con el silicón líquido para formar estas florecillas.
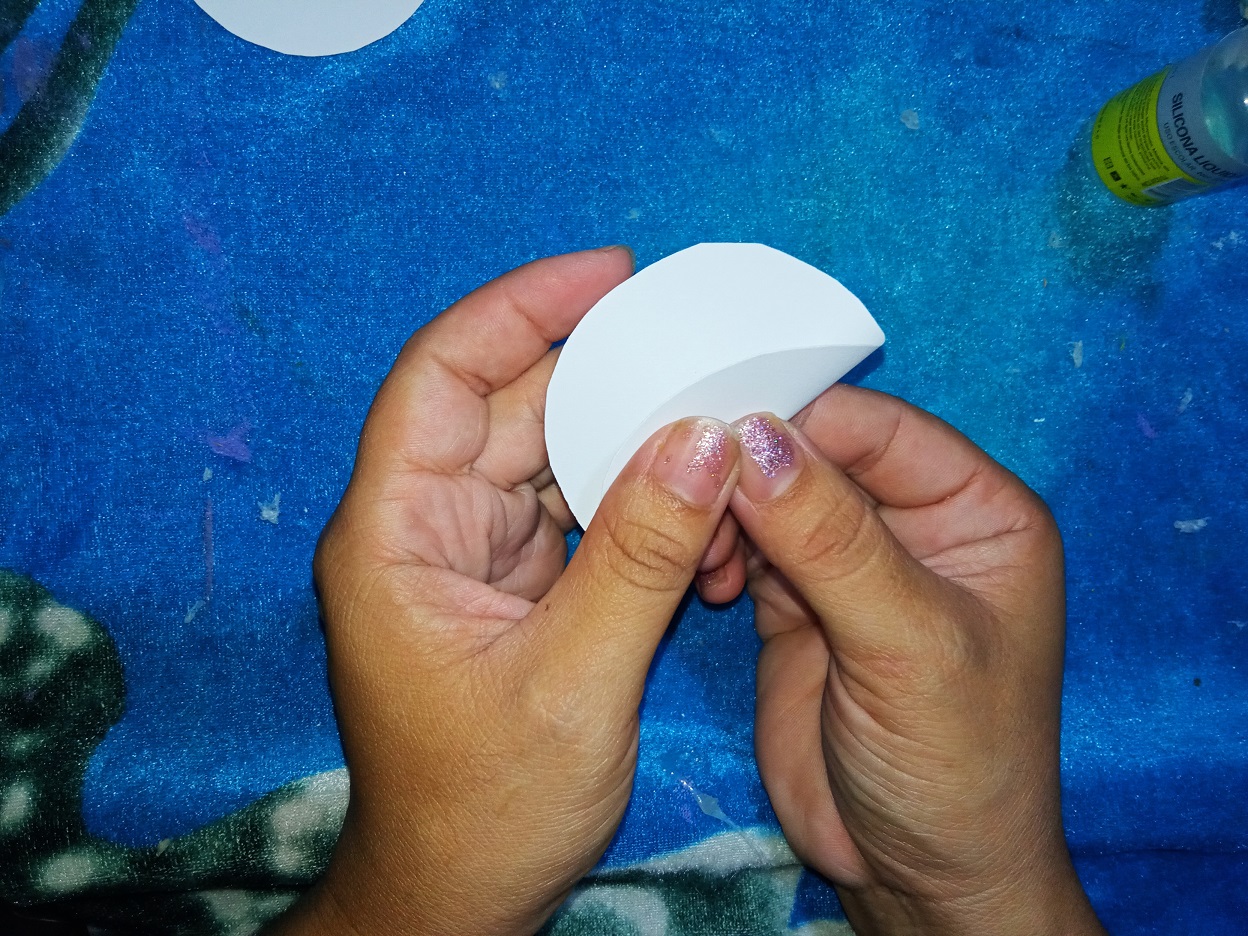
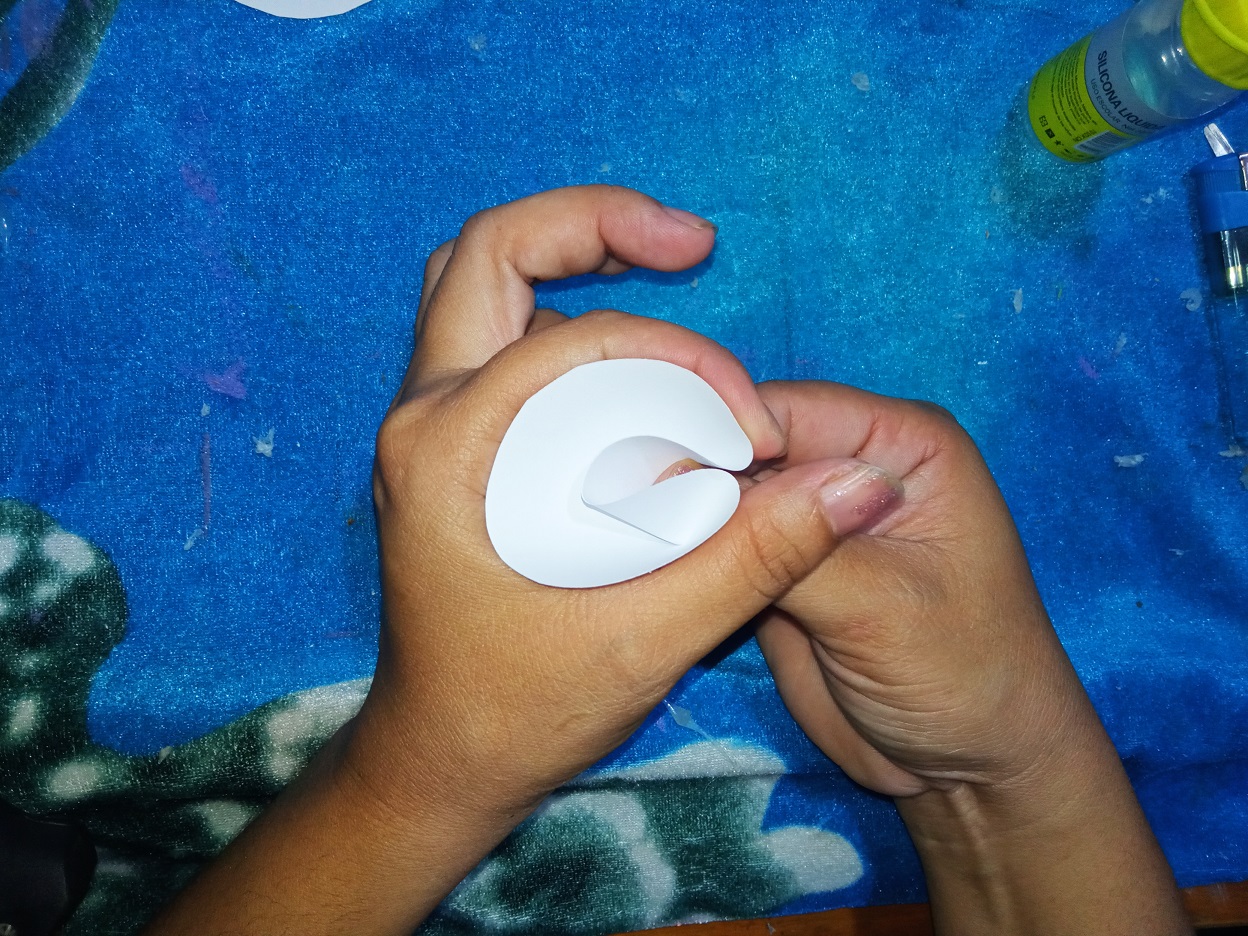
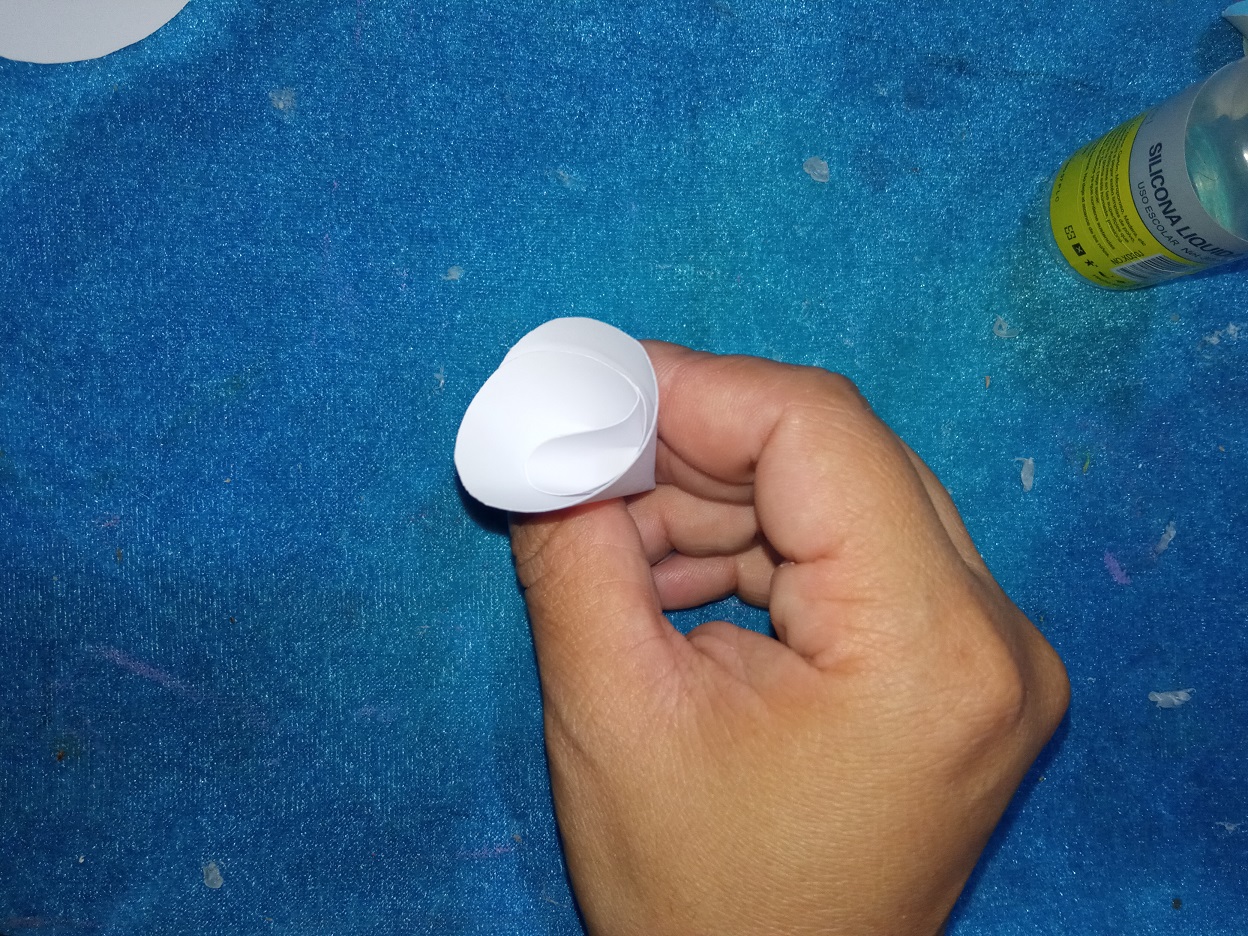
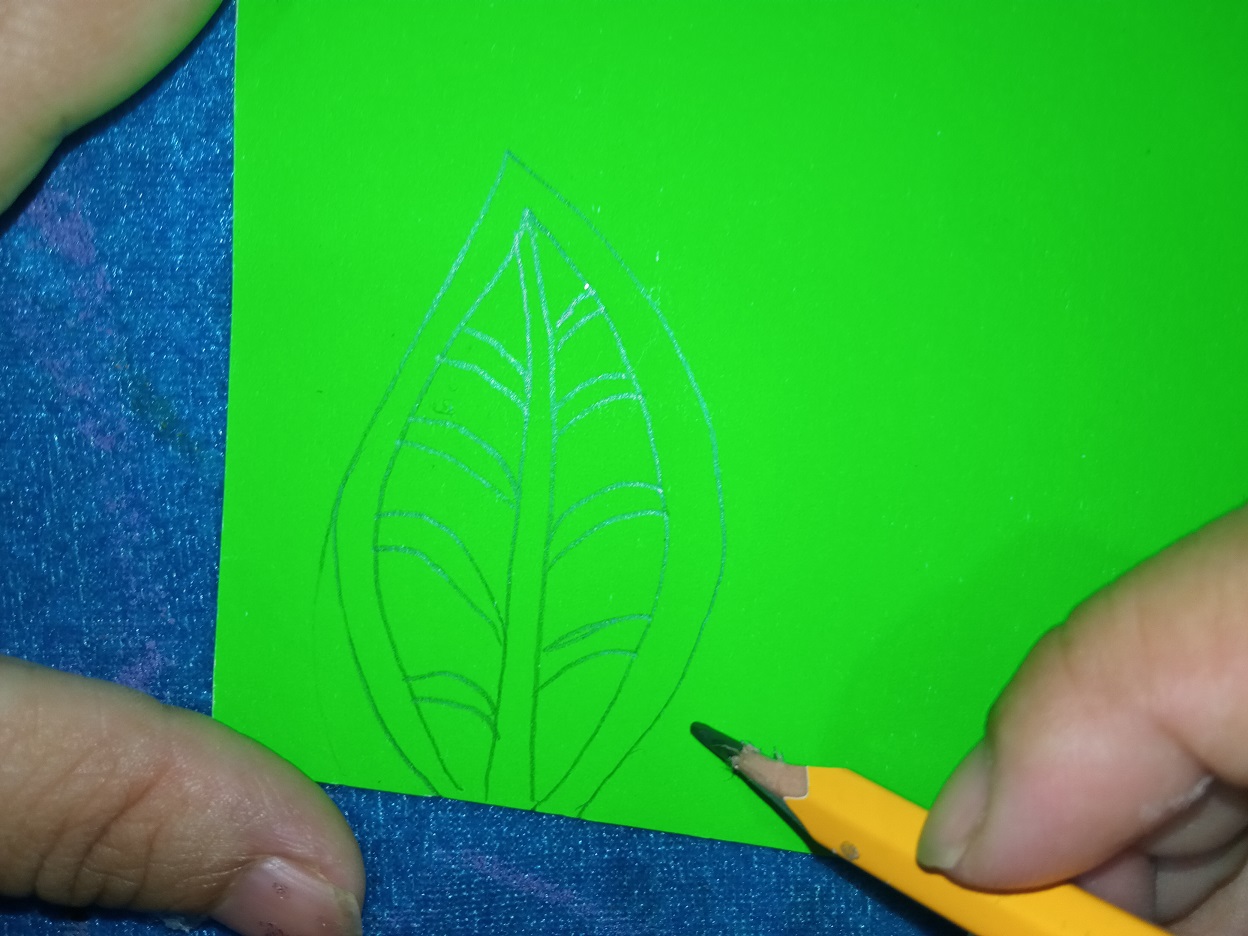
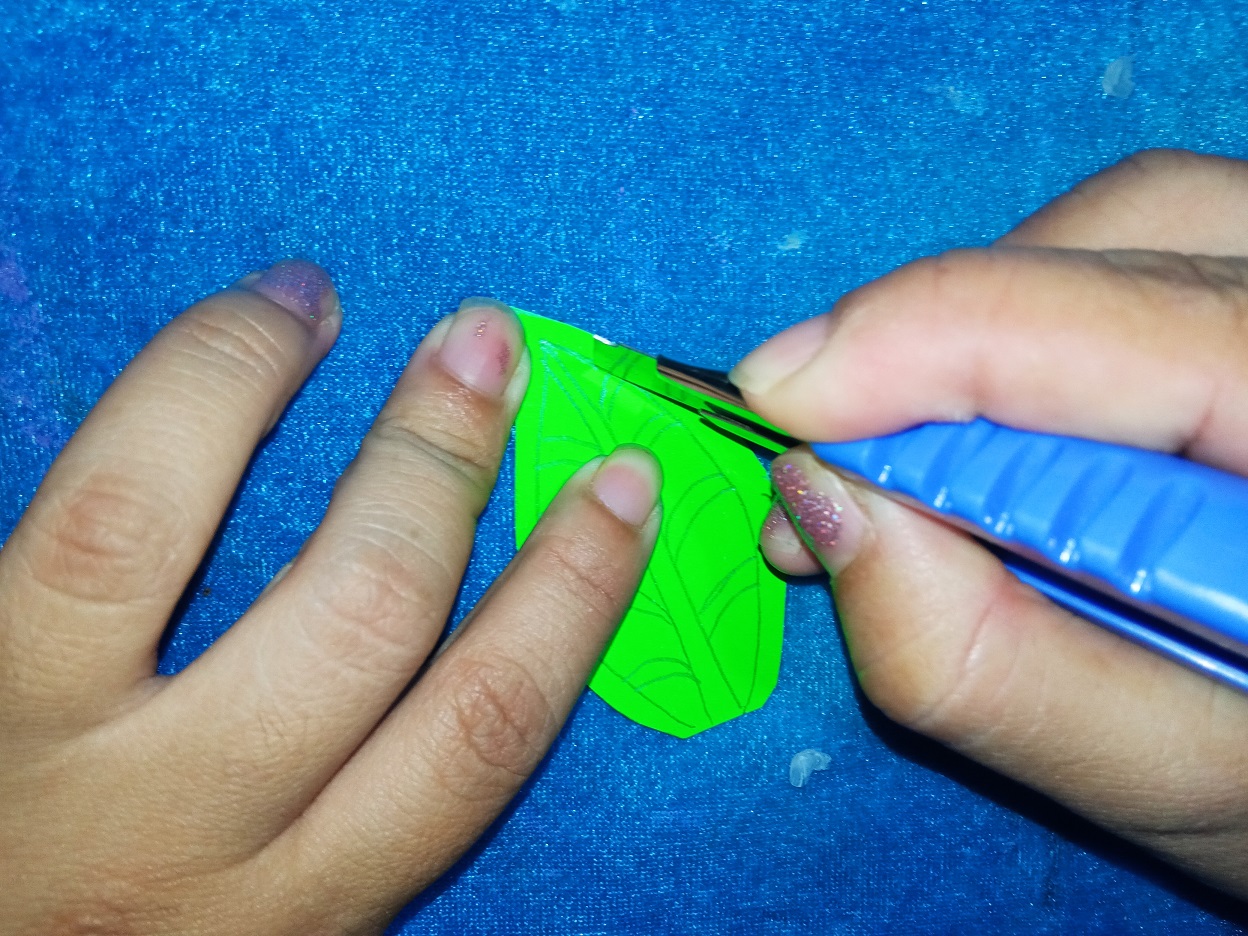
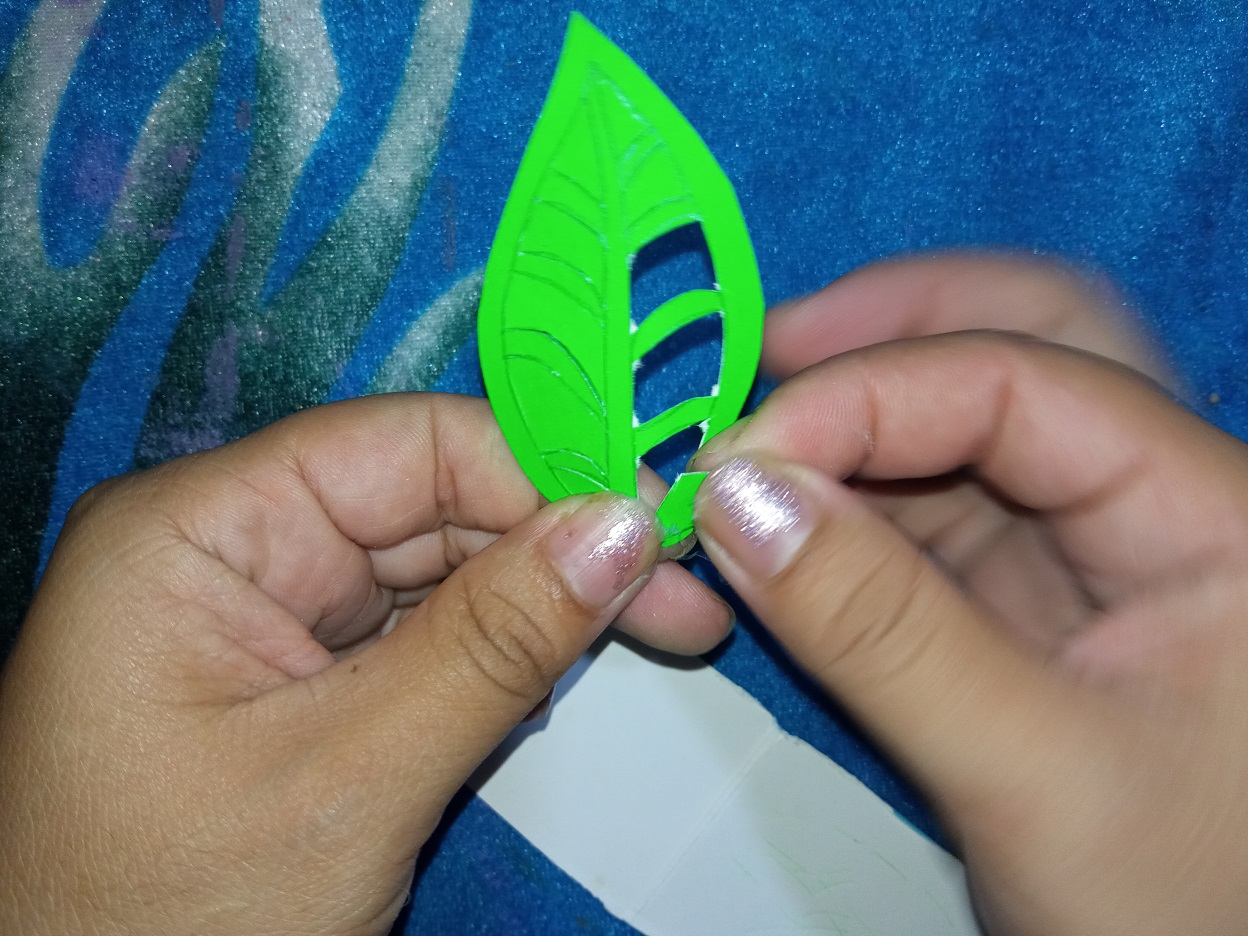
Third step: on your apple green cardboard, draw a sheet, mark on it a small inner edge and also mark its veins, cut the sheet with your scissors and then with the exact one, start cutting the inner part of the sheet, remove the cuts made in the sheet to die. Form at least 8 sheets.
Tercer paso: en tu cartulina verde manzana dibuja una hoja marca en ella un pequeño borde interno y también marca sus venas, recorta con tus tijeras la hoja y luego con el exacto comienza a cortar la parte interna de la hoja, retira los cortes realizado en la hoja para troquelarla. Forma al menos 8 hojas.
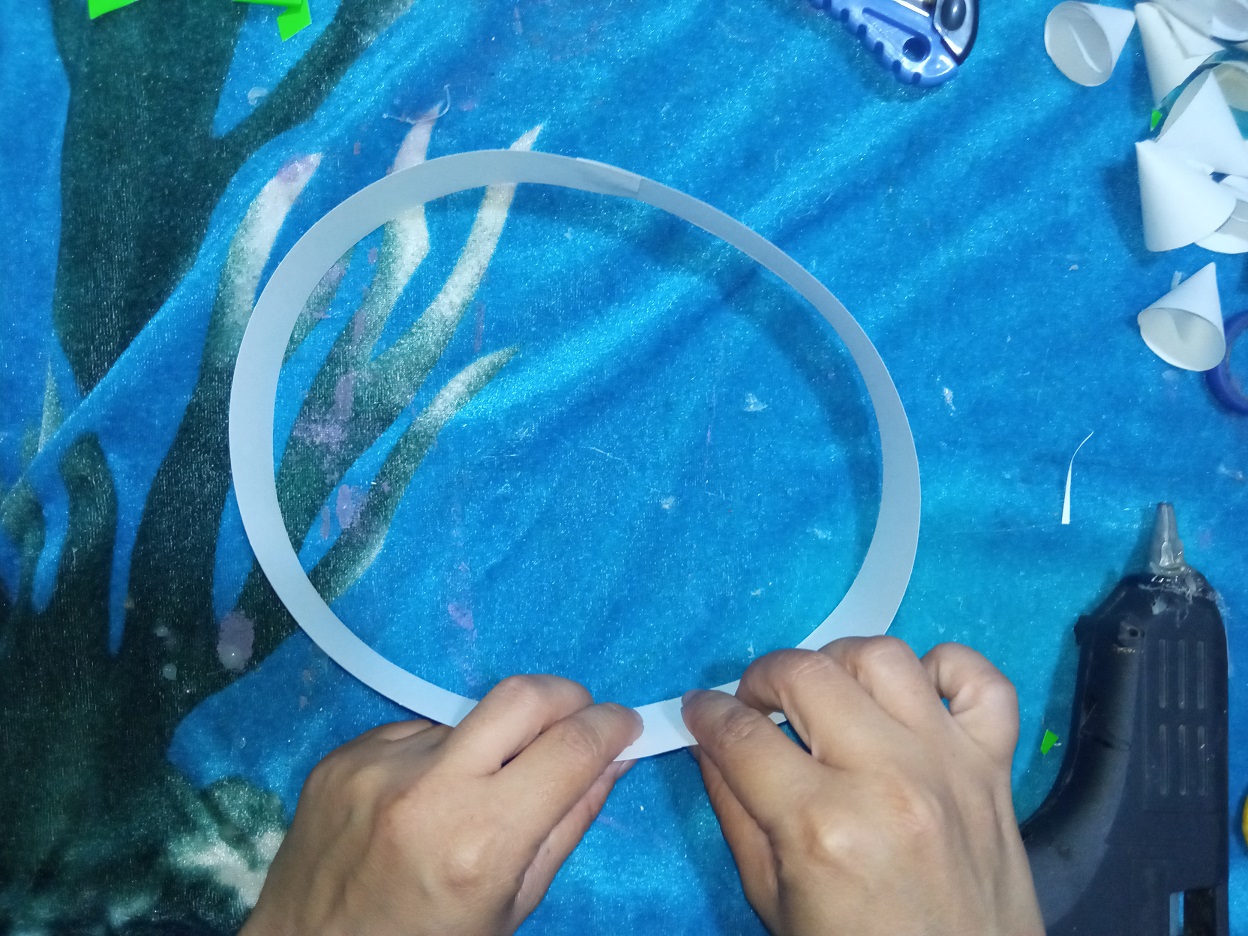
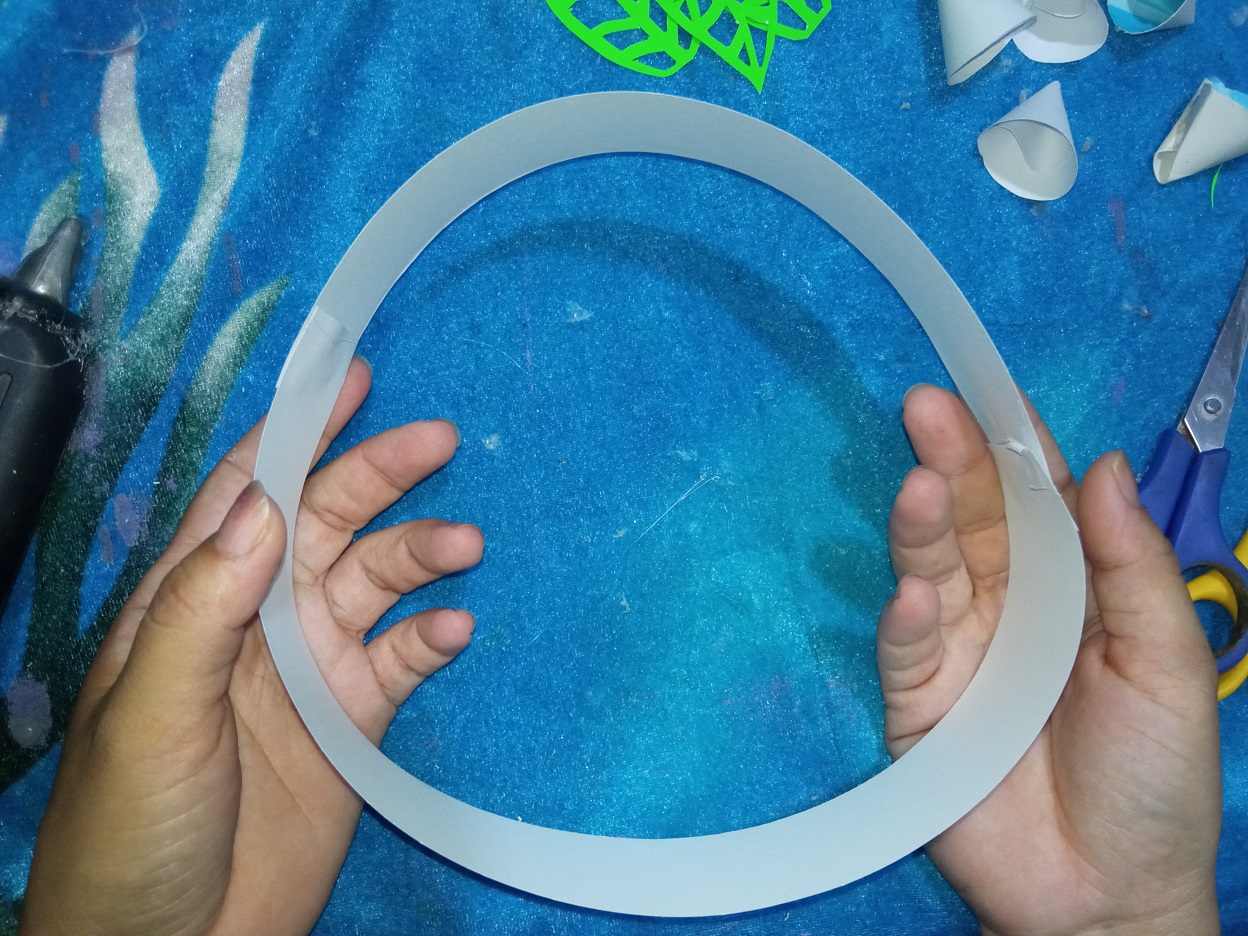
Fourth step: cut some strips of white cardboard about 2 cm wide, measure the size of your head with it and cut the ideal size with scissors, to finish sticking with the hot silicone.
Cuarto paso: recorta unas tiras de cartulina blanca de unos 2 cm de ancho, mide el tamaño de tu cabeza con ella y corta con las tijeras la medida ideal, para finalizar pega con el silicón caliente.
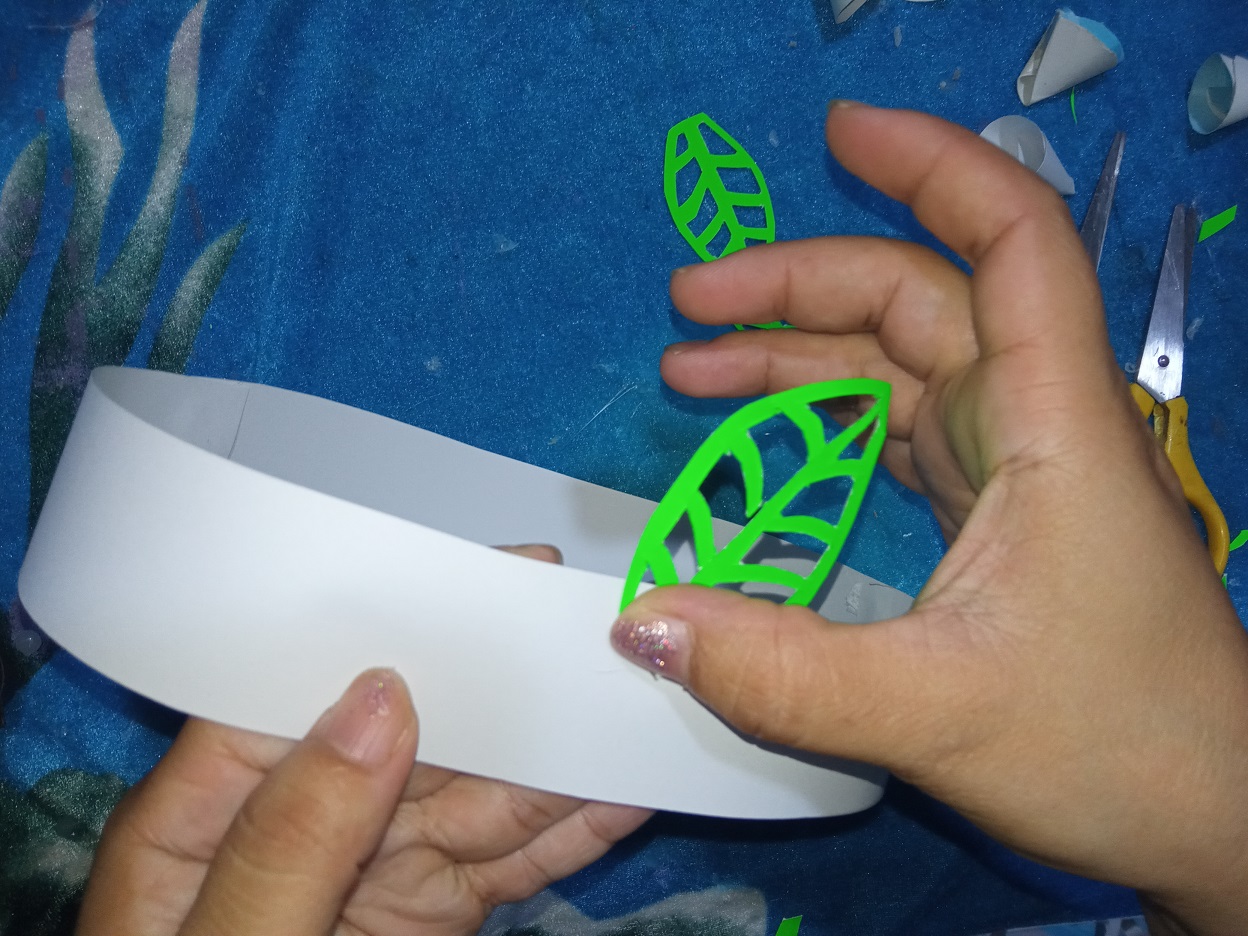
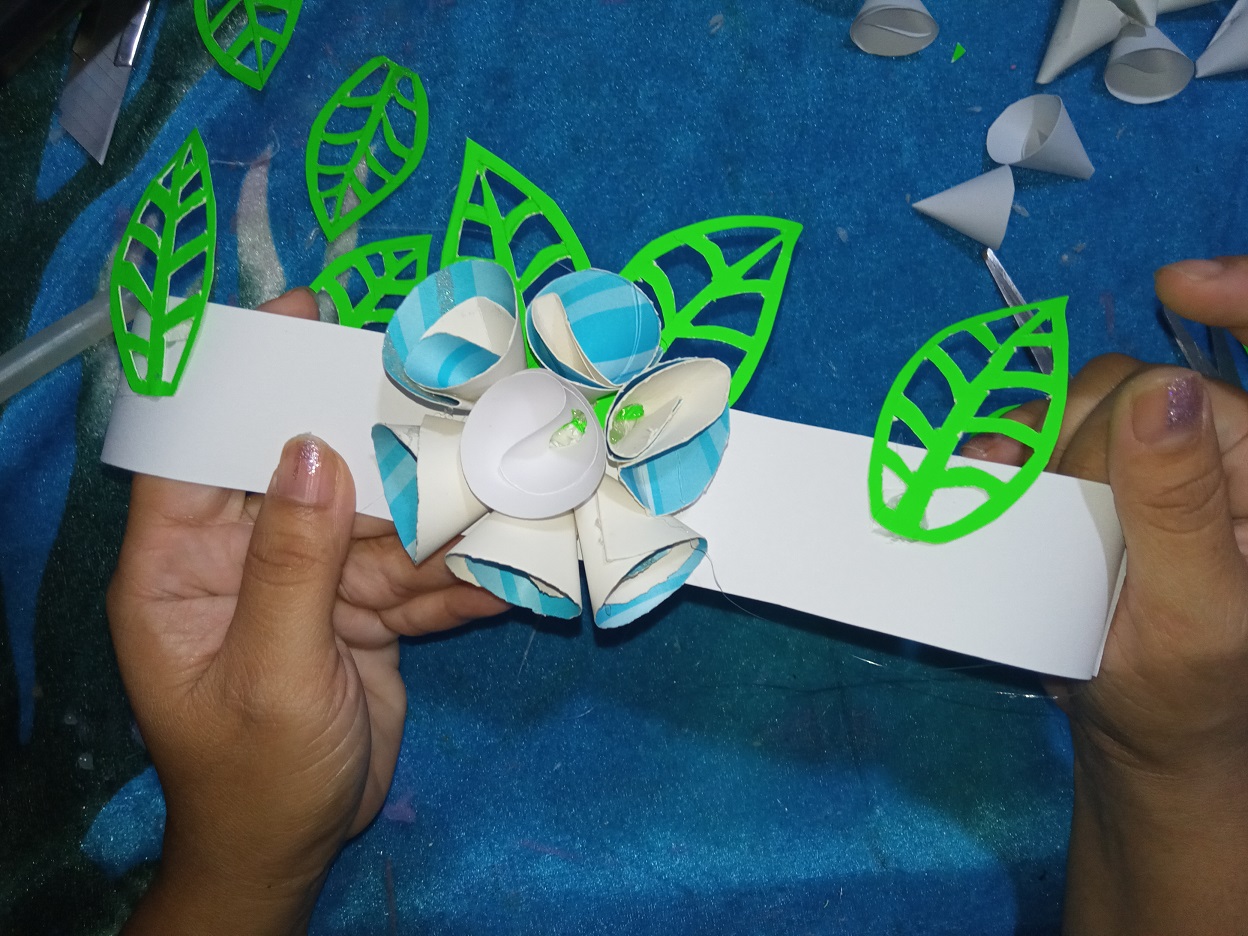
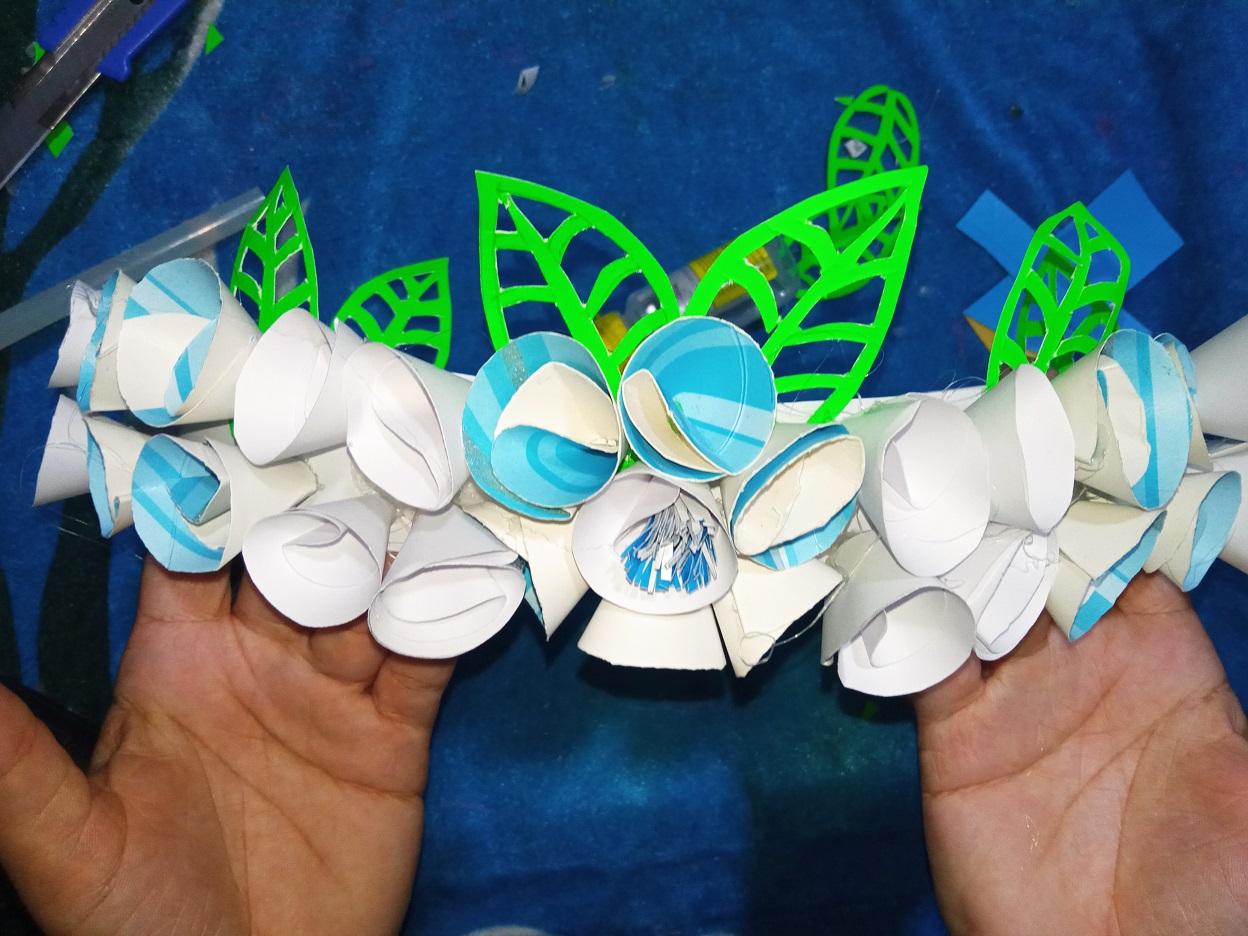
Fifth and last step: form your tiara by gluing all the components created, stick with your hot silicone first the leaves, then cut the tips of the cones of the florets with your scissors and glue all over the tiara interleaving the colors. Also make a fringe with your blue cardboard and glue in the center of the initial flower to highlight.
Quinto y último paso: forma tu tiara pegando todos los componentes creados, pega con tu silicón caliente primero las hojas, luego corta la punta de los conos de las florecillas con tus tijeras y pega por toda la tiara intercalando los colores. También realiza un flequillo con tu cartulina azul y pega en el centro de la florecilla inicial para resaltar.
Final score:
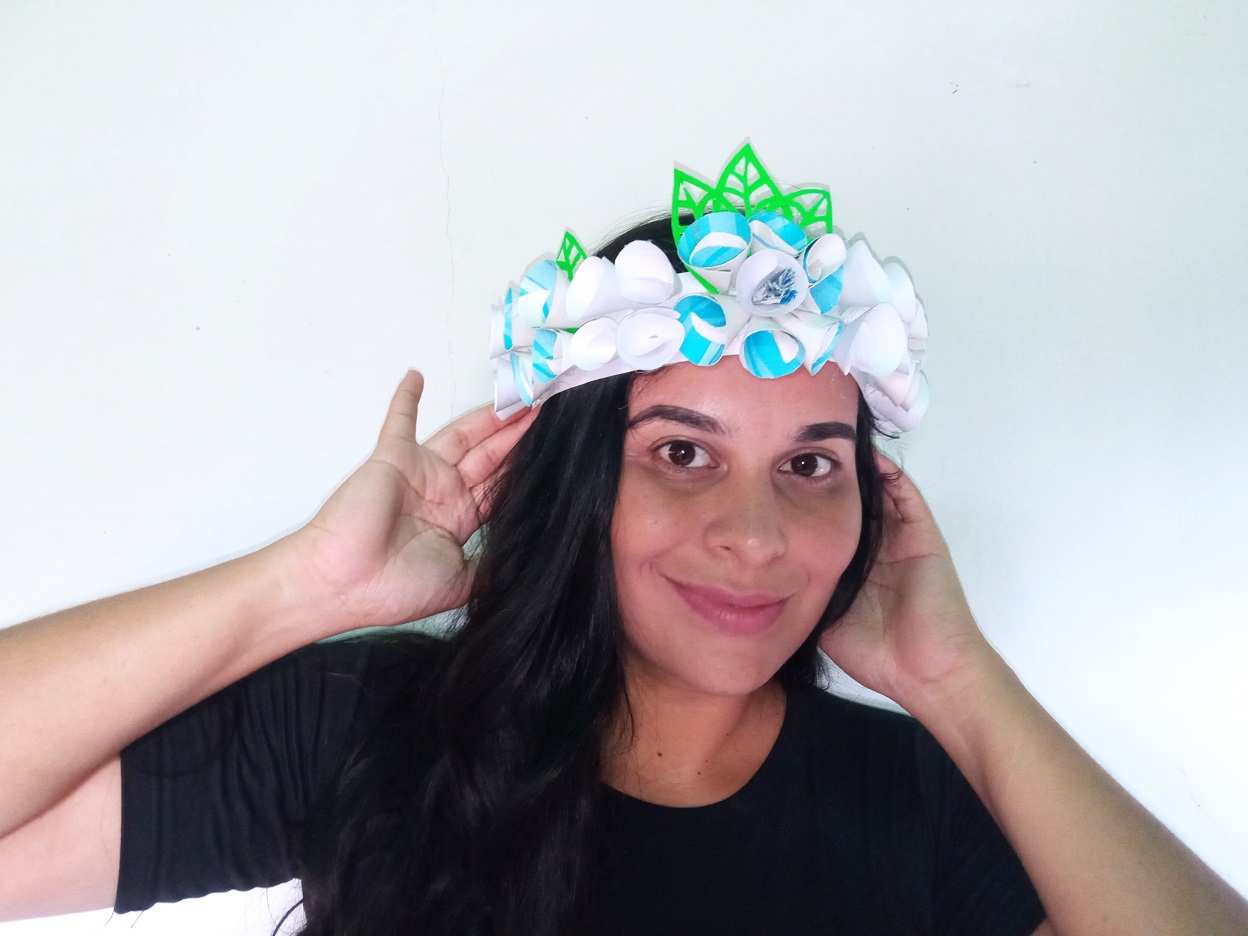
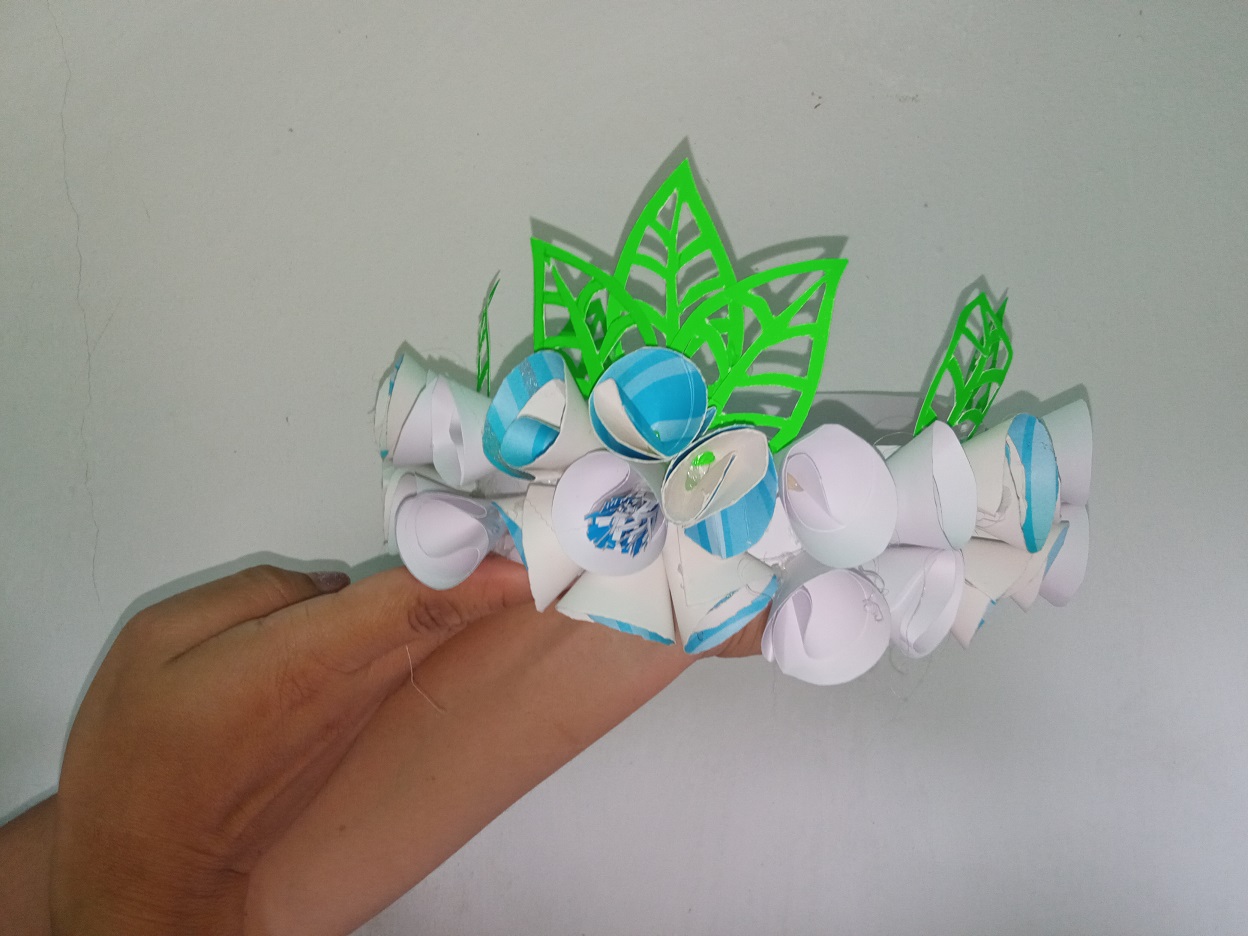
Resultado final:
This is all my participation I hope you like it and I invite my friends @katiuskamata and @yeniriverabello to participate. Until next time and good luck to all DIYers in this contest.
Esta es toda mi participación espero que sea de su agrado e invito a participar a mis amigas @katiuskamata y @yeniriverabello. Hasta una próxima ocasión y suerte para todos los bricolajeros en este concurso.
Thanks for dressing me up and reading me, until next time @aksurevm89.
Gracias por vístame y leerme, hasta una próxima ocasión @aksurevm89.
THANKS FOR READING ME // GRACIAS POR LEERME
Translated by: google translator // Traducido por: google traductor
All photos are my property // Todas las fotos son de mi propiedad.
Super divertido, a las pequeñas de la casa seguro les encantará. muchas gracia spor participar, mucha suerte en el concurso.
Muchísimas gracias @equipodelta encantada de poder participar y seguro las nenas disfrutarán realizando la tiara y se verán super hermosas con ella puesta.
Congratulations @aksurevm89! You have completed the following achievement on the Hive blockchain and have been rewarded with new badge(s) :
Your next target is to reach 400 replies.
You can view your badges on your board and compare yourself to others in the Ranking
If you no longer want to receive notifications, reply to this comment with the word
STOP¡Qué linda tiara! Es una gran idea para destacar a la cumpleañera en una fiesta infantil. Me encantó. Saludos.
Muchas gracias amiga @aurodivys seguro que sí, con temática floral esa pequeña cumpleañera no pasará desapercibida.
Muy bonita ....no se me habia ocurrido esta técnica. Ideal para disfraces y fiestas temáticas.... gracias por compartir. Suerte en el concurso.
Muchas gracias amiga @chacald.dcymt con un poco de ingenio todo se puede.
me gusta esa tiara y le aseguro que a mi prima pequeña le gustaría muchísimo más ya que es amante de las princesas
Gracias amiga, anímate a realizarla es súper sencilla y se verán muy coquetas.