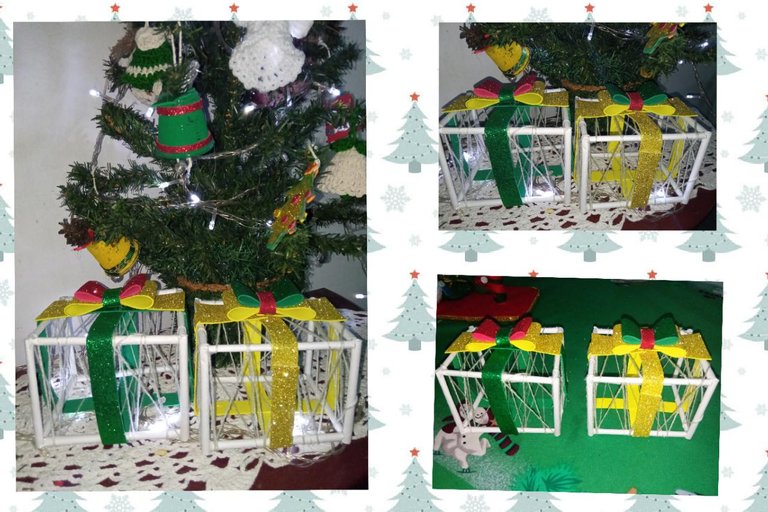
Good night, artisan friends and DIY lovers of #HIVEDIY, receive a warm welcome to this creative space, I hope you are healthy and happy accompanied by your loved ones, the gifts are very typical of the Christmas season, nothing more pleasant than enjoying a big smile when receiving a gift from one of your favorite people, the gifts give life to the foot of our tree and invite us to imagine, dream and share, in view of this for this new creative proposal of the day I have made some boxes of gifts to decorate my little tree and give it personality, to create the base I have used reused sheets of paper and I wanted my gifts to be completely in 3D so I have tied them with thread so that you can appreciate the figure in three dimensions and the I have decorated with some beautiful Eva rubber ribbons, accompany you to observe the following tutorial and I will show you how to make these gift boxes so that you can also decorate your tree.
Buenas noches amigos artesanos y amantes bricolajeros de #HIVEDIY, reciban una cálida bienvenida a este espacio creativo, espero se encuentren sanos y felices acompañados de sus seres amados, los regalos son muy propios de la época de navidad, nada más agradable que disfrutar de una gran sonrisa al recibir un obsequio de mano de una de tus personas favoritas, los regalos le dan vida al pie de nuestro árbol y nos invitan a imaginar, soñar y compartir, en vista de ello para esta nueva propuesta creativa del día he elaborado unas cajas de regalos para decorar mi pequeño árbol y darle personalidad, para crear la base he utilizado hojas de papel reusadas y quise que mis regalos fueran completamente en 3D por lo que las he atado con hilo para que se pueda apreciar la figura en tercera dimensión y la he decorado con unos preciosos lazos de goma Eva, acompañe a observar el siguiente tutorial y te muestro como hacer estás cajitas de regalo para que tú también decores tu árbol.
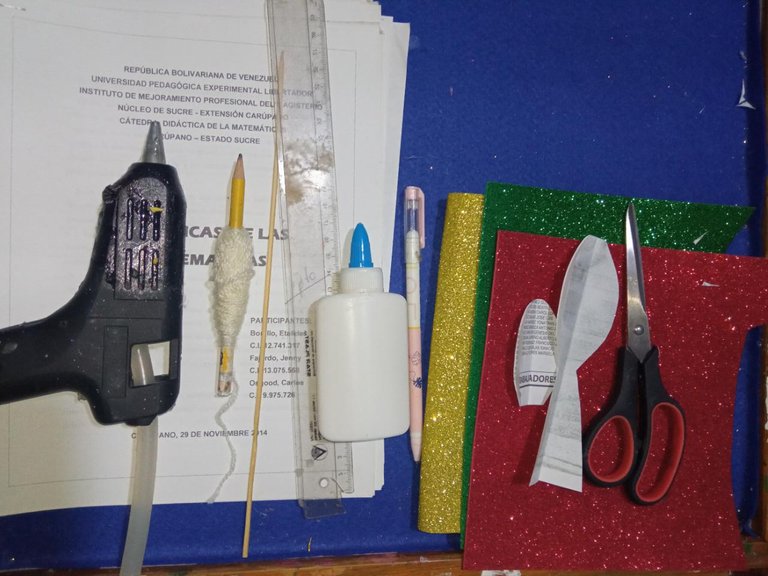
Used materials:
✓ Recycled paper sheets.
✓ Frosted Eva rubber with Christmas colors.
✓ Wick or yarn thread.
✓ Patterns of the ties previously made.
✓ Stick silicone with your gun.
✓ Height stick.
✓ White glue.
✓ Pair of scissors.
✓ Rule.
✓ Pencil.
Materiales utilizados:
✓ Hojas de papel recicladas.
✓ Goma Eva escarchada con colores de navidad.
✓ Hilo pabilo o estambre.
✓ Patrones de los lazos previamente elaborados.
✓ Silicón en barra con su pistola.
✓ Palillo de altura.
✓ Pega blanca.
✓ Tijeras.
✓ Regla.
✓ Lápiz.
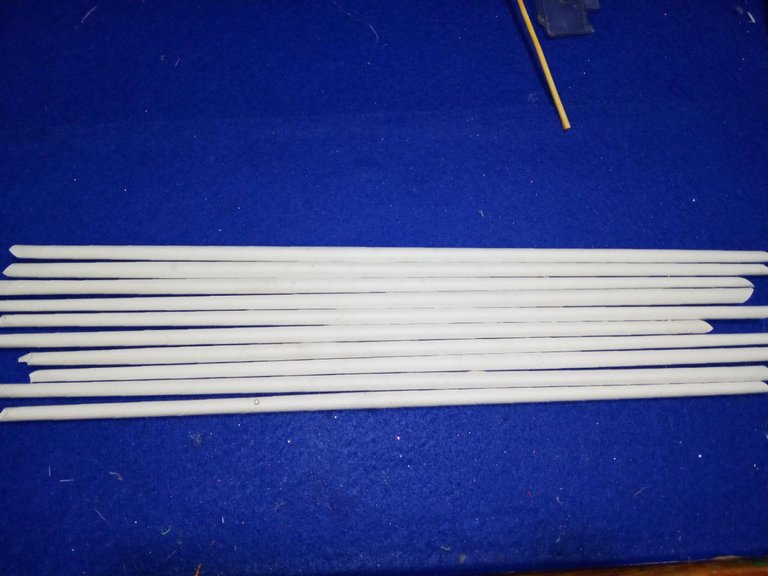
Starting my creative craft of the day:
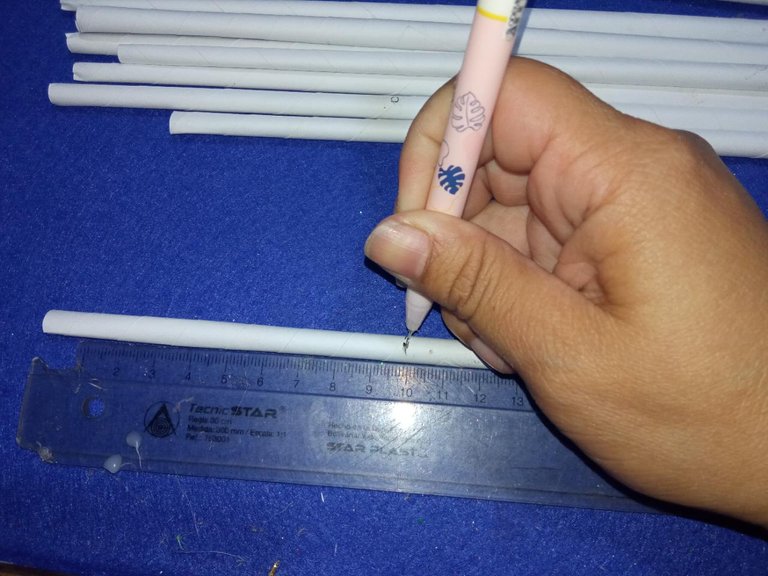
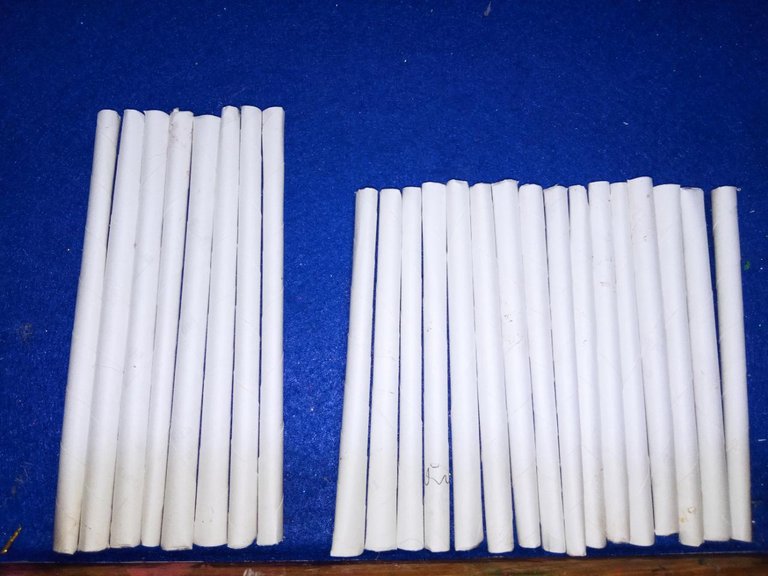
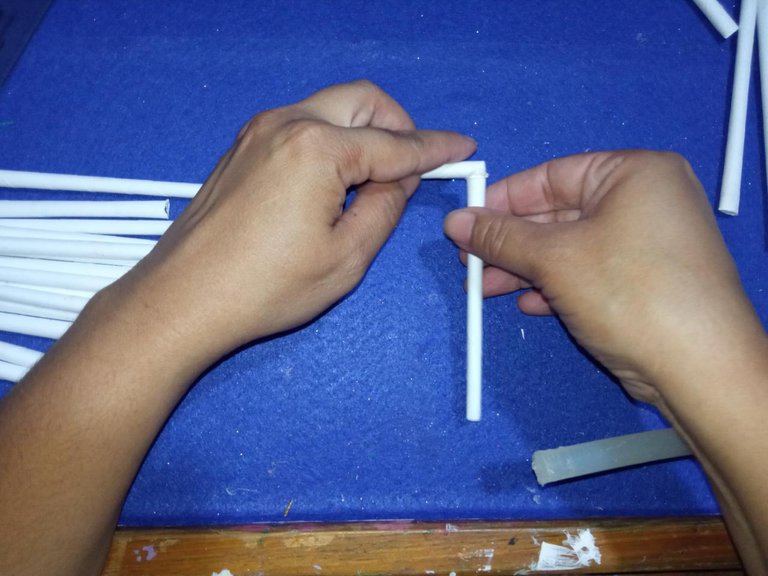
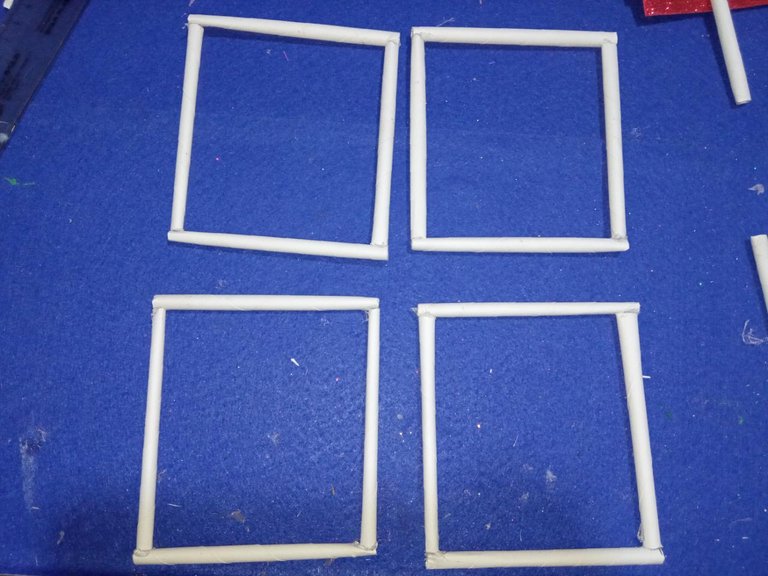
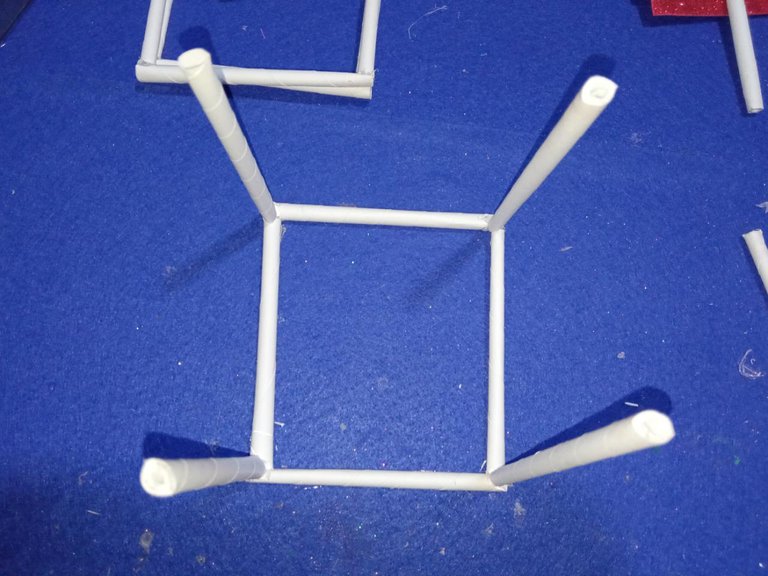
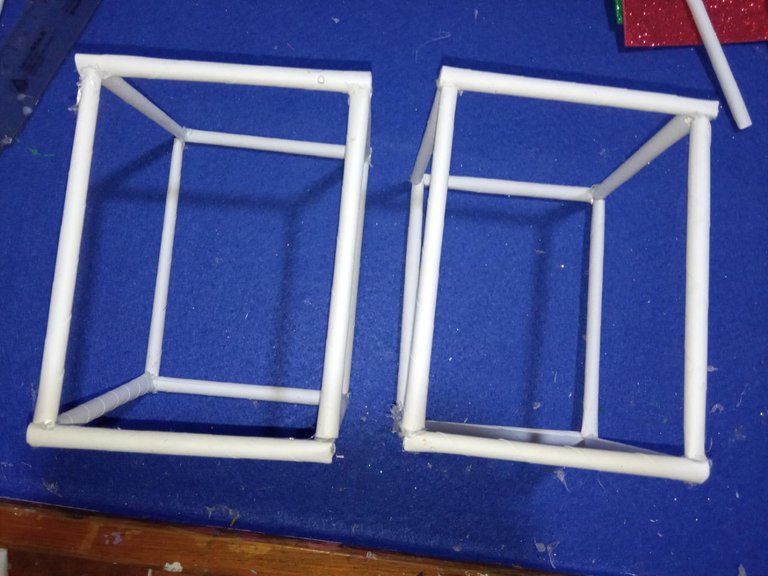
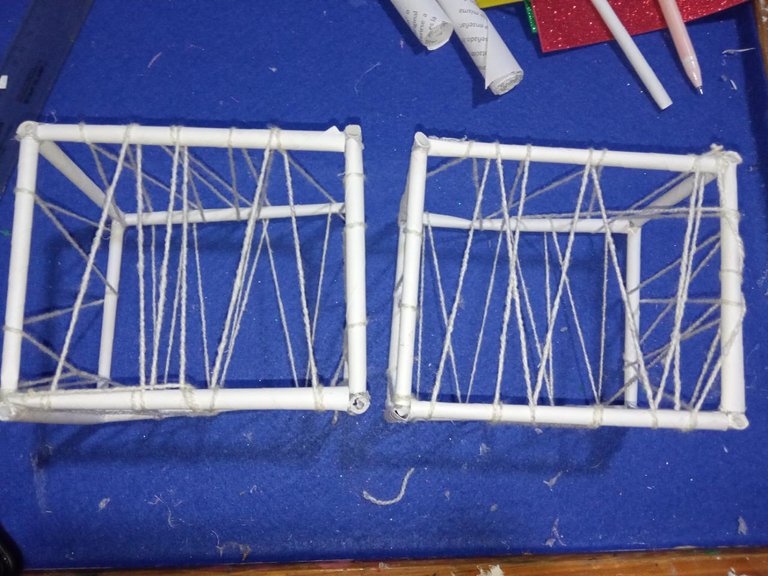
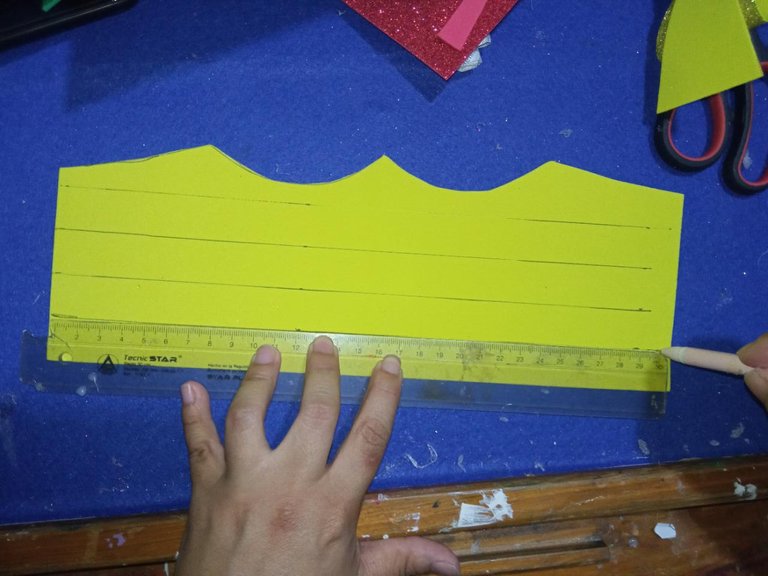
I take the sheets of paper and start to roll them with the tall stick to form the canes, I glue the tips with the white glue and with the scissors I cut the inaccurate tips. Now, with the ruler, I mark 16 10-centimeter poles and 8 12-centimeter poles to form my two boxes and cut with the scissors. With the hot silicone, he formed 4 squares by gluing 4 sticks together and then I glued the 12-centimeter sticks in the shape of a pole and on top of this I glued one of my squares to form the 3D figure and my two boxes.
Iniciando mi manualidad creativa del día:
Tomo las hojas de papel y comienzo a enrollarlas con el palillo de altura para formar los bastones, pego las puntas con la pega blanca y con las tijeras corto las puntas inexactas. Ahora, con la regla marco 16 bastones de 10 centímetros y 8 bastones de 12 centímetro para formar mis dos cajas y recorto con las tijeras. Con el silicón caliente formó 4 cuadrados pegando 4 bastones entre sí y luego pego los bastones de 12 centímetros en forma de poste y sobre de este pego uno de mis cuadrados para formar la figura en 3D y mis dos cajas.

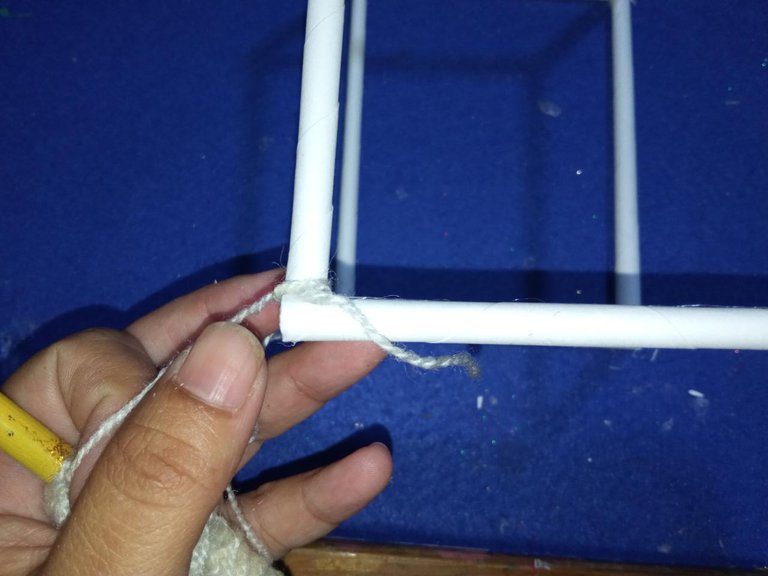
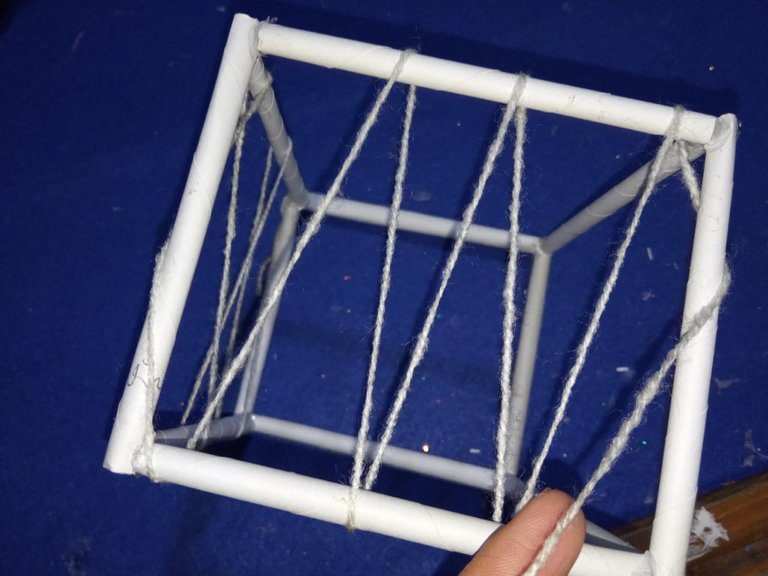
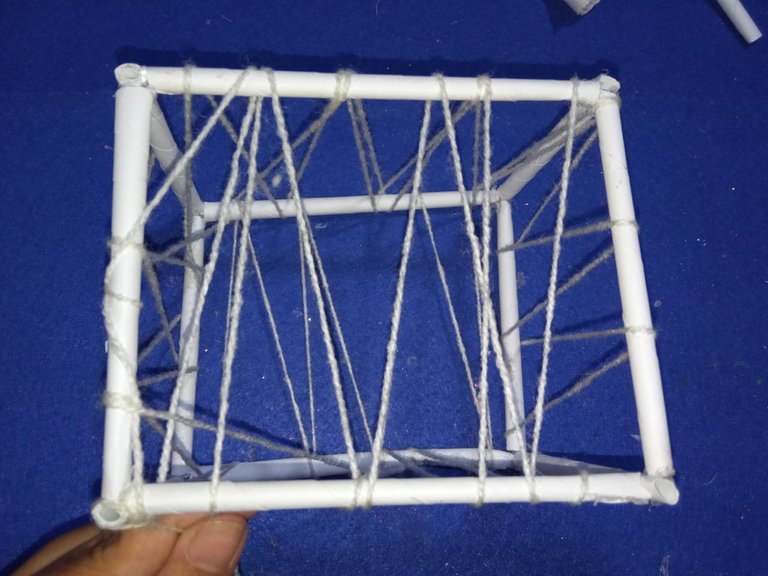
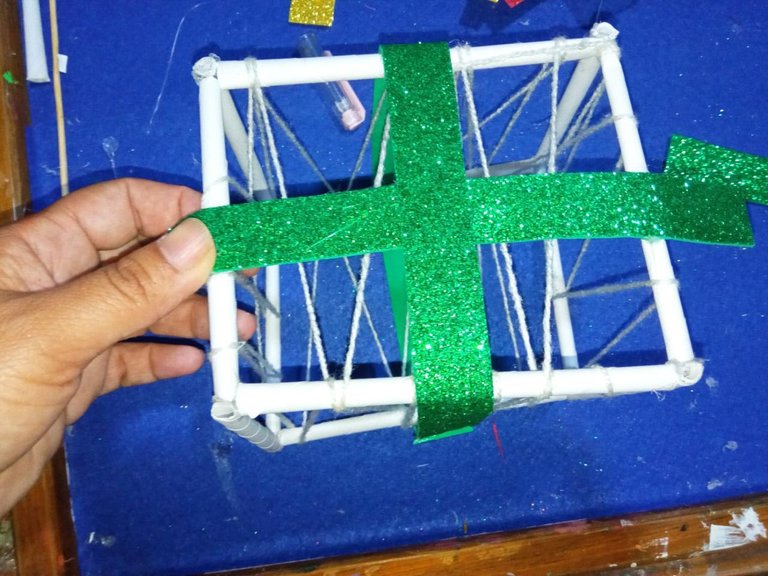
It is time to take the thread or the yarn and roll it through each of the boxes, inserting and removing the thread for each of the faces of my figures.
Es momento de tomar el hilo o el estambre y enrollar por cada una de las cajas, metiendo y sacando el hilo para cada una de las caras de mis figuras.
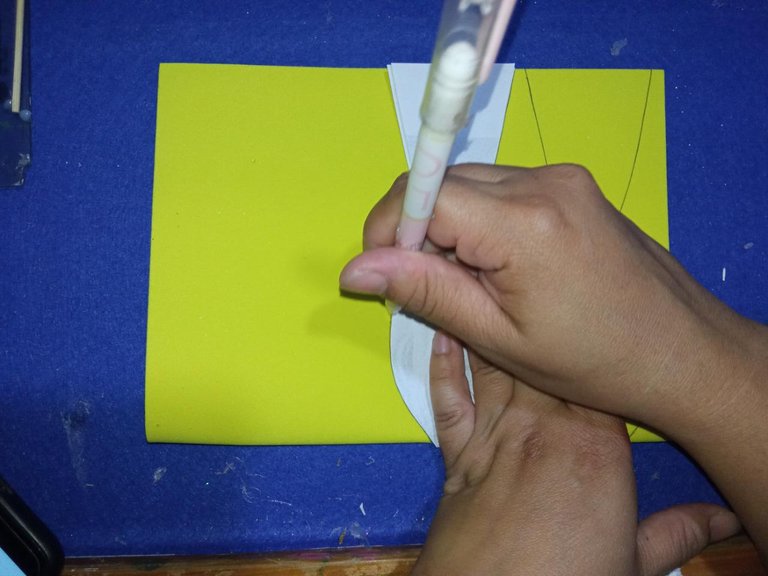
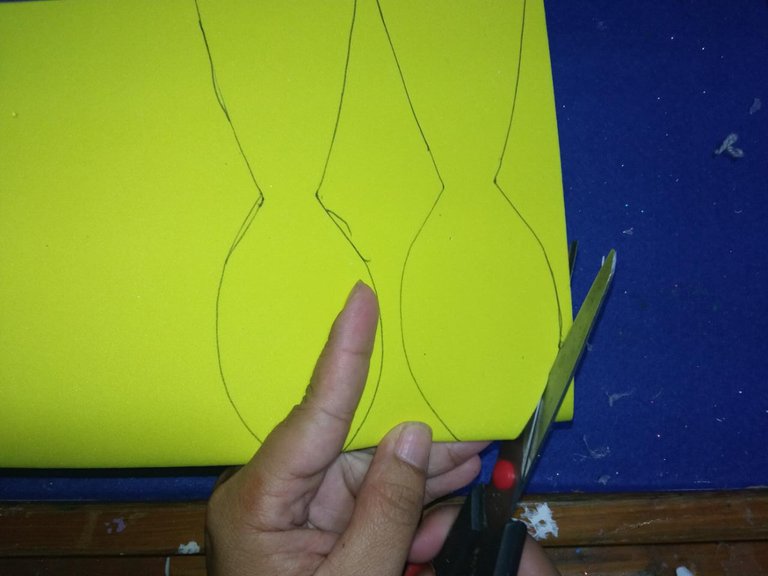
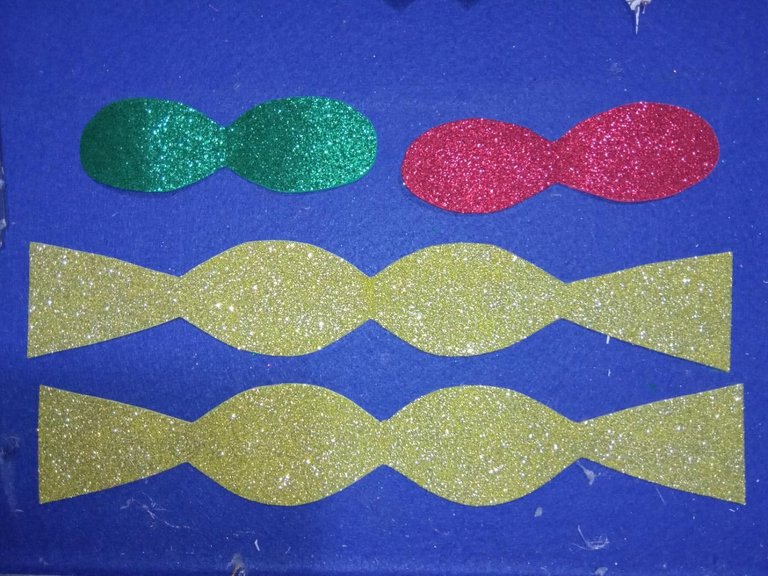
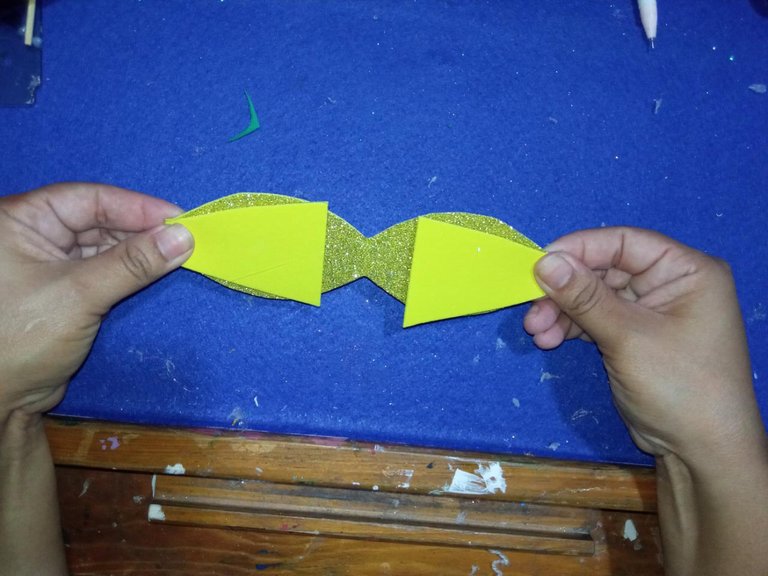
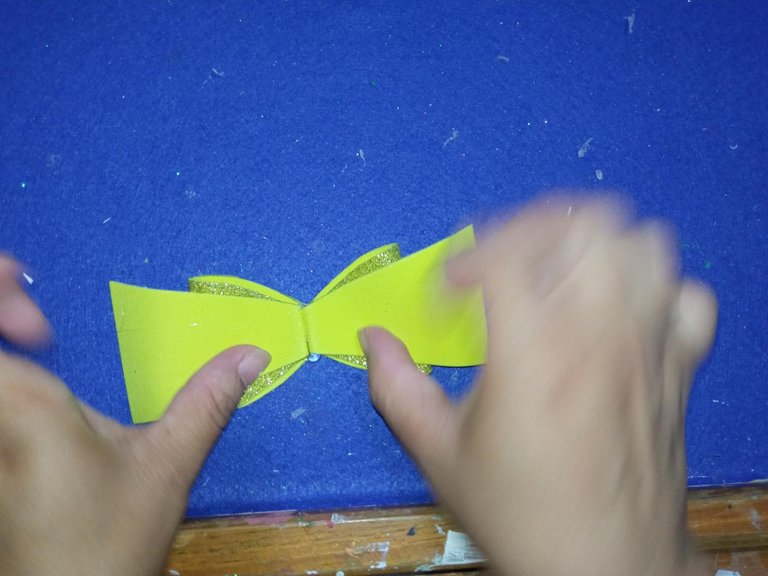
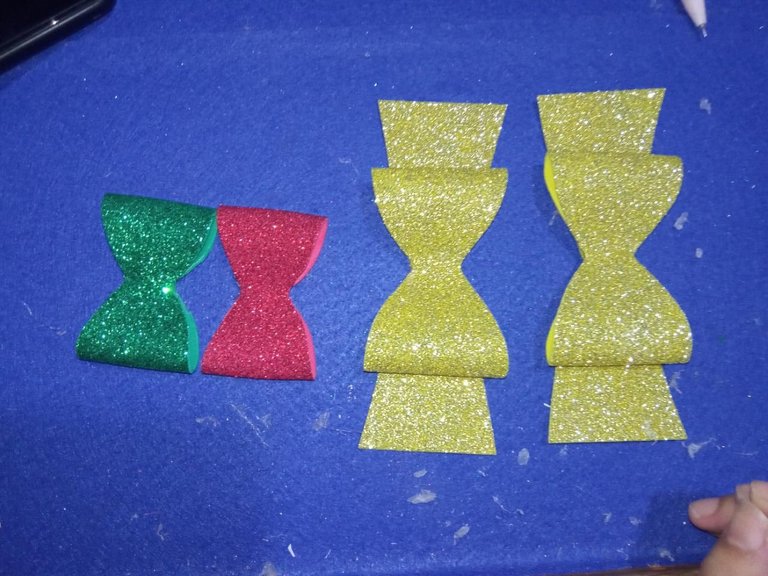
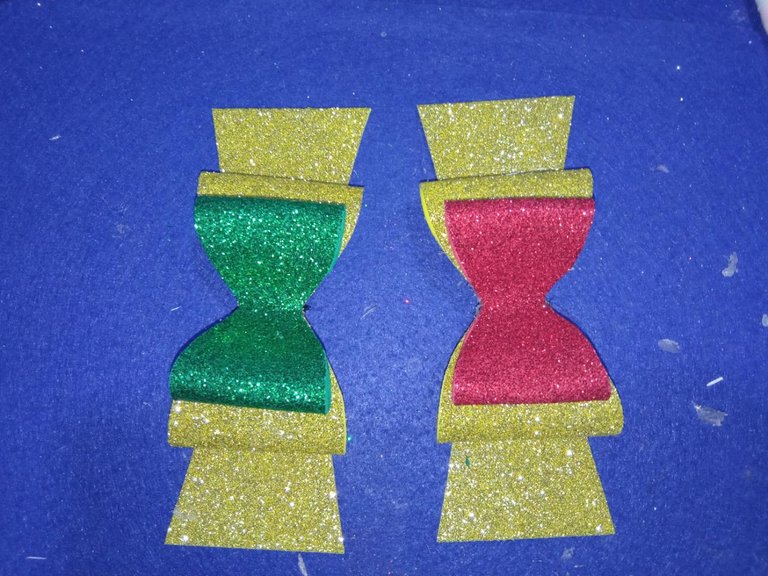
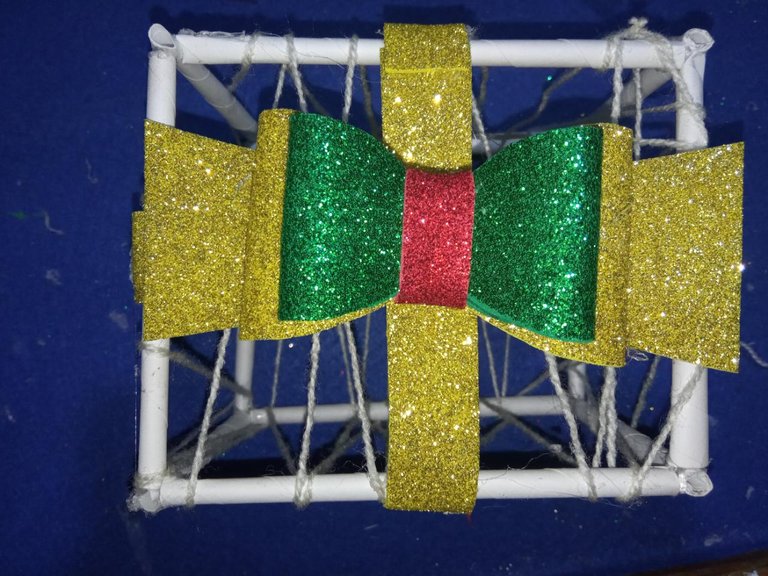
I mark the patterns of the bows in the frosted foami of my preference and mark the smallest bow in two different colors, cut with the scissors and glue the tips of the bows inwards and then outwards in the center of it, the more ribbons small ones I glue their ends out and then with the hot silicone I glue the smaller bows in the center of the larger bows, cut some ribbons of two types of frosted Eva rubber of about 2 centimeters and glue in the center of the bows.
Marco los patrones de los lazos en el foami escarchado de mi preferencia y marco el lazo más pequeño en dos colores diferentes, recorto con las tijeras y pego las puntas de los lazos hacia adentro y luego hacia afuera en el centro del mismo, los lazos más pequeños pego hacia afuera sus puntas y luego con el silicón caliente pego los lazos más pequeños del centro de los lazos más grandes, recortó unas cintas de dos tipos de goma Eva escarchada de unos 2 centímetros y pego en el centro de los lazos.
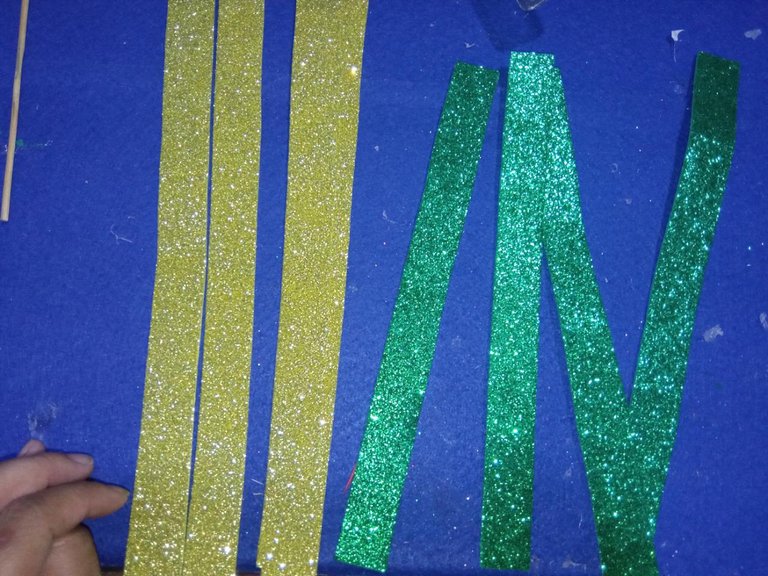
To finish, I mark and cut out a 2-centimeter Eva rubber strip of two different colors and glue the boxes in the form of a ribbon, then at the top I glue the bows.
Para finalizar, marco y recortó tira de goma Eva de 2 centímetros de dos colores diferentes y pego en forma de cinta de las cajas, luego en la parte superior pego los lazos.
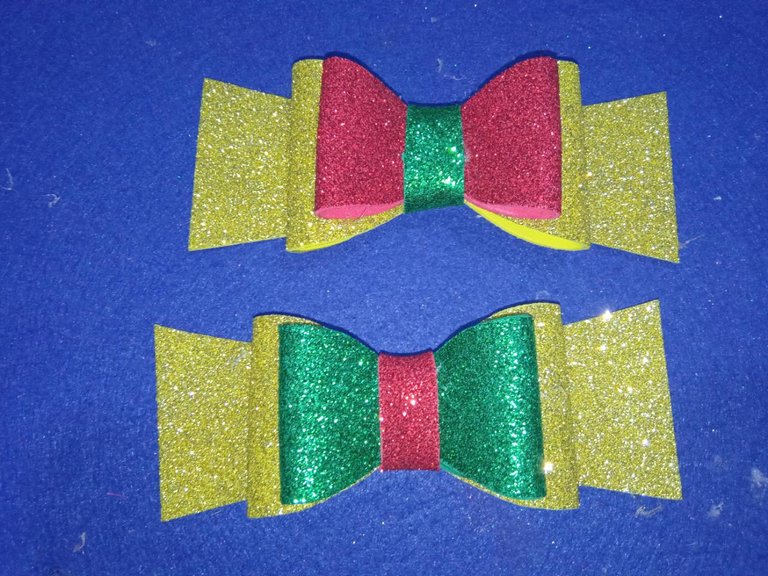
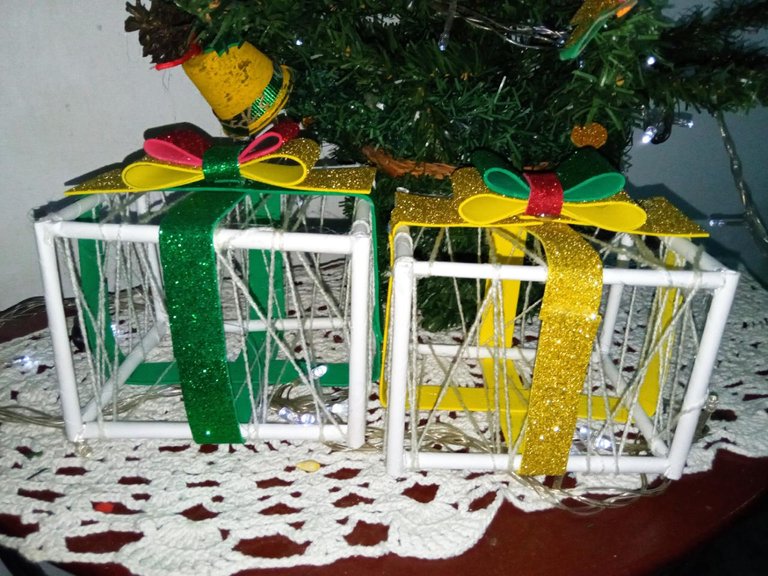
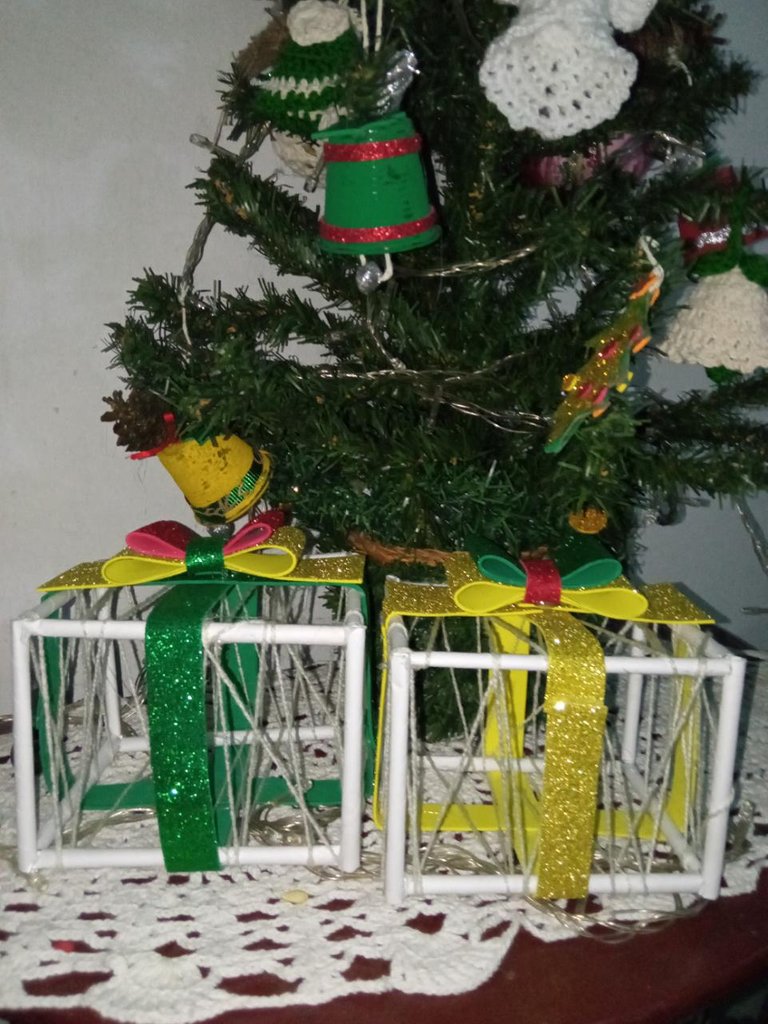
This is how my 3D gift boxes have been to decorate the foot of my little Christmas tree.
Así han quedado mis cajas de regalos en 3D para decorar el pie de mi pequeño árbol de navidad.
THANKS FOR READING ME // GRACIAS POR LEERME.
Translated by: google translator // Traducido por: google traductor.
All photos are my property // Todas las fotos son de mi propiedad.
The collage were made with the collage maker android app // Los collage fueron realizado con la app para android collage maker.
The rewards earned on this comment will go directly to the person sharing the post on Twitter as long as they are registered with @poshtoken. Sign up at https://hiveposh.com.
Que lindos, es una idea bastante versátil y económica me ha encantado. 💞🎄
Muchas gracias amiga, y súper sencillos de hacer.
Your content has been voted as a part of Encouragement program. Keep up the good work!
Use Ecency daily to boost your growth on platform!
Support Ecency
Vote for new Proposal
Delegate HP and earn more
Thank you for sharing this amazing post on HIVE!
non-profit curation initiative!Your content got selected by our fellow curator @stevenson7 & you just received a little thank you via an upvote from our
You will be featured in one of our recurring curation compilations and on our pinterest boards! Both are aiming to offer you a stage to widen your audience within and outside of the DIY scene of hive.
Join the official DIYHub community on HIVE and show us more of your amazing work and feel free to connect with us and other DIYers via our discord server: https://discord.gg/mY5uCfQ !
If you want to support our goal to motivate other DIY/art/music/homesteading/... creators just delegate to us and earn 100% of your curation rewards!
Stay creative & hive on!