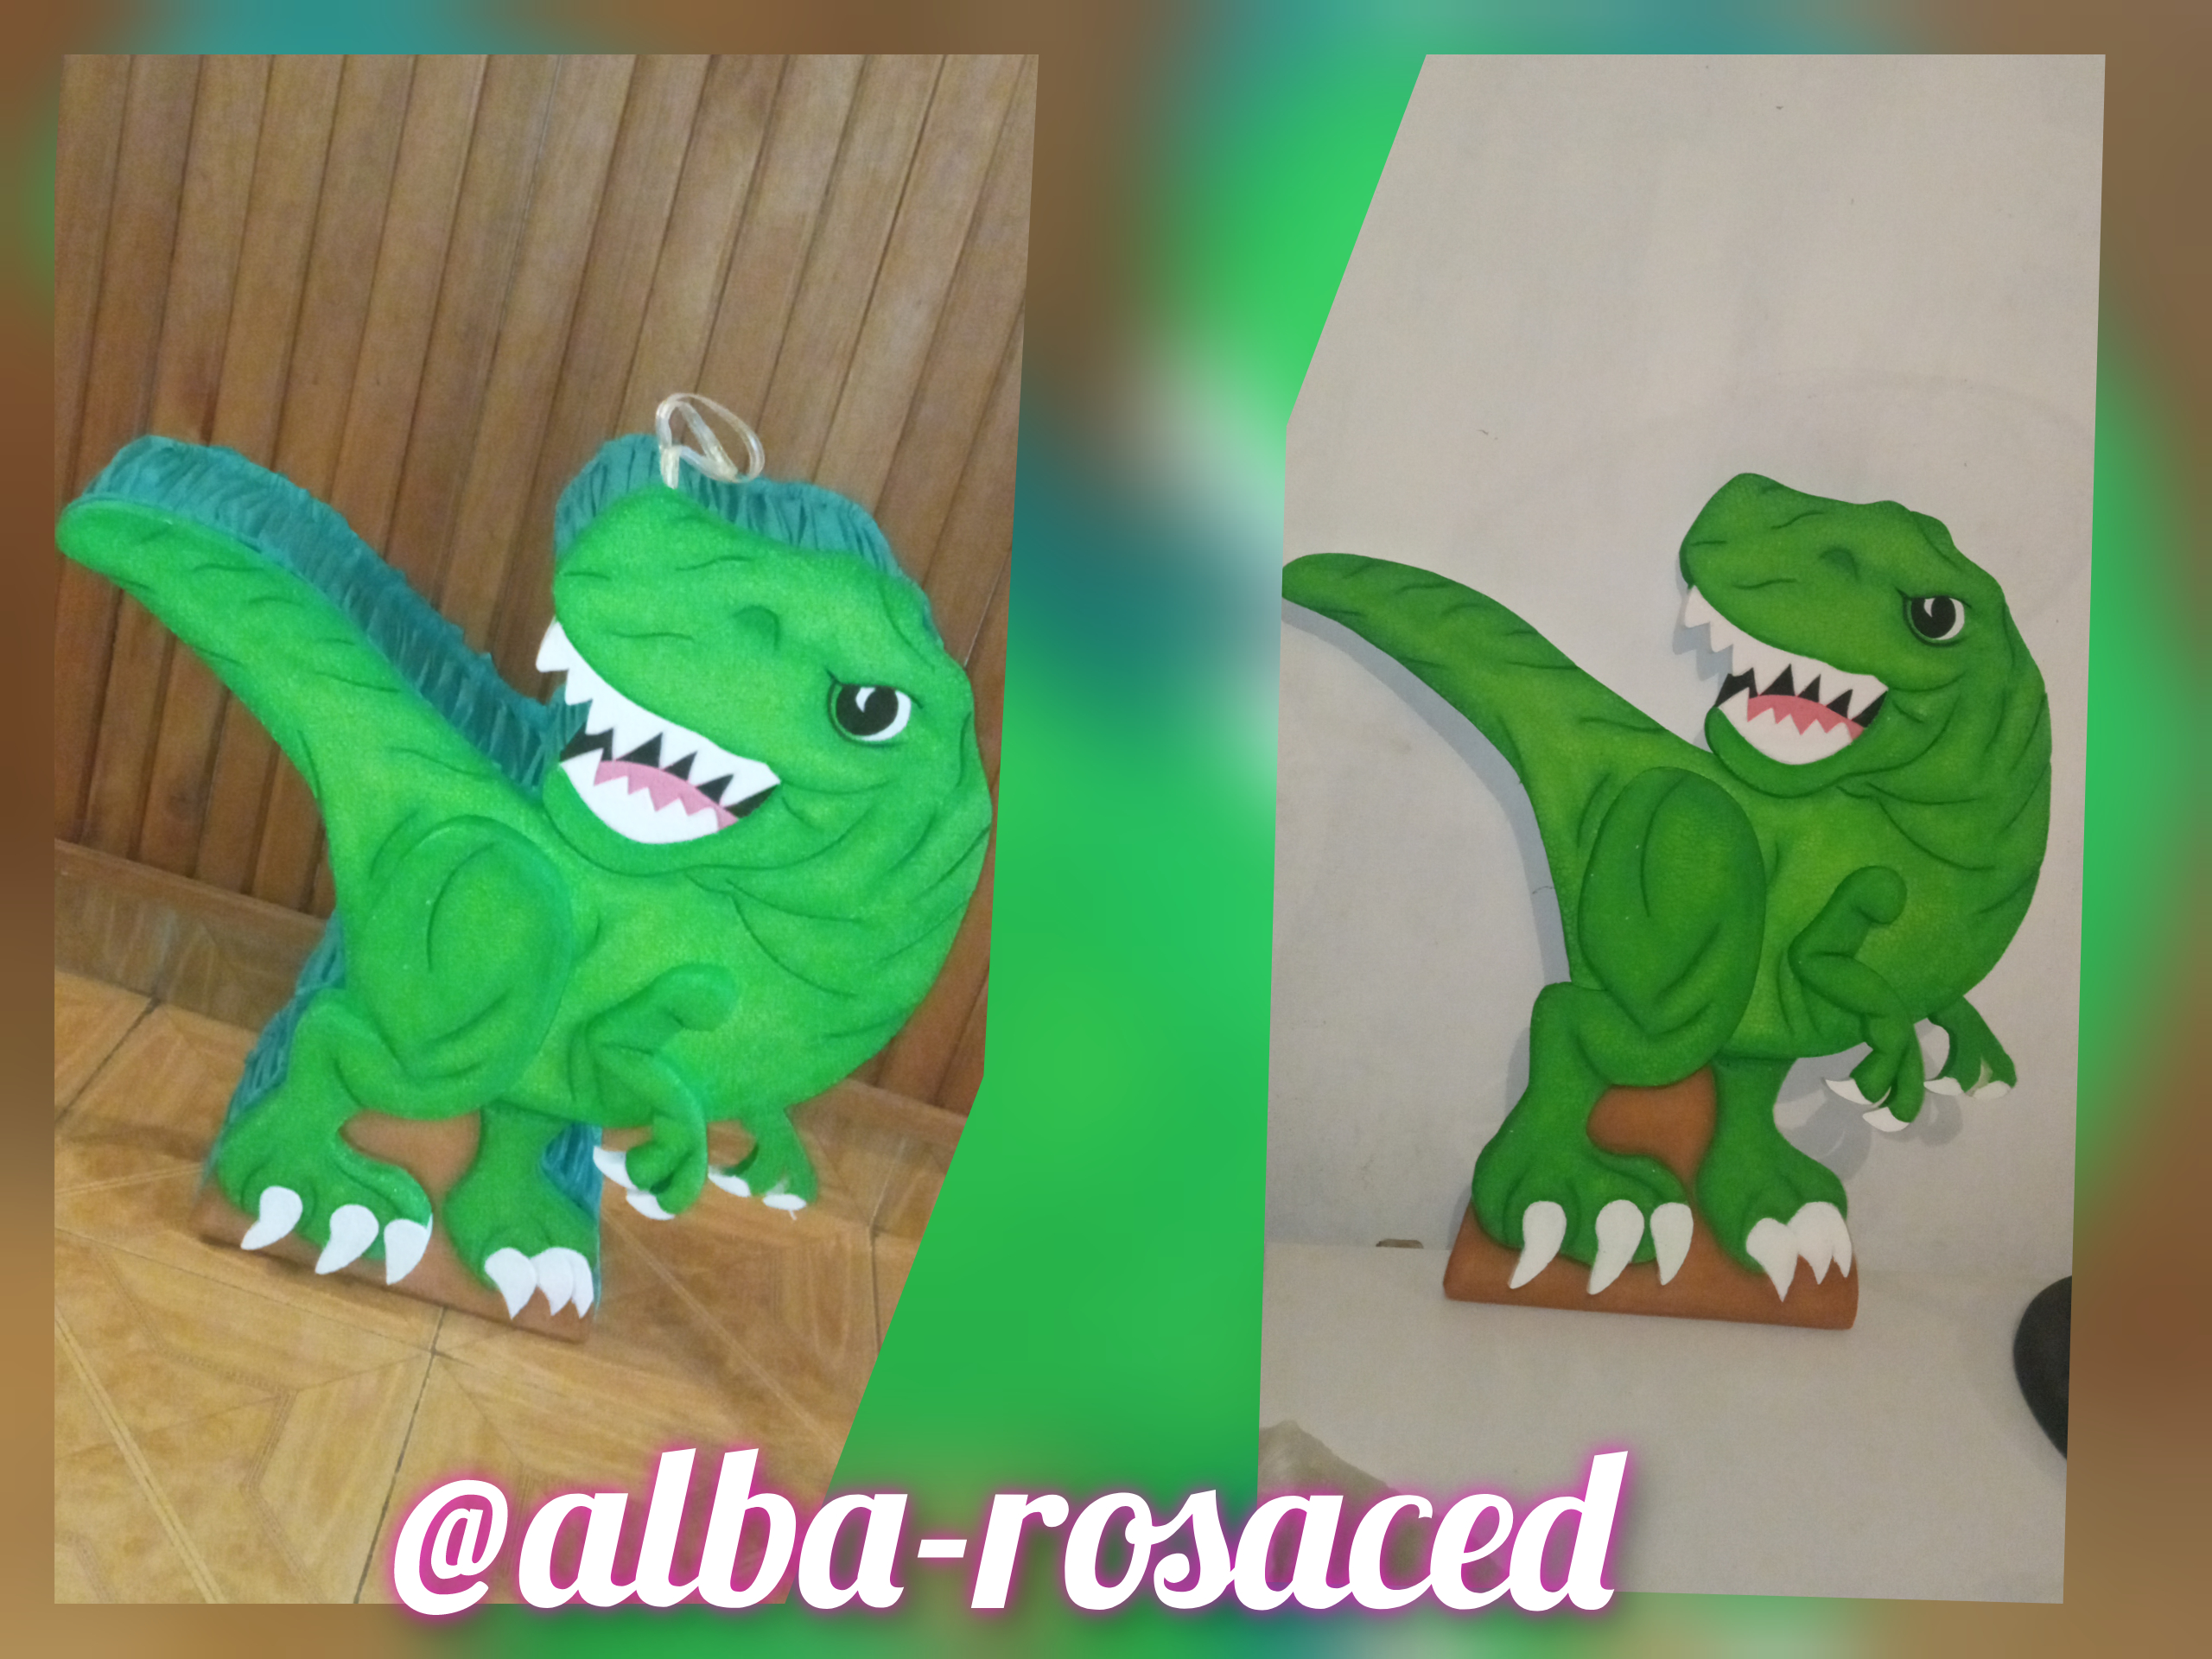
Hello my friends of this wonderful community of #hive, I hope you are well and above all thank God for being here, today I want to show you how to make a small piñata the theme is dinosaur, a theme that now our little ones are crazy about those dolls and well here I will show you how to make one. Follow me and you will see how easy it is ...
hola mis amigos de esta maravillosa comunidad de #hive, espero se encuentren bien y sobre todo darle gracias a dios por estar aquí, hoy quiero mostrarle cómo realizar una pequeña piñata la temática es de dinosaurio, una temática que ahorita nuestros pequeños andan locos por esos muñecos y pues aquí le mostrare cómo realizar una . Sígueme y veras lo fácil que es ..
What will I use?
-carton.
-anime.
-cold paints.
-brush.
-cuter.
-scissors
-paper bon
-pencil
-crepe paper.
-stapler.
-staples.
Que utilizaré?
-carton.
-anime.
-pinturas al frío.
-pincel.
-cuter.
-tijera
-papel bon
-lápiz.
-Papel crepe.
-grapadora.
-grapas.
Step 1
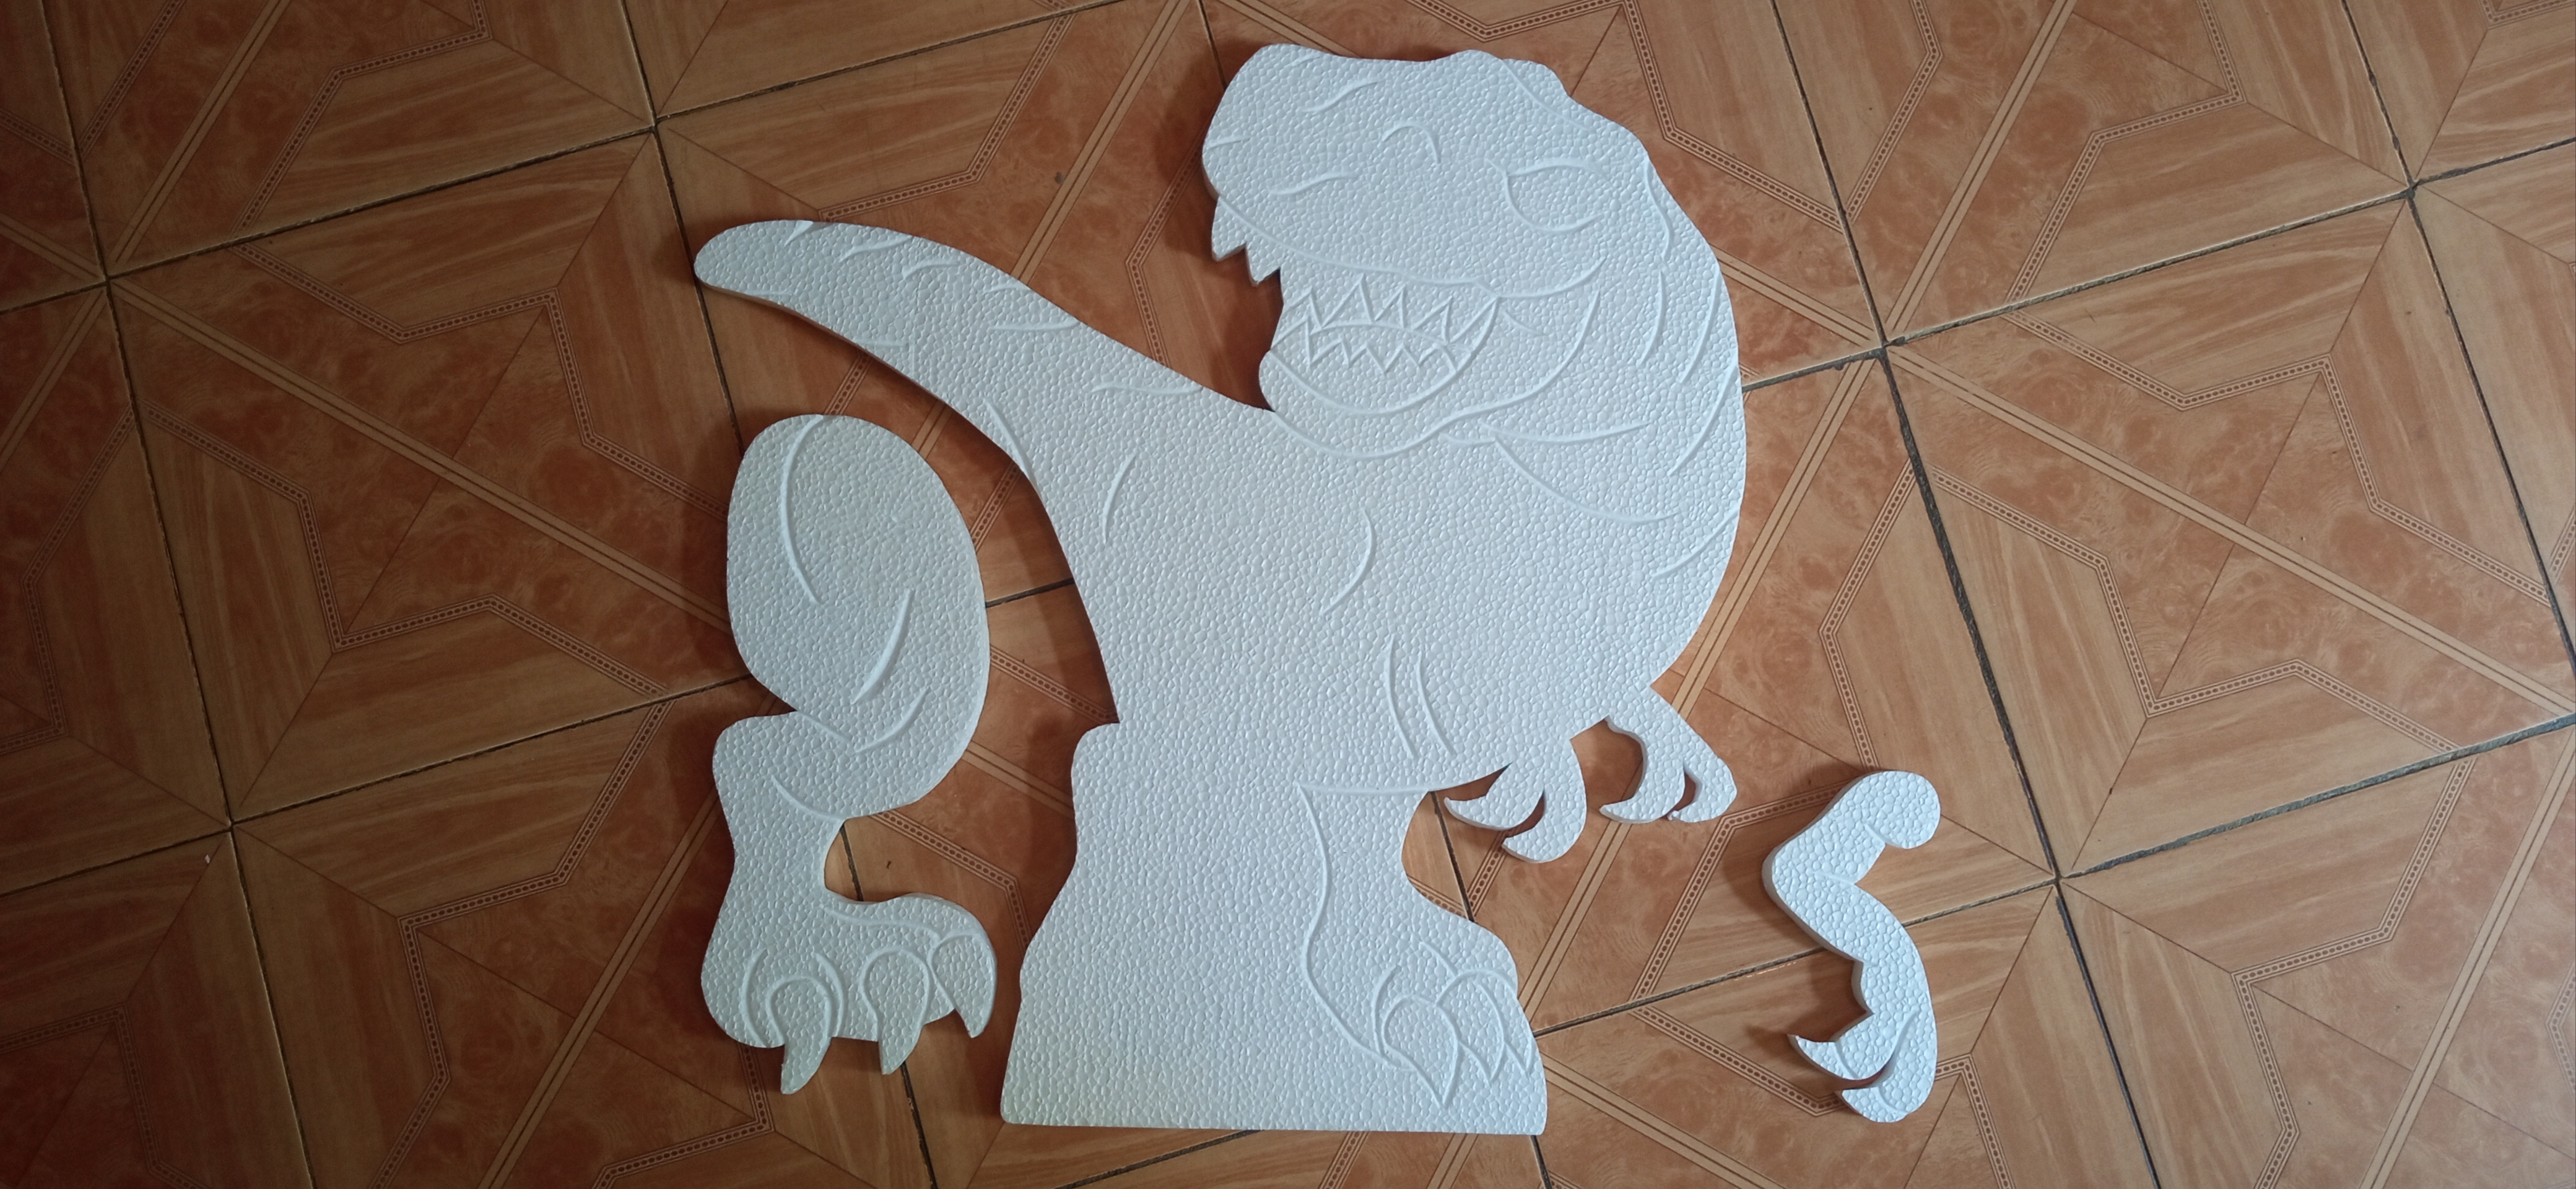
First we painted the dinosaur and transferred it to the anime, then we cut it and it was ready to start painting.
Paso 1
Primero pintamos el dinosaurio y lo pasamos al anime, luego lo cortamos y así quedó listo para empezar a pintar .
Step 2
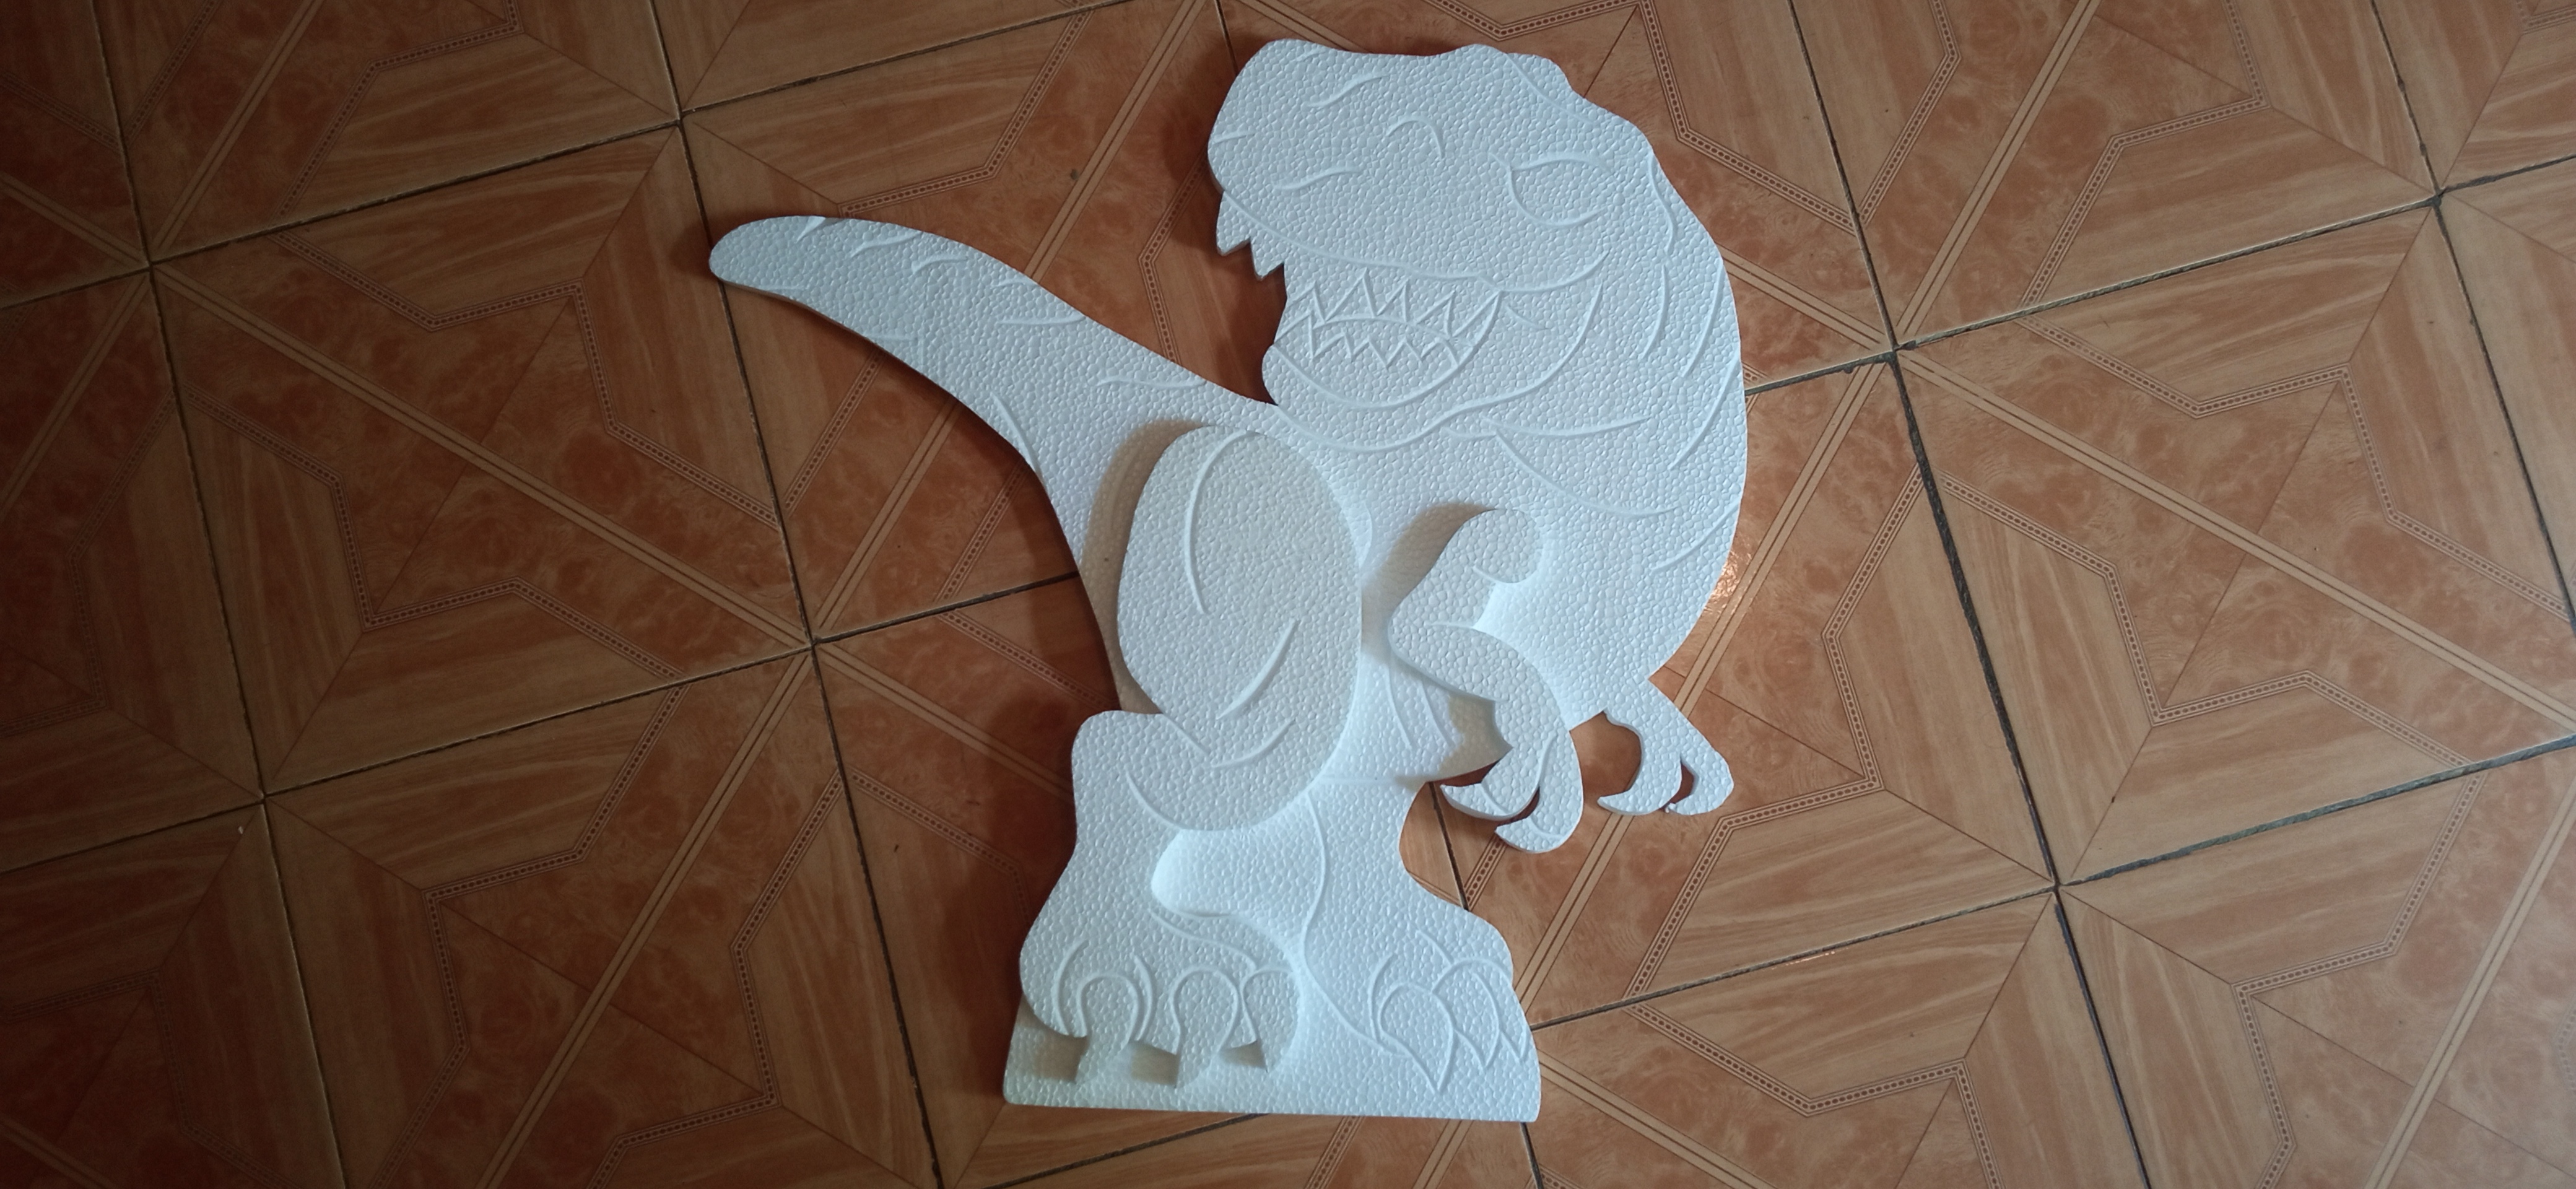
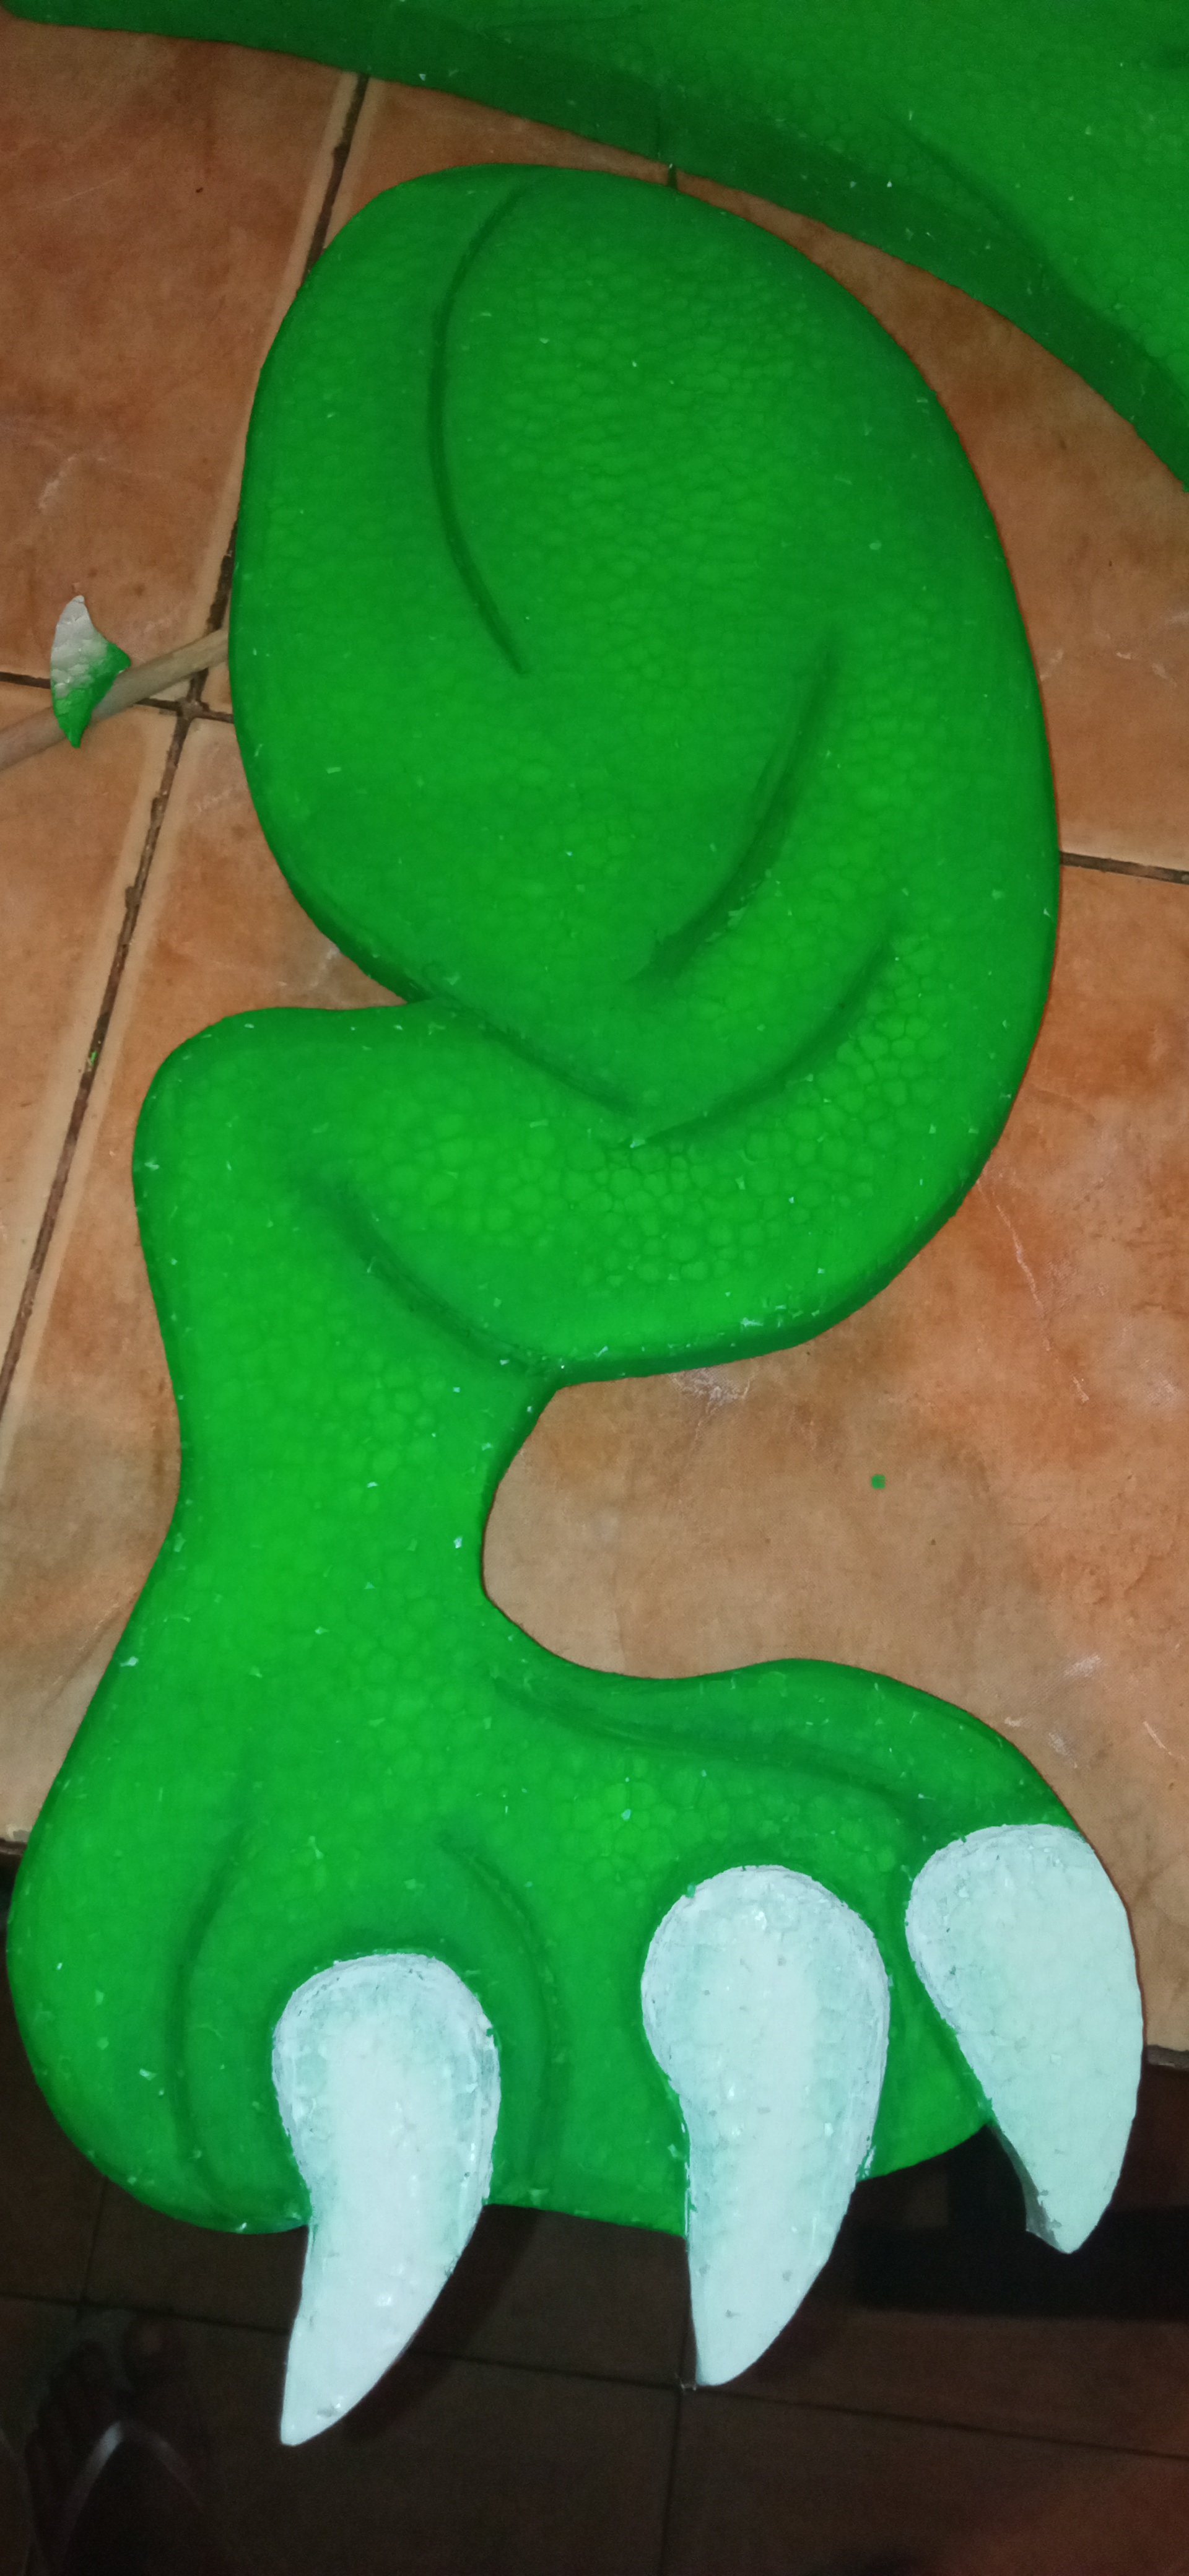
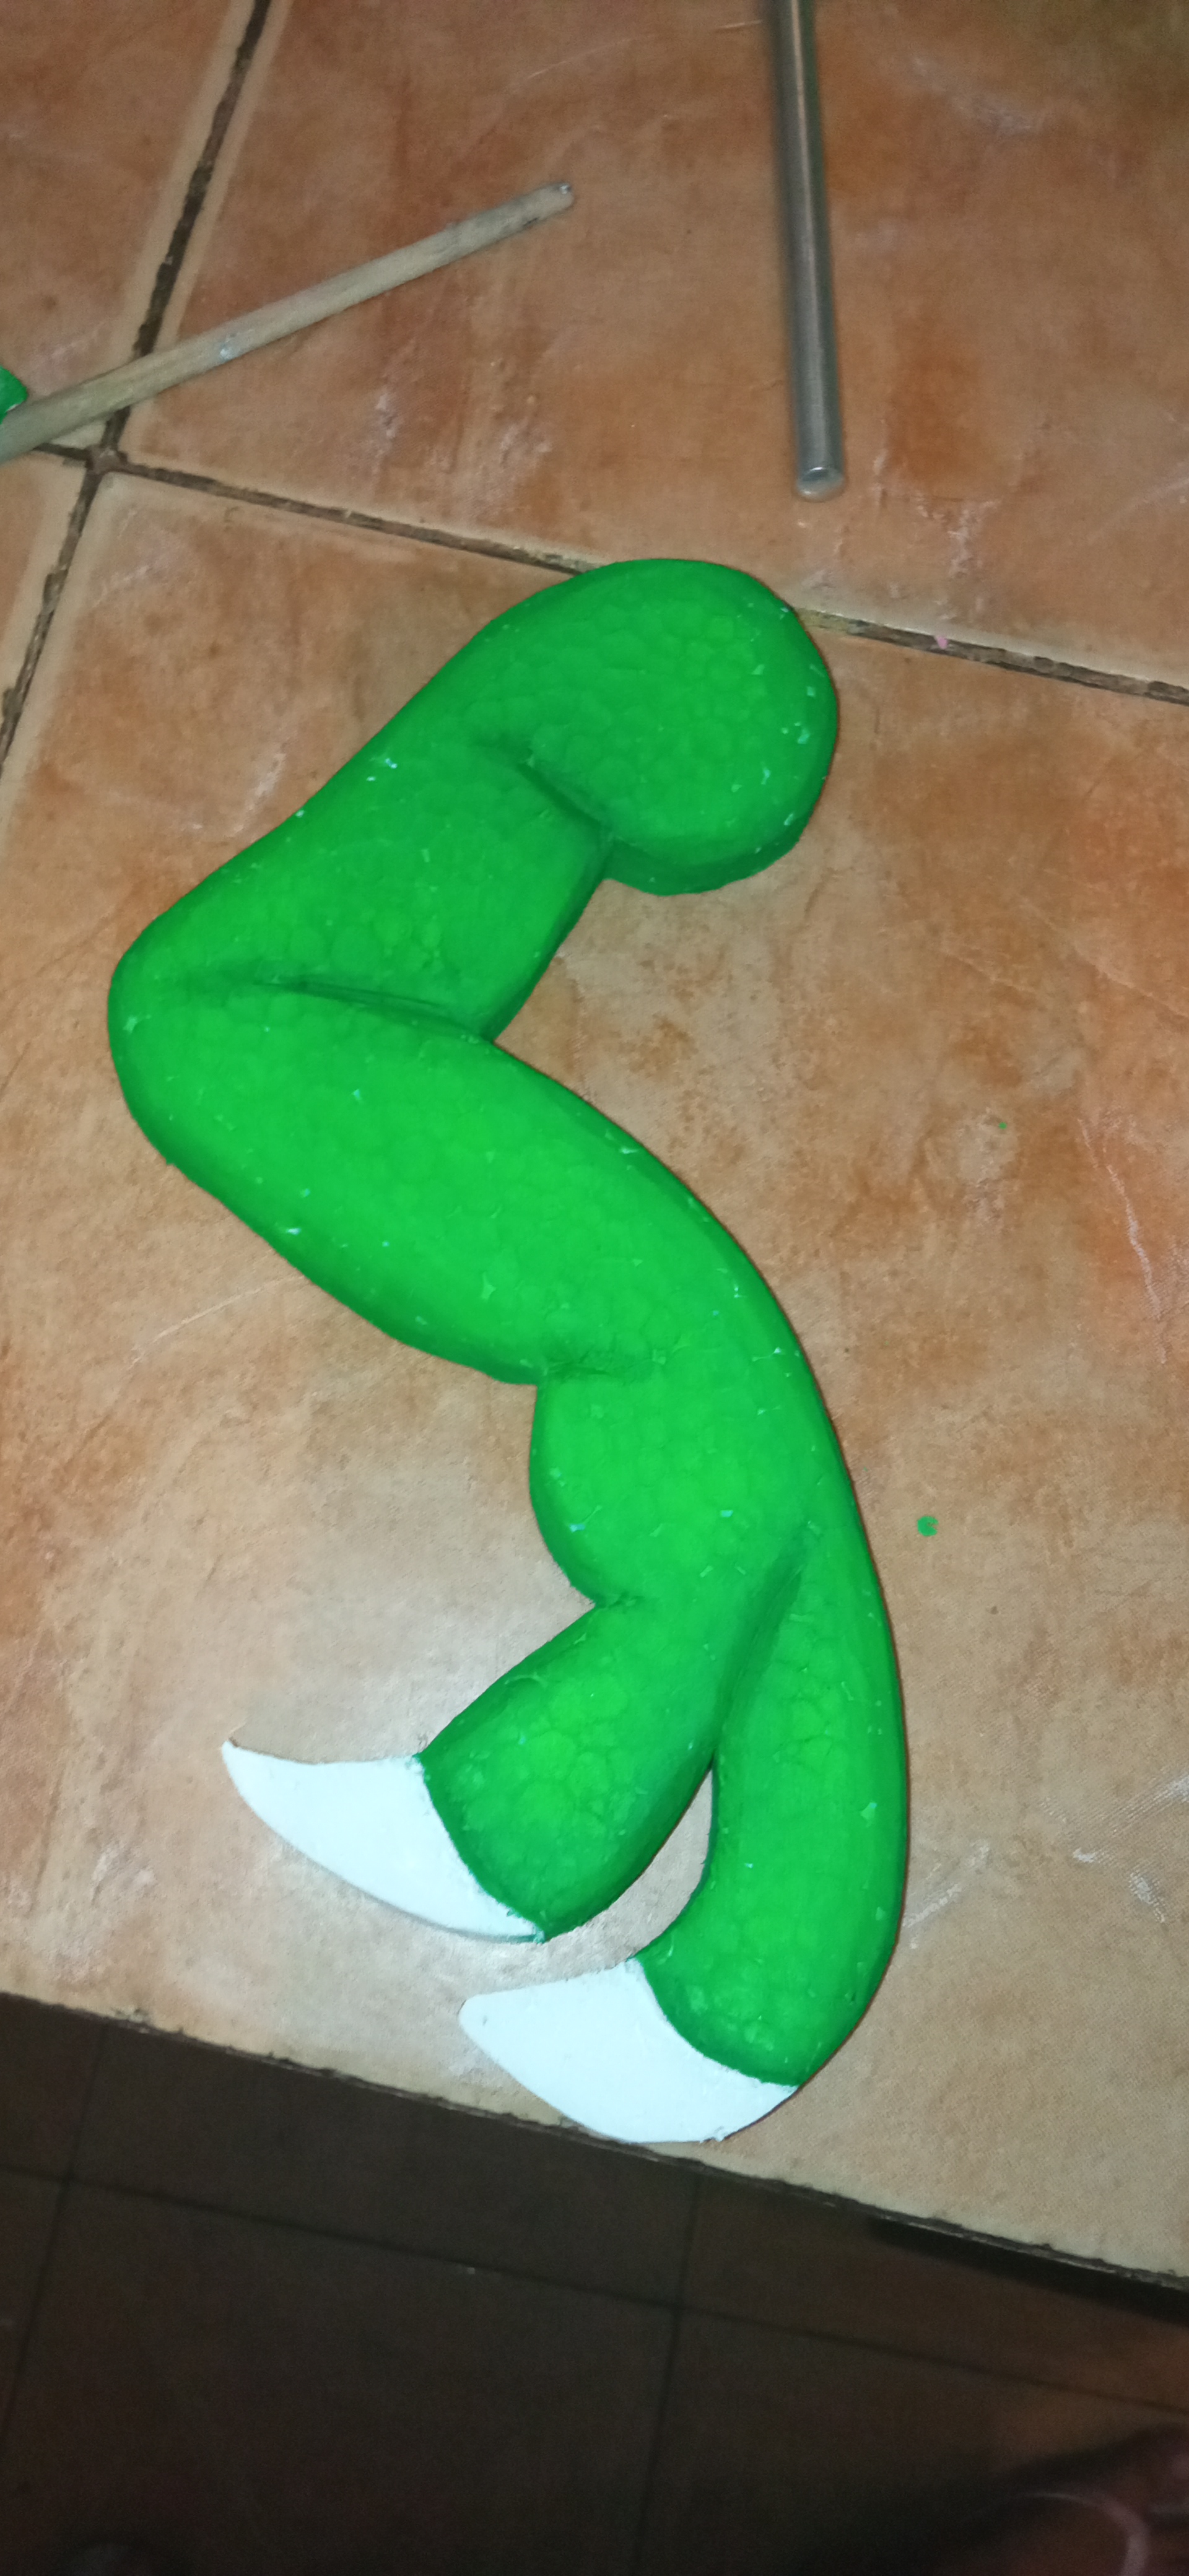
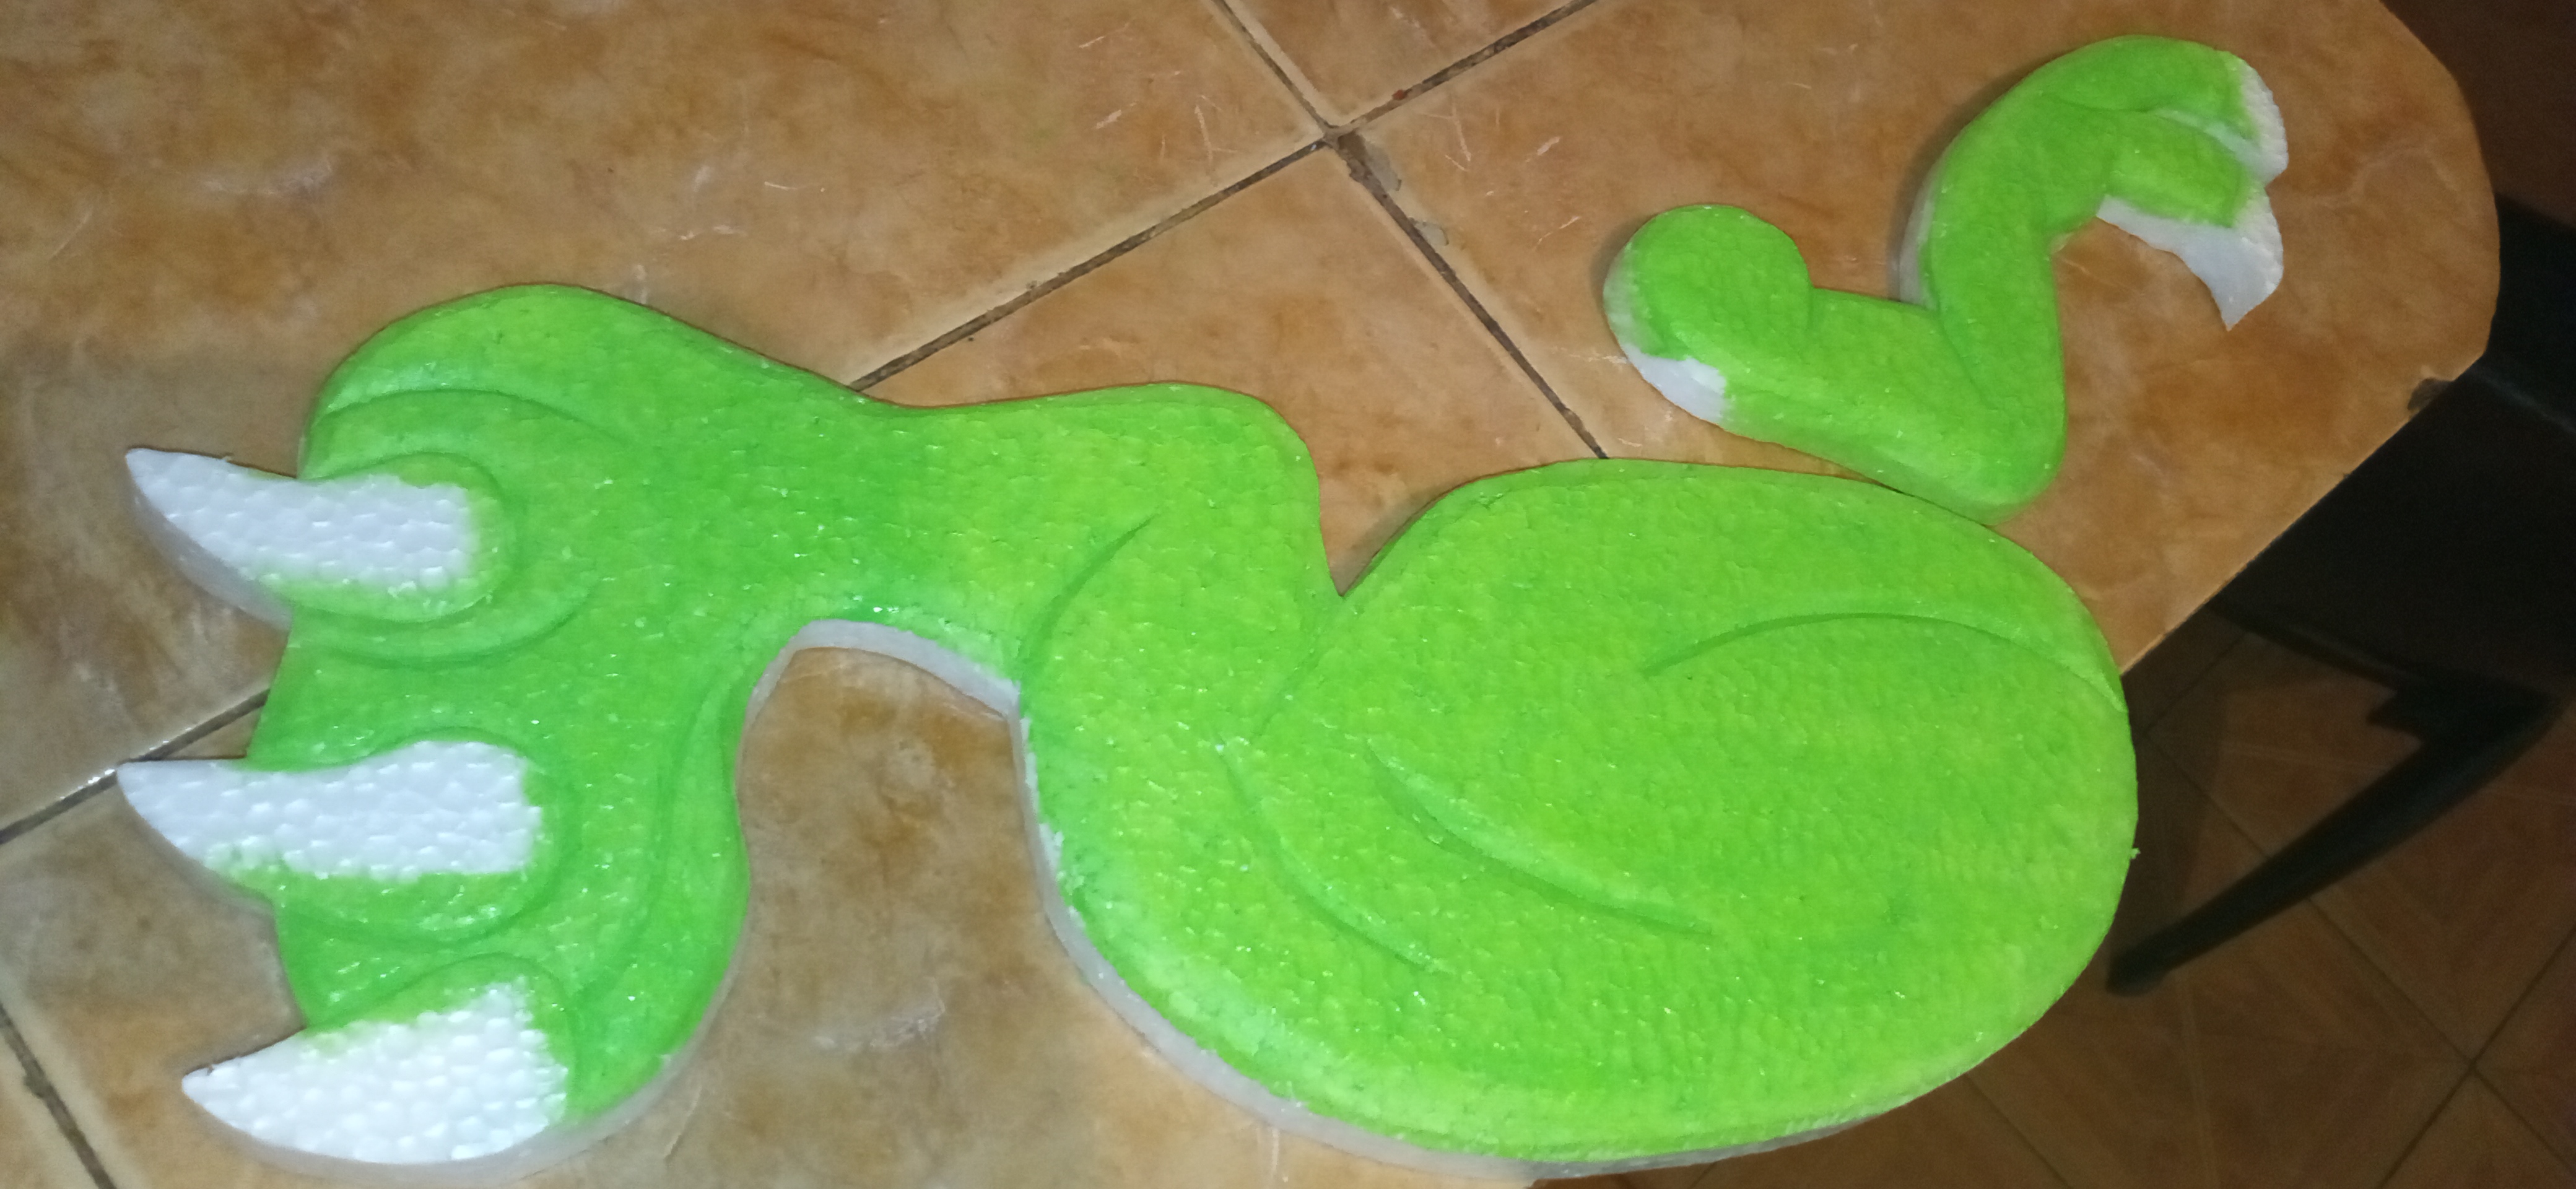
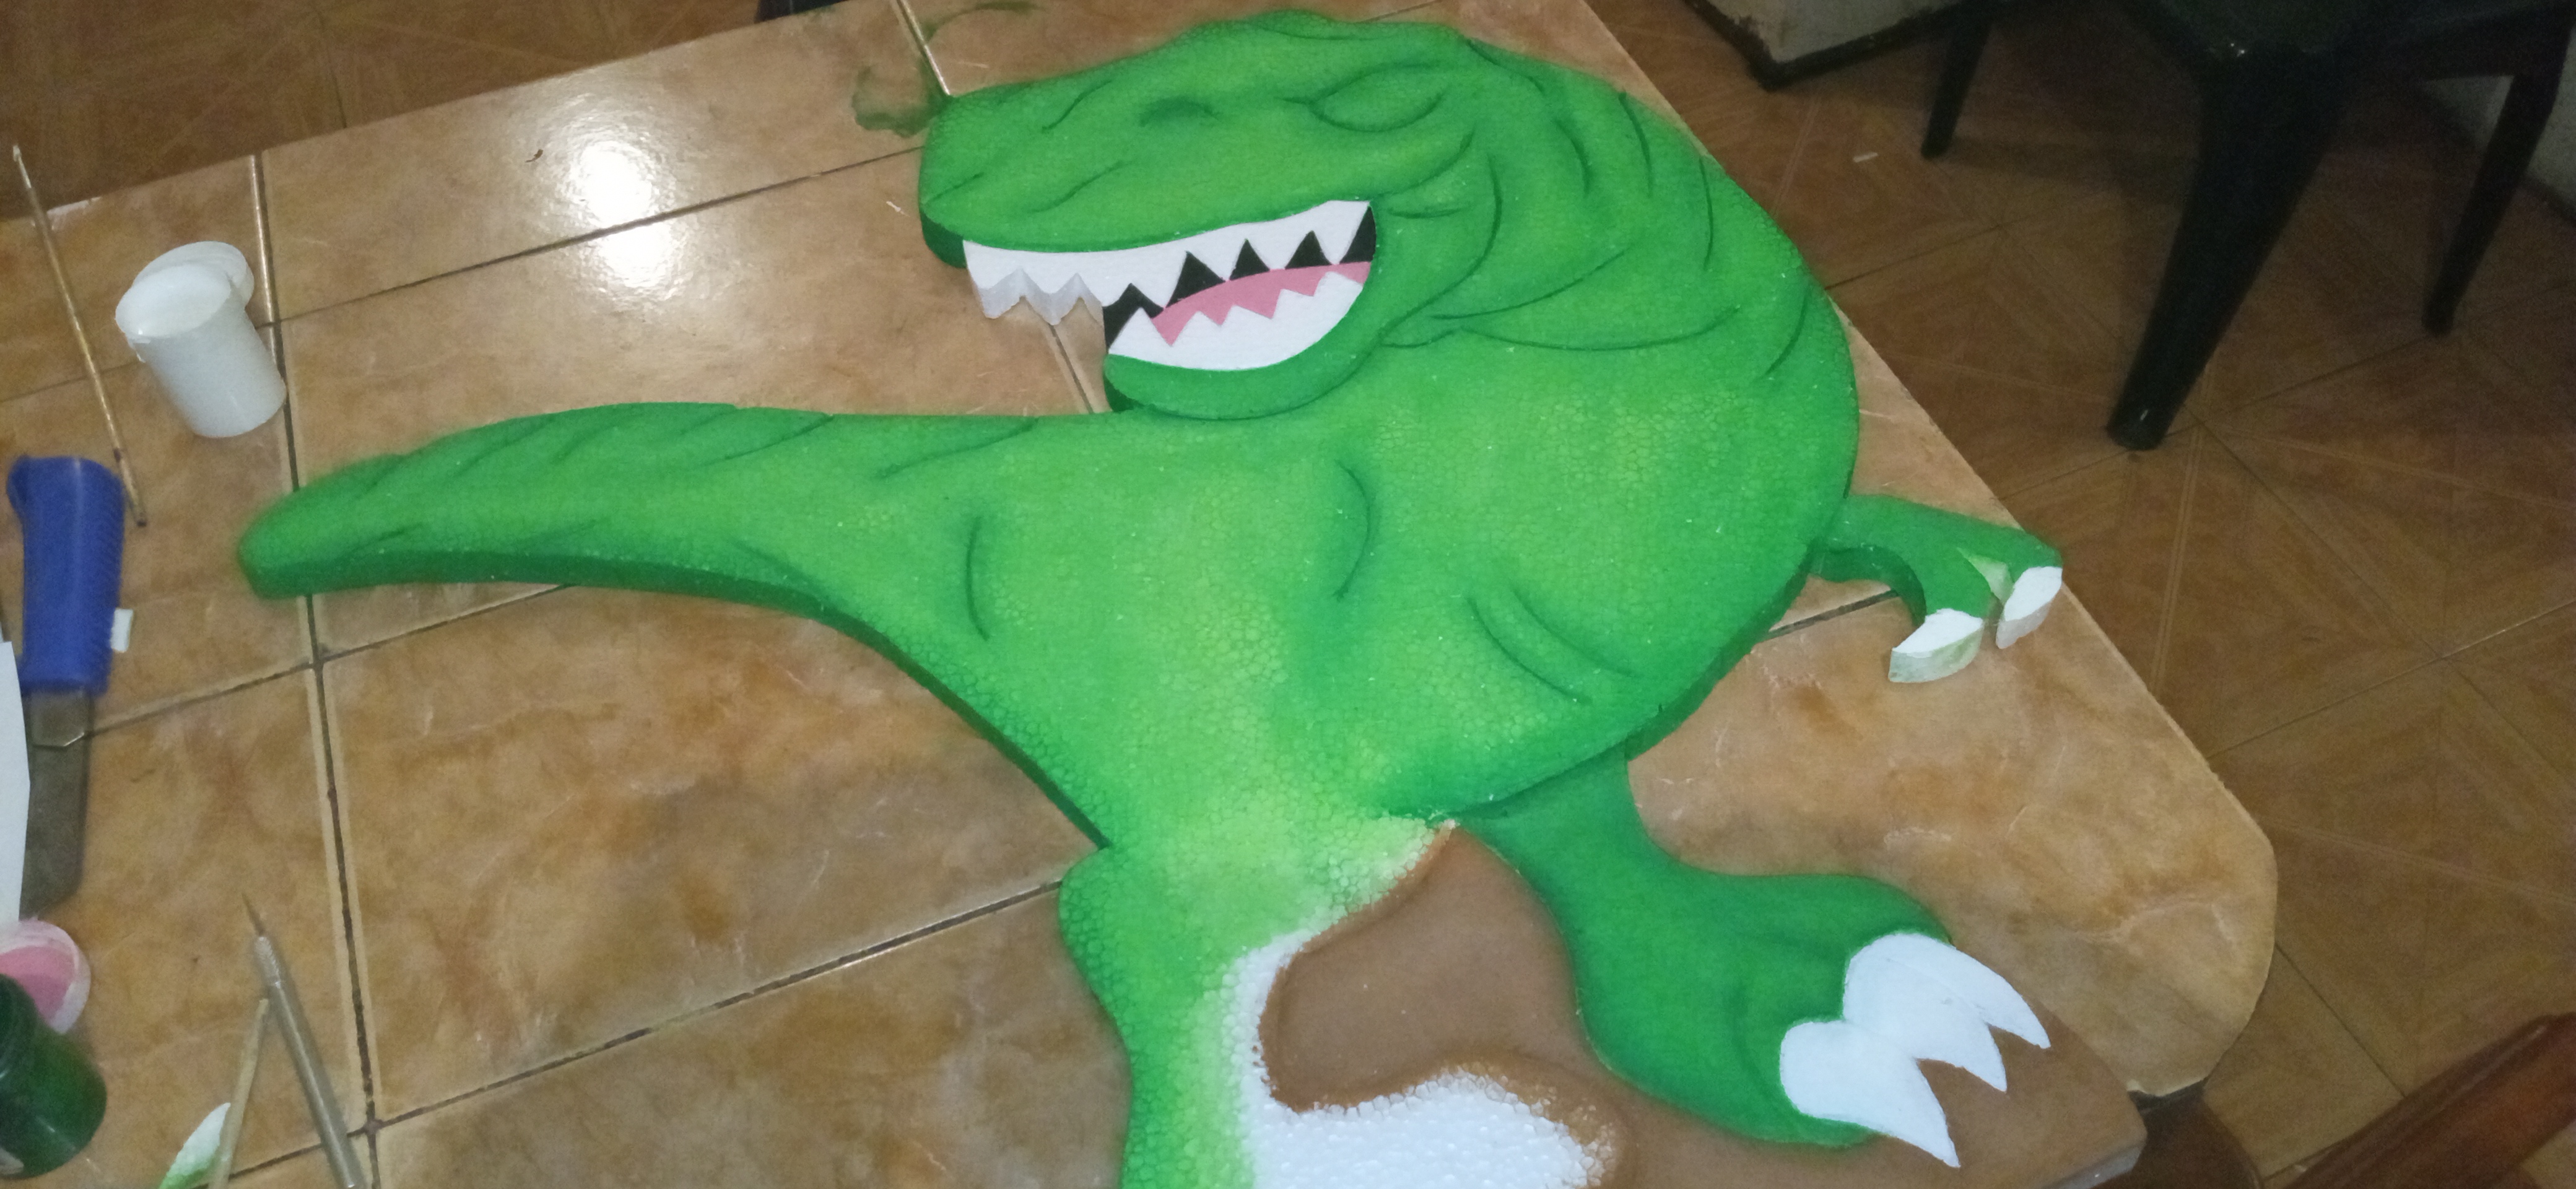
We start painting in green and white, the two claws that will be glued on the big doll to make it stand out and look 3D.
Paso 2
Empezamos a pintar de color verde y blanco, las dos garras que esas se van a pegar en el muñeco grande para que resalte y se vea en 3D.
Step 3
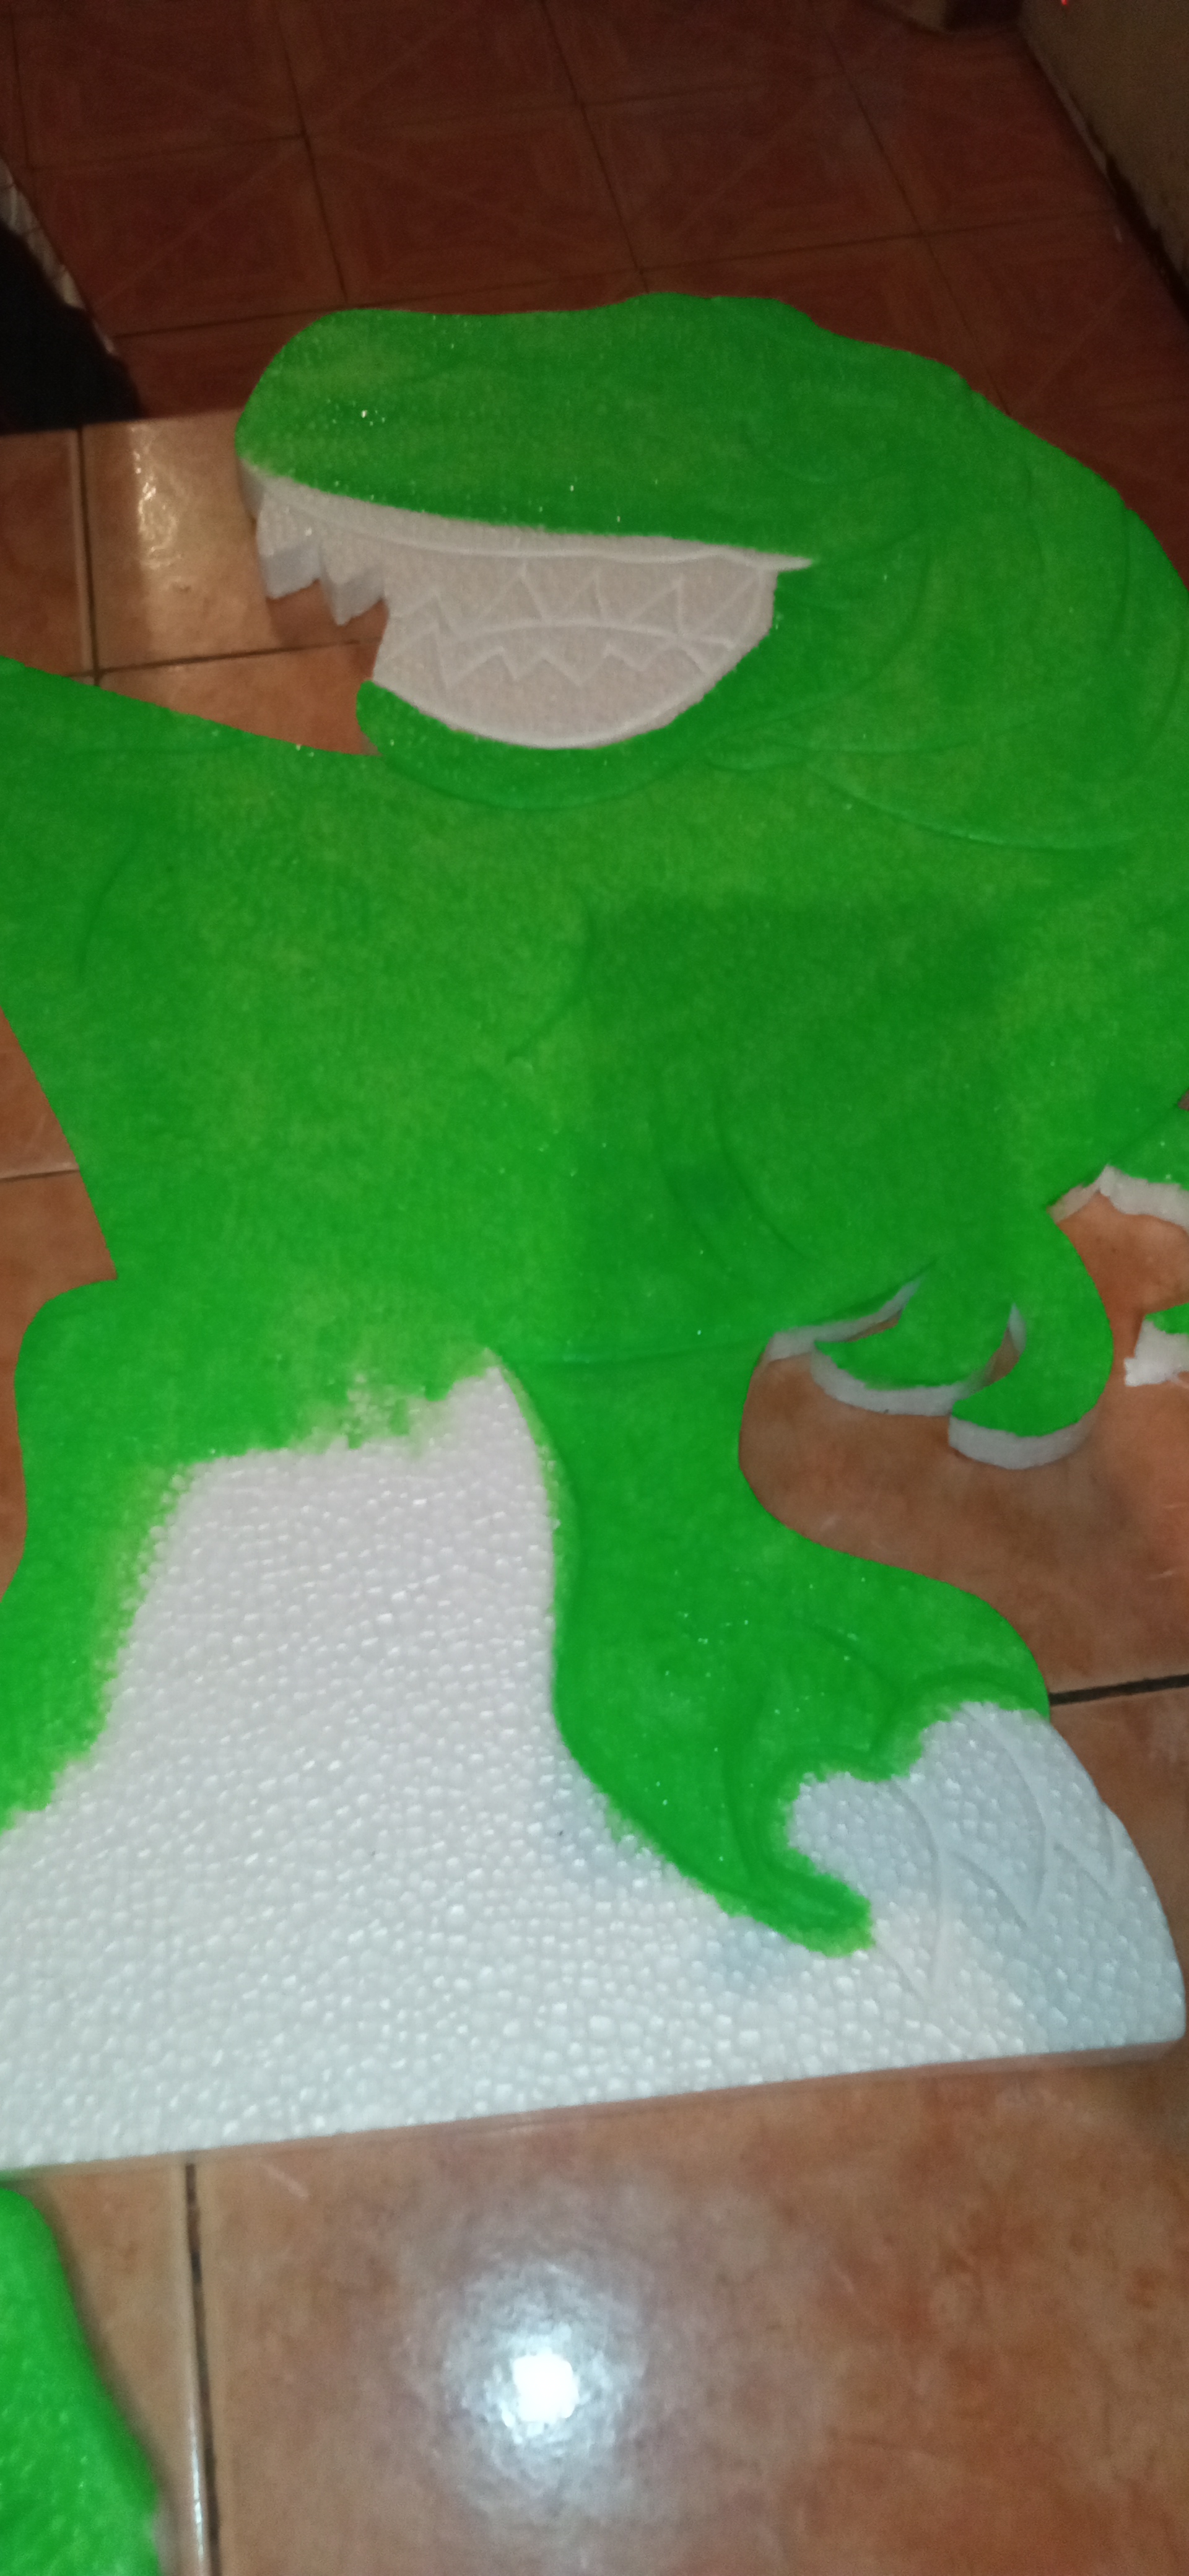
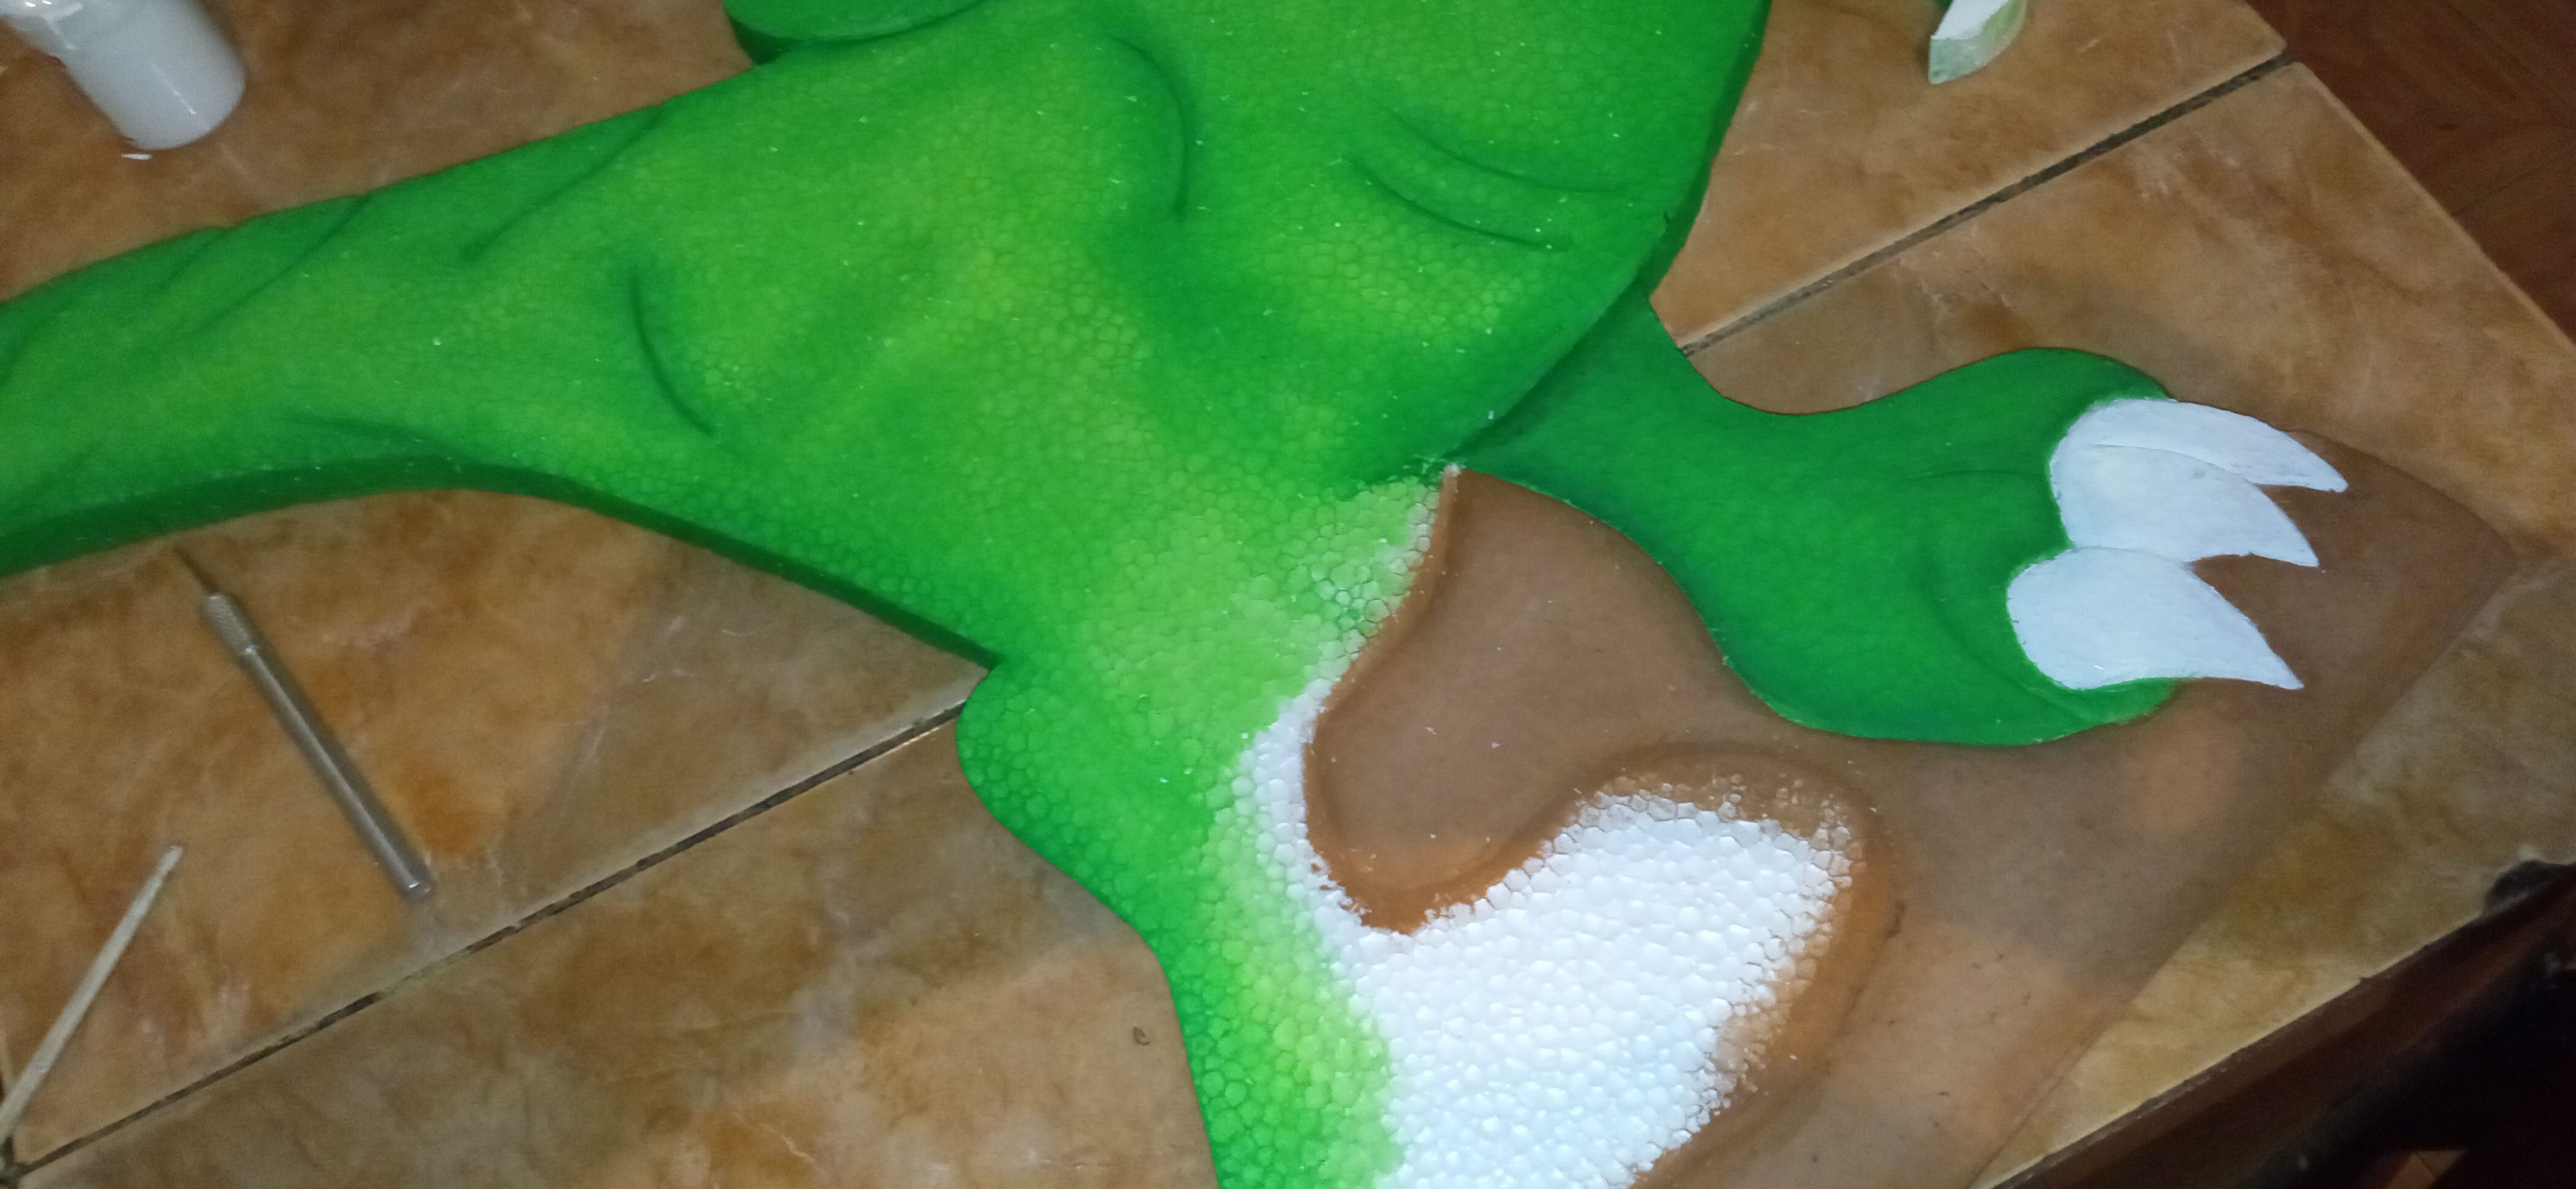
Here we paint our beautiful dinosaur, the whole body.
Paso 3
Aquí pintamos nuestro bello dinosaurio, todo el cuerpo .
Step 4
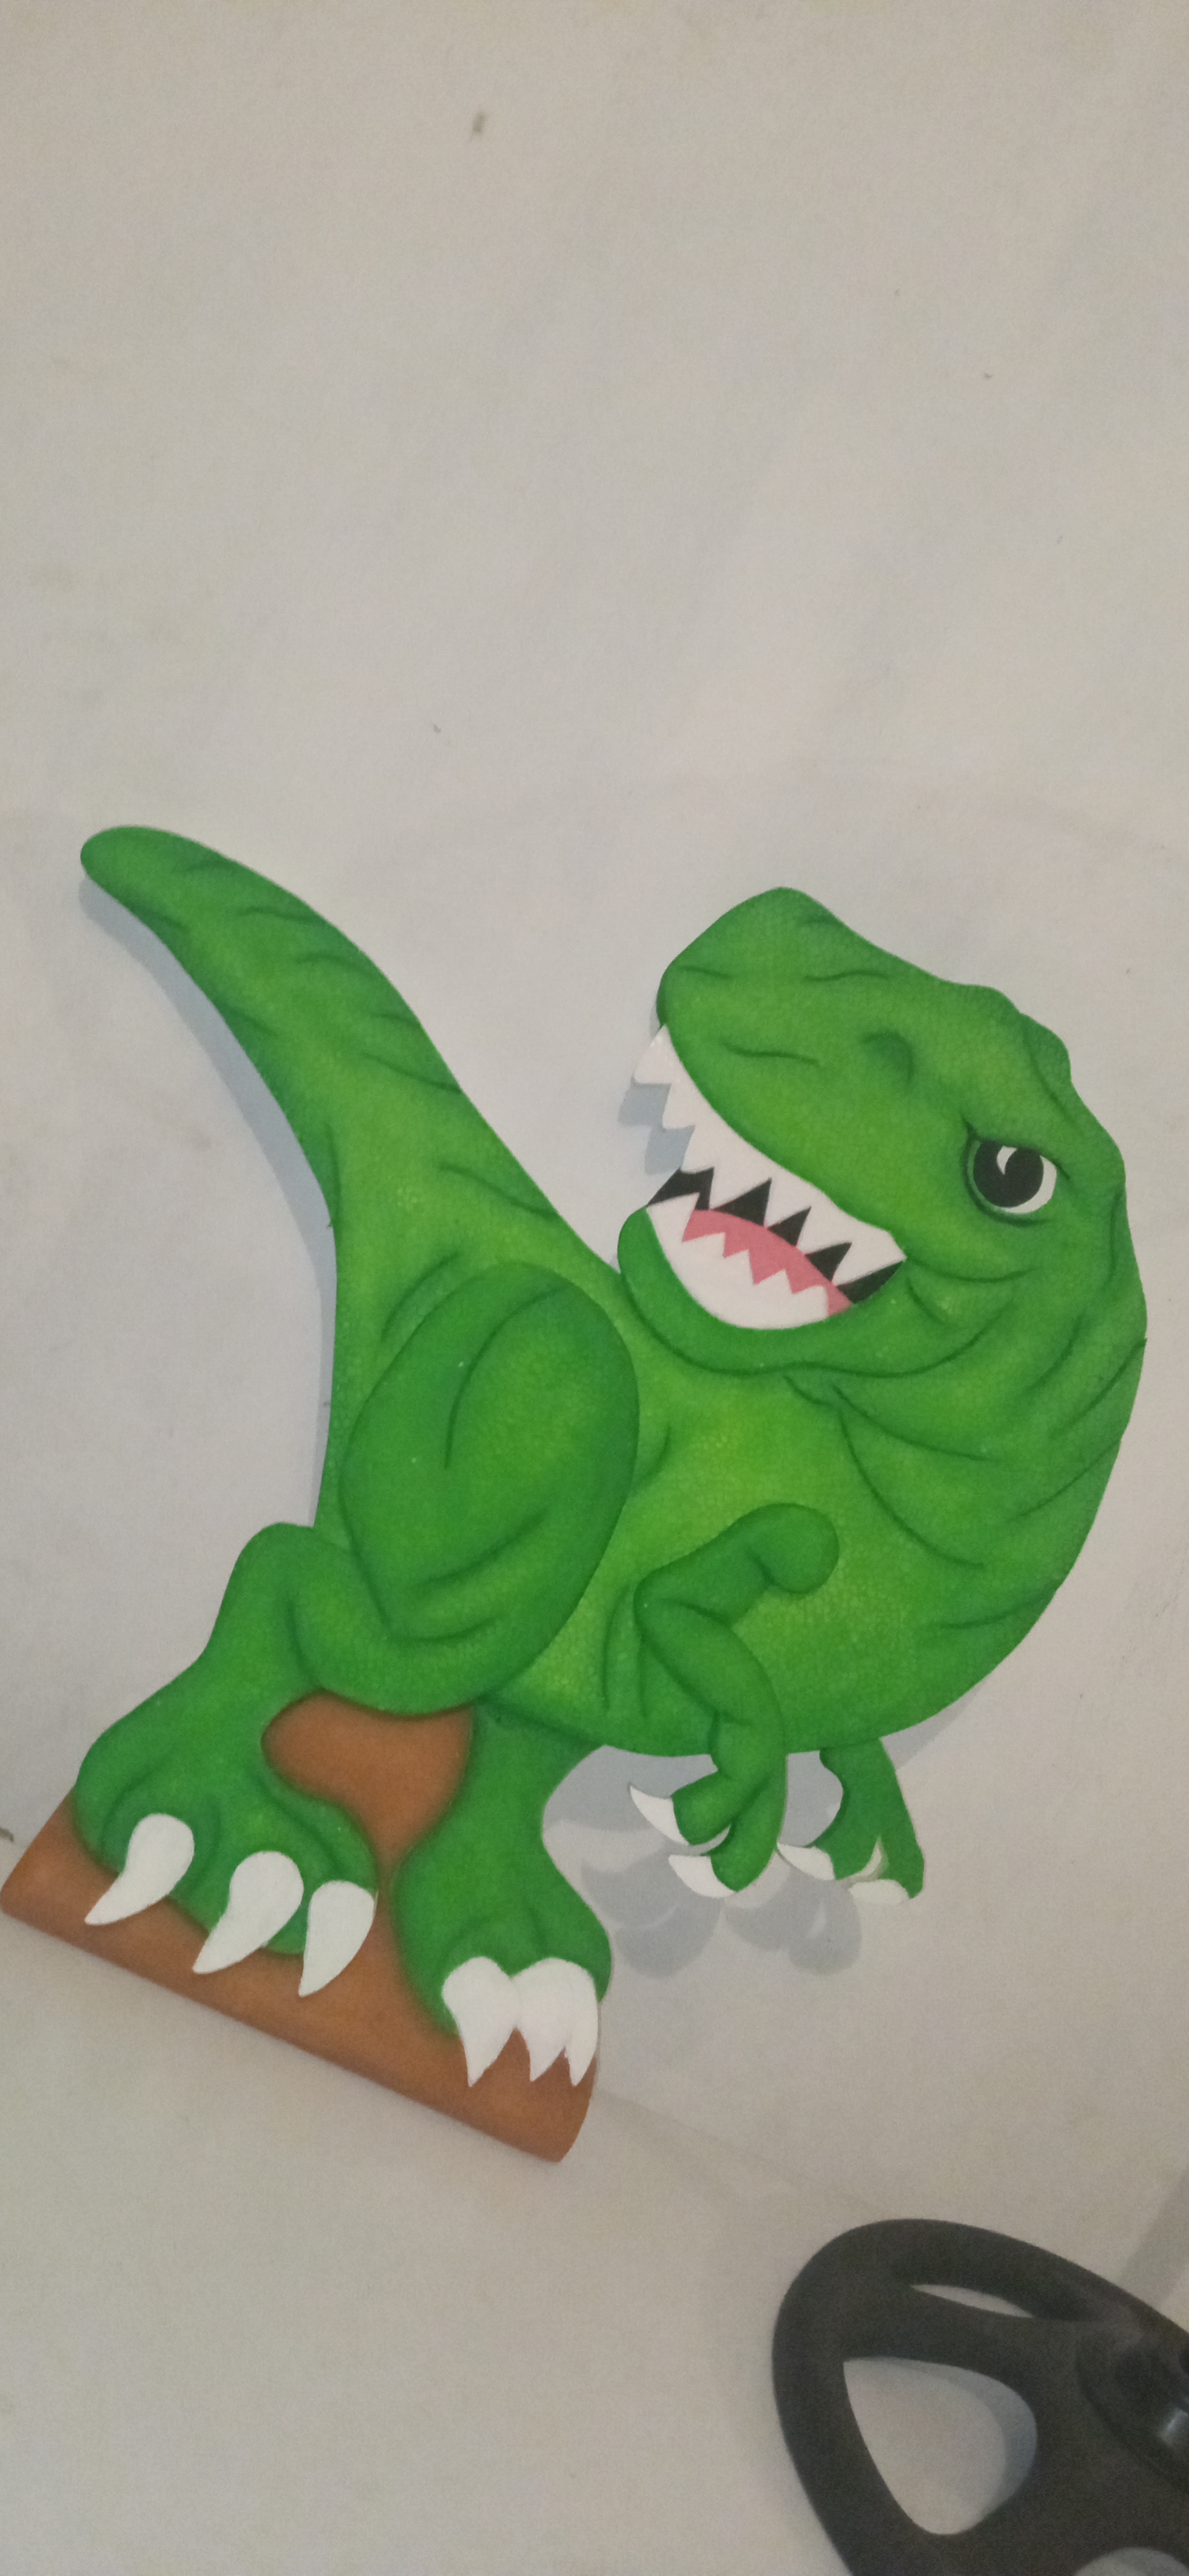
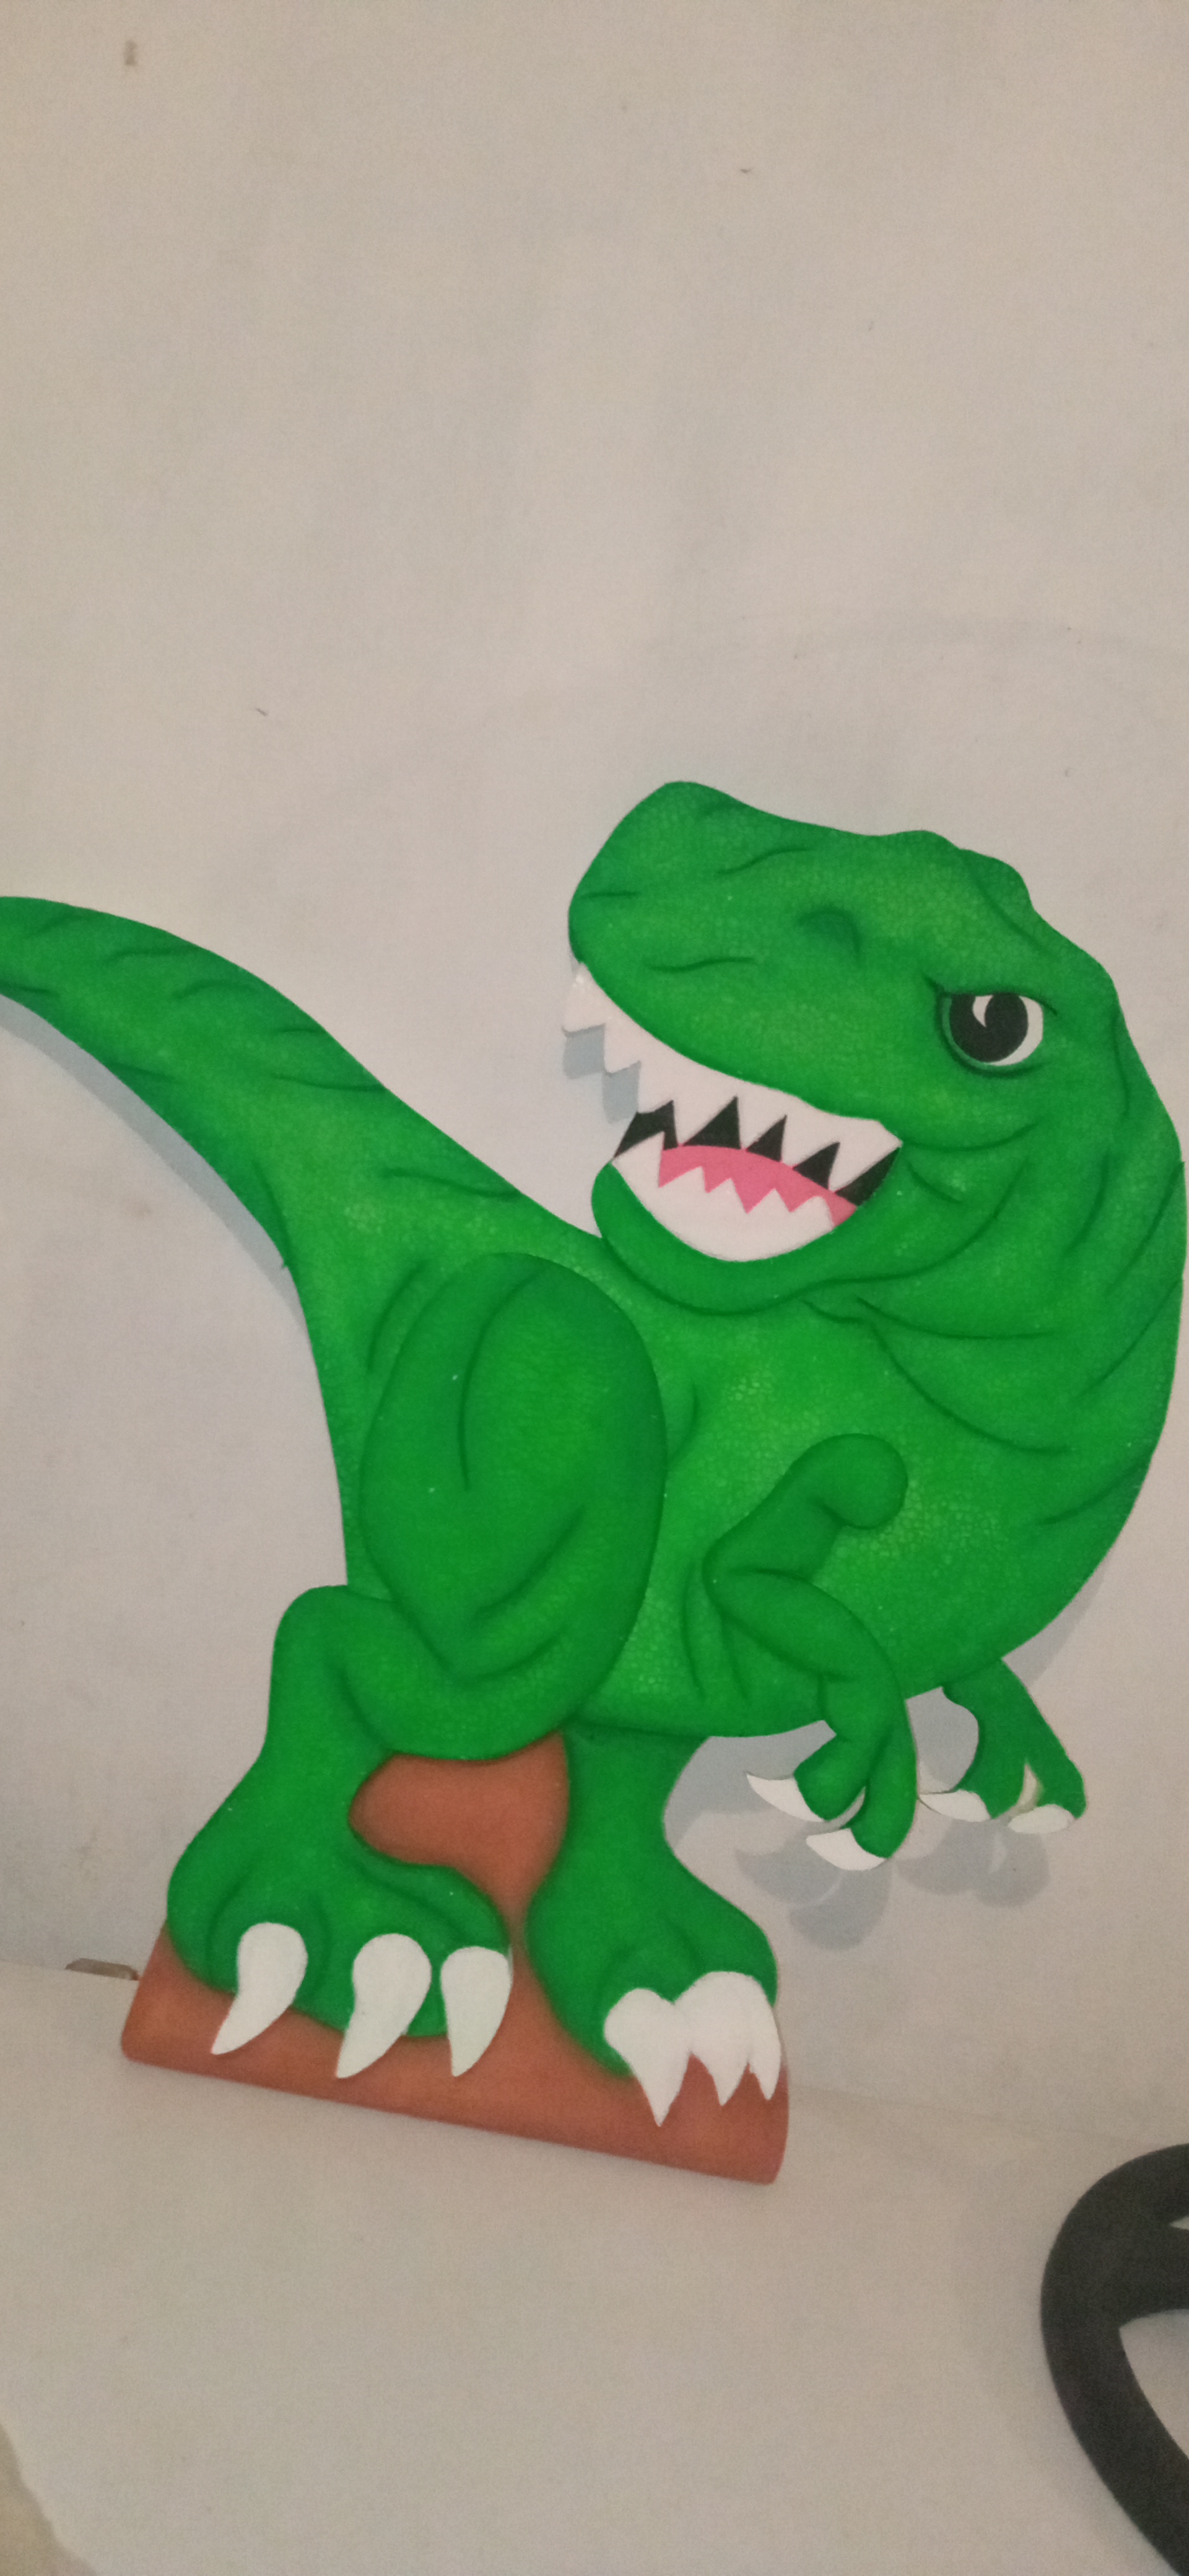
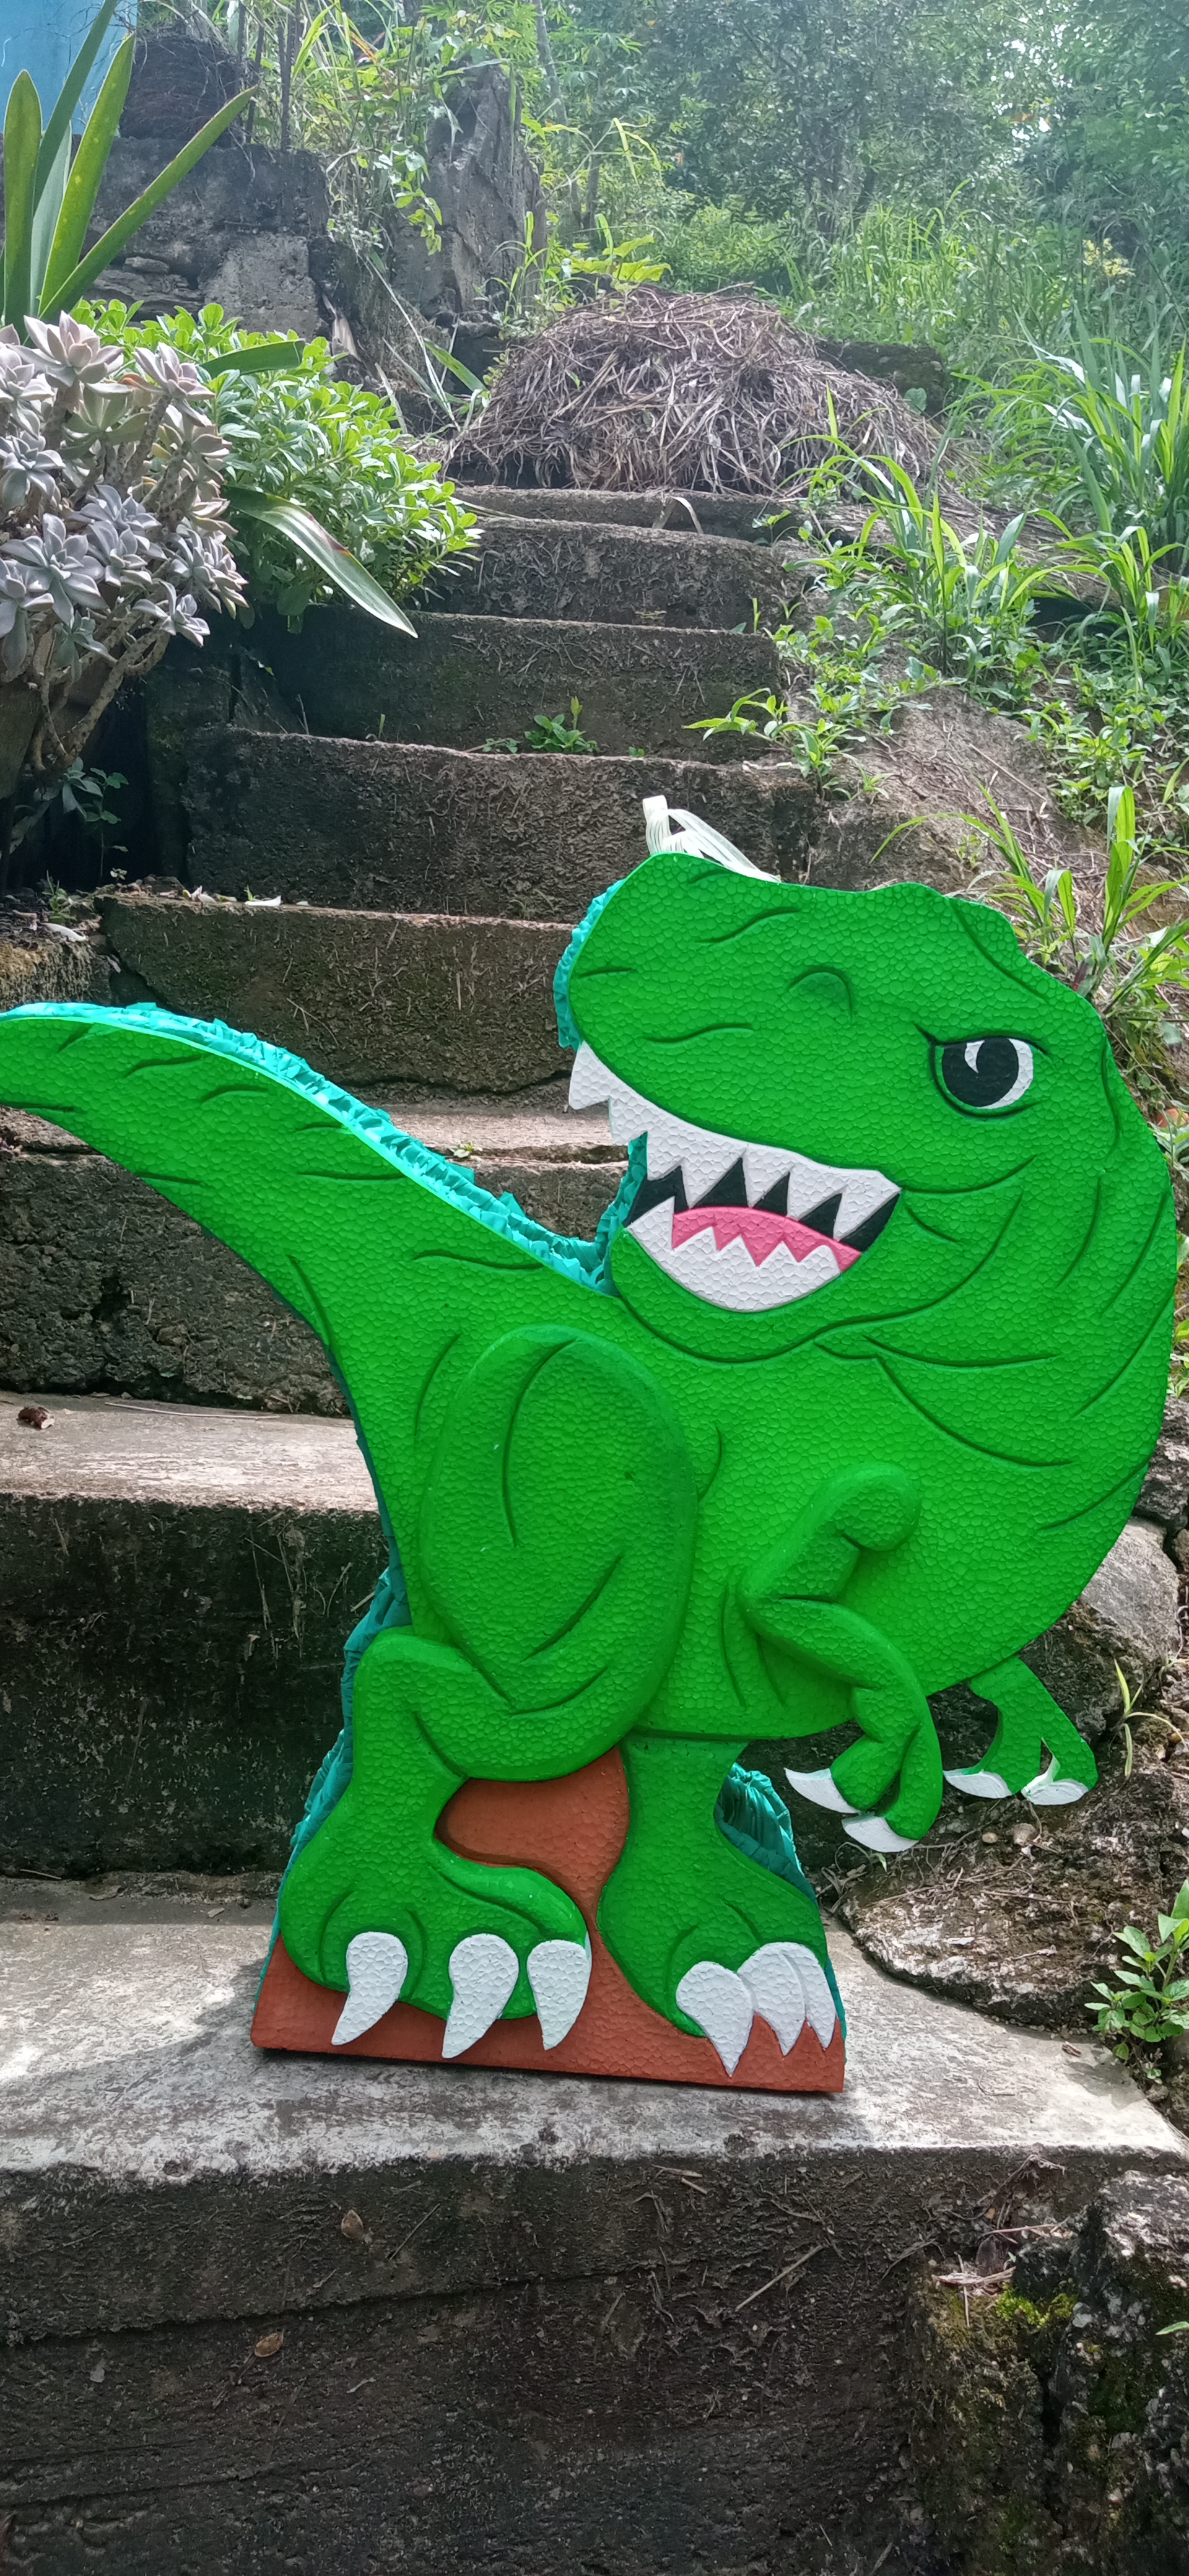
We continue painting but the eyes slowly so that everything looks excellent and we glue the claws that we painted at the beginning. Now we have our dinosaur ready to glue it on the piñata, now we continue making the drum of the piñata.
Paso 4
Seguimos pintando pero los ojos despacio para que quede todo excelente y pegamos las garras que pintamos en el inicio. Ya tenemos nuestros dinosaurio listo para pegarlo en la piñata, ahora continuamos haciendo el tambor de la piñata.
Step 5
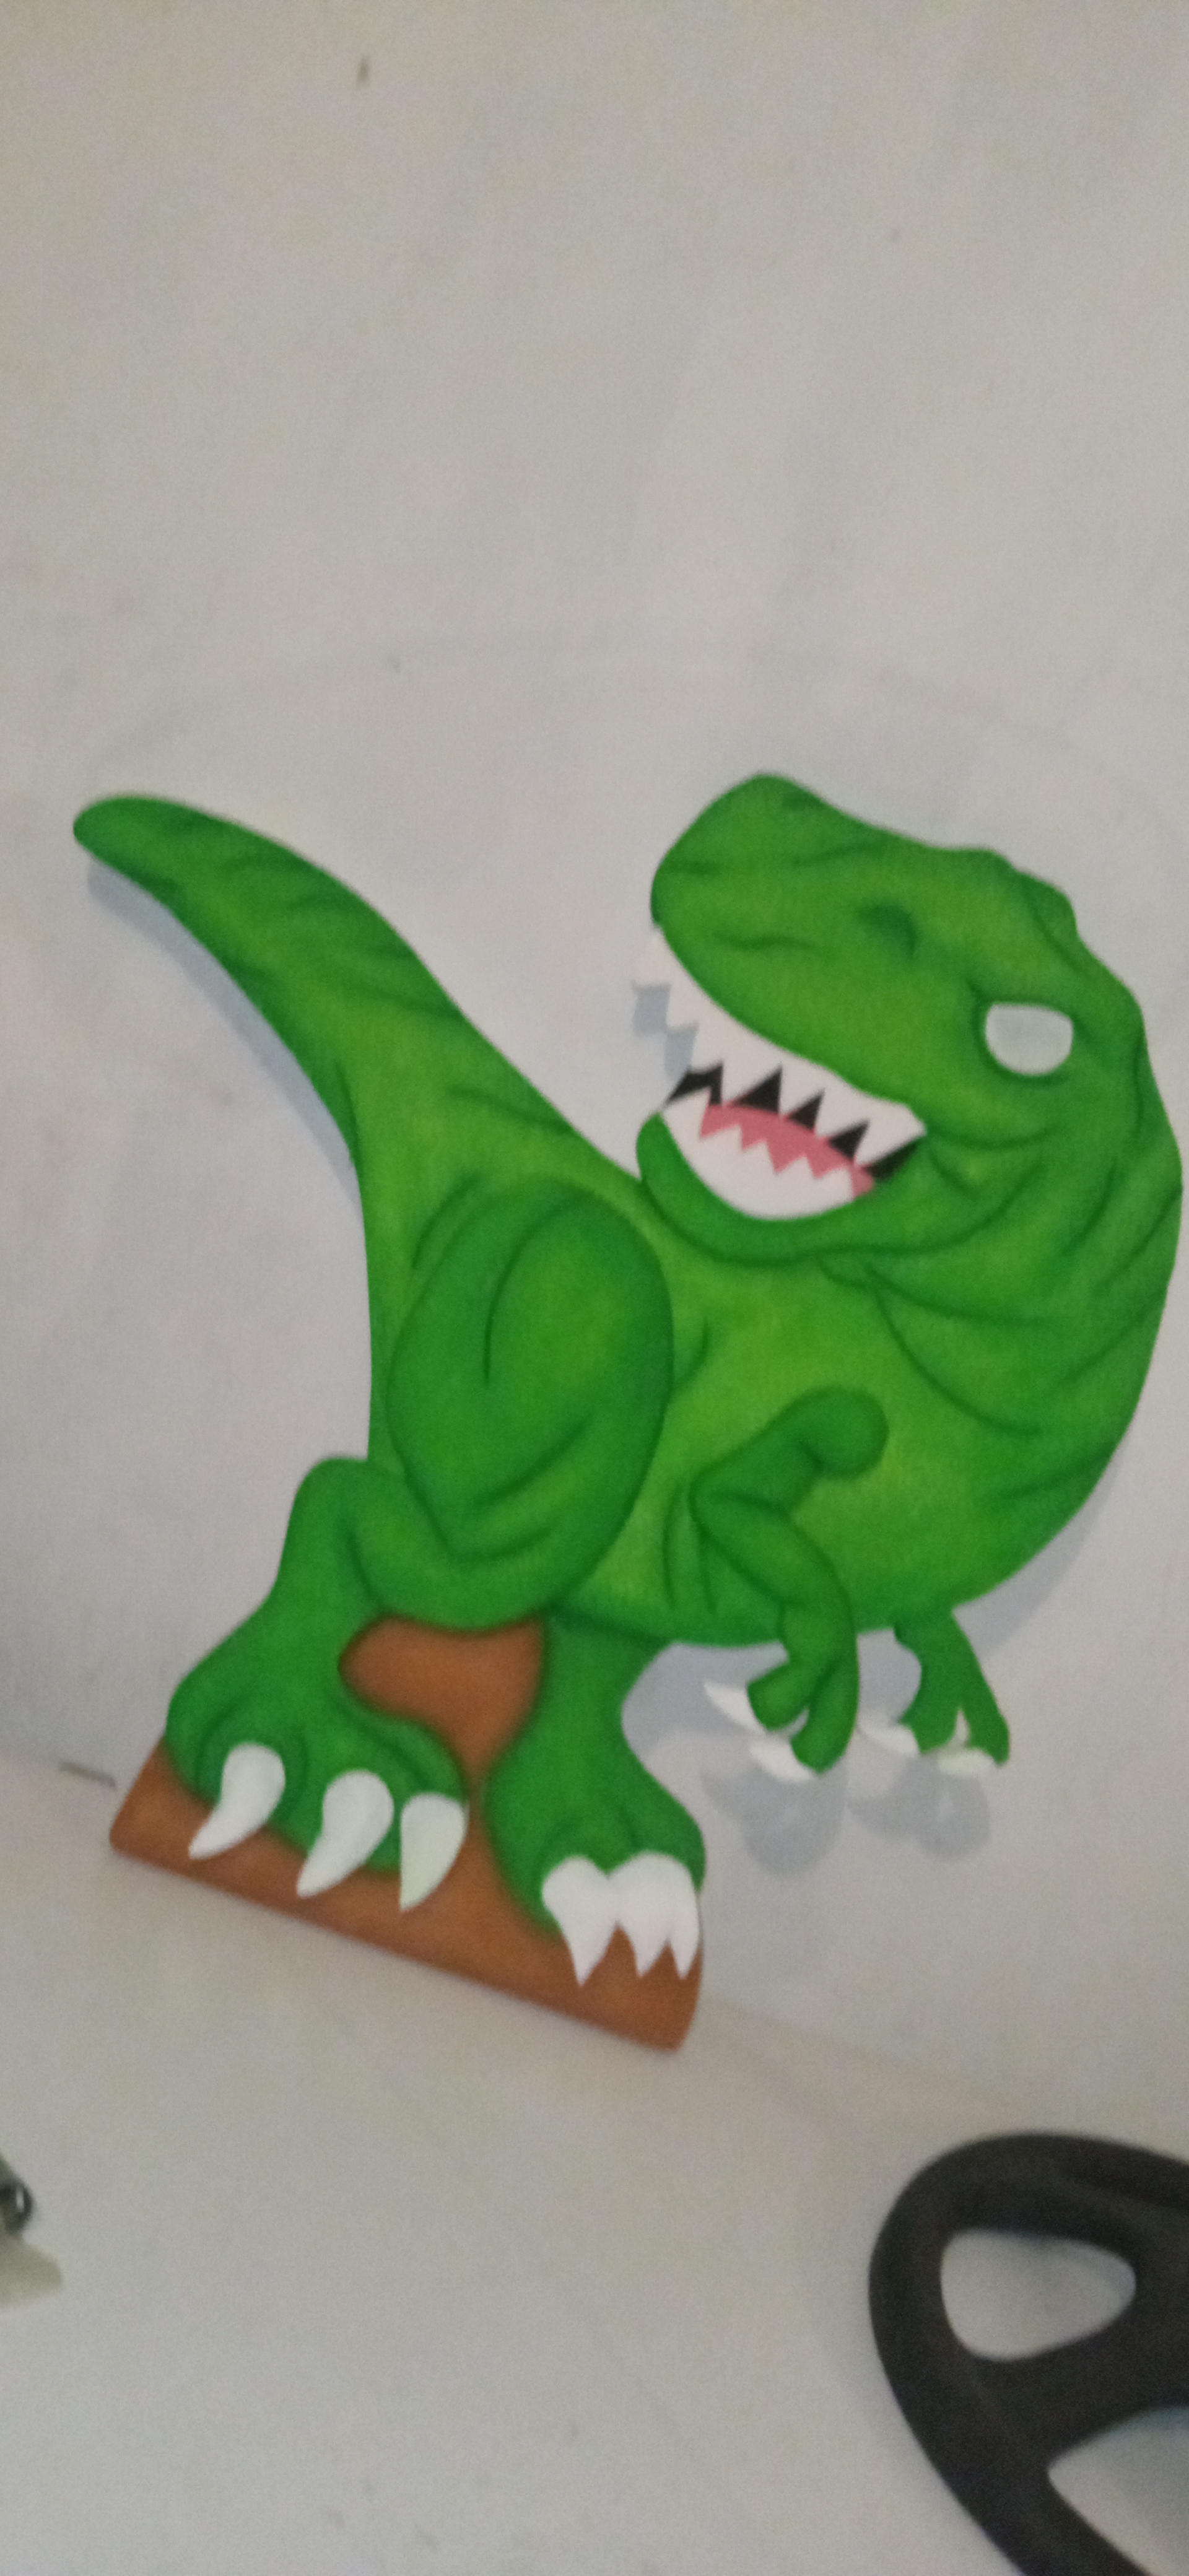
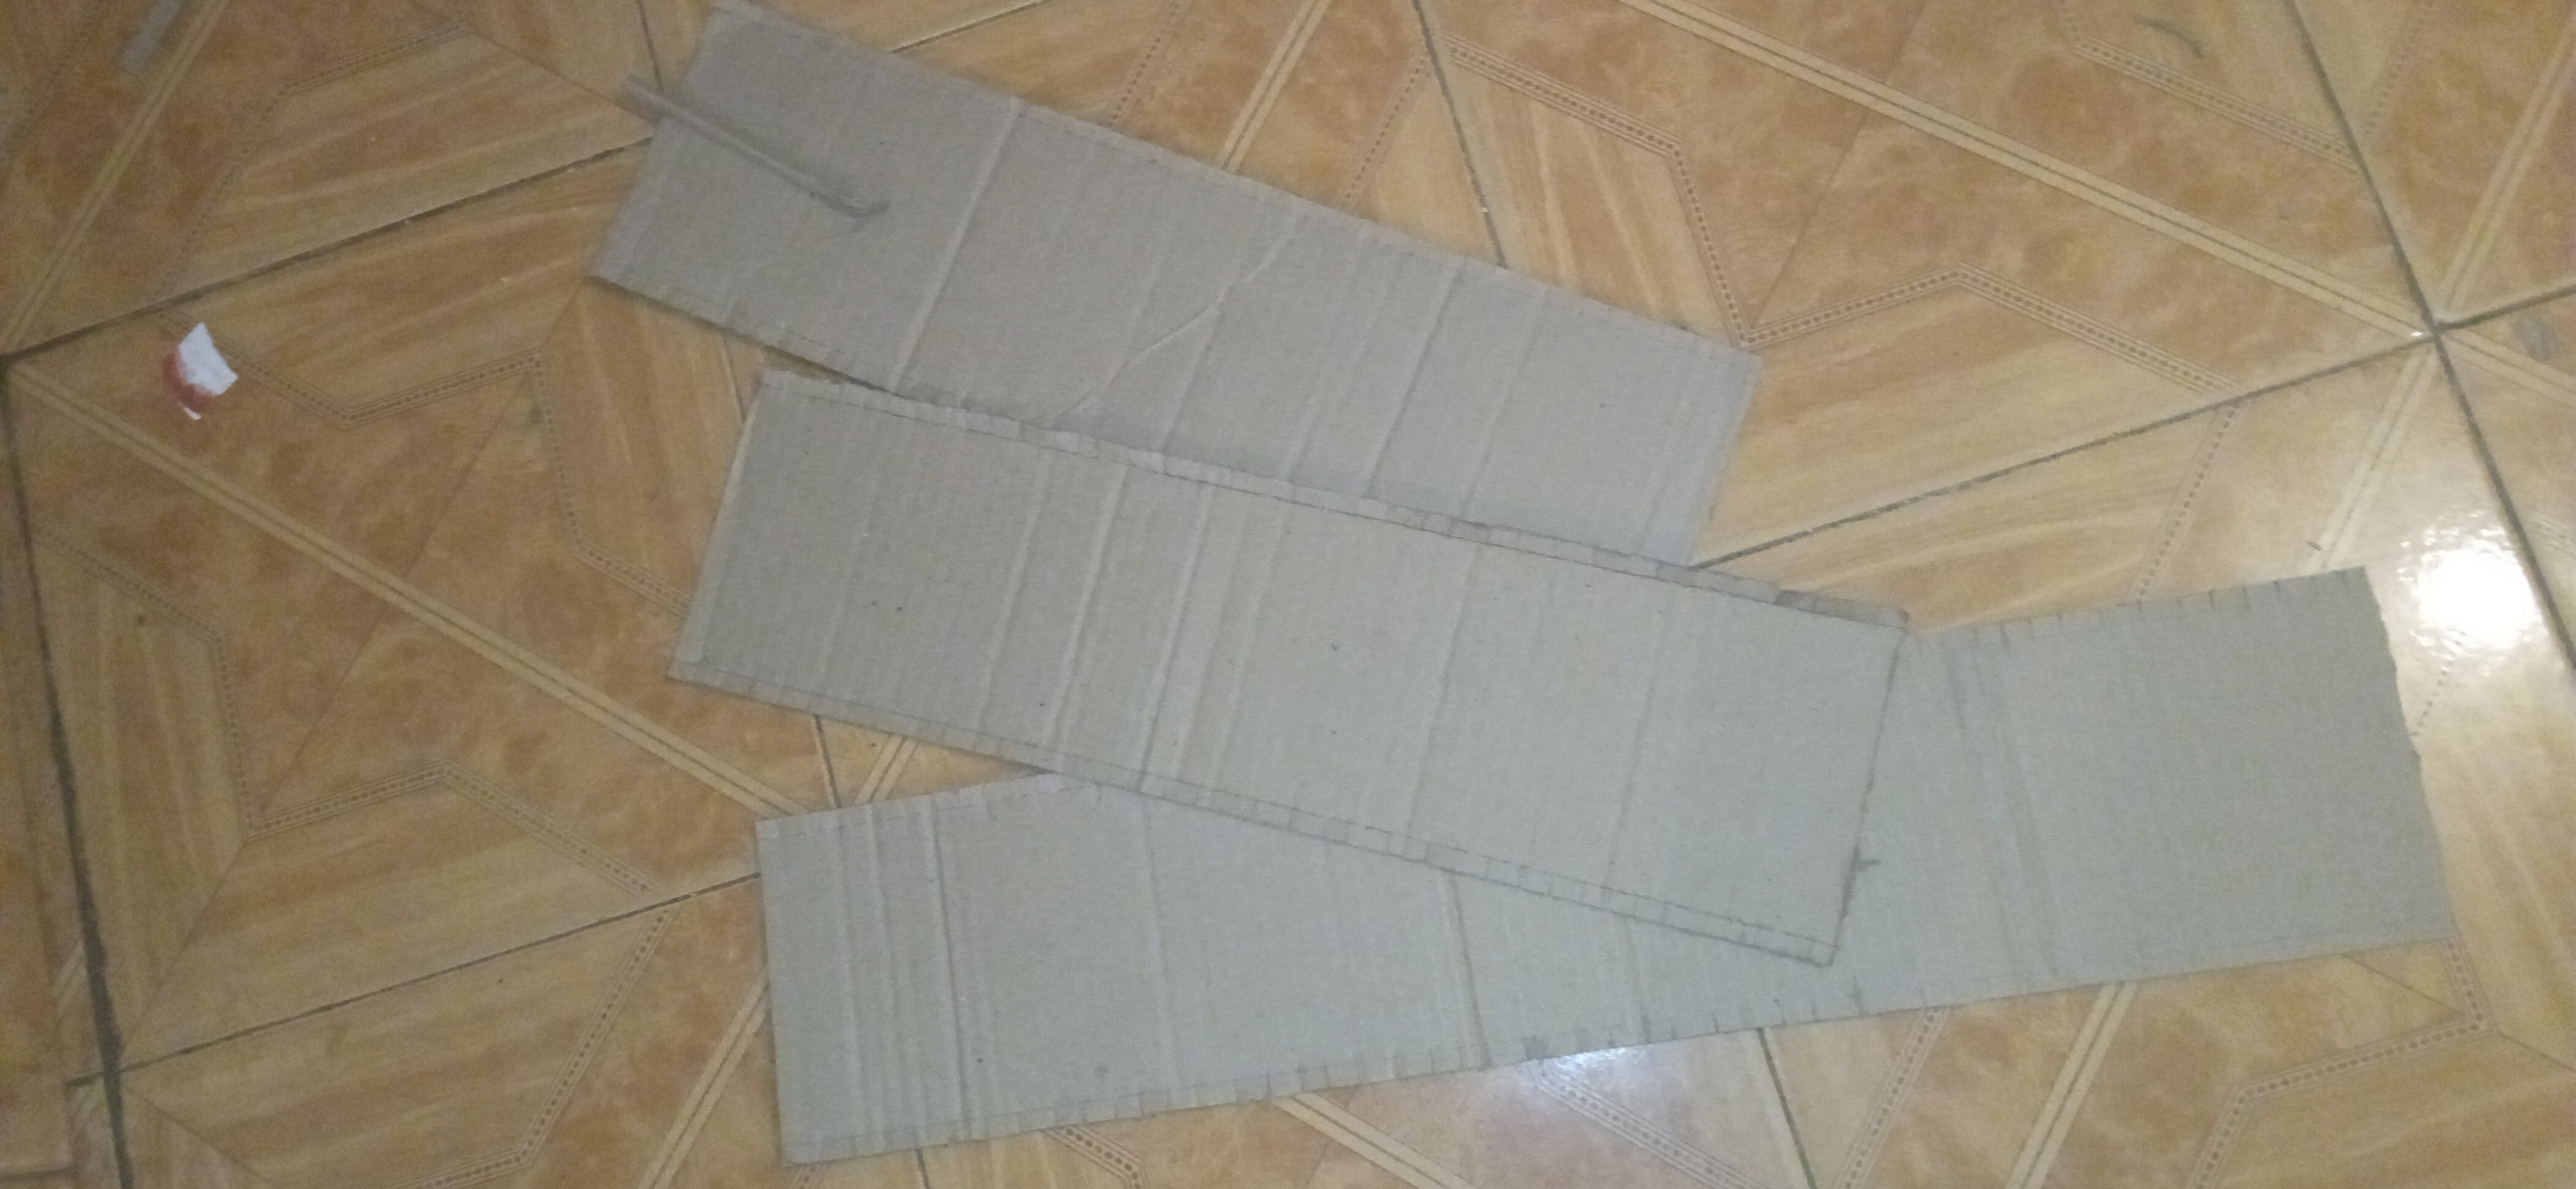
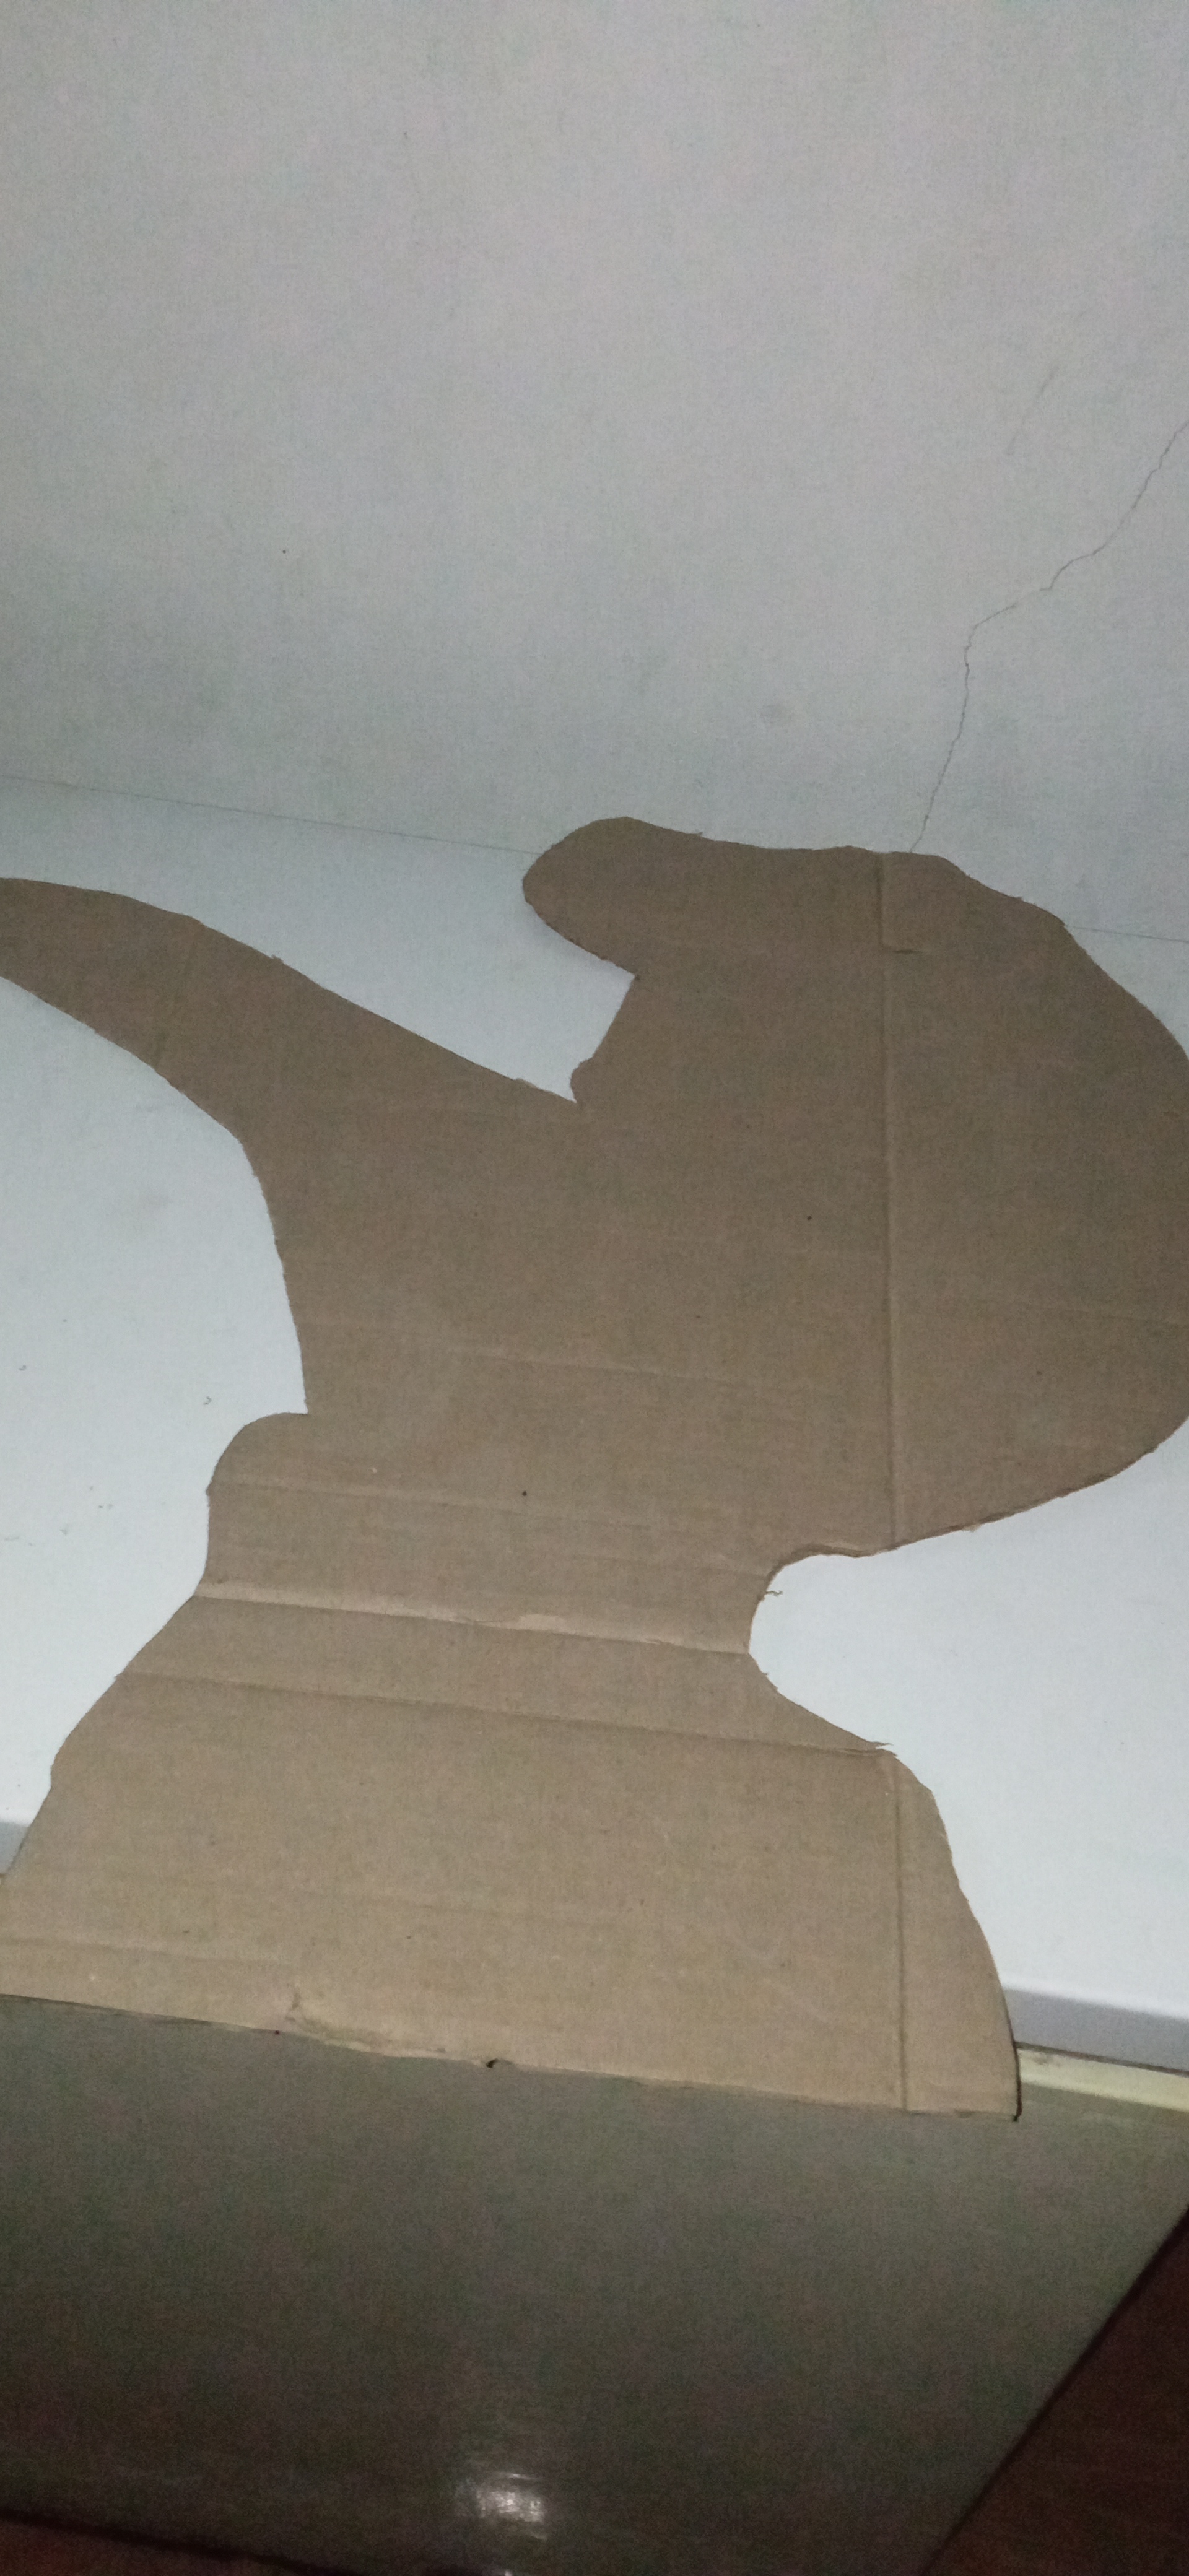
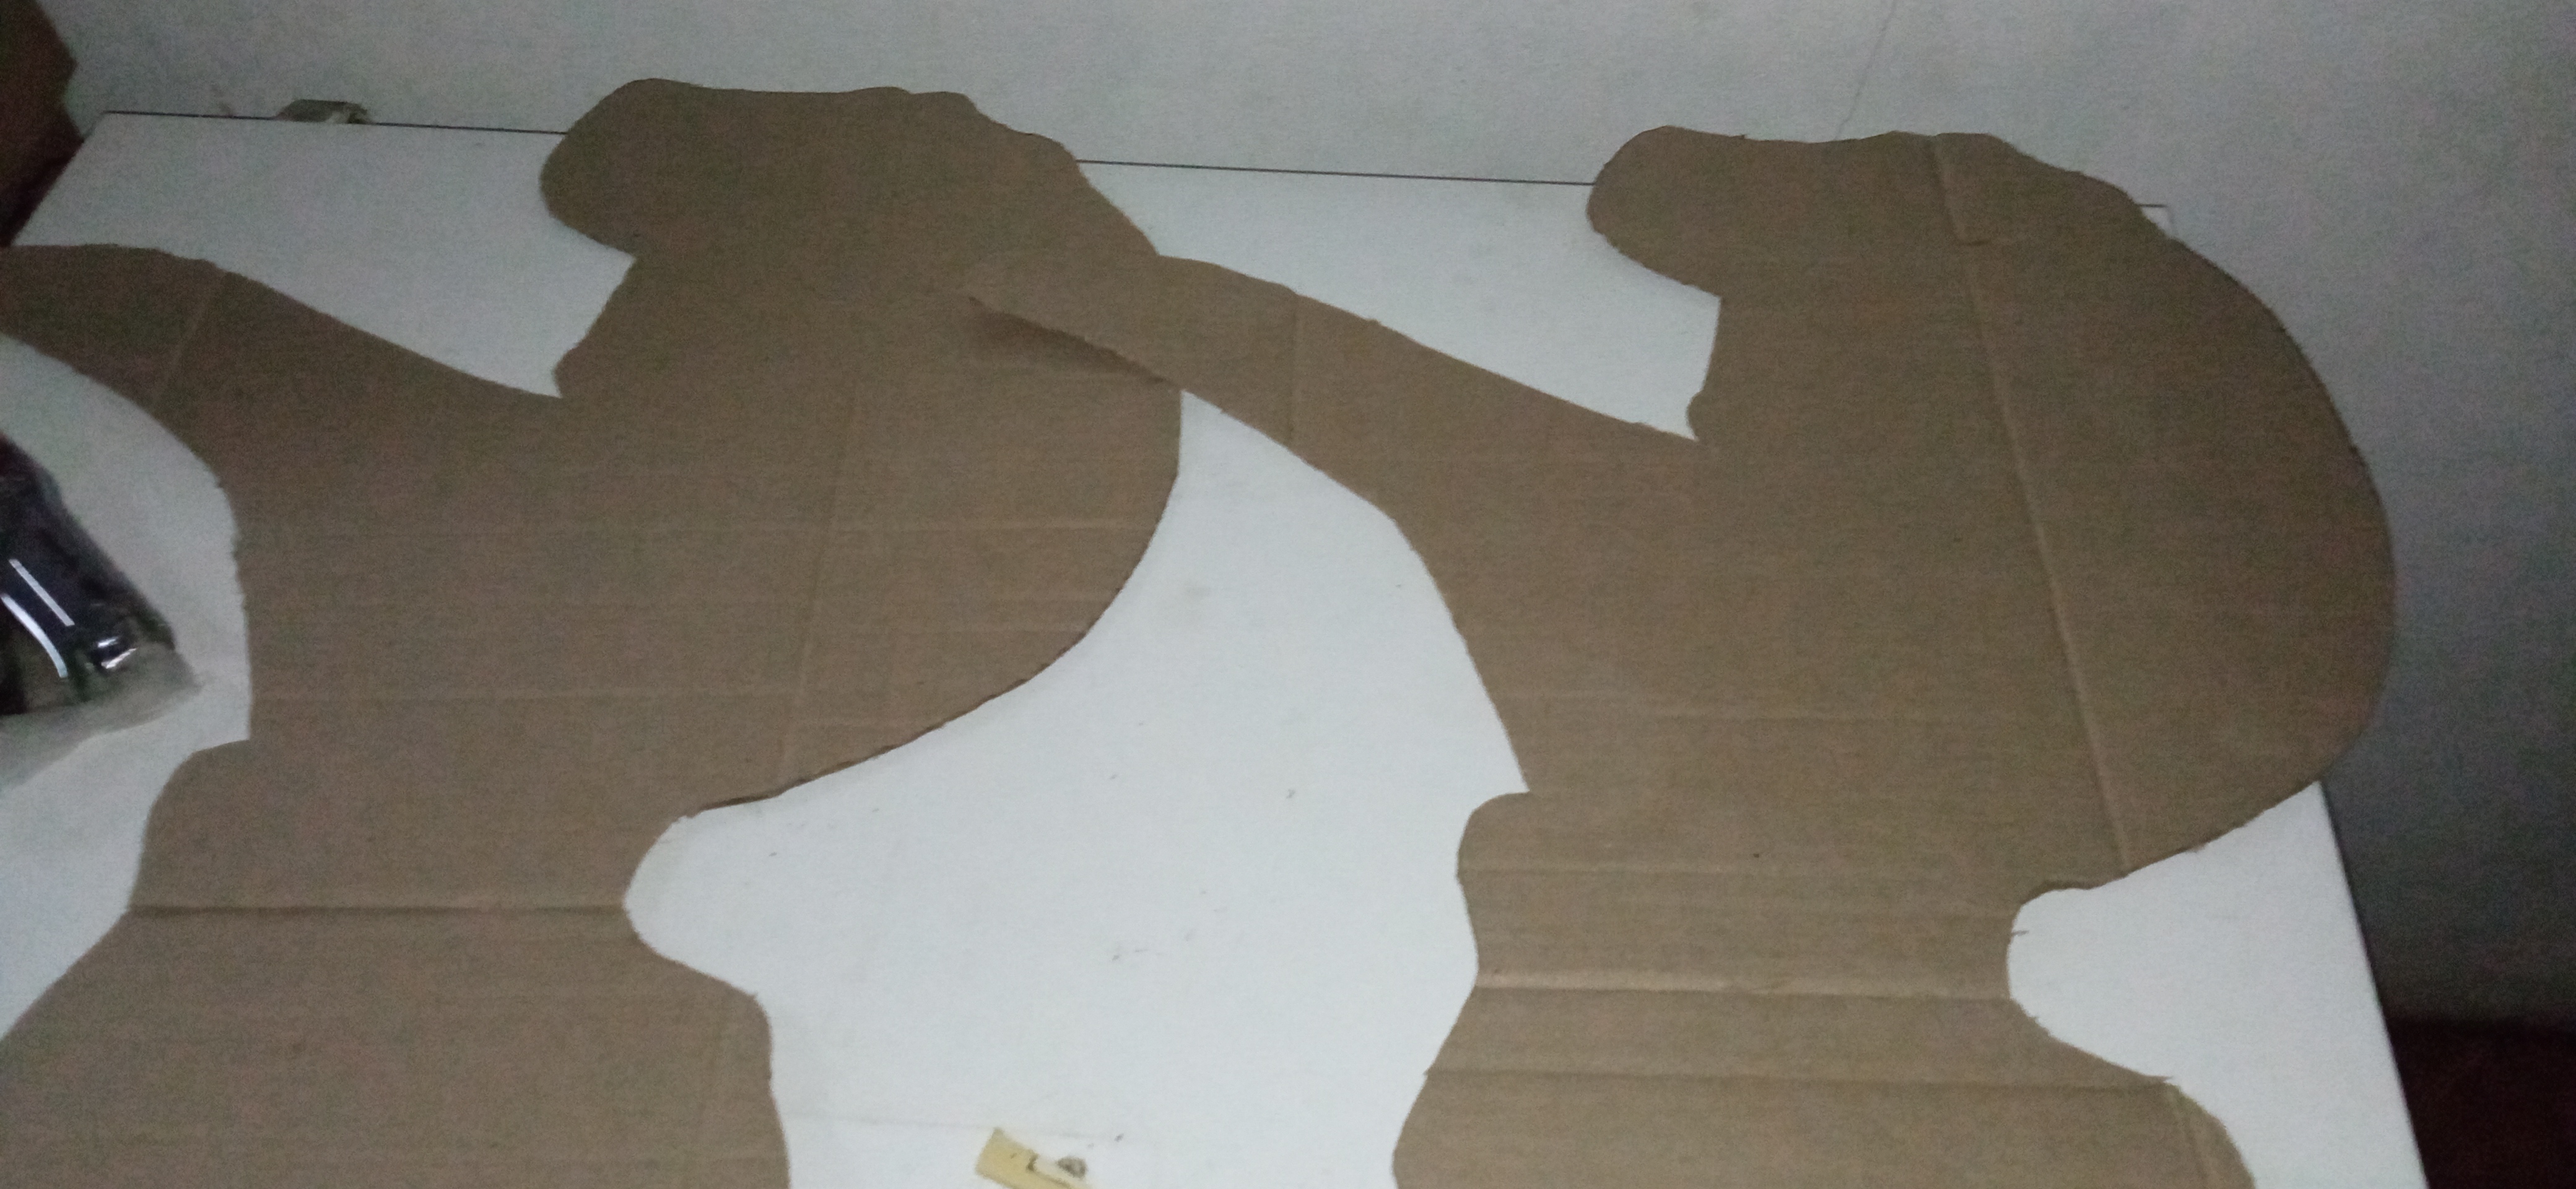
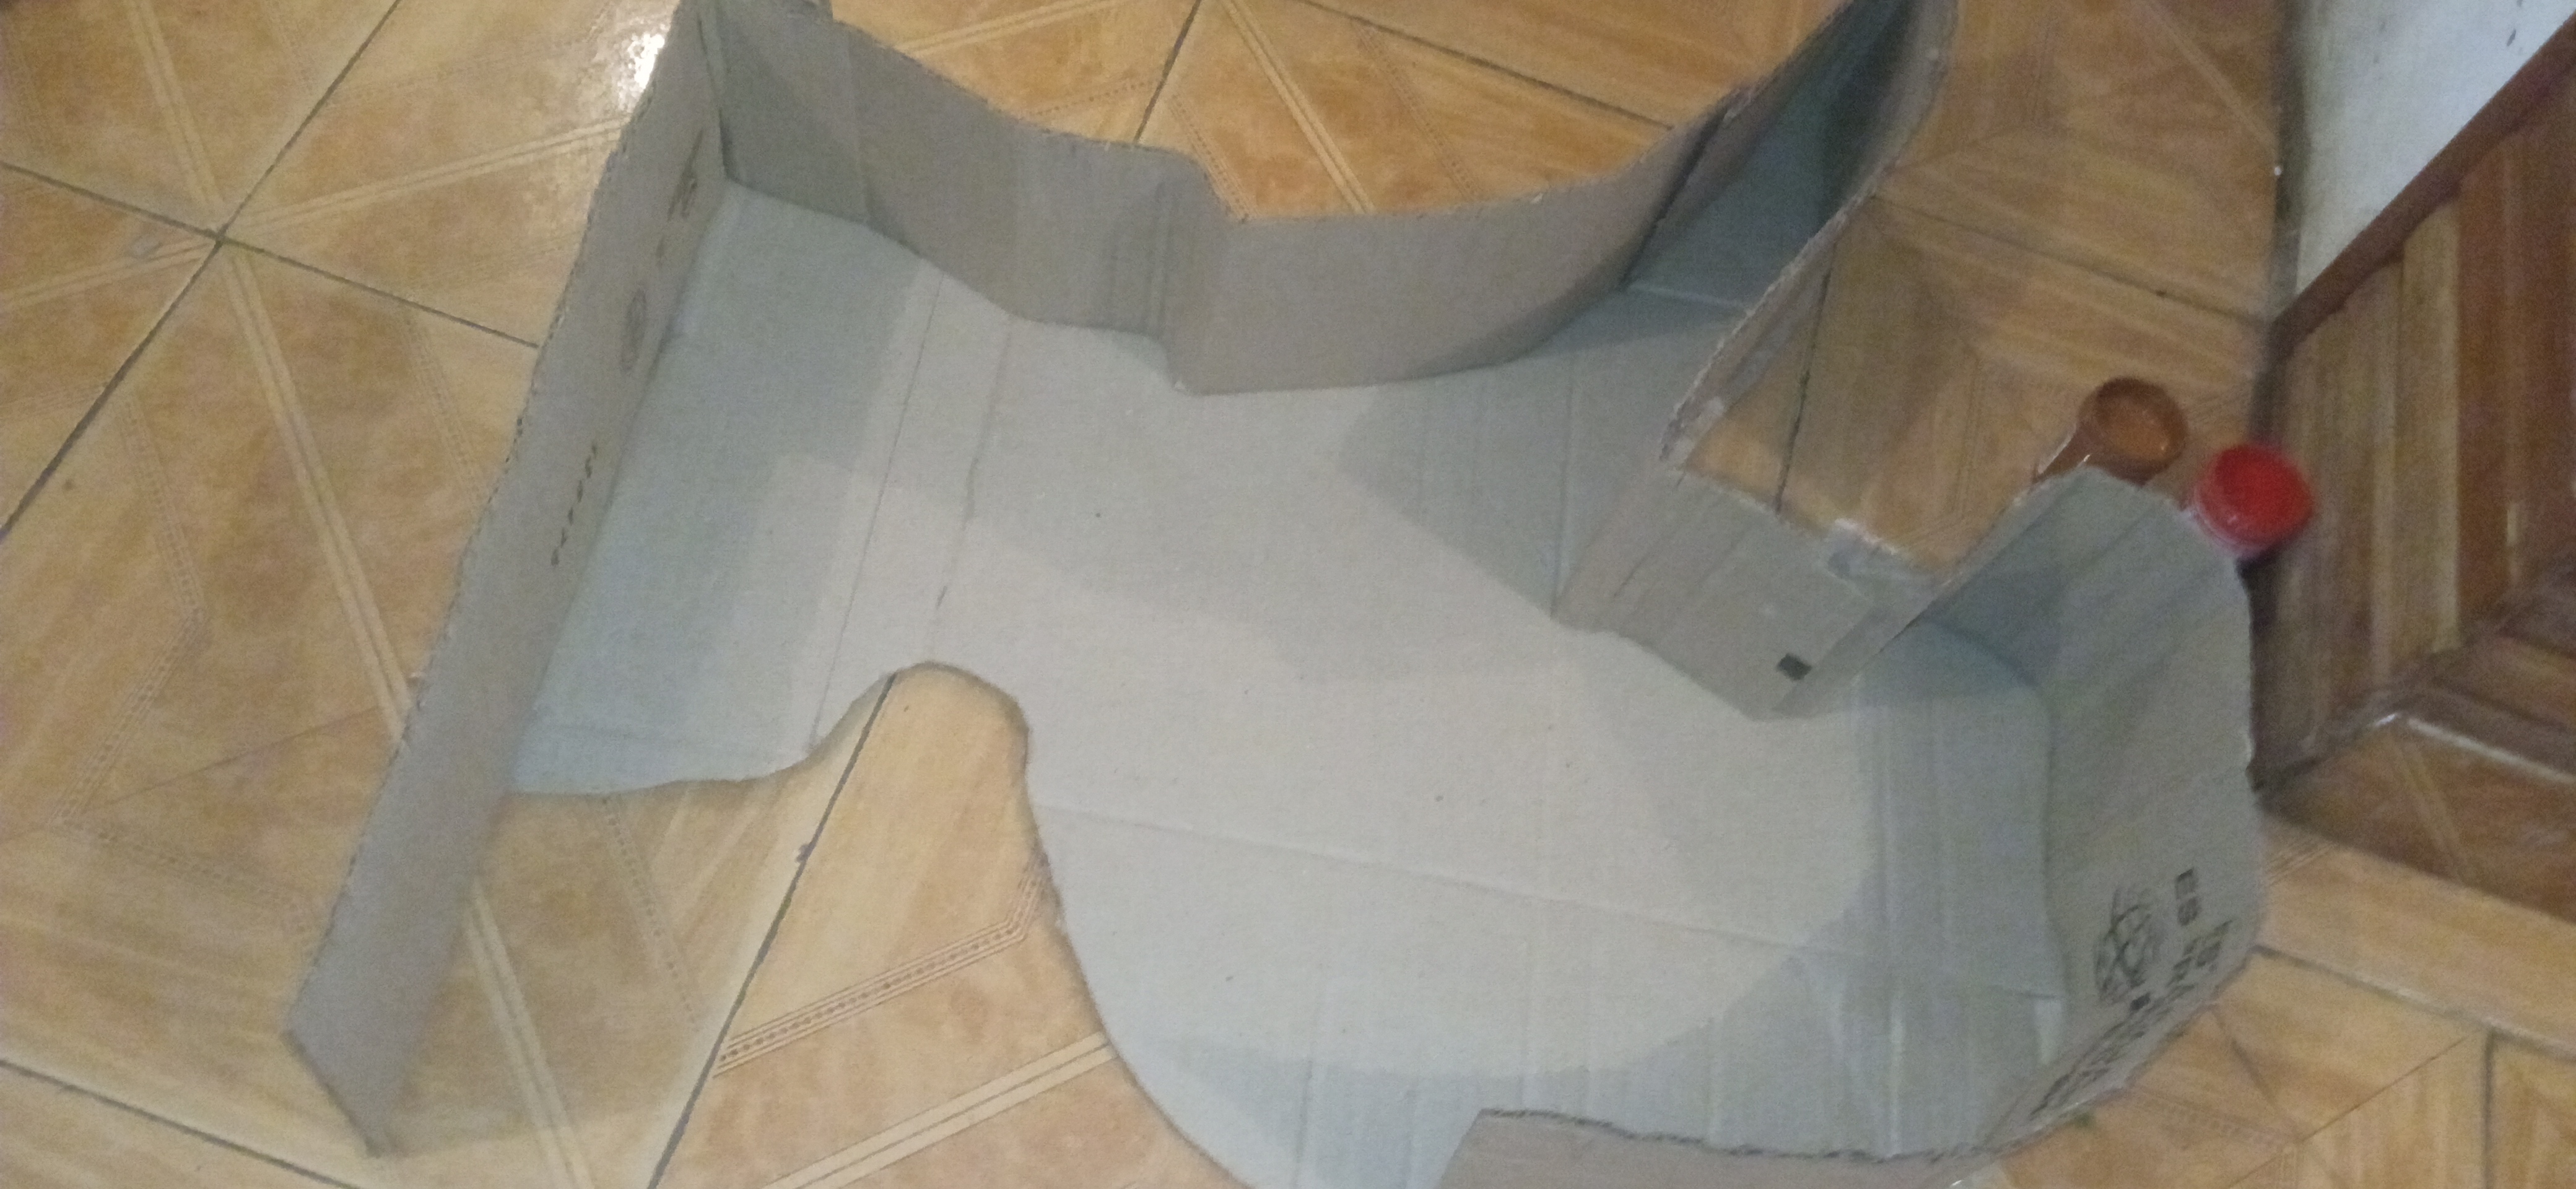
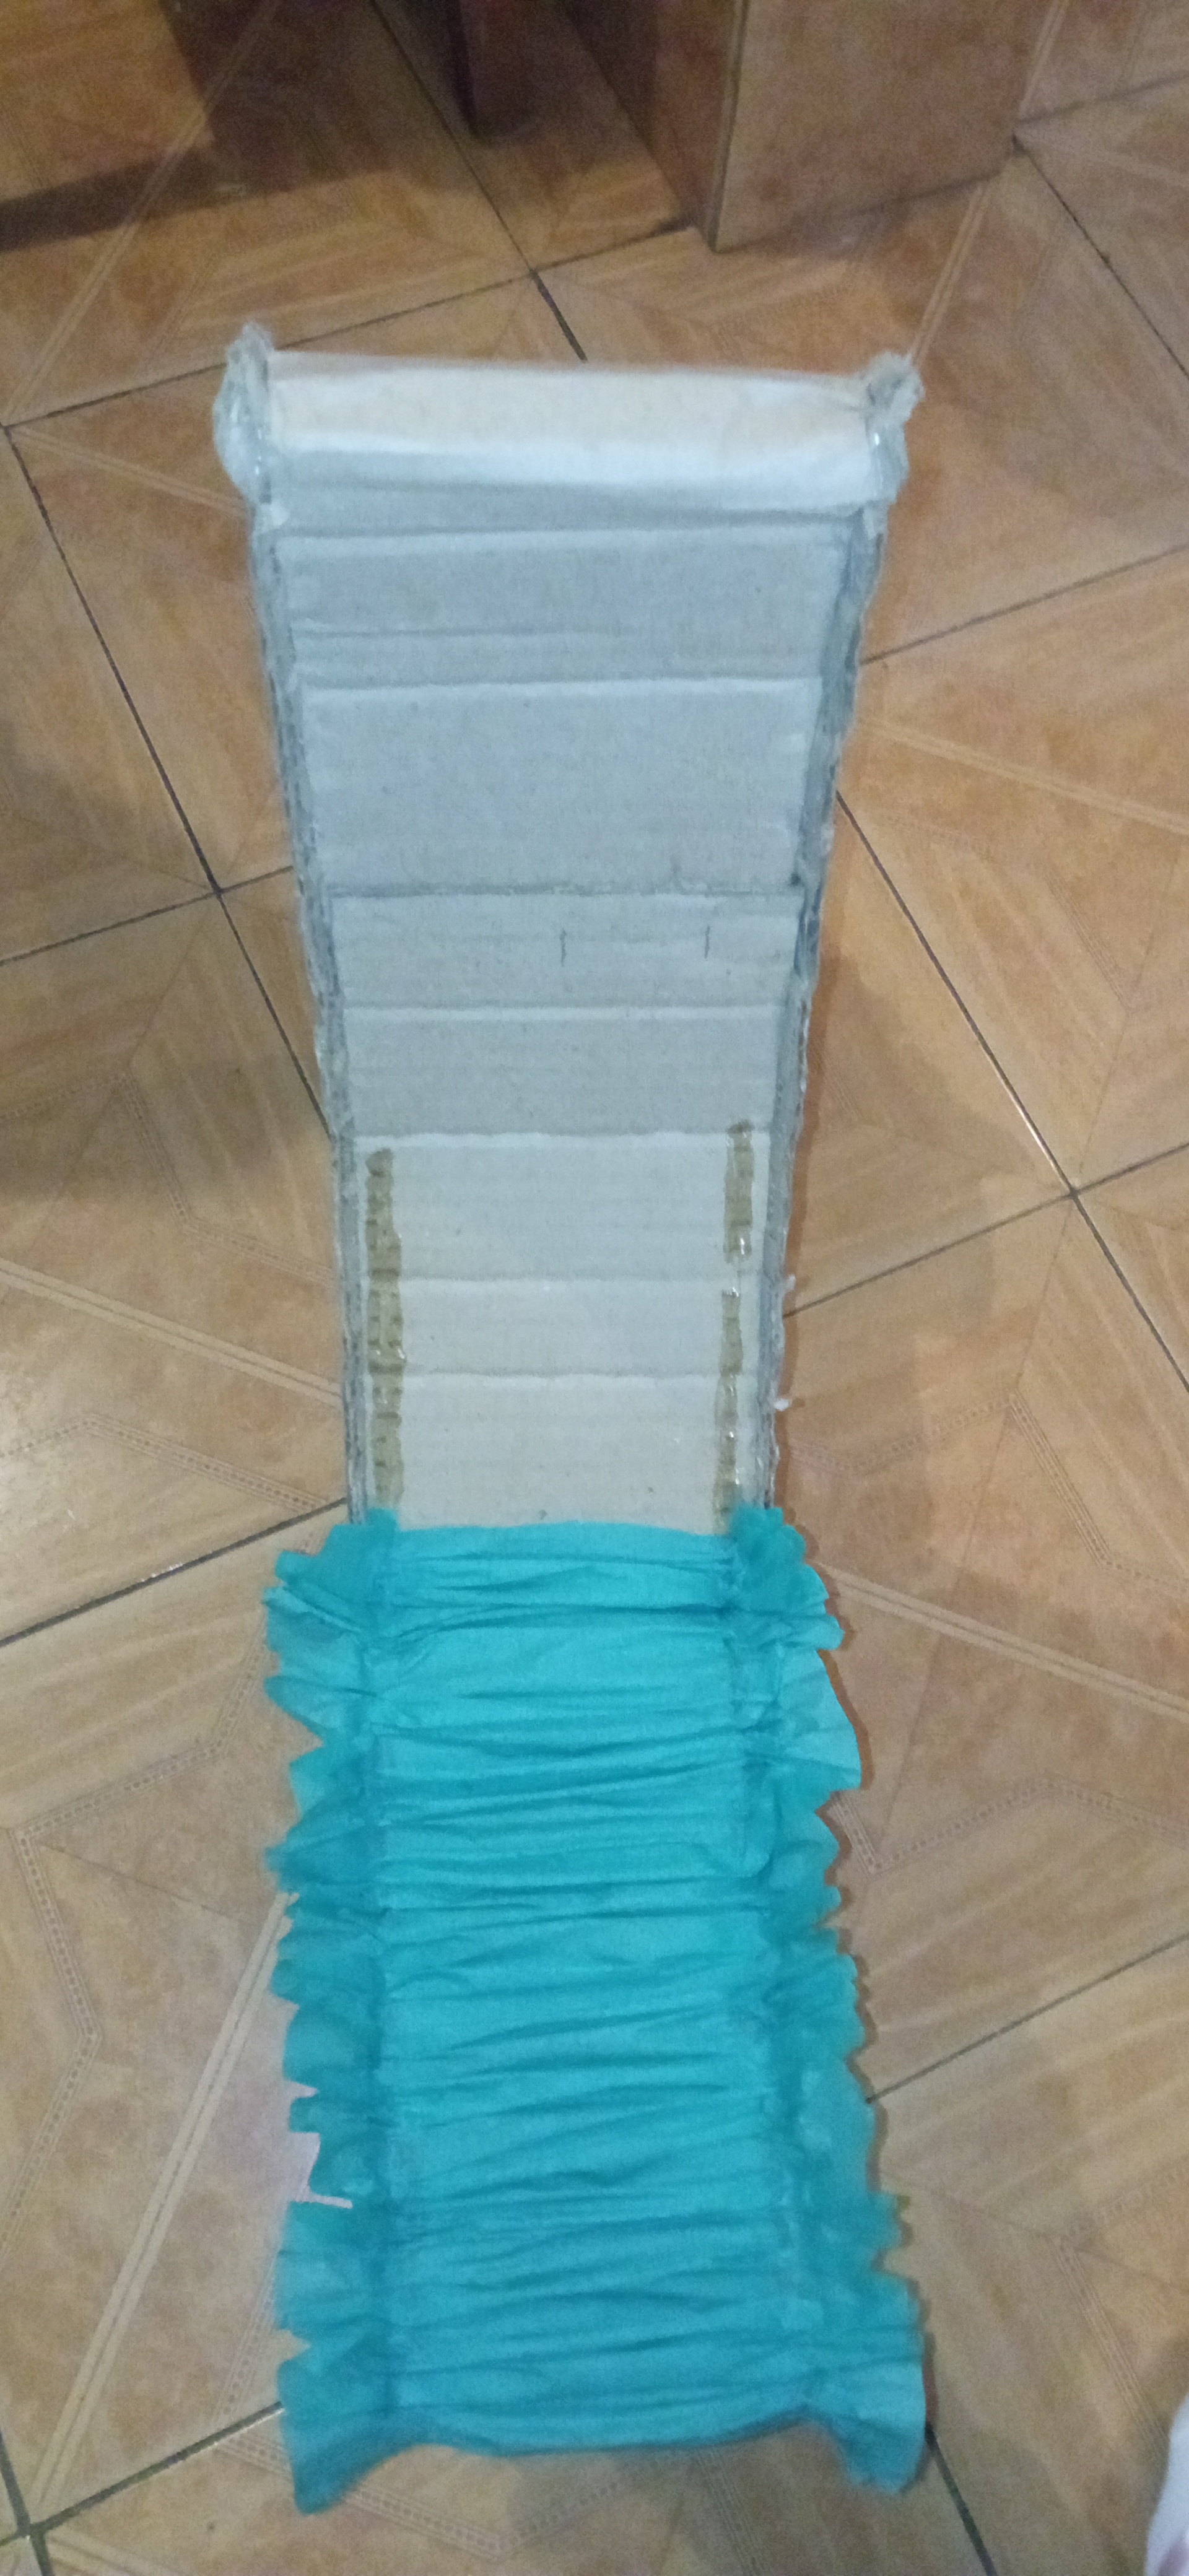
We paint the dinosaur on the cardboard, two lids as we see the photo and also cut the 13cm strips, then we start joining the strips with one lid of the dinosaur with the stapler and we go little by little joining that side.
Paso 5
Pintamos el dinosaurio en el cartón, dos tapas como vemos la foto y también cortamos las tiras de 13cm, luego empezamos uniendo las tiras con una tapa del dinosaurio con la grapadora y vamos poco a poco uniendo ese lado.
Step 6
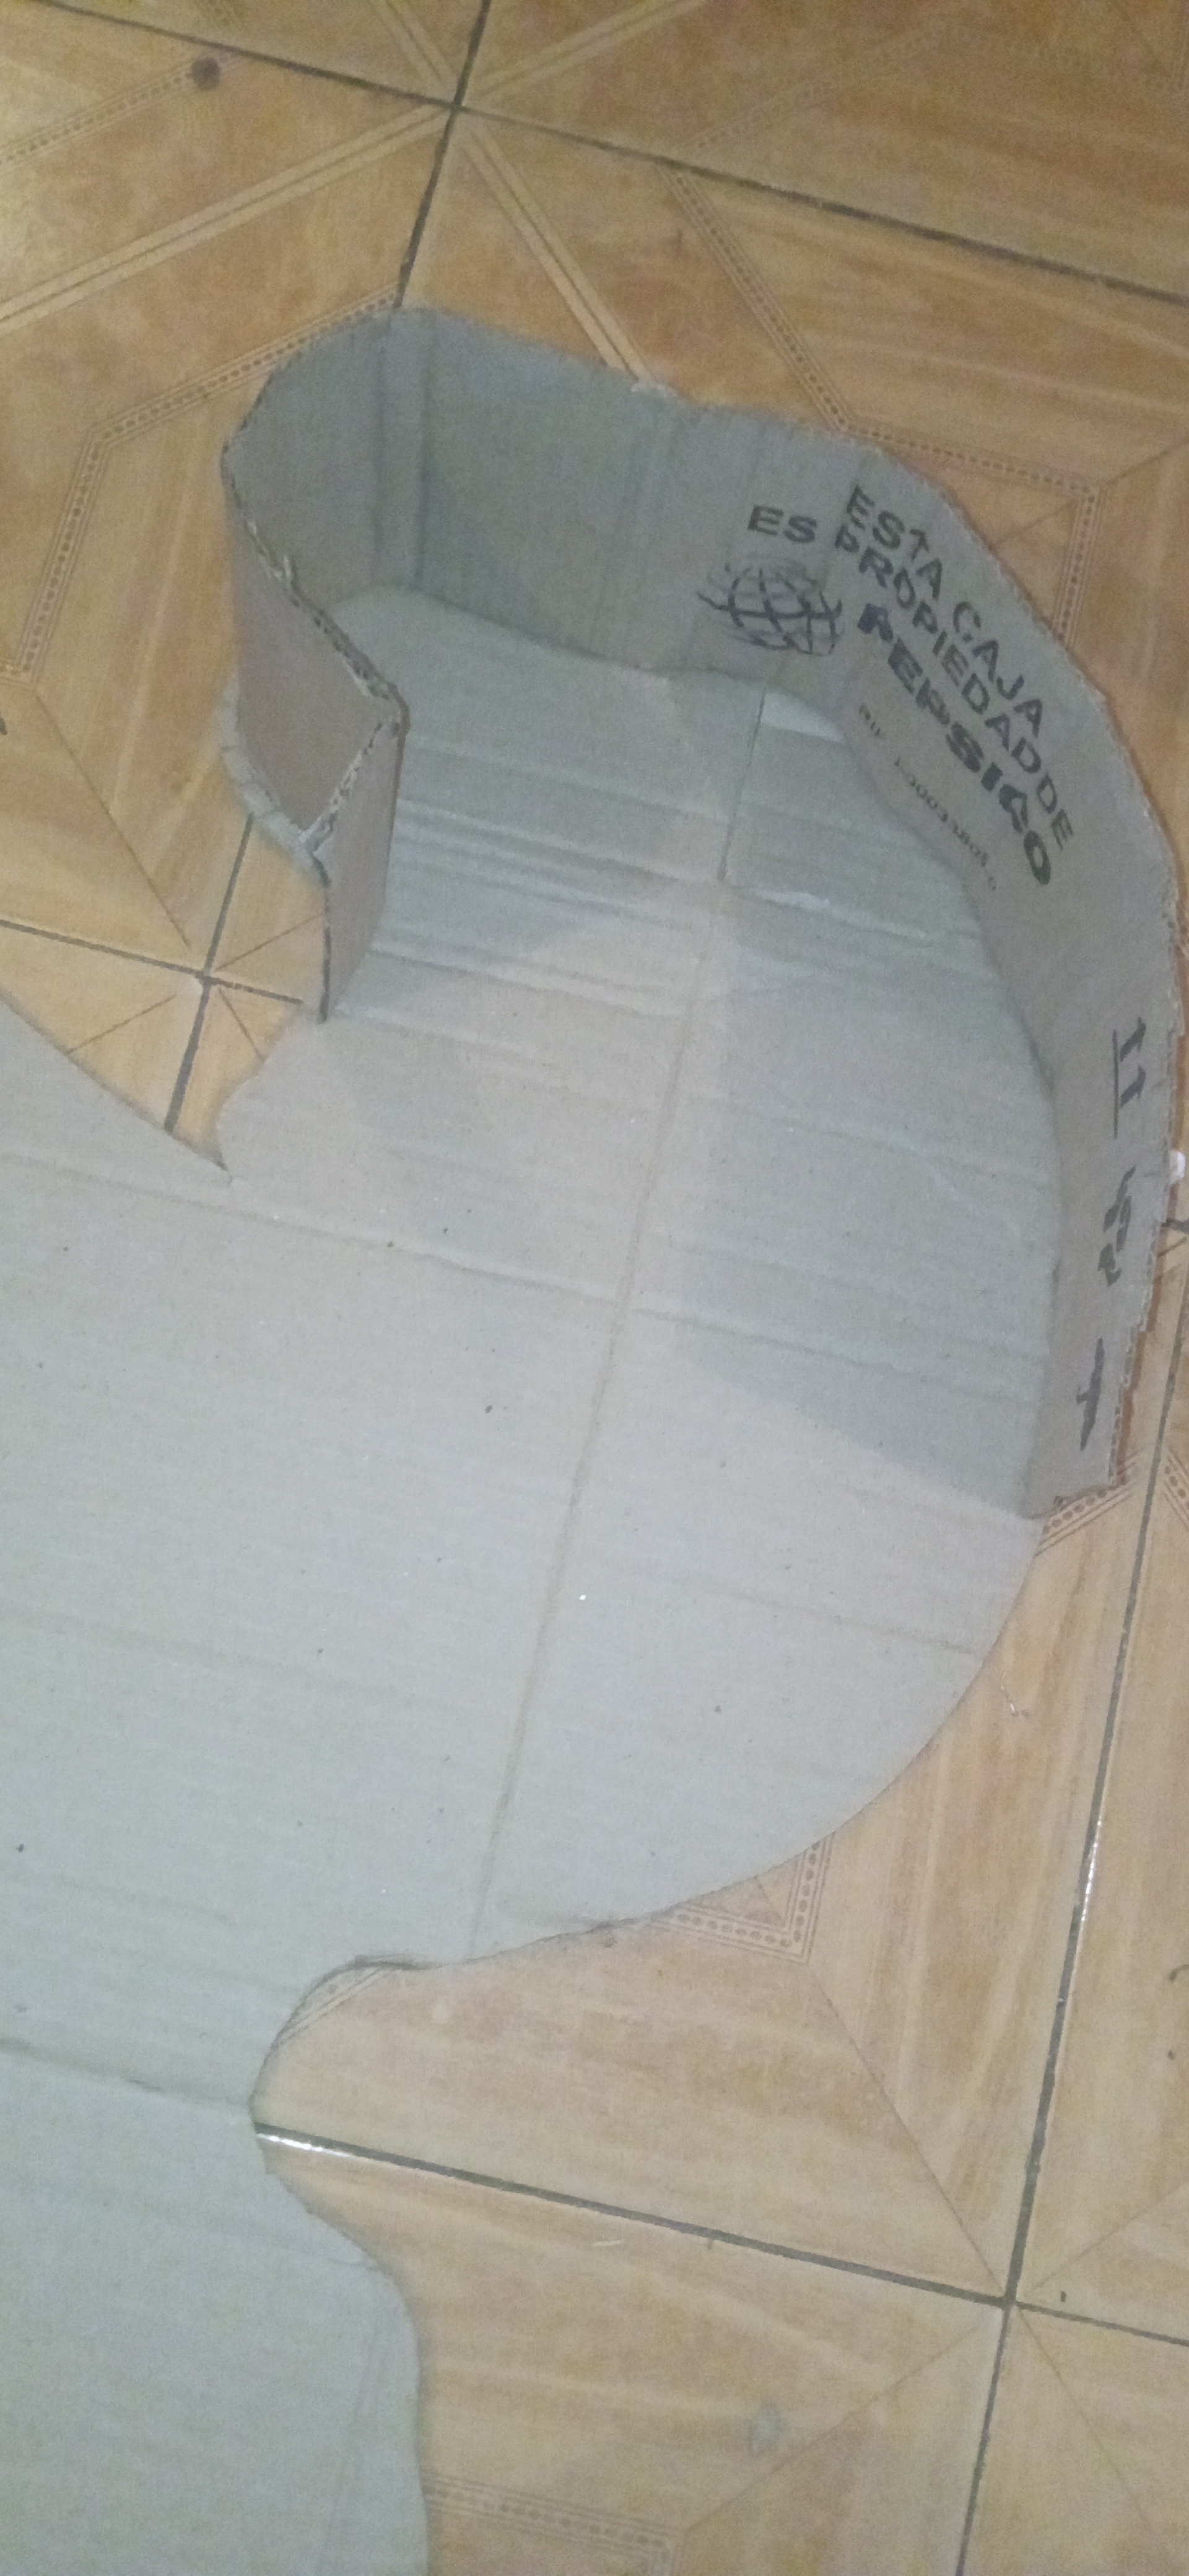
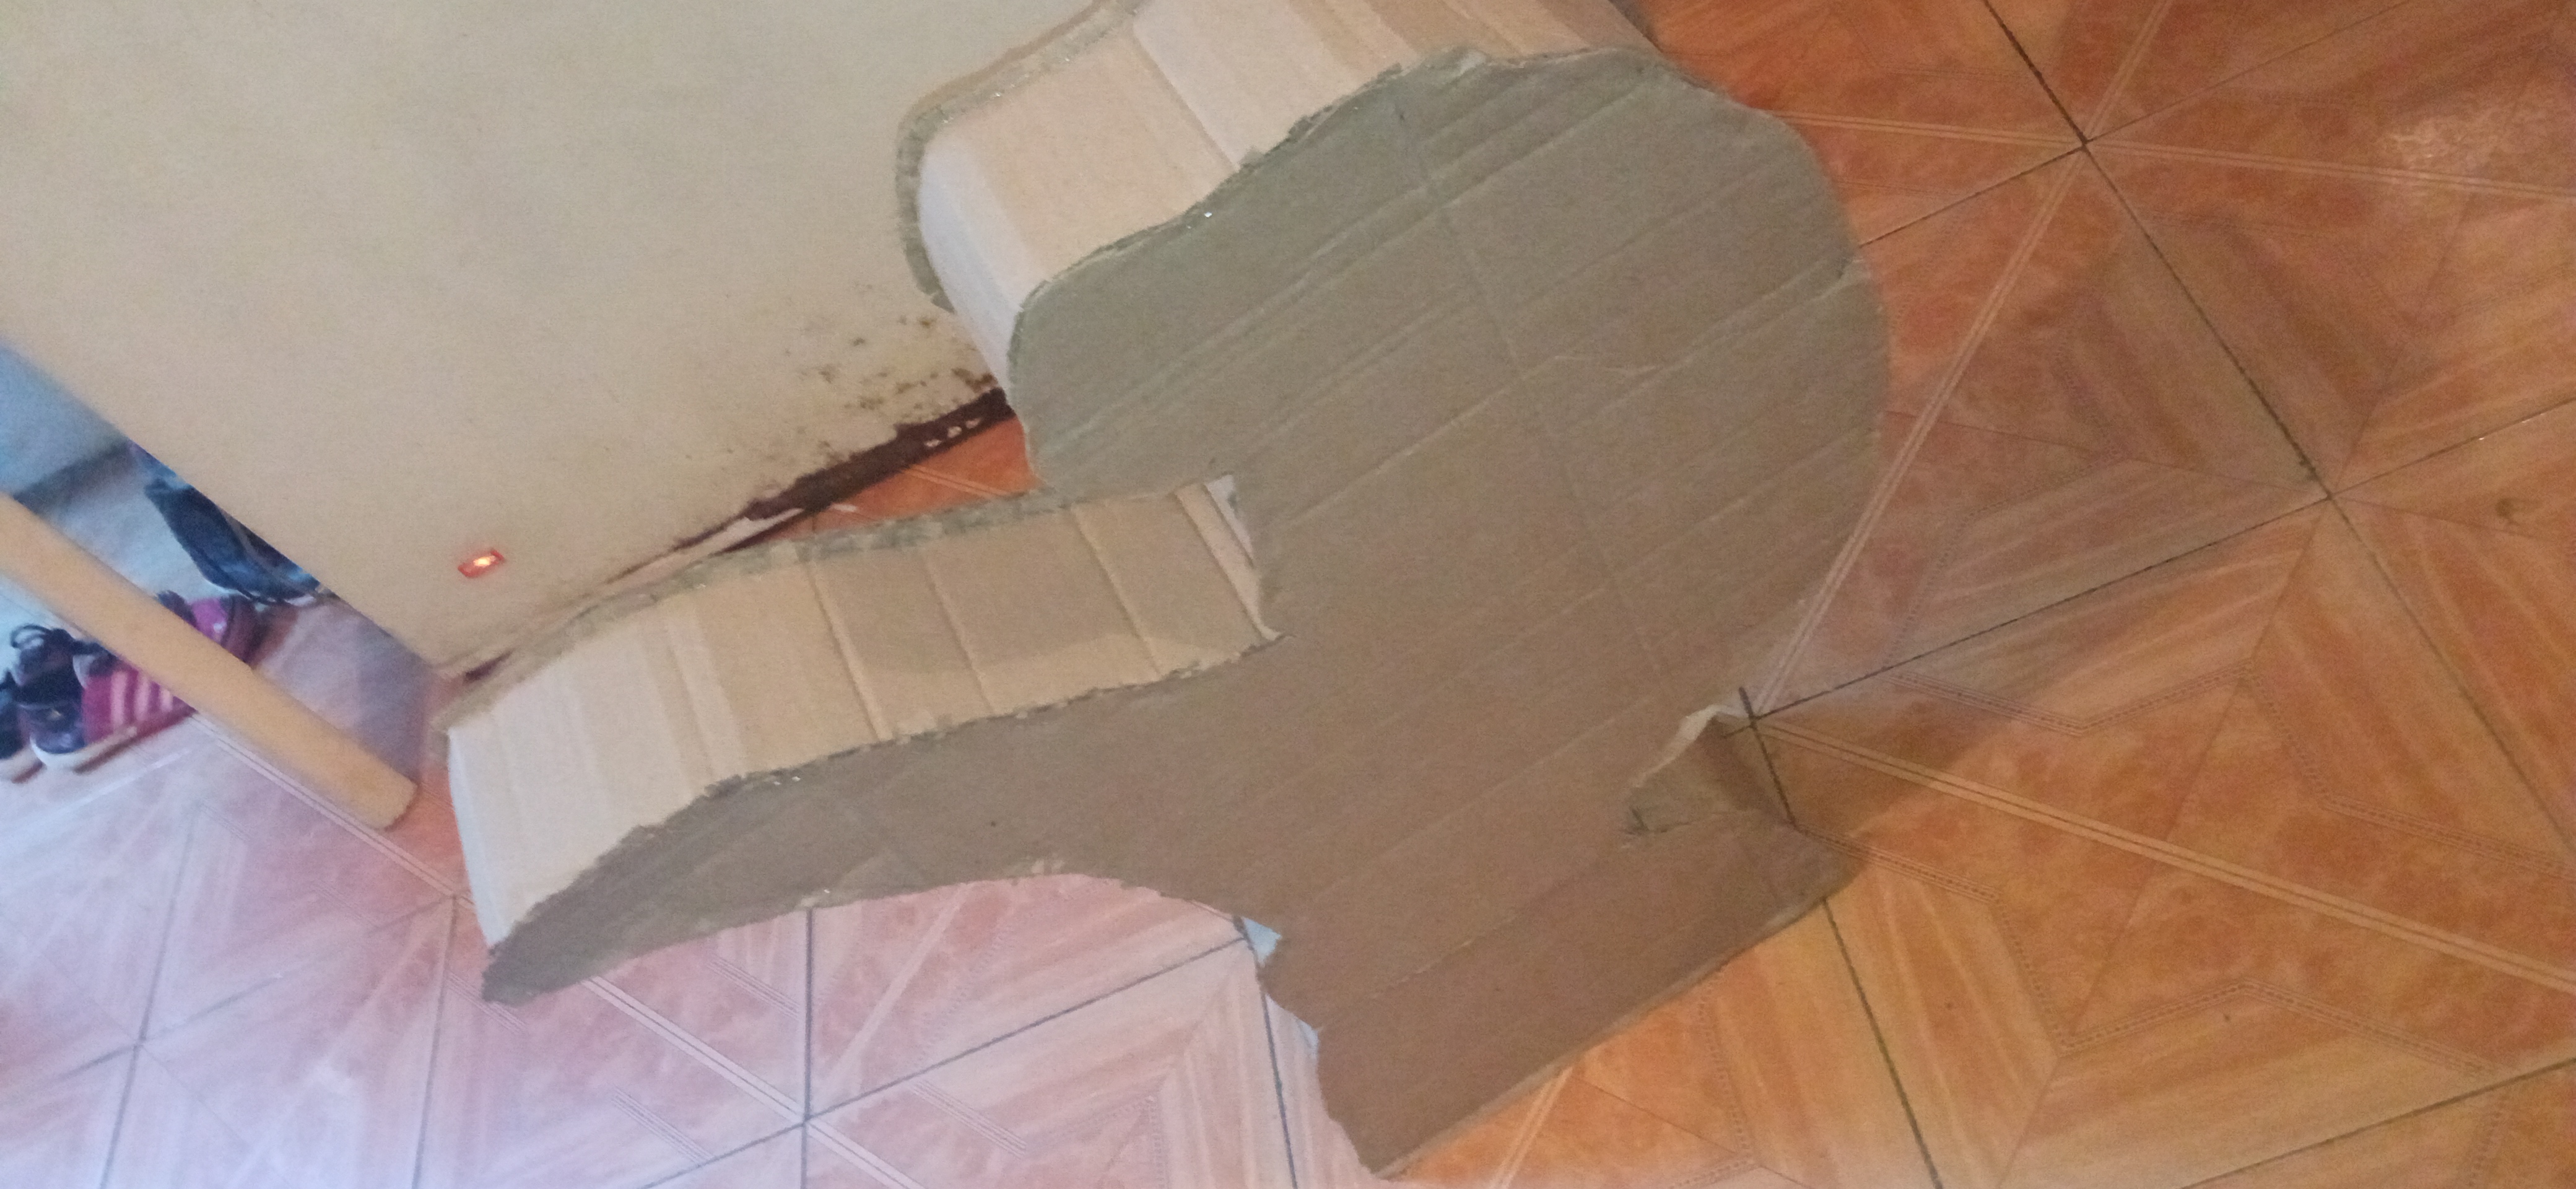
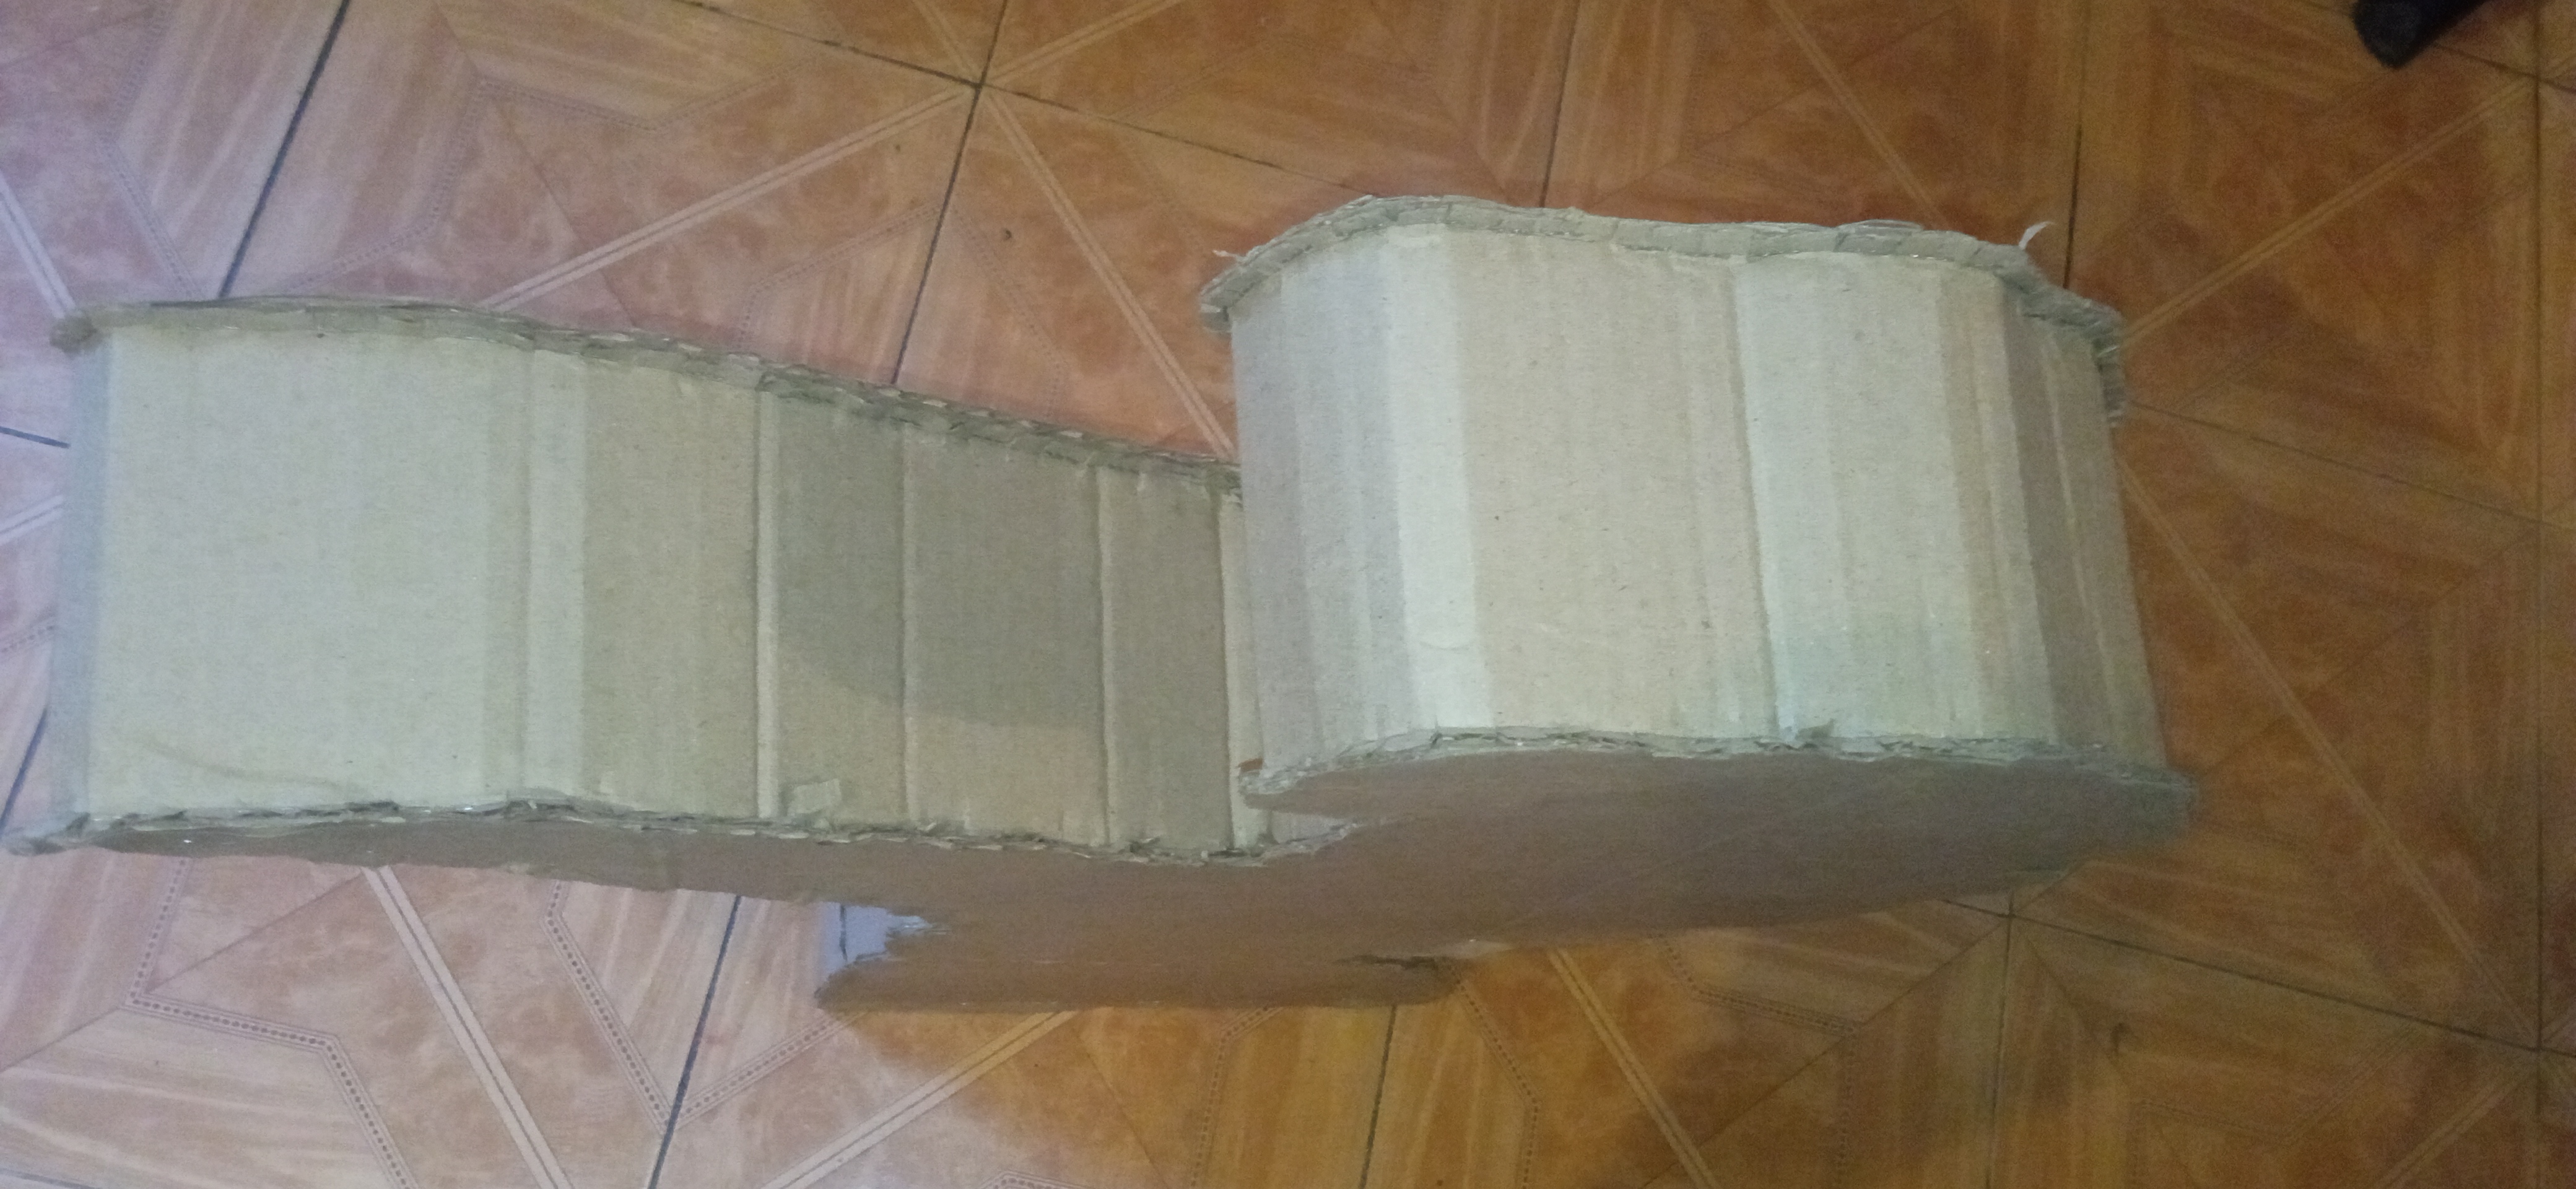
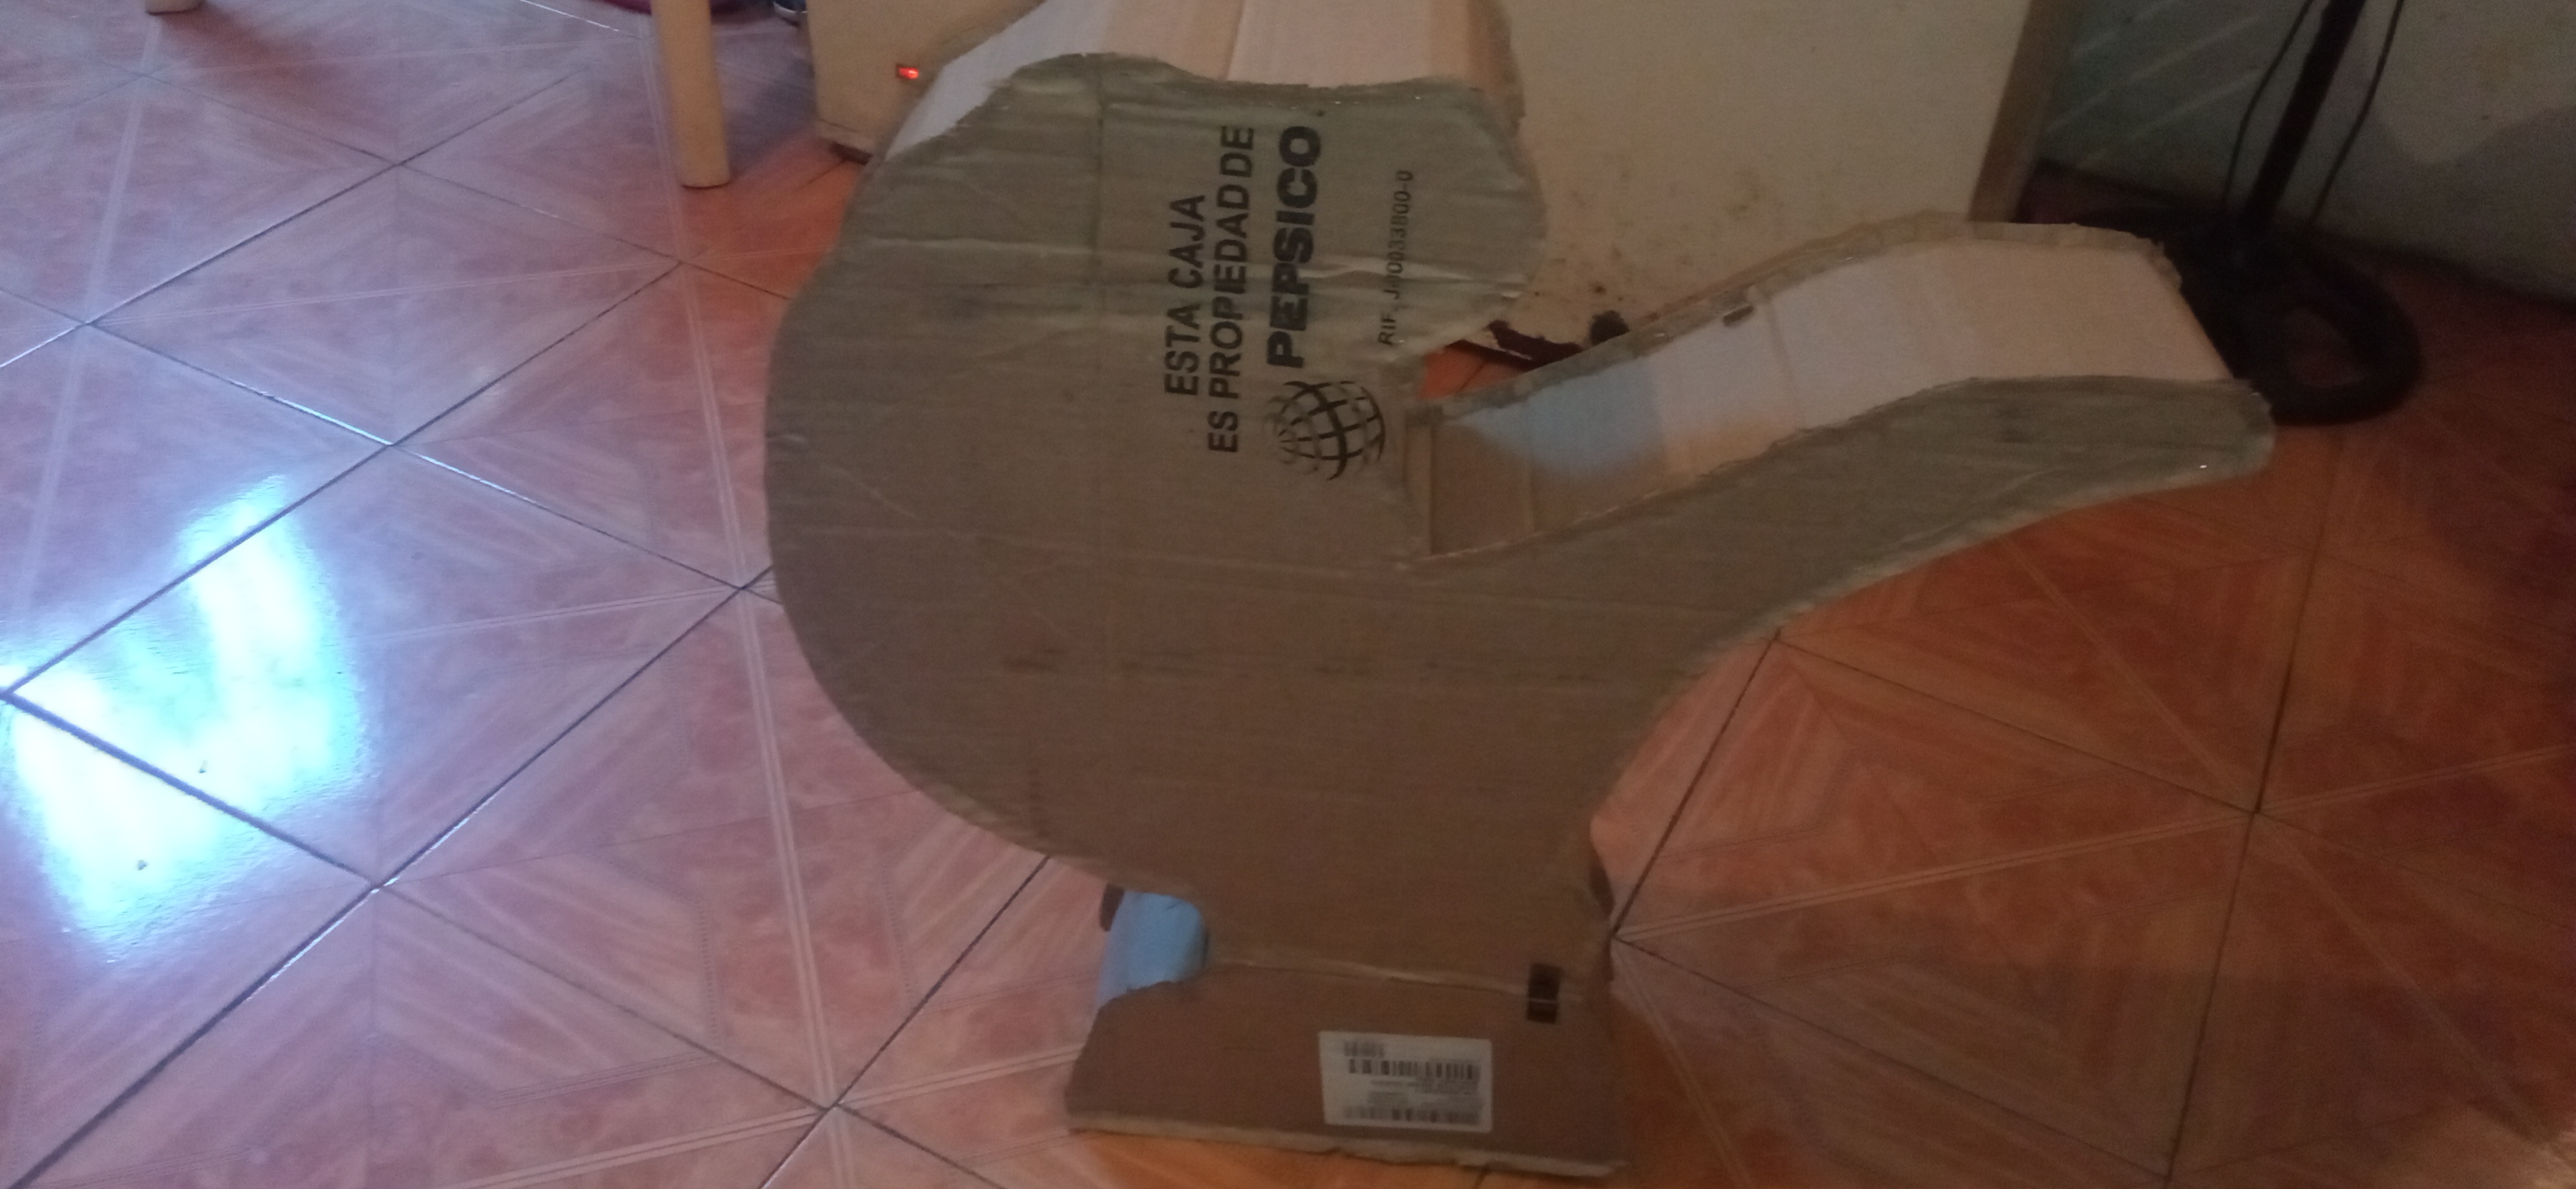
Here we continue stapling and place the other side of the cardboard cover and there we see our cardboard piñata.
Paso 6
Aquí continuamos grapando y colocamos el otra lado de la tapa del cartón y allí vemos nuestra piñata de cartón .
Step 7
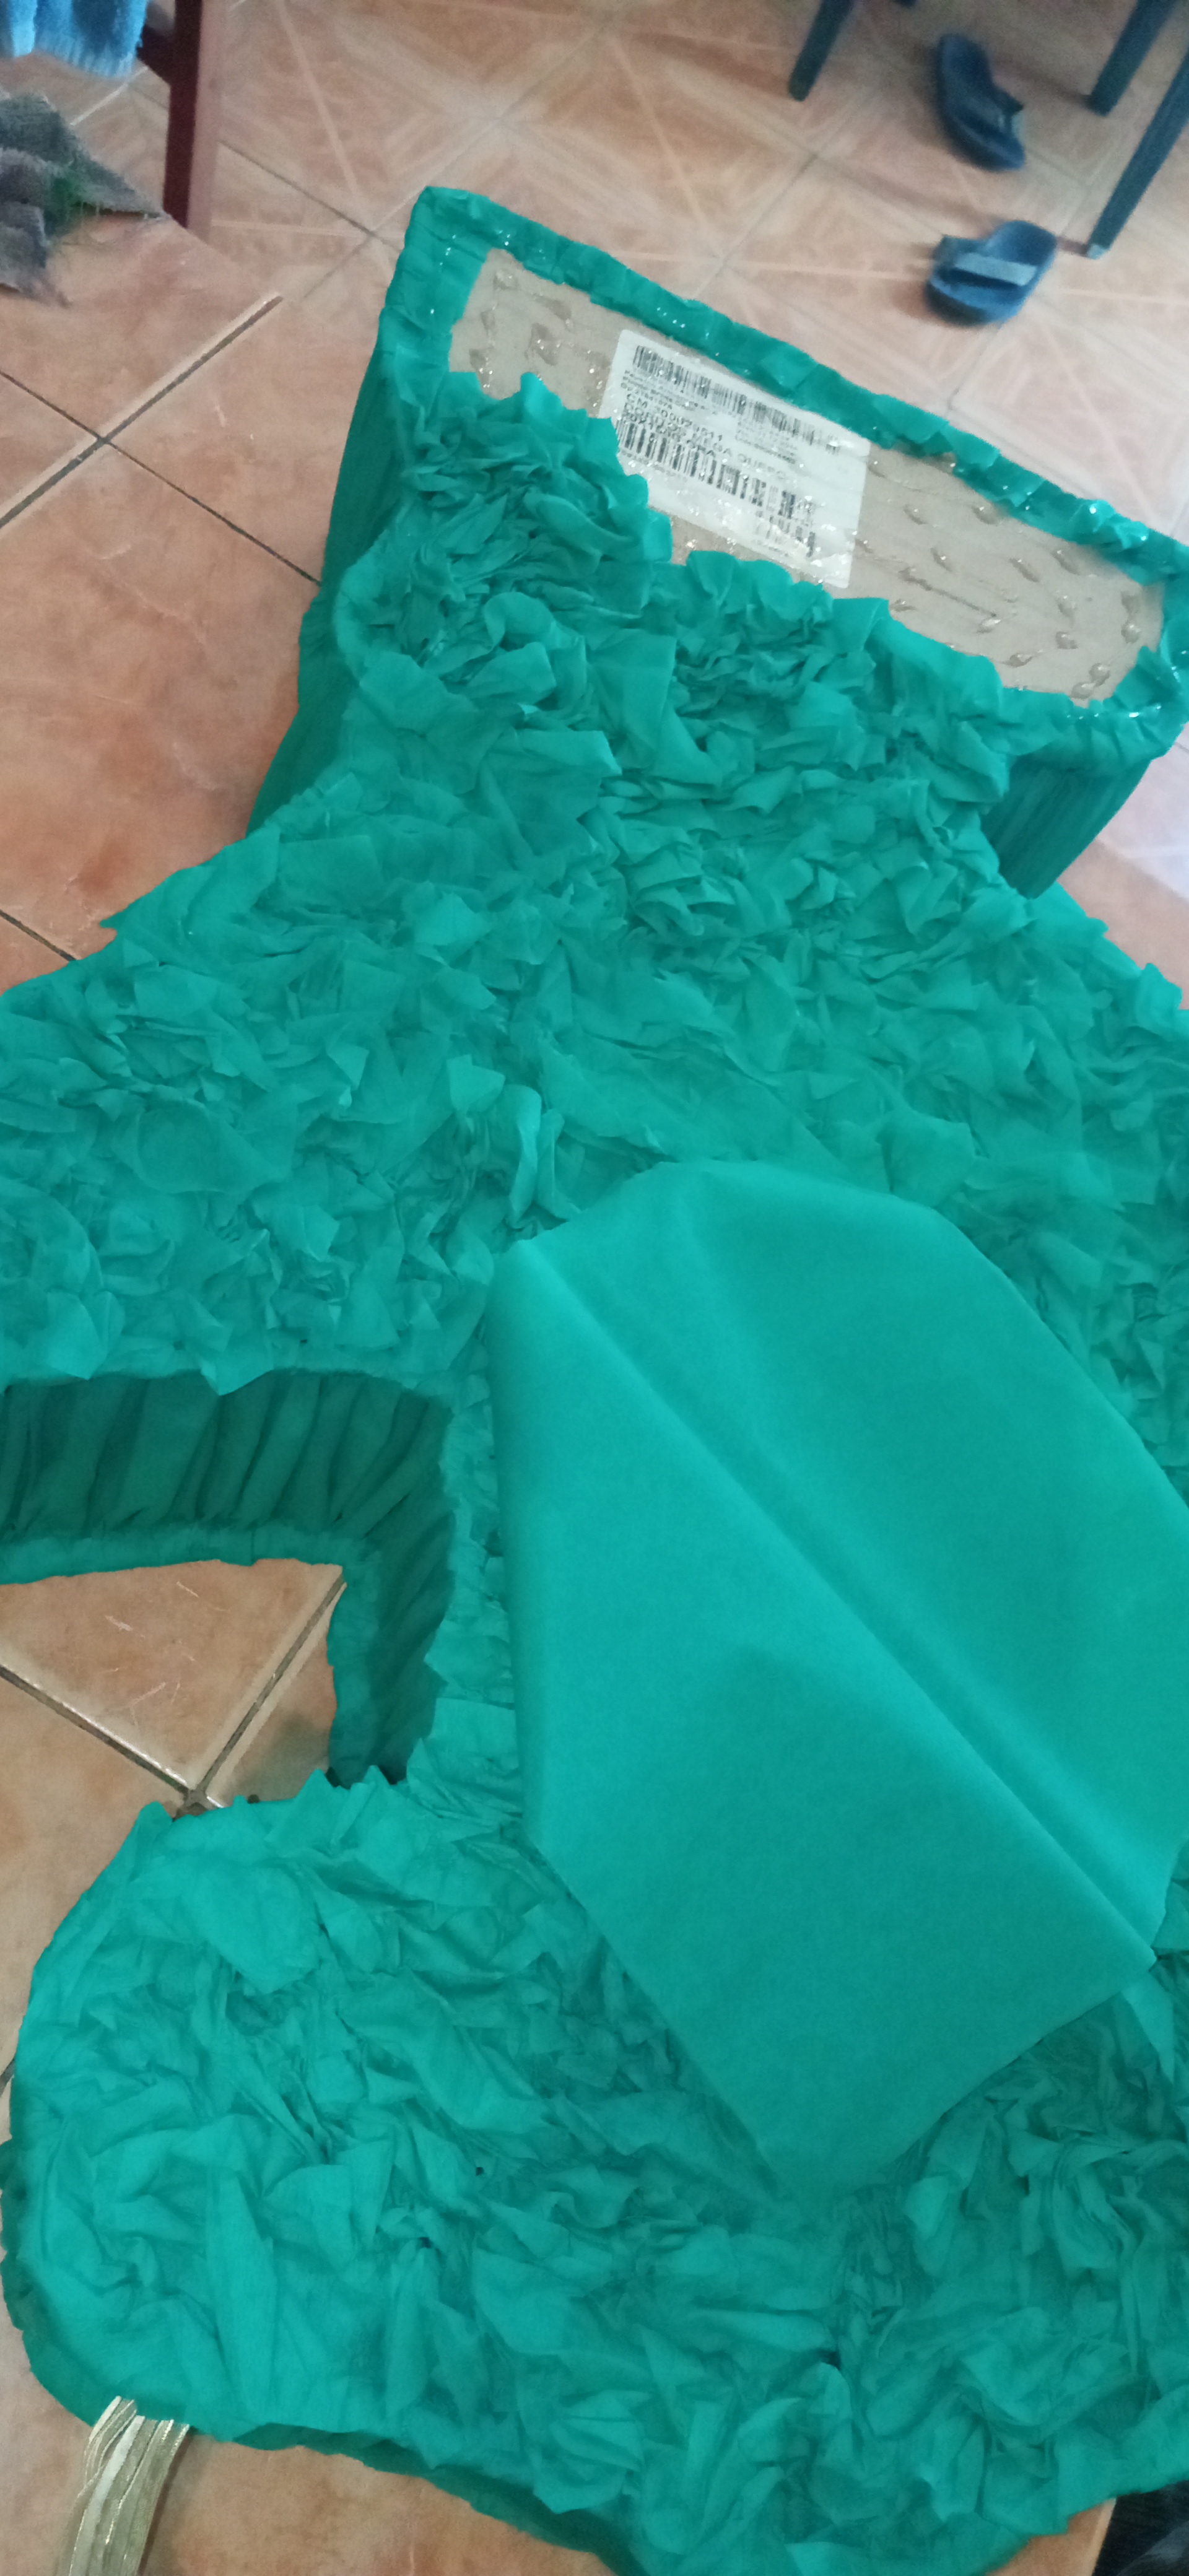
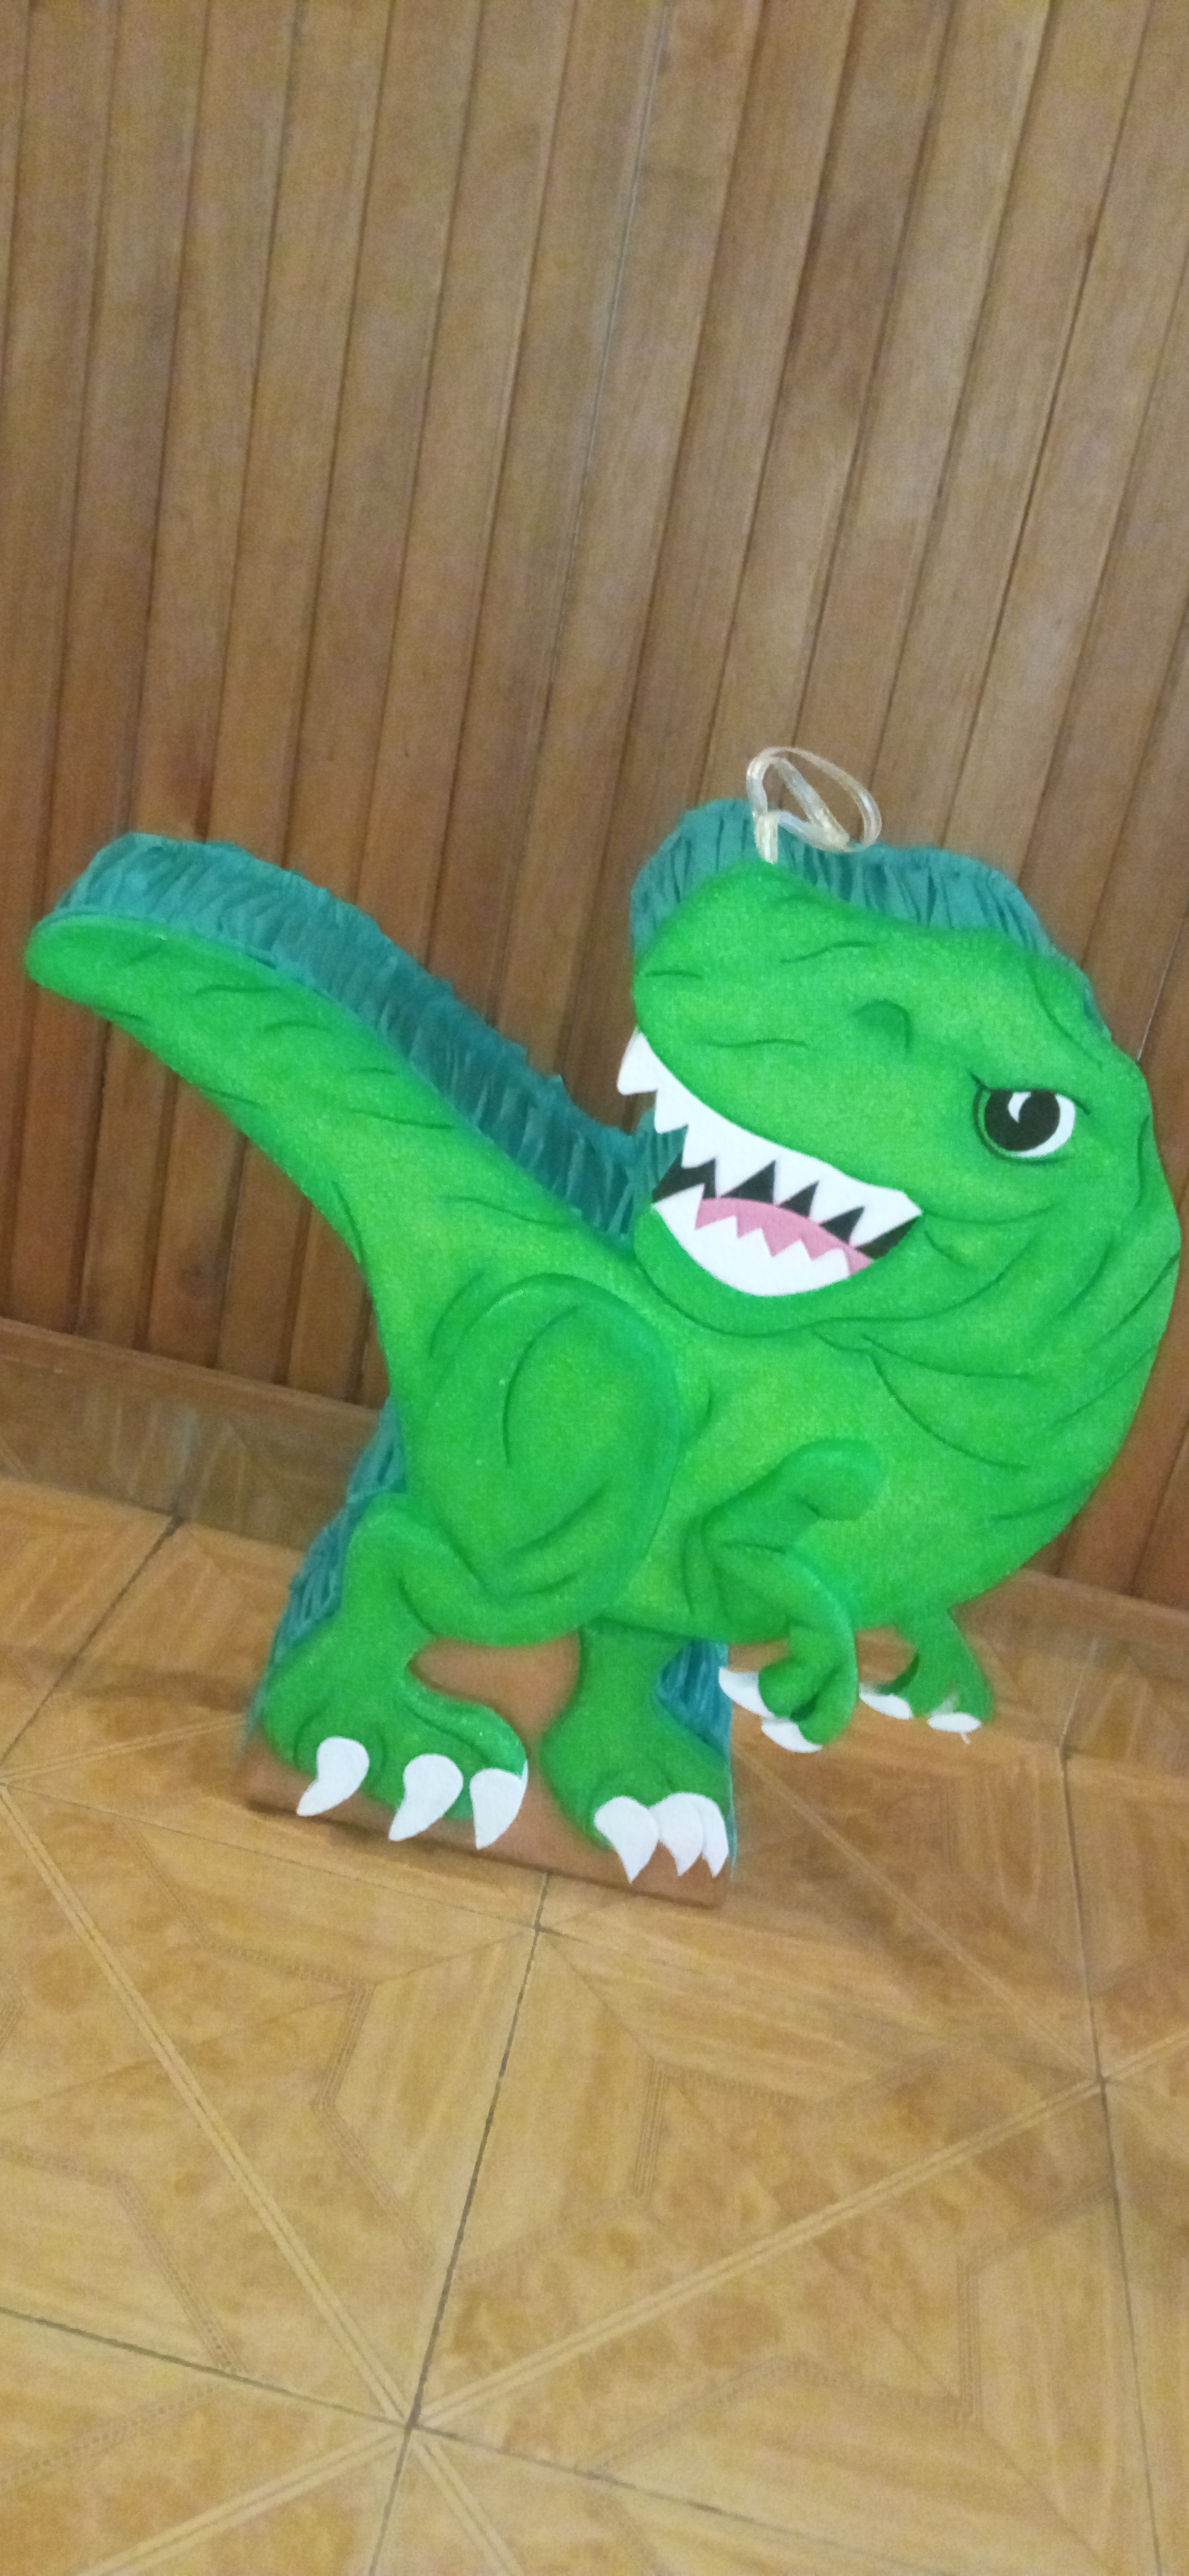
With the crepe paper we start to line the parts of the strips and the other side of the dinosaur cover to leave the other side free to glue the dinosaur cover that we already had ready... this is how our beautiful piñata was left to give joy to our little ones...
Paso 7
Con el papel crepe empezamos a forrar la partes de las tiras y del otra lado de la tapa del dinosaurio para dejar el otro lado libre para pegar la tapa del dinosaurio que ya teníamos lista.. así quedó nuestra bella piñata para darle alegría a nuestros pequeños ..
RESOURCES USED / RECURSOS UTILIZADOS
• Incollage/ para unir y reducir las fotos.
• Photos taken by redmi 9. / Fotos tomadas por redmi 9.
• The translator is used www.Deepl.com / Se utiliza el traductor www.Deepl.com
Hola @alba-rosaced felicidades te ha quedado realmente hermosa. Adorable de verdad.
Saludos, bendiciones y éxitos.
Amen . Gracias por el apoyo.
WOW! Me encanto amiga, mi hijo es fanático de los dinosaurios y quiere una piñata de dinosaurios para su cumpleaños, Dios bendiga tus manos. Excelete trabajo.
Gracias amiga.. ellos se vuelven locos por los dinosaurios..
que padre te quedo, sigue creando!
Pronto más sorpresas ..