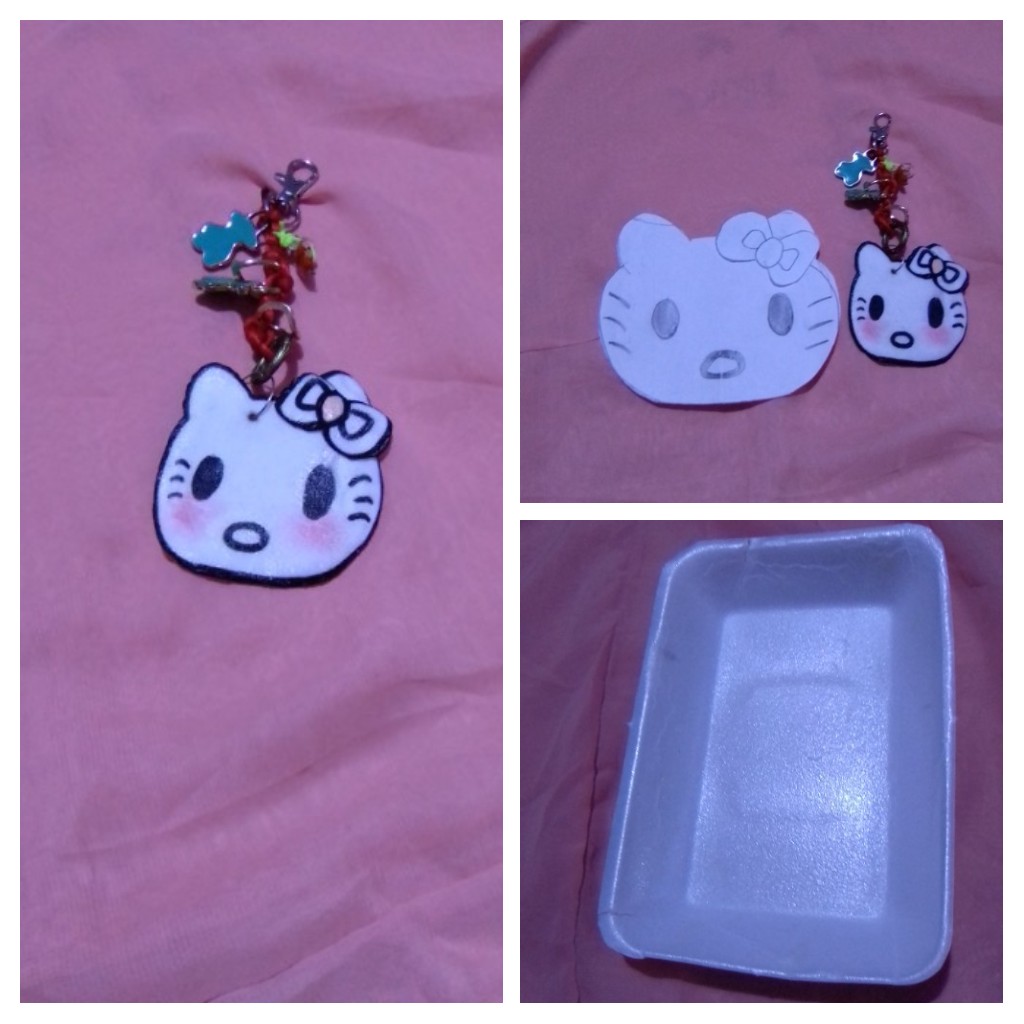
Saludos para todos los Hivers creadores de esta gran comunidad, el día de ayer me encontraba viendo algunos vídeos en YouTube, y me encontré con una idea que quise poner en práctica ya que me pareció muy interesante, además de divertida por el sorprendente resultado, hoy les quiero enseñar a realizar llaveros usando la técnica de plástico que se encoge, yo particularmente trabaje con poliuretano en forma de bandejas de comida desechables. En realidad no es en sí el llavero el que quiero mostrar, sino la técnica que me parece genial y es la que quiero compartir con todos ustedes. Me pareció que el dominio de la técnica está en el tiempo que debe permanecer en el horno, yo hice el llavero tres veces las dos primeras oportunidades no logré el resultado, en una la figura no redujo el tamaño porque no le di el tiempo suficiente y en la siguiente redujo pero no como esperaba y en la textura se notaba que le faltaba cocción, y la tercera es la que les voy a mostrar porque espere sin desesperar. Link
Greetings to all the Hivers creators of this great community, yesterday I was watching some videos on YouTube, and I came across an idea that I wanted to put into practice because I found it very interesting, as well as fun for the amazing result, today I want to show you how to make keychains using the technique of plastic that shrinks, I particularly worked with polyurethane in the form of disposable food trays. Actually it is not the keychain itself that I want to show, but the technique that I think is great and is the one I want to share with you all. It seemed to me that the mastery of the technique is in the time it should remain in the oven, I made the keychain three times the first two times I did not achieve the result, in one the figure did not reduce the size because I did not give it enough time and the next time it reduced but not as I expected and the texture showed that it lacked cooking, and the third is the one I'm going to show you because I waited without despair. Link
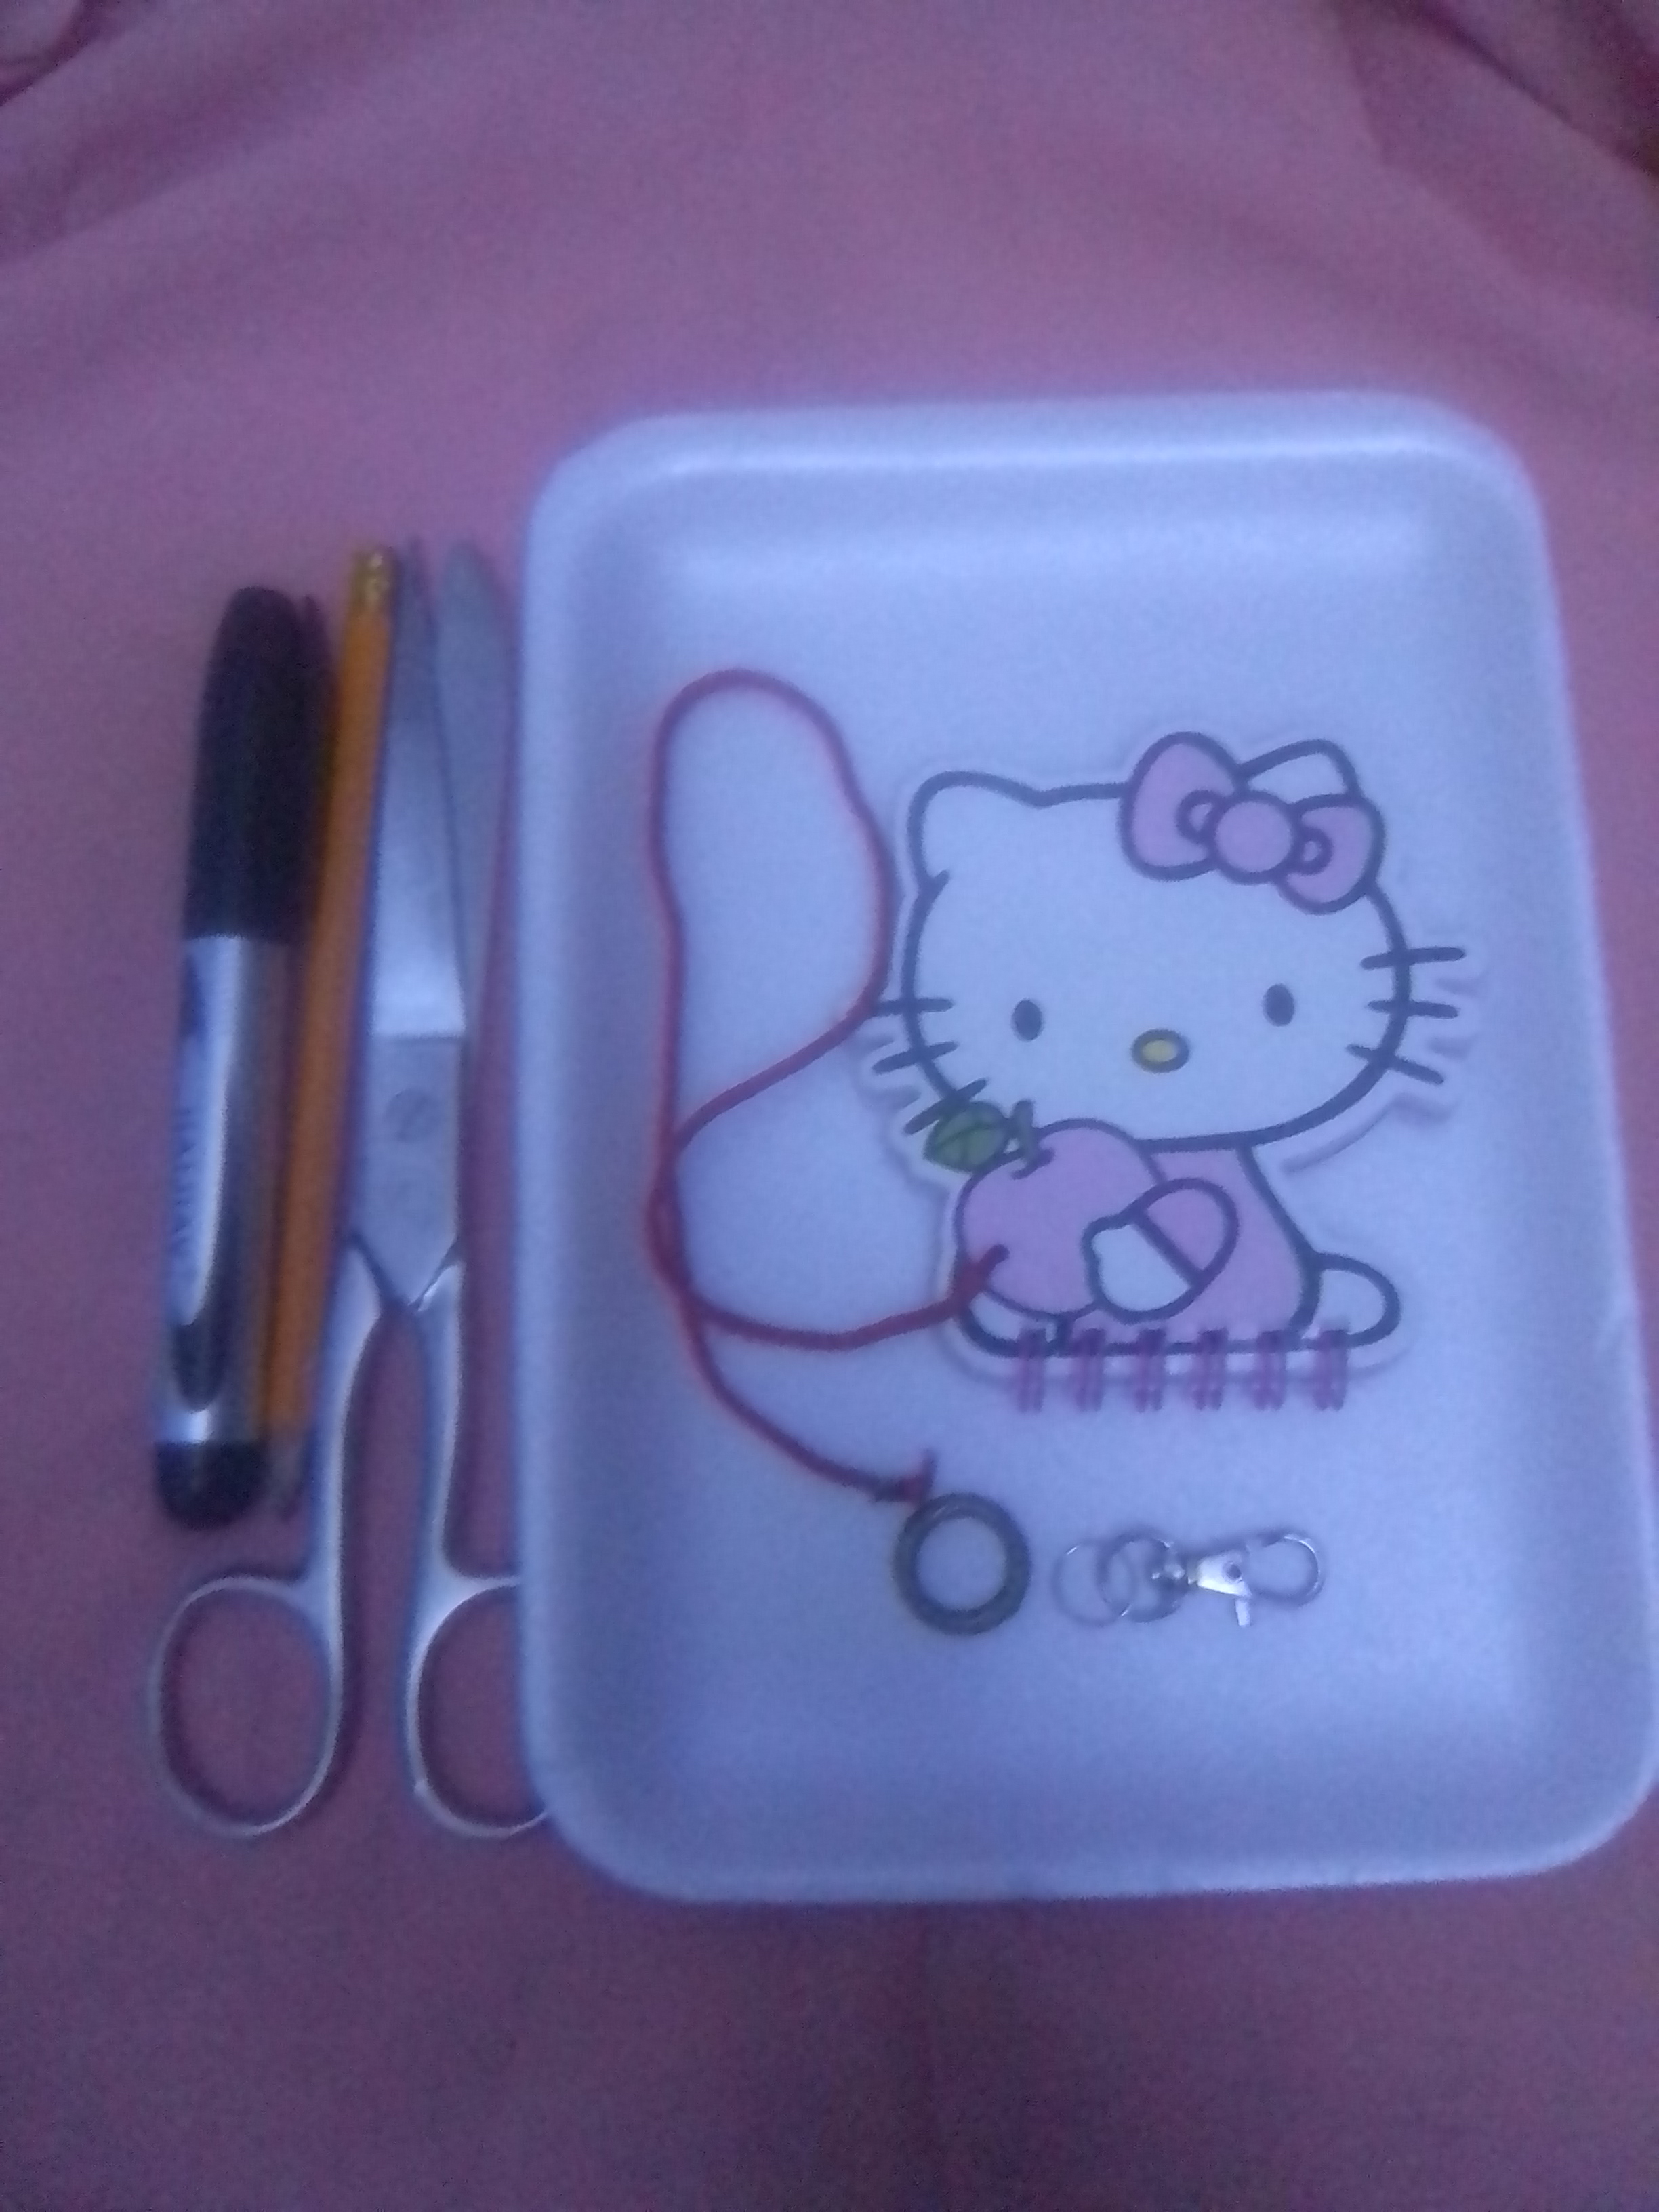
Materiales usados
✓ Bandejas de polietileno
✓ Marcador negro.
✓ Pegamento
✓ Cinta roja y adornos de bisutería
✓ Esmalte de uñas.
✓ Barra de silicon y pistola.
✓ Horno
Materials used
✓ Polyethylene trays.
✓ Black marker.
✓ Glue
✓ Red ribbon and costume jewelry embellishments.
✓ Nail polish.
✓ Silicone stick and gun.
✓ Oven
Procedimiento / Procedure
Paso uno / Step one
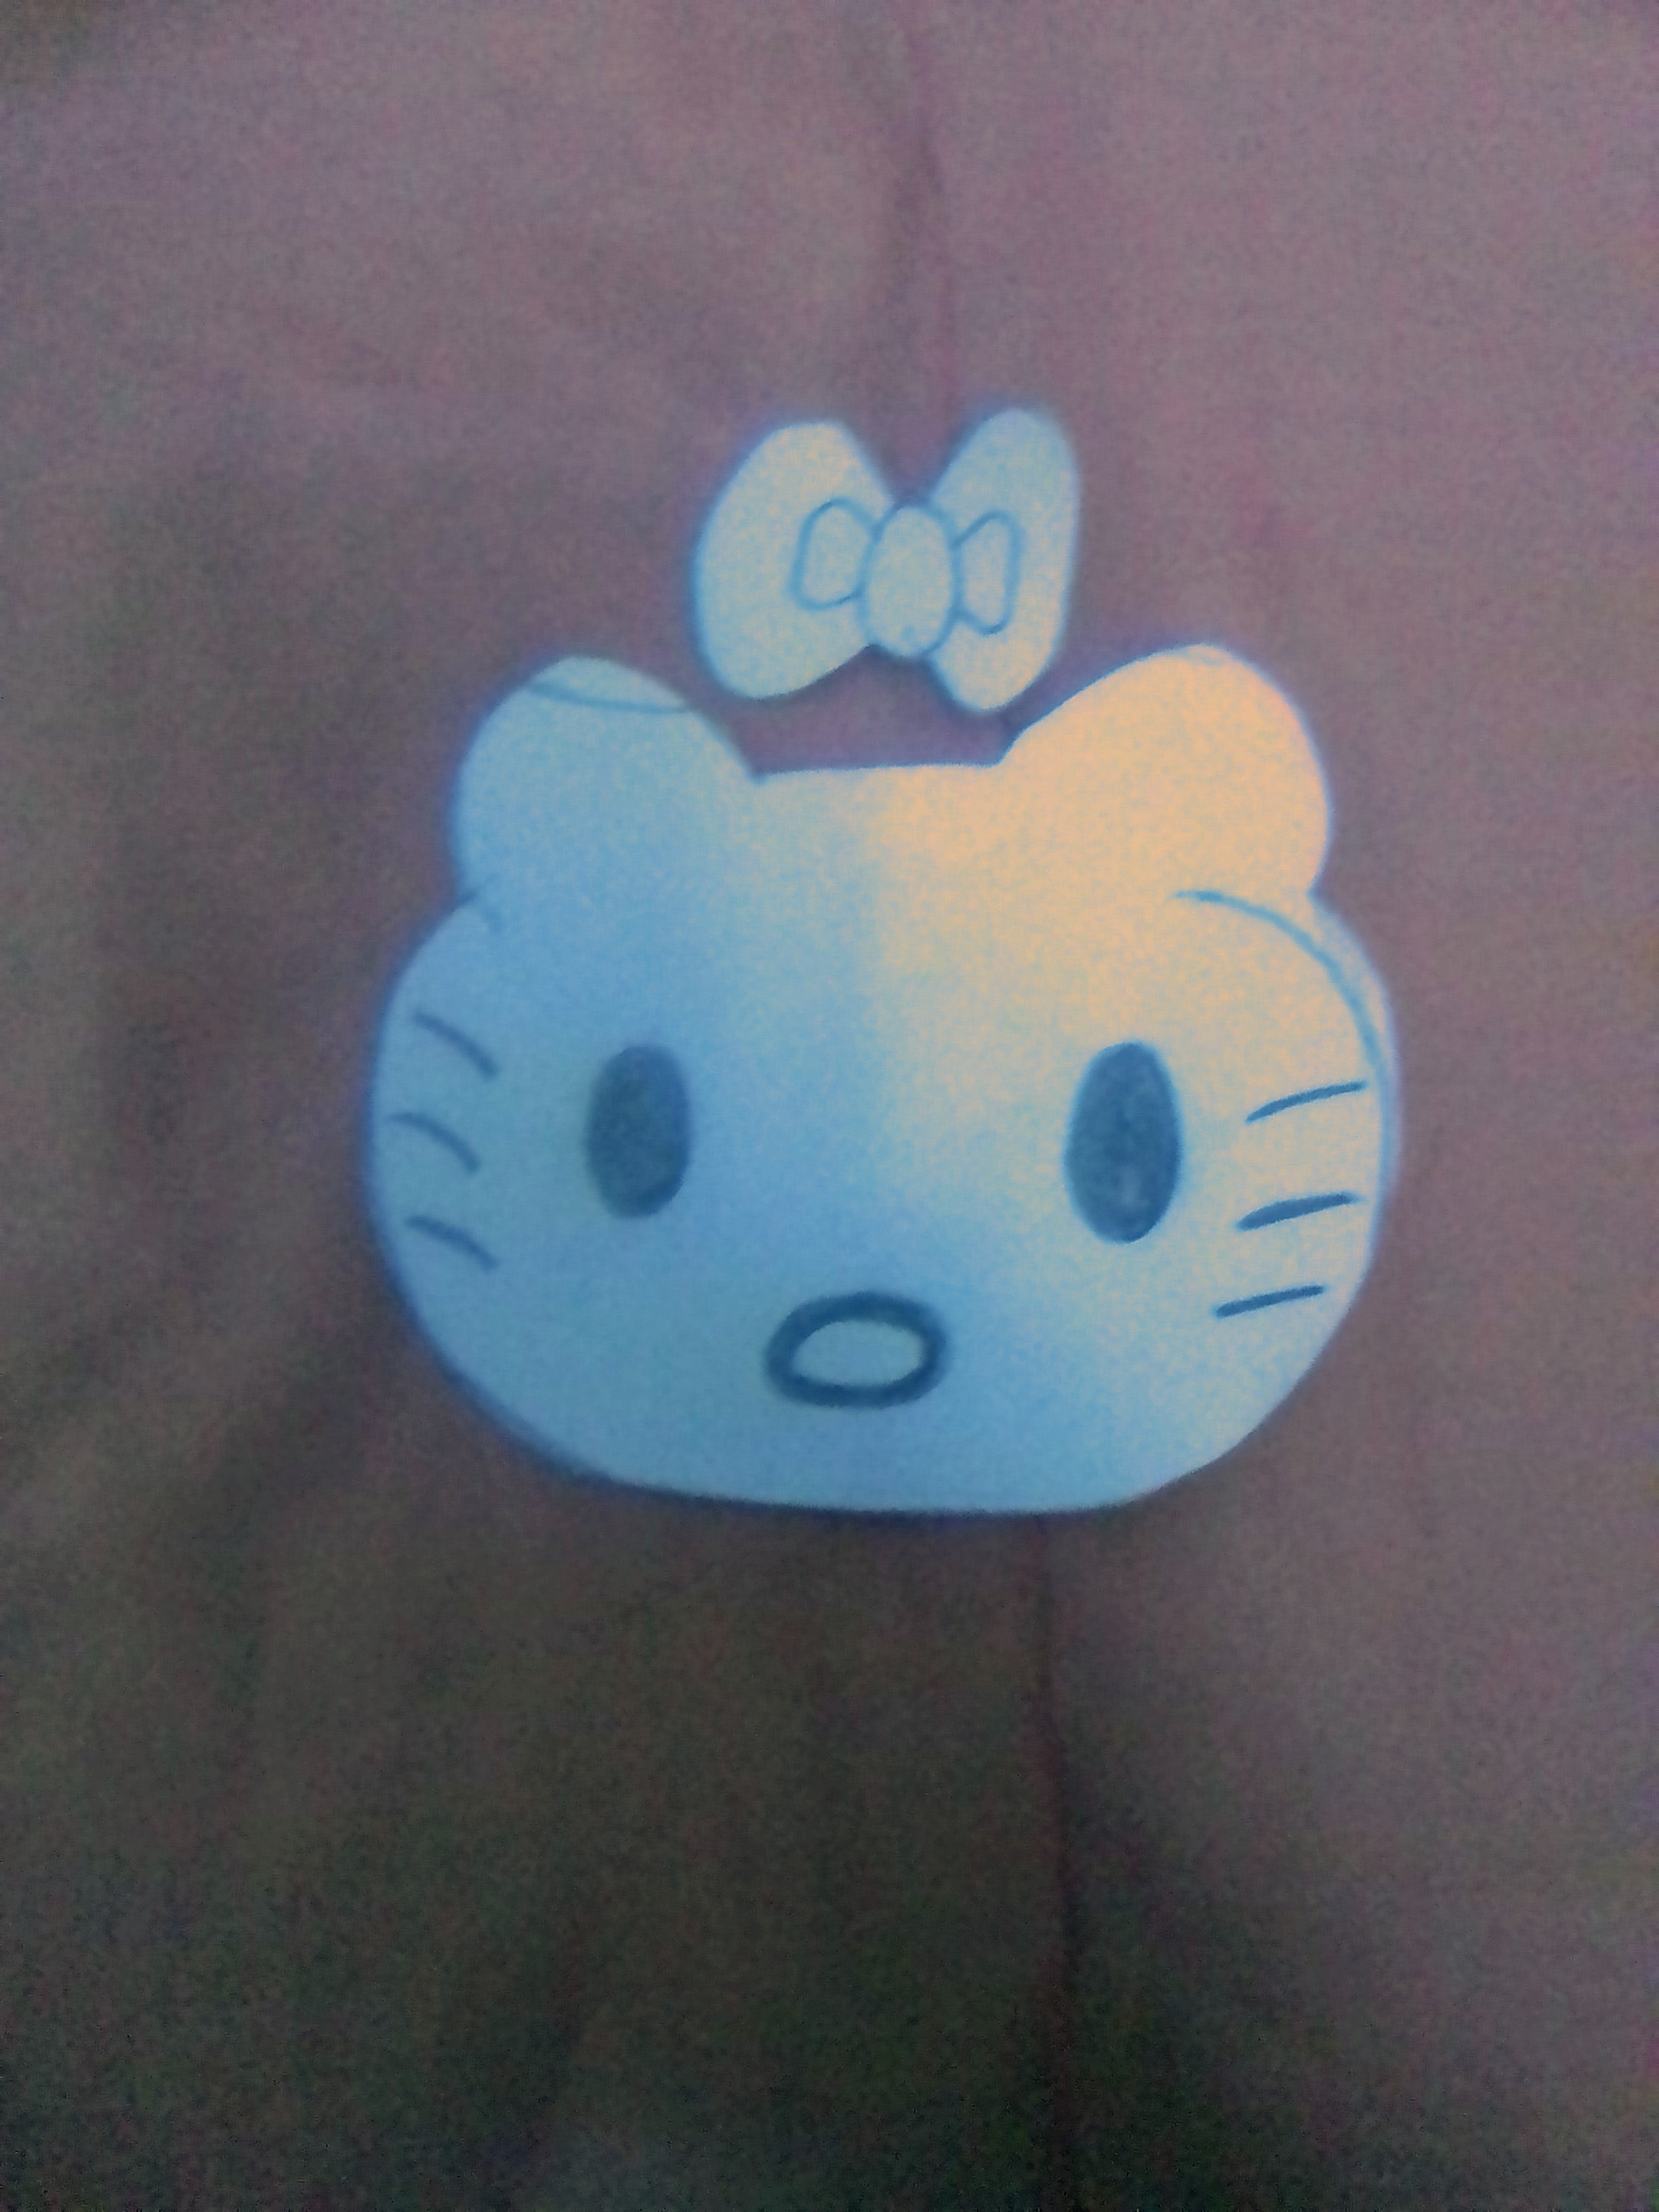
El primer paso es muy sencillo, conociste en seleccionar el motivo que queremos para nuestro llavero, en mi caso me encanta Hello Kitty y por eso realice ese motivo, realizando la cabeza y el lazo por separado, y dibujando un una hoja blanca.
Hello Kitty and that's why I made that motif, making the head and the bow separately, and drawing a white sheet.
Paso dos / Step two
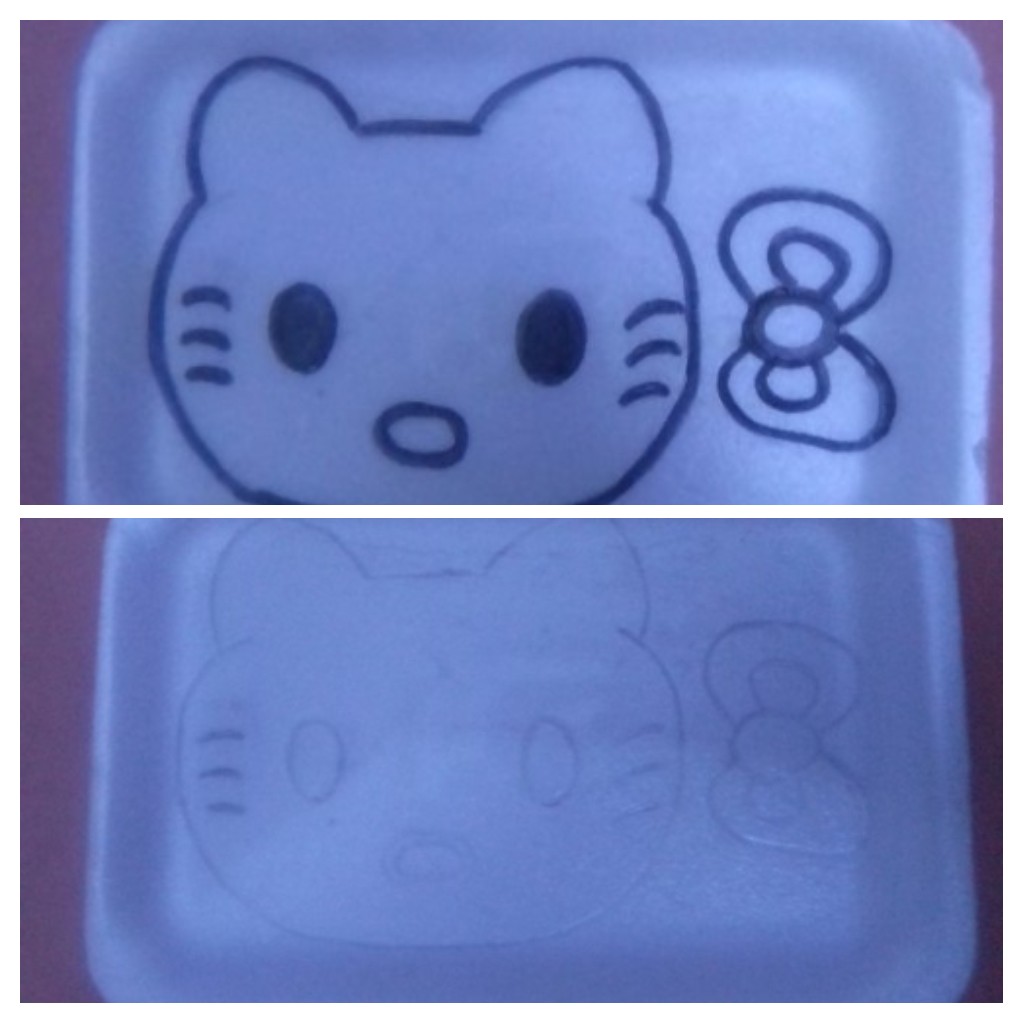
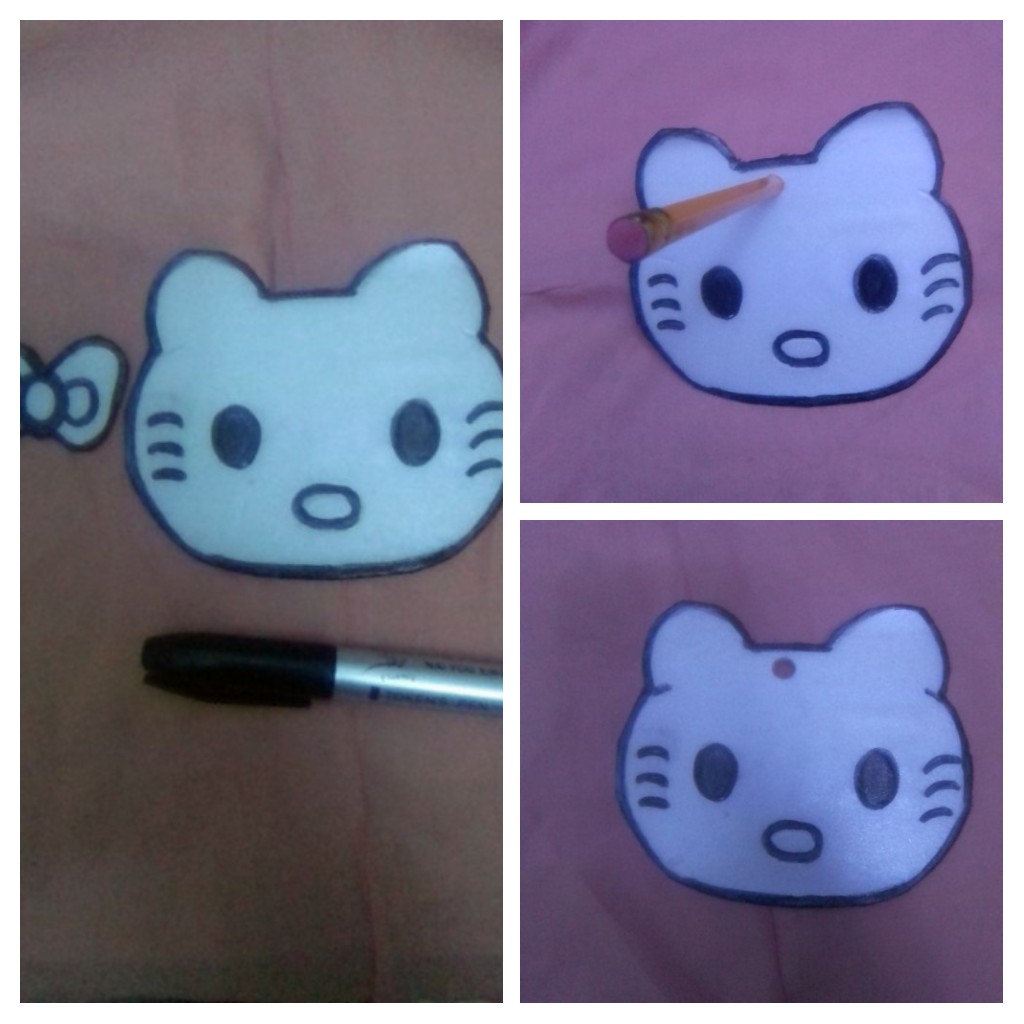
El siguiente paso fue pasar mi diseño a la bandeja de poliuretano y delinear con marcador negro, luego de tener los dos diseños la cara y el lazo , comienzo a recortar, para lo cual hay que tener cuidado de no partir la bandeja, hay que recortar si se quiere por trozos ya que este material en este estado no es moldeable es por ello que realice los diseños por separado, para facilitar el proceso de recortar. Se debe procurar que quede lo mejor posible, pero siempre quedarán algunos lados como rasgados, pero no importa esos detalles se pueden ocultar con el marcador negro. Abrí un agujero en la cara de Hello Kitty, esto con un lápiz que no quede tan cerca del borde para que al hornear no se rompa.
The next step was to transfer my design to the polyurethane tray and outline it with black marker, after having the two designs, the face and the bow, I start cutting, for which you have to be careful not to split the tray, you have to cut if you want to cut by pieces since this material in this state is not moldable, that is why I made the designs separately, to facilitate the process of cutting. You should try to make it as good as possible, but there will always be some sides as torn, but no matter those details can be hidden with the black marker. I opened a hole in Hello Kitty's face, this with a pencil that is not so close to the edge so that it doesn't break when baking.
Paso tres / Step third
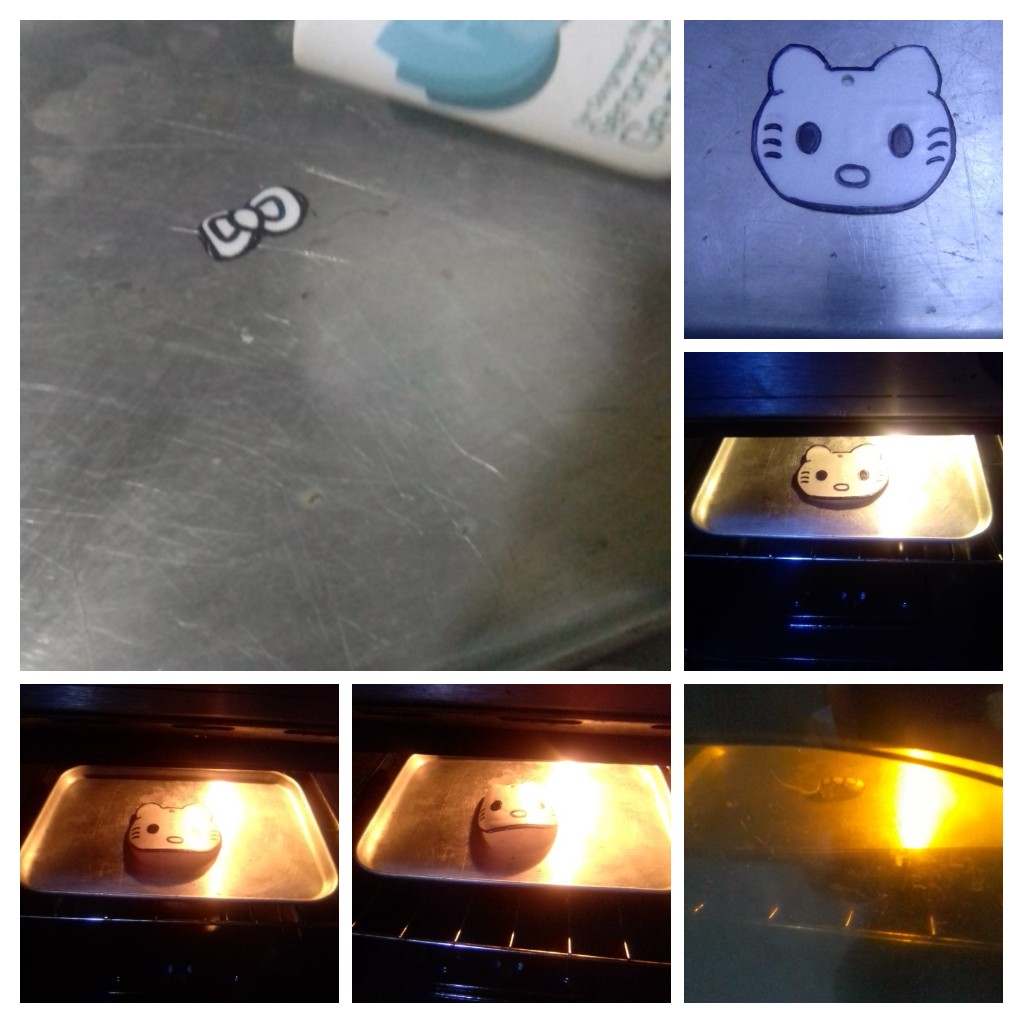
Este paso requiere de mucha observación. Coloque mis diseños sobre una bandeja de hornear y precalente el horno, metí la bandeja al horno y con la luz encendida observe todo el proceso, primero el poliuretano comienza a disminuir el tamaño y así se queda como por un minuto, luego se va doblando hacia la parte interna como magia, y al mismo tiempo se encoge su tamaño y se dobla más es ese el momento de sacarlo rápidamente del horno y tener a mano una taza para poder colocar la pieza de forma plana, pasando la taza rápidamente por el poliuretano antes de que endurezca. Y así hornee las dos piezas, por separado para poder trabajarlas con mayor facilidad. Duraron en el horno aproximadamente 3 minutos. Las fotos quizás no se aprecien al detalle por la luz del horno, pero si se puede ver el momento cuando el poliuretano comienza a levantarse.
This step requires a lot of observation. Place my designs on a baking sheet and preheat the oven, I put the tray in the oven and with the light on watch the whole process, first the polyurethane begins to decrease in size and stays like that for about a minute, then it is bending towards the inside like magic, and at the same time it shrinks in size and bends more is the time to quickly remove it from the oven and have a cup handy to place the piece flat, passing the cup quickly through the polyurethane before it hardens. And so I baked the two pieces, separately so I could work them more easily. They lasted in the oven for about 3 minutes. The photos may not show the detail because of the oven light, but you can see the moment when the polyurethane starts to rise.
Paso cuatro / Step Fourth
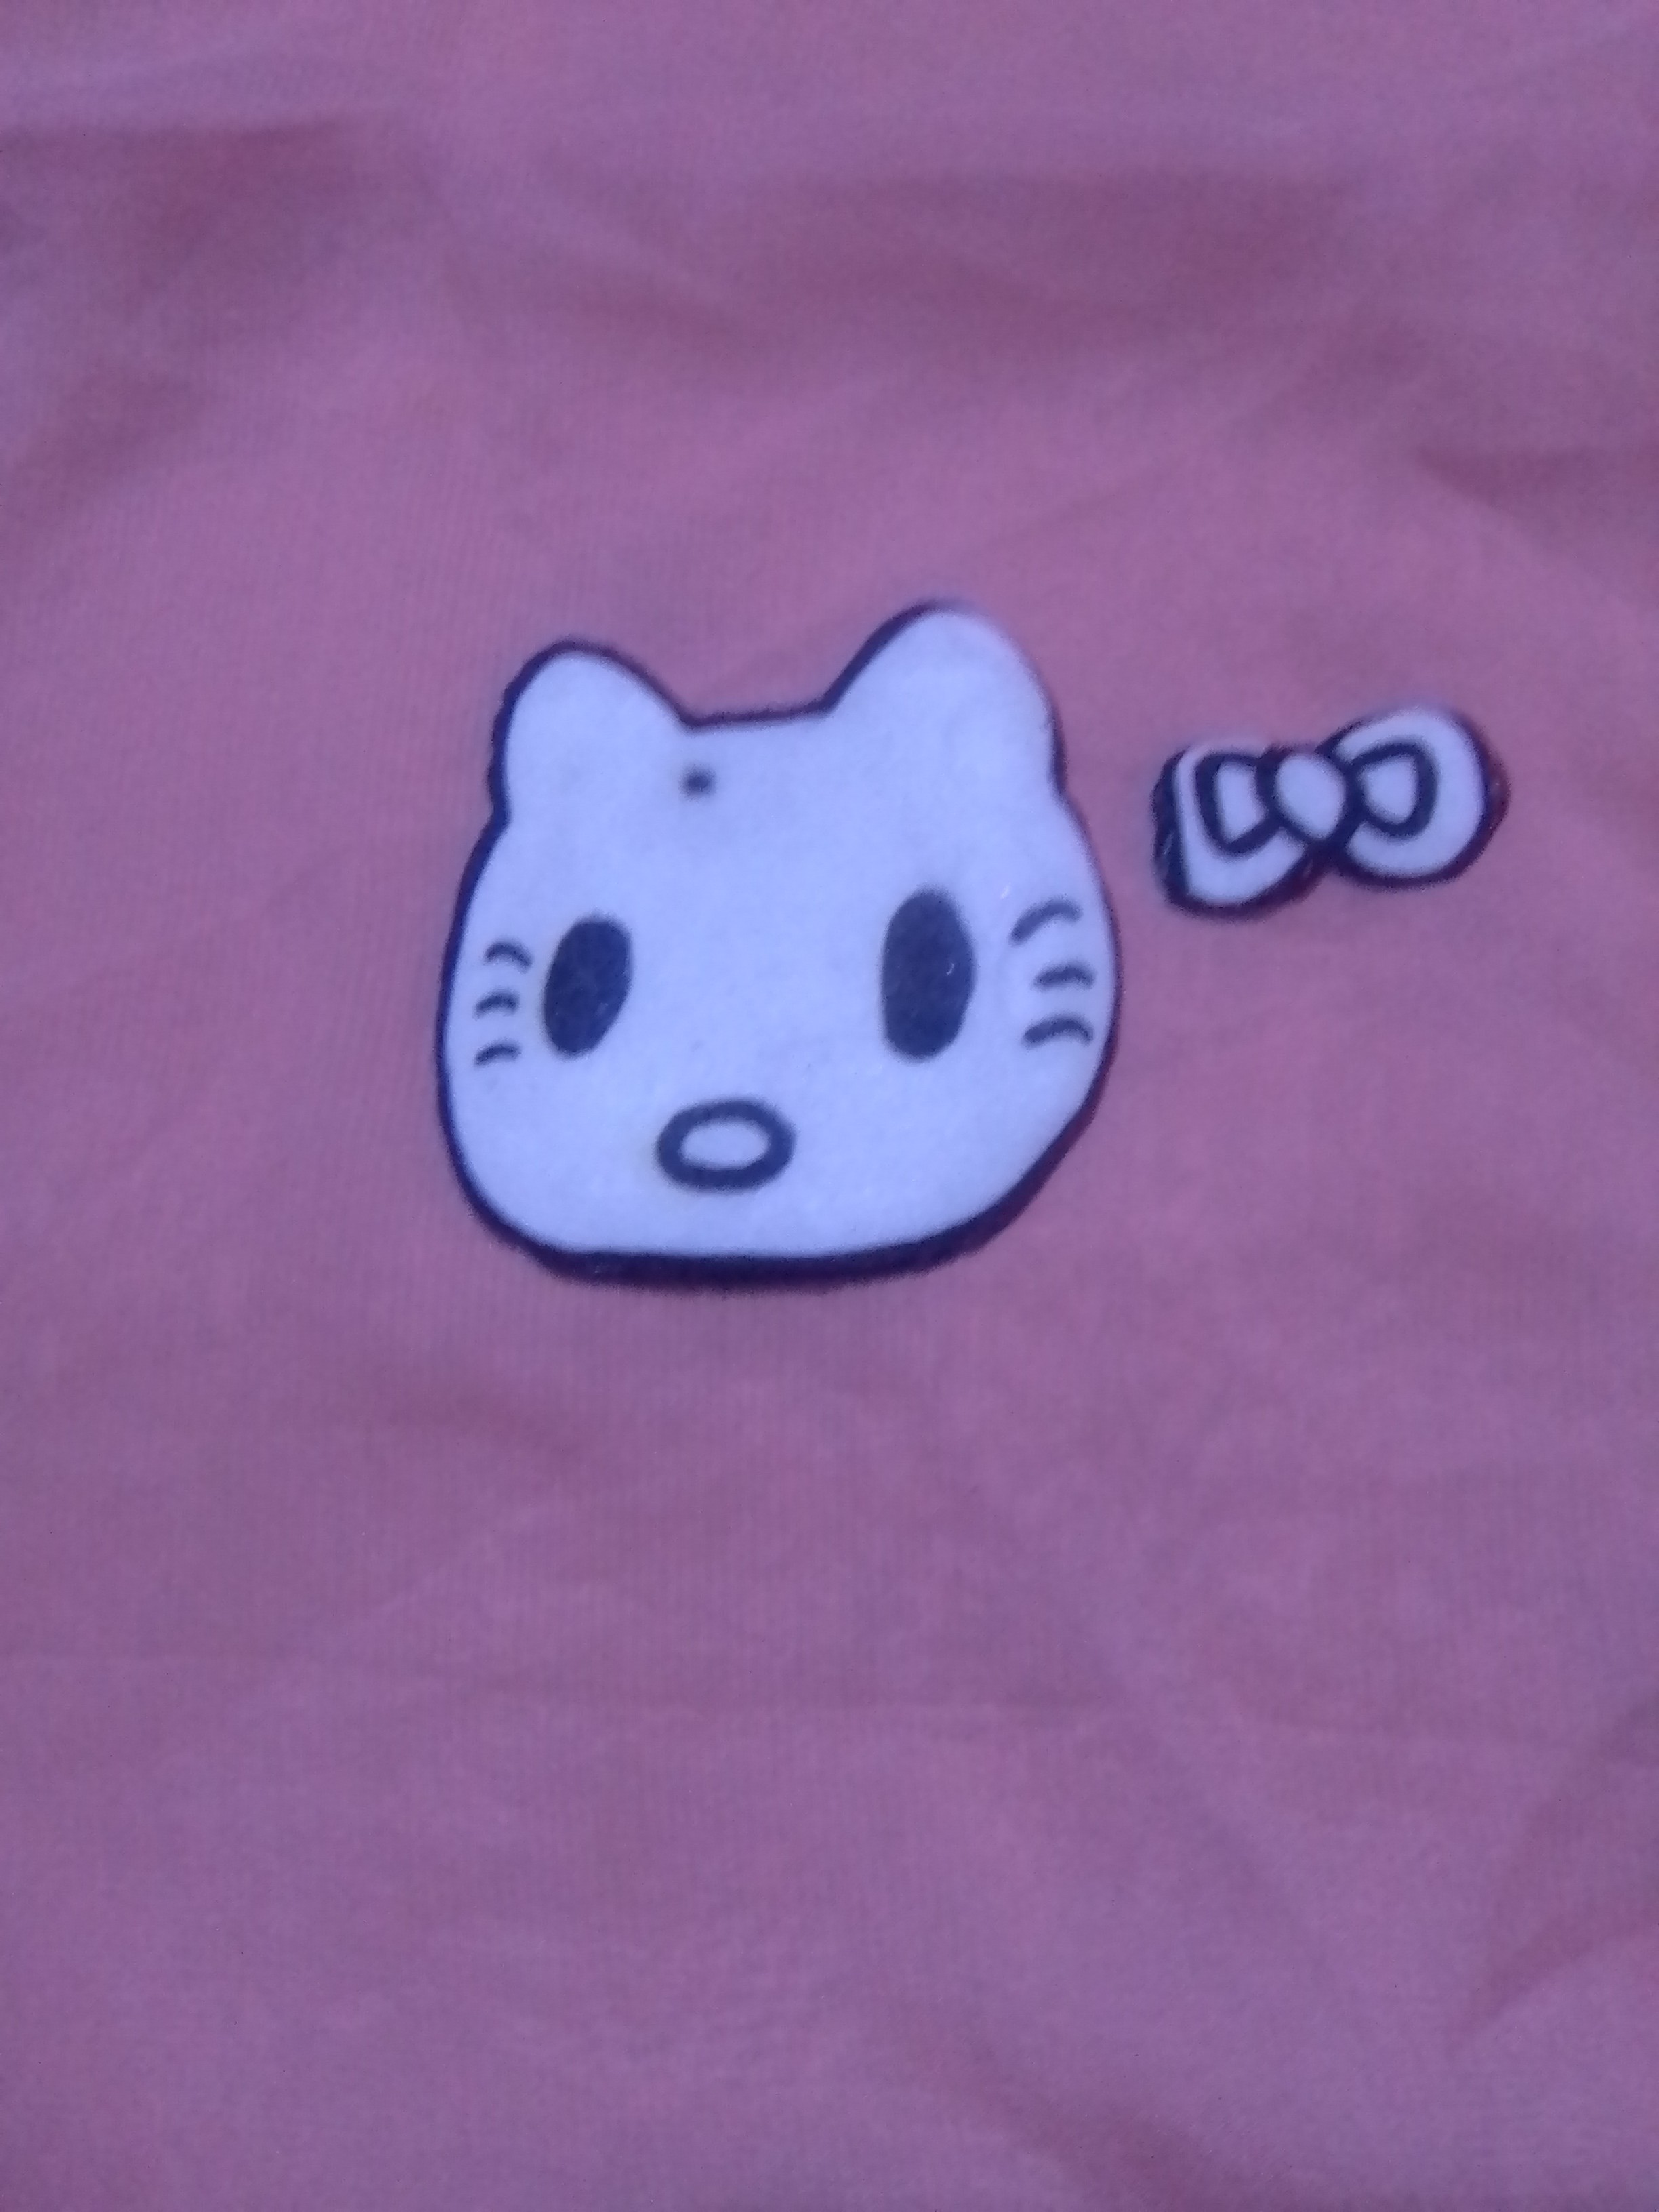
Lo siguiente fue colocar un poco de brillo para uñas, y pegar el lazo, armar el llavero con la bisutería tejidas en la cinta roja y la argolla de llavero.
The next step was to apply some nail polish and glue the ribbon, assemble the keychain with the jewelry woven on the red ribbon and the key ring.
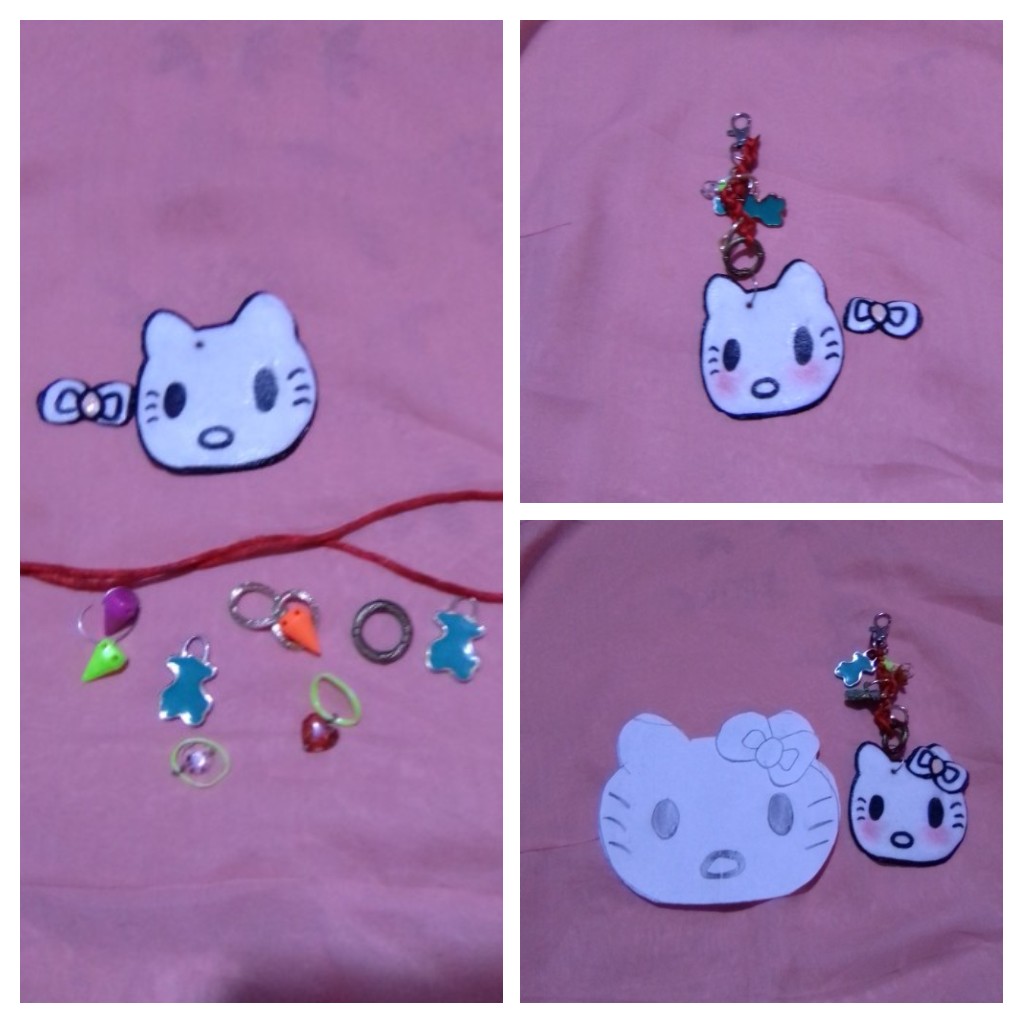
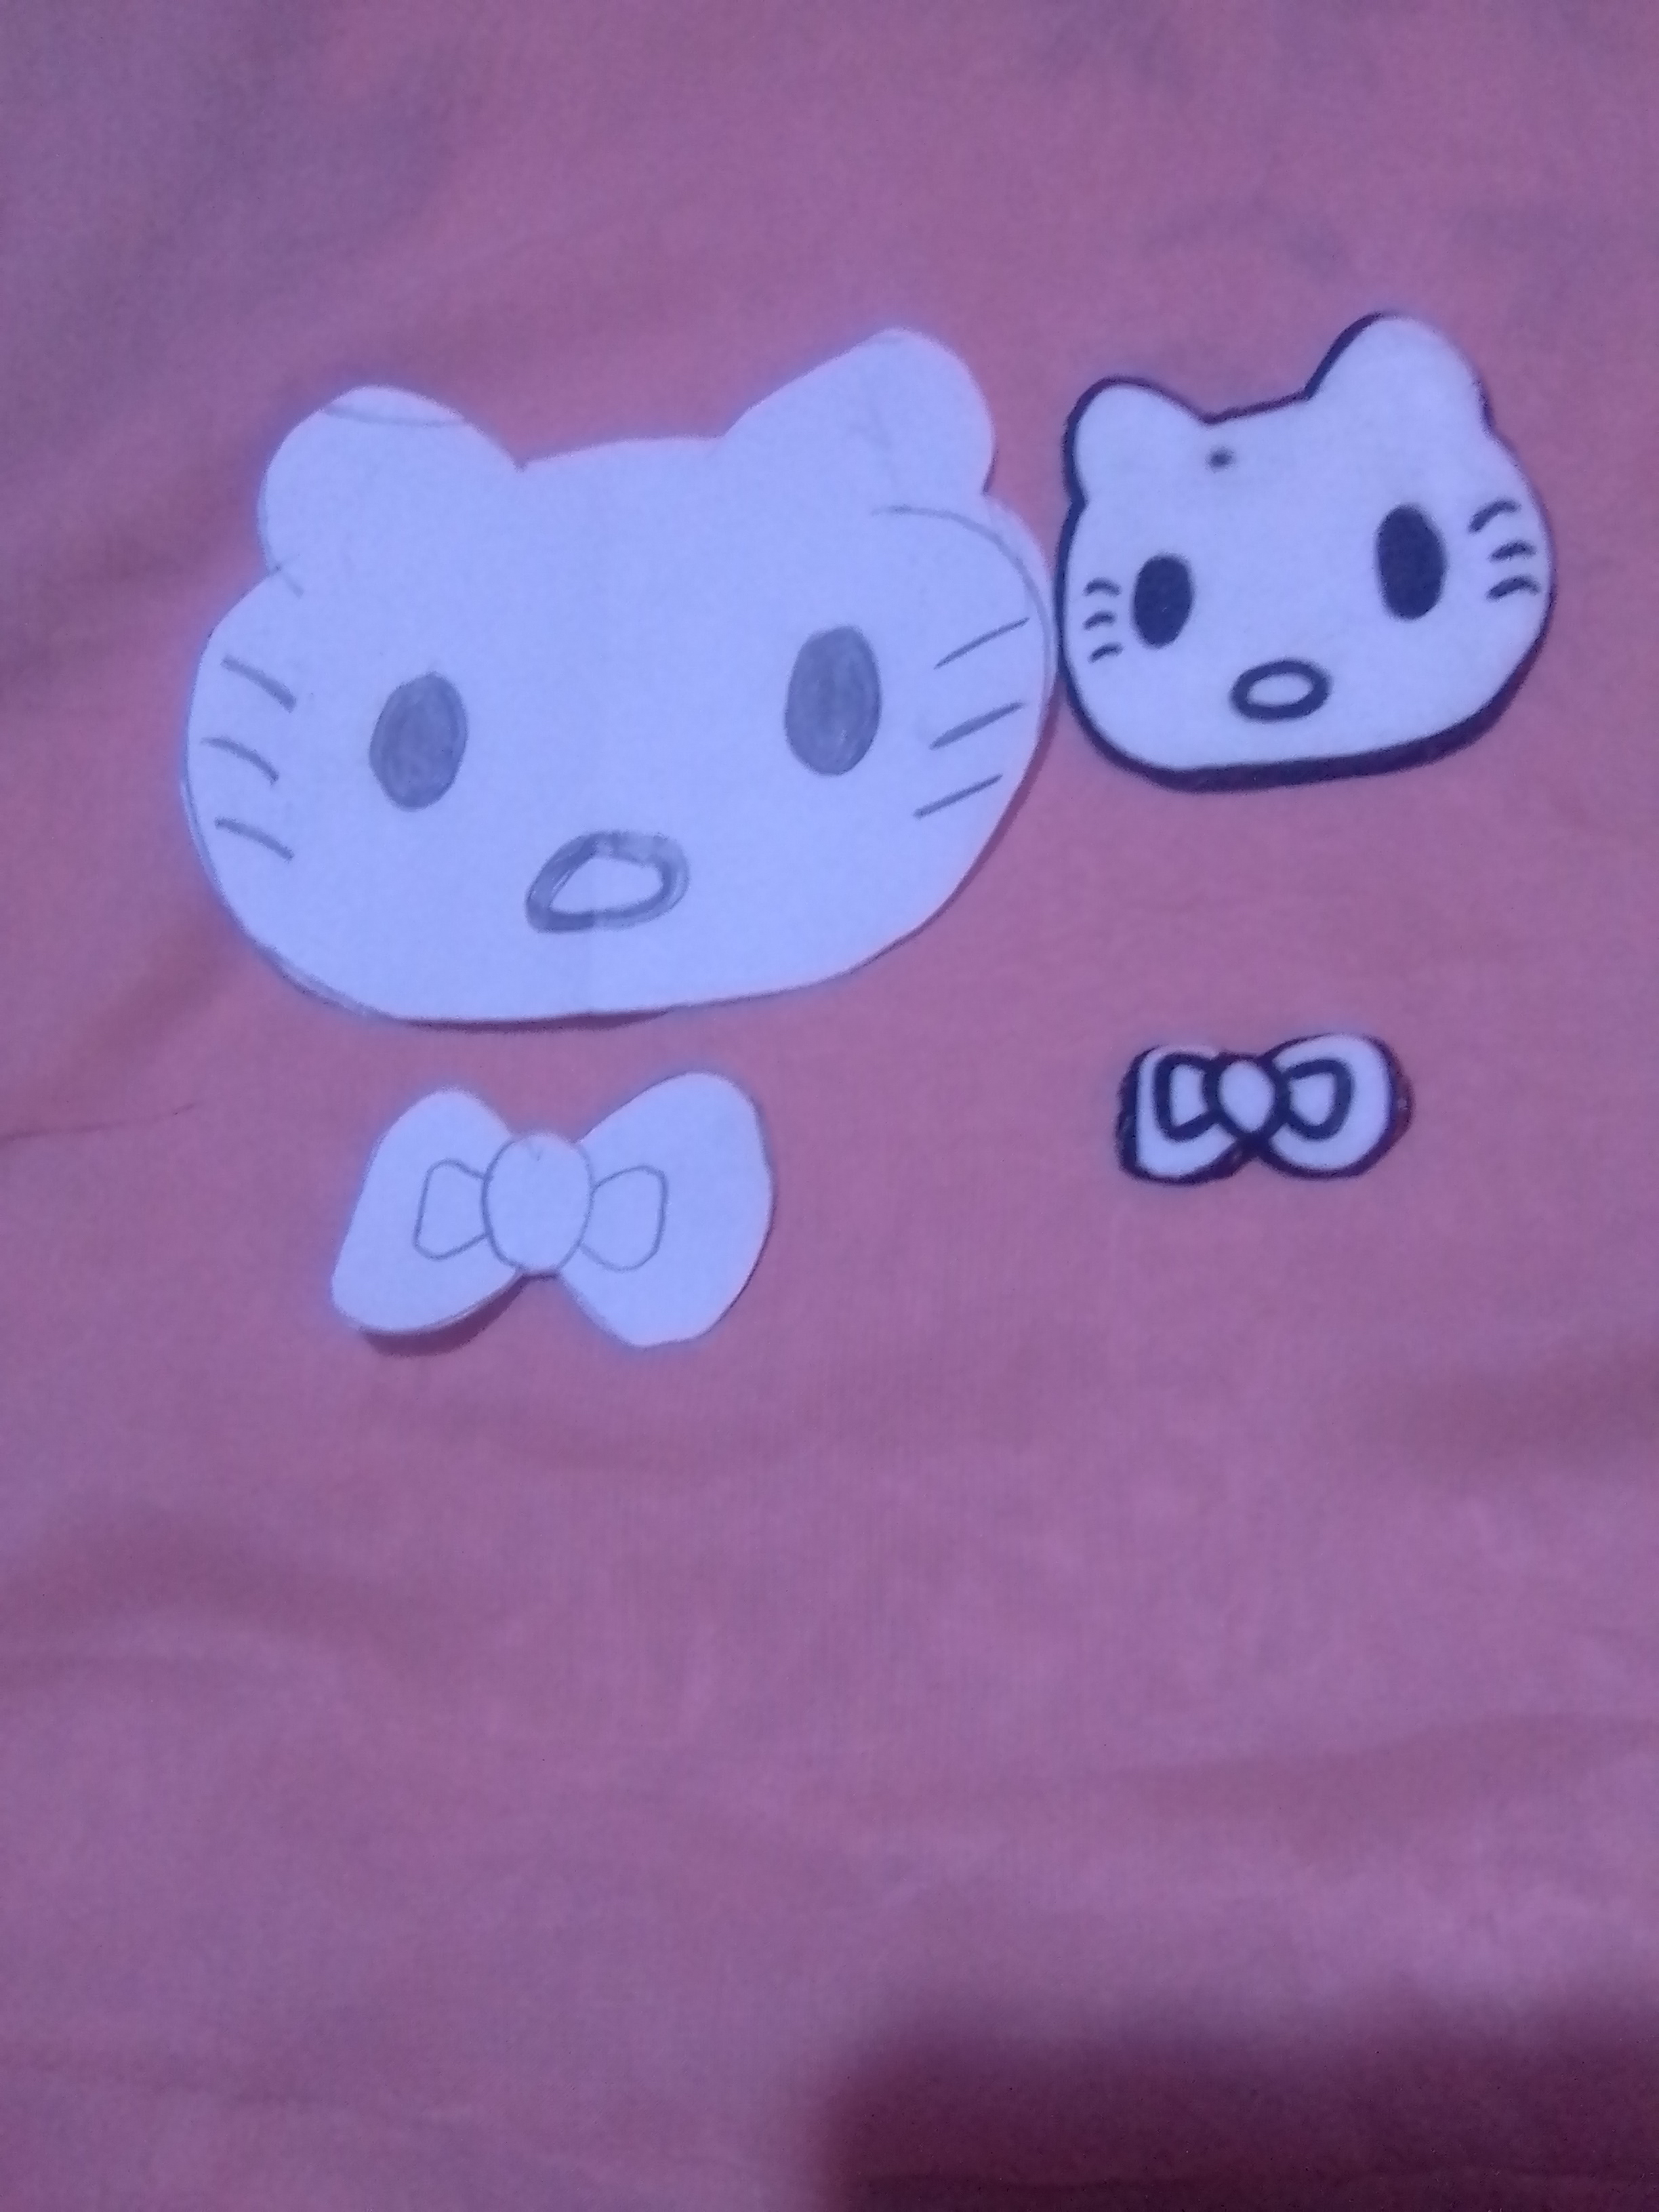
Esta técnica es maravillosa , se pueden crear llaveros de la temática de tu preferencia , usando también marcadores de colores , y también se puede meter al horno el plástico transparente de los contenedores de comida, es genial el resultado con los dos plásticos es un material muy duro y que reduce su tamaño hasta tres veces.
This technique is wonderful, you can create key chains with the theme of your preference, also using colored markers, and you can also put in the oven the transparent plastic of food containers, it is great the result with the two plastics is a very hard material and reduces its size up to three times.
Resultado/ Result
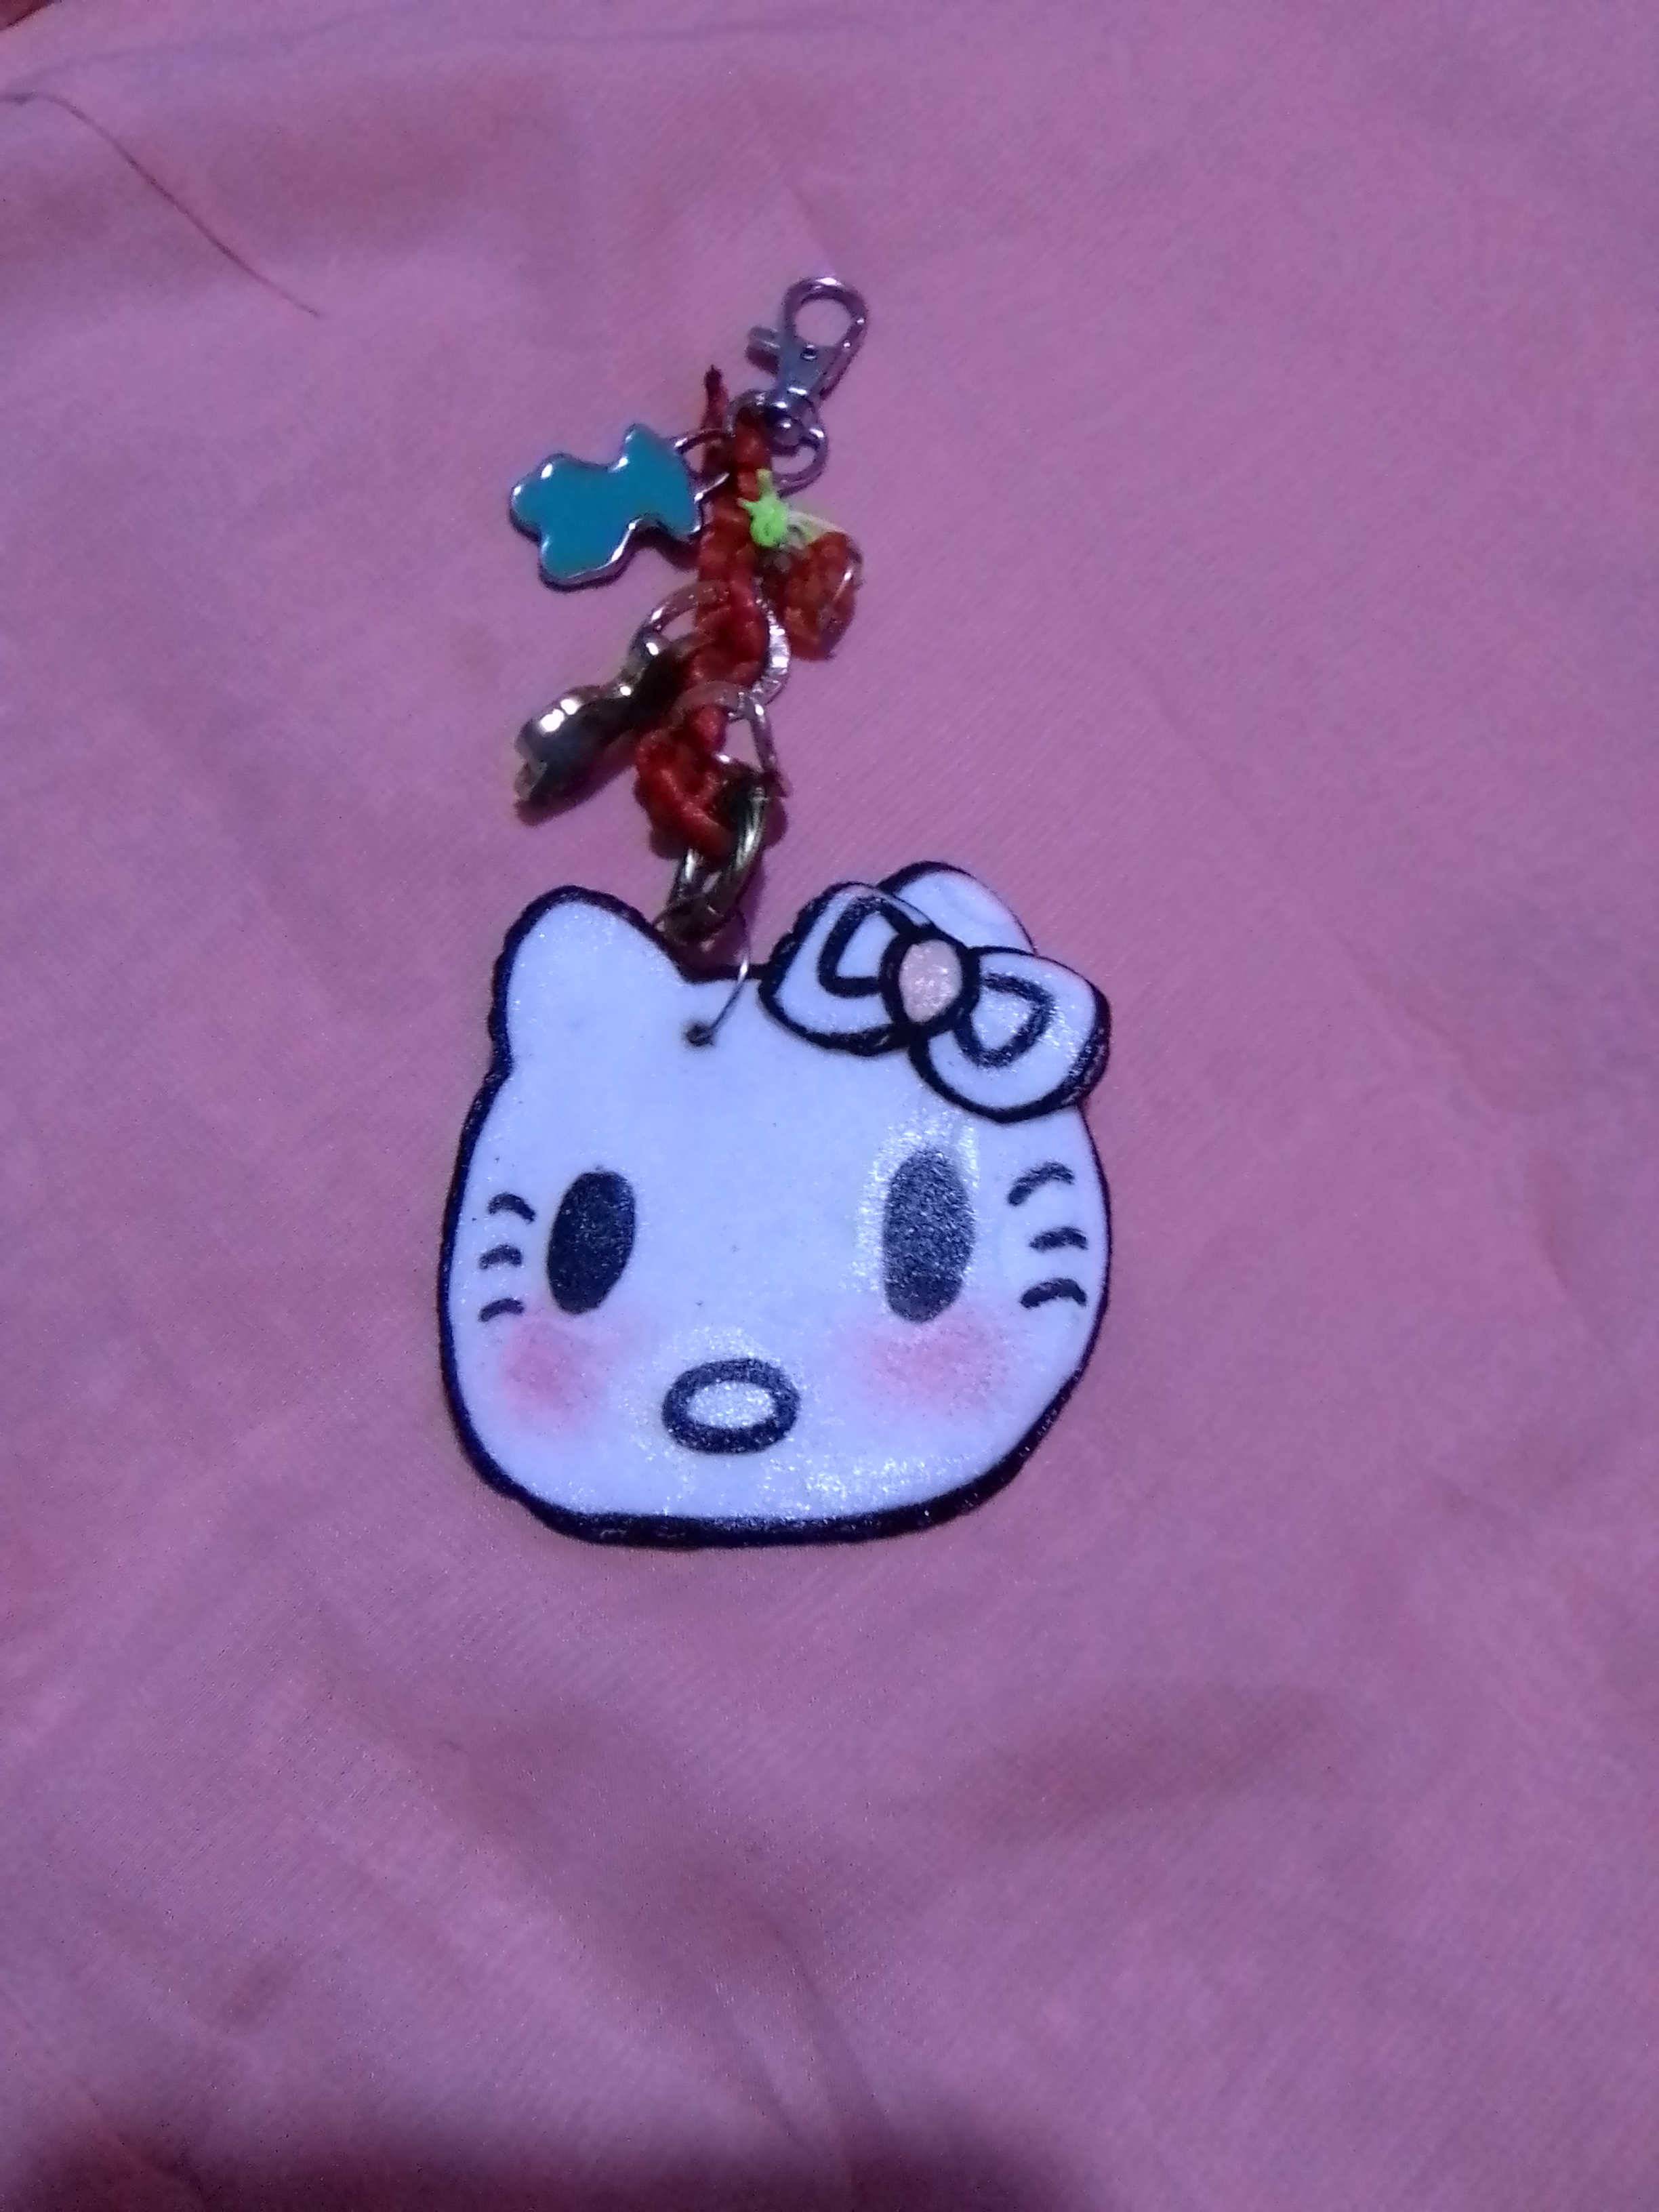
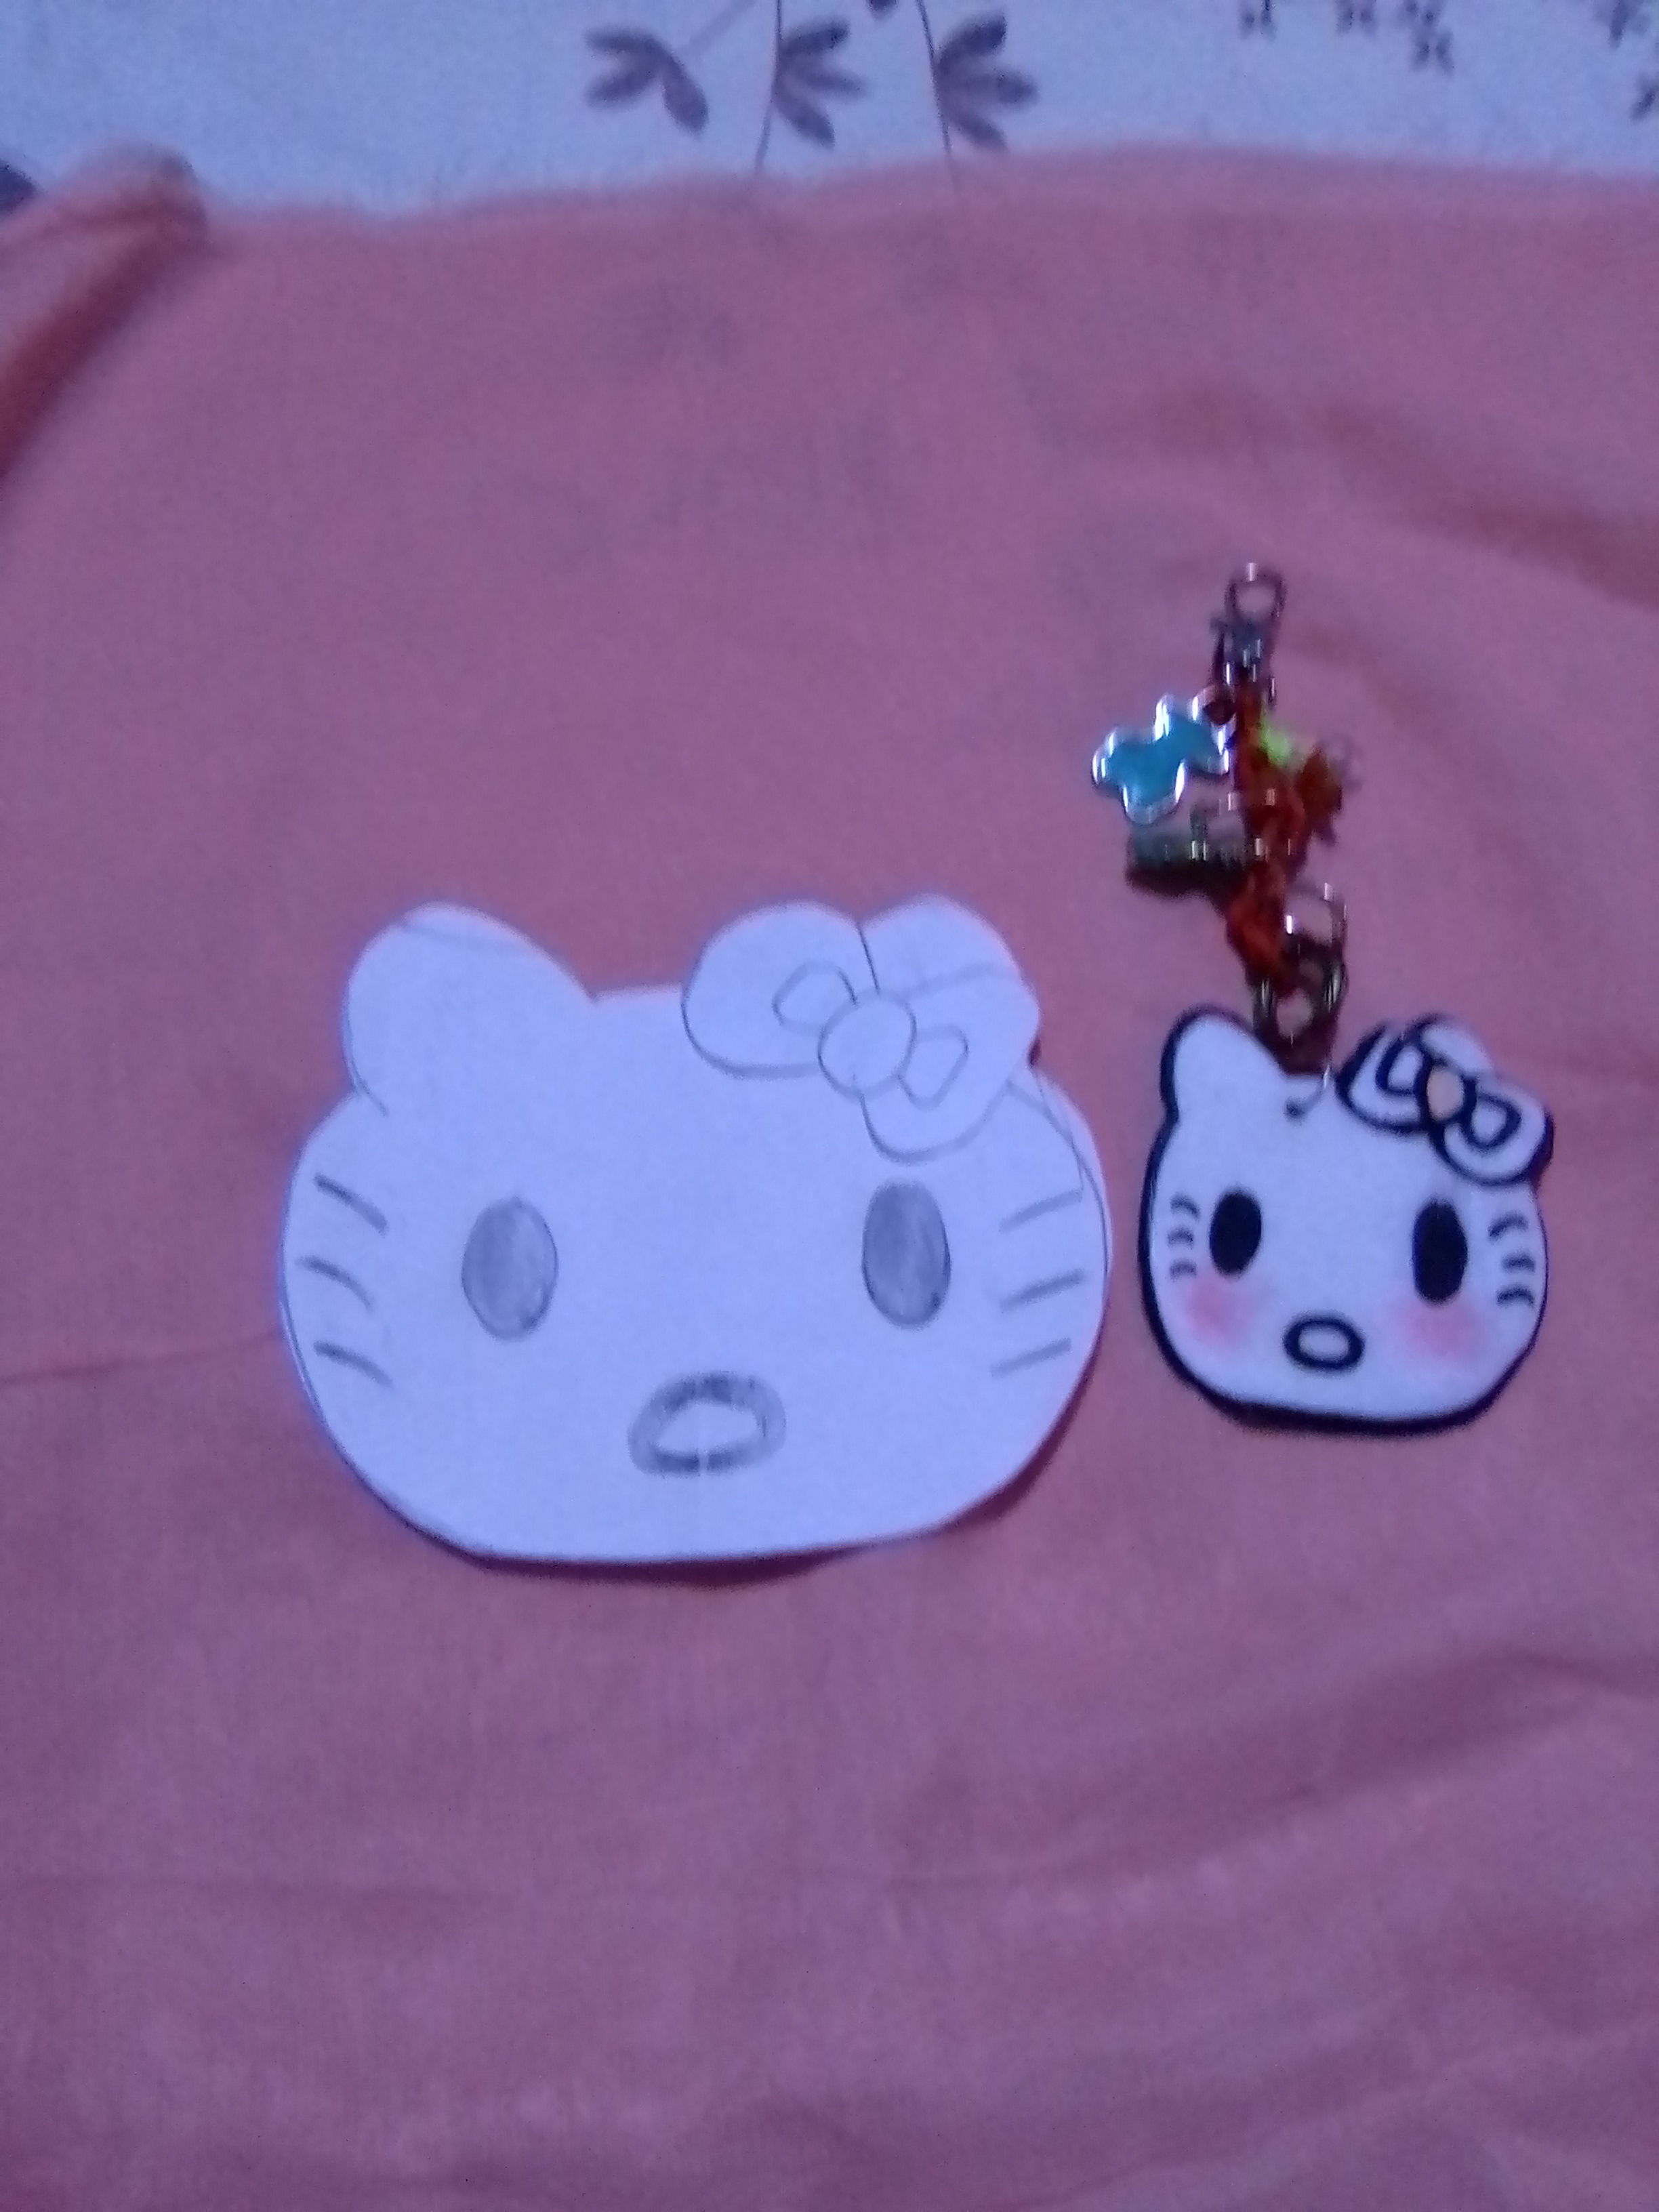
Las fotos fueron tomadas con mi celular BluC7
El traductor usado / The translator used
Deelp Traductor
Canva
Congratulations @alba21! You have completed the following achievement on the Hive blockchain and have been rewarded with new badge(s):
Your next target is to reach 50 upvotes.
You can view your badges on your board and compare yourself to others in the Ranking
If you no longer want to receive notifications, reply to this comment with the word
STOPSupport the HiveBuzz project. Vote for our proposal!