.png)
Saludos a toda la comunidad de Hive Diy.
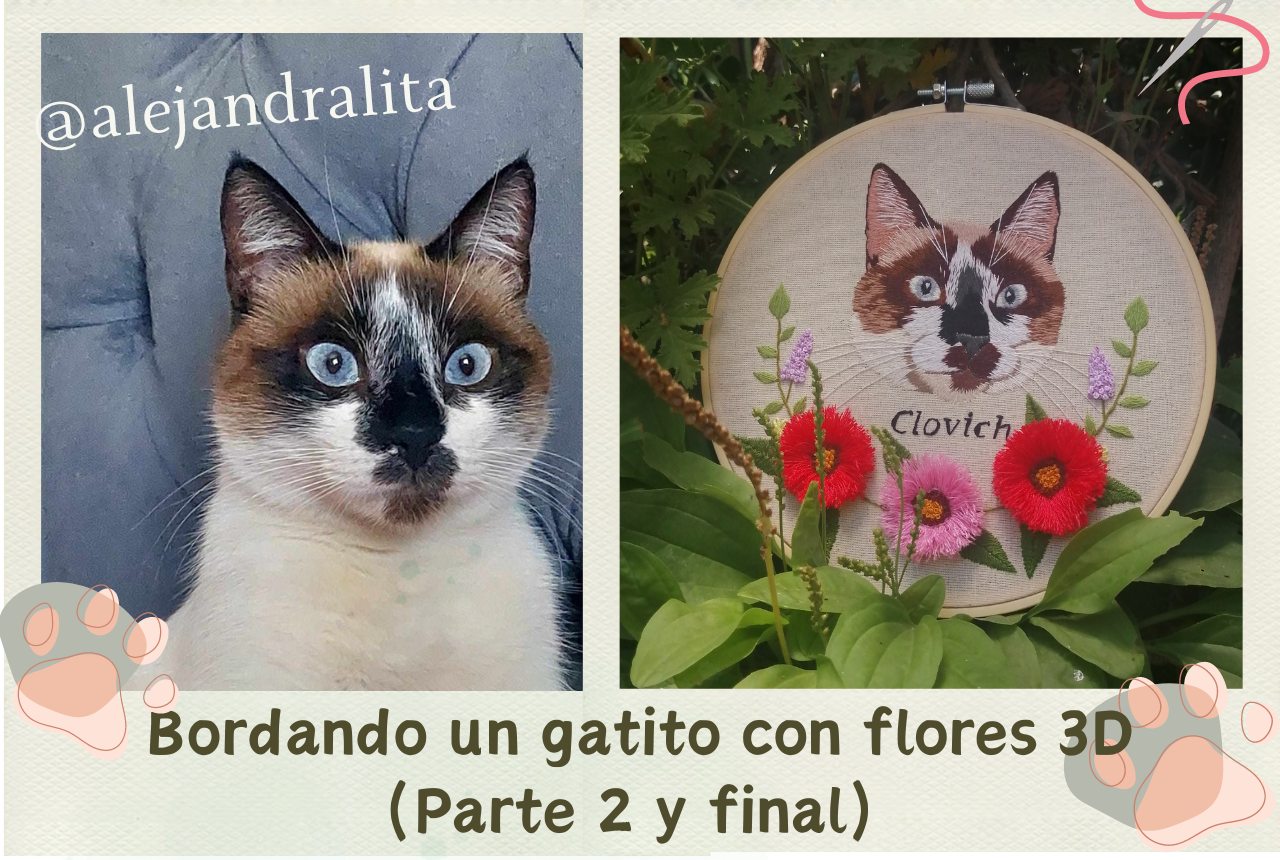
Hoy seguimos con la segunda parte de mi proyecto gatito con flores 3D bordado.
En el post anterior creamos las flores y el nombre del gatuno.
Ahora les toca ver como es el proceso de bordado de Clovich.
Empezamos!
Hello friends of Hivediy, today we continue with the second part of my 3D flower kitty embroidery project.
In the previous post we created the flowers and the name of the kitten.
Now it's your turn to see how the Clovich embroidery process works.
Let's get started!
Materiales / Materials
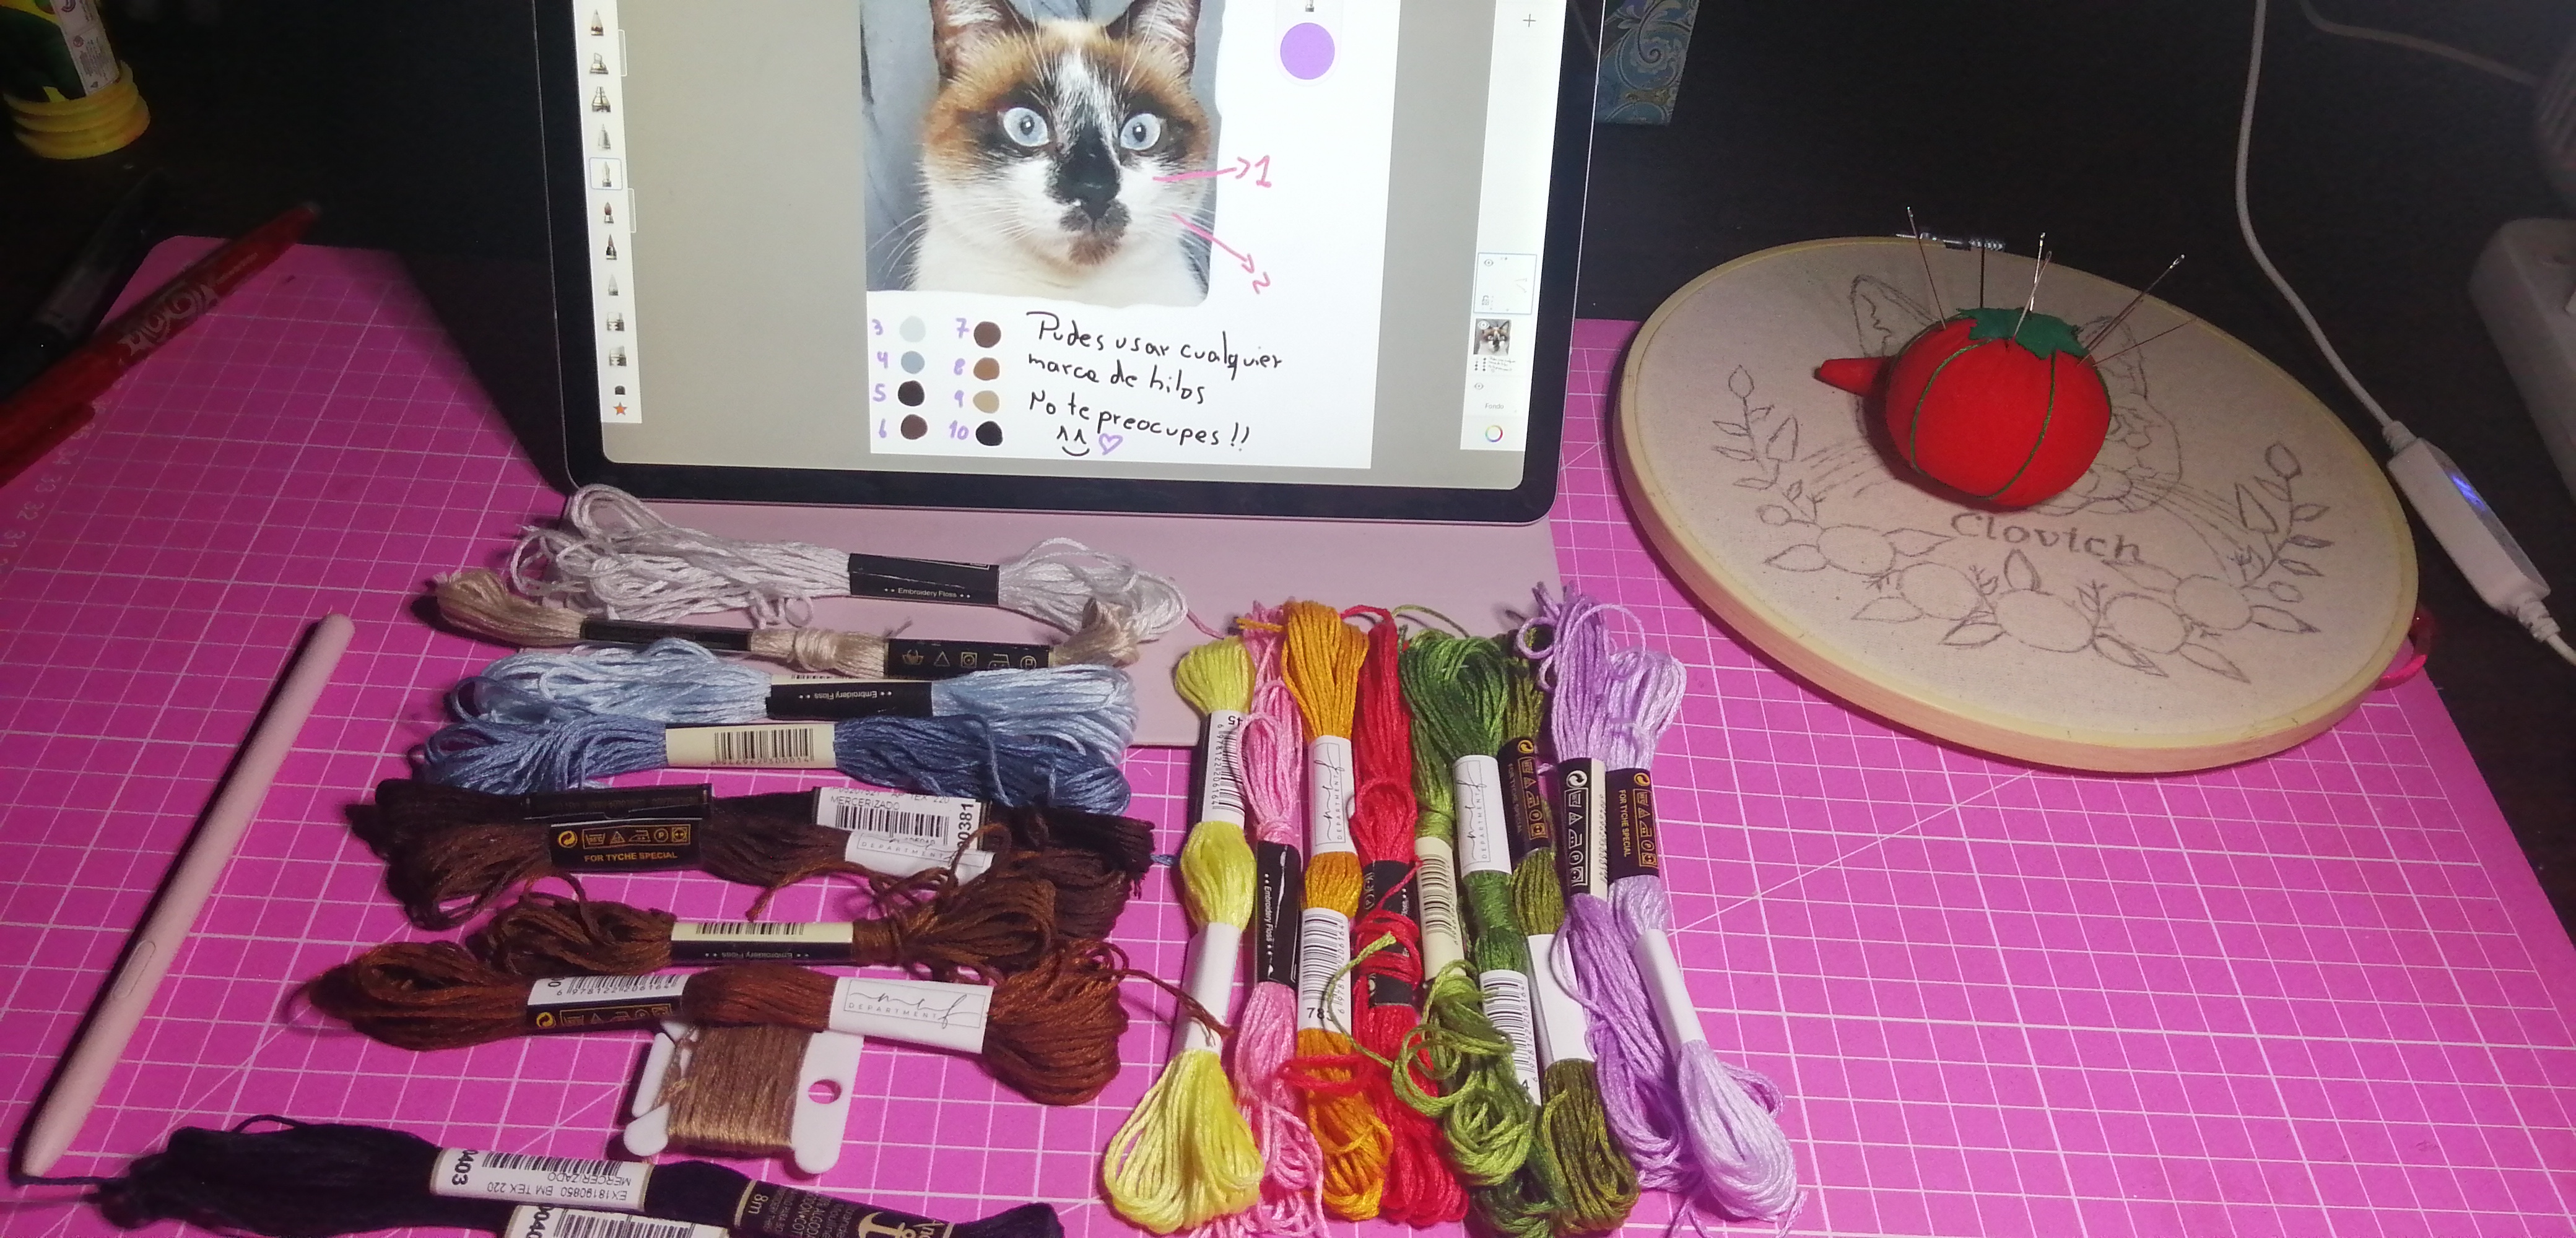
- Tela crea blanca o tela manta
- 1 Bastidor de 20 cm
- Hilos de bordar
- Agujas
- Lapiz de tinta termosensible (se borran con calor)
- Tijera
- Plancha
- Tableta digital
- Creates or blanket fabric
- 1 frame of 20 cm
- Embroidery threads
- Needles
- Thermosensitive ink pen (erases with heat)
- Scissors
- Iron
- Digital tablet
|
|
|
|
|
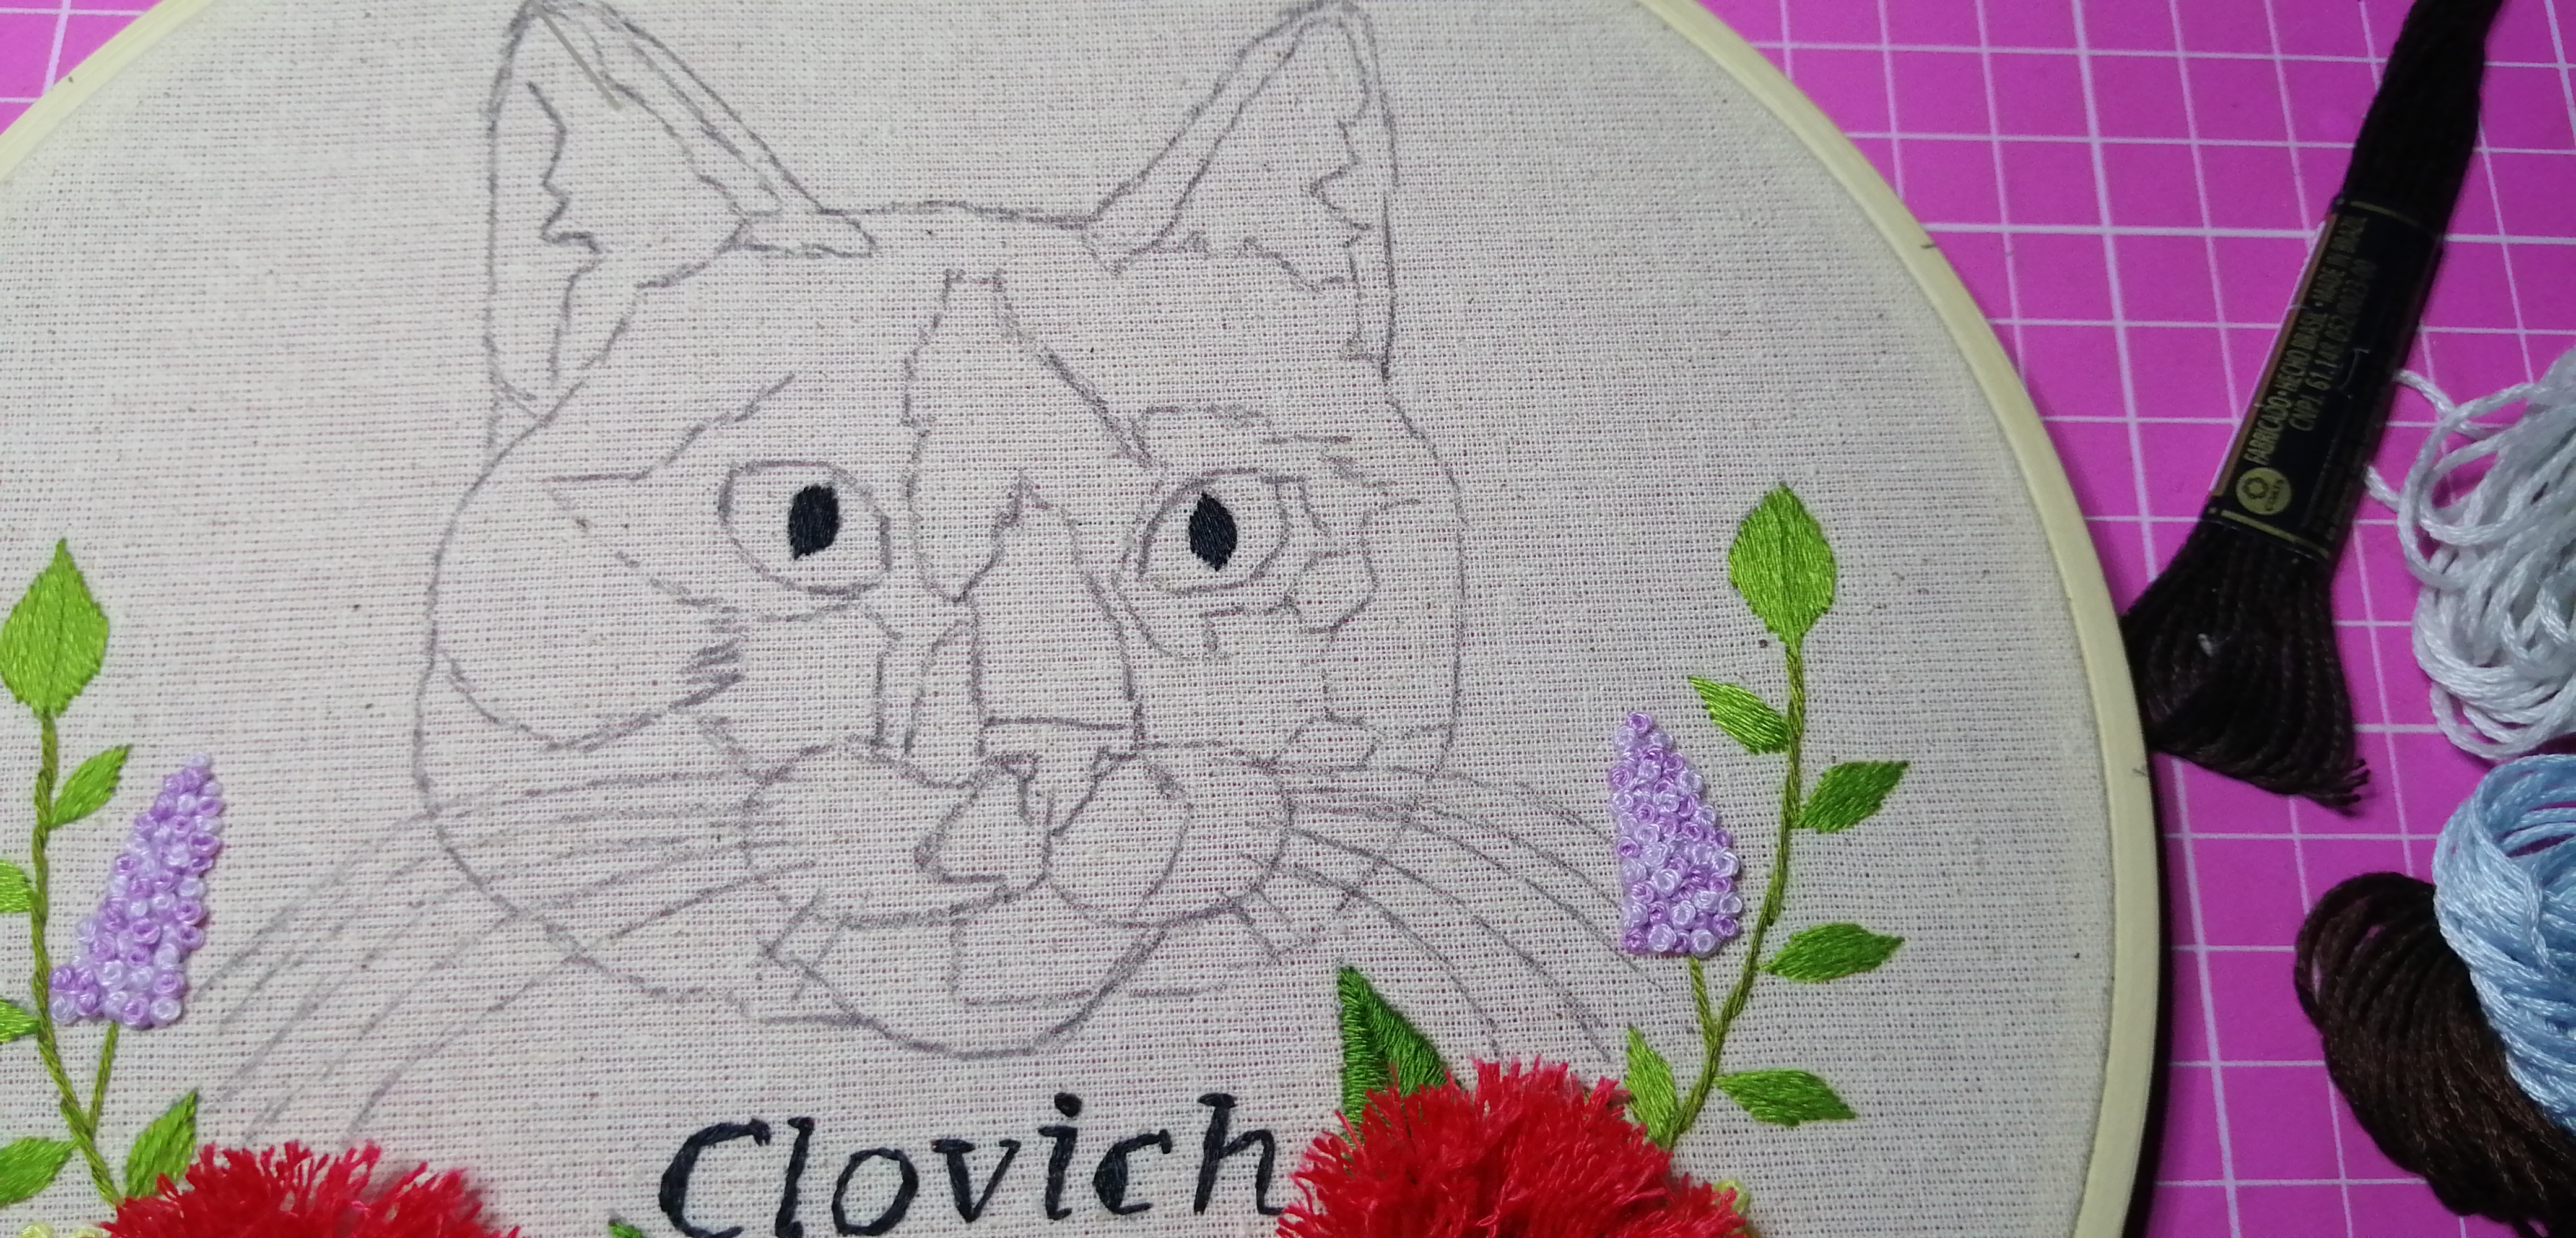
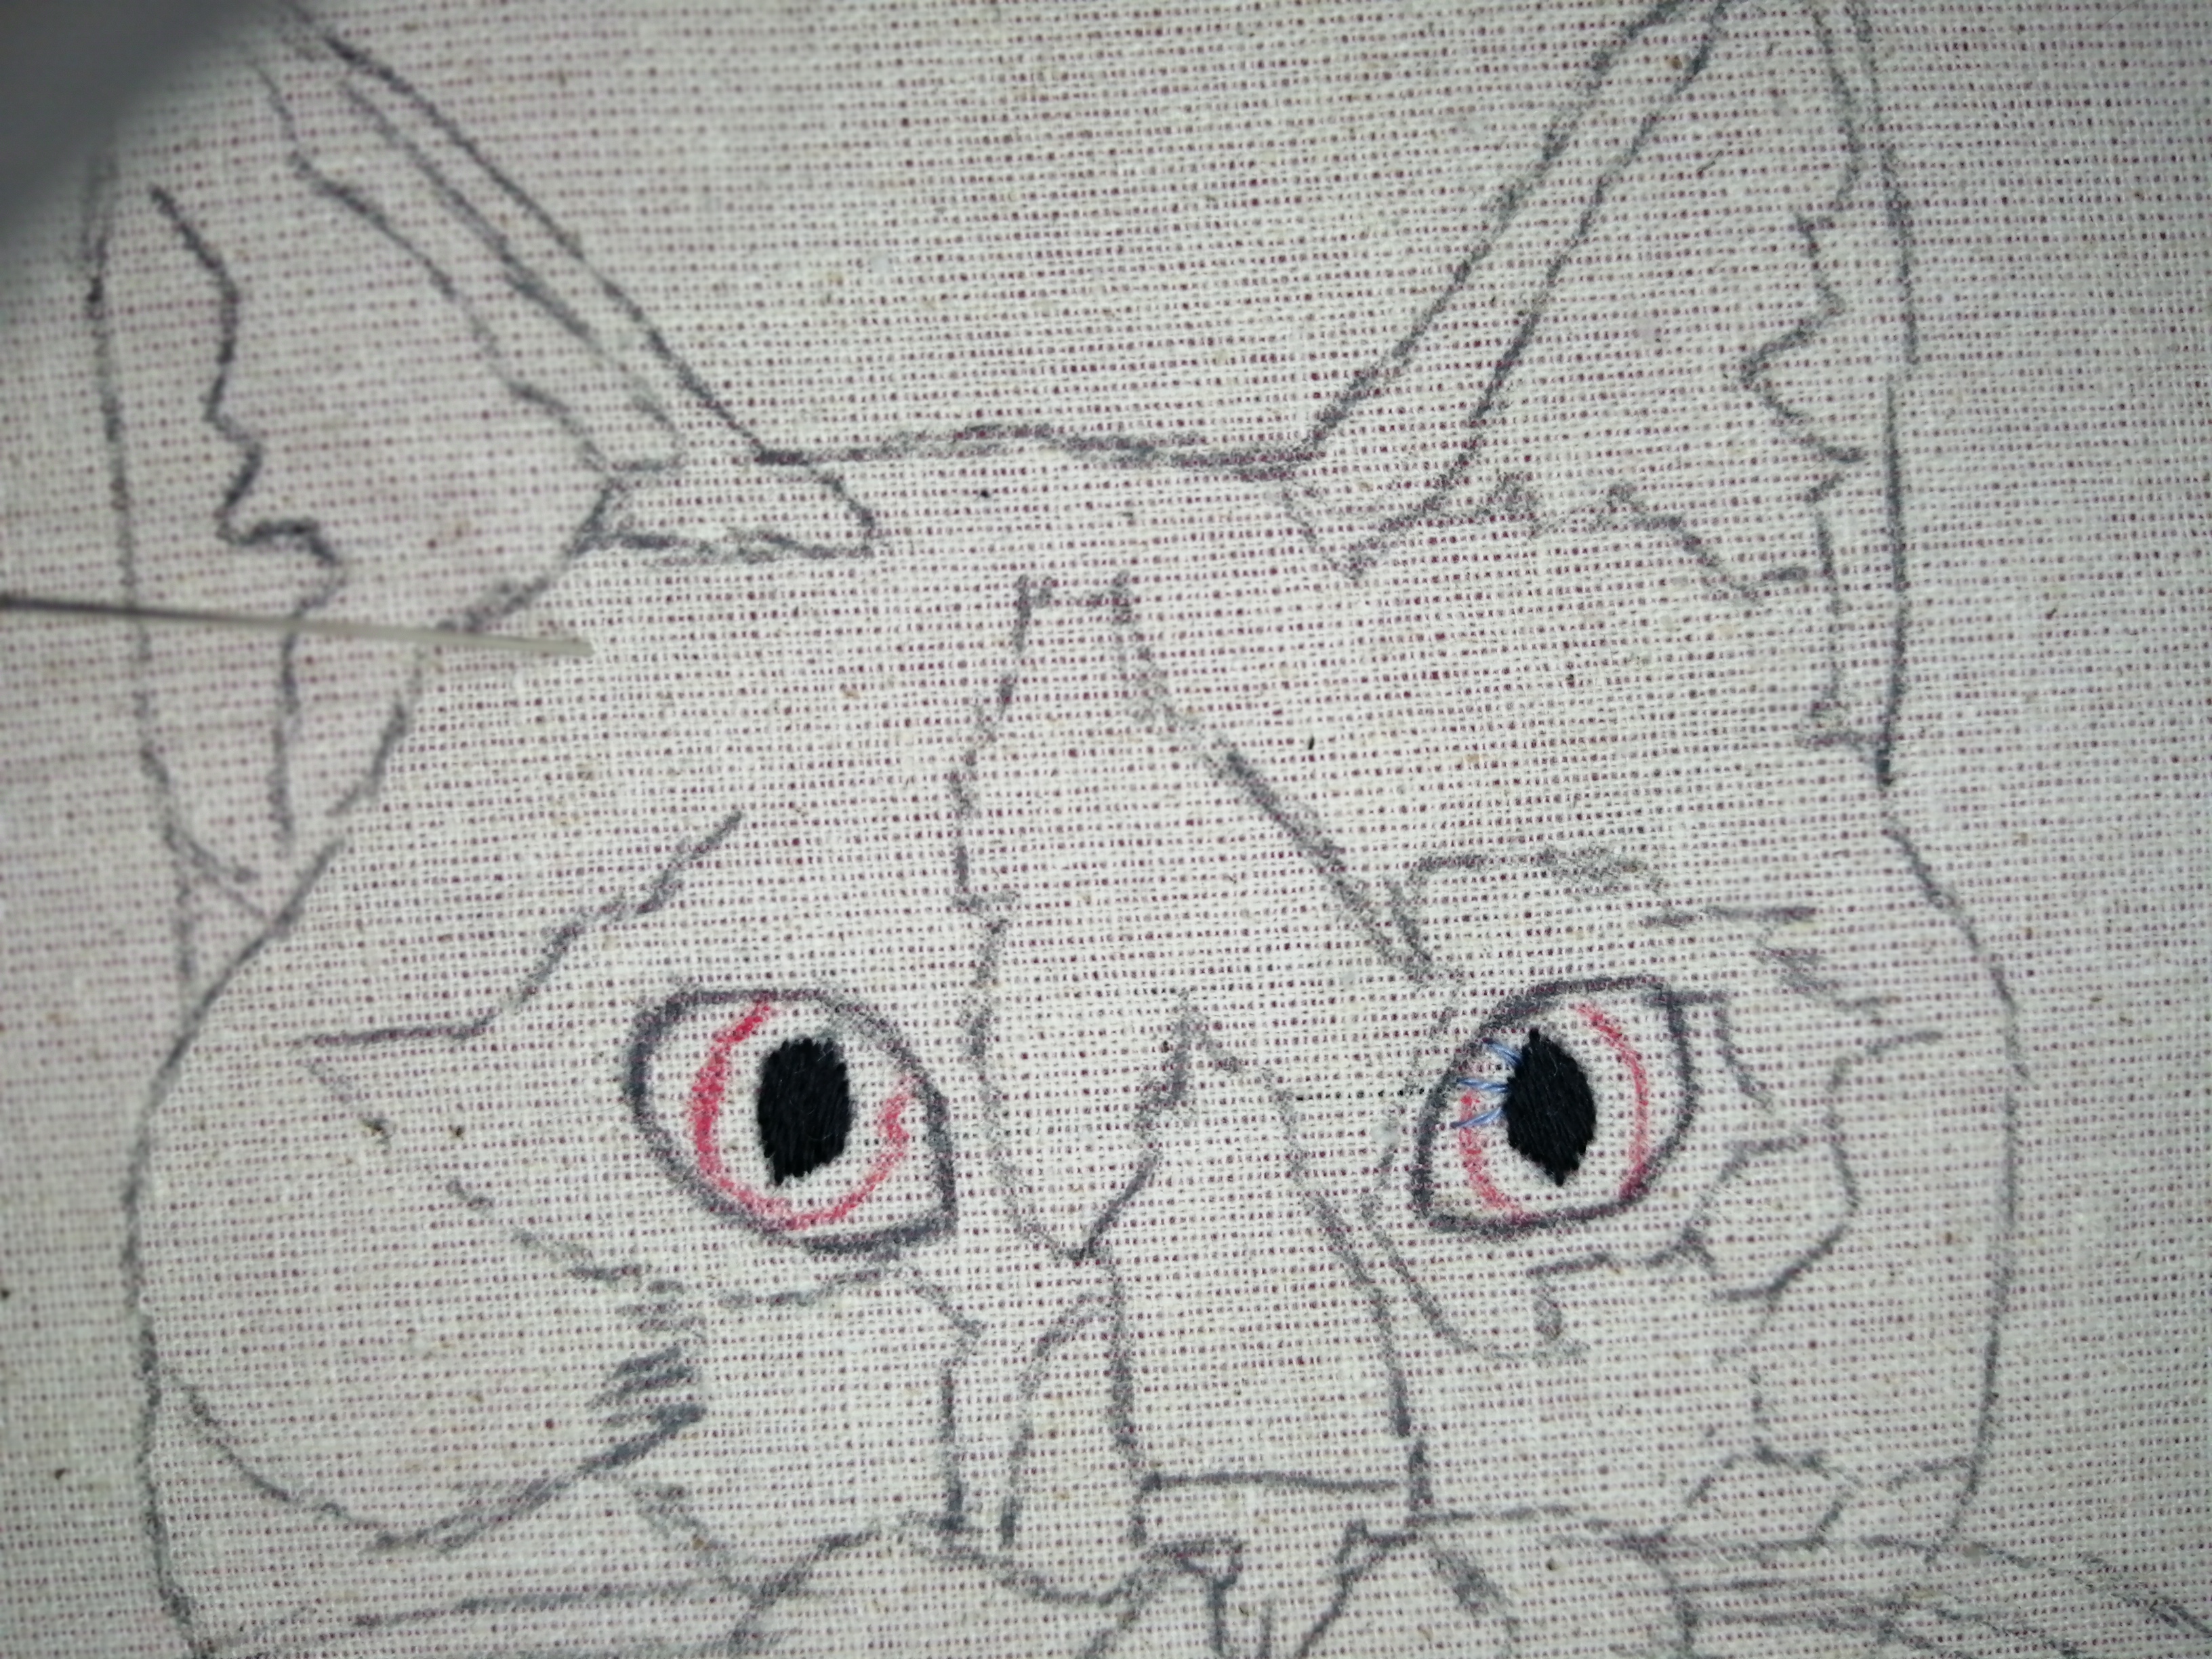
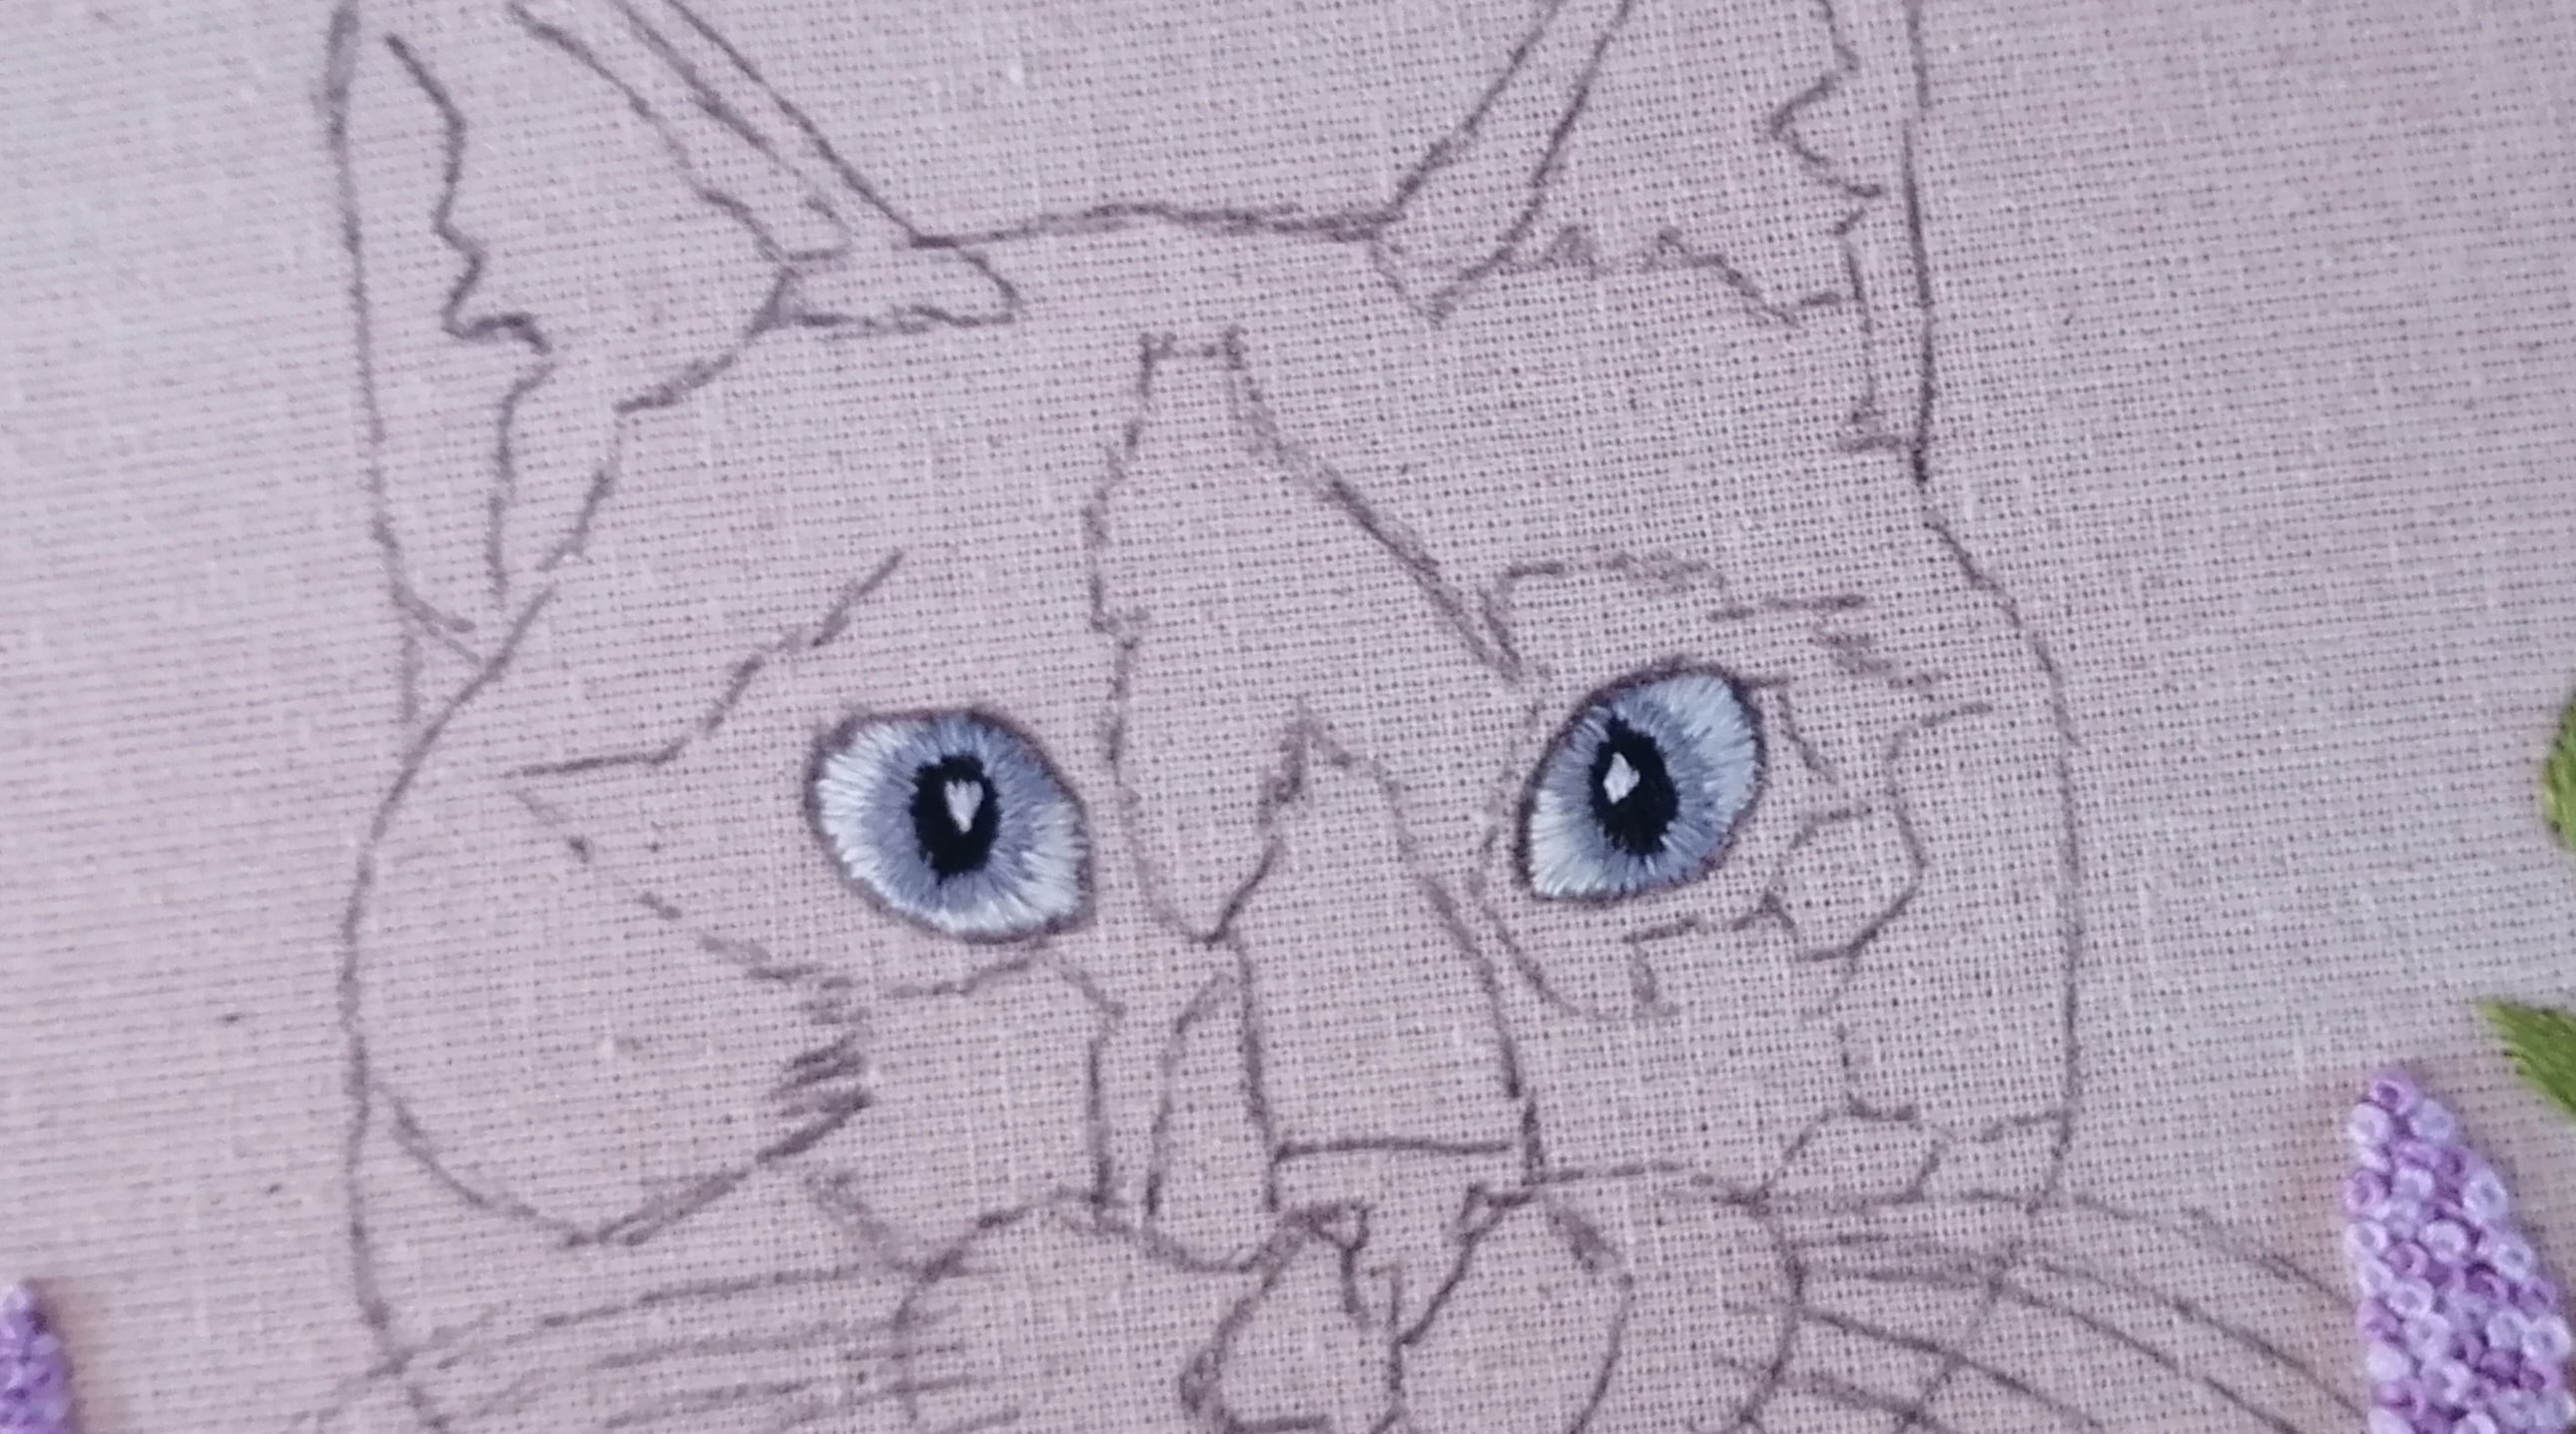
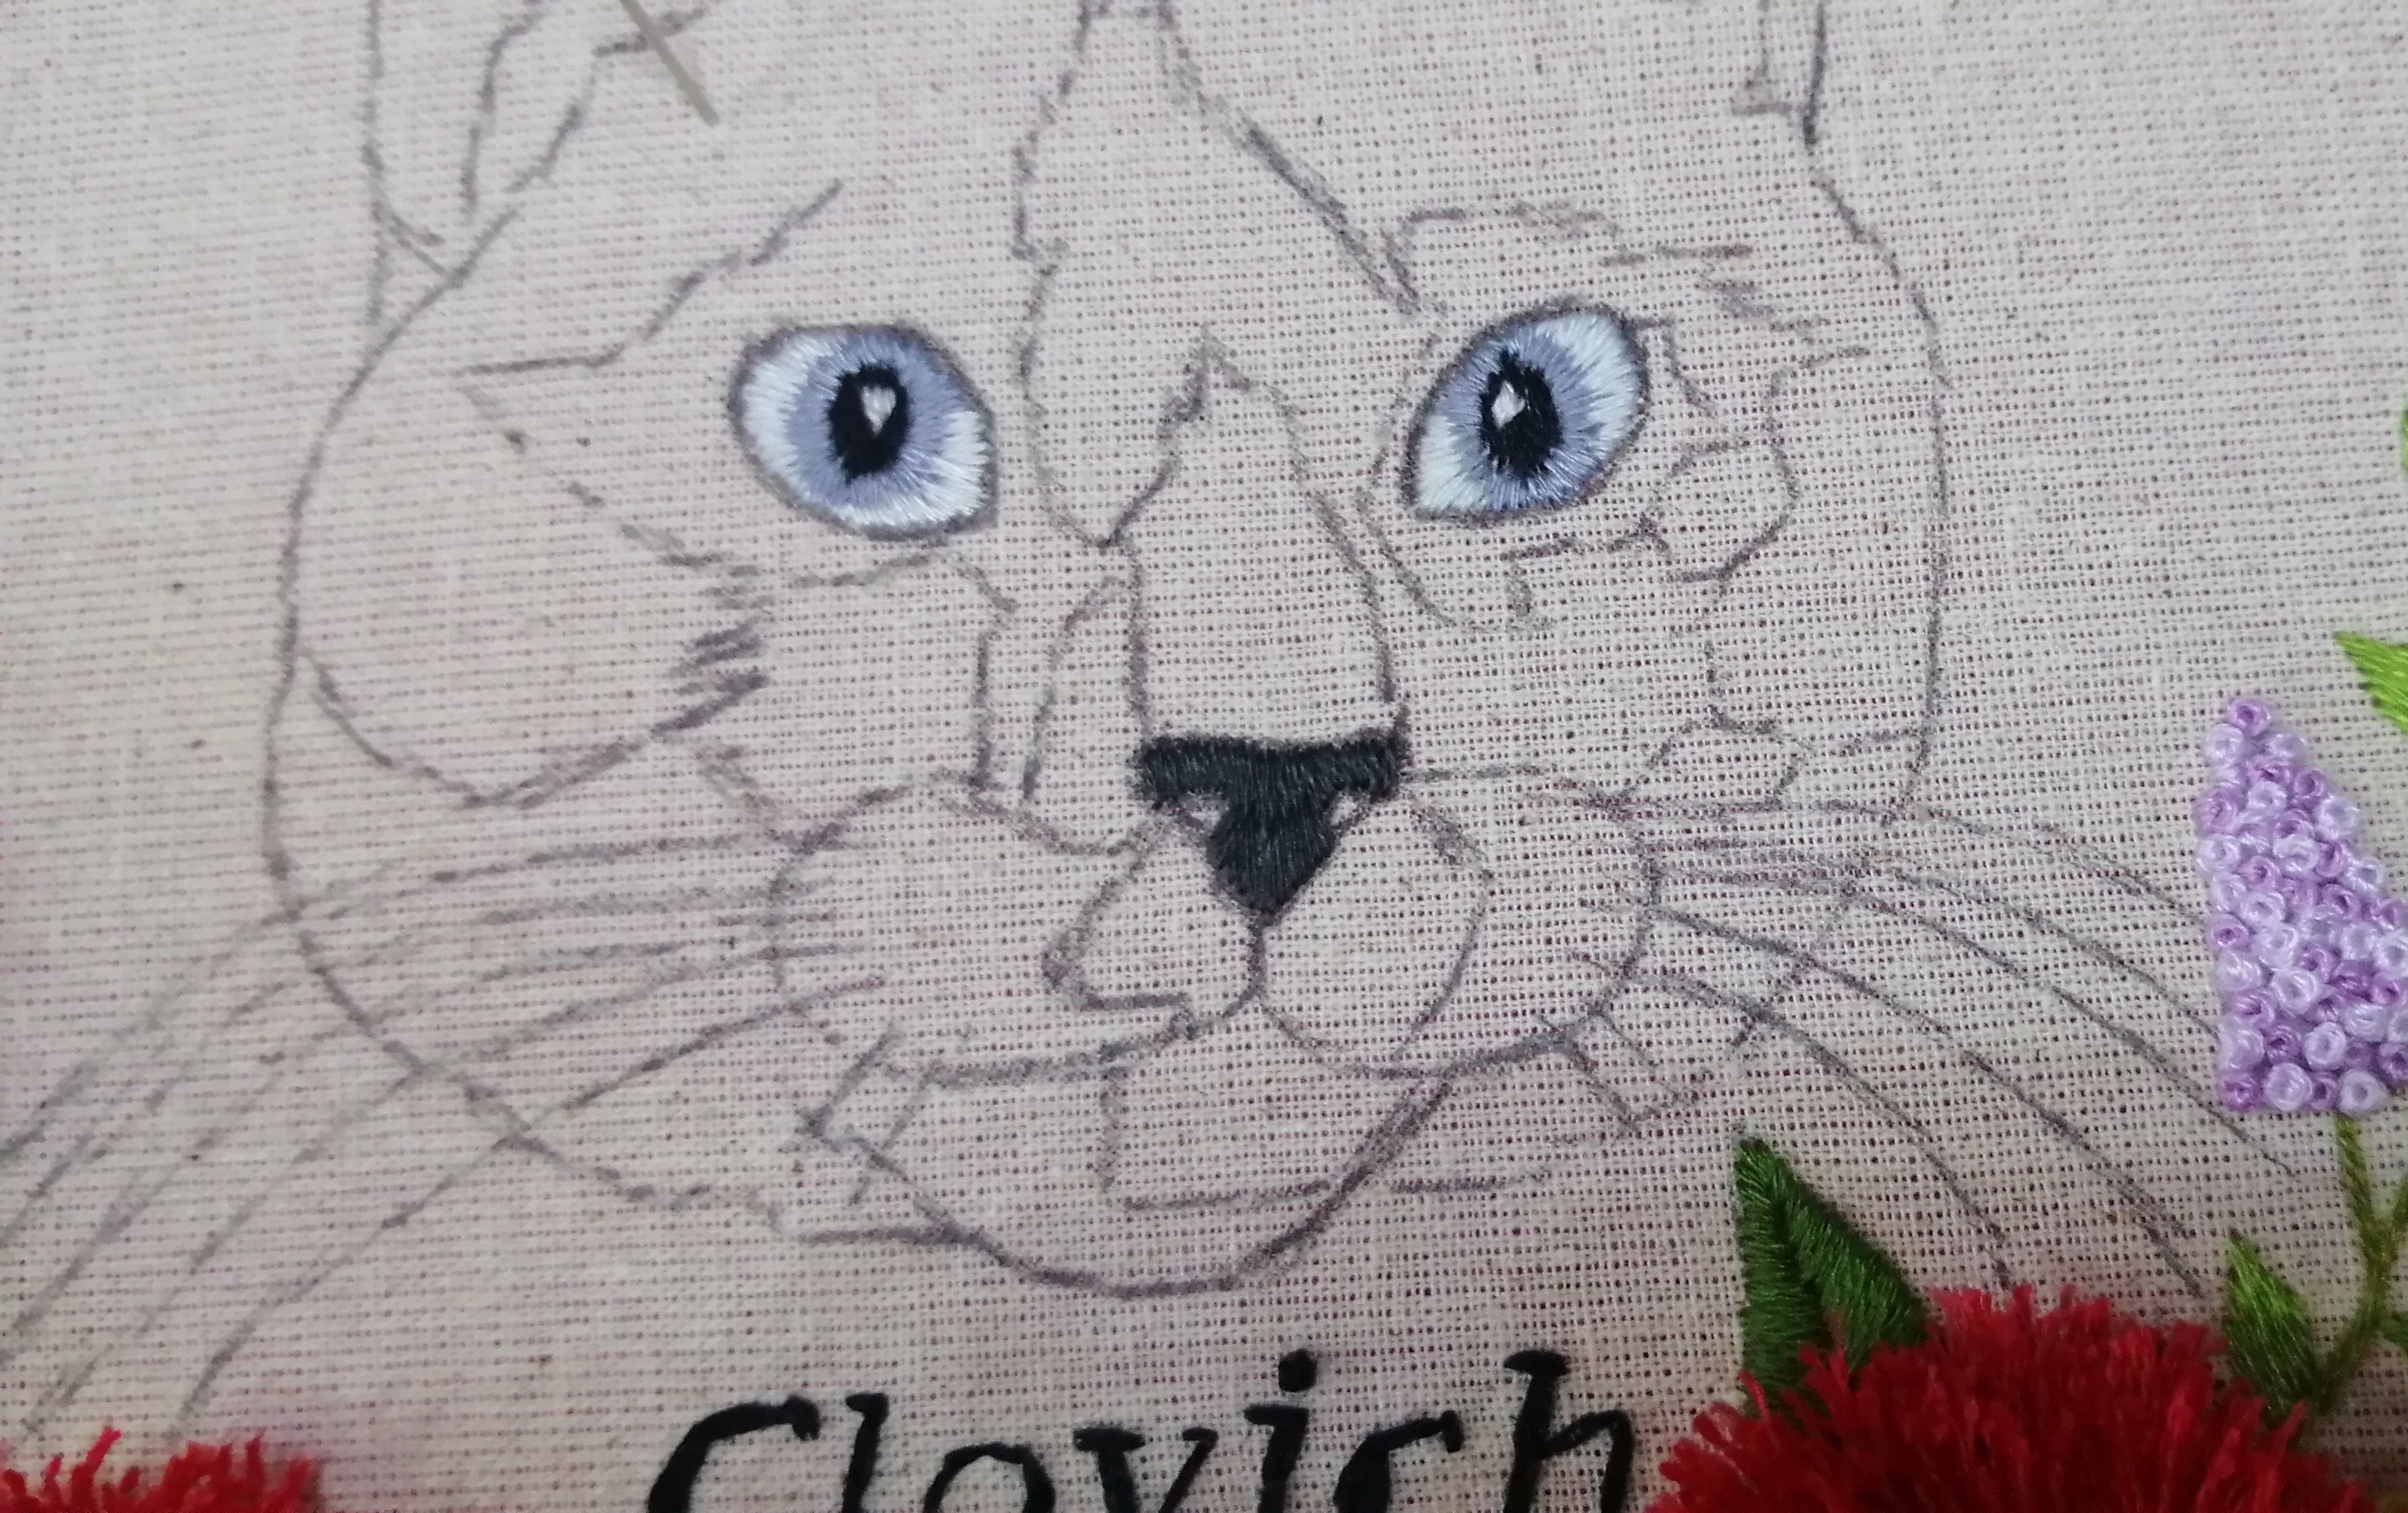
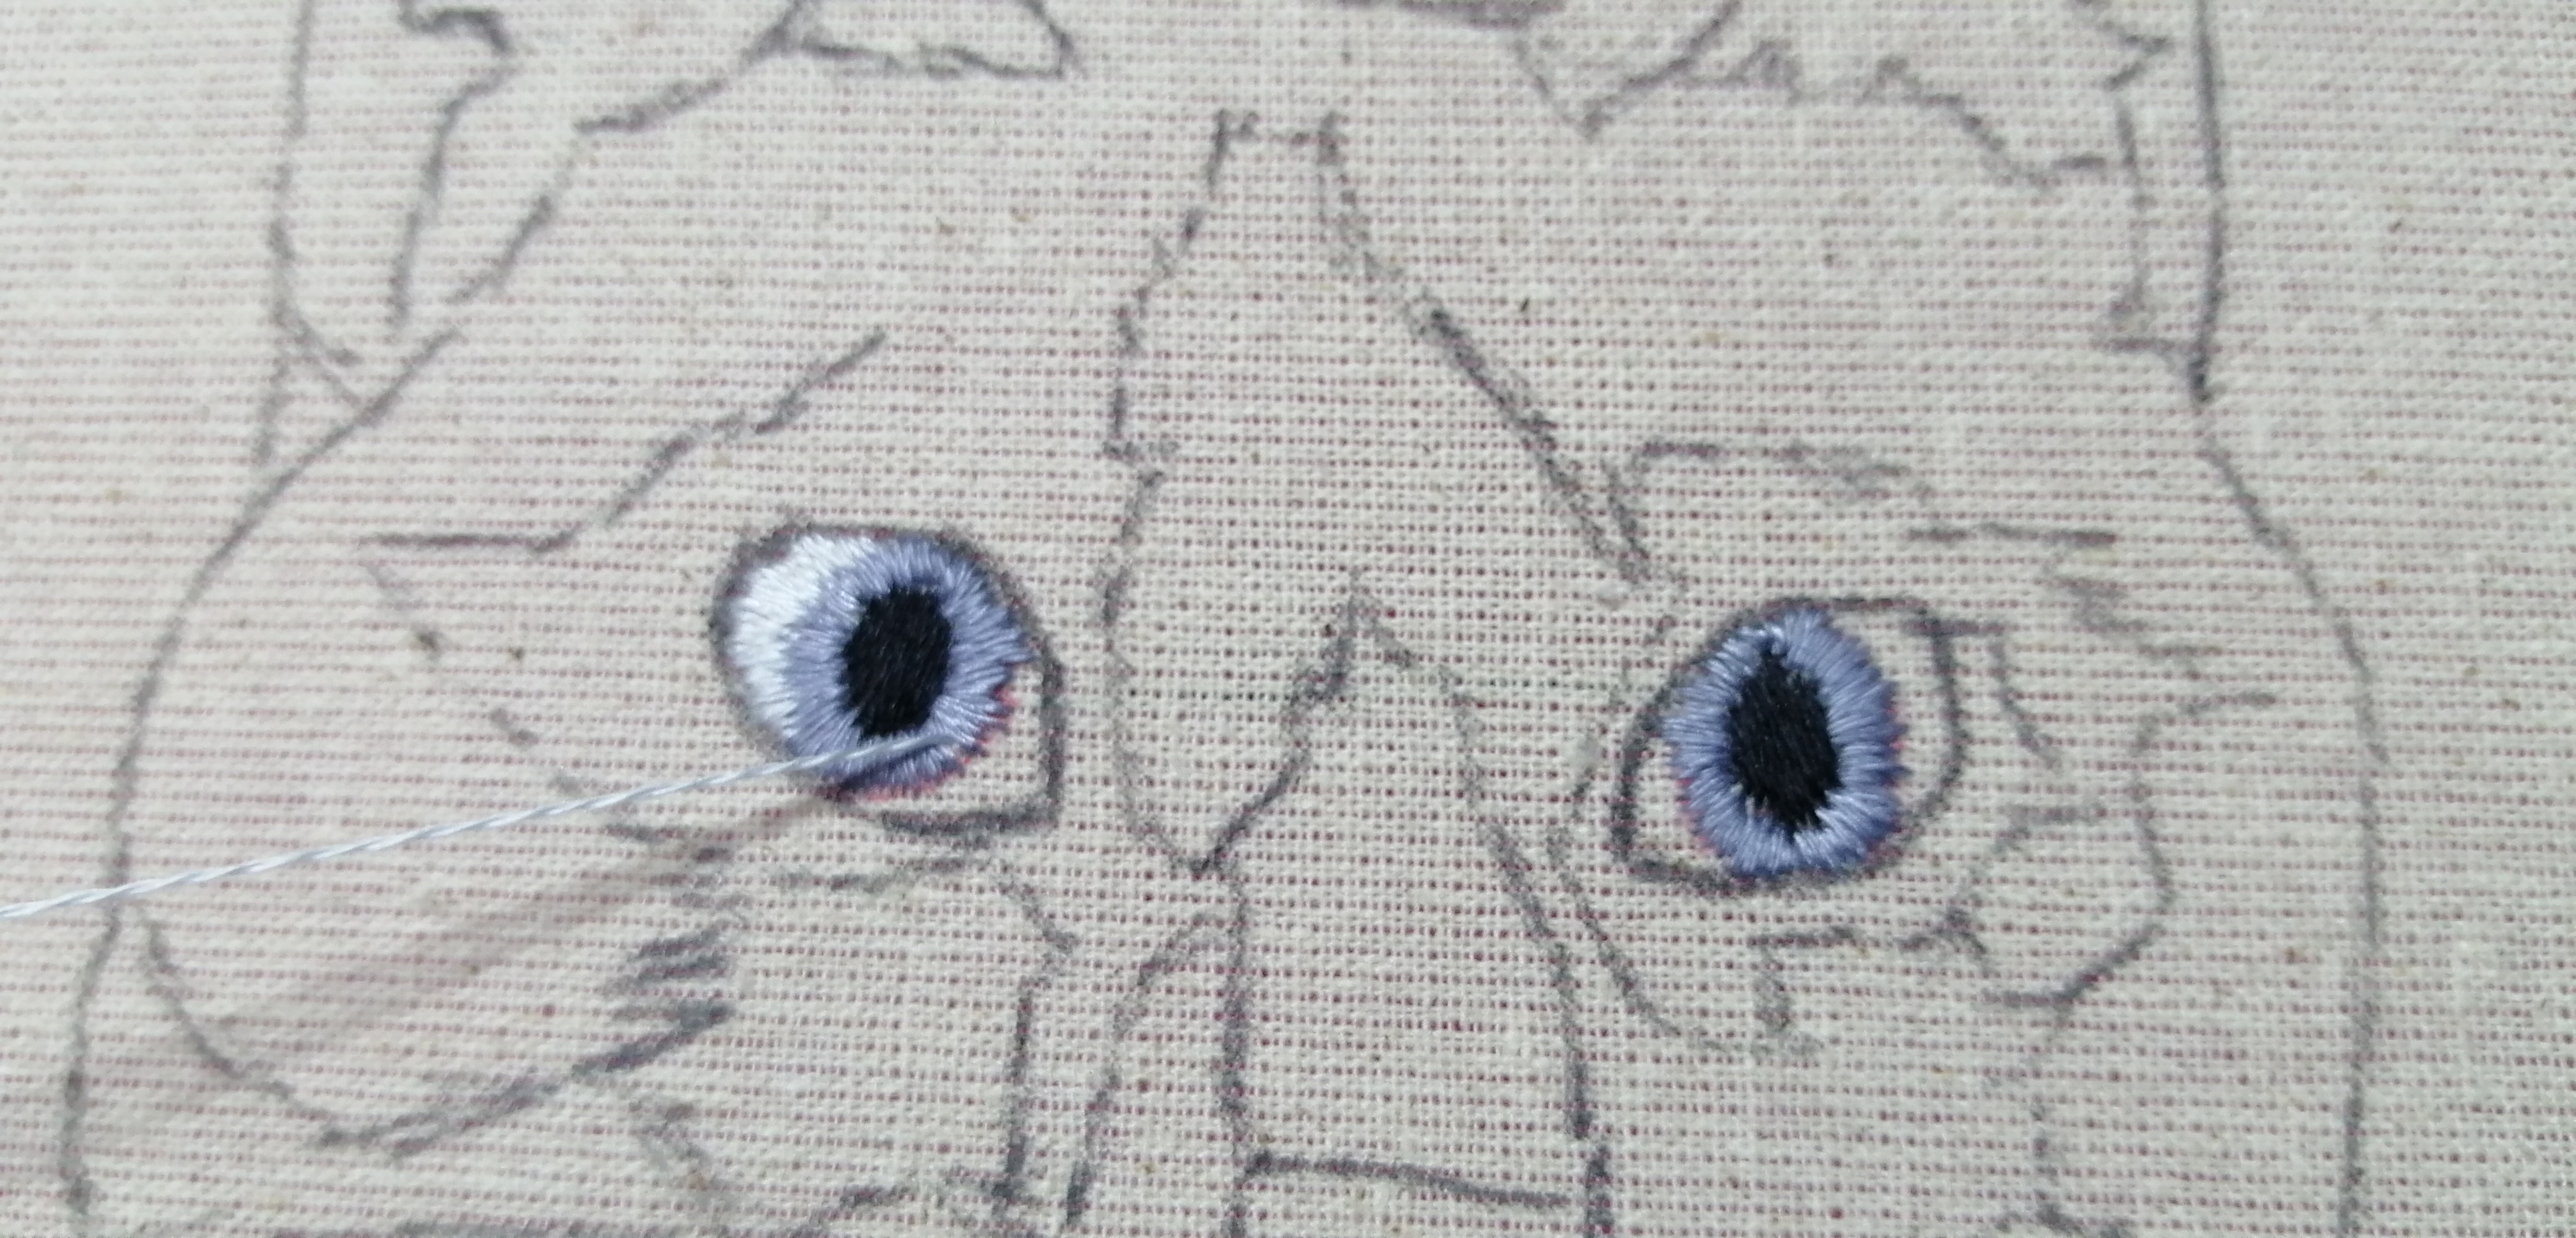
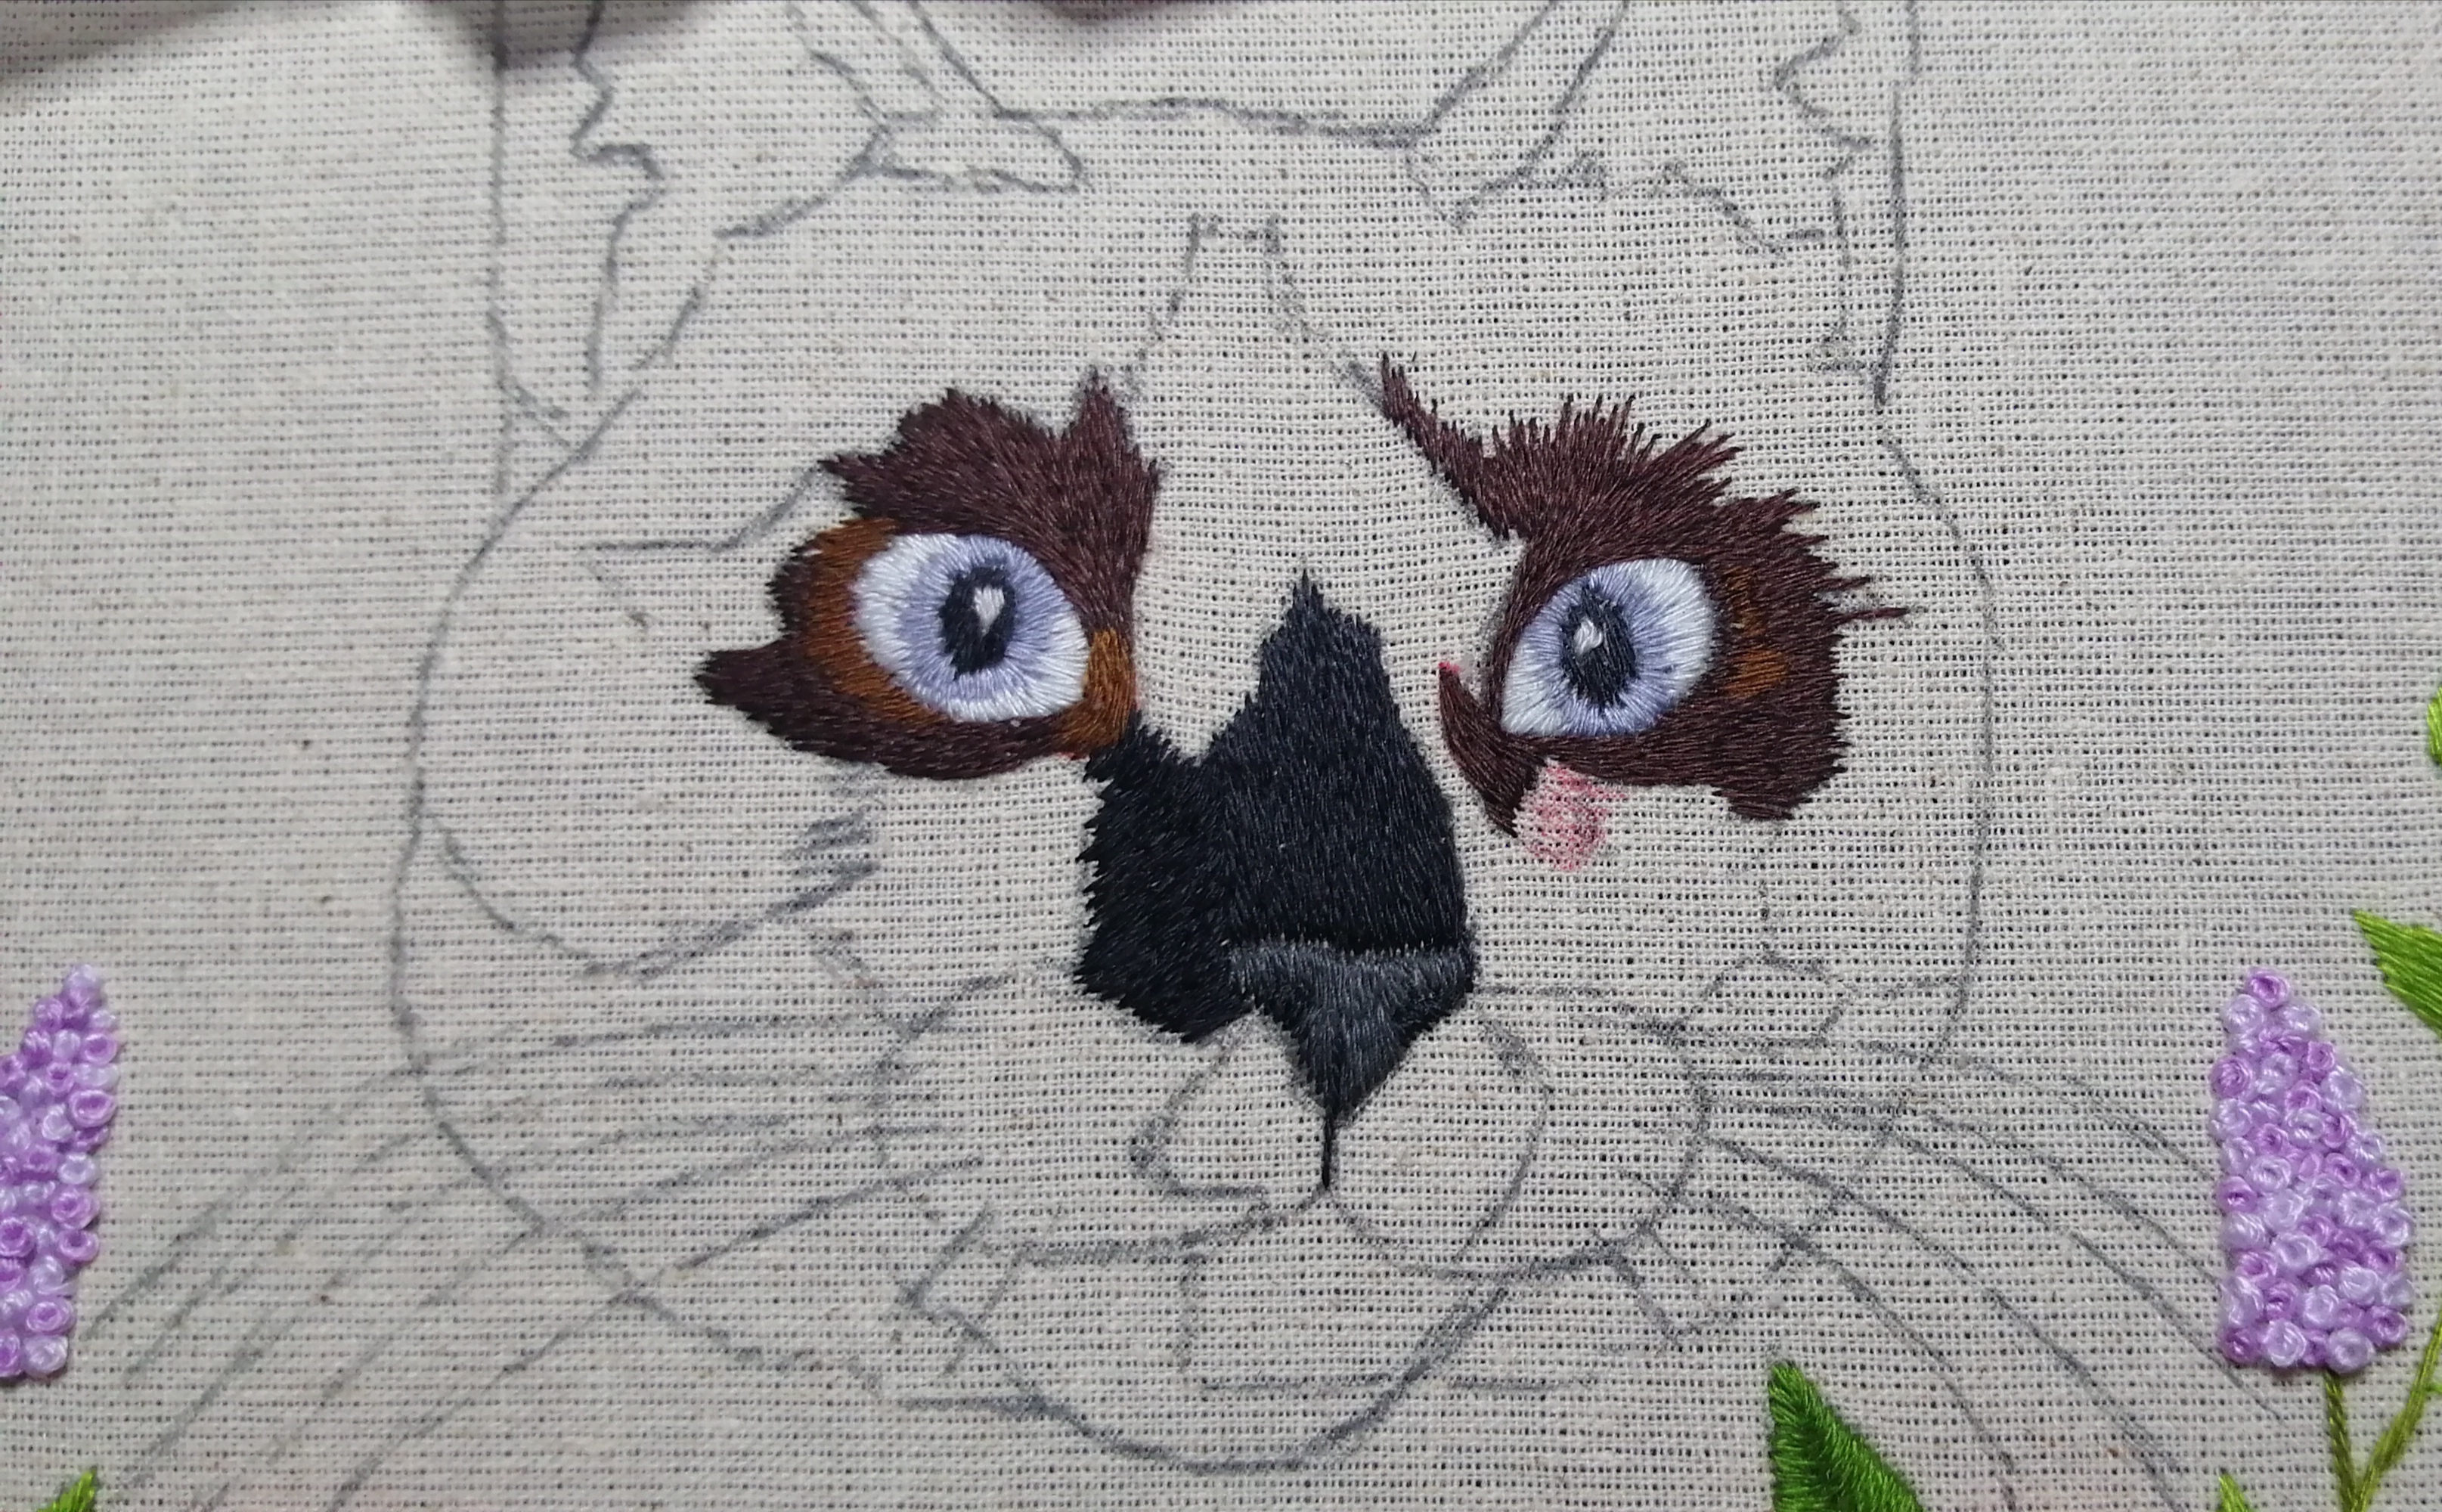
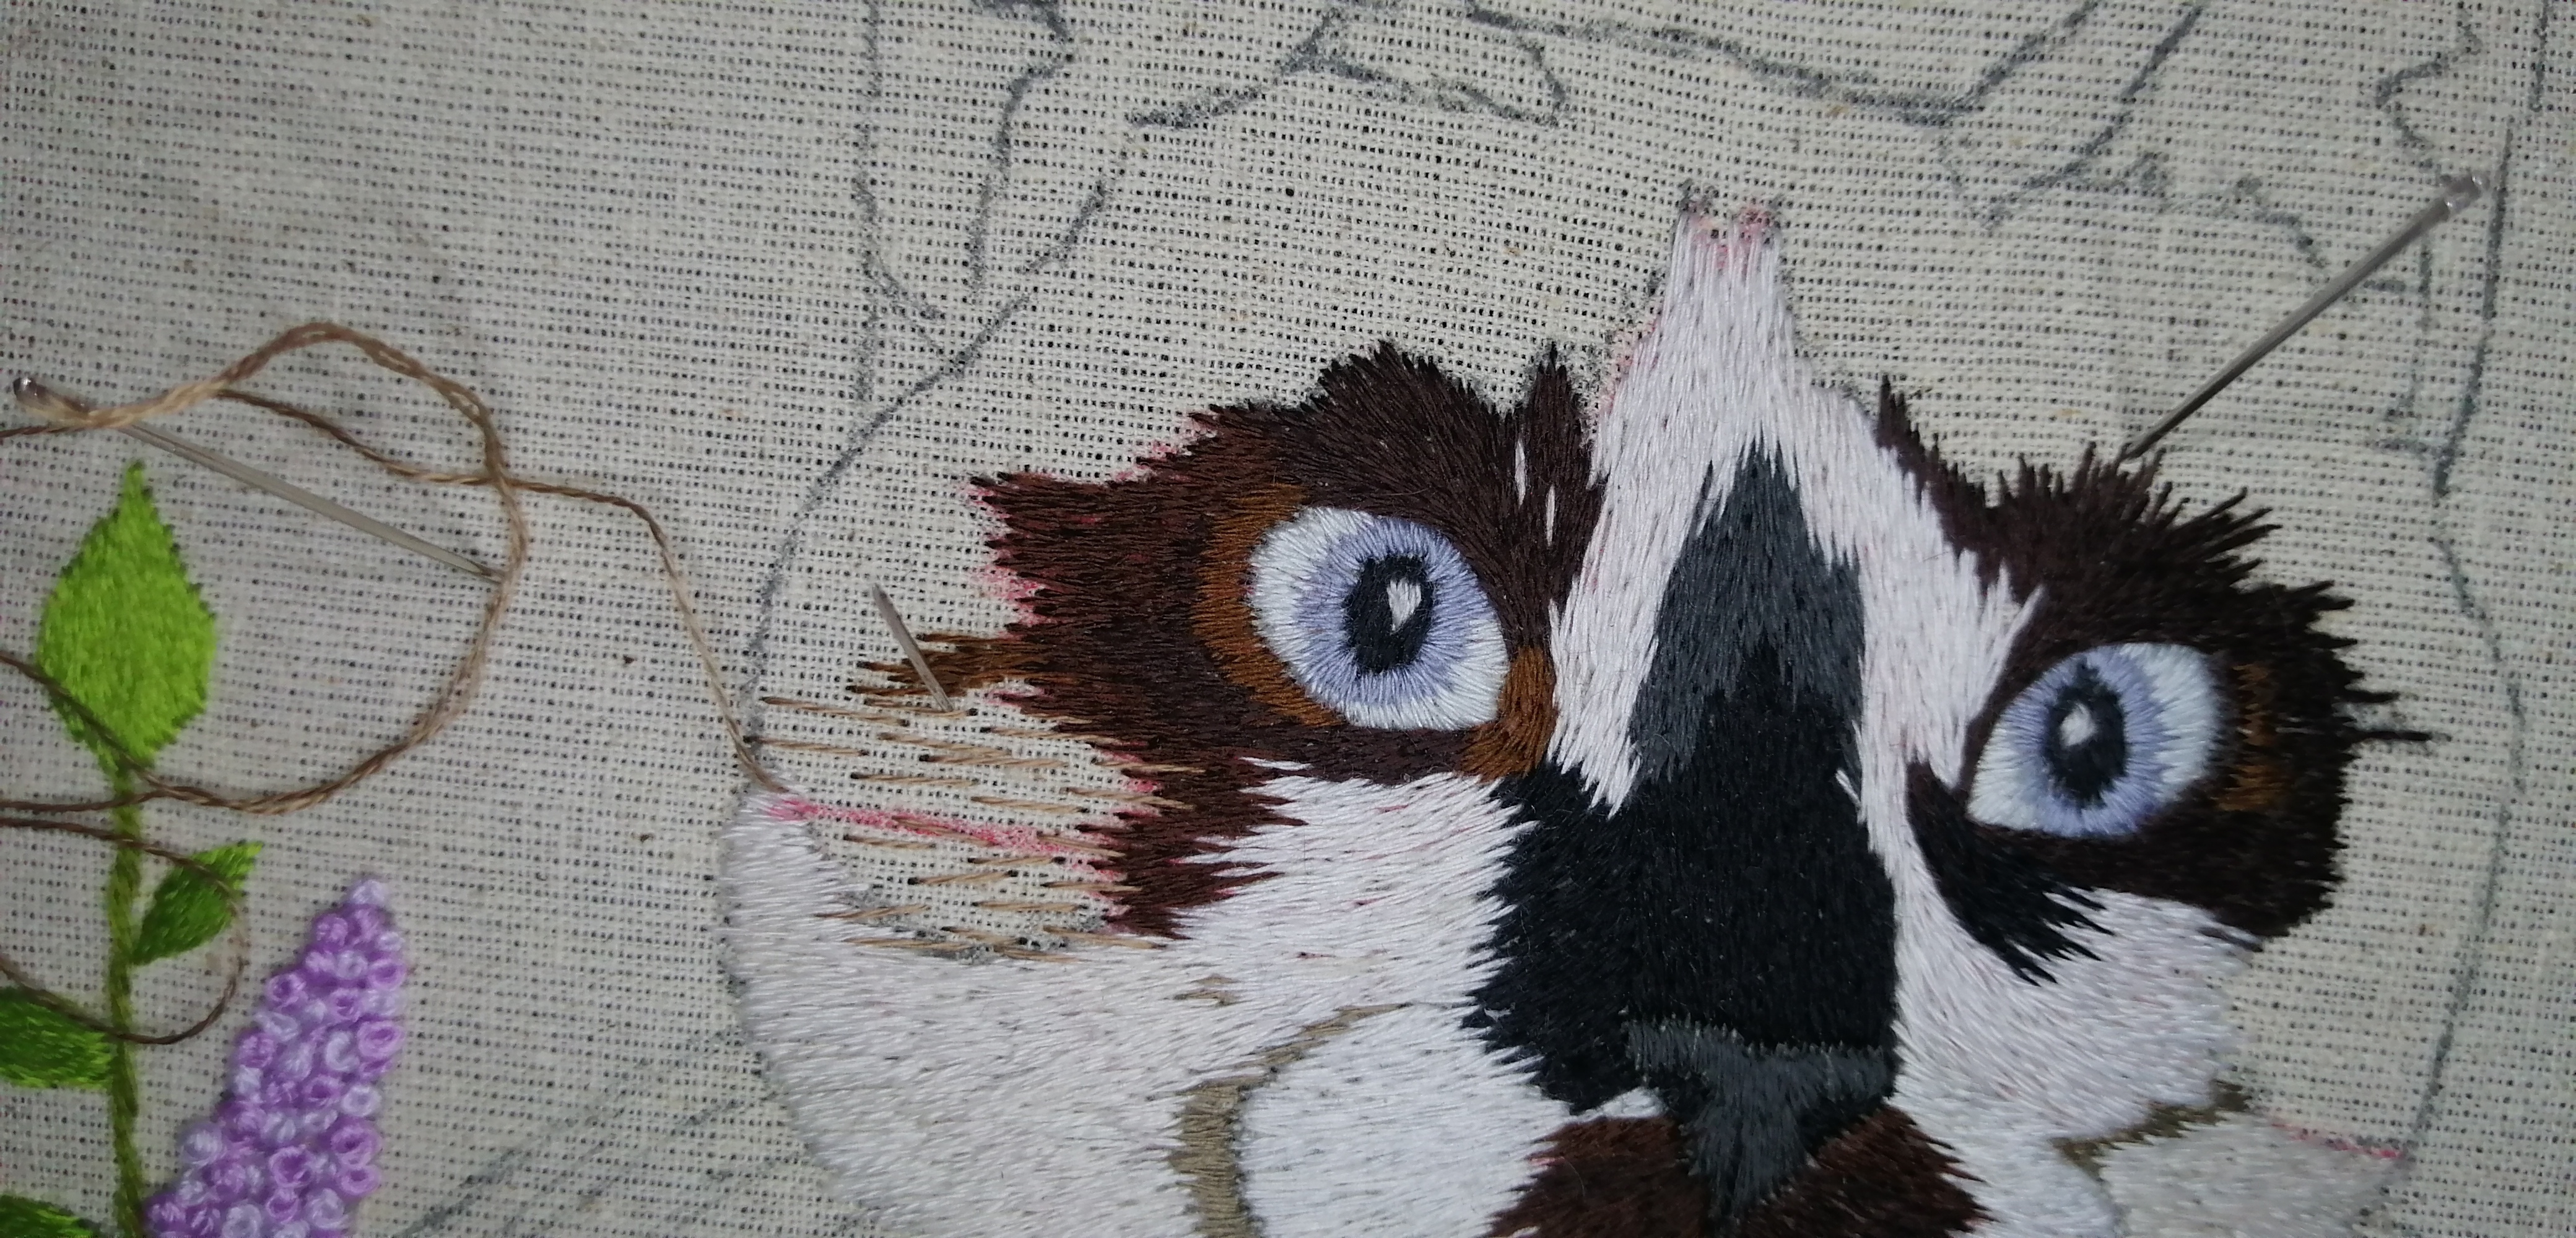
Lo primero que bordaremos son los ojos, empezaremos henebrando con una hebra. Se trabajará siempre con una hebra el gatito.
La pupila se hará con una puntada relleno.
Ya listo continuamos con el lado más azul de sus ojos, para luego mezclar con un tono más claro.
Y por último algo que parece un punto que es innecesario, pero es de los puntos más importante que es el brillo de los ojos. Sin el no se ve la intensidad de la mirada, cuando lo haces le da más realismo al trabajo.
The first thing we will embroider are the eyes, we will start with one strand of yarn. The kitten will always be worked with one thread.
The pupil will be done with a filled stitch.
Once ready, we continue with the blue side of the eyes, and then mix with a lighter tone.
And finally something that seems like a point that is unnecessary, but it is the most important point is the brightness of the eyes. Without it you can't see the intensity of the look, when you do it gives more realism to the work.
|
|
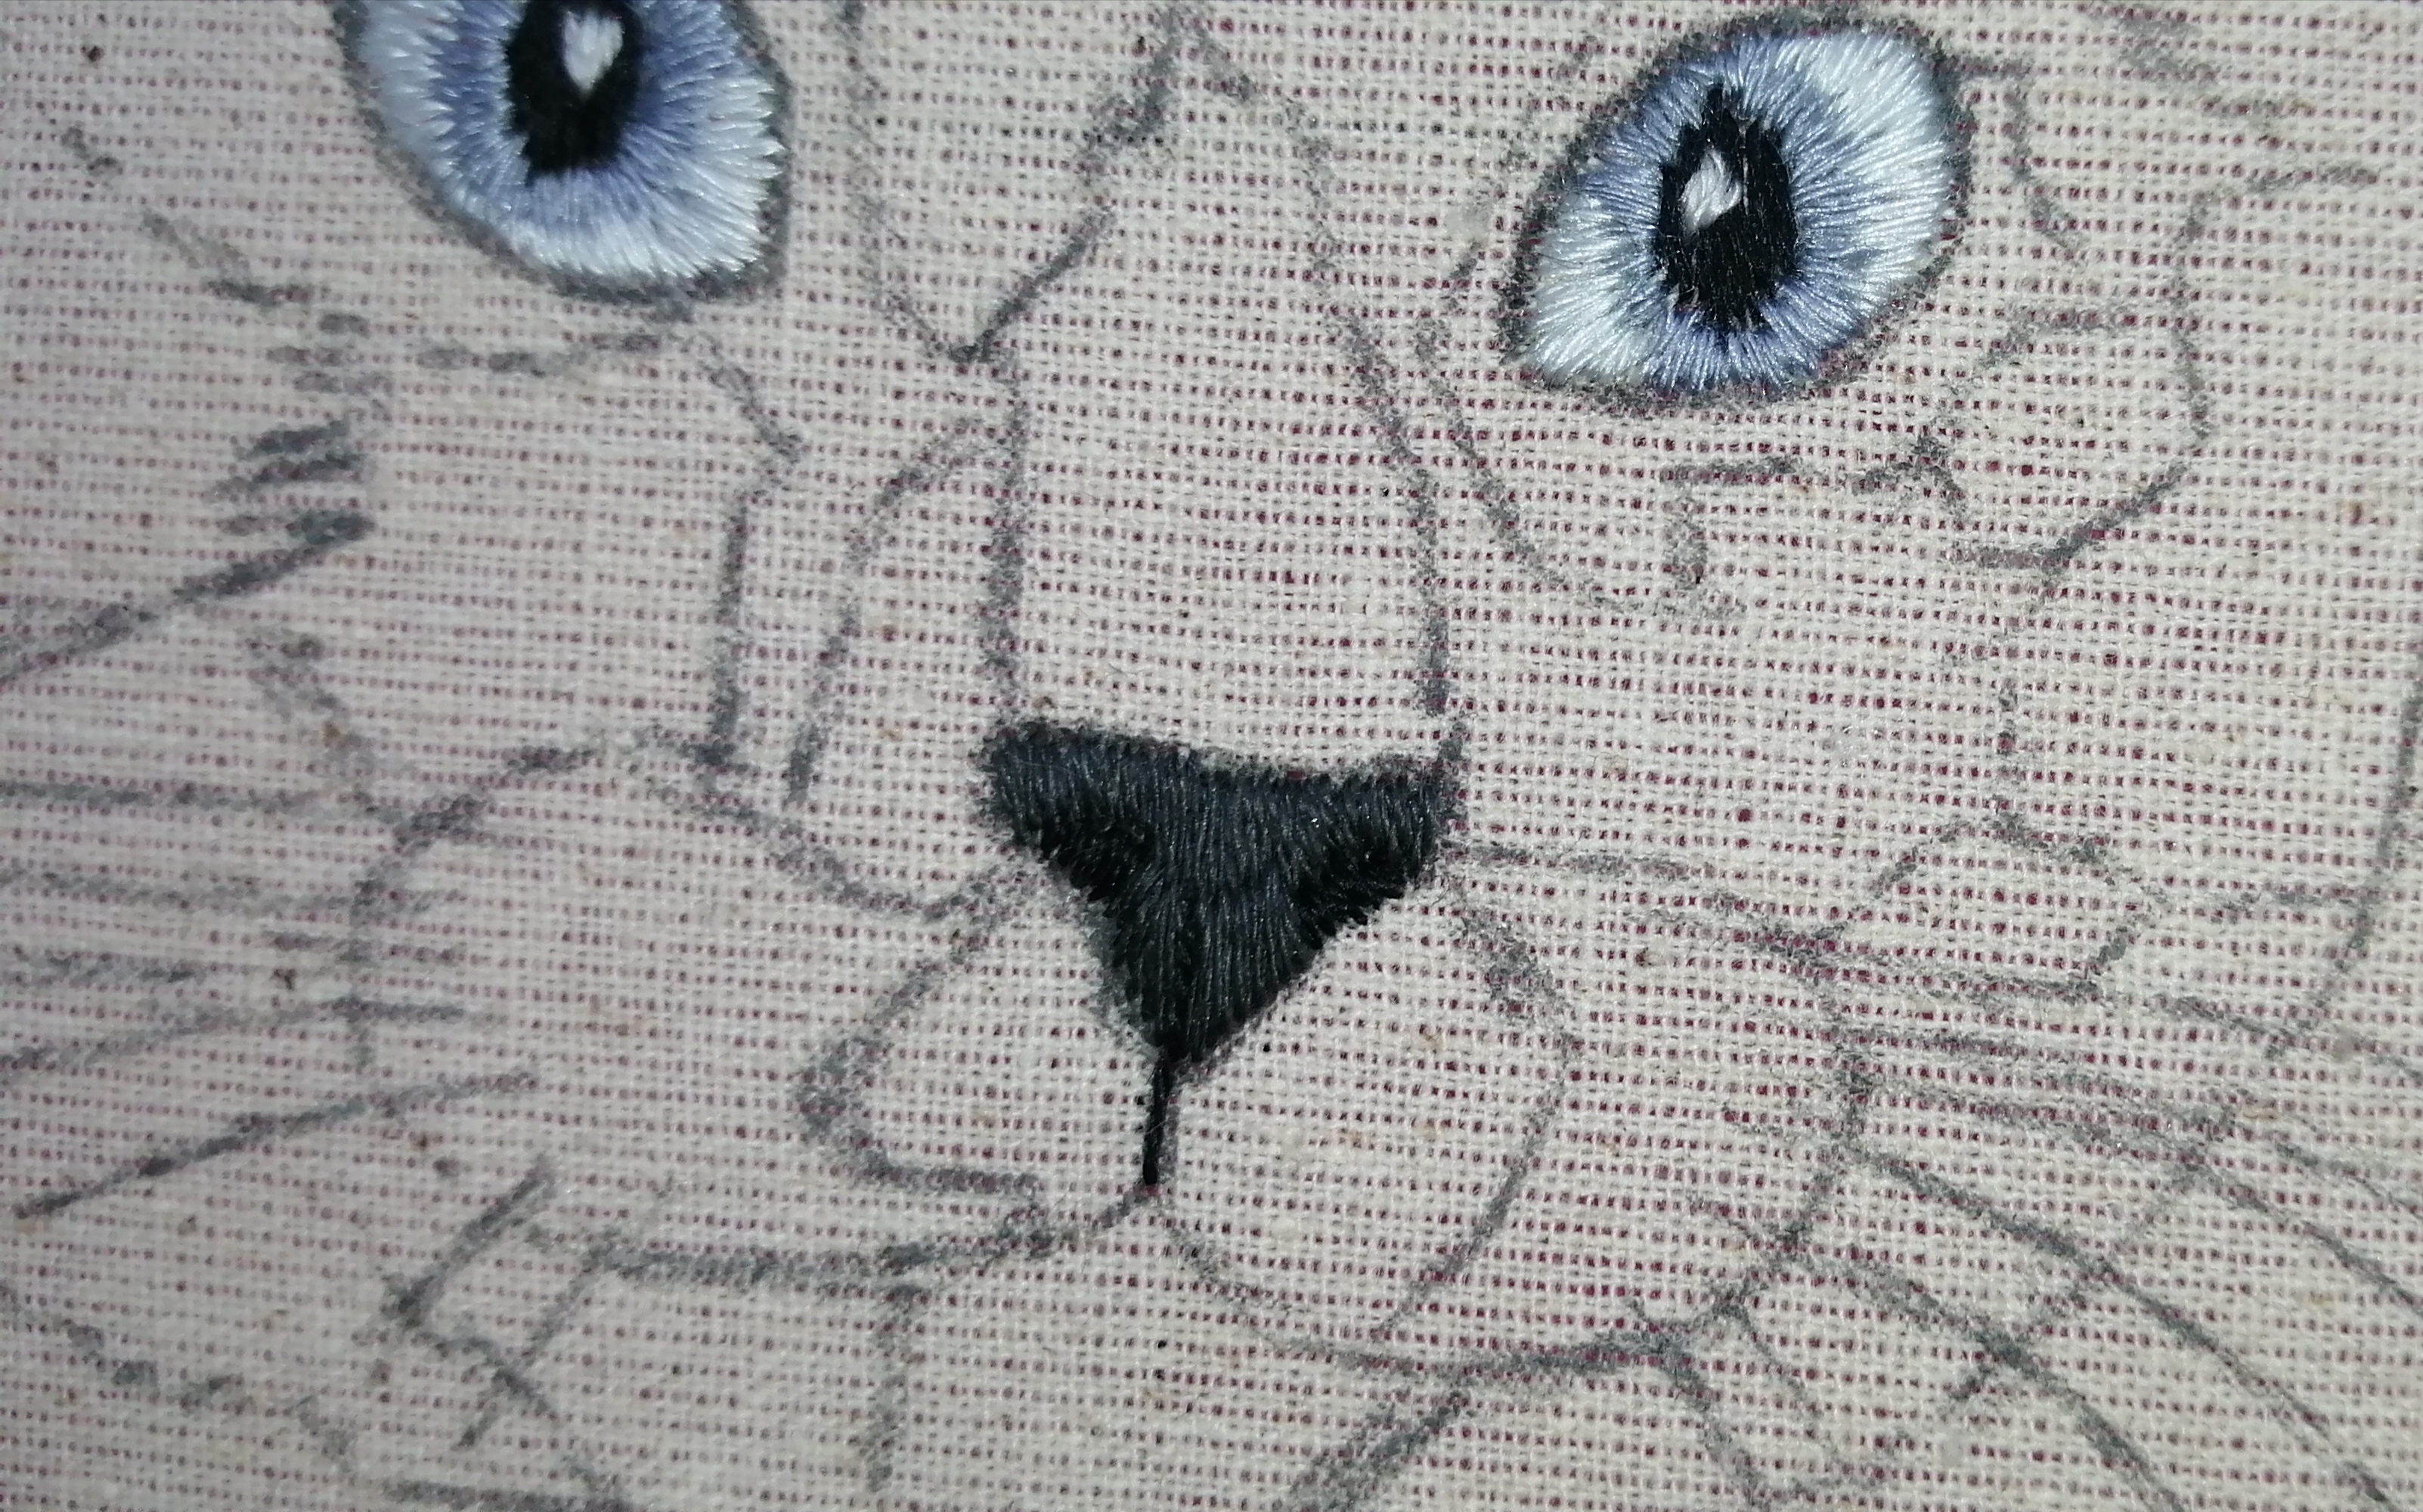
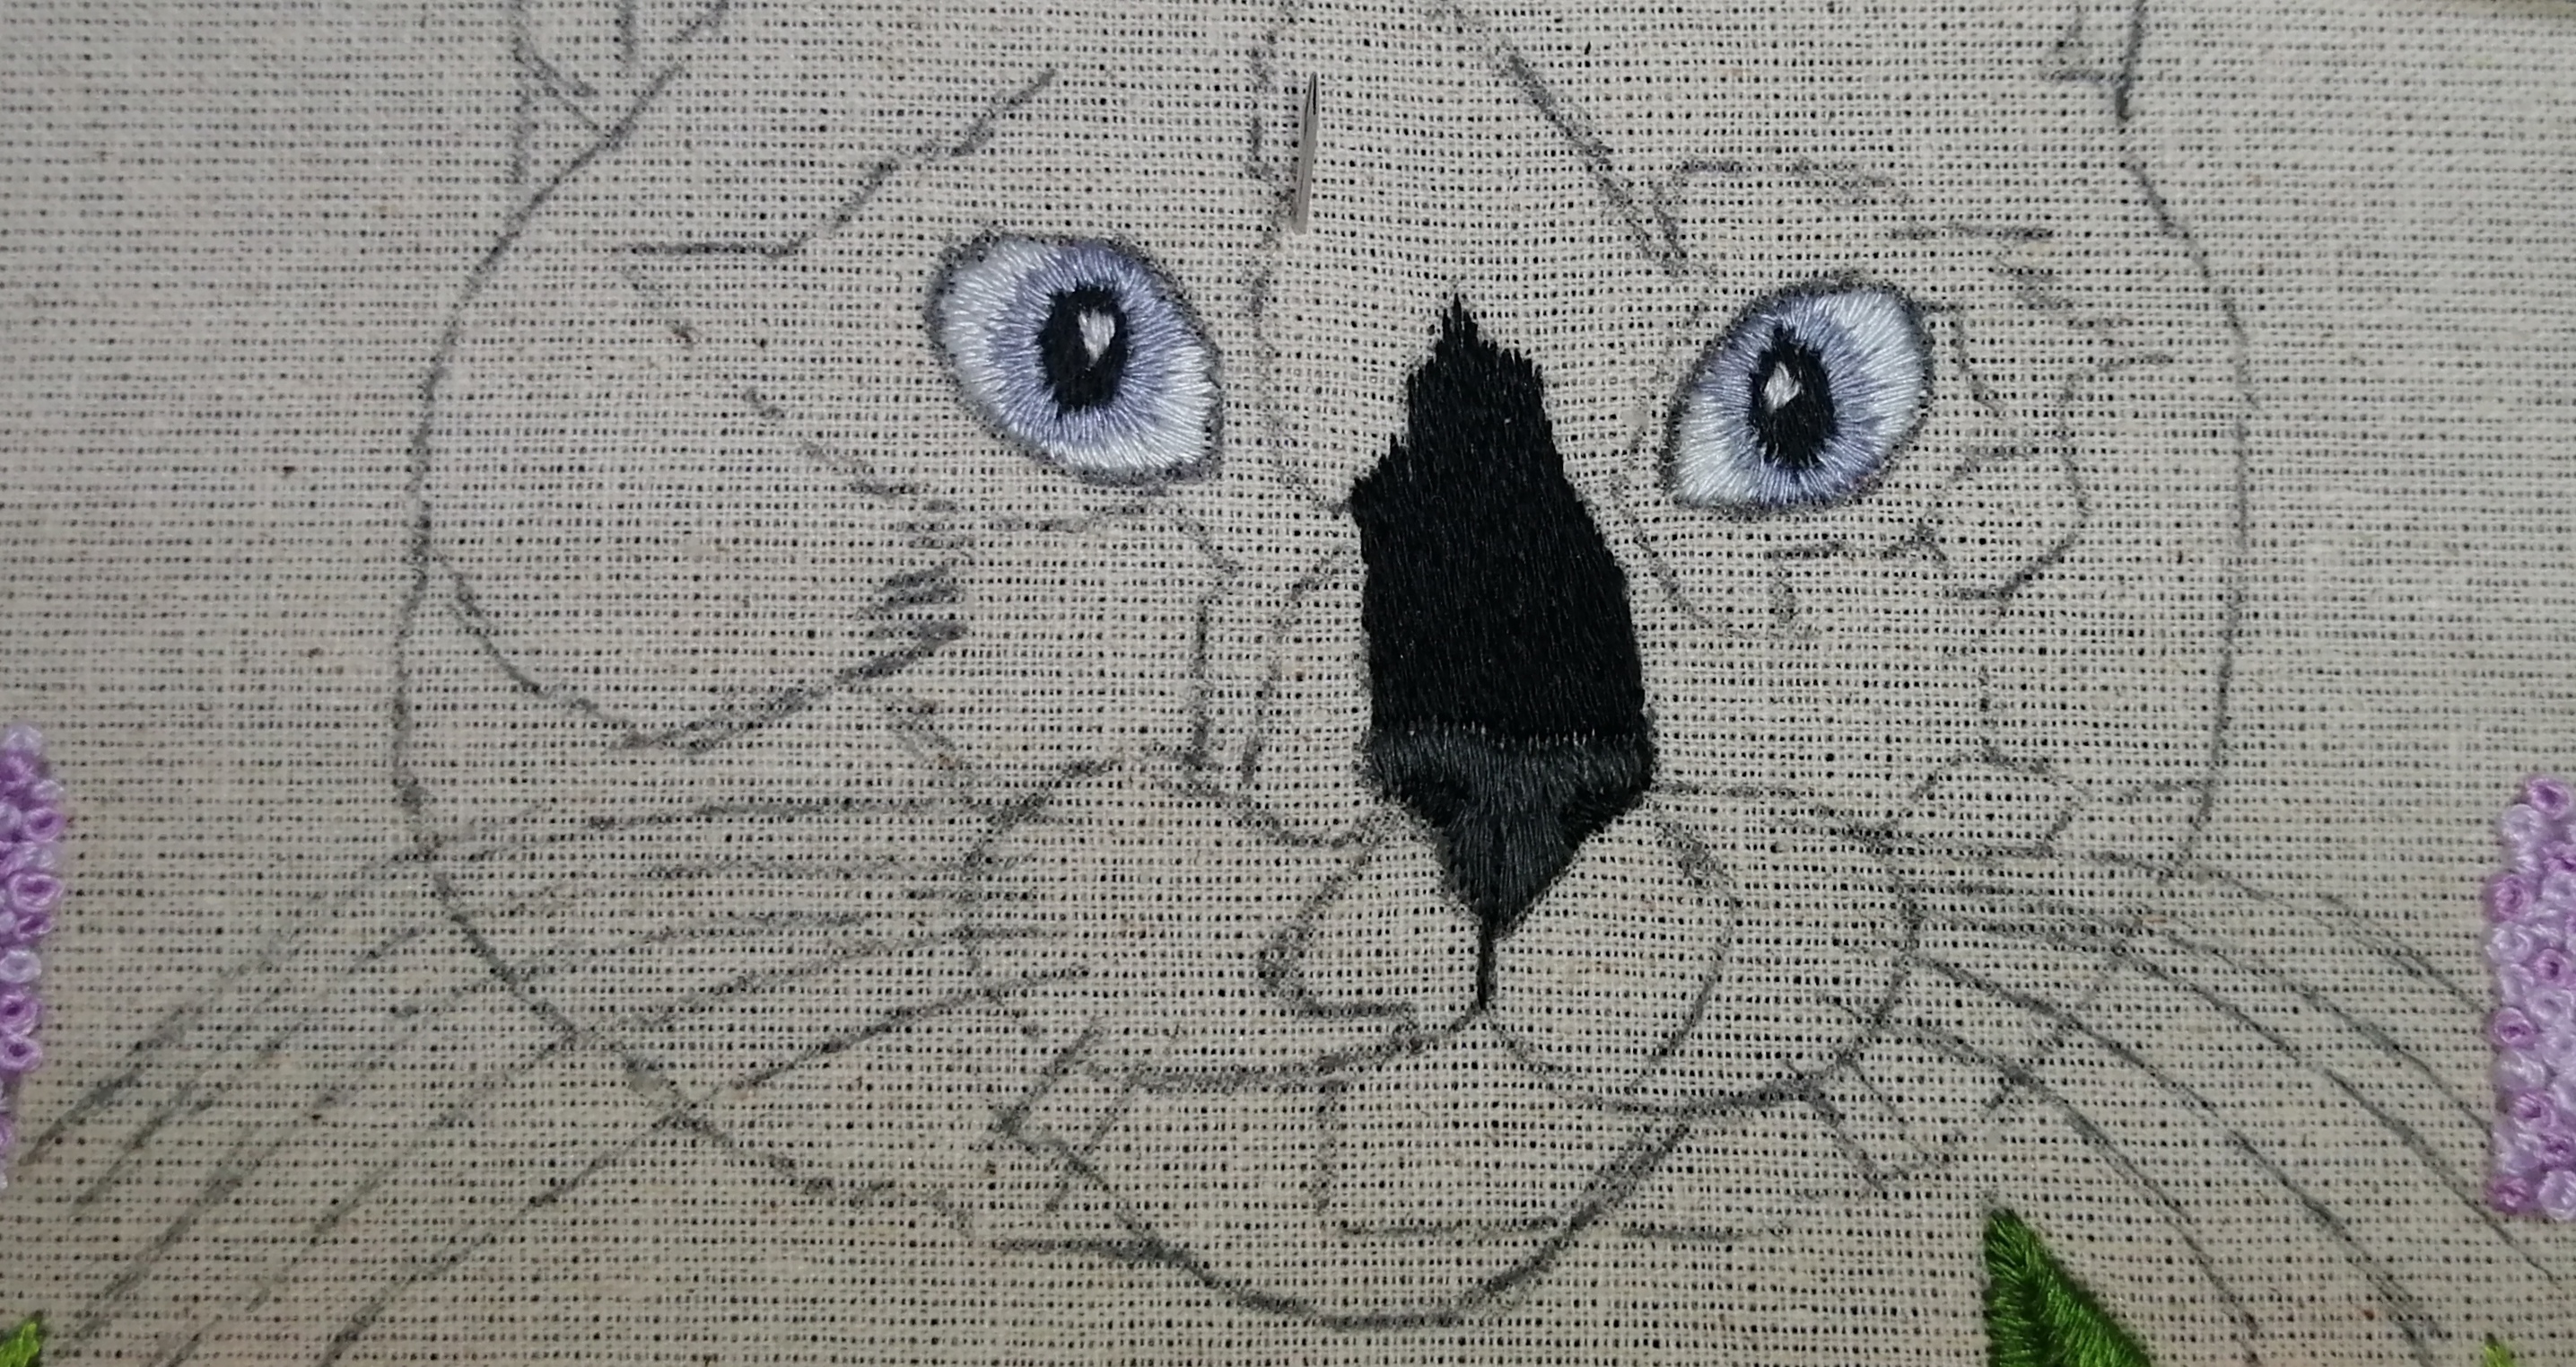
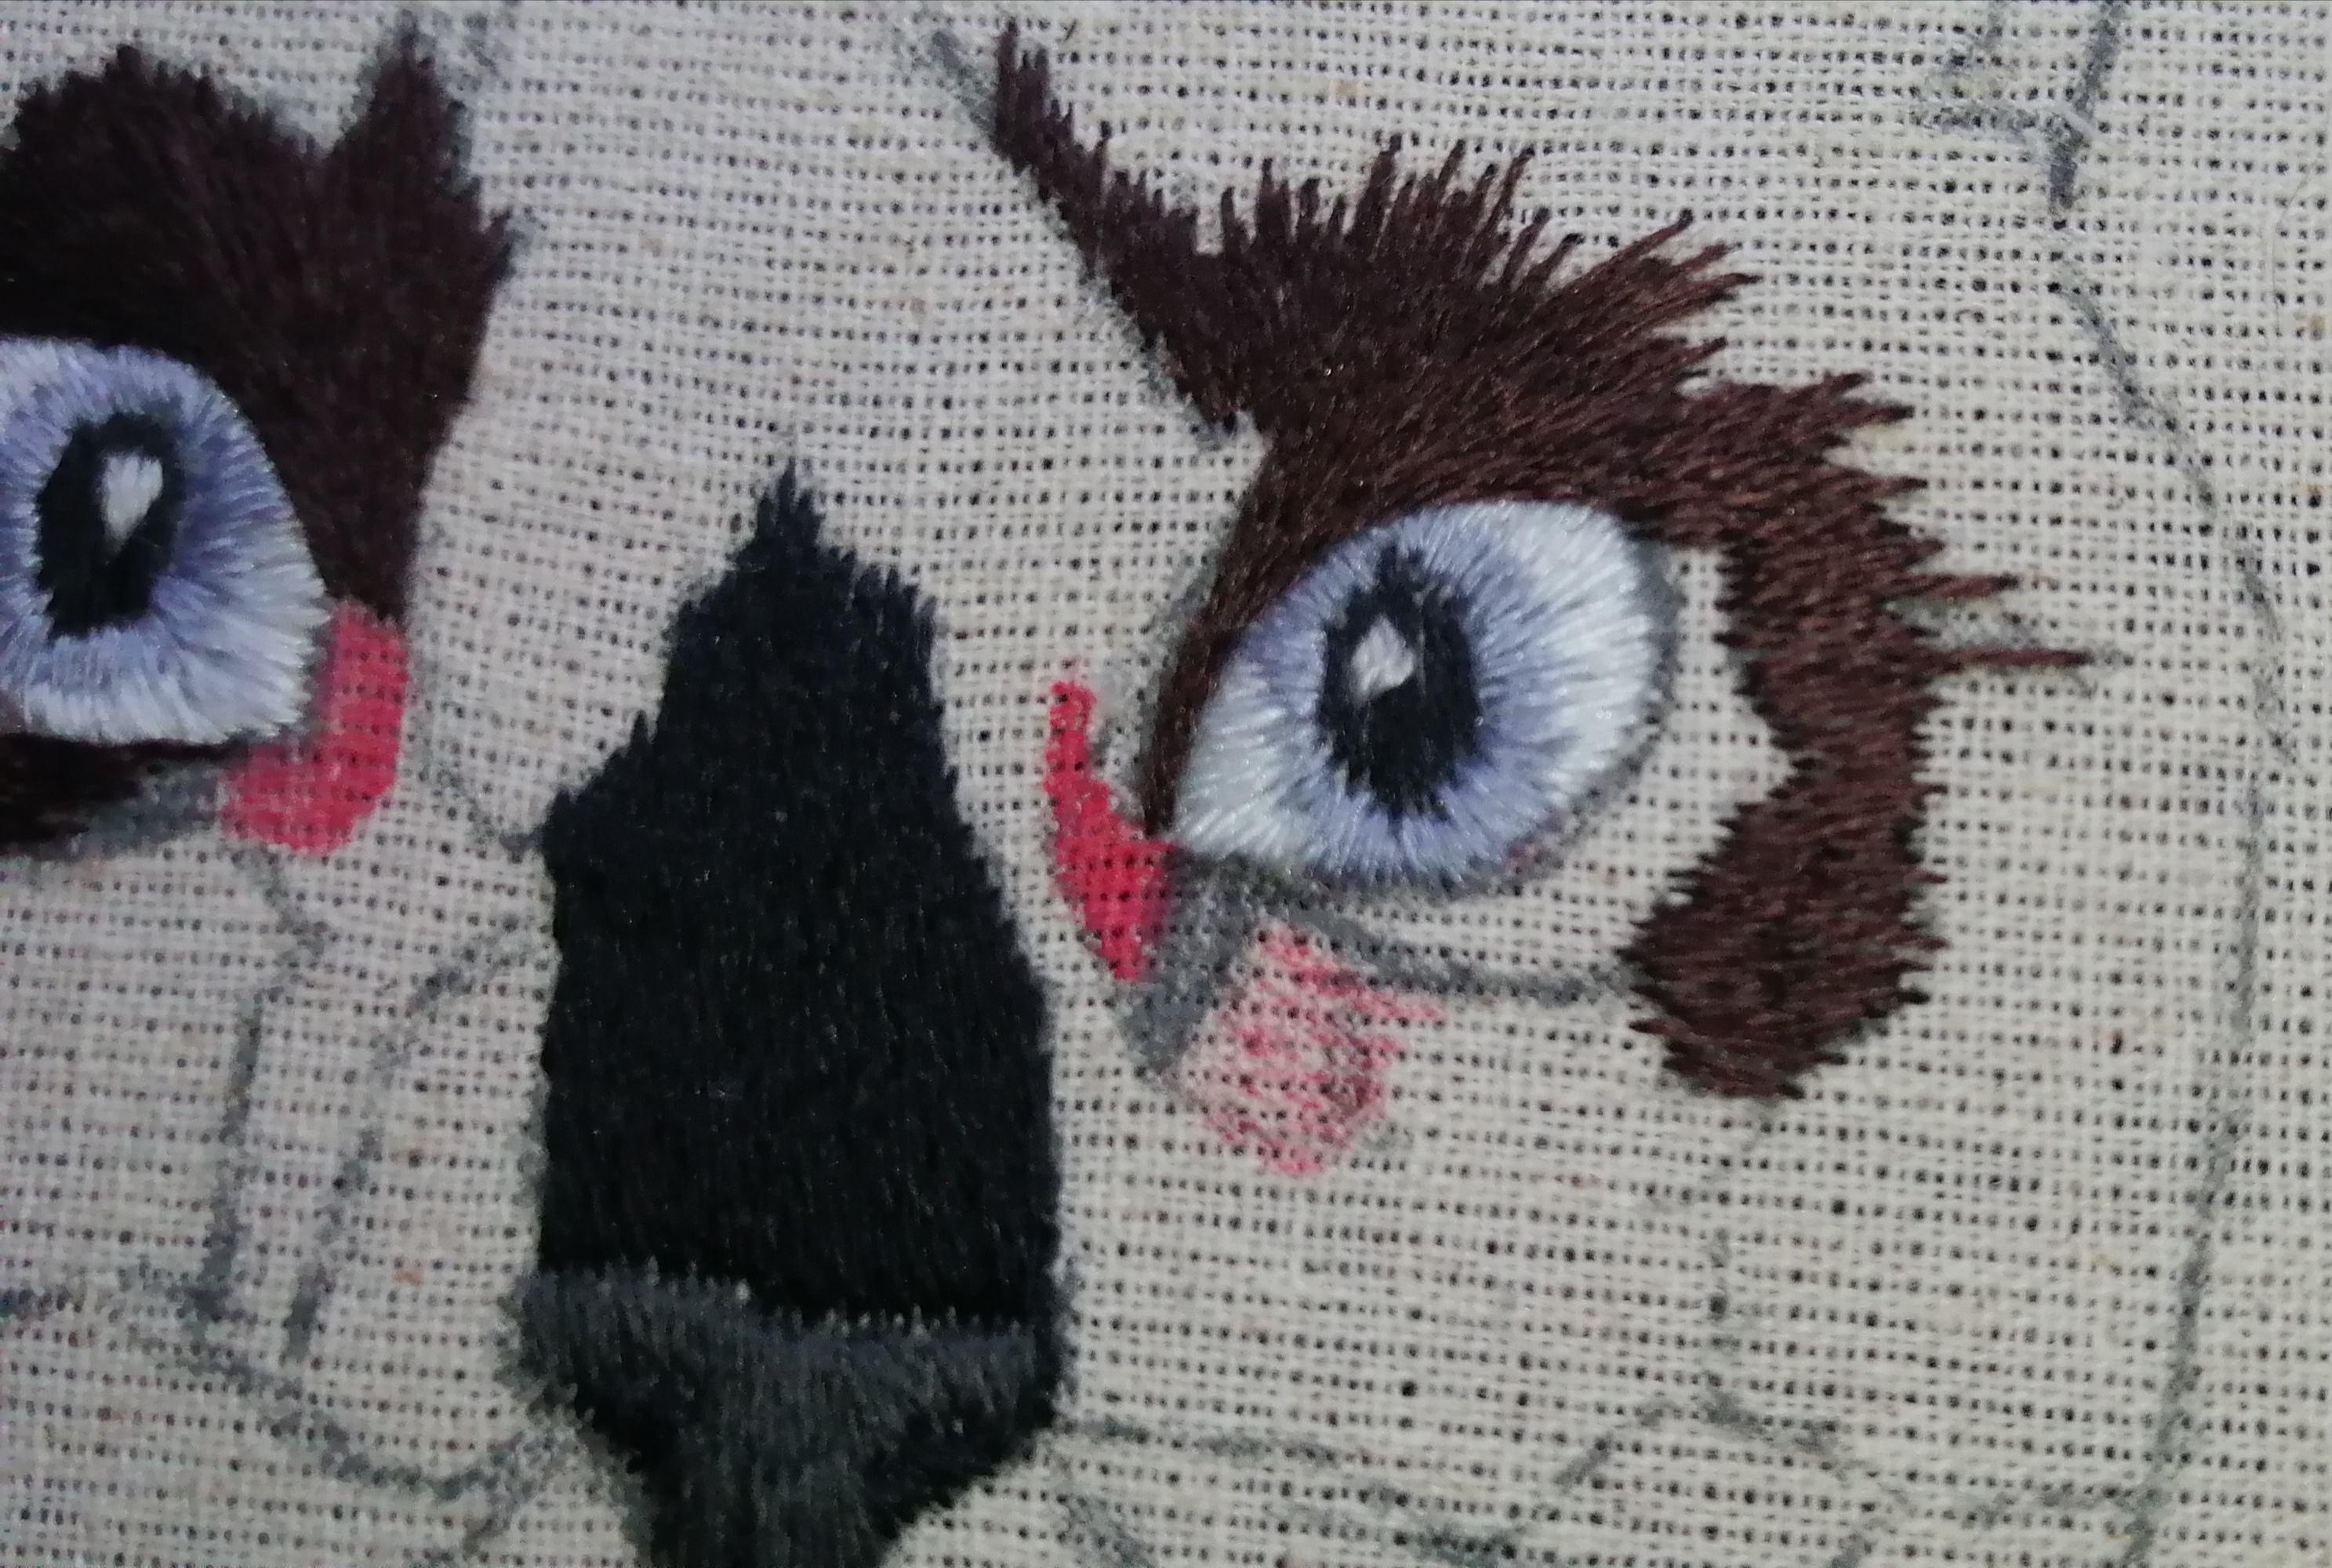
Ahora nos toca la naricita, el tiene una nariz oscura,pero el pelaje de arriba de la nariz aún es más negro entonces decidí que el color de su nariz sea un gris oscuro.
He has a dark nose, but the fur on top of the nose is even blacker so I decided to make the color of his nose a dark gray.
|
|
|
|
|
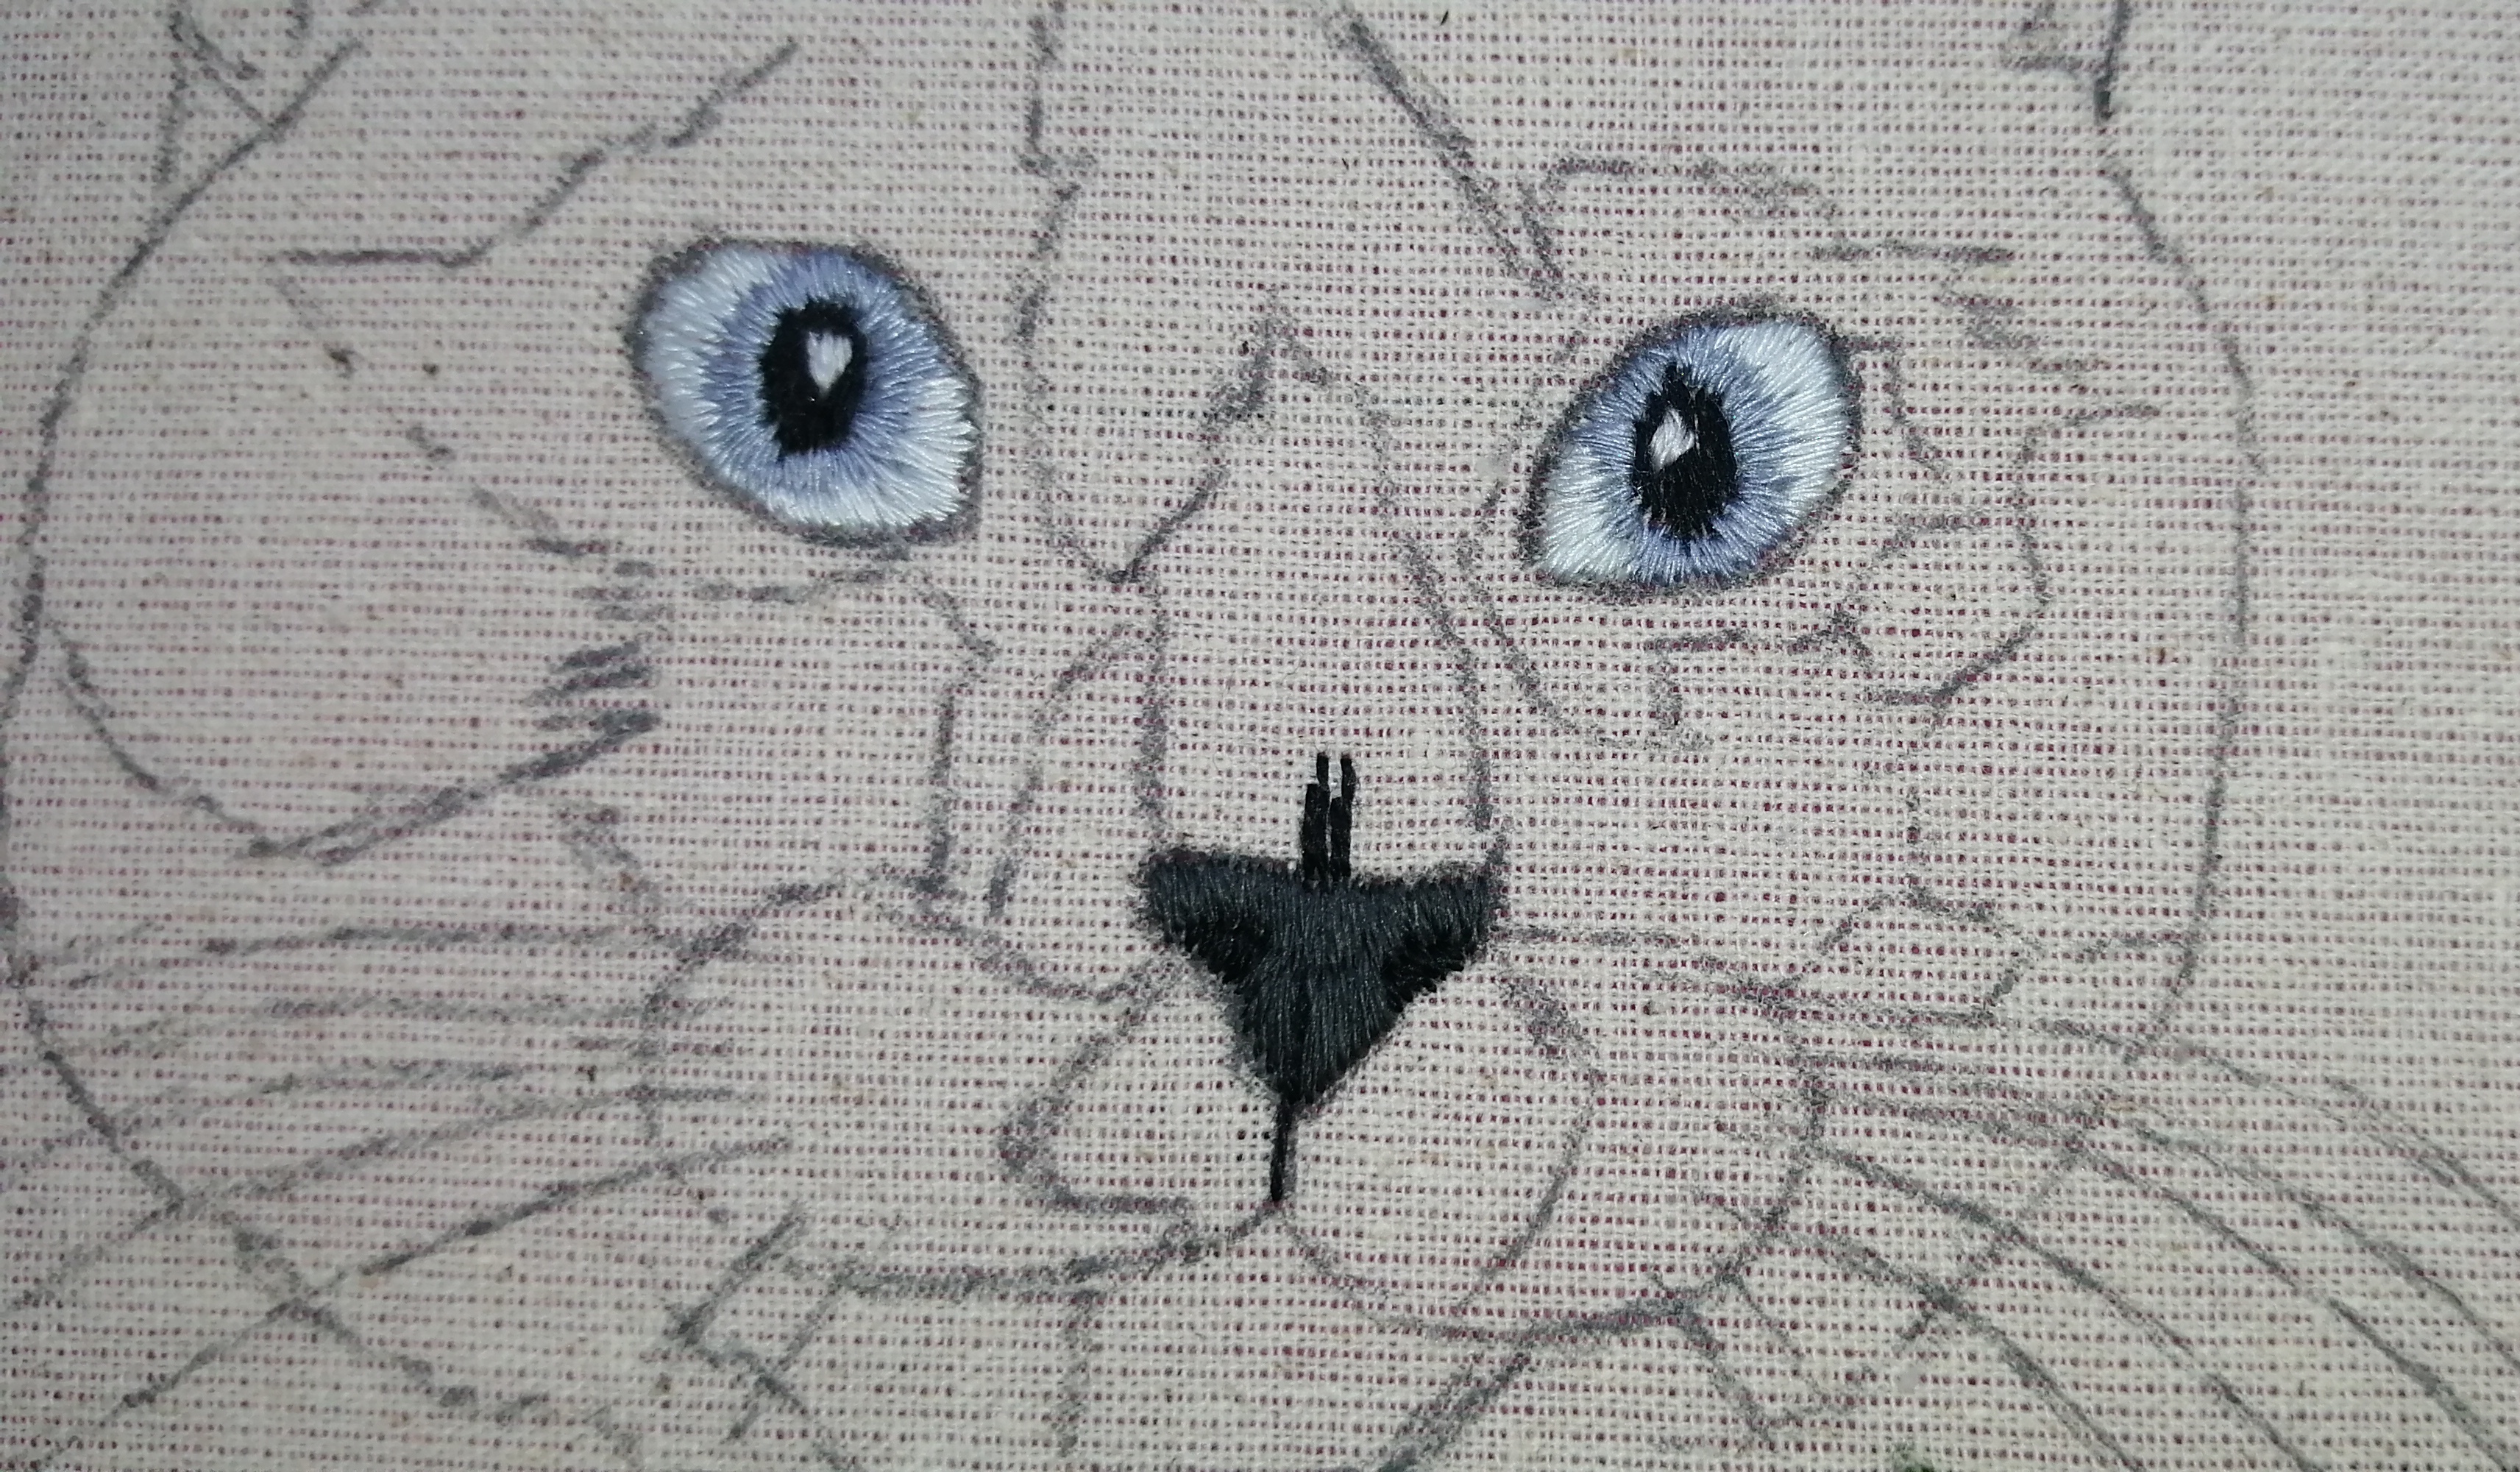
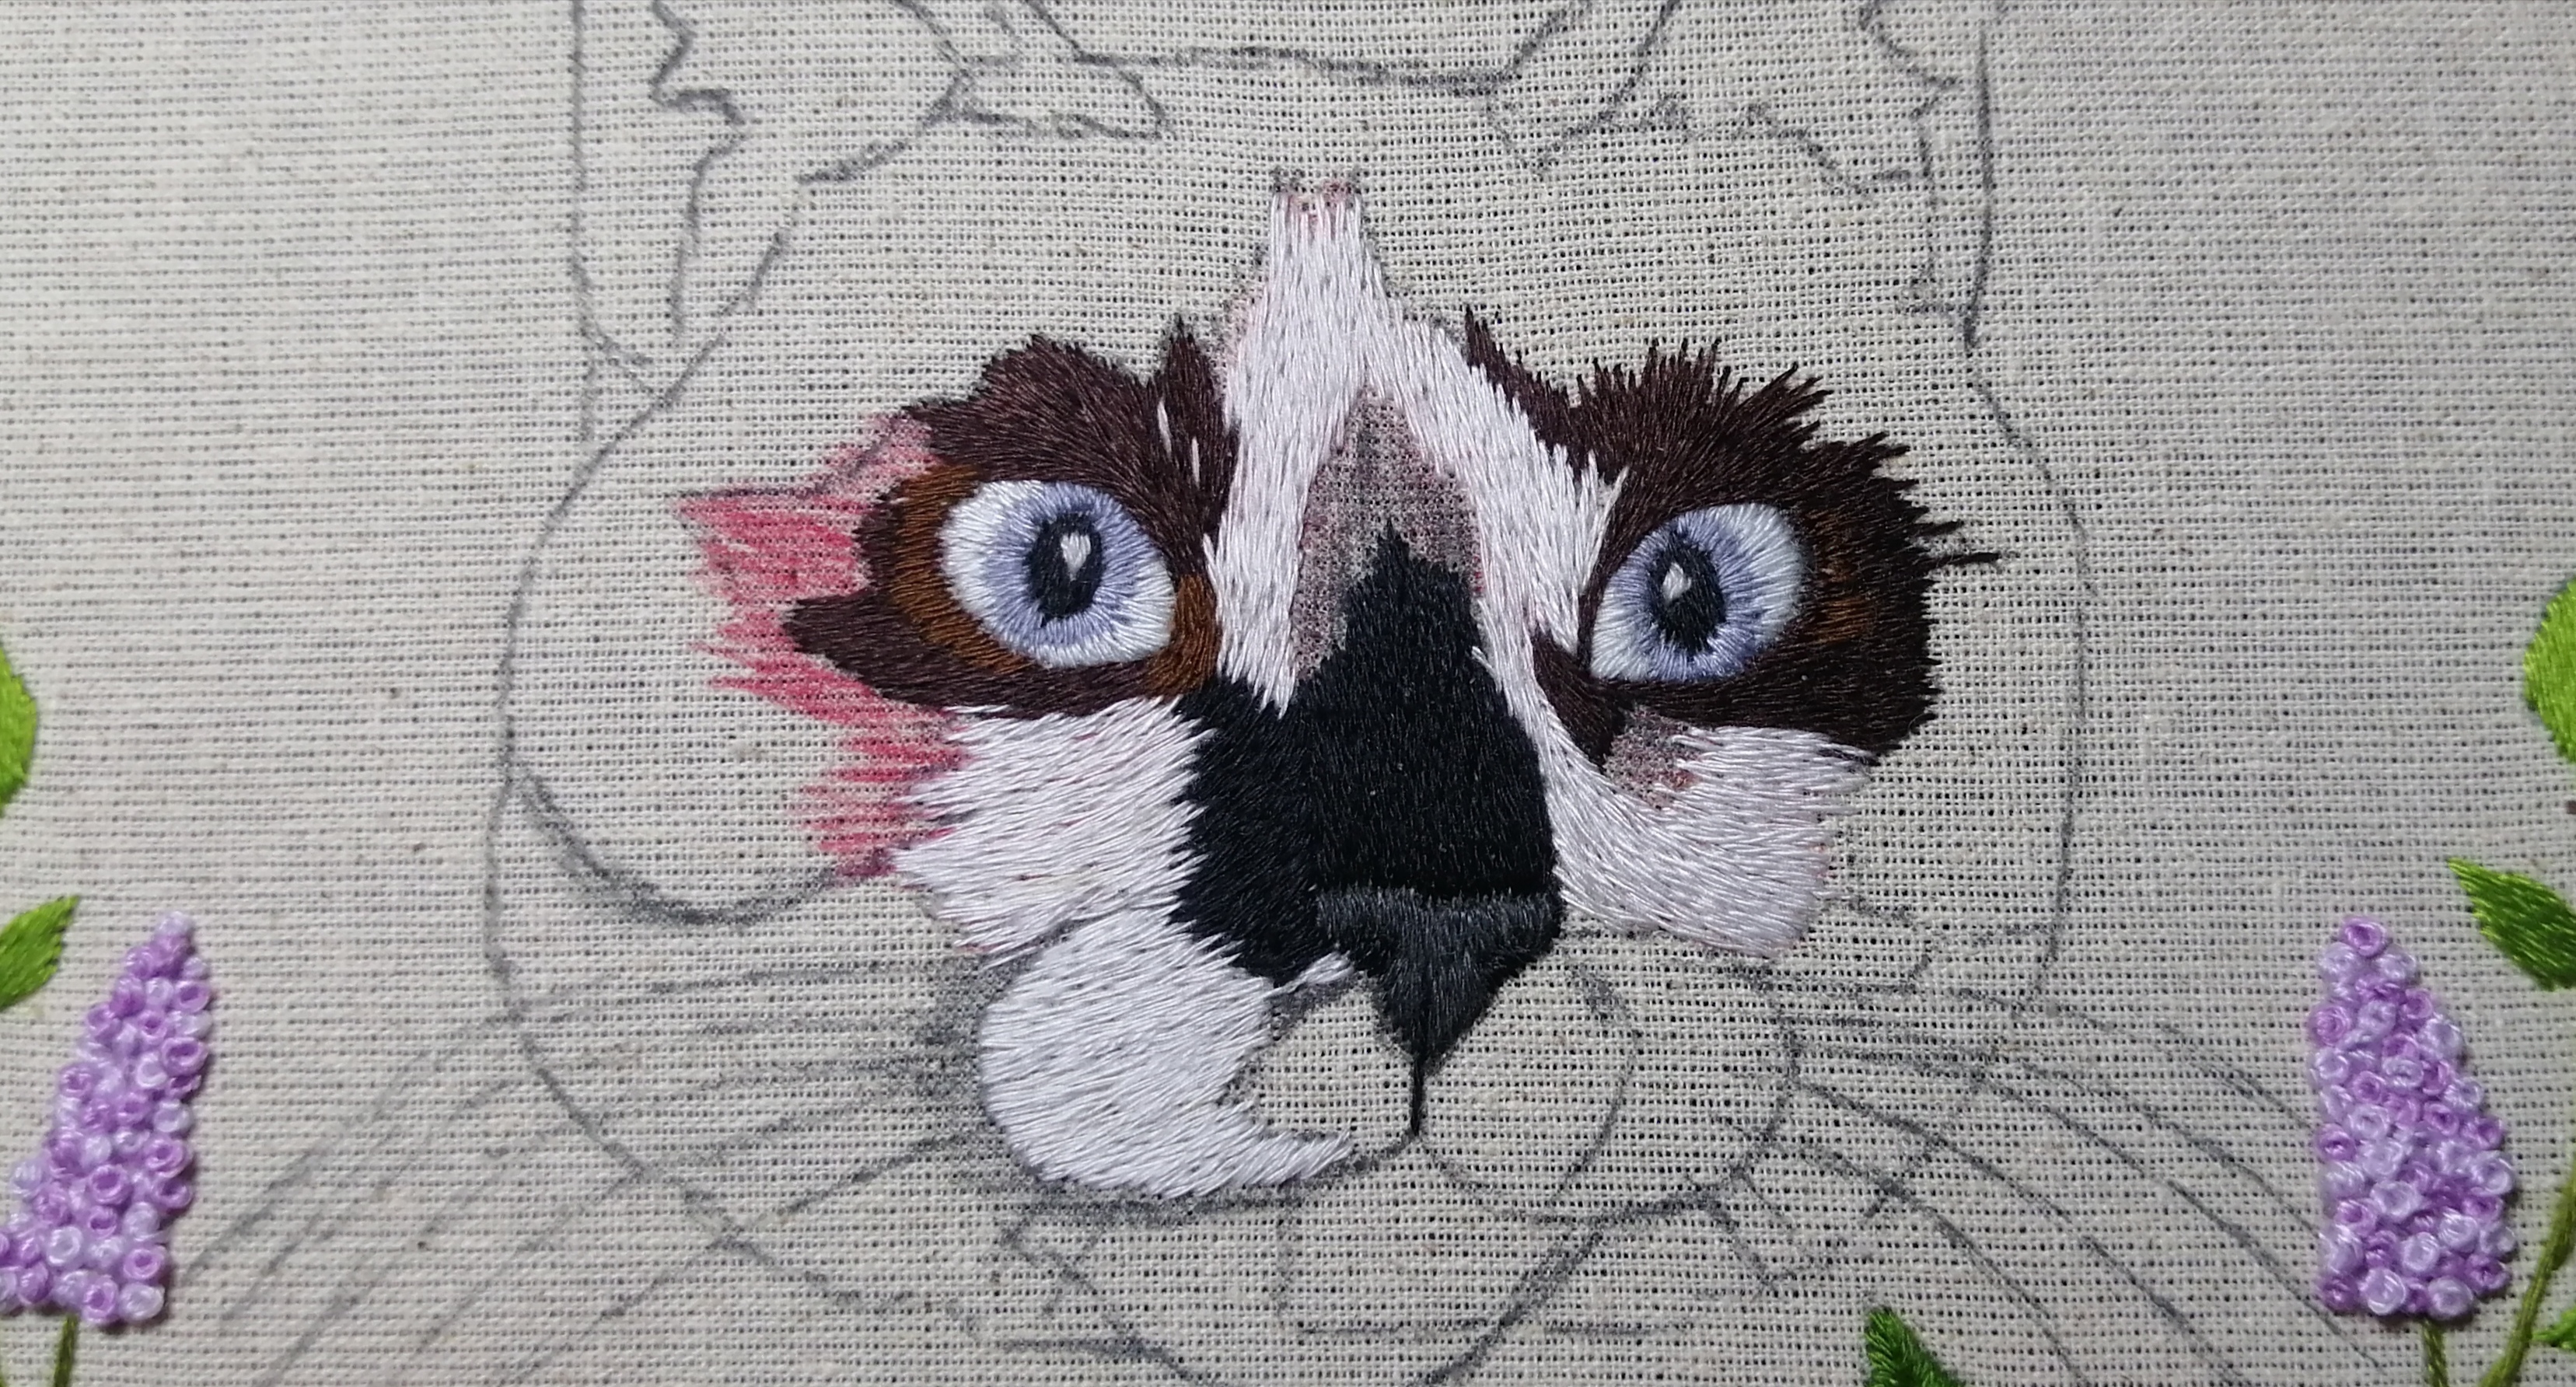
Rellenamos el pelaje de arriba de su nariz con un negro intenso, es una puntada básica de relleno pero debemos seguir la dirección del pelaje. Después bordamos el pelaje de alrededor de sus ojos.
He has a dark nose, but the fur above the nose is even blacker so I decided to make the color of his nose a dark gray.
We fill in the fur above his nose with a deep black, it is a basic fill stitch but we must follow the direction of the fur. Then we embroidered the fur around his eyes.
|
|
|
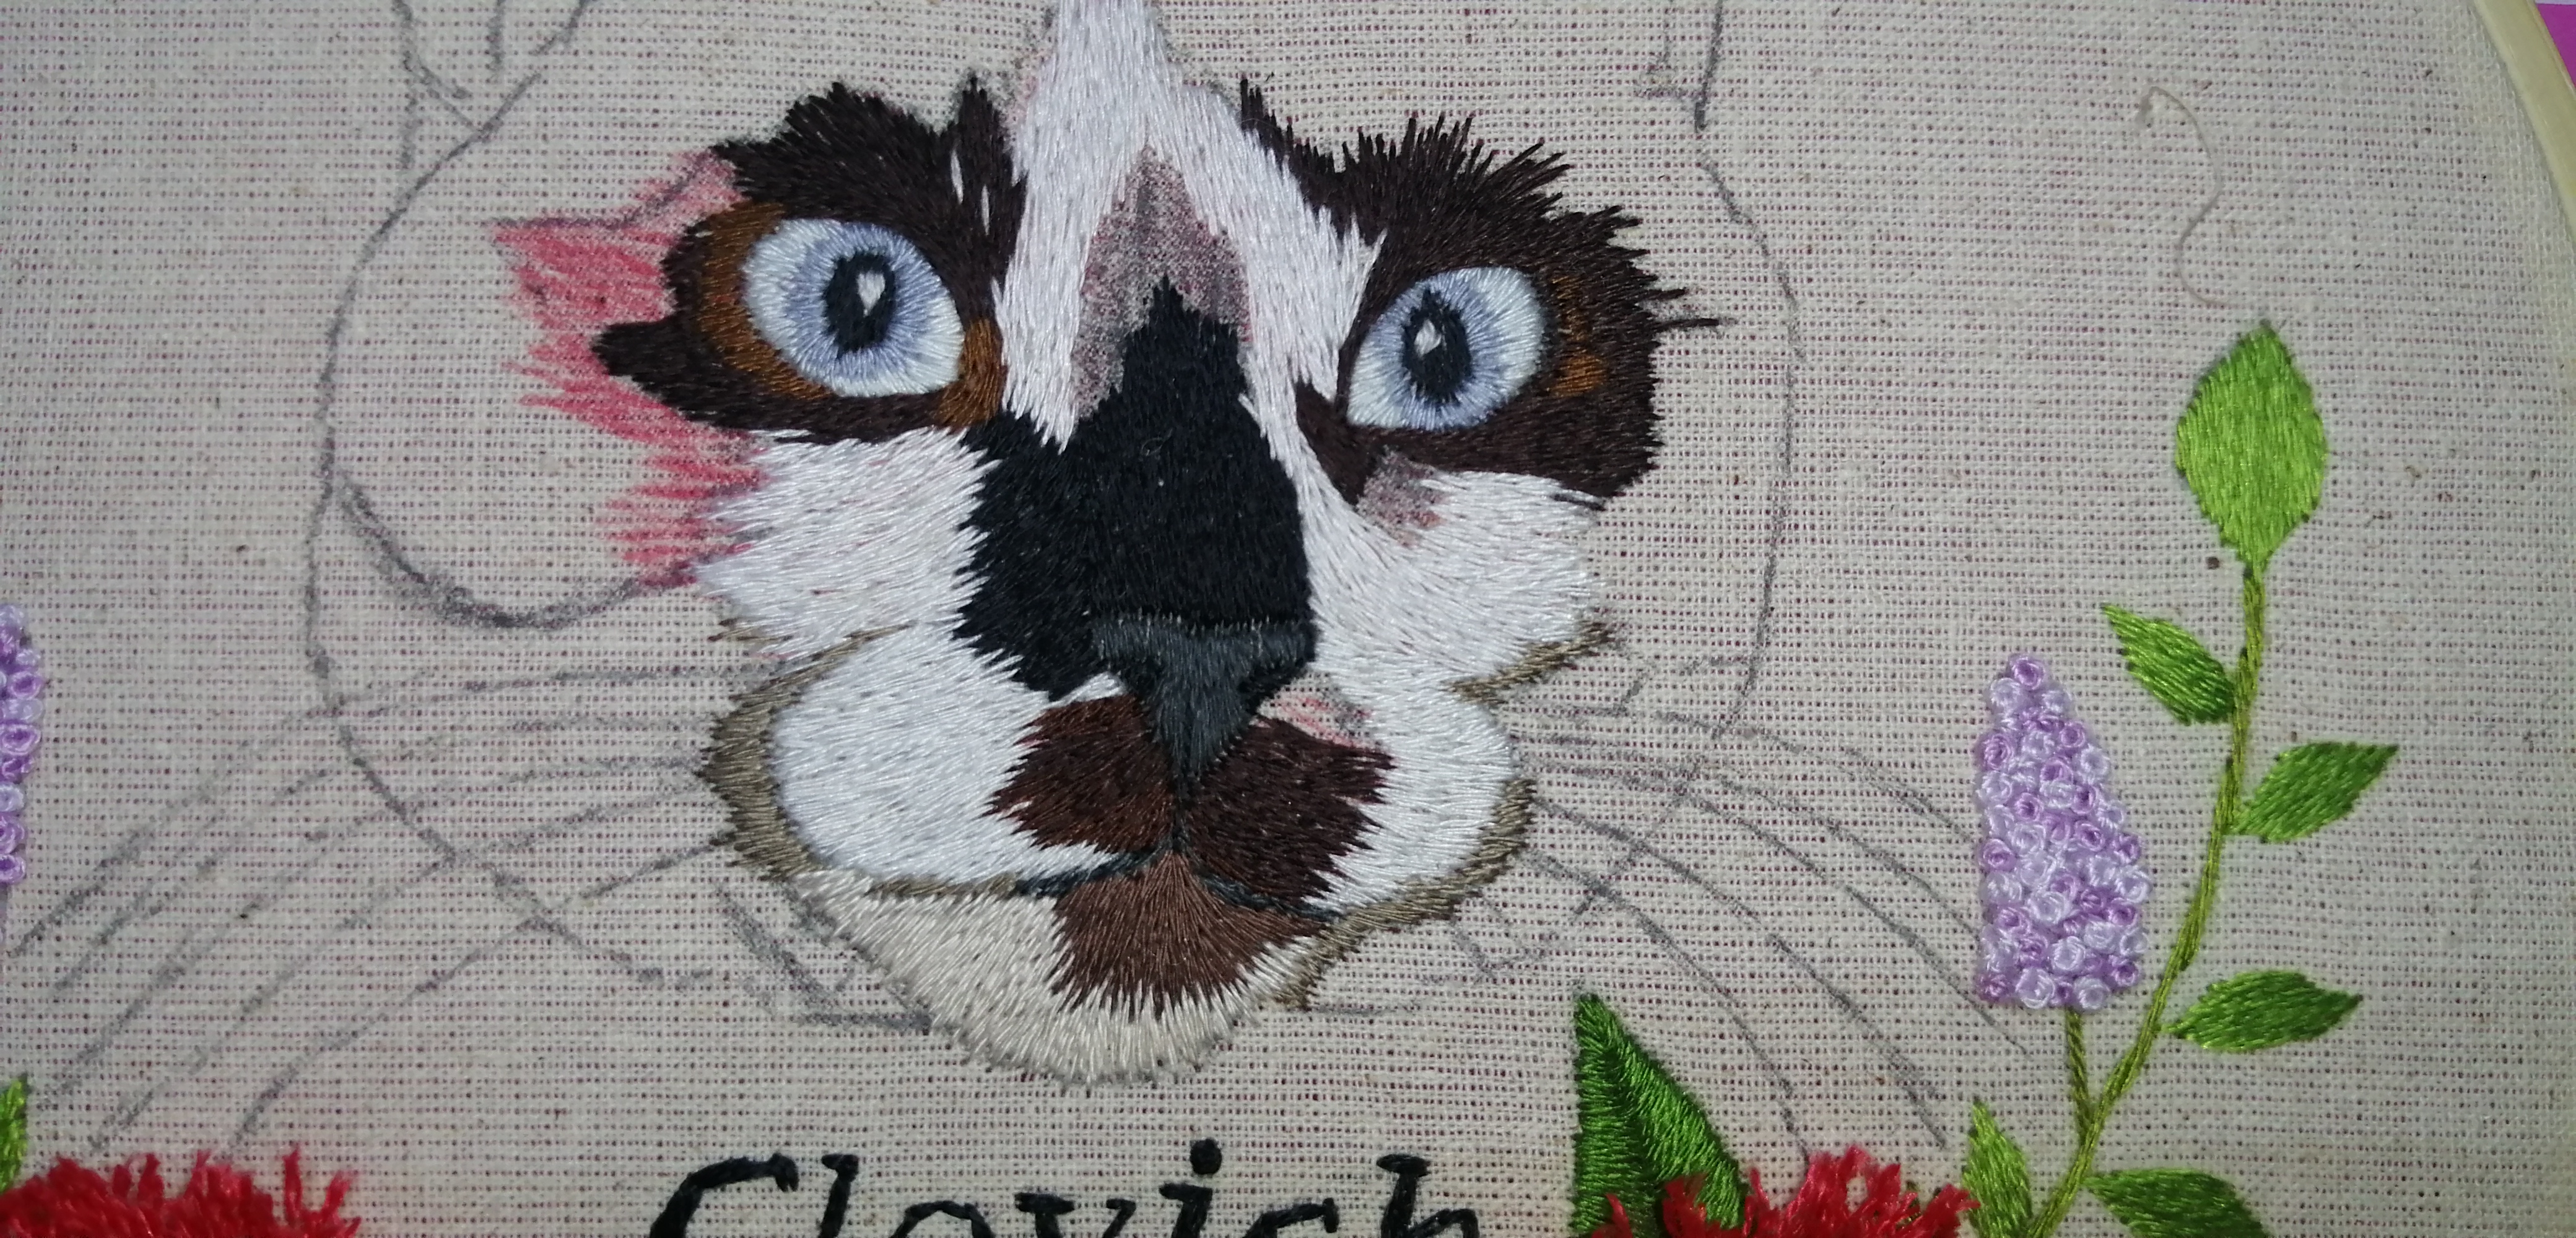
Seguimos con el rostro con su pelaje blanco, pero ojo siempre debemos buscar un tono más fuerte o con más luz en sus pómulos para resaltar esta zona y lo detrás más opaco para que esto le dé profundidad a nuestro trabajo.
Este pequeño tenía unos pómulos manchados, para esto ocupe un tono de café oscuro.
Para que también se marquen la boca del gatito utilice un gris oscuro y en la parte blanca un gris verdoso mucho más claro y este color lo utilice en todo alrededor de los pómulos así le damos más intensidad a su rostro.
We continue with the face with its white fur, but we must always look for a stronger tone or with more light in his cheekbones to highlight this area and behind it more opaque so that this will give depth to our work.
This little one had stained cheekbones, for this I used a dark brown tone.
To also highlight the kitten's mouth I used a dark gray and on the white part a lighter greenish gray and I used this color all around the cheekbones to give more intensity to his face.
|
|
|
Ahora seguí con su mentón que tiene café y un blanco un poco más oscuro. Esto le da sombra al trabajo para que el gatito no quede con una cara aplastada y parezca un plato jajajaja
Now I followed with his chin which has brown and a little darker white. This shades the work so the kitty doesn't get a squashed face and look like a plate hahahaha.
|
|
|
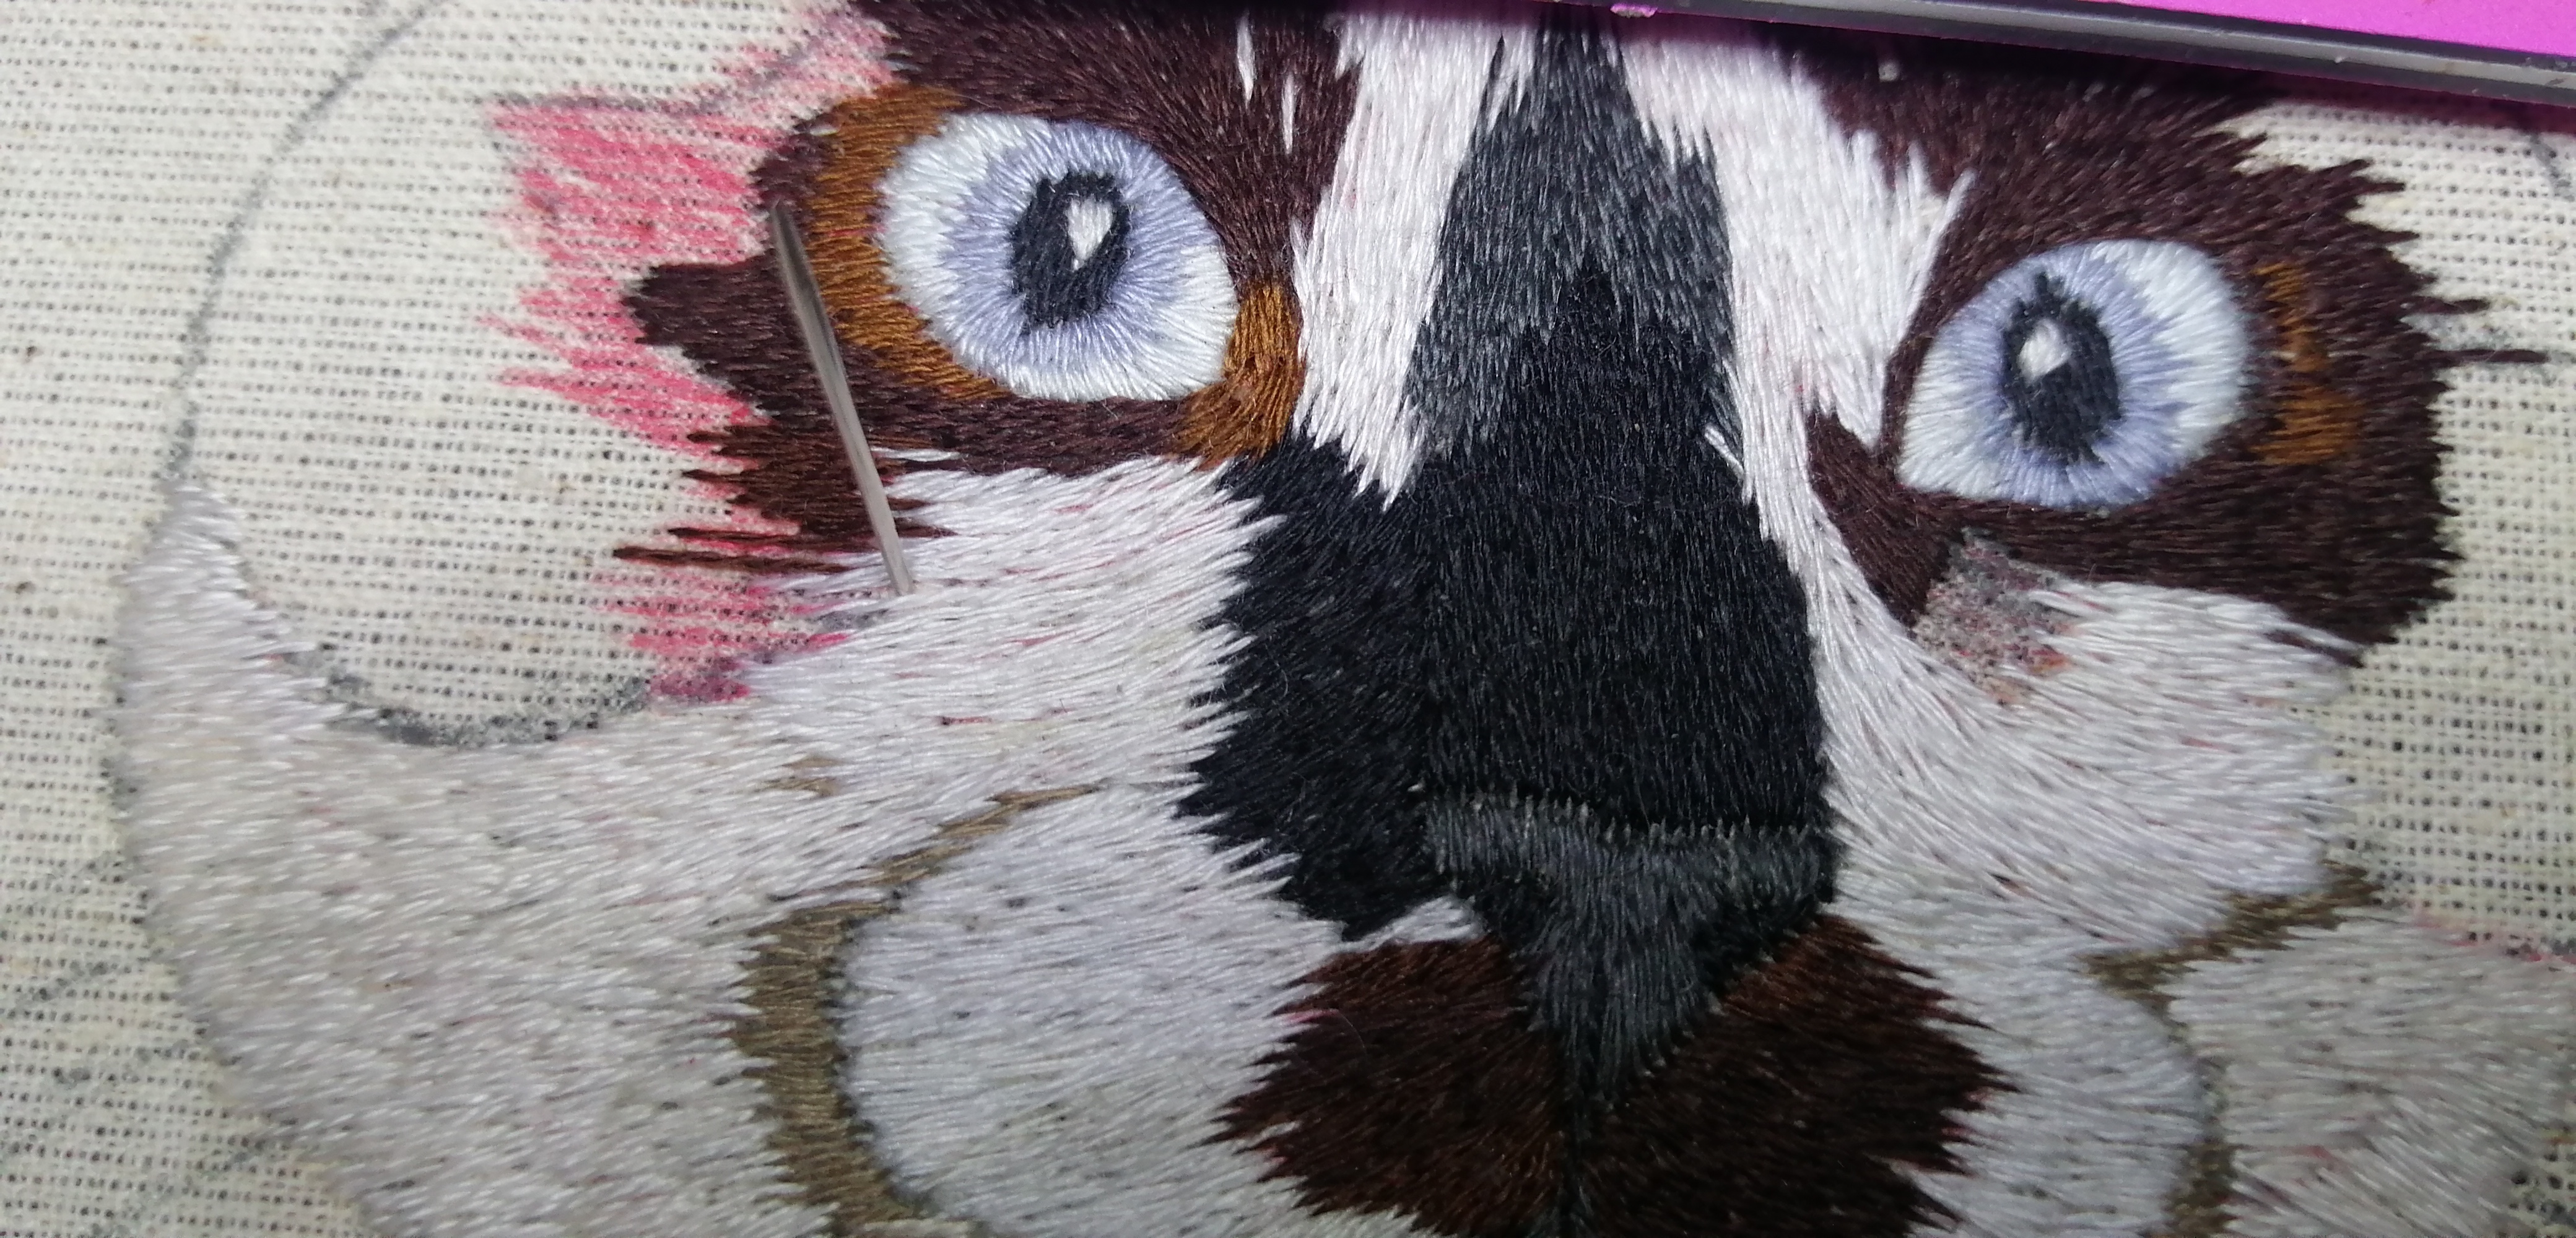
Seguimos ahora rellenando con un café más claro siempre nuestras puntadas se deben empezar entrelazandose con los demás colores.
Ya rellenamos a un costado y seguimos con el otro. Eso es lo ideal pero yo como siempre soy desordenada seguí con las orejas 😁
We continue now filling with a lighter brown color. Our stitches should always start interlacing with the other colors.
Now we fill in one side and continue with the other. That's ideal but as I'm always messy I continued with the ears 😁.
|
|
|
|
|
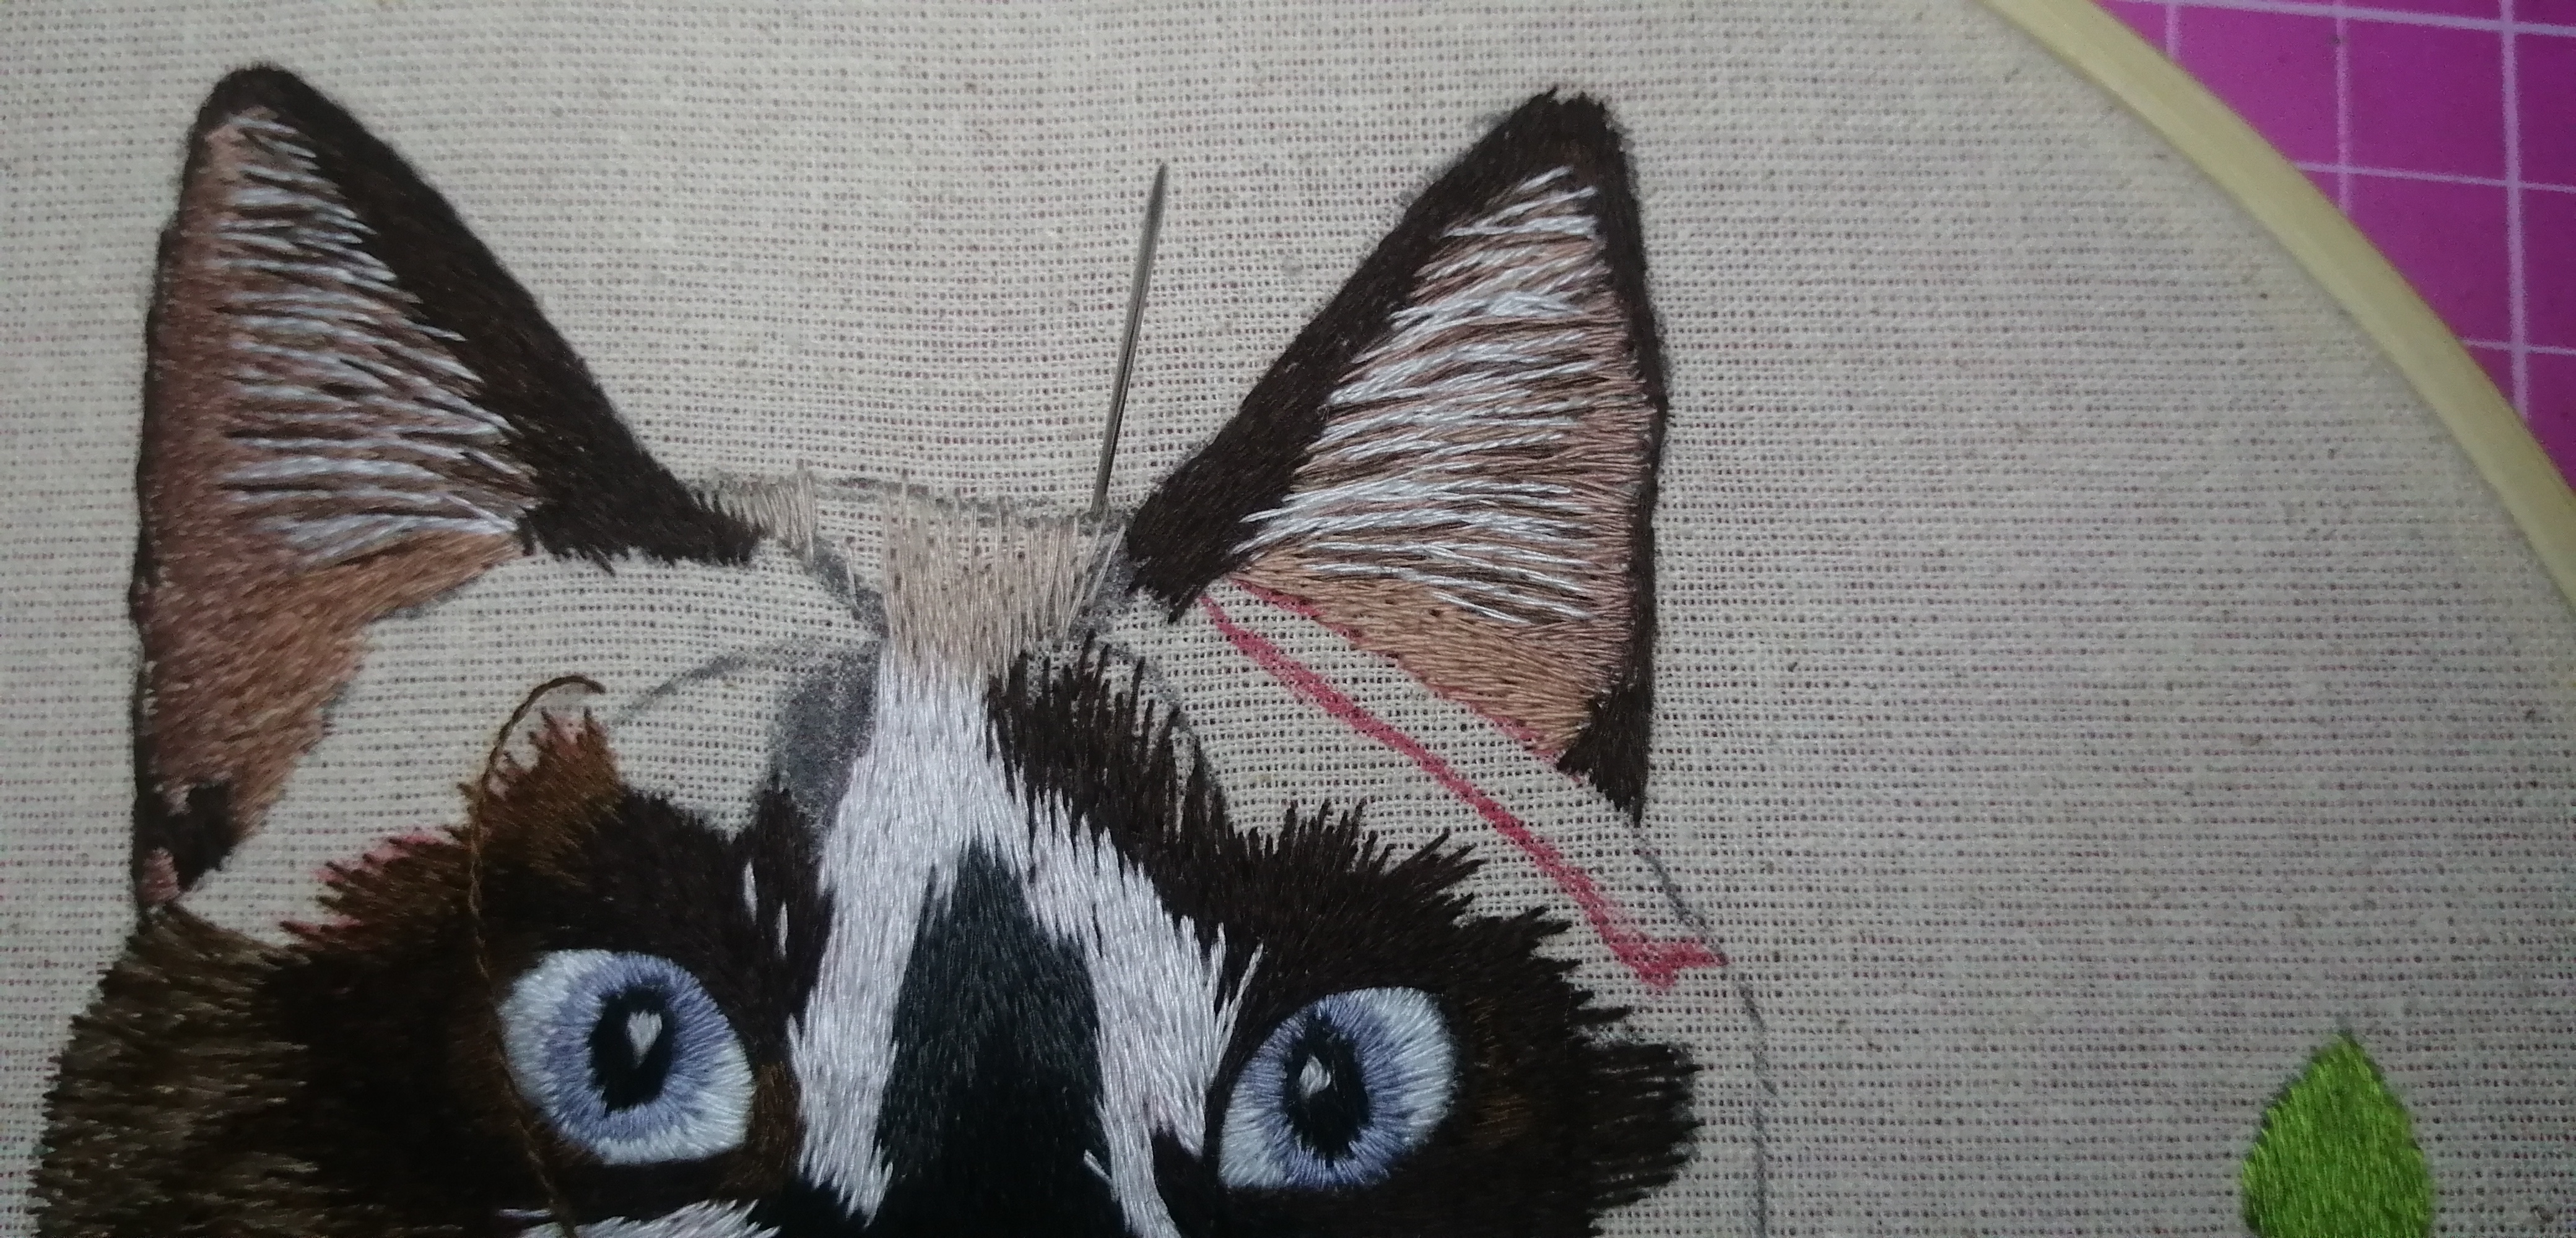
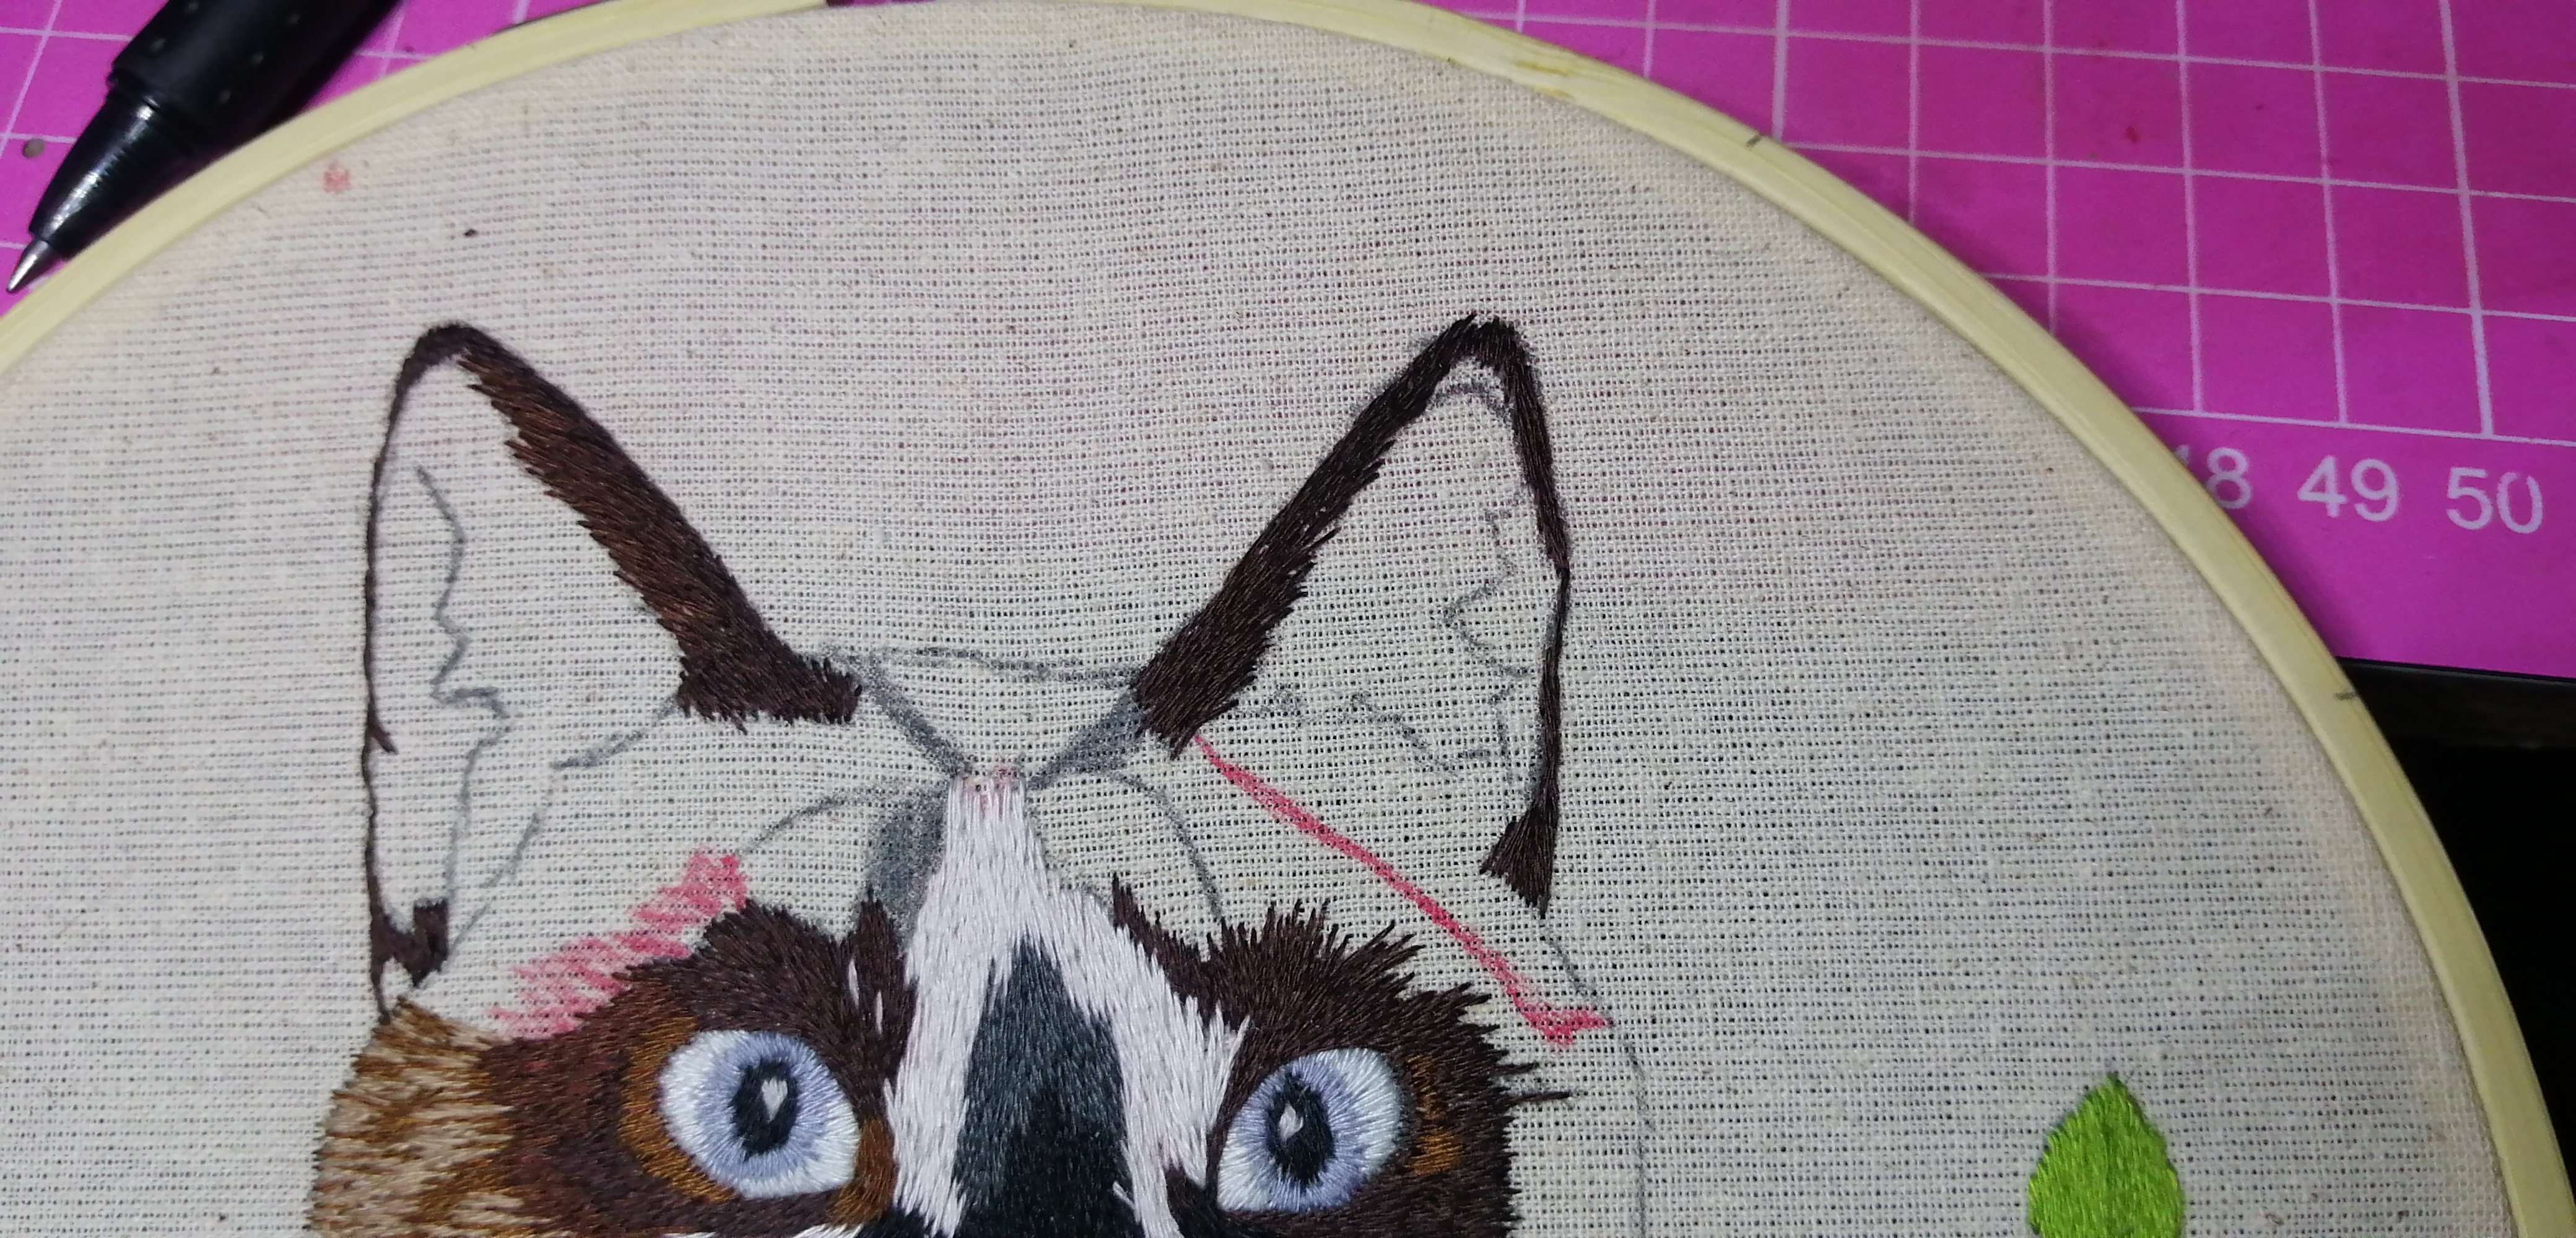
Las orejas las rellenamos con un café oscuro, y dentro con un color damasco oscuro, para luego rellenar con sus pelitos blancos y dar sombra con unos tonos más oscuros.
Aprovechamos de rellenar la frente que tiene un tono blanco café.
Rellenamos el último espacio que queda entre su rostro y las orejas con un café claro y también damos unas puntadas de blanco.
The ears are filled with a dark brown, and inside with a dark apricot color, then fill with white hairs and give shade with darker tones.
We take the opportunity to fill in the forehead which has a white brown tone.
We fill in the last space left between her face and ears with a light brown and also give a few stitches of white.
|
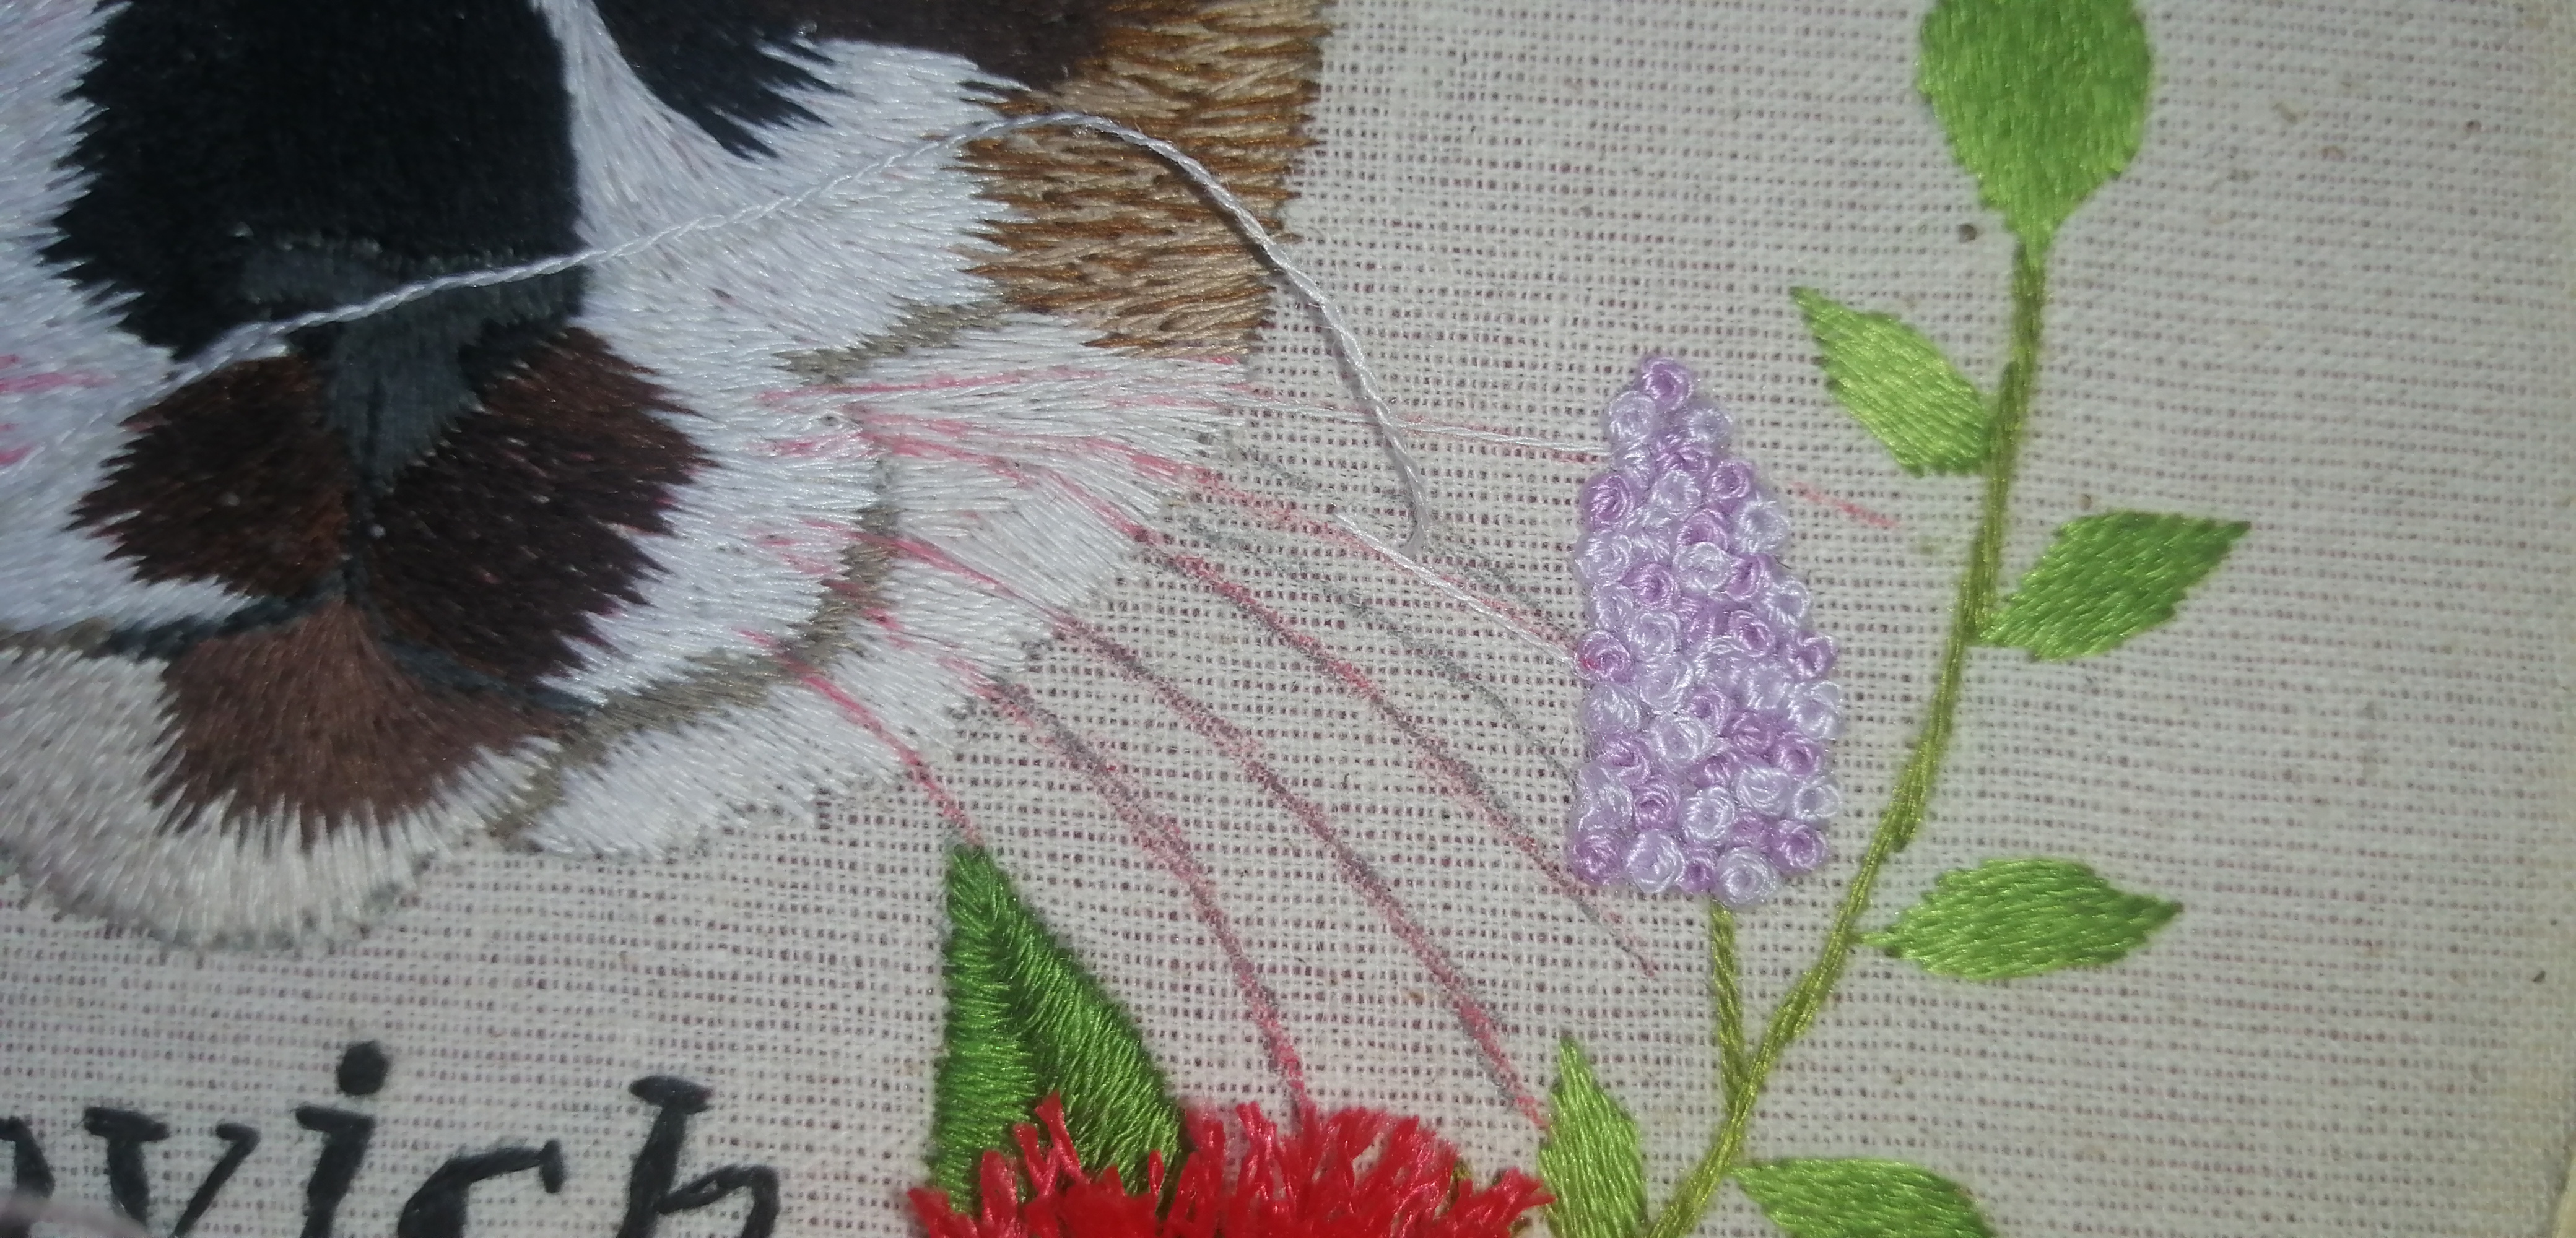
Ahora nos toca la última parte que son los bigotes.
Hacemos una puntada larga y la siguiente puntada debe ser al costado de la primera y así seguir la puntada hasta terminar todo el patrón de los bigotes. Esta puntada se hace para que así se forme un bigote con más movimiento.
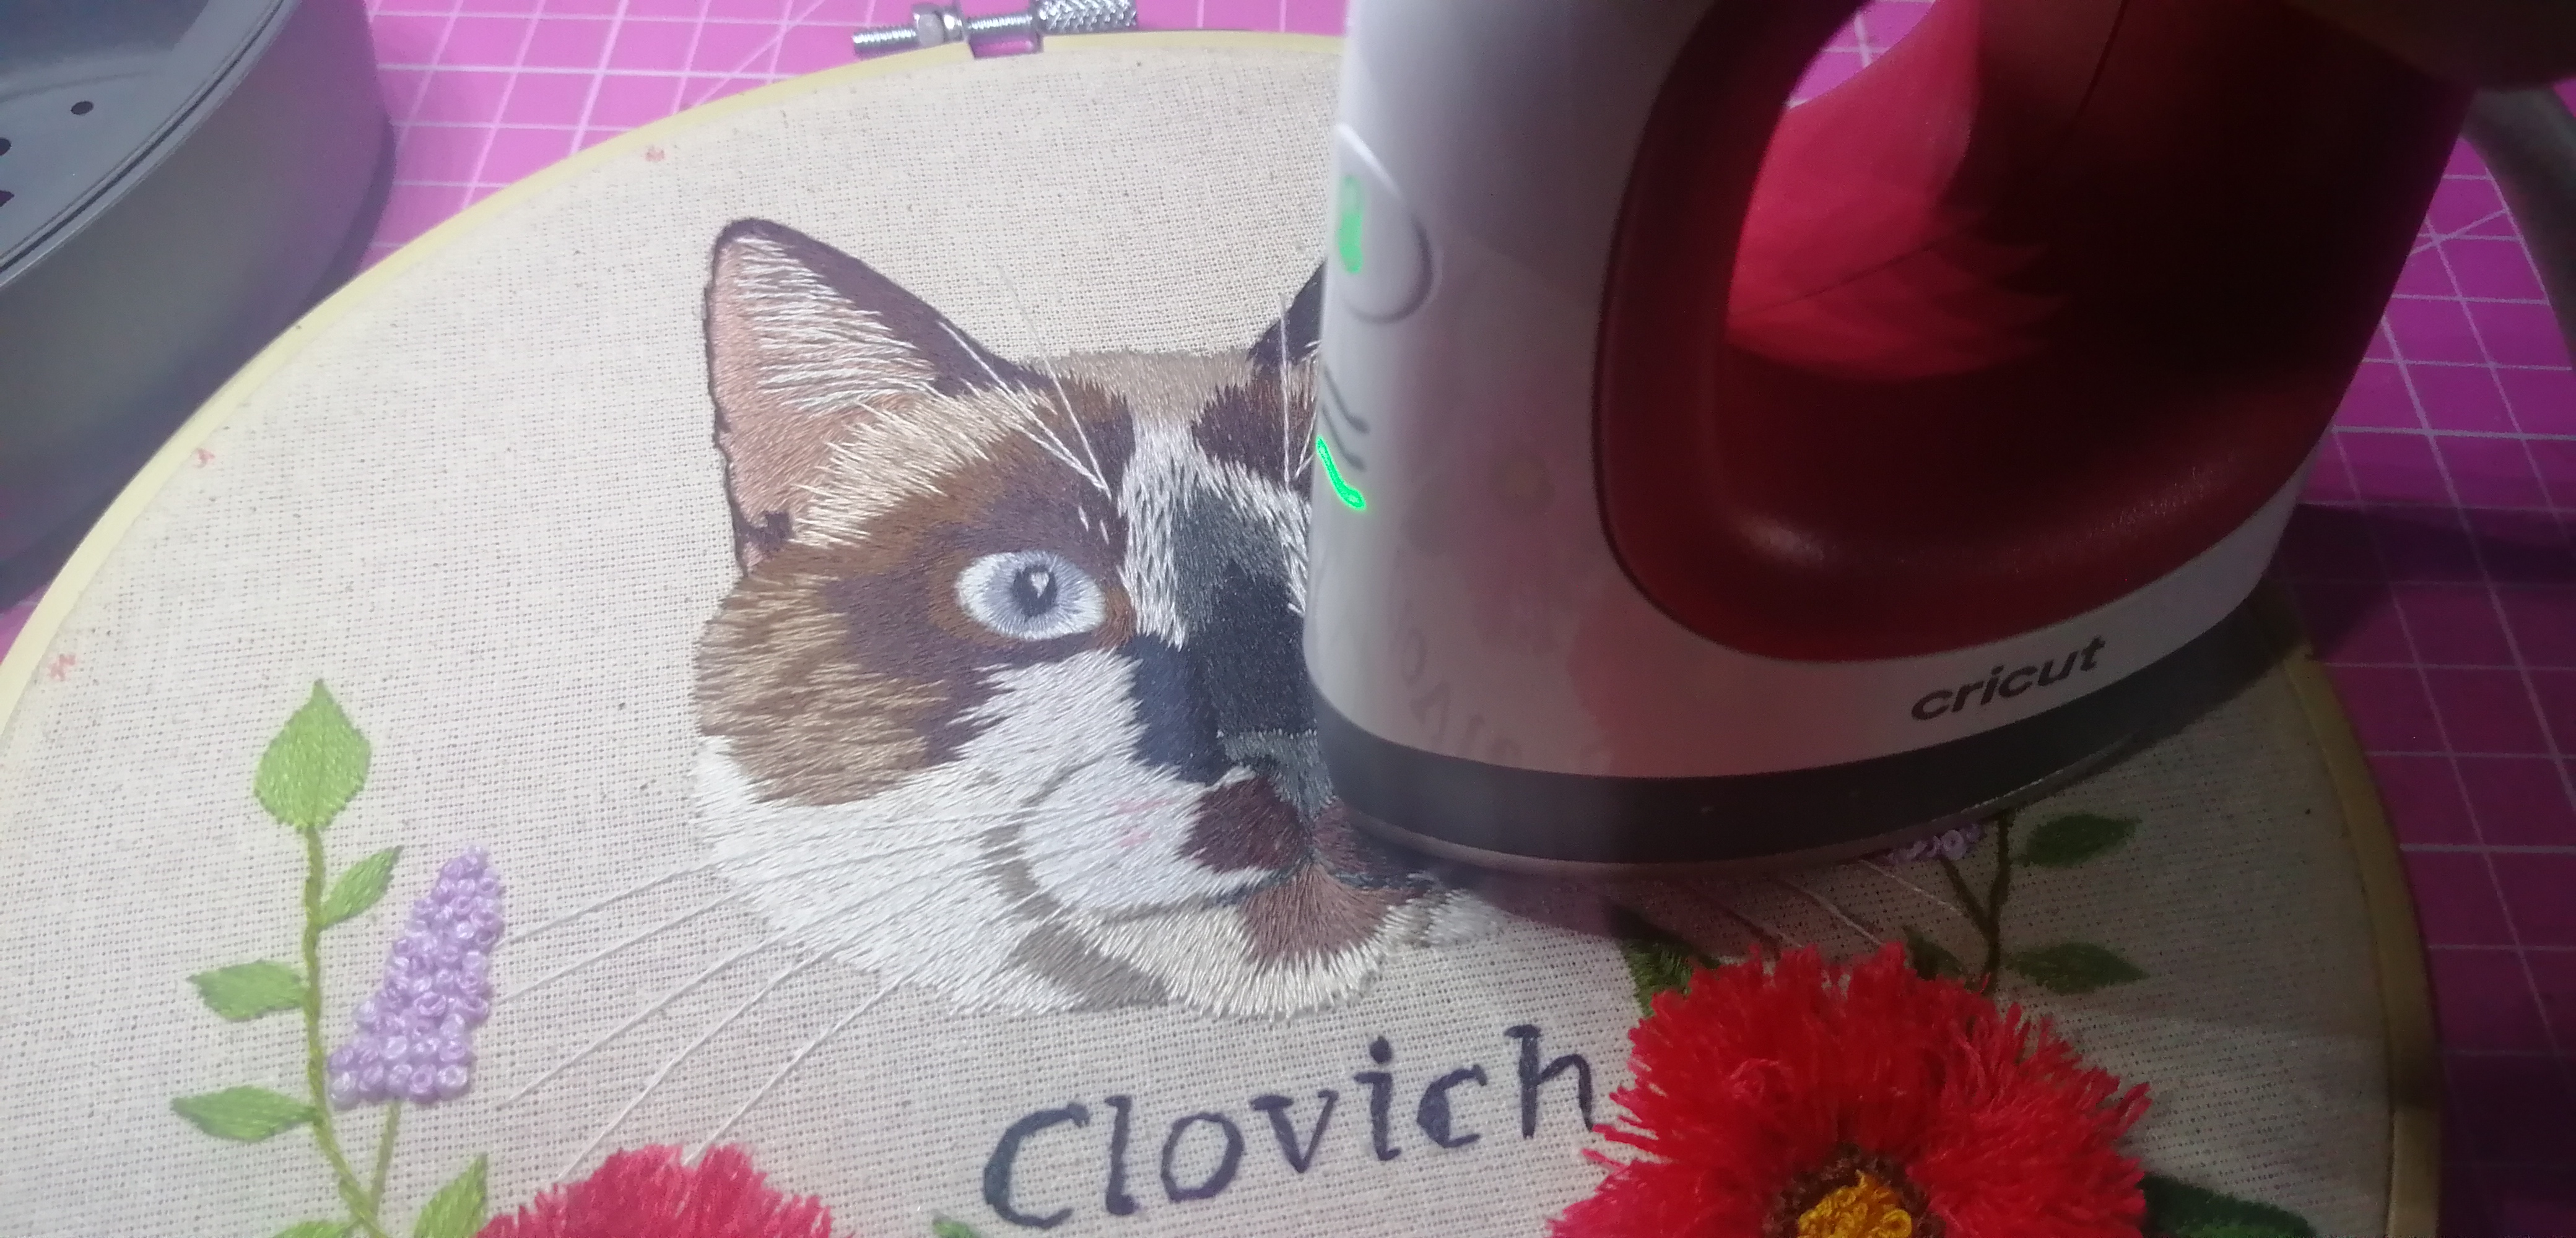
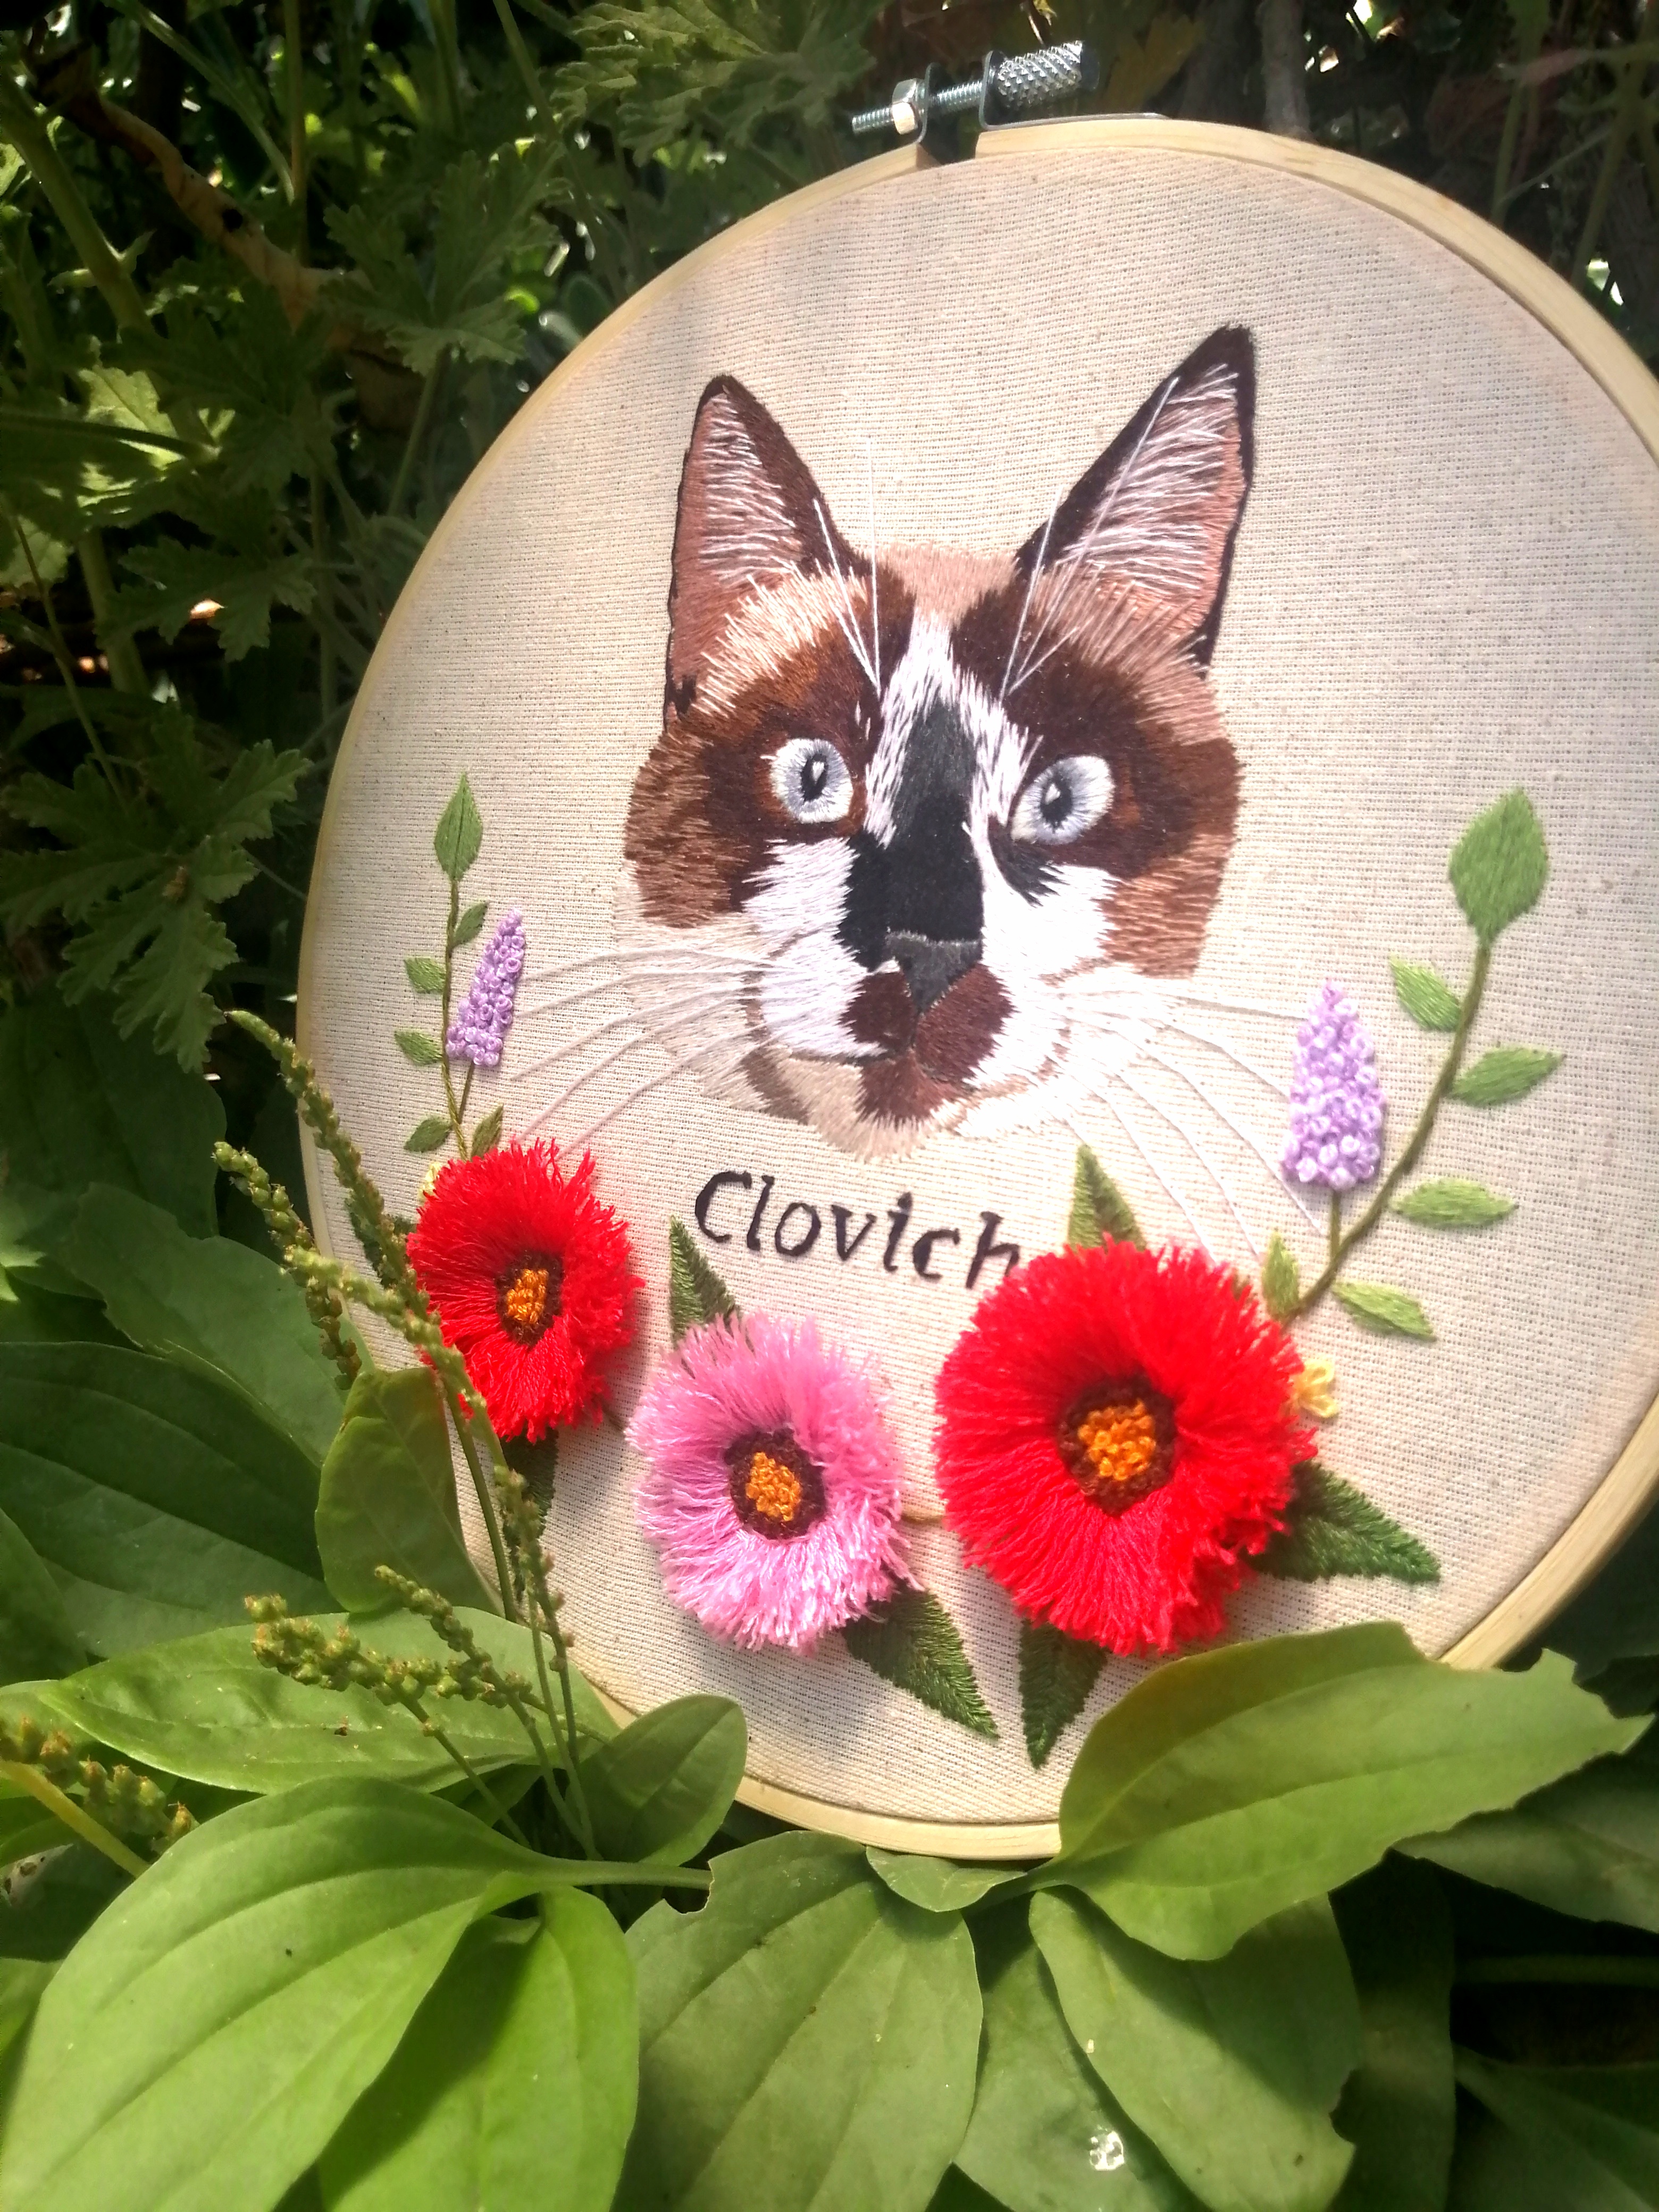
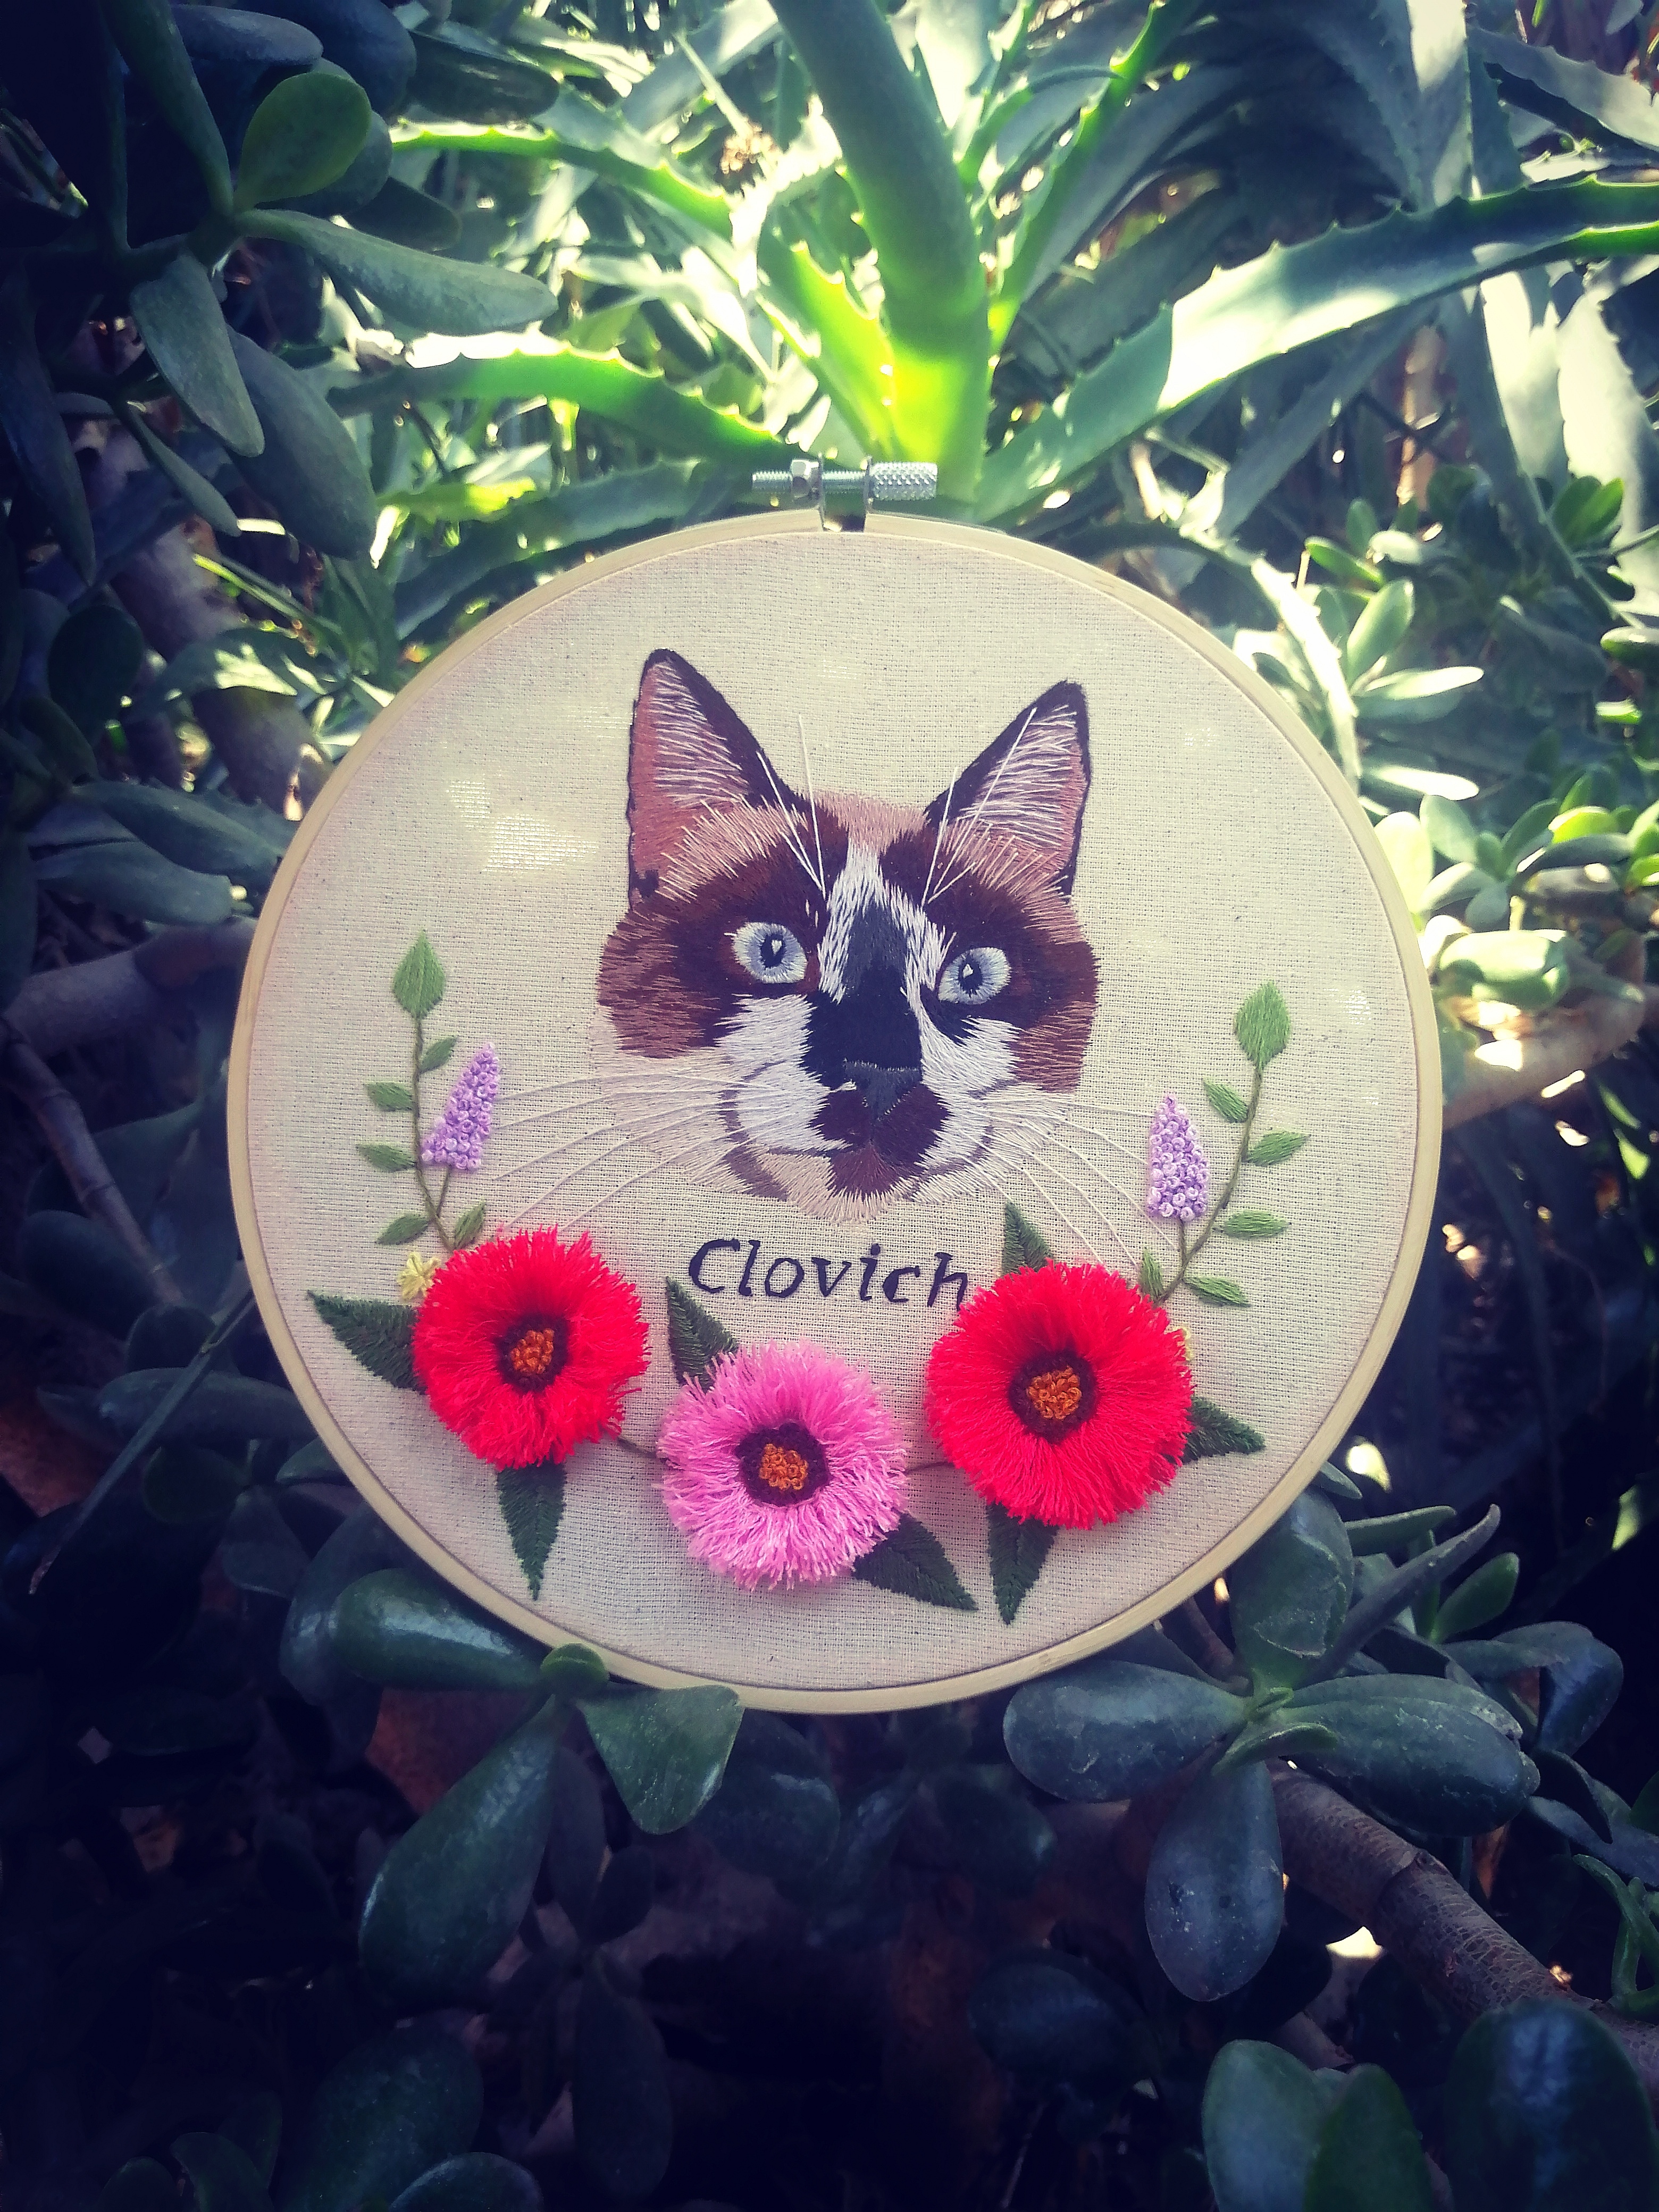
Ya terminando pasamos la plancha para eliminar los restos del bolígrafo termosensible. Y ya tenemos listo nuestro hermoso gatito 💖
Now it's time for the last part which is the whiskers.
We make a long stitch and the next stitch should be to the side of the first one and so continue the stitch until the whiskers pattern is finished. This stitch is made to form a mustache with more movement.
Once finished we pass the iron to remove the remains of the heat sensitive pen. And now we have our beautiful kitten ready 💖.

**Todas las Imágenes son de mi autoria.
Traducido al inglés con Google traductor.
All images are my own.
Translated into english with google trasl


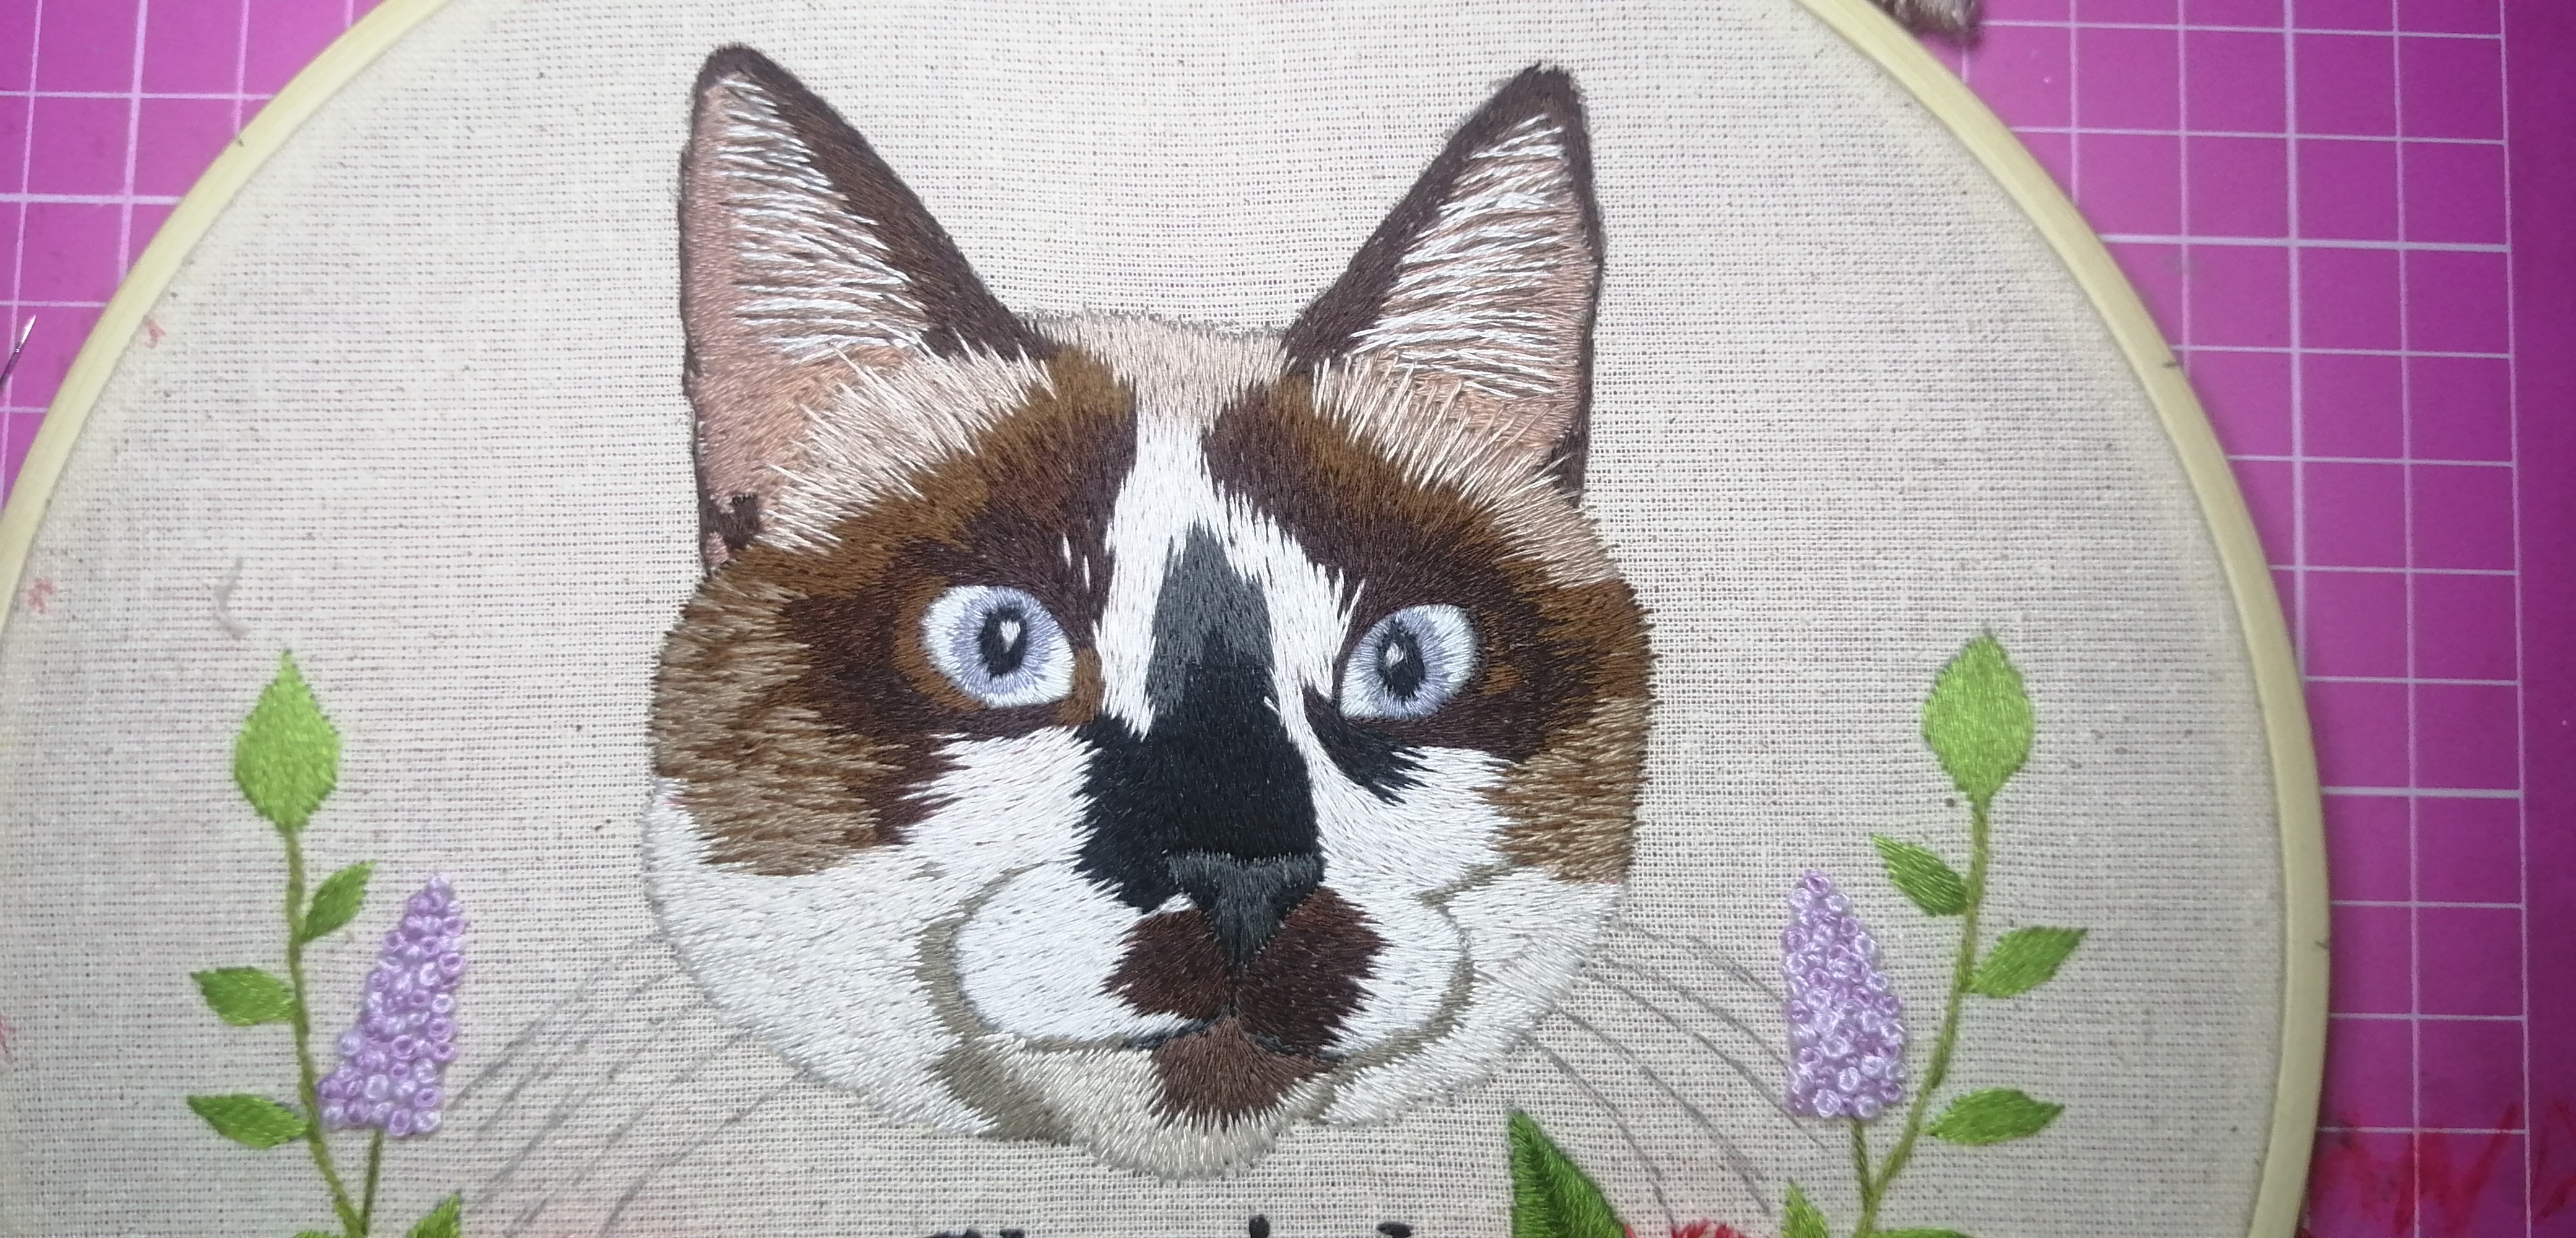
Me encantó el resultado final. Es realmente increíble lo que se puede hacer con hilo.
Congratulations @alejandralita! You have completed the following achievement on the Hive blockchain And have been rewarded with New badge(s)
Your next target is to reach 4500 upvotes.
You can view your badges on your board and compare yourself to others in the Ranking
If you no longer want to receive notifications, reply to this comment with the word
STOPCheck out our last posts:
¡Quedó completamente hermoso! Tienes muchísimo talento para el bordado 💖✨
Muchísimas gracias 🤗 los dueños del gatito quedaron muy feliz con el bordado.
Este bordado 3D me encantó, el resultado muy hermoso felicidades.
Gracias me encanta bordar ❤️
¡Felicitaciones!
Estás participando para optar a la mención especial que se efectuará el domingo 4 de febrero del 2024 a las 8:00 pm (hora de Venezuela), gracias a la cual el autor del artículo seleccionado recibirá la cantidad de 1 HIVE transferida a su cuenta.
¡También has recibido 1 ENTROKEN! El token del PROYECTO ENTROPÍA impulsado por la plataforma Steem-Engine.
1. Invierte en el PROYECTO ENTROPÍA y recibe ganancias semanalmente. Entra aquí para más información.
2. Contáctanos en Discord: https://discord.gg/hkCjFeb
3. Suscríbete a nuestra COMUNIDAD y apoya al trail de @Entropia y así podrás ganar recompensas de curación de forma automática. Entra aquí para más información sobre nuestro trail.
4. Visita nuestro canal de Youtube.
Atentamente
El equipo de curación del PROYECTO ENTROPÍA
Espectacular! Y excelente modelo;)
ESP= Qué magnífico trabajo has realizado, de verdad que noto mucho el tiempo que te tomo hacerlo (sobre todo las pinchadas de dedos lol), el resultado final fue impresionante y de verdad que me gusto mucho, haces que se vea fácil de hacer, pero en realidad no lo es, me imagino la paciencia que debiste tener para realizarlo, aunque esto también es terapéutico, recuerdo que mi abuela se pasaba días relajada haciendo este tipo de trabajos.
ENG= What a magnificent job you have done, I really notice how much time it took you to do it (especially the finger pricks lol), the final result was impressive and I really liked it a lot, you make it look easy to do, but in reality it is not, I can imagine the patience you must have had to do it, although this is also therapeutic, I remember that my grandmother spent days relaxing doing this kind of work.
Sí, hay que tener mucha paciencia y ver muy bien los colores para que quede similar. Sii el bordado es terapéutico y parte de mi trabajo con mi emprendimiento. Soy muy feliz de tener el don de bordar animalitos y que la gente se emocione al verlos 🥰
Muchas gracias por tus palabras. Saludos!!