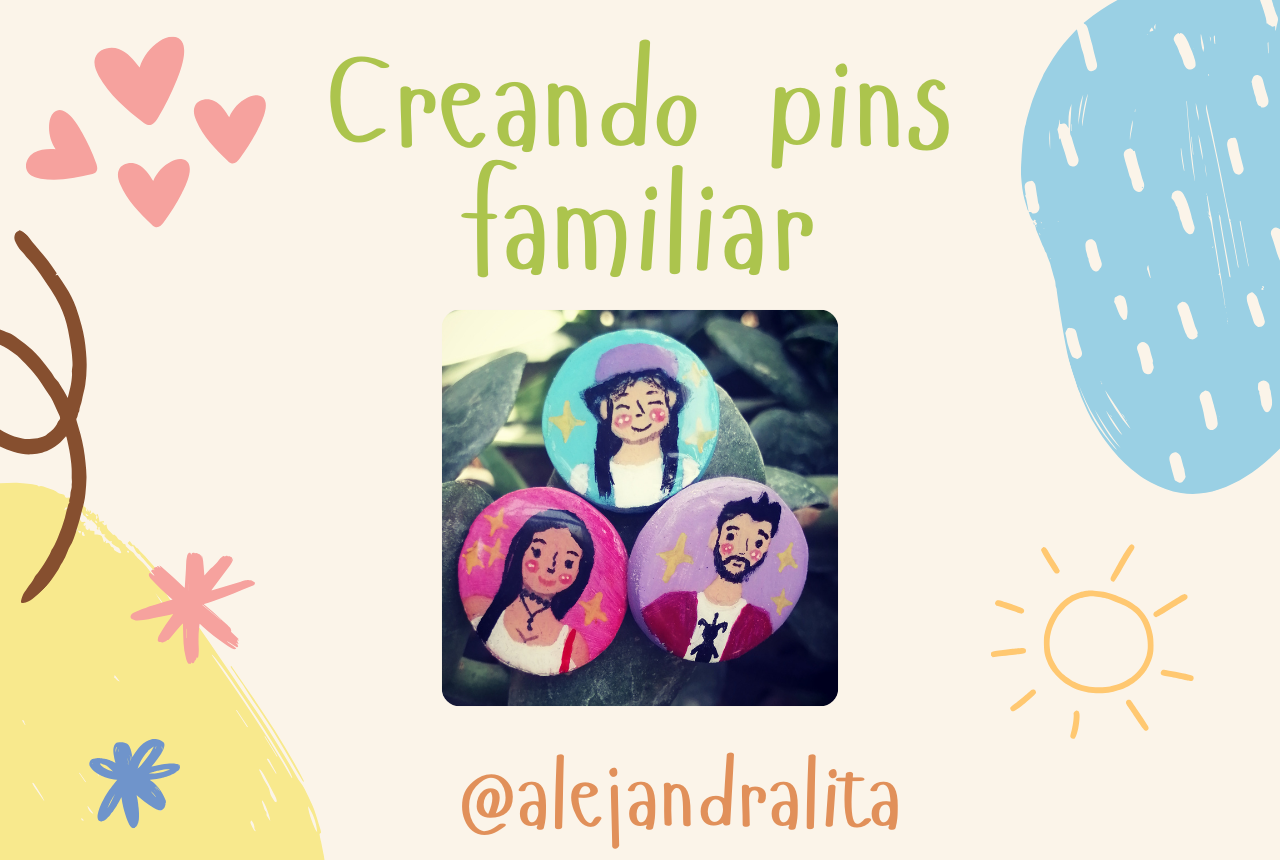
Saludos a toda la comunidad de Hive Diy. Hace días he estado pensando en crear un trabajo que vi por pinterest y he estado muy feliz porque me quedo perfecto como yo lo quería 🤗
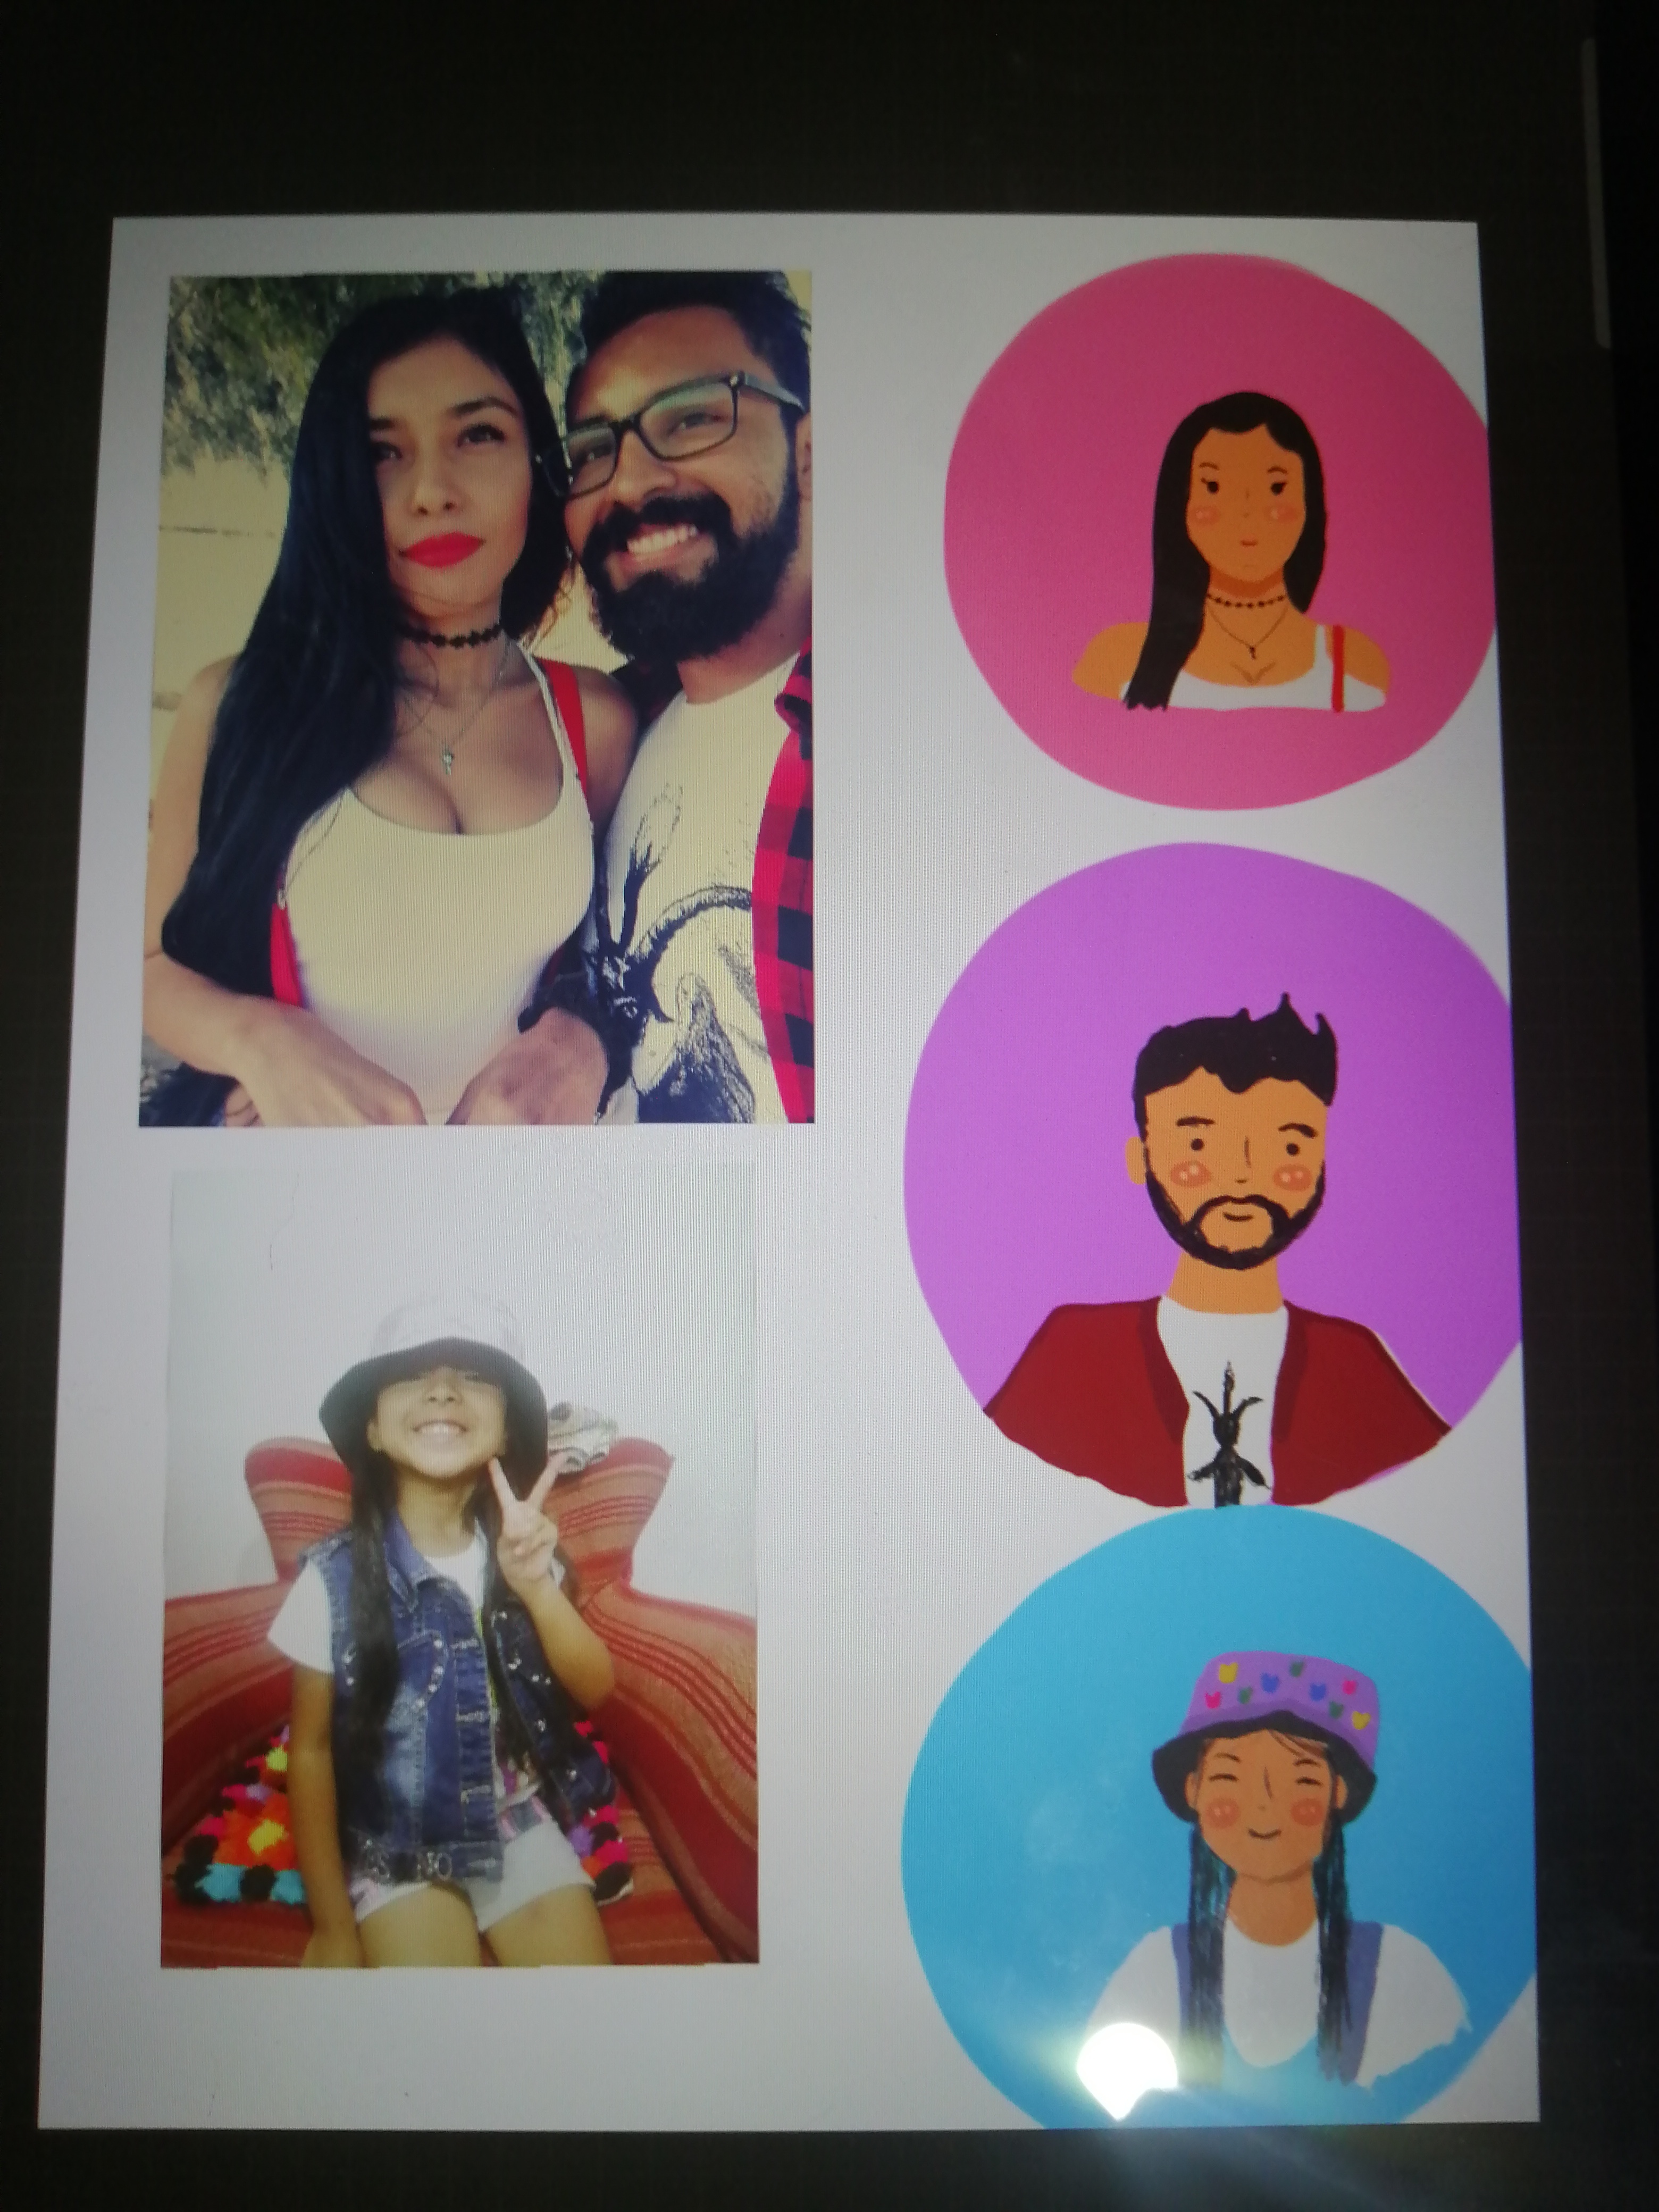
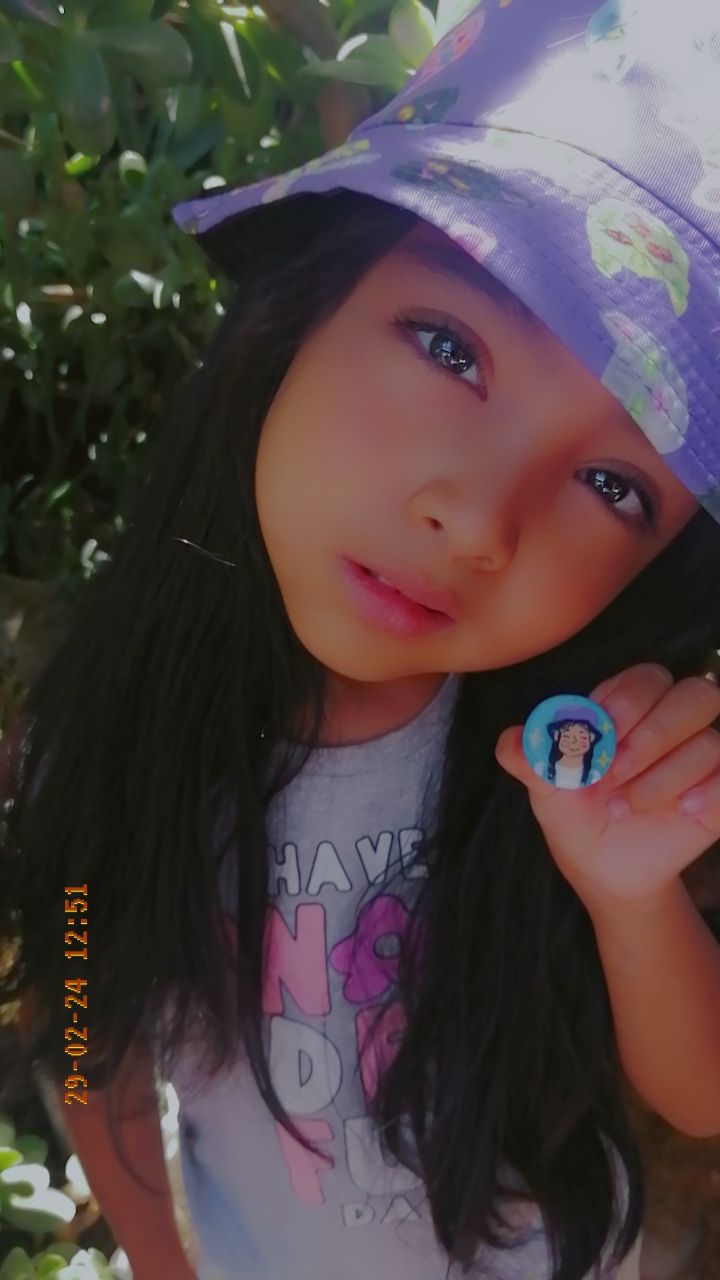
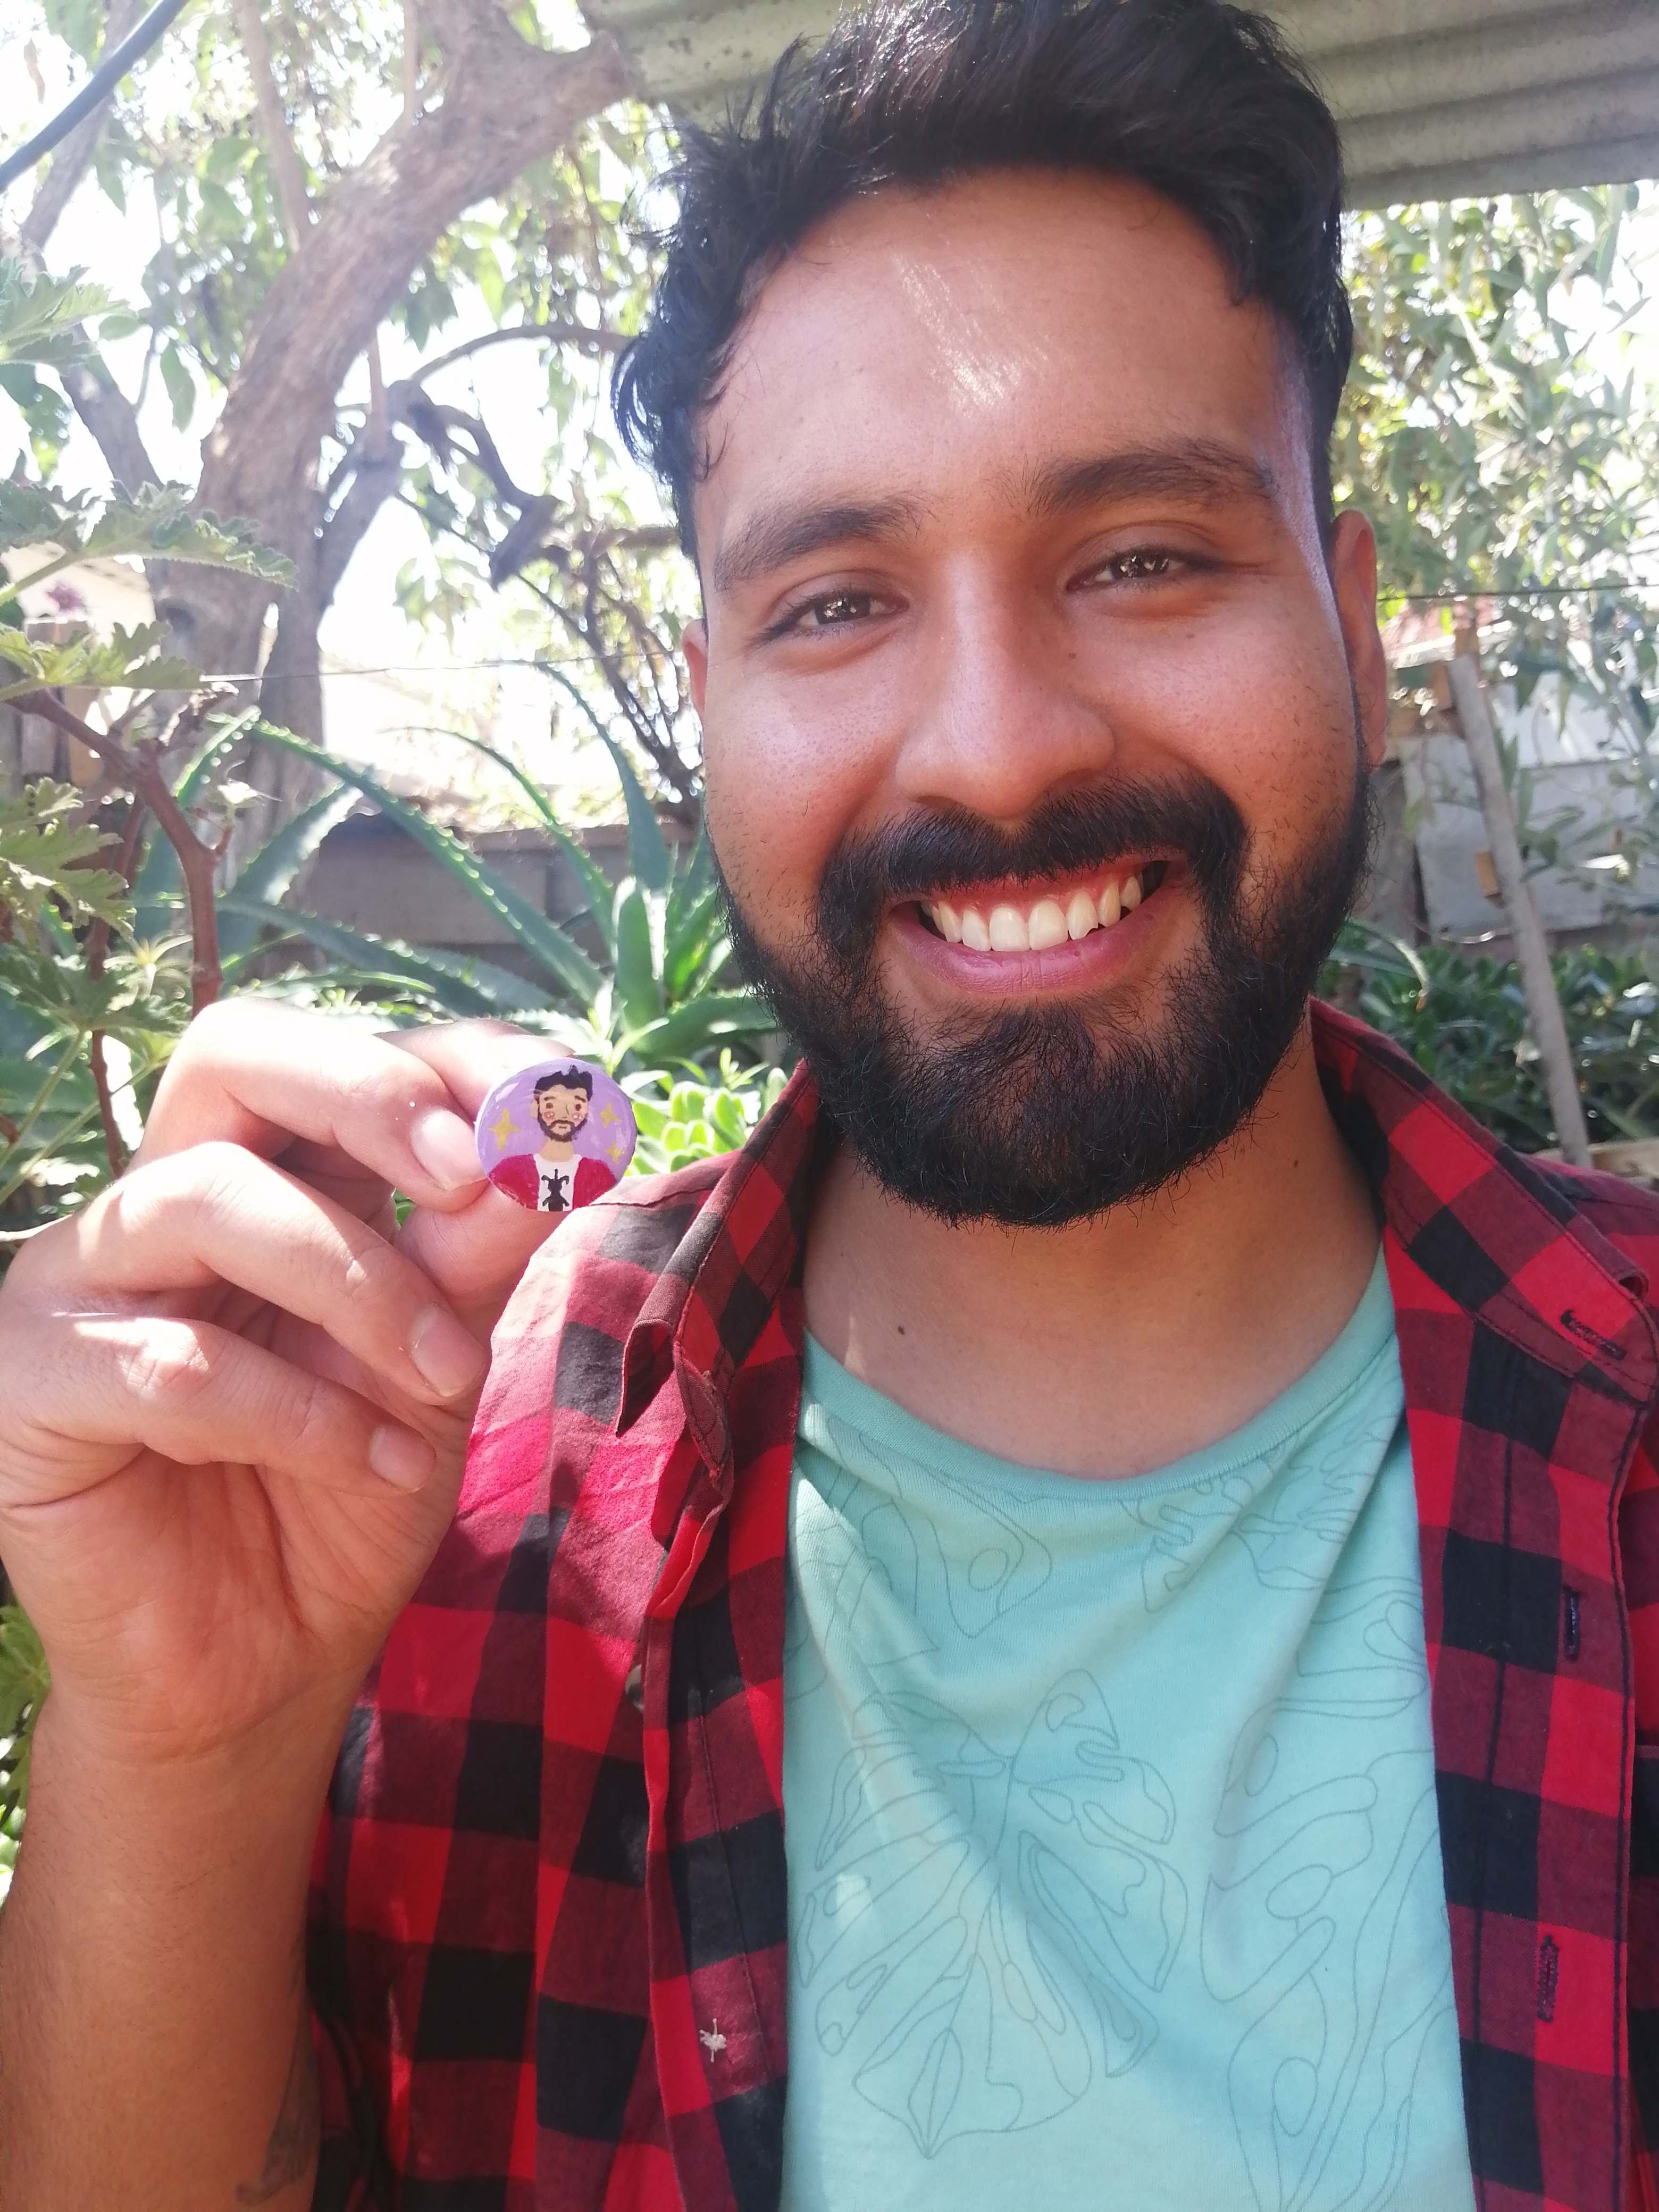
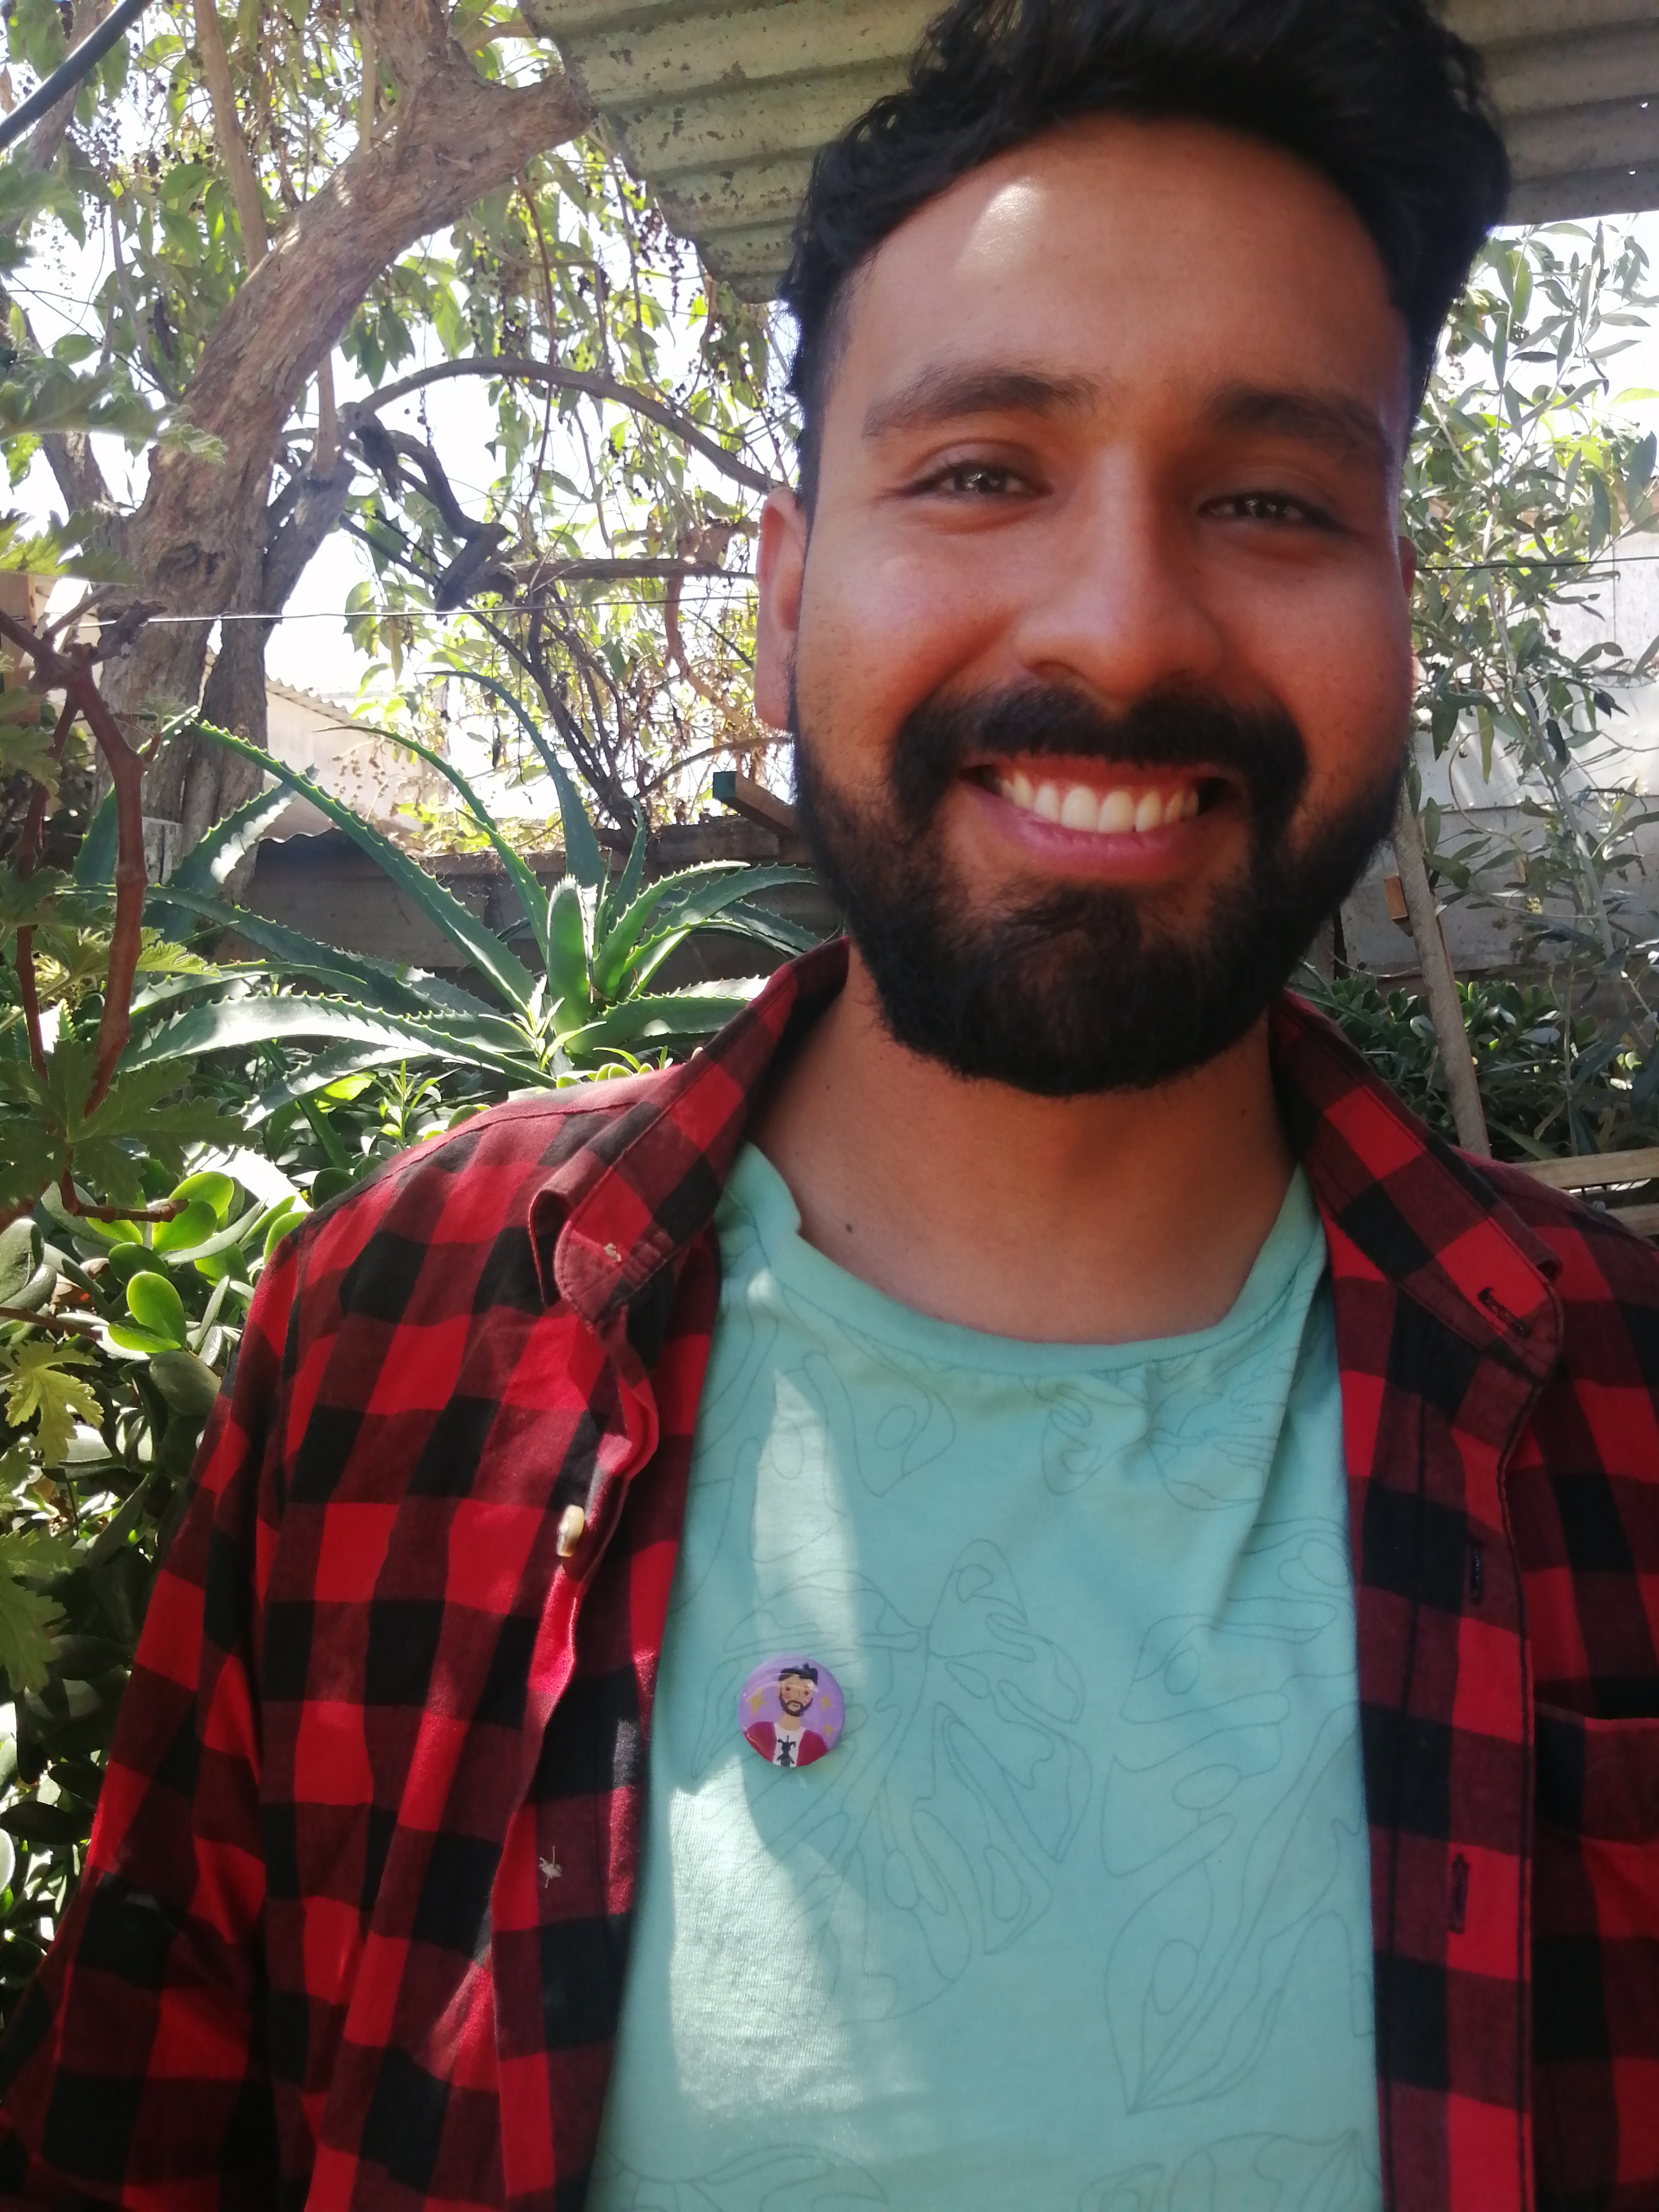
Son tan encantadores los dibujos kwaii! Asi que pensé que sería lindo y gracioso crear a mi familia en pequeños broches. mi hija y mi esposo quedaeron muy felices con sus brochecitos 🤭 espero les guste mi proyecto. 😉
Vamos a crear!
Greetings to the entire Hive Diy community. For days I have been thinking about creating a work that I saw on Pinterest and I have been very happy because it turned out perfect the way I wanted it 🤗 The kawaii drawings are so charming! So I thought it would be cute and funny to create my family on little brooches. My daughter and my husband were very happy with their brooches 🤭 I hope you like my project. 😉 We are going to create!
Materiales / Materials
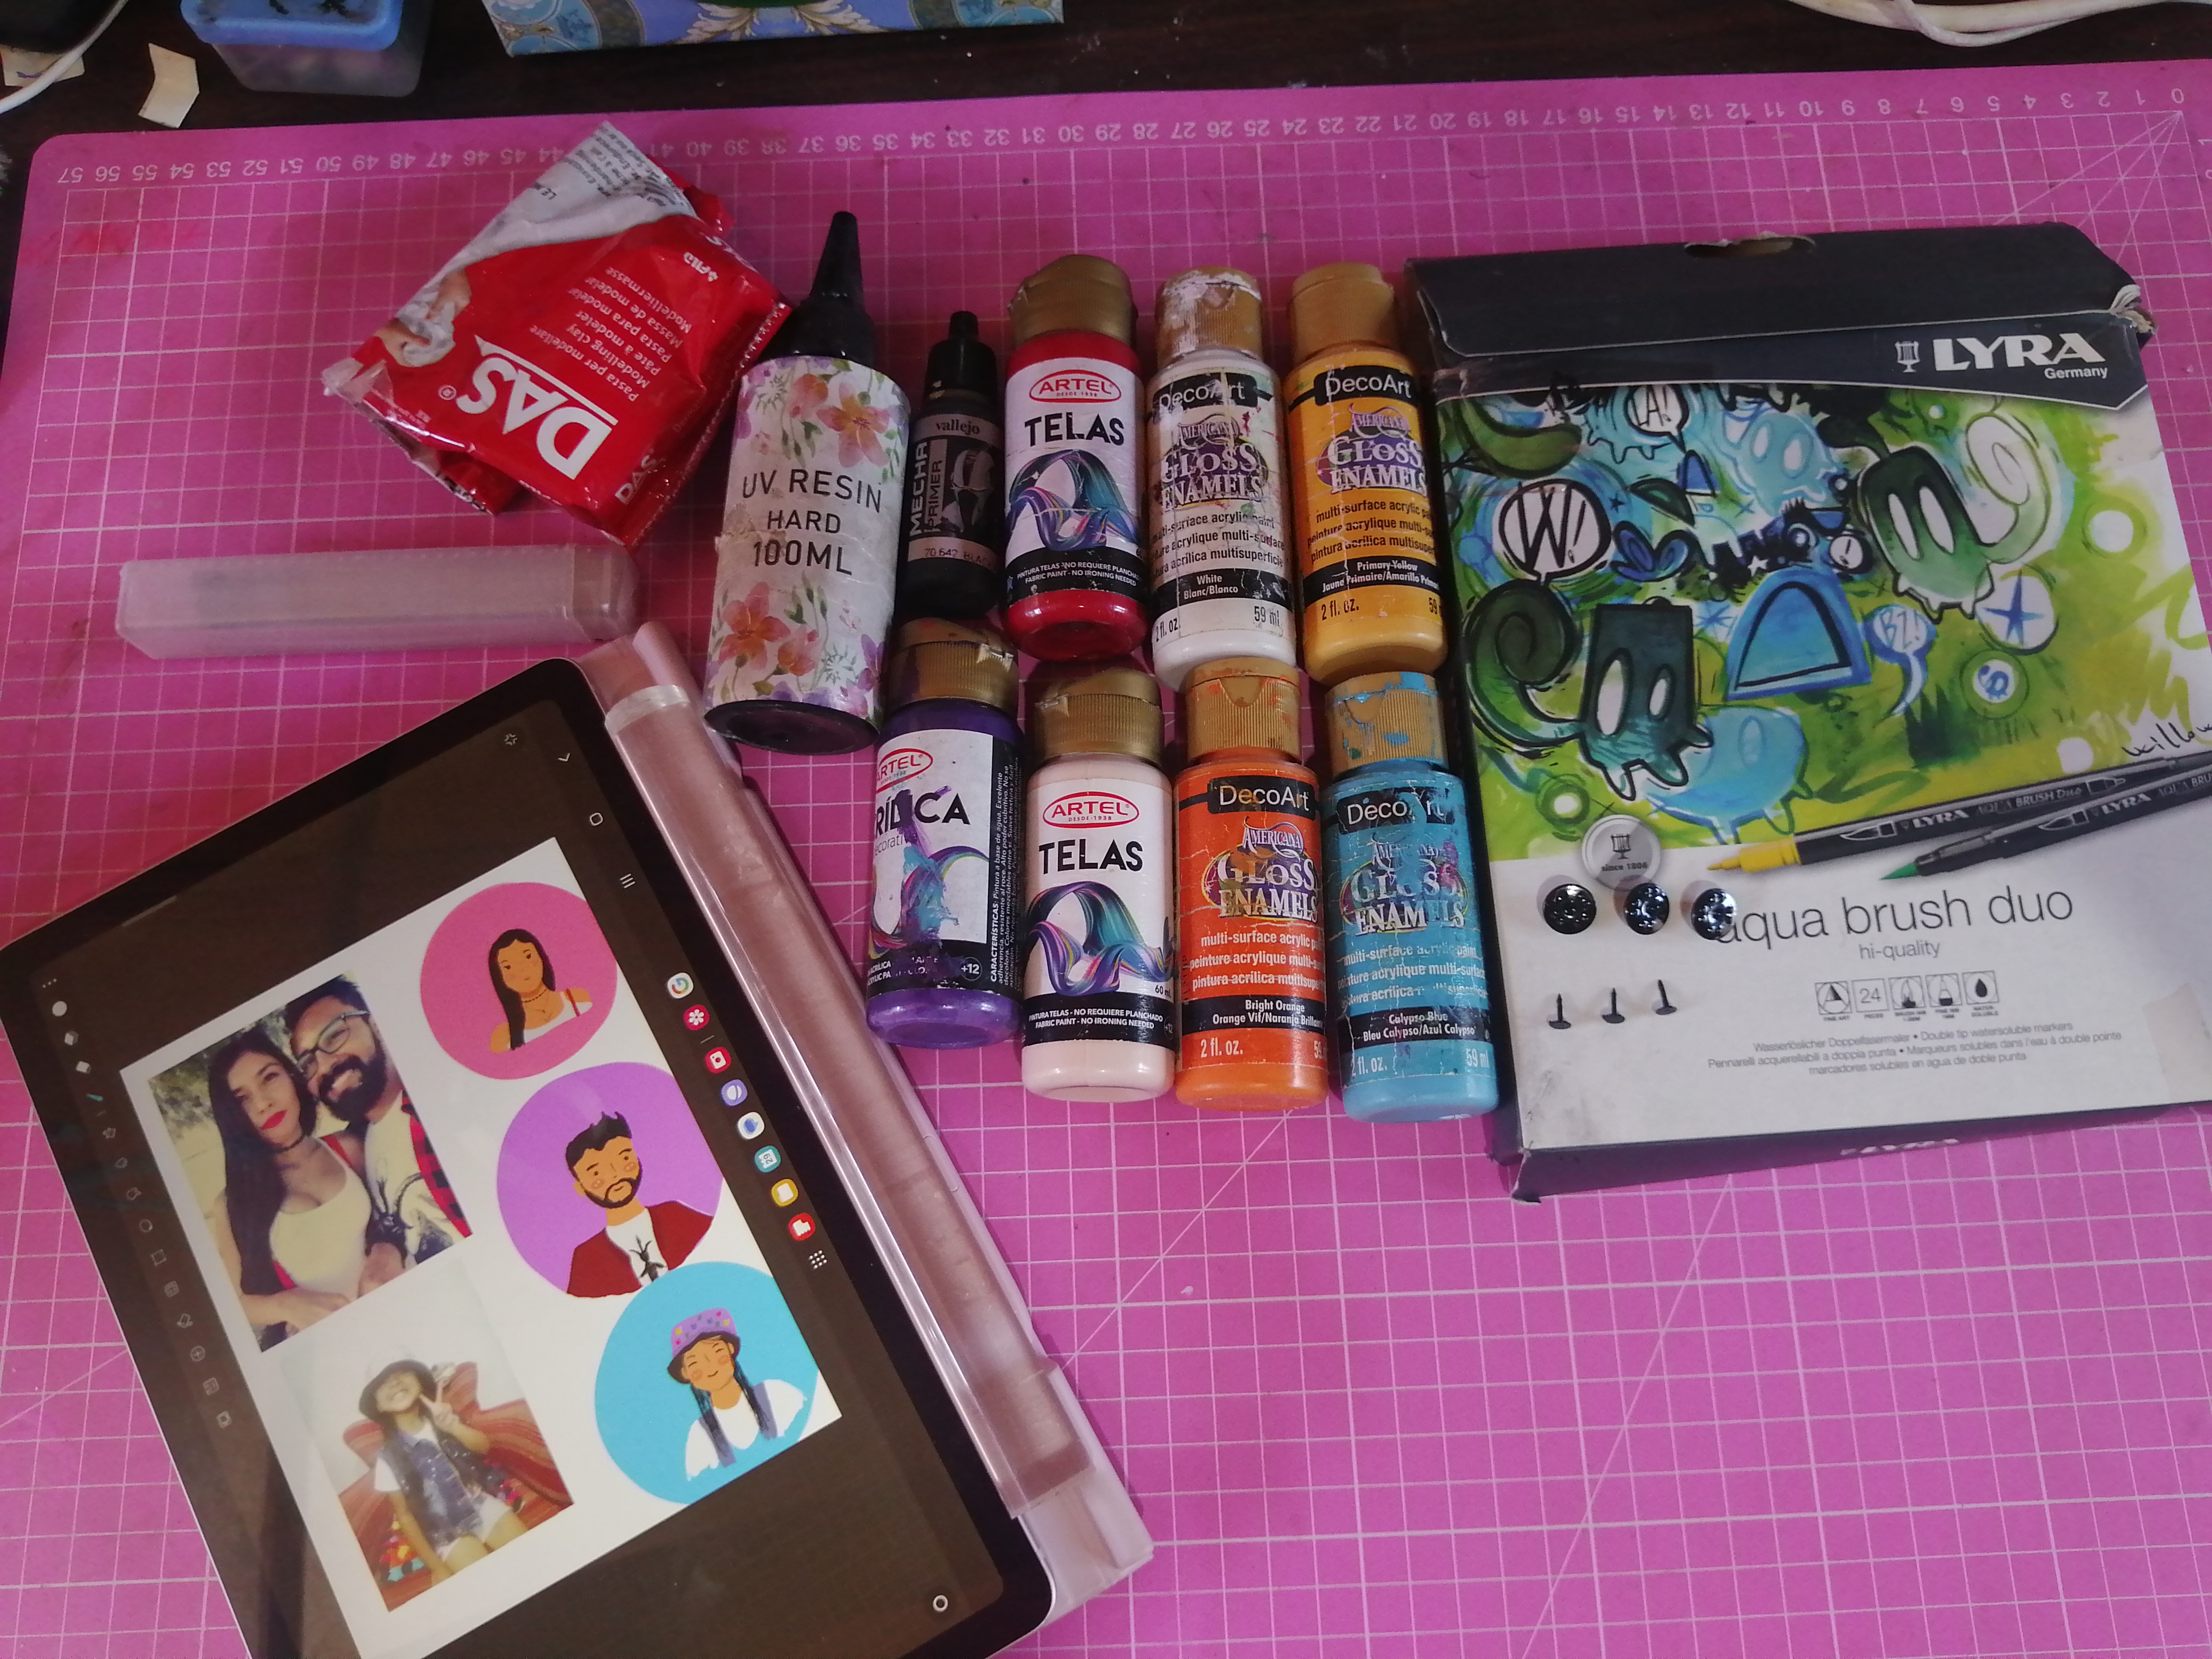
-Agua
-Cortador
-Pituras acrílicas amarillo, negro, rojo, blanco, morado, naranjo, crema y celeste
-Lija
-Resina
-Lampara uv
-Pinceles
-lapices acuarelados
-Rodillo
-Papel alusa (papel de cocina para envolver)
-Dibujos de la familia
- Broches para pin
- Water
- Cutter
- acrylic paint yellow, black, red, whithe, purple, orange, cream, and light blue
- sandpaper
- Resin
- Uv lamp
- Watercolor pencils
-Roller- Alusa paper (coxin wrapping paper)
- Family drawings
- pin
|
|
|
Comencemos!
Lo primero que debemos hacer es dibujar nuestra familia en un cuaderno de dibujo o en una tableta digital con las características que tu quieras no te limites 😉
Ahora sacamos un pedazo de pasta das y mezclamos muy bien hasta que nuestra pasta quede bien homogénea, si esta un poco endurecida usamos un poco de agua para que quede más suave. debes tomarte el tiempo necesario para que quede muy bien preparada.
Let's get started! The first thing we should do is draw our family in a sketchbook or on a digital tablet with the characteristics that you want, don't limit yourself 😉 Now we take out a piece of pasta and mix very well until our pasta is very homogeneous. If it is a little hardened, we use a little water to make it softer. You must take the necessary time so that it is very well prepared.
|
|
|
|
|
|
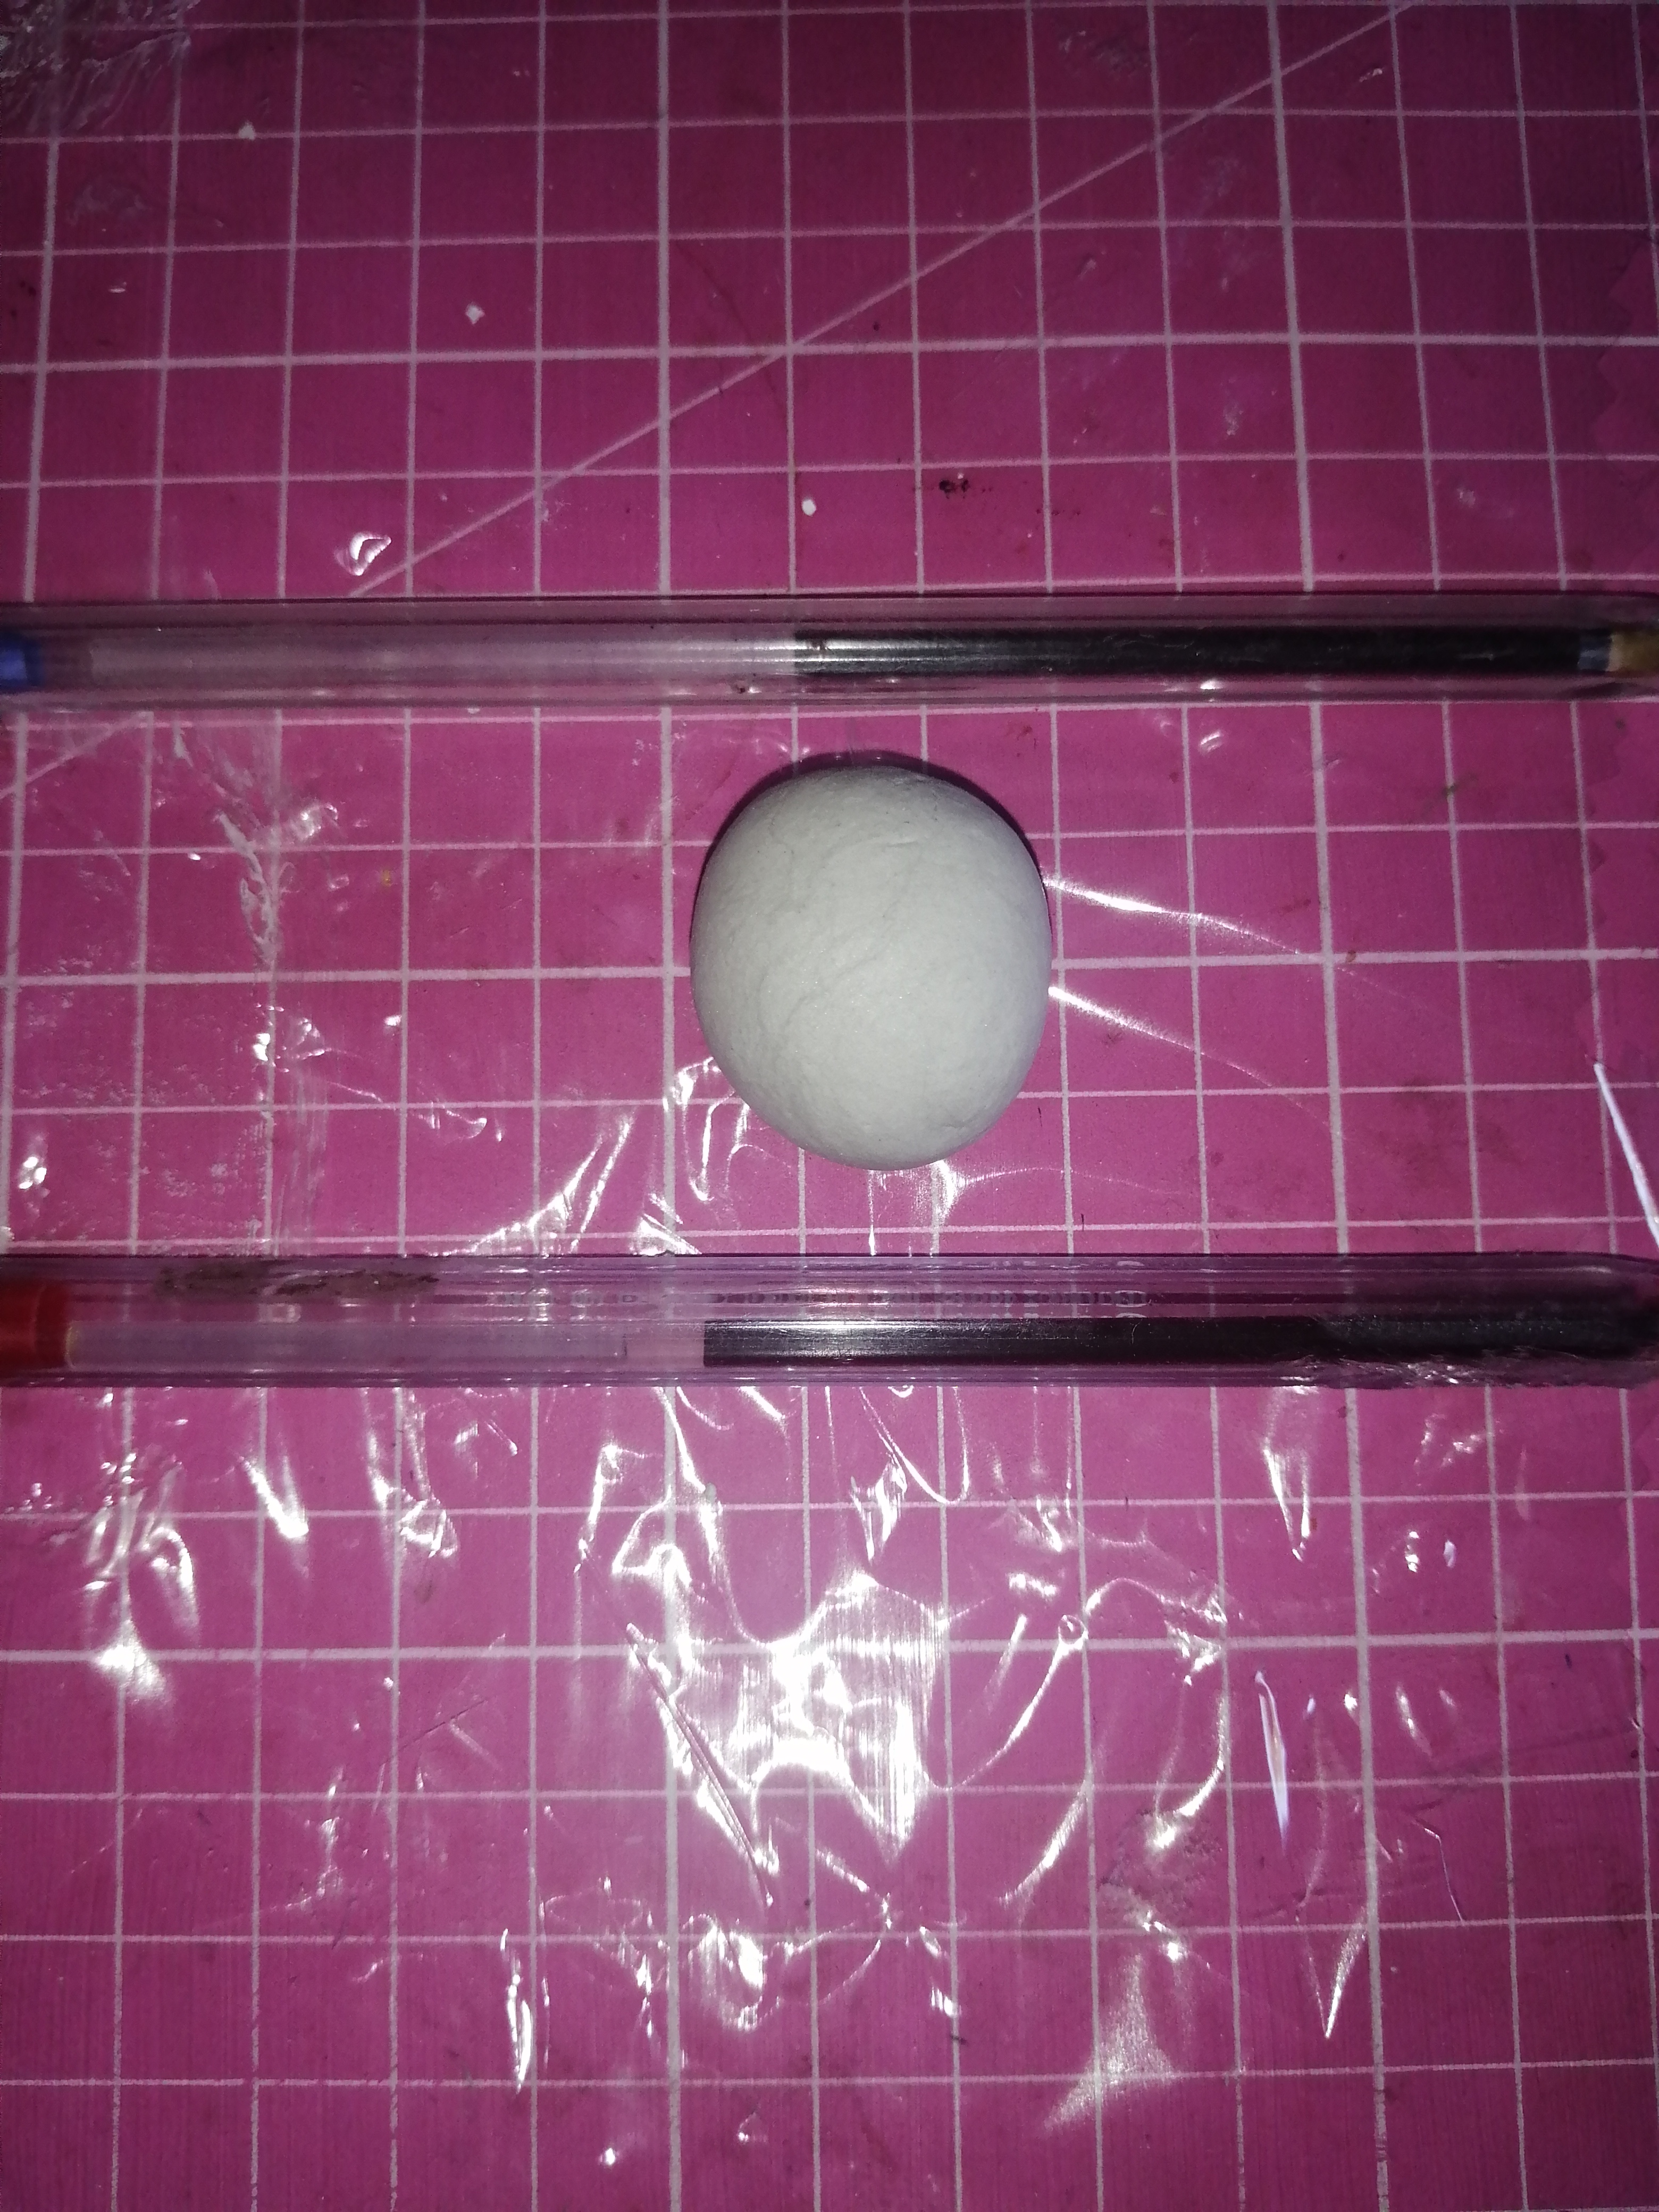
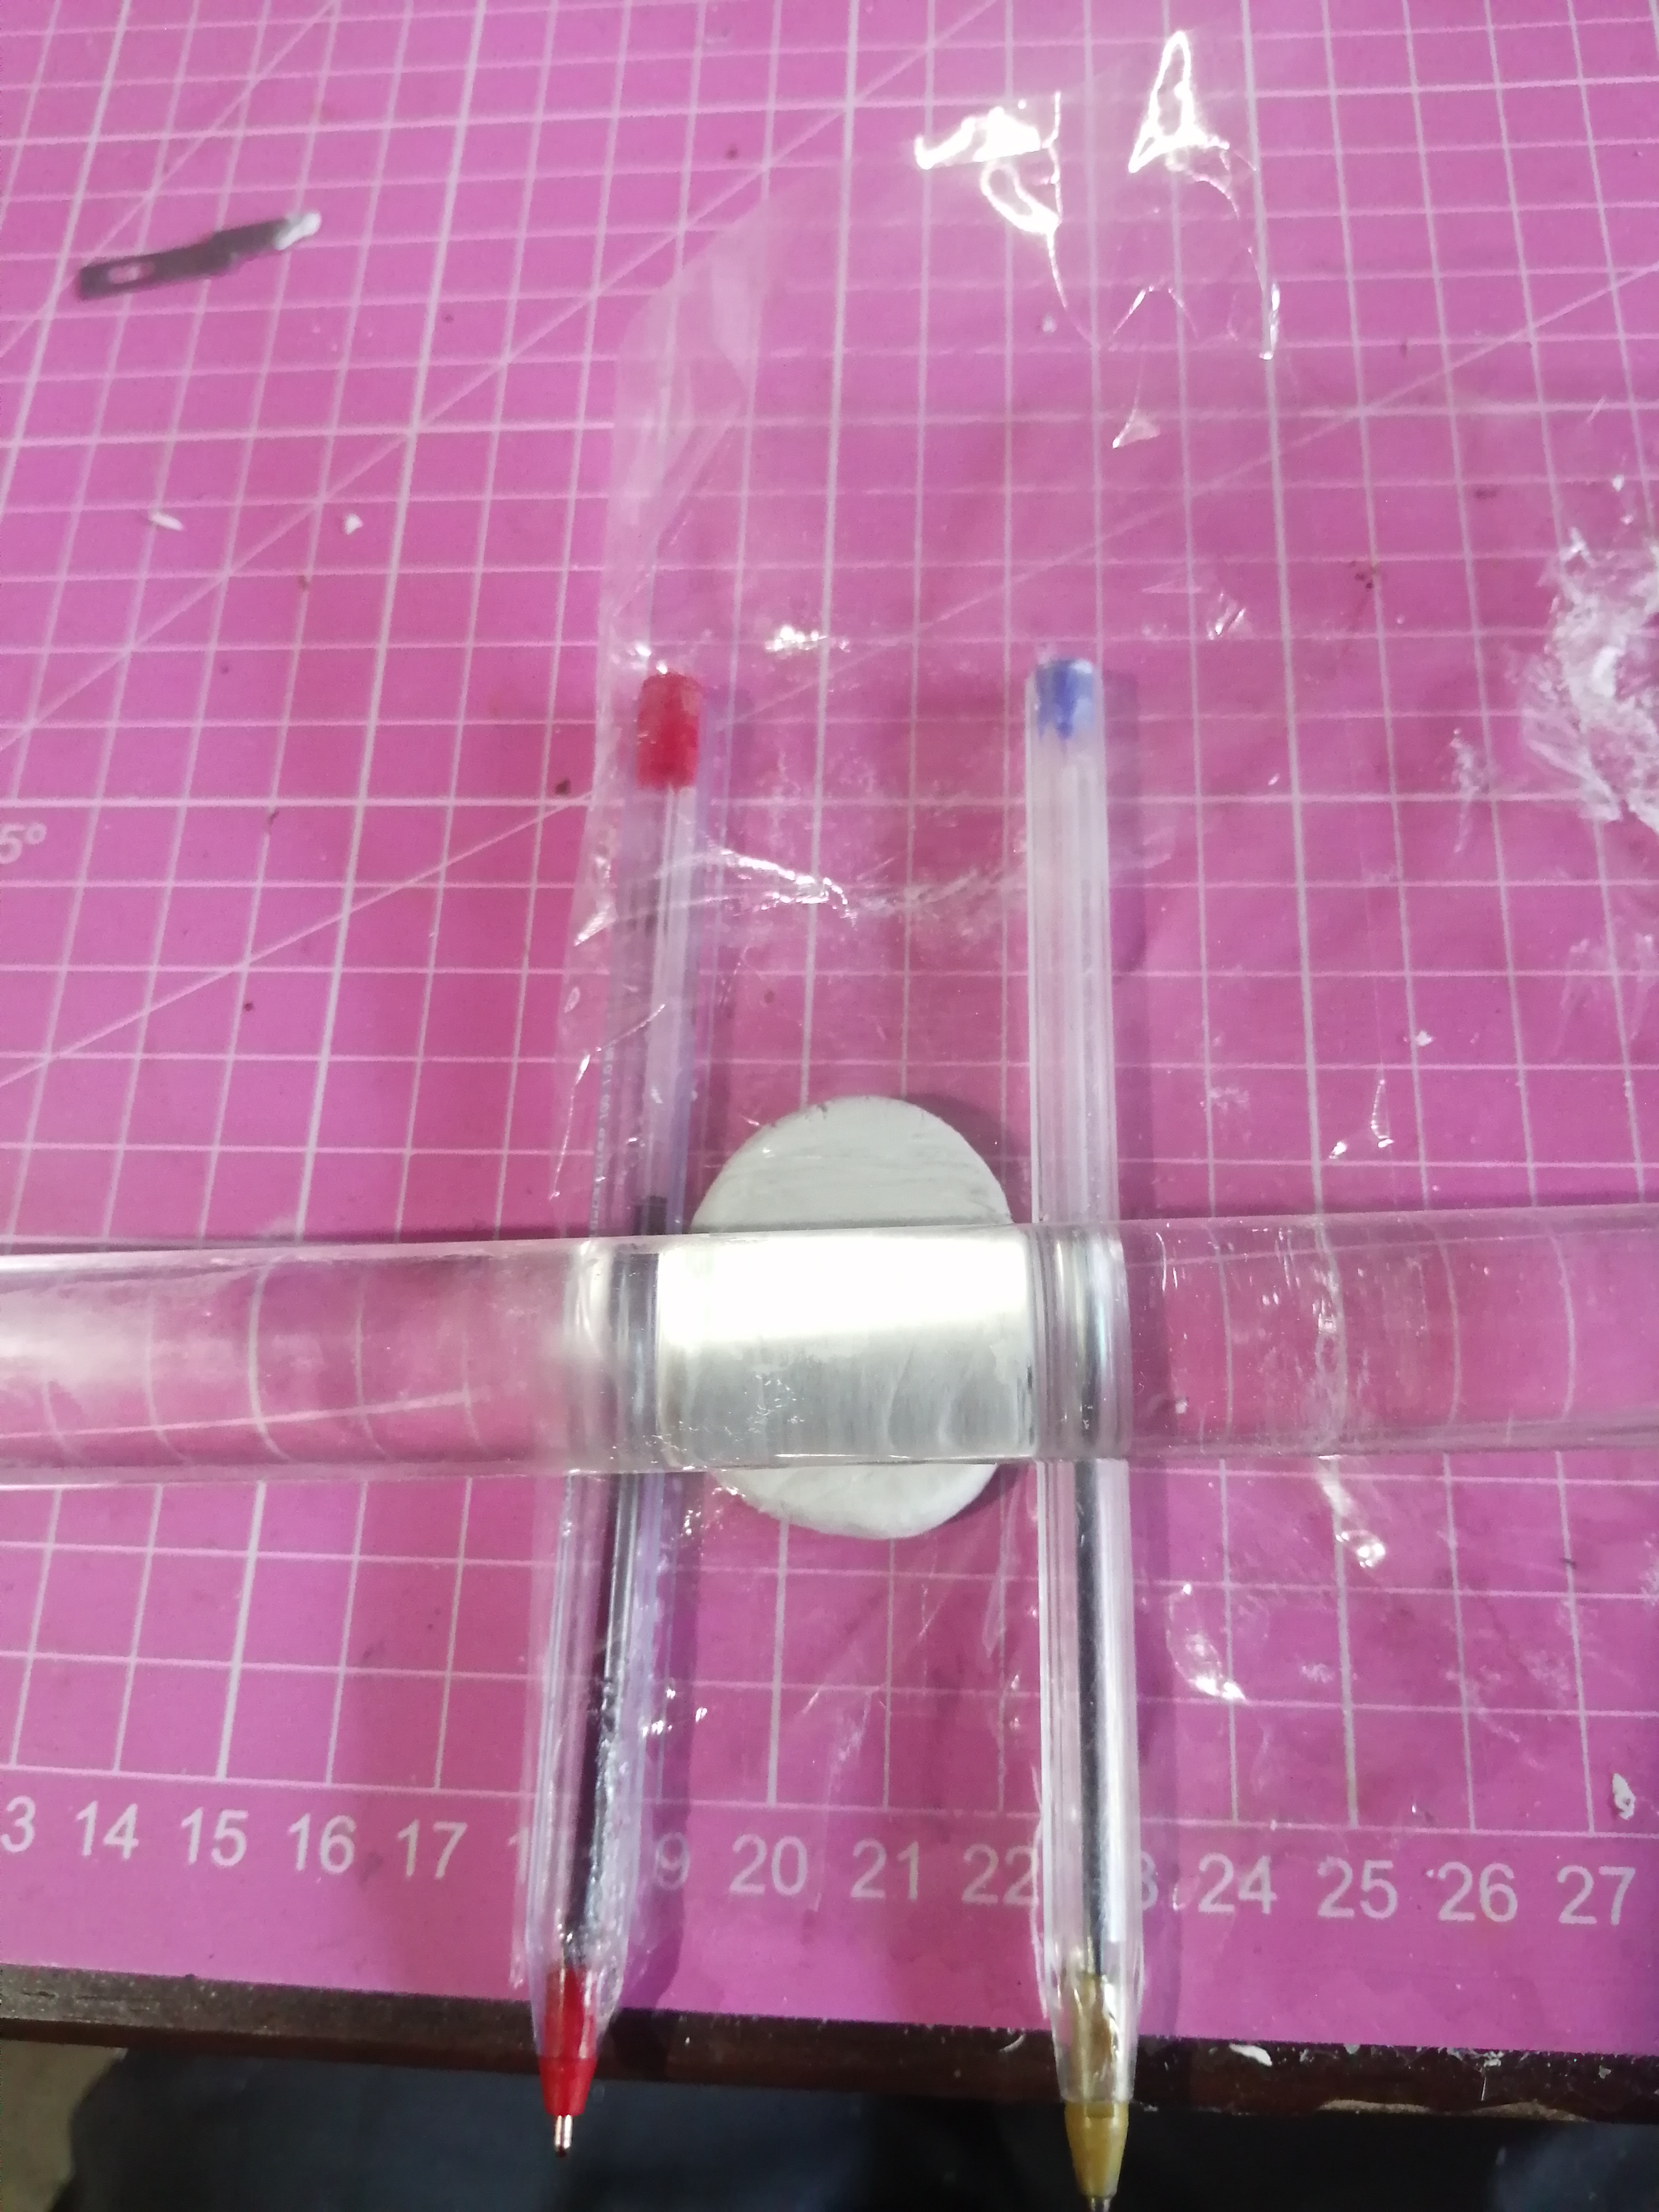
Ya lista la pasta ponemos papel alussa y arriba ponemos la masa, vamos a amasar muy bien. Utilizando 2 lapiceras o palitos de madera damos la altura para que quede de un solo grosor y alisamos la masa con nuestras dedos y agua también puedes utilizar una esponja.
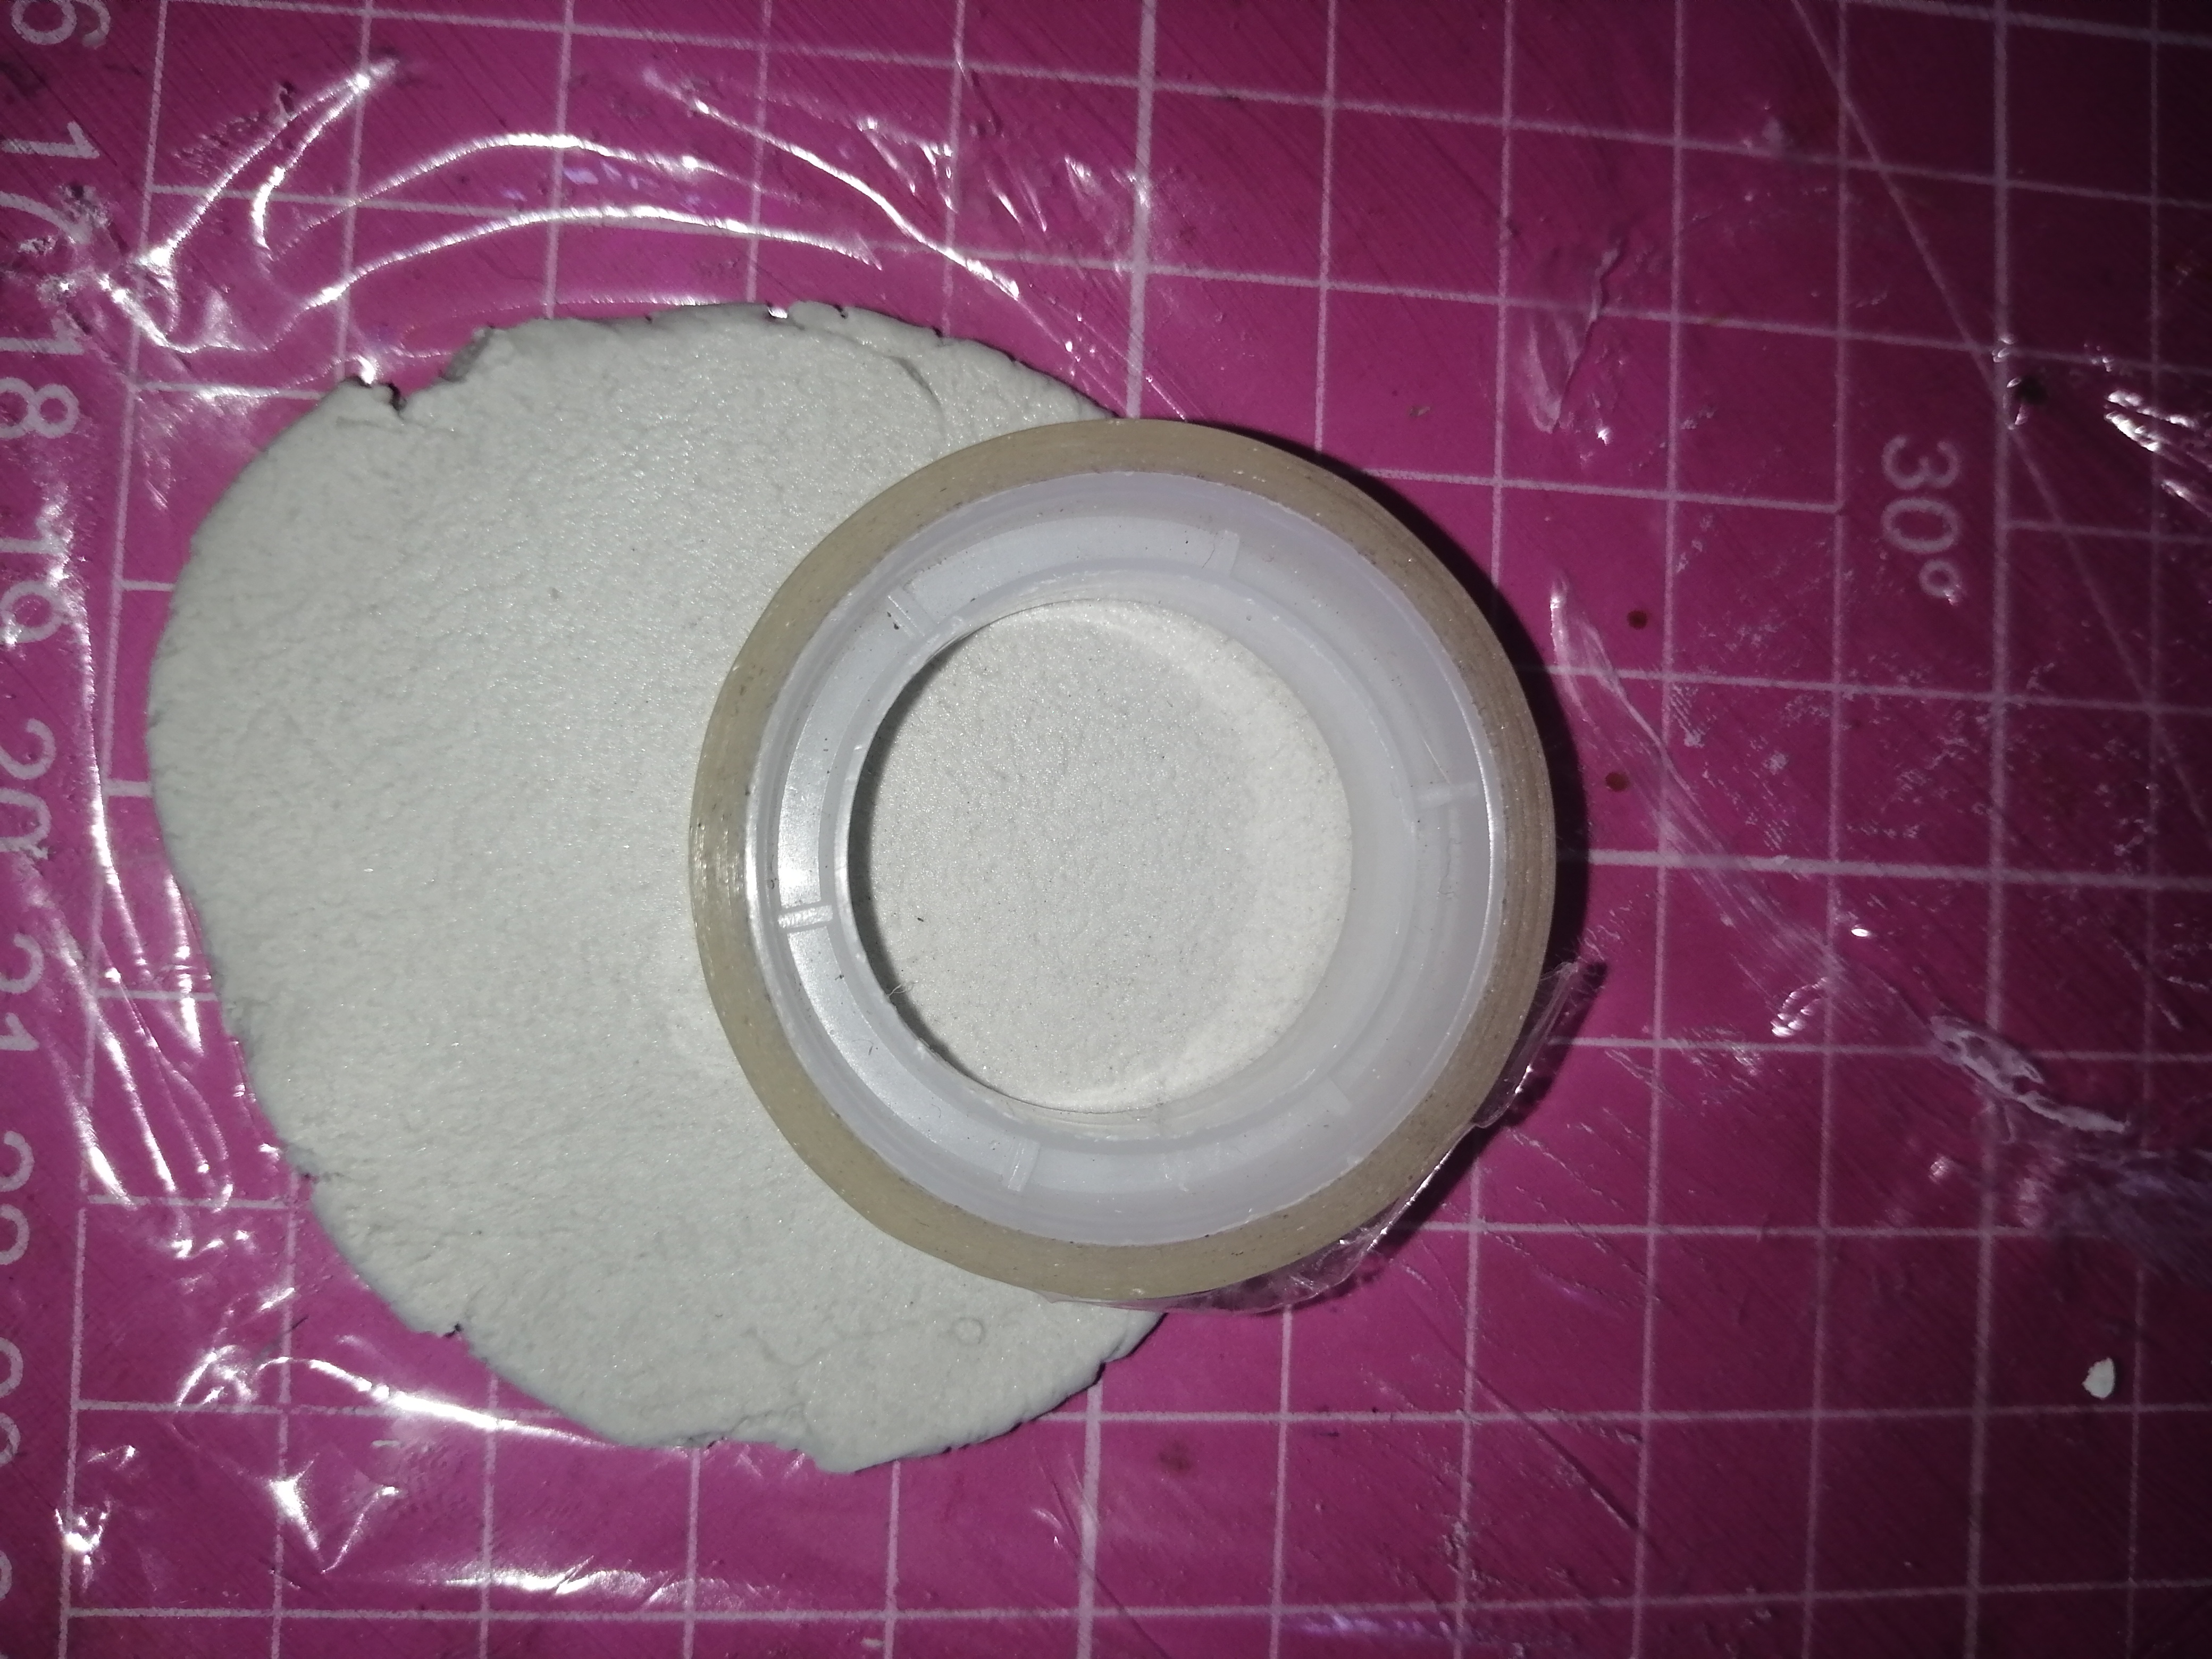
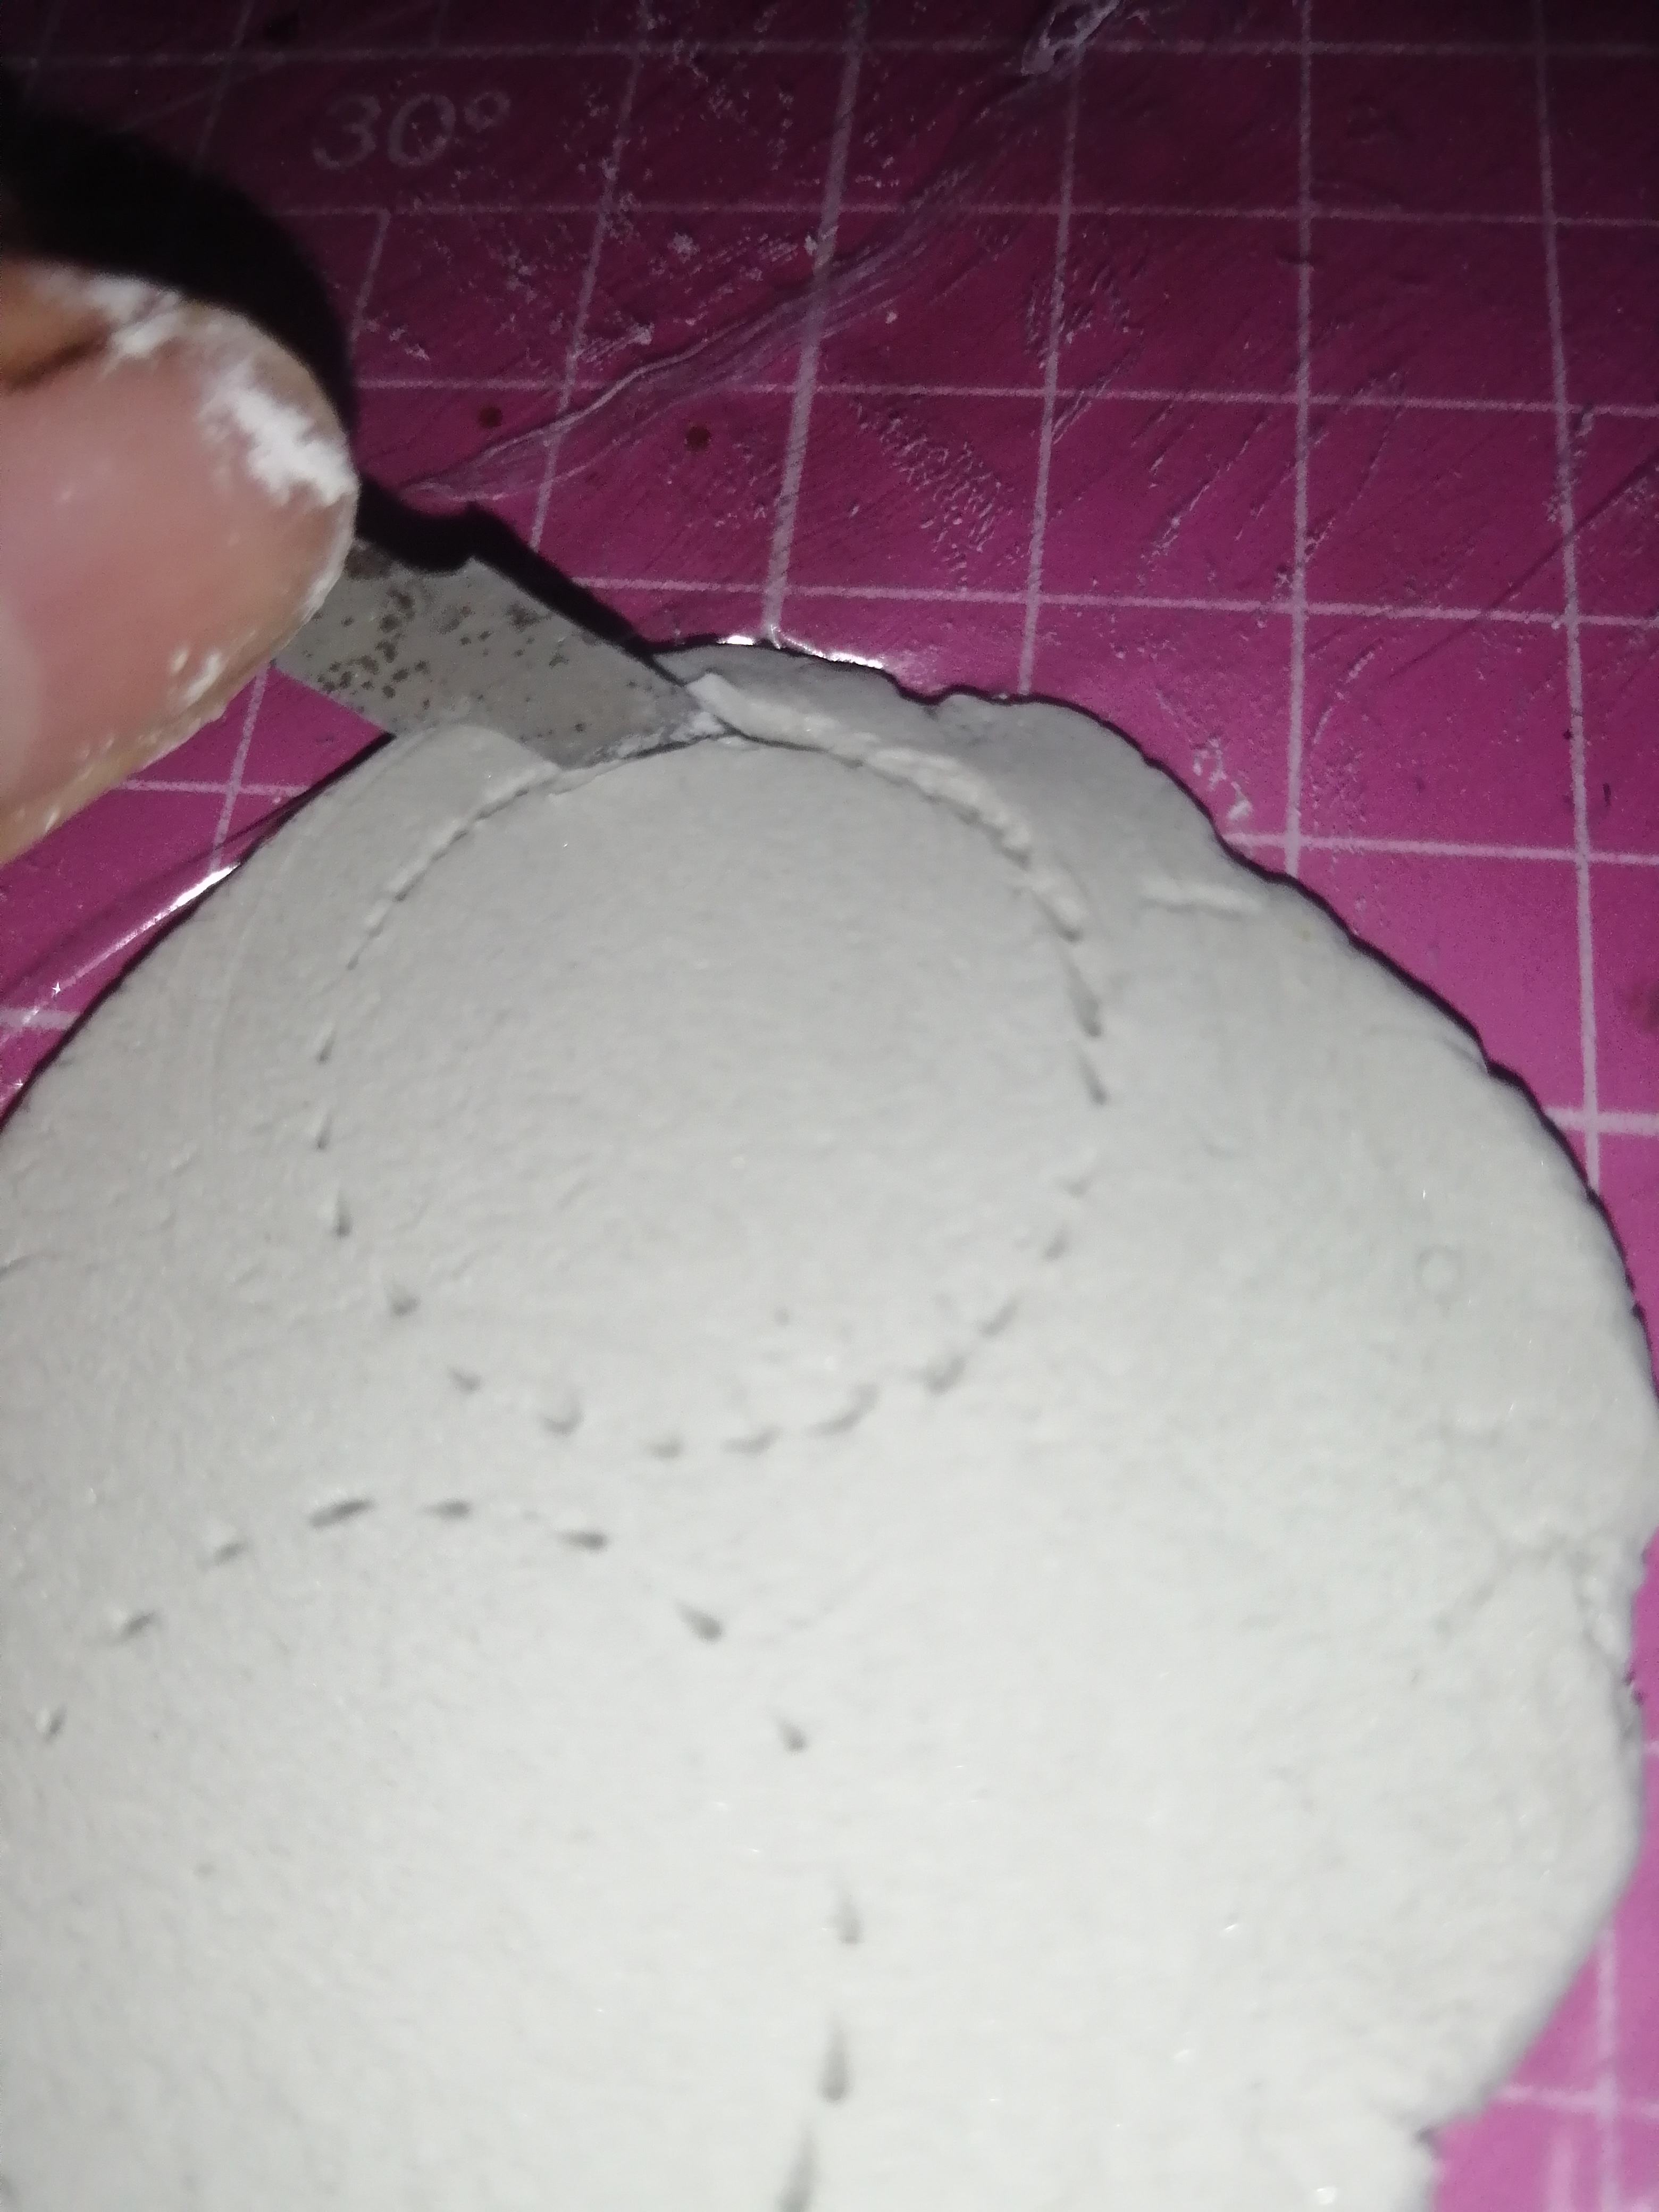
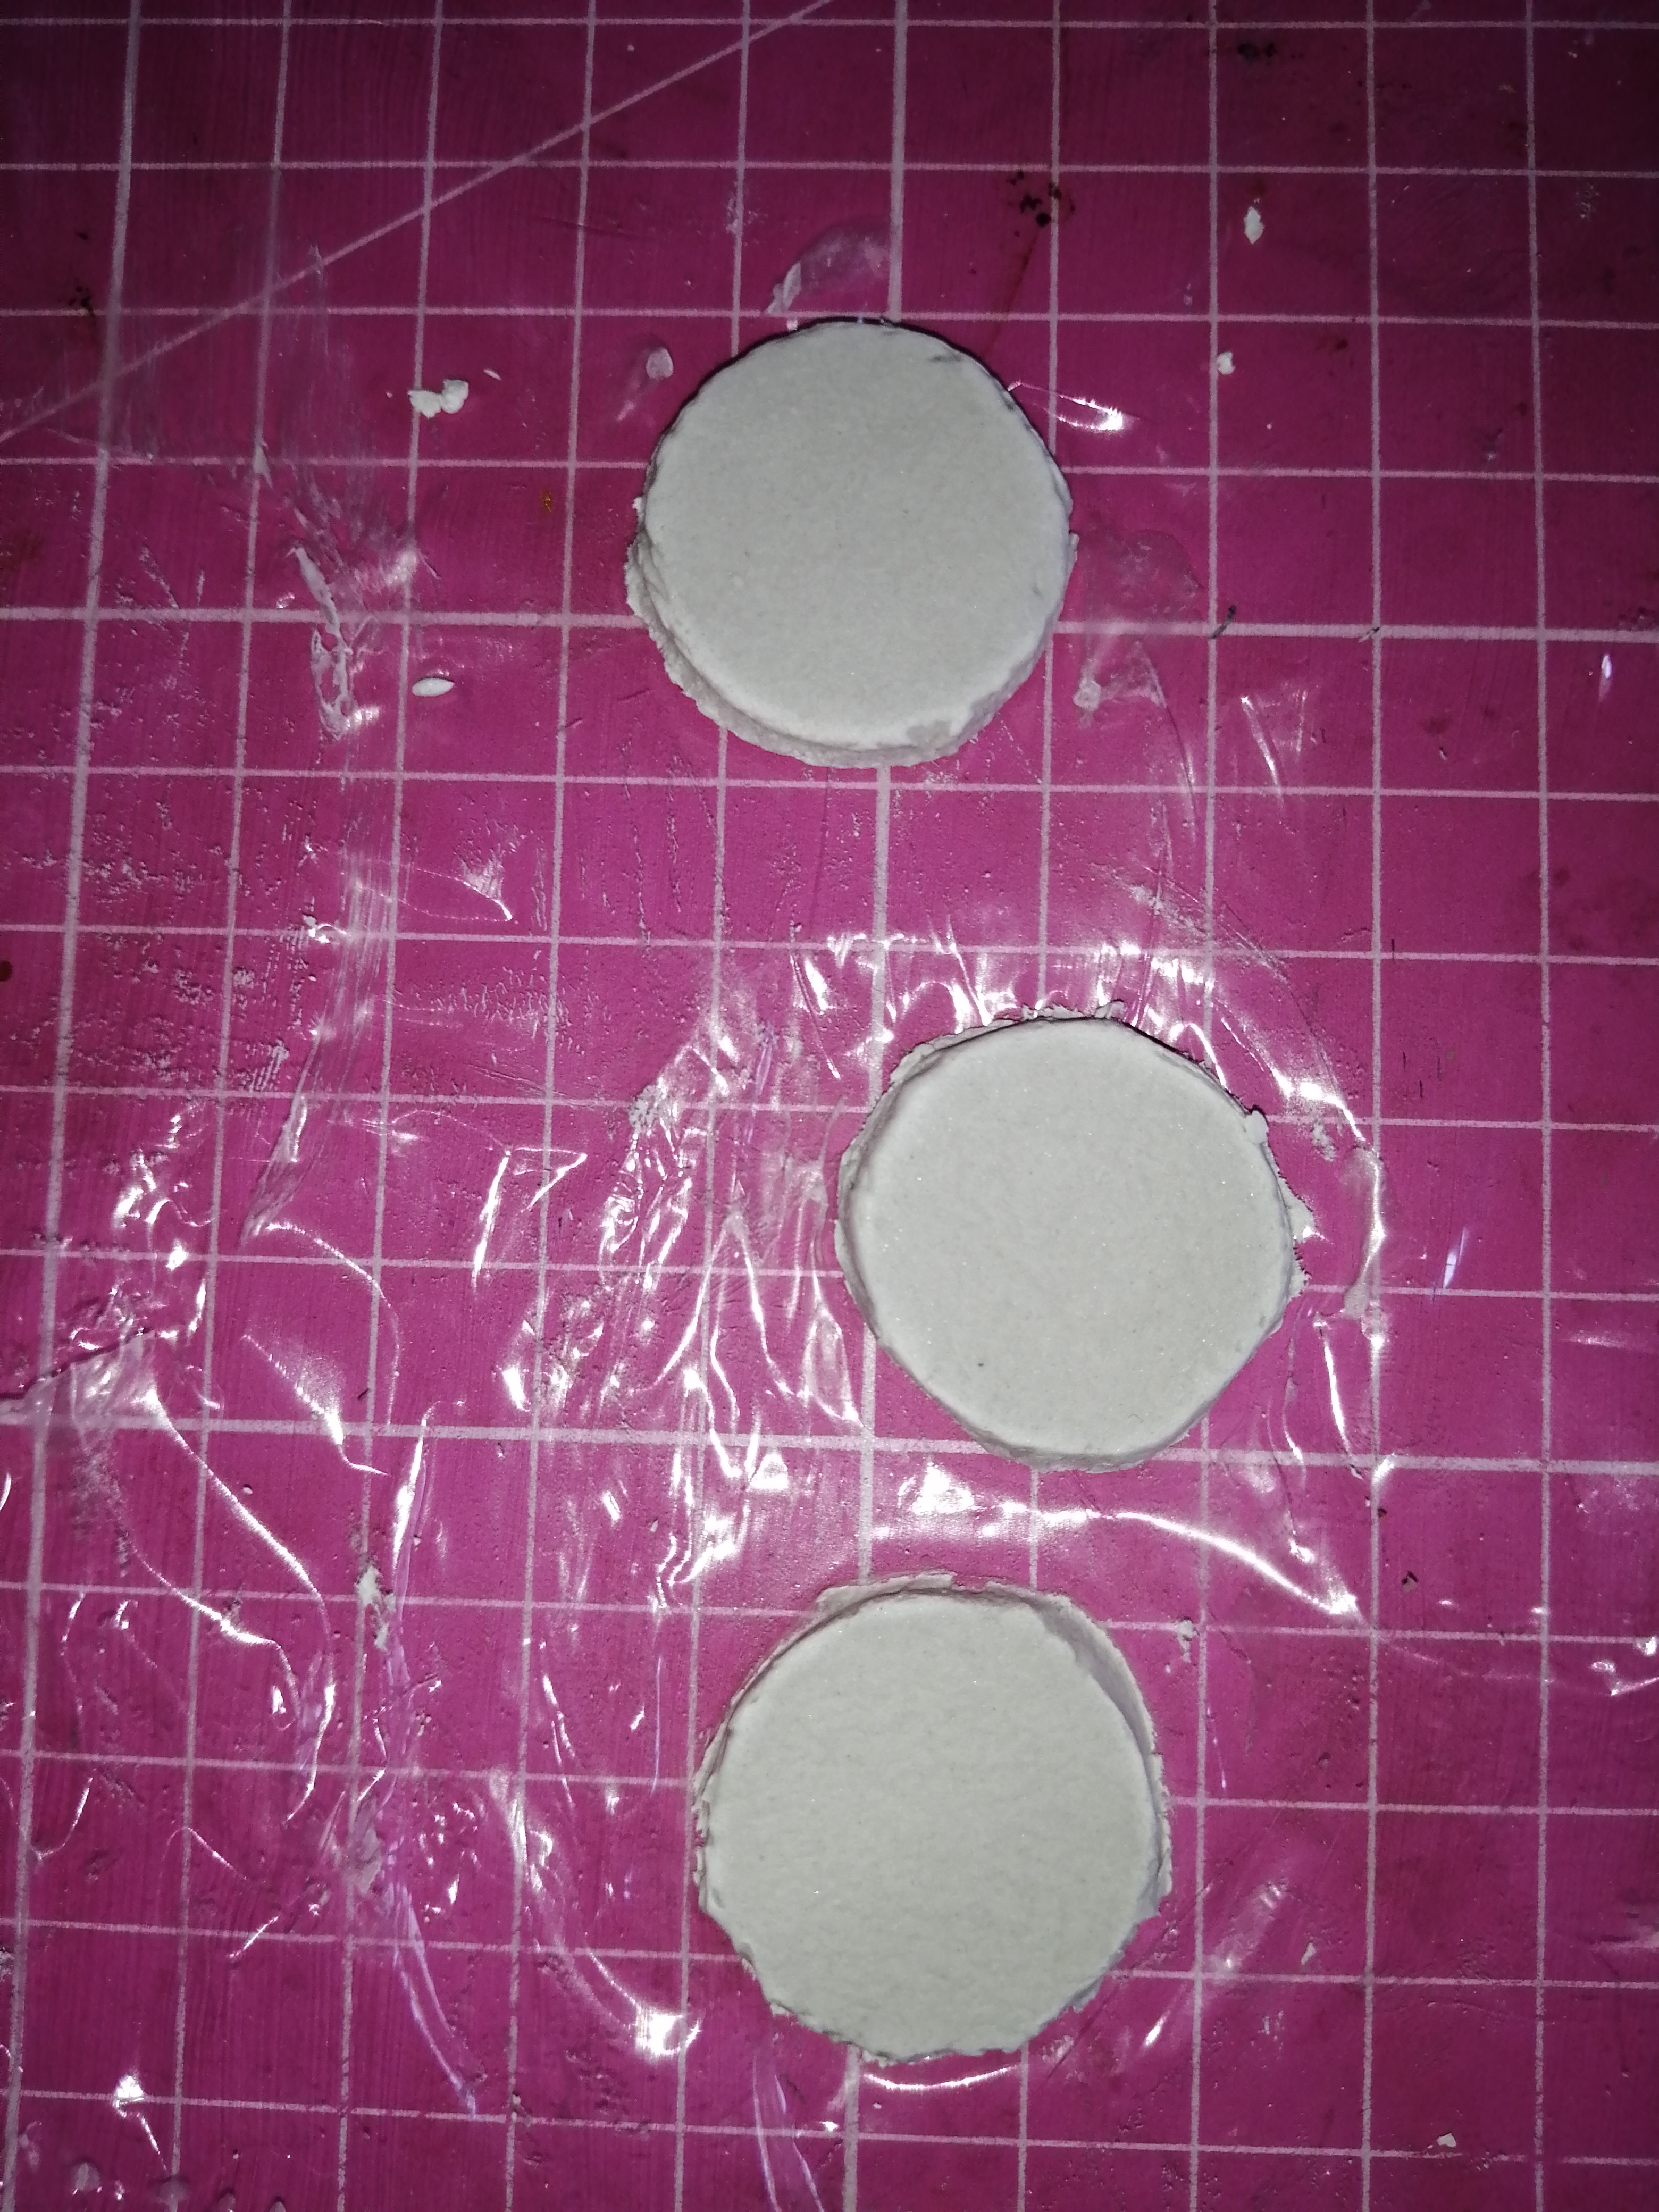
Ahora tenemos que cortar tres circulos yo utilicé un scoch de molde 🤭 y cortamos alrededor de esta con mucho cuidado. Los ponenos en una tela o en cualquier y dejamos secar 24 hrs.
Once the pasta is ready, we put alussa paper and on top we put the dough, we are going to knead very well. Using 2 pens or wooden sticks, we adjust the height so that it is a single thickness and we smooth the dough with our fingers and water. You can also use a sponge. Now we have to cut three circles. I used a mold Scoch 🤭 and we cut around it very carefully. We put them on a cloth or anything and let them dry for 24 hours.
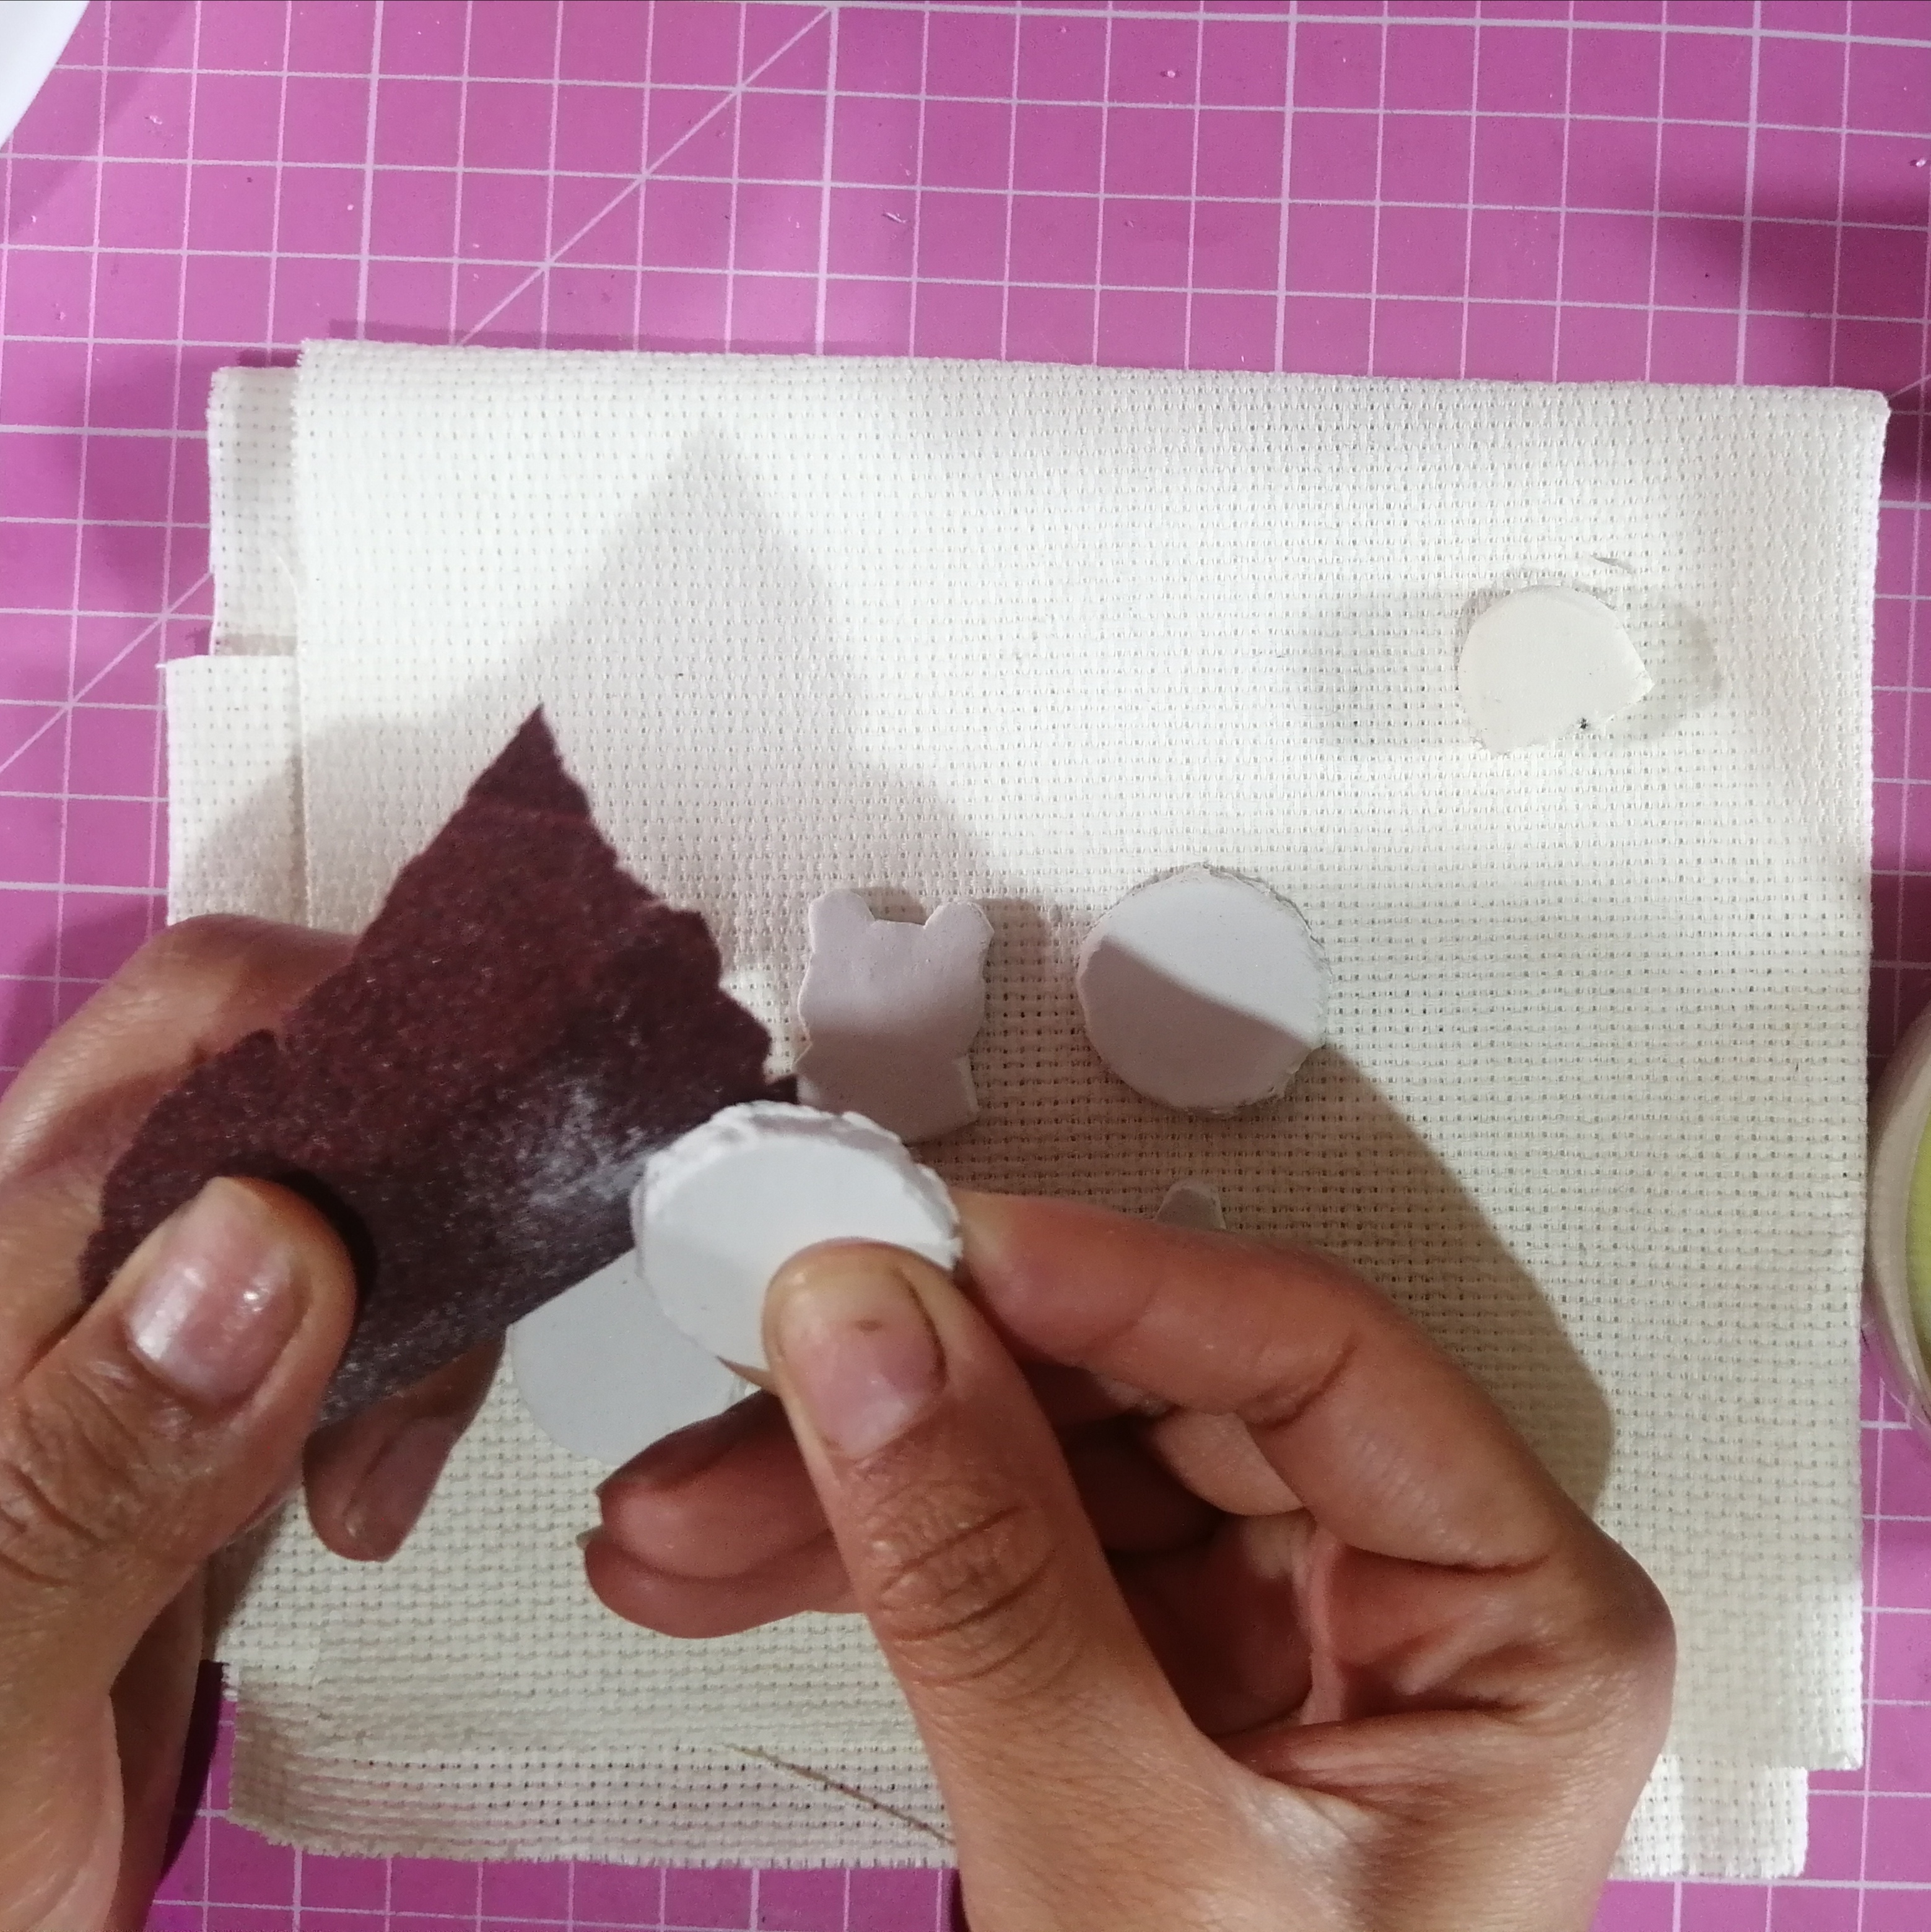
Ya pasada las 24 horas nuestra masa estará dura, ahora nos toca lijar y eliminar todo el exceso de material para que quede lo más liso posible.
After 24 hours our dough will be hard, now we have to sand and remove all the excess material so that it is as smooth as possible.
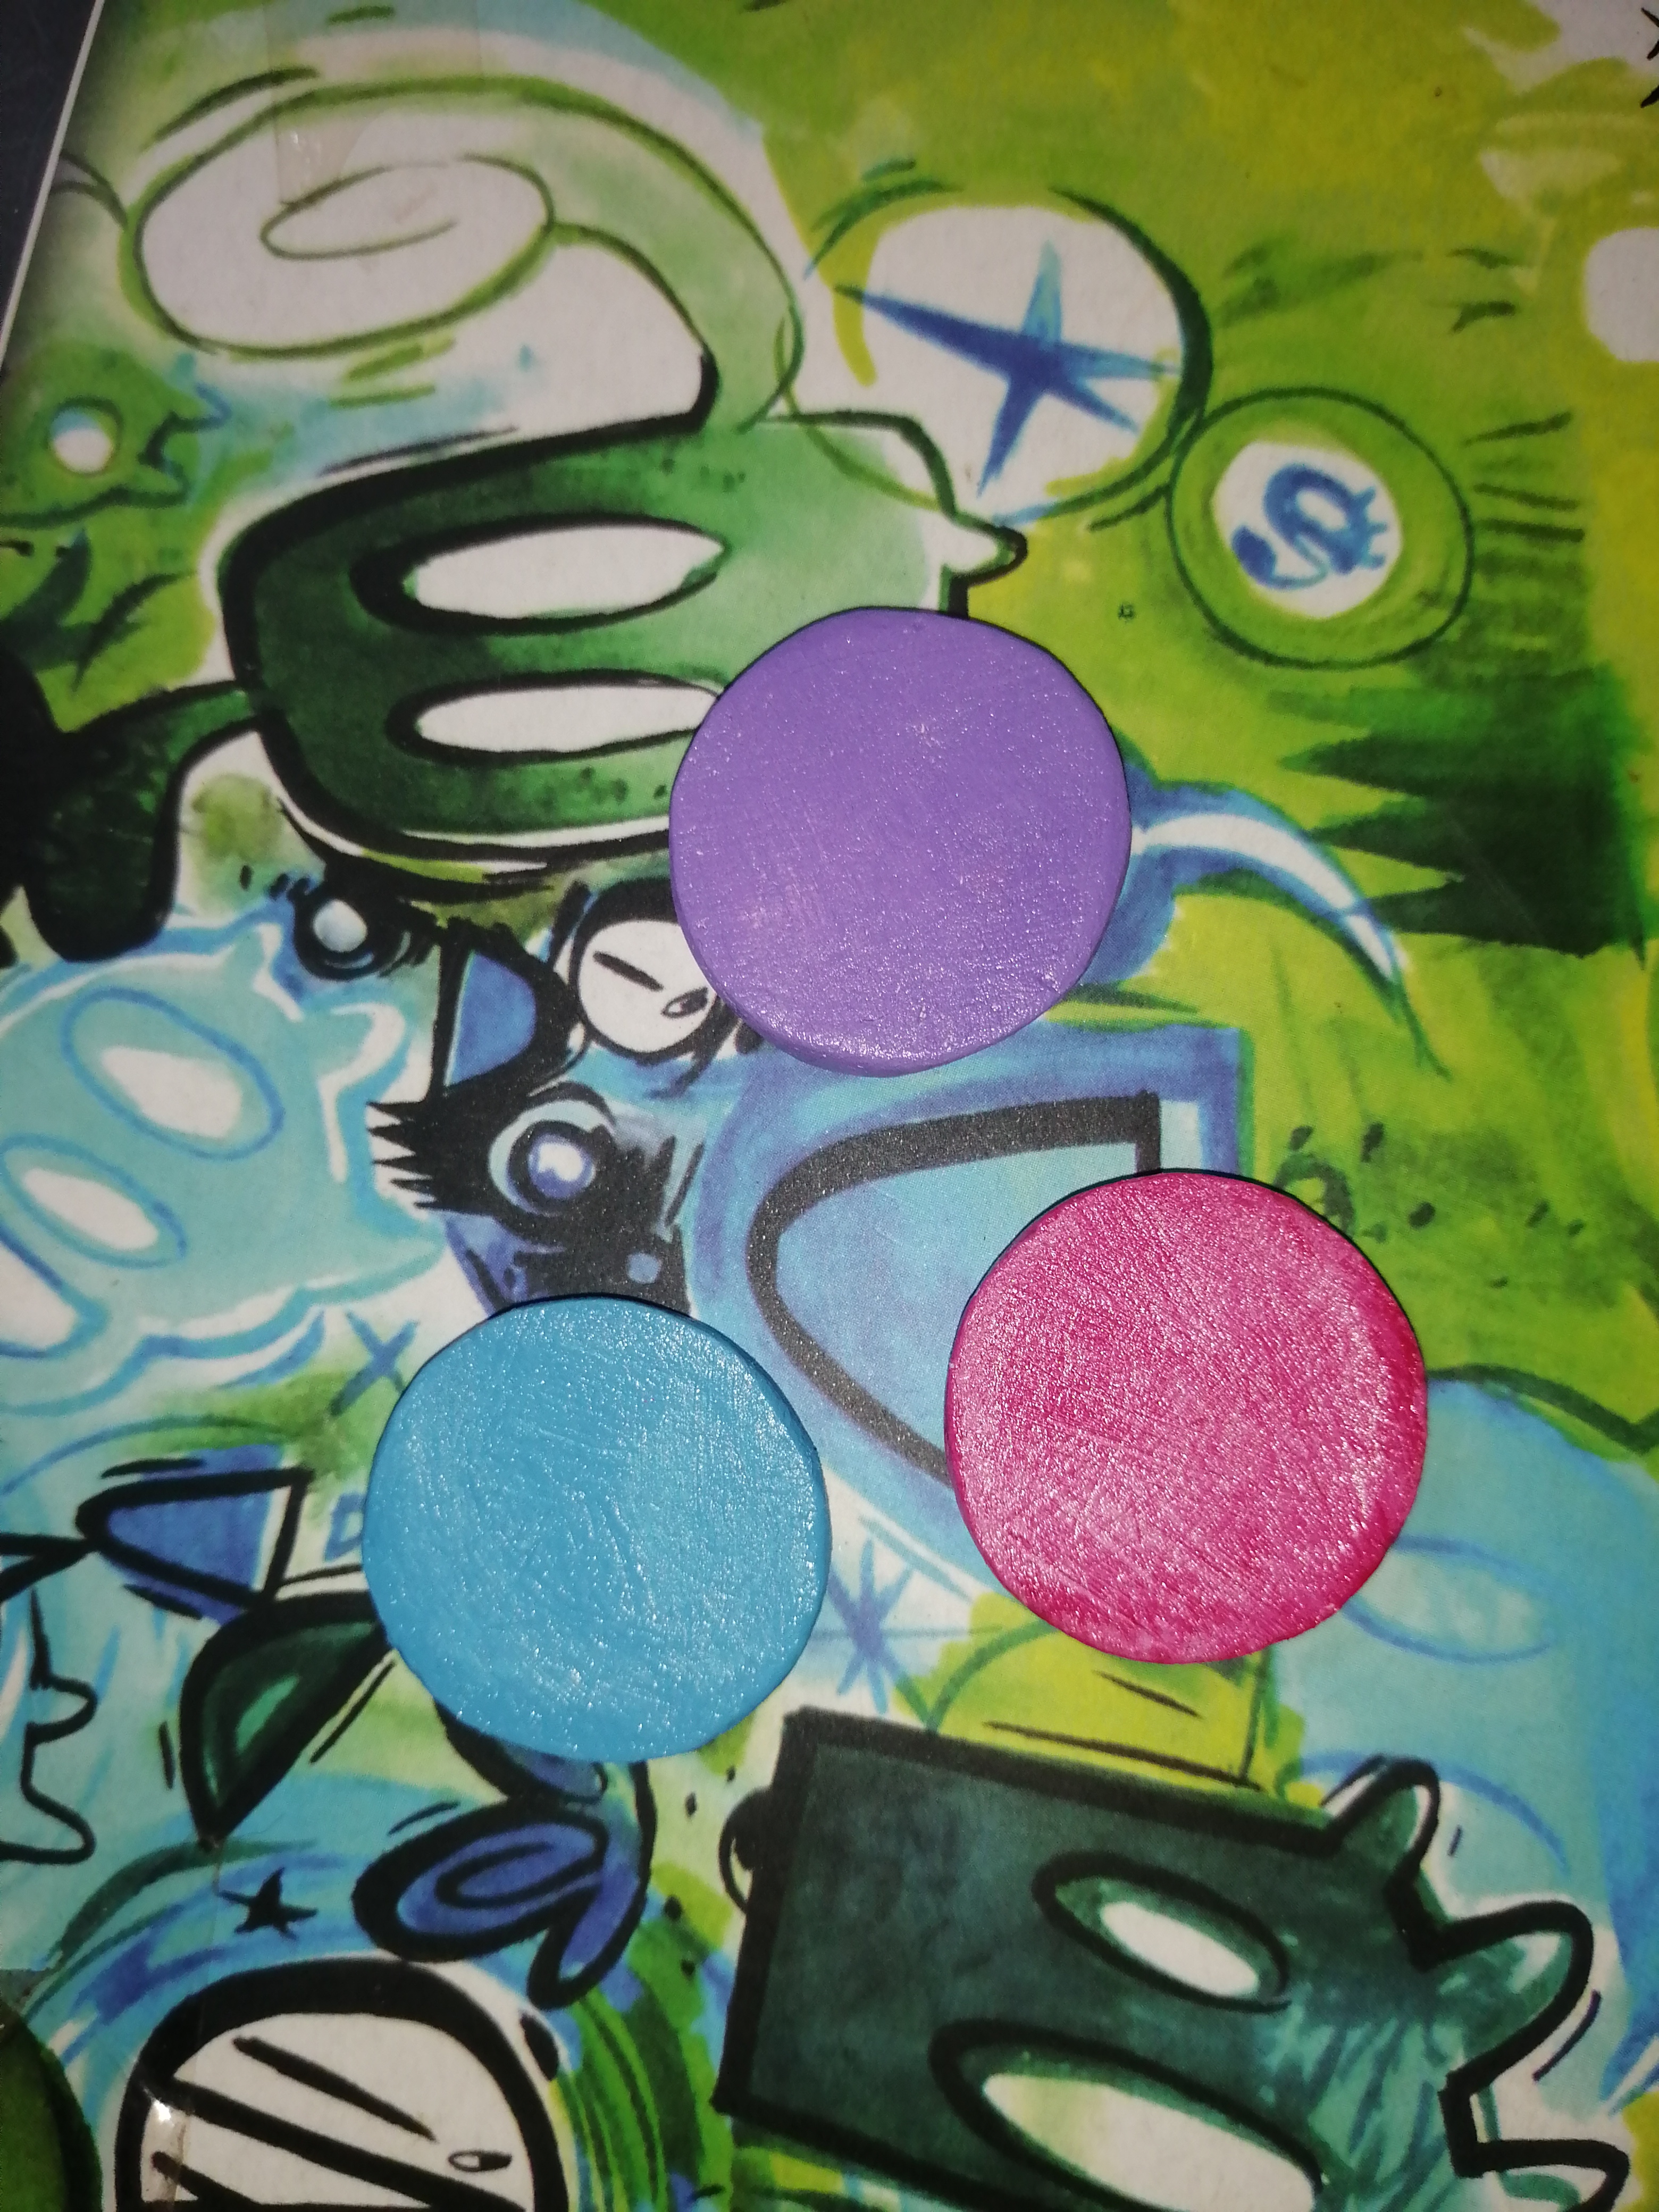
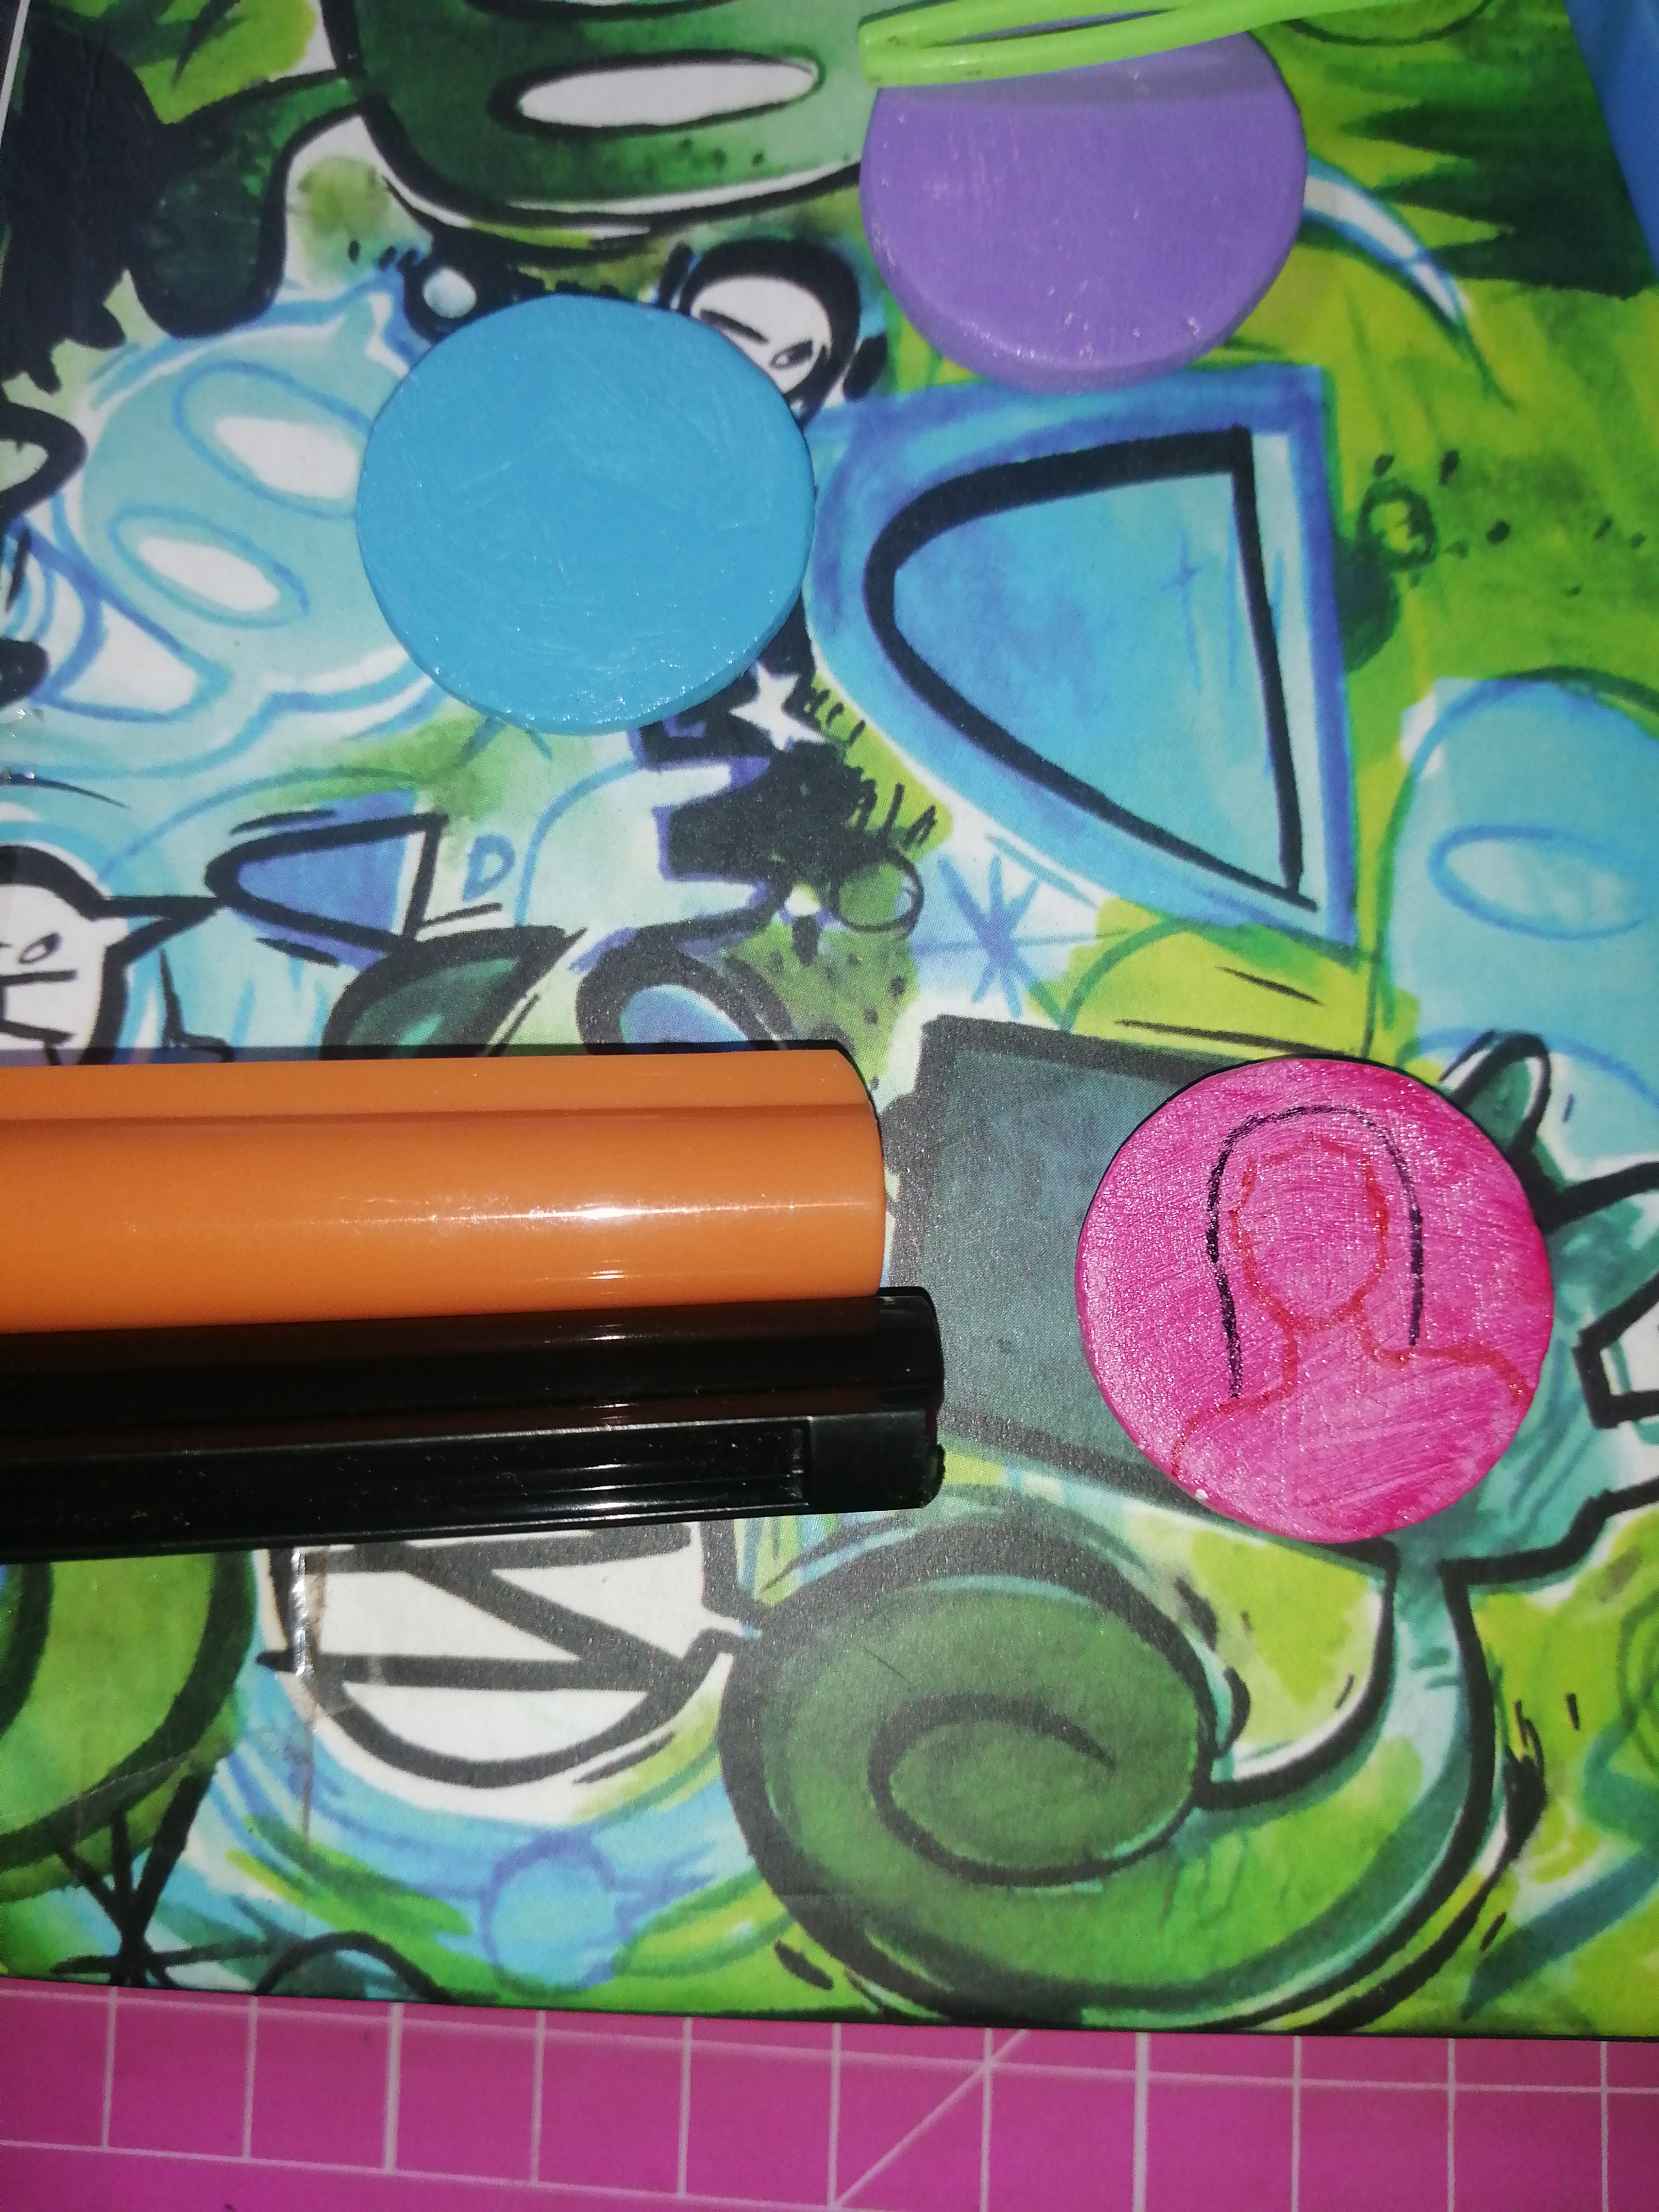
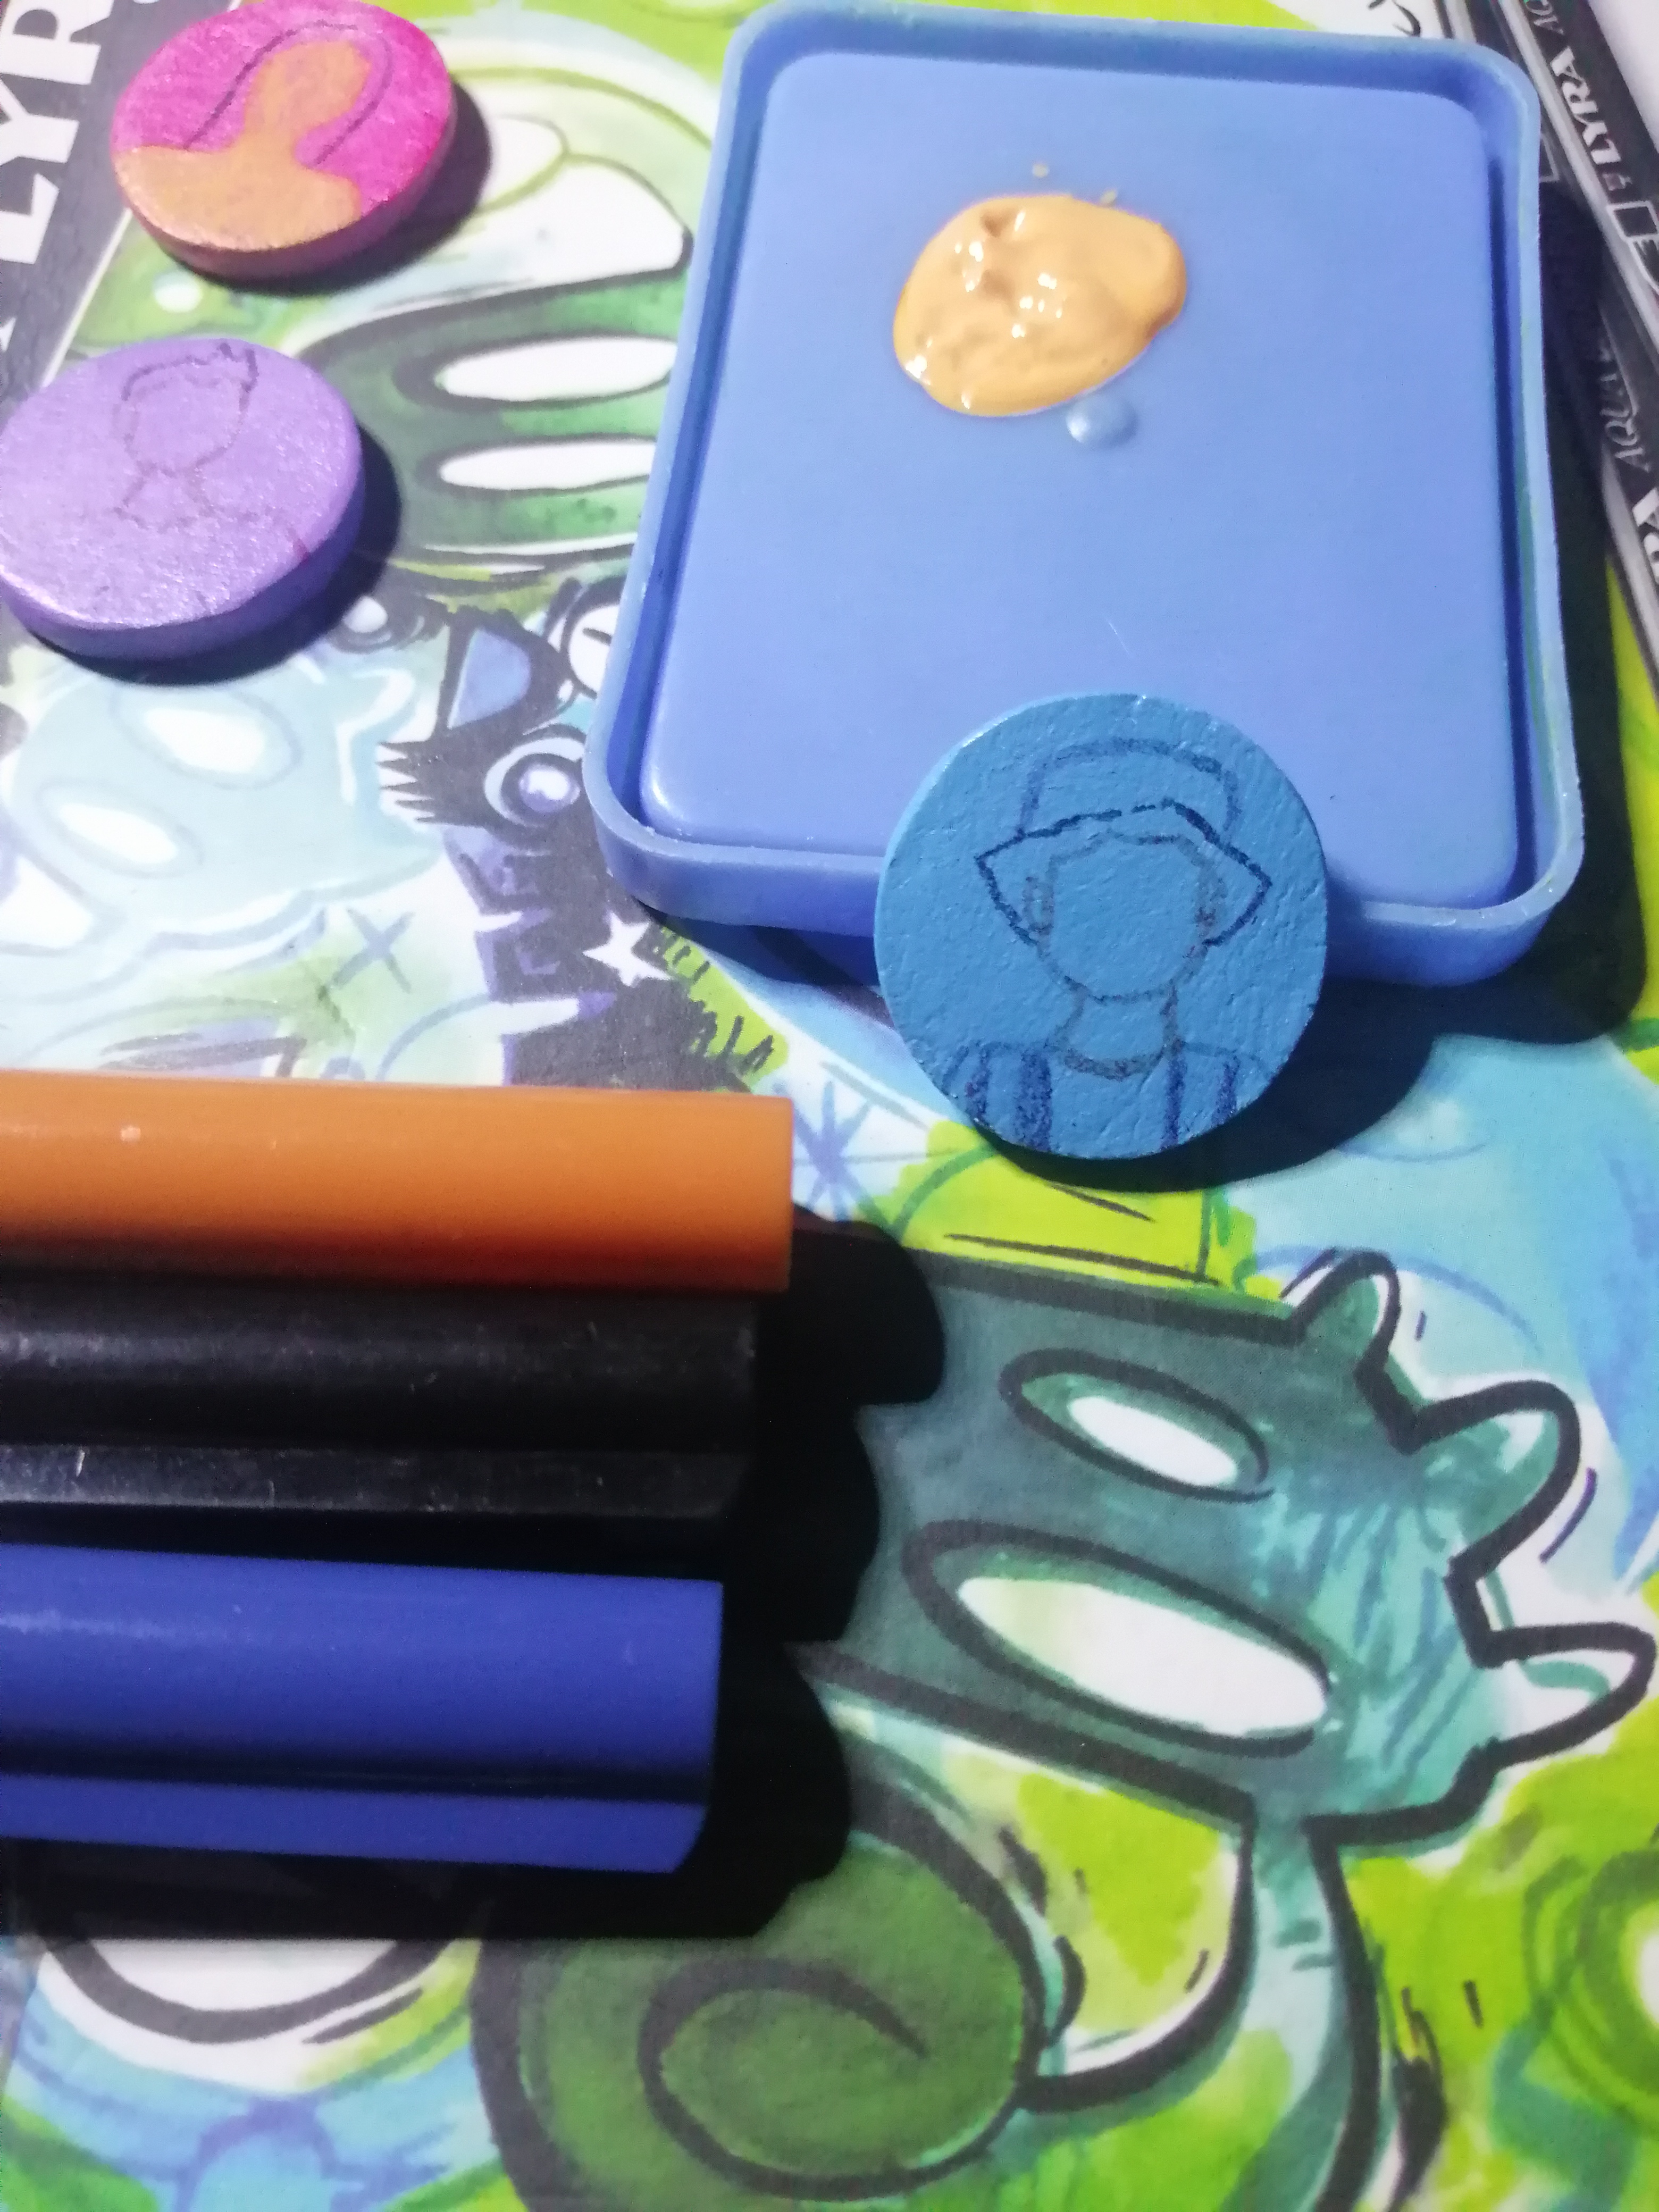
Ahora nos toca pintar todo nuestro círculo. Buscamos los mismos tonos que en nuestro dibujo que son rosado, celeste y morado claro. Pintamos todo y dejamos secar muy bien.
Now we have to paint our entire circle. We are looking for the same tones as in our drawing, which are pink, light blue and light purple. We paint everything and let it dry very well.
|
|
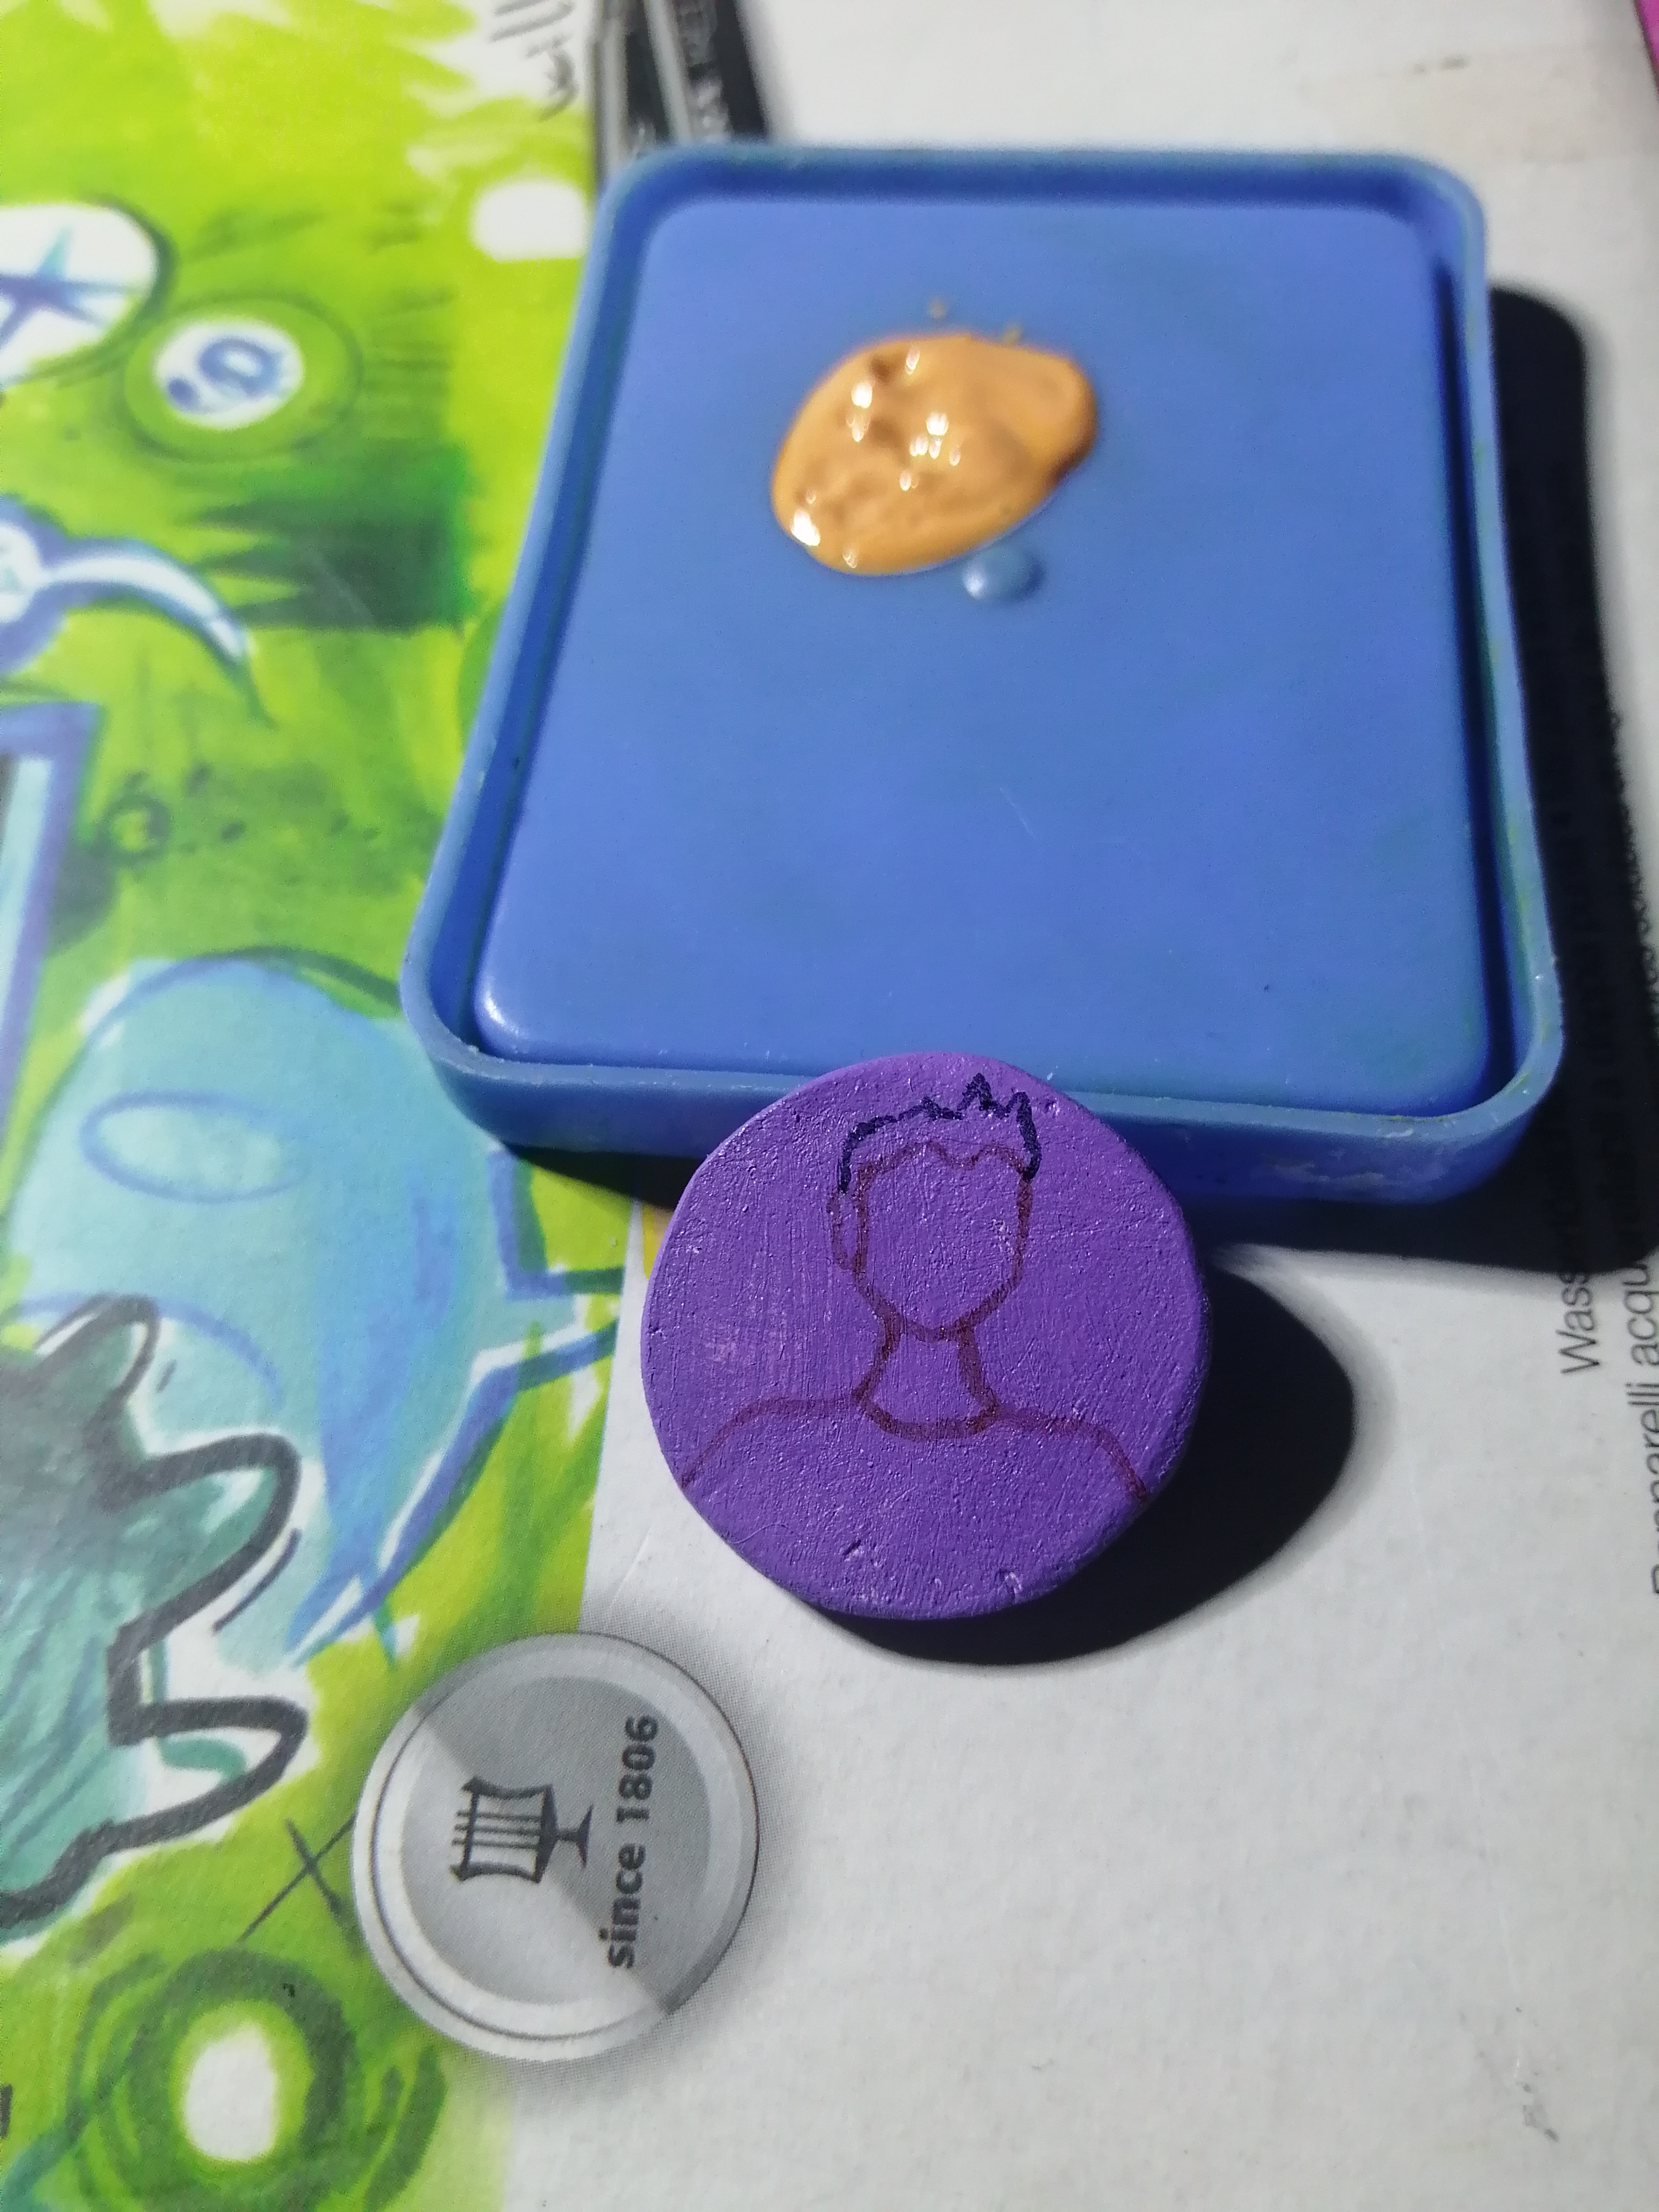
El primer dibujo que es el mio, así que con un lapiz acuarela naranja creamos la silueta y con el negro hacemos el pelo.
Repito lo mismo con el dibujo de mi esposo hacemos la silueta y el cuerpo con color rojo y a mi niña su silueta con naranja, negro y azul.
The first drawing is mine, so with an orange watercolor pencil we create the silhouette and with black we make the hair. I repeat the same with my husband's drawing, we make the silhouette and body with red and my daughter's silhouette with orange, black and blue.
|
|
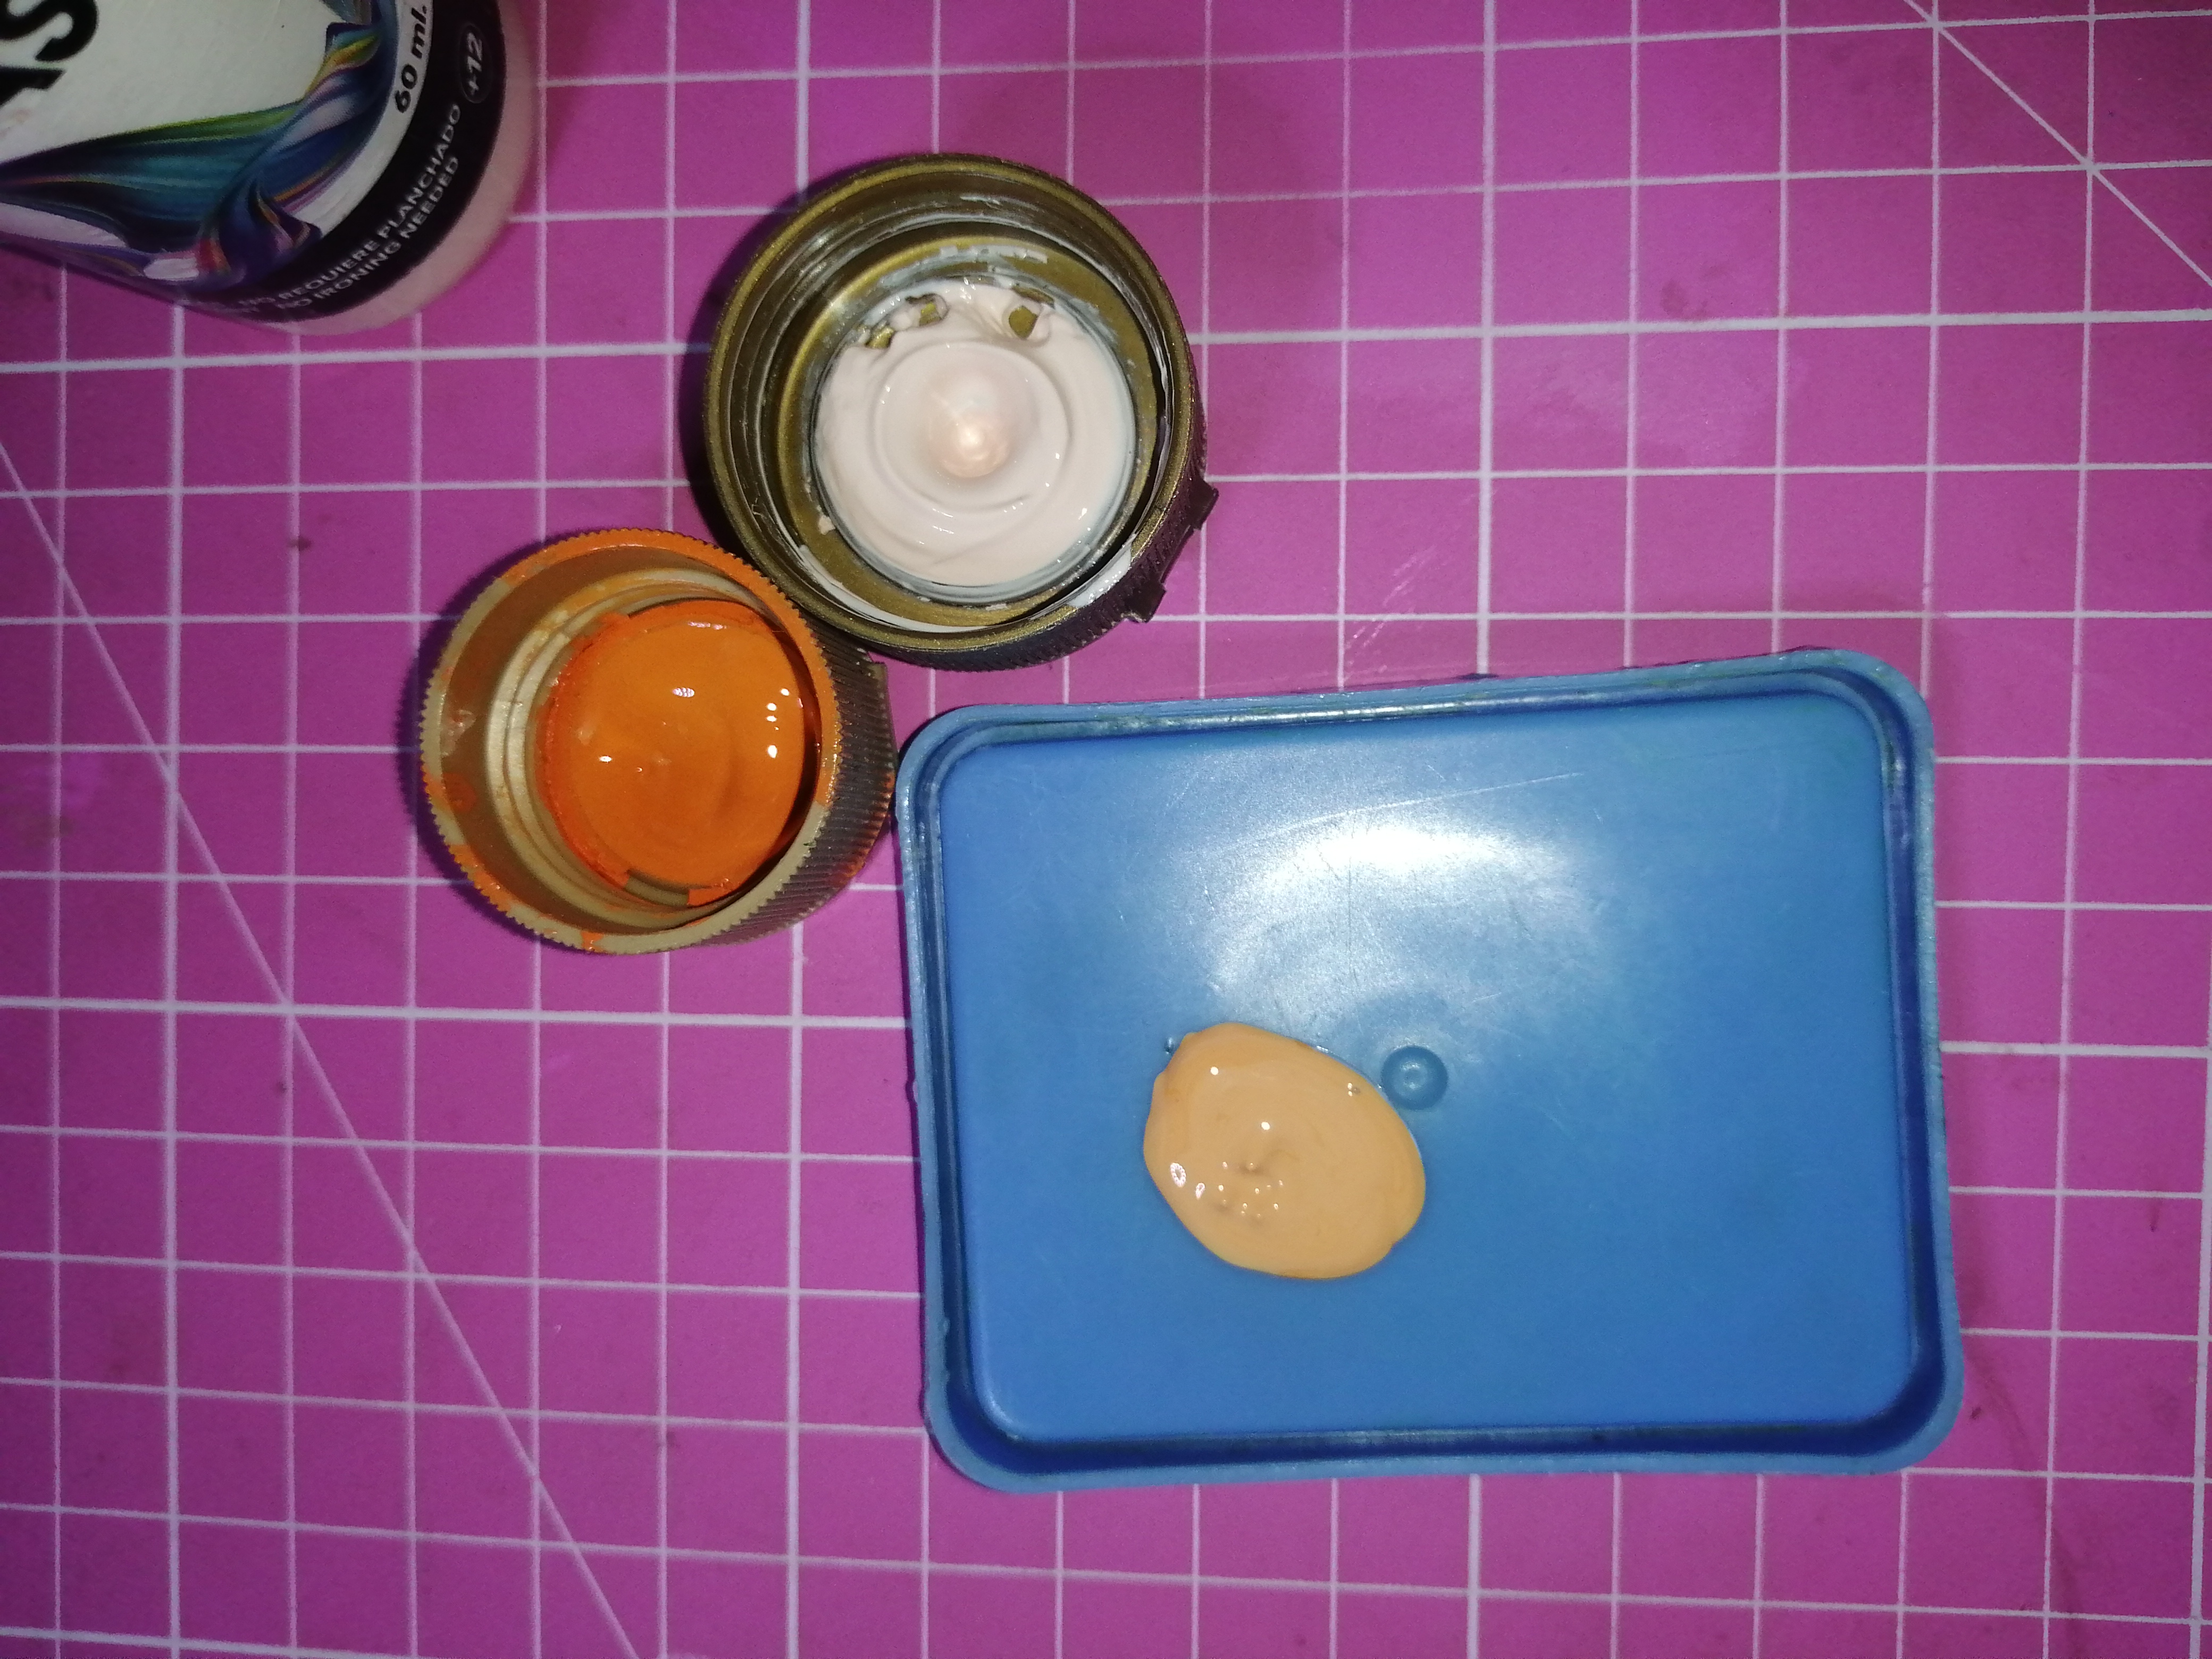
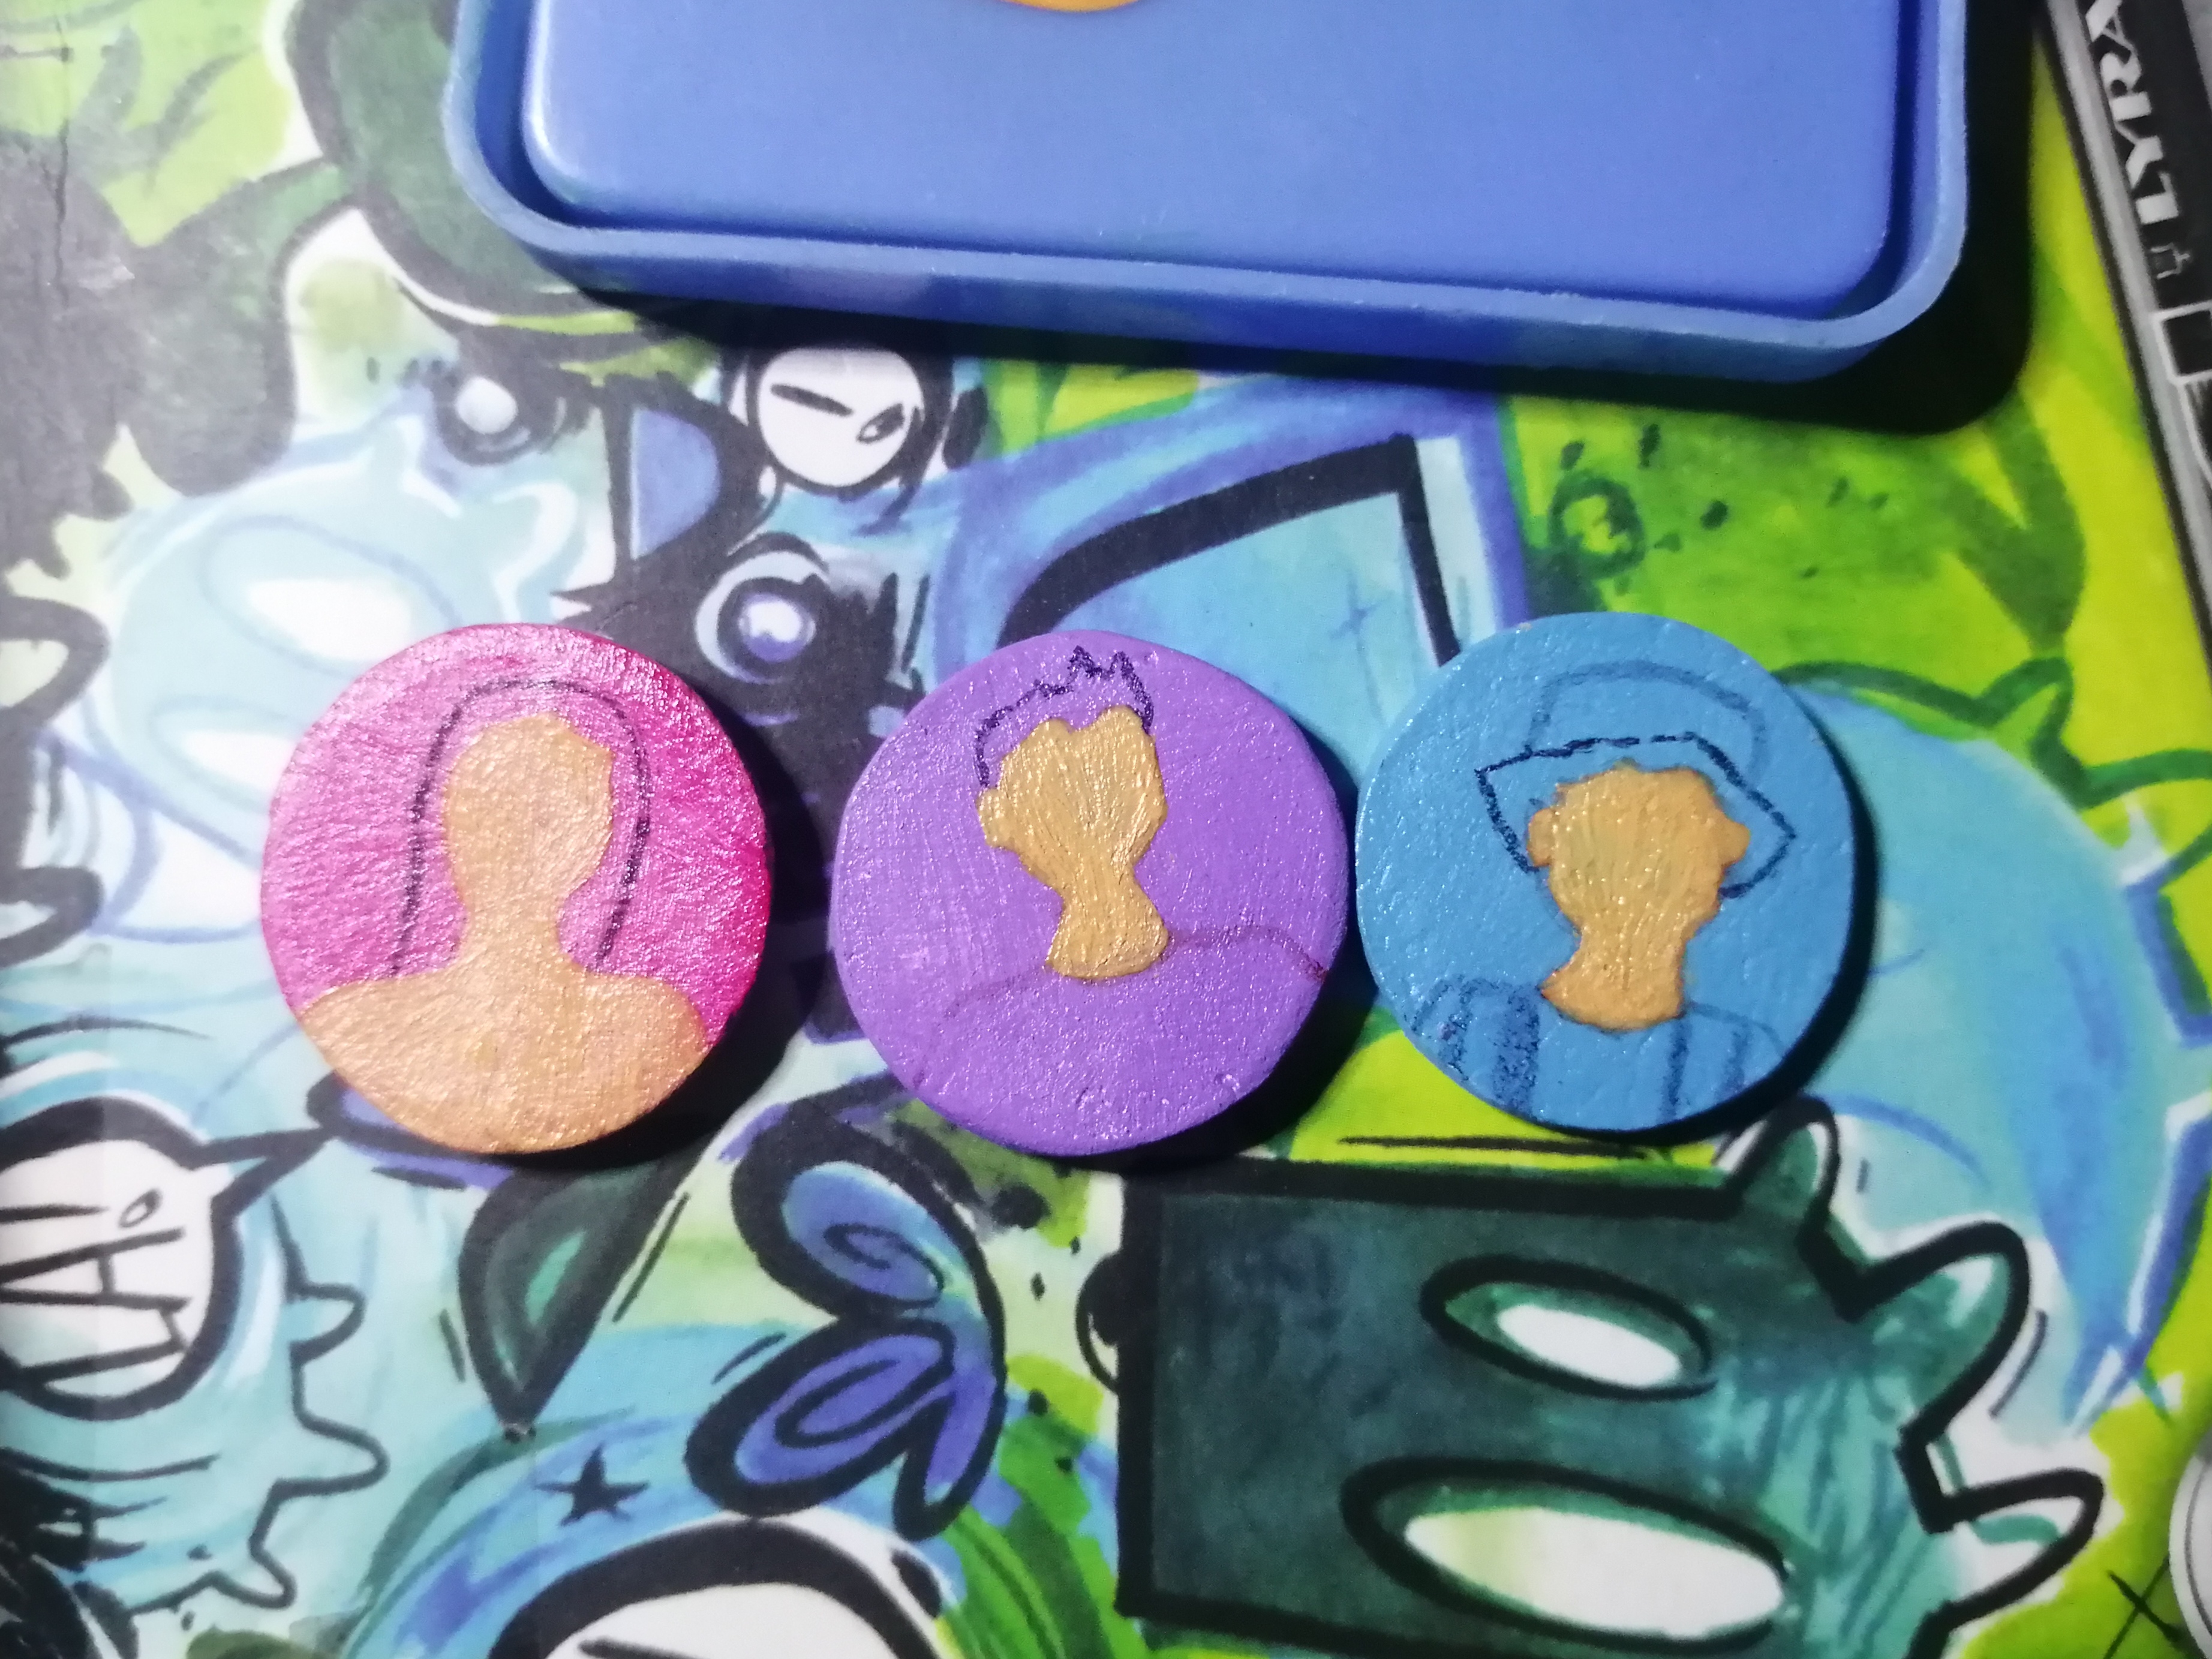
En un pocillo mezclamos el color crema con el naranja revolver hasta que lleguemos al tono de piel deseado.
Lo primero es pintar cada parte del dibujo que lleve piel. Dejamos secar y volvemos a repasar las veces que sea necesario.
In a well we mix the cream color with the orange, stirring until we reach the desired skin tone. The first thing is to paint each part of the drawing that has skin. We let it dry and go over it again as many times as necessary.
|
|
|
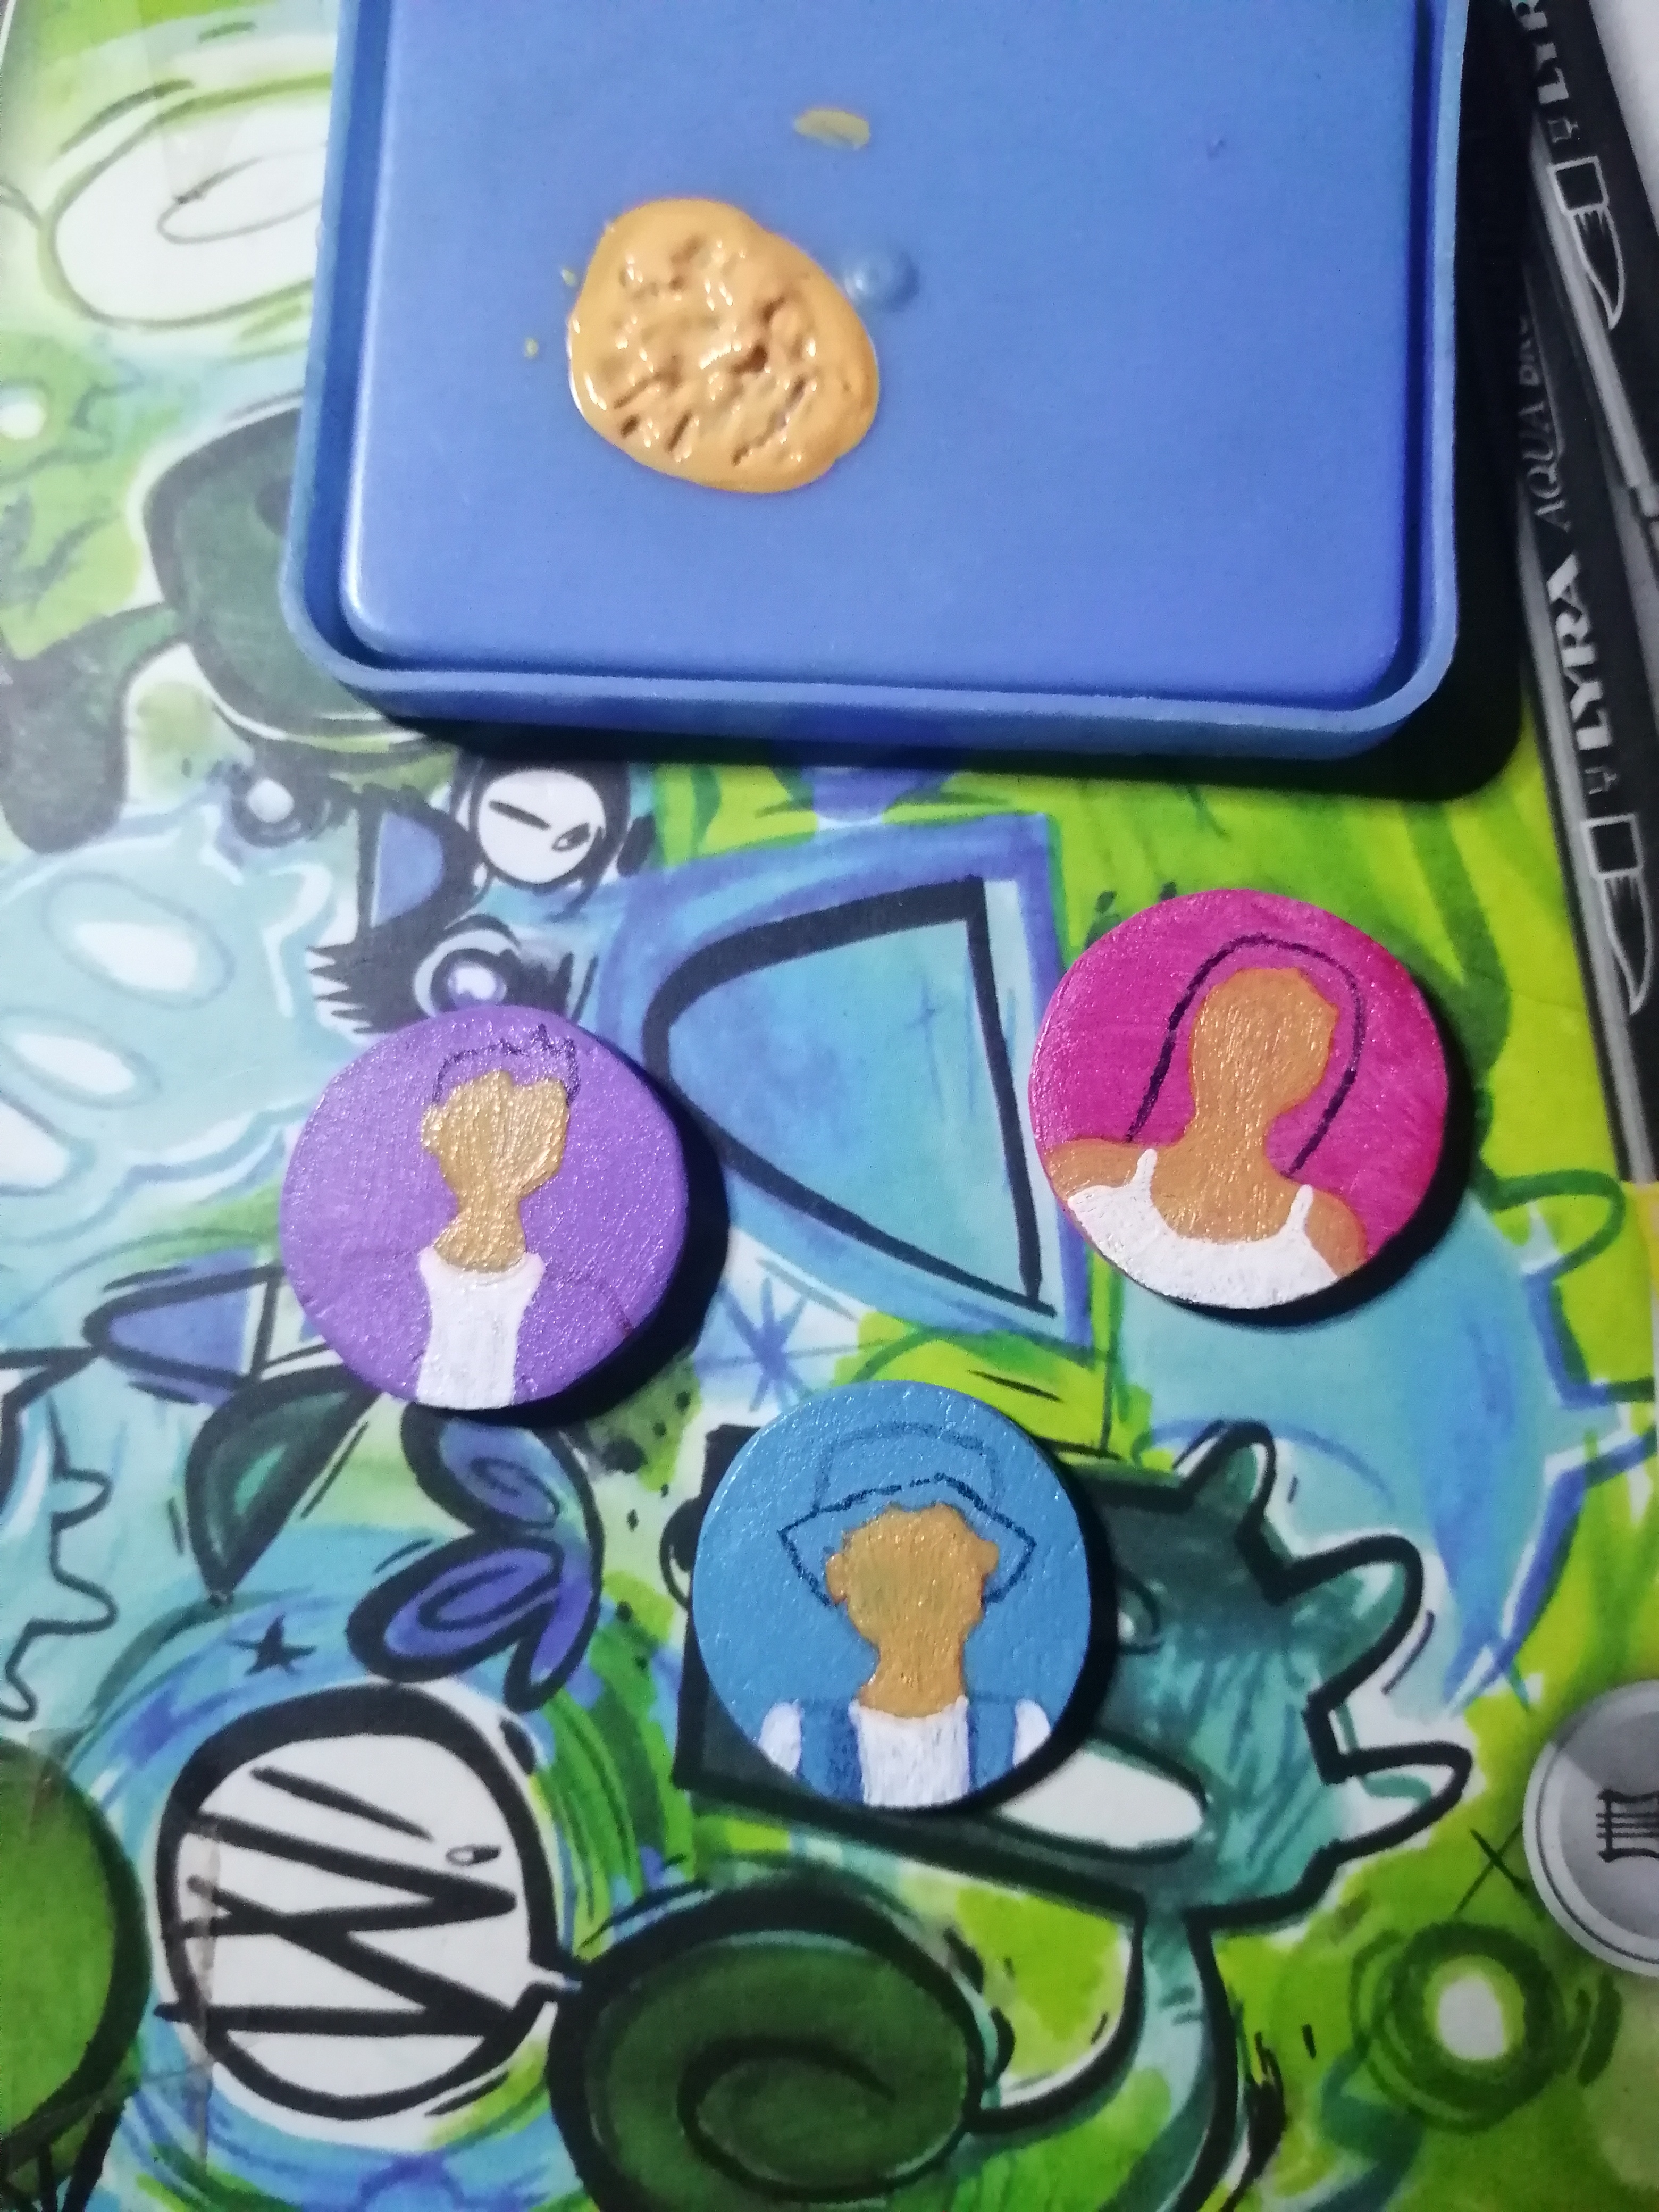
Ahora pintamos el cabello y la ropa de cada uno, con el lápiz de acuarela hacemos los ojos, la nariz y la boca.
Y también con el lápiz rosado pintamos los cachetitos y le damos brillo con dos puntos de acrílico blanco.
Se me ocurrio hacerle unos brillitos con pintura amarilla.
Now we paint each person's hair and clothes, with the watercolor pencil we make the eyes, nose and mouth. And also with the pink pencil we paint the cheeks and shine them with two points of white acrylic. It occurred to me to make some highlights with yellow paint.
|
|
|
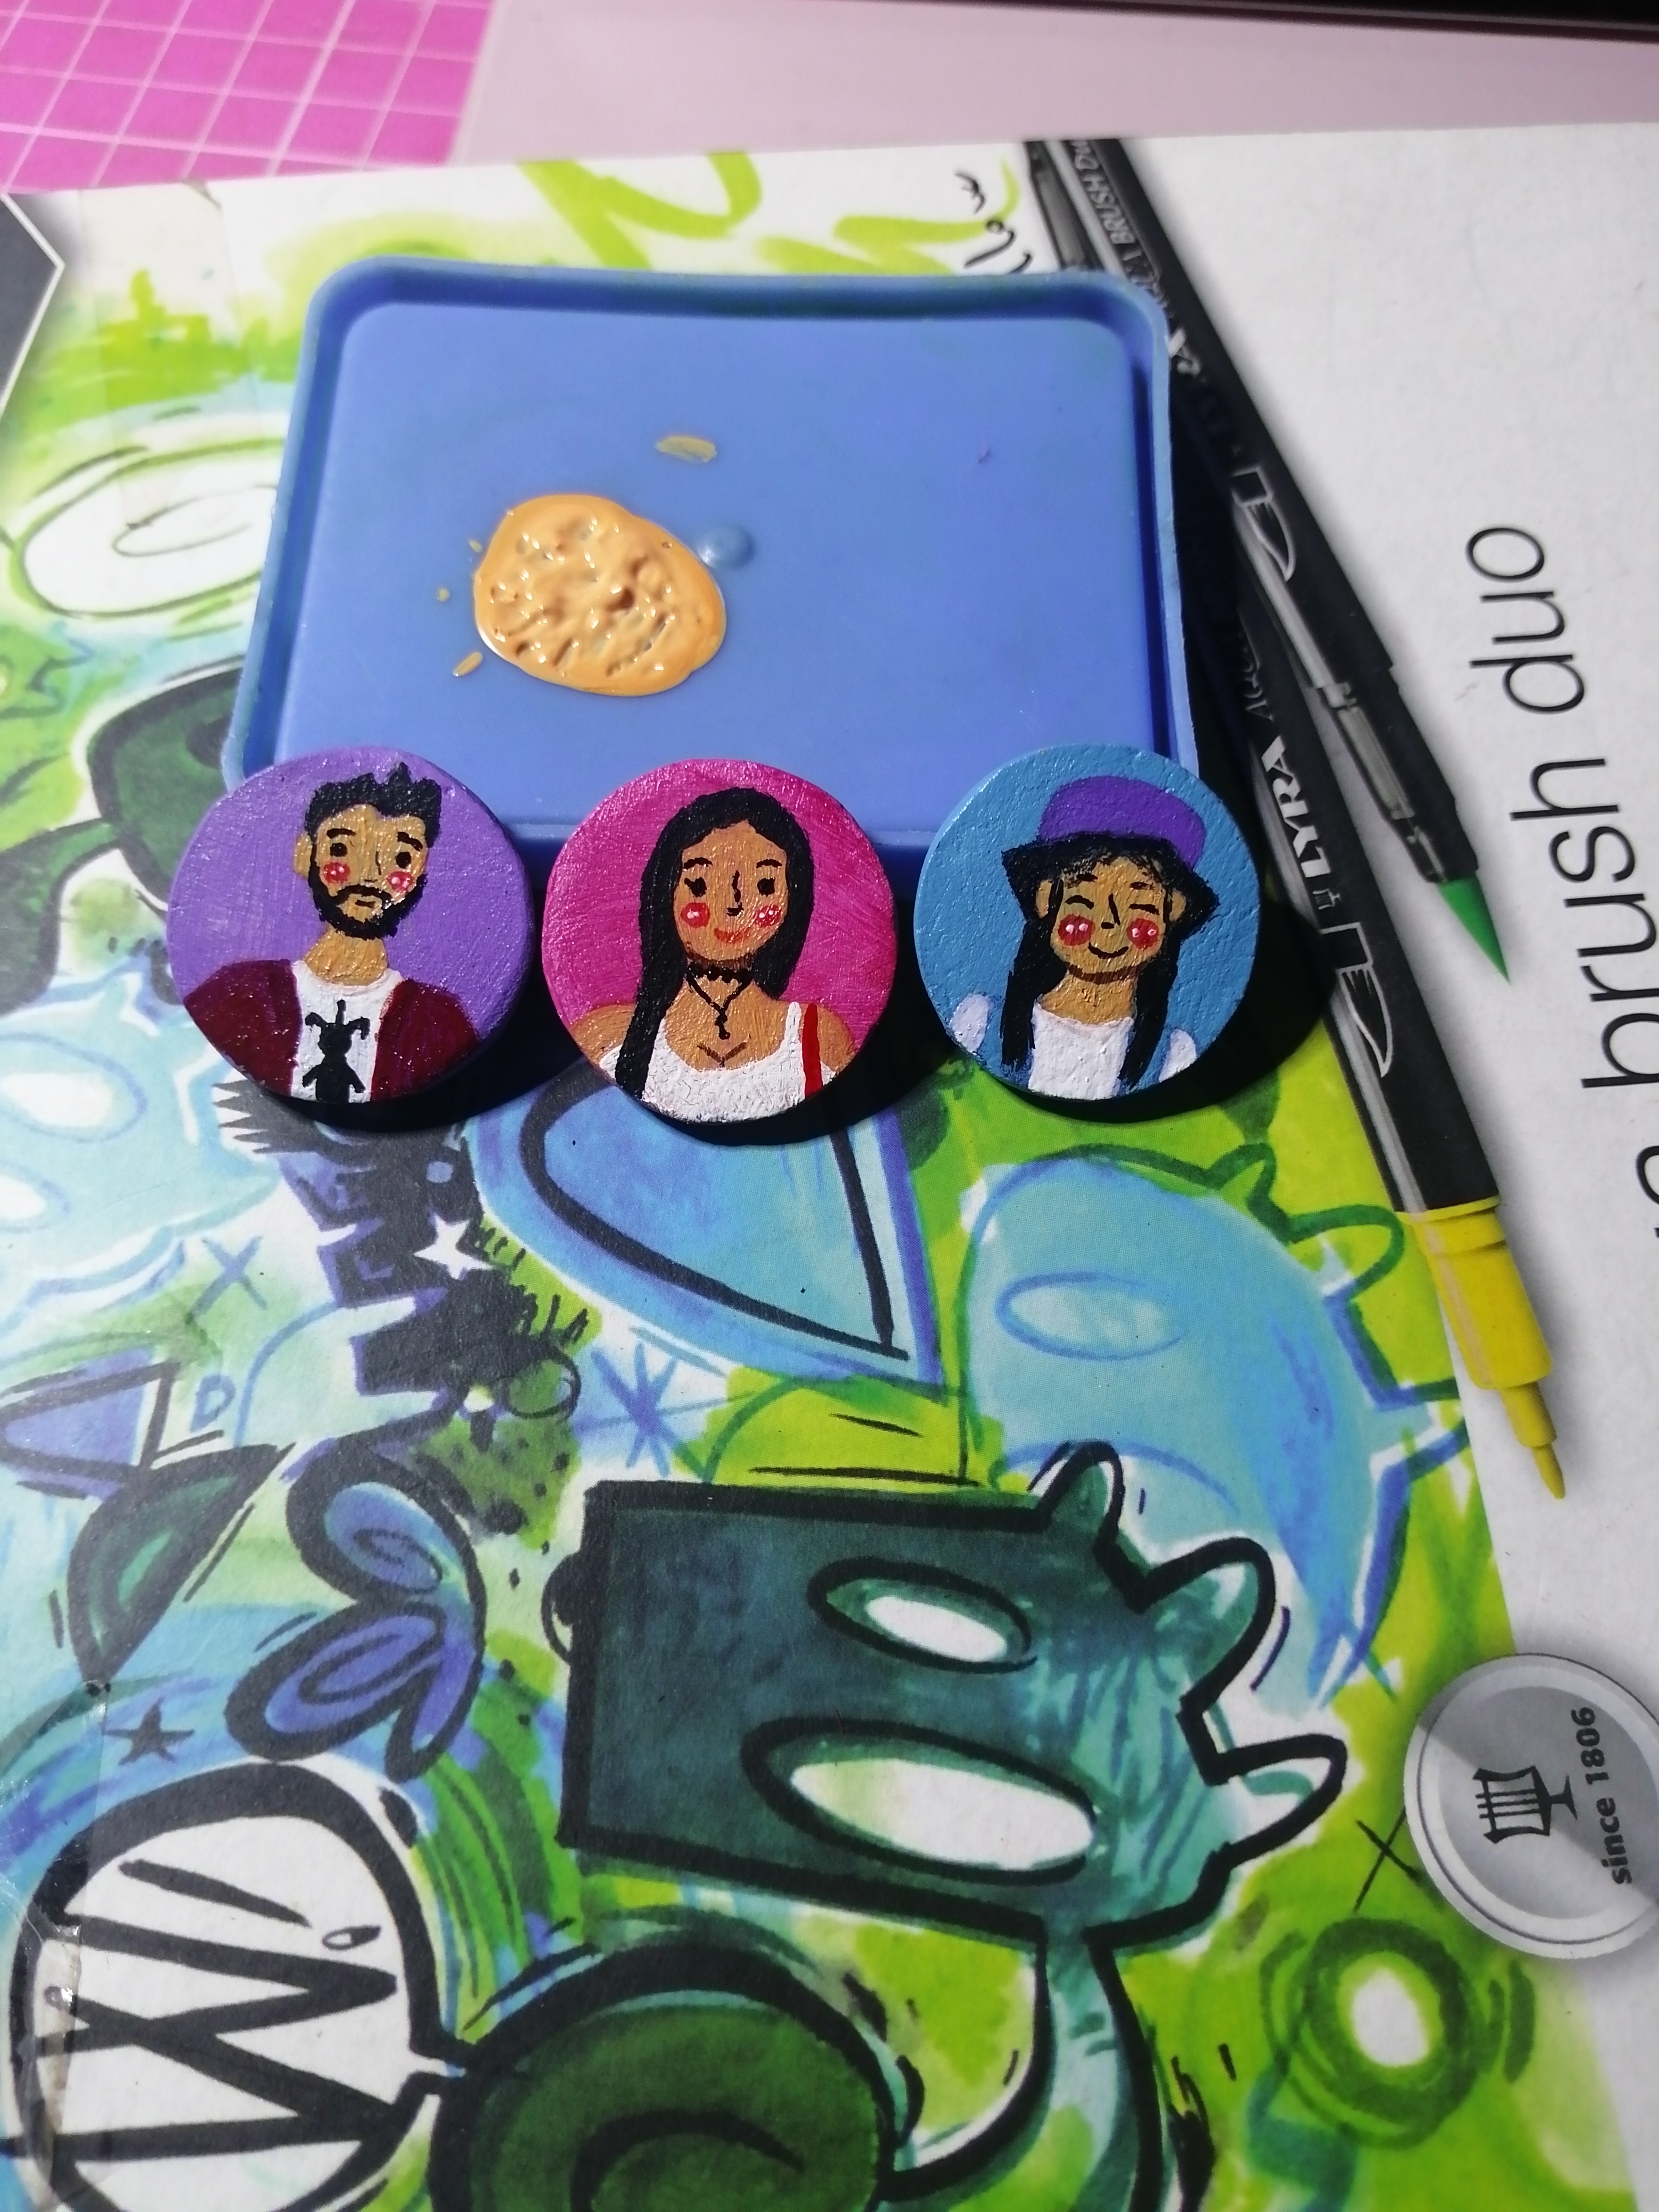
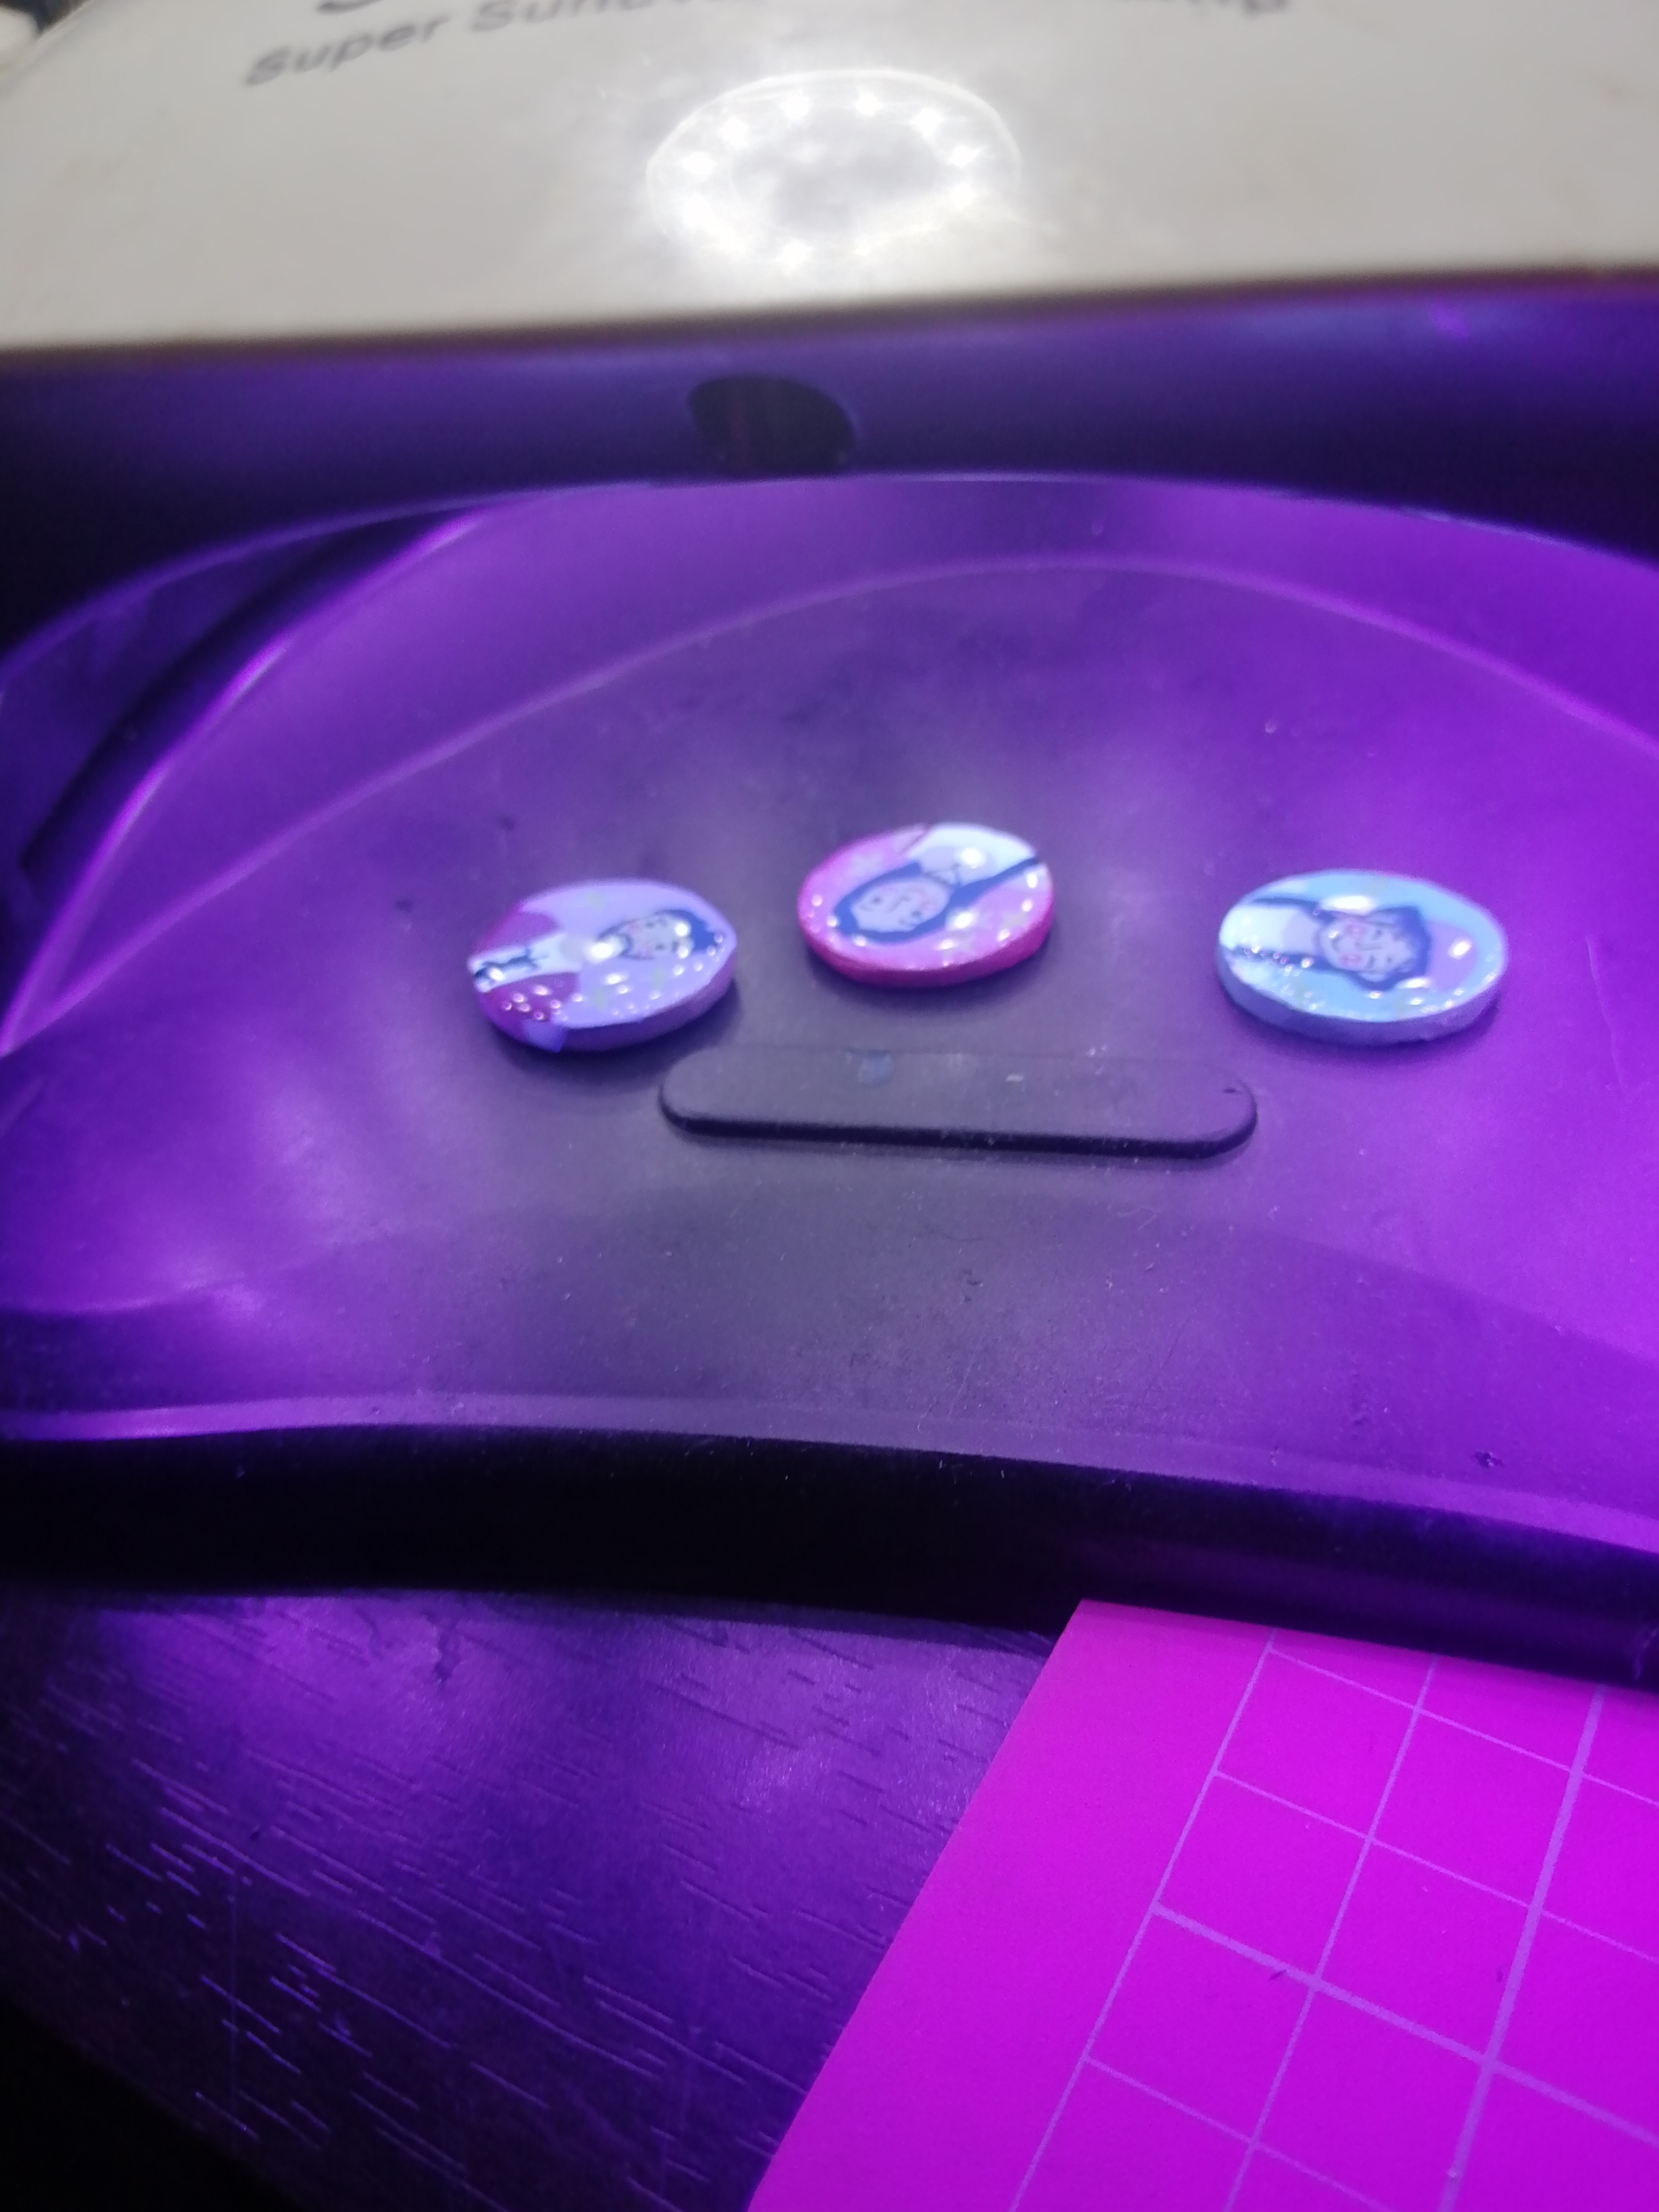
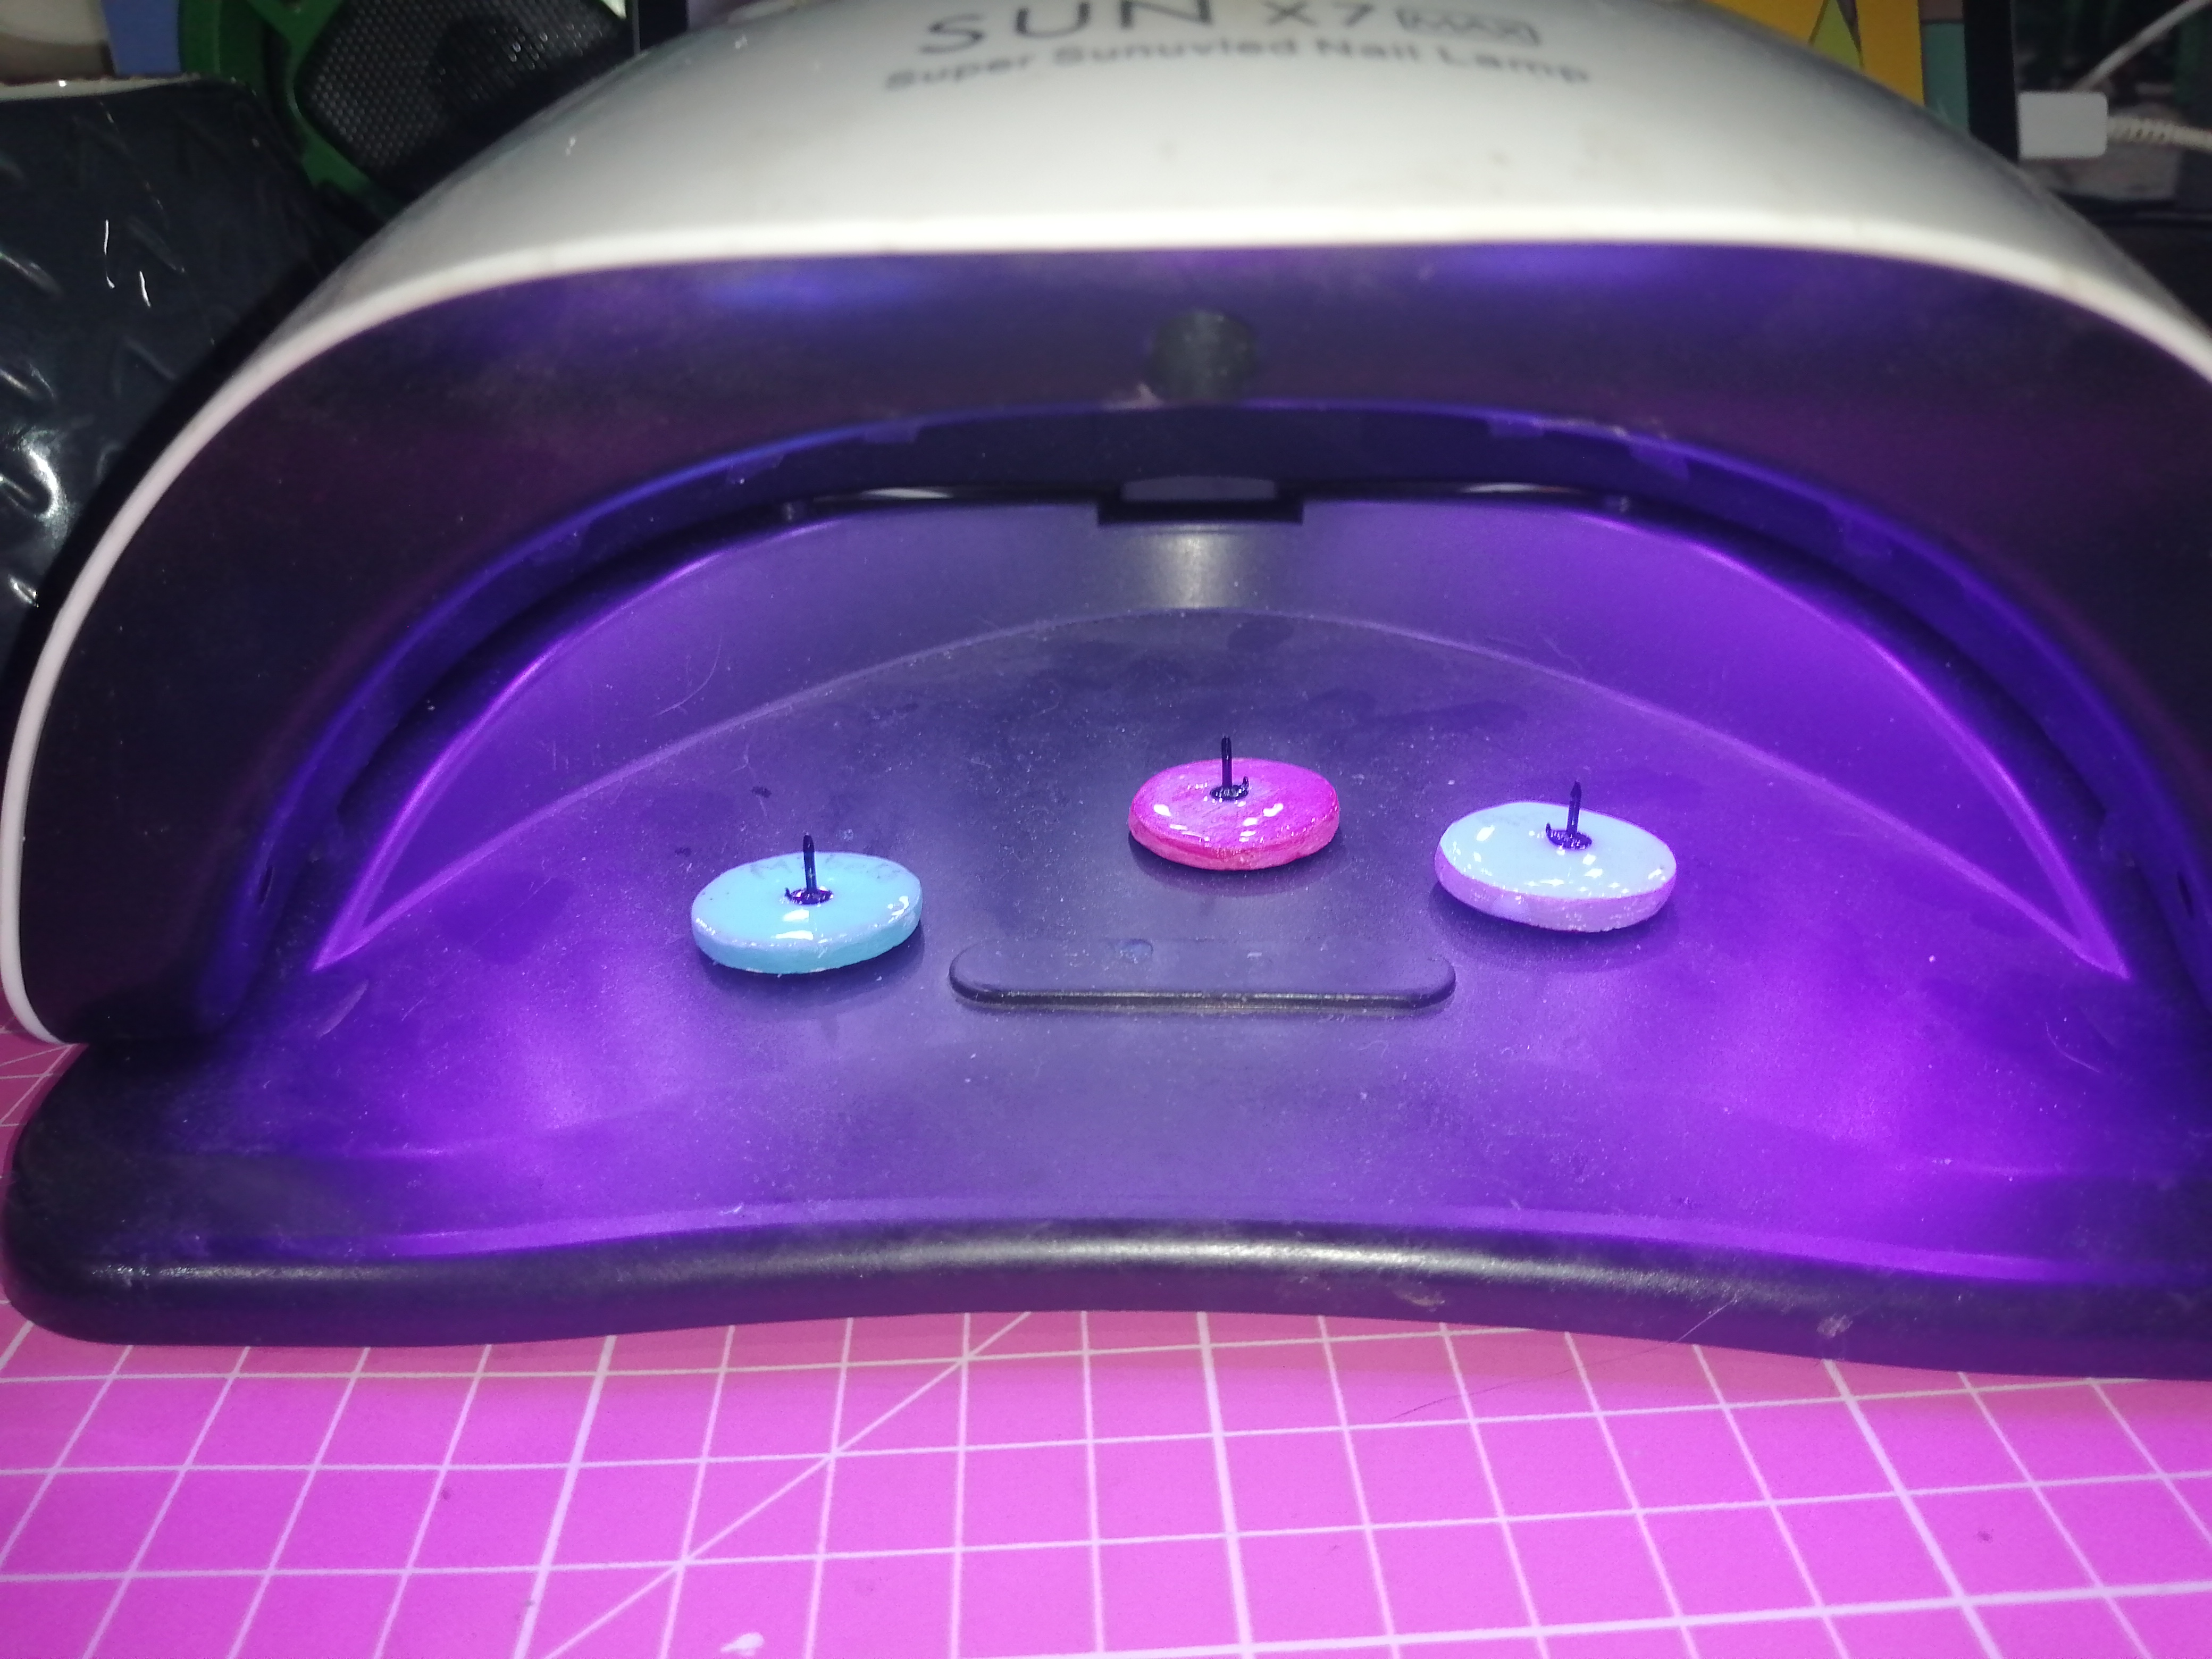
Ahora echamos resina uv por delante se va a la lampara hasta endurecer, por detrás ponemos mas resina y agregamos la punta del broche para que se pegue muy bien. Y de nuevo a la lampara.
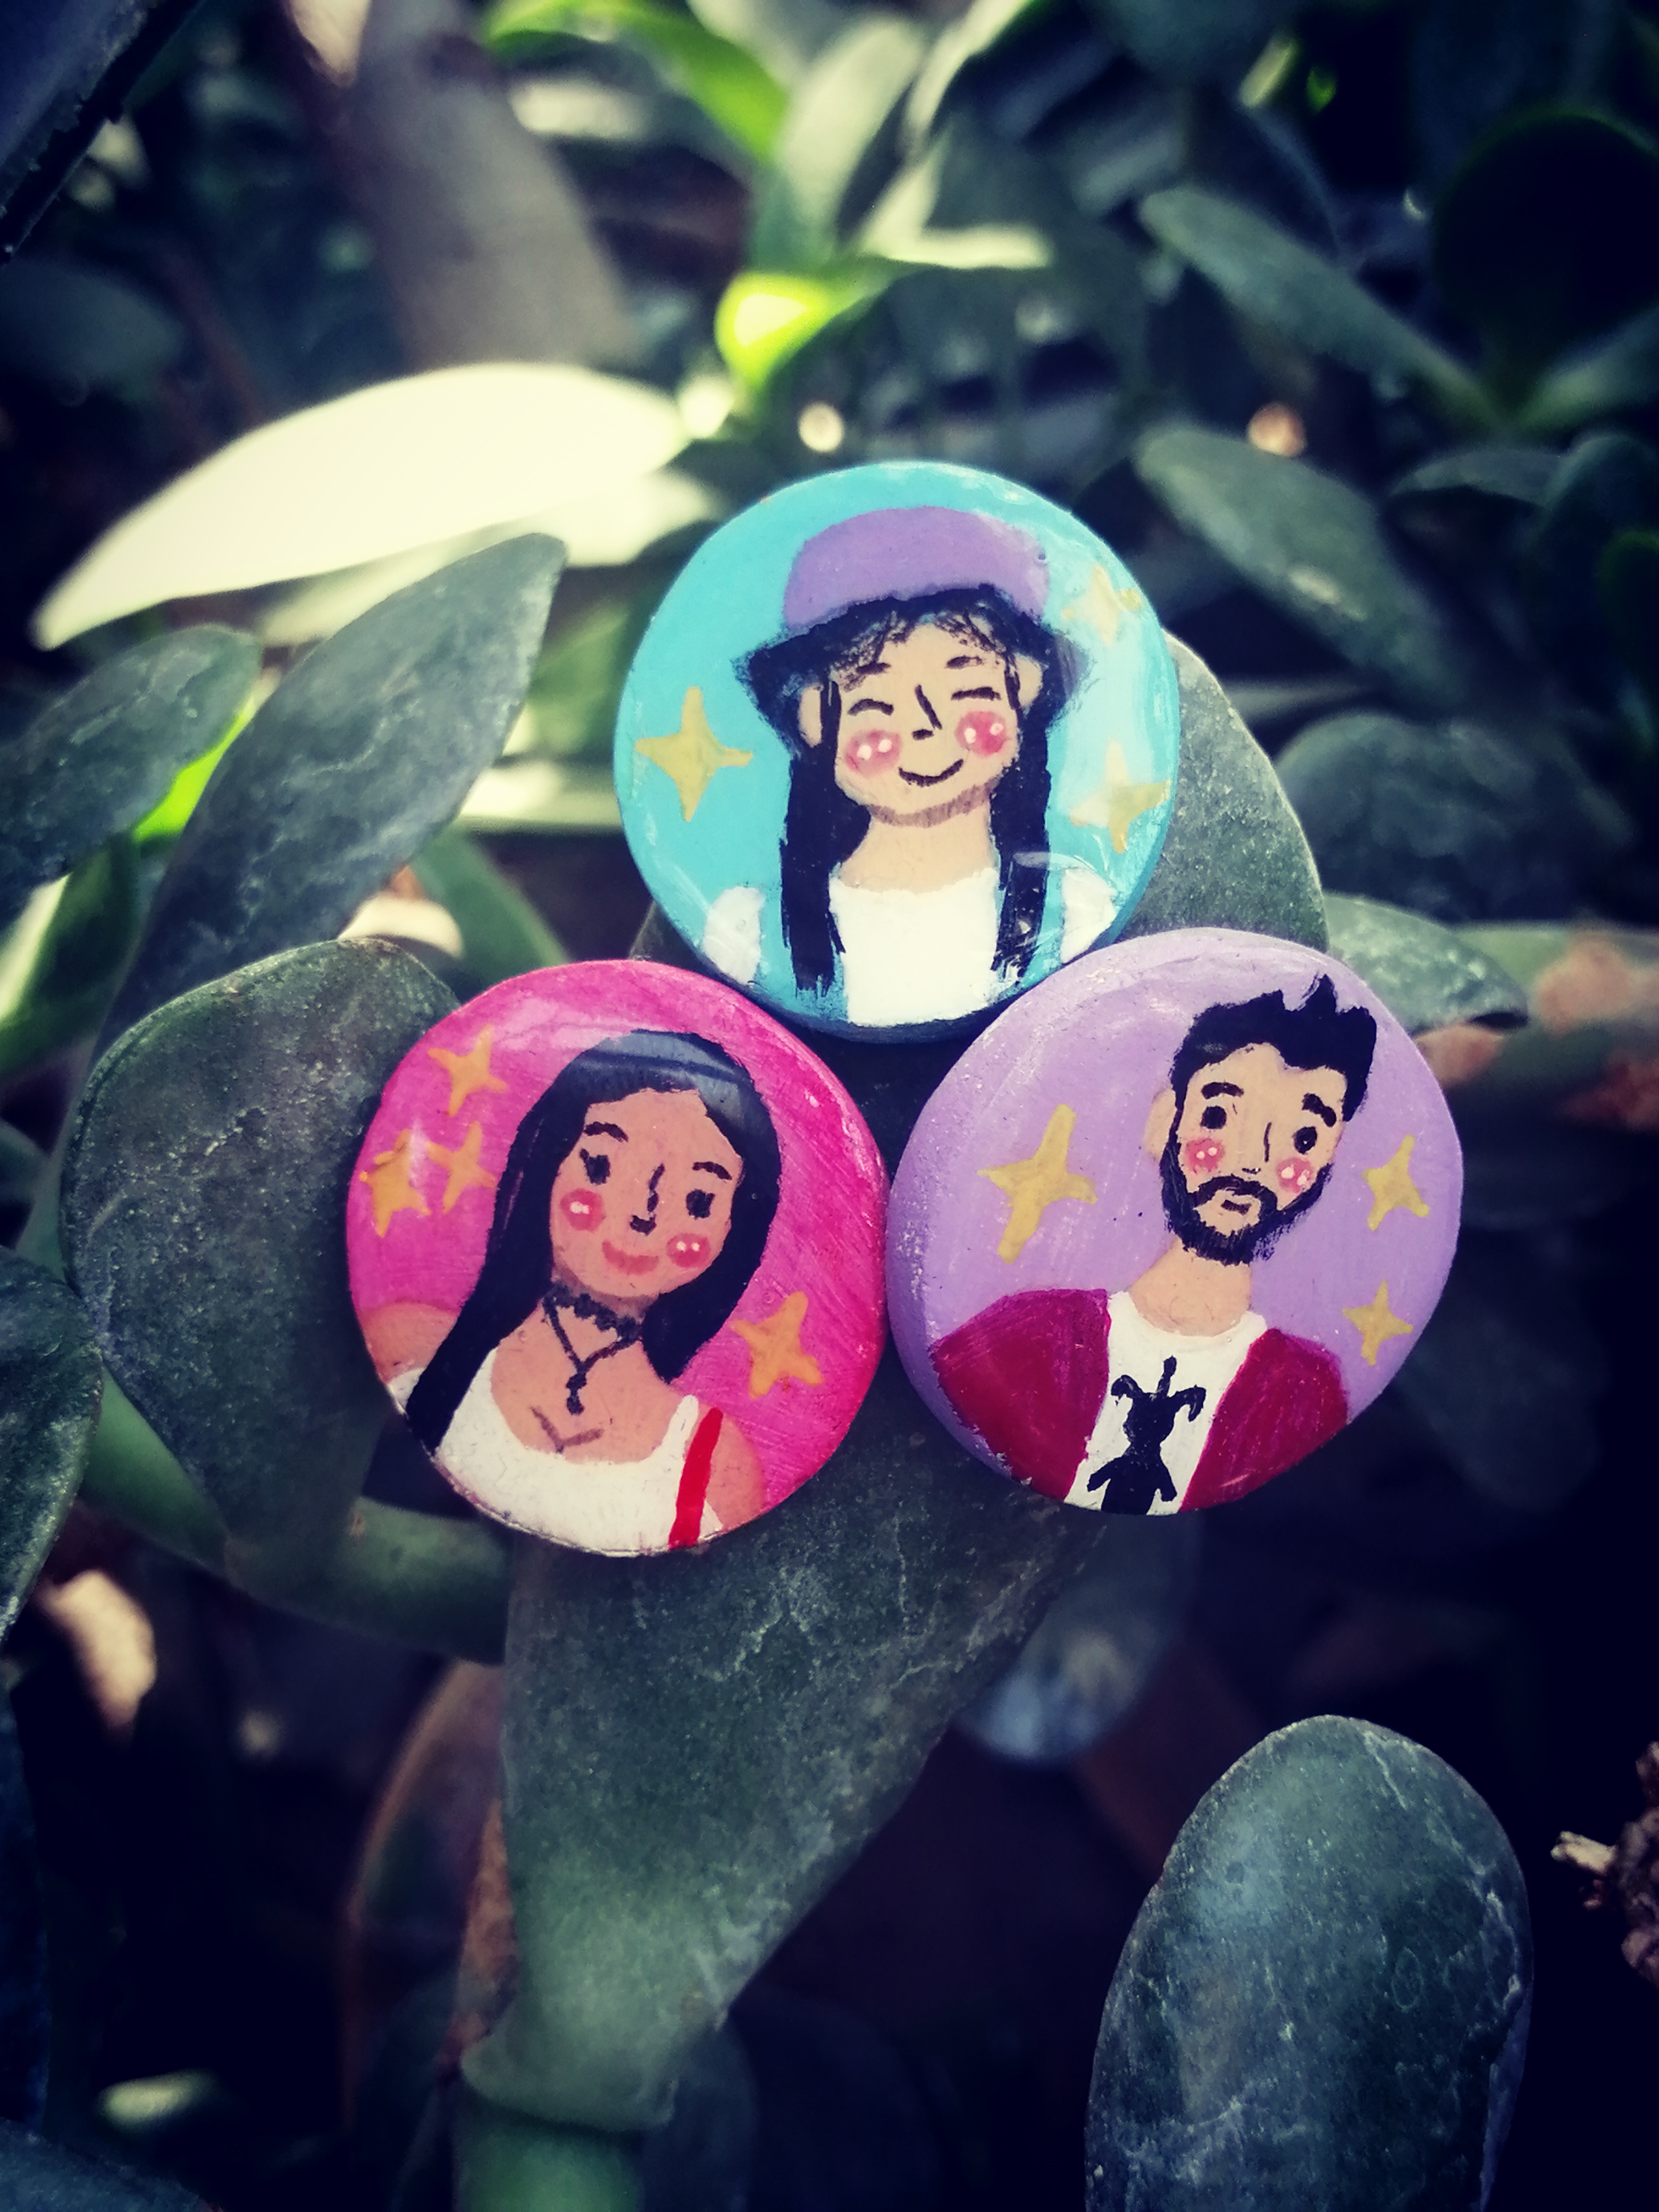
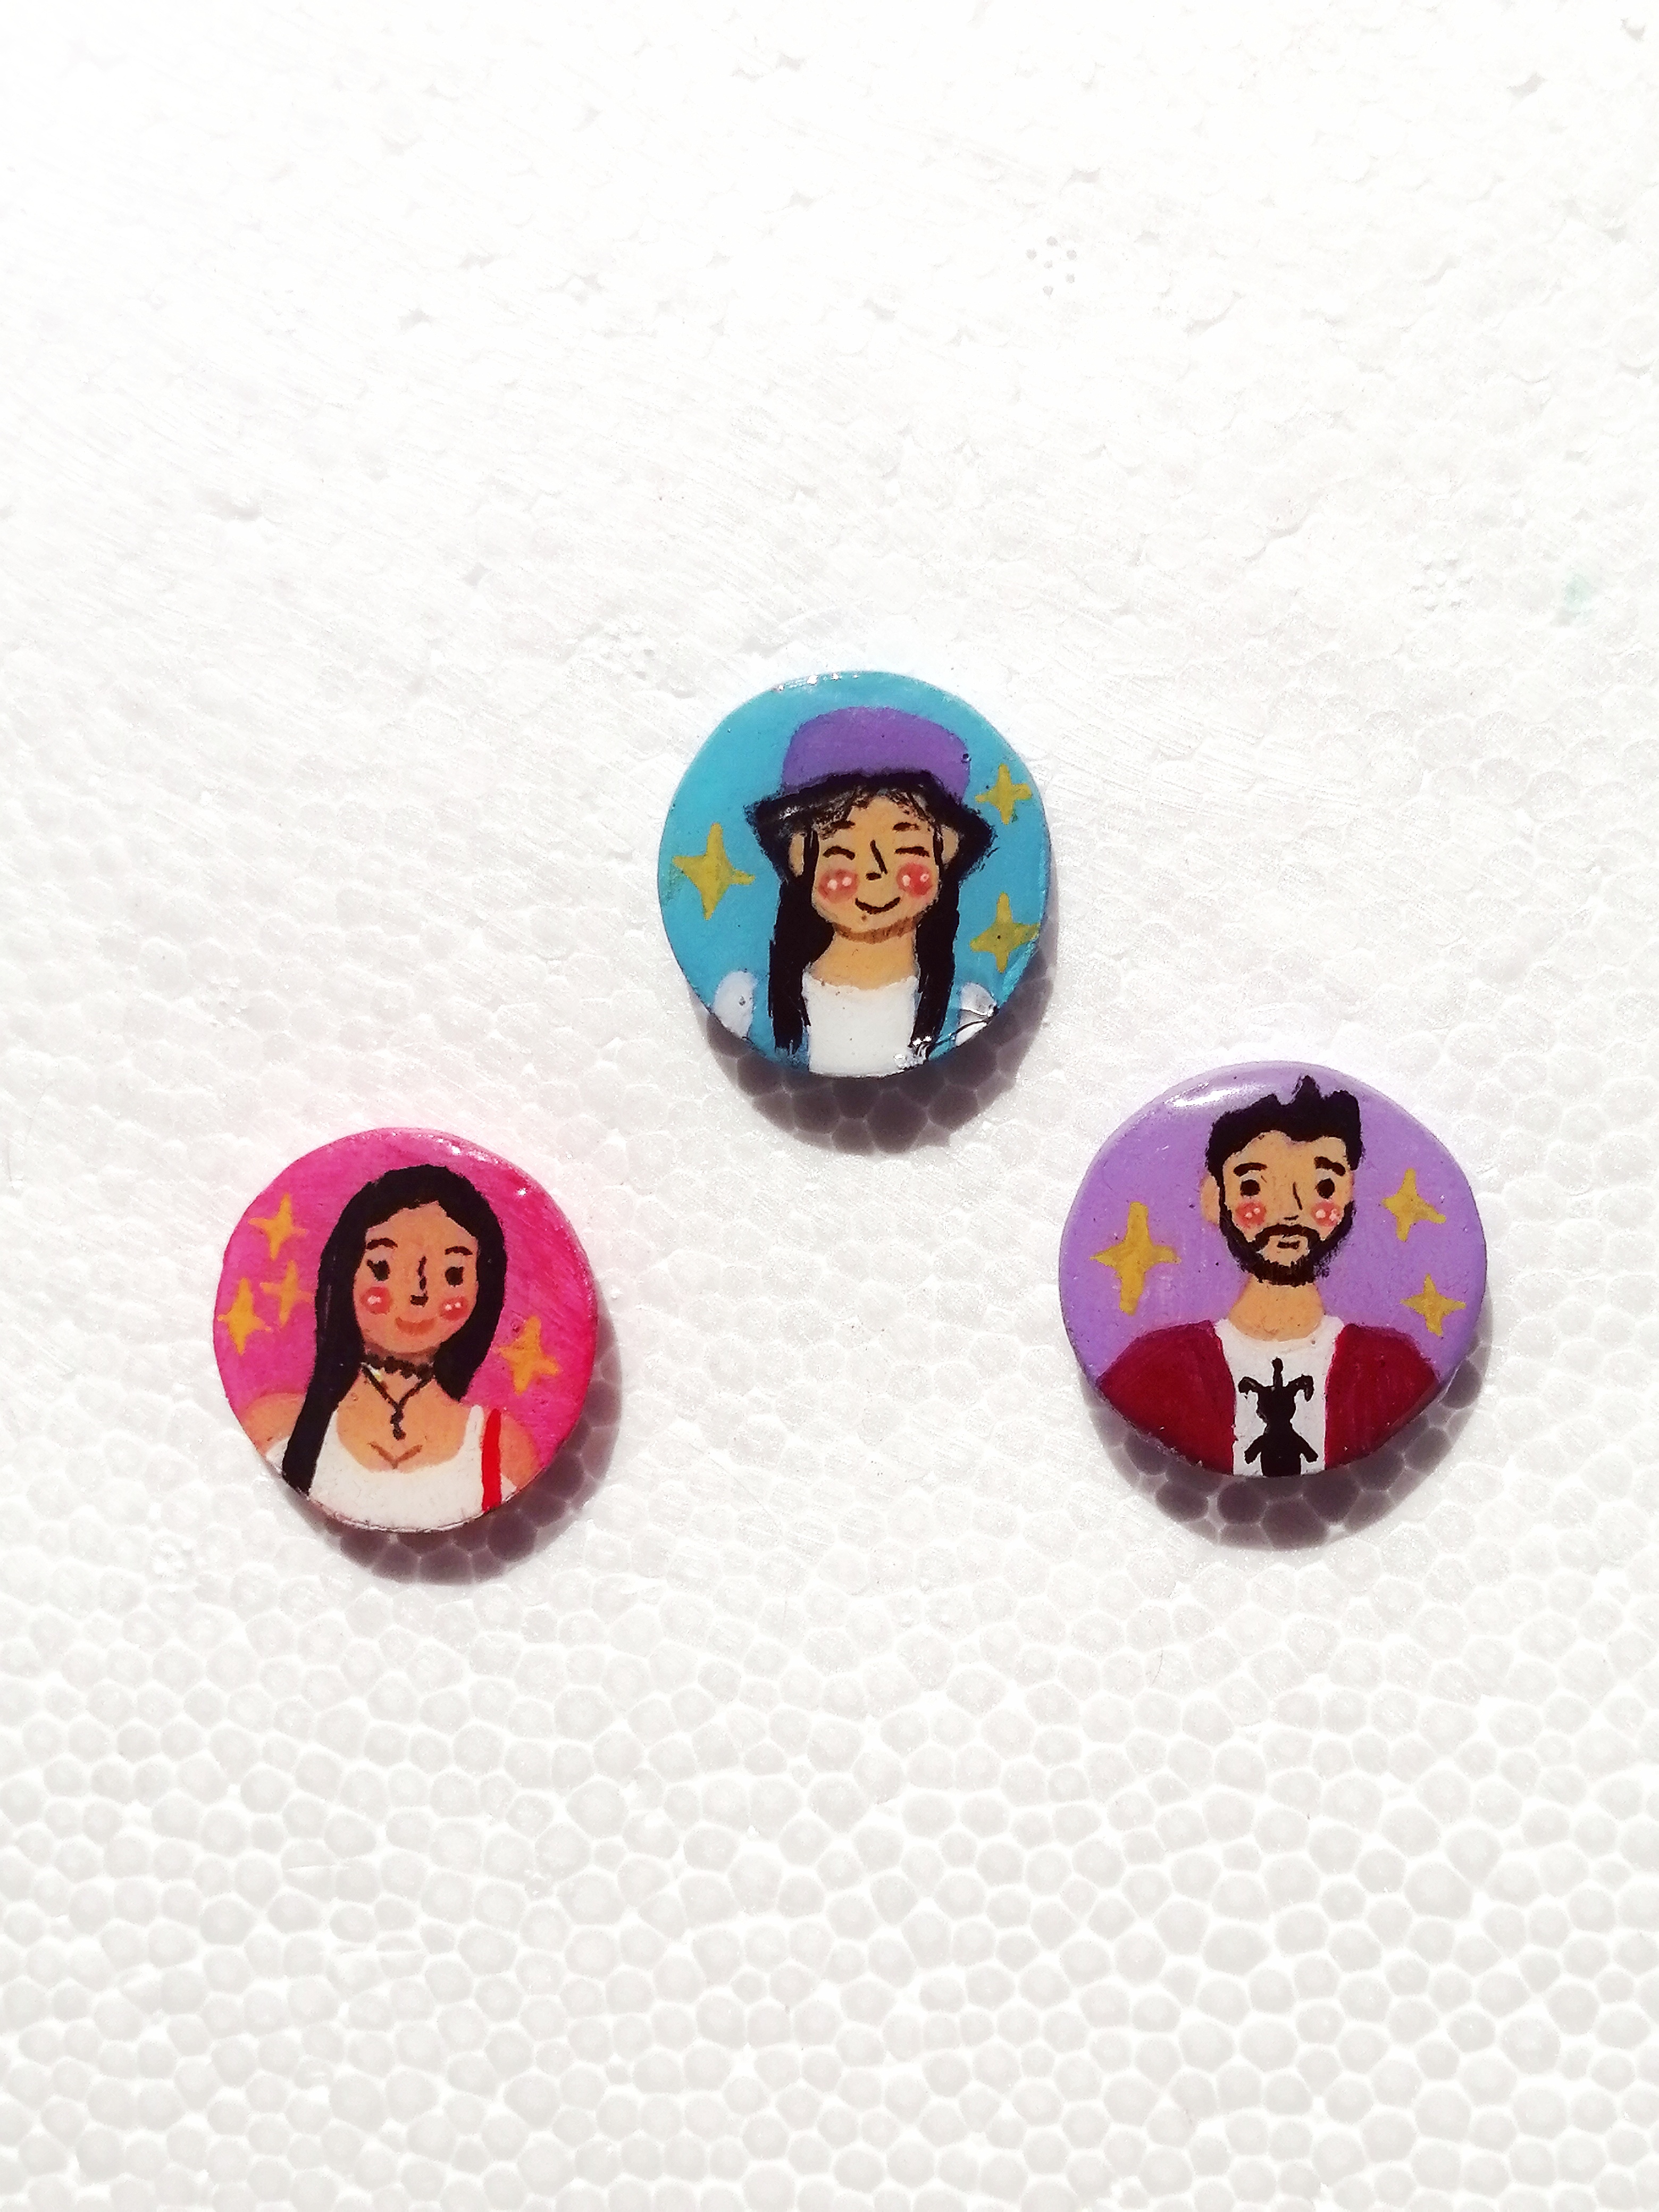
Y listo!!!
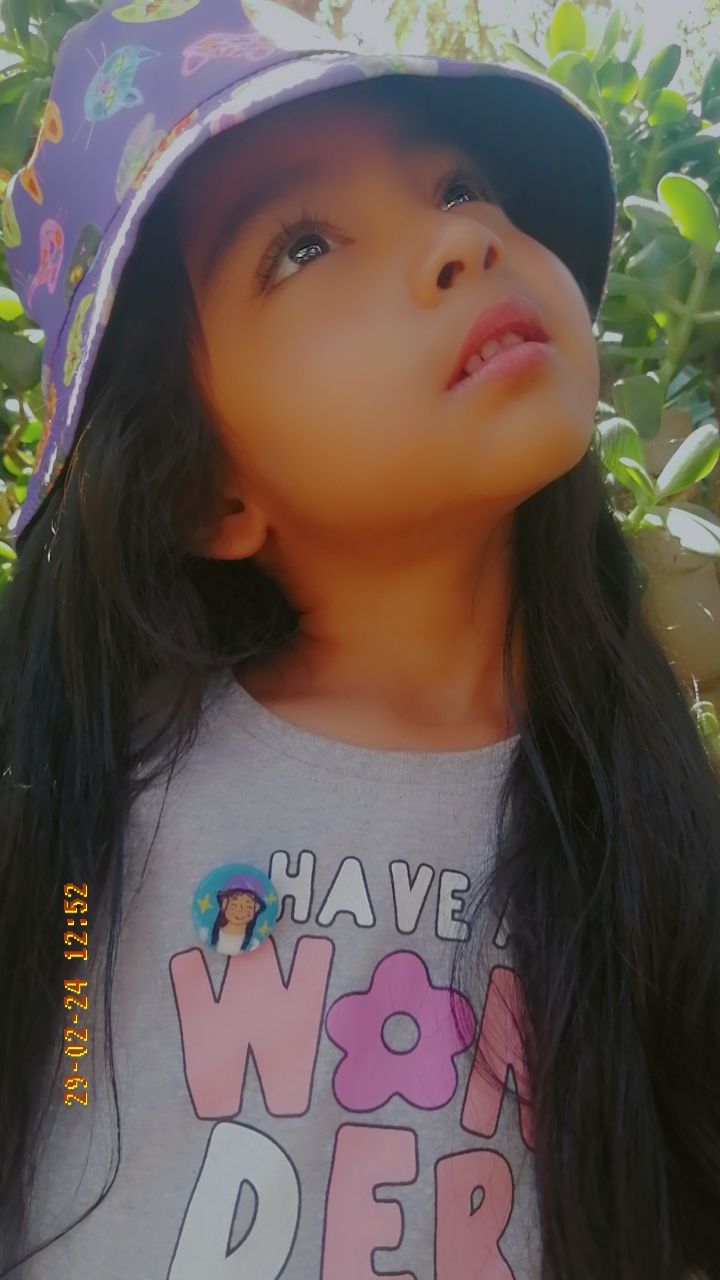
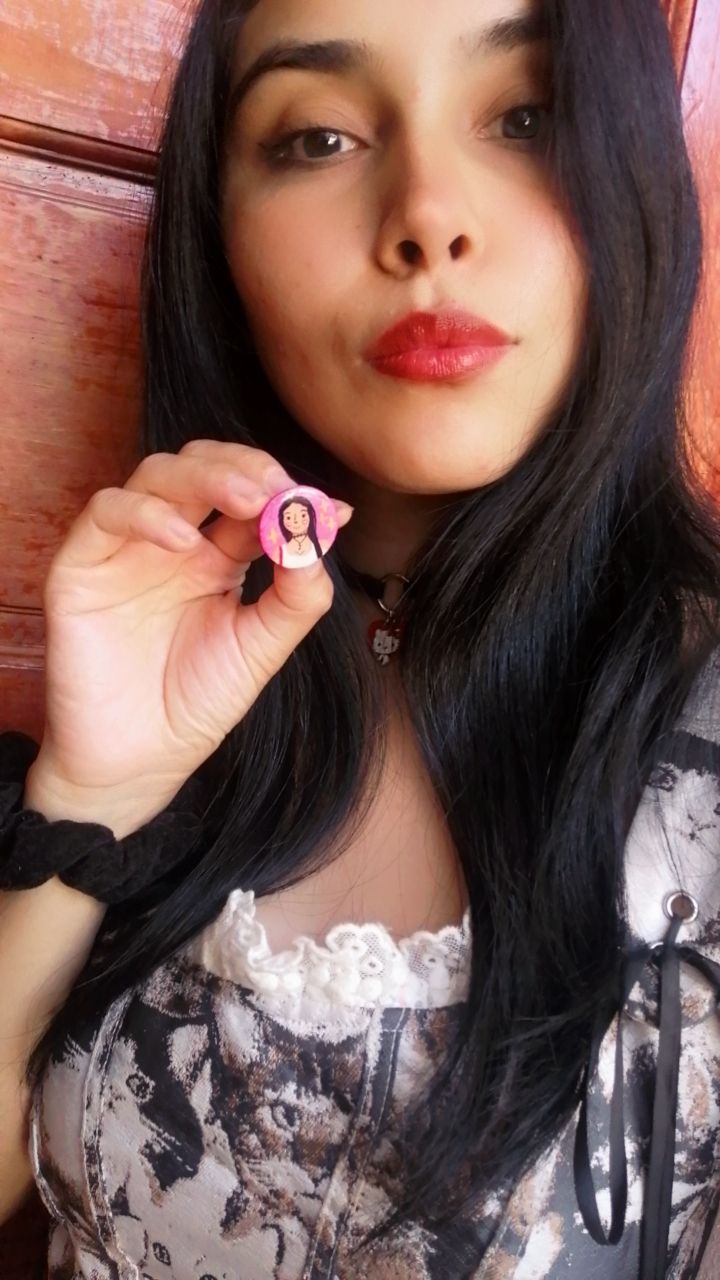
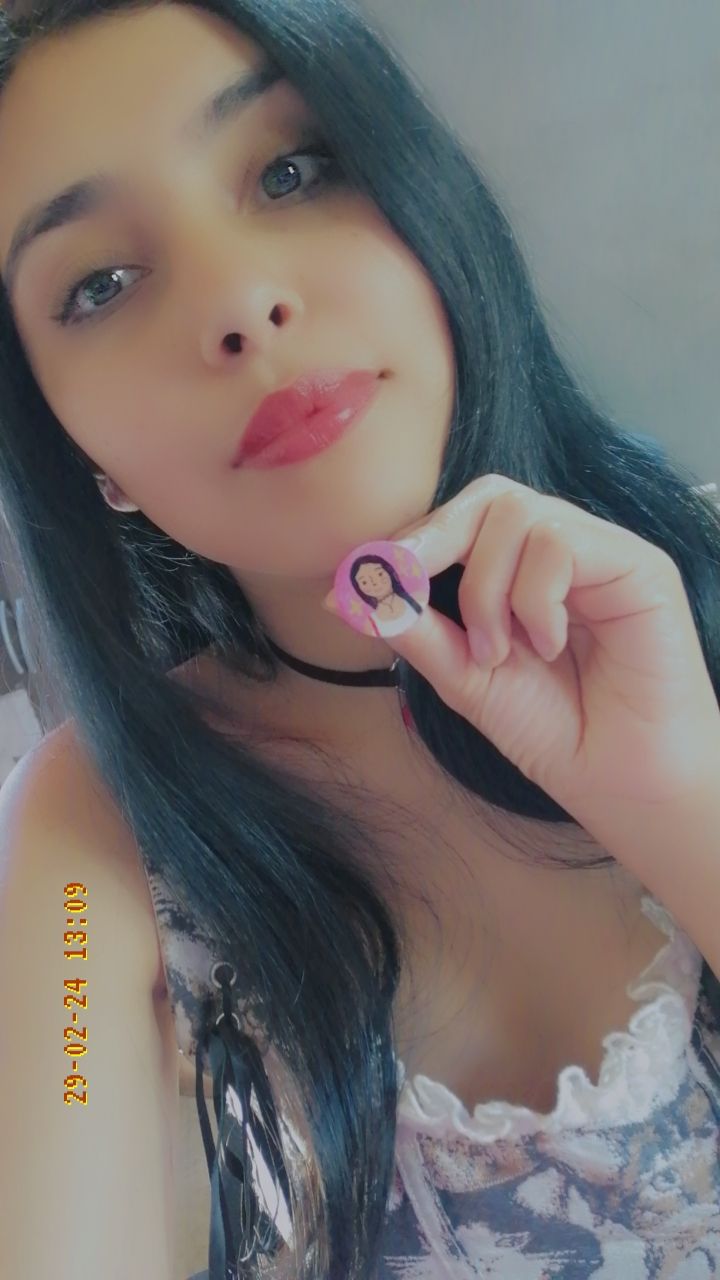
Espero les guste el resultado. Nadie en este post fue obligado a tomarse fotos 😂😂😂
Gracias por leerme 👨👩👧
Now we pour UV resin on the front and it goes into the lamp until it hardens, on the back we put more resin and add the tip of the brooch so that it sticks very well. And again to the lamp. And ready!!! I hope you like the result. No one in this post was forced to take photos 😂😂😂 Thanks for reading me 👨👩👧
|
|
|
|
|
|
|
|
|
|
|
**Todas las Imágenes son de mi autoria.
Traducido al inglés con Google traductor.
All images are my own.
Translated into english with google trasla
¡Felicitaciones!
Estás participando para optar a la mención especial que se efectuará el domingo 3 de marzo del 2024 a las 8:00 pm (hora de Venezuela), gracias a la cual el autor del artículo seleccionado recibirá la cantidad de 1 HIVE transferida a su cuenta.
¡También has recibido 1 ENTROKEN! El token del PROYECTO ENTROPÍA impulsado por la plataforma Steem-Engine.
1. Invierte en el PROYECTO ENTROPÍA y recibe ganancias semanalmente. Entra aquí para más información.
2. Contáctanos en Discord: https://discord.gg/hkCjFeb
3. Suscríbete a nuestra COMUNIDADEntra aquí para más información sobre nuestro trail. y apoya al trail de @Entropia y así podrás ganar recompensas de curación de forma automática.
4. Visita nuestro canal de Youtube.
Atentamente
El equipo de curación del PROYECTO ENTROPÍA
Congratulations, your post has been upvoted by @dsc-r2cornell, which is the curating account for @R2cornell's Discord Community. Enhorabuena, su "post" ha sido "up-voted" por @dsc-r2cornell, que es la "cuenta curating" de la Comunidad de la Discordia de @R2cornell.
Hiciste un hermoso trabajo amiga, se nota que disfrutaste hacer estos pines para tu familia, un bello y auténtico detalle para recordar que la familia lo es todo.
Definitivamente es un muy lindo detalle el que realizaste para compartir con los miembros de tu familia. Gracias por la idea y compartir tu proceso creativo...
!DIY
Nice work is a nice detail for all family members to share. thanks for giving us your step by step. Success
¡¡¡Buen trabajo!!! Gracias por publicar tu excelente contenido en Hive Diy, son muy lindos y tiernos, ideal para hacerle un pequeño detalle a un ser querido.
Apoya a tu comunidad comentando y votando y con tu voto de witnessTe invitamos a conocer nuestros proyectos: https://peakd.com/hive-130560/@hivediy/microproject-artisans-aid-funds-microproyecto-fondosde-ayuda-a-los-artesanos-espeng
Tu comunidad artesana ahora es testigo
