Saludos queridos hivers feliz sábado, espero que hoy sea un excelente día y de la mano de Dios. Feliz fin de semana.
Greetings dear nurserymen happy Saturday, I hope today is an excellent day and from the hand of God. Happy weekend.
El día de hoy me uno al Concurso Tercera dimensión el cual estará bajo la moderación de @equipodelta, nuevamente encantada de compartír mi publicación acá en @hivediy para este grandioso concurso.
Today I join the Third Dimension Contest that will be moderated by @equipodelta, again delighted to share my post here at @hivediy for this great contest.
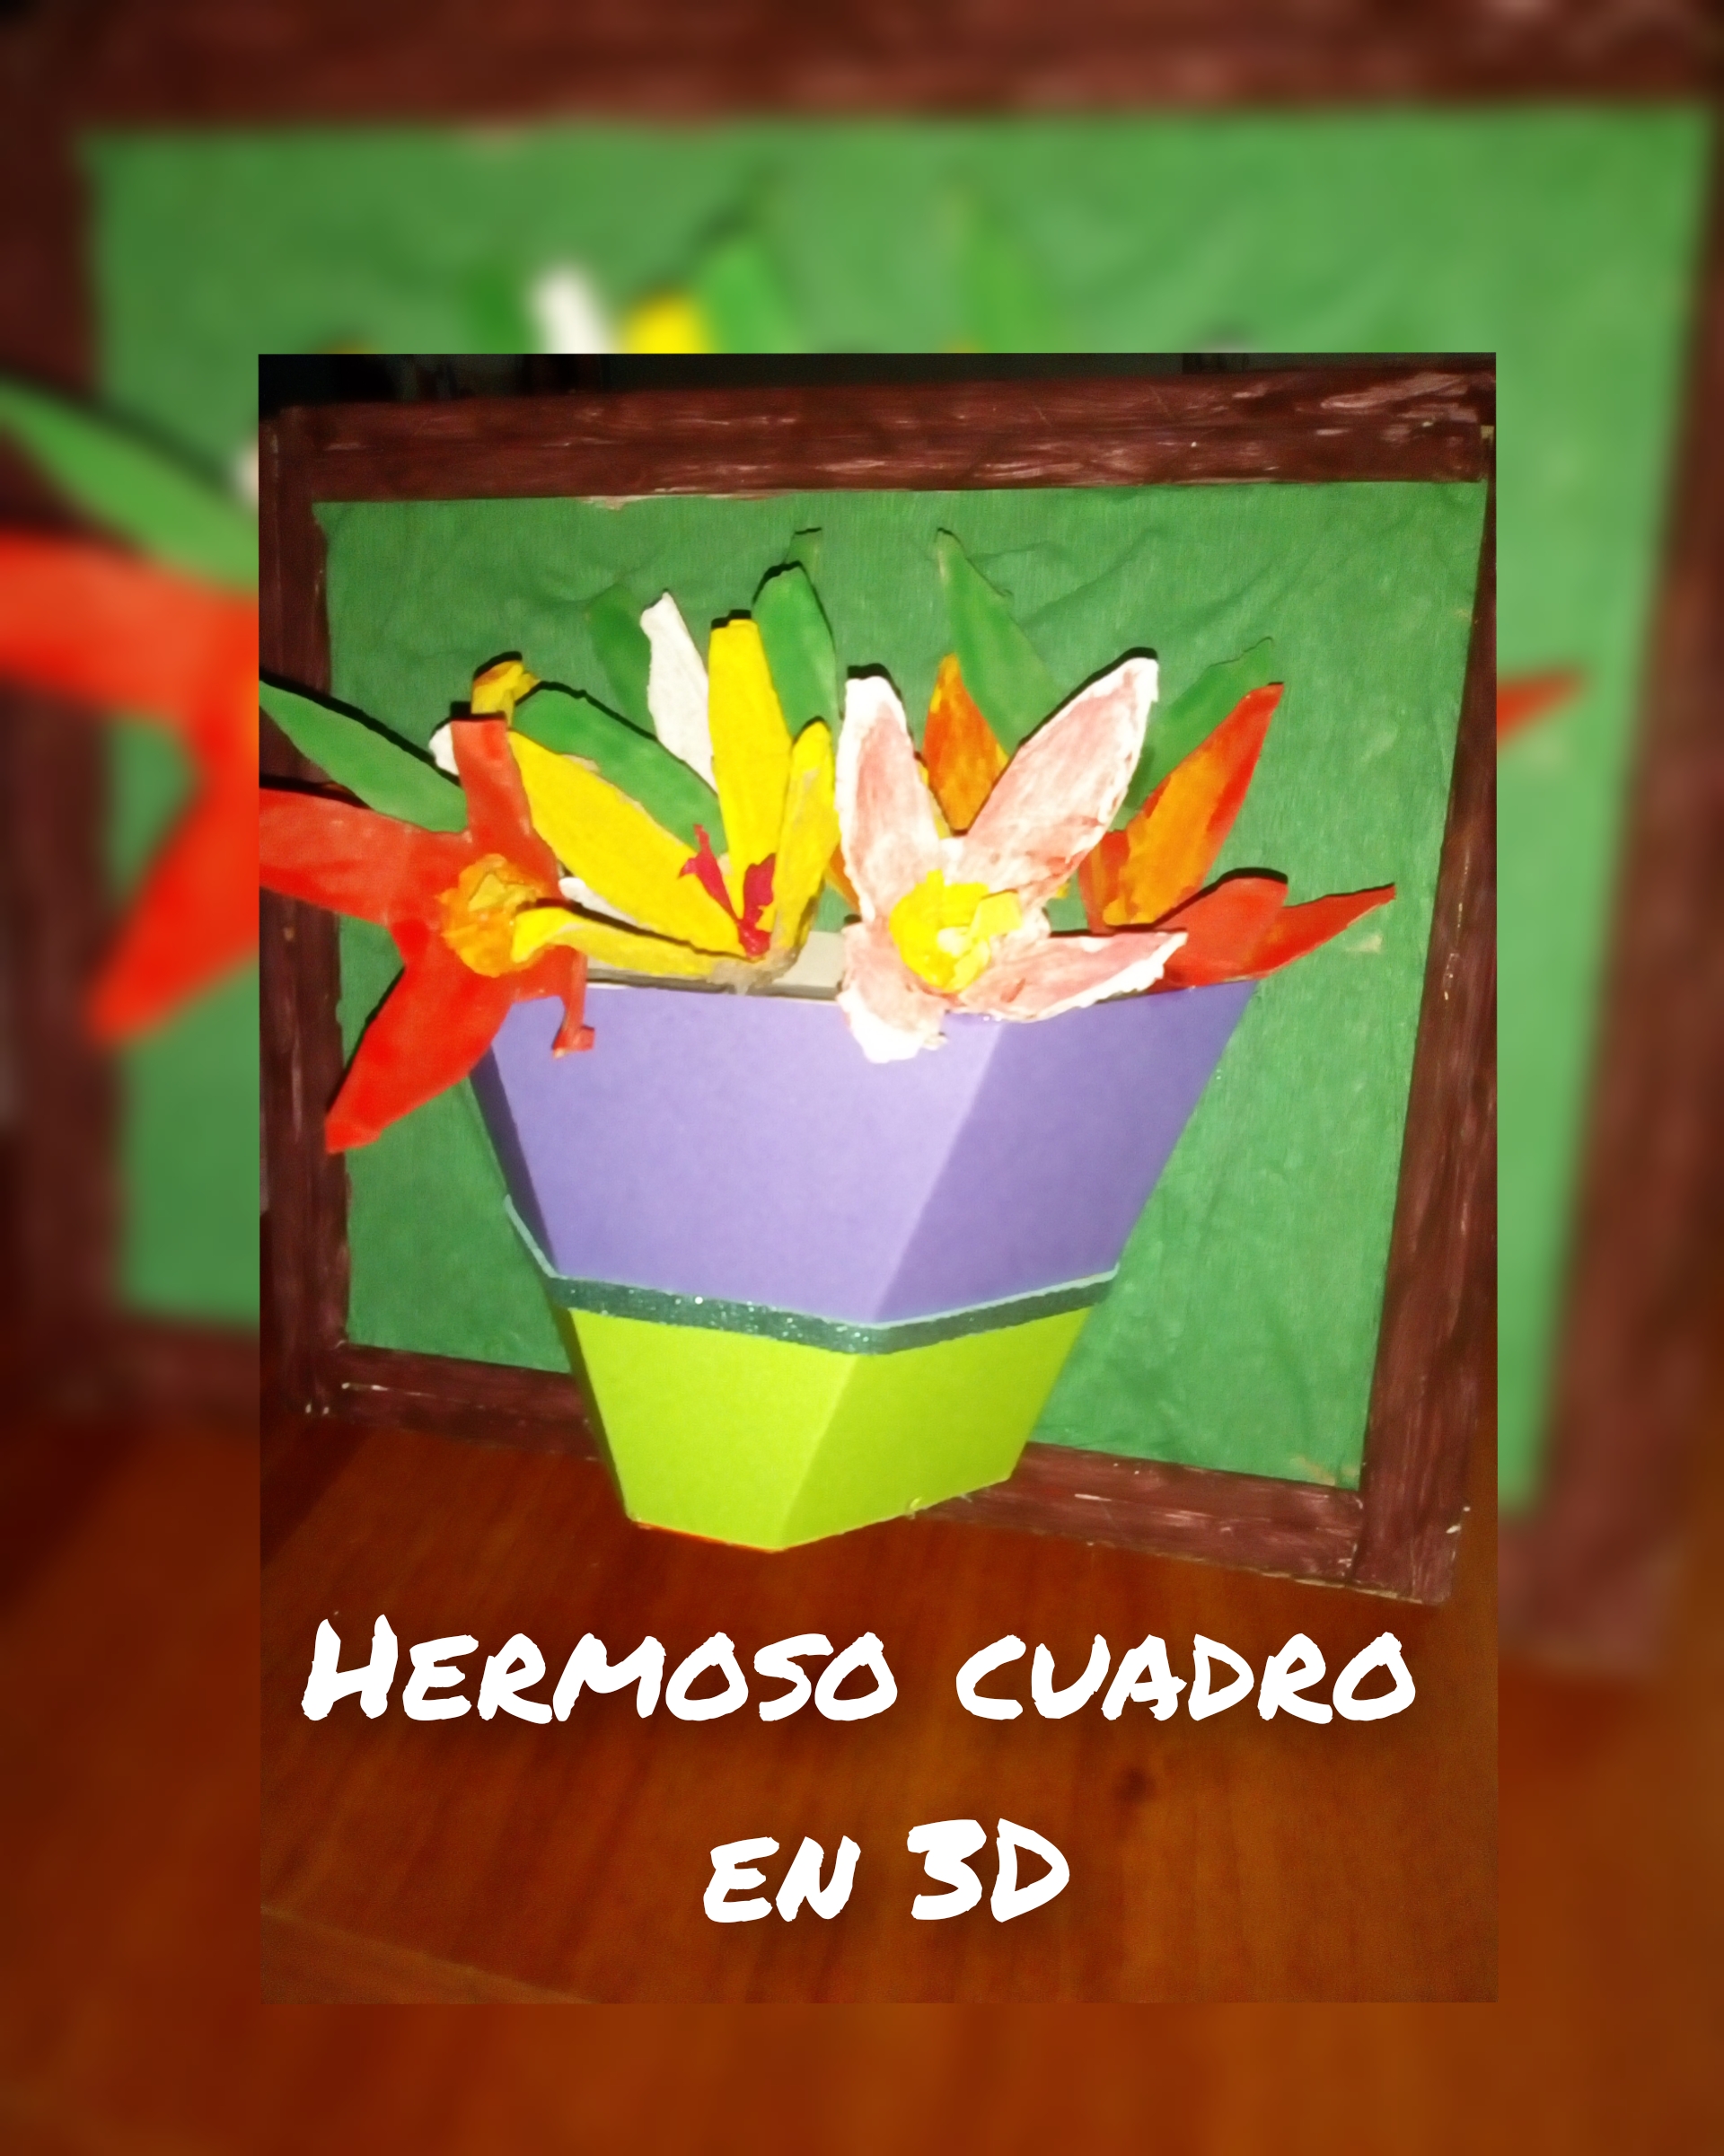
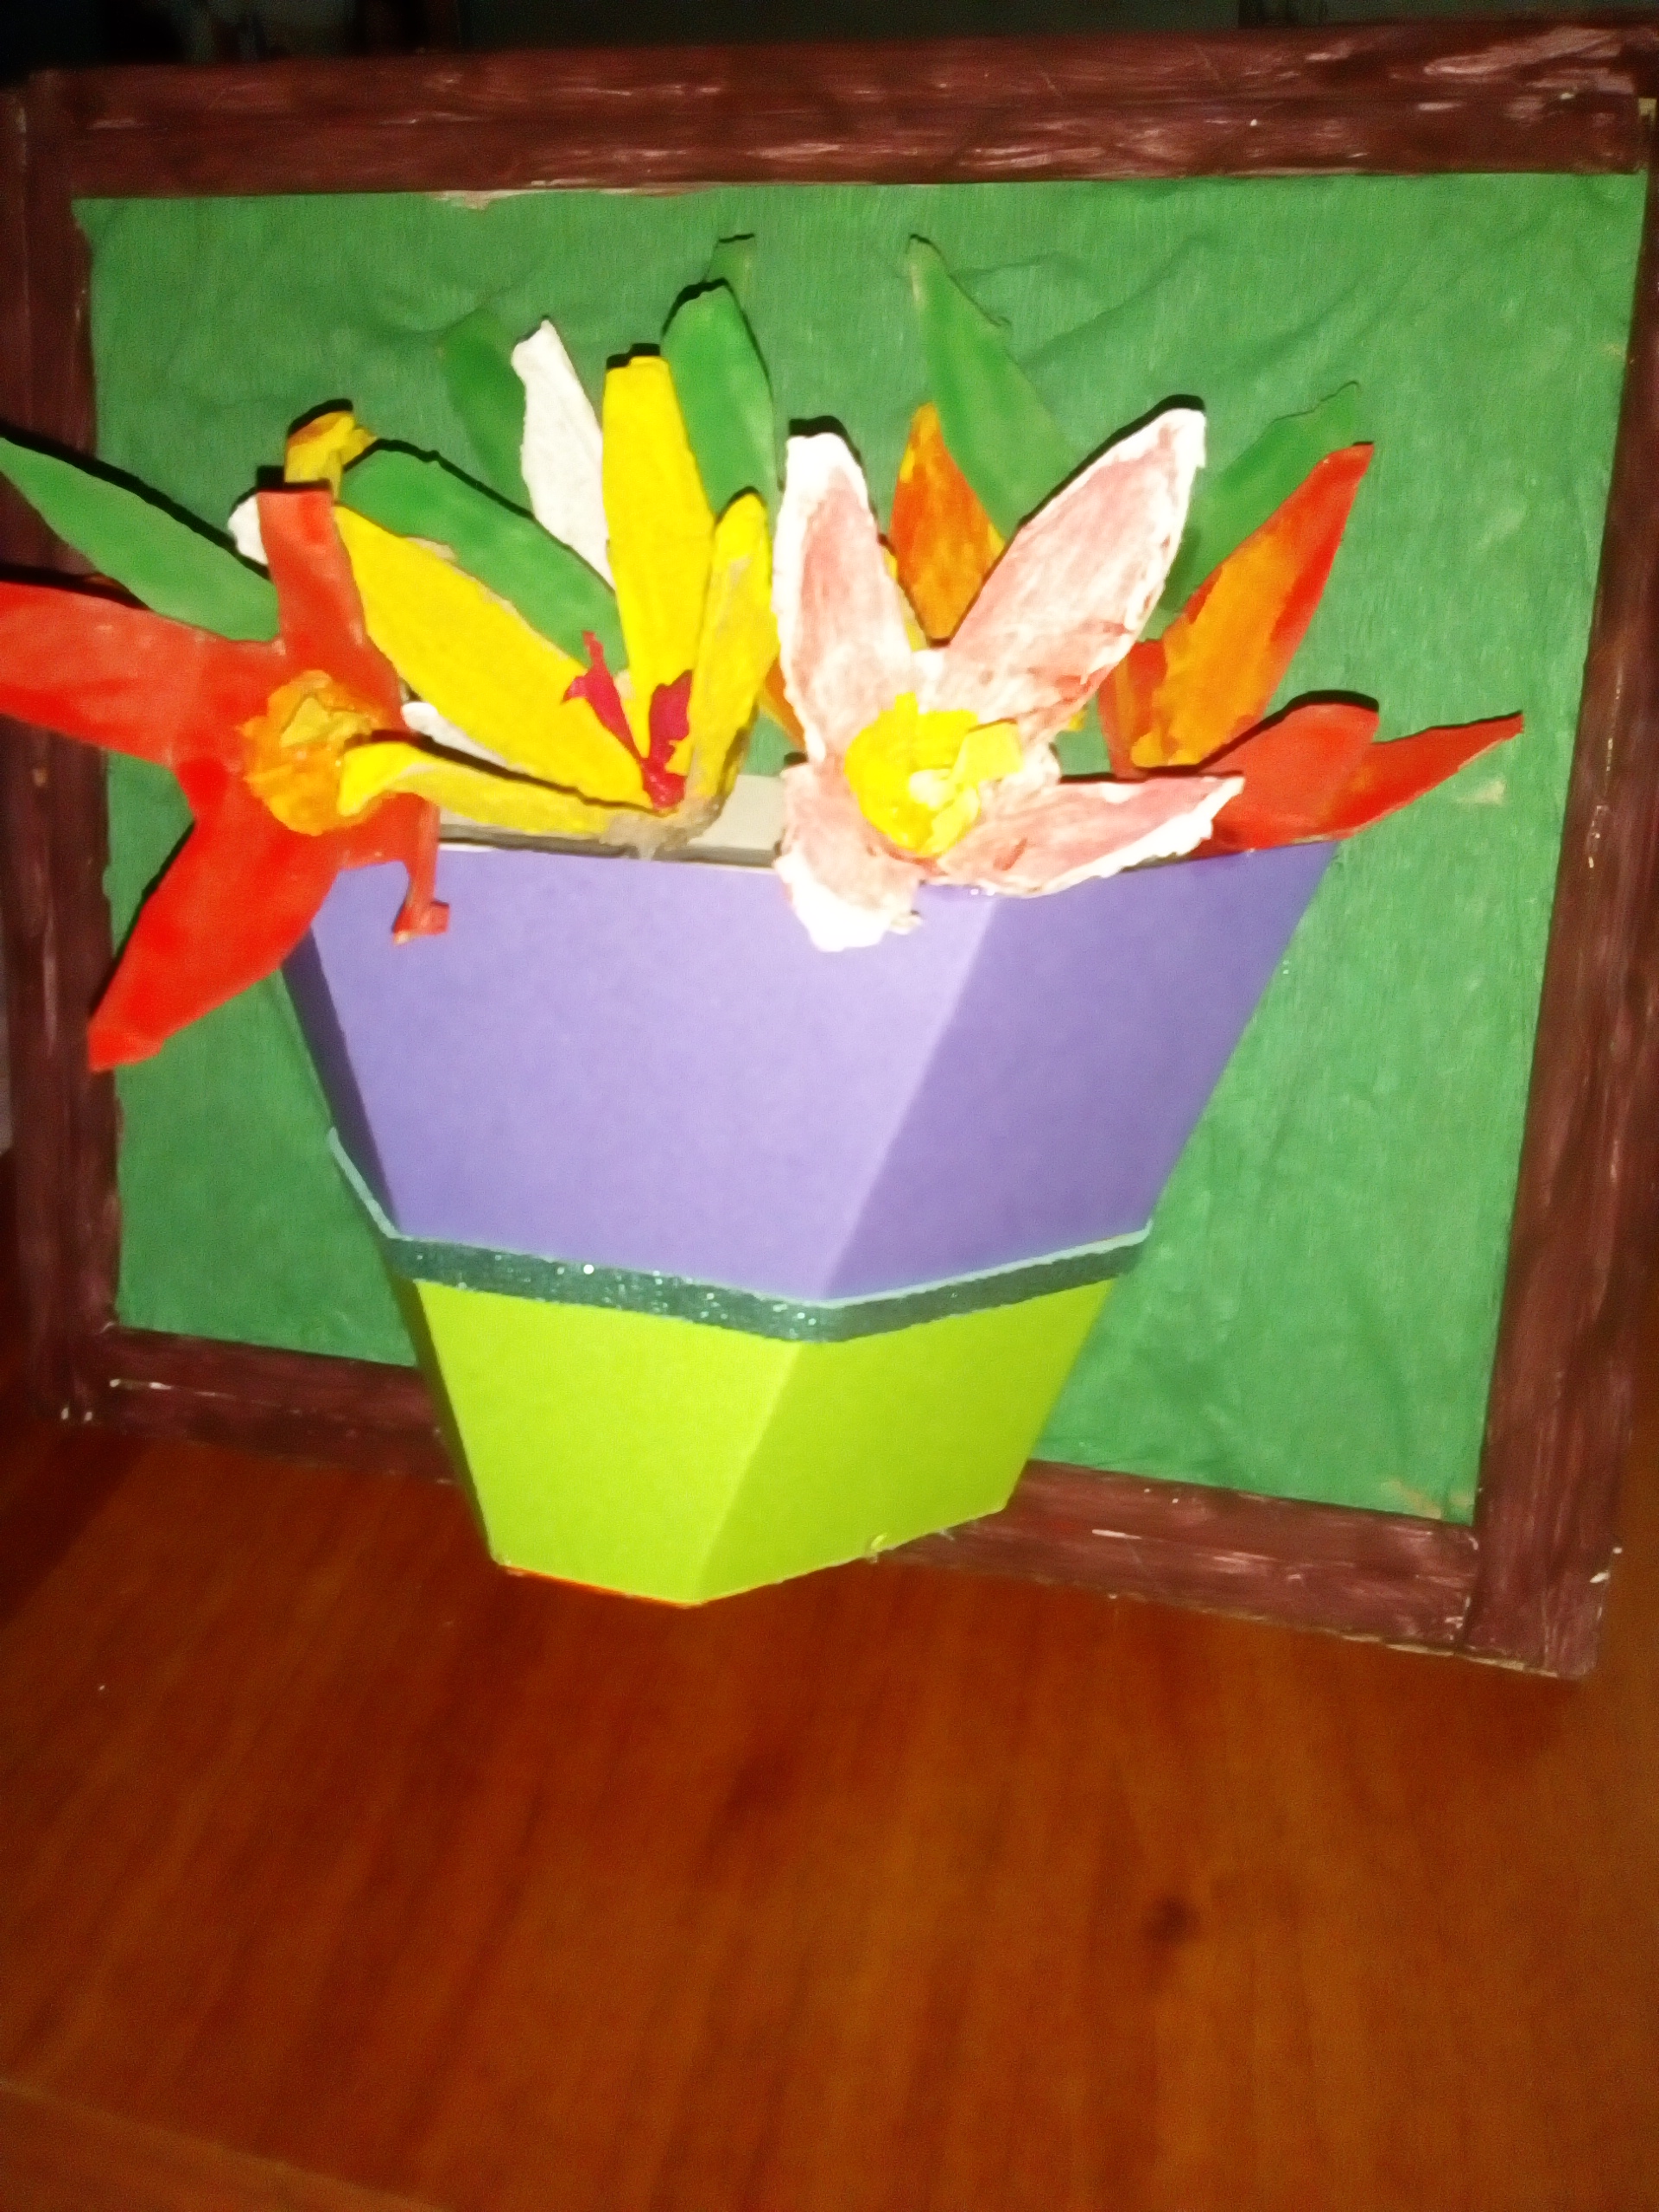
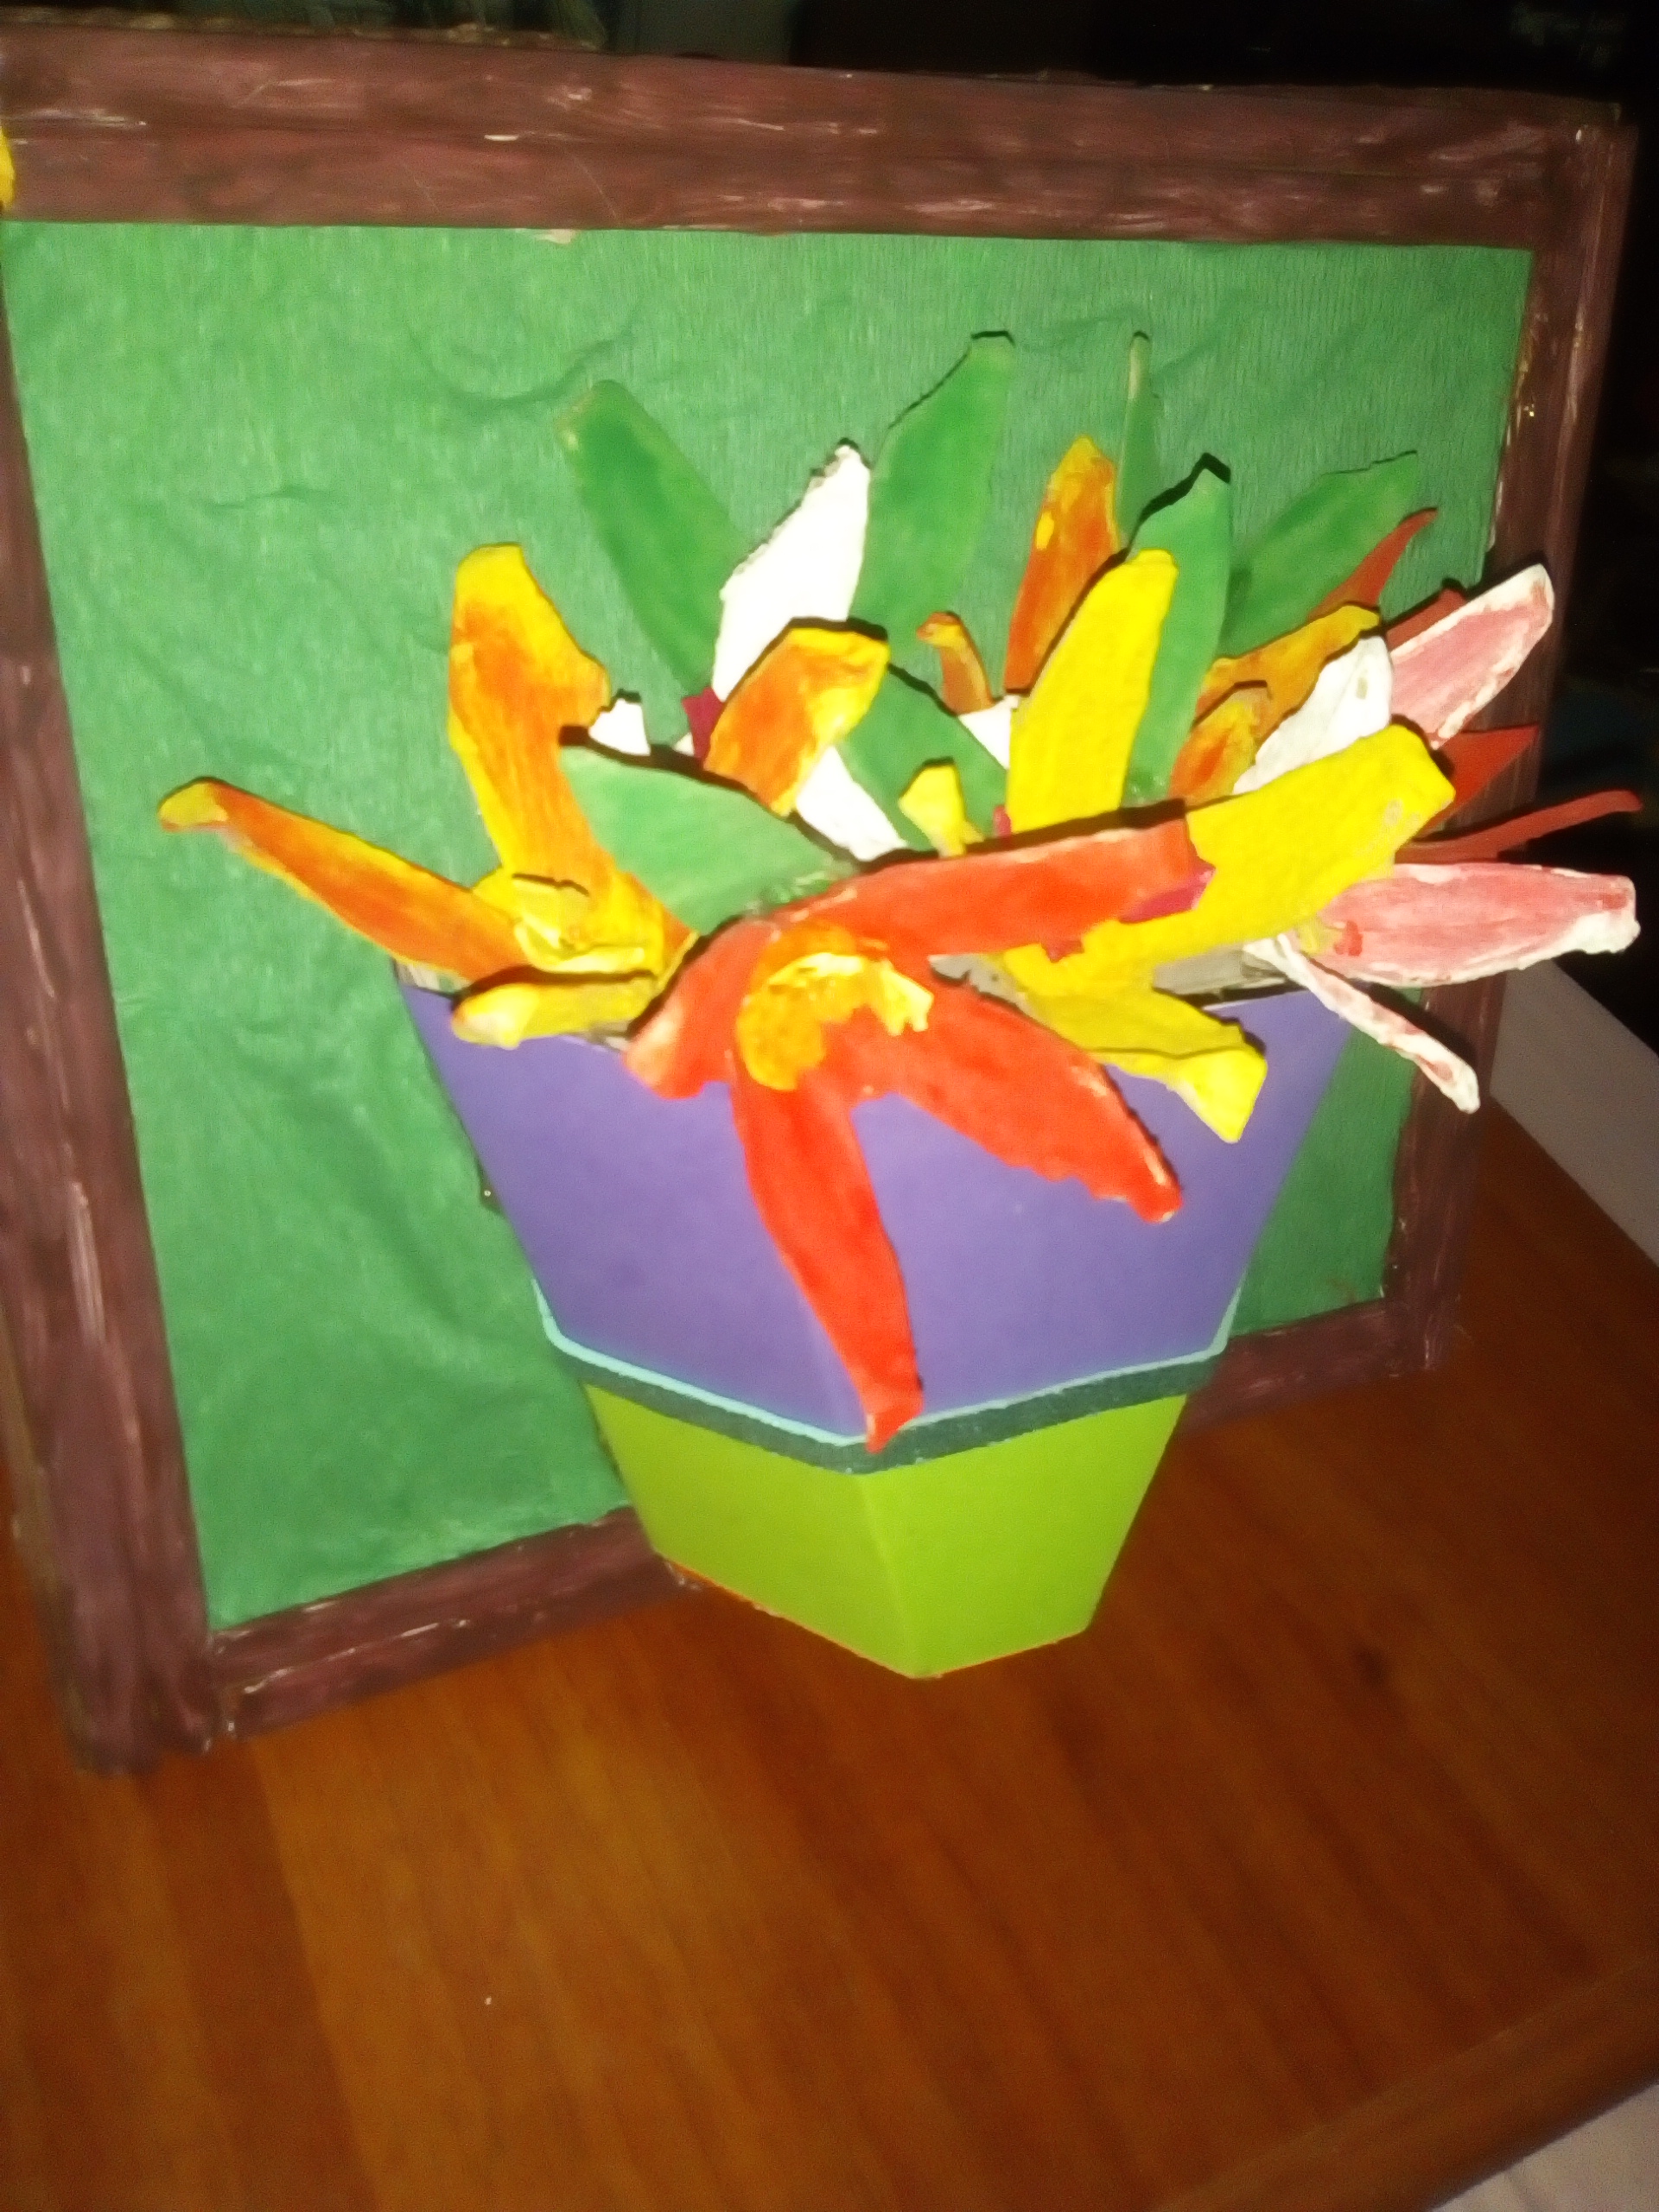
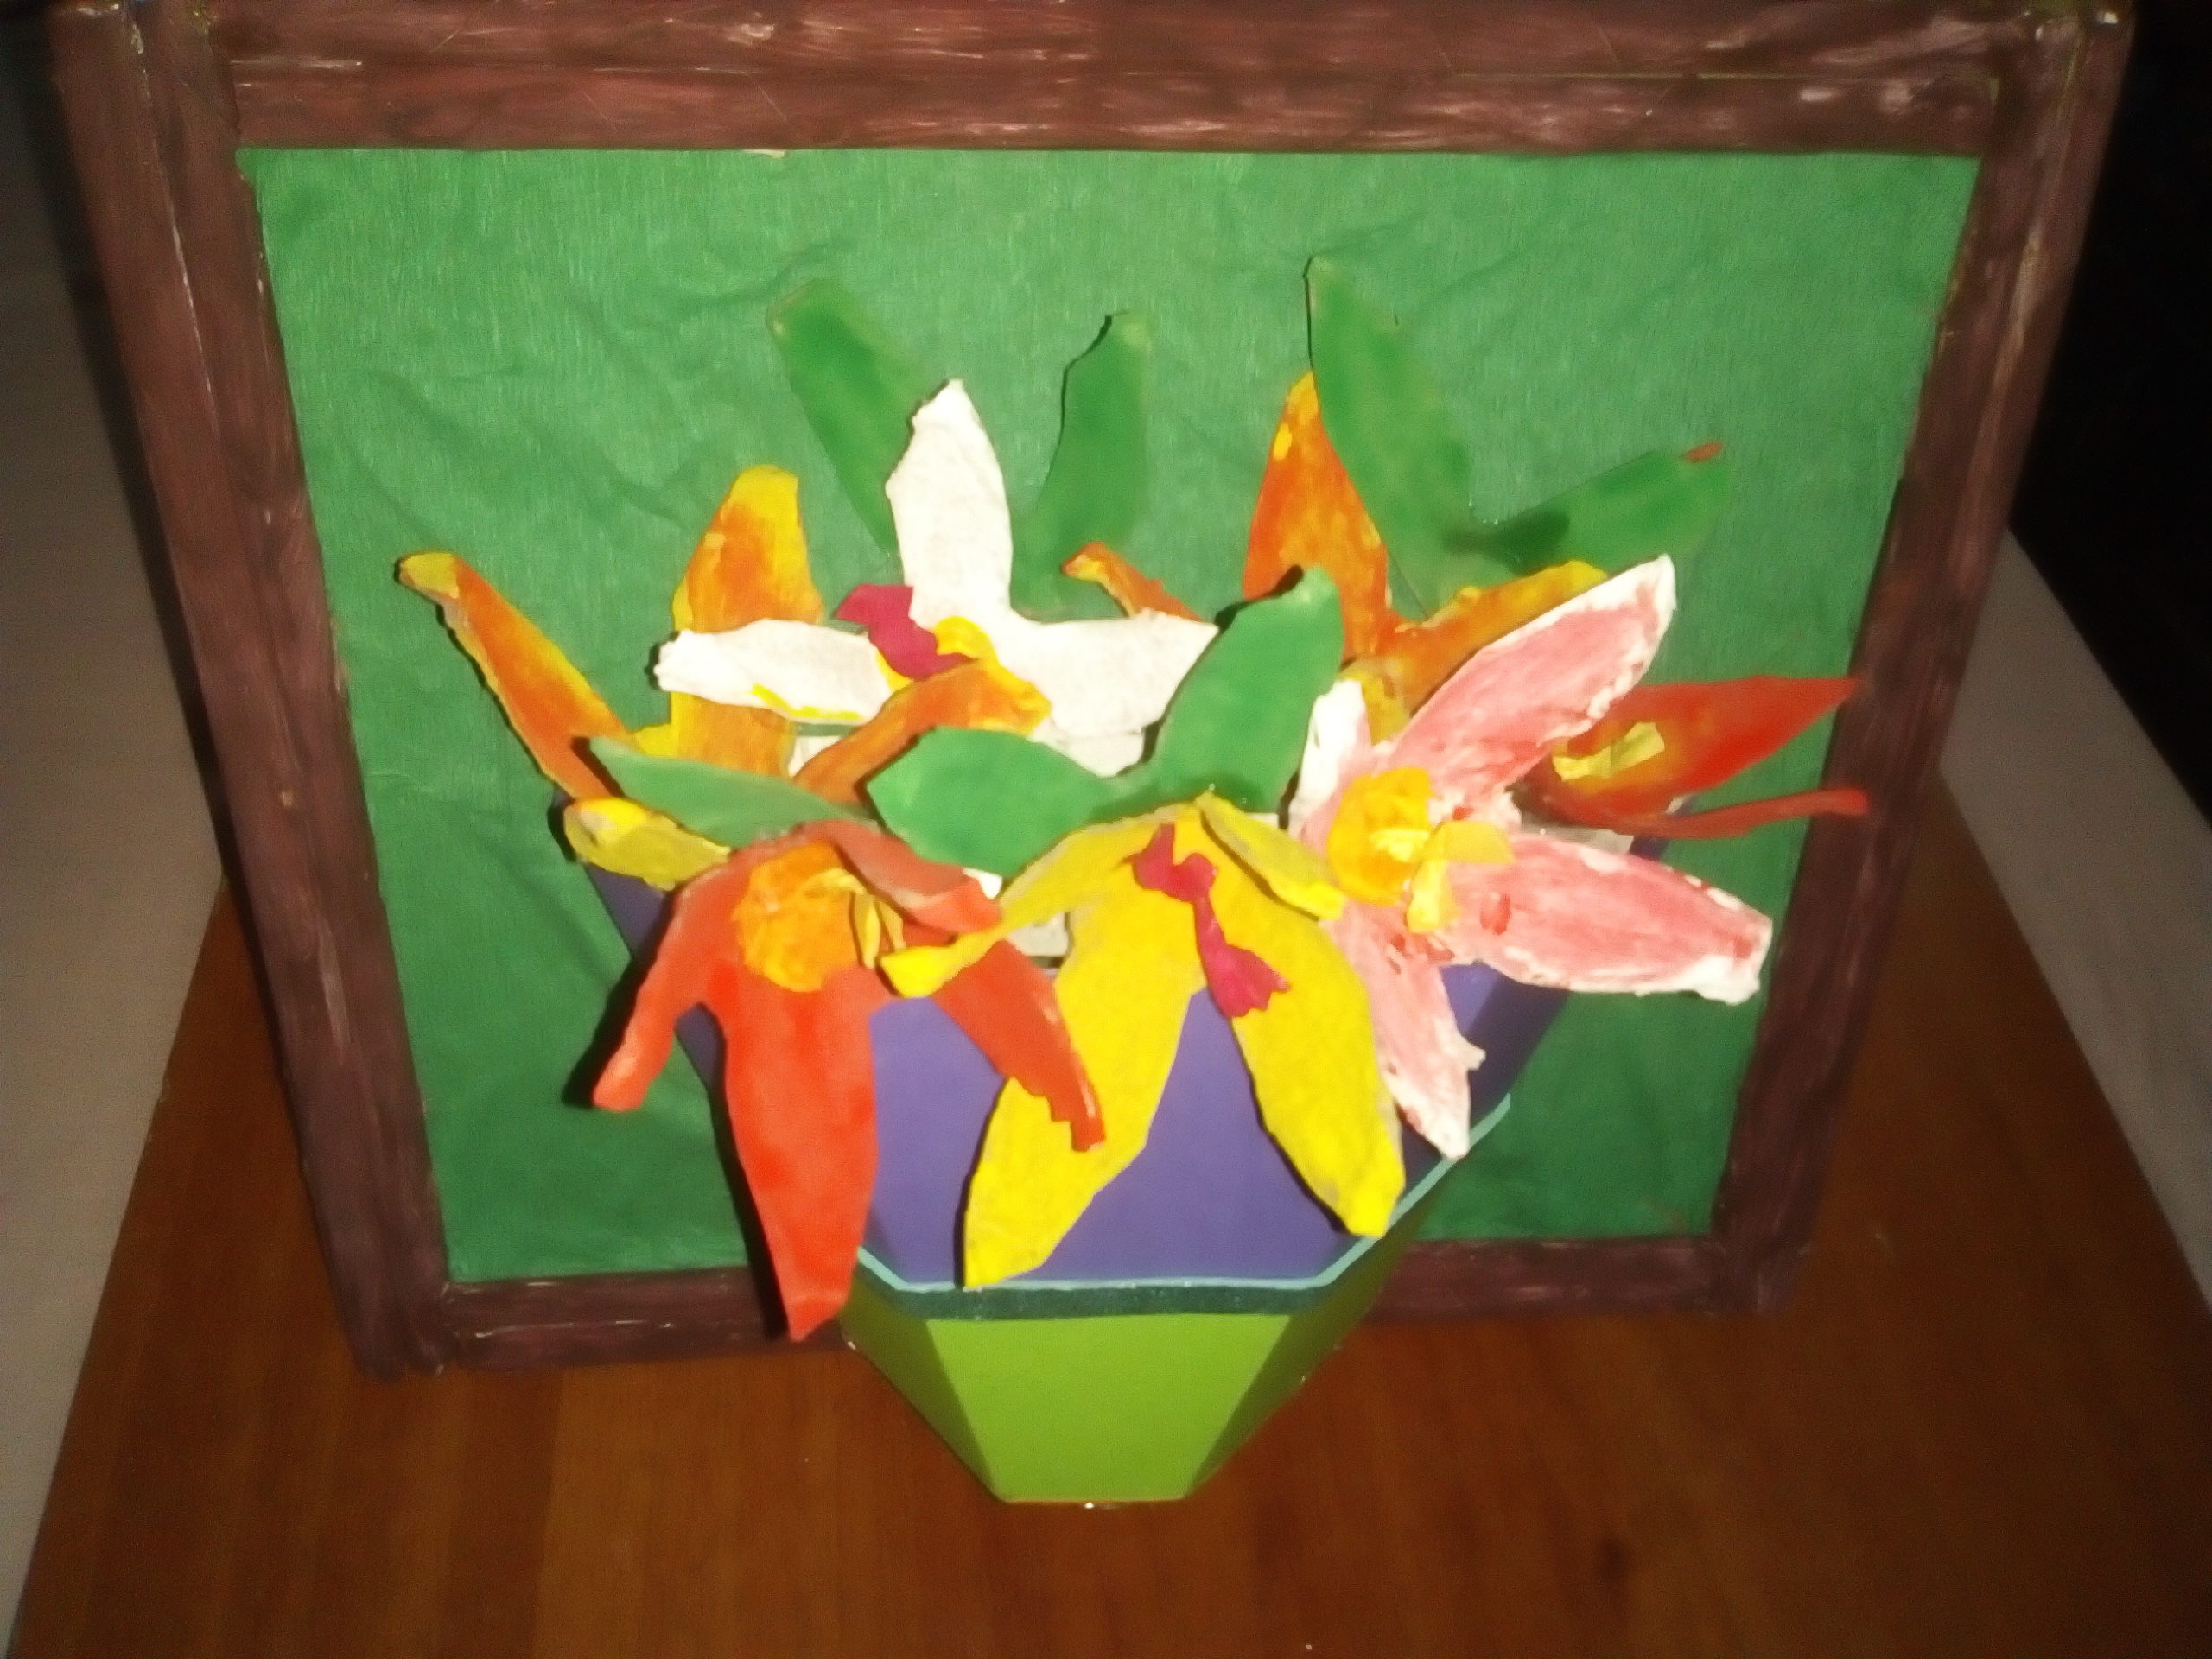
En esta ocasión les traigo un hermoso cuadro en 3D, con el cual he quedado muy sastifecha con el resultado final, se trata de una maceta y sus flores ideal para decorar nuestro hogar.
This time I bring you a beautiful 3D painting, with which I have been very satisfied with the final result, it is a flowerpot and its flowers, ideal to decorate our home.
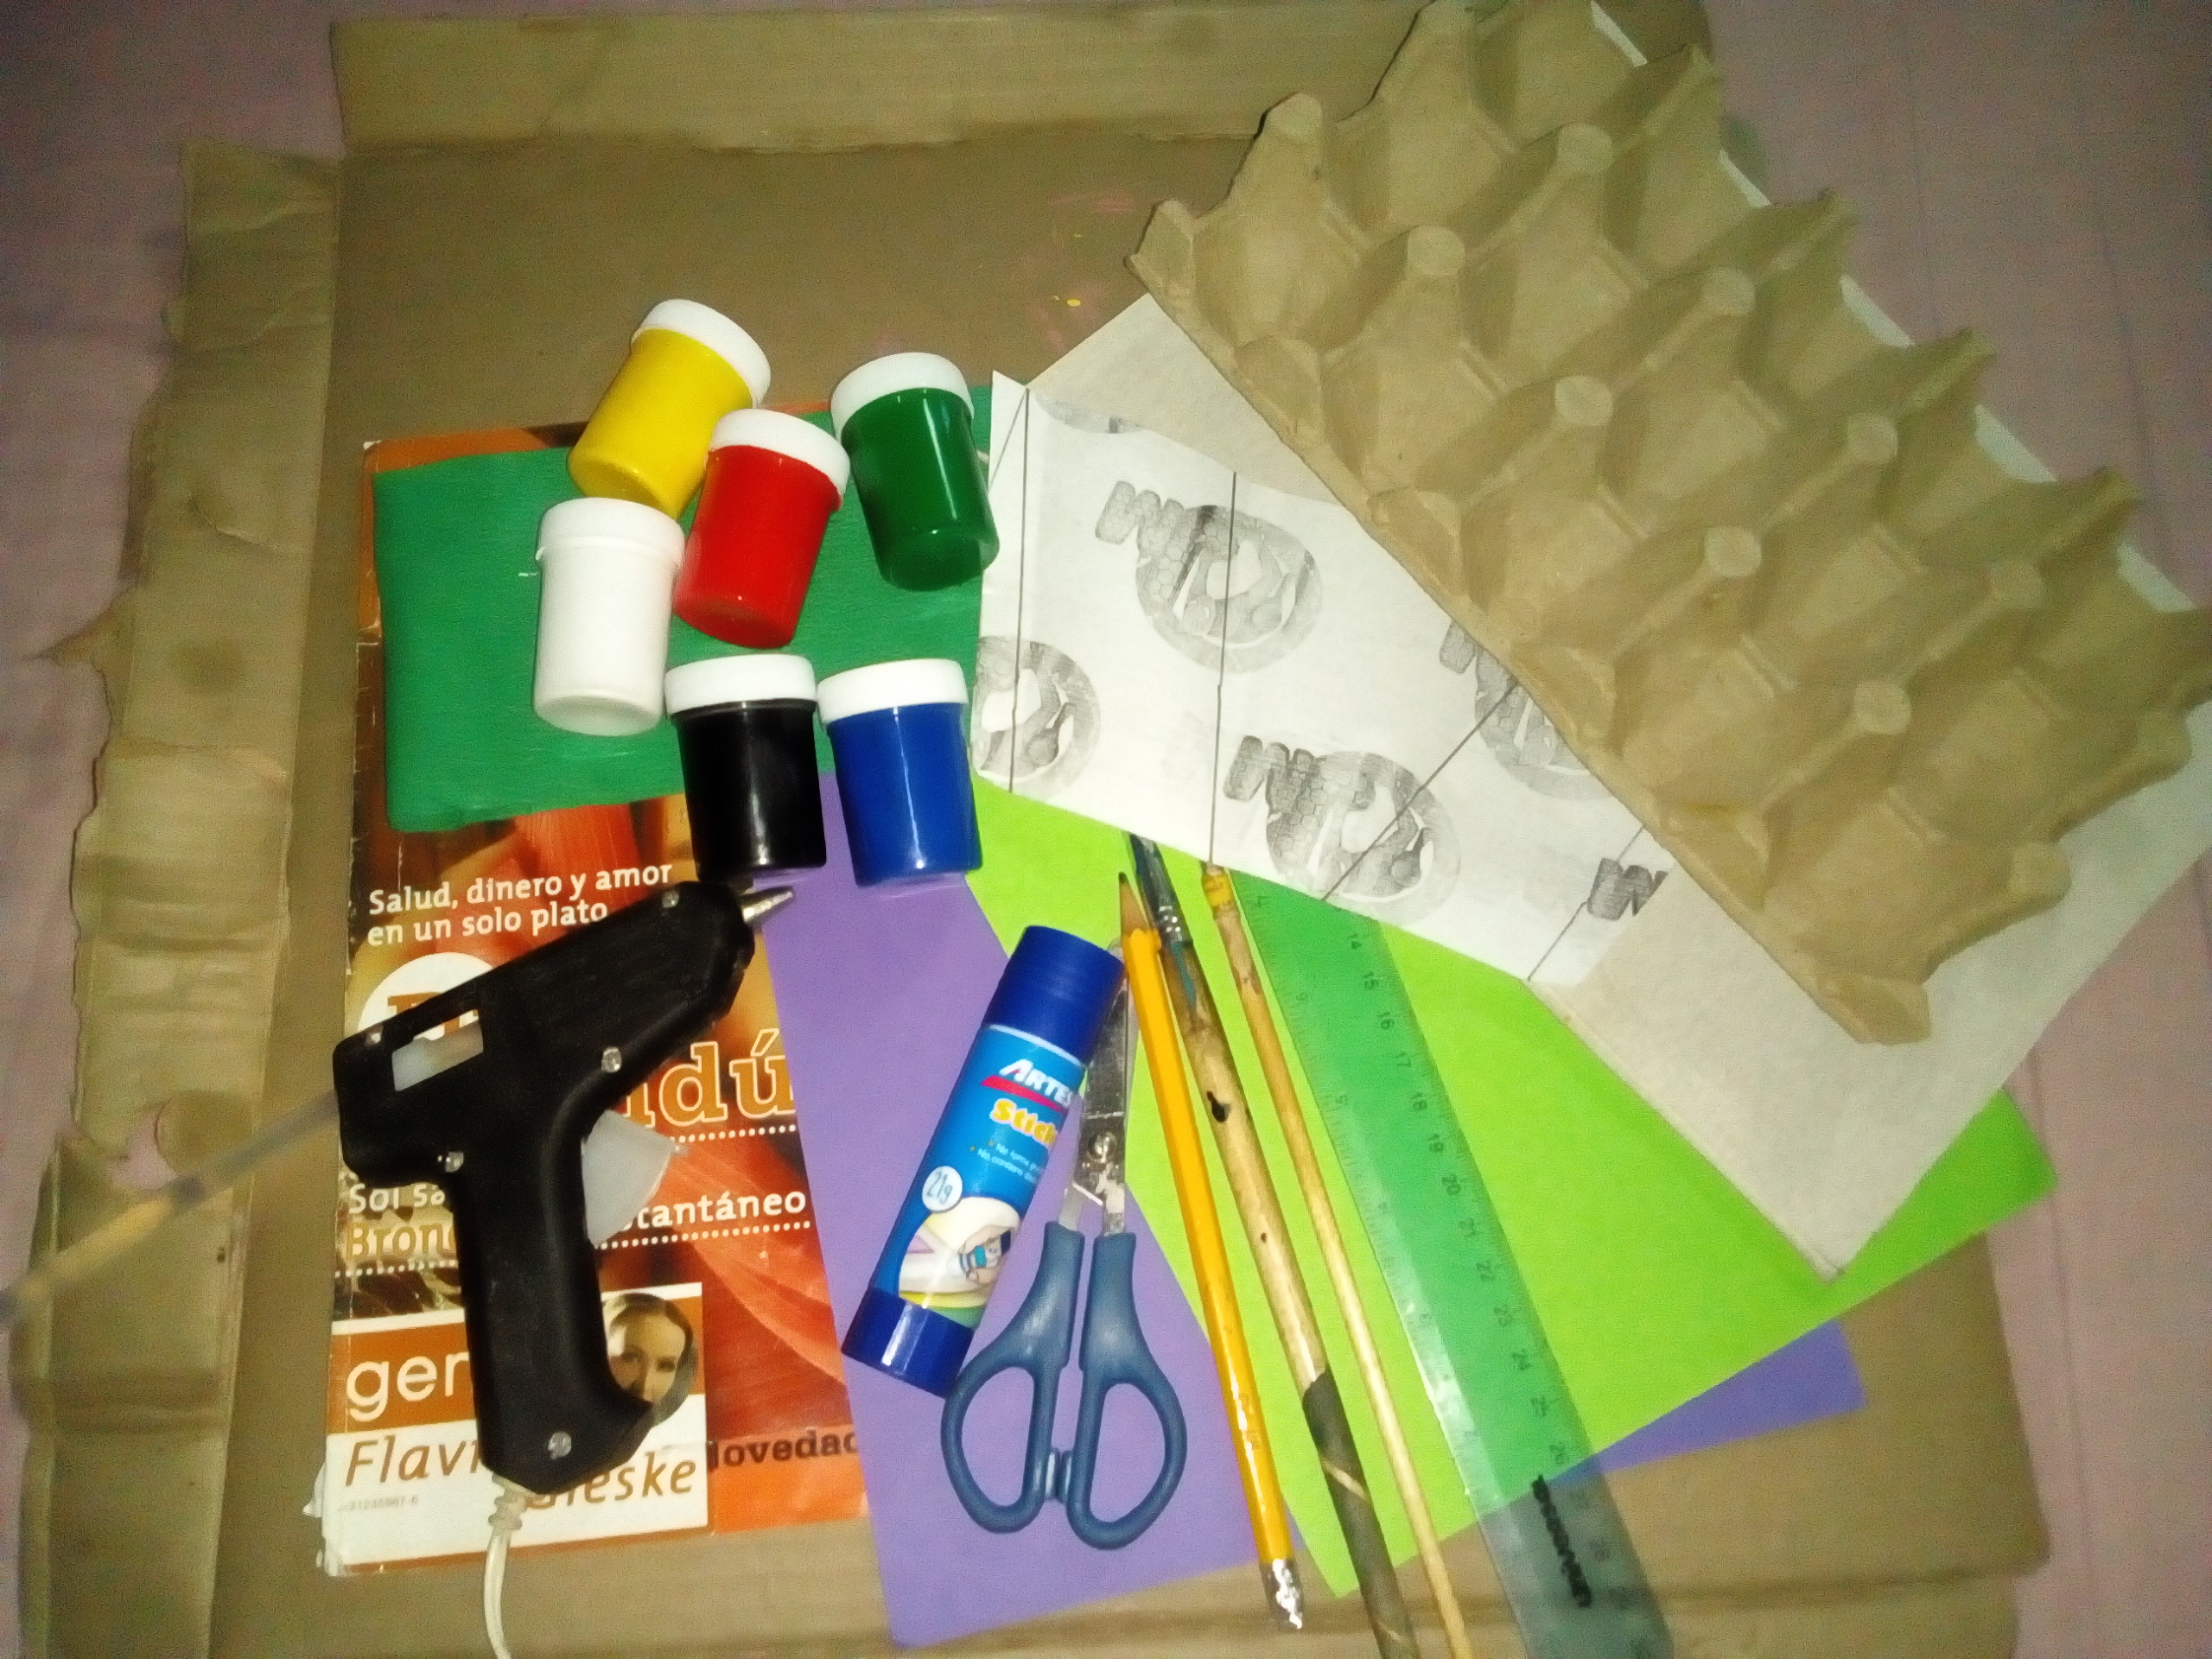
Los materiales a utilizar son:
The materials to use are:
1 carton grueso
1 carton fino
1 carton de huevos
Revista
Papel crepé
2 cartulinas
Pintura
Pinceles
Regla
Lápiz
Pegamento en barra
Silicón caliente
Tijera
Un molde para la maceta y nuestra creatividad.
1 thick cardboard
1 thin Cardboard
1 box of eggs
Magazine
Crepe paper
2 cardbods
paintings
Brushes
Rule
Pencils
glue stick
Hot silicone
scissors
A previously made mold for the flowerpot and our creativity.
El paso a paso / Step by Step
Comensemos con el cuadro y el marco.
Let's start with to make the frame of the painting.
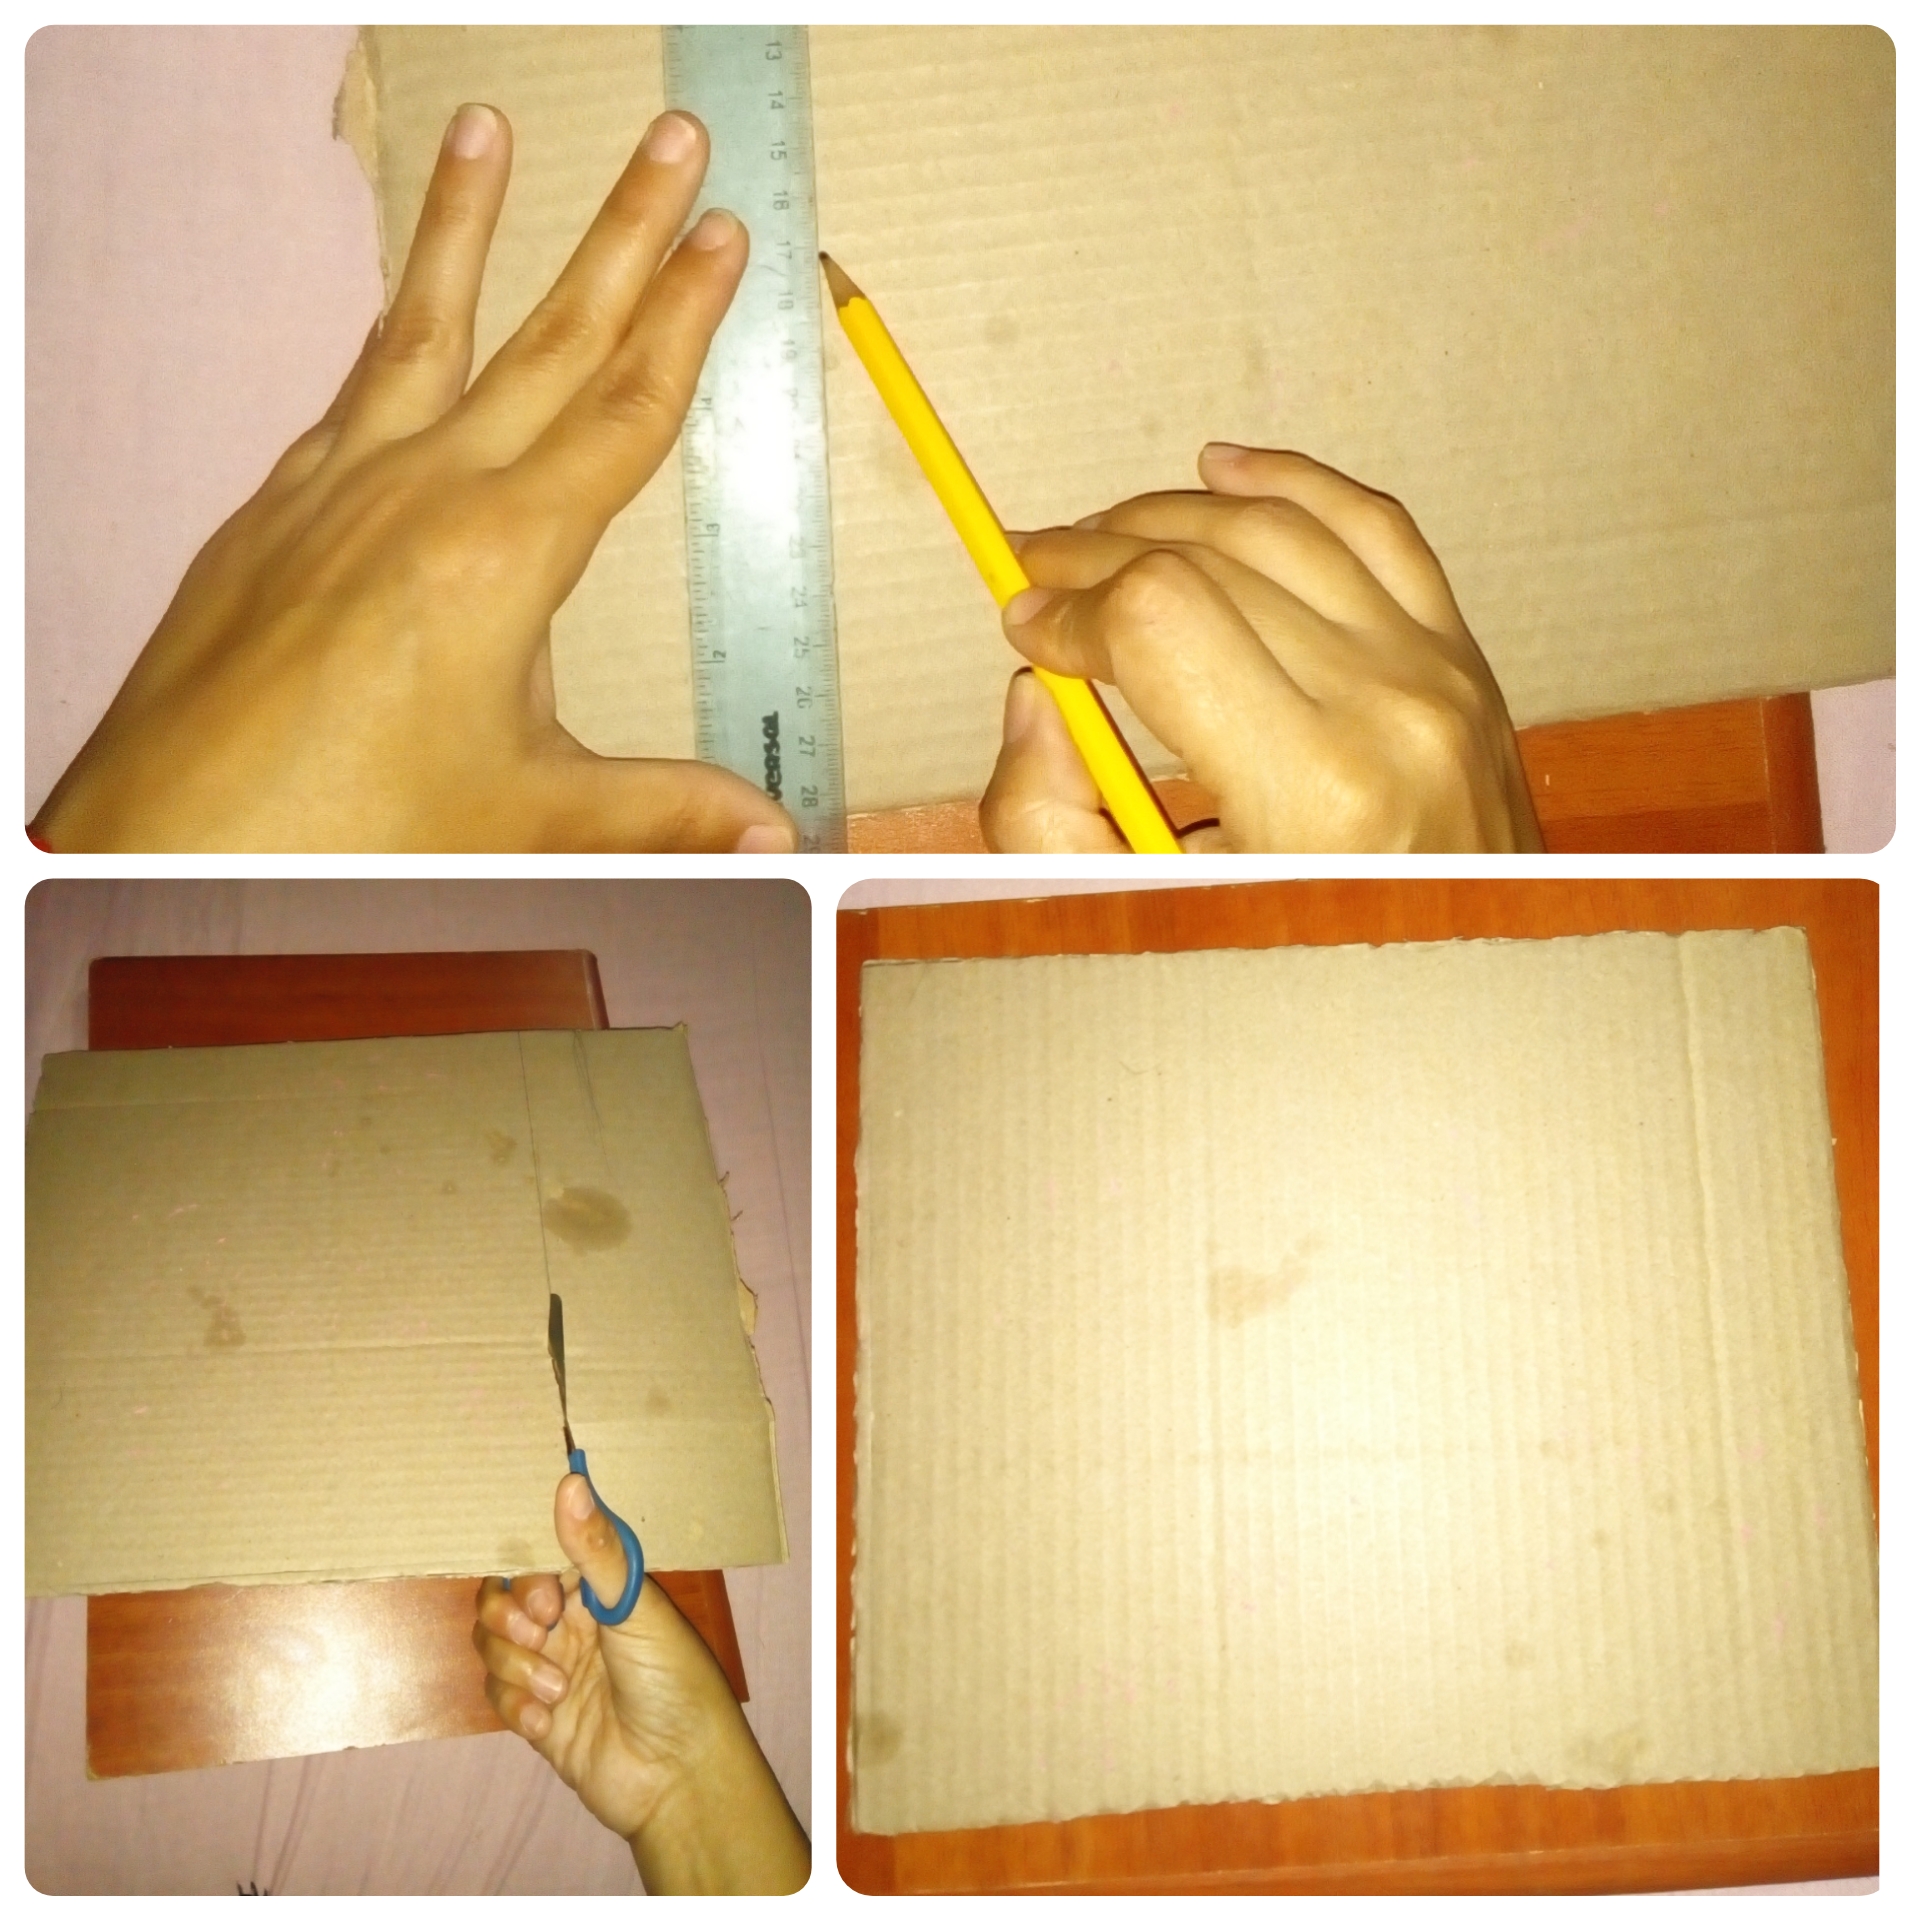
Cortamos el cartón grueso en un cuadrado, con ayuda de la regla y el lápiz tomamos las medidas, en esta ocasión yo ulitize una caja de pizza.
We cut the thick cardboard into a square, with the help of the ruler and the pencil we took the measurements, this time I used a pizza box.
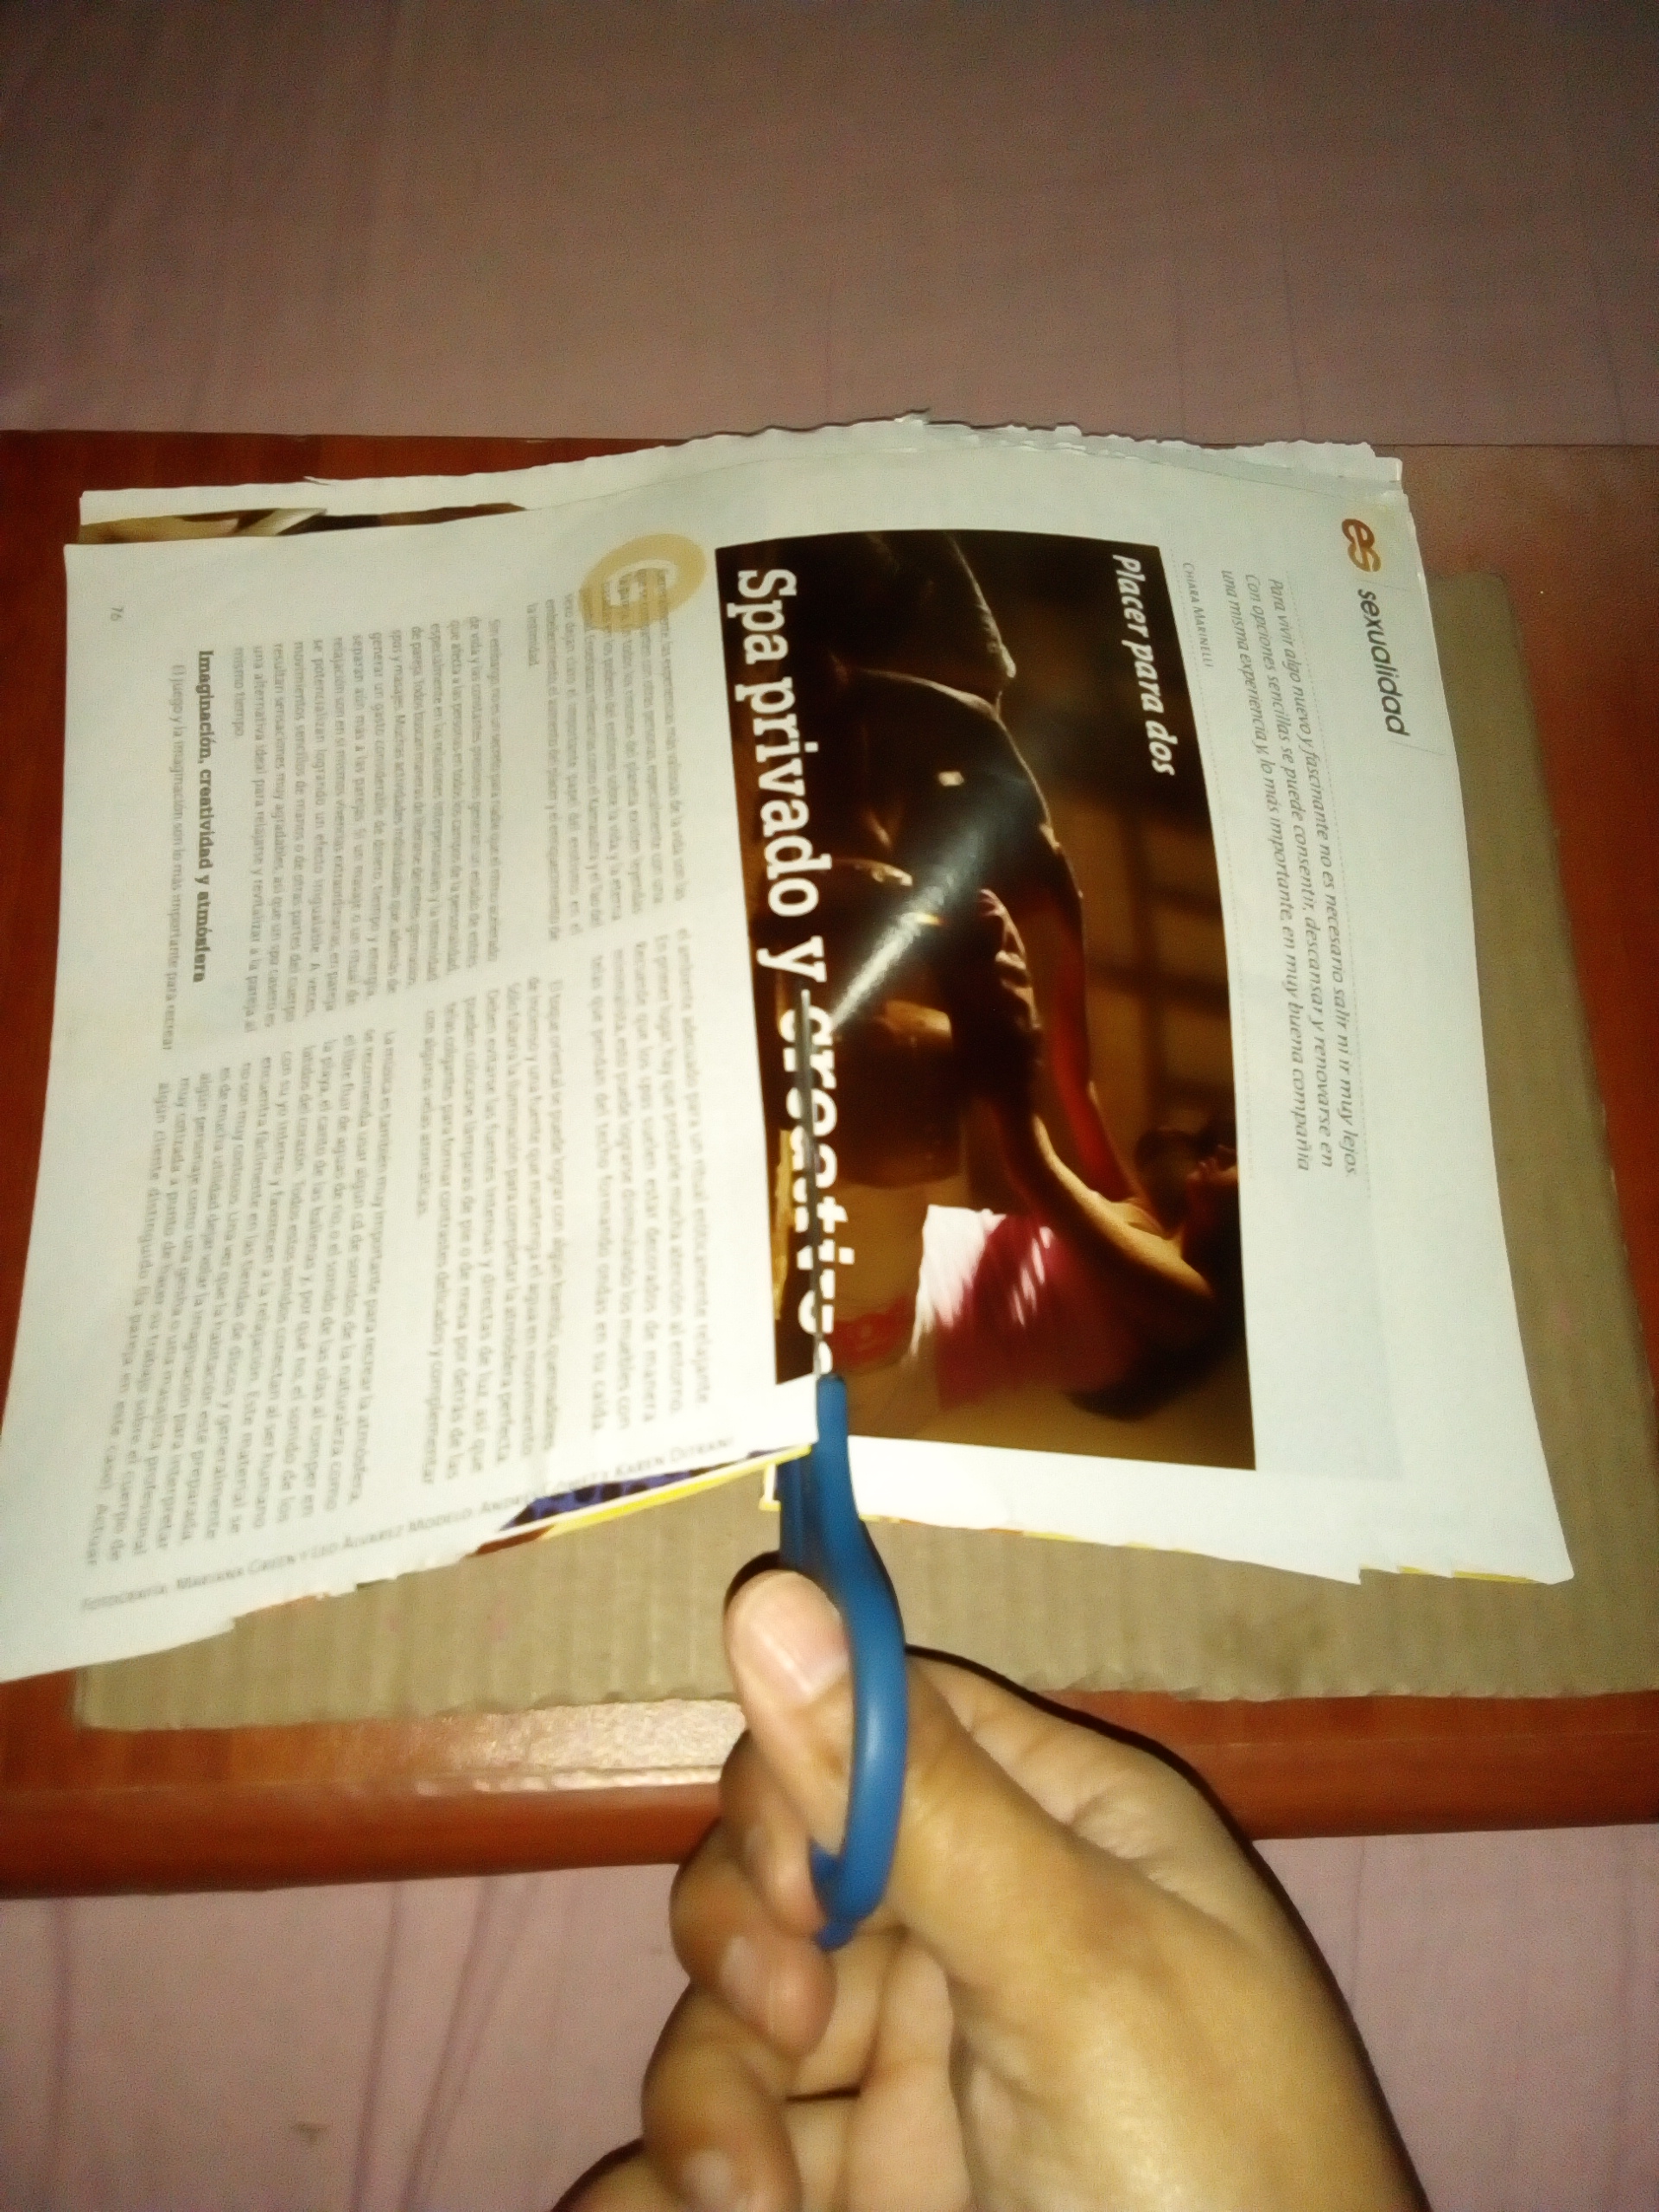
Listo el cuadrado, tomamos la revista y cortamos varias hojas, para realizar el marco del cuadro.
Ready the square, we take the magazine and cut several sheets, to make the frame of the painting.
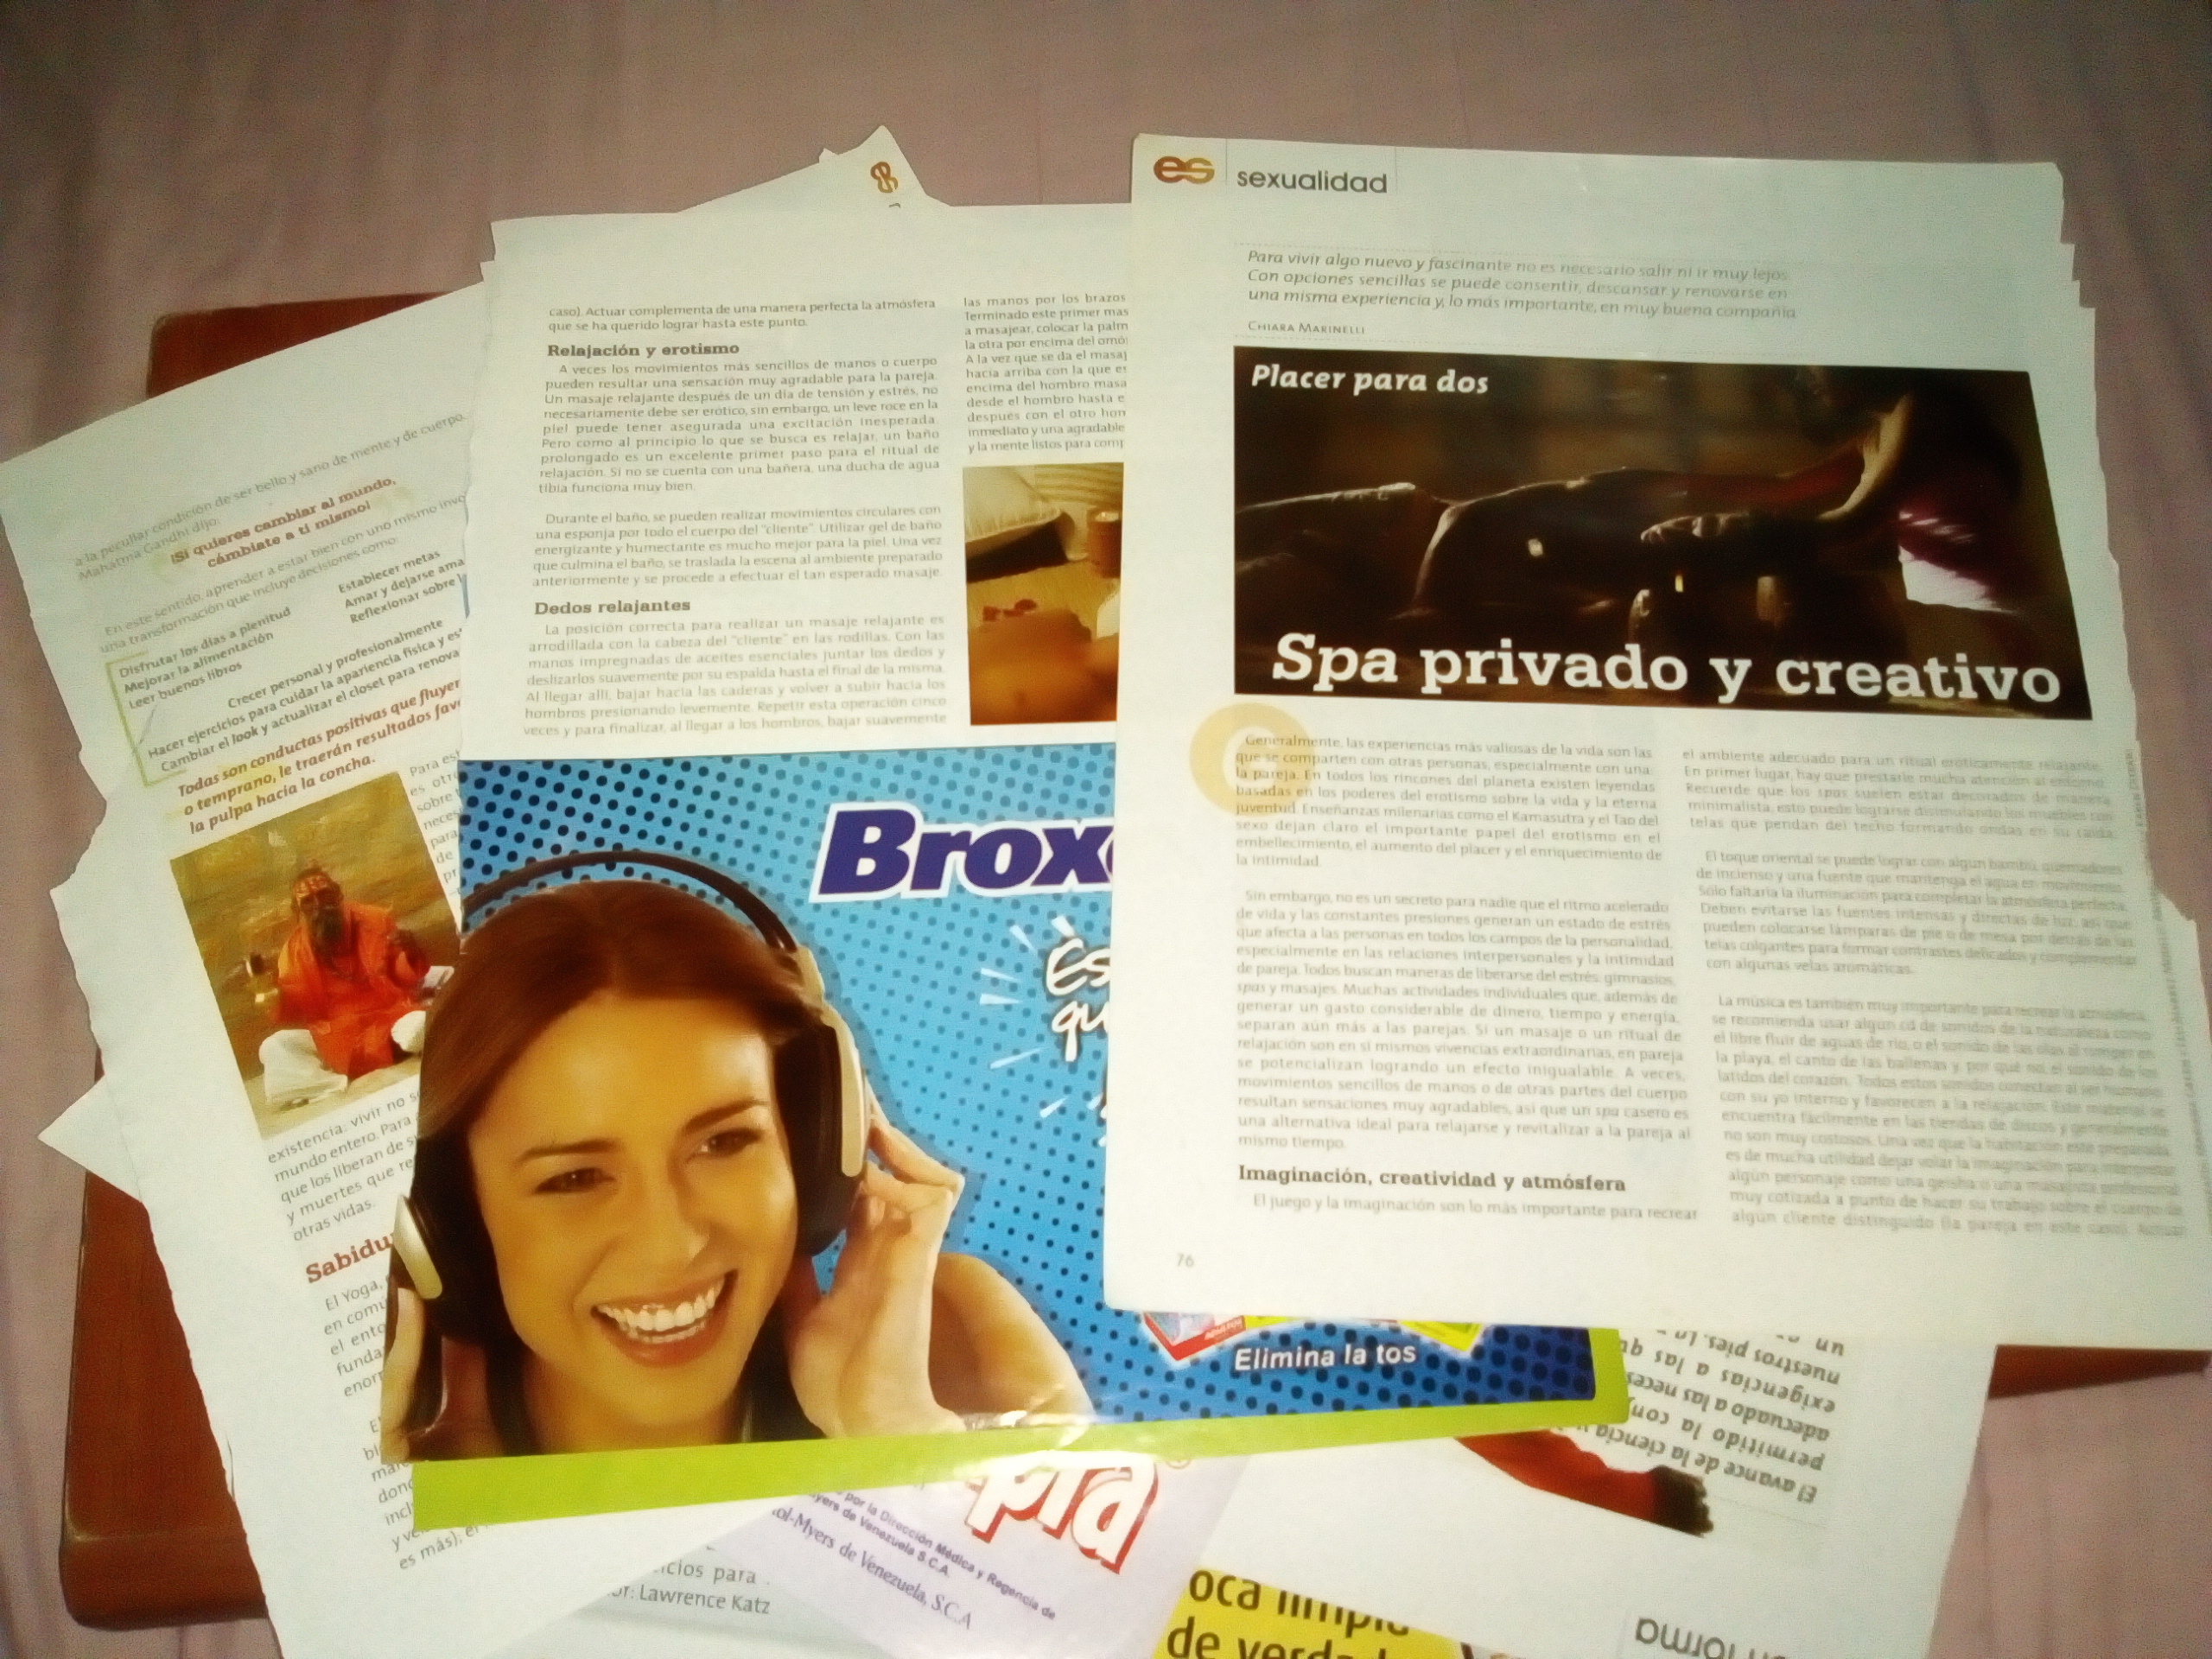
Lo que vamos a hacer es tomar las hojas y las cortamos por la mitad.
What we are going to do is take the leaves and cut them in half.
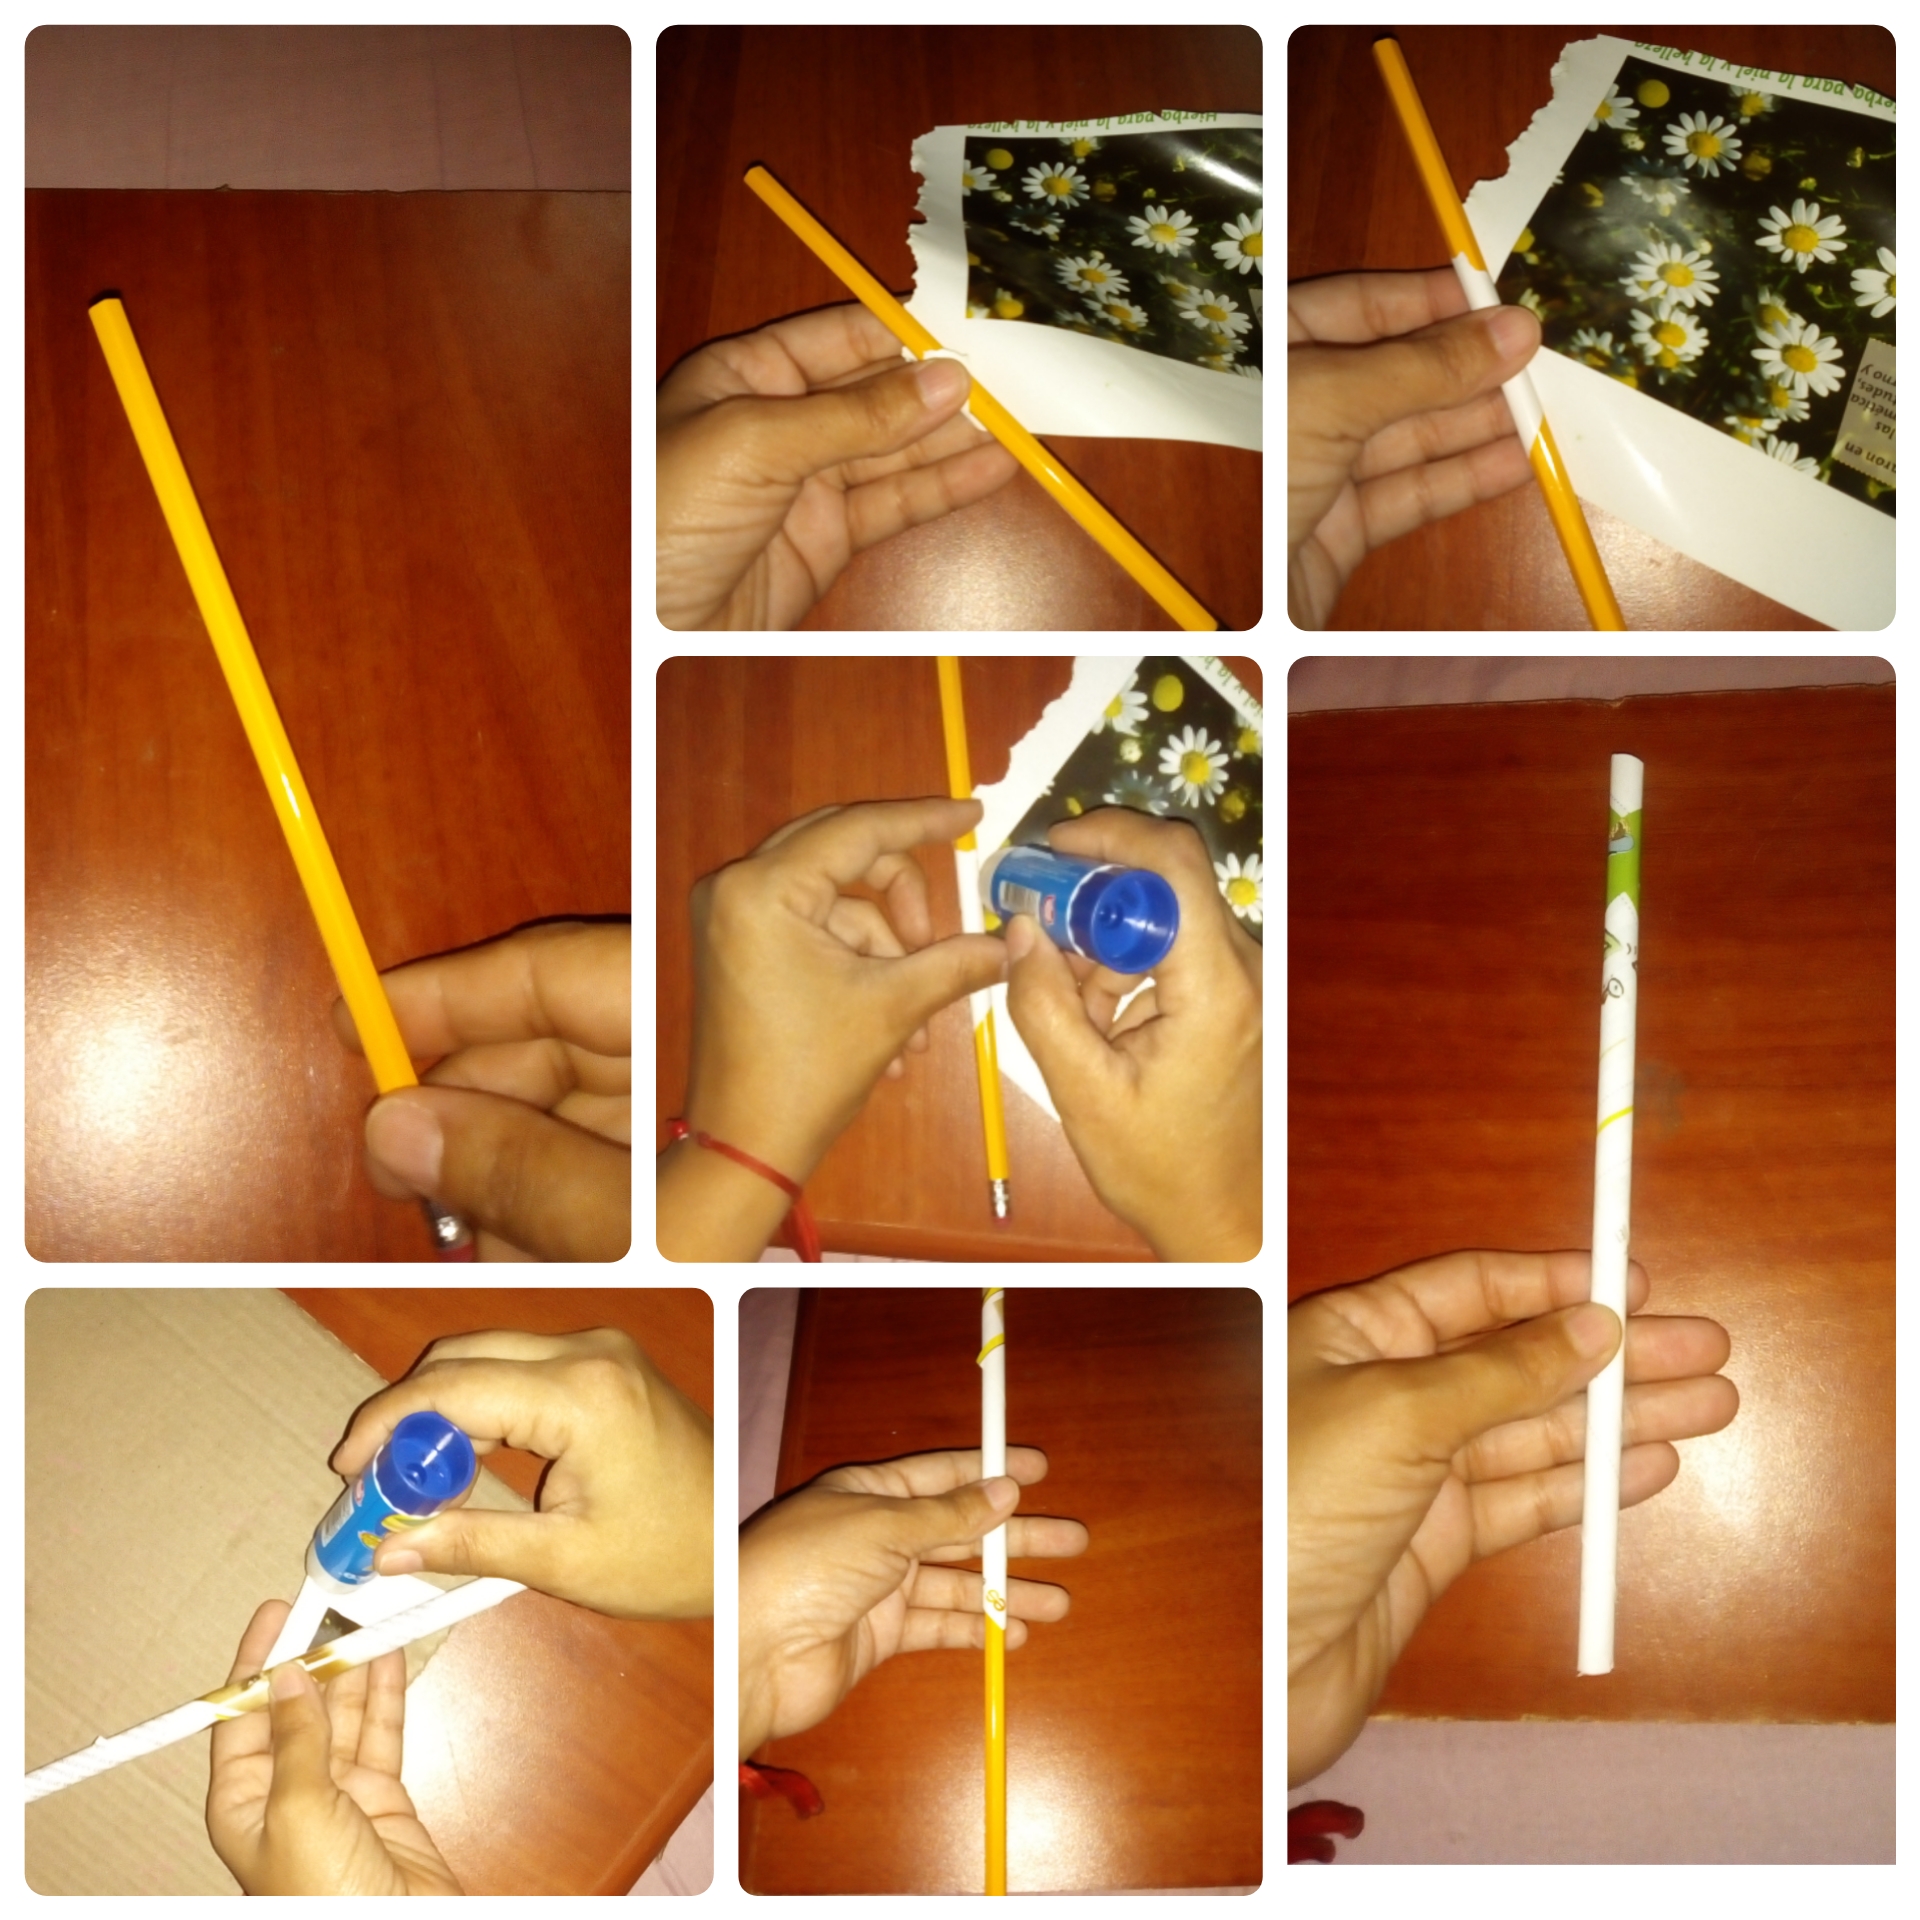
Luego con ayuda de un lápiz vamos hacer unos tubitos.
Then with the help of a pencil we are going to make some tubes.
Tomamos el lápiz y la mitad de la hoja, colocamos el lápiz en un extremo de la hoja y lo enrollaremos, le pondremos pegamento para que quede firme, al final sacamos el lápiz, listo nuestro tubito de papel..
We take the pencil and half of the sheet, we place the pencil at one end of the sheet and we will roll it up, we will put glue to make it firm, at the end we take out the pencil, ready our paper tube.
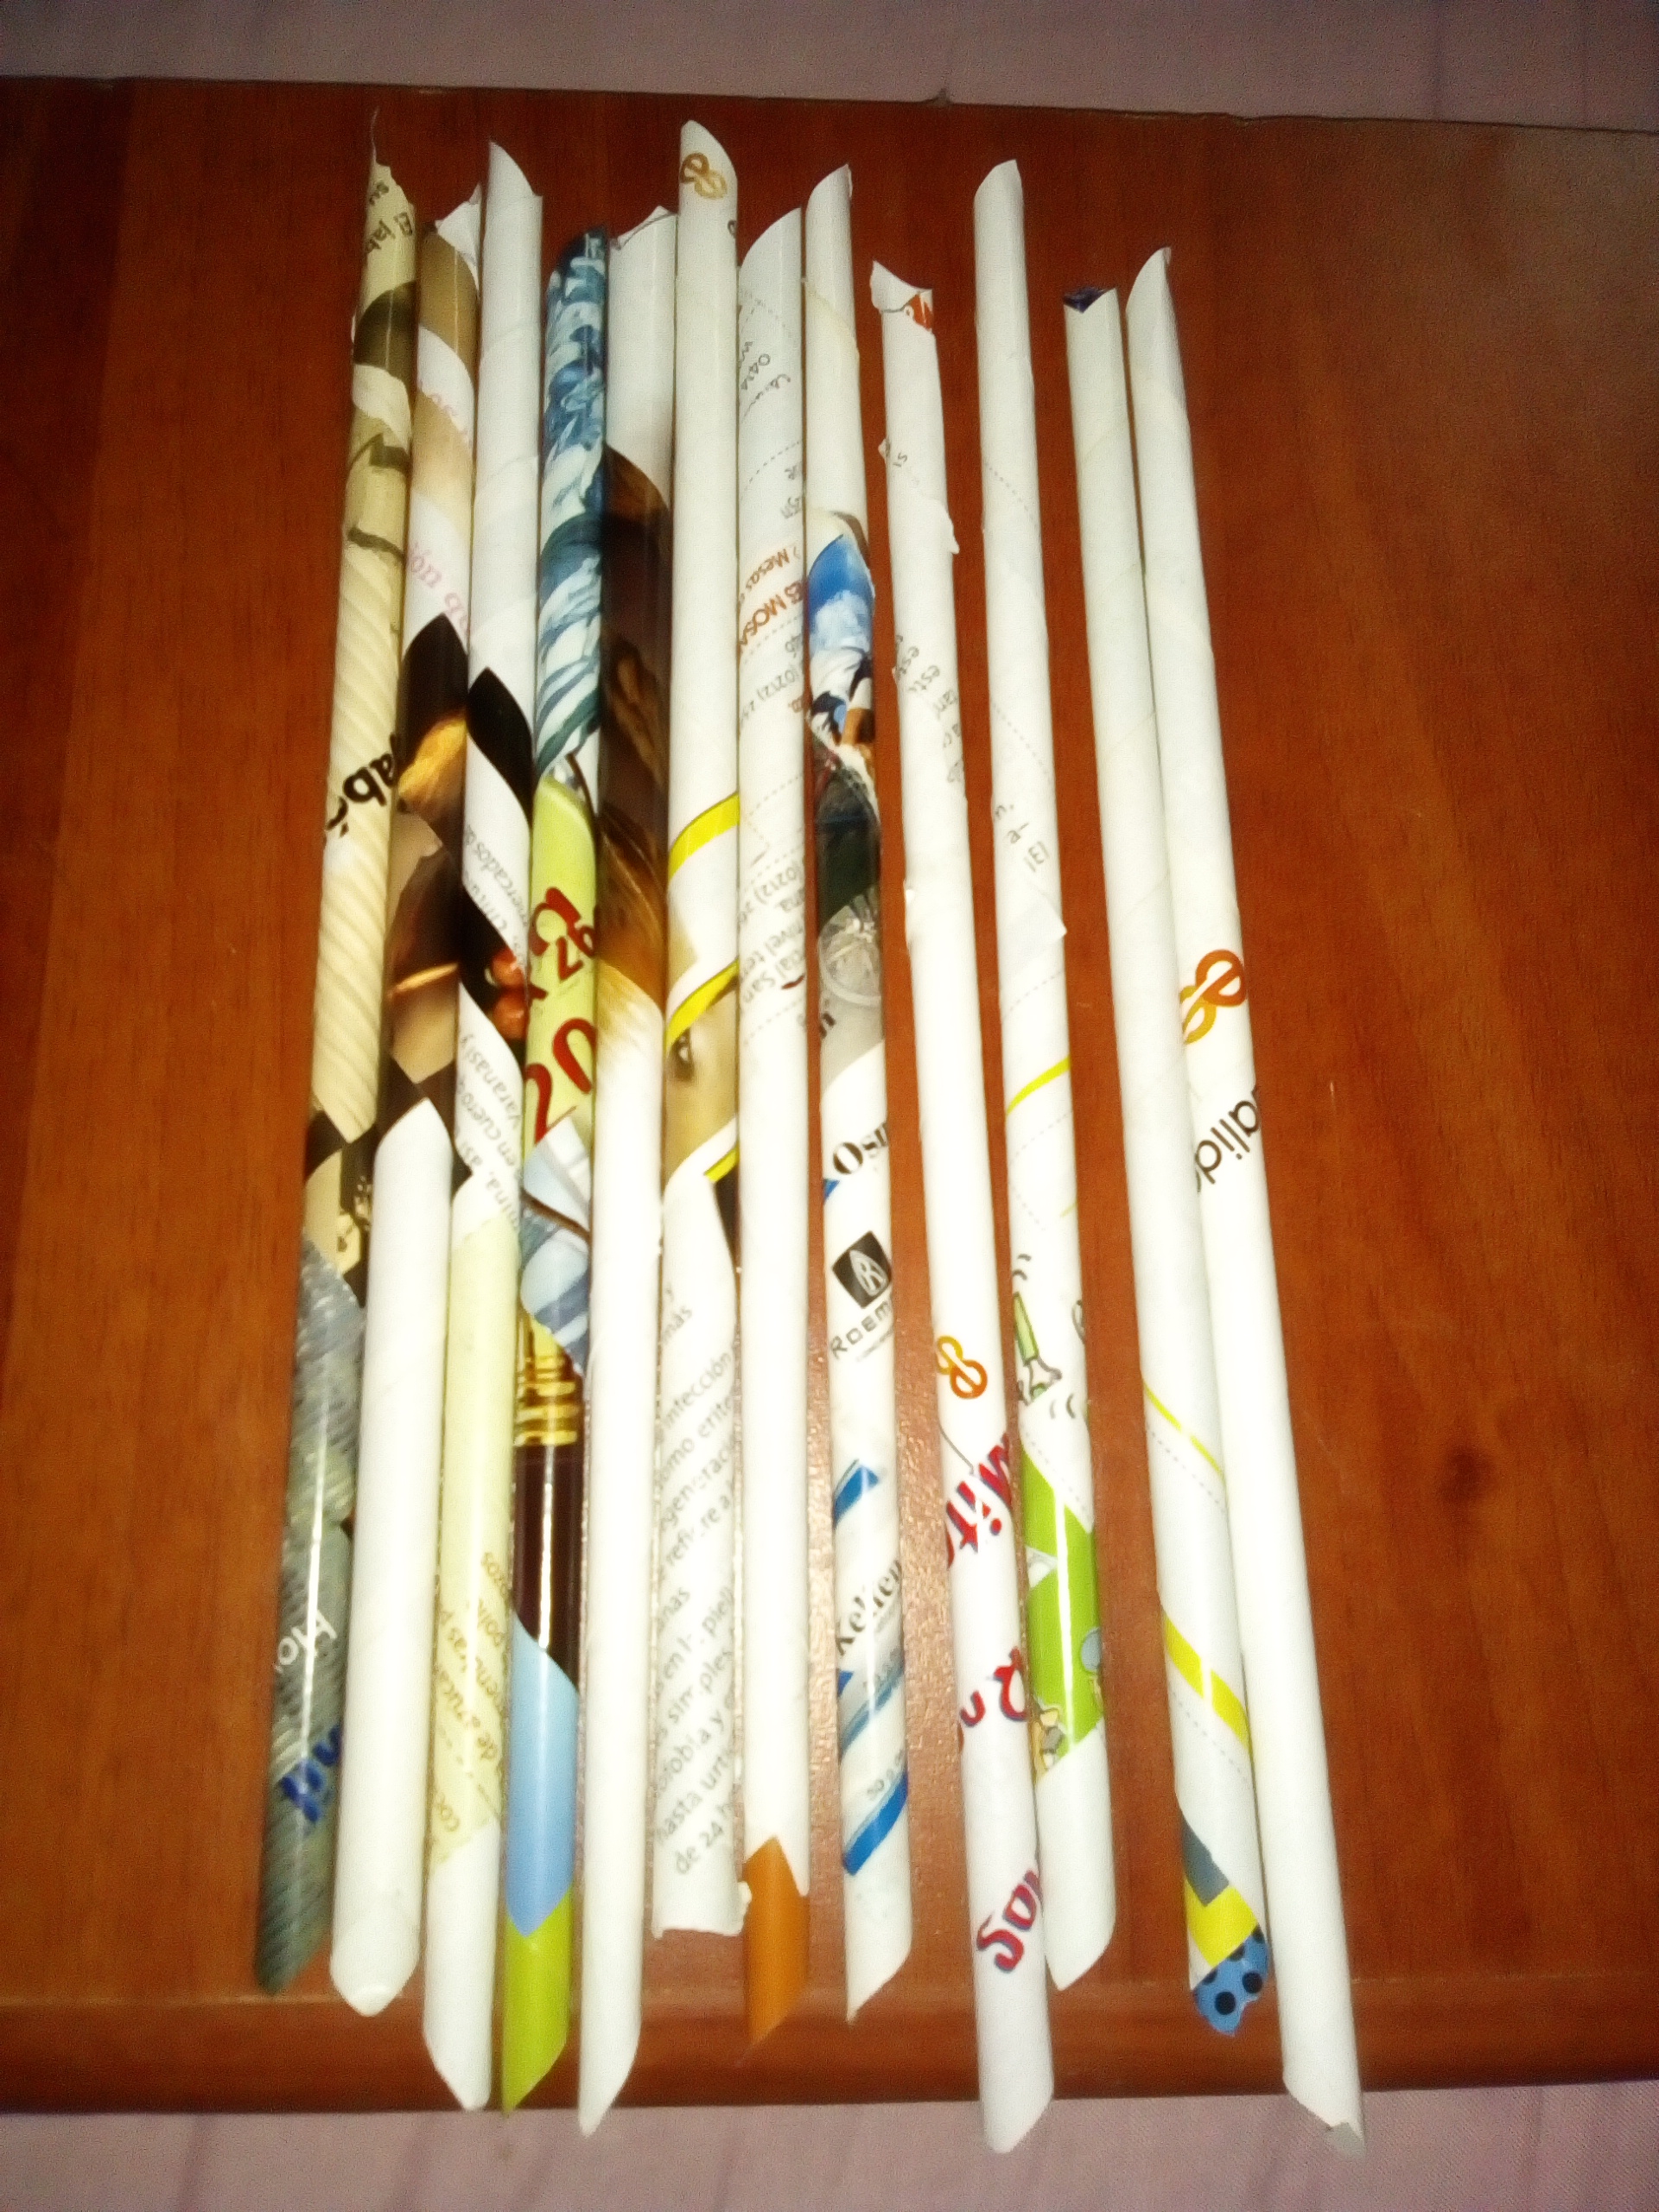
Repetimos el procedimiento hasta obtener 8 o más, yo voy a utilizar 2 para cada extremo.
We repeat the procedure until we get 8 or more, I am going to use 2 for each end.
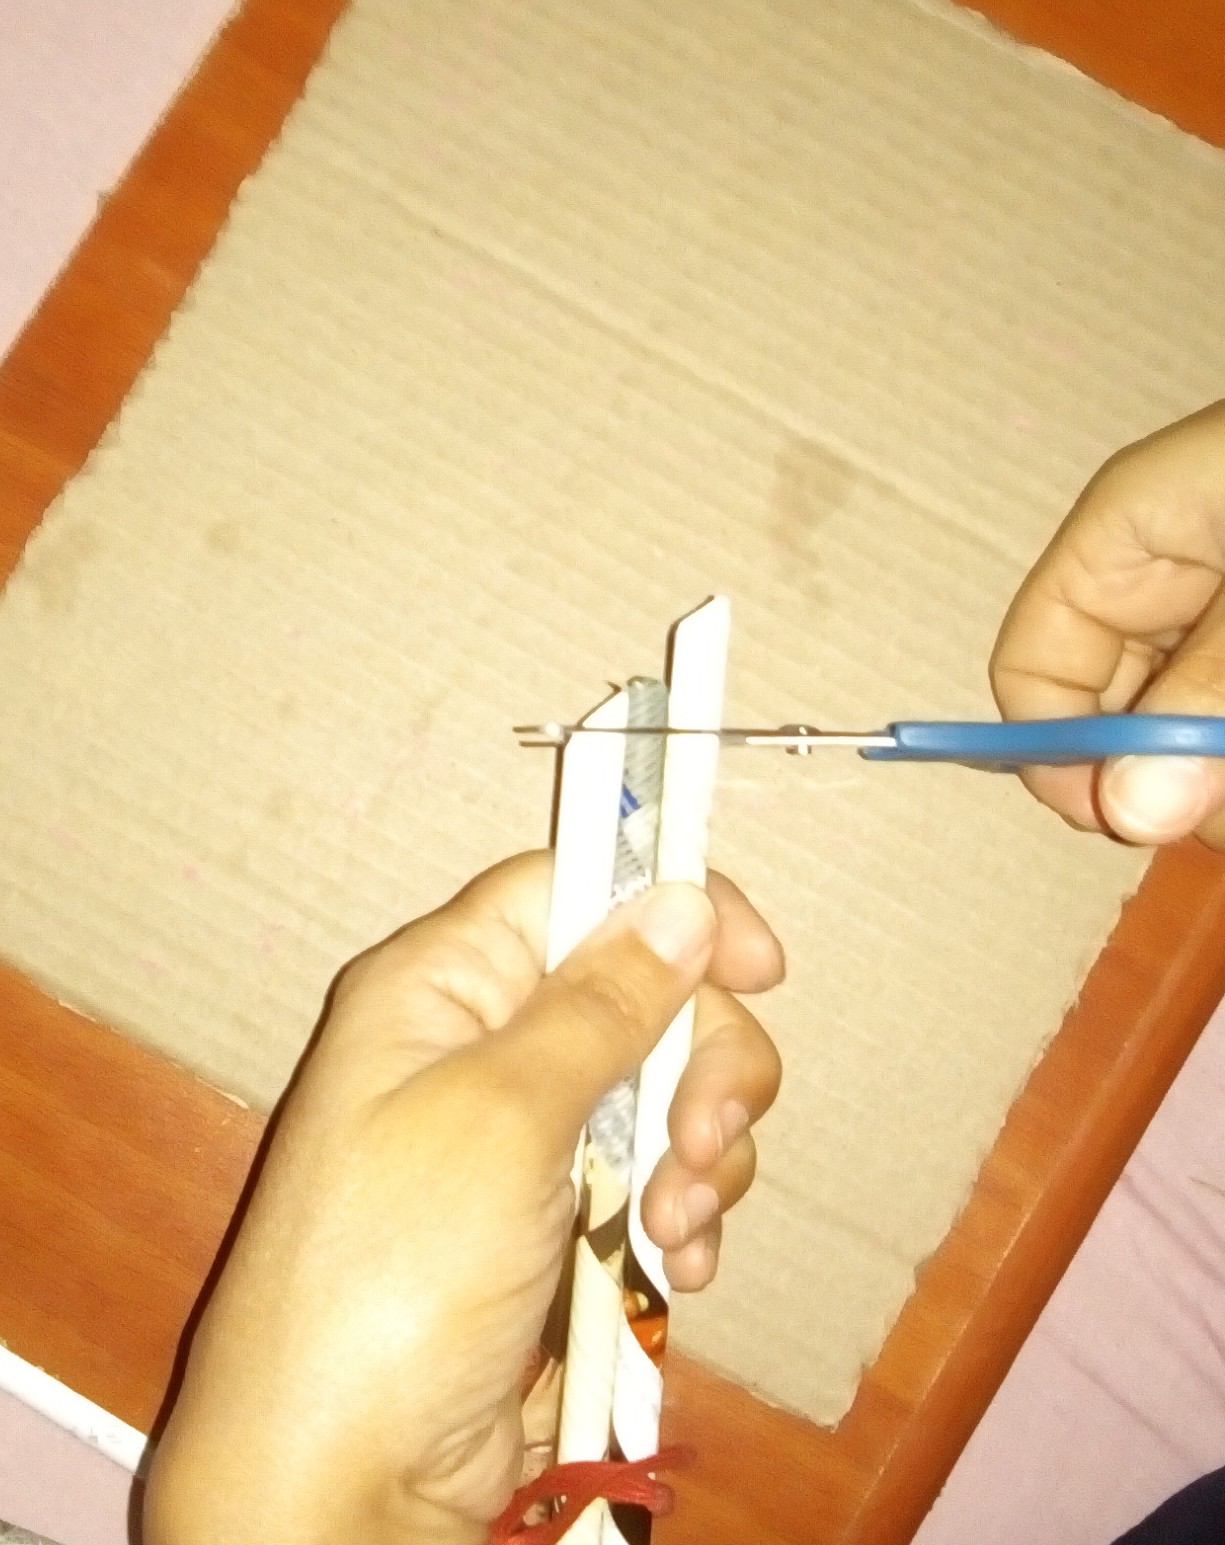
Luego con ayuda de la tijera recortamos las puntas para nivelarlas.
Then with the help of scissors we cut the tips to make them even.
Y procedemos a realizar nuestro marco, pegando 2 tubitos a cada extremo.
And we proceed to make our frame, gluing 2 tubes to each end.
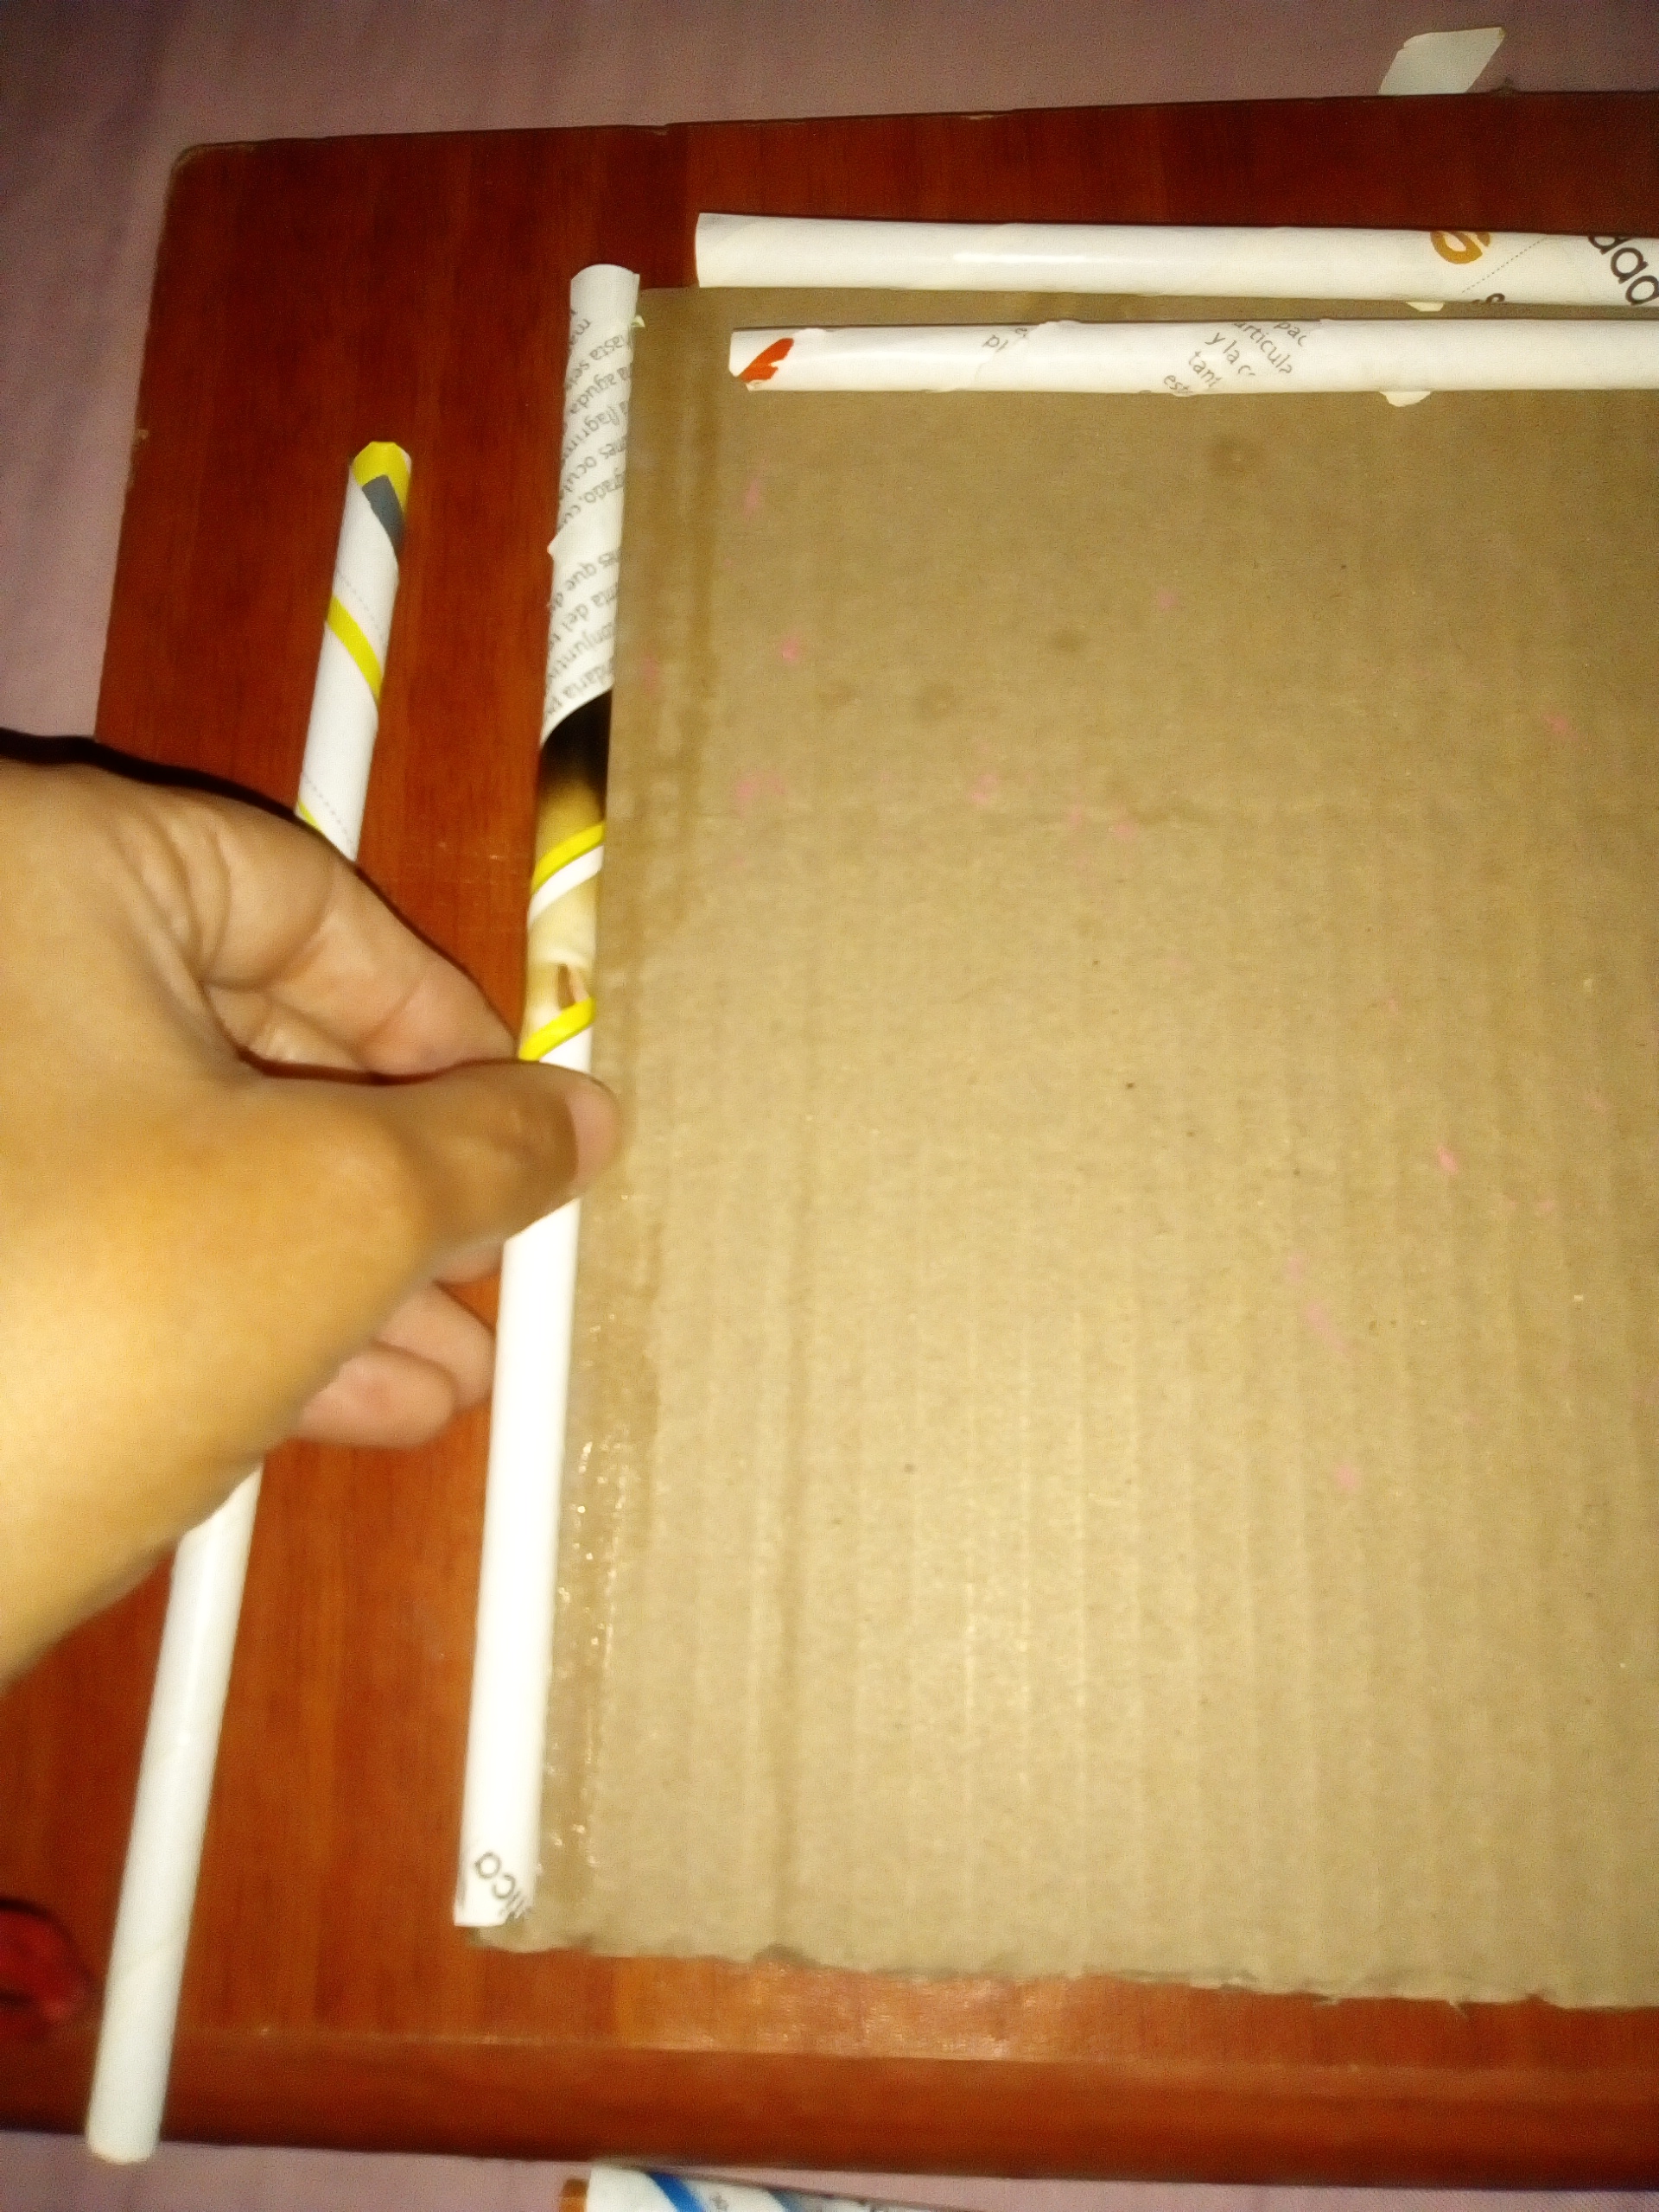
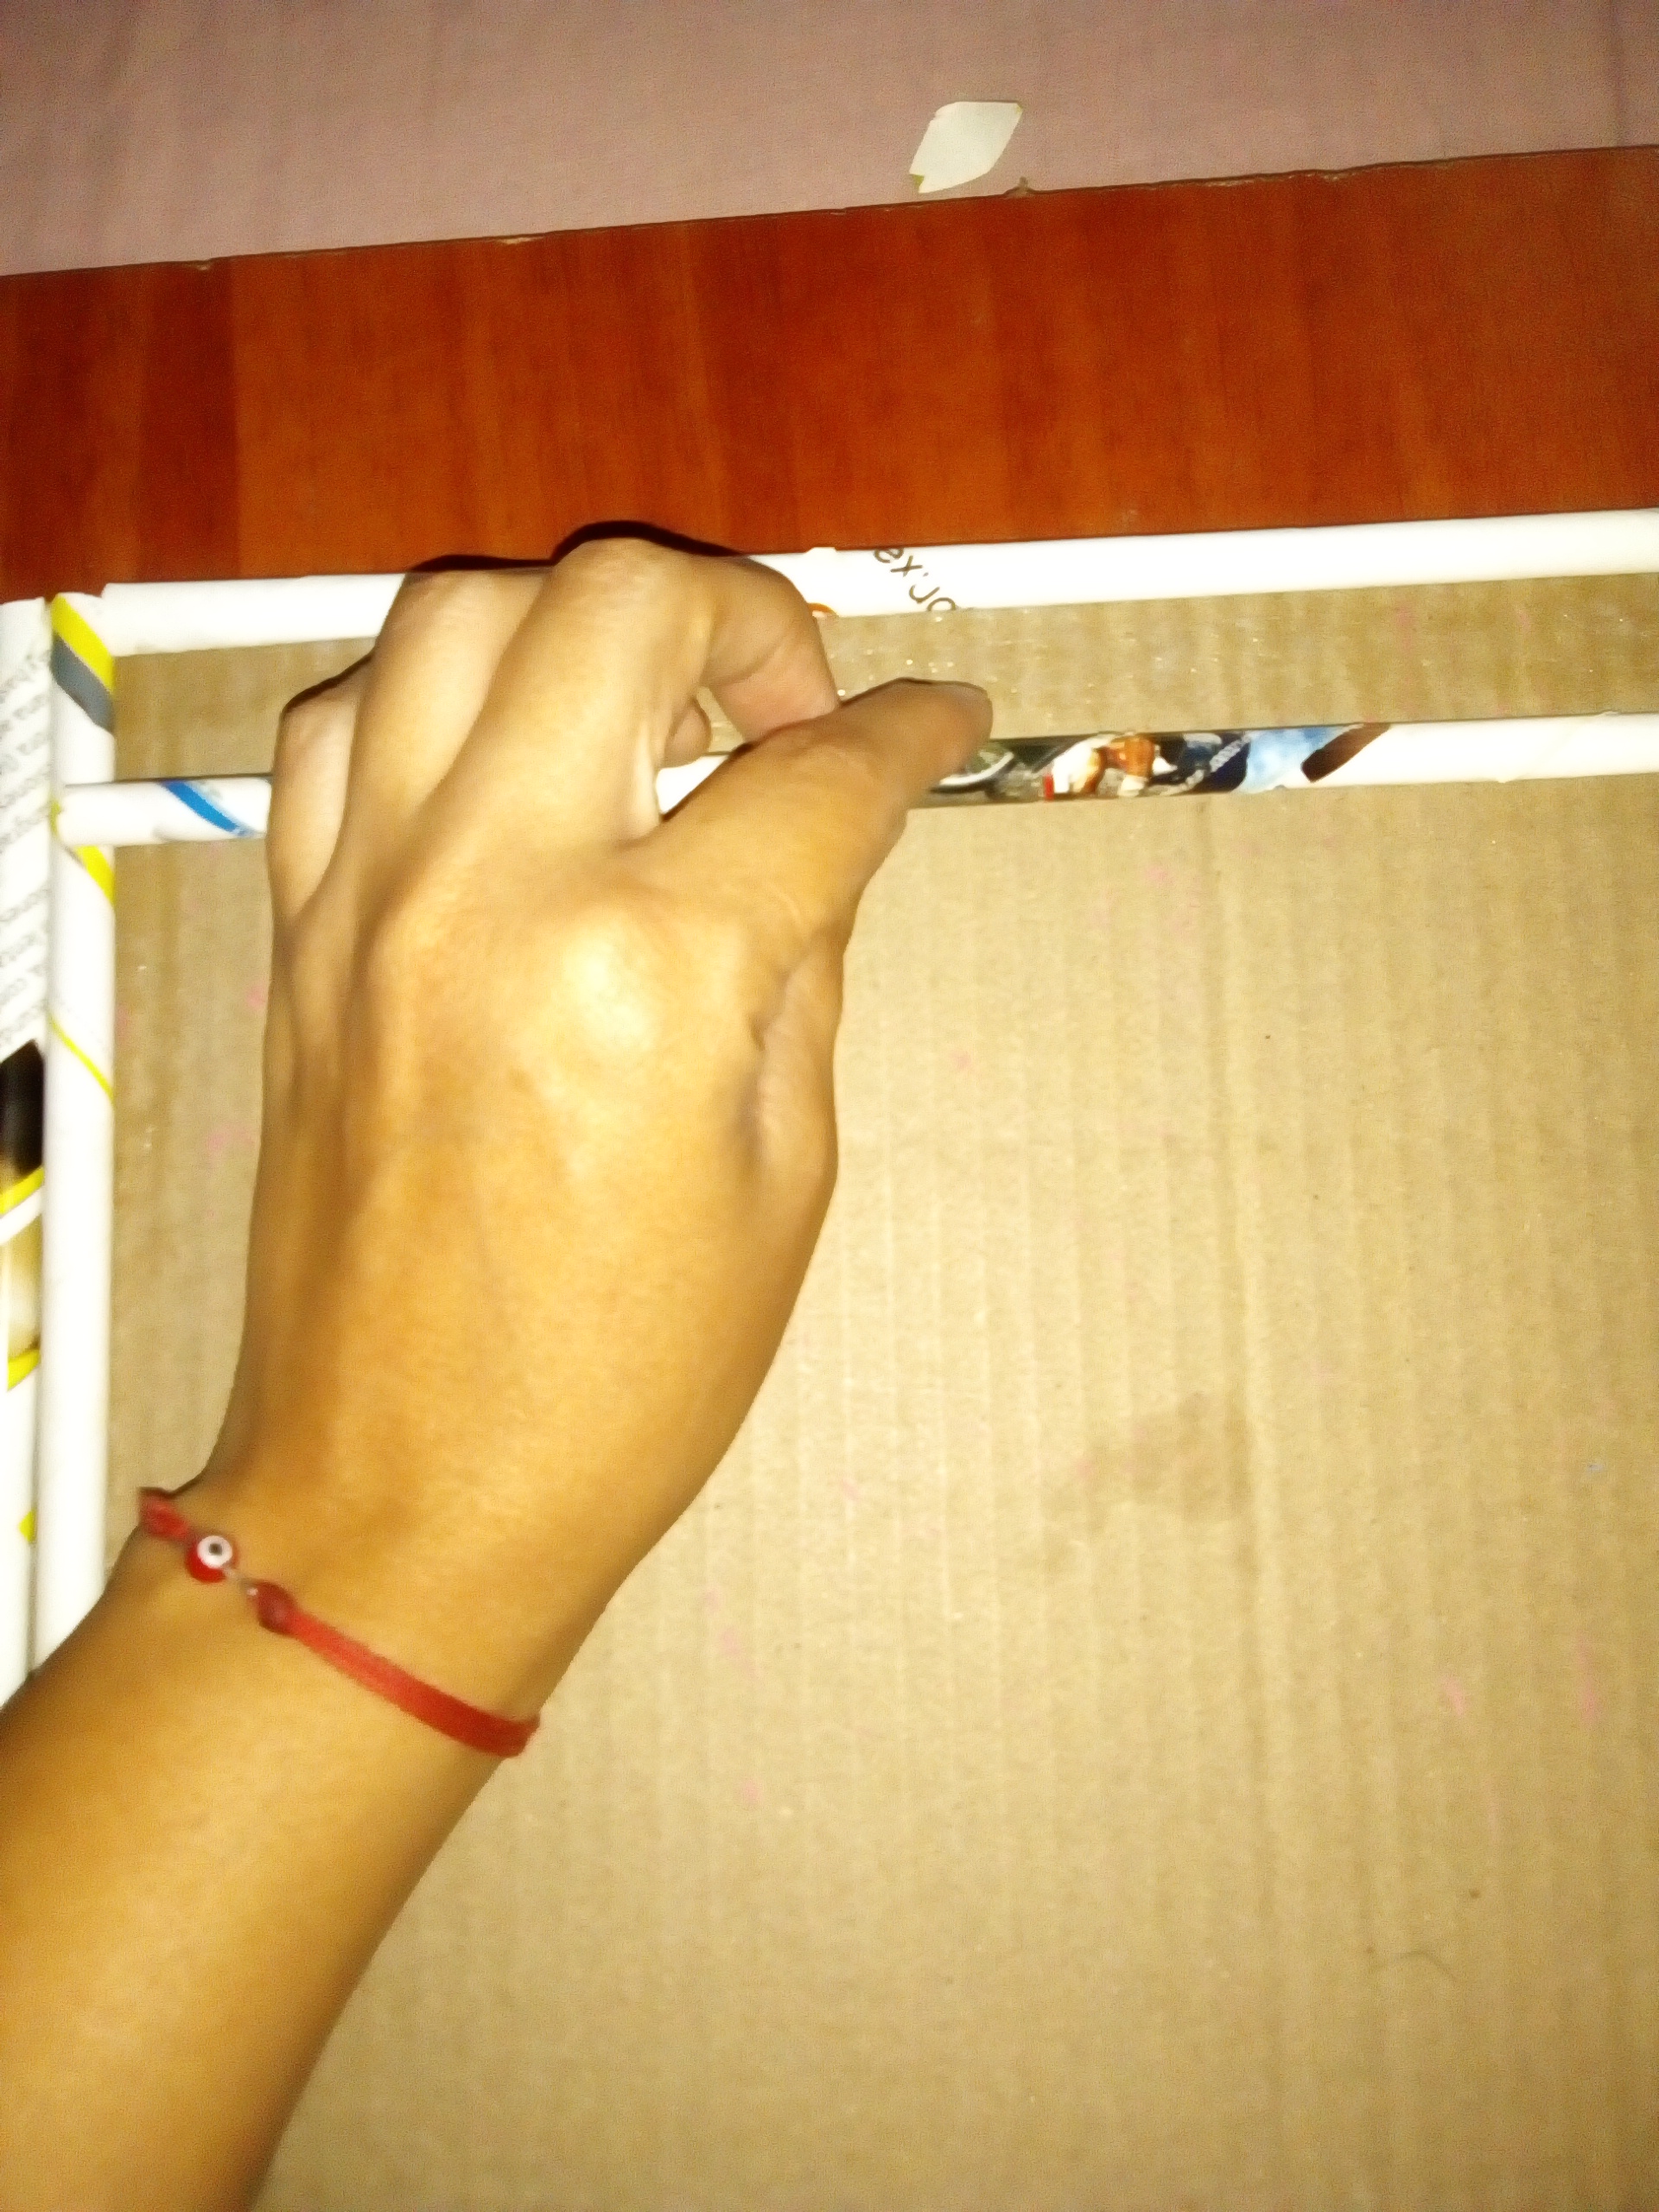
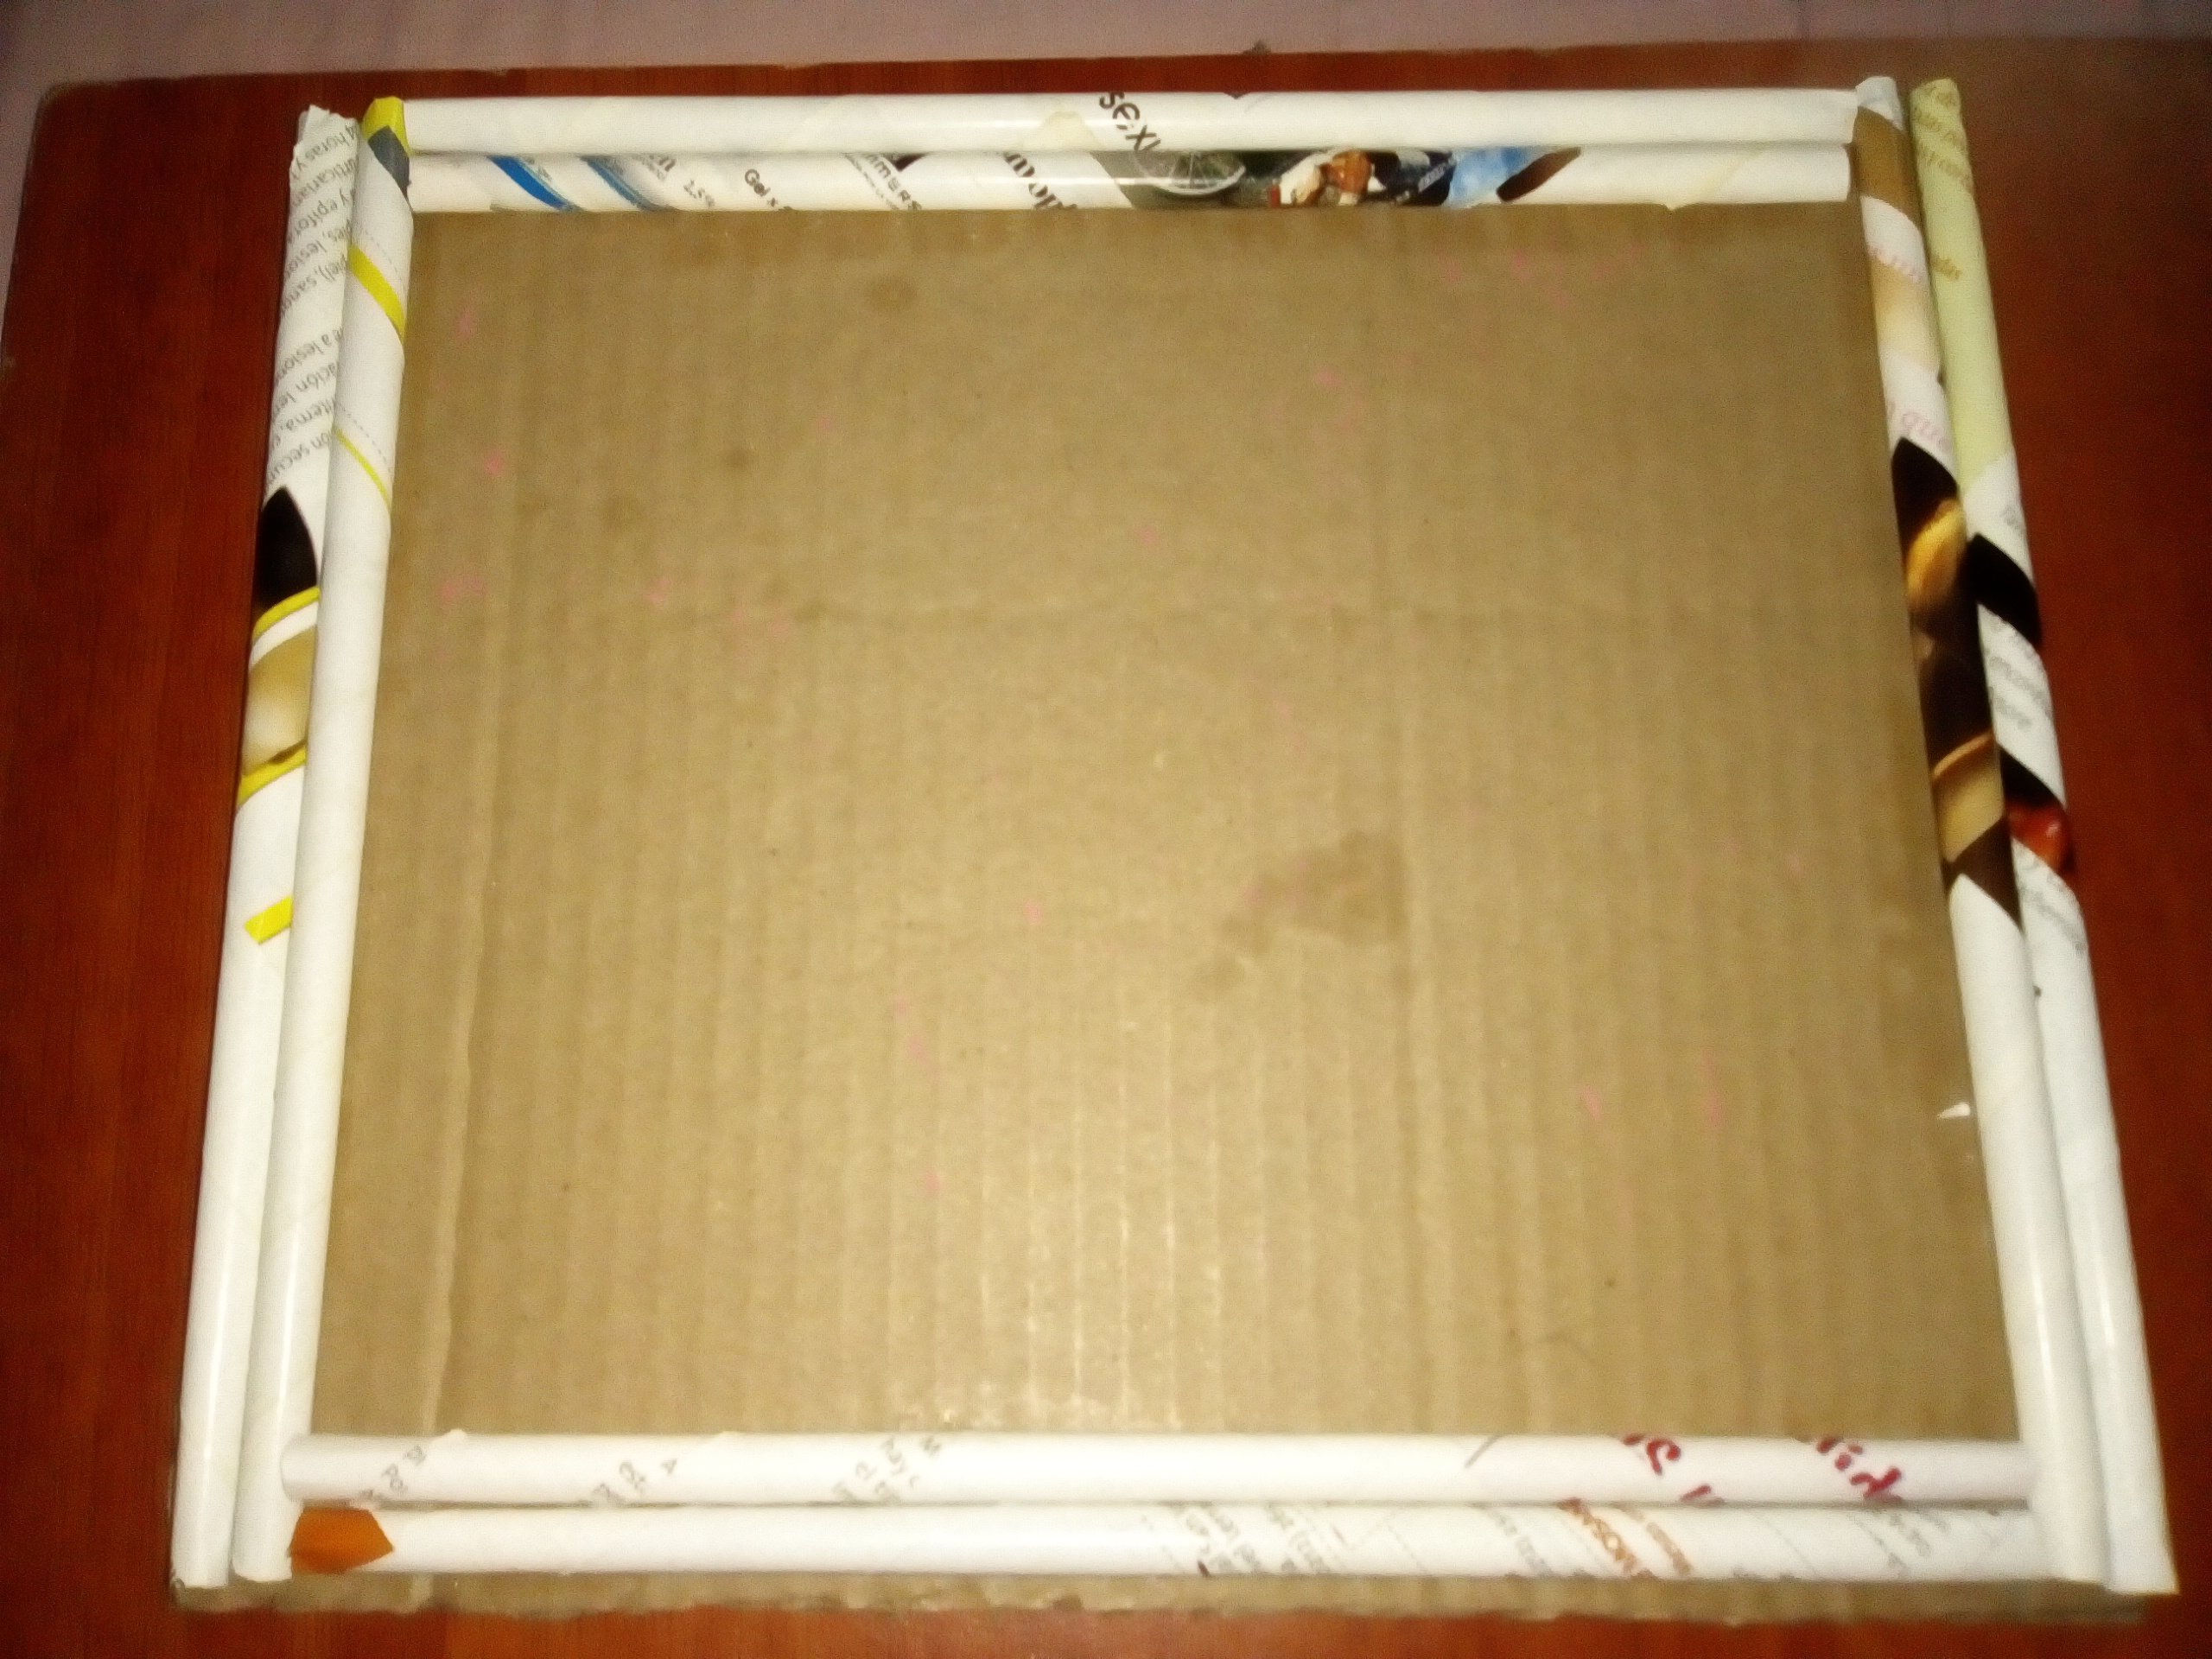
Así / AYes
Luego lo vamos a pintar dándole un tono envejeciendo con pintura marrón y blanca.
Then we are going to paint it giving it an aging tone with brown and white paint.
Cómo no tenía pintura marron la cree con las pinturas roja y negra.
As I did not have brown paint, he creates it with the red and black paint.
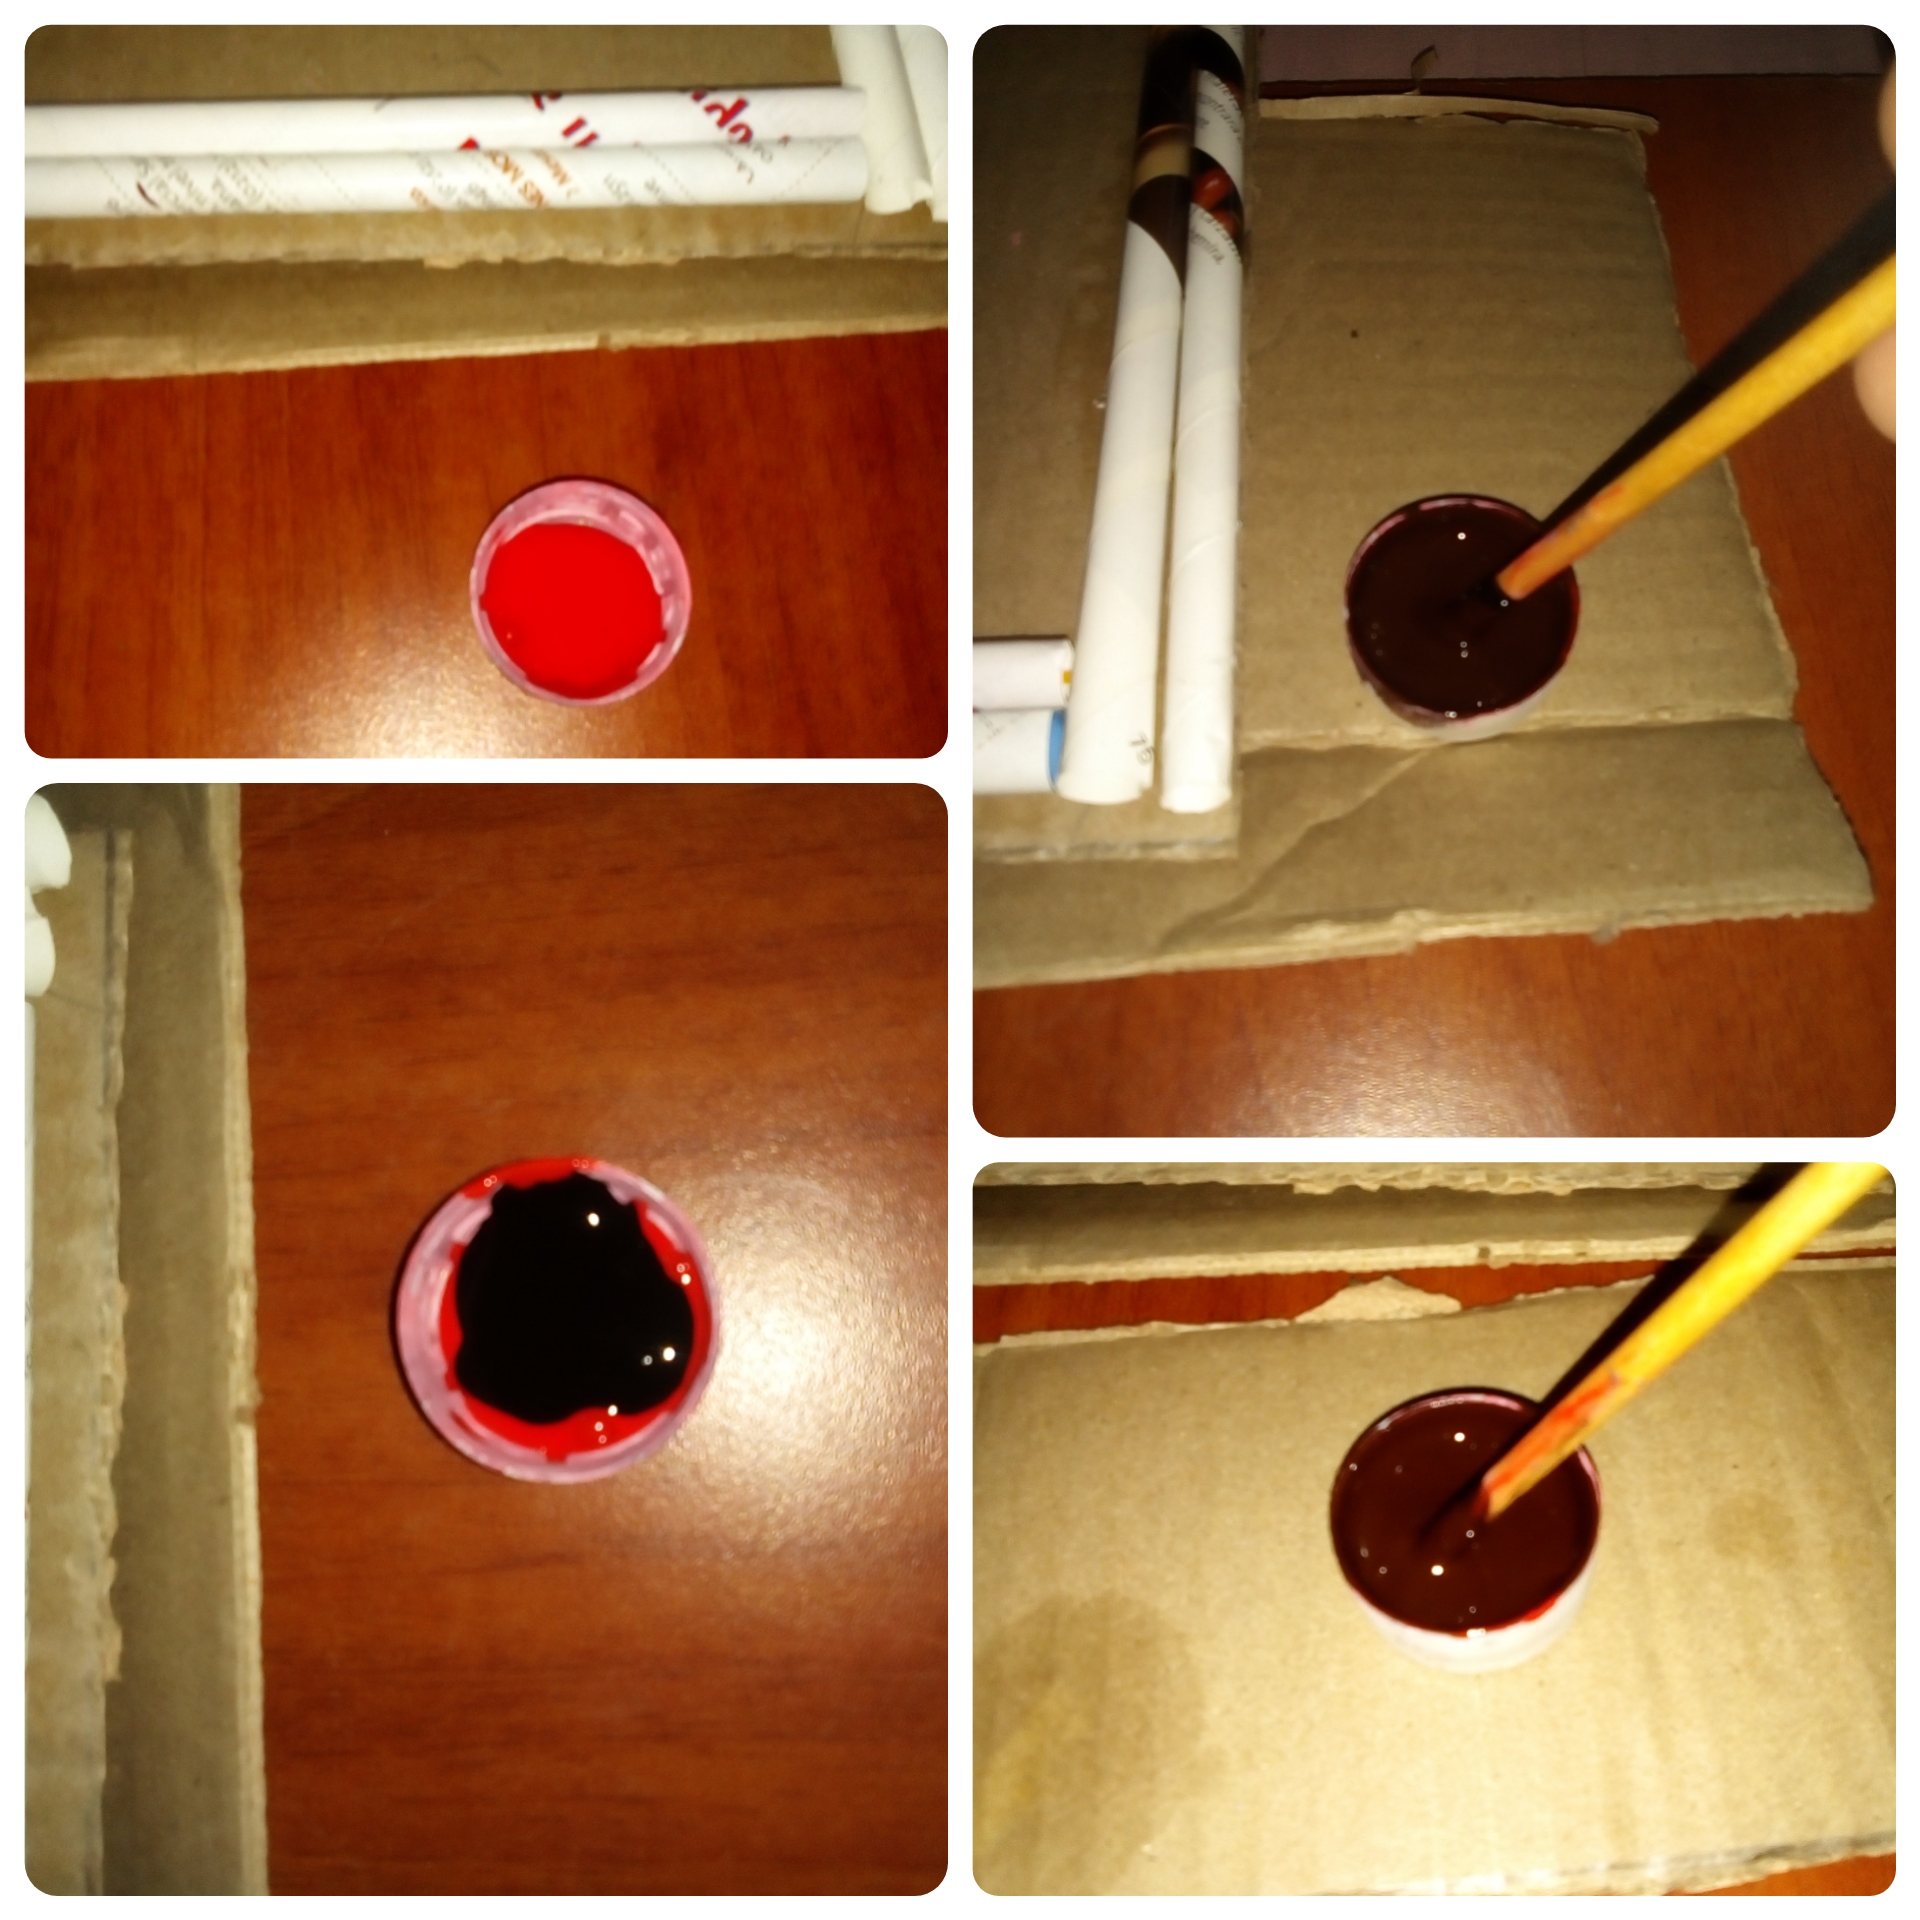
Comenzemos a dar pinceladas.😉
Let's start brushing.😉
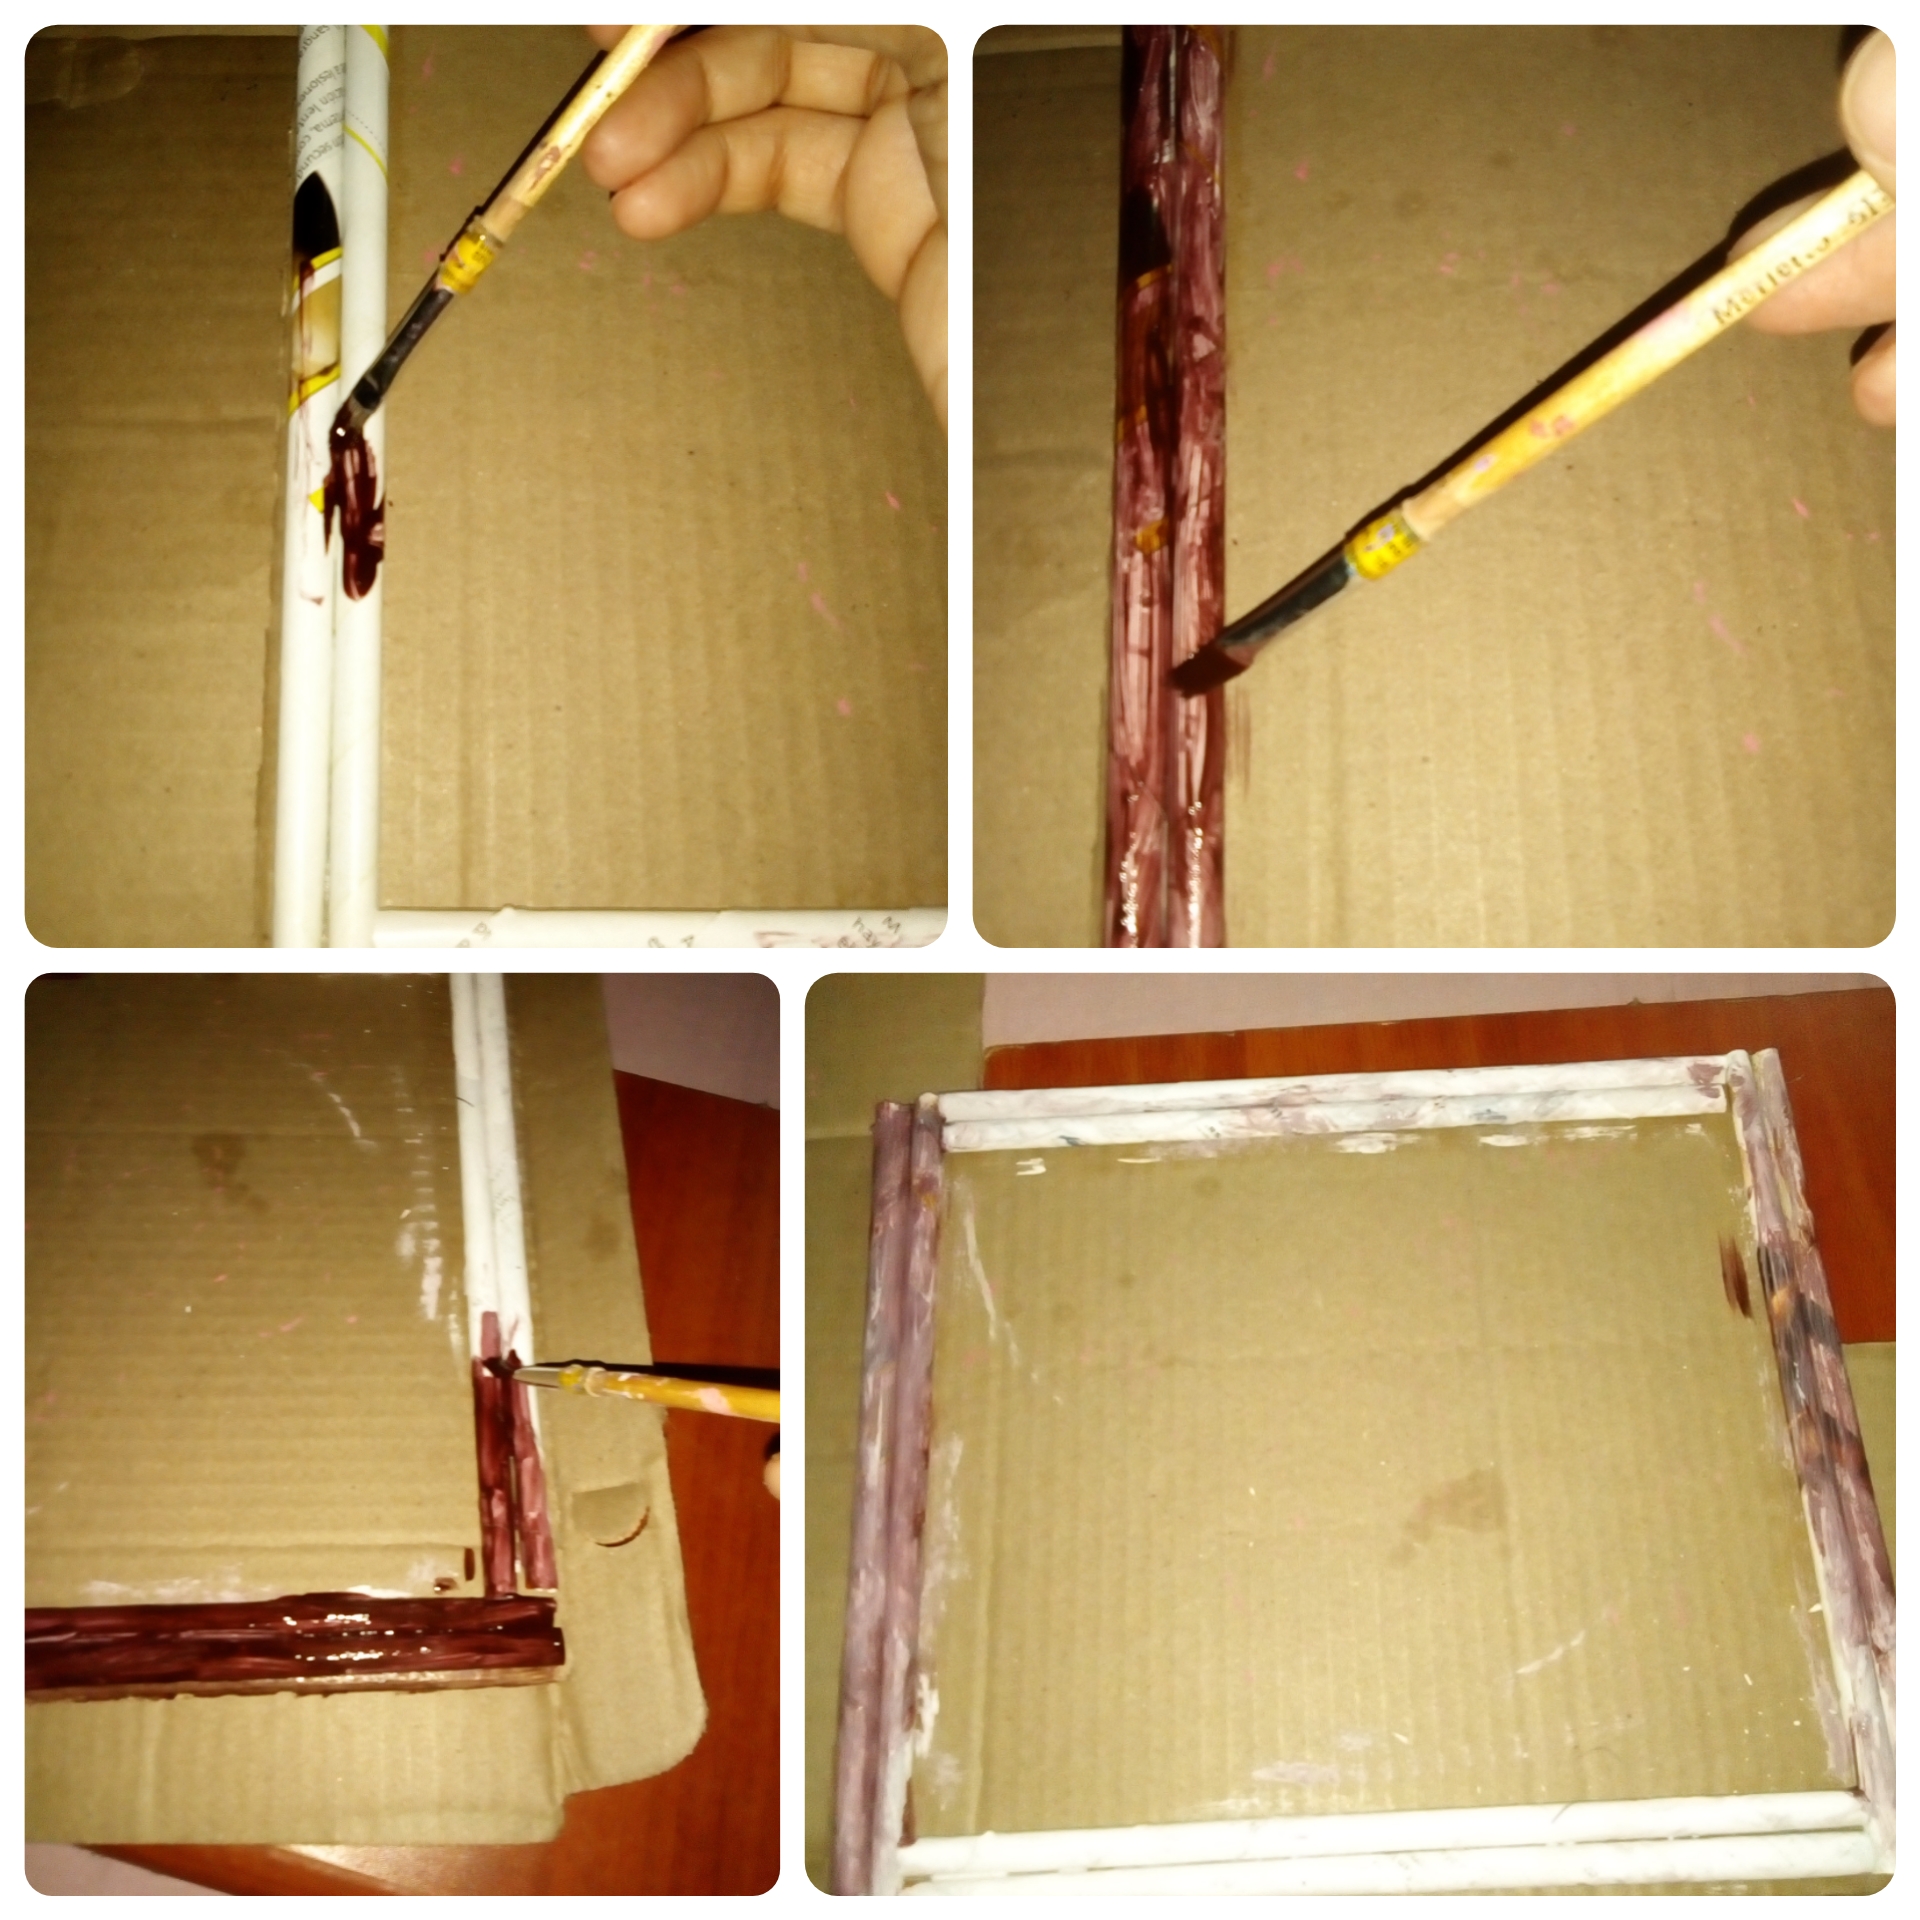
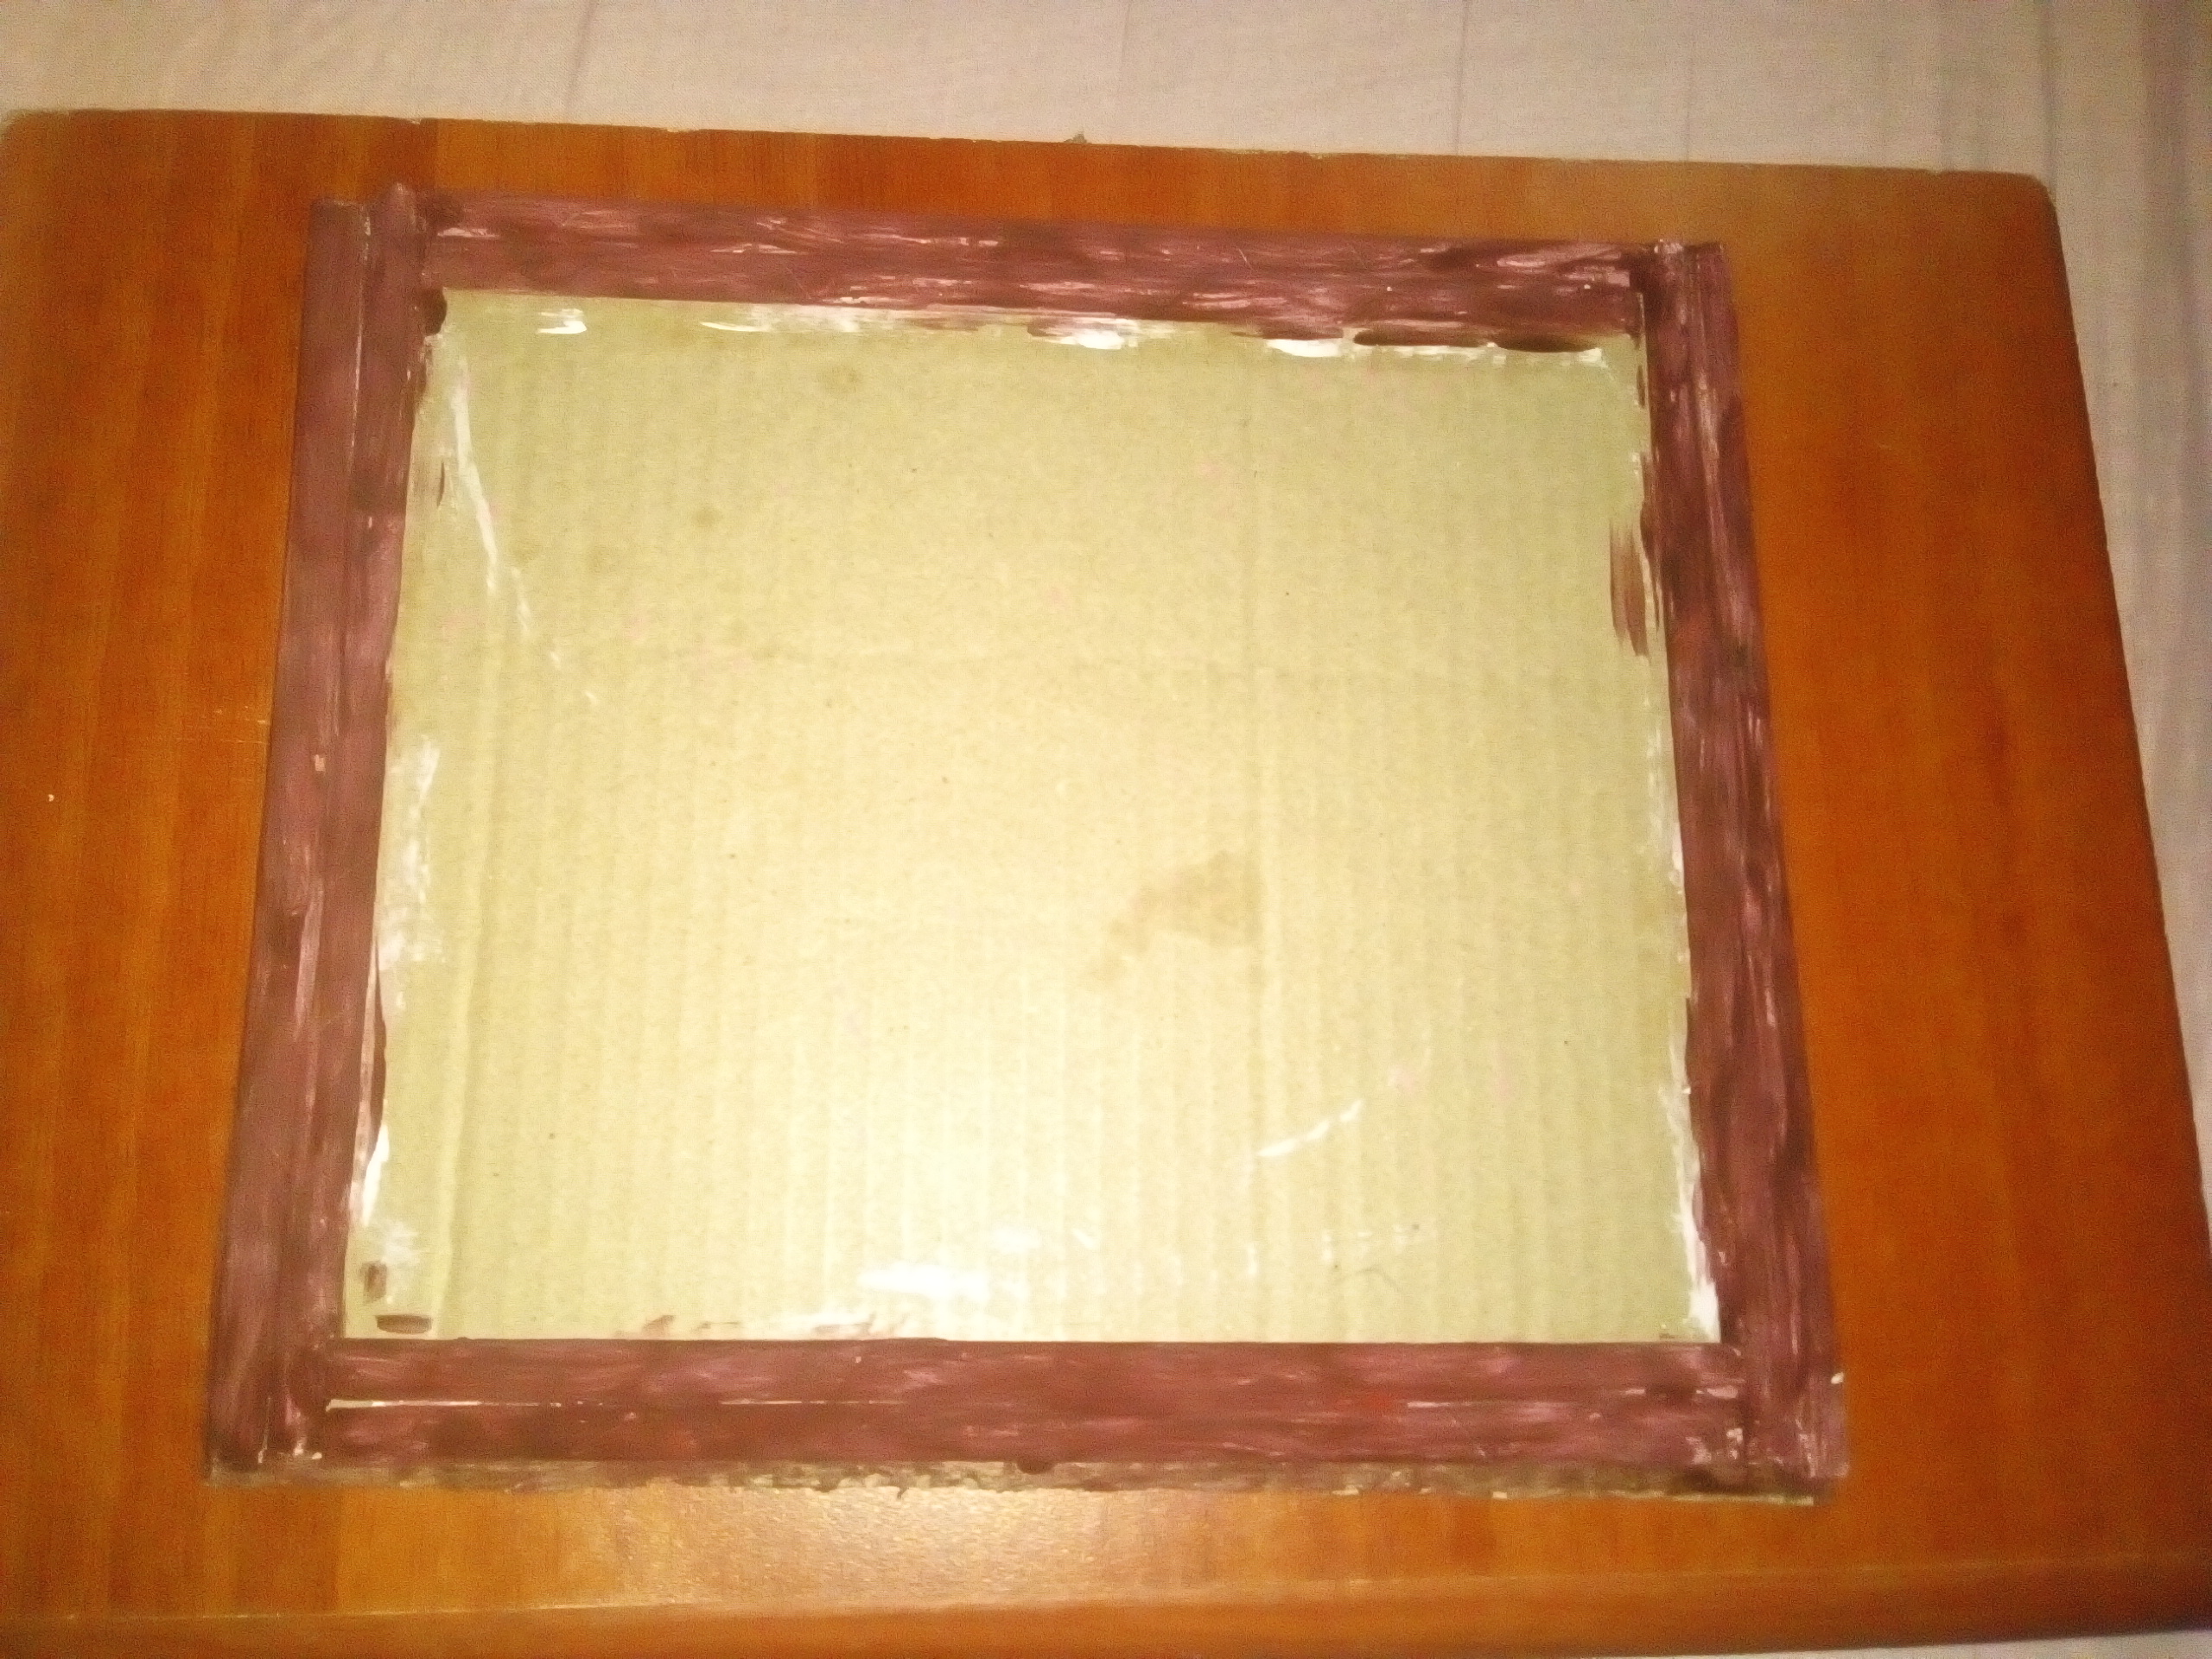
Ya listo el marco lo dejamos secar.
Once the frame is ready, we let it dry.
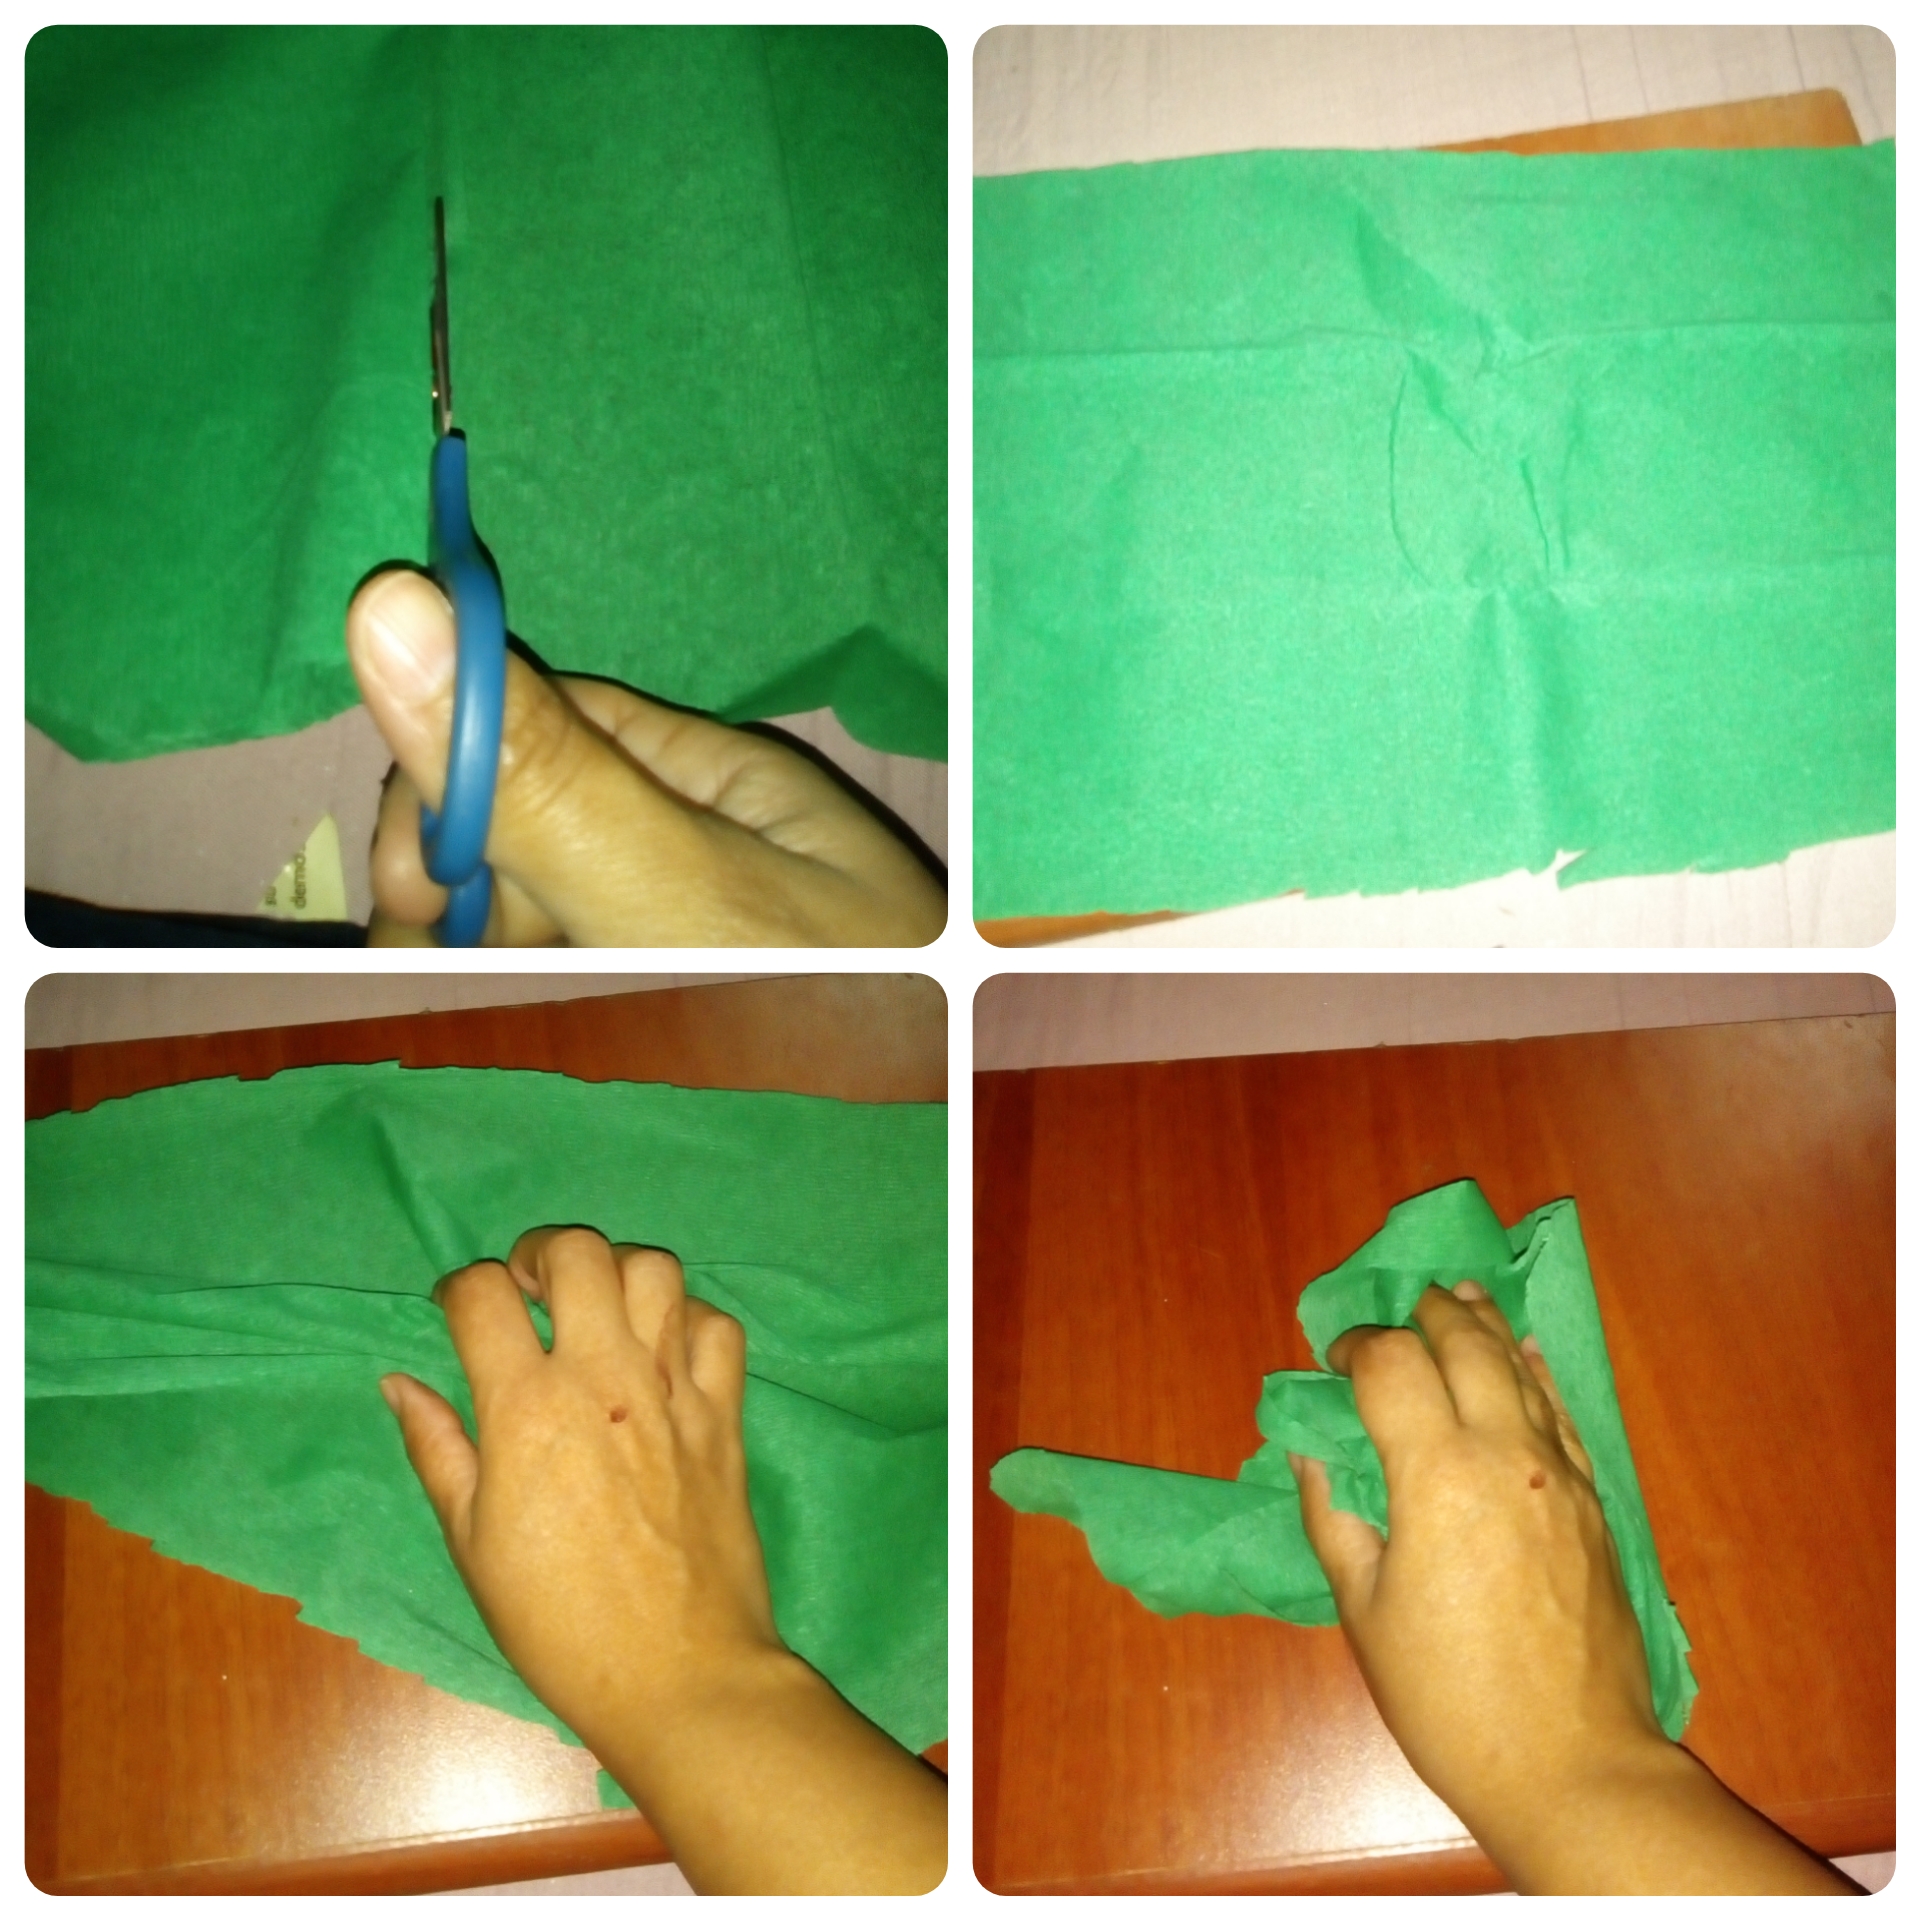
Tomamos el papel crepé y recortamos un cuadrado y lo arrugamos con ayuda de nuestras manos.
We take the crepe paper and cut out a square and crumple it with the help of our hands.
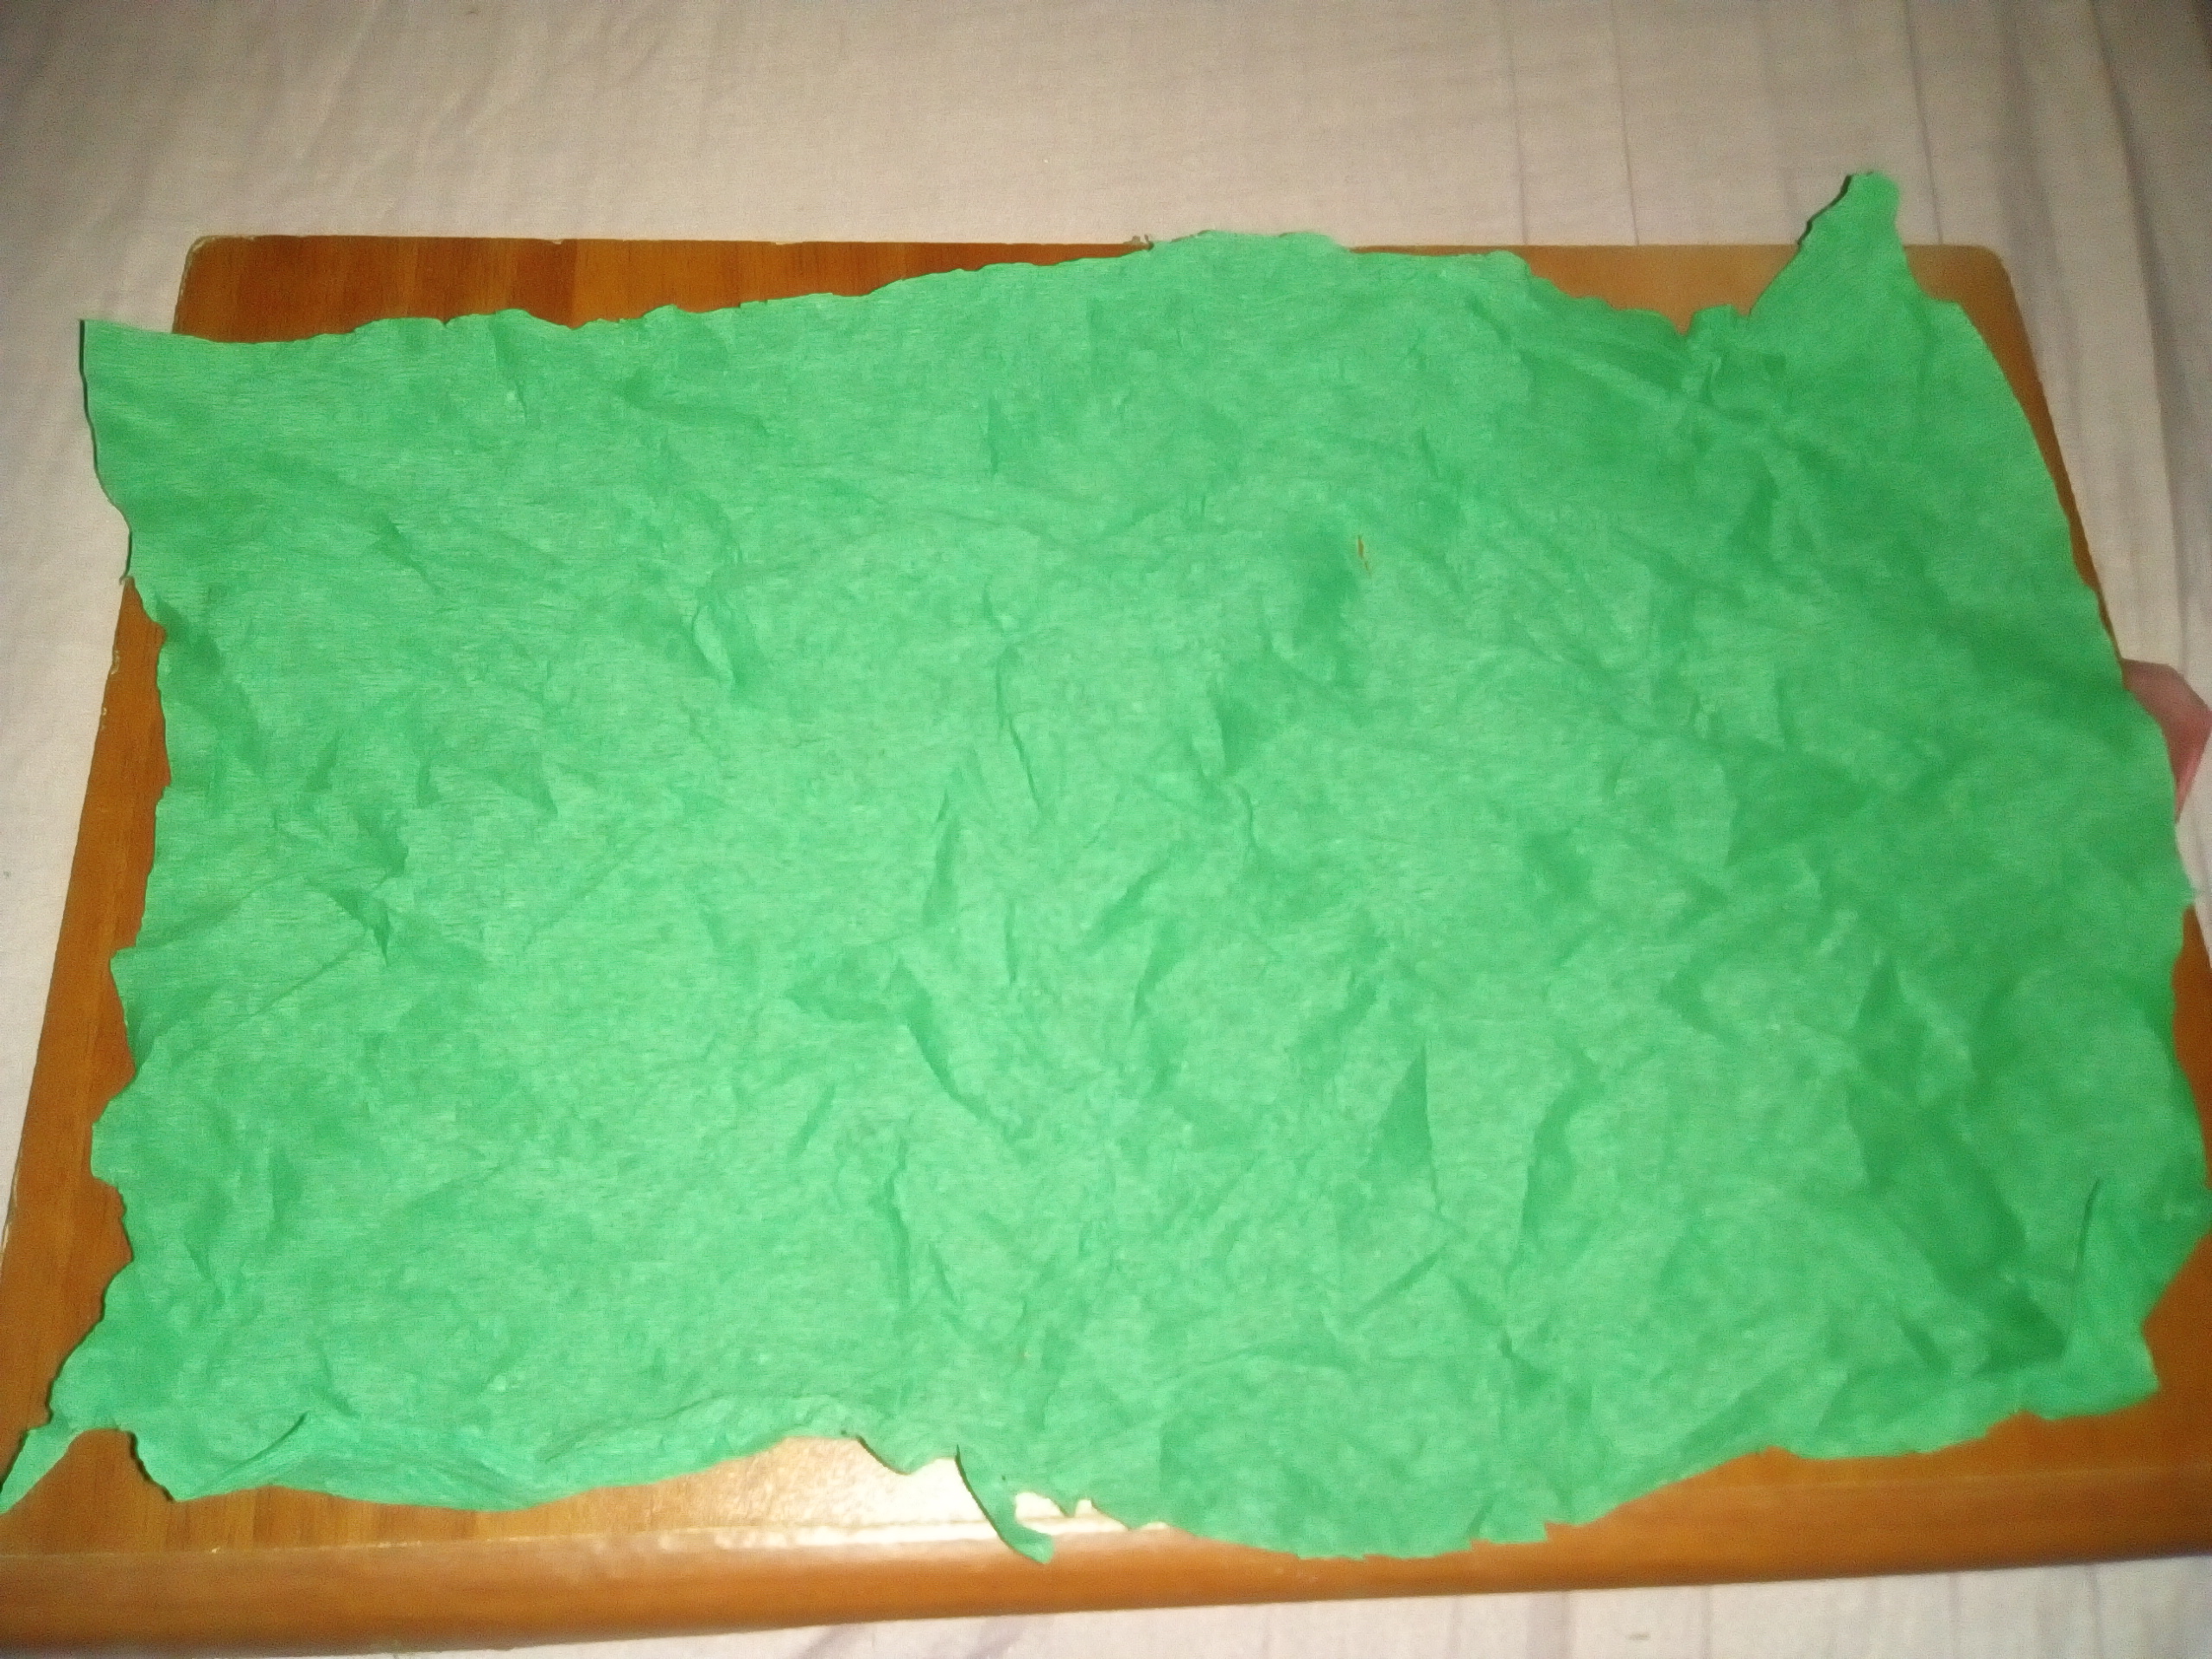
Quedando así. / Being that way.
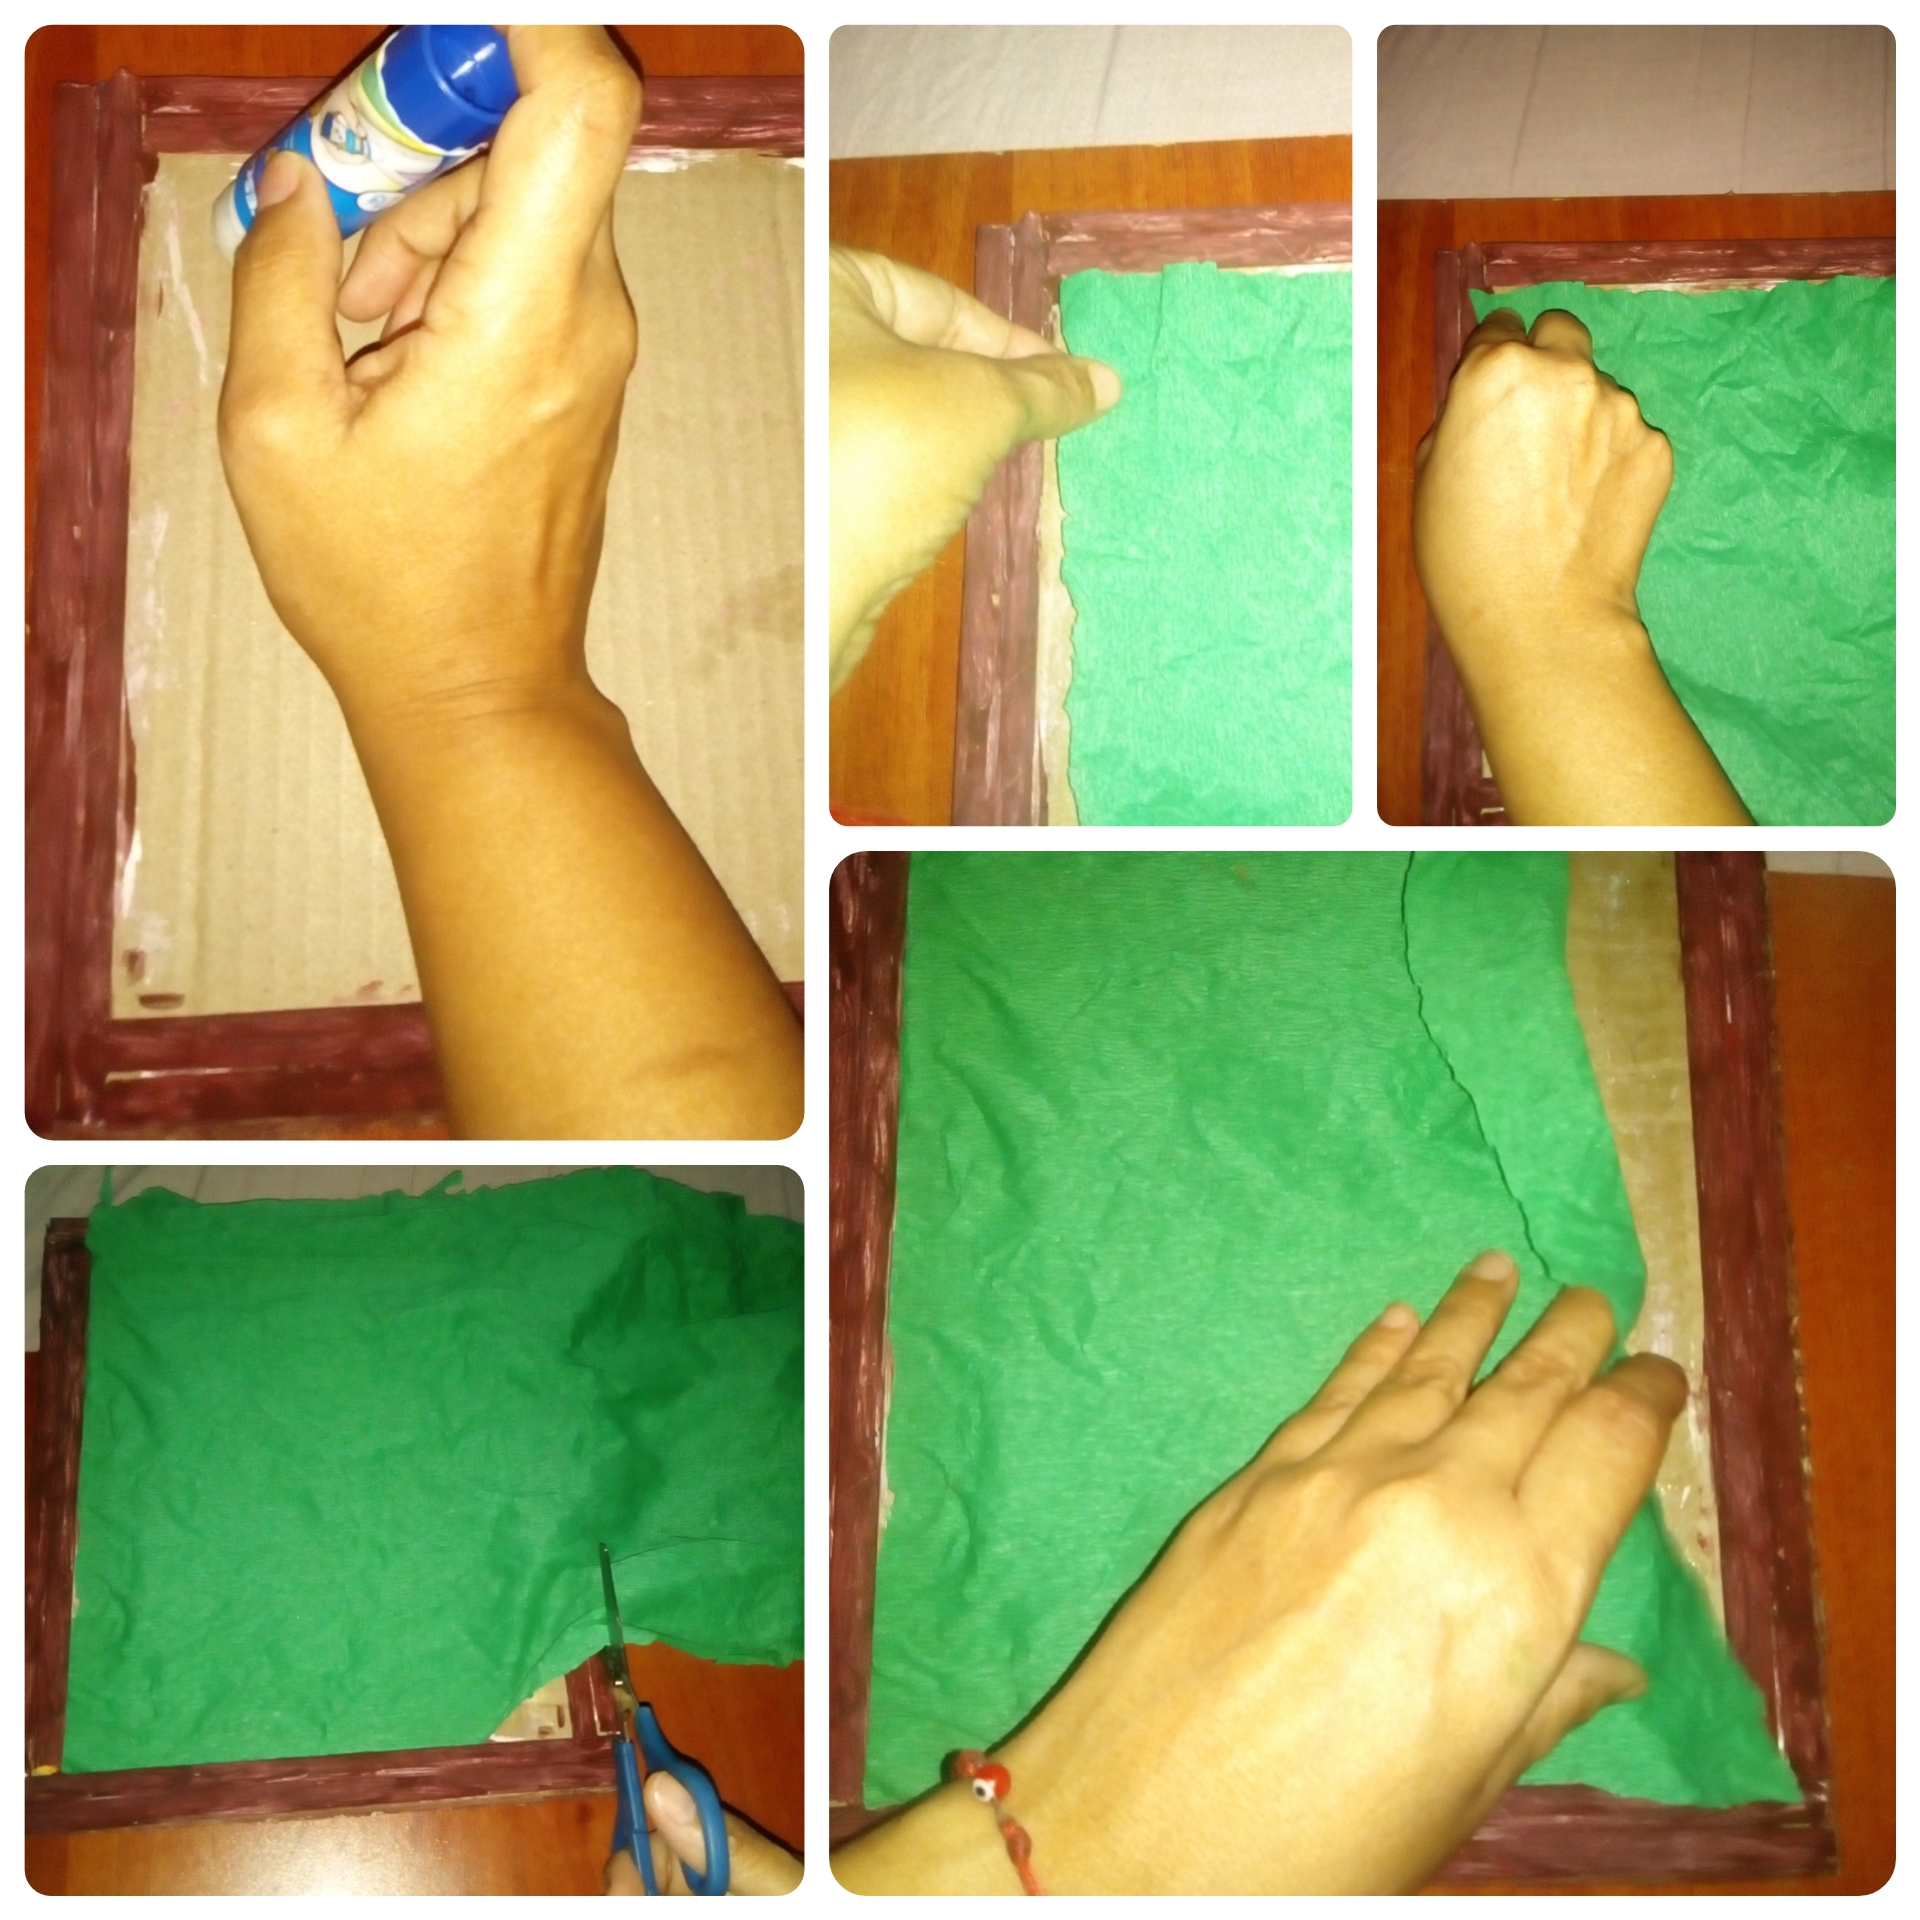
Ya seco el marco procedemos a pegar el papel crepé al fondo del cuadro con pegamento en barra, cortamos lo sobrante y finalizamos de pegar.
Once the frame is dry, we proceed to glue the crepe paper to the bottom of the painting with glue stick, cut the excess and finish gluing.
Quedando así / Being that way.
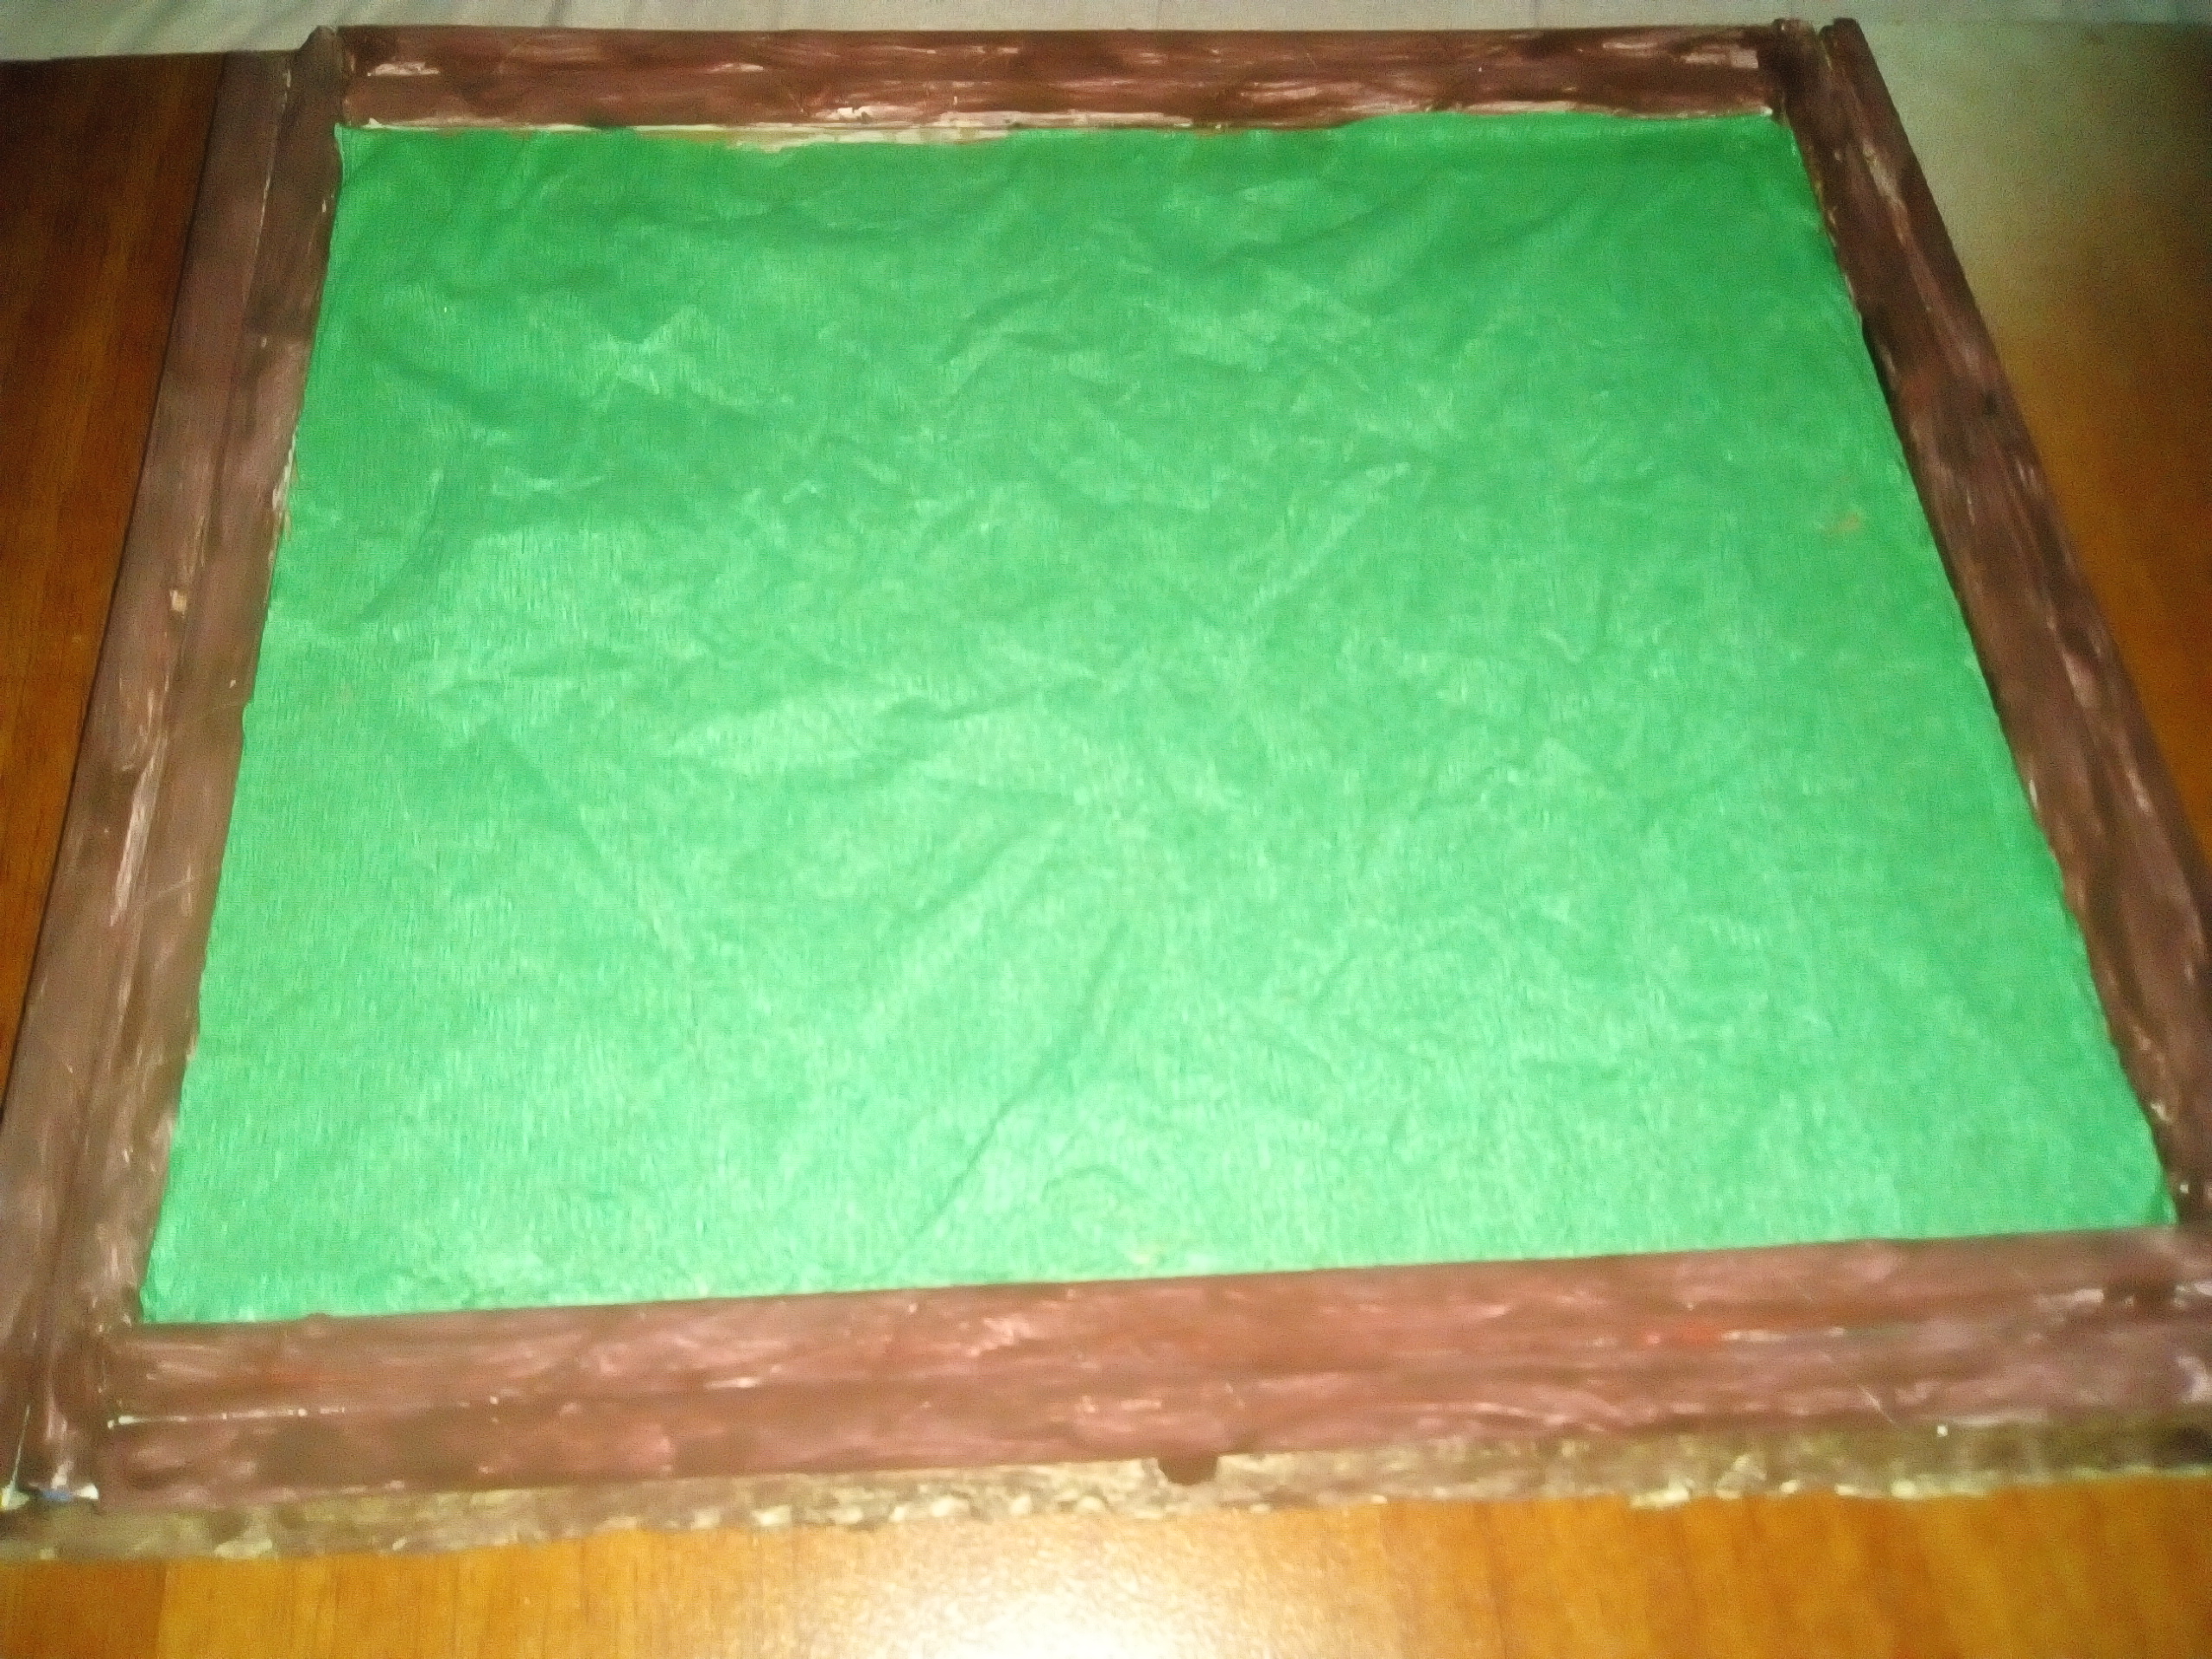
Ya listo nuestra base que es el cuadro, procedemos a elaborar la maceta y las flores.
Once our base, which is the painting, is ready, we proceed to make the pot and the flowers.
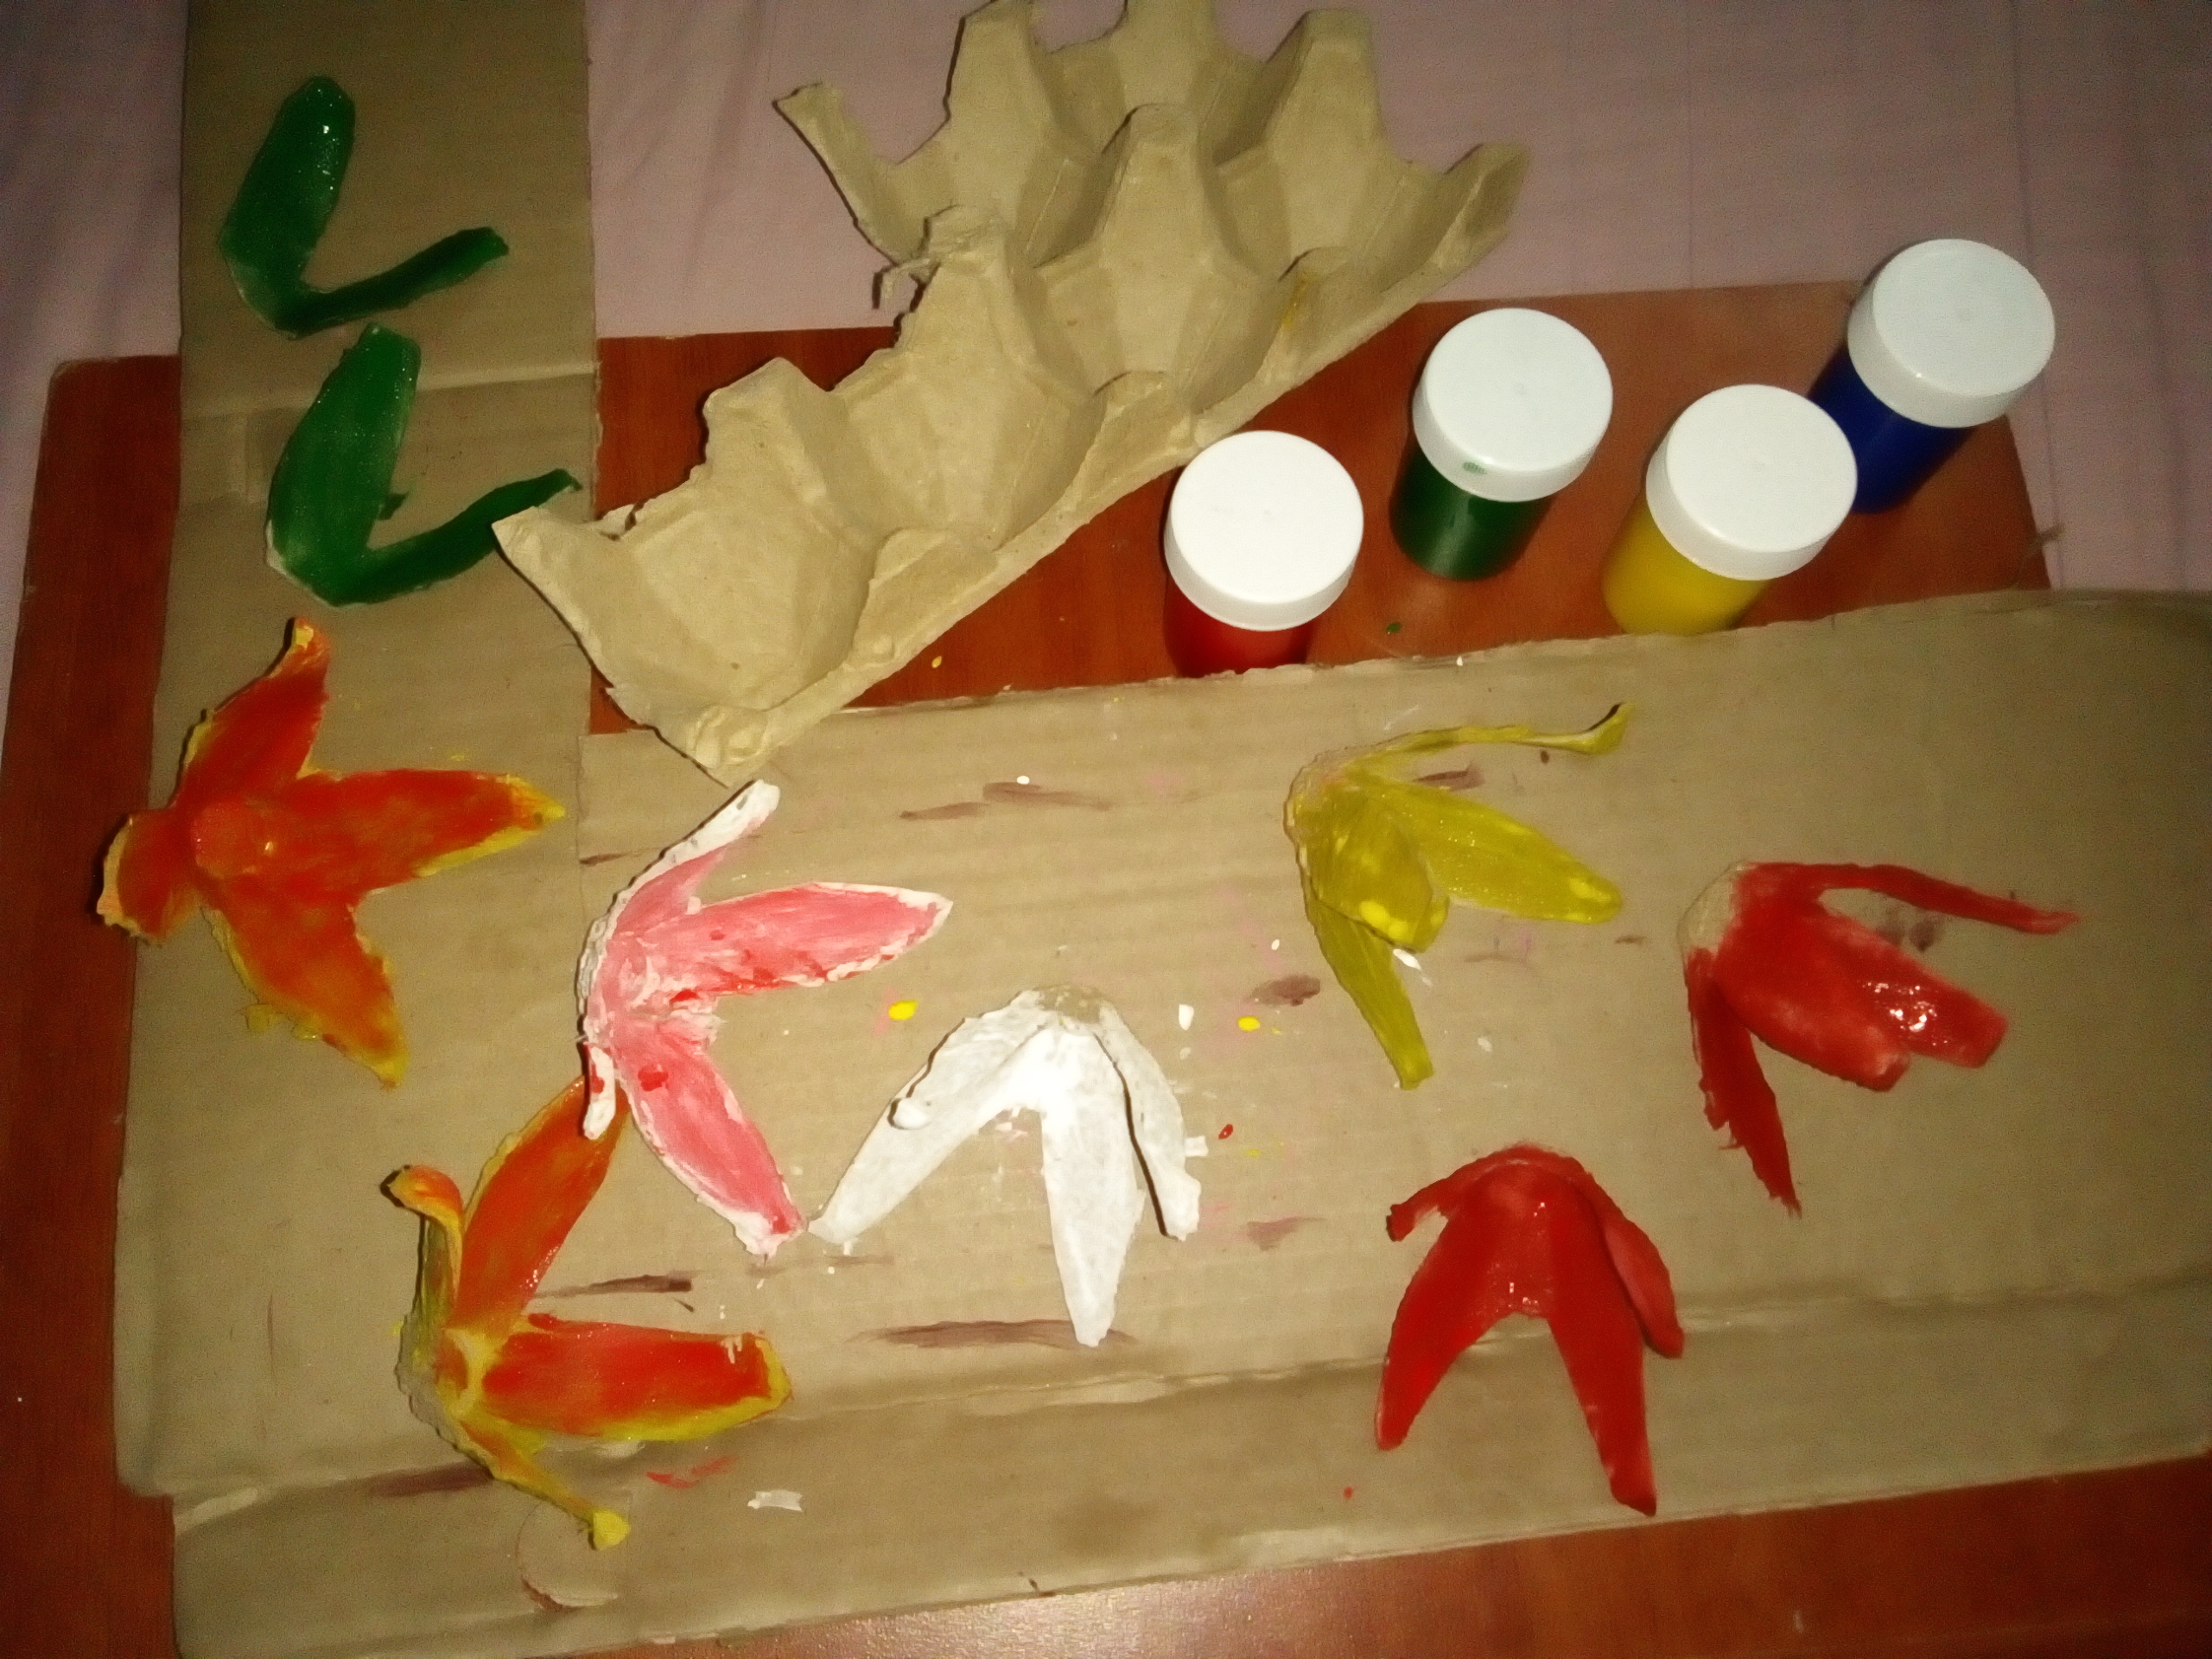
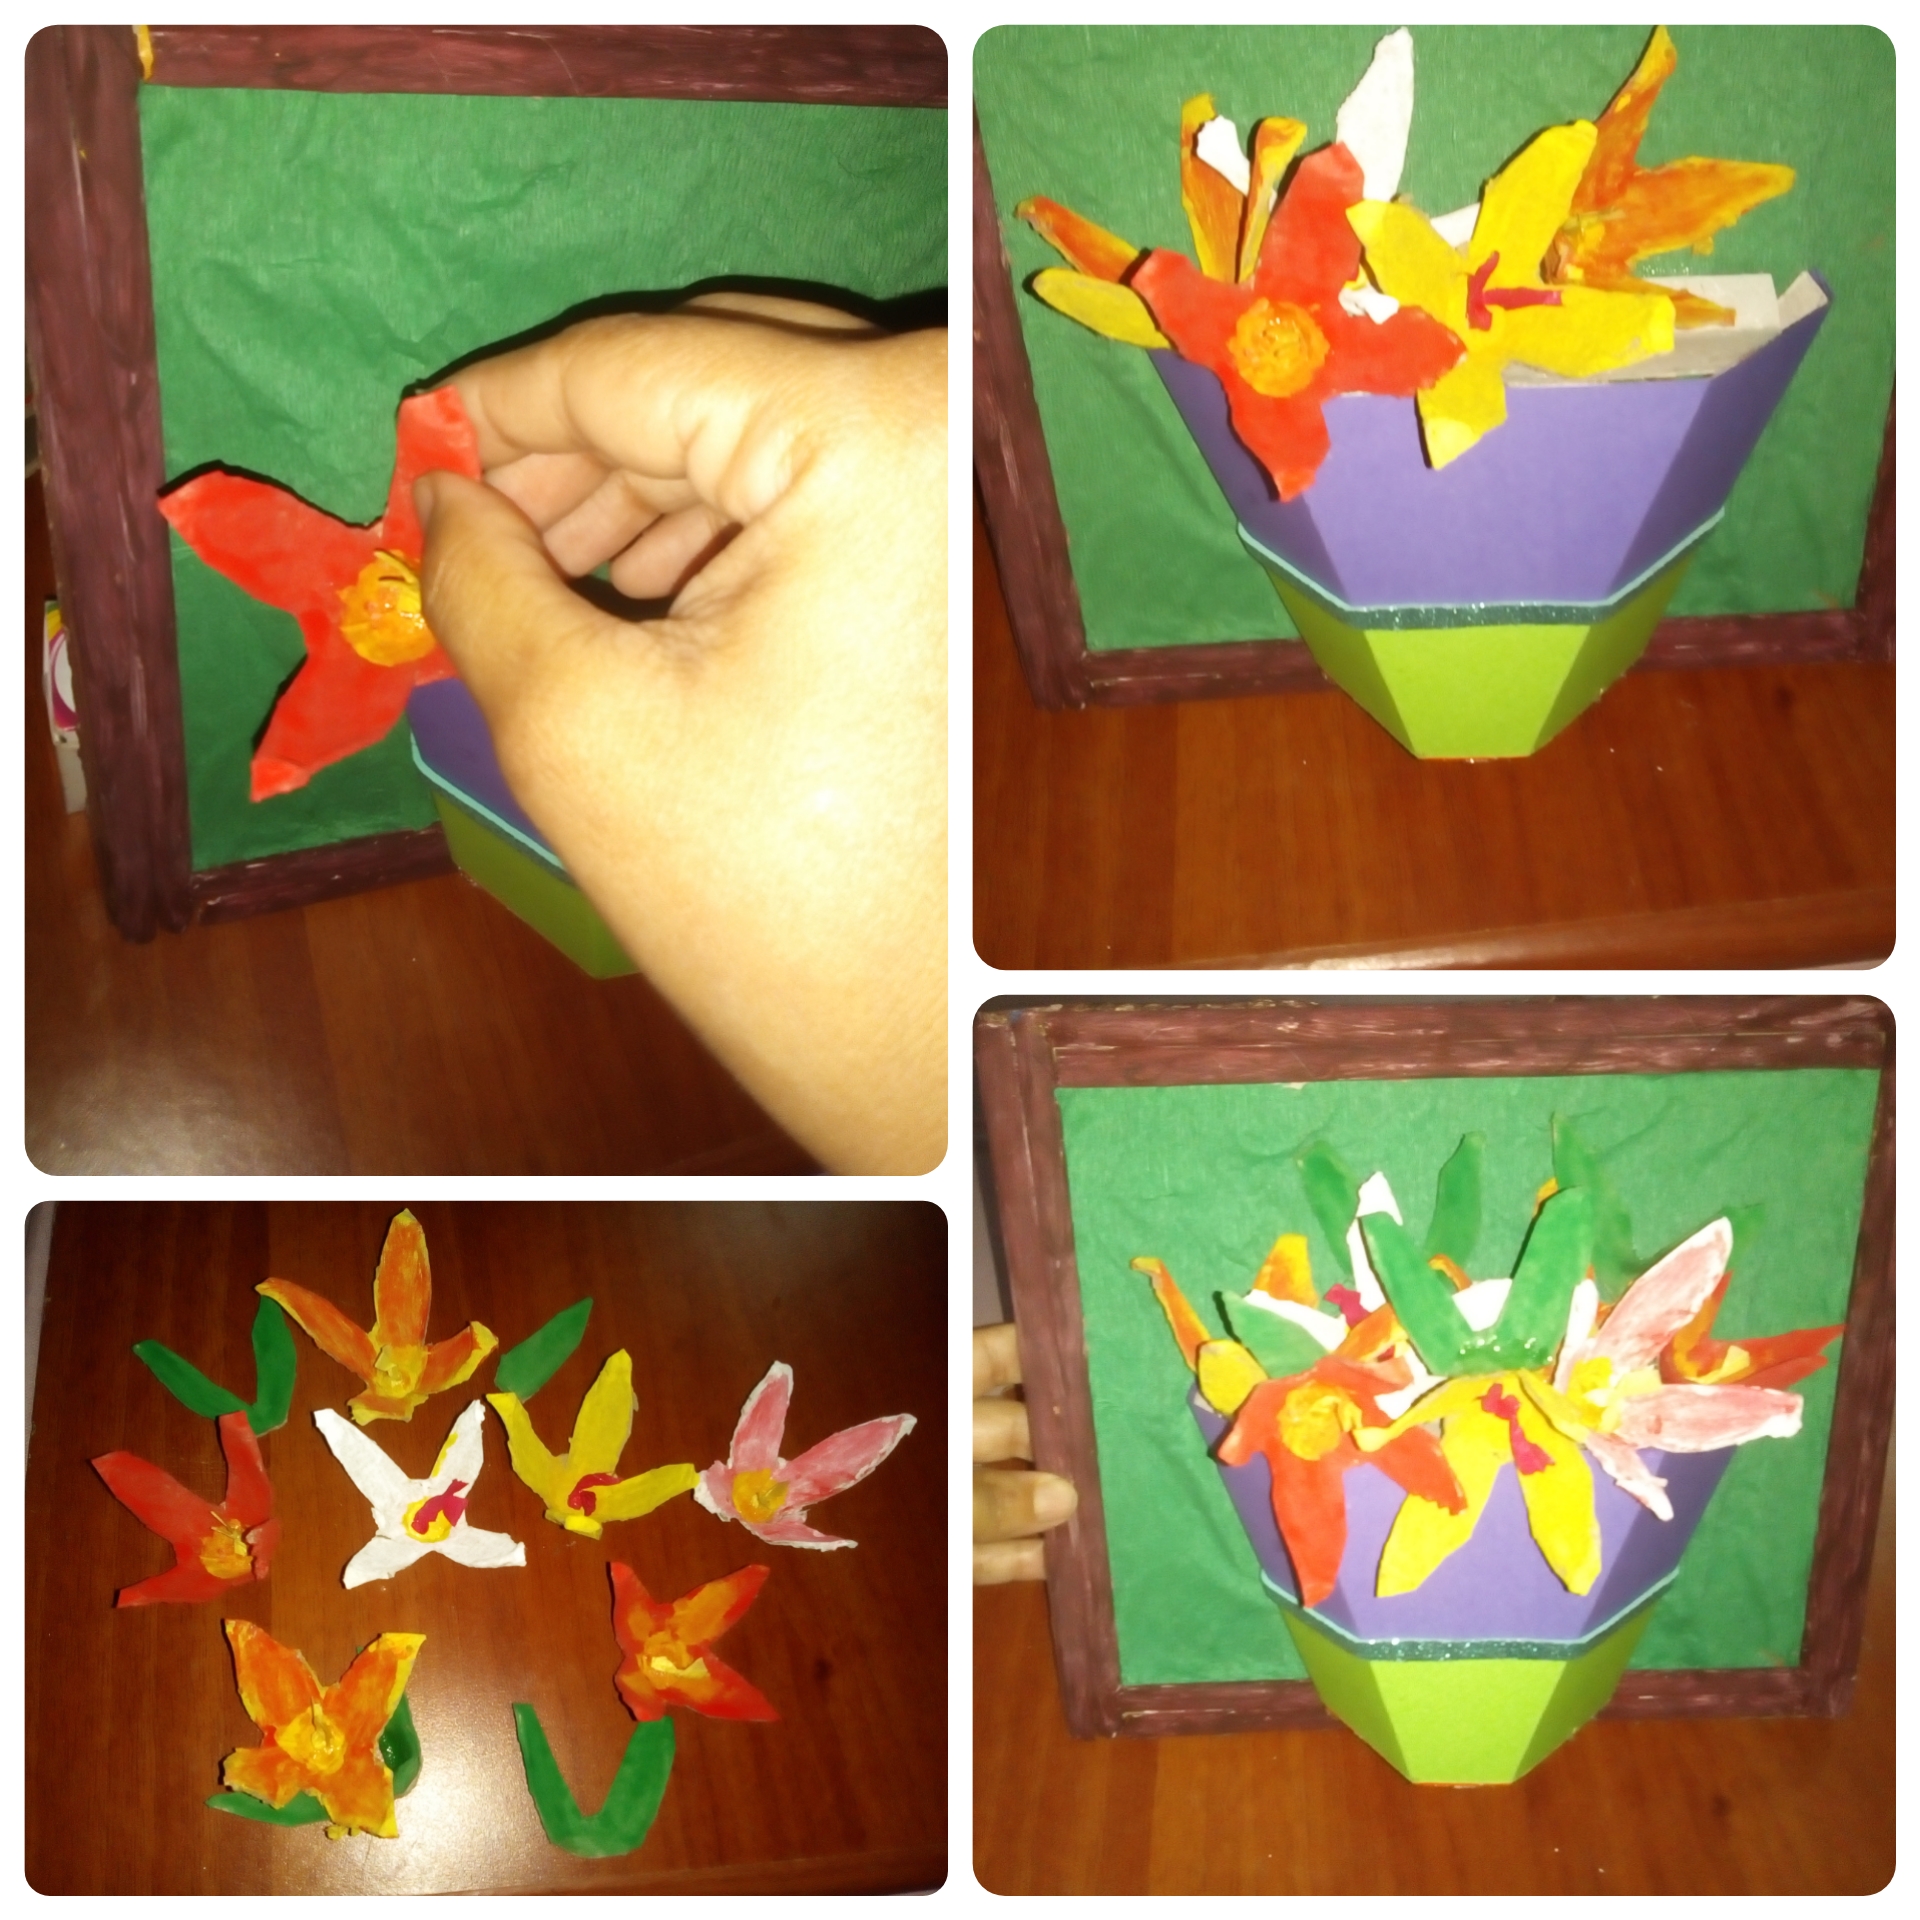
Para realizar las flores utilize cartón de huevo, de allí saque 7 flores y unas hojitas, a las cuales les di color con pintura amarilla, blanca, roja y verde.
To make the flowers I used an egg carton, from there I took 7 flowers and some leaves, which I colored with yellow, white, red and green paint.
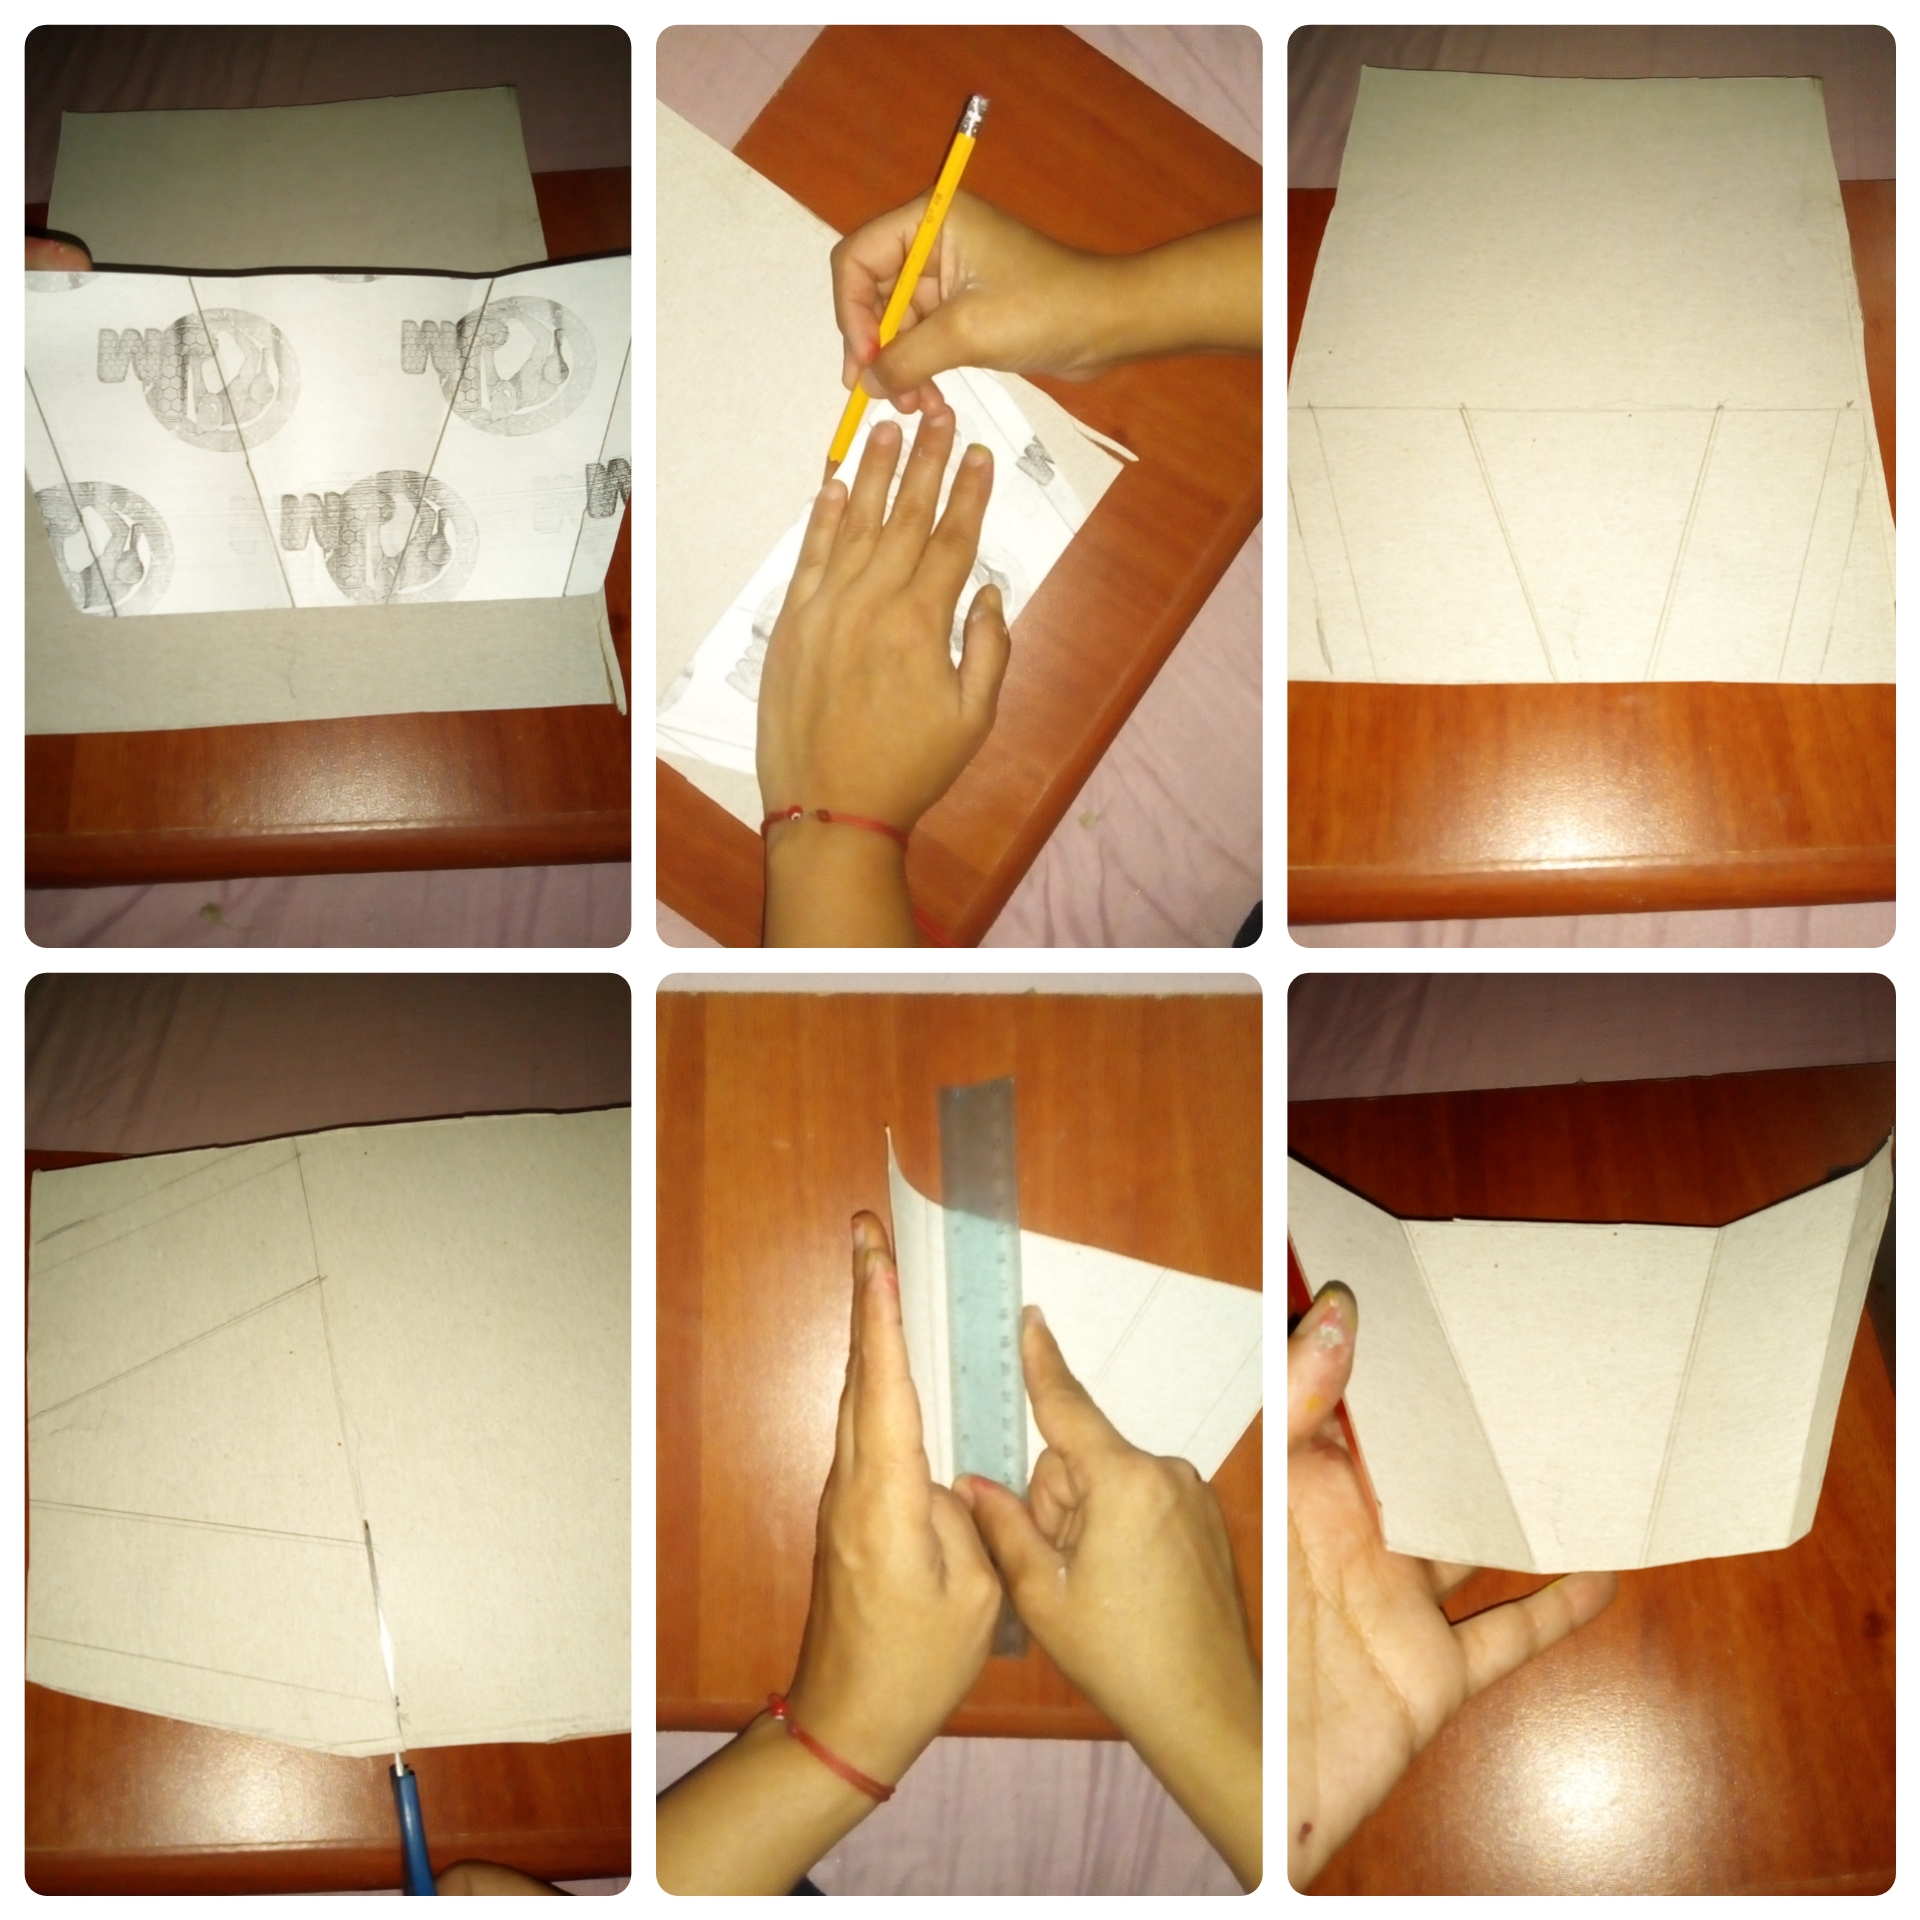
Para la maceta tomamos el cartón fino y trazamos el molde previamente realizado de un rectángulo de 20x10cm disminuyendo 3cm de las esquinas, para darle la forma de maceta, luego en el medio trazamos líneas diagonales dejando 5cm de sepacion para doblar con ayuda dela regla y darle una linda figura.
For the pot we take the thin cardboard and trace the previously made mold of a 20x10cm rectangle decreasing 3cm from the corners, to give it the shape of a pot, then in the middle we draw diagonal lines leaving 5cm of separation to fold with the help of the ruler and give it a nice figure.
Quedando así / Being that way
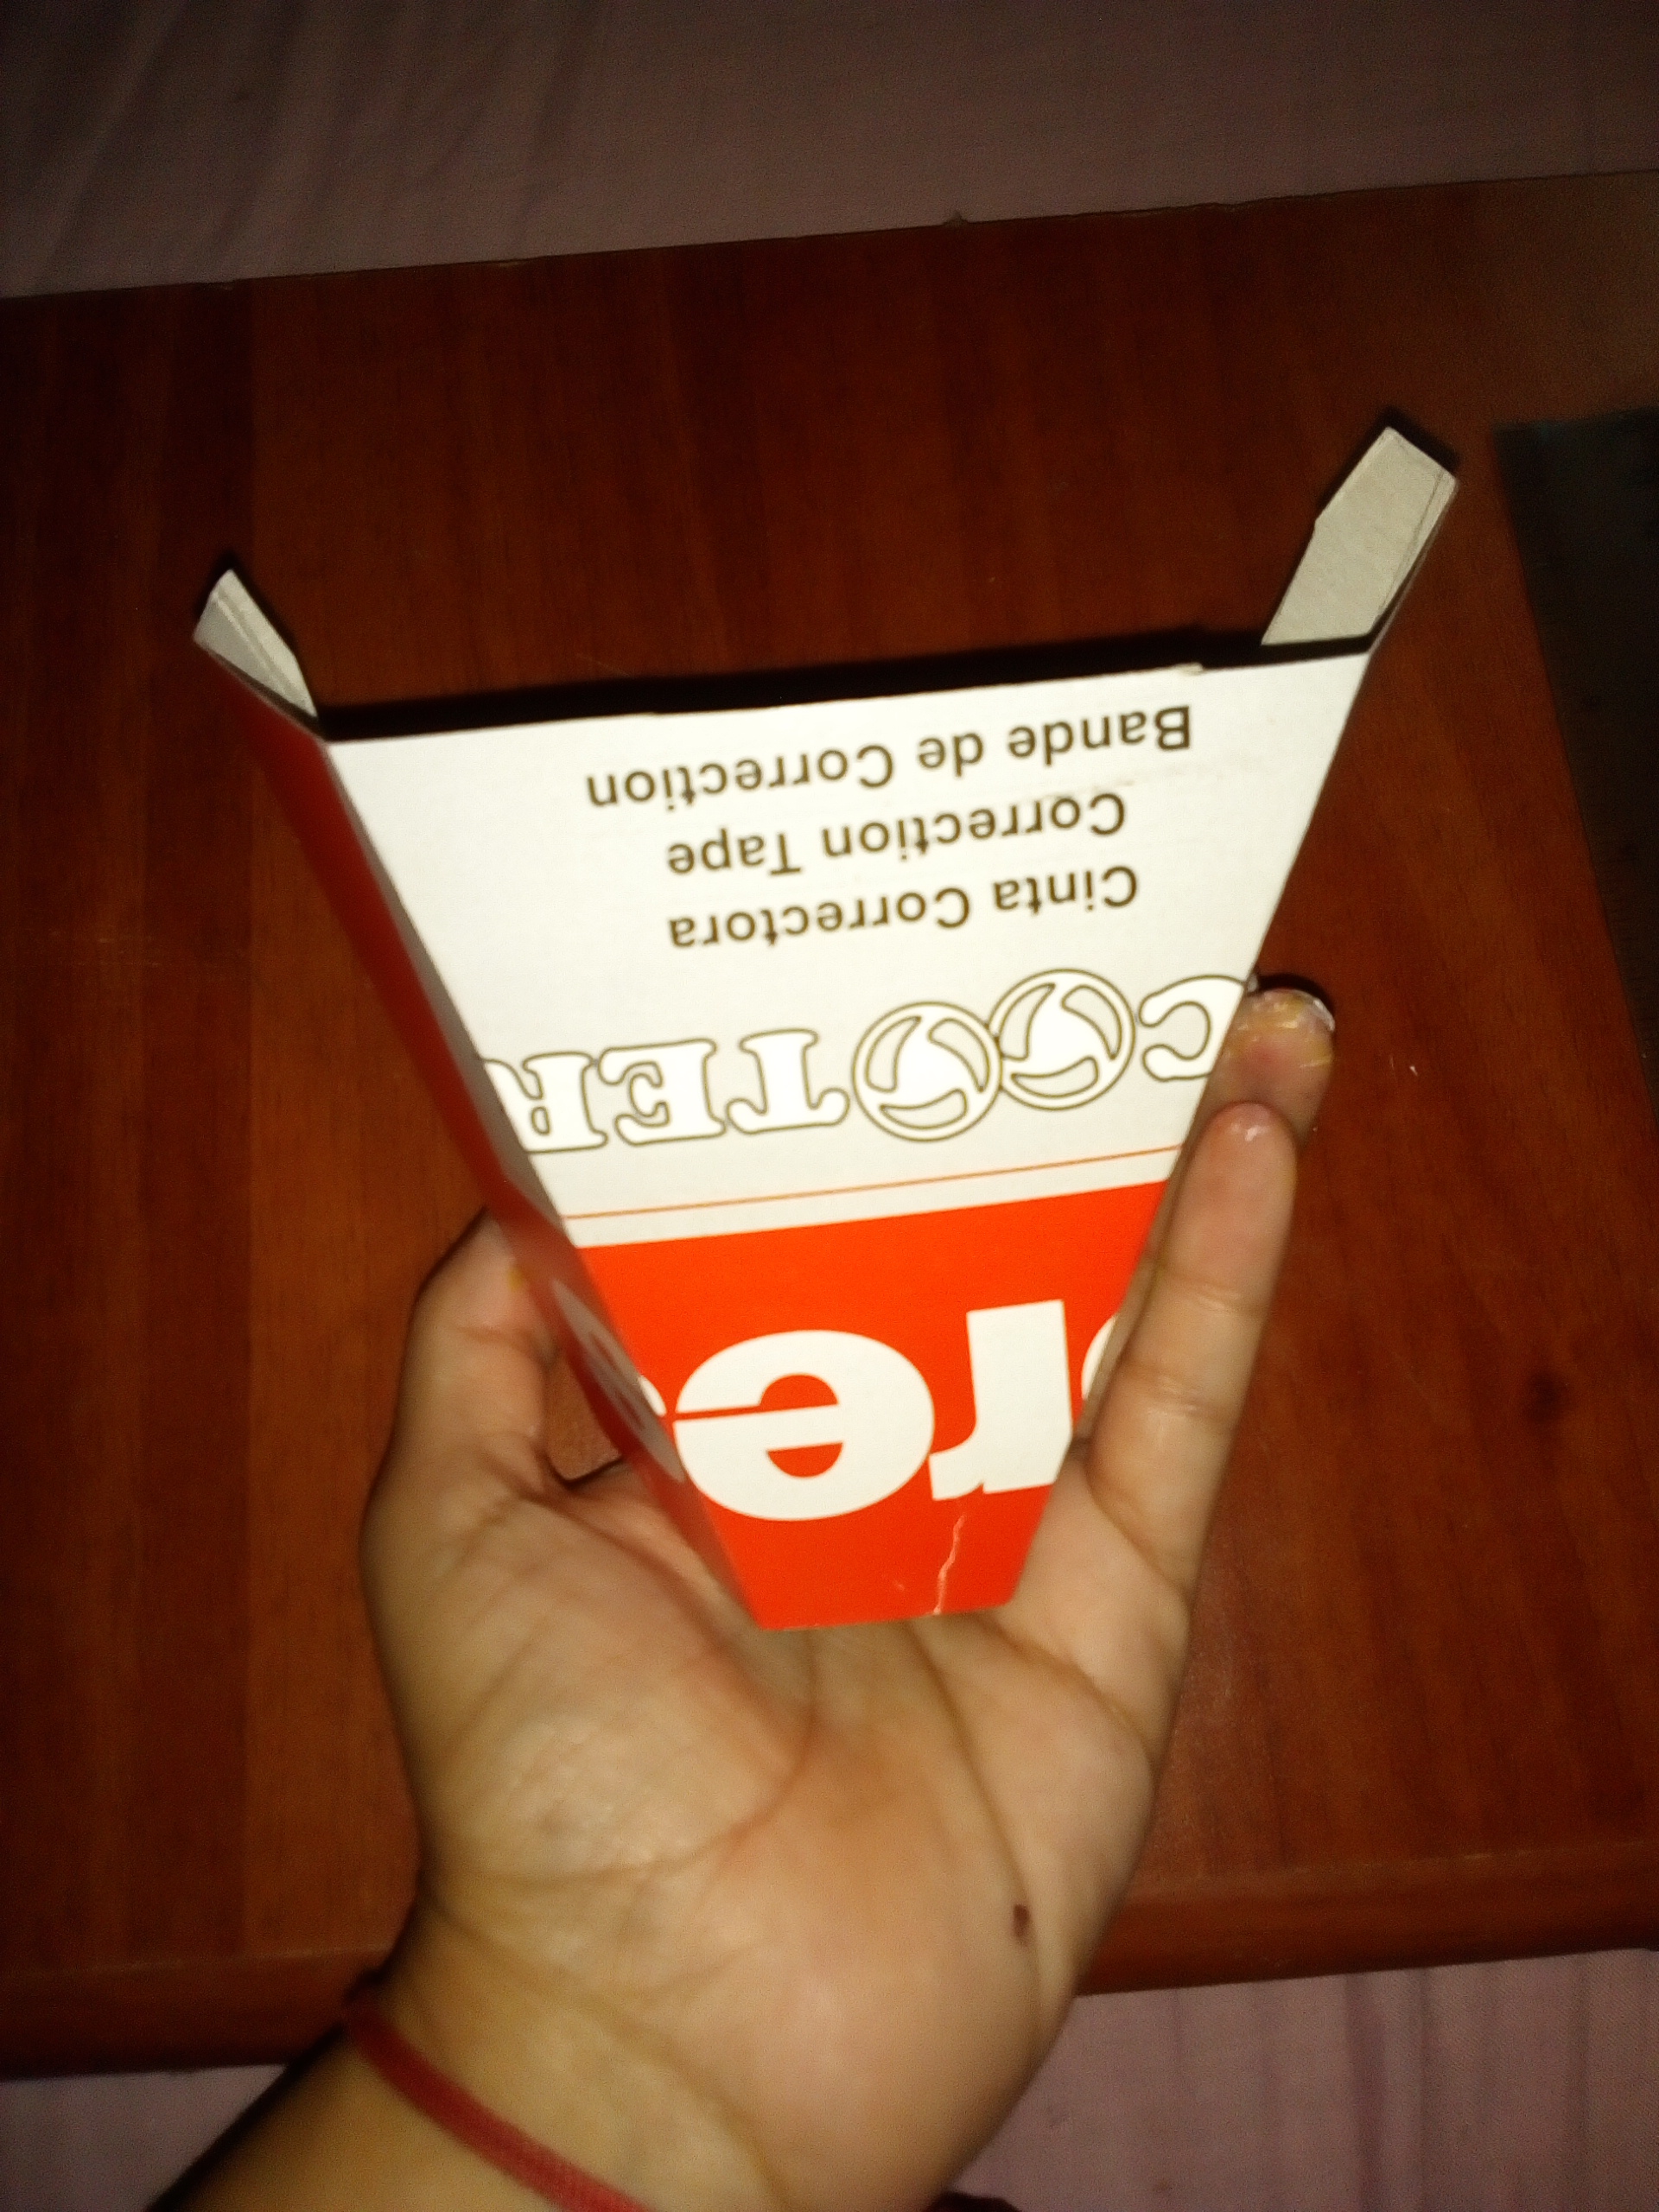
Ya lista la base de la maceta procedemos a forrarla pegando las cartulina para decorarla, yo ulitize 3 colores en especie de franjas pero también puede usar uno liso como lo desee.
Now that the base of the pot is ready, we proceed to line it by gluing the cardboards to decorate it, I use 3 colors in kind of stripes but you can also use a smooth one as you wish.
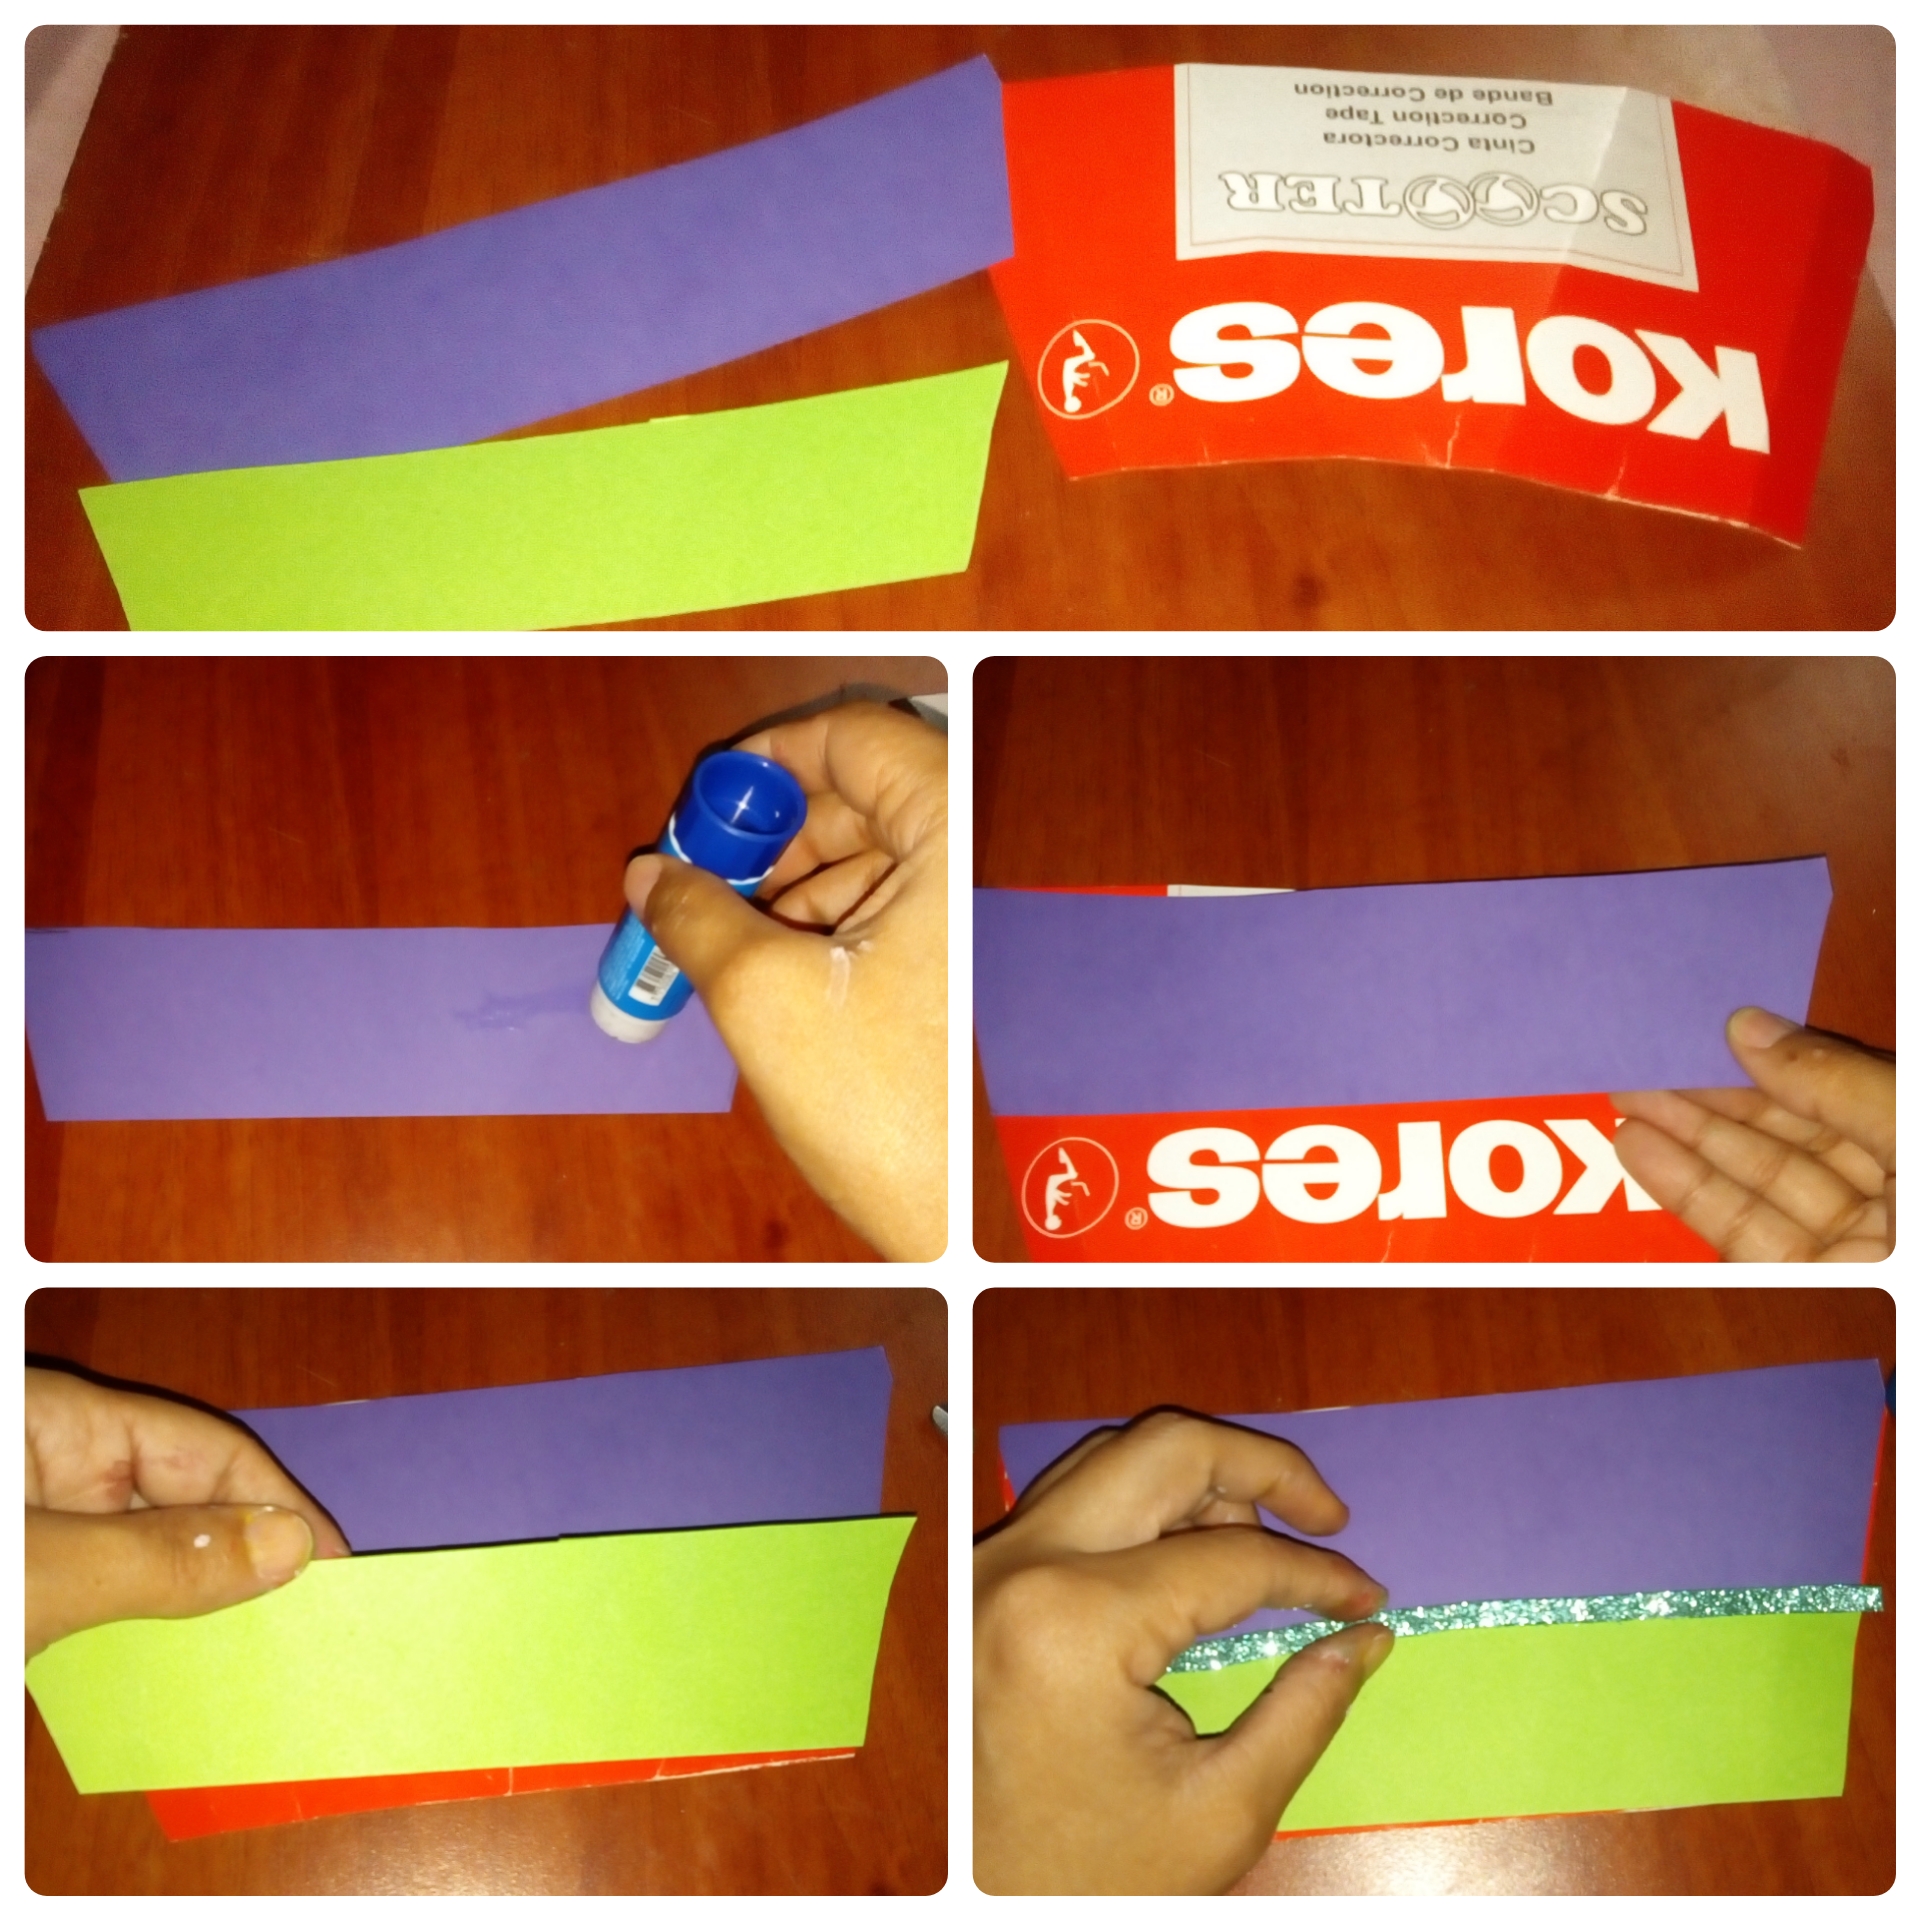
Quedando así / Being that way
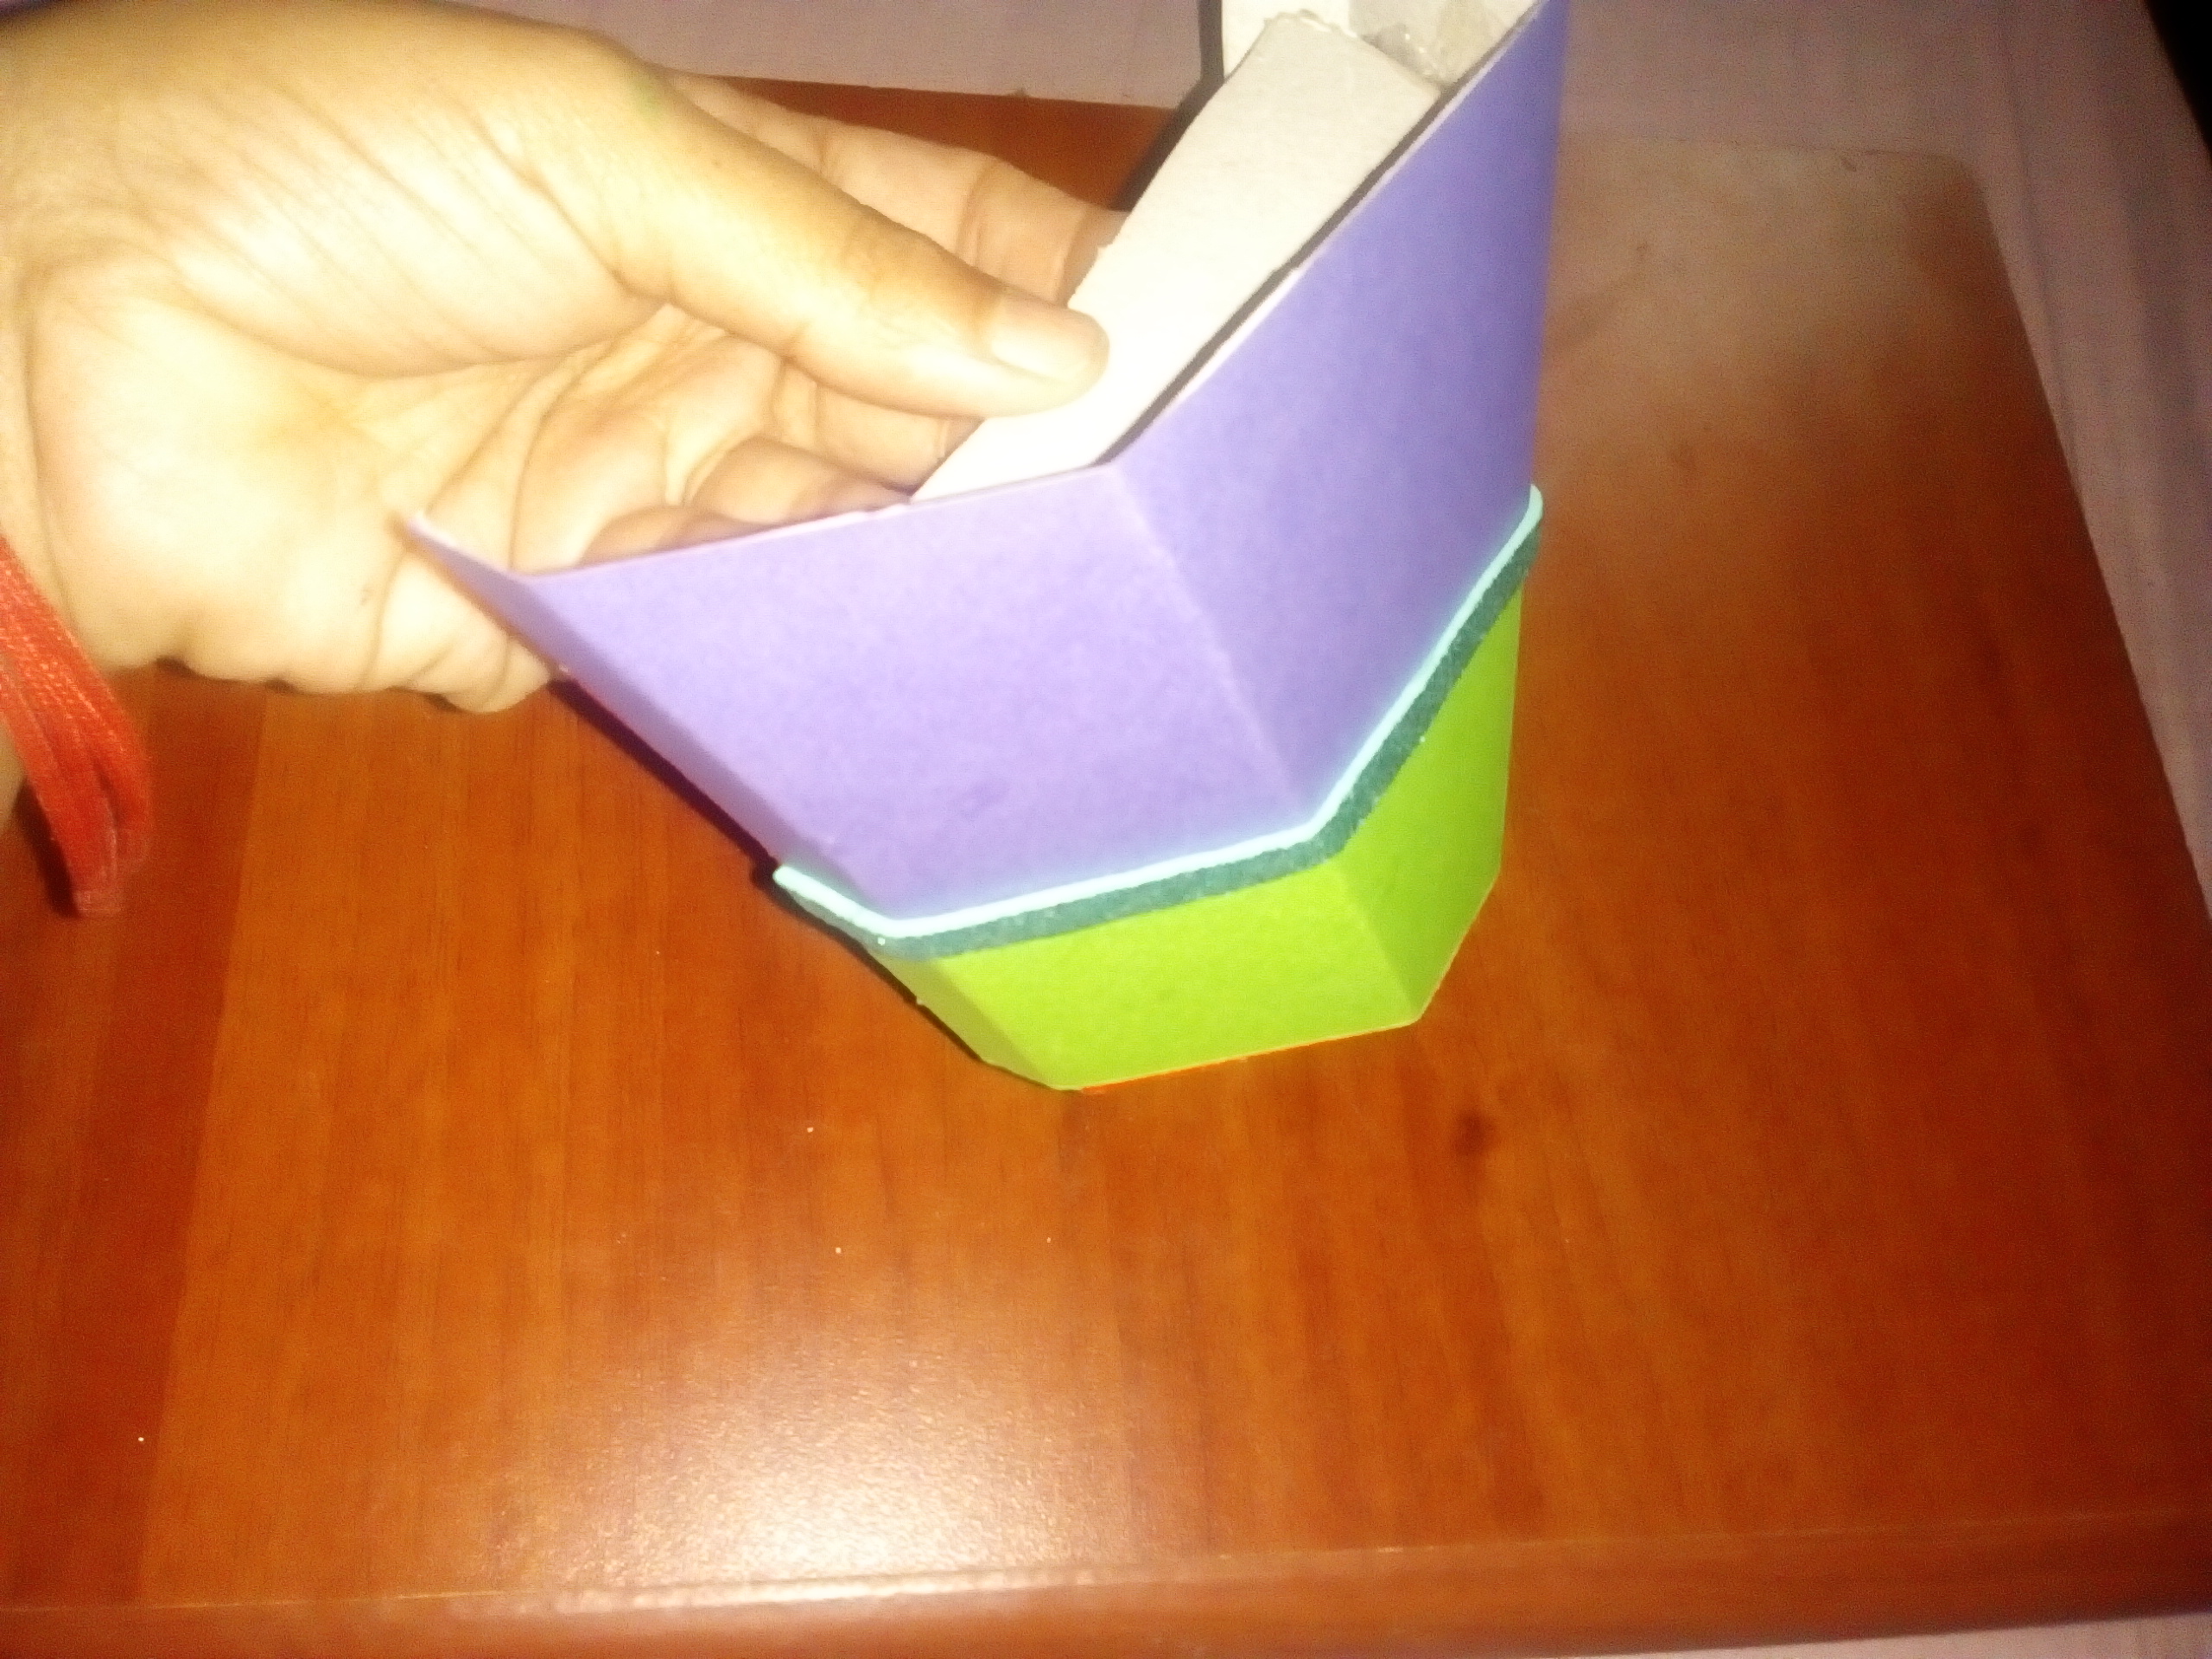
Luego dibujamos el contorno de la parte inferior para cerrar la maceta y la parte superior para colocarla como soporte para pegar las flores.
Then we draw the outline of the lower part to close the pot and the upper part to place it as a support to glue the flowers.
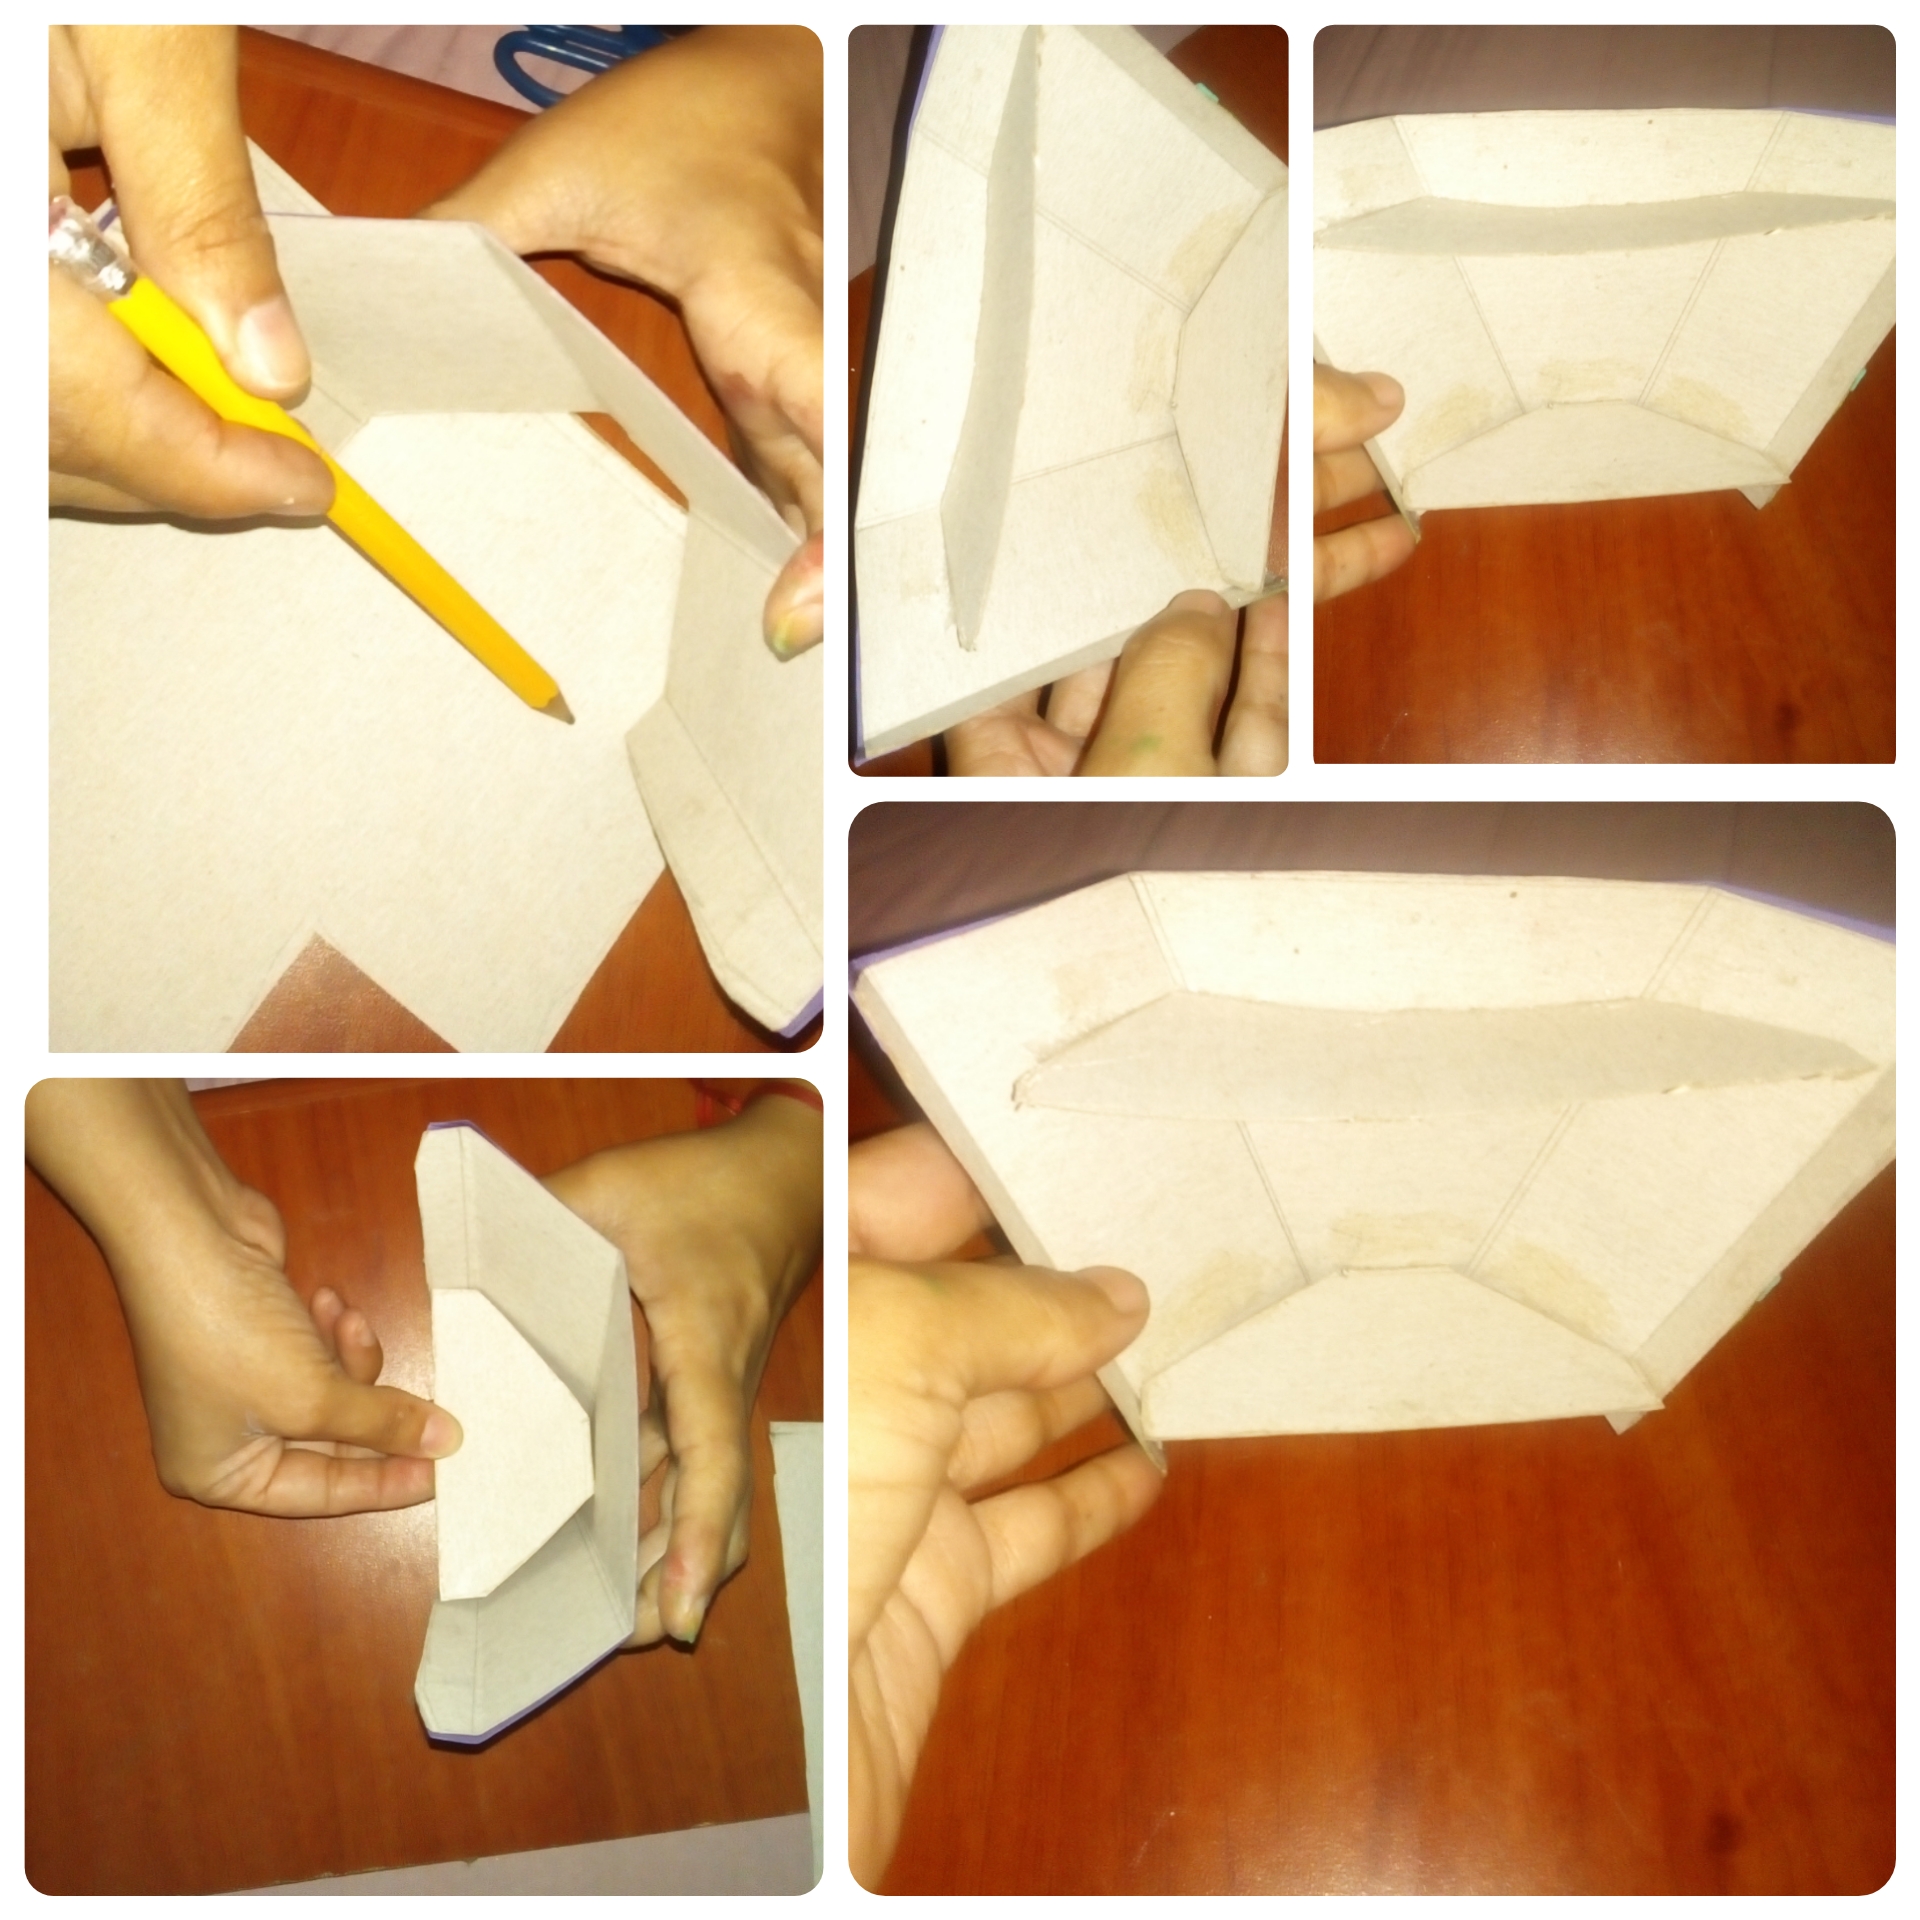
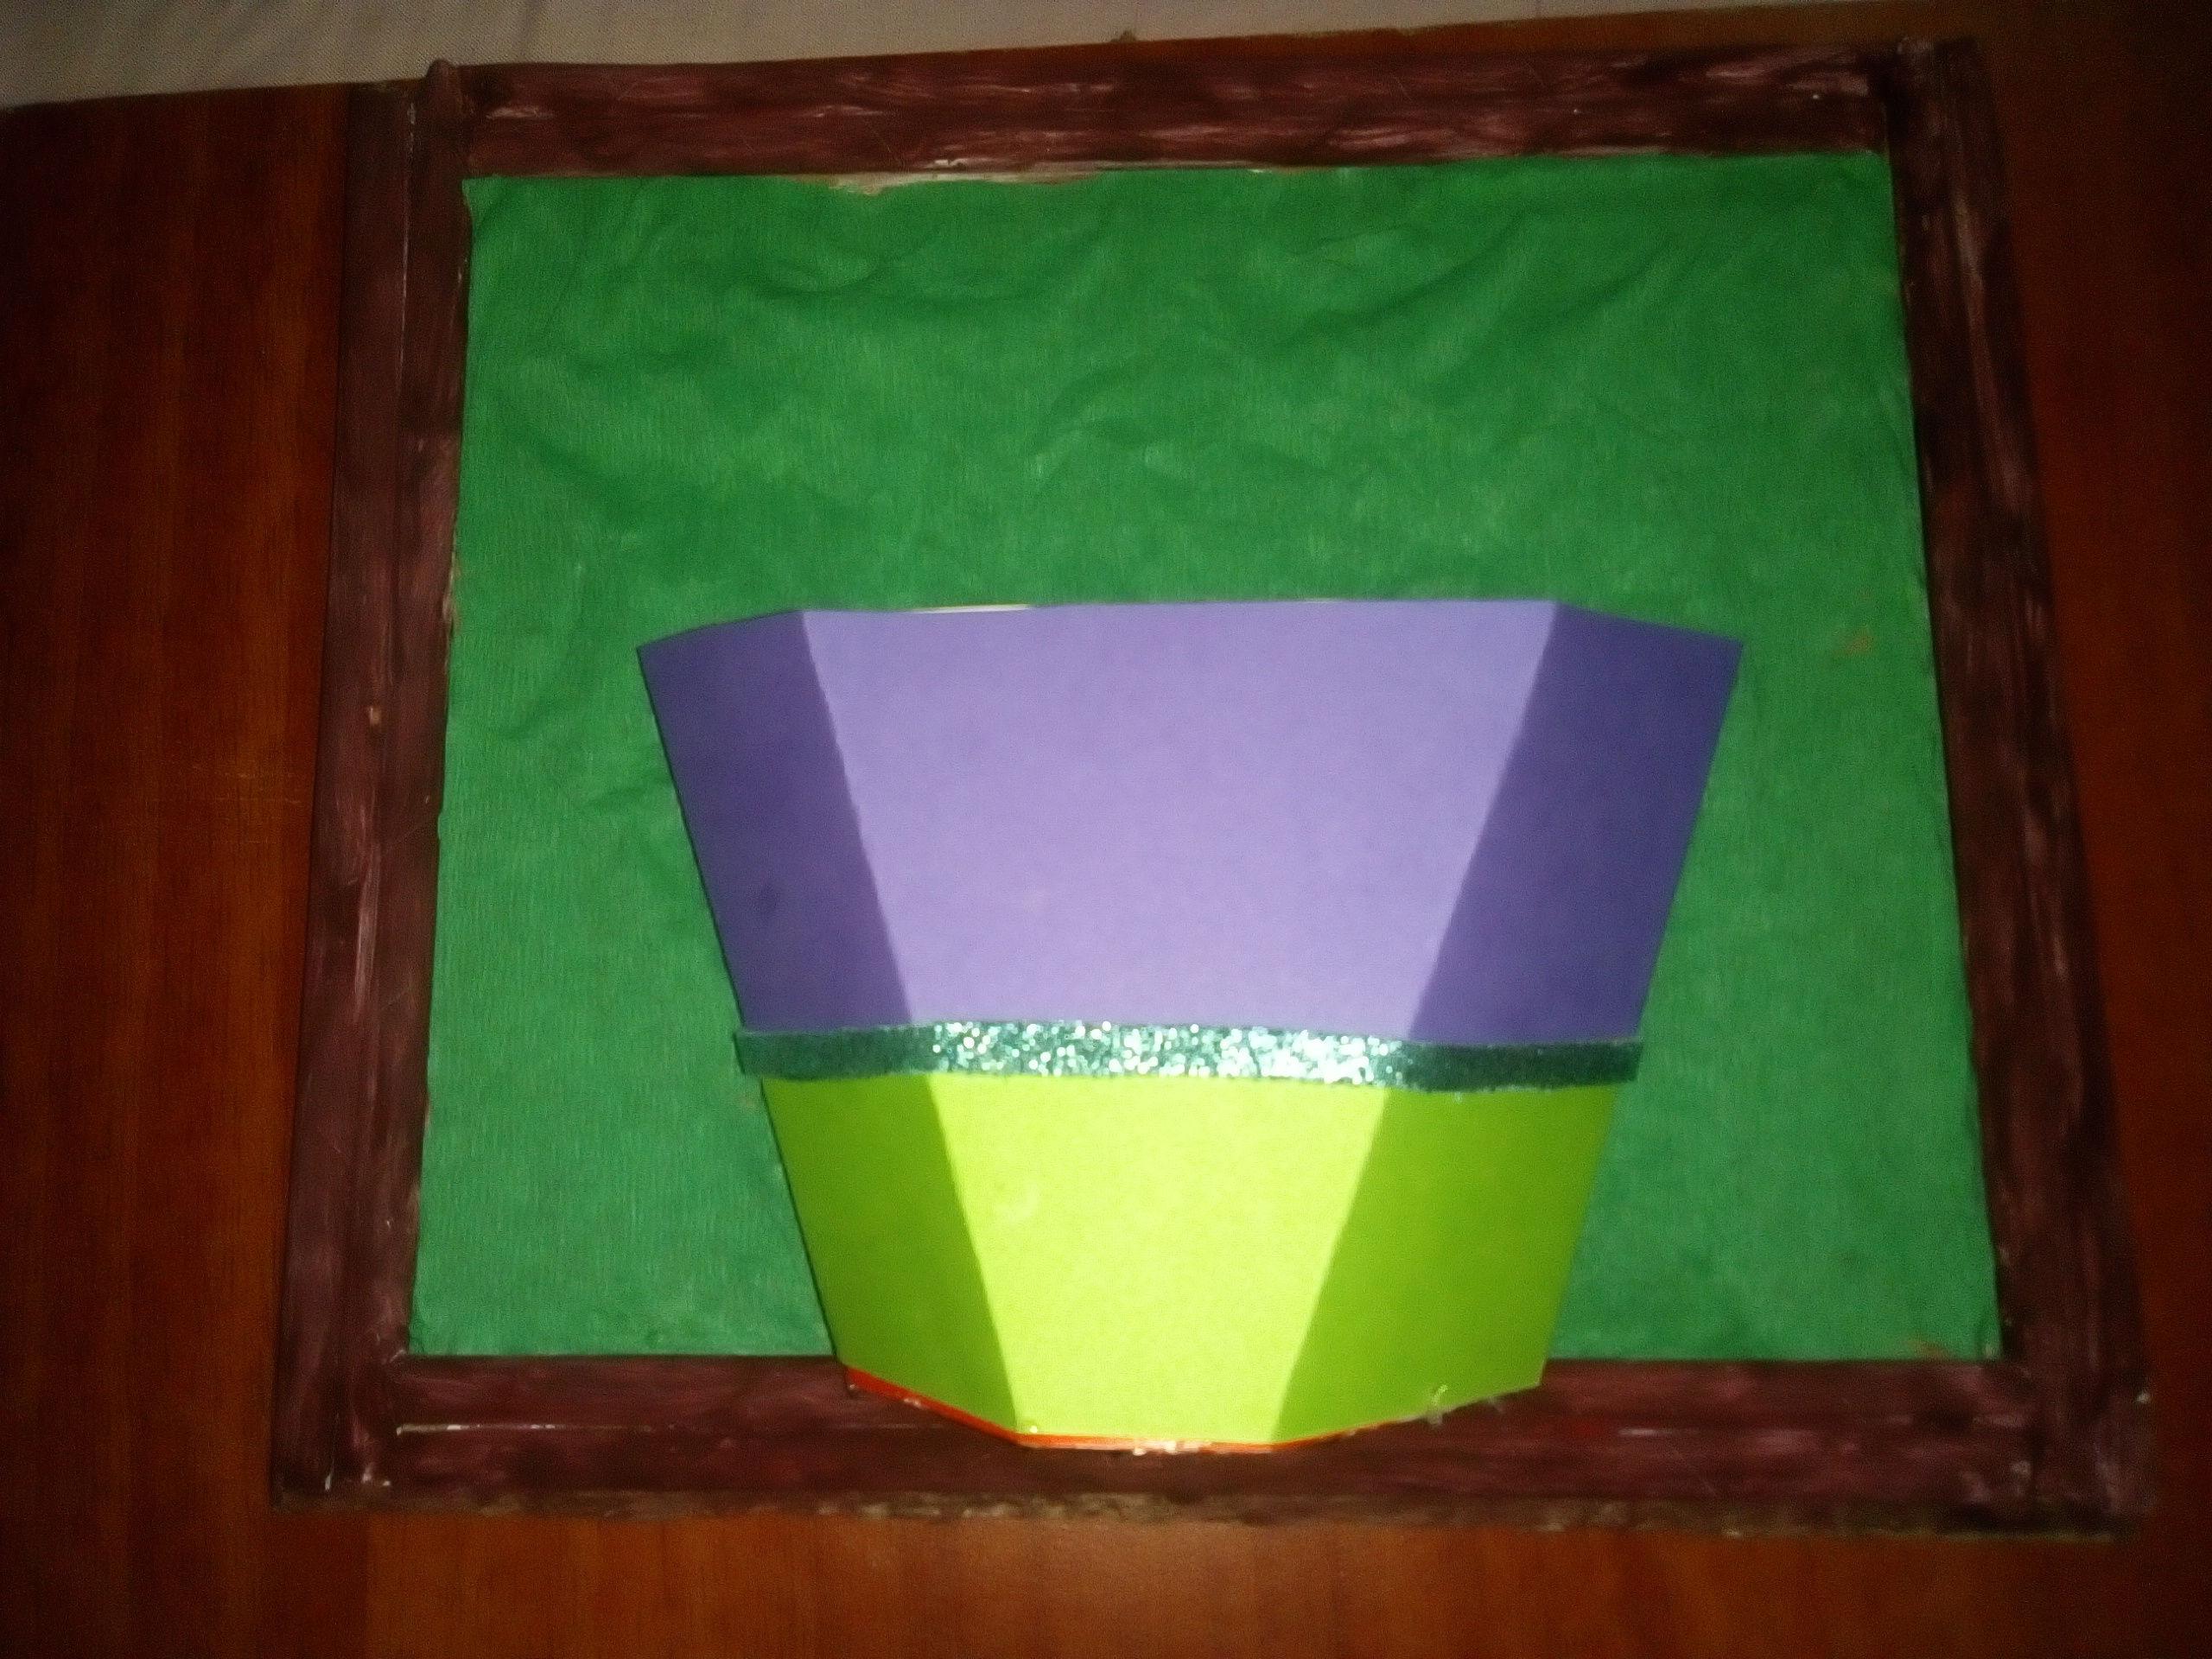
Lista la maceta procedemos a pegarla con silicona caliente en el medio del cuadro, por encima del marco.
Ready the pot we proceed to glue it with hot silicone in the middle of the picture, above the frame.
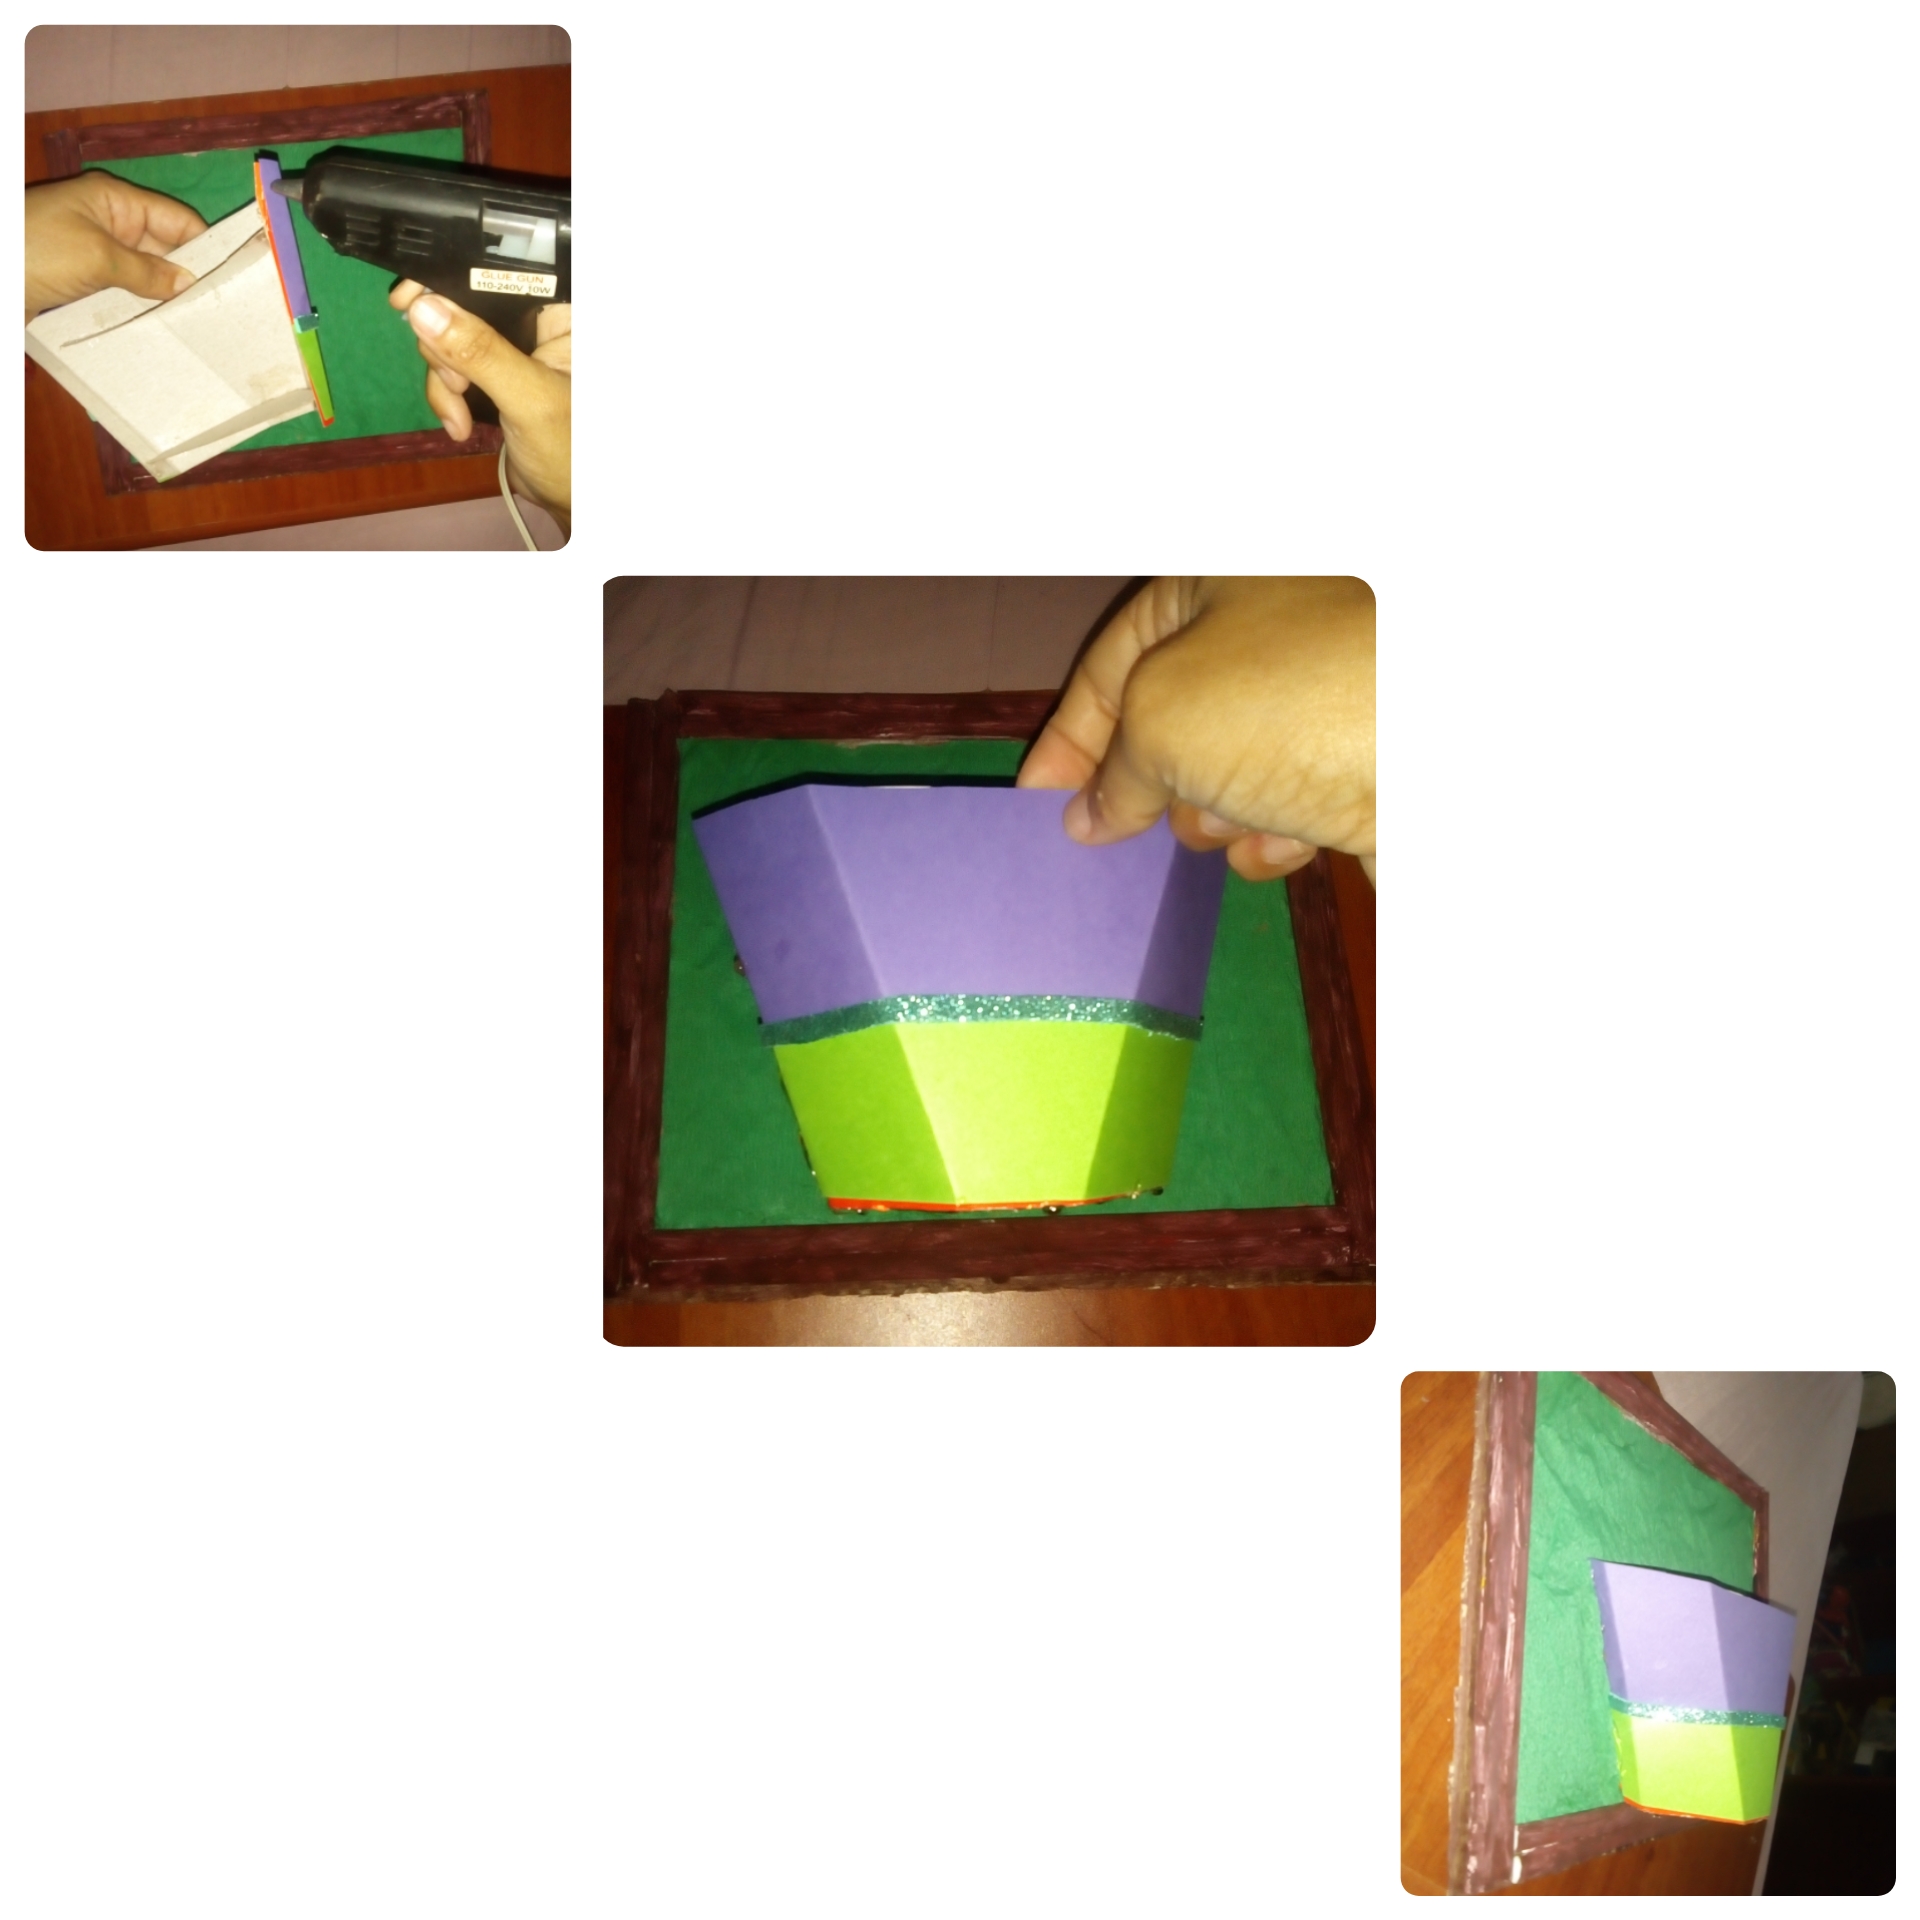
Quedando así / Being that way
Y finalmente procedemos a pegar las flores, creando un bonito ramo.
And finally we proceed to glue the flowers, creating a nice bouquet.
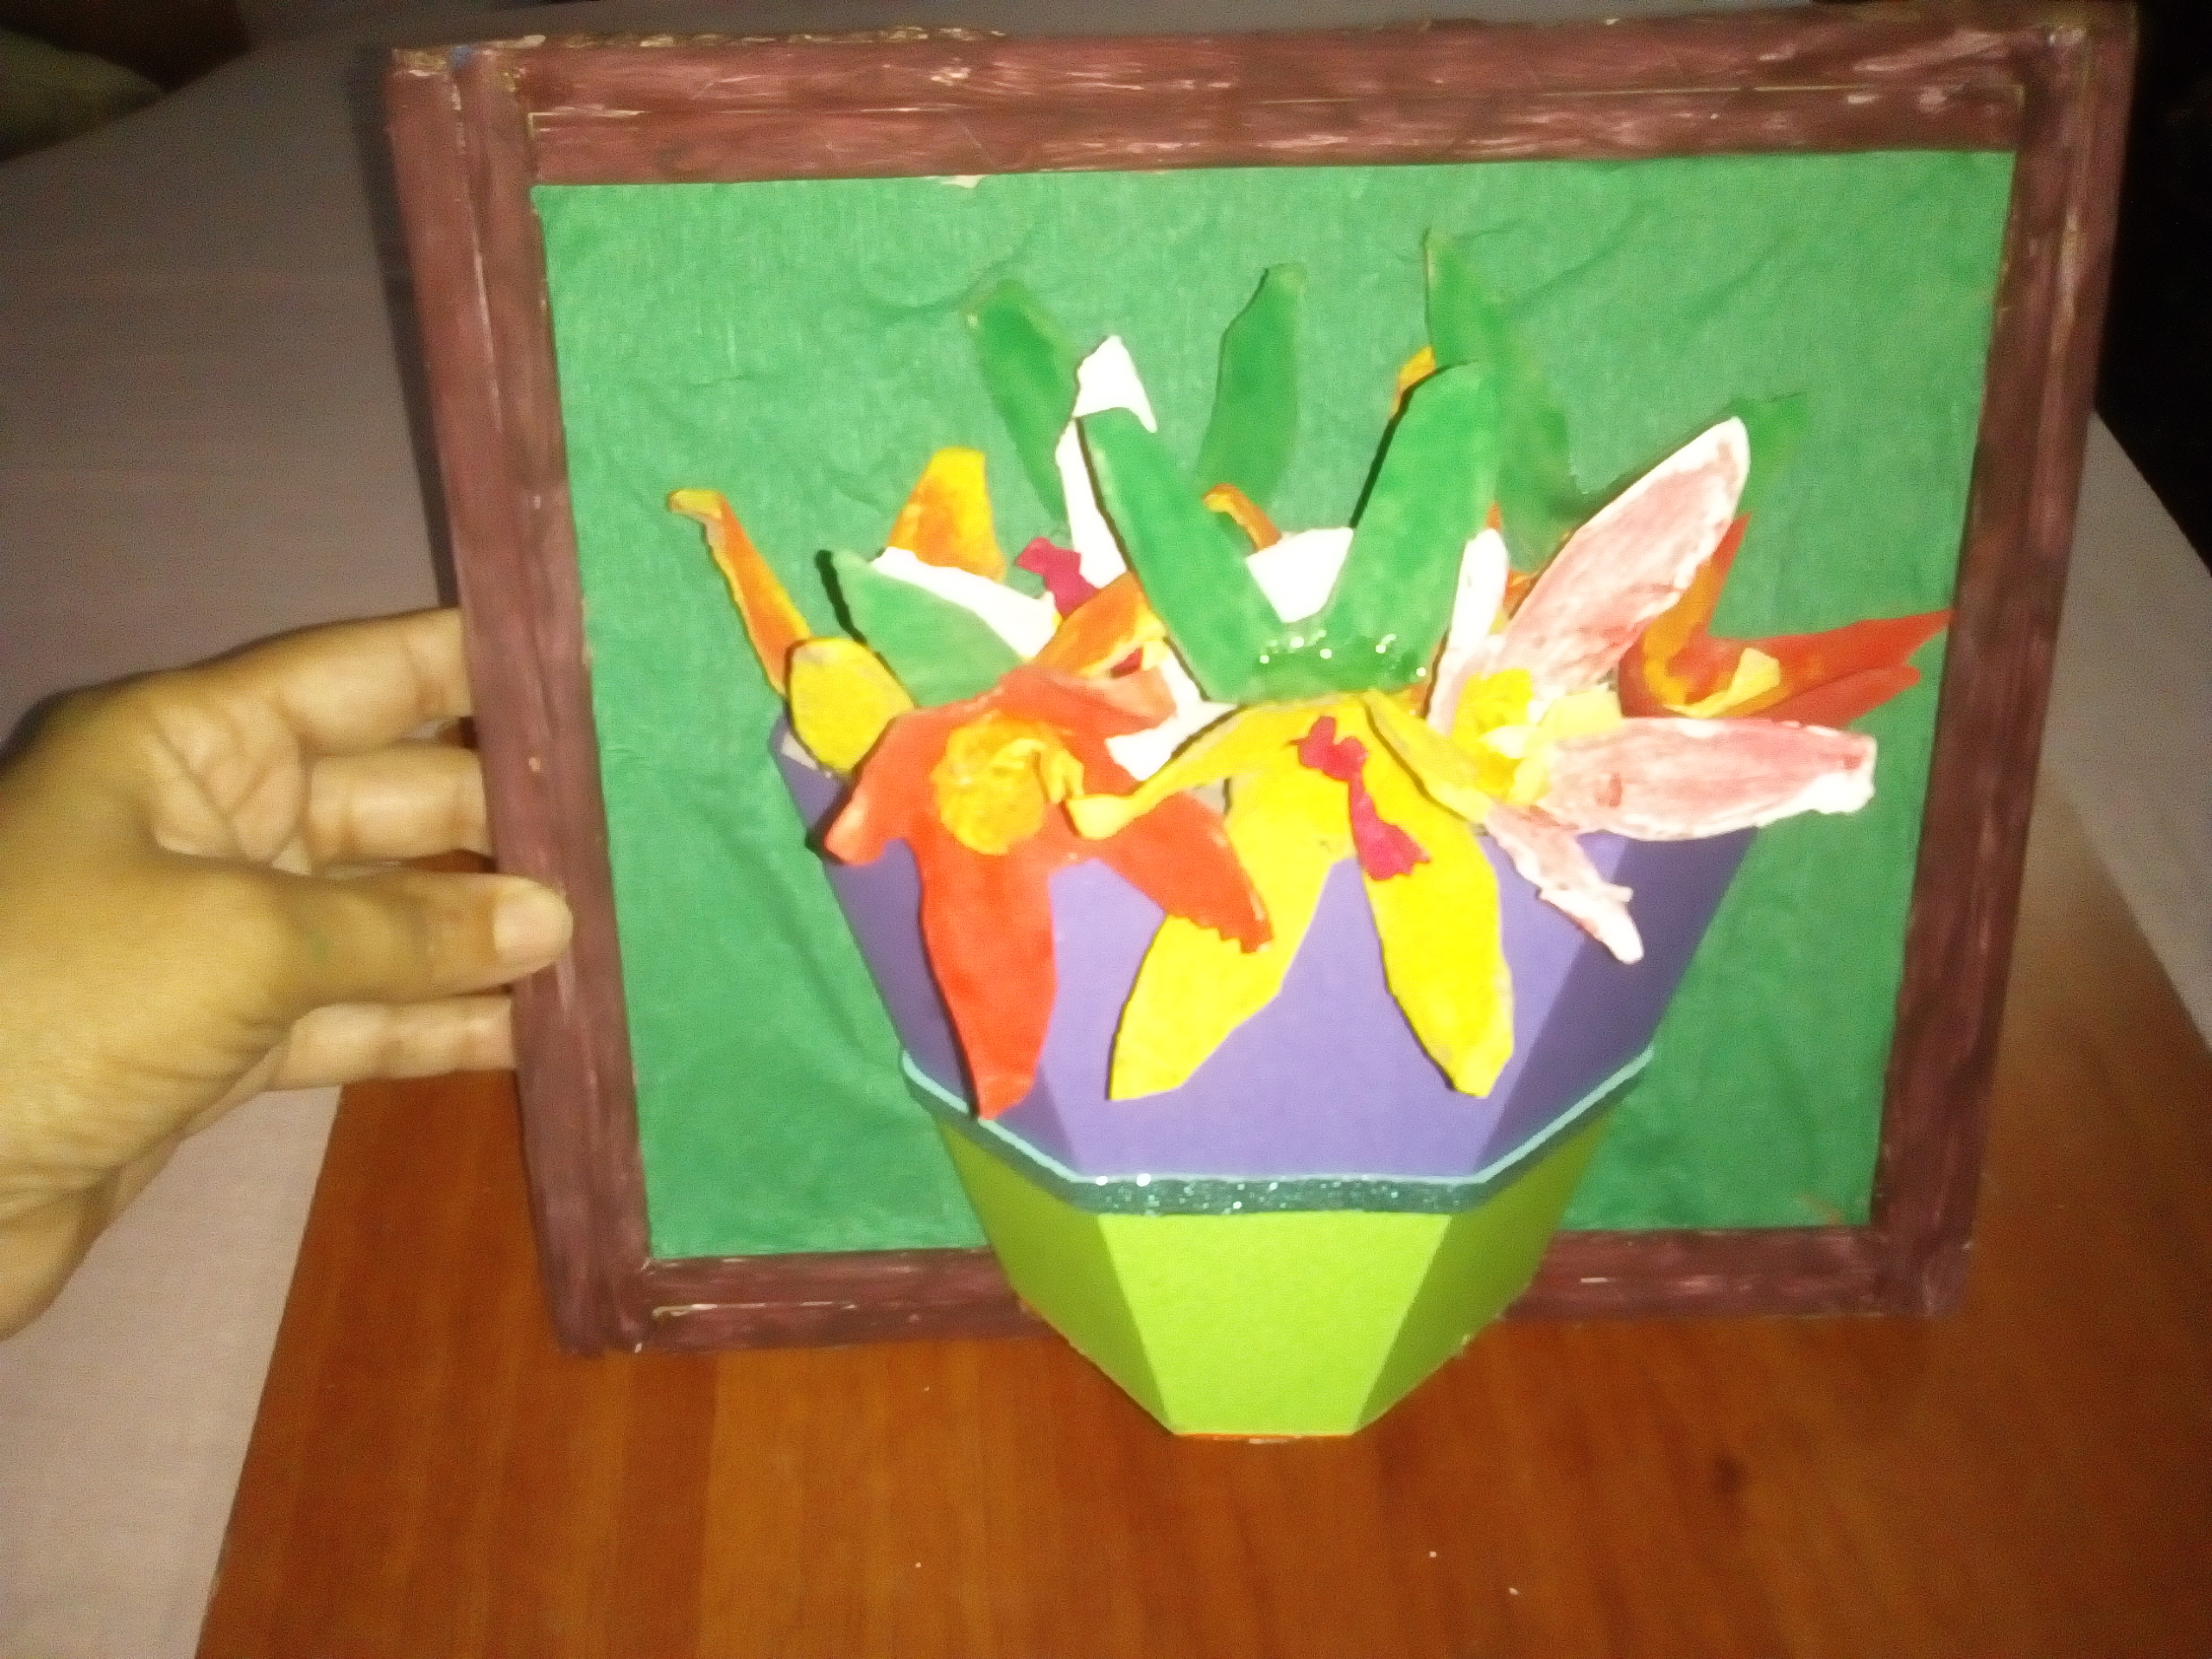
Y así nos queda nuestro hermoso cuadro 3D.
And so we have our beautiful 3D painting.
link del concurso , anímese a participar.Invito a participar a @dayanaromer
@nadeurdaneta
@mayraro05 chicas, Acá el
Here is girls the link contest, be encouraged to participate.I invite @dayanaromer to participate @nadeurdaneta @mayraro05
Gracias por visitar mi blog, nos vemos en mi siguiente post. @alfrednoyed
Thanks for visiting my blog, see you in my next post. @alfrednoyed
Buen manejo de las perspectivas, gracias por participar, te deseo mucha suerte,
Saludos, gracias por sus buenos deseos.
Congratulations @alfrednoyed! You have completed the following achievement on the Hive blockchain and have been rewarded with new badge(s) :
Your next target is to reach 300 comments.
You can view your badges on your board and compare yourself to others in the Ranking
If you no longer want to receive notifications, reply to this comment with the word
STOPTo support your work, I also upvoted your post!
Check out the last post from @hivebuzz:
Wau! excelente cuadro, me gusto mucho la perspectiva que le diste, gracias por compartir, saludos.
Muchas Gracias, a mí también me encantó el resultado final y gracias a ti por pasar y leerme, saludos.