¡Saludos Amigos de Hive DIY ! | Hello Hive Friends DIY!
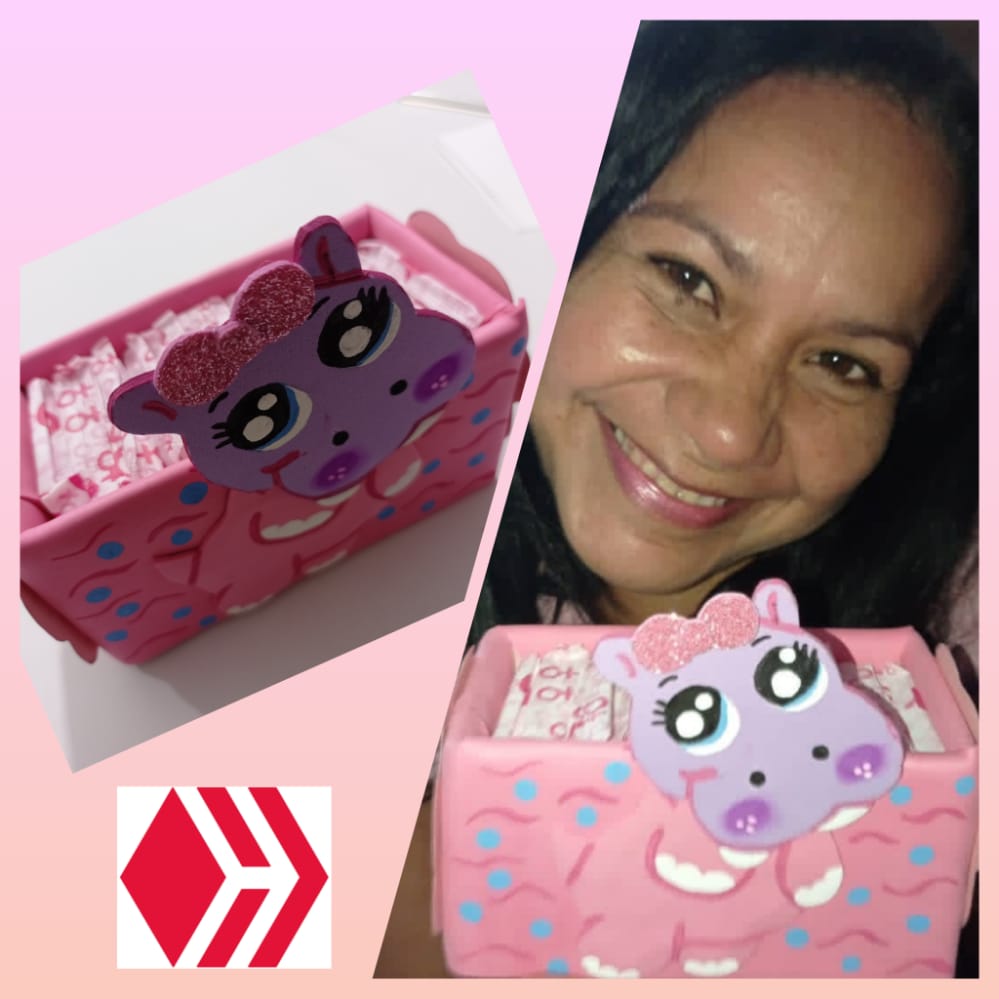
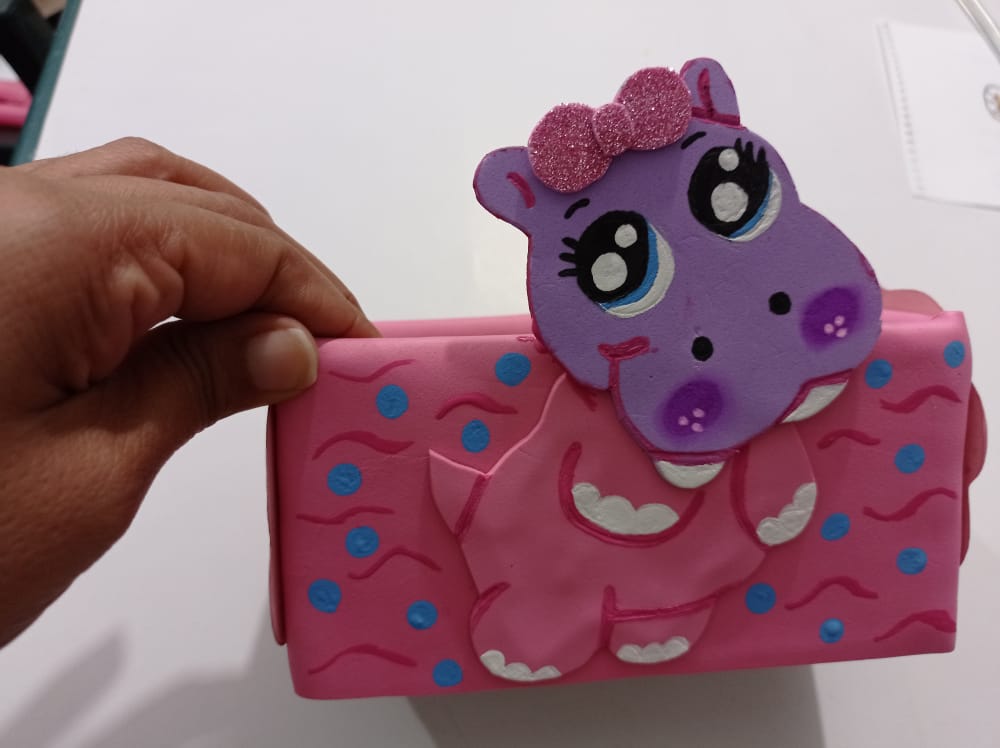
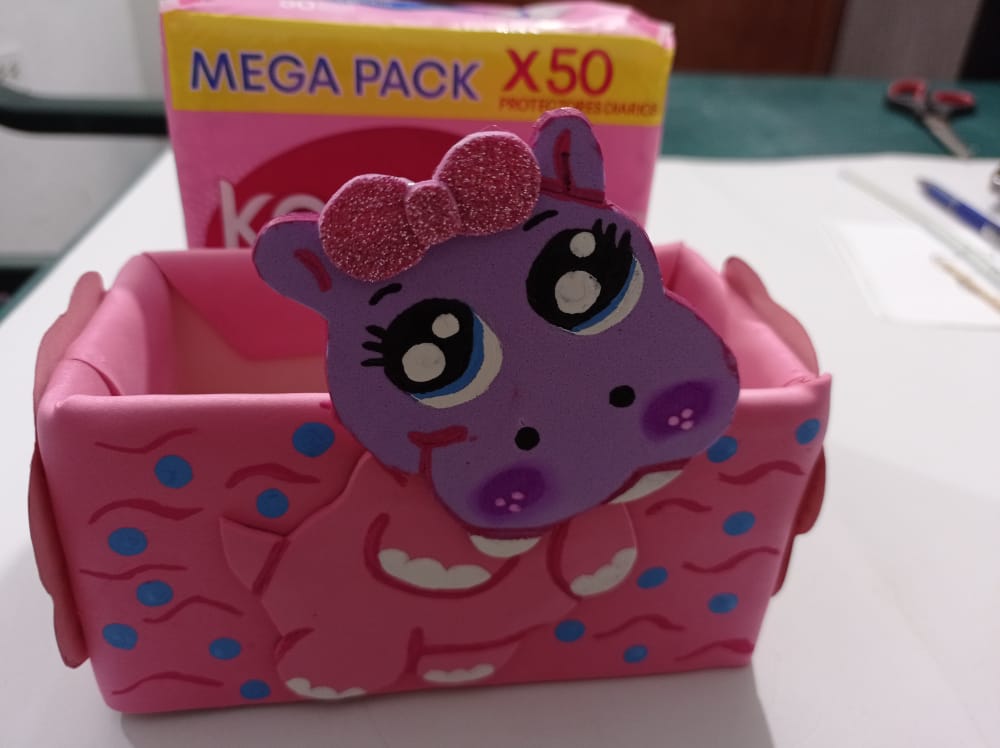
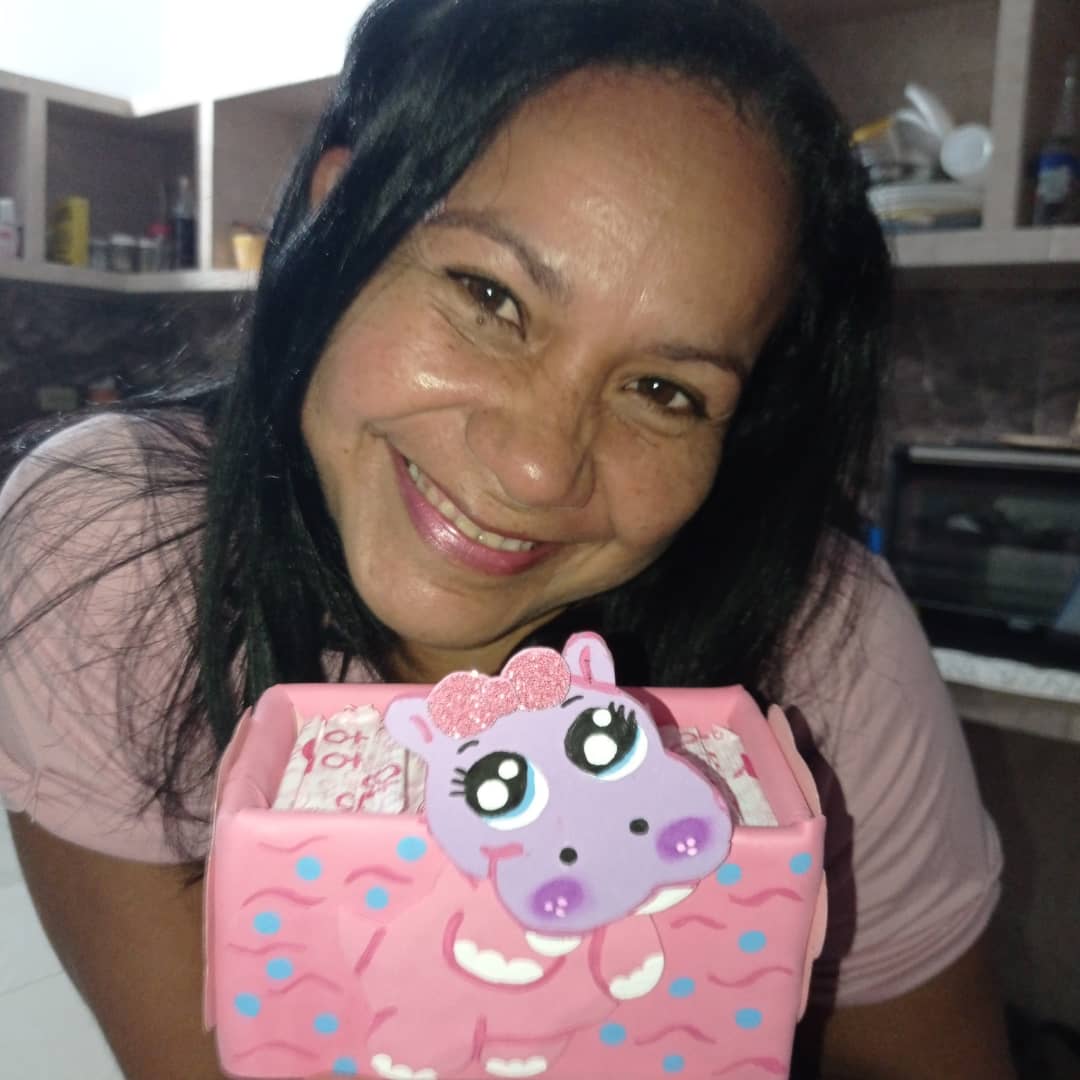
Normalmente las mujeres usamos toallas diarias para mantener la higiene de nuestras partes íntimas, cuando tenemos en casa féminas niñas es muy dulce que tengan sus toallas en portatoallas con detalles lindos, en este caso está adornado con un linda hipopótama para hacerlo muy original. Para la elaboración de este portatoallas diarias he utilizado material reciclado, espero les guste a mi pequeña hija le encanto.
Normally women use daily towels to maintain the hygiene of our private parts, when we have female girls at home it is very sweet that they have their towels in towel holders with cute details, in this case it is adorned with a cute hippopotamus to make it very original. For the elaboration of this daily towel holder I have used recycled material, I hope you like it, my little daughter loved it.

Materiales | Materials

- Caja de diablitos reciclada.
- Silicón
- Foami color rosado.
- Cartulina color rosado.
- Regla.
- Tijera.
- Foami color morado.
- Pintura color negro, fucsia, azul, blanco.
- Pincel.
- Recorte de foami brillante rosado claro y fucsia.
- Marcadores.
- Recycled devil box.
- silicone
- Pink foam.
- Pink cardboard.
- Ruler.
- Scissors.
- Purple foam.
- Black, fuchsia, blue, white paint.
- Brush.
- Light pink and fuchsia shiny foam trim.
- Markers.

Procedimiento | Process

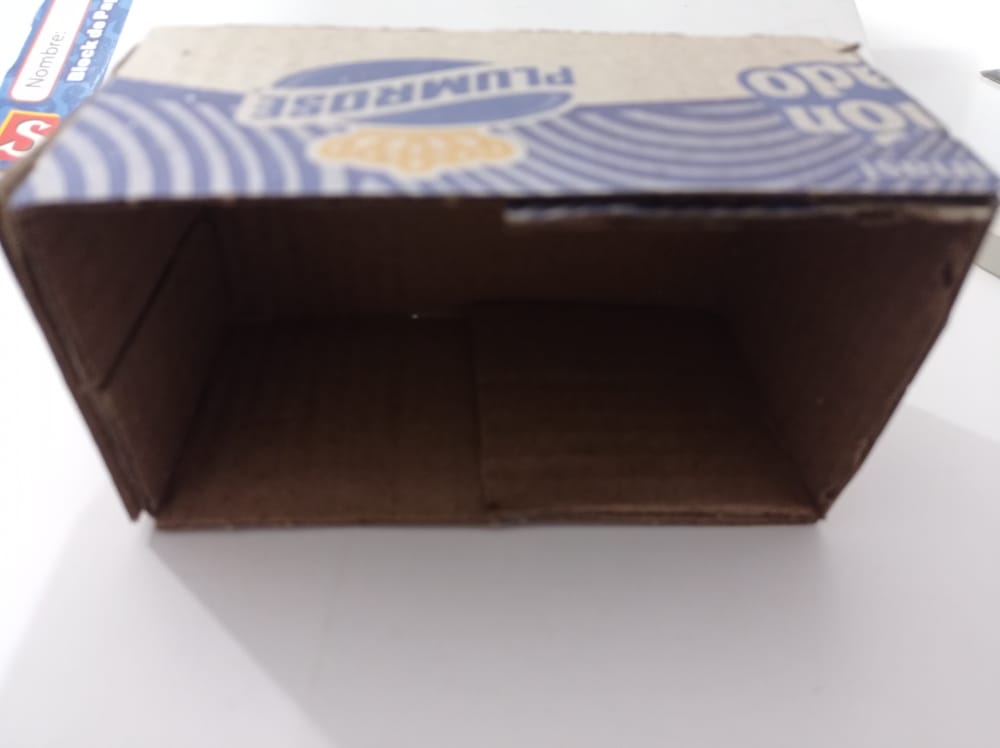
PASO 1. Tomé la caja que voy a reciclar y con la regla la medí para calcular la medida que quiero para el portatoallas. La medida de la caja de largo es de 28 cm, así que decidí marcar de 14 cm de largo, para luego recortar. Al recortar me quedo un lado descubierto así que tome la parte contrario y la introduje en sentido contrario para así pegarlo con el silicon y tener la caja sellada de ambos lados.
STEP 1. I took the box that I am going to recycle and with the ruler I measured it to calculate the size I want for the towel holder. The length of the box is 28 cm, so I decided to mark it 14 cm long, and then cut it out. When cutting, I left one side uncovered, so I took the opposite part and introduced it in the opposite direction to stick it with the silicone and have the box sealed on both sides.
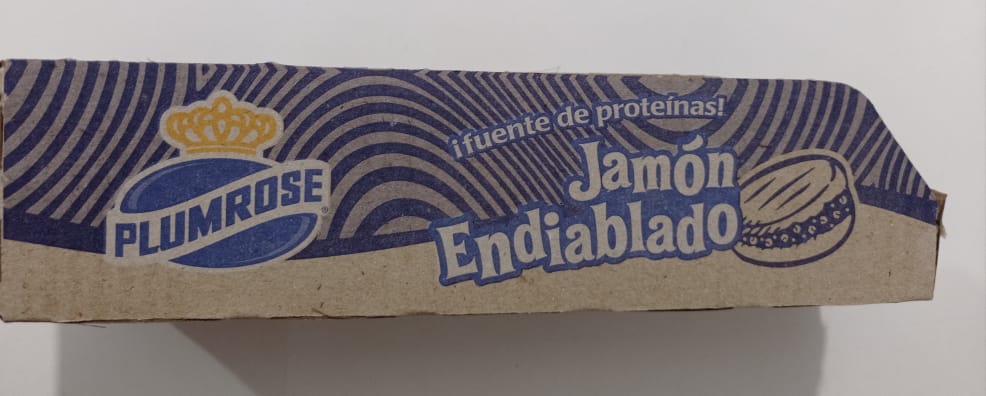
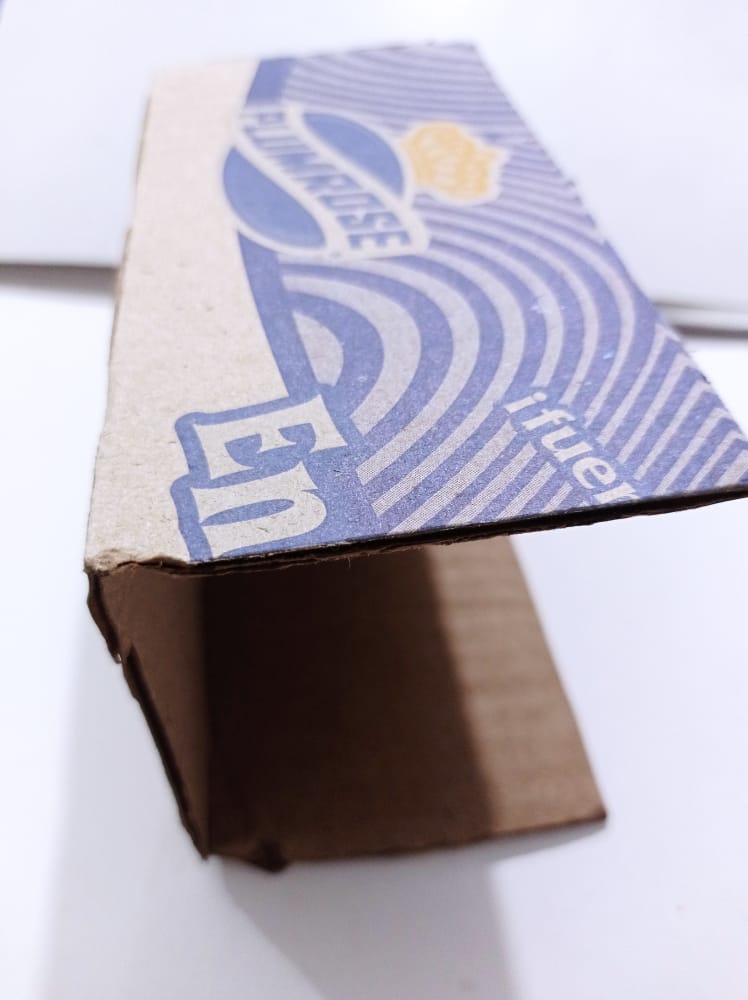
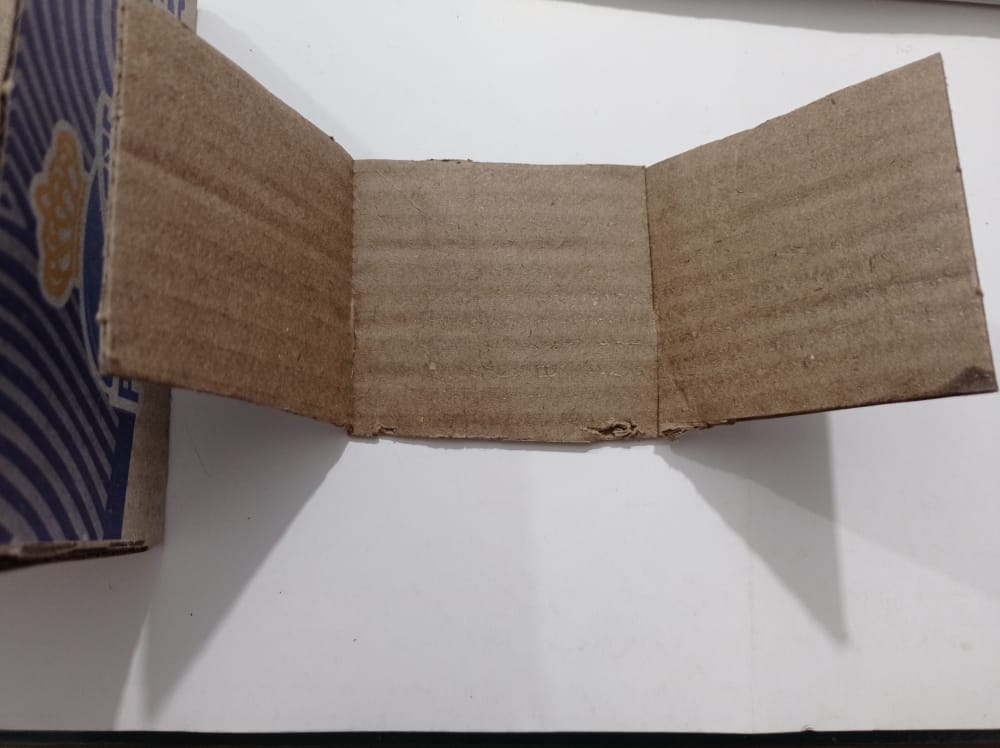

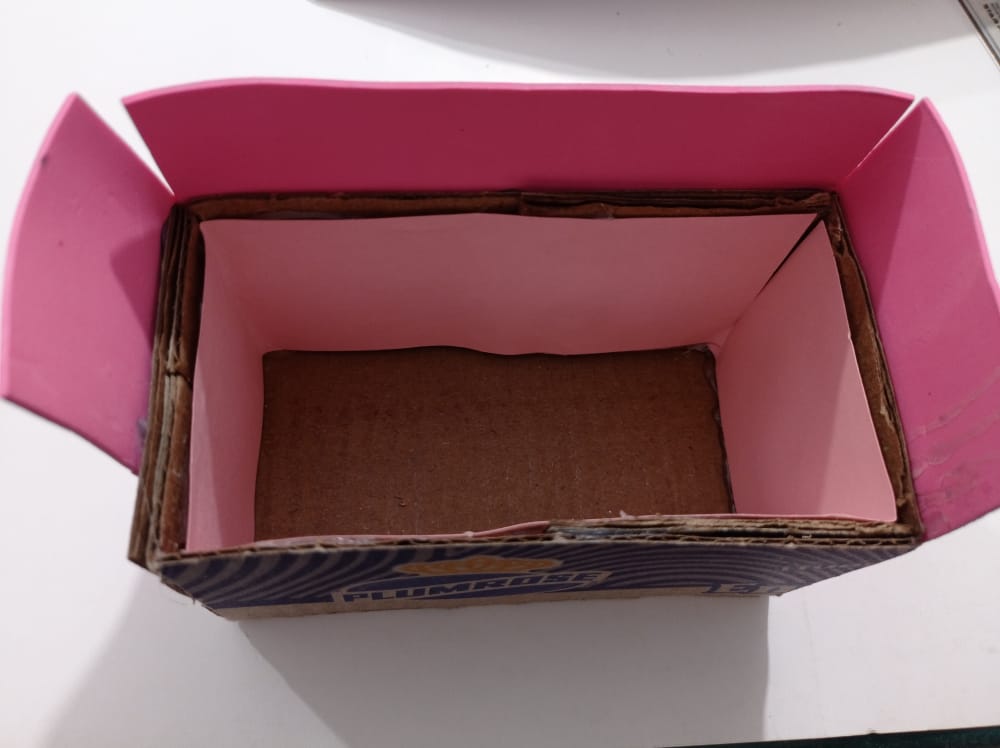
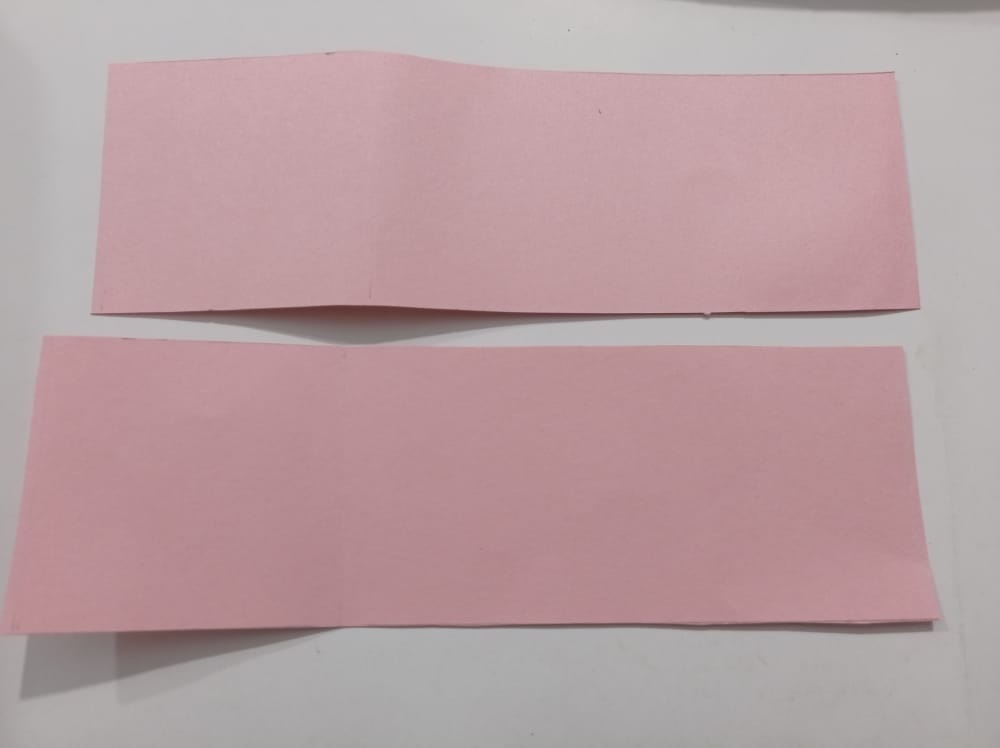
PASO 2. Luego medí la caja de alto y determine que tiene 7 cm de alto, entonces tome la cartulina rosada para medir cubrir la caja en la parte interna. Para eso recorte dos tiras de cartulina de 13,5 cm de largo y de 6,5 cm de alto. Con el foami rosado cubrí la caja por la parte exterior, para eso medí las tiras de 14cm de largo y 7 cm de alto. Con el sílicon fui pegando y realizando los ajuste de tal manera de todo quedará cubierto inclusive el borde superior de la caja. Es importante que procure que el empate del foami quedará en los extremos de la caja, ya que sería cubierto para no dejar ver los empates.
STEP 2. Then I measured the height of the box and determined that it is 7 cm high, so I took the pink cardboard to measure to cover the box on the inside. To do this, cut two strips of cardboard 13.5 cm long and 6.5 cm high. With the pink foami I covered the box on the outside, for that I measured the strips 14cm long and 7 cm high. With the silicone I was gluing and making the adjustments in such a way that everything would be covered, including the upper edge of the box. It is important that you ensure that the foami tie will be at the ends of the box, since it would be covered so as not to reveal the ties.
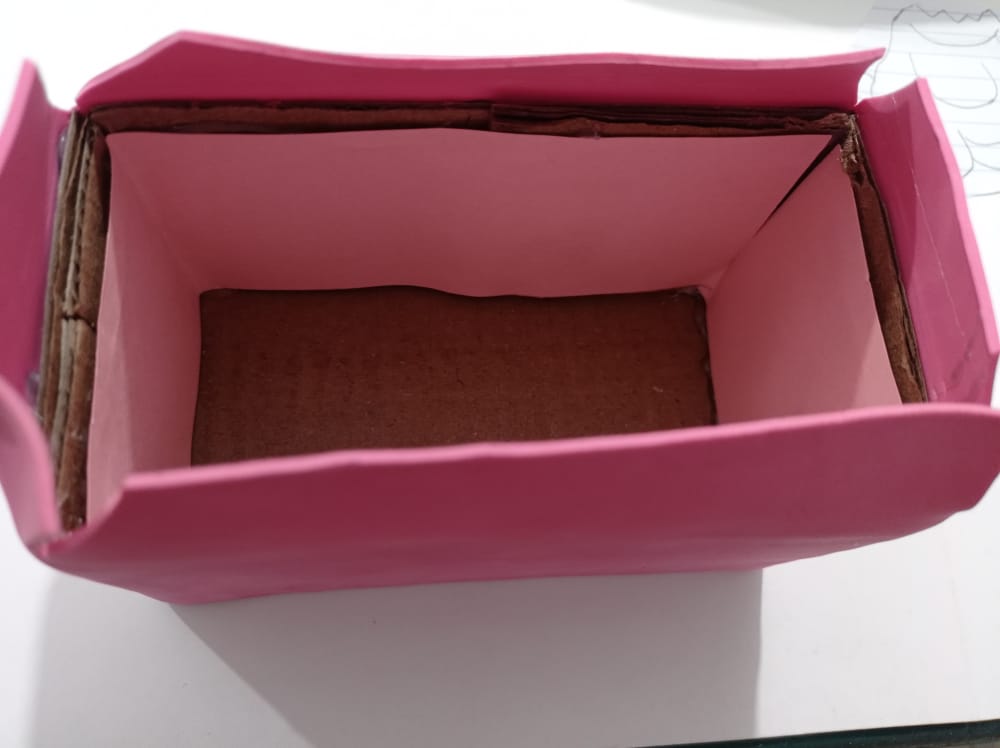

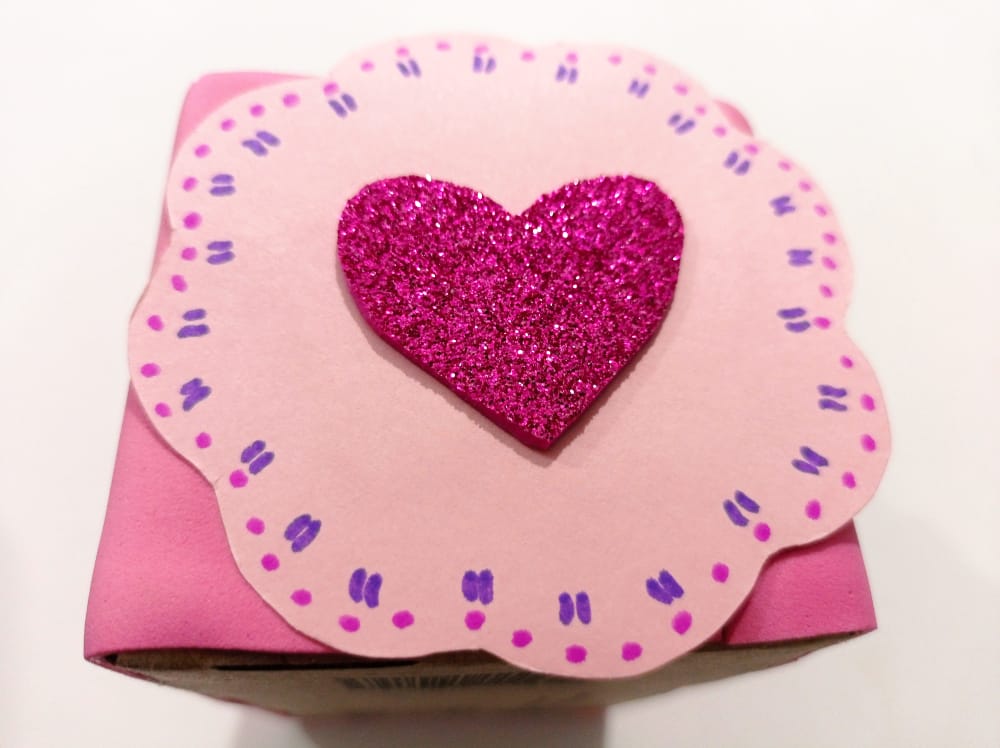
PASO 3. Después de tener la caja cubierta, procedí a preparar los detalles para adornar. Inicie dibujando una flor del tamaño que se cubran los lados laterales, luego marque y corte en cartulina rosada dos molde de flor, también marque y recorte dos corazones en foami brillante color fucsia. Luego pegue cada corazón en la cartulina en forma de flor, y aplique silicon para pegar en los extremos laterales de la caja. Después de pegados con los marcadores de hice detalles para darle vista.
STEP 3. After having the box covered, I proceeded to prepare the details to decorate. Start by drawing a flower the size that covers the lateral sides, then mark and cut two flower molds in pink cardboard, also mark and cut out two hearts in fuchsia bright foami. Then glue each heart on the cardboard in the shape of a flower, and apply silicone to glue on the lateral ends of the box. After pasting with the markers I made details to give it a view.
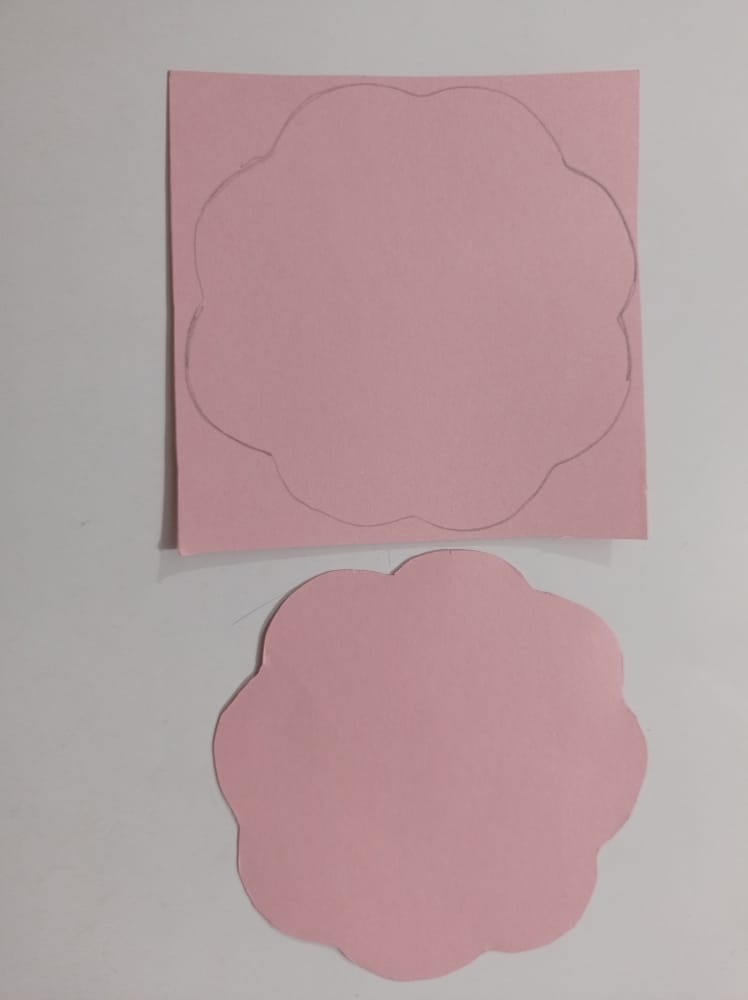
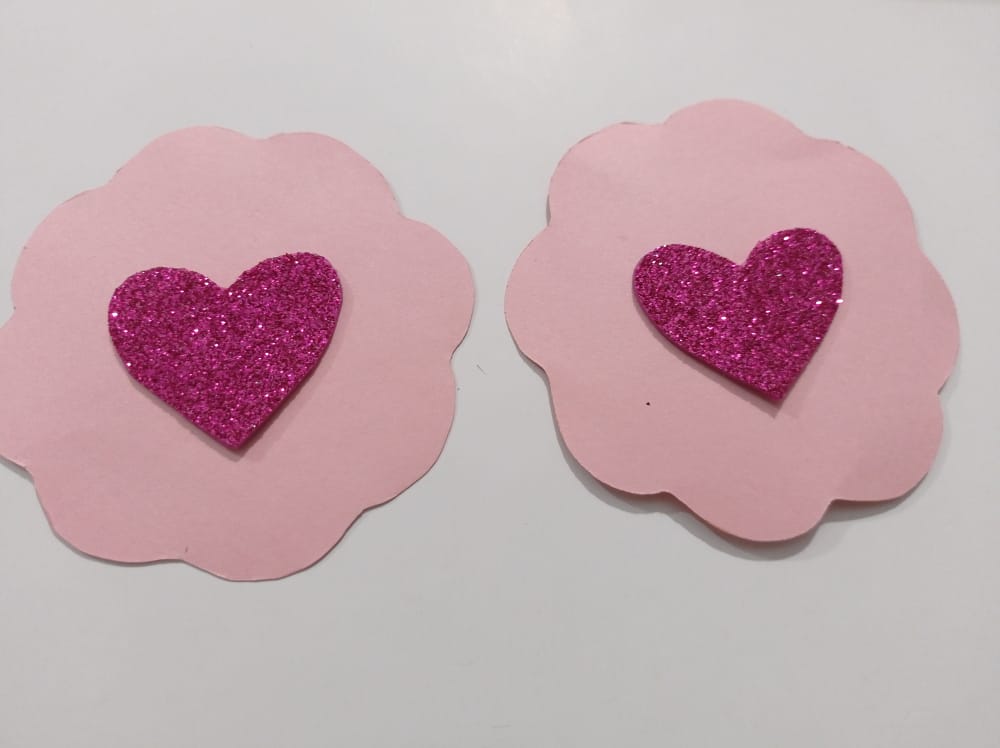
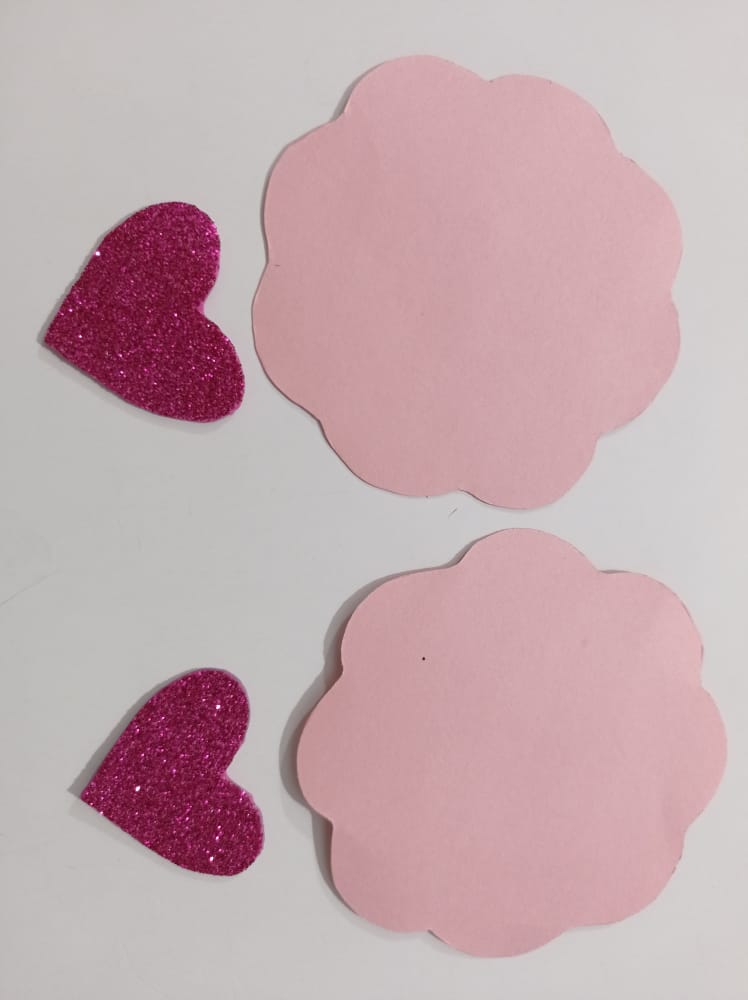

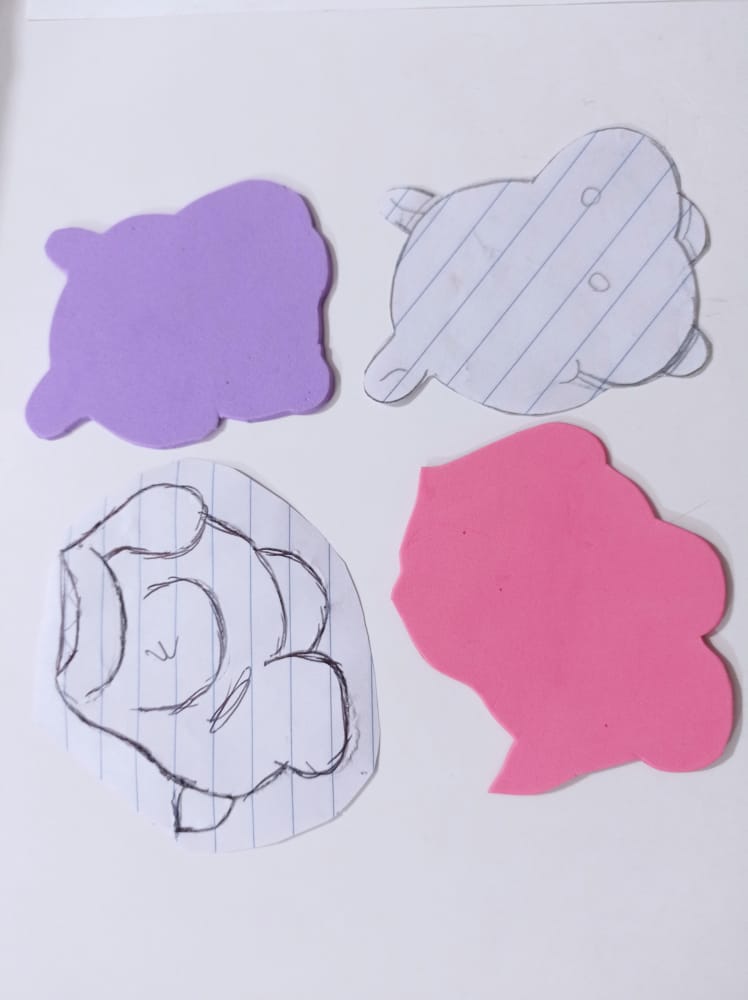
PASO 4. Ahora continúe con la hipopótama así que tome una hoja reciclada para dibujar y recortar. Luego encima de foami color morada hice la cara de la hipopótama y el cuerpo con foami de color rosado. Después de marcarlo los recorte. Luego con las pinturas fue dibujando los detalles del rostro y del cuerpo de la linda hipopótama, los ojos fueron tipo kawaii porque es como le gusta a mi pequeña hija. Le hice con foami brillante rosado un lazo. Después de pintar con el sílicon pegue para tener lista la hipopótama para pegarla a la caja.
STEP 4. Now continue with the hippo so take a recycled sheet to draw and cut out. Then on top of purple foami I made the face of the hippopotamus and the body with pink foami. After marking it cut them out. Then, with the paints, he drew the details of the face and body of the cute hippopotamus, the eyes were kawaii type because it is how my little daughter likes it. I made a bow with bright pink foami. After painting with the silicone glue to have the hippo ready to glue it to the box.
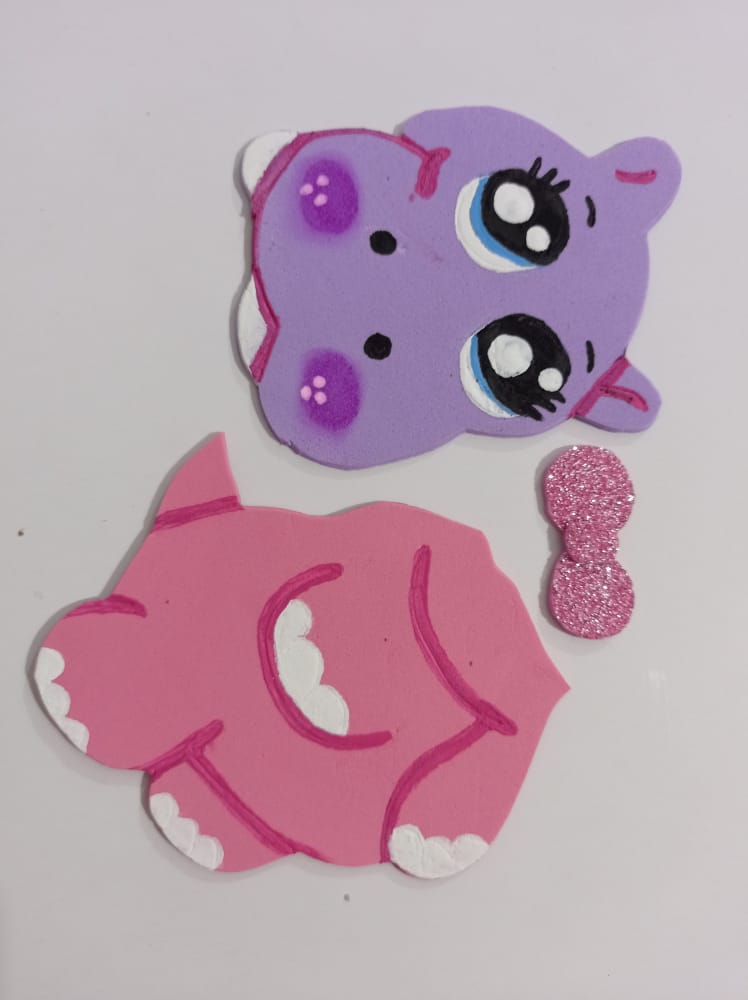

PASO 5. Luego pegue la hipopótama en el centro de la caja, y con ayuda de las pinturas de hice los detalles para darle vista, para eso use pintura color rosada y color azúl de esta manera resaltaría los ojos de la dulce hipopótama.
STEP 5. Then I glued the hippopotamus in the center of the box, and with the help of the paints I made the details to give it a view, for that I used pink and blue paint in this way it would highlight the eyes of the sweet hippopotamus.
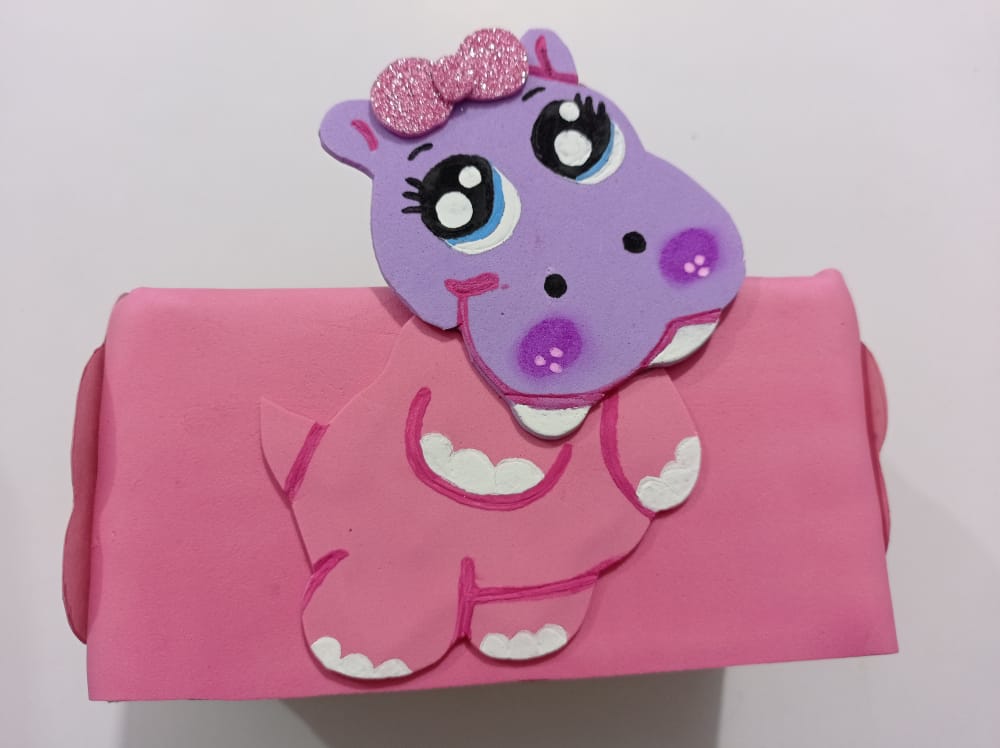

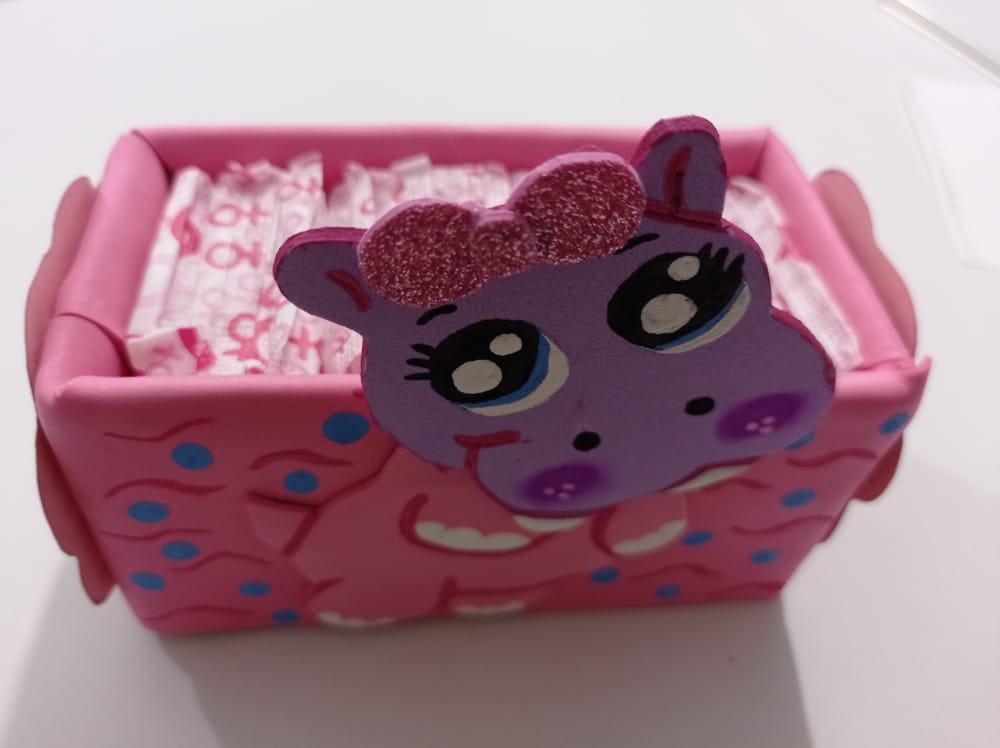
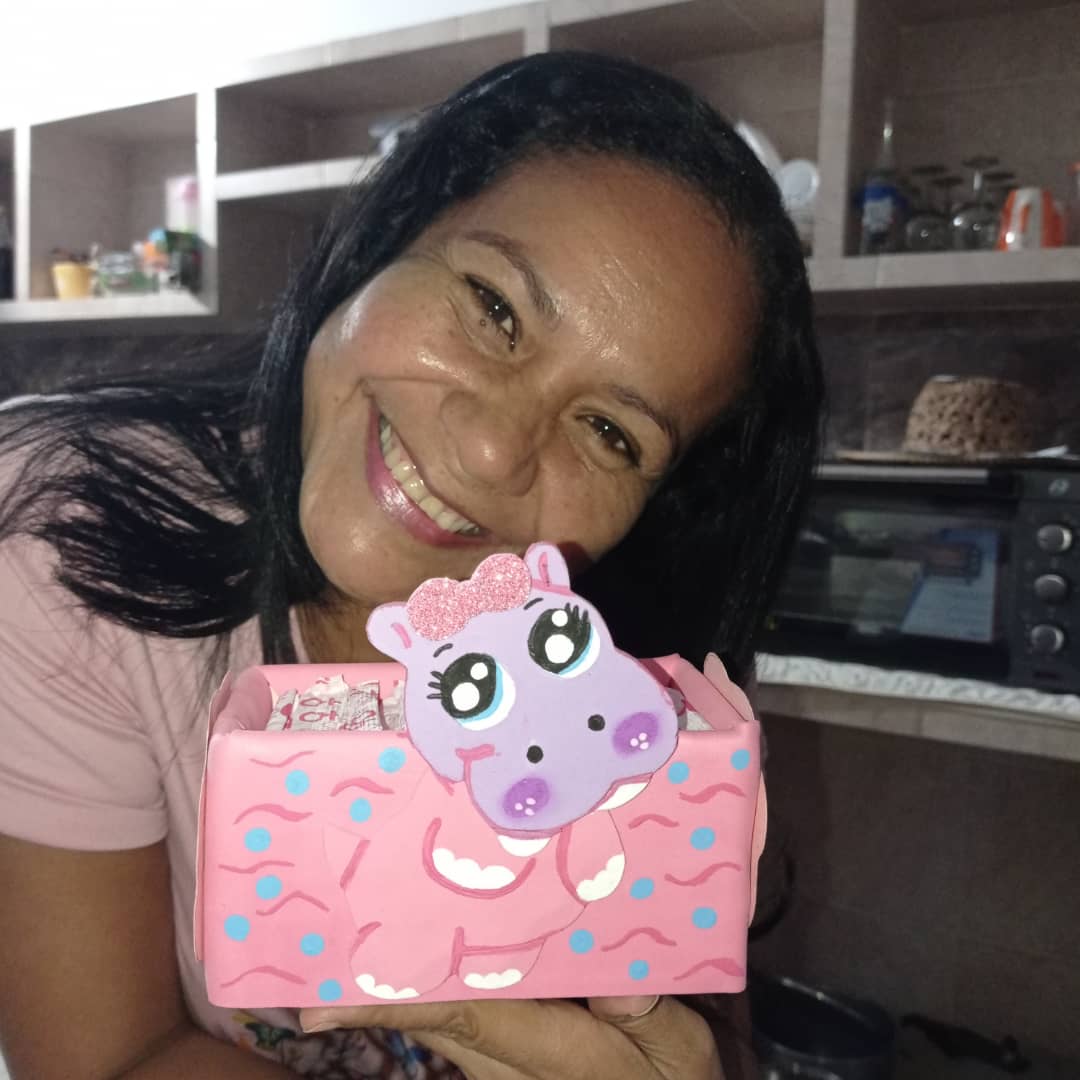
PASO 6. Ahora ubique el paquete de toallas diarias y las introduje dentro de la caja, la caja que prepare recibe 25 toallas diarias. Y listo les presente este tierno portatoallas de hipopótoma.
STEP 6. Now locate the package of daily towels and put them inside the box, the box you prepare receives 25 daily towels. And ready I present to you this cute hippopotamus towel holder.


Todas las fotografías son propias y tomadas con mi Redmi Note_9
¡Espero su visita en mi próximo post!
All photographs are my own and taken with my Redmi Note_9
I look forward to your visit in my next post!

Congratulations, your post has been upvoted by @dsc-r2cornell, which is the curating account for @R2cornell's Discord Community.
The rewards earned on this comment will go directly to the person sharing the post on Twitter as long as they are registered with @poshtoken. Sign up at https://hiveposh.com.
Congratulations @alicargofer! You have completed the following achievement on the Hive blockchain and have been rewarded with new badge(s):
Your next target is to reach 7000 upvotes.
You can view your badges on your board and compare yourself to others in the Ranking
If you no longer want to receive notifications, reply to this comment with the word
STOPSupport the HiveBuzz project. Vote for our proposal!