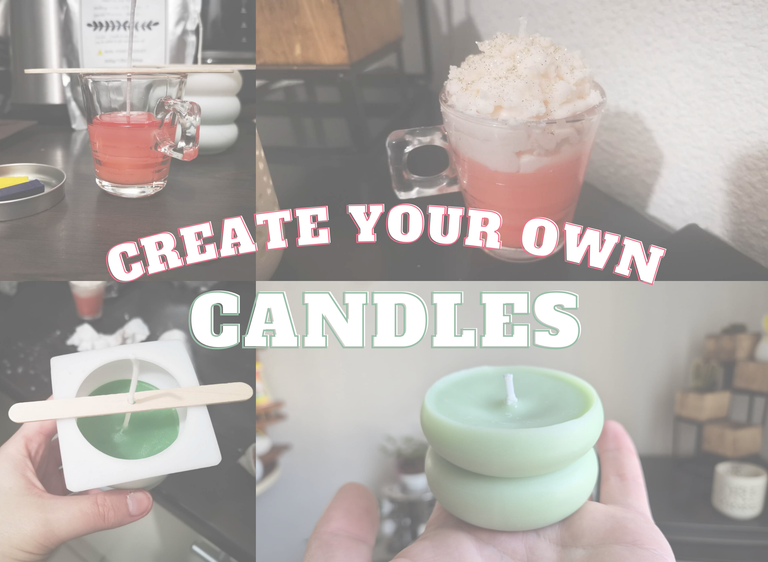
Hello friends! I hope you are all doing very well. 😊
For a few months now, my mom has started making her own creative candles. For Christmas, I gave her a kit with all the materials to create original candles.
And since then, every week, she makes her little candles for her house. 🕯️
When I came home to see my parents, she suggested that we do a candle workshop. And I loved it! I decided to share with you a little tutorial to make your own creative candles.
Because you will see, it is rather simple, quick and creative! 😁
The equipment you will need
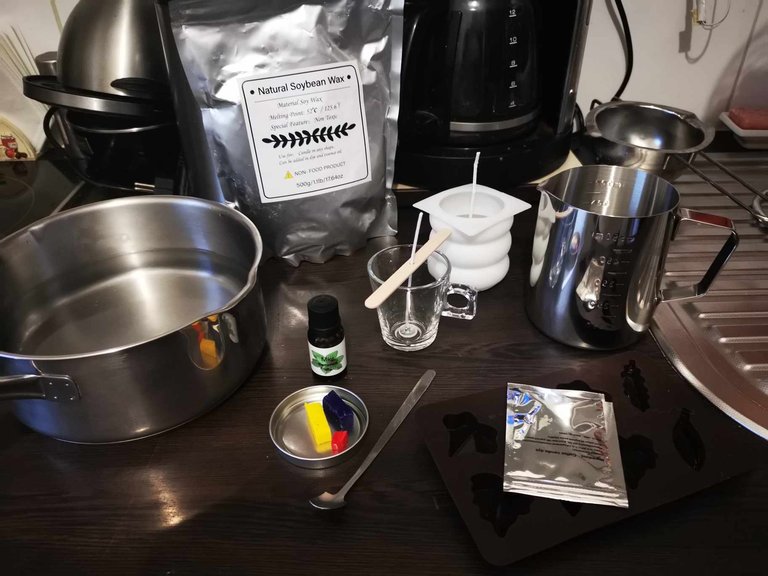
- A stainless steel/aluminum beaker,
- A saucepan with water,
- A baking sheet,
- Soy wax (or other wax),
- Colorings (here, blue, red, yellow and white),
- Fantasy molds or glass container for candles,
- Essential oils or perfume fragrances,
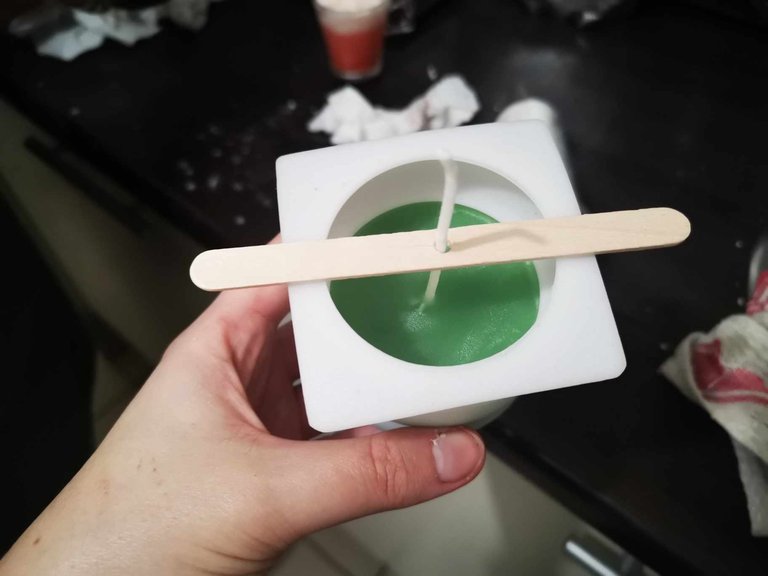
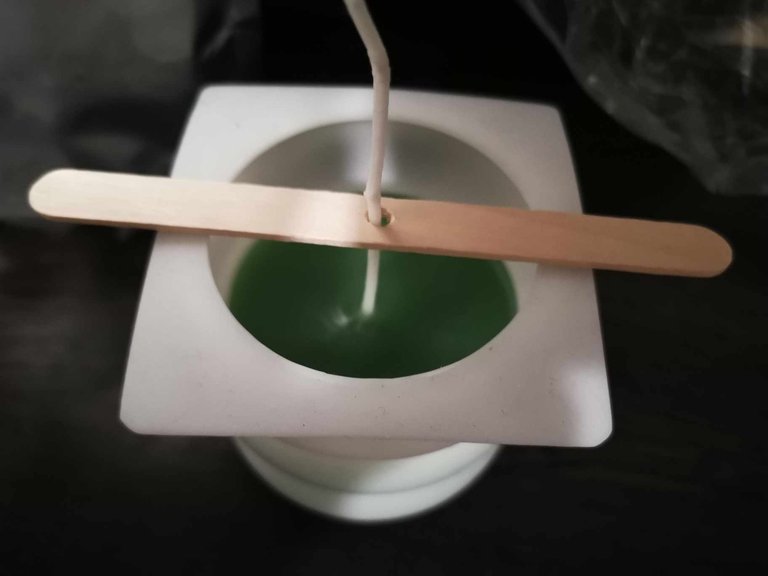
- Candle wicks, a stick to hold them and a self-adhesive patch,
- A spoon for mixing.
The steps
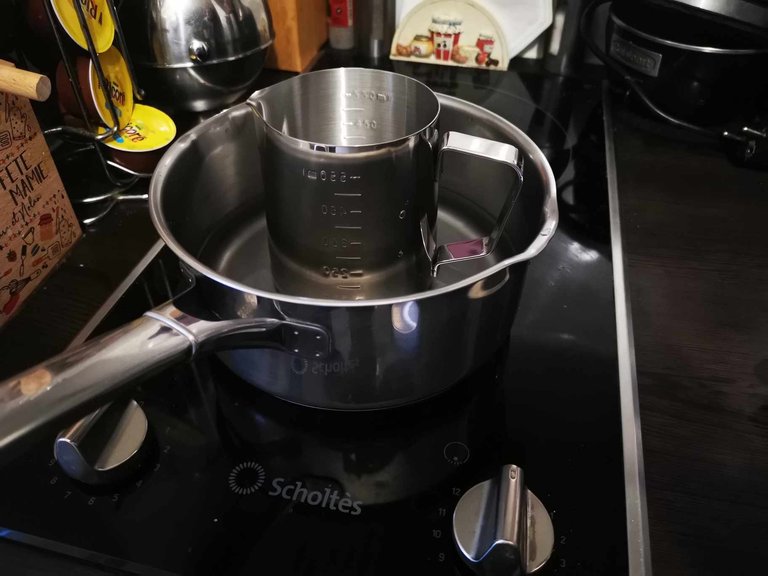
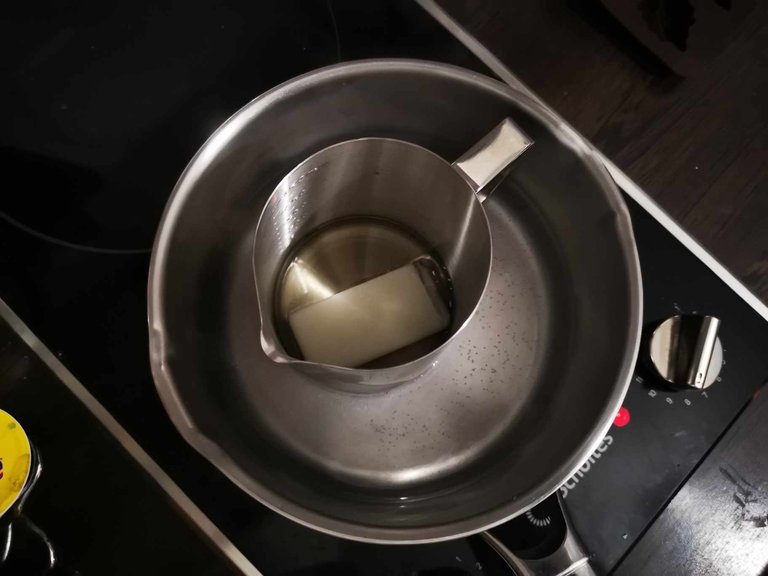
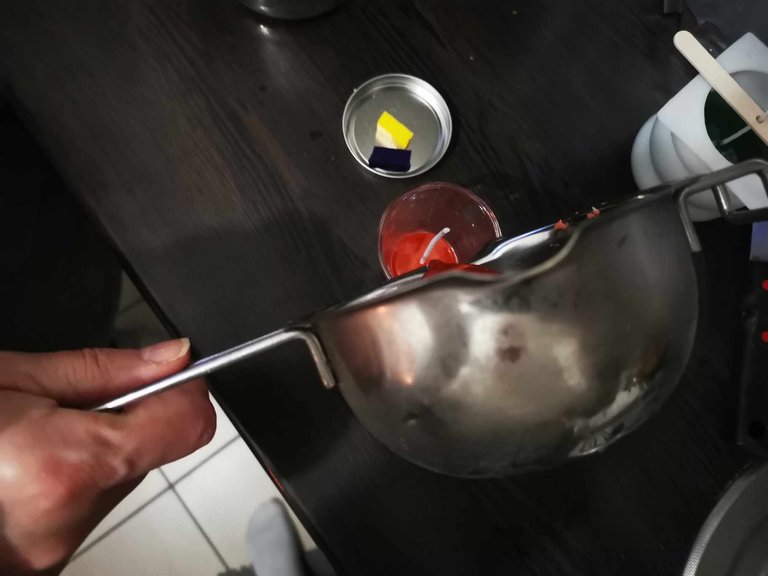
Step 1: Heat water
To start, you need to heat water and place the aluminum beaker in it.
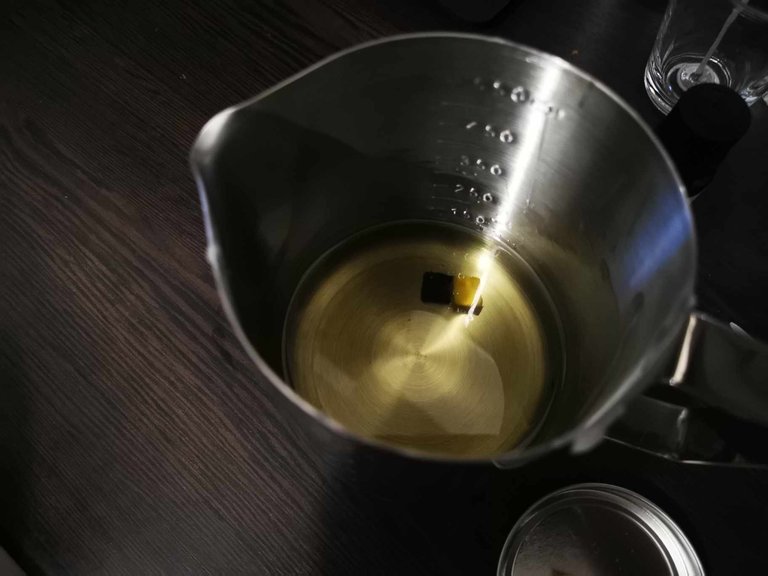
Step 2: Add the wax
Once the water starts to get hot, you can put wax in the beaker. The wax will melt.
My mom and I were supposed to use wax shavings, but then at the last minute, we changed our minds and tried wax bars.
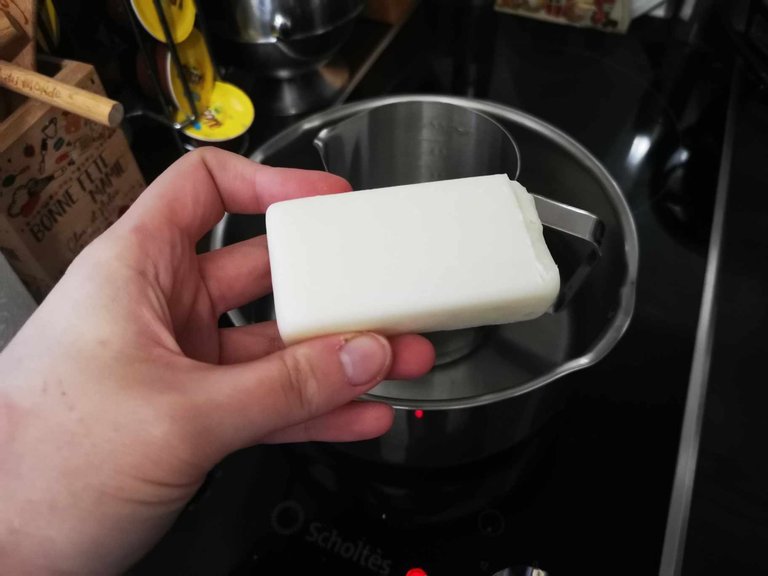
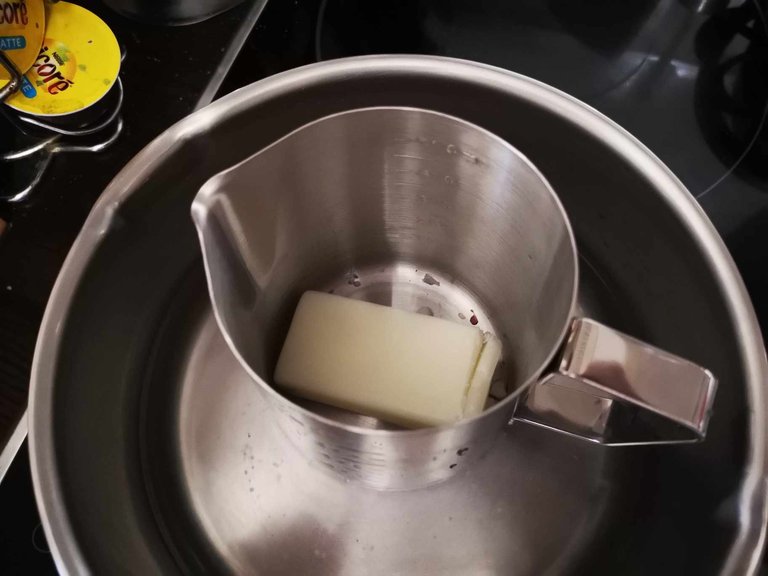
We used 3.
If you want to make large candles, we recommend using a lot of wax, because once it's melted, you'll realize that the amount has reduced.
Let the wax melt completely.
Step 3: Add the dyes
This is the time to use your memory and remember your art lessons: what colors should you mix to get this or that color? 😁
In terms of quantity, it's a bit up to you, it really depends on the look you want your candle to have.
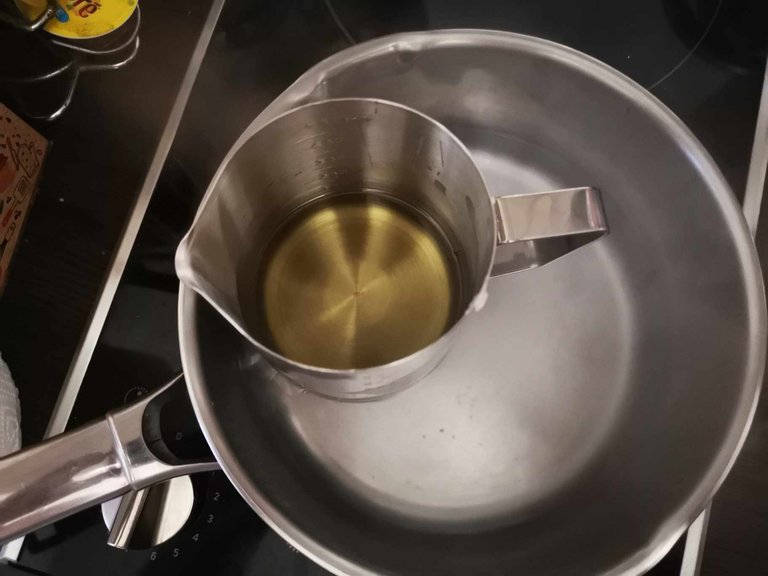
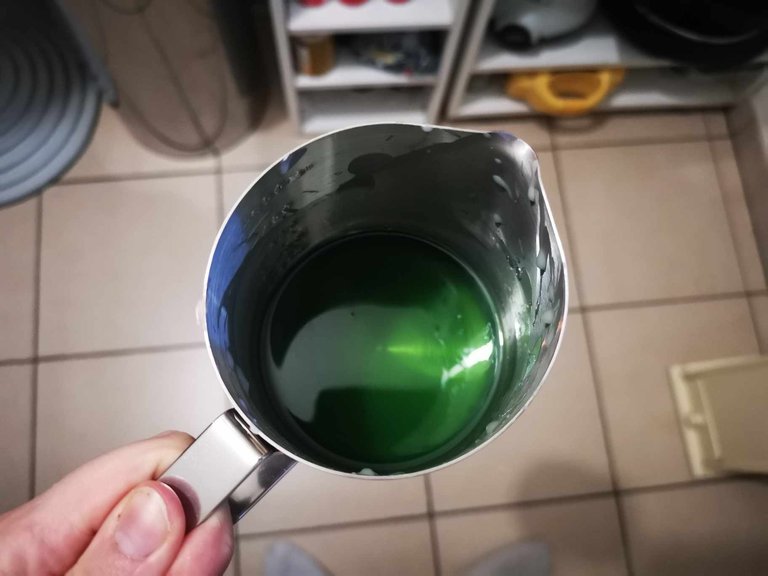
For mine, I decided to make light green: so I added a small piece of blue dye and a small piece of yellow dye to the melted wax. And I mixed until the final color appeared.
Here is what it looks like:
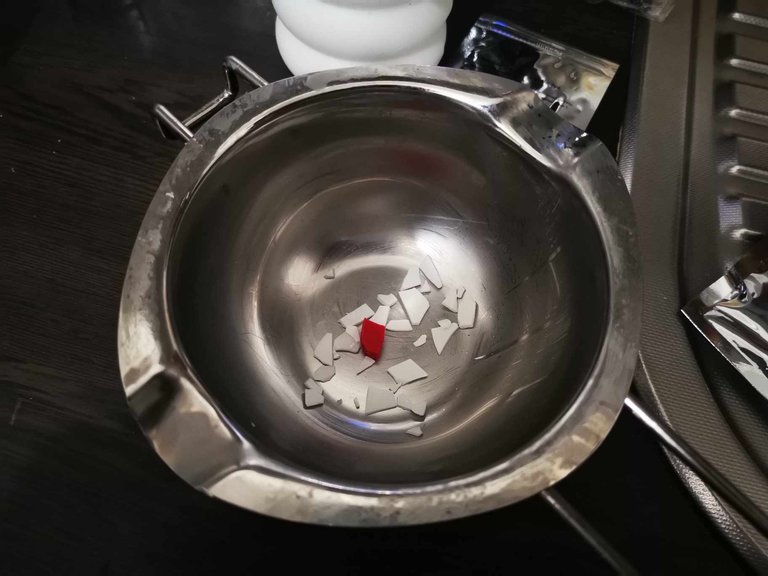
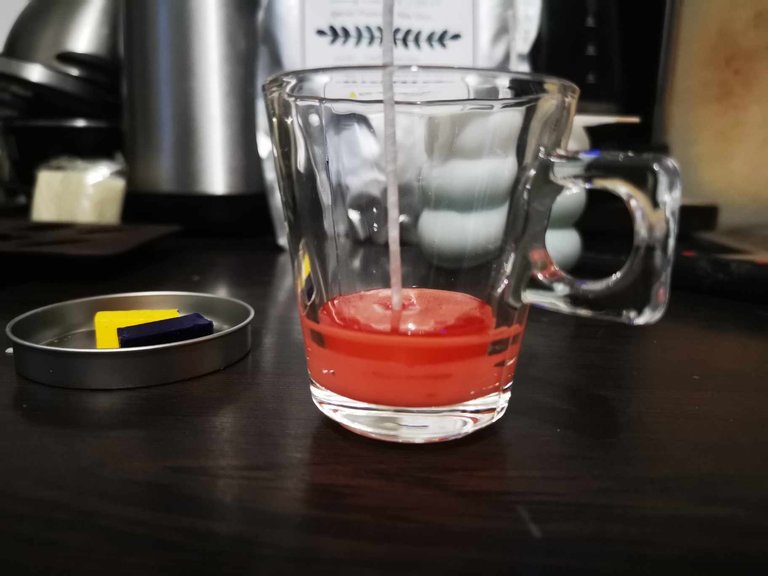
My mother decided to make pink. So she mixed melted wax with a small piece of red dye and small pieces of white dye.
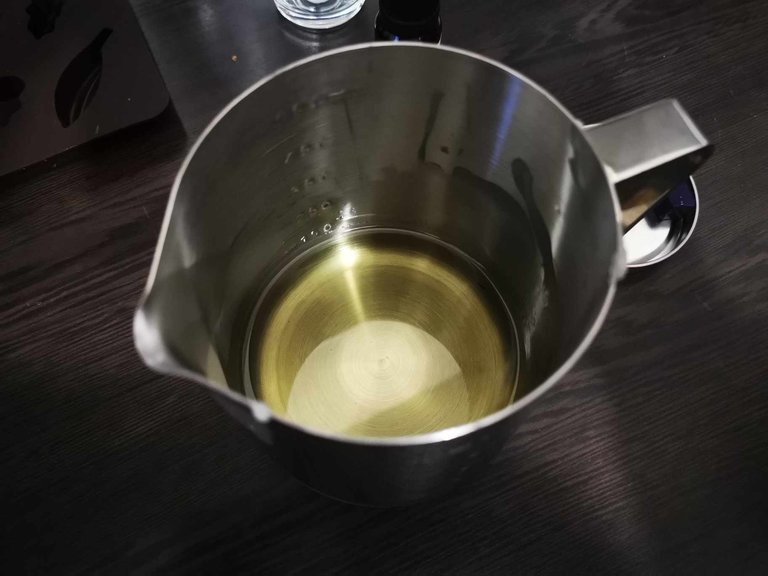
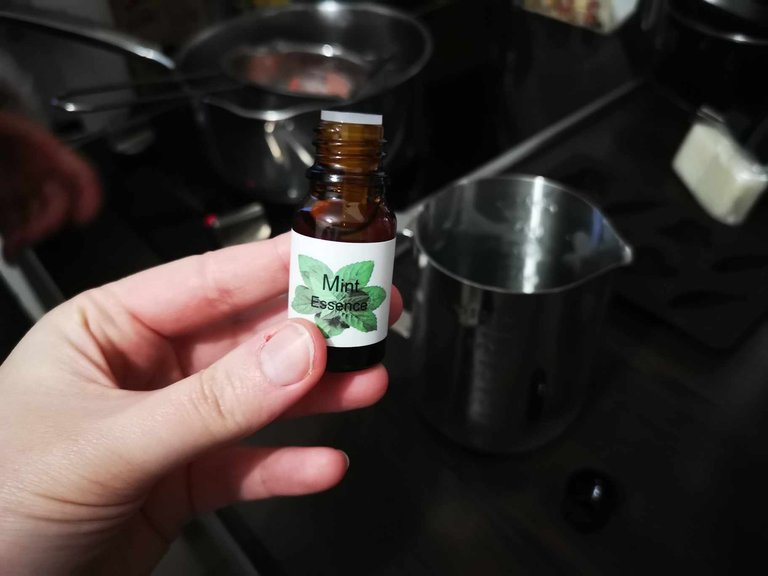
Step 4: Add essential oils or fragrances
This is the time to add scent to your candle. For my part, since I chose to make a green candle, I chose to put drops of mint essential oil. I put 5 or 6.
My mother added 2 or 3 drops of Grasse fragrance in her candle.
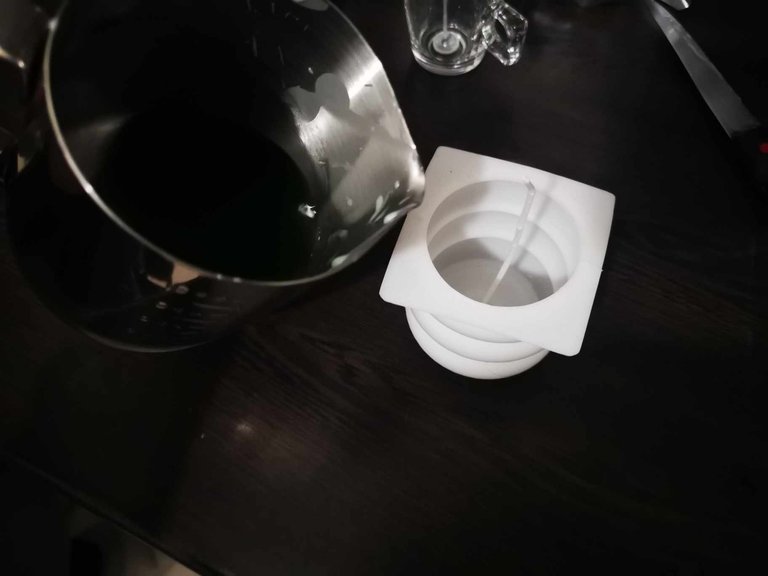
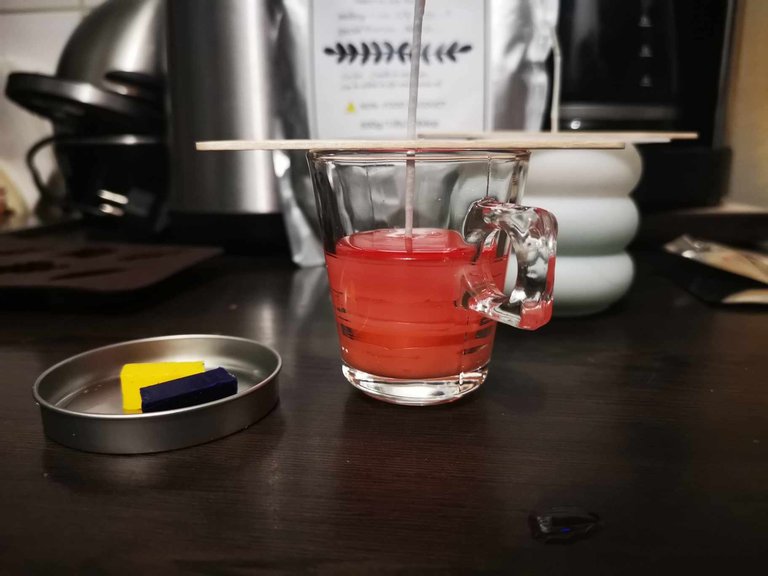
Step 5: Pour the wax into the mold
Now it is time to gently pour the wax into your mold.
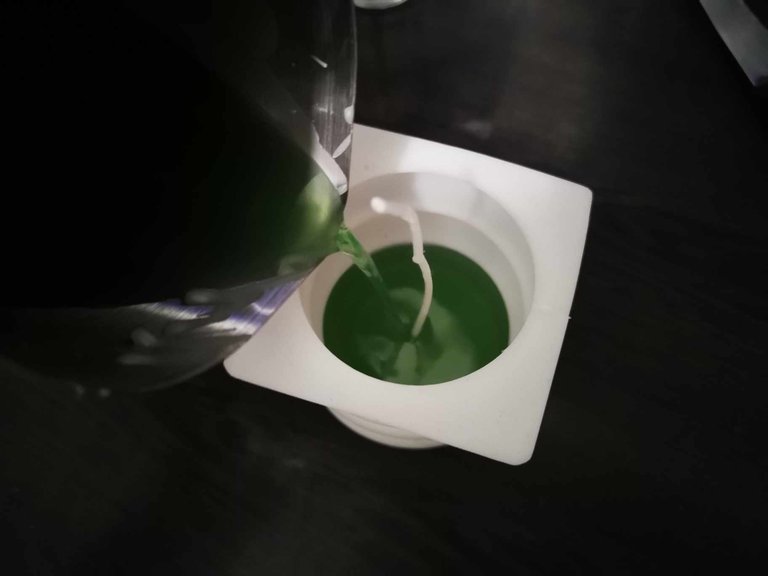
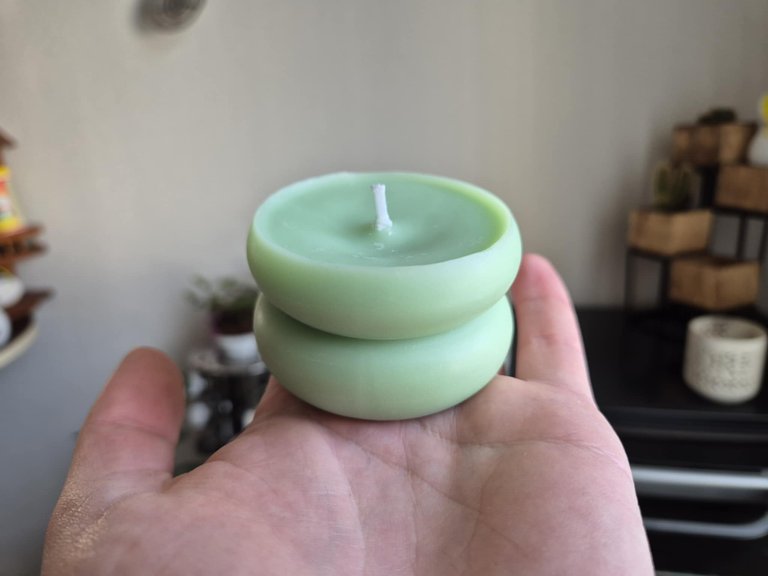
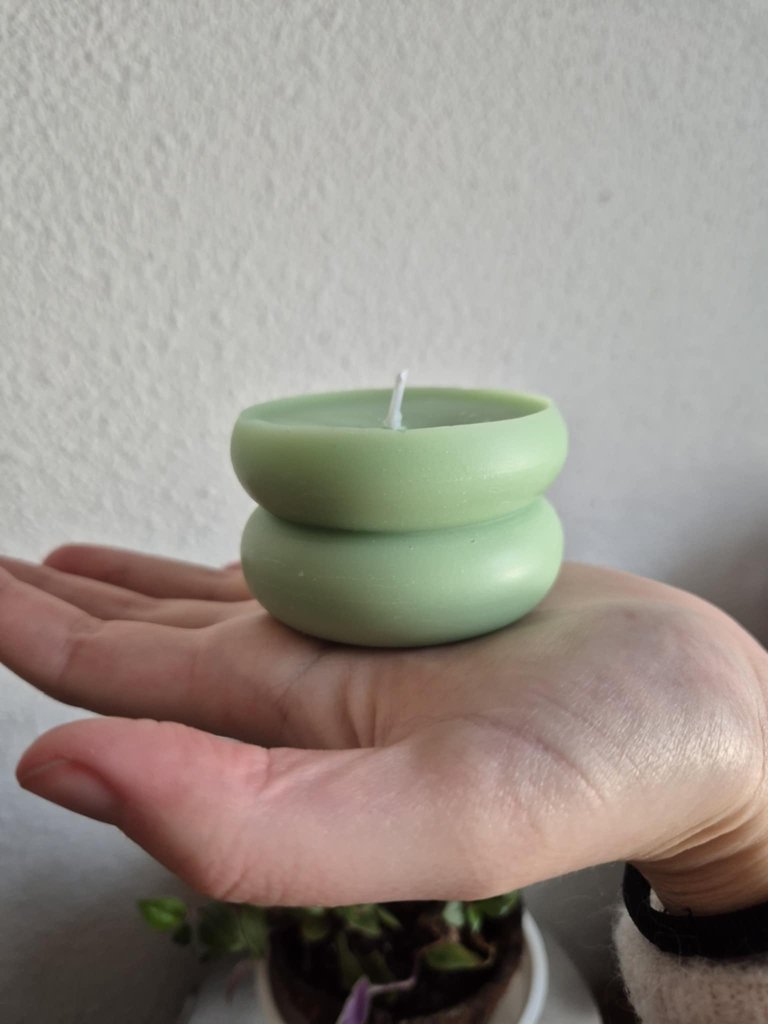
For my part, I chose a mold with 3 small sausages. But I didn't have enough wax to fill it completely, so it will only have 2.
Here's what it looks like:
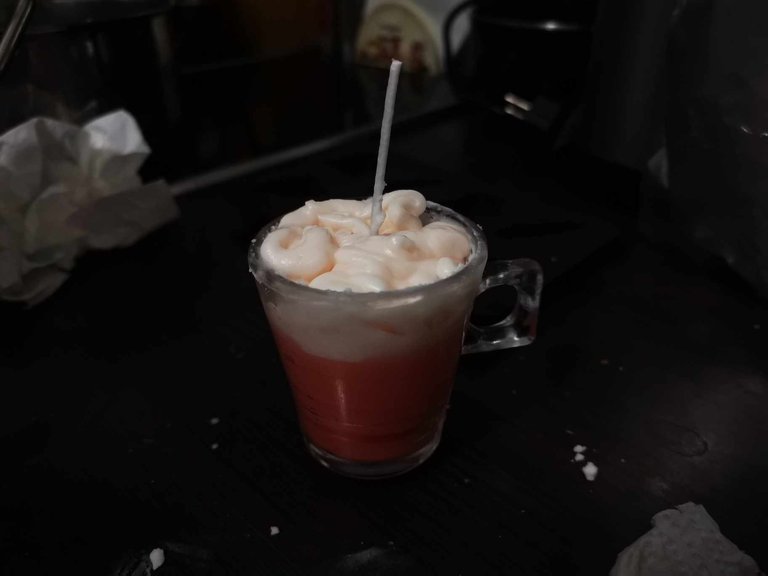
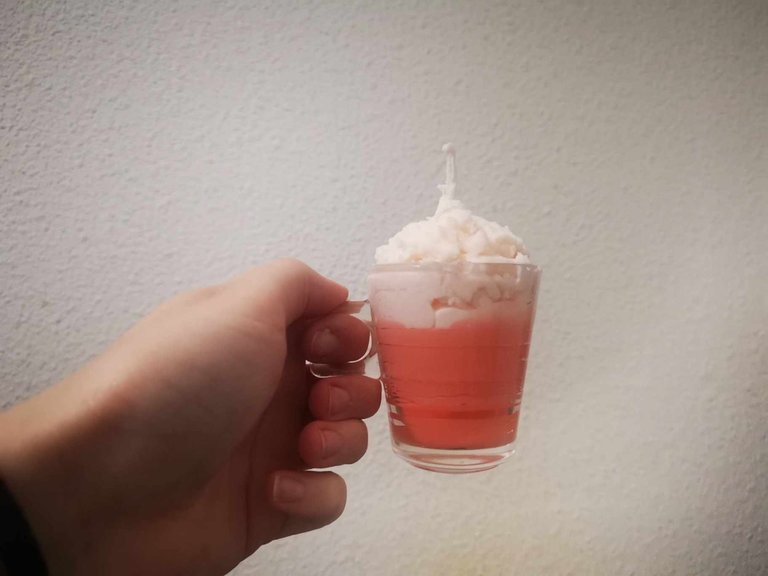
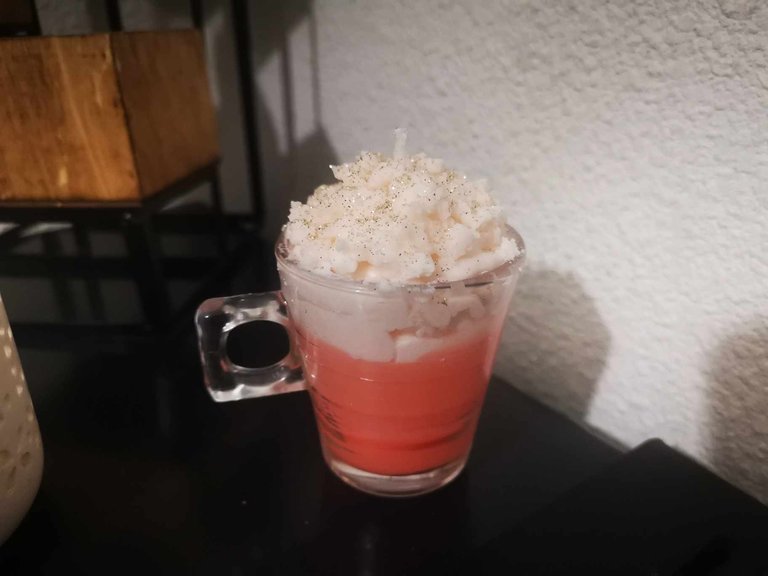
And my mother chose a small glass cup.
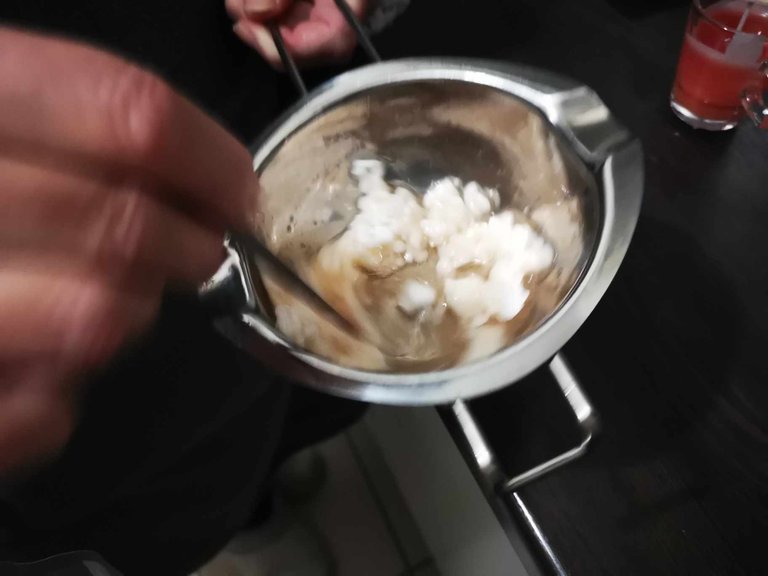
Optional step: Making whipped cream
To complete her candle, my mother wanted to try making whipped cream.
To make whipped cream, she found a tutorial on Youtube, however, she didn't follow the dosages. In theory, you have to mix wax shavings into already melted wax and whisk until the mixture thickens.
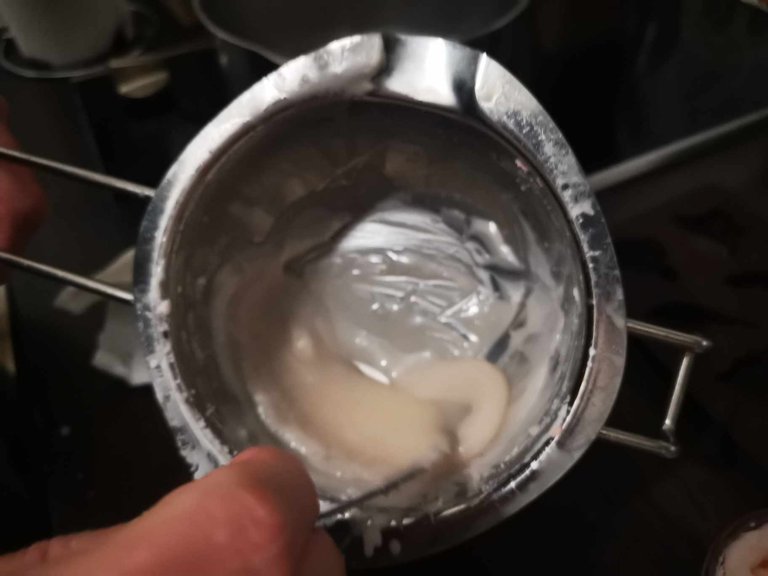
Then, you have to place the whipped cream in a piping bag to be able to arrange it nicely on your candle.
For our part, the fact of not having followed the tutorial correctly, especially in terms of dosage, did not help us. Our whipped cream had a texture that was too liquid, it was not thick enough.
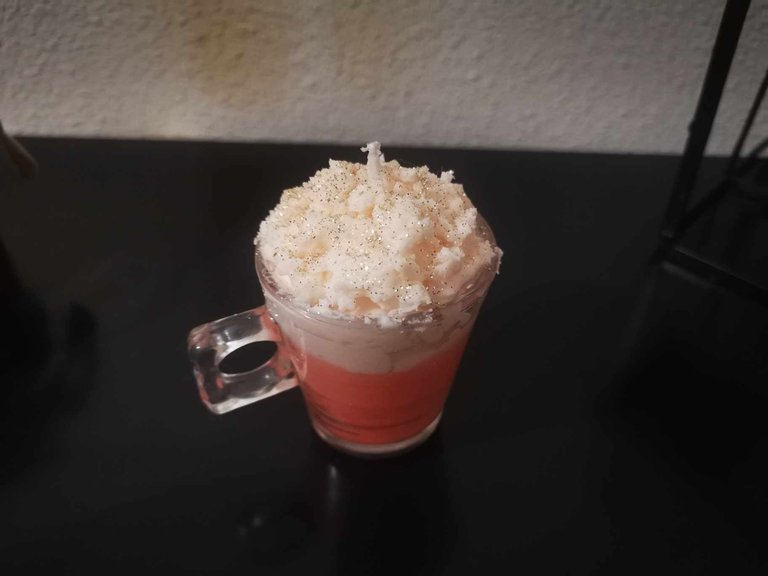
But, my mom managed to catch up and here is the result of her candle:
Step 6: Unmold
Once your candle is poured, you must let it rest for 48 to 72 hours. Time for it to harden and crystallize.
After 48 hours, if you feel that it has hardened well, you can unmold it.
And don't forget to cut the wick. It is best to cut it to about 1 cm to ensure better combustion.
You can then light your own candle, or place it in your interior decoration.
There you go, now you know how to make your own creative candles. Whether for your interior or to offer to someone, it is an object that pleases many! 🕯️
It is a rather pleasant activity, where you can let your creativity speak by mixing texture and color for example.
I hope this tutorial can help you. If you have any questions, don't hesitate. 😊
See you soon,
Johanna
PS: I used Google Translate to translate the English part.

Hello les amis ! J’espère que vous allez tous très bien. 😊
Depuis quelques mois, ma maman s’est mise à faire ses propres bougies créatives. Pour Noël, je lui ai offert un kit avec tout le matériel pour créer des bougies originales.
Et depuis, chaque semaine, elle fait ses petites bougies pour sa maison. 🕯️
Lorsque je suis rentré voir mes parents, elle m’a proposé de faire un atelier bougie. Et j’ai adoré ! J’ai décidé de partager avec vous un petit tutoriel pour fabriquer vos propres bougies créatives.
Car vous allez voir, c’est plutôt simple, rapide et créatif ! 😁
Le matériel dont vous aurez besoin
- Un bécher en inox/aluminium,
- Une casserole avec de l’eau,
- Une plaque de cuisson,
- De la cire de soja (ou autre cire),
- Des colorants (ici, bleu, rouge, jaune et blanc),
- Des moules fantasy ou récipient en verre pour bougie,
- Des huiles essentielles ou des fragrances de parfum,
- Des mèches à bougie, un bâton pour les tenir et un patch autocollant,
- Une cuillère pour mélanger.
Les étapes
Étape 1 : Faire chauffer de l’eau
Pour commencer, il faut faire chauffer de l’eau et y déposer le bécher en aluminium.
Étape 2 : Ajouter la cire
Une fois que l’eau commence à être bien chaude, vous pouvez déposer de la cire dans le bécher. La cire va fondre.
Avec ma maman, on devait utiliser des copeaux de cire, et puis au dernier moment, nous avons changé d’avis et nous avons testé des pains de cire.
Nous en avons mis 3.
Si vous souhaitez faire des grandes bougies, nous vous conseillons de mettre pas mal de cire, car finalement, une fois fondue, on se rend compte que la quantité a bien réduit.
Laissez la cire fondre complètement.
Étape 3 : Ajouter les colorants
C’est le moment de faire marcher votre mémoire et de vous souvenir des cours d’art plastique : quelles couleurs faut-il mélanger pour obtenir telle ou telle couleur ? 😁
En termes de quantité, c’est un peu libre, cela dépend vraiment du rendu que vous souhaitez donner à votre bougie.
Pour la mienne, j’ai décidé de faire du vert clair : j’ai donc ajouté un petit morceau de colorant bleu et un petit morceau de colorant jaune dans la cire fondue. Et j’ai mélangé jusqu’à ce que la couleur finale apparaisse.
Voici ce que cela donne :
Ma mère quant à elle, a décidé de faire du rose. Elle a donc mélangé de la cire fondue avec un petit morceau de colorant rouge et des petits morceaux de colorant blanc.
Étape 4 : Ajouter les huiles essentielles ou parfums
C’est le moment d’ajouter de la senteur à votre bougie. Pour ma part, comme j’ai choisi de faire une bougie verte, j’ai choisi de mettre des gouttes d’huile essentielle de menthe. J’en ai mis 5 ou 6.
Ma mère a ajouté 2 ou 3 gouttes de fragrance de Grasse dans sa bougie.
Étape 5 : Verser la cire dans le moule
Il est maintenant temps de verser délicatement la cire dans votre moule.
Pour ma part, j’ai choisi un moule avec 3 petits boudins. Mais je n’avais pas assez de cire pour le remplir entièrement, alors il n'en aura que 2.
Voici ce que cela donne :
Et ma mère a choisi une petite tasse en verre.
Étape facultative : Faire de la chantilly
Pour compléter sa bougie, ma maman avait envie de tester de faire de la chantilly.
Pour faire de la chantilly, elle a trouvé un tutoriel sur Youtube, cependant, elle n’a pas suivi les dosages. Dans la théorie, il faut mélanger des copeaux de cire dans de la cire déjà fondue et fouetter jusqu’à ce que le mélange épaississe.
Ensuite, il faut placer la chantilly dans une poche à douille pour pouvoir la disposer joliment sur sa bougie.
Pour notre part, le fait de ne pas avoir suivi correctement le tutoriel, notamment au niveau du dosage, ne nous a pas aidé. Notre chantilly avait une texture trop liquide, elle n’était pas assez épaisse.
Mais bon, ma maman a réussi a rattrapé et voici le résultat de sa bougie :
Étape 6 : Démouler
Une fois que votre bougie est coulée, vous devez la laisser reposer pendant 48h à 72h. Le temps qu’elle durcisse et cristallise.
Après 48h, si vous avez l’impression qu’elle a bien durcie, vous pouvez la démouler.
Et n’oubliez pas de couper la mèche. Le mieux est de la couper à environ 1cm pour assurer une meilleure combustion.
Vous pouvez ensuite allumer votre propre bougie, ou bien la placer dans votre décoration d’intérieur.
Voilà, maintenant vous savez comment faire vos propres bougies créatives. Que ce soit pour votre intérieur ou bien pour offrir à quelqu’un, c’est un objet qui plaît à beaucoup ! 🕯️
C’est une activité assez plaisante, où vous pouvez laisser parler votre créativité en mélangeant texture et couleur par exemple.
J’espère que ce tutoriel pourra vous aider. Si vous avez des questions, n’hésitez pas. 😊
À bientôt,
Johanna
PS : J’ai utilisé Google Traduction pour traduire la partie en anglais.
What an excellent craft, creating your own candles gives you the freedom to make the design that you like and that you may not find in the market 👌 They turned out very well 😍
Wow, this is extraordinary work, can design it according to your own wishes. Good job👍
Etant artisan Cirer (meta-etre.com), laisse moi insister sur la nécessité d'éviter à tout prix les huiles essentielles pour parfumer vos bougies.
Quasiment systématiquement toxiques une fois enflammées ...
Préférez parfums de Grasses, pour bougies, il y en a pléthores.
!PIZZA
Your post has been manually reviewed for curation by the Principality of Bastion.
Check the Trail of posts we voted
Principality of Bastion - Our Leit Motiv? Let's Grow Together.
Principality's site | Minava NFT Market | Discord | Our Twitch Channel
You may TRAIL this account if you like the curation we do, or join our discord to know more about what we do.

$PIZZA slices delivered:
(5/10) @itharagaian tipped @altheana
😃Beautiful work, it was awesome.❤️