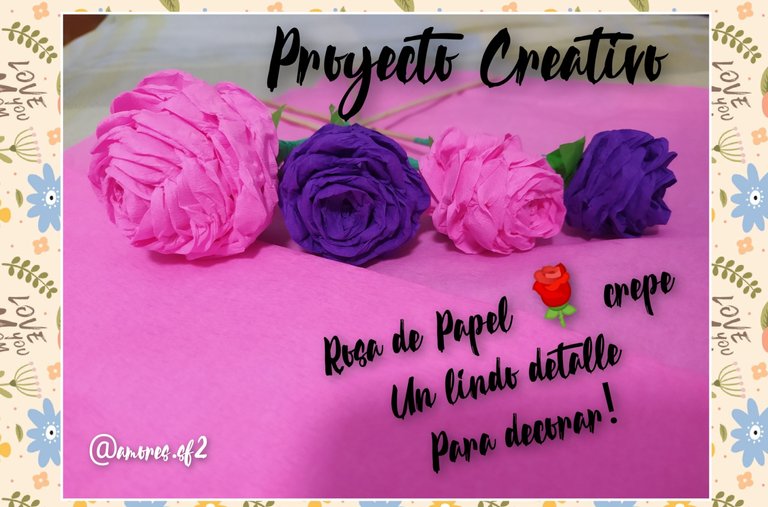
Hello greetings to all my friends of Hive Diy! This time I come again to share with you a super easy creative project and best simple to perform, is an ornament that can serve for many decorations such as centerpieces, souvenirs as a souvenir for Mother's Day, also for a school project, in short can be adapted for any occasion.
It is a flower or rose made with crepe paper in a striking color according to your taste.
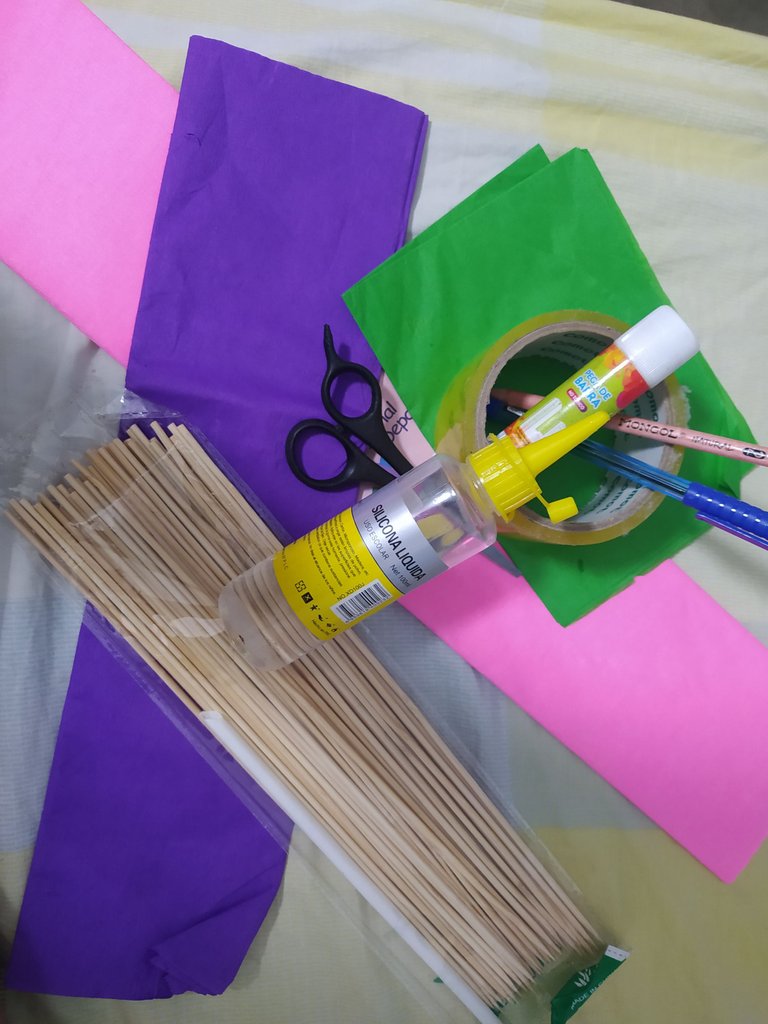
We are going to start our tutor and I will tell you about the materials to be used.

Materials
🌹Papel crepe, elegí color morado y fuscia y verde.
🌹Pega en barra o Silicon líquido.
🌹Tijera
🌹Cinta plástica.
🌹Palitos de altura.
🌹Crepe paper, choose purple and fuscia
and green.
🌹Glue stick or liquid silicon.
🌹Scissors
🌹Plastic tape.
🌹High sticks.

Step by Step
N°1
The first thing we do is to take the chosen crepe paper and cut a portion of it approximately 8cm and the width according to the paper.
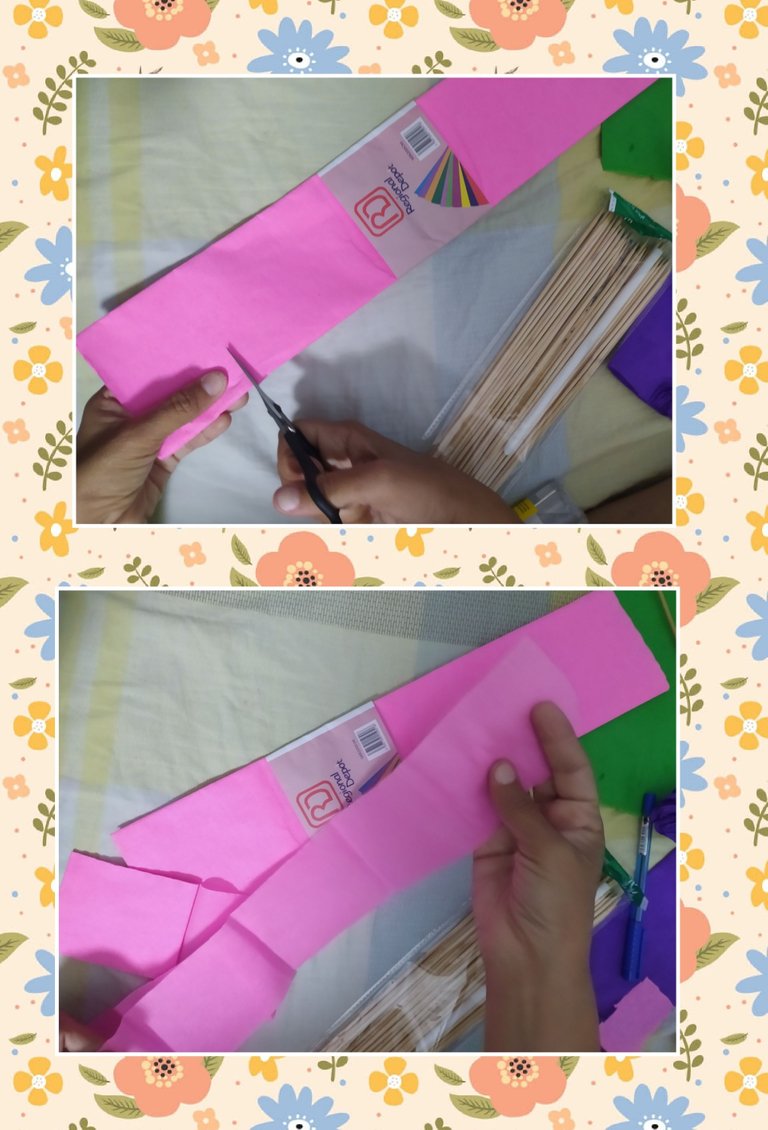
N°2
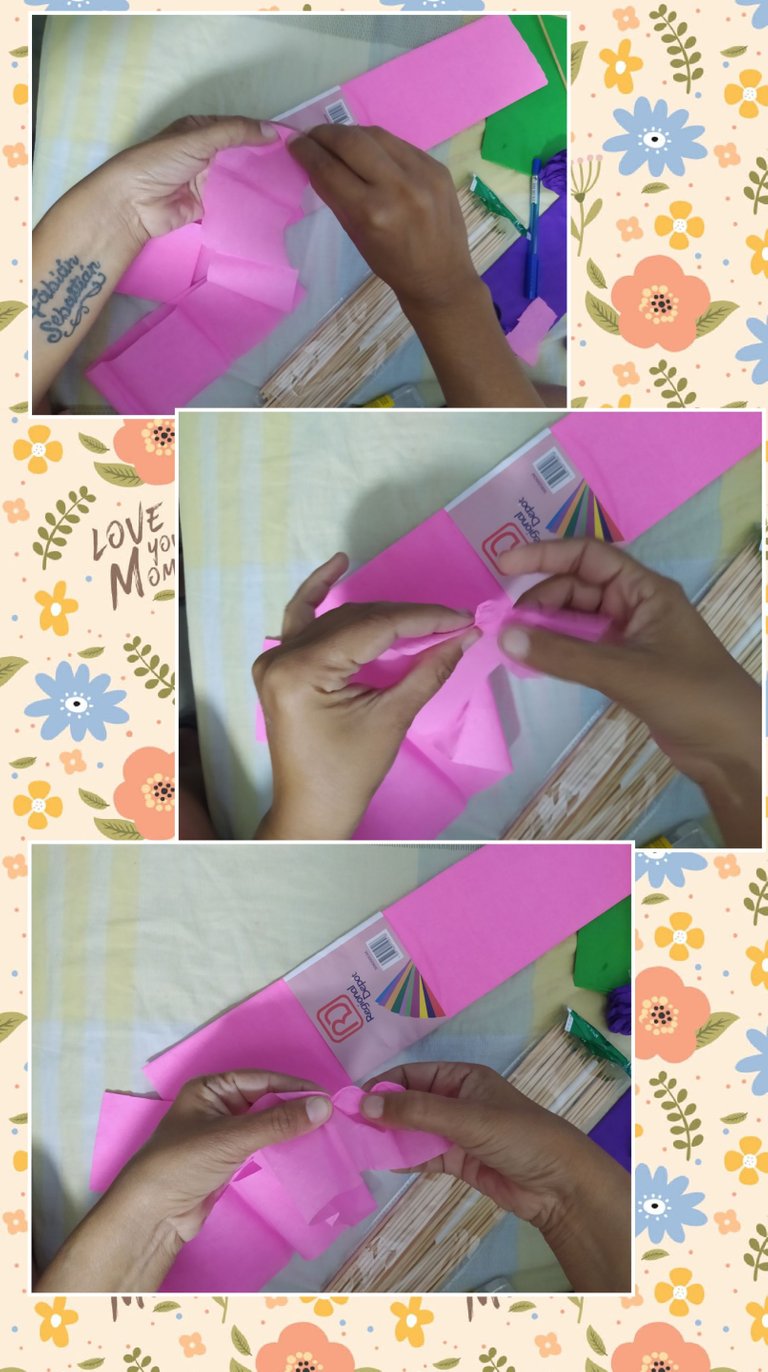
We start by making the flower once the crepe paper is cut, the first thing we do is to make a triangle-shaped fold and then another diagonal fold, as shown in the photo.
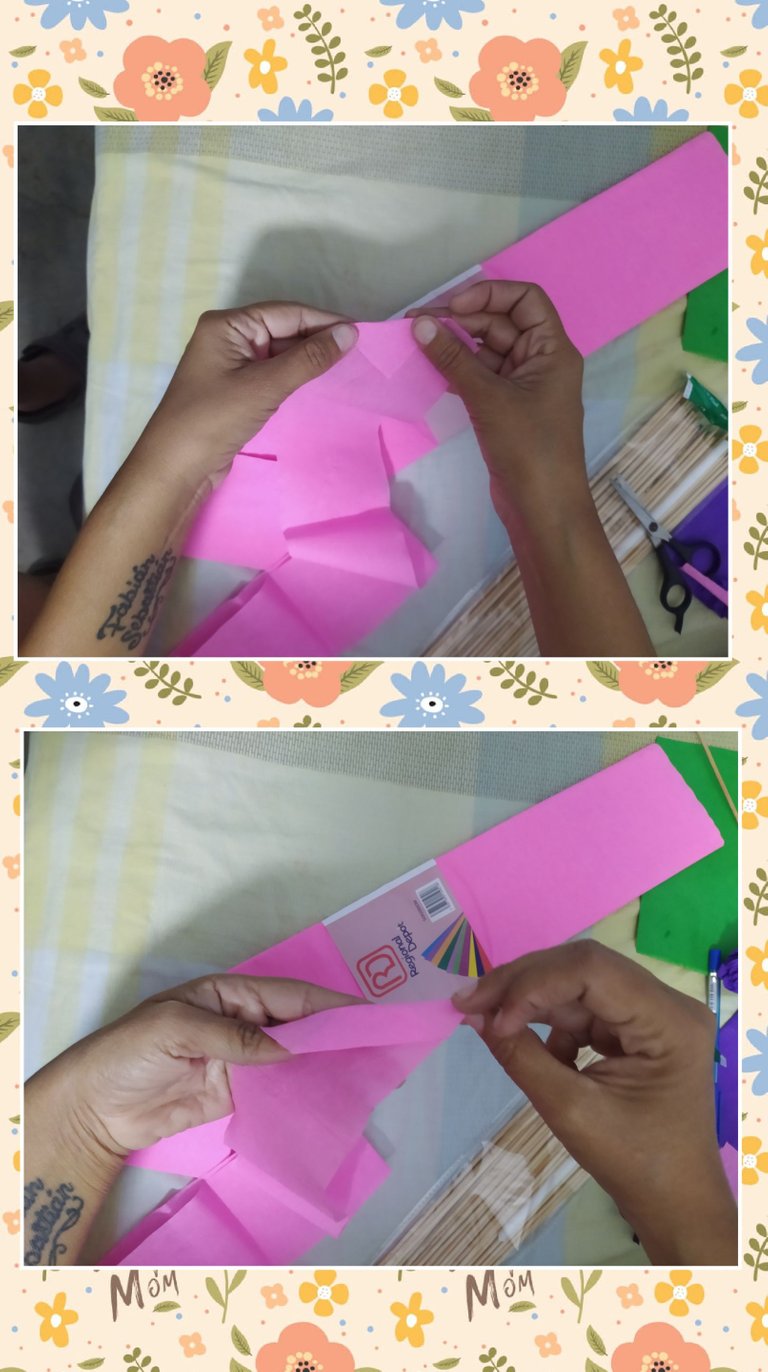
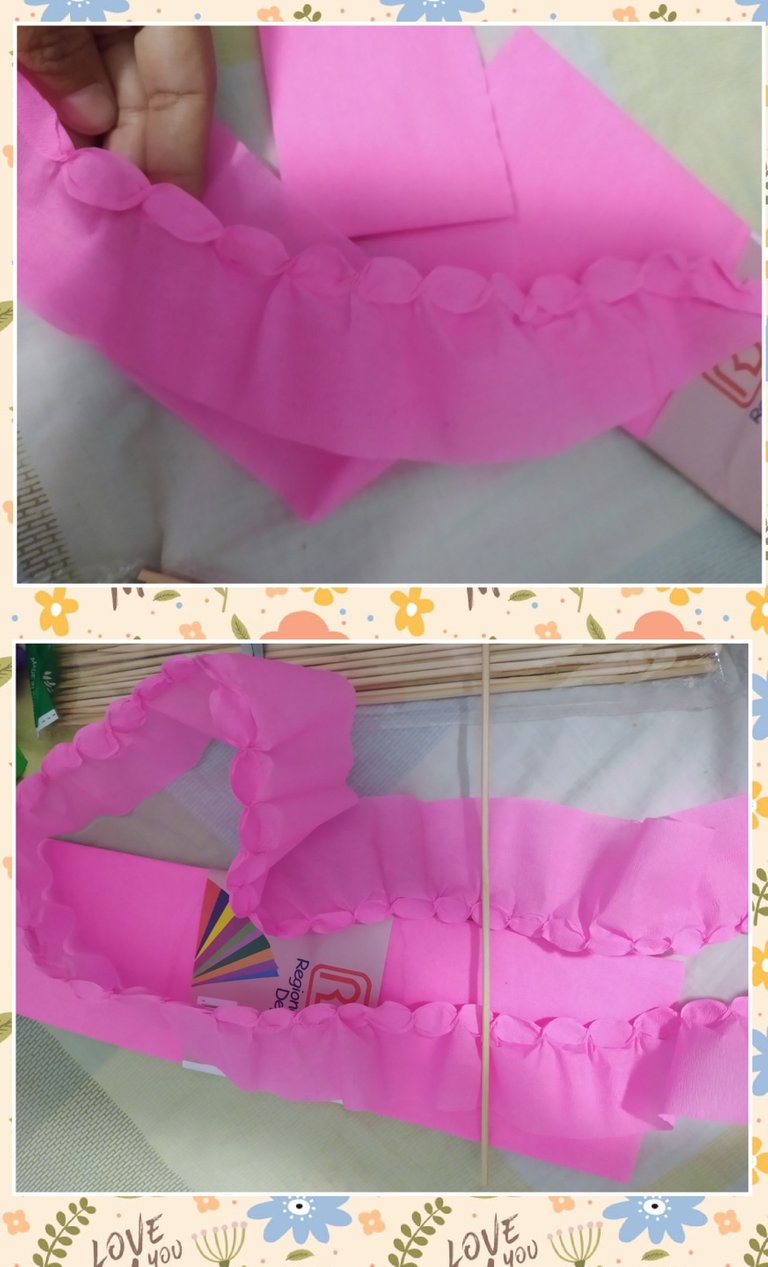
We continue making the flower and begin to fold or twist back and forth forming a faralado, we repeat this step until we finish folding all the crepe paper tape, as shown in the photos.
N°3
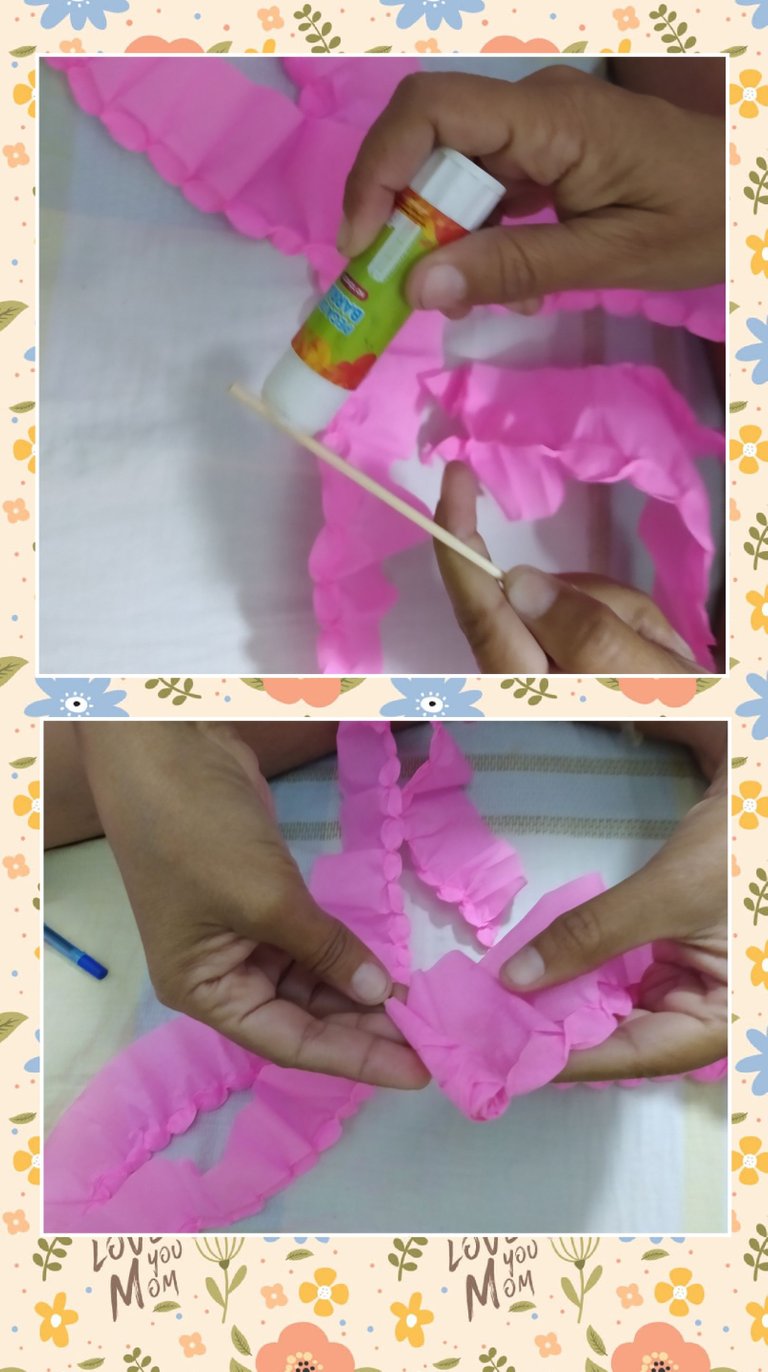
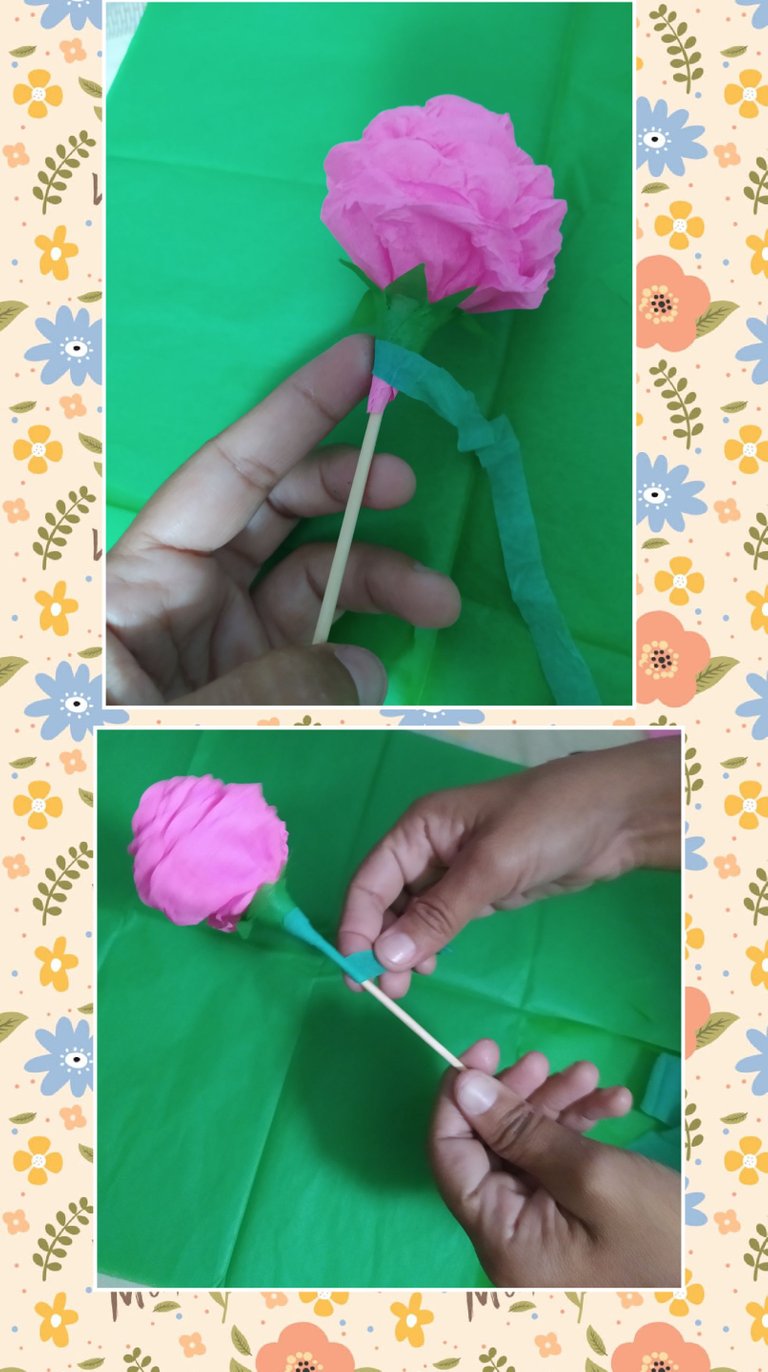
We start with to assemble the flower rolled in crepe paper on the stick height and for this we are gluing with the glue stick or liquid Silicon..

N°4
Once the flower is assembled, we are going to make the calyx of the flower with the green tissue paper and for this we cut out a square of this paper, cut it in half and cut it in the shape of a triangle as shown in the photo.
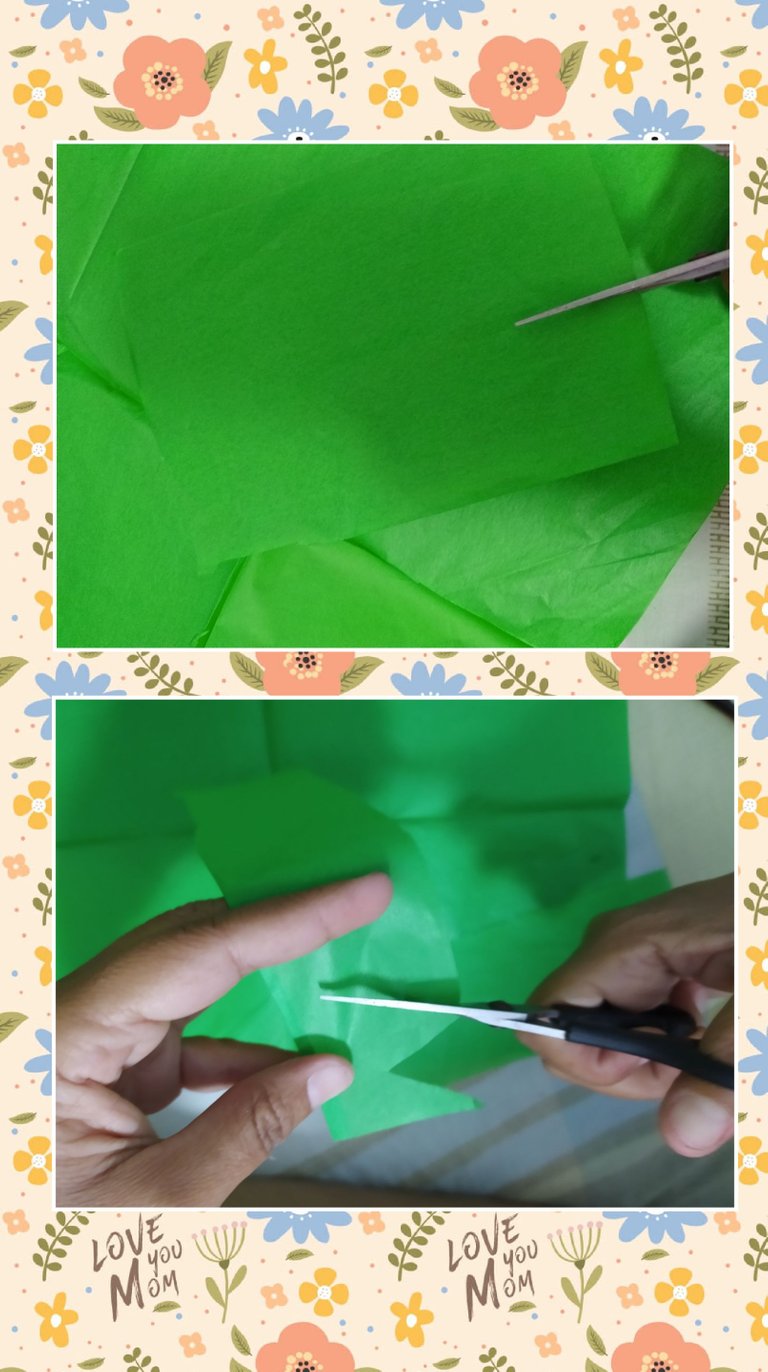
And we are sticking it to the top edge of the flower to decorate as it looks just like a natural flower, we finish lining the wooden stick in green crepe paper that will be the stem of our flower, and for this we cut a small ribbon of paper we put the stick glue stick and we roll the paper as we see in the photo.
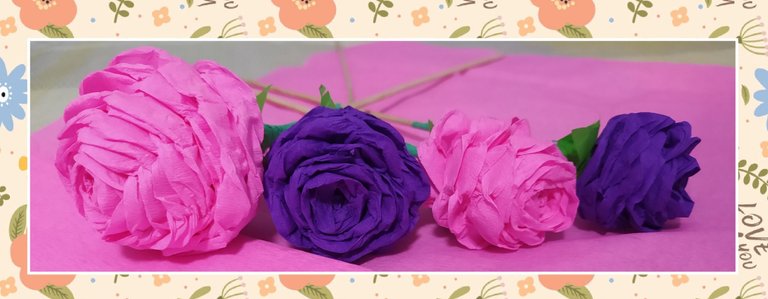
I made 4 roses, two in purple and two in fuscia and as beautiful as you can see in the photo, my roses were very creative and a nice detail to decorate or give as a gift.
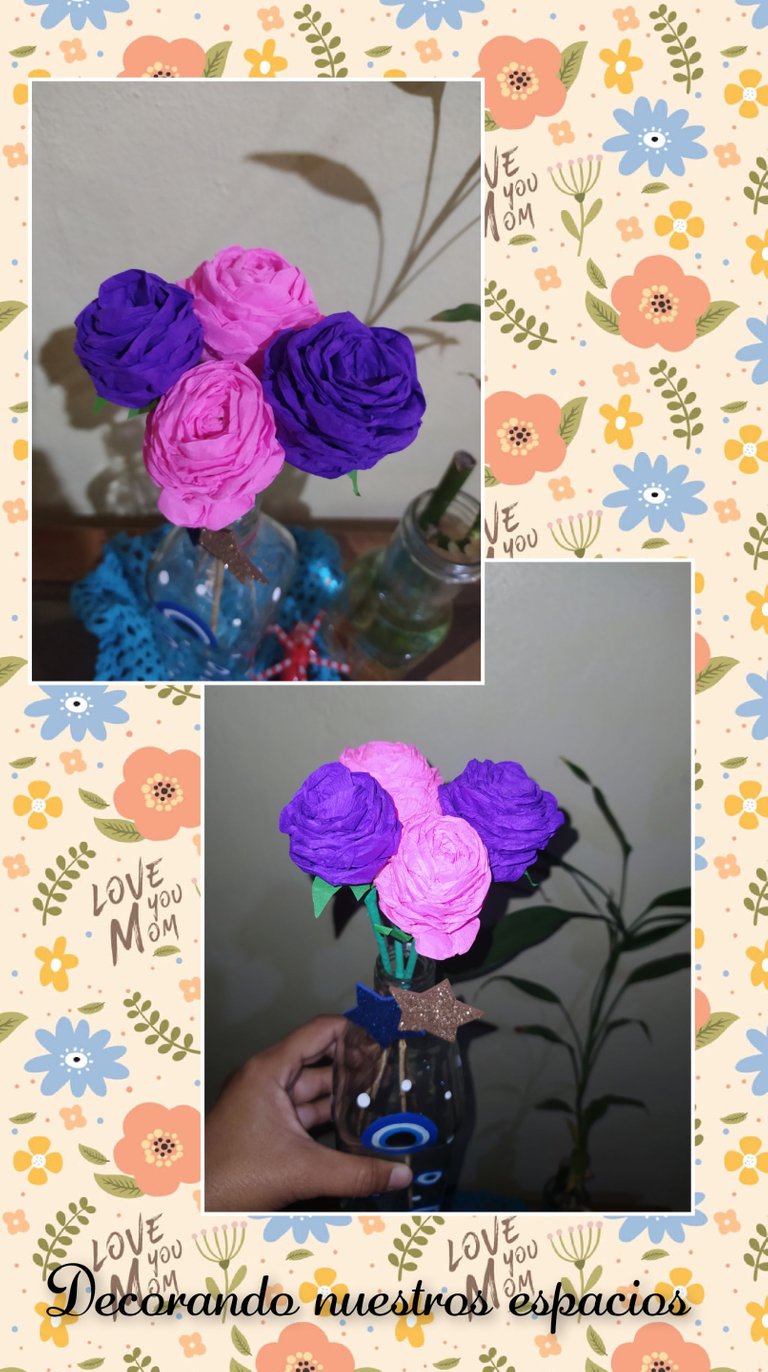
All photos presented in my publication are my own taken with my cell phone and edited in Incollaje, my text is translated by Deepl.
Mil gracias por leer mi contenido, nos vemos en una próxima ocasión.
❤️ bendiciones ❤️
A thousand thanks for reading my content, see you next time.
❤️ blessings ❤️
Congratulations @amores.sf2! You have completed the following achievement on the Hive blockchain and have been rewarded with new badge(s):
Your next target is to reach 7000 upvotes.
You can view your badges on your board and compare yourself to others in the Ranking
If you no longer want to receive notifications, reply to this comment with the word
STOPCheck out the last post from @hivebuzz:
Support the HiveBuzz project. Vote for our proposal!
Están muy bellas, deben quedas espectaculares también en un tono crema, o hasta en un papel crepé de esos blancos que llevan años guardados (los míos viejos ya parecen beige jaja) pasarían por rosas reales fácilmente
Siii ! quedan muy bellas en tono crema y vinotinto espectacular,me alegra que te guste y anímate a realizarlas es super fácil. Gracias por tu apoyo! ❤️
Thank you for sharing this amazing post on HIVE!
Your content got selected by our fellow curator @stevenson7 & you just received a little thank you via an upvote from our non-profit curation initiative!
You will be featured in one of our recurring curation compilations and on our pinterest boards! Both are aiming to offer you a stage to widen your audience within and outside of the DIY scene of hive.
Join the official DIYHub community on HIVE and show us more of your amazing work and feel free to connect with us and other DIYers via our discord server: https://discord.gg/mY5uCfQ !
If you want to support our goal to motivate other DIY/art/music/homesteading/... creators just delegate to us and earn 100% of your curation rewards!
Stay creative & hive on!