
Hola a todos!
En este post, continuo explicando como realizar una imagen de una ballena con arte geométrico, sacando nuestro lado creativo y dando un aspecto más infantil.
Vale acotar, que haciendo este dibujo tuve muchos momentos en los que cambie y/o elimine algunas formas para llegar a este resultado.
Hello everybody!
In this post, I continue to explain how to make an image of a whale with geometric art, bringing out our creative side and giving it a more childlike look.
Como acostumbro, los pasos previos a iniciar un dibujo son colocar las medidas de mi preferencia al formato de la hoja y el fondo el gris, esto es opcional y a gusto del dibujante.
Luego de tener esta base, pasamos a bloquear el fondo para evitar trabajar en ella por error y con esto correr el riesgo de perder nuestro trabajo.
El segundo paso sería crear una capa para el boceto, en este caso hay varios elementos que agregar.
As I usually do, the previous steps to start a drawing are to place the measures of my preference to the format of the sheet and the gray background, this is optional and to the draftsman's taste.
After having this base, we move on to block the background to avoid working on it by mistake and thus run the risk of losing our work.
The second step would be to create a layer for the sketch, in this case there are several elements to add.
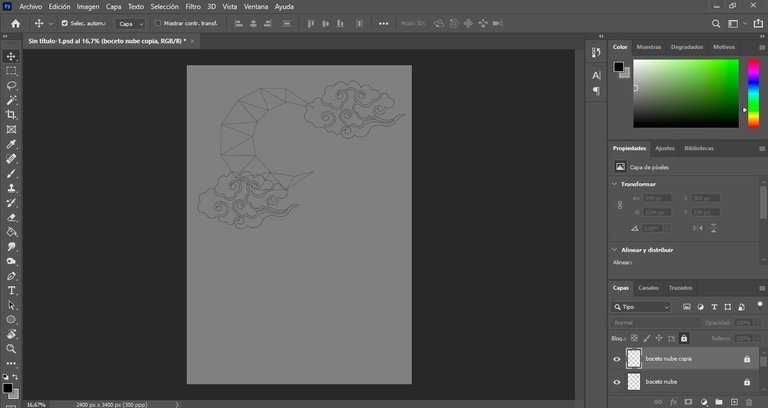
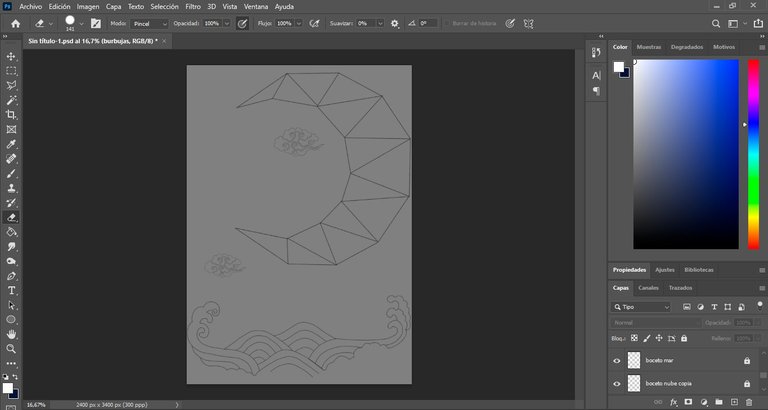
Como pueden ver, en el boceto vamos cambiando constantemente de lugar los objetos, esto continua más adelante para comodidad del dibujante.
As you can see, in the sketch we are constantly changing the place of the objects, this continues later for the convenience of the draftsman.
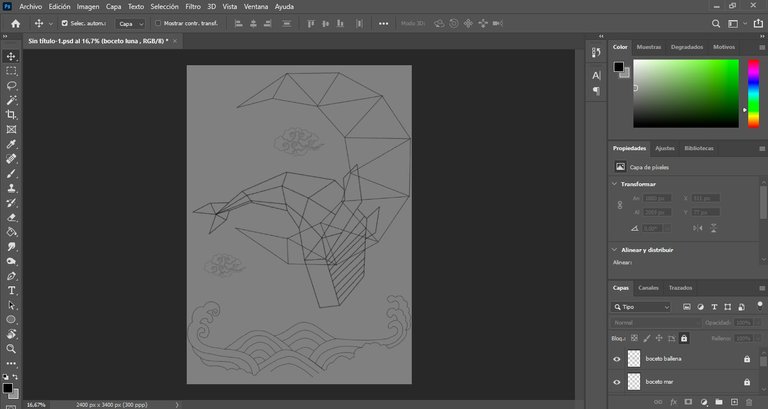
Terminado el boceto, bloqueamos esas capas y creamos otras en donde se colocaran los colores pertinentes del dibujo, al igual que en las publicaciones anteriores nos ayudaremos con las líneas guías de nuestro boceto.
Once the sketch is finished, we lock those layers and create others where we will place the pertinent colors of the drawing, as in the previous publications we will help ourselves with the guide lines of our sketch.
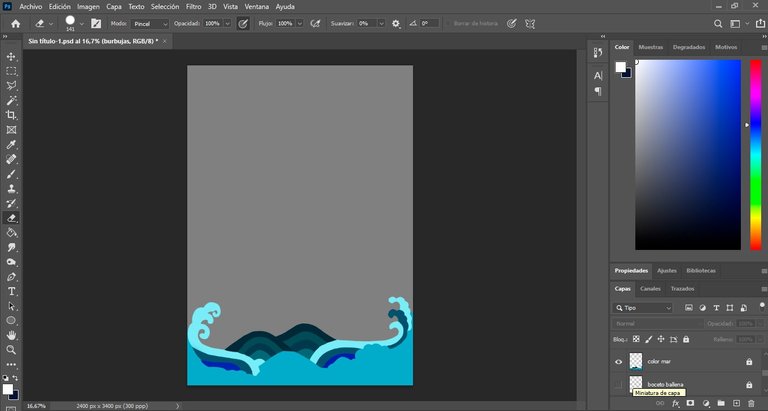
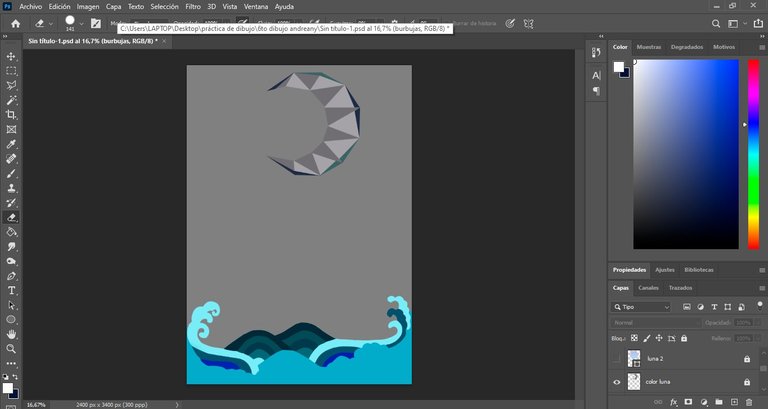
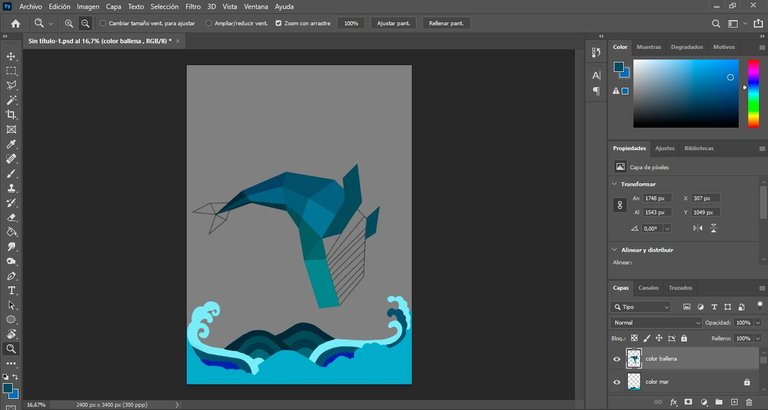
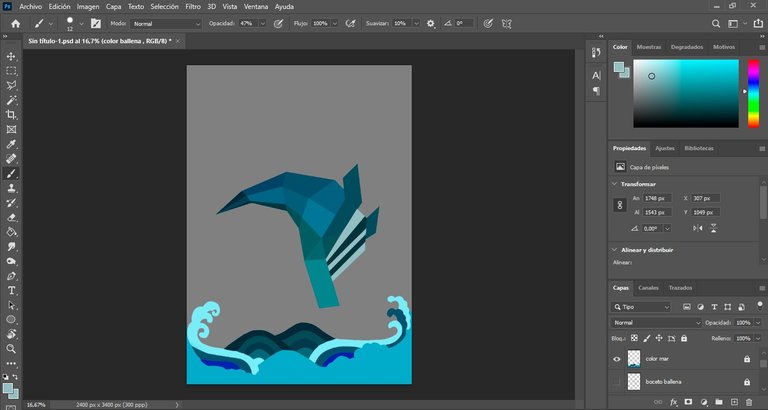
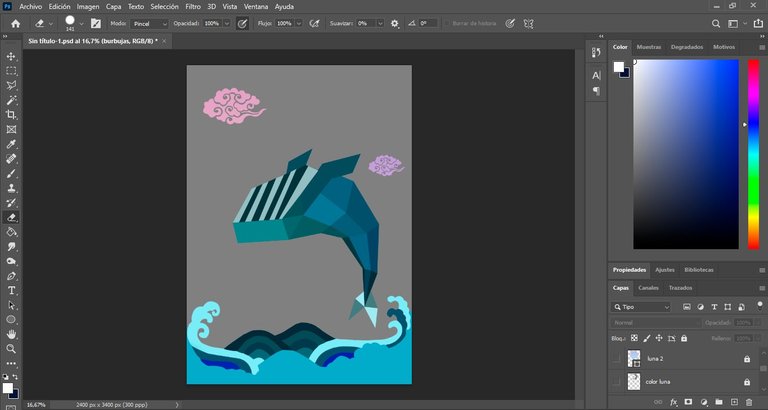
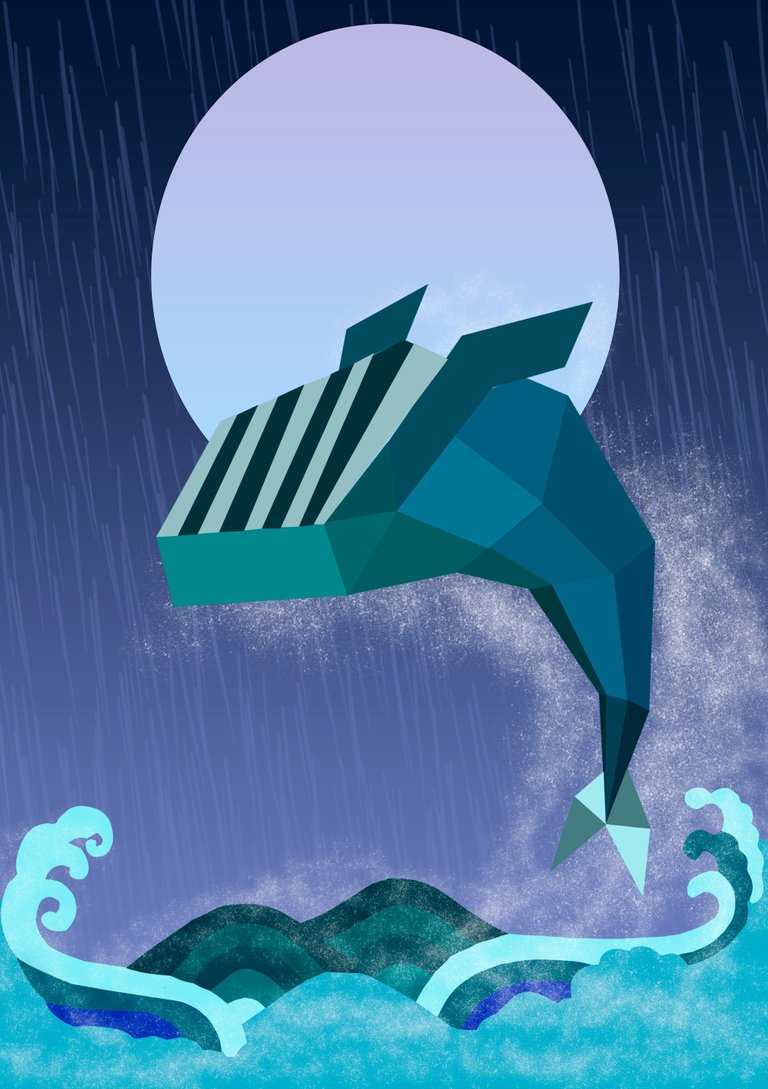
Este será el diseño final del dibujo, pueden ver que cambiamos la luna utilizando la herramienta elíptica y eliminando las nubes para tener una imagen más limpia.
This will be the final design of the drawing, you can see that we changed the moon using the elliptical tool and eliminating the clouds to have a cleaner image.
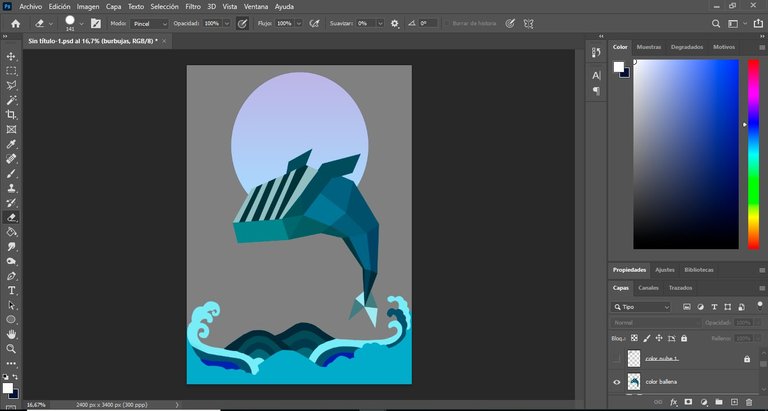
Una vez colocados los colores y con cambios continuos en los distintos objetos y lugares del dibujo pasamos a crear algunos detalles del fondo.
En la primera imagen trabajamos el rocío del agua mientras la ballena salta.
Once the colors are placed and with continuous changes in the different objects and places of the drawing we move on to create some details of the background.
In the first image we work on the water spray while the whale jumps.
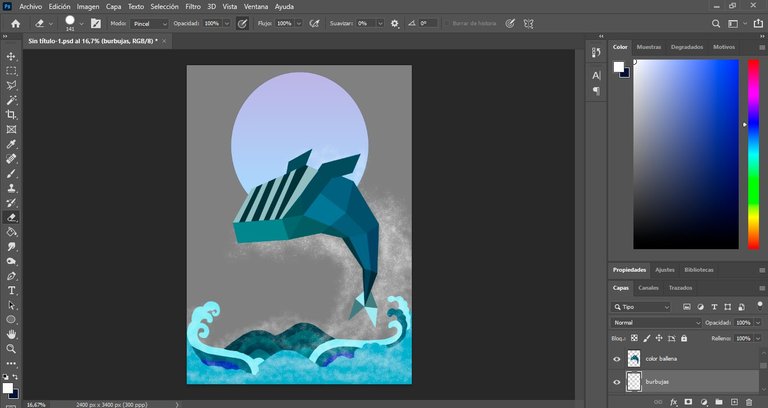
En esta segunda imagen colocamos un fondo azul oscuro con un poco de degradado.
In this second image we place a dark blue background with a little gradient.
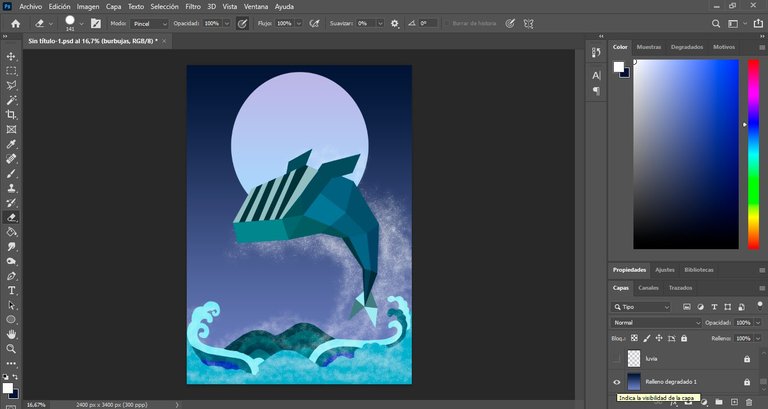
En esta tercera imagen colocamos el detalle de la lluvia que siento que va mejor con el rocío de las gotas en el mar, siendo este el resultado final.
In this third image we placed the detail of the rain that I feel goes better with the dew of the drops in the sea, being this the final result.
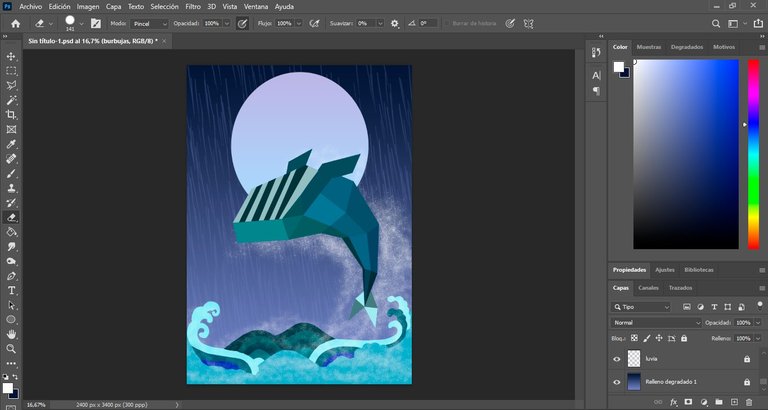
Espero les sea de utilidad este paso a paso sobre como hacer este tipo de dibujo, a modo de resumen nuestras herramientas para trabajar dentro de la aplicación son: pluma, lazo poligonal, el cuentagotas y en esta oportunidad se hizo uso de los pinceles para darle vida al fondo.
Vale acotar que la creación de capas es opcional, esto lo hago porque si al final del dibujo quisiera cambiar algo que se encuentra en el principio lo puedo cambiar fácilmente sin regresar todos los pasos.
Estuve aproximadamente 1 día realizando este dibujo, claramente no en su totalidad porque tenía mis momentos de descanso ante el computador recordando que cada obra amerita tiempo, paciencia y mucho detalle.
Espero les guste, muchas gracias por su apoyo y hasta la próxima!
I hope you find useful this step by step on how to make this type of drawing, as a summary our tools to work within the application are: pen, polygonal lasso, the eyedropper and this time we made use of the brushes to give life to the background.
It is worth mentioning that the creation of layers is optional, I do this because if at the end of the drawing I want to change something that is in the beginning I can change it easily without going back all the steps.
I spent approximately 1 day making this drawing, clearly not in its totality because I had my moments of rest in front of the computer remembering that each work deserves time, patience and a lot of detail.
I hope you like it, thank you very much for your support and see you next time!

- Laptop hp I3
- Mouse
- Programa Adobe Photoshop 2021
- Las imágenes aquí publicadas son contenido original.
- La referencia utilizada, se tomo de https://www.pinterest.es
- Mi lengua materna es el español, el traductor utilizado para la versión en ingles es: https://www.deepl.com
- Los banners de bienvenida y despedida son de mi creación con la ayuda de la página web https://www.canva.com
- La estructuración del post se realizo con el Tutorial de Markdown: https://peakd.com/hive-174578/@victoriabsb/tutorial-de-markdown-completo-or-traduccion-autorizada?fbclid=IwAR1K4xyC4hIjZeRCVsXDFOjPWEdxioDKZcrDO5PQ-U9WqFrXnh8QbcGzxkQ
- Laptop hp I3
- Mouse
- Programa Adobe Photoshop 2021
- The images published here are original content.
- The reference used was taken from https://www.pinterest.es.
- My native language is Spanish, the translator used for the English version is: https://www.deepl.com
- The welcome and farewell banners were created by me with the help of the website https://www.canva.com.
- The structuring of the post was done with the Markdown Tutorial: https://peakd.com/hive-174578/@victoriabsb/tutorial-de-markdown-completo-or-traduccion-autorizada?fbclid=IwAR1K4xyC4hIjZeRCVsXDFOjPWEdxioDKZcrDO5PQ-U9WqFrXnh8QbcGzxkQ
Hermosa pieza de arte abstracto digital amiga; me encanto el paso a paso. Un abrazo
Muchas gracias por tu visita y apoyo @kadoshmenorah !
me gusto mucho tu diseño es algo que no habia visto en la plataforma esa forma geometrica de la ballena y saber que hay otros programas en los cuales se puede trabajar, me encanto la parte del brillos le da el toque mágico
Muchas gracias por tu visita y apoyo @ginethchira2301, me encanta este estilo de dibujo!
Congratulations @andreany! You have completed the following achievement on the Hive blockchain and have been rewarded with new badge(s):
Your next target is to reach 100 upvotes.
Your next target is to reach 100 comments.
Your next target is to reach 100 replies.
You can view your badges on your board and compare yourself to others in the Ranking
If you no longer want to receive notifications, reply to this comment with the word
STOPTo support your work, I also upvoted your post!
Check out the last post from @hivebuzz:
Support the HiveBuzz project. Vote for our proposal!
wow! ¡Que increíble!, me encanto el estilo y el tutorial! ¡Superútil! ¡Voy a tomar notas! <3
me encanto!
Muchas gracias por tu apoyo y visita !!!