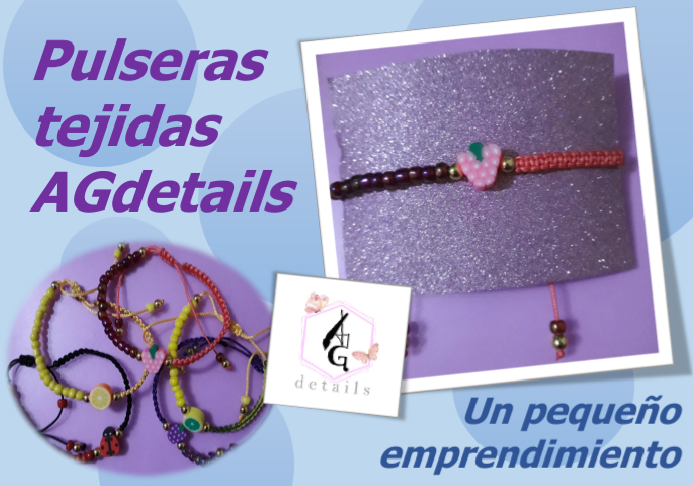
Hola a todos, hoy estoy feliz de volver a activarme en la plataforma después de tanto tiempo sin publicar por diversos inconvenientes. Hoy les quiero mostrar la elaboración de unas pulseritas que estoy haciendo como mi emprendimiento AGdetails. Son muy hermosas y fáciles de hacer, espero que les guste.
Hello everyone, today I am happy to be active again on the platform after so long without posting for various inconveniences. Today I want to show you the elaboration of some bracelets that I am making as my venture AGdetails. They are very beautiful and easy to make, I hope you like them.
Los matetiales son:
- Hilo chino de color rosado.
- mostacillas de color púrpura rojizo.
- Un fimo con forma de racimo de uvas de color rosado.
The matetials are:
- Chinese thread of pink color.
- Reddish purple beads.
- A fimo in the shape of a bunch of grapes of pink color.

Pasos / Steps
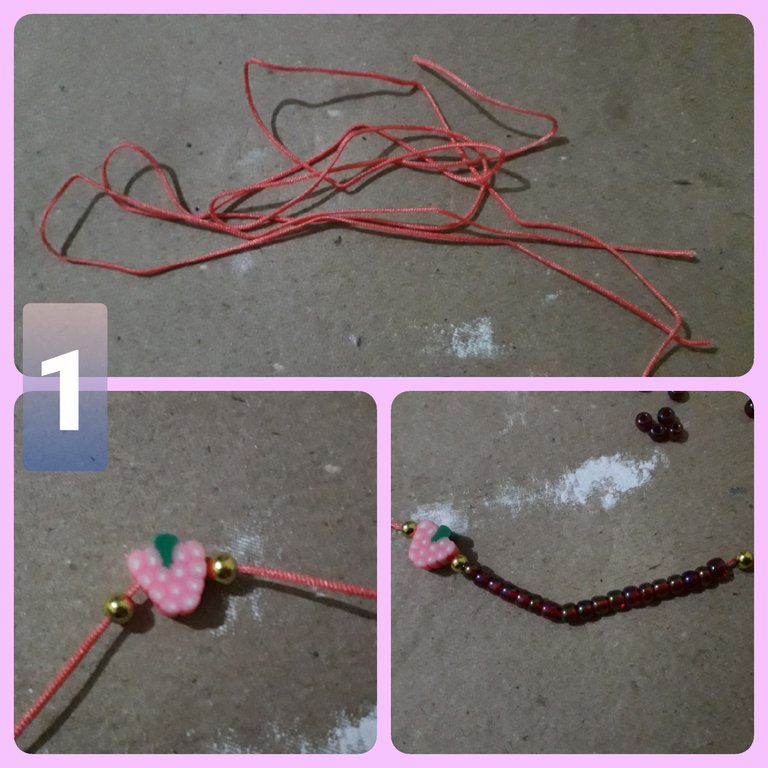
1.- Cortar el hilo suficiente para hacer la pulsera. Yo utilicé aproximadamente 25cm para el hilo base de la pulsera y 1m para tejer. Por un extremo del hilo base introducir las mostacillas y el fimo para adornar la pulsera. Hacerlo como se muestra en la foto.
1.- Cut enough yarn to make the bracelet. I used approximately 25cm for the base thread of the bracelet and 1m for weaving. At one end of the base thread insert the beads and fimo to decorate the bracelet. Do it as shown in the picture.
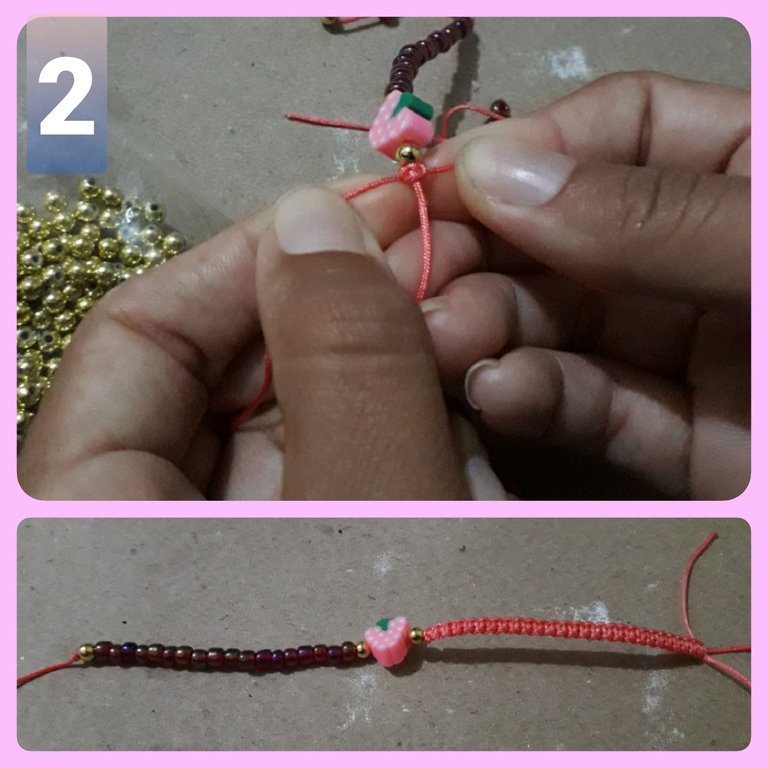
2.- Hacer un nudo por el extremo de las mostacillas y tejer con nudo plano del otro lado de la pulsera con el trozo grande de hilo. Debe quedar como lo indica la imagen.
2.- Tie a knot at the end of the beads and weave a flat knot on the other side of the bracelet with the large piece of thread. It should be as shown in the picture.
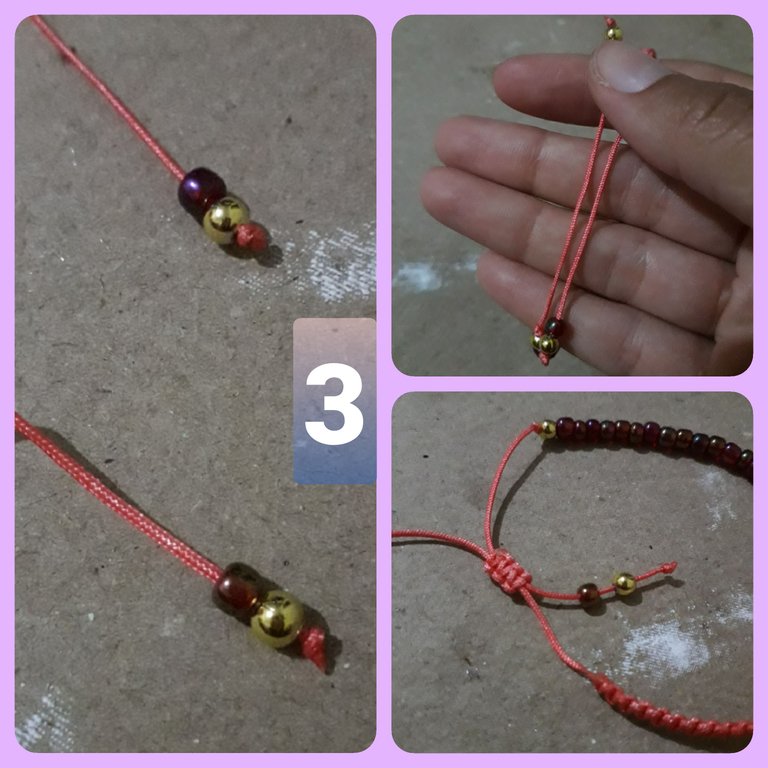
3.- Colocar mostacilla en los extremos de la punsera y anudar la punta del hilo. Luego, juntar ambos extremos en dirección contraria y tejer alrededor de ellos para hacer la tranca.
3.- Place the beads on the ends of the purl and knot the end of the thread. Then, join both ends together in the opposite direction and weave around them to make the lock.
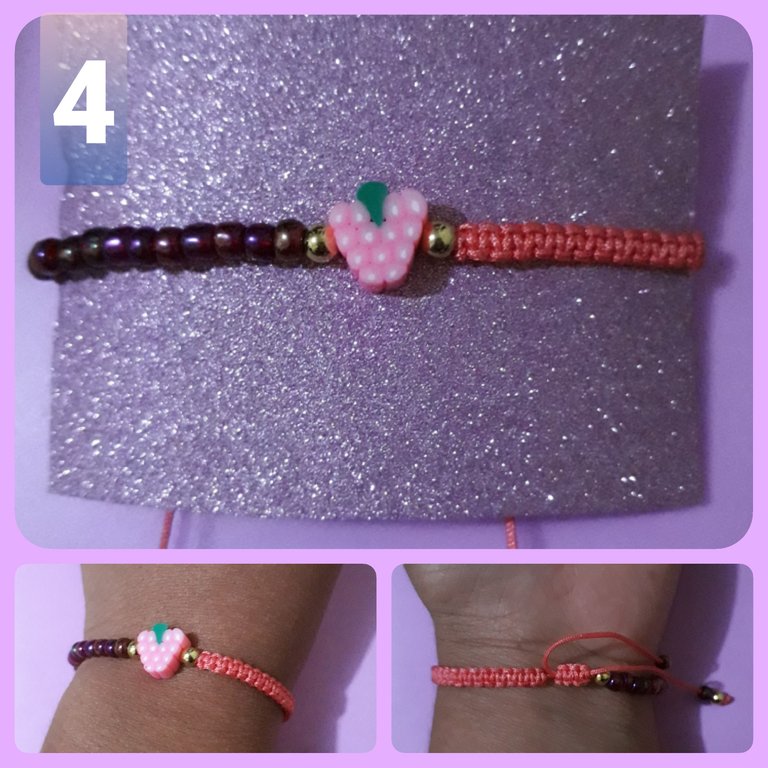
4.- Se puede colocar en un trozo de cartulina para sacar fotografías, o la puedes usar de una vez si la quieres hacer para ti.
4.- It can be placed on a piece of cardboard to take pictures, or you can use it all at once if you want to make it for yourself.
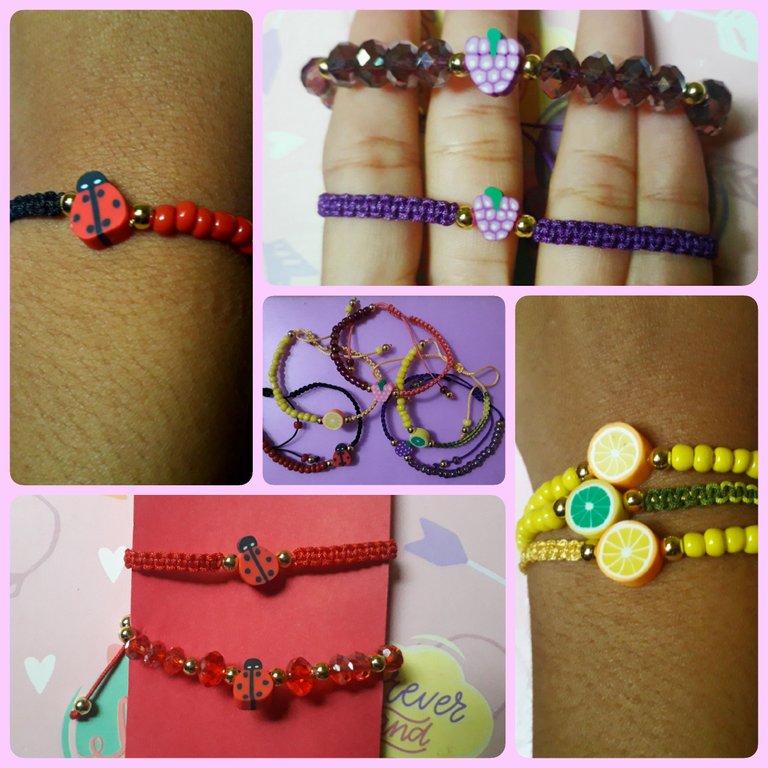
También hice muchas otras pulseras de diferentes modelos y colores.
I also made many other bracelets in different patterns and colors.
Espero que les haya gustado.
I hope you liked it.
21/07/2023

Todas las imágenes son de mi propiedad, sacadas y editadas con mi teléfono Samsung Galaxy j6.
Los separadores fueron hechos por mí, en Canva.
Traducido por Deepl traductor.
- All images are my own, taken and edited with my Samsung Galaxy j6 phone.
- Dividers were made by me, in Canva.
- Translated by Deepl translator.
Genial tu trabajo, eres una gran artista mi bellísima amiga. Dios te bendiga siempre.
Amén, gracias por sus palabras, se le quiere muchísimo 🤗🥰
Congratulations @andygy0423! You have completed the following achievement on the Hive blockchain And have been rewarded with New badge(s)
Your next target is to reach 40 posts.
You can view your badges on your board and compare yourself to others in the Ranking
If you no longer want to receive notifications, reply to this comment with the word
STOPTo support your work, I also upvoted your post!
Check out our last posts: