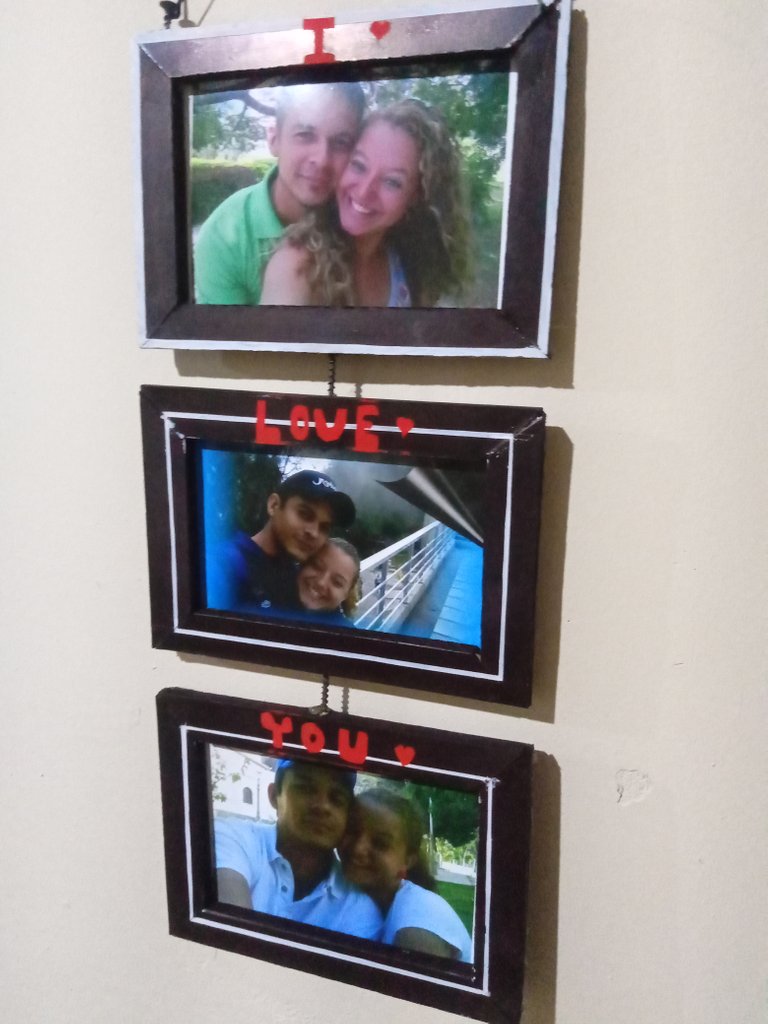
Happy and blessed day friends, I am with you again to participate in the love contest 😁🥰, in a few days we will be celebrating the day of love and friendship where each of us express our love and friendship for that special person who is always by our side, that is why I decided to participate and creatively show a small gift to my ideal person, the one who has been by my side for 15 years of his life and who today love remains the same as the first day, although a love that is more mature, strong and with well-founded foundations, my wife @johordelis, also active on the platform, is that special person in my life, who during these 15 years we have had excellent moments and bad, but from the hand of God we have always come out ahead and more because now we have 2 blessings 😁😄 A 4-year-old Ángel Armado and a 2-year-old Andrés Eduardo. For these reasons and many more, my ideal person is my wife and for her I dedicate this small gift but with a lot of love. So here's how to do it.
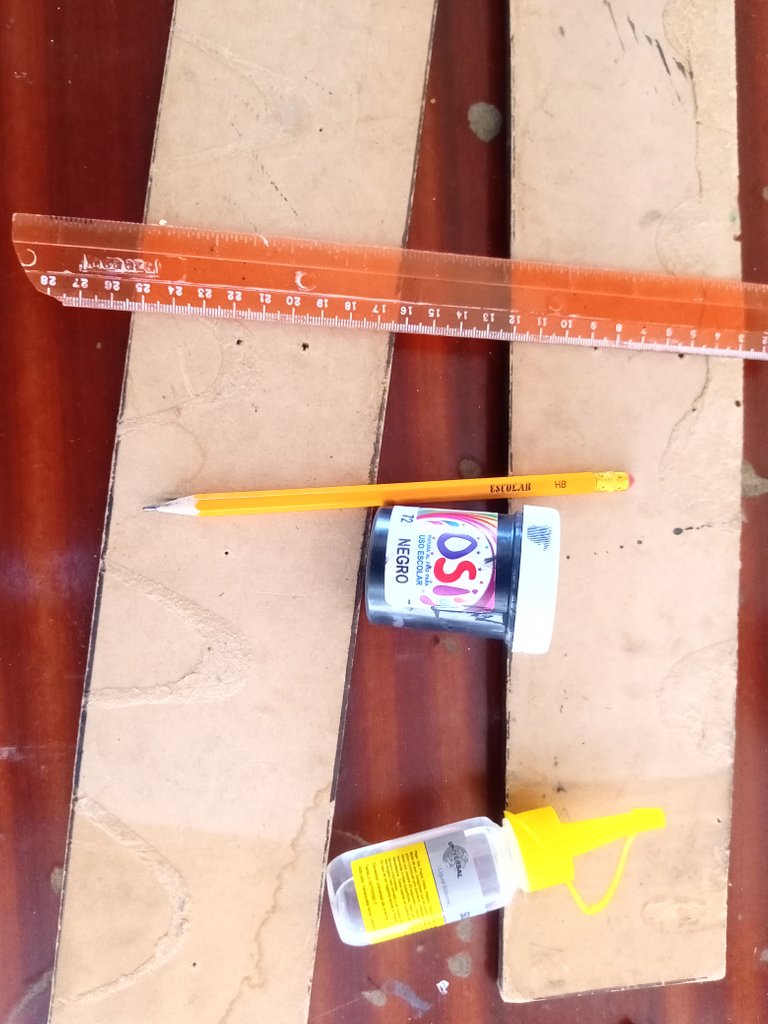
Materials to use
- MDF boards
- a handsaw
- Cold paint
- Pencil
- Brushes
- Paper masking tape
- scalpel
Materiales a utilizar
- Tablillas de MDF
- Un serrucho
- Pintura al frío
- Lápiz
- Pinceles
- Cinta adhesiva de papel
- Bisturí
Step 1
Paso 1
For this first step we will take one of the boards and cut 12 slats, 6 of them 2 cm wide by 13 centimeters long, and the other 6 2 centimeters wide by 18 centimeters long, these measurements are for approximately postcard size photographs
Step 2
Paso 2
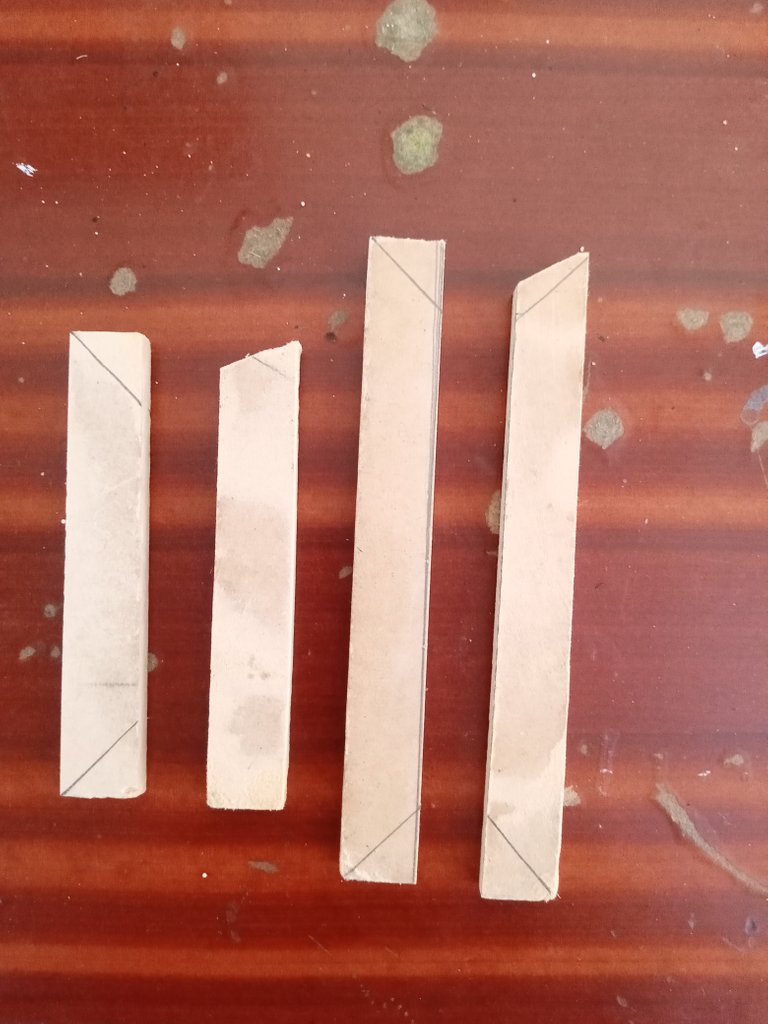
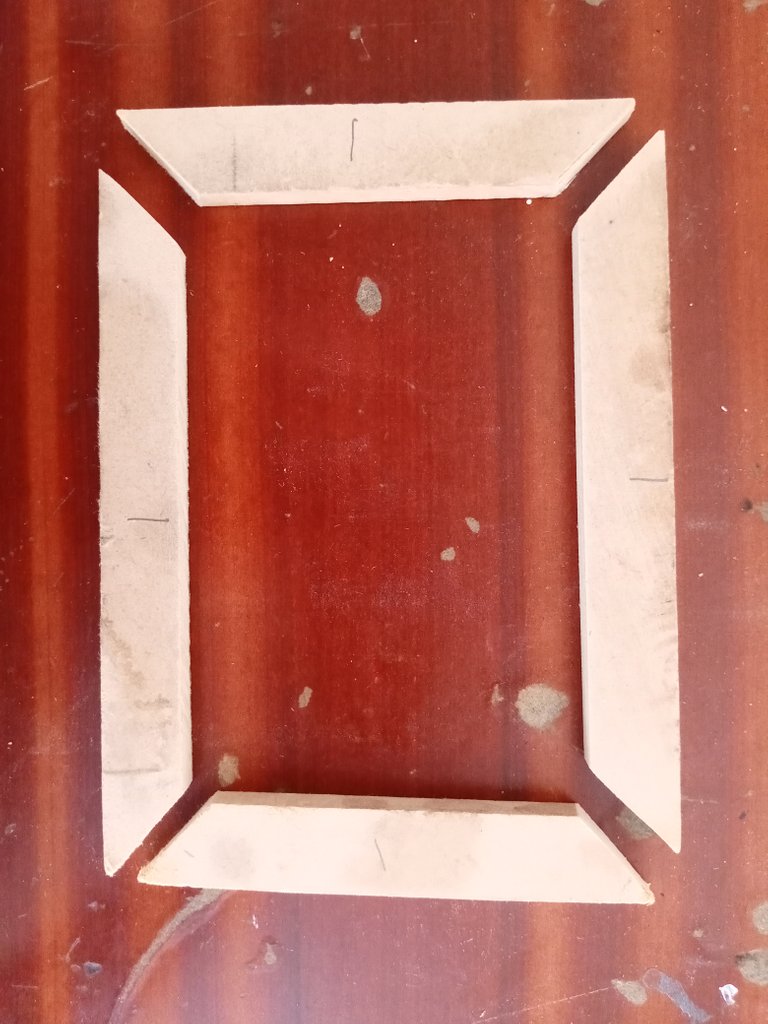
In this second step, after chopping the board, we will make each one a 90⁰ angle so that when we stick them we will have a neater rectangular structure, I confess that making these angles made me a little stressed 😁 because they did not turn out the way I wanted , and my wife told me that if I made scale cars that it is more complex, why can't you make a simple angle? So I started over 😀 and here's how they turned out.
Step 3
Paso 3
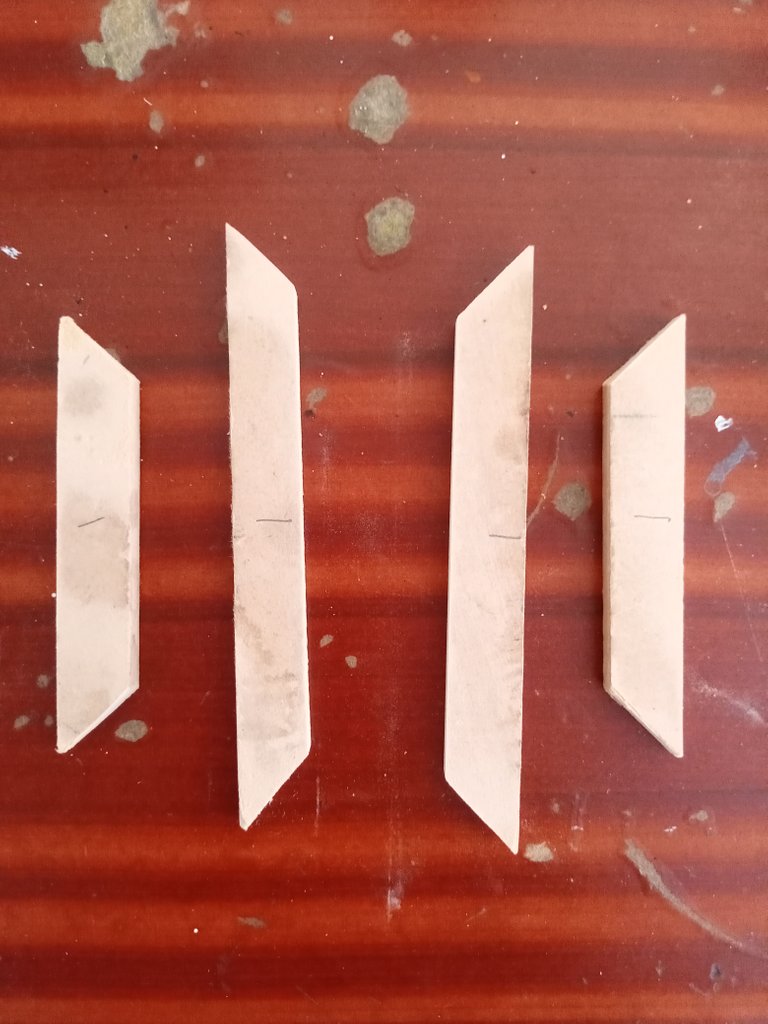
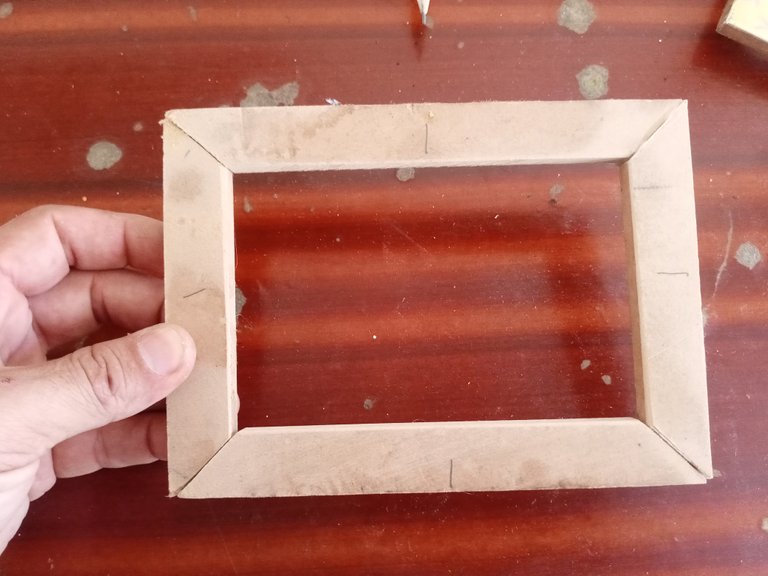
Once the angles are overcome, we proceed to glue the ends, I used liquid Silicon, it takes a little longer to stick but it's worth the wait 😁
Step 4
Paso 4
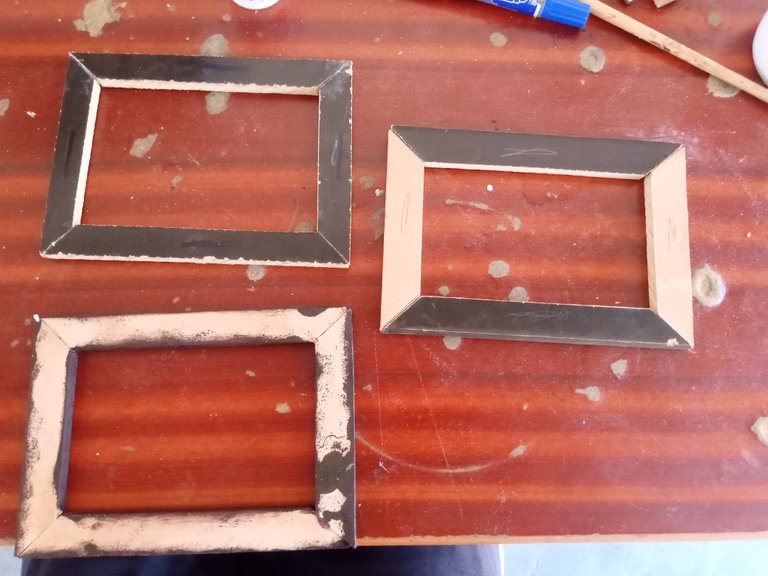
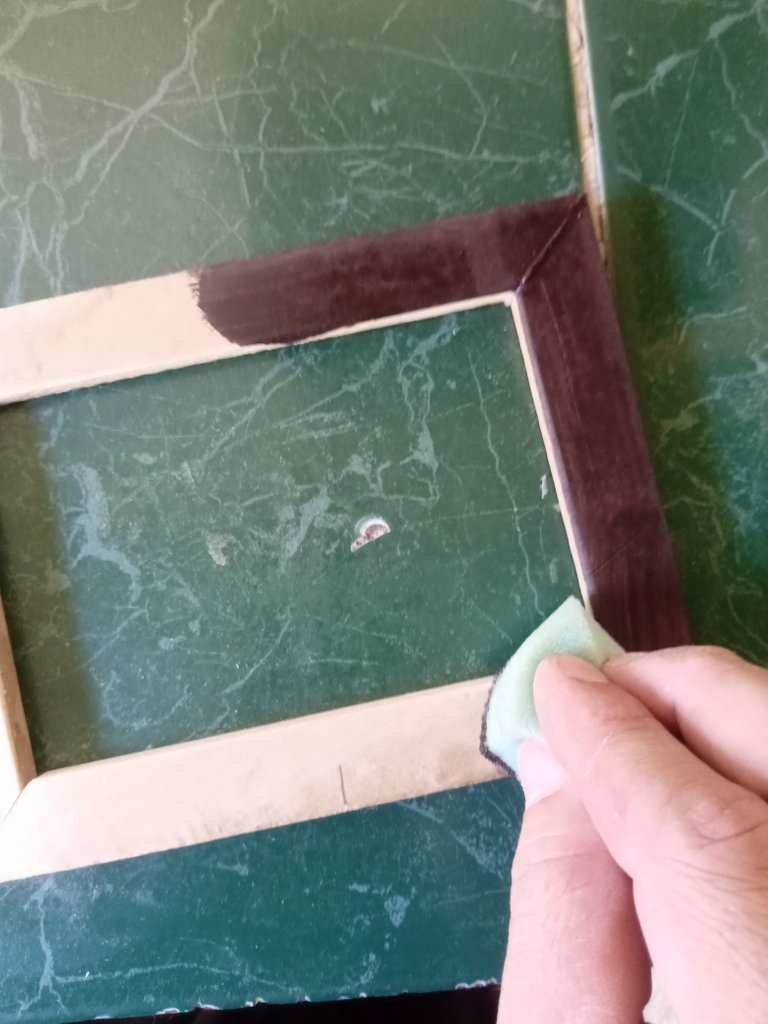
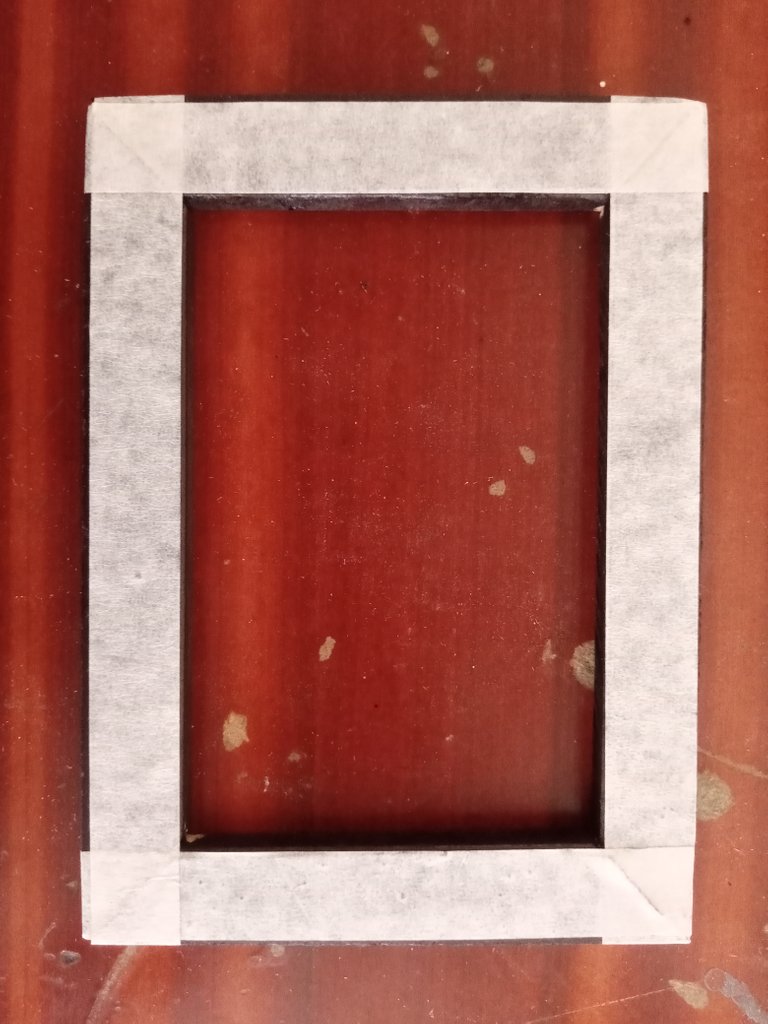
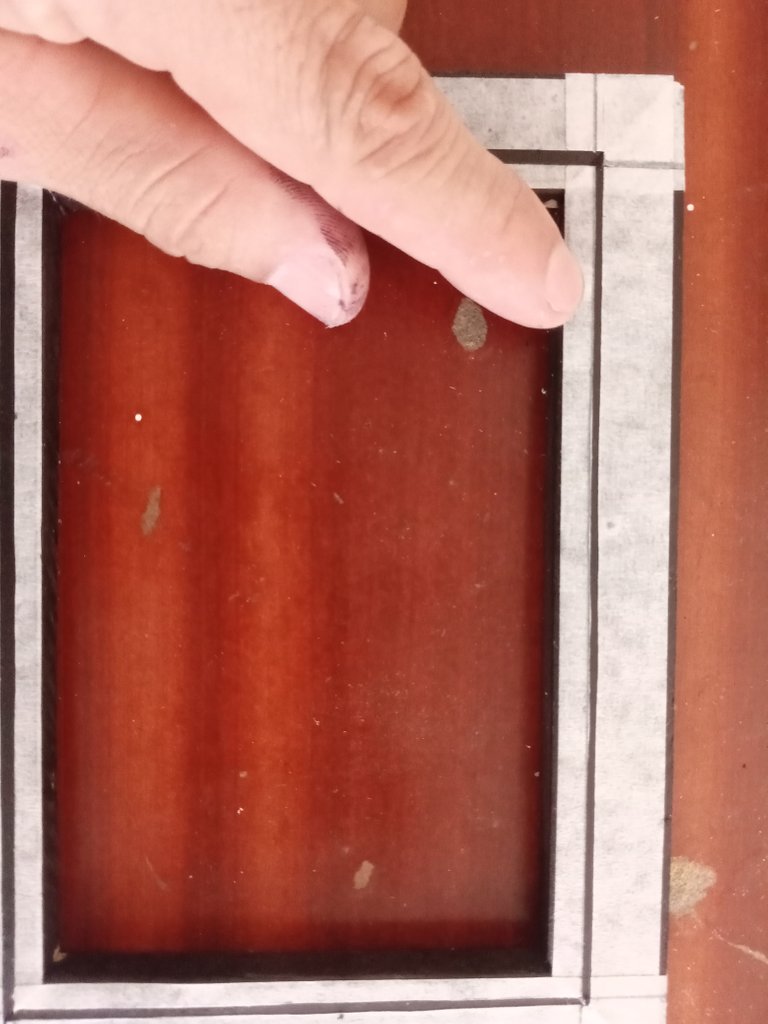
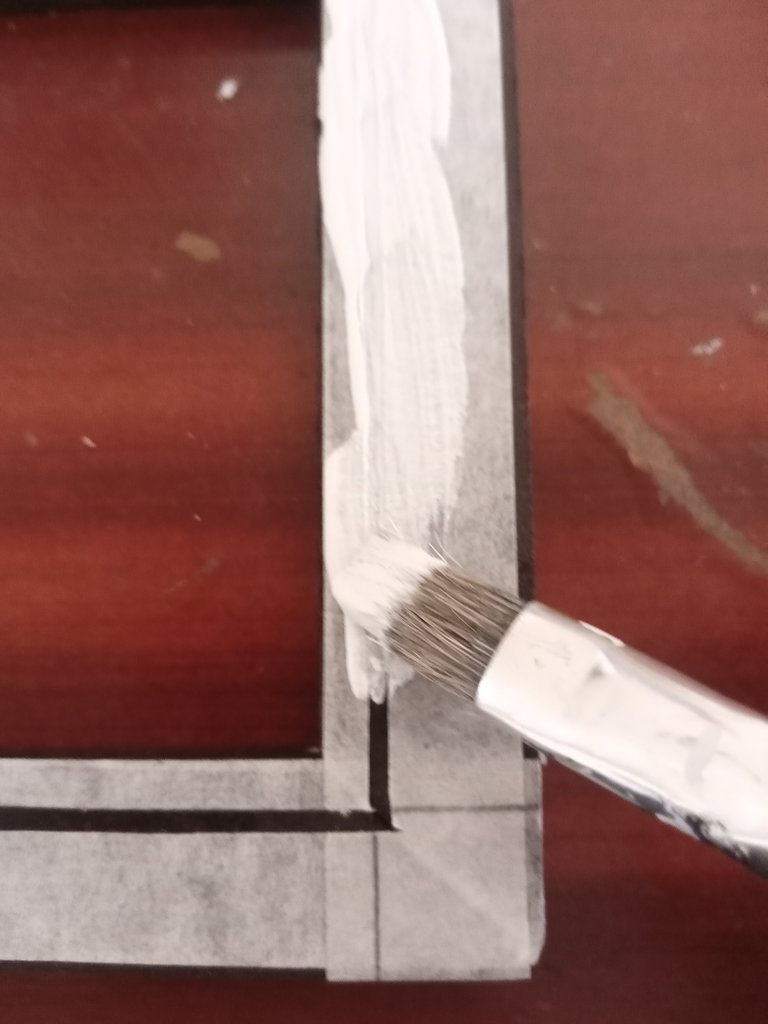
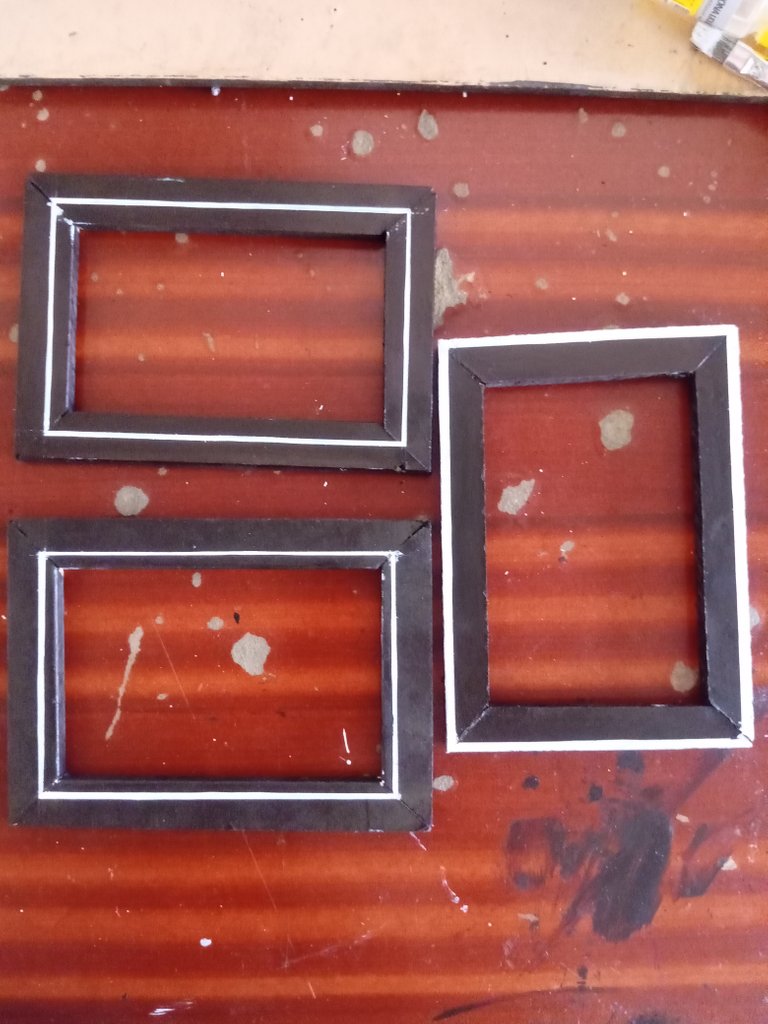
It's time to color our portrait frames, take the paint and give them the color you wanted, apply several coats of paint since wood absorbs a lot of paint. Once the frames were dry, I made a detail of blank lines which helped me by sticking paper tape and with the scalpel I made the lines around it so that it stands out a little.
Making the lines in the frames
Step 5
Paso 5
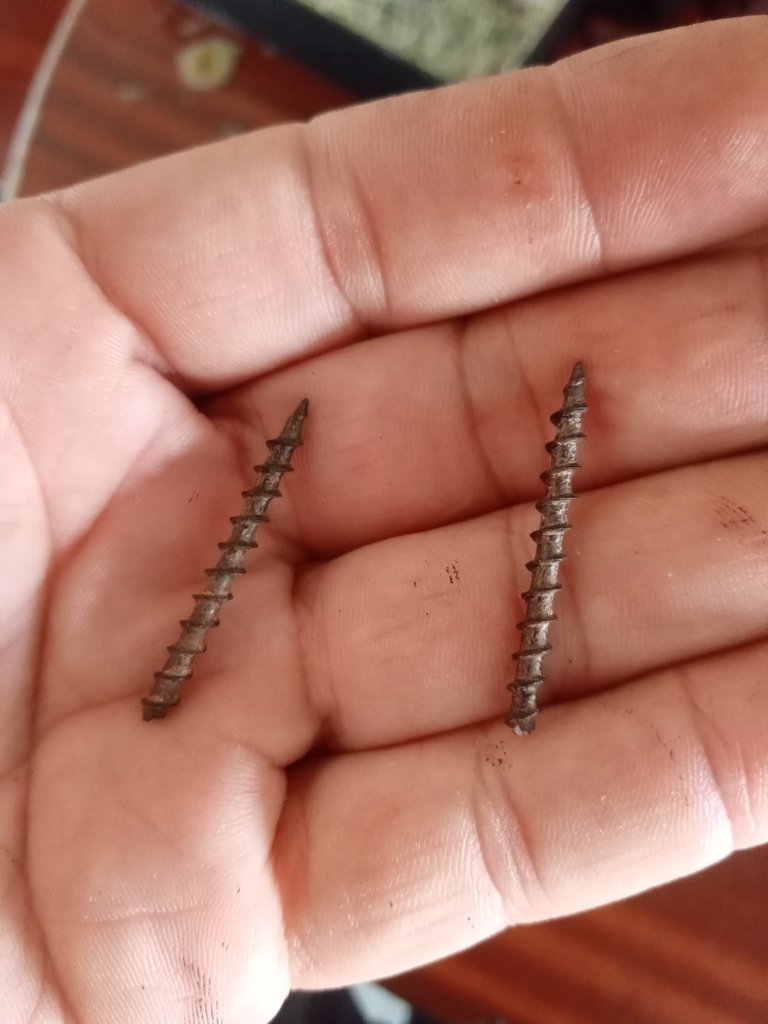
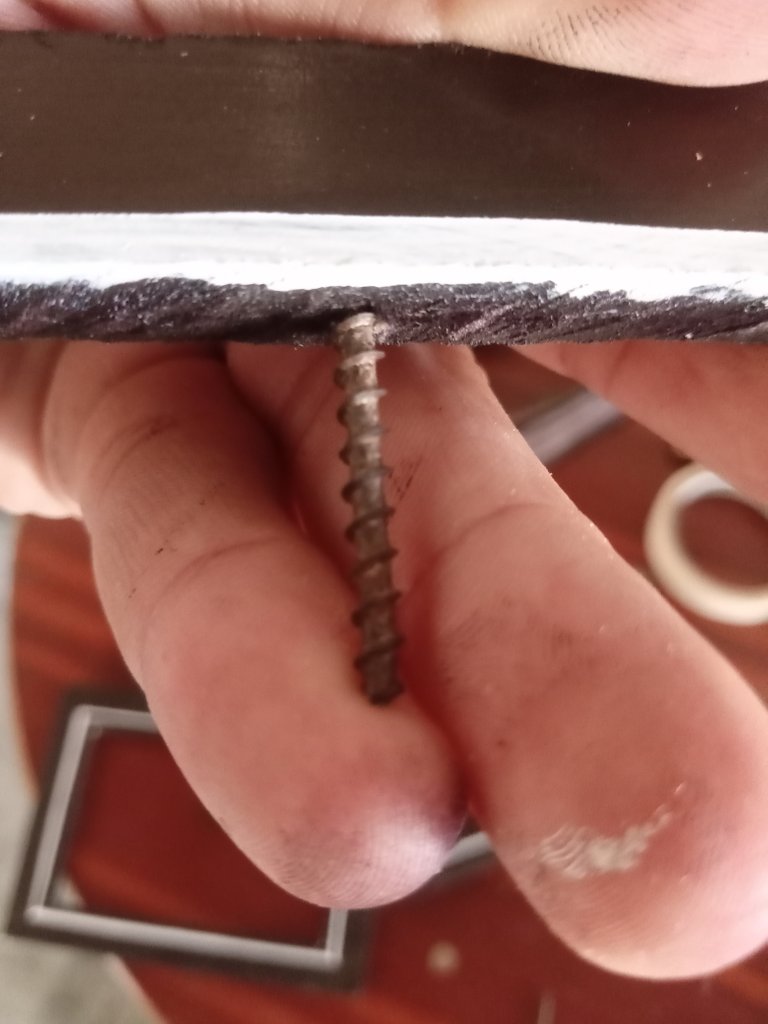
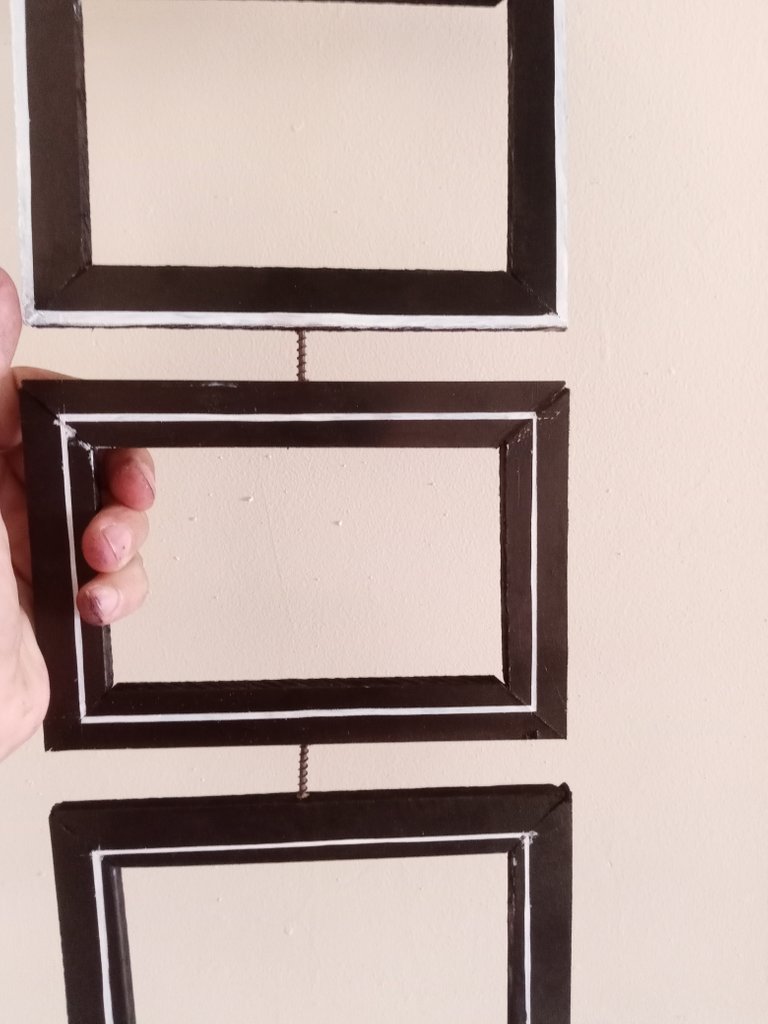
We're not long now, as these portrait frames will be hanging, take two special wooden background strip screws, remove their heads and screw them through the edges of the frames so that we have a hanging style.
Step 6
Paso 6
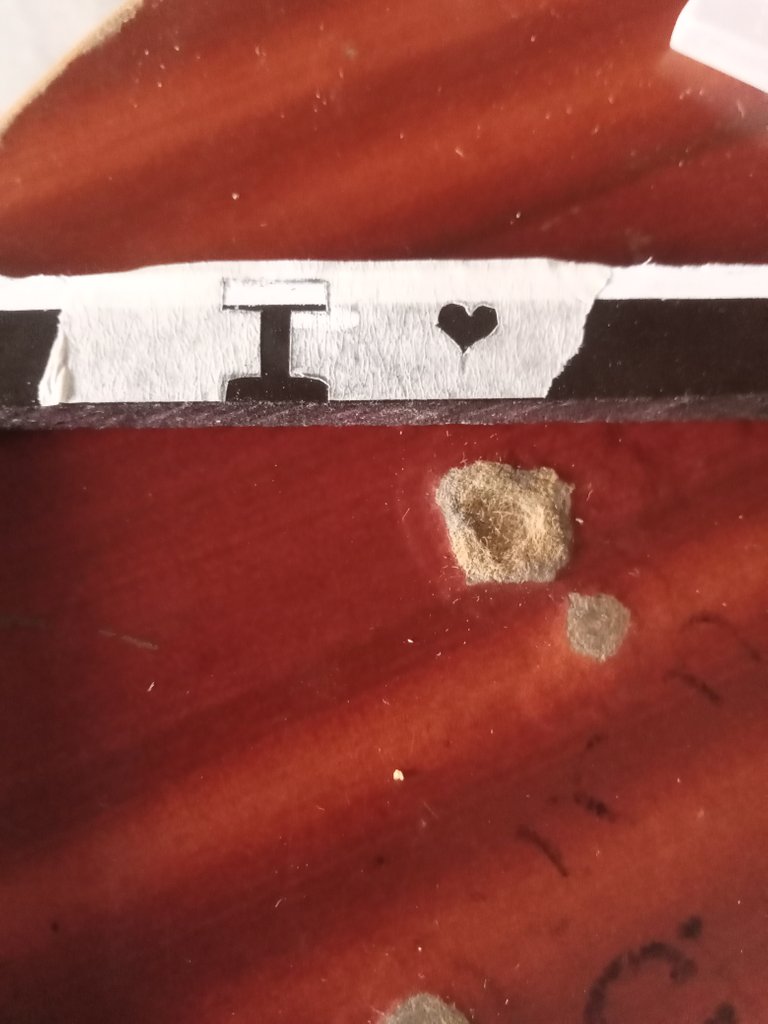
Already in this last step we decorate the frames with the universal word in love. I LOVE YOU in this case I wrote it in English because there are three frames. Then we select the photographs to display and that's it, our pendant portrait portal is ready to decorate the special corner in our house.
Here I show you how the gift turned out for my special person in my life.
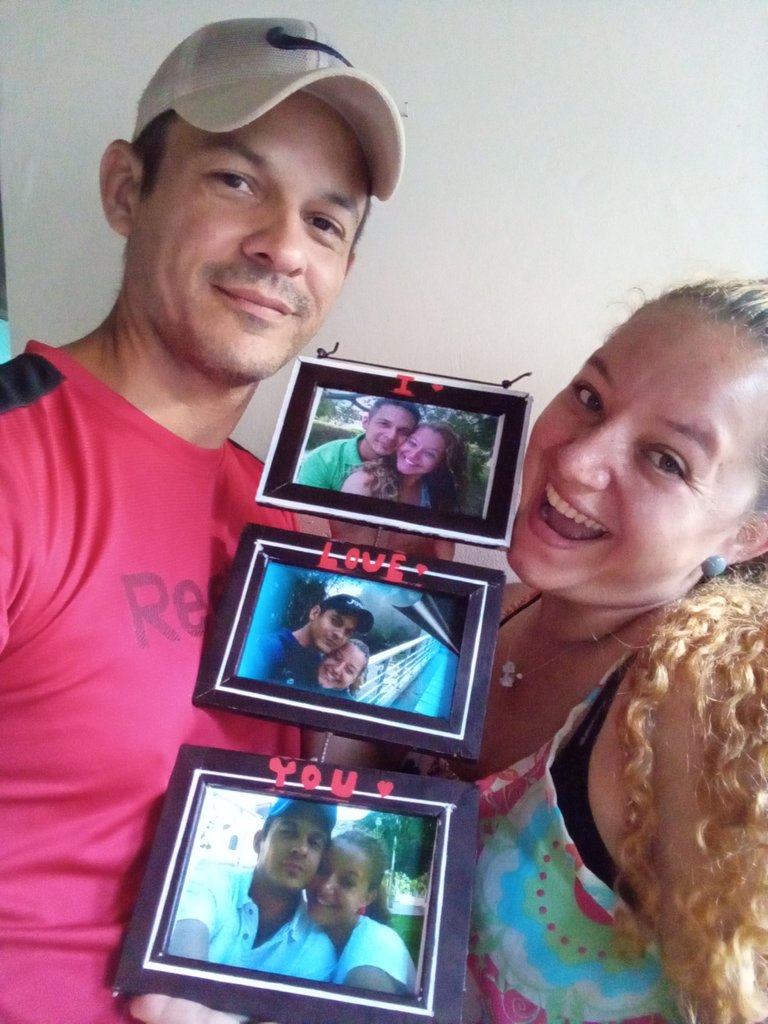
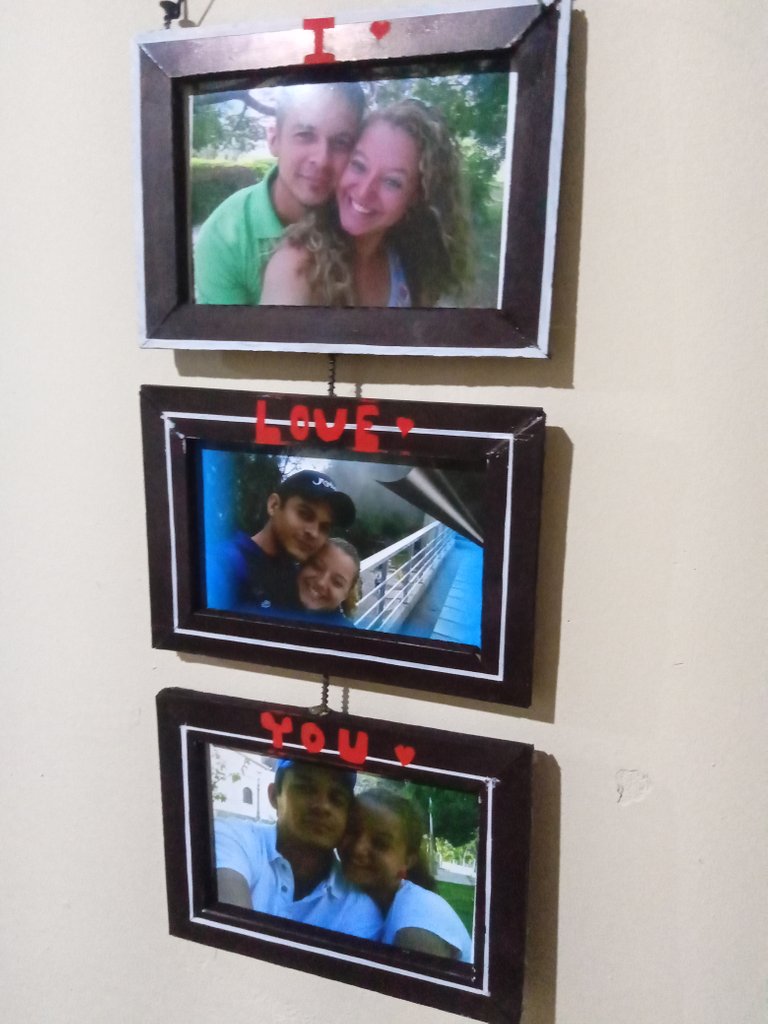
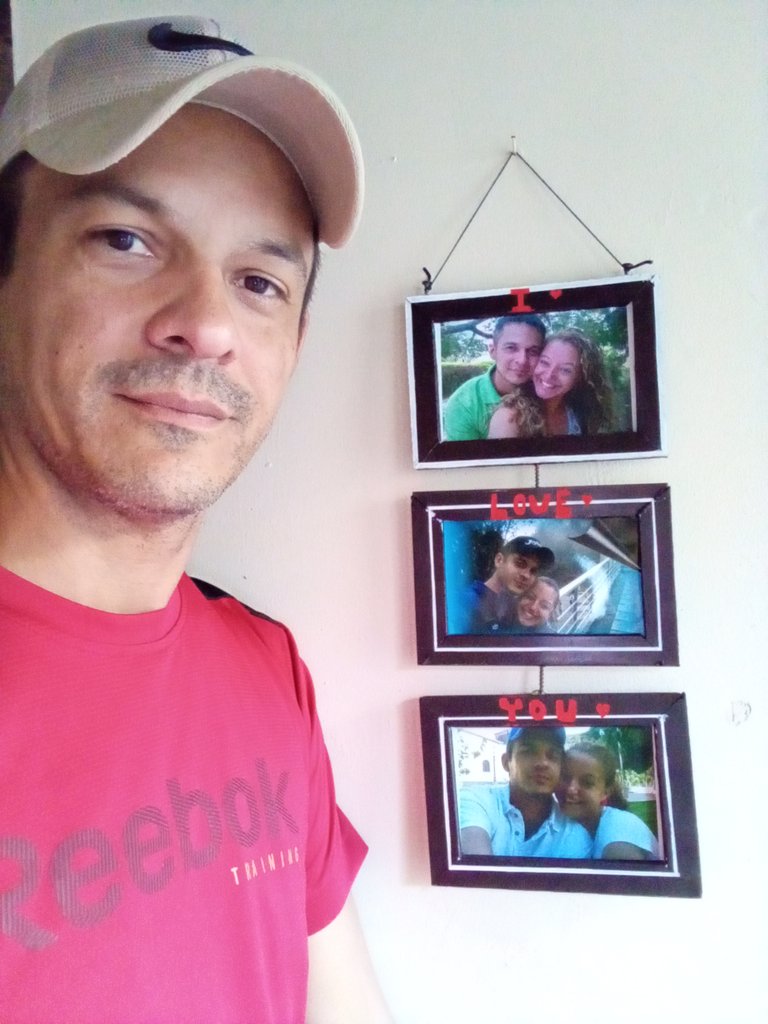
Well my friends in this way I made my gift, I hope you liked it in advance thank you very much for visiting my post, God bless you greatly and see you another time.
I want to invite my friend @karelys5318. To participate in this wonderful contest.
Quiero hacer la invitación a mi amiga @karelys5318. A participar en este maravilloso concurso.
All photos were taken by my Alcatel 1v Smartphone
This post is translated by android app Google translate
Image edited through the Android app incollage
Imágenen editada através de la aplicación incollage de Android
Qué linda dedicatoria amigo. Ver las caras llenas de alegría es lo más maravilloso, han inmortalizado momentos mágicos y ahora lo verá todo el que entre a su lindo hogar.
Muchas bendiciones.
Gracias por participar en el concurso.
Muy buenos días amiga @equipodelta, me contenta mucho que le haya gustado, y para mí es un placer participar en los concursos que patrocina, muchas gracias por sus palabras y muchas bendiciones en este día. Saludos
Congratulations @angdavid21! You have completed the following achievement on the Hive blockchain and have been rewarded with new badge(s):
Your next target is to reach 8000 upvotes.
You can view your badges on your board and compare yourself to others in the Ranking
If you no longer want to receive notifications, reply to this comment with the word
STOPTo support your work, I also upvoted your post!
Check out the last post from @hivebuzz:
Hermoso mi vida, te amo. Sabes que me encantan todos tus trabajos❤️
Que buen detalle, para recordar cada vez que veamos las fotos!!! Te quedó lindo, que dios mantenga siempre esa Unión y los bendiga siempre!!! Un abrazo...
Thank you for sharing this amazing post on HIVE!
non-profit curation initiative!Your content got selected by our fellow curator @stevenson7 & you just received a little thank you via an upvote from our
You will be featured in one of our recurring curation compilations and on our pinterest boards! Both are aiming to offer you a stage to widen your audience within and outside of the DIY scene of hive.
Join the official DIYHub community on HIVE and show us more of your amazing work and feel free to connect with us and other DIYers via our discord server: https://discord.gg/mY5uCfQ !
If you want to support our goal to motivate other DIY/art/music/homesteading/... creators just delegate to us and earn 100% of your curation rewards!
Stay creative & hive on!