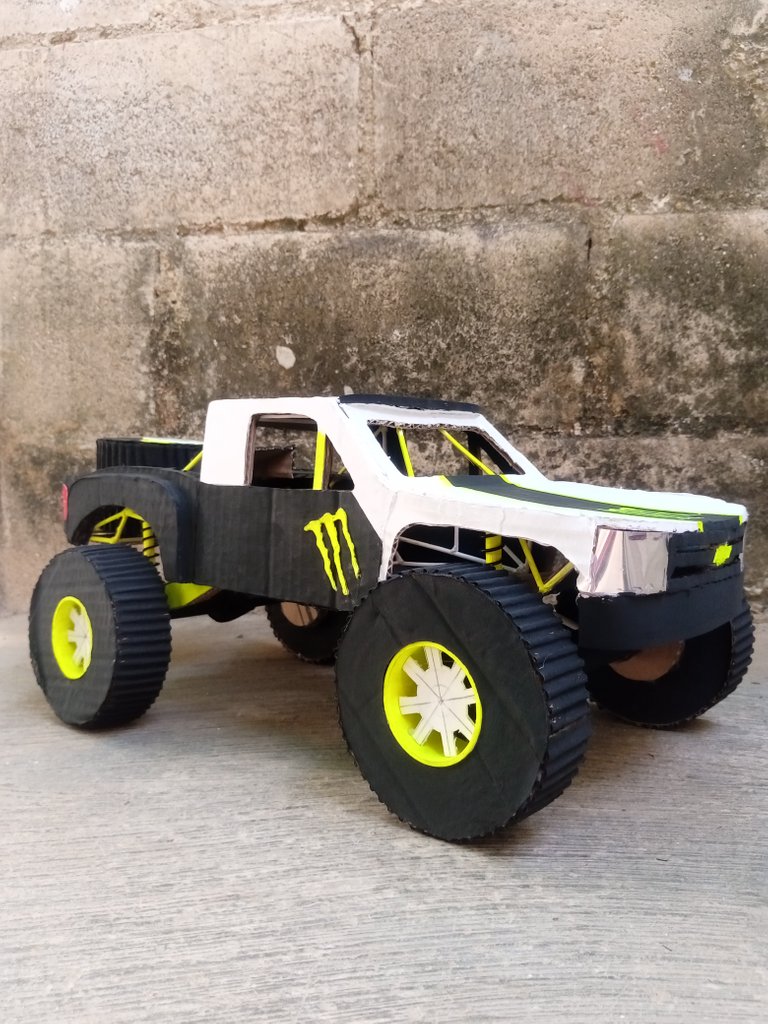
Hello my friends from the #diy community, for me it is a pleasure to be able to publish again another of my crafts, in a previous post I had made a Moster truck made with recycled cardboard, for today I bring you another craft of this style, but this one from a rally truck. In this post I will show you how to make this craft, I hope you like it.
Hola mis amigos de la comunidad de #diy para mí es un placer el poder publicar de nuevo otra de mis manualidades, en un post anterior había realizado una camioneta Moster truck hecha con cartón de reciclaje, para el día de hoy les traigo otra manualidad de este estilo, pero esta de una camioneta de rally. En este post les mostrare como fabrique dicha manualidad, espero les guste.
- Paperboard
- Cold paint
- scalpel
- Rule
- Silicon
- Bamboo sticks
- Cartón
- Pintura al frío
- Bisturí
- Regla
- Silicon
- Palitos de bambú
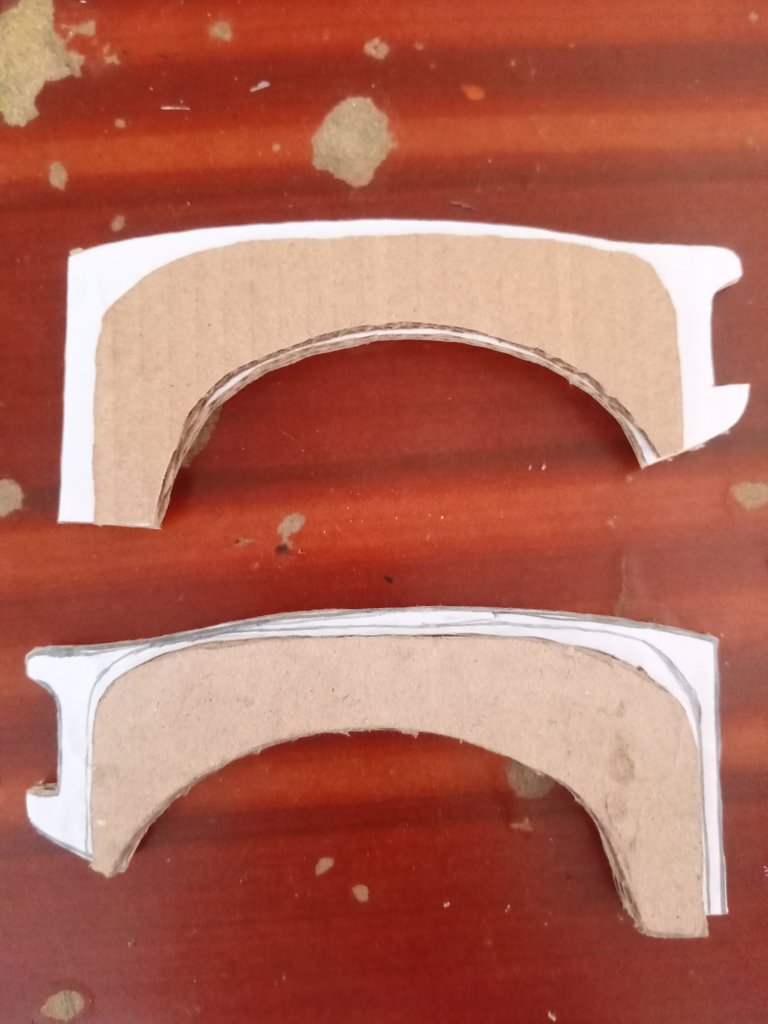
In this step we start drawing the first parts of the truck which we would do in parts, the sides of the rear cabin and the front cabin.
En este paso comenzamos dibujando las primeras partes de la camioneta el cual lo haríamos por partes, los laterales de la cabina trasera y de la cabina delantera.
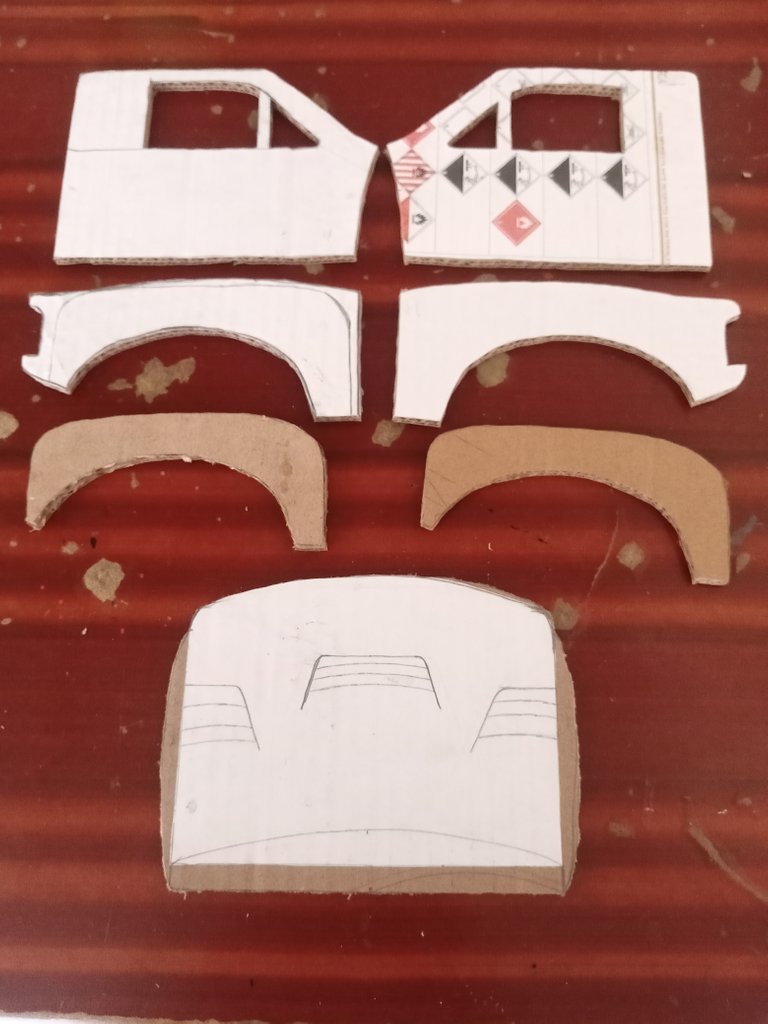
Then we take the rear parts of the cabin and we will assemble the fenders, once assembled, we move away for a moment.
Luego tomamos las partes traseras de la cabina y armaremos los guardafangos, una vez armado, apartamos por un momento.
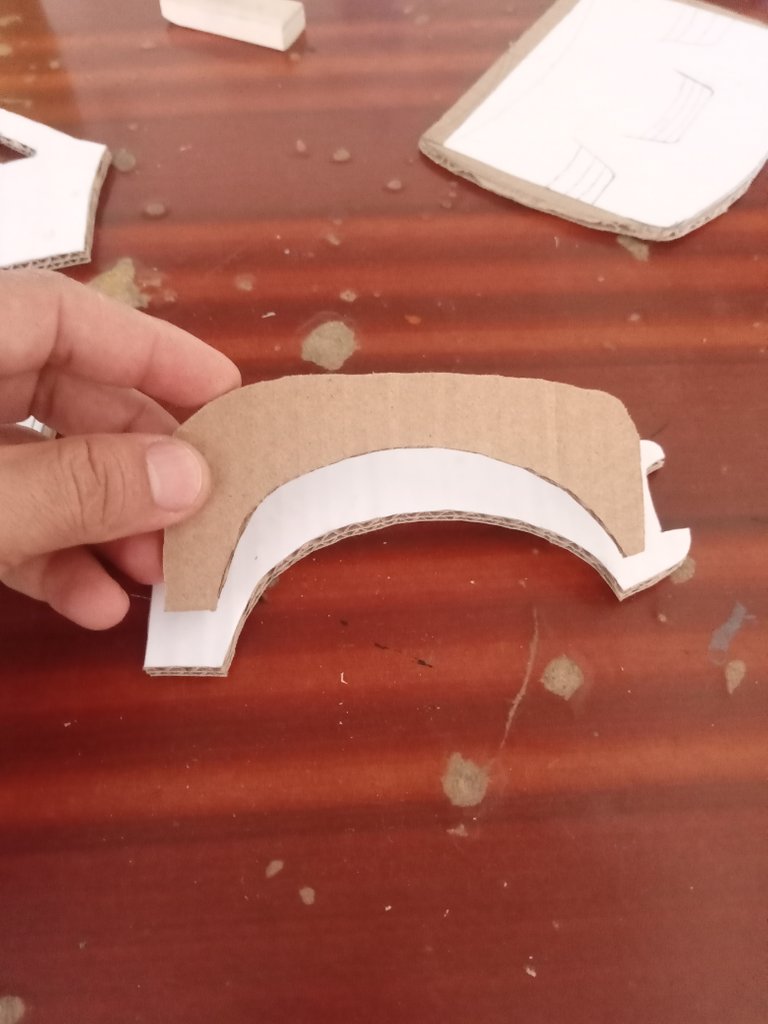
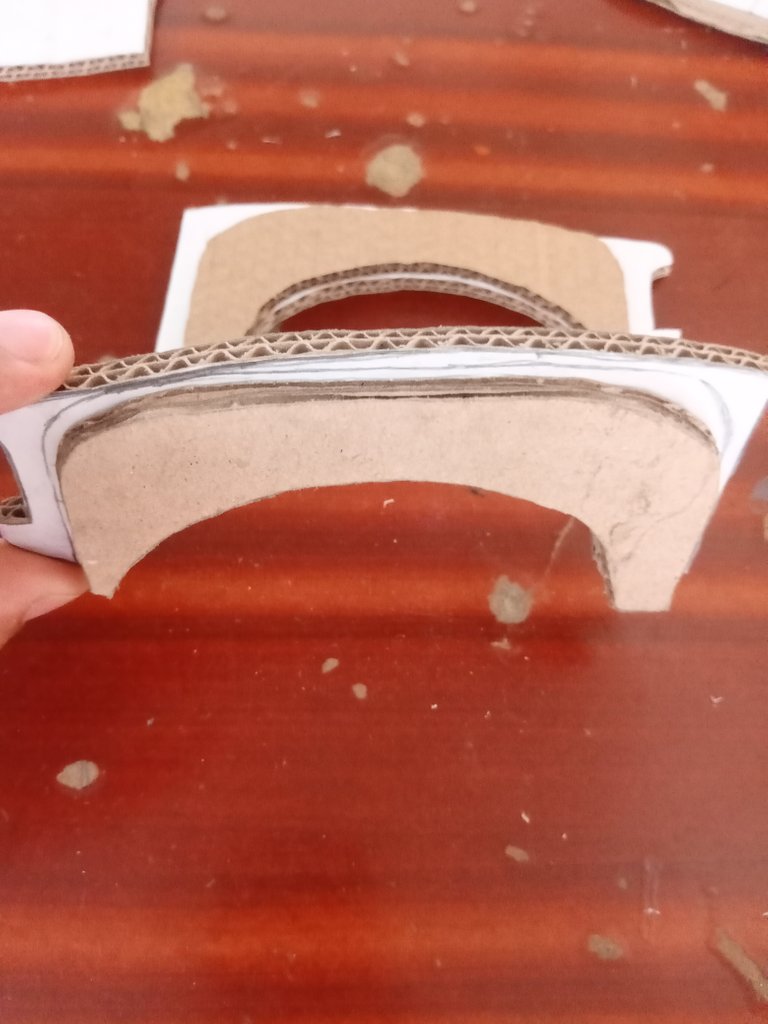
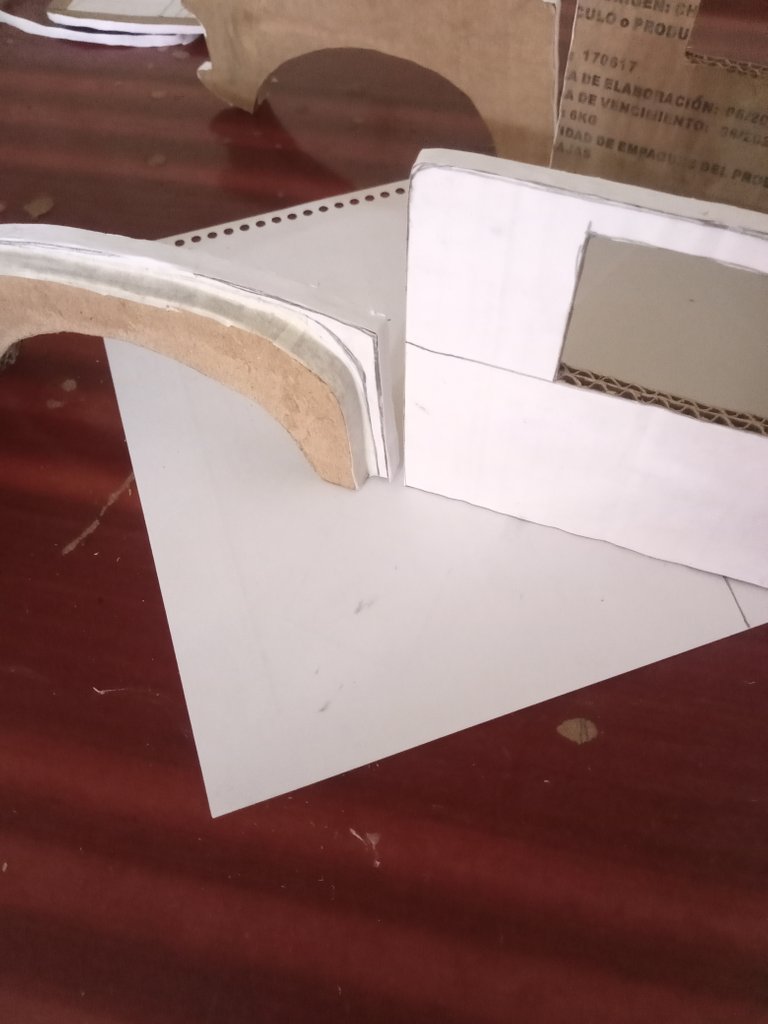
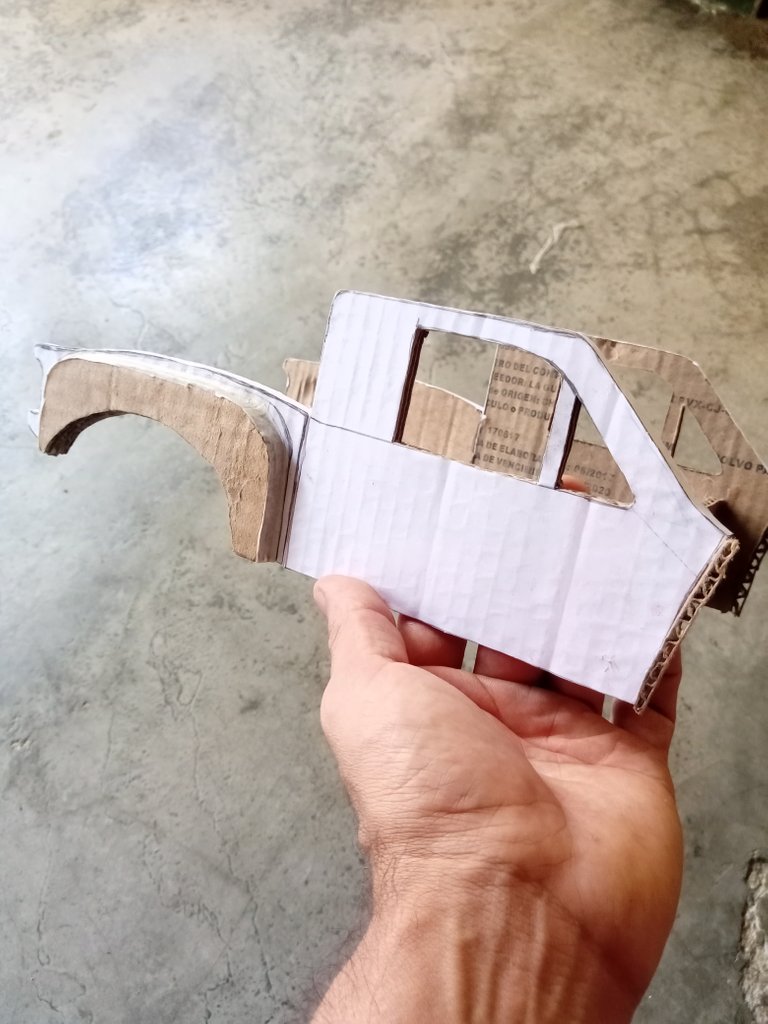
In the following images I show you the union of both cabins once this is done we move aside again and we would begin to make the structure of the truck.
En la siguiente imágenes le muestro la unión de ambas cabinas una vez realizado esto volvemos apartar y comenzaríamos a realizar la estructura de la camioneta.
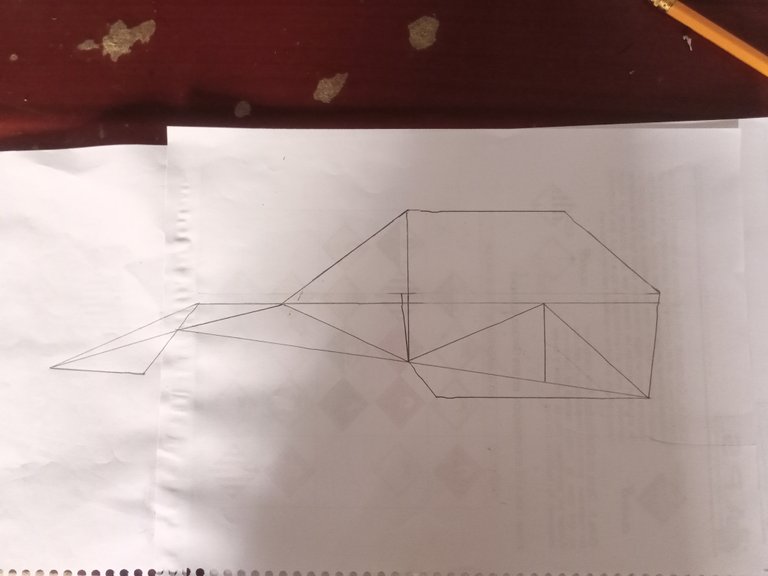
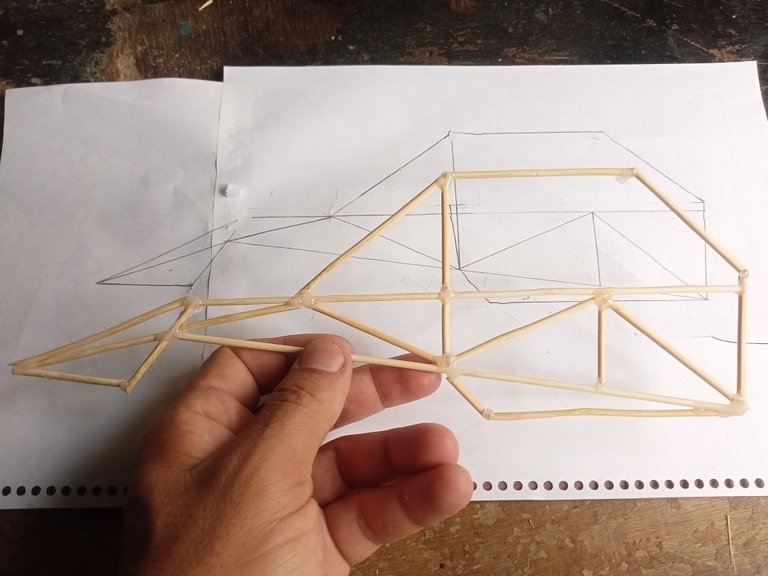
We reached the point of making the structure of the truck, to do this draw the design on a sheet of paper, and then take the bamboo sticks and assemble them according to the design you make.
Llegamos al punto de realizar la estructura de la camioneta, para ello dibuje en una hoja de papel el diseño, para luego tomar los palitos de bambú y armarlos según el diseño que realice.
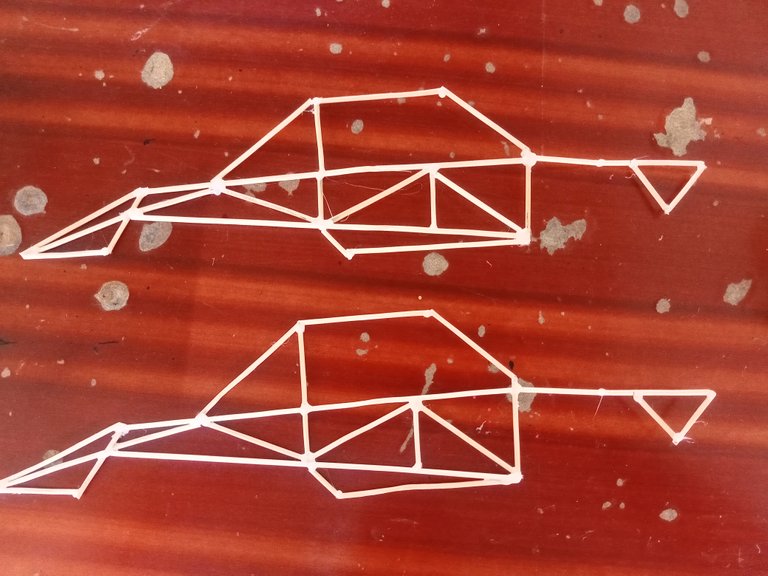
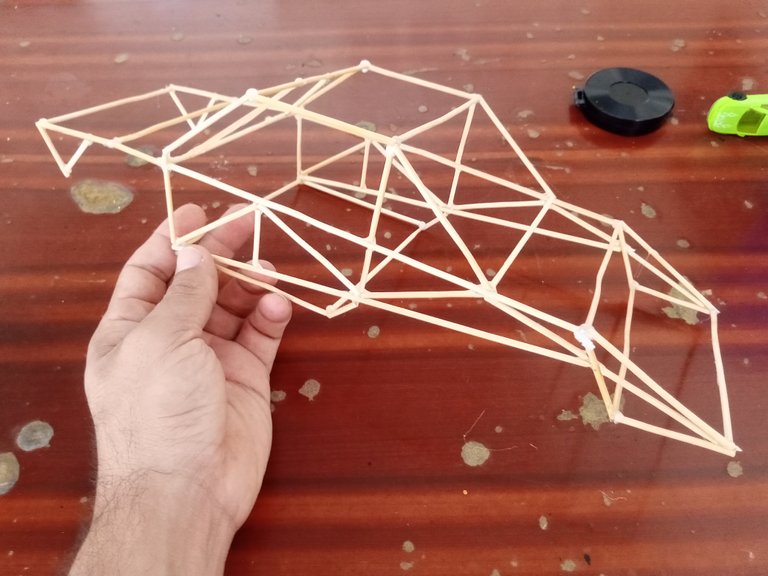
In the following images I put the elaboration of what will be the rear suspension, I glued it before coupling the structure with the cab of the truck to be able to maneuver better when hitting.
En las siguientes imágenes les puesto la elaboración de lo que será la suspensión trasera, esta la pegue antes de acoplar la estructura con la cabina de la camioneta para poder maniobrar mejor a la hora de pegar.
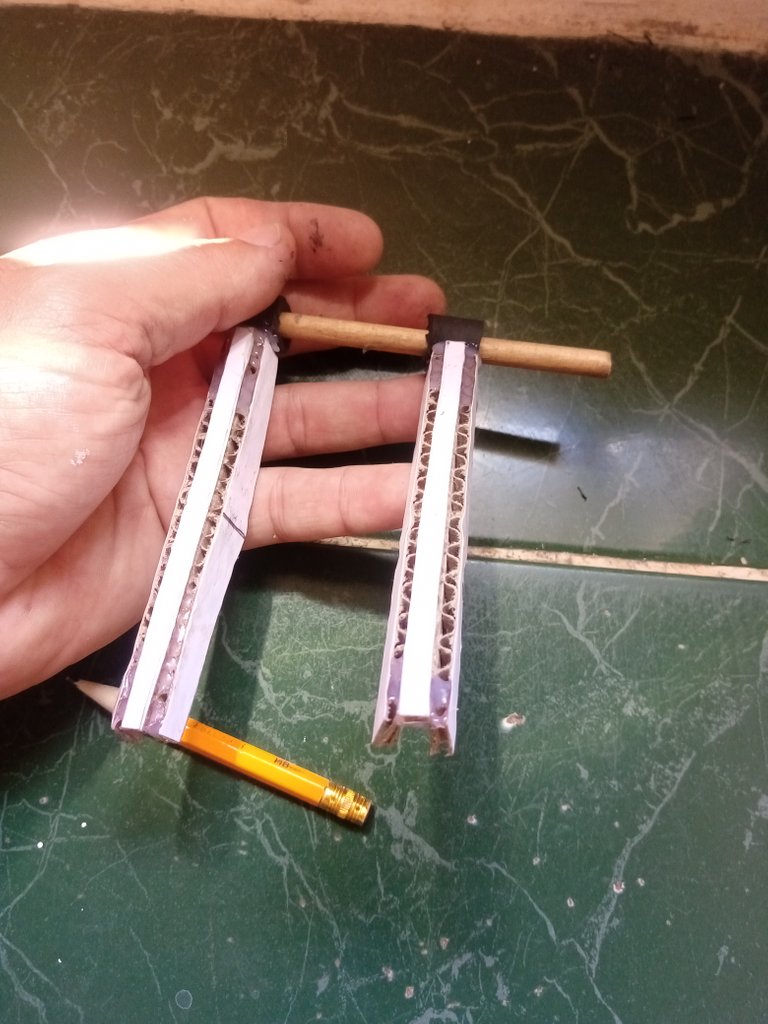
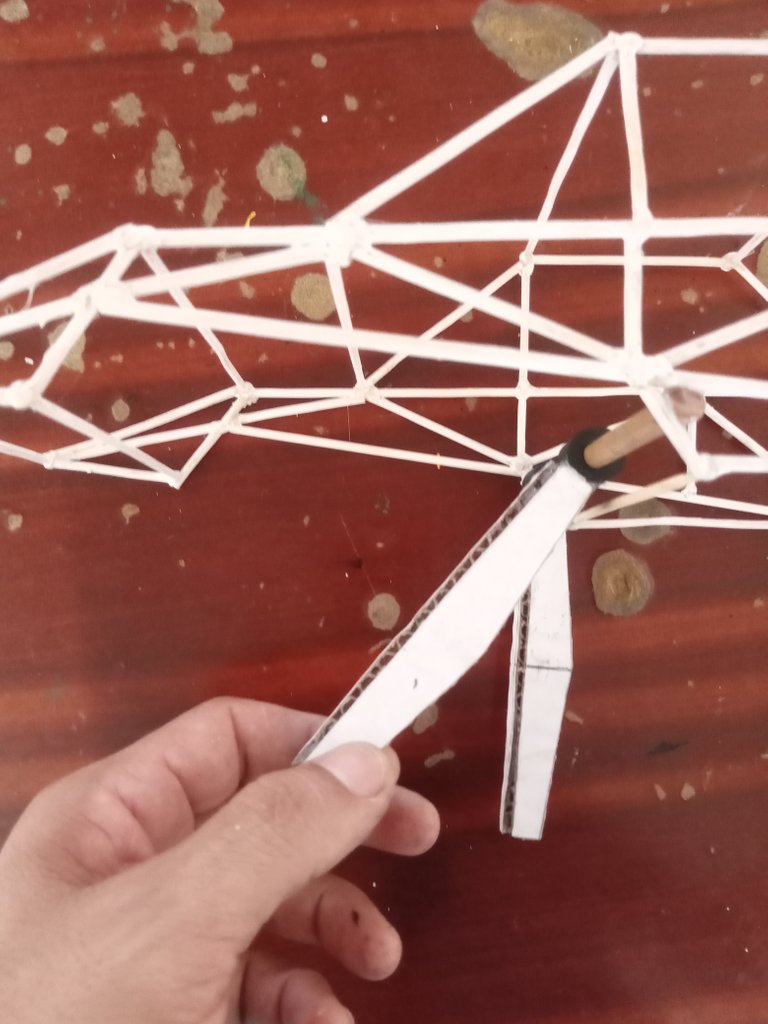
Once the above is done, now we can paste the structure to continue with the assembly of it.
Una vez hecho lo anterior ahora si podemos pegar la estructura para seguir con el armado de la misma.
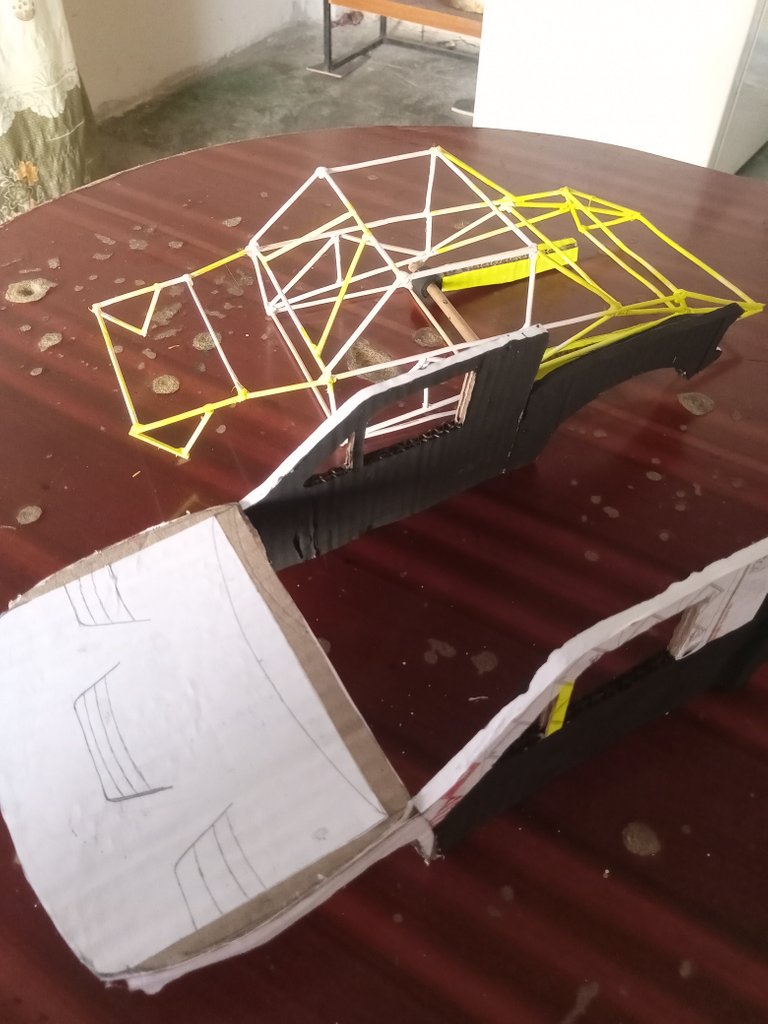
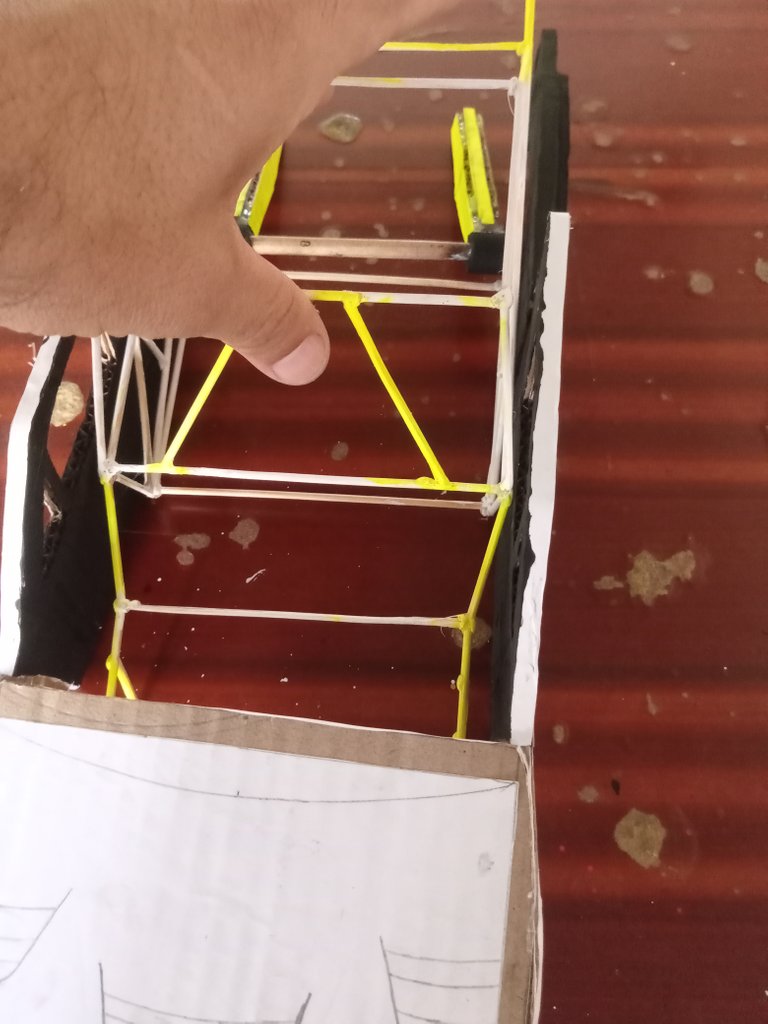
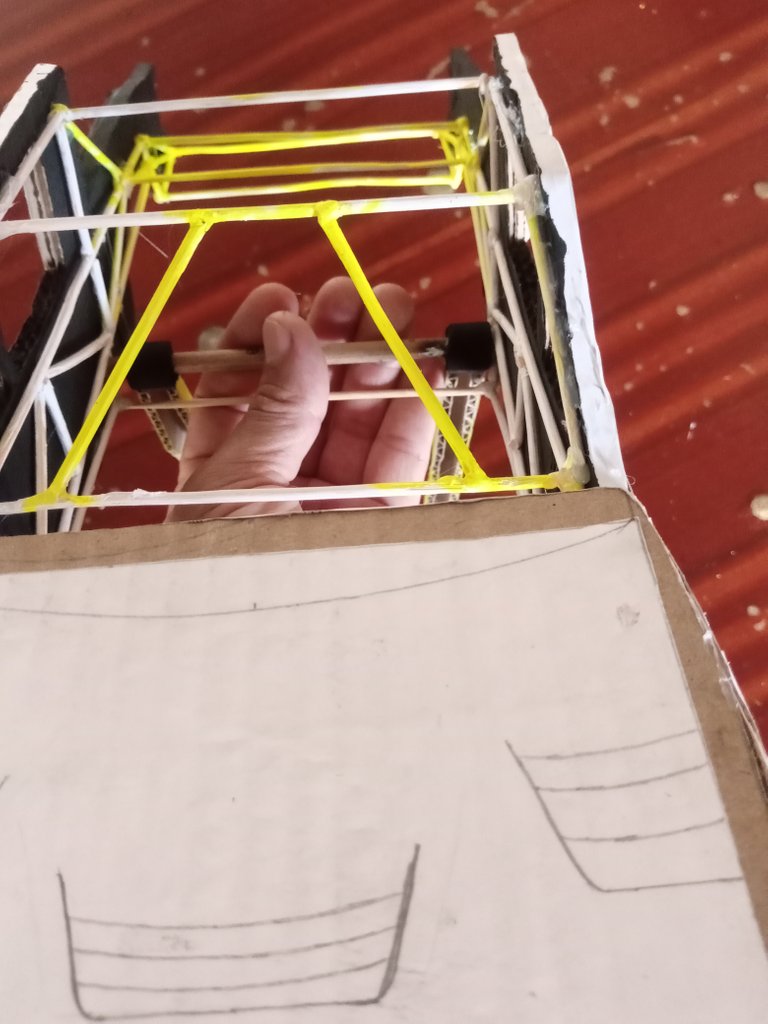
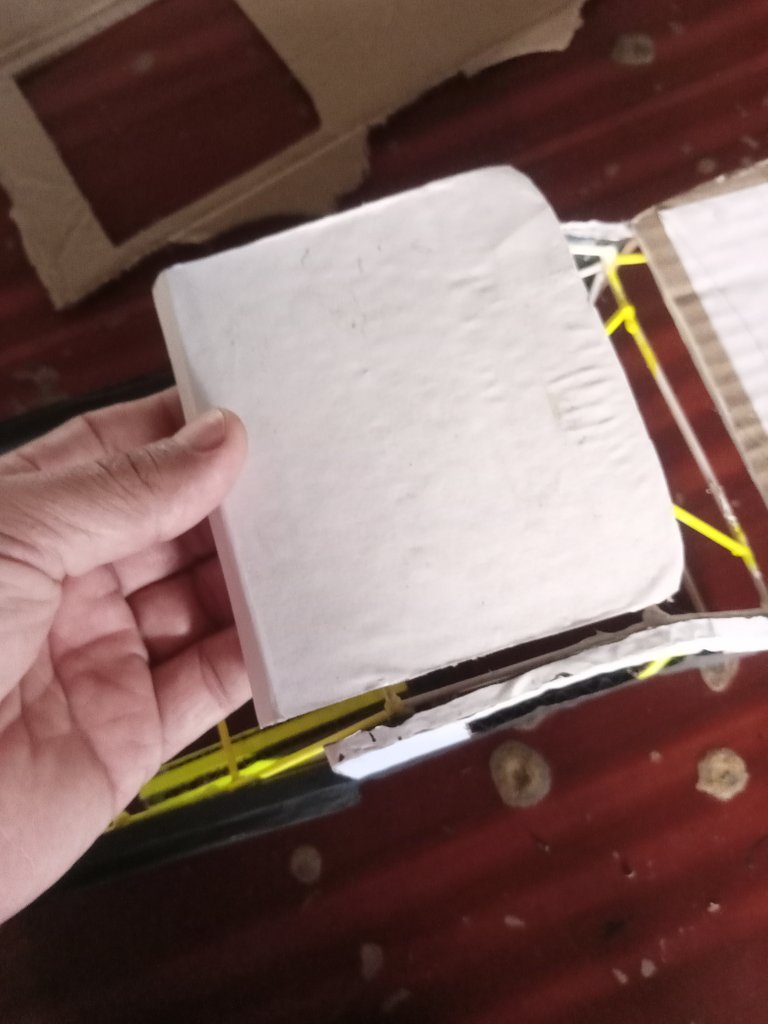
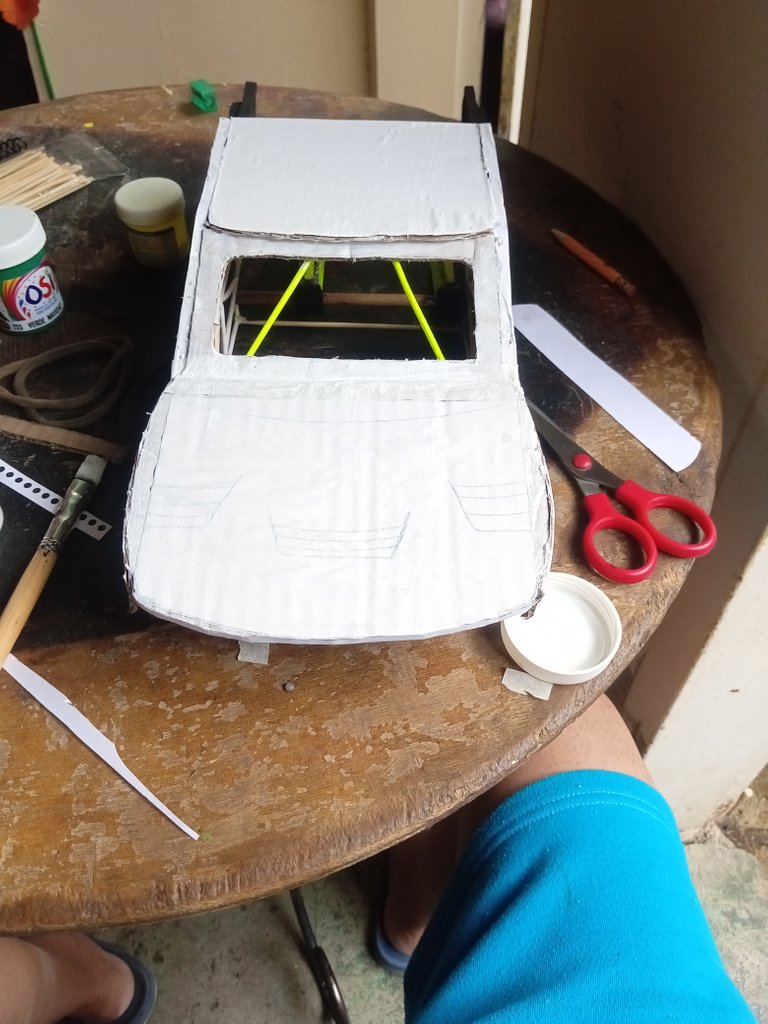
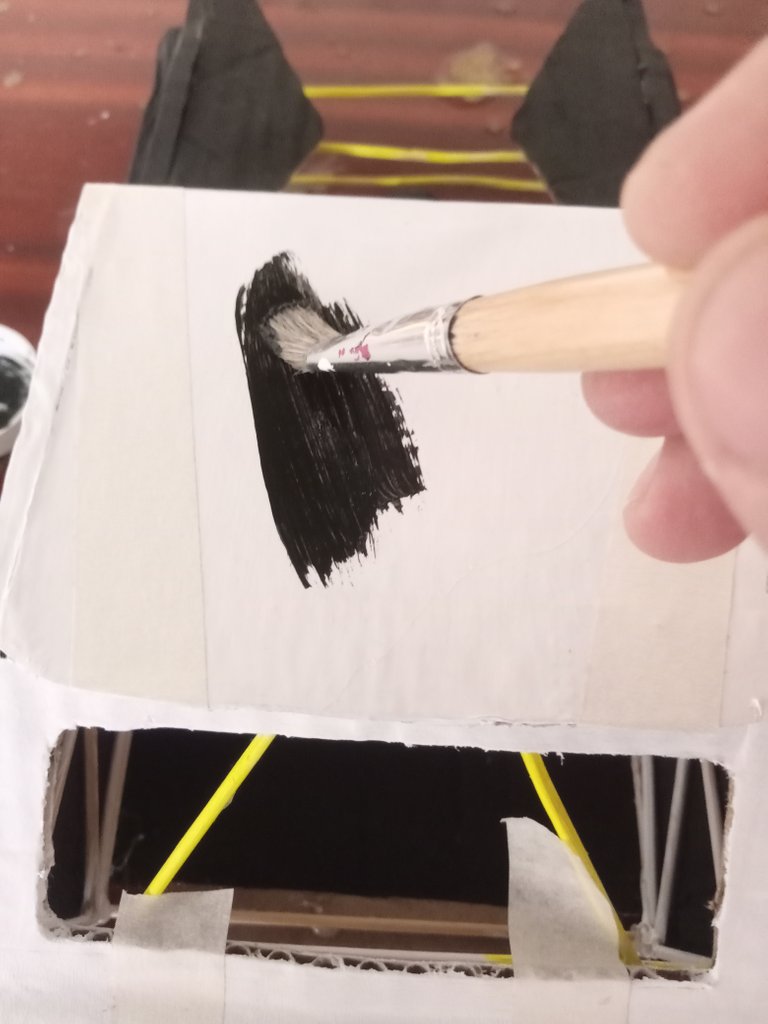
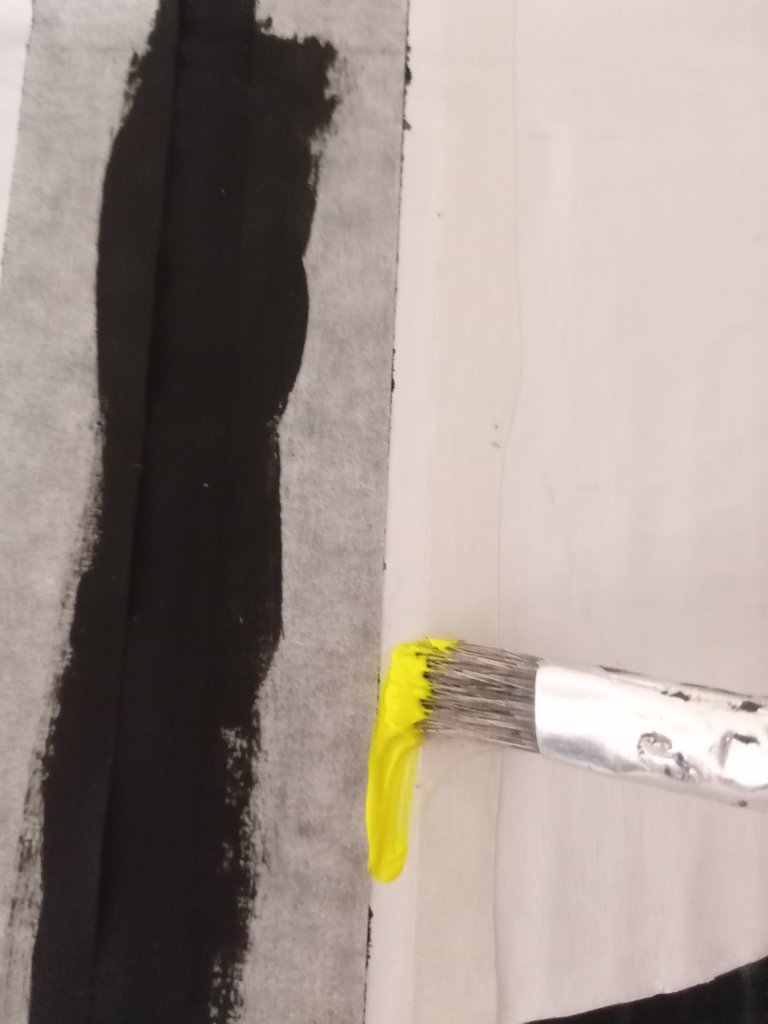
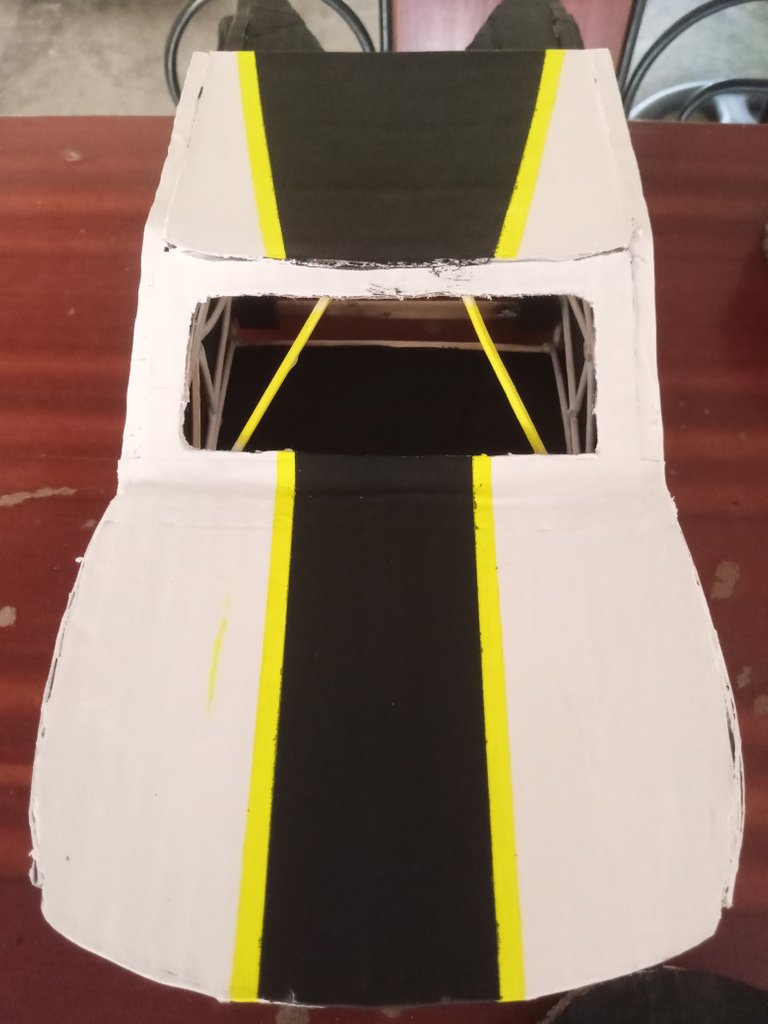
In this step we glue the roof and begin to give it the first coats of paint, this truck will have 2 tones of paint and some fluorescent details.
En este paso pegamos el techo y empezamos a darle las primeras manos de pintura, esta camioneta llevará 2 tonos de pintura y unos detalles en fluorescente.
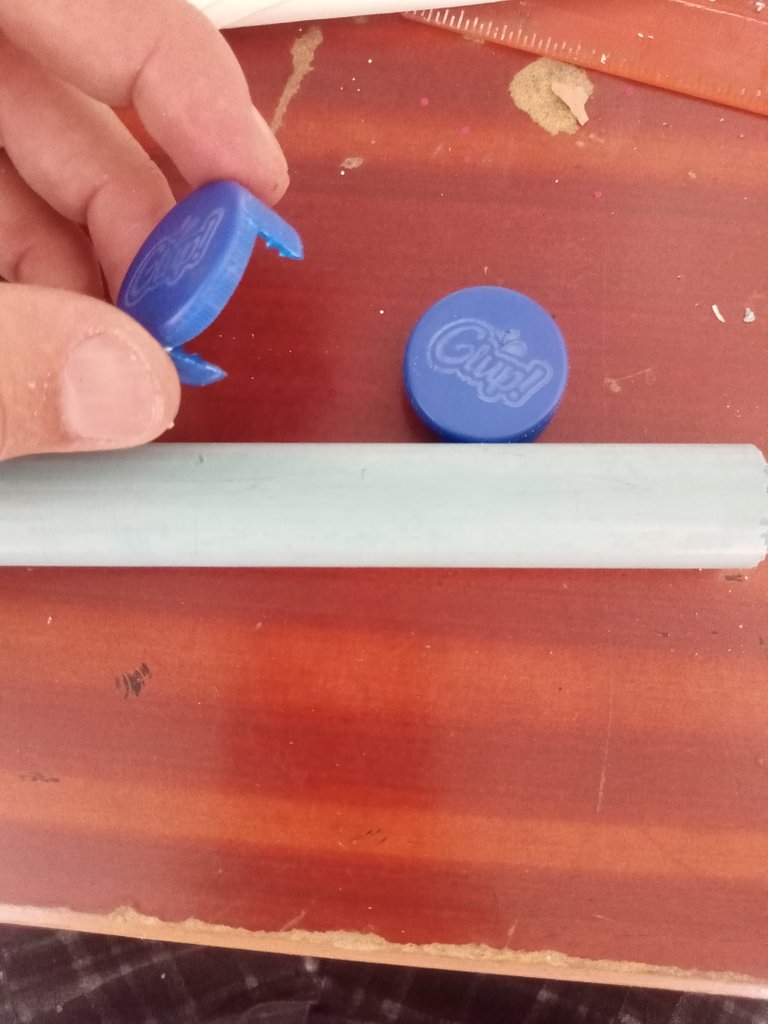
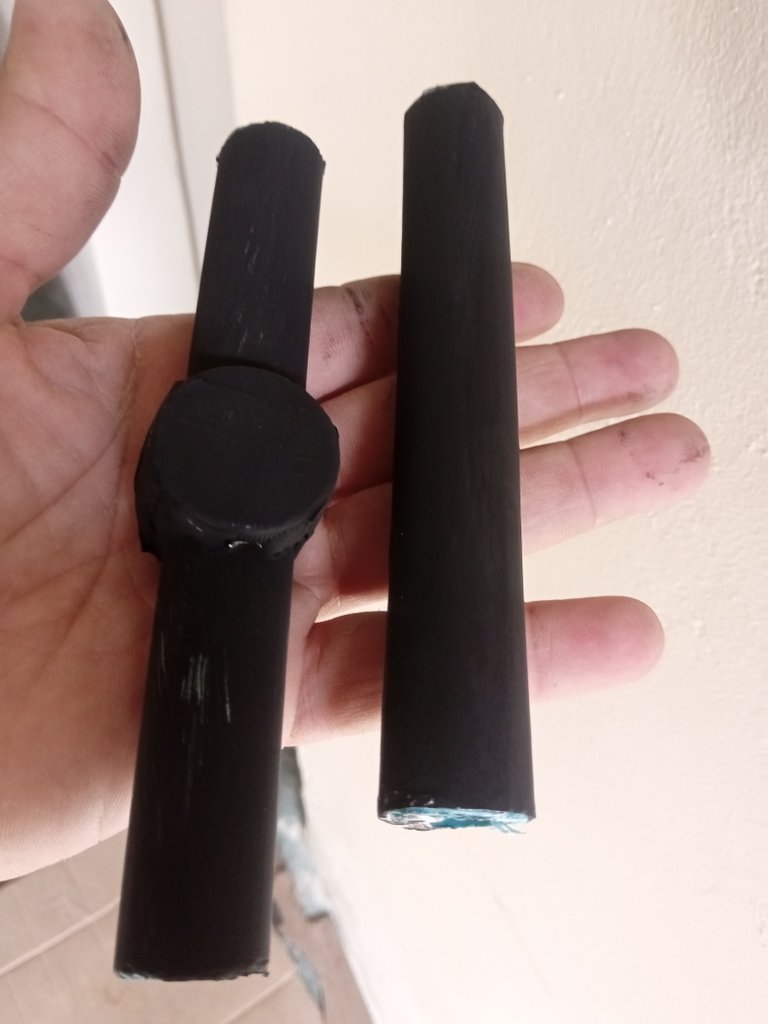
It is the turn of the transmission, for this, take a piece of plastic tube along with two soda caps, to which I opened a groove so that it will fit the width of the tube.
Le toca el turno a la transmisión, para ello tome un pedazo de tubo de plástico junto con dos tapas de refresco, a la cual le abrí una muecas para que se ajustará a lo ancho del tubo.
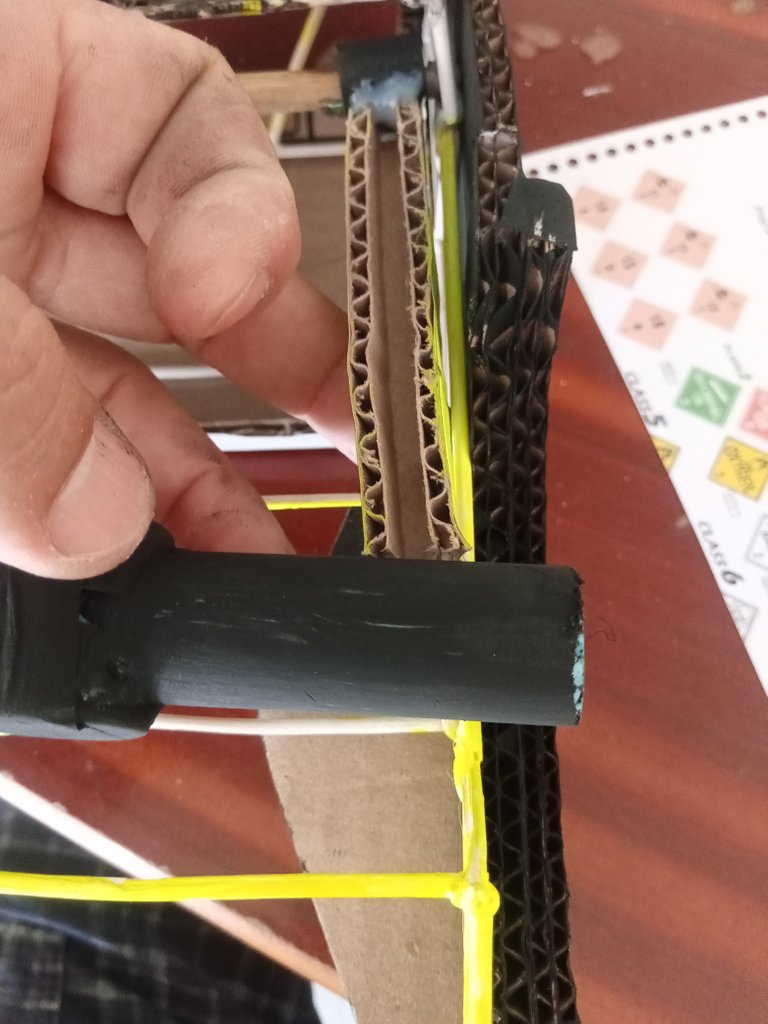
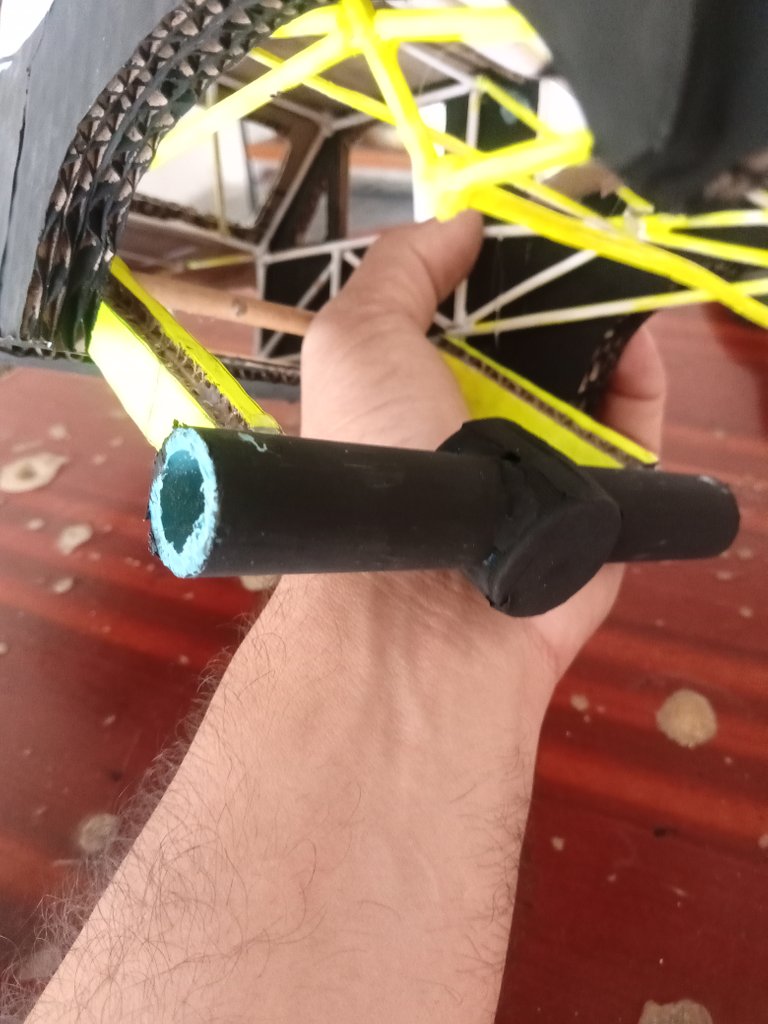
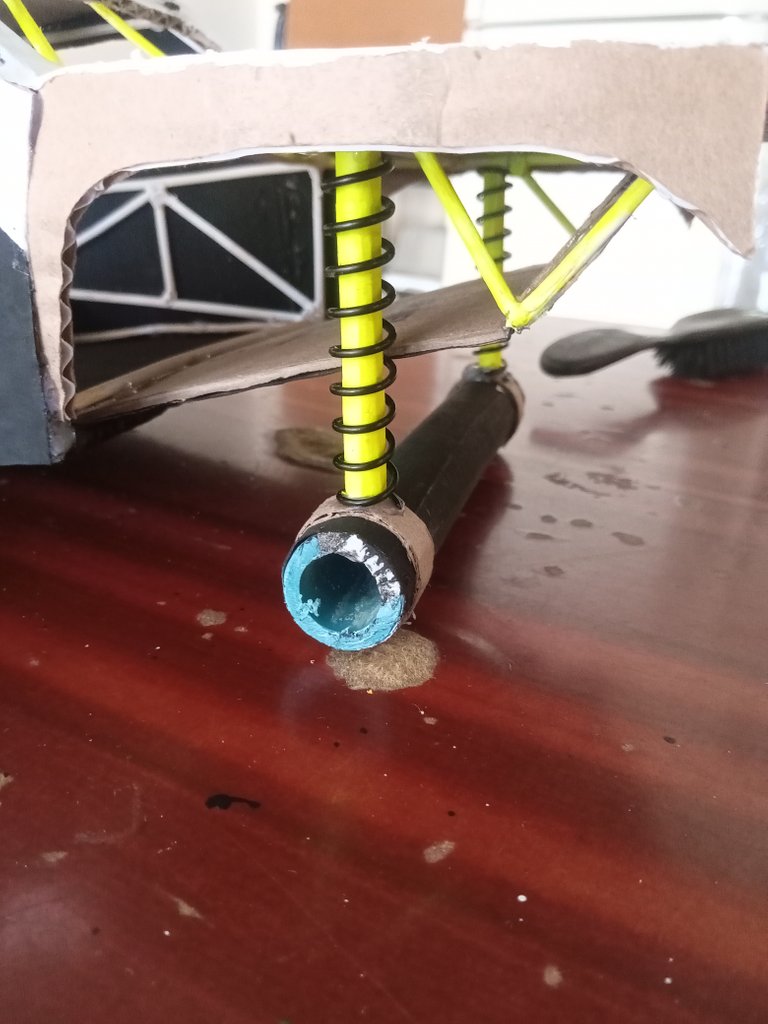
In this part make the shock absorbers, for this take 32 bamboo sticks of 8 centimeters 4 for each side, join them and roll them with a paper to give it a cylinder shape, the spring was taken from an old notebook.
En esta parte realice los amortiguadores, para ello tome 32 palitos de bambú de 8 centímetros 4 para cada lado, los junte y enrolle con un papel para darle forma de cilindro, el resorte lo saque de una libreta vieja.
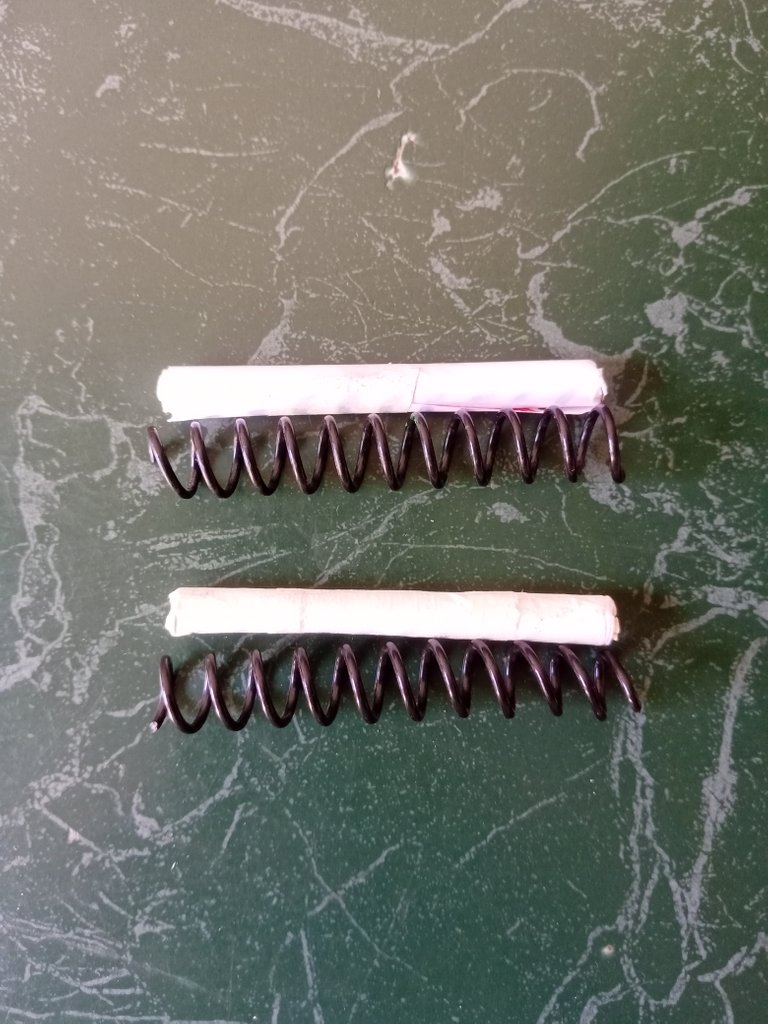
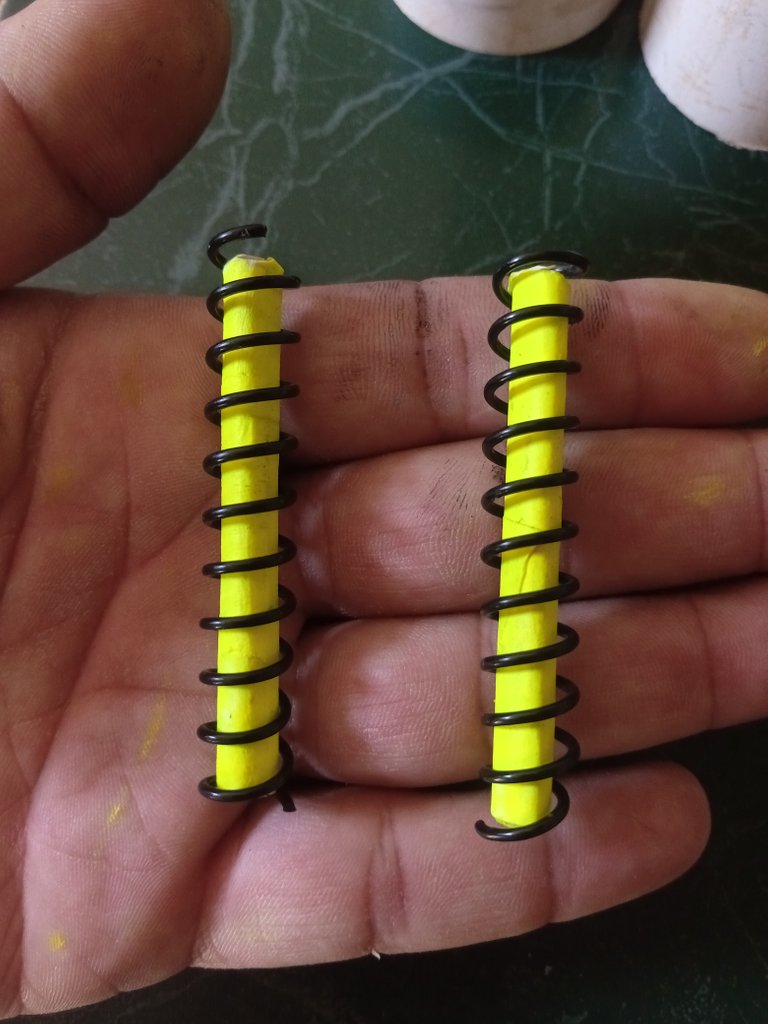
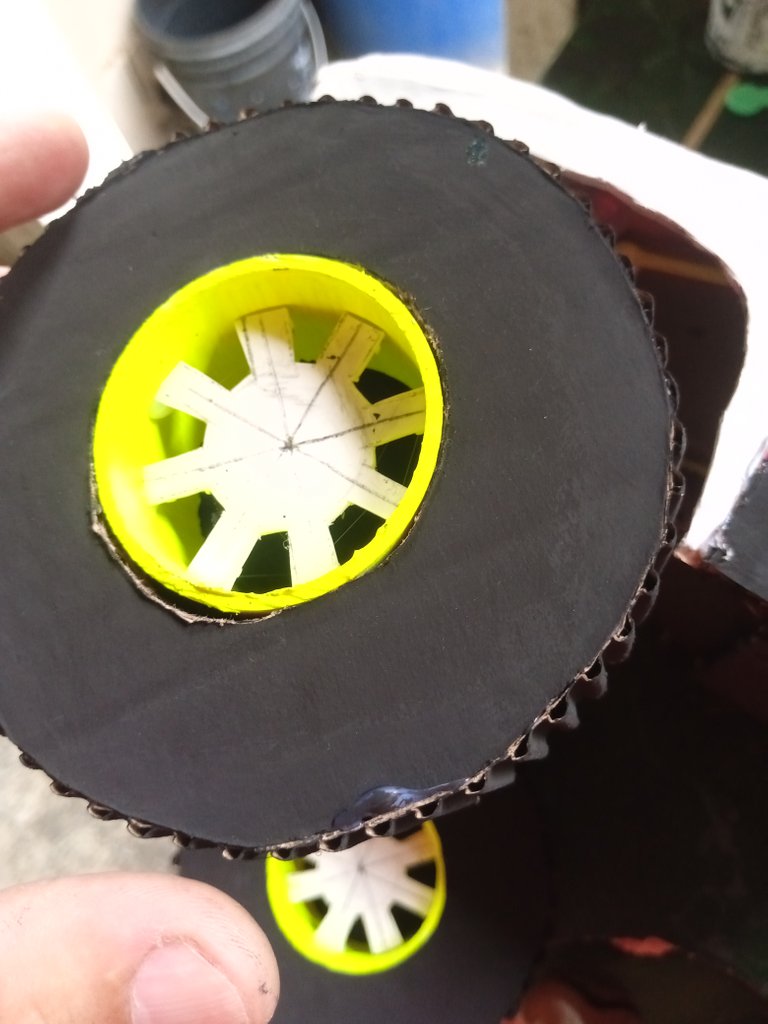
It was the turn of the wheels, in this step make 12 circles of 10 centimeters each, 2 for each wheel, there would be 6 wheels of which 2 would be spare.
Le llegó el turno a las ruedas, en este paso realice 12 círculos de 10 centímetros cada uno, 2 para cada rueda, serían 6 ruedas de las cuales 2 serían de repuesto.
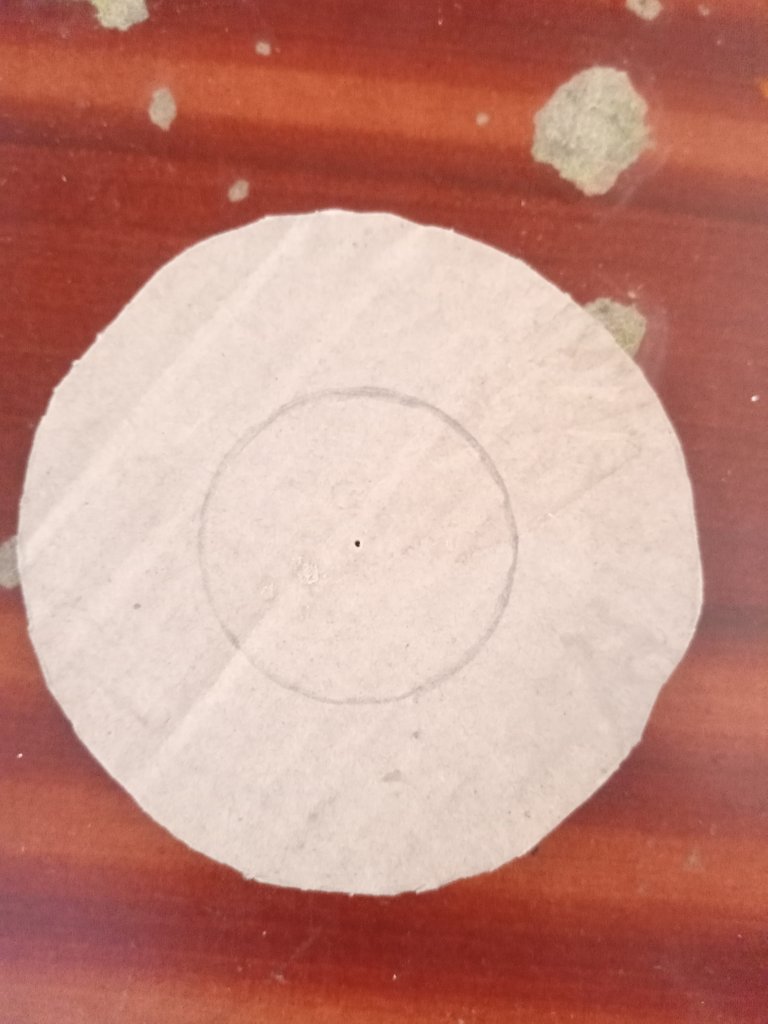
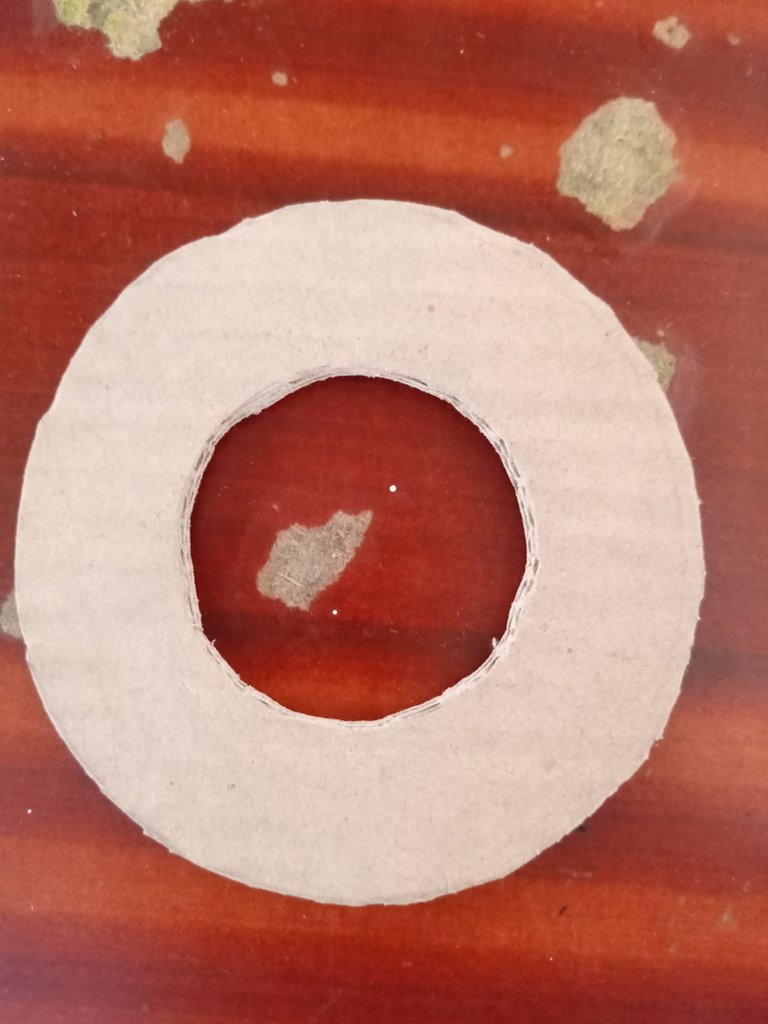
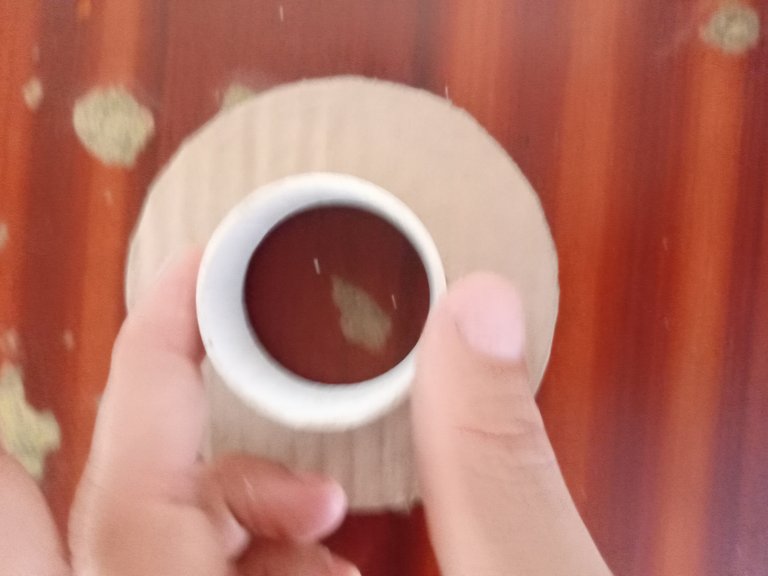
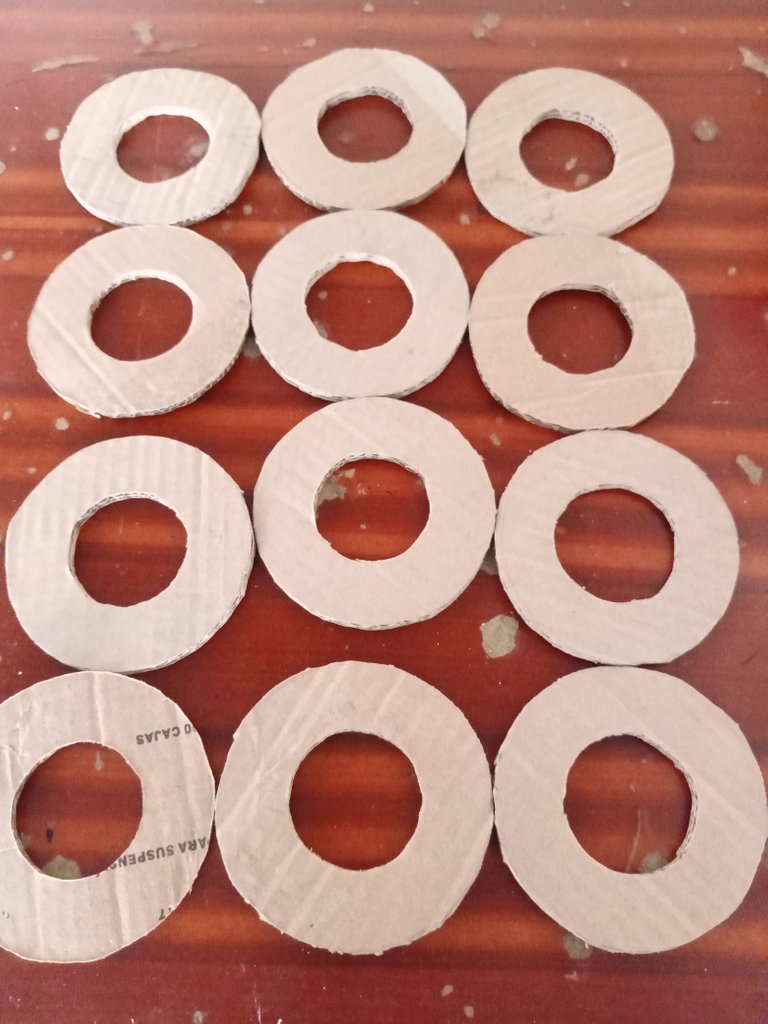
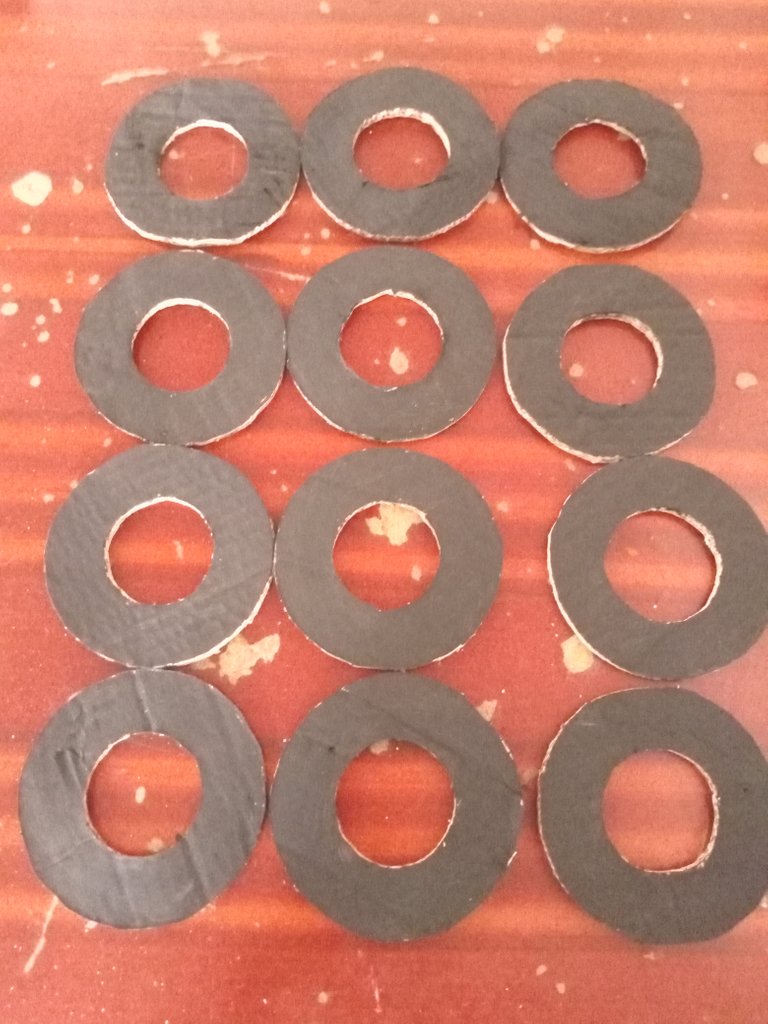
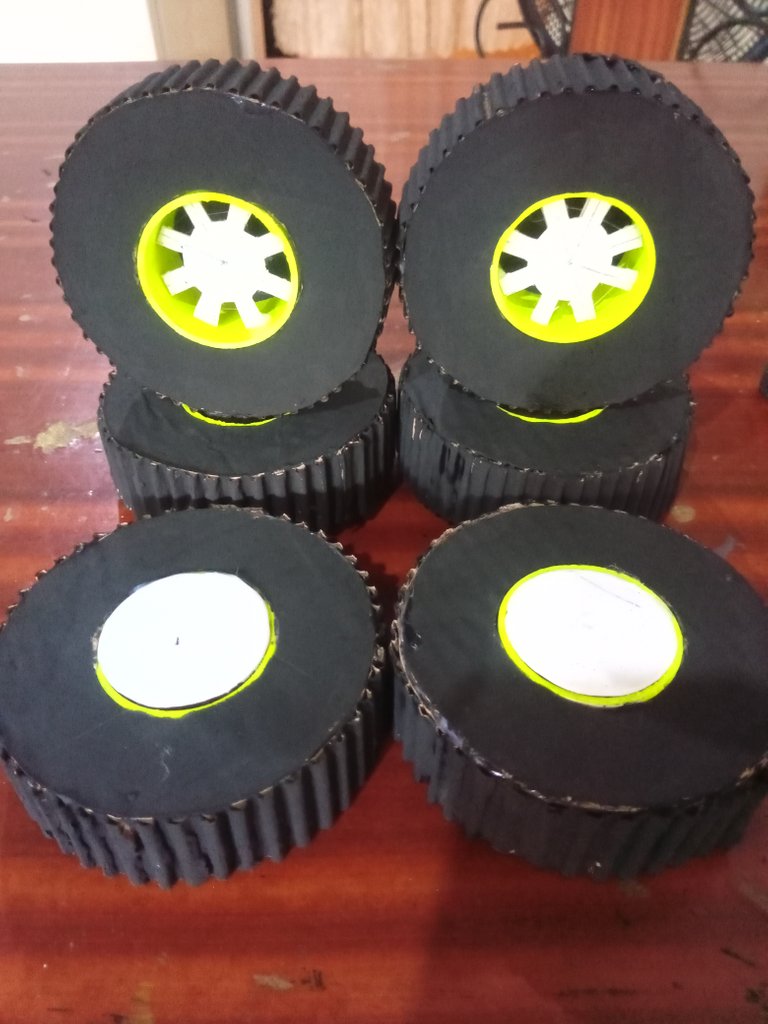
Una vez listas las ruedas le damos unos retoques de pintura a la camioneta y le haremos en diseño.
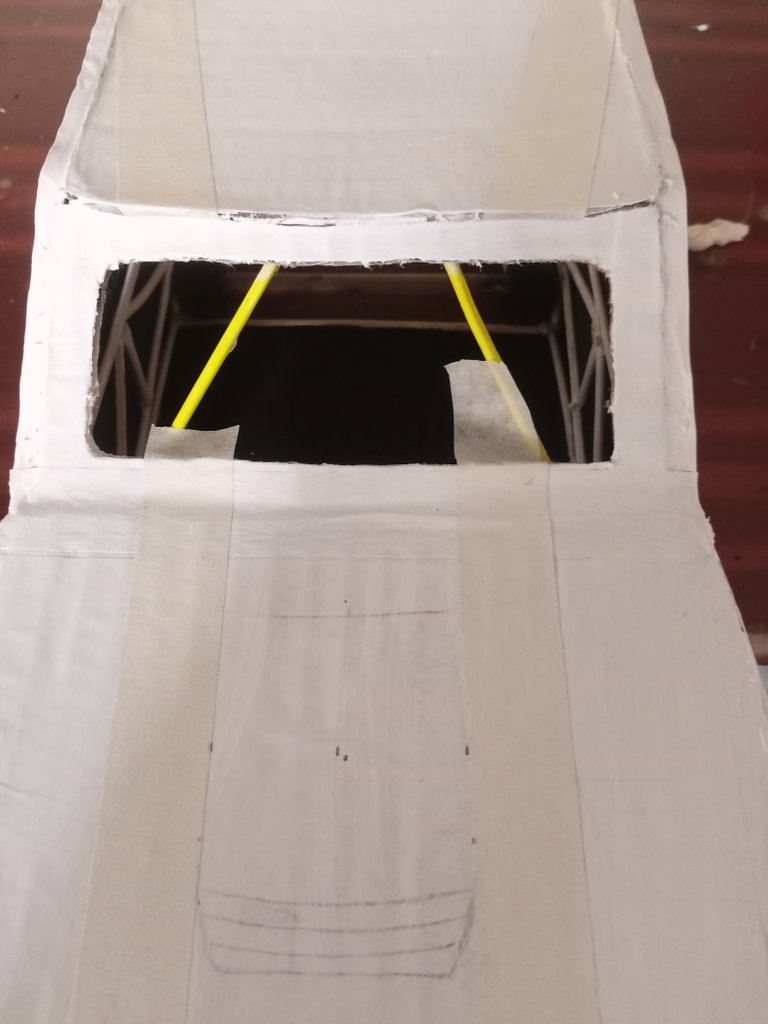
Almost ready, now we only have to glue the wheels and finish making the front of the truck, which will be the grill and bumper lights.
Ya casi lista, ahora solo nos queda pegar las ruedas y terminar de hacer el frente de la camioneta, lo que será luces parrilla y parachoques.
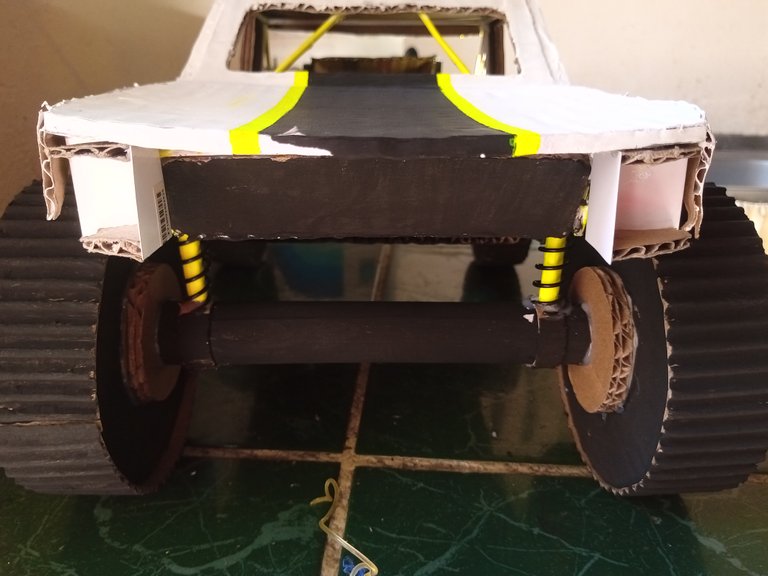
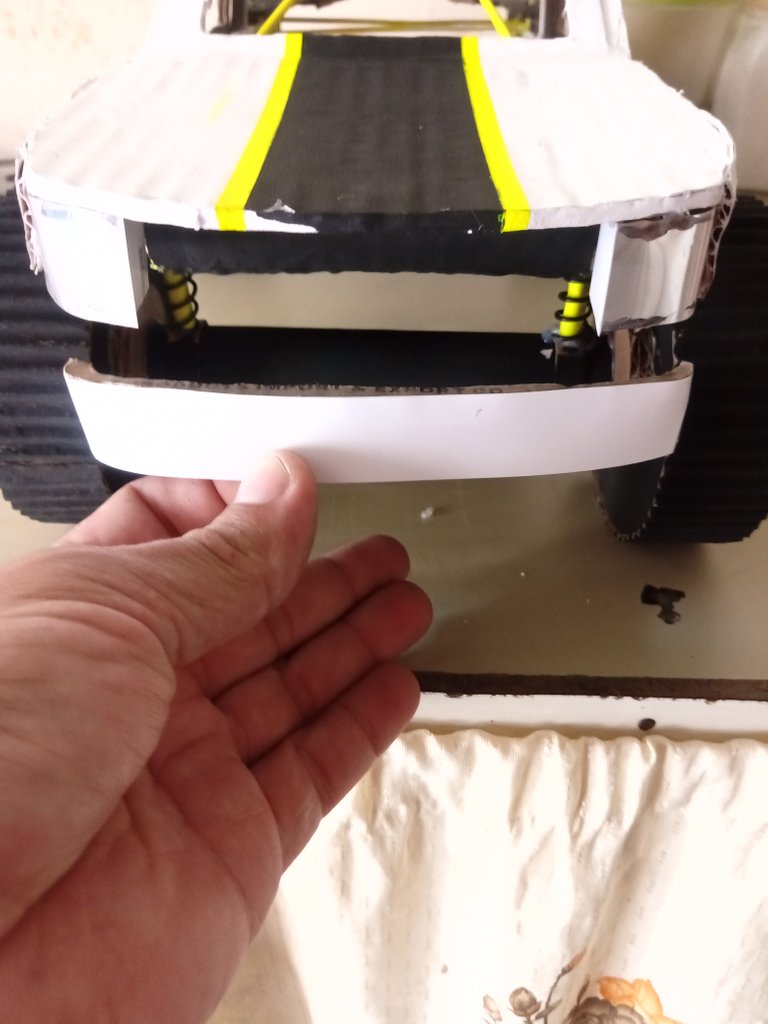
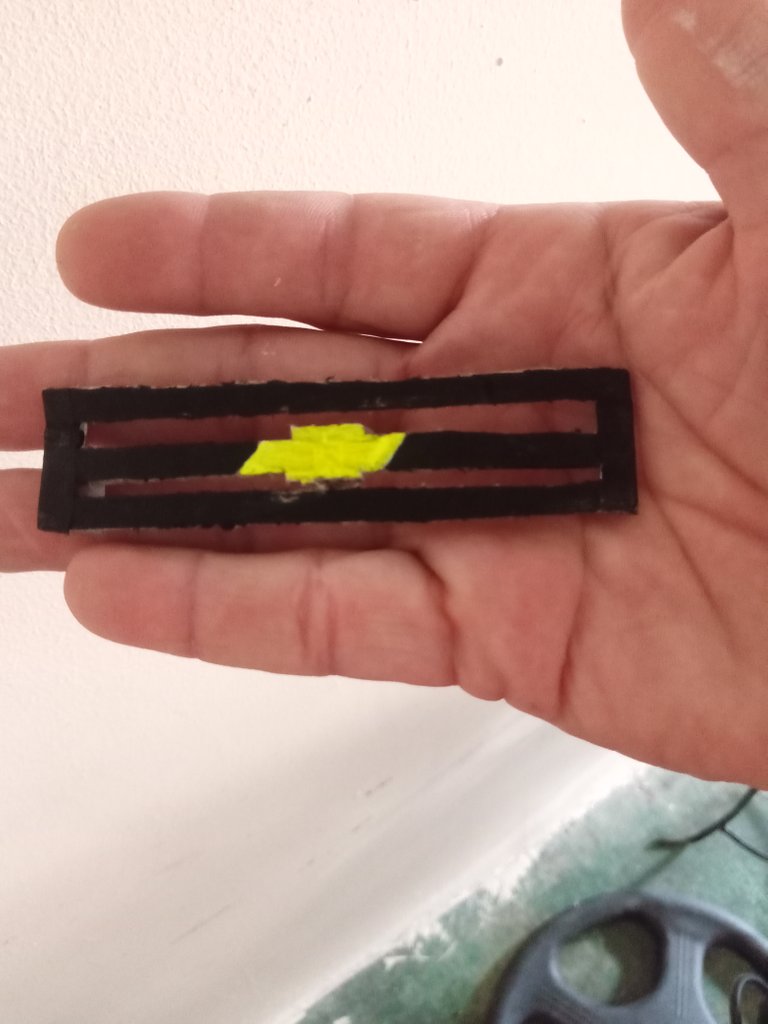
Good my friends, now we only have to make small details and the rally truck will be ready. I hope you liked my post, and you can enjoy the final images, for my part I only have to say goodbye until a next opportunity where I can show you another of my crafts. Thank you very much for your attention and see you another time God bless you greatly 🙏.
Buenos mis amigos, ya solo nos queda realizar pequeños detalles y la camioneta rally estará lista. Espero les haya gustado mi post, y puedan disfrutar de las imágenes finales, de mi parte solo me queda despedirme hasta una próxima oportunidad en donde podré mostrarles otra de mis manualidades. Muchísimas gracias por su atención y nos vemos en otra oportunidad Dios los bendiga grandemente 🙏.
FINAL RESULT
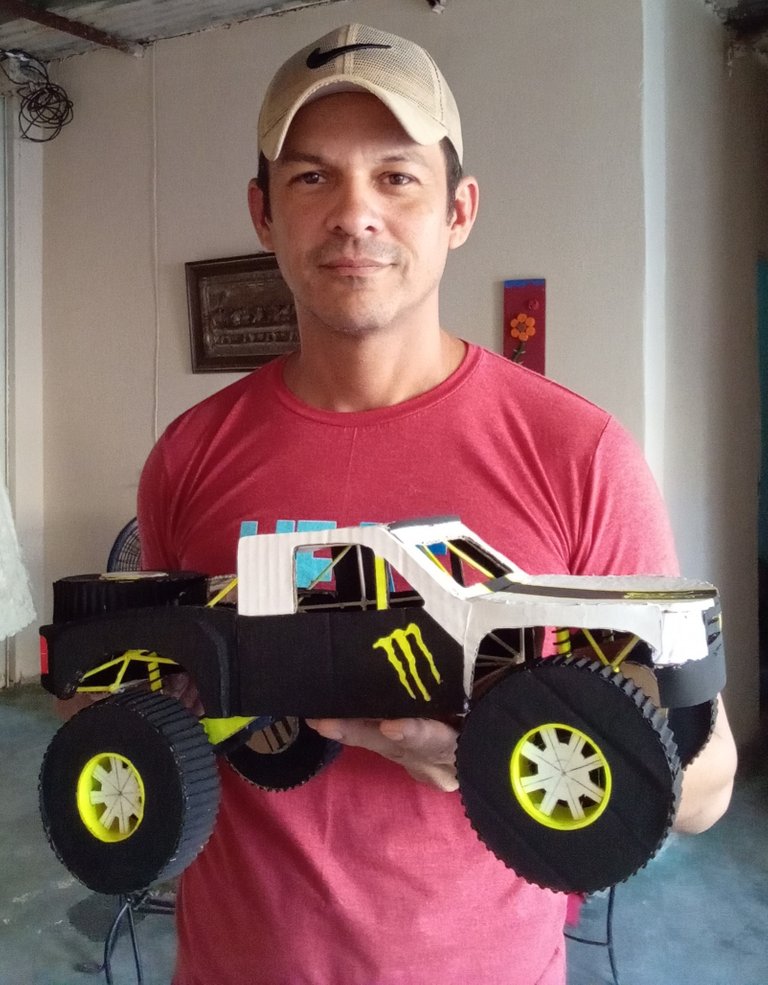
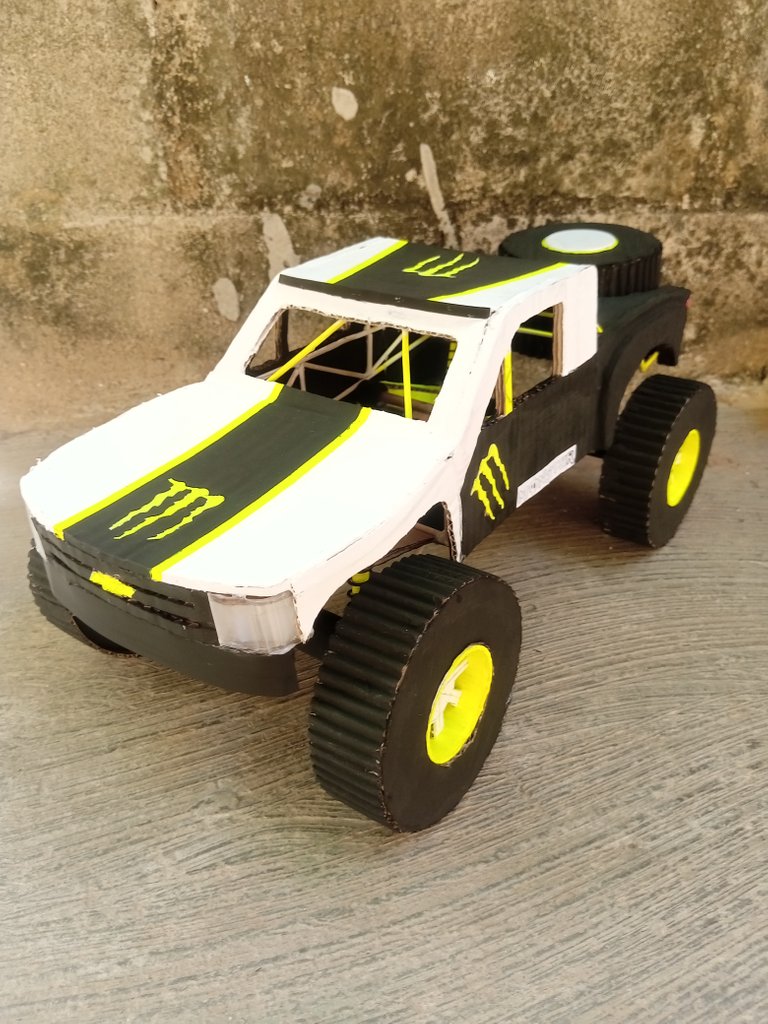
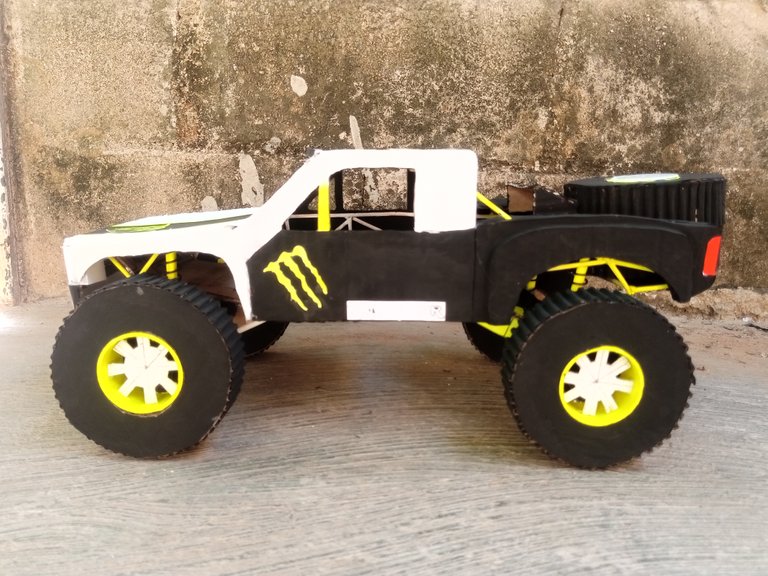
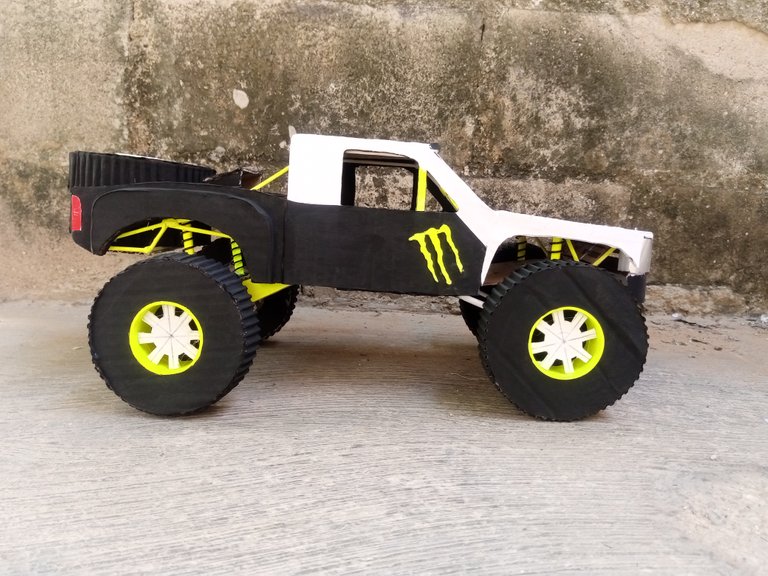
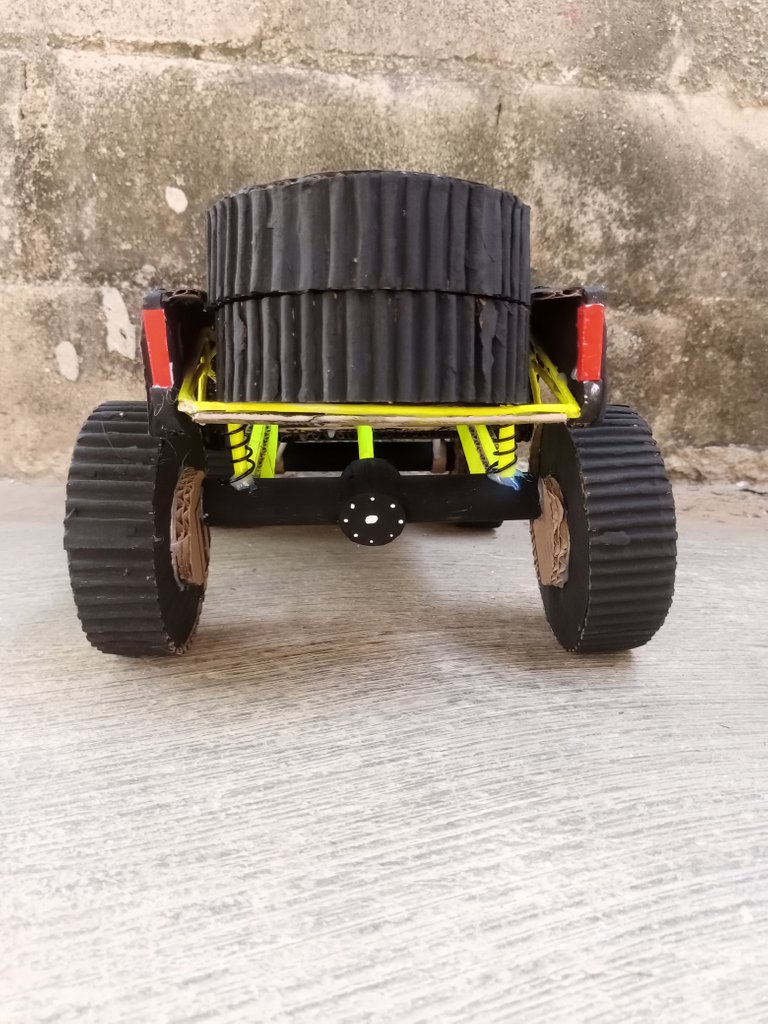
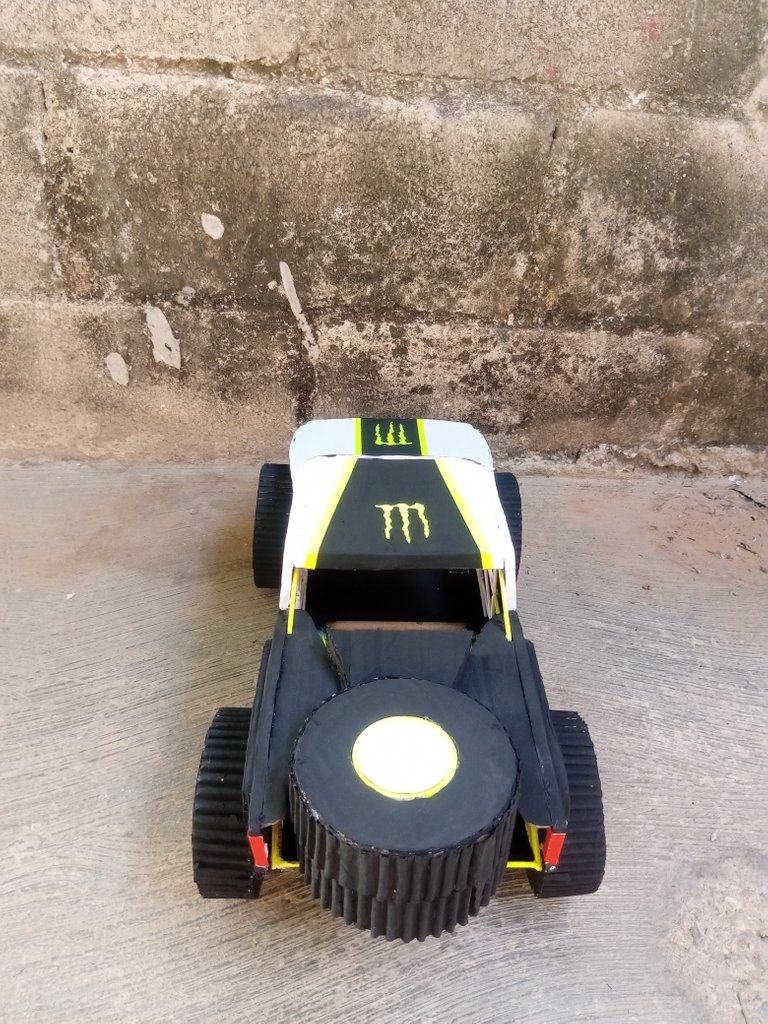
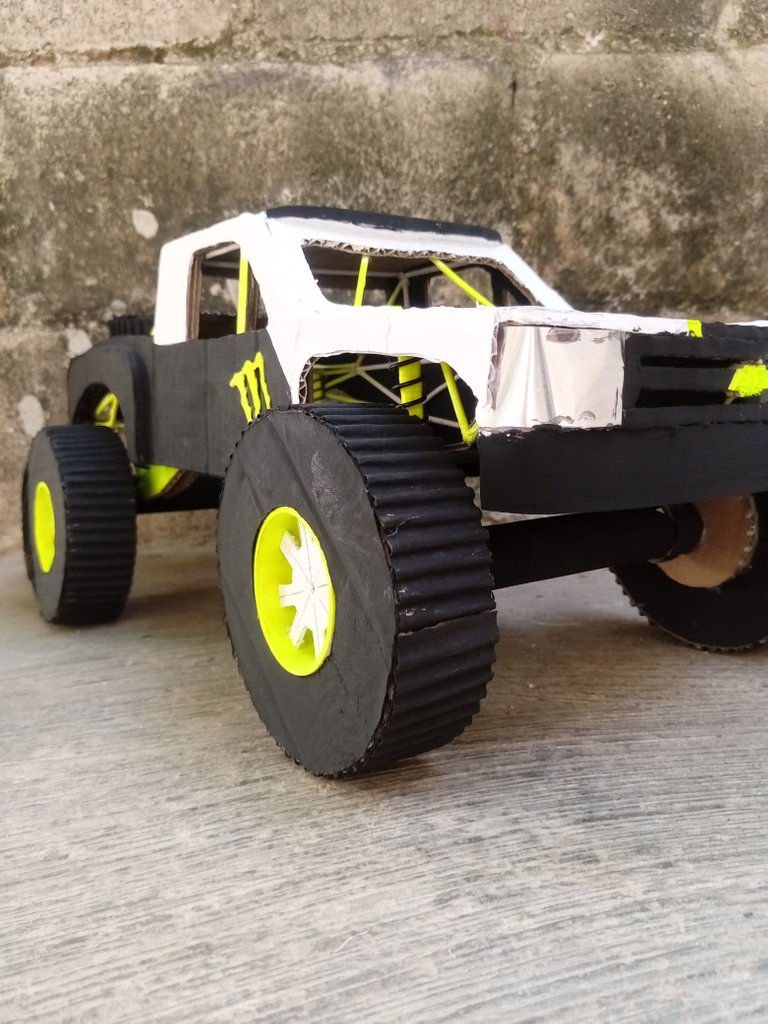
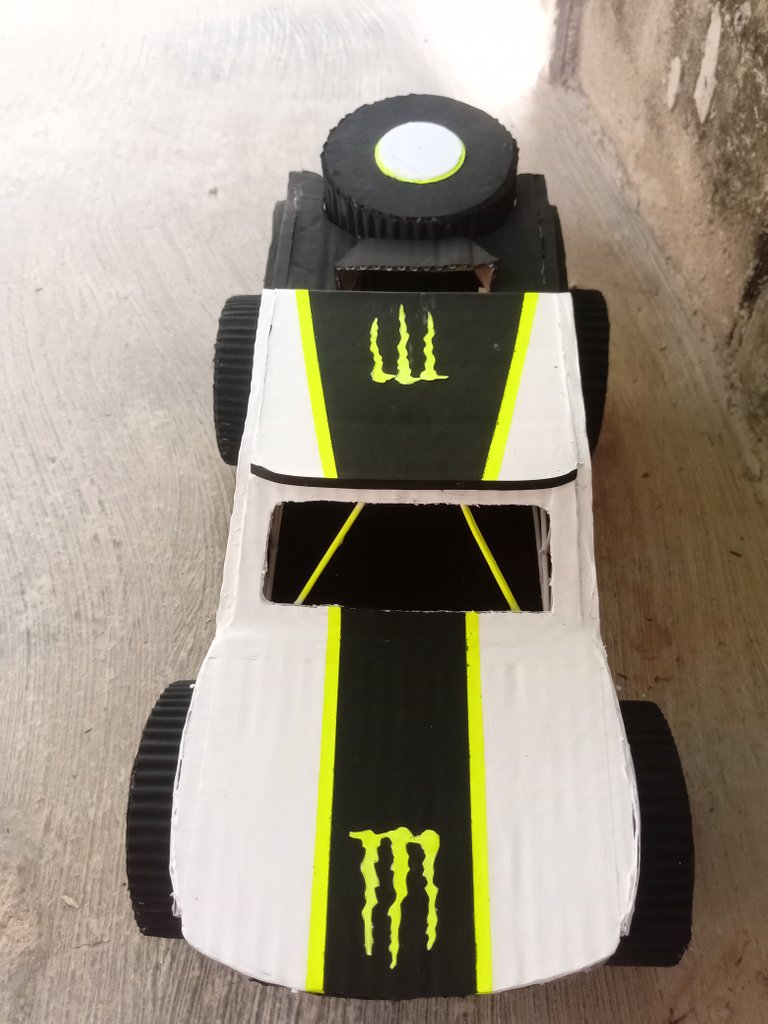
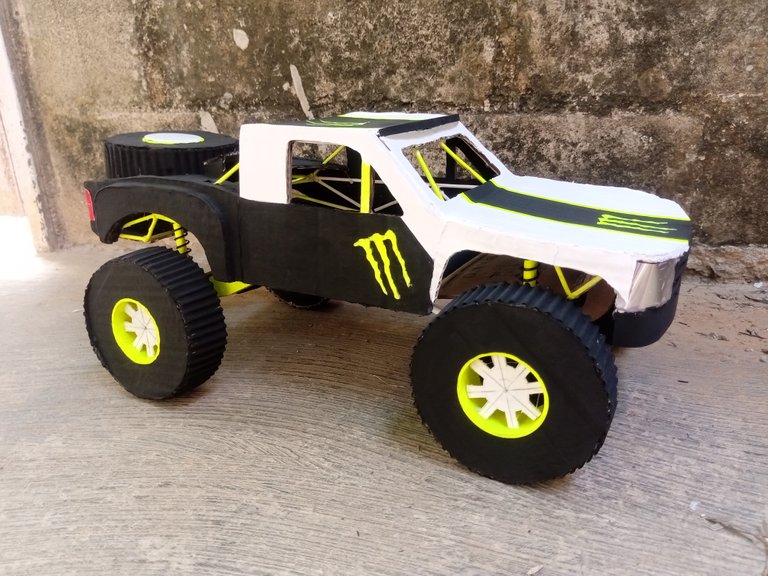
All photos were taken by my Alcatel 1v Smartphone
Todas las fotografías fueron tomadas por mi Smartphone Alcatel 1v

Wow, ese sí es tremendo proyecto, un motorcito y ya es un carro eléctrico.
Está esta idea para un regalo. No hacerlo y regalarlo, me imagino con un niño armarlo, la experiencia en sí sería genial. Gran post!
woooowwwwww... Un trabajo espectacular! Felicidades tienes mucho talento.
Muchisimas gracias me alegra que te haya gustado.
Saludos y bendiciones 🙏
Gracias por visitar mi post, me contenta que te haya gustado, y es cierto le falta un motor y listo, a rodar. Es otro más para la colección que estoy creando 😁.
Gracias nuevamente y que tengas un feliz día 🙏🤗
Que buen modelo, te ha quedado asombroso. Solo le falta un motor y echarlo a andar. Te felicito, los cortes son precisos!
Gracias hermano, me alegra que te haya gustado, me llevo un poquito de trabajo pero quede satisfecho con los resultados, eh visto tus trabajos y son muy buenos también felicidades por ello.
Saludos y muchas bendiciones 🙏
cuando llevan mas trabajos mejor quedan. Los detalles son impresionantes y la forma como la pintaste aun mejor.
@angdavid21, Quedo super amigo, bien en diseño y cortes, quedo genial.
Gracias amigo por apreciar los detalles me contenta mucho que te haya gustado.
Gracias nuevamente que tengas un feliz y bendecido día 🙏