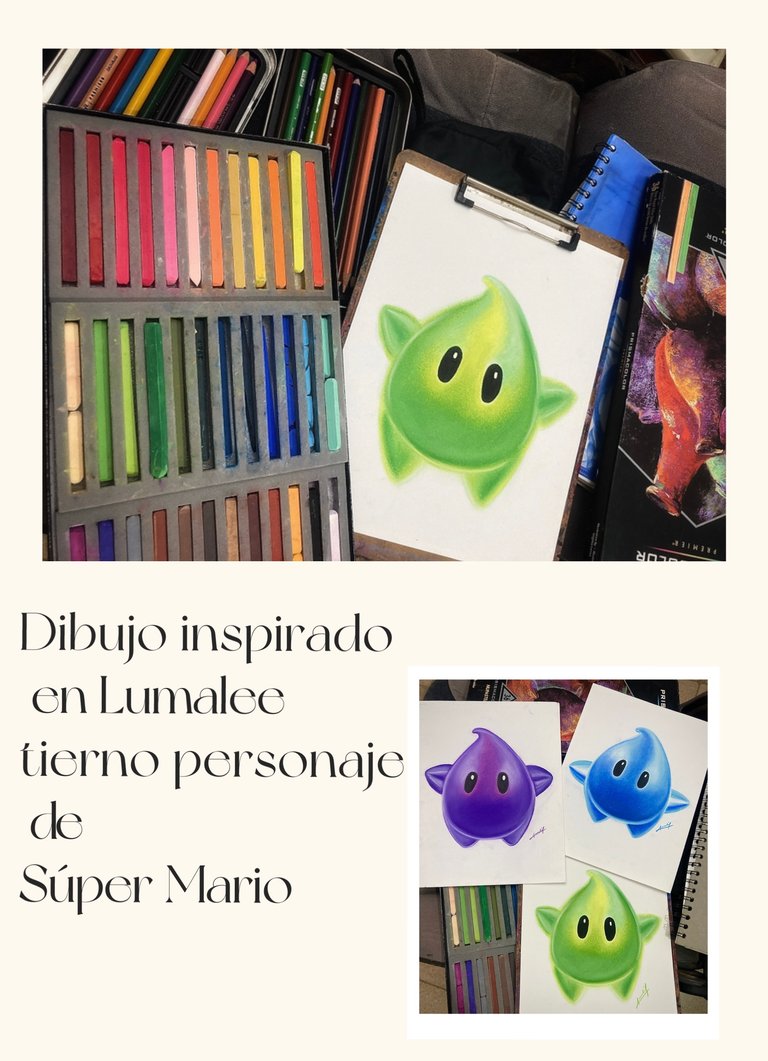
Hola a todos👋🏻😁, espero que se encuentren muy bien, en el día de hoy les quiero enseñar como dibujar esta llamita llamada Lumalee de la especie Luma, similar a una estrella, donde aparece en el videojuego de Súper Mario Galaxy y en la película. Hoy les traigo una versión de color verde, te enseño el paso a paso. Acompáñame!!! 😊⭐️
Hello to todos👋🏻😁, I hope you are very well, today I want to show you how to draw this little llama called Lumalee of the Luma species, similar to a star, where it appears in the Super Mario Galaxy video game and in the movie. Today I bring you a green version, I show you the step by step. Join me!!! 😊⭐️
Materiales
Bloc de dibujo
Nupastel prismacolor
Lápiz de dibujo
Materials
Drawing pad
Nupastel prismacolor
Drawing pencil
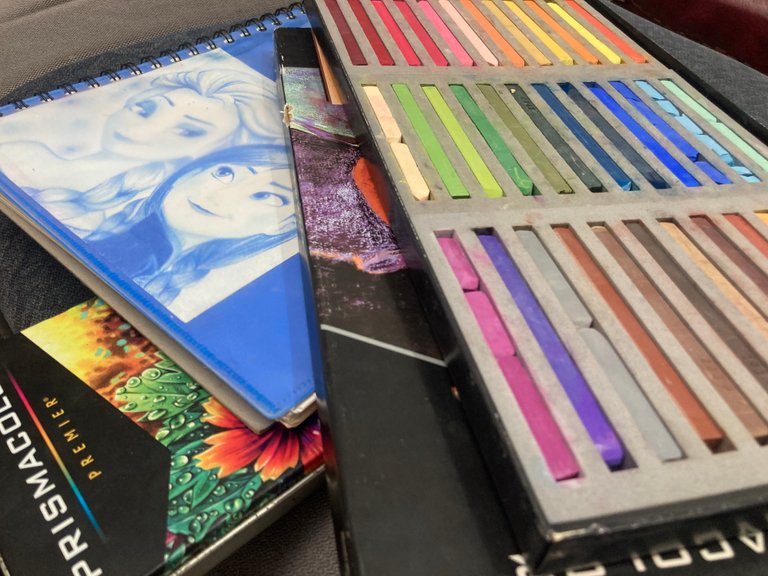
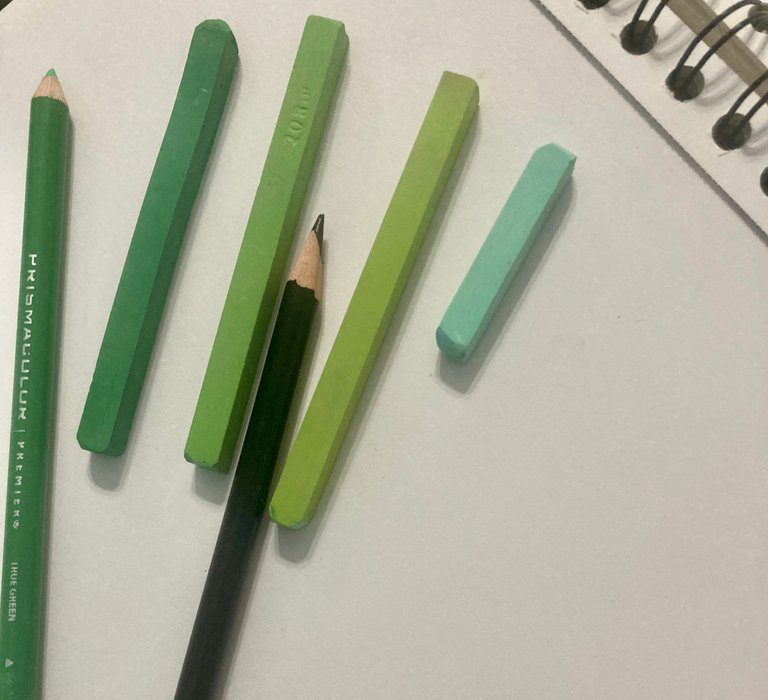
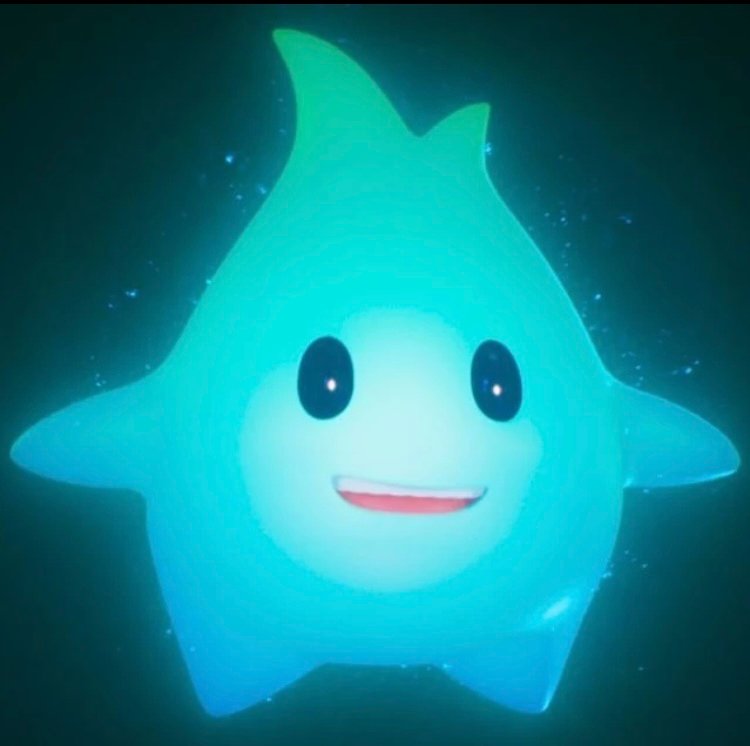
Imagen de referencia | Reference image
Ahora si comenzamos!!!
Paso 1
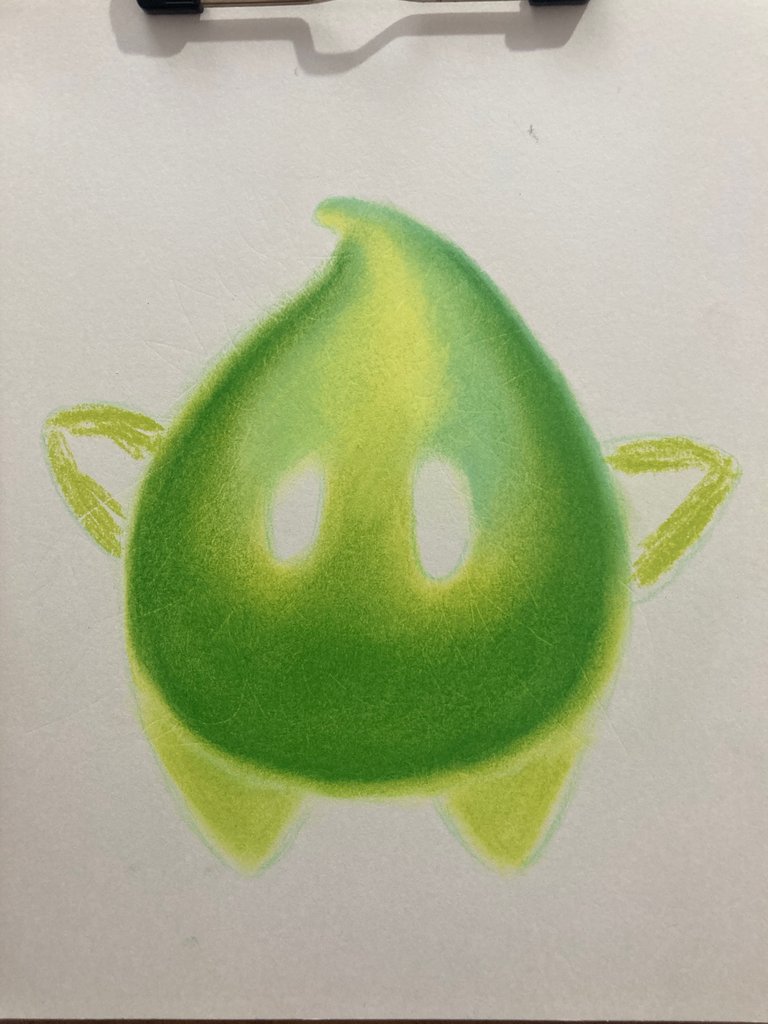
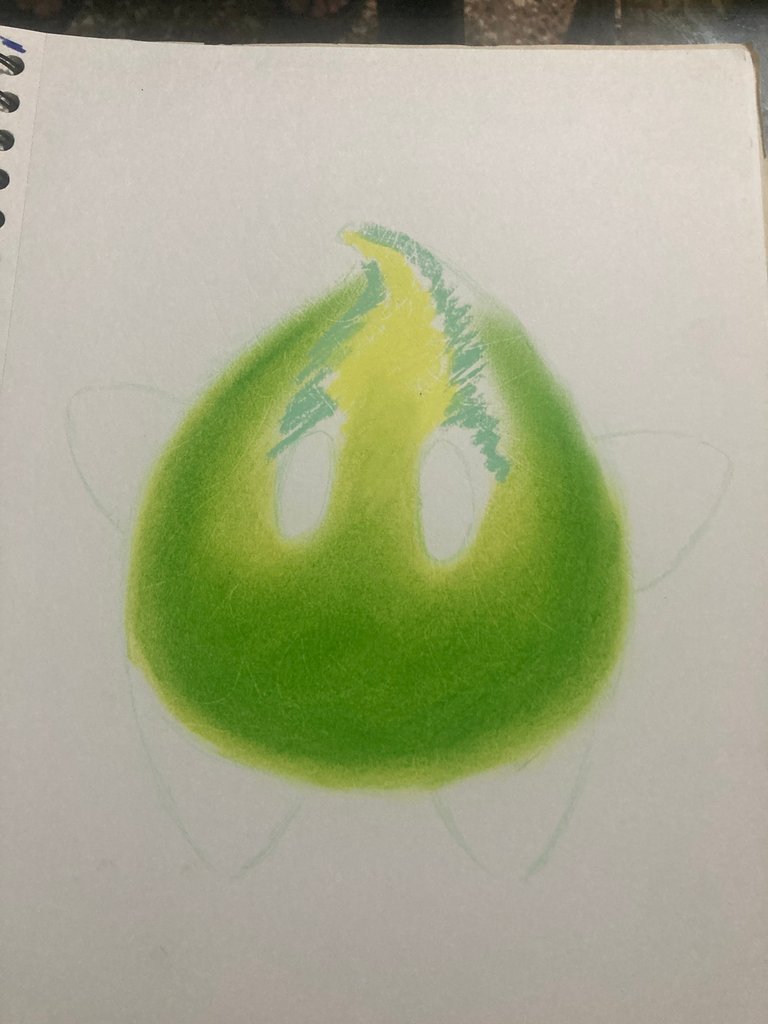
Con el lápiz de dibujo empezamos marcando la silueta en forma de gota, luego con el nupastel de color verde limón dibujamos como se ve en la foto y aplicamos una capa de color verde, difuminamos con el dedo. Con el nupastel azul dibujamos como indica la foto y volvemos a difuminar.
Step 1: With the drawing pencil we start marking the silhouette in the shape of a drop.
With the drawing pencil we start marking the silhouette in the shape of a drop, then with the lemon green nupastel we draw as shown in the photo and apply a layer of green color, blending with the finger. With the blue nupastel we draw as shown in the photo and we blur again.

Paso 2
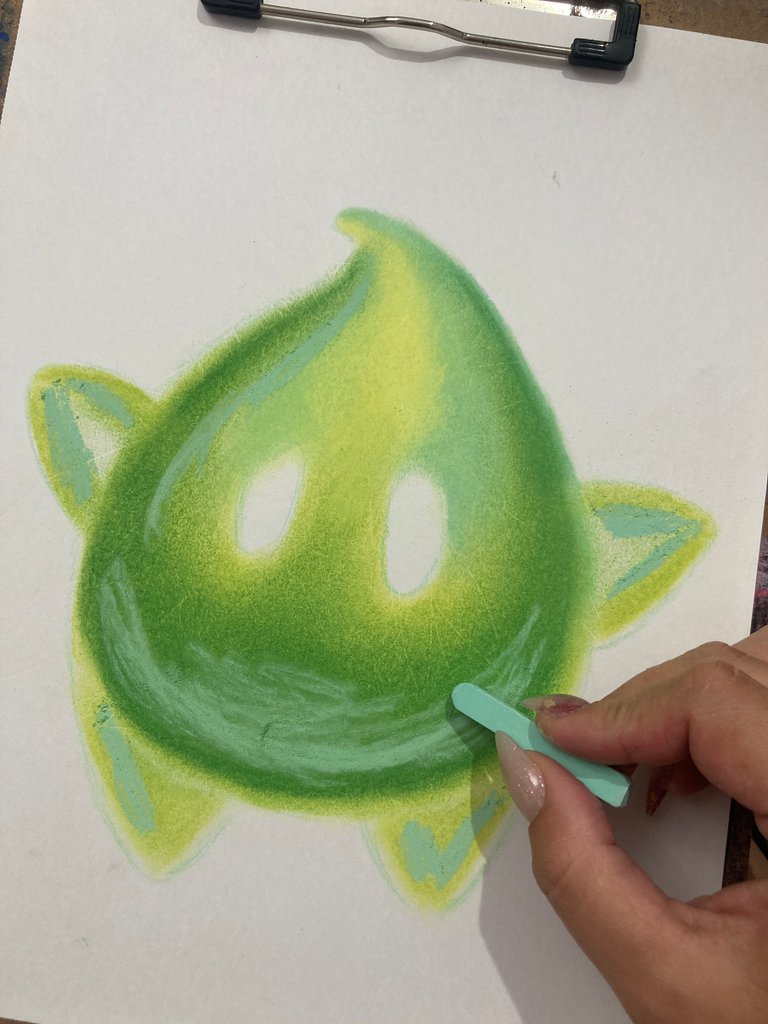
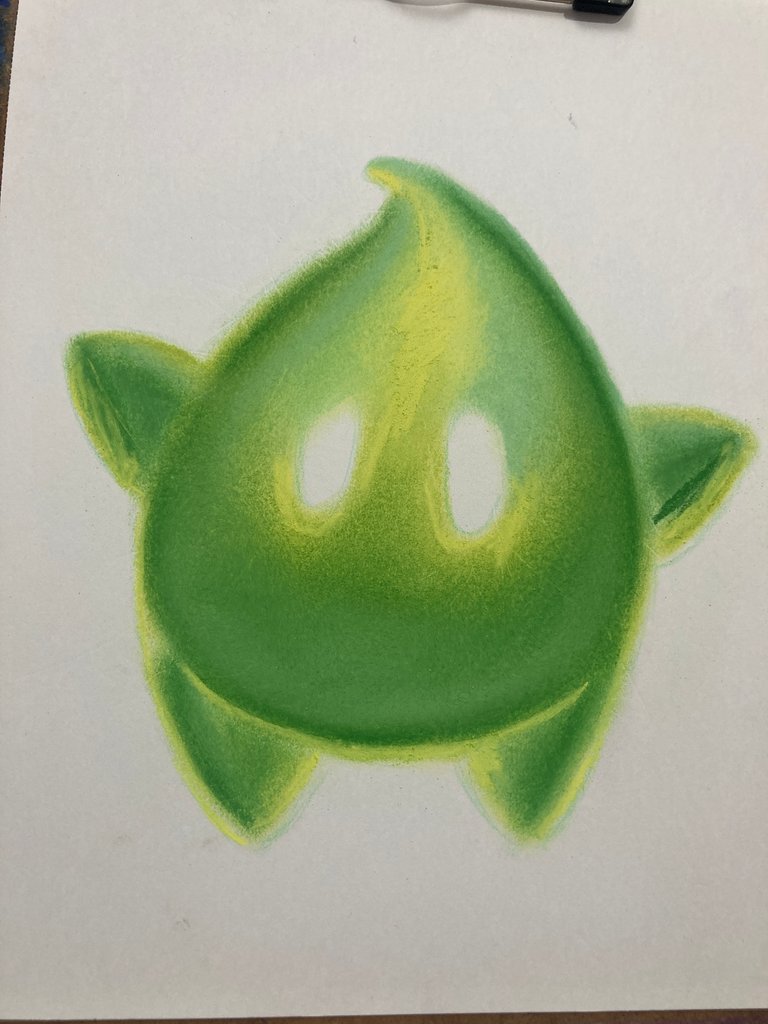
Con el nupastel color verde azul claro dibujamos la panza como muestra la foto y difuminamos con los dedos para ir dándole volumen. Y con el amarillo en el centro y el borde se los ojos.
Step 2
With the light blue green nupastel draw the belly as shown in the picture and blend with your fingers to give it volume. And with the yellow in the center and the edge of the eyes.
Ojo! Siempre difuminamos cada capa de color que demos | Always blend every layer of color you apply.
Paso 3
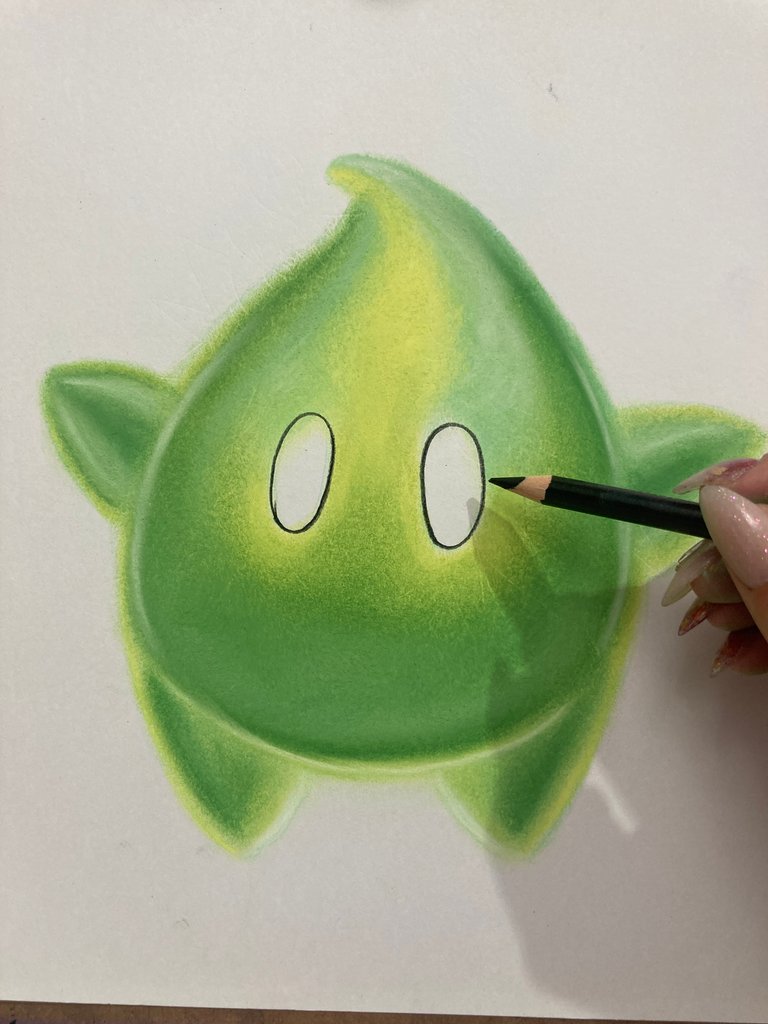
Con el lápiz hacemos los ojos ovalados y rellenamos de color negro
Step 3
With the pencil we make the oval eyes and fill them with black color.
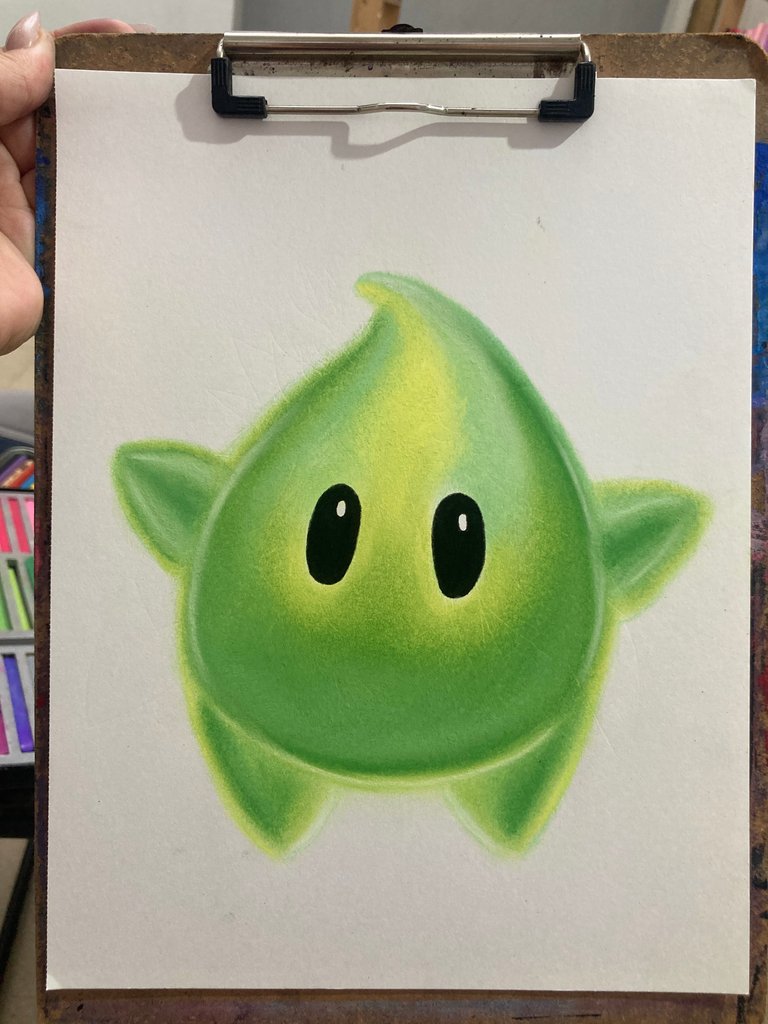
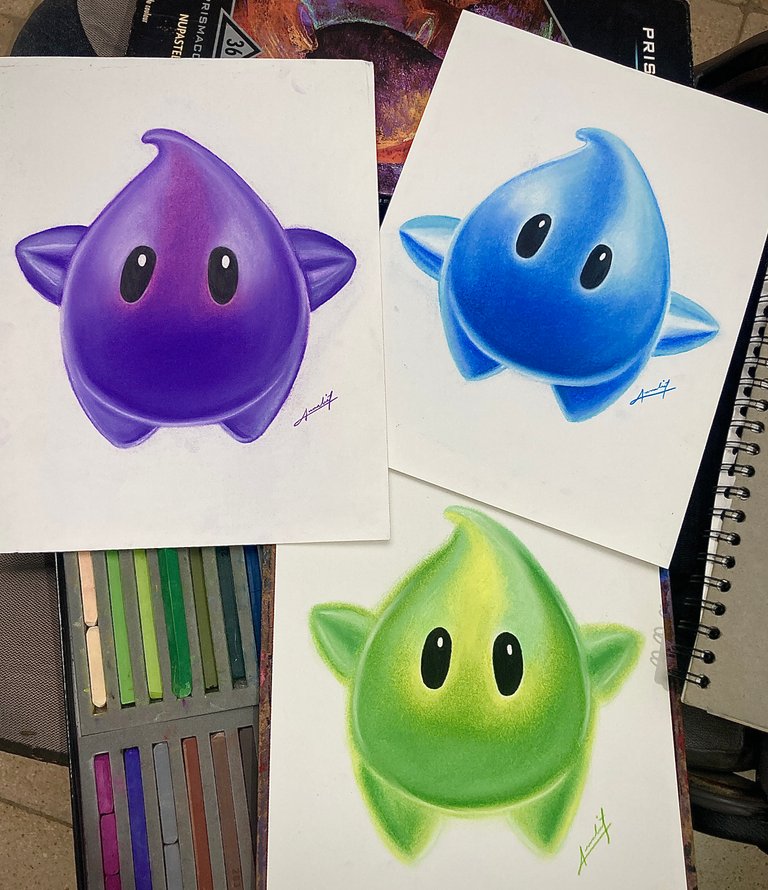
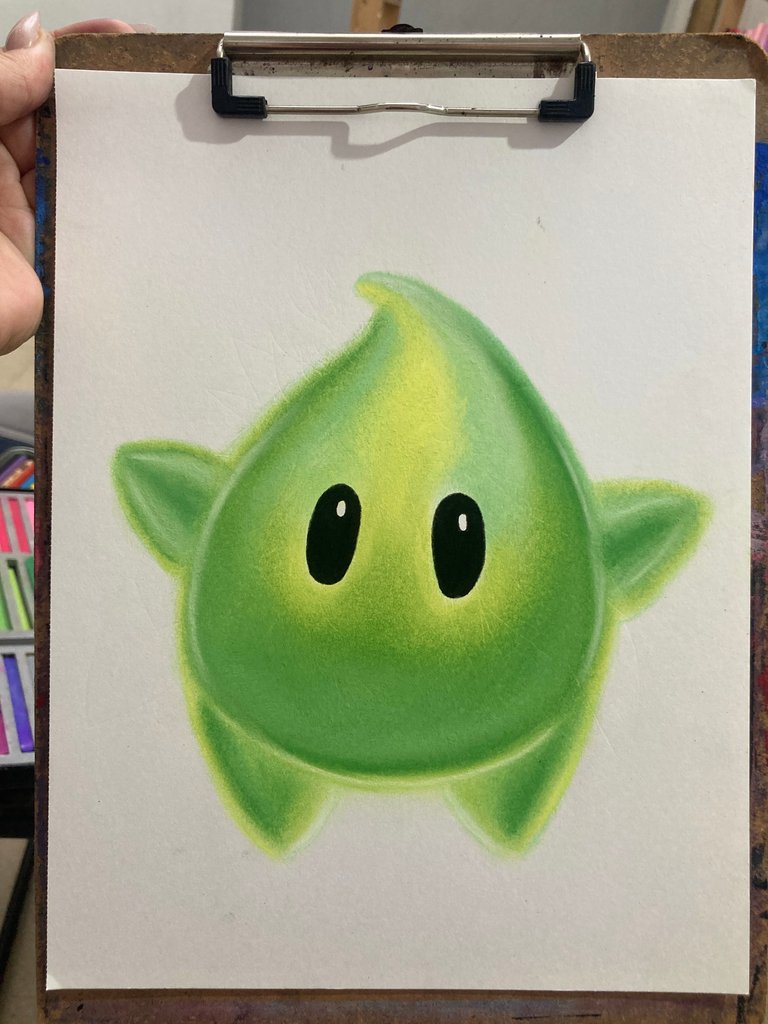
Así es como queda esta tierna versión, donde tú también puedes dejar volar tu imaginación como hice yo y hacer tu propia versión del color que más te guste.
This is how this cute version looks like, where you can also let your imagination run wild as I did and make your own version in the color you like the most.
Espero que les haya gustado, no olvides dejar tu comentario y seguirme para próximas publicaciones. Me encantaría saber tu opinión e ideas para el siguiente. Nos vemos en la próxima un abrazo grande a todos!!🤗
I hope you liked it, don't forget to leave your comment and follow me for future posts. I would love to know your opinion and ideas for the next one. See you in the next one a big hug to everyone!!!🤗
This is such a nice drawing, with every step your drawing took form and the final product is excellent!! Your choice of colour is great as it made your drawing look more beautiful. You killed it, friend. Thanks for sharing your drawing with us as a community we love and appreciate your work.
You get an award from @ecency, Keep up the spirit to be active on @ecency.