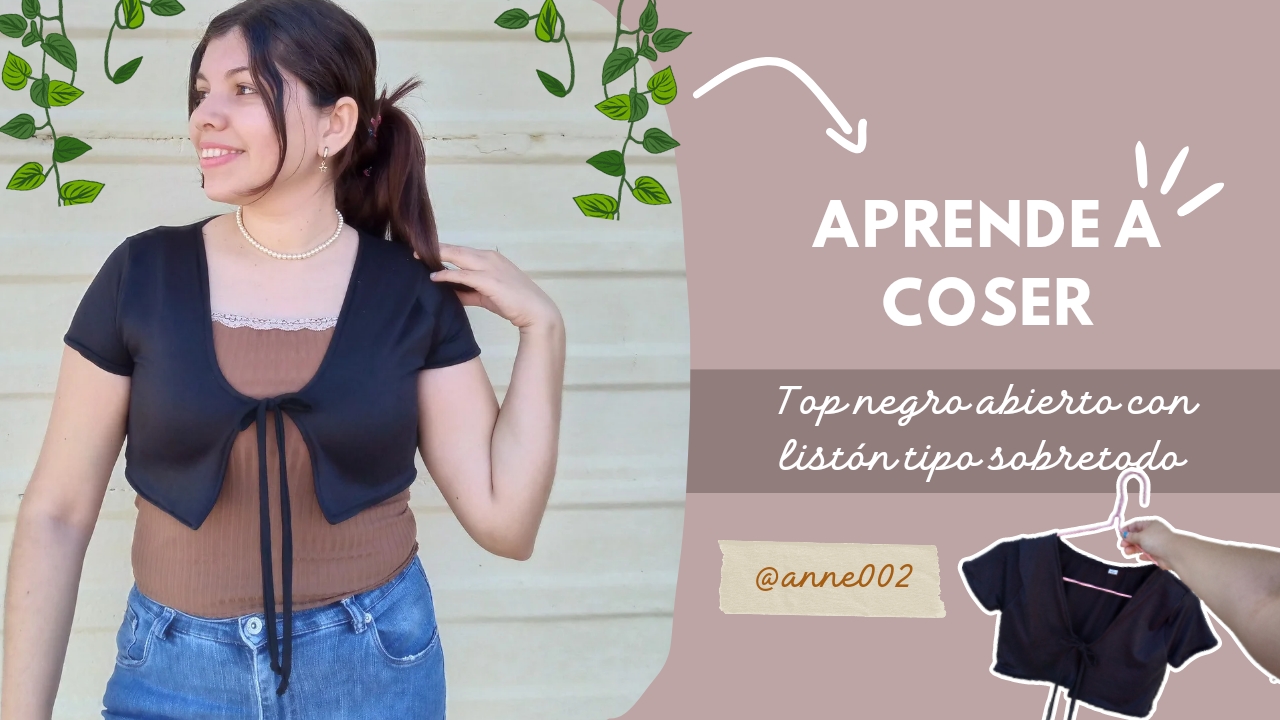
Good afternoon, dear friends of this beautiful community. I would be happy to know that you are well and that you are having an excellent day. I am very well enjoying being in my little sewing corner and making new creations for you so that you can learn many more tips that I always bring you in my sewing projects.
.jpg)
I want to show you how to make this beautiful top inspired by images from Pinterest, one is always on the page to see many designs that I want to make and to try to learn how to make them, sometimes remodeling the original design and how I would like it to look, I feel for me it is a challenge to set myself the goal of making clothes that I have not made but that is how I learn and you are with me here the same, the truth is that I have made few of these clothes but little by little I am learning as I make these clothes.
I want you to join me in seeing the creative process of this bullfighter-style top that you can wear with any type of garment underneath. You can wear it with dresses, jeans, and strappy blouses, it looks perfect. I hope you like it and tell me what you think and what other tips you have for me and to keep improving. Let's go step by step.
.jpg)
Materiales:// Materials:
- Usaremos 45 cm de tela microdurazno
- Hilo negro
- Tijeras
- Nuestra máquina de coser
- We will use 45 cm of micropeach fabric
- Black thread
- Scissors
- Our sewing machine
.jpg)
Pasos a seguir://Steps to follow:
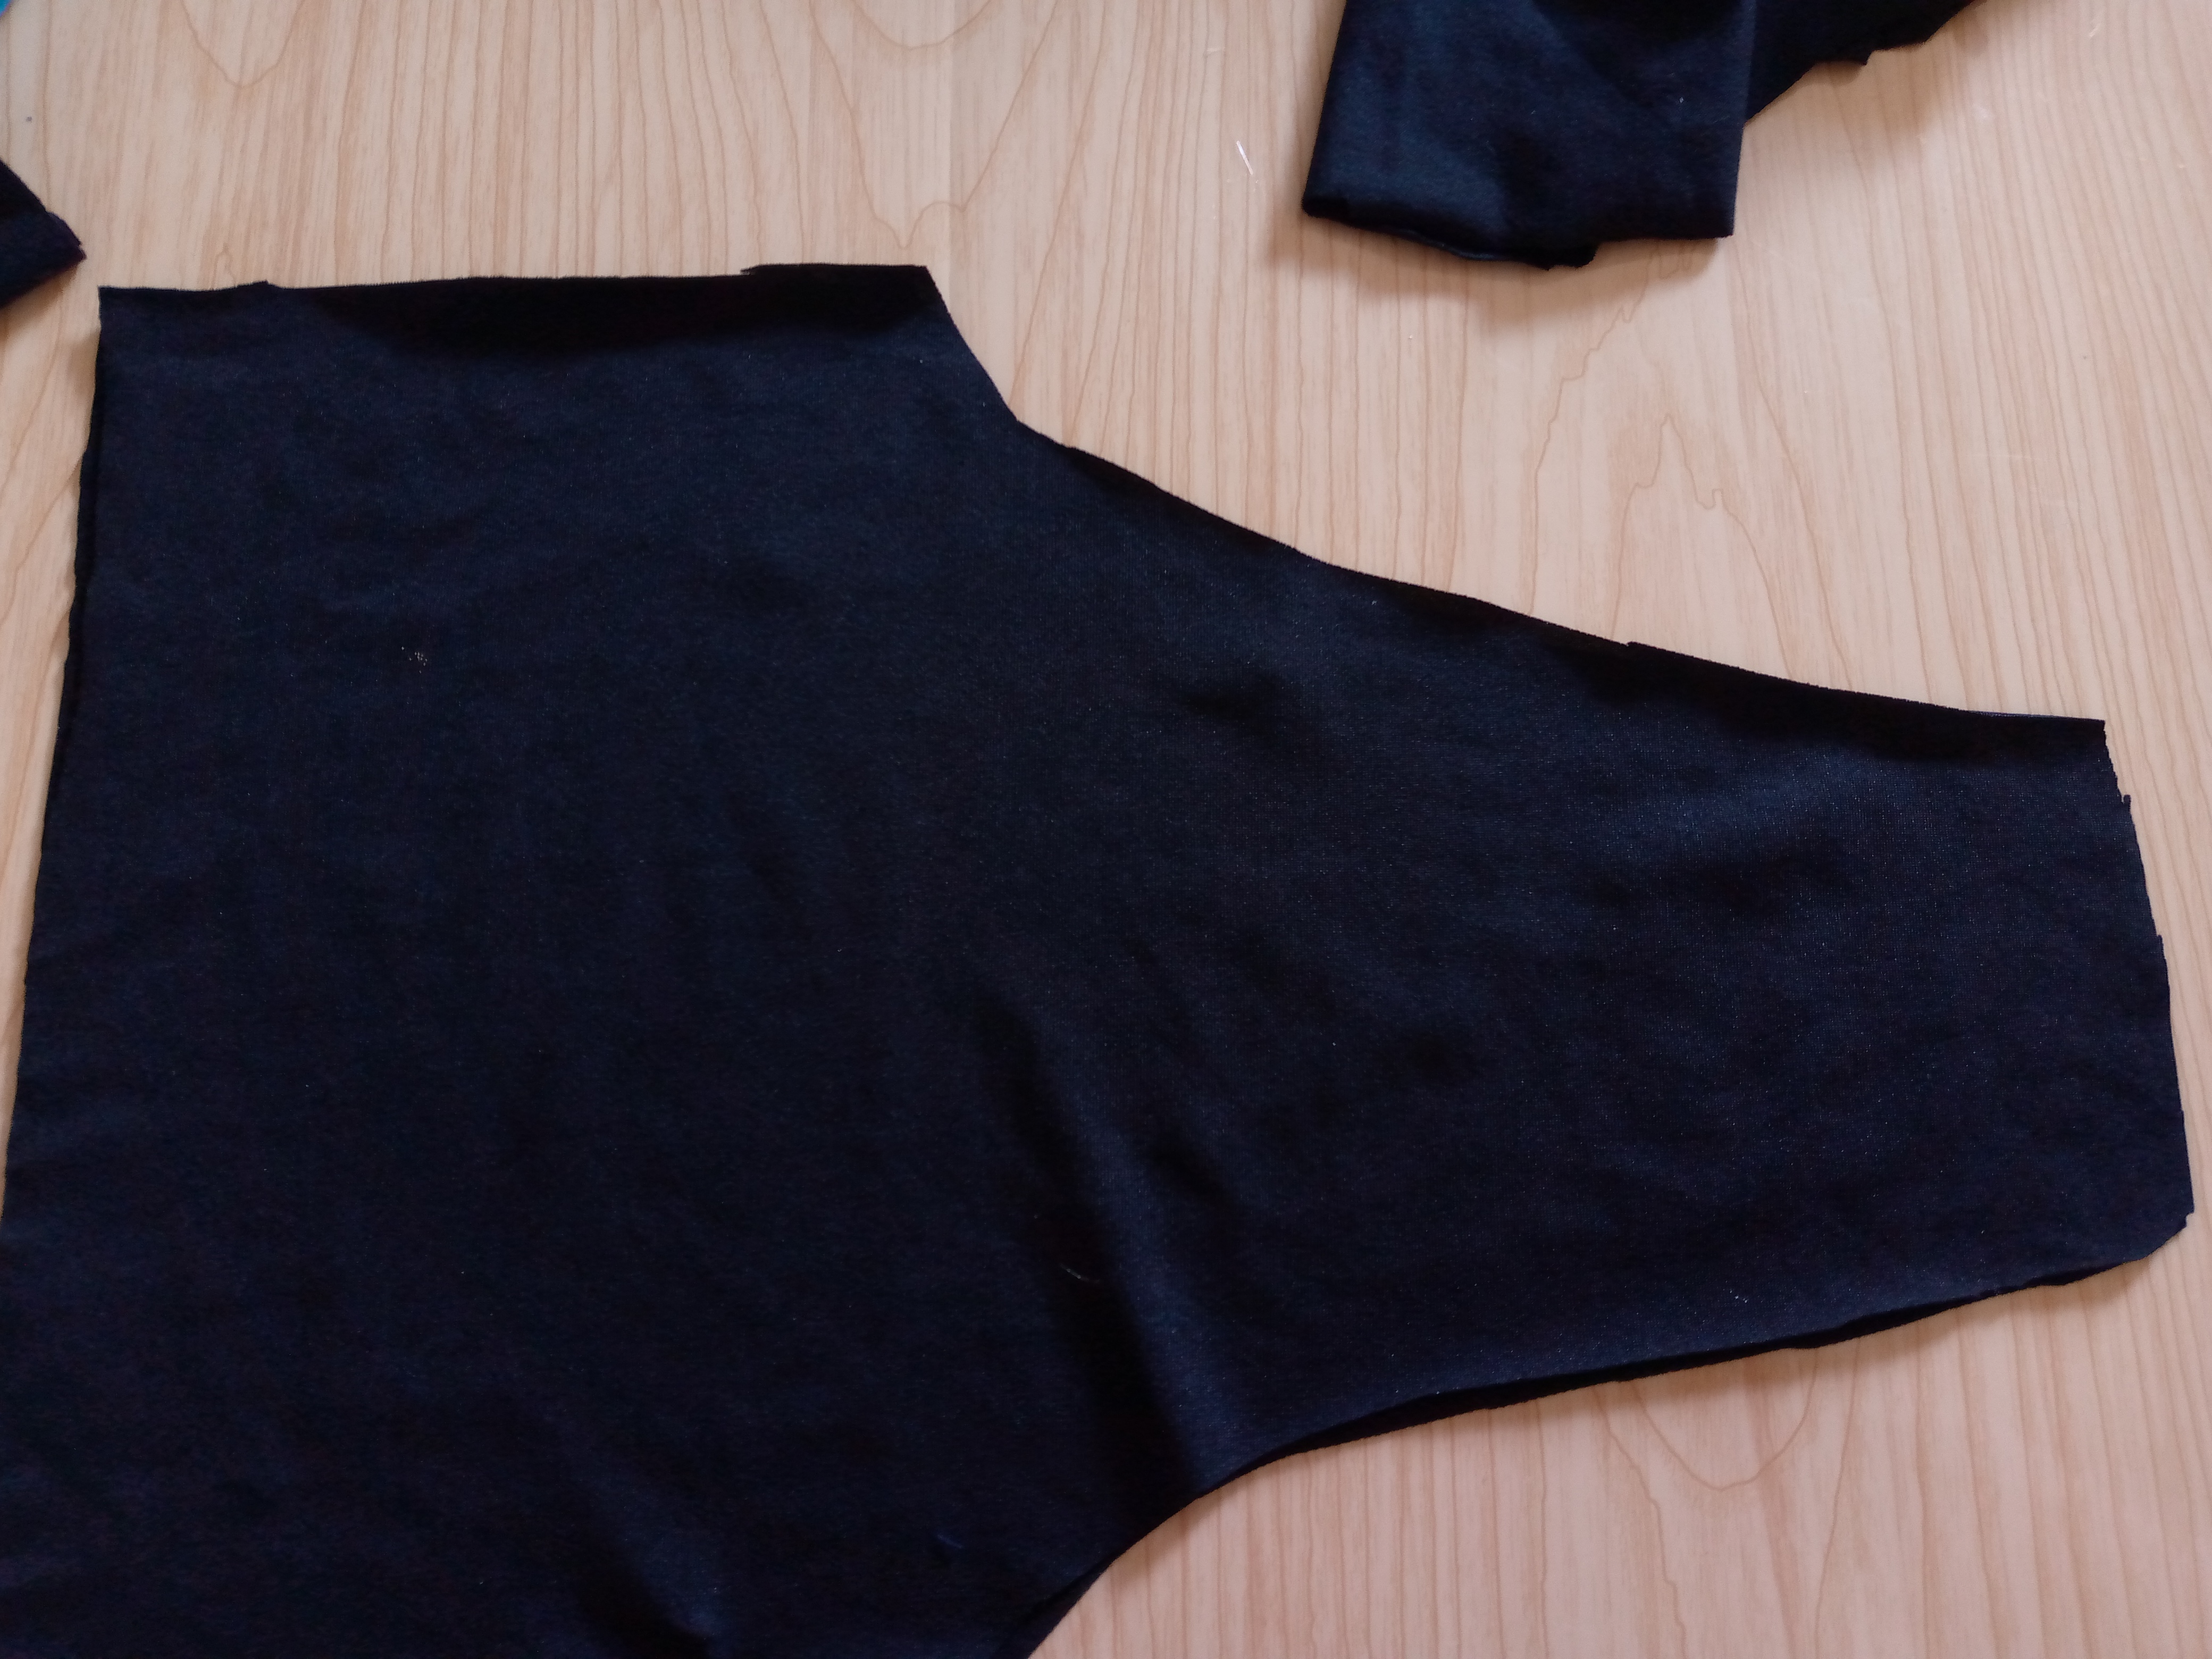
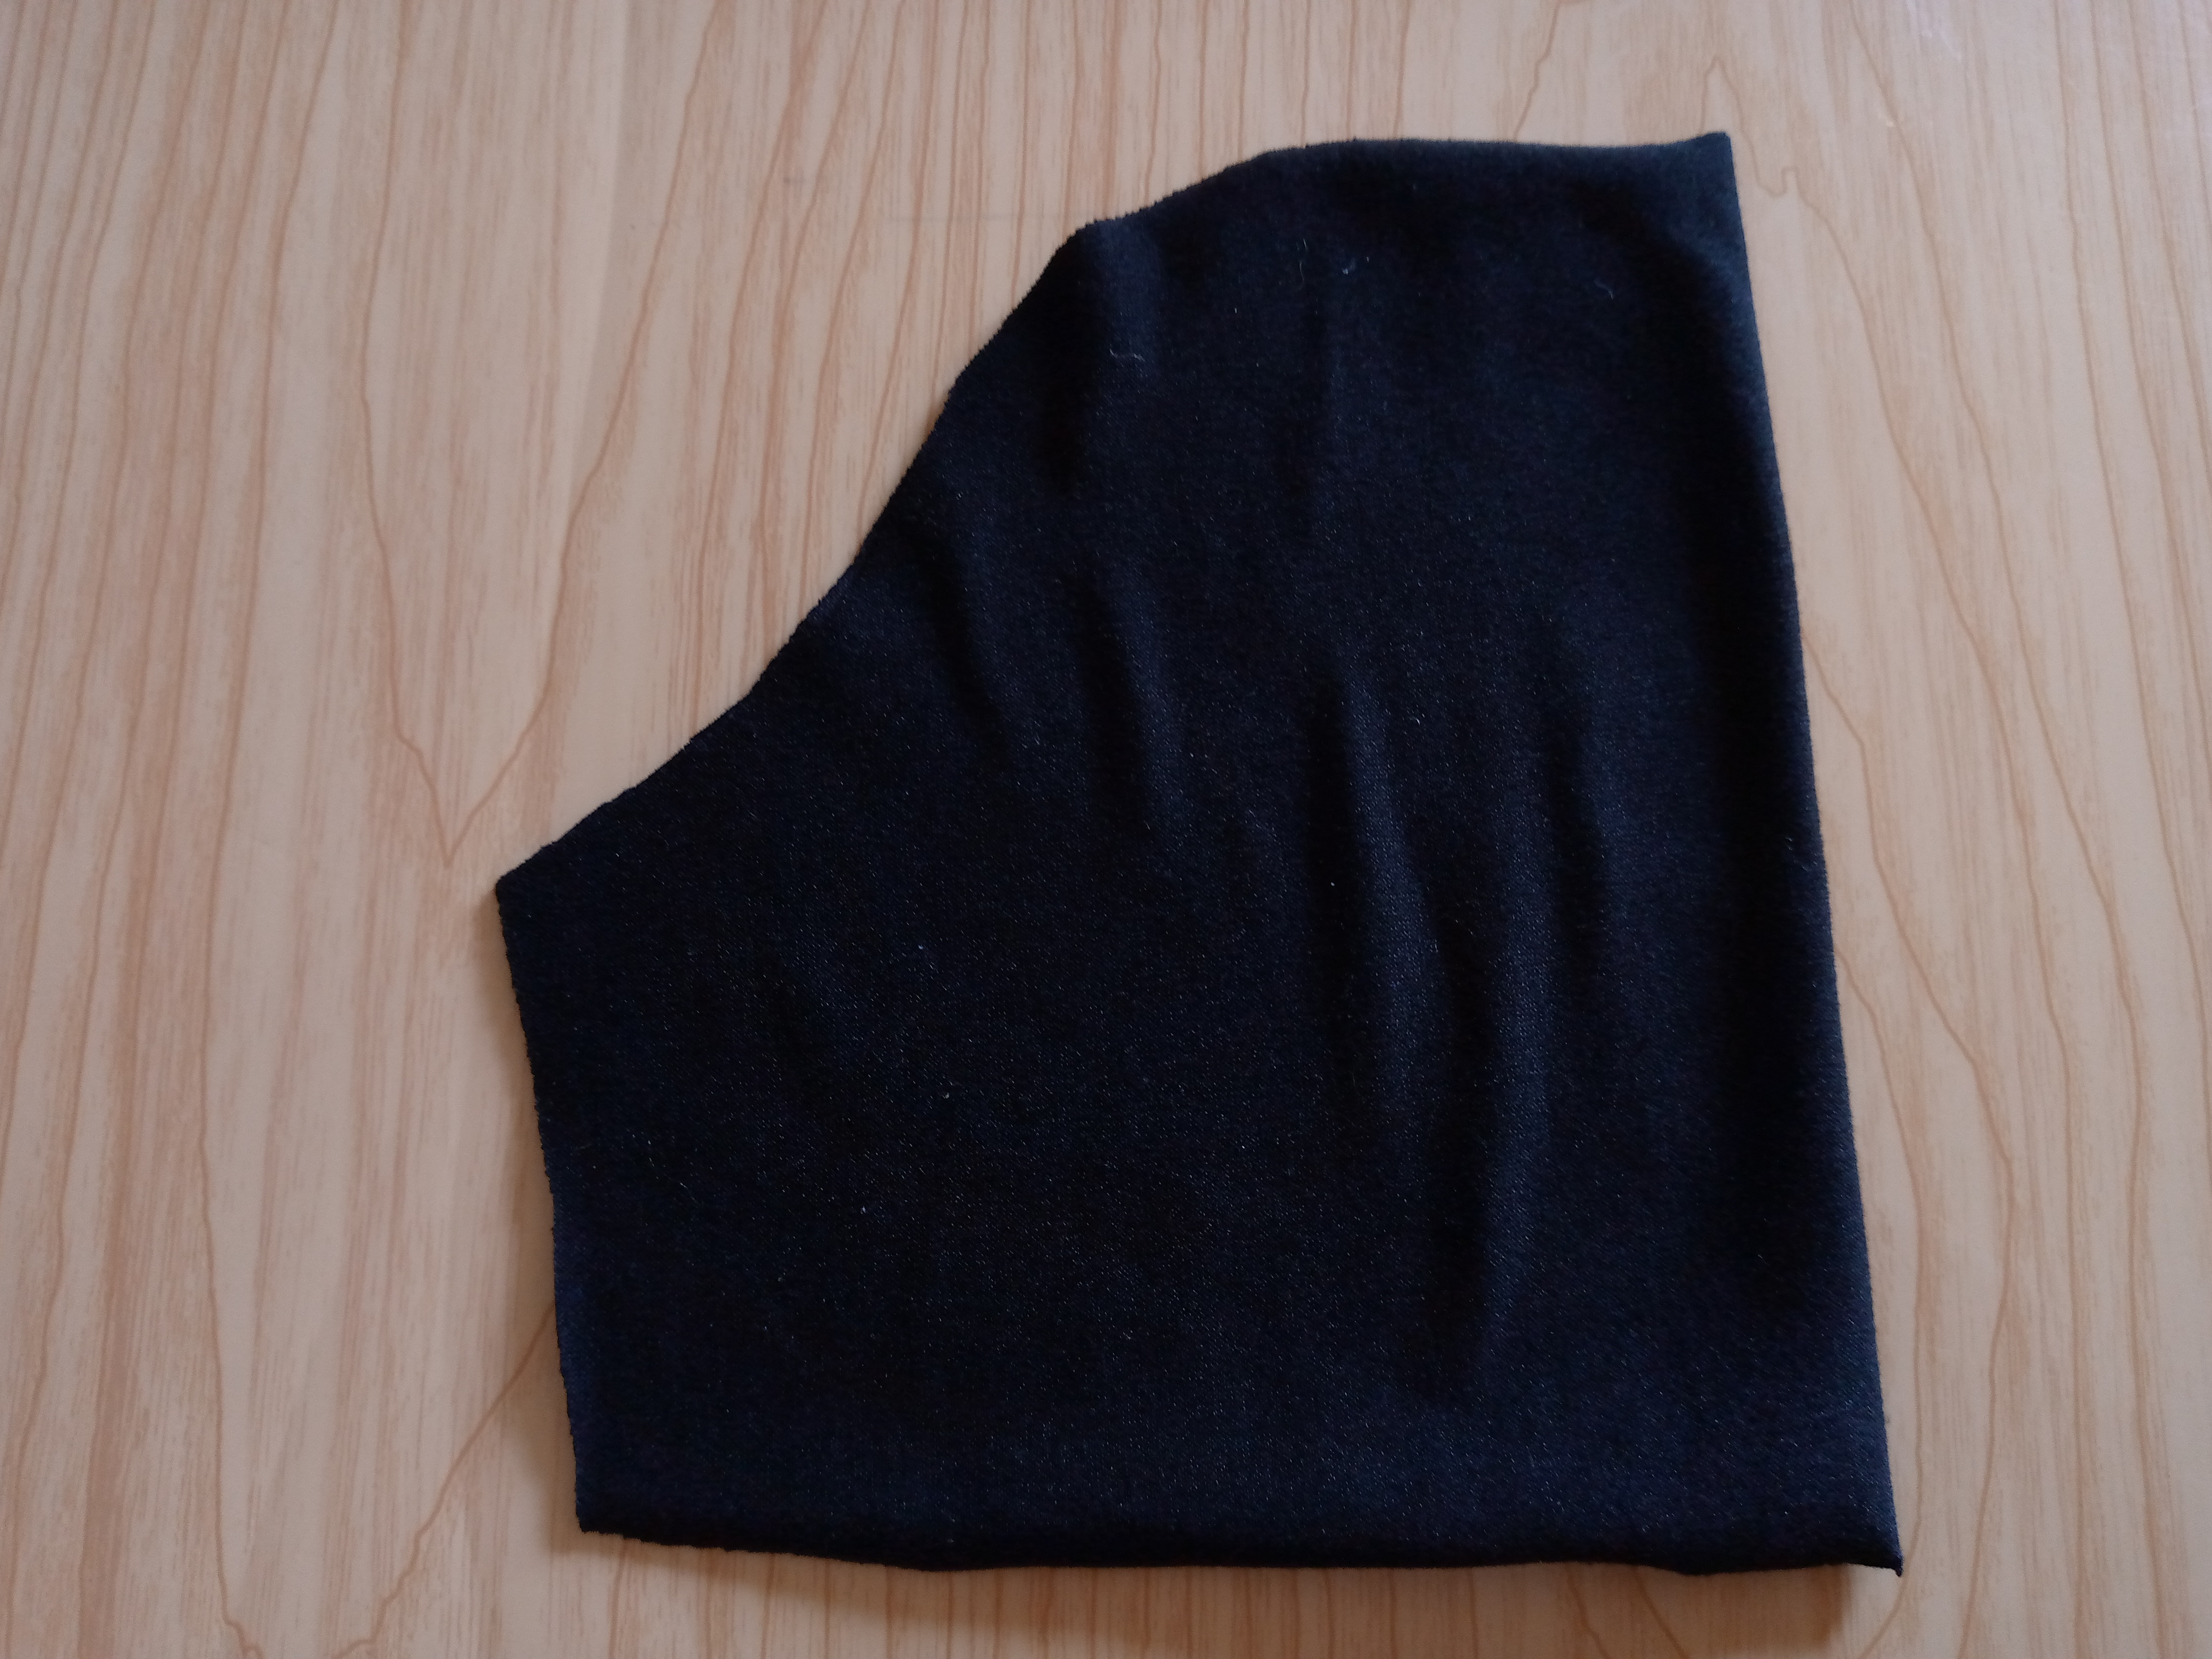
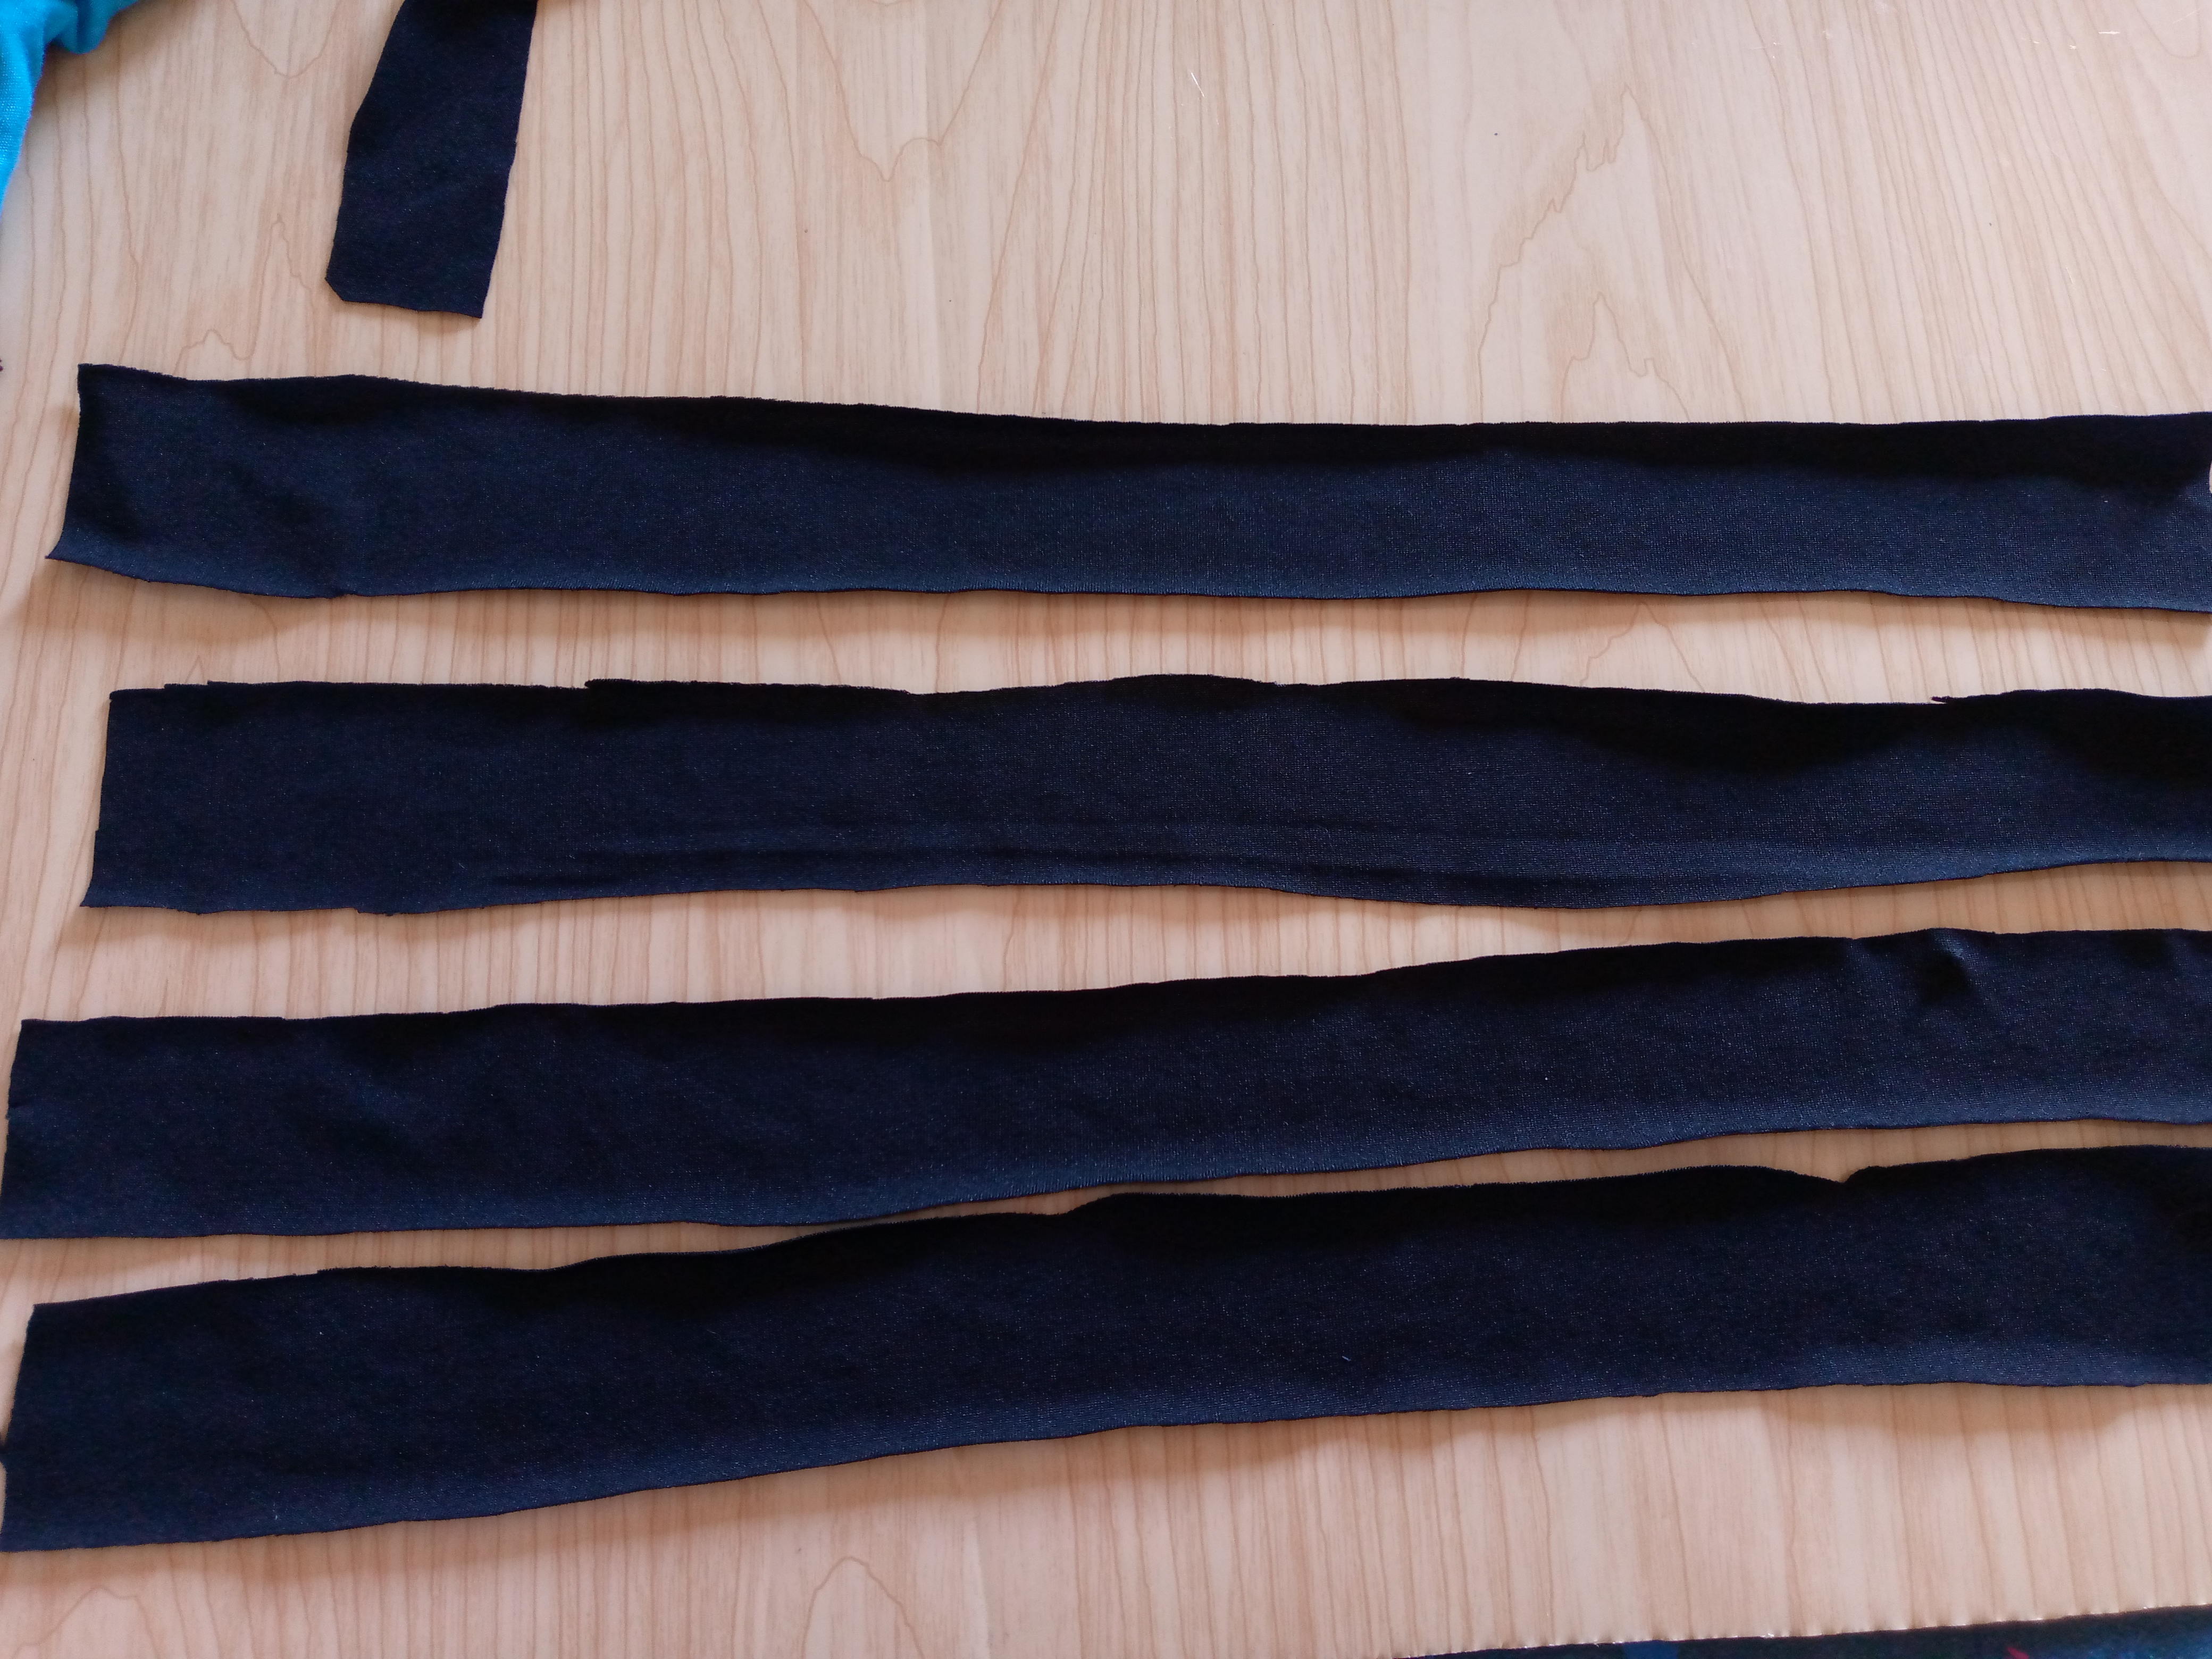
Paso 01
Step 01
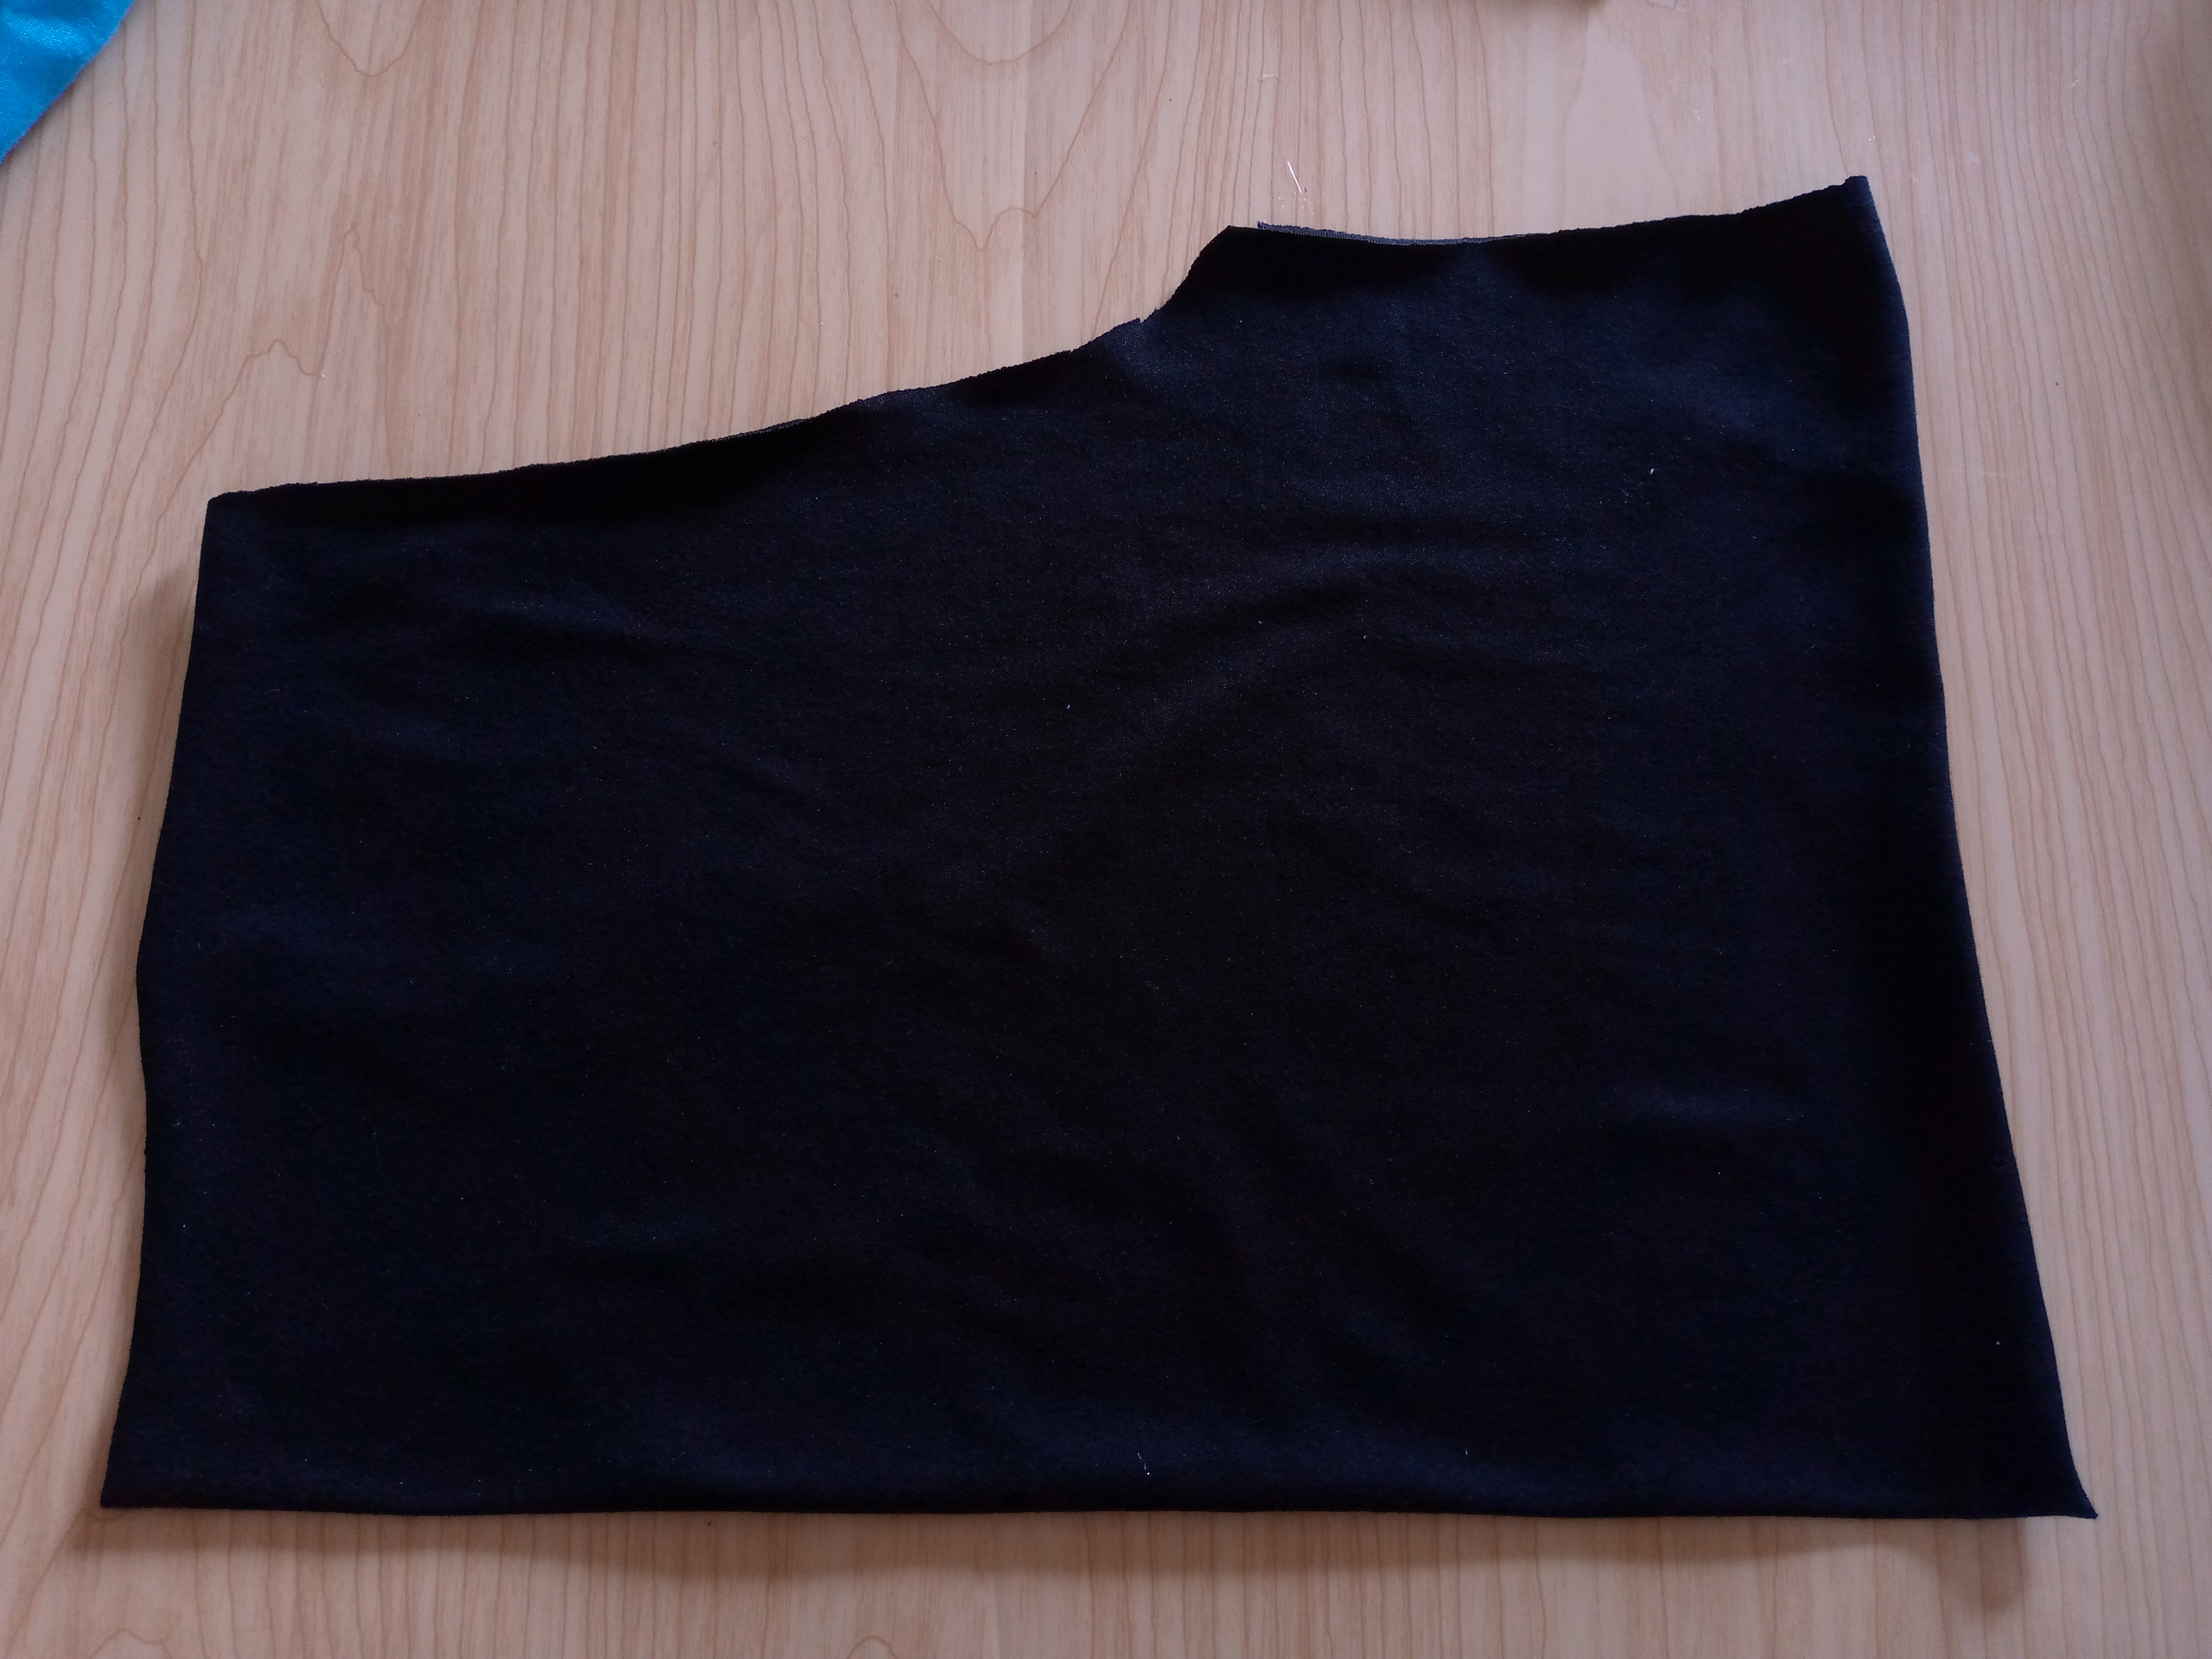
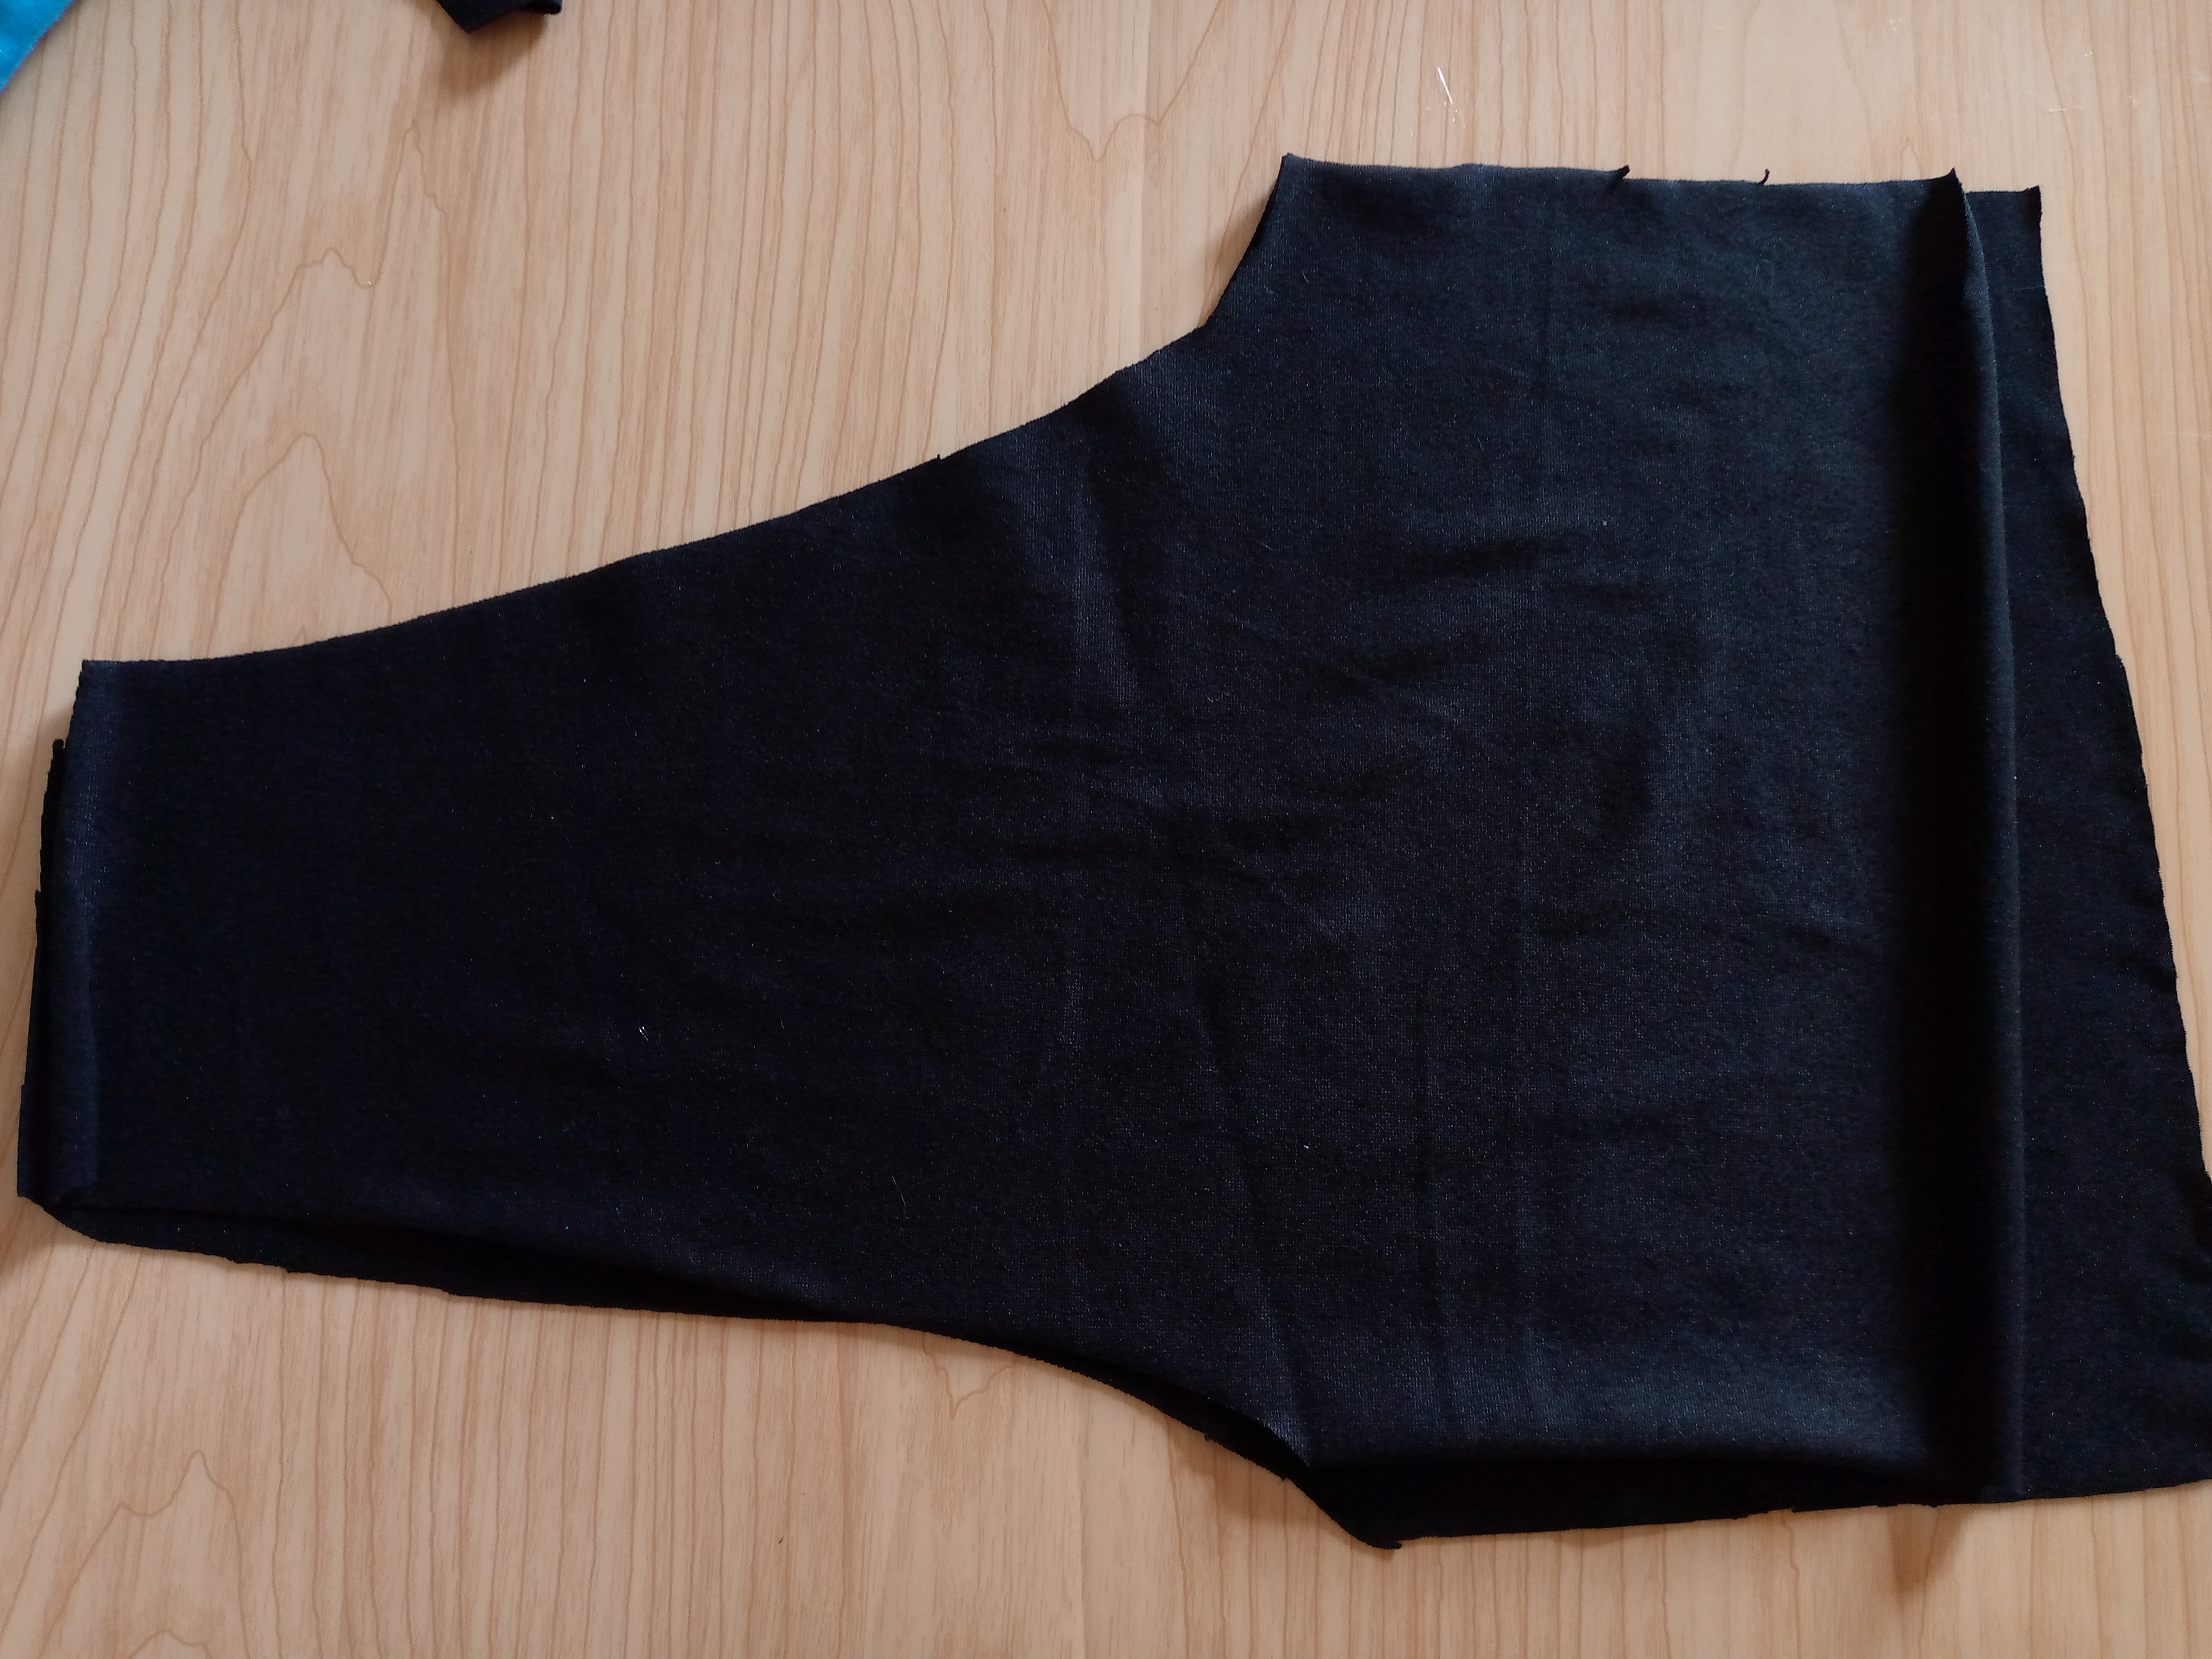
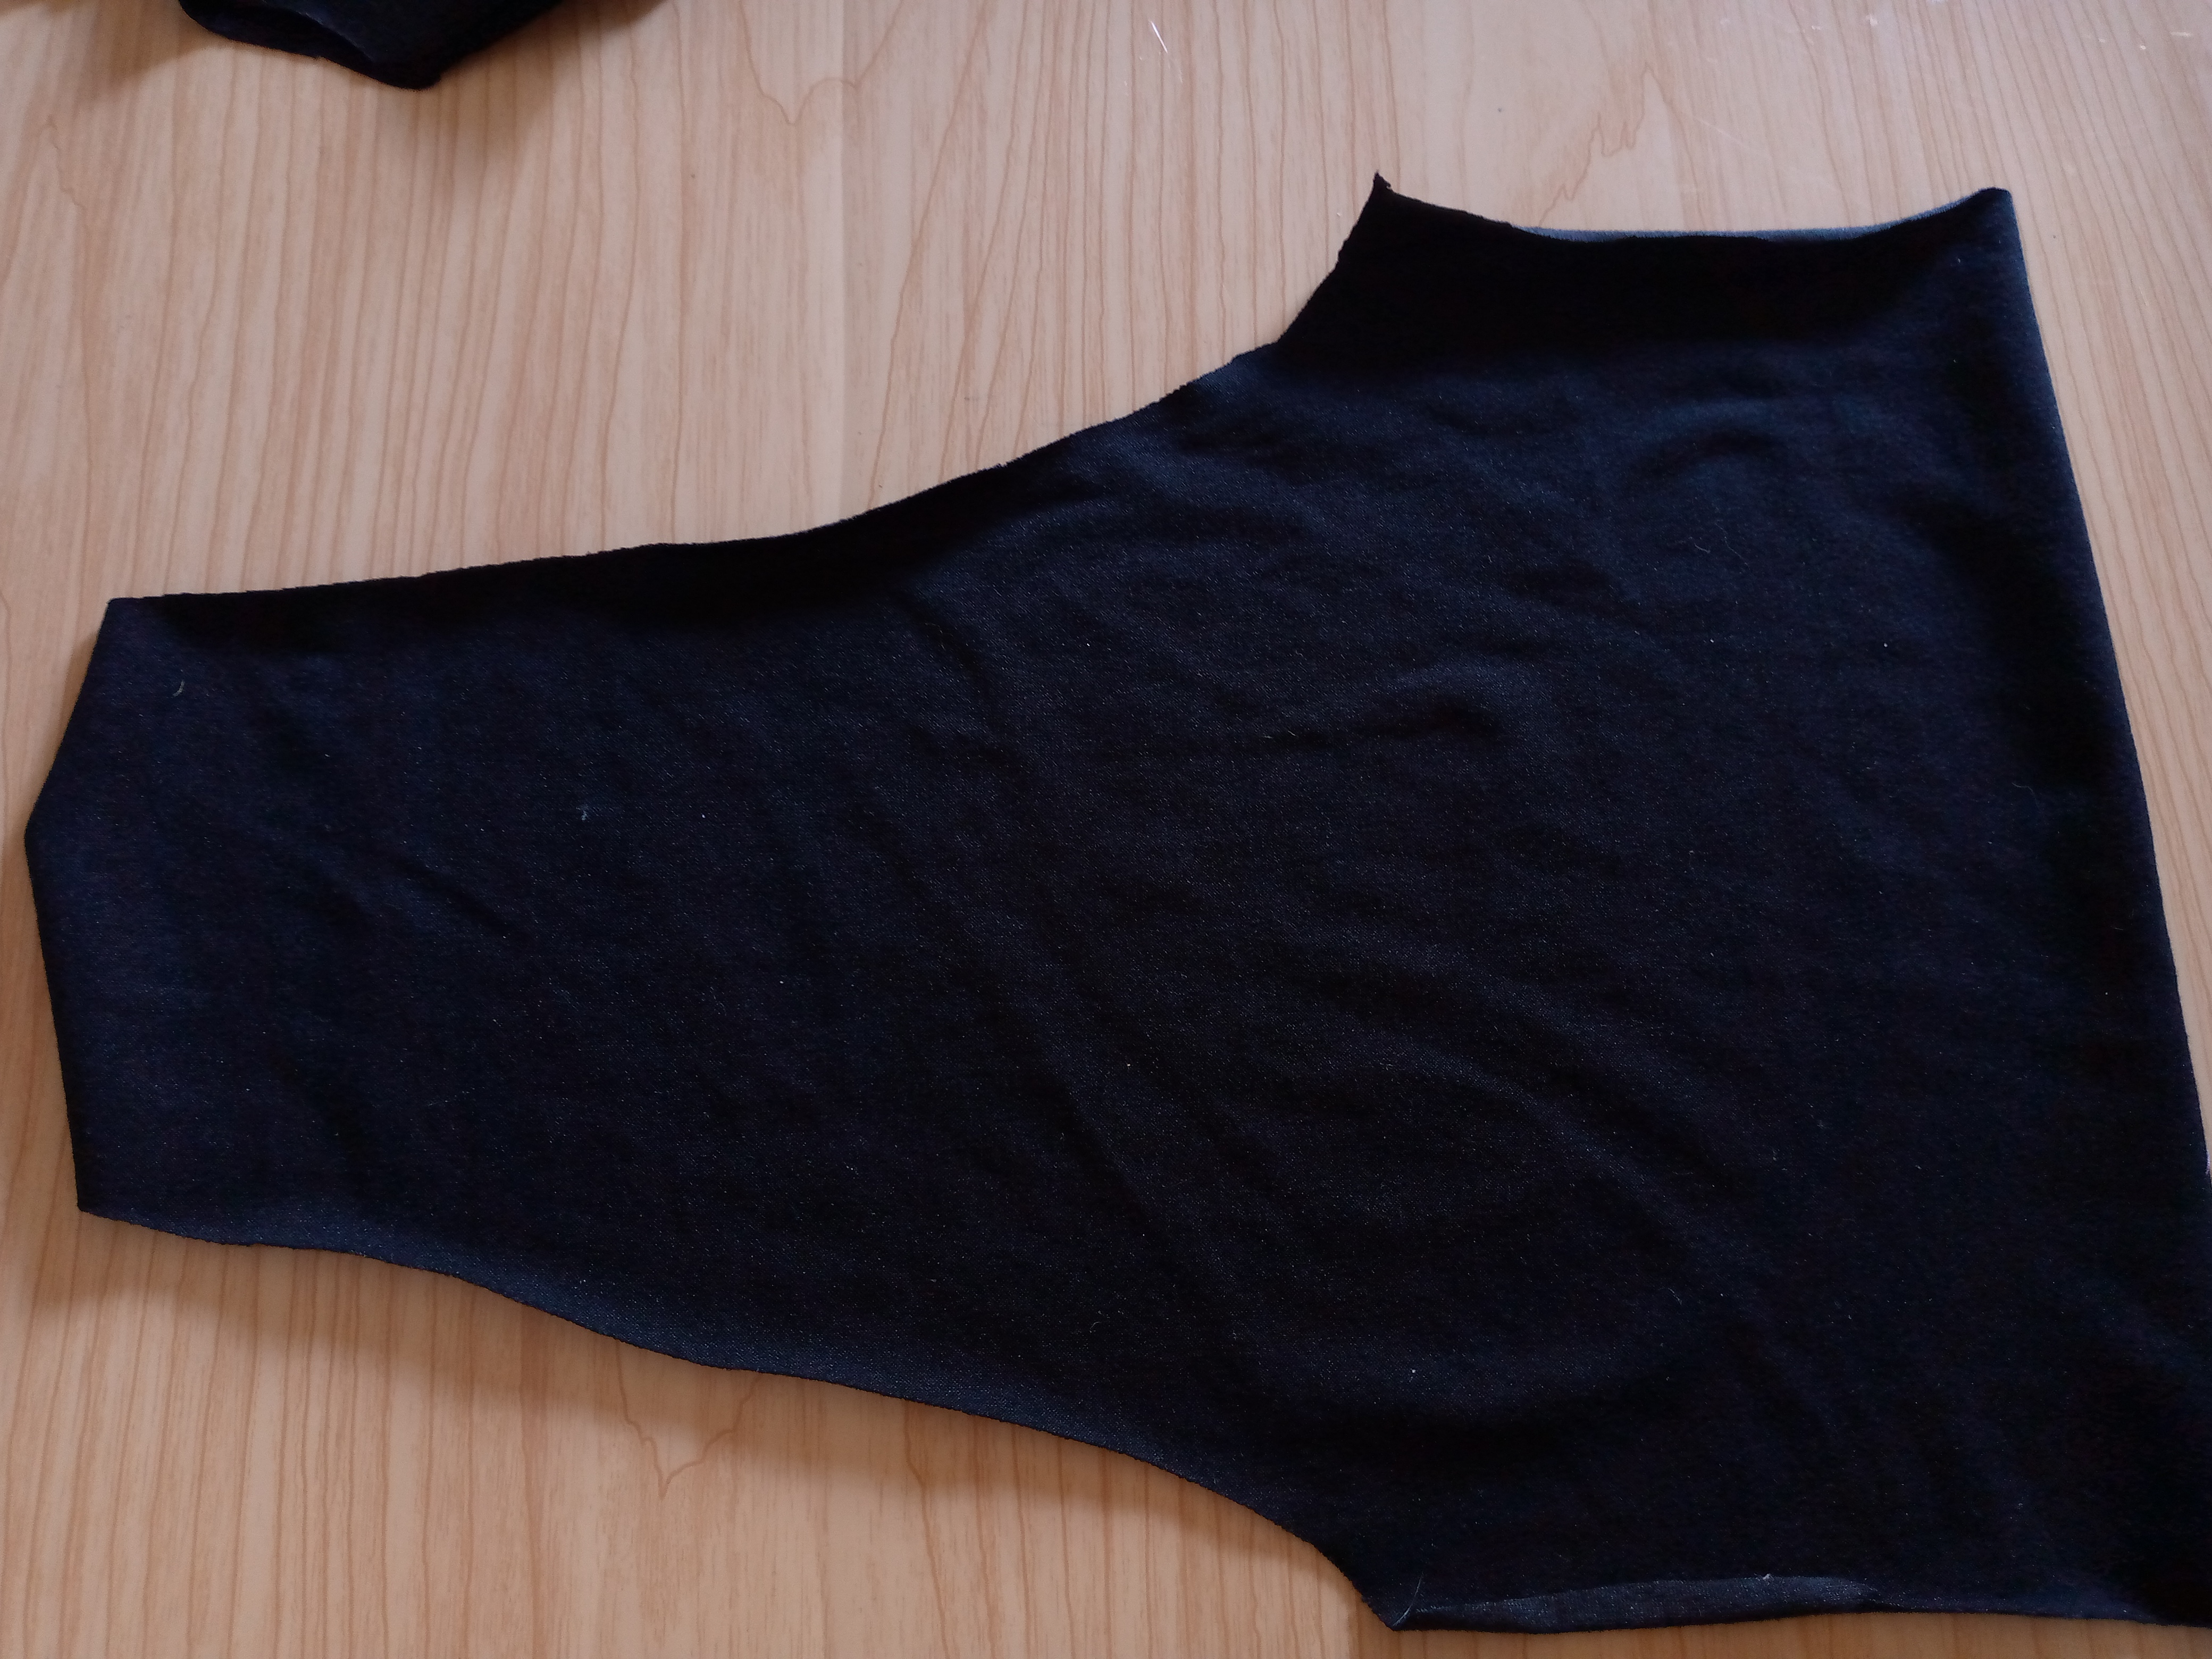
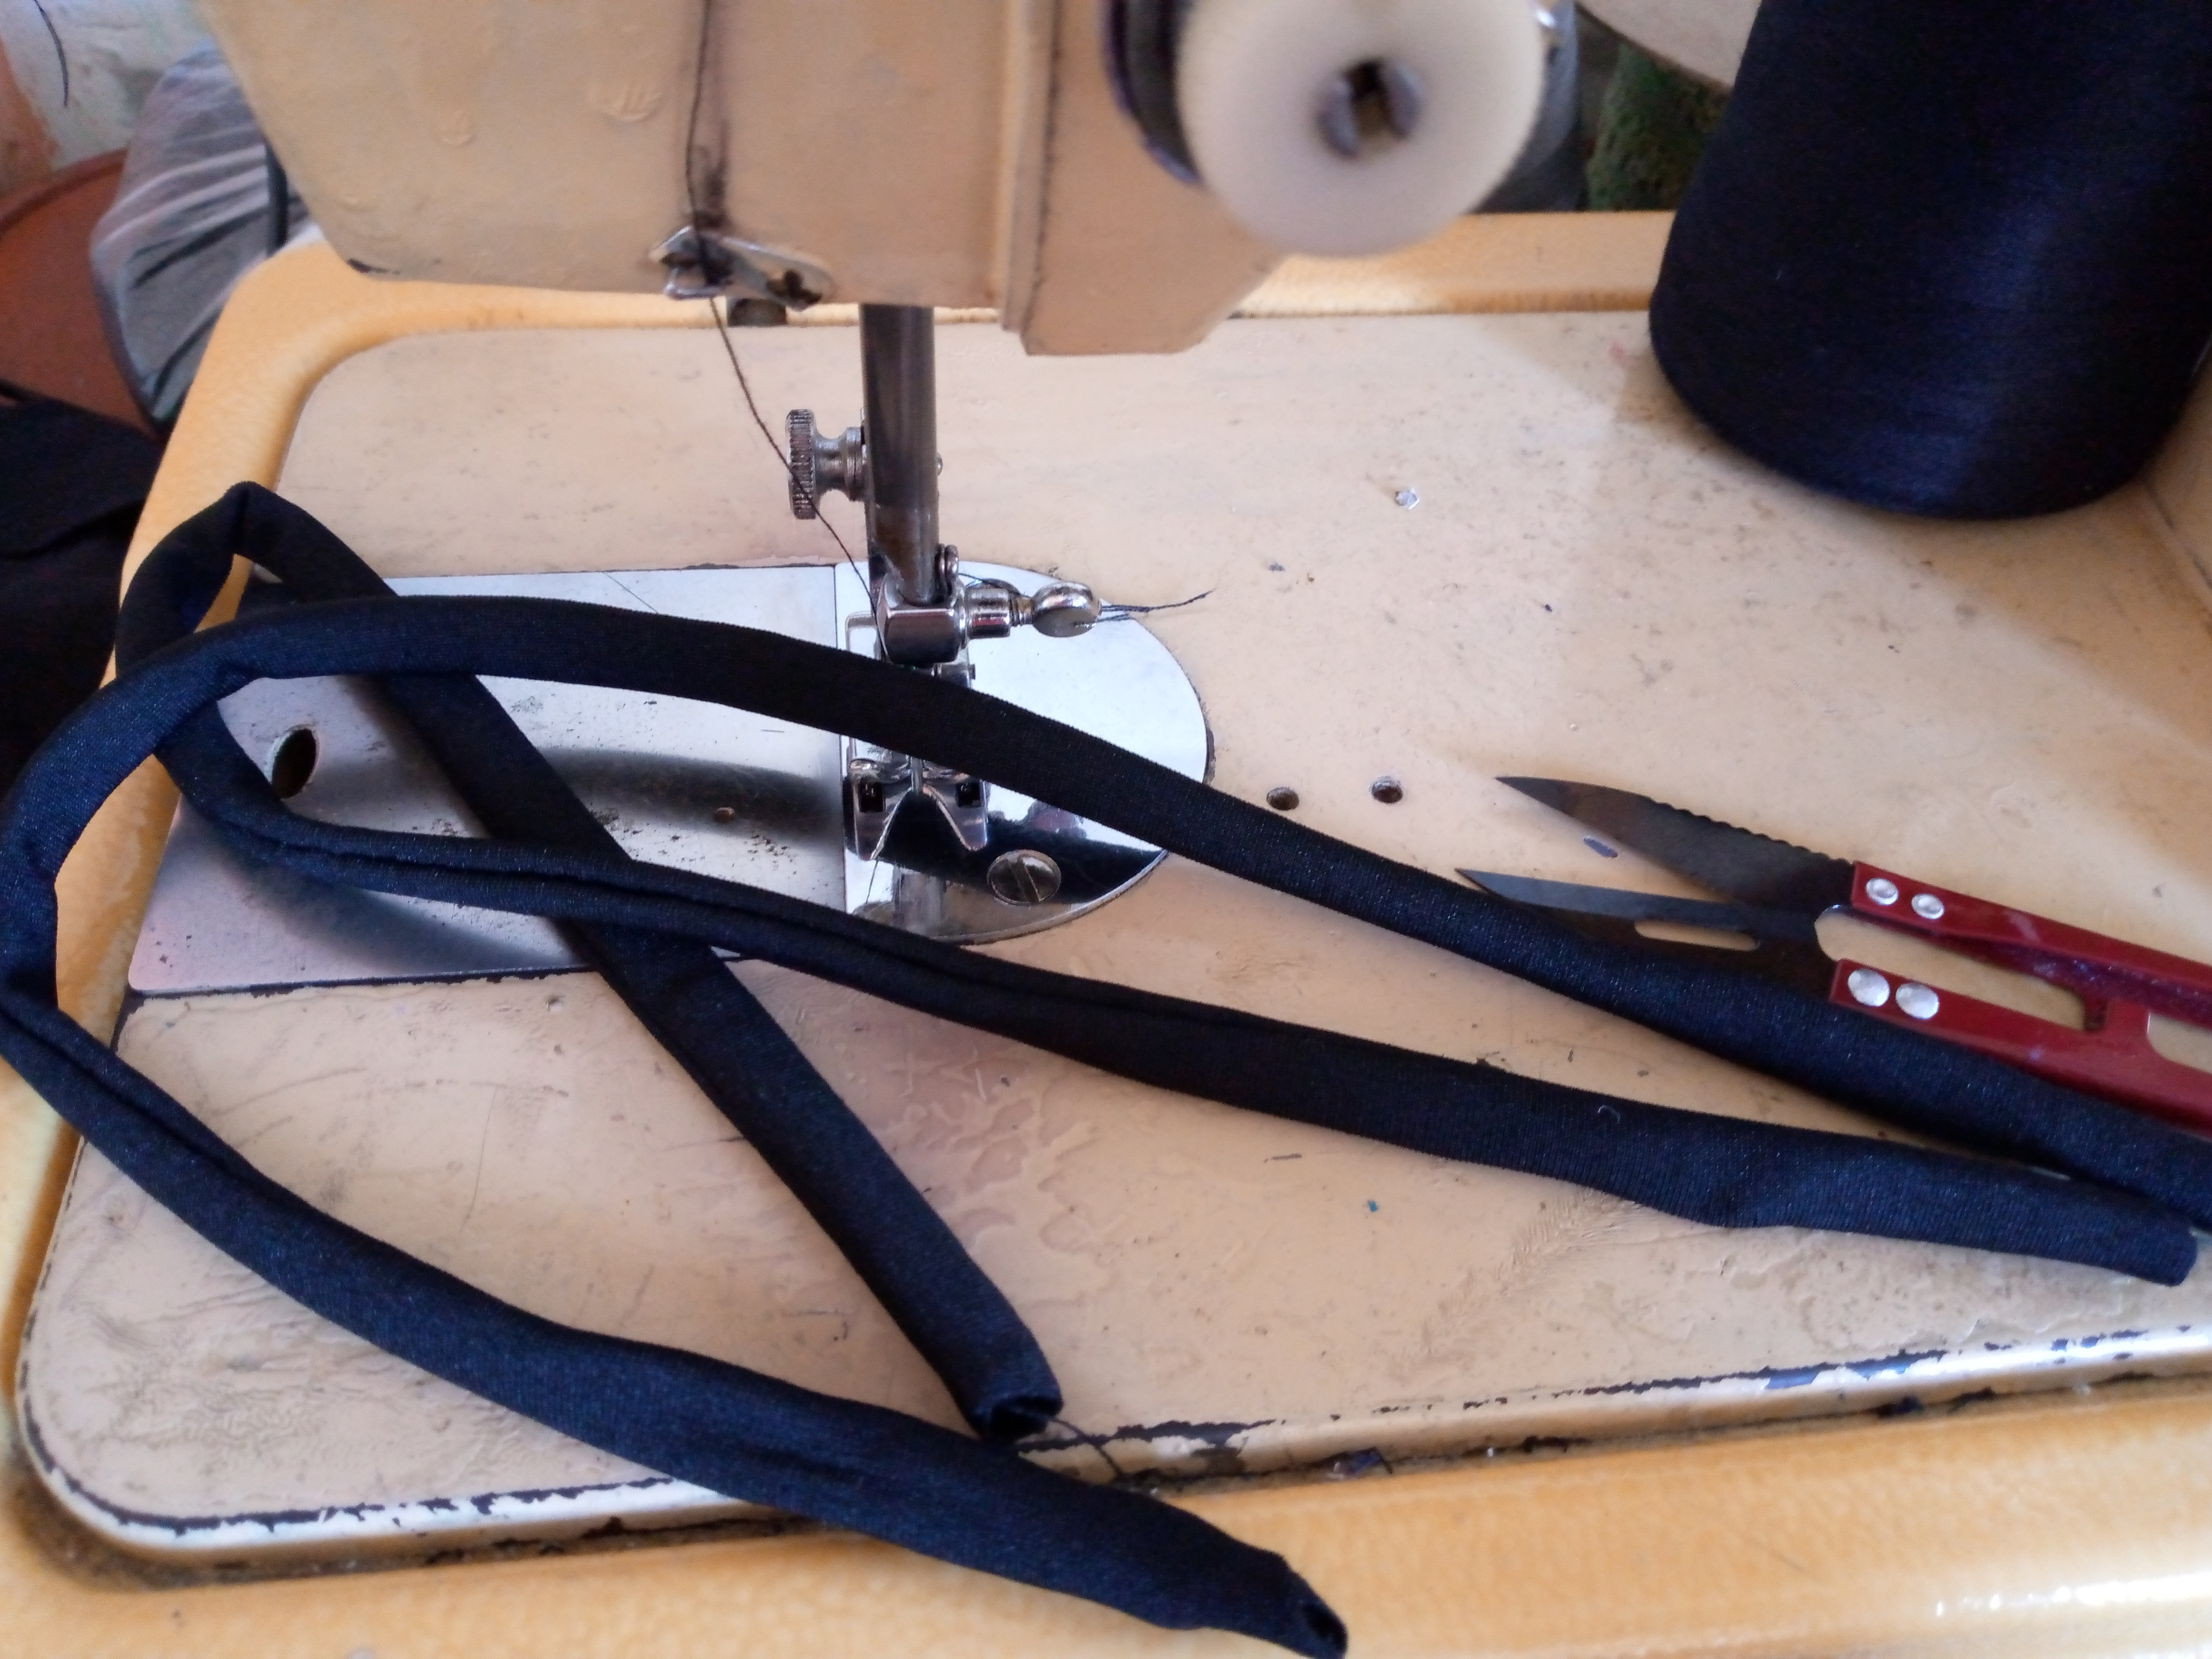
We will start by cutting the pieces of my top and this process is very simple because I was guided by a blouse of mine and I only made a cut in the middle of the underbust and a cut in the center of the pieces that I was cutting from the top so I could place the laces on that side, I double cut the back piece the same length as the front pieces, I double cut the front ones, I cut the bias for the straps and the bias to hide my seam on the inside also the respective sleeves.
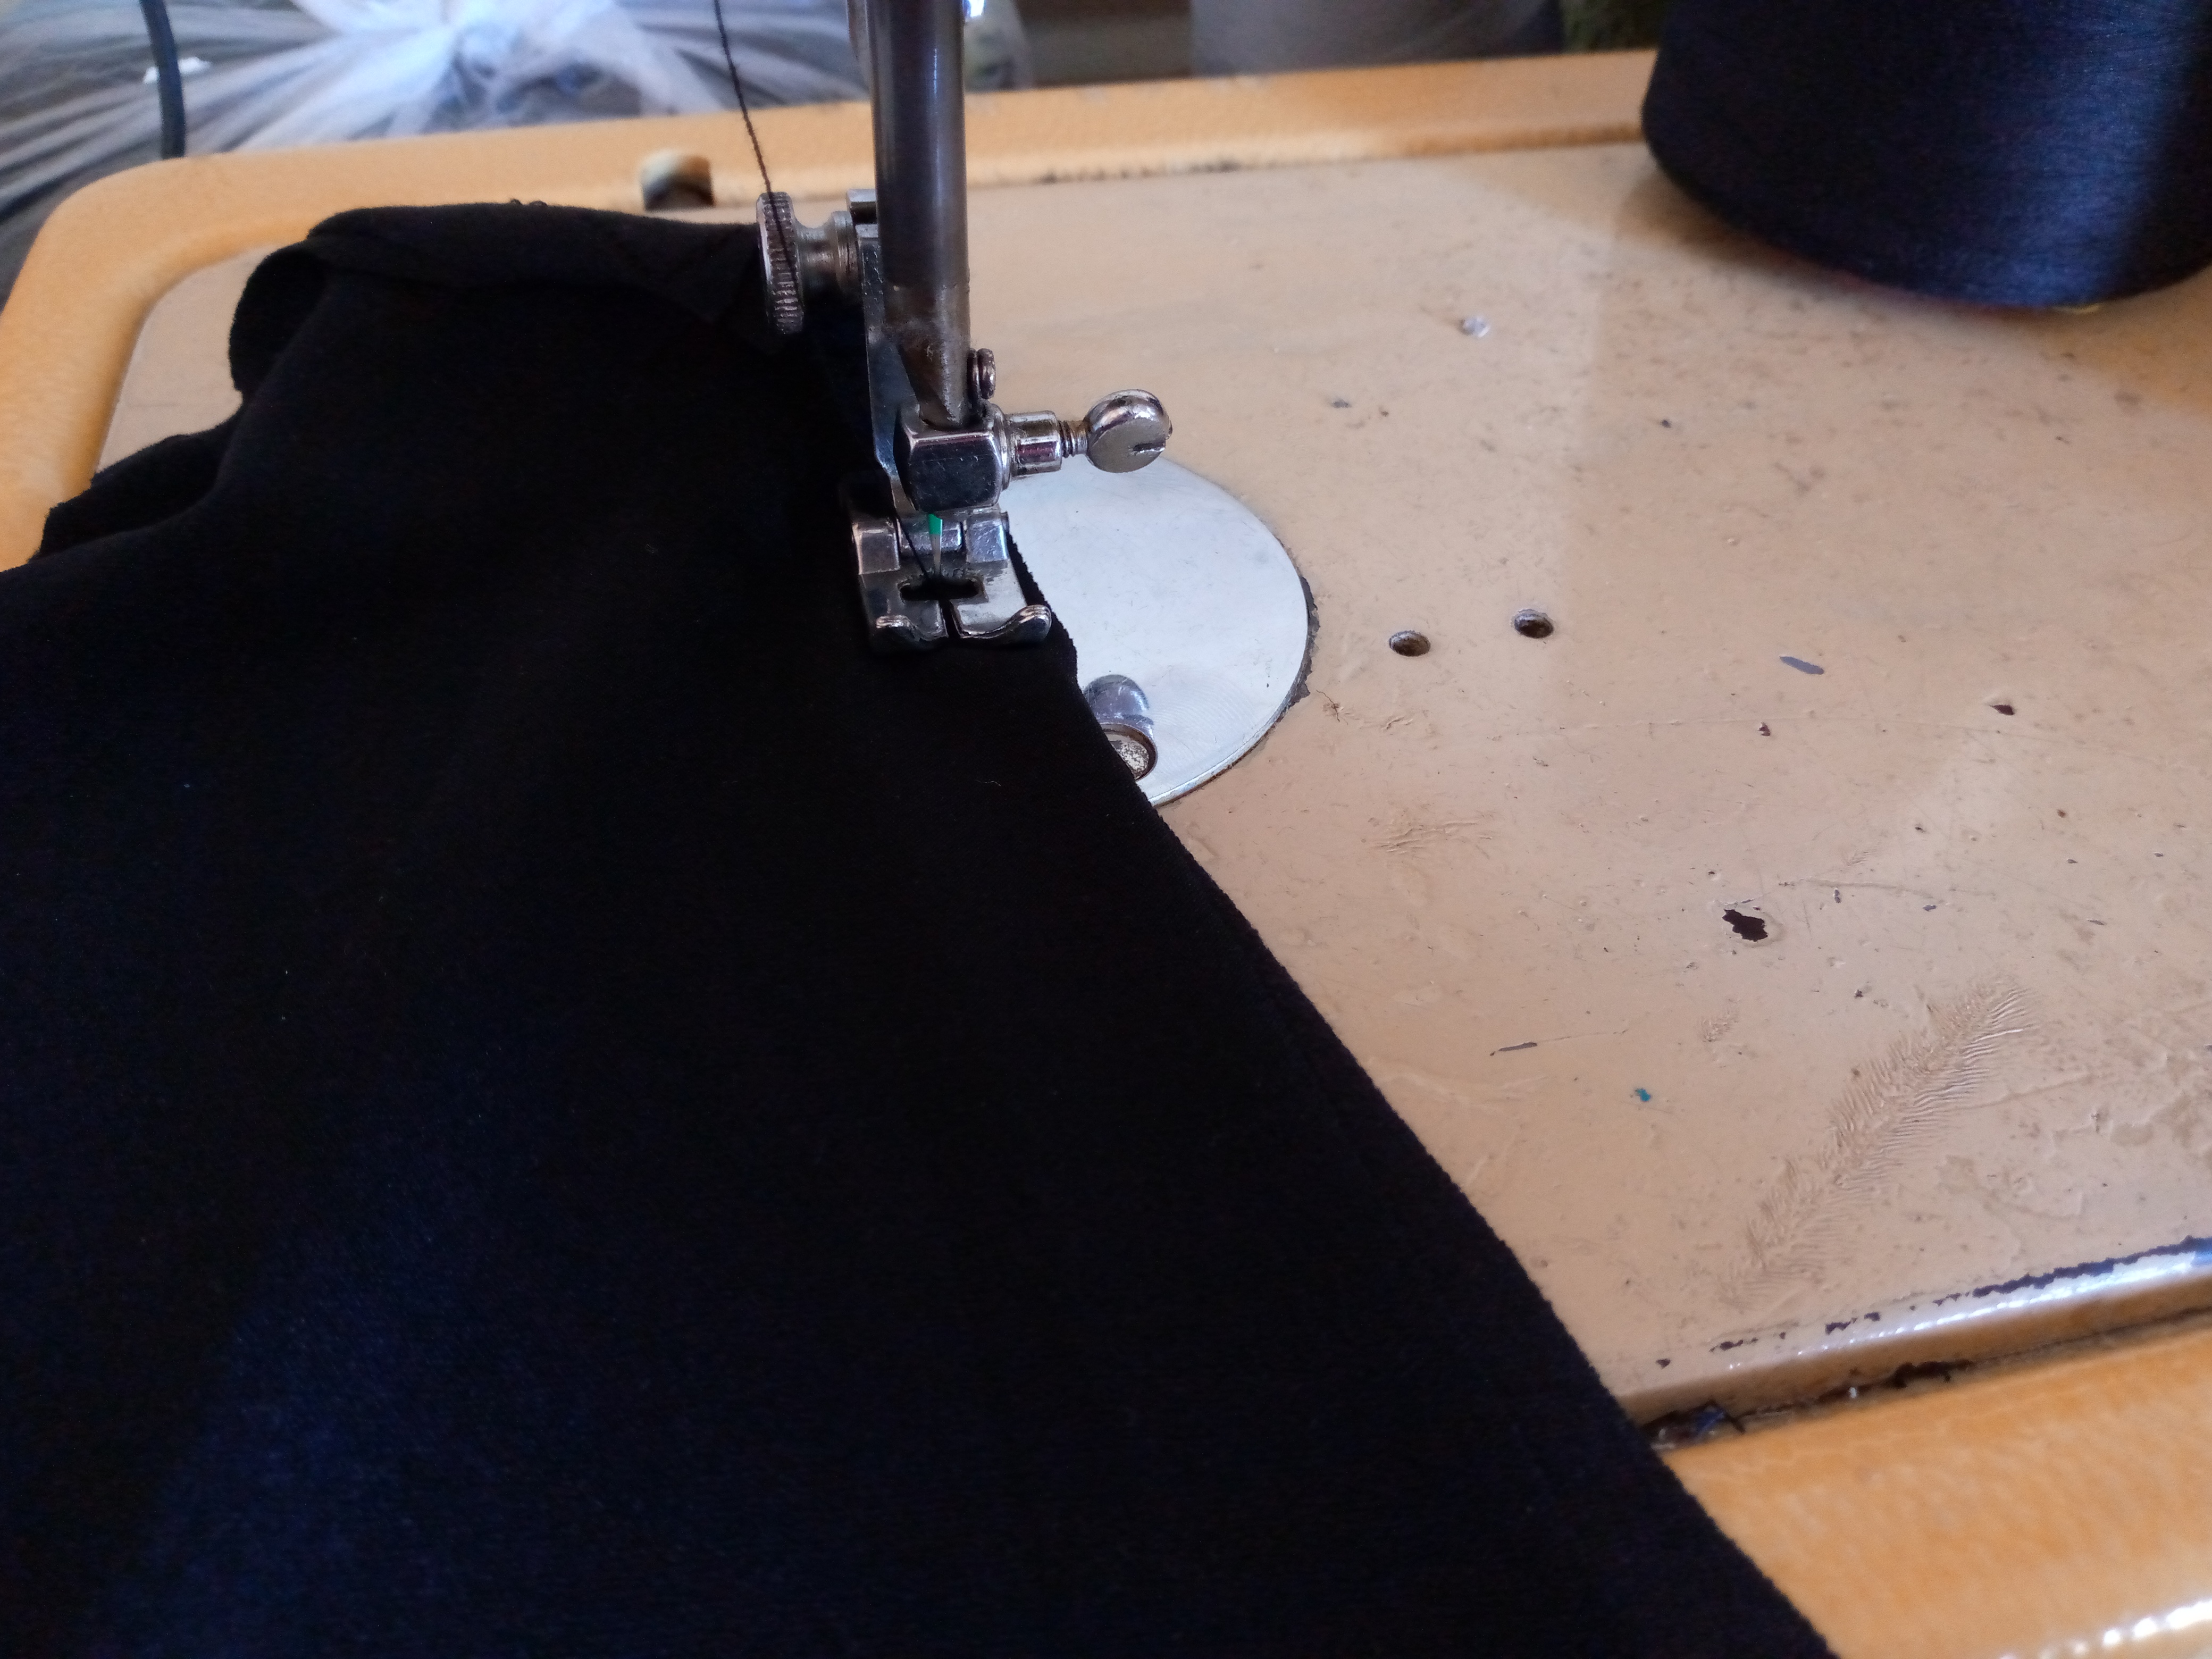

Paso 02
Step 02
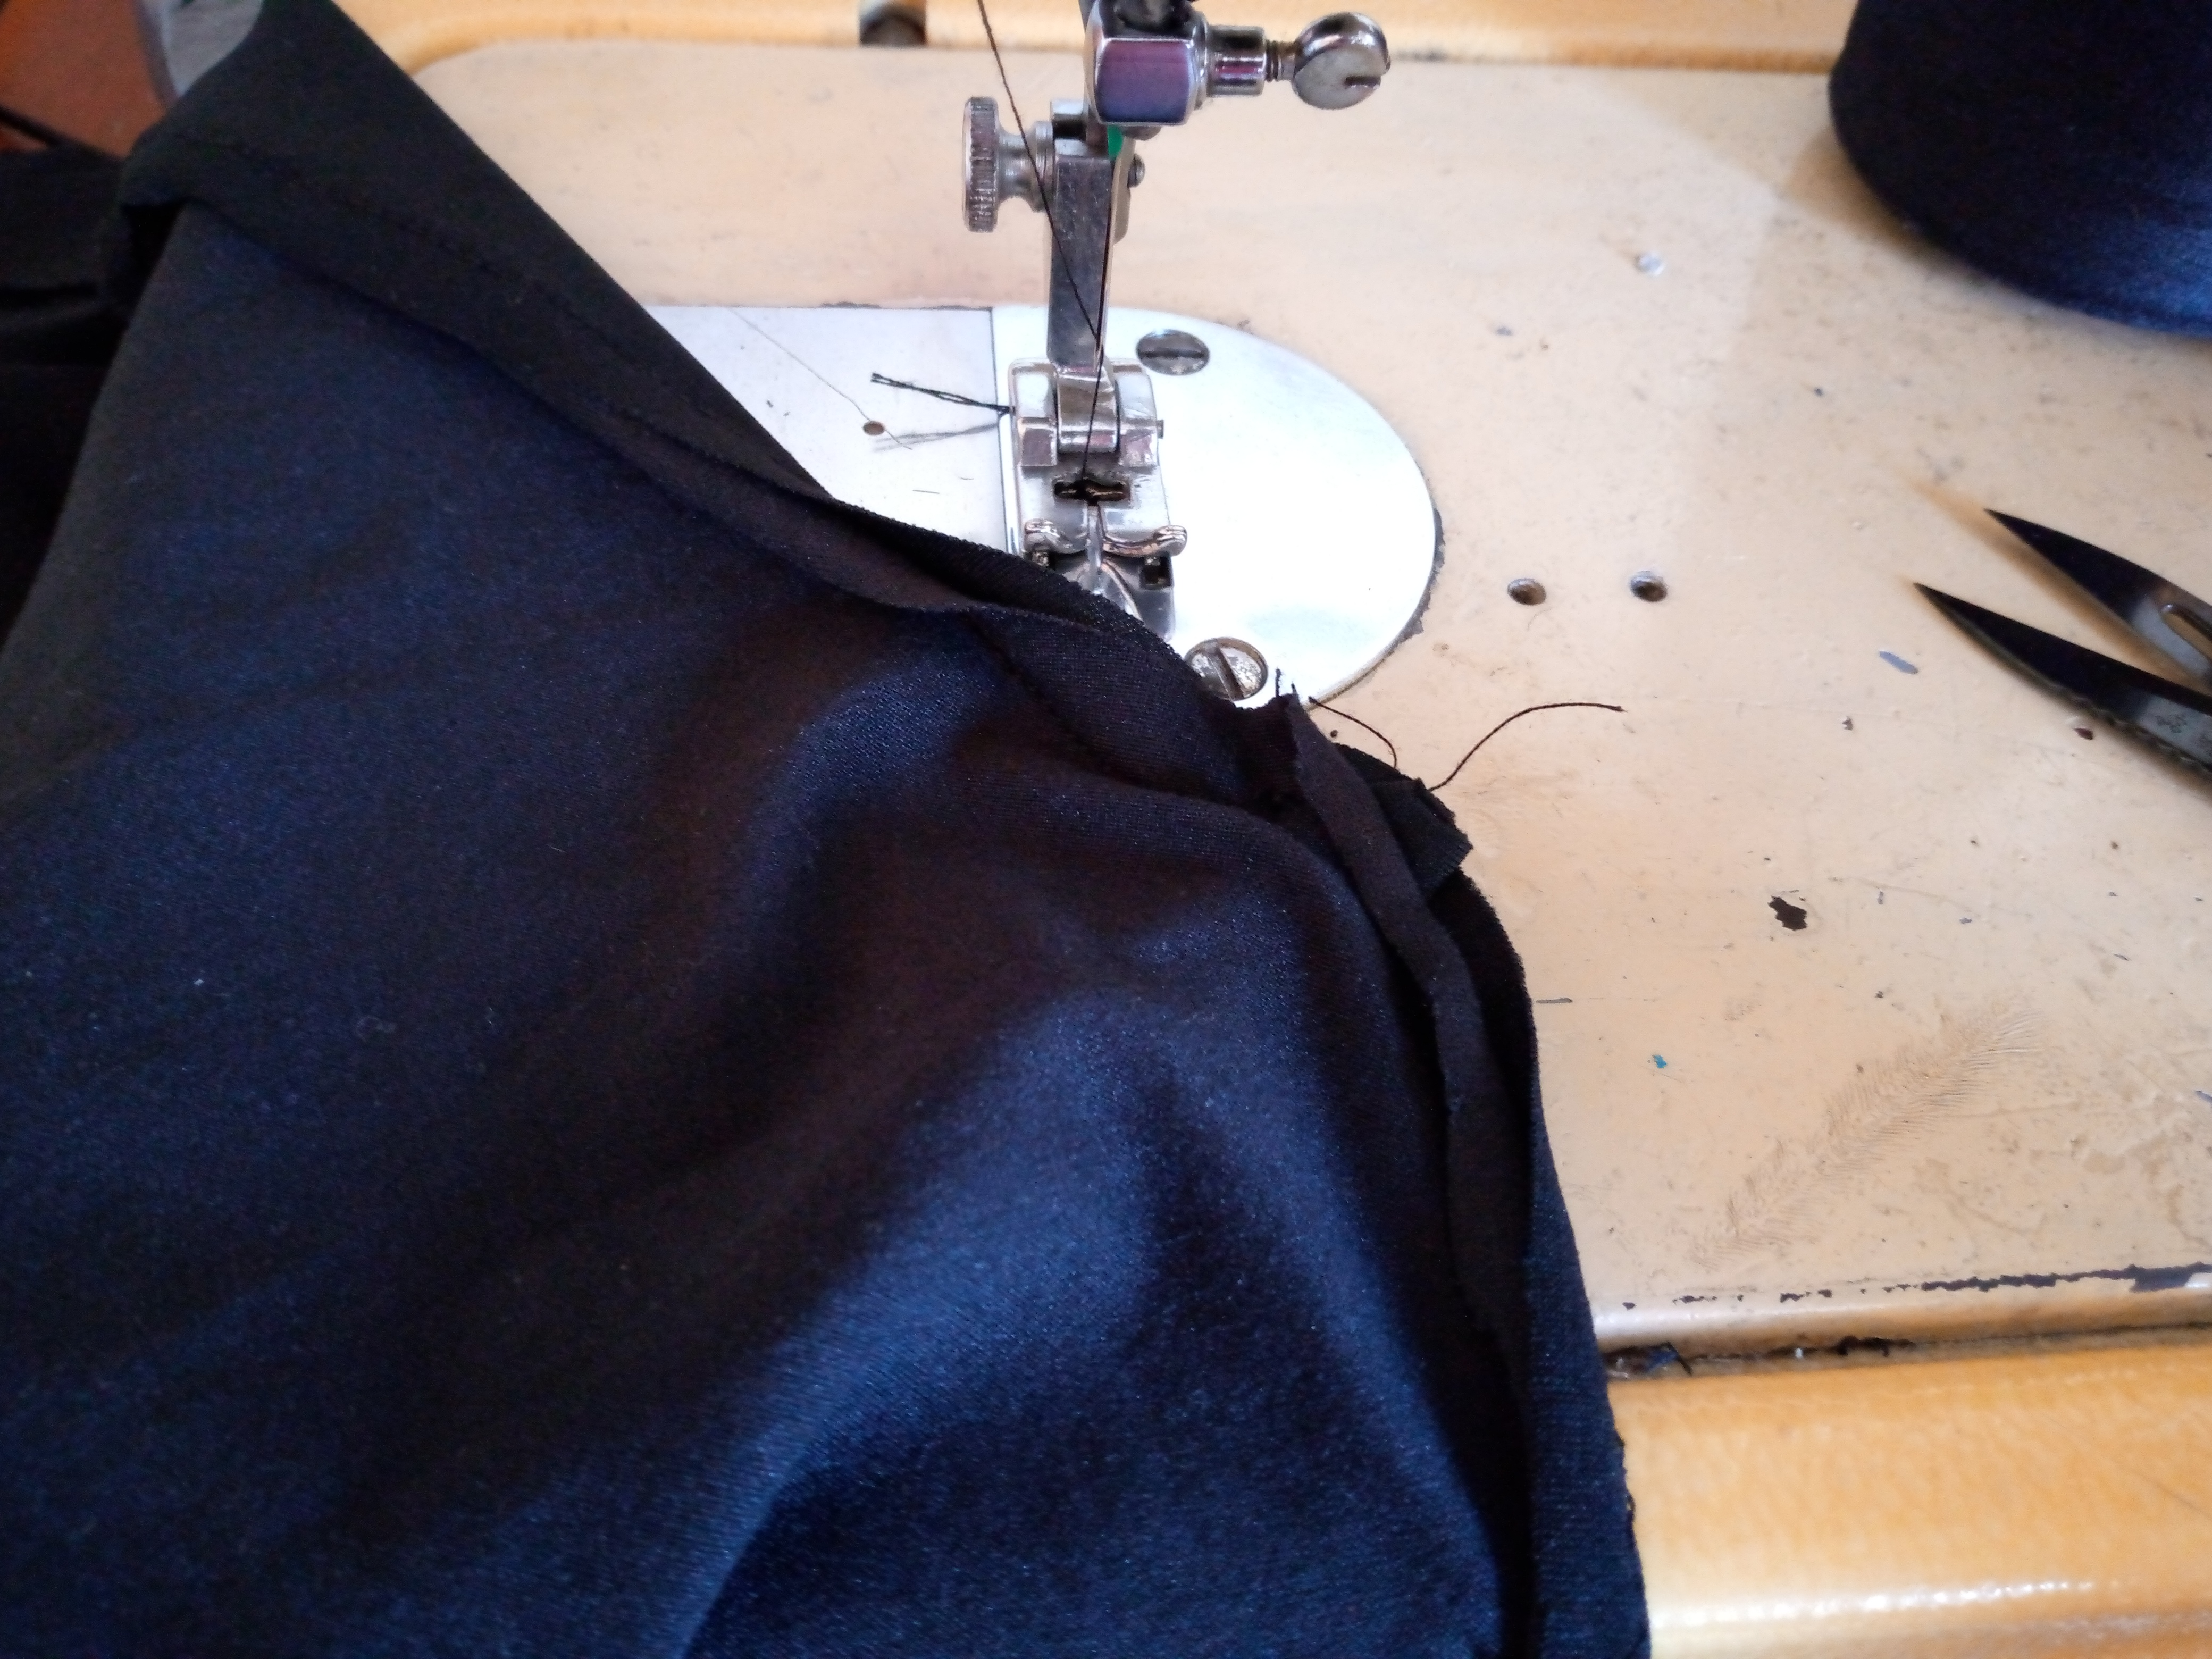
So we are going to take two front pieces together, the lining and the front one, and on the bottom side we are going to sew it only at the neckline, not up on the shoulders. We will sew this later. Then we sew the bias to make my straps. I turn them over with the help of a clip and I will place them inwards, leaving 1 cm outside where we are sewing. We continue sewing the side of the front view downwards and we turn it over that way we have the first piece of the front and we do the same step with the other piece.
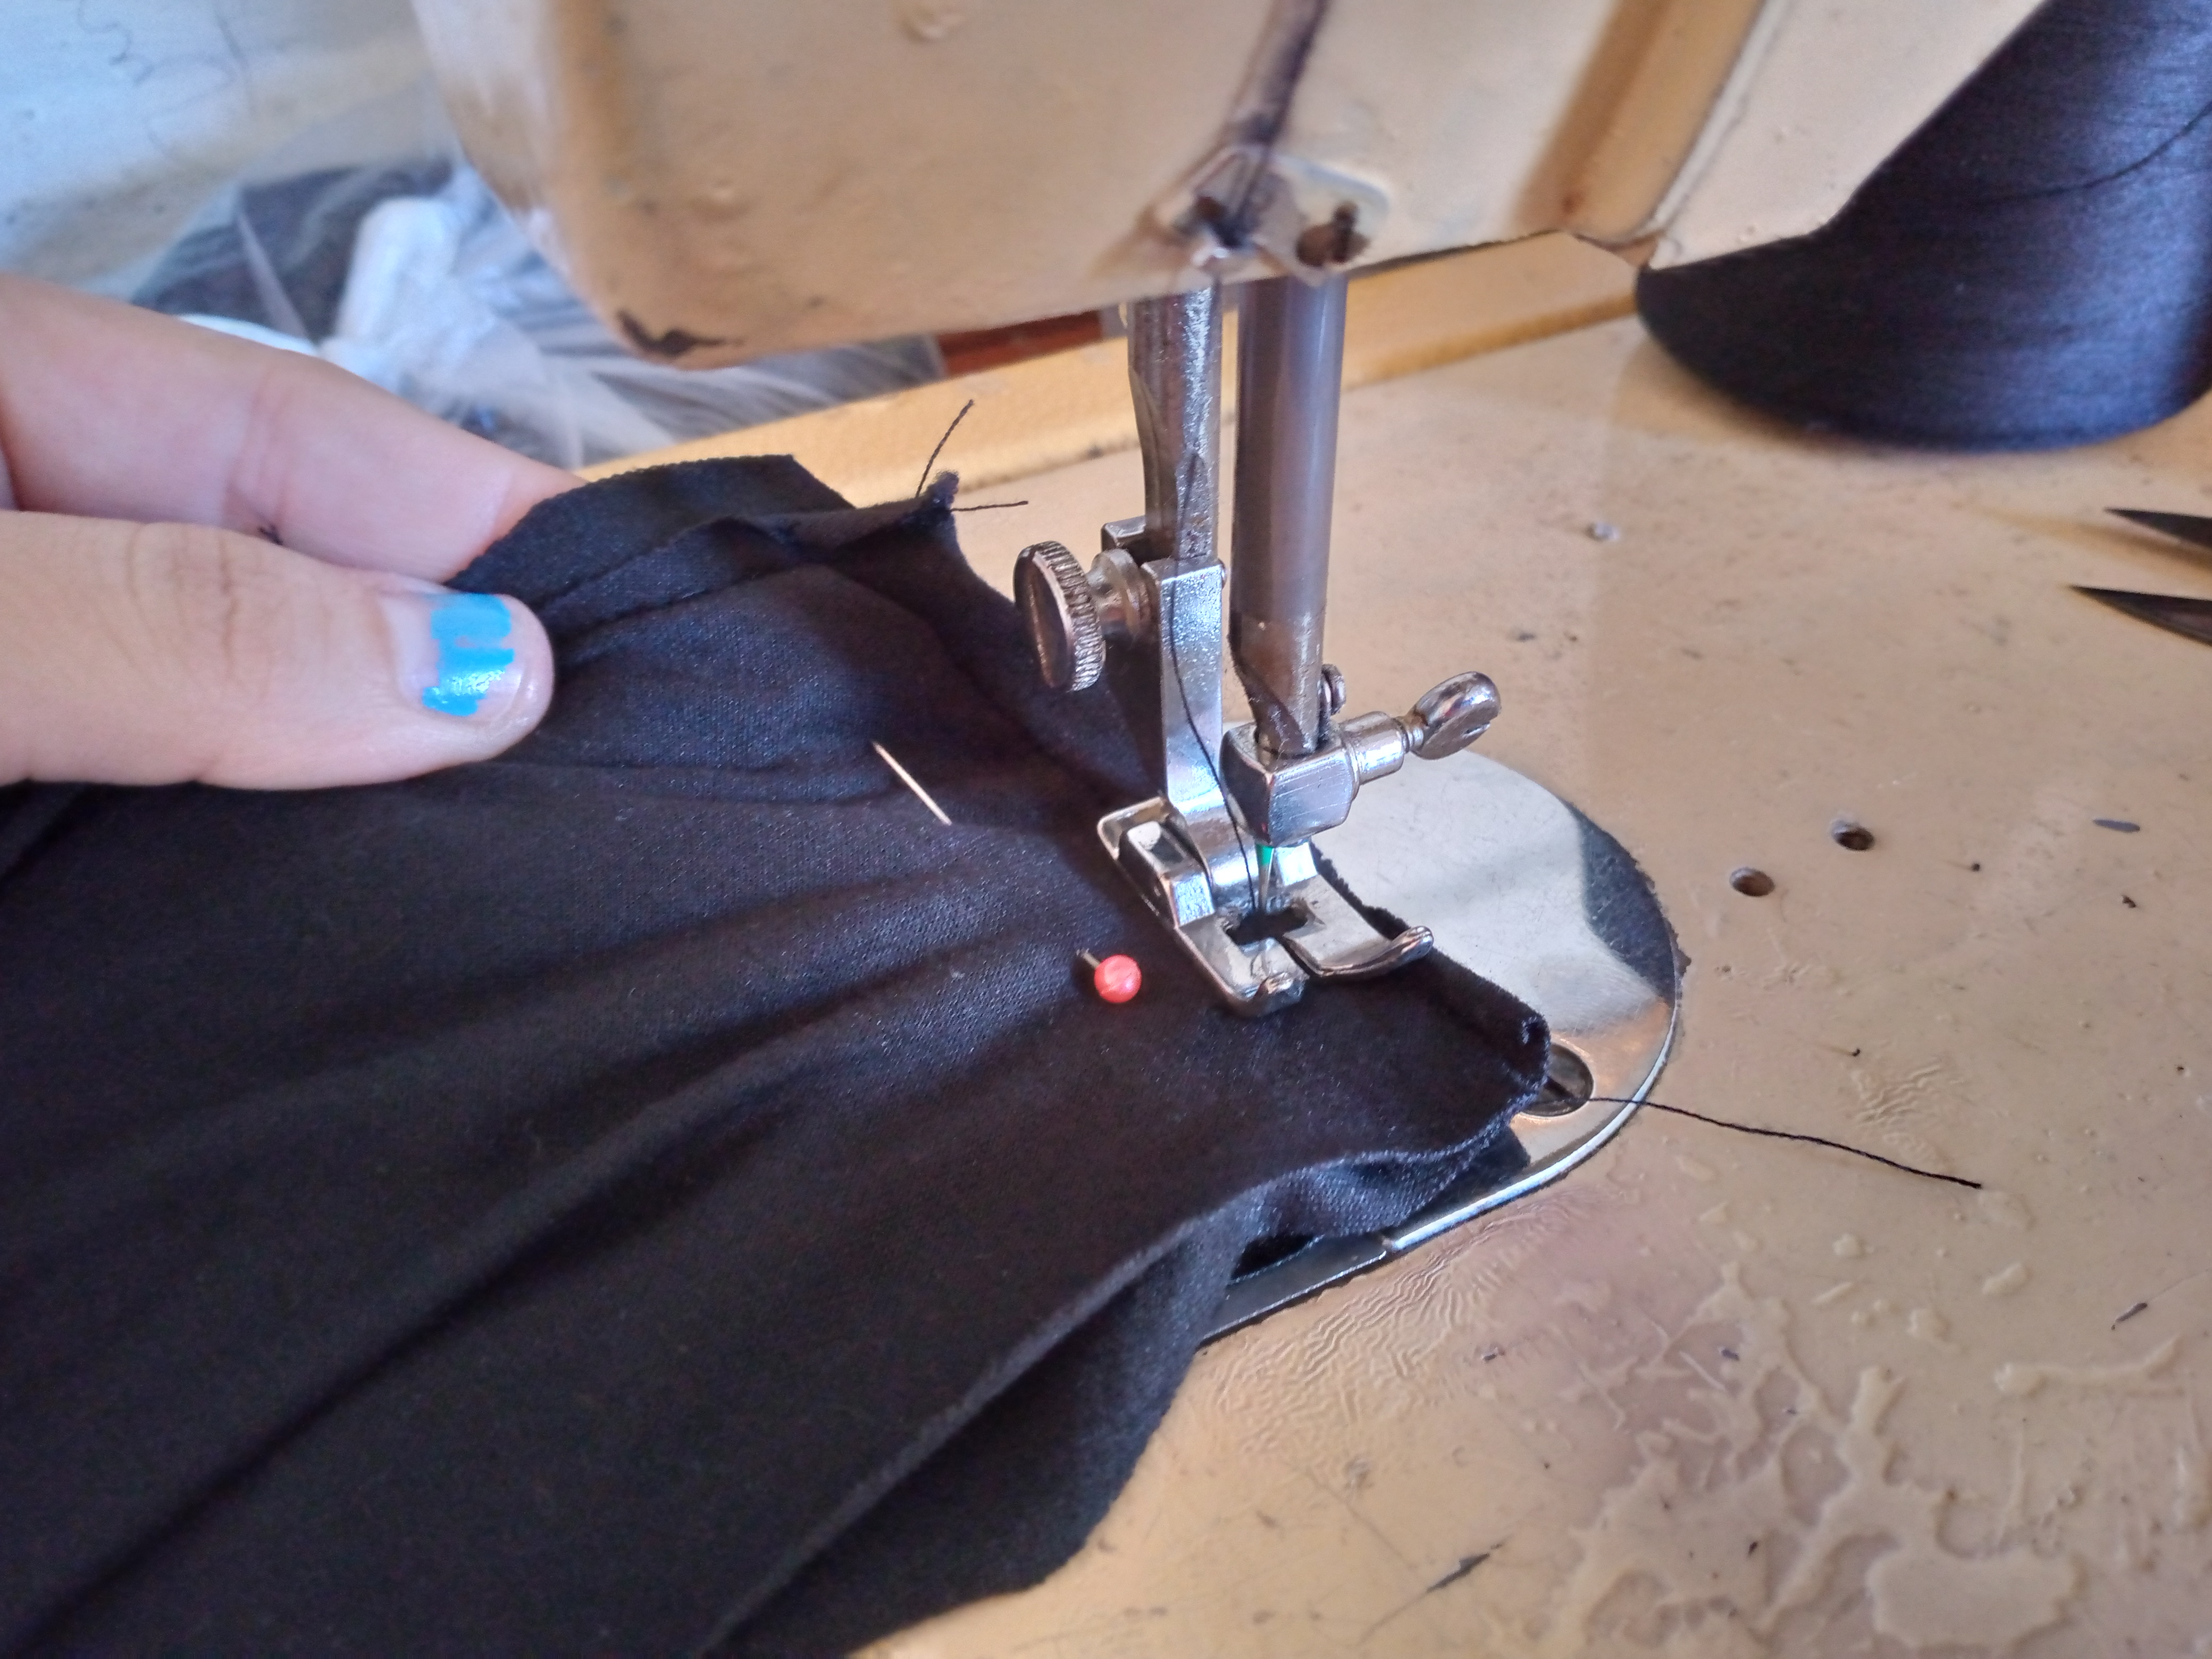
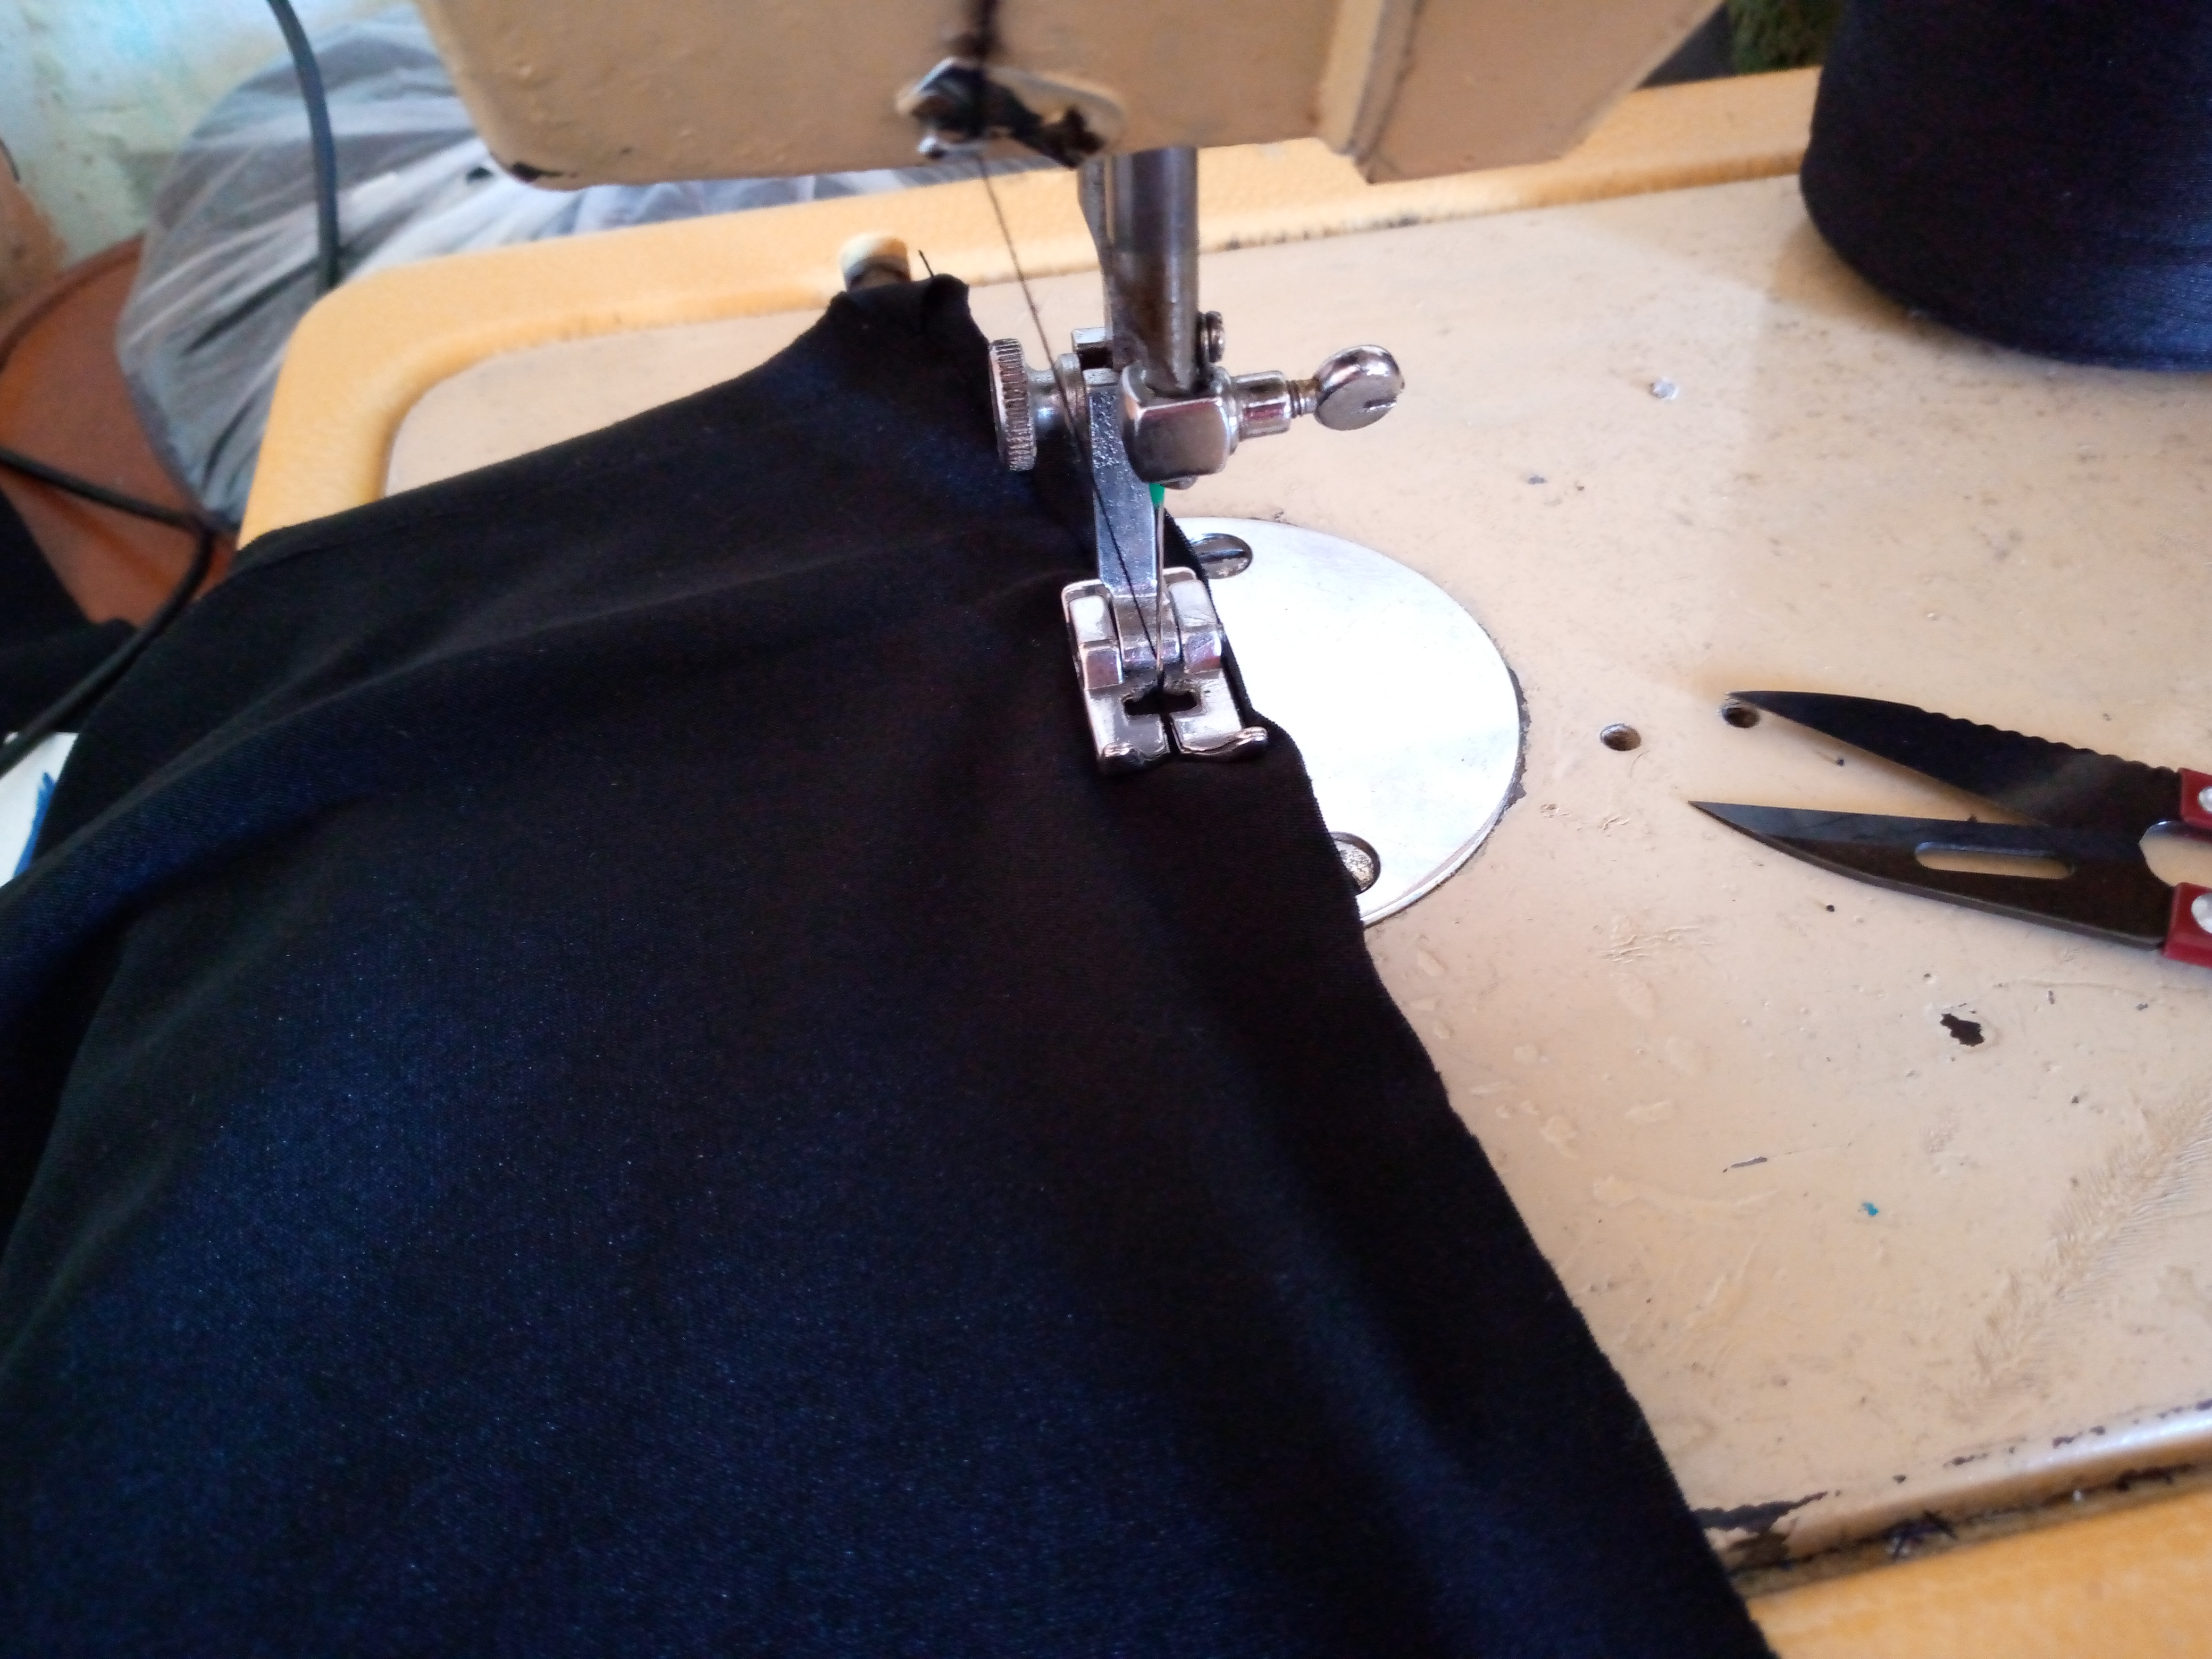
Paso 03
Step 03
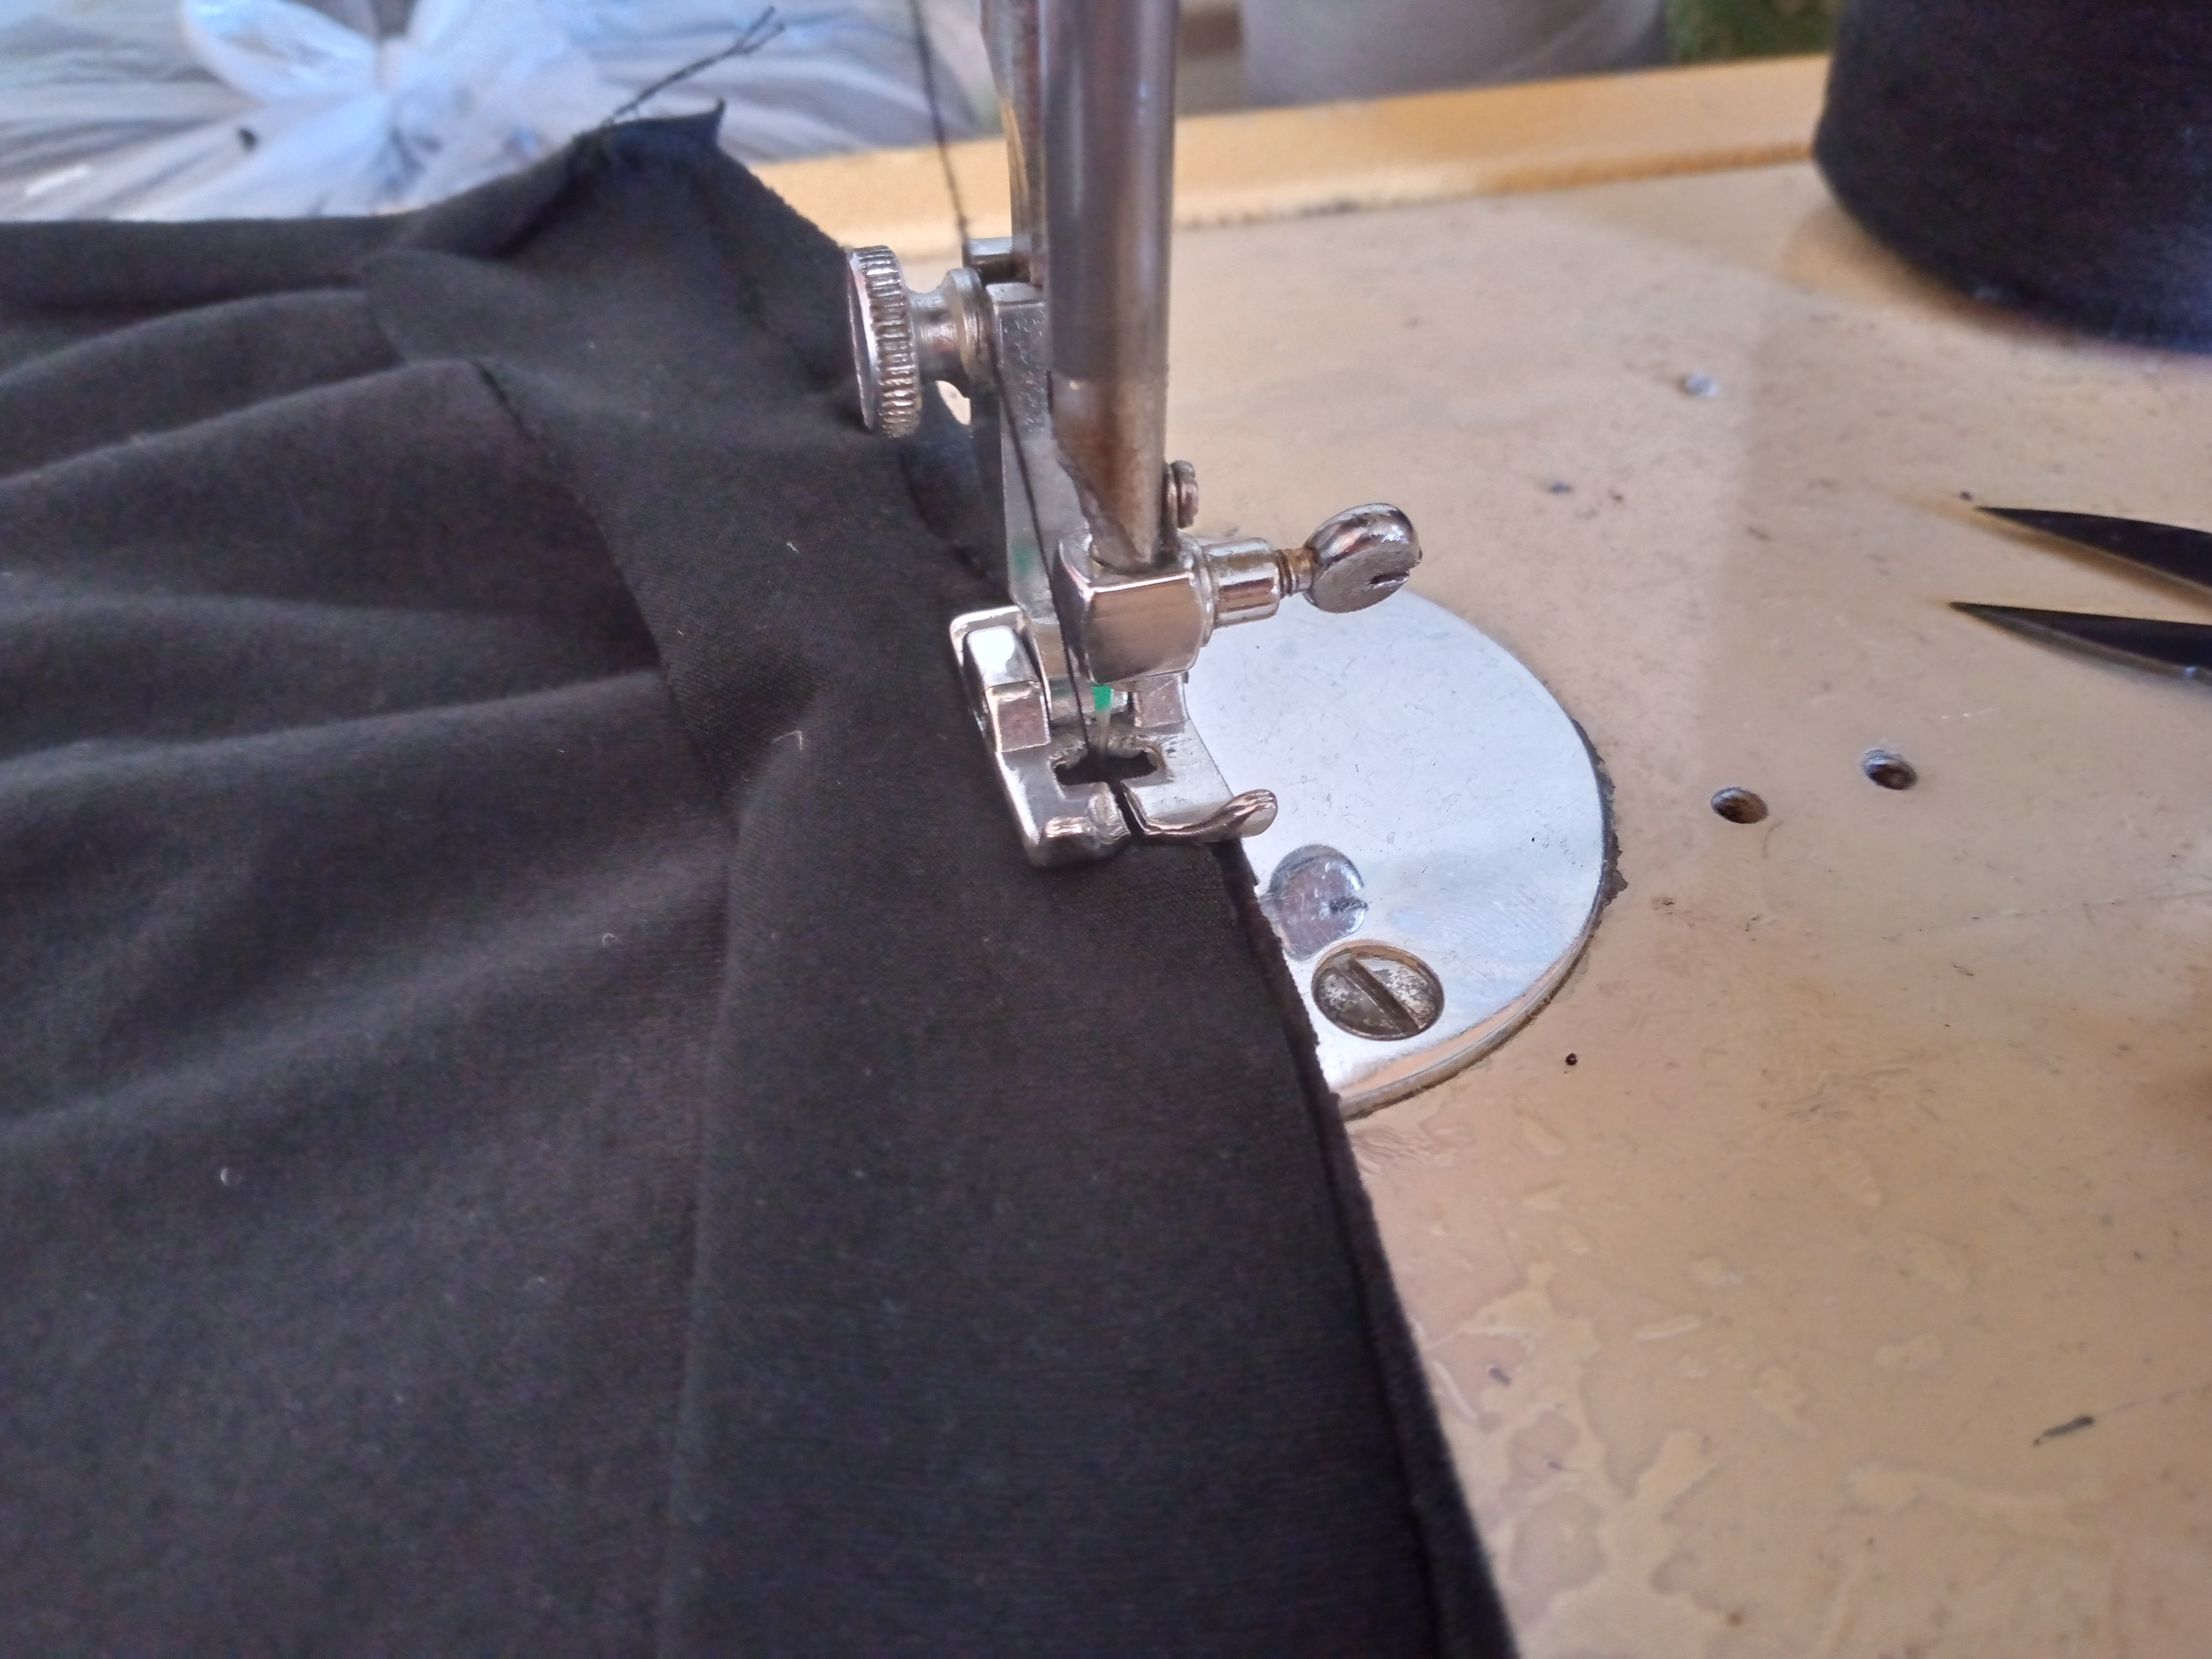
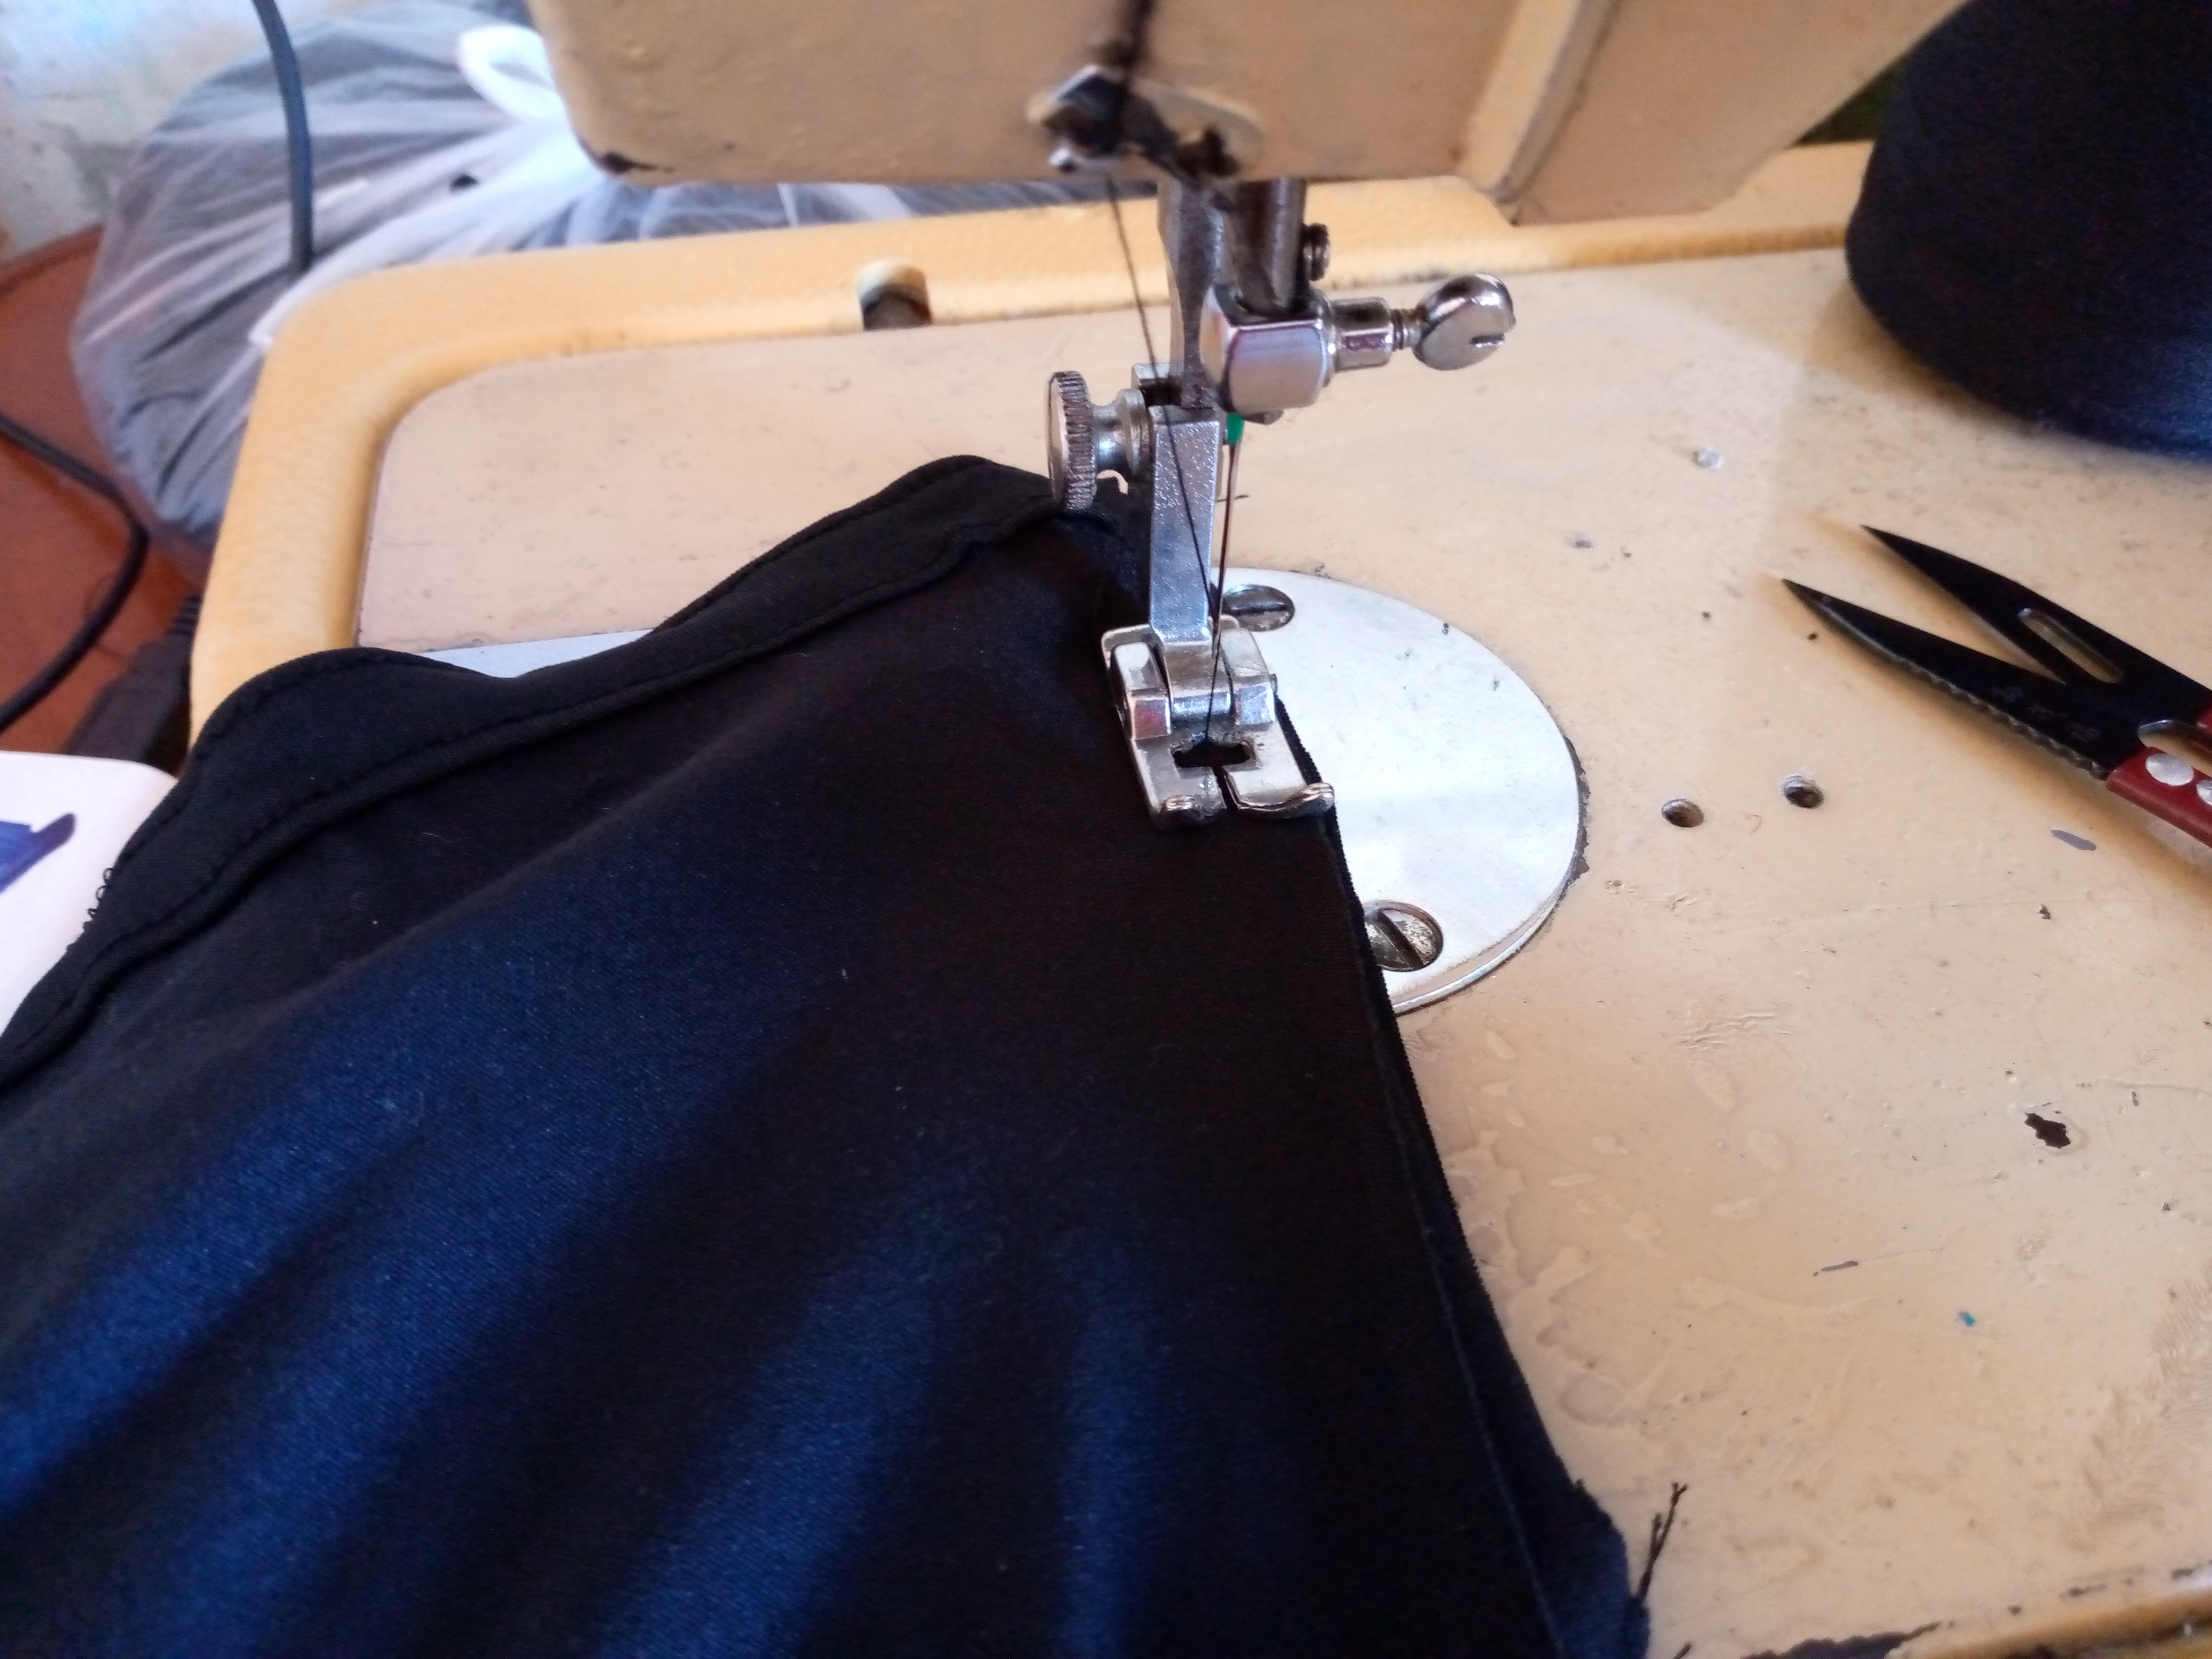
Here it's time to sew the bias tape on the back of the neck, then I will sew facing the bottom, my bias tape on top with a straight stitch of course and stretch it a little. When I finish sewing the bias tape, I will turn the piece over and sew, folding the bias tape a little. Again, I will sew it, stretching the fabric, and there in the center I will place one of these labels. I have a lot of them and I always place them on the garments by size. We sew the shoulder pieces, sealing them on the bottom side, and we finish sewing the bottom part of my front top.
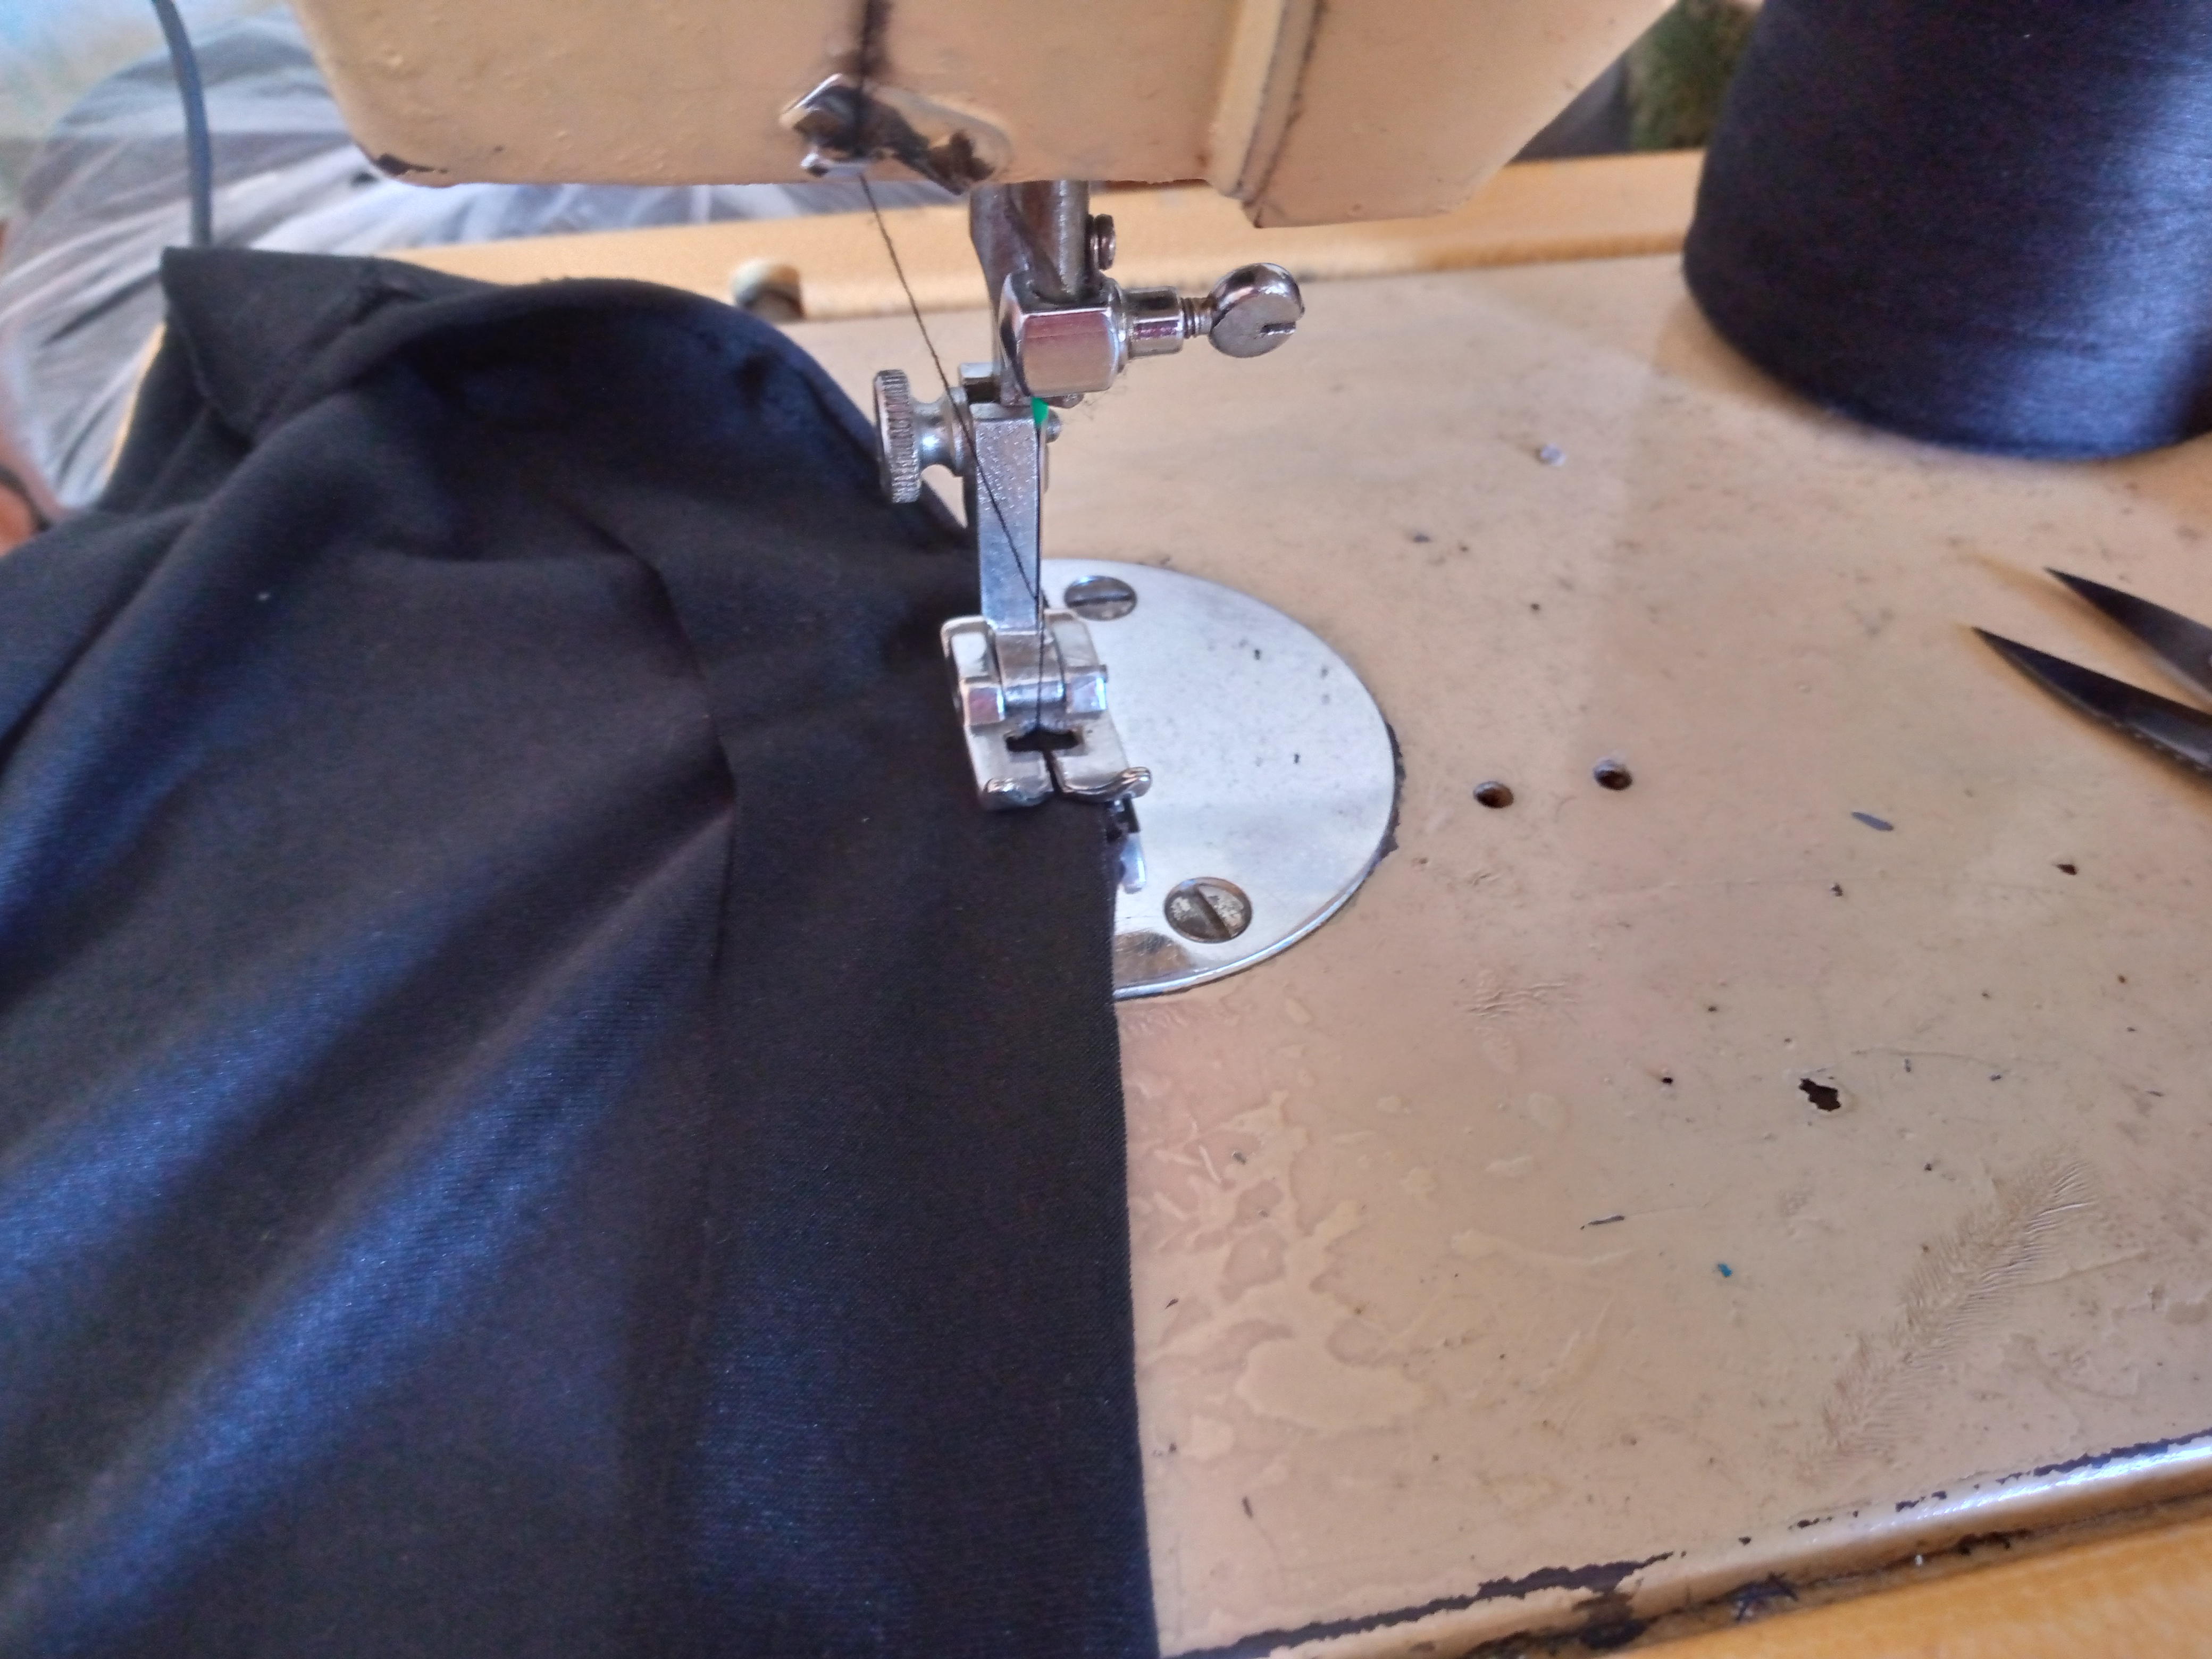
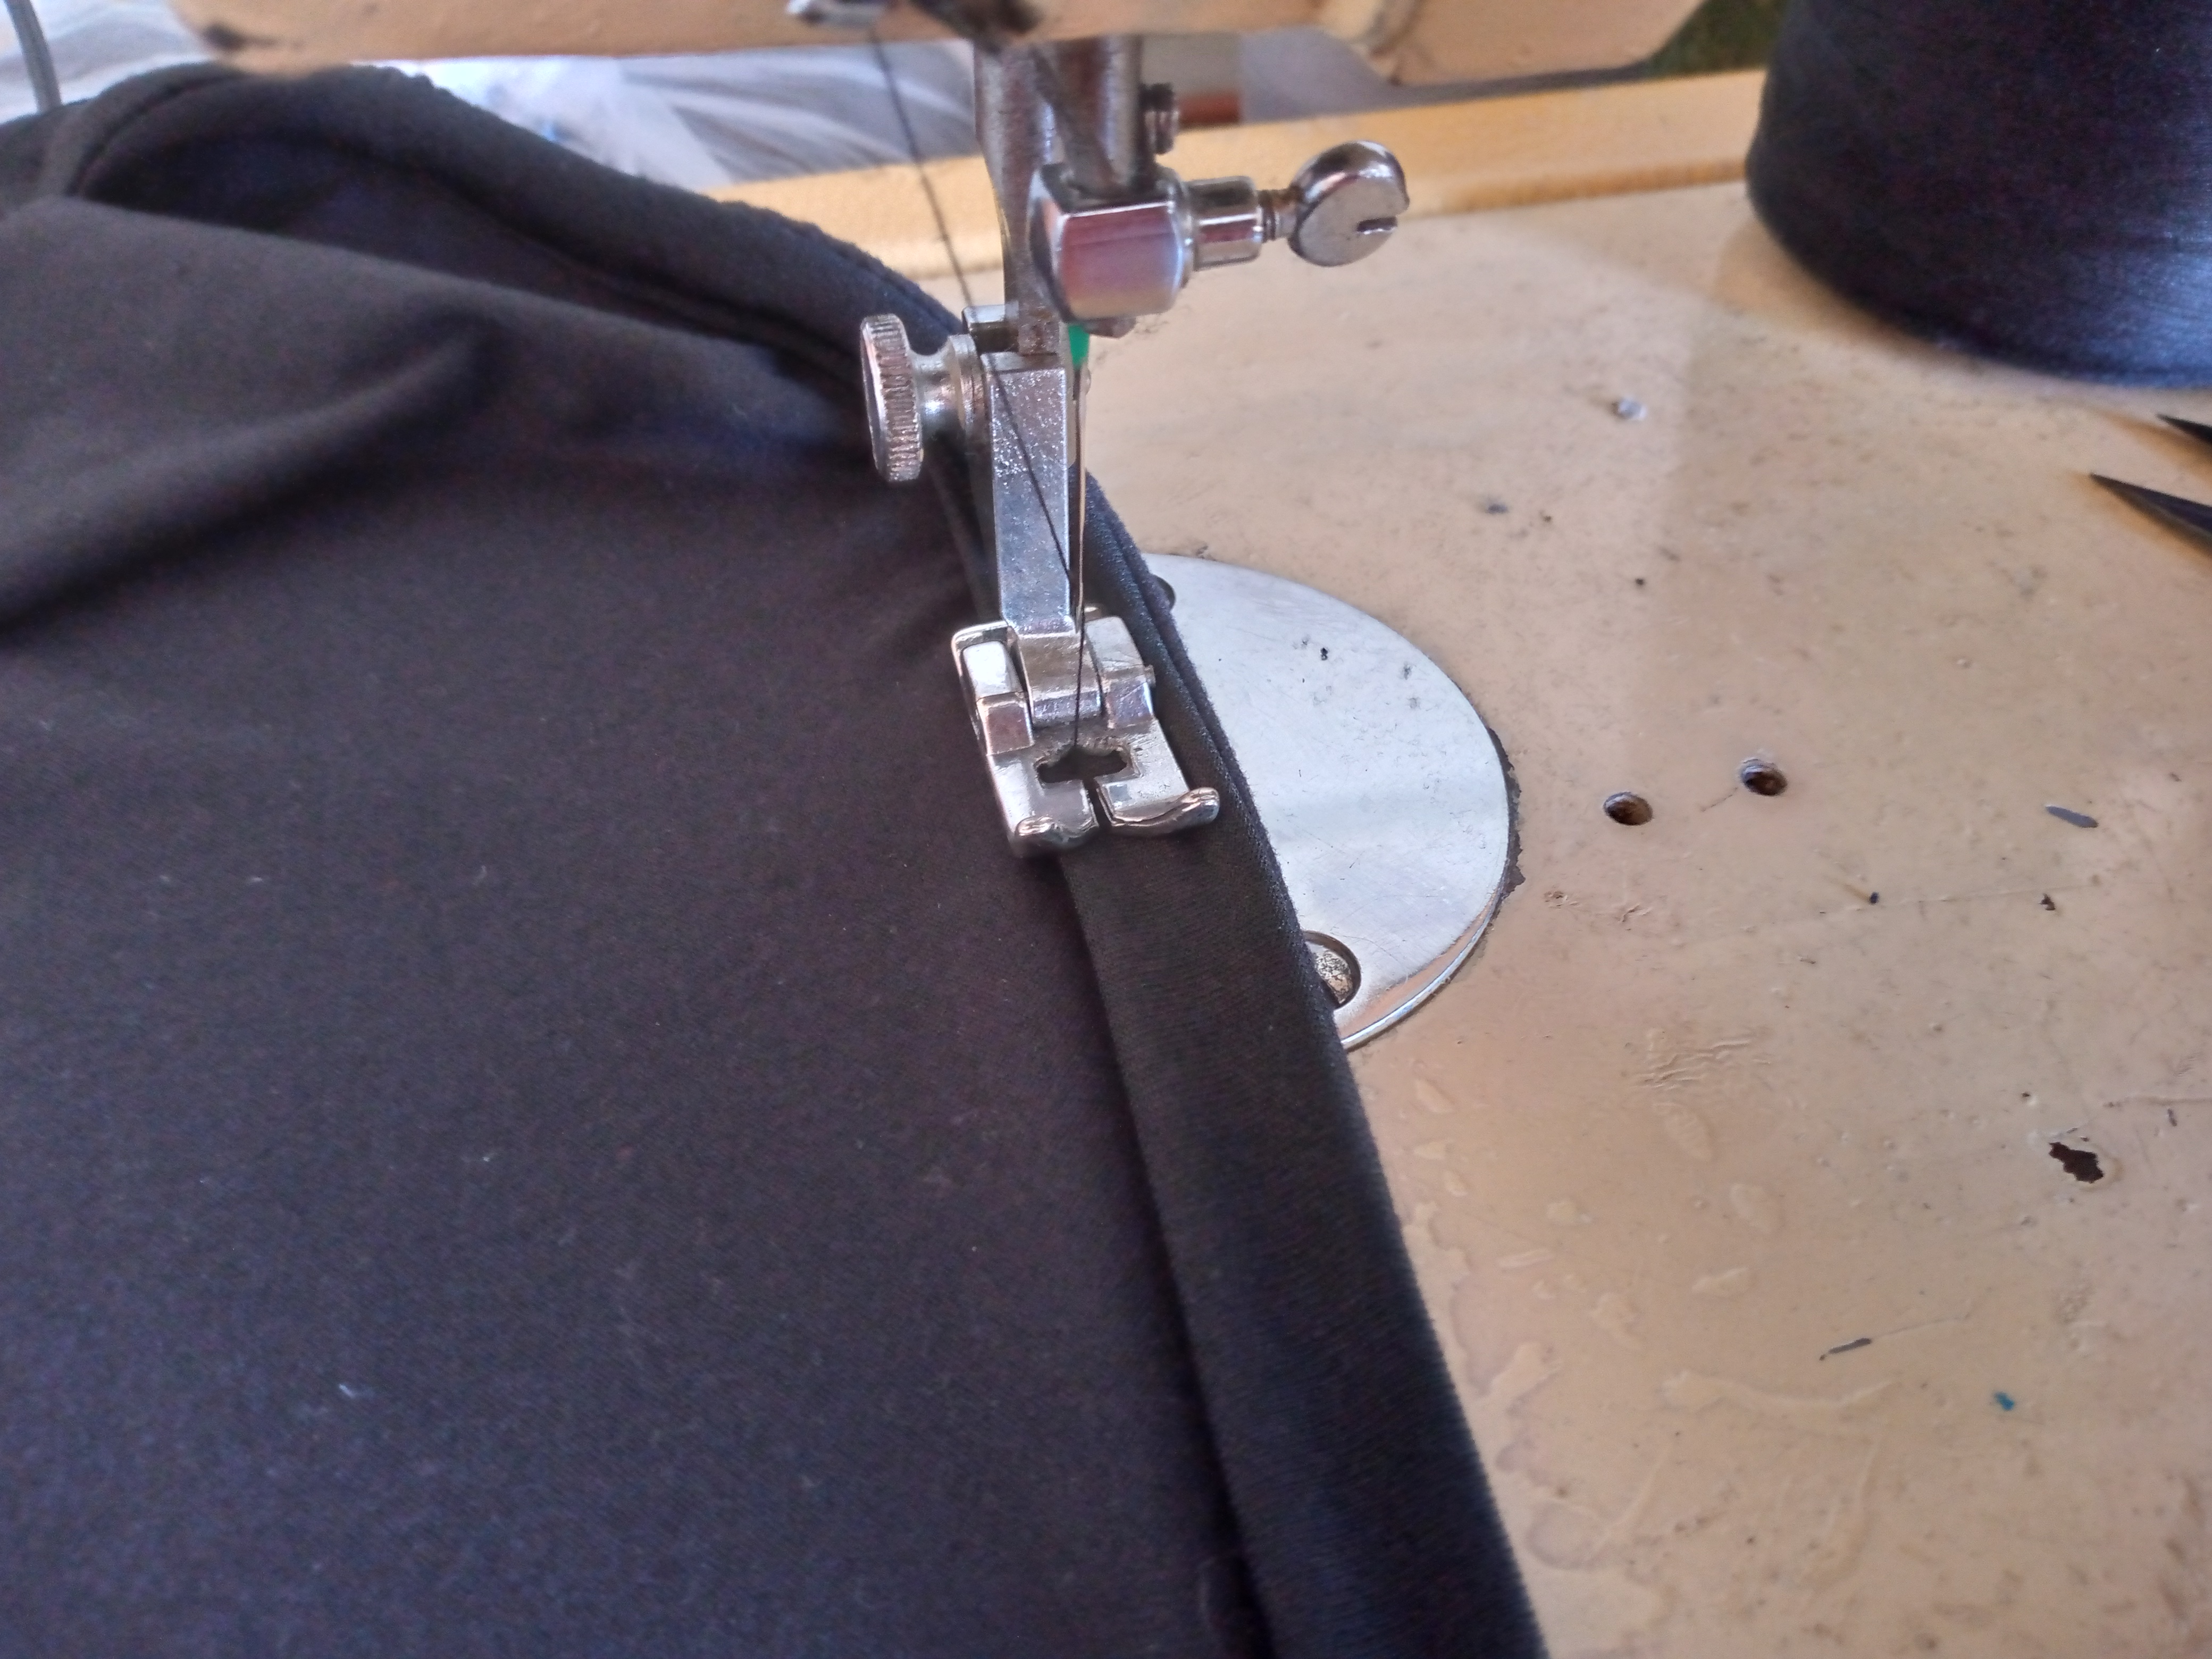
Paso 04
Step 04
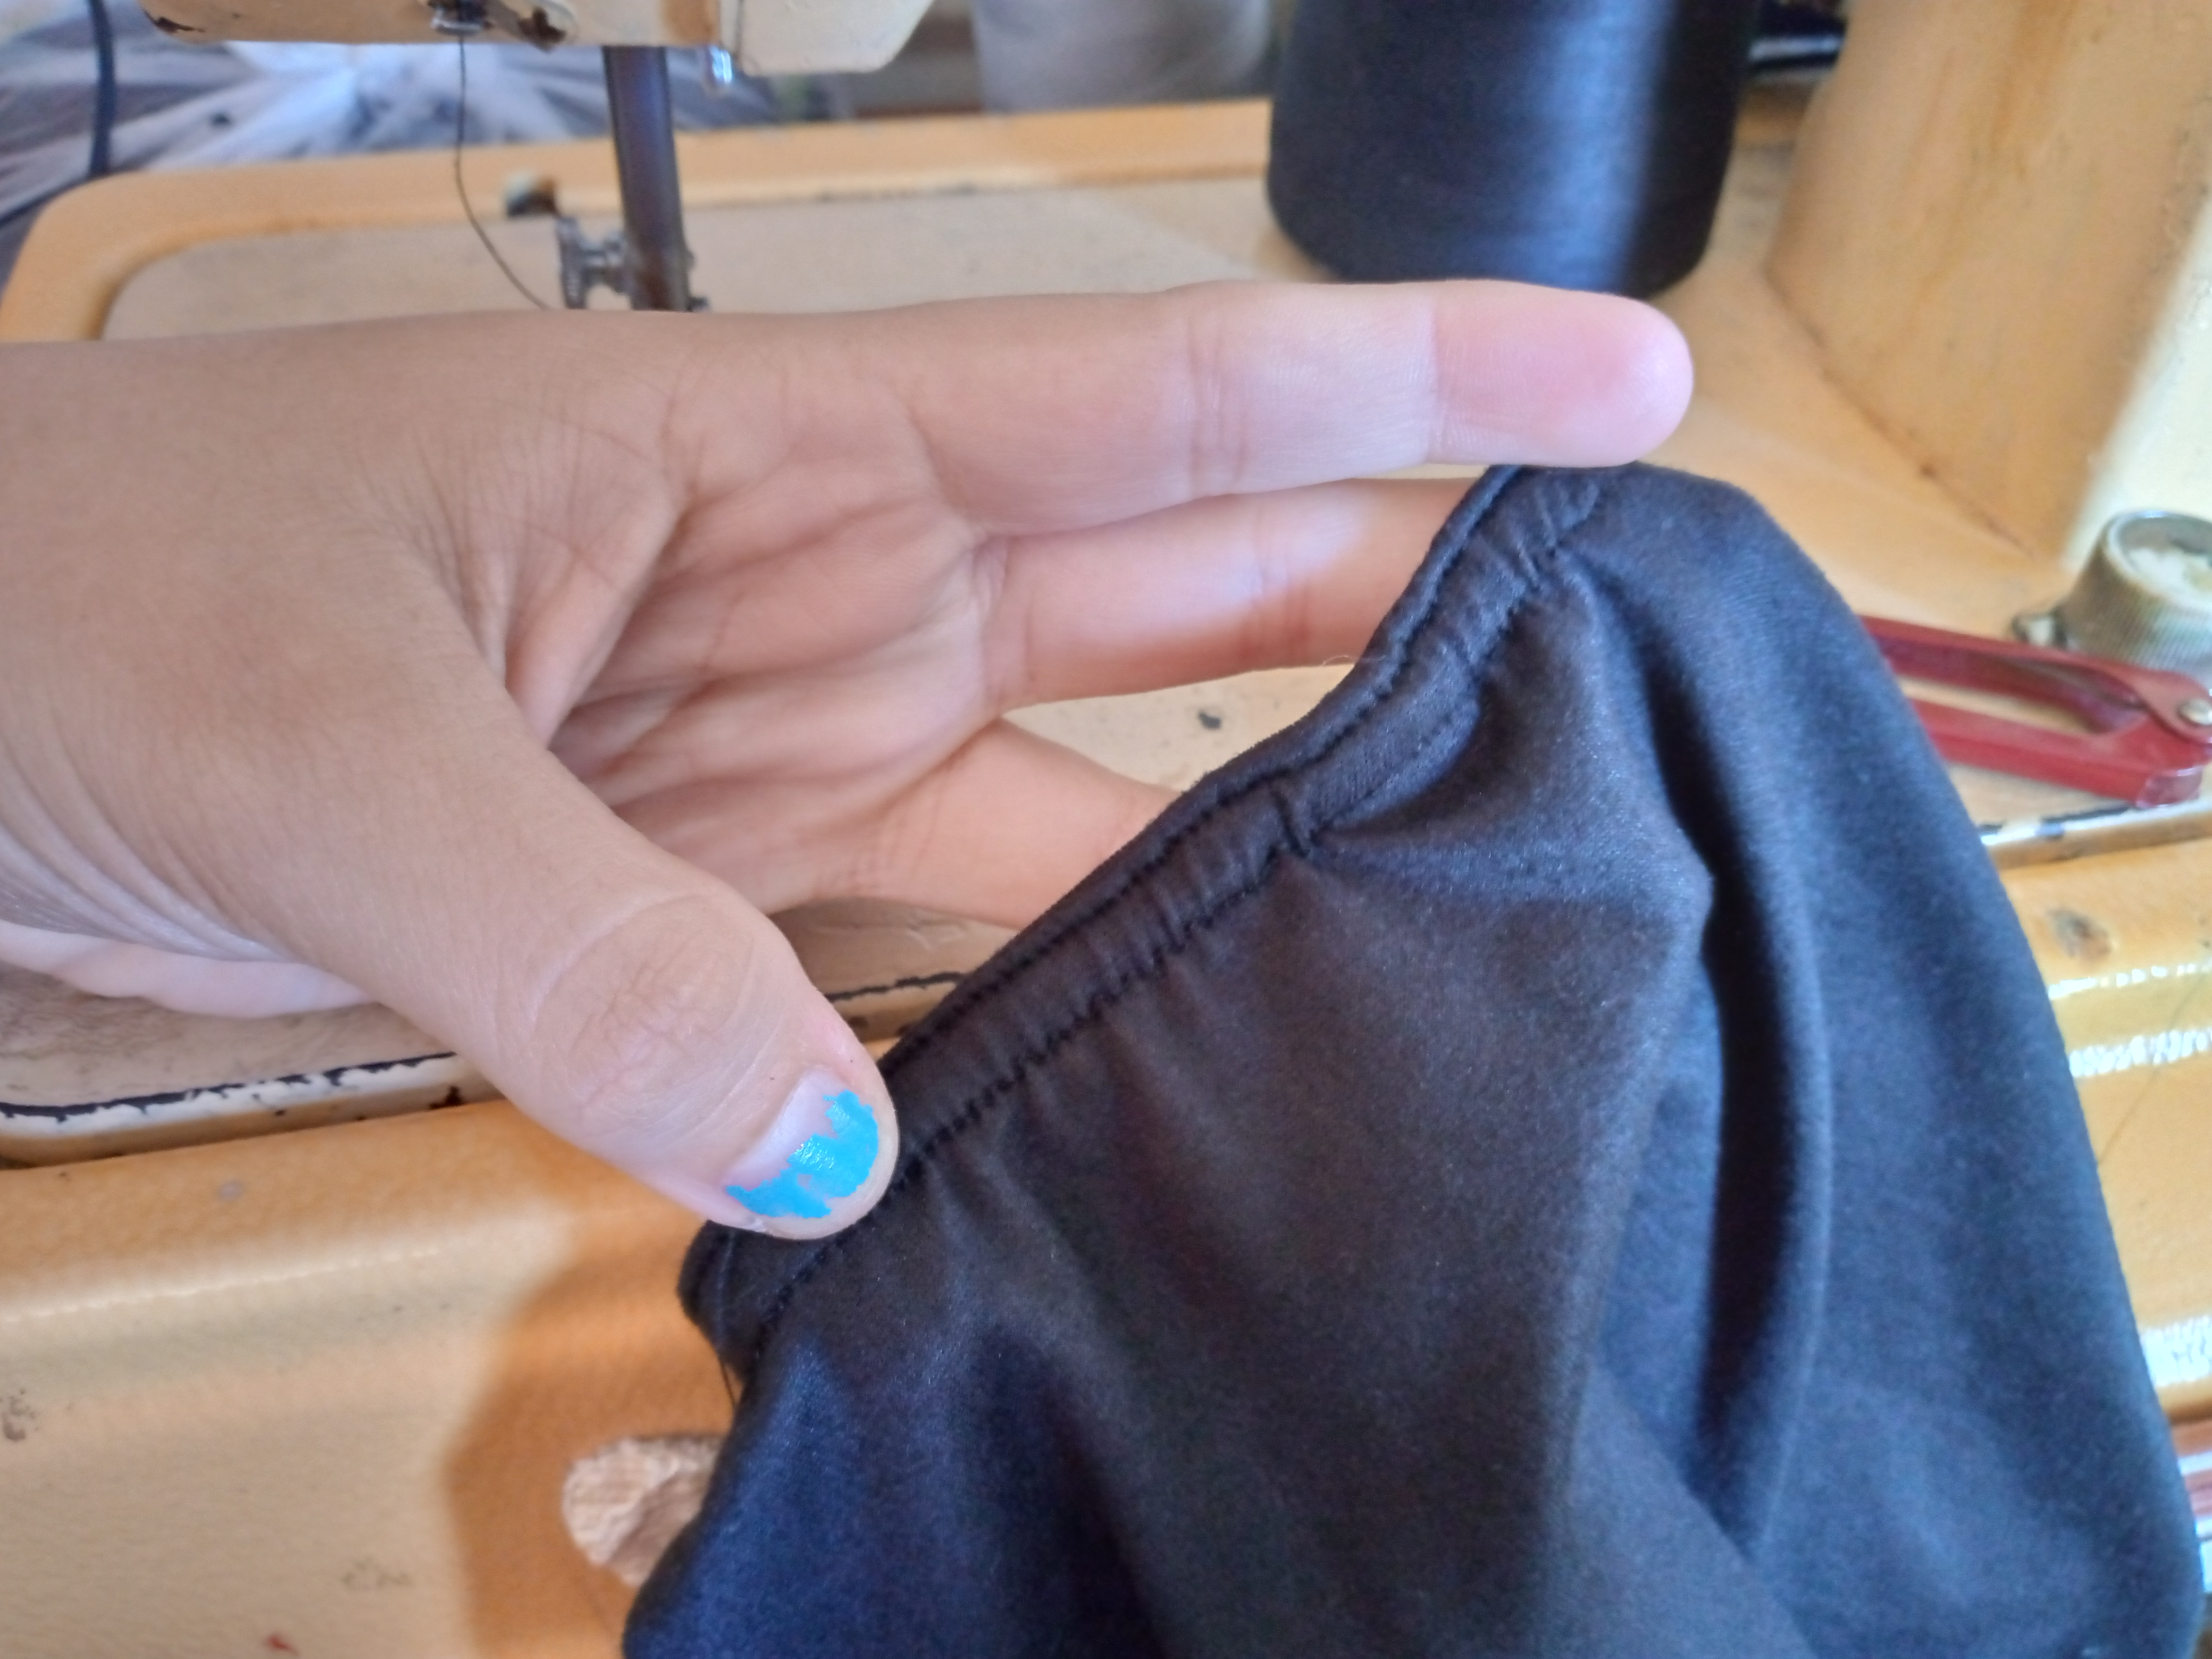
Finally, I will sew a bias tape along the back of this piece to reinforce my top and I will sew it like I sewed the bias tape on the neck from the outside in and we will overlock, seal the sides and use a false zigzag overlock to finish it off and that's it.
.jpg)
Resultado:// Result:
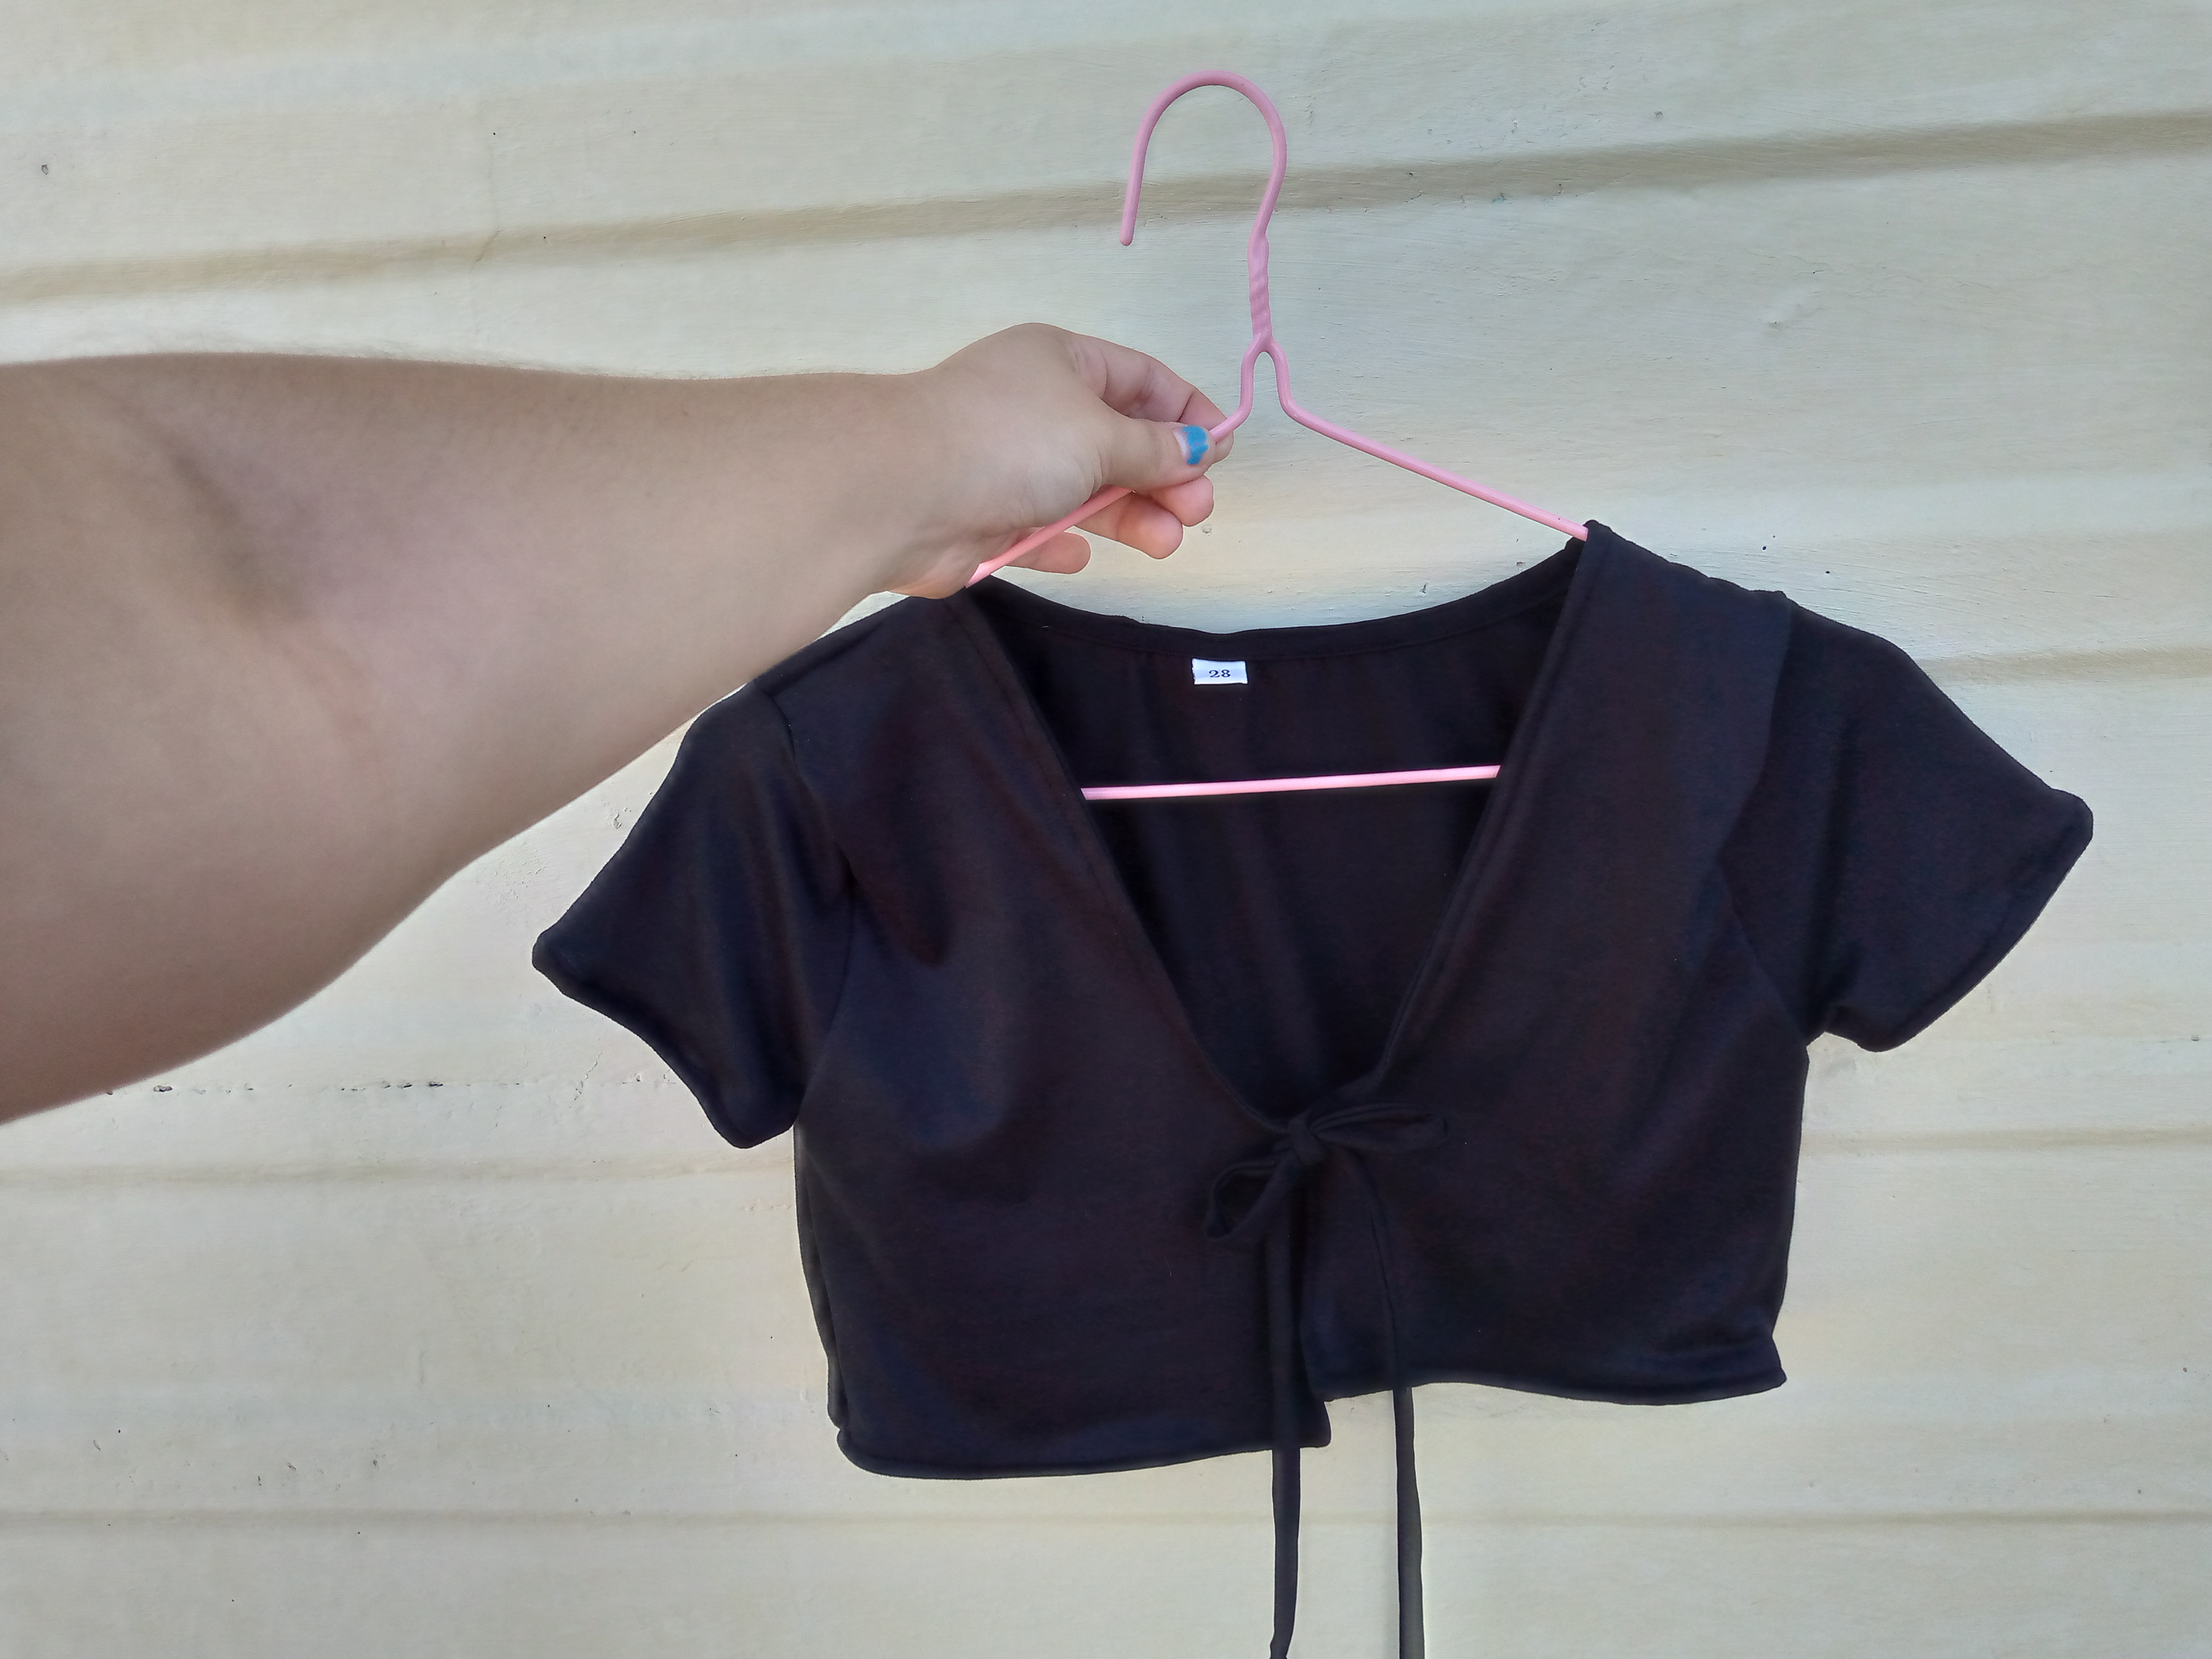
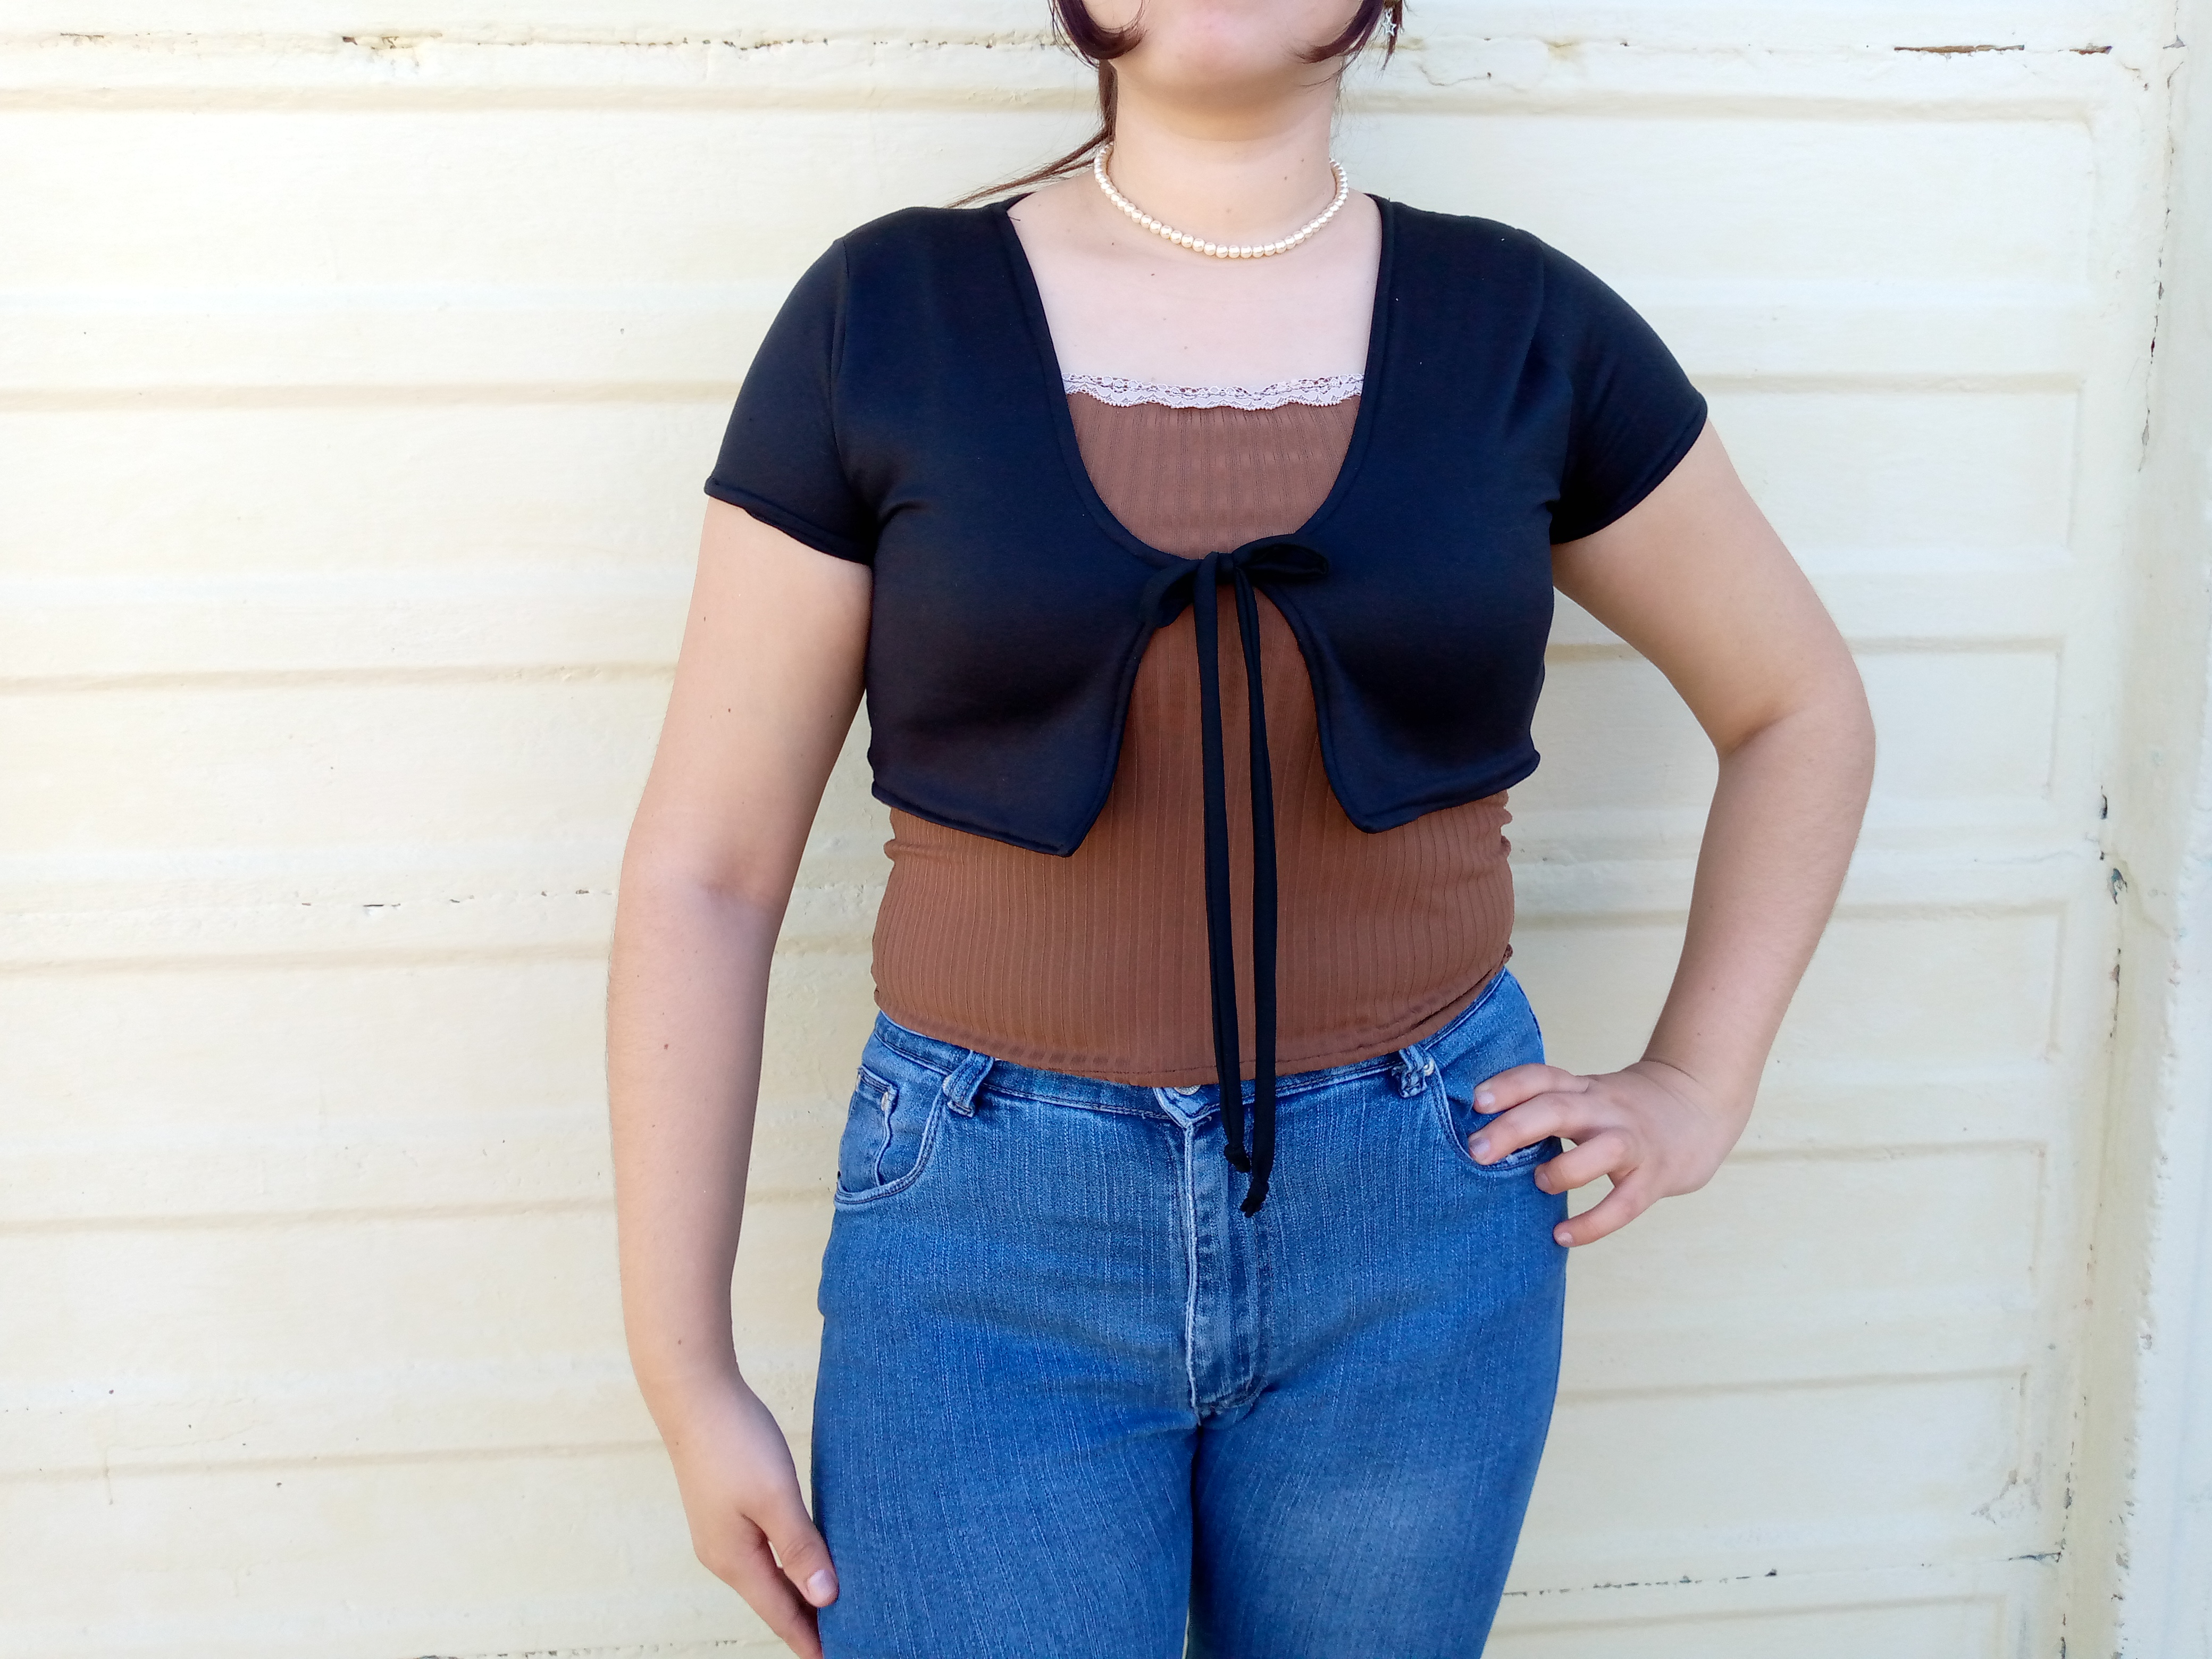
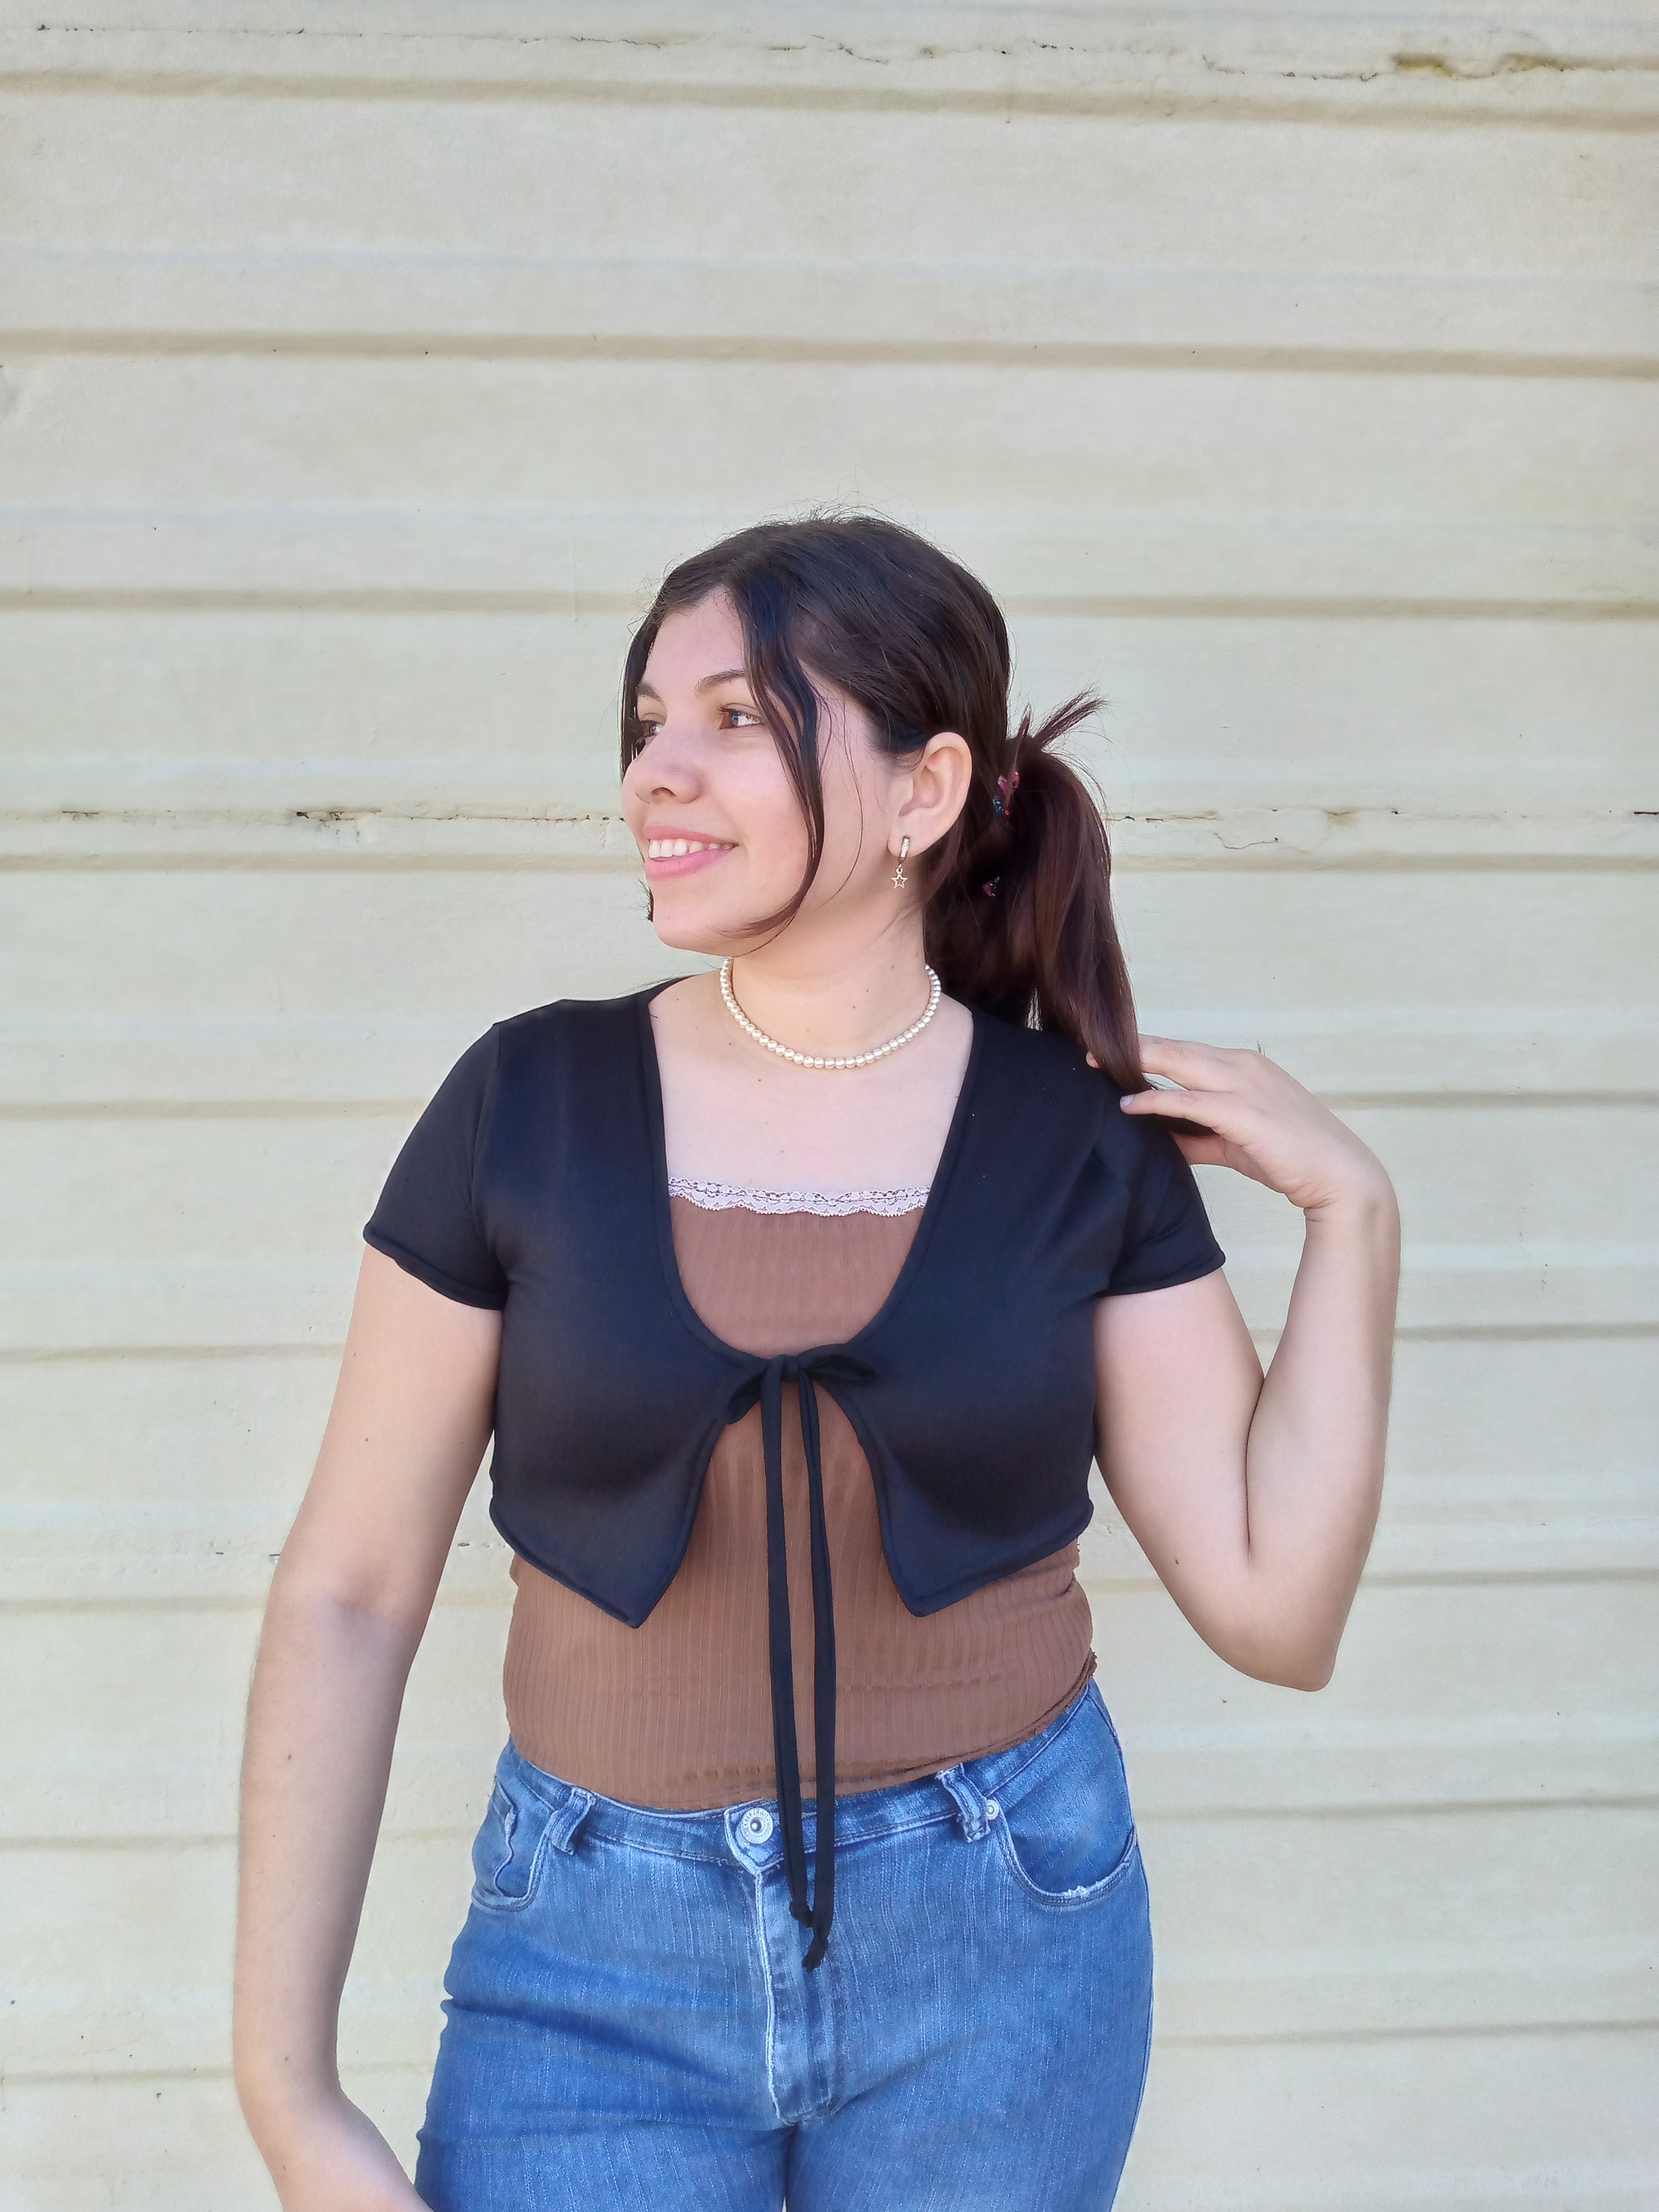
If you liked this overcoat don't forget to share and save this blog that could be useful to you when you want to make one, I thank you for getting to the end of this tutorial and taking your time to read me, so I say goodbye with the photographs of how my overcoat top looks once it is put on and this is how it would look. I leave you here with the images of the final result, I hope you like it, I say goodbye and I'll read you in another upcoming blog, blessings my creative hivers.
.jpg)
Creating things with love 🌷❤️
🦋✨ All the images in this publication are my author ,📱taken with my TecnoSpark8C cell phone |📸Photos edited in PicsArt and Canva. Text translated in Google Translate.
The final look of the outfit is lovely and it looks so nice on you, well done.
Thank you very much, it's good to know 😊 Have a nice night
Gracias por el tutorial, me va a ser de mucha ayuda! ❤️. Me gustan mucho esos tops, son muy cutes con una blusita abajo y una falda 🤭. Amé. ✨
Que precioso se ve, me gustó
A mí también me gustó amiga 🥺😊
Wow, it such a nice and beautiful top, I love the style, thanks for sharing
Thanks friend 🤗
Hola.. Disculpa el abuso, Puedes apoyar con un voto a mi esposo @albertocoachbl en este concurso?? Te dejo el link del post 🙏
Gracias de antemano 🥰🥰
https://peakd.com/hive-140169/@lordbutterfly/help-us-decide-the-winner-of-vibes-week-27-community-poll
Hola.. Disculpa el abuso, Puedes apoyar con un voto a mi esposo @albertocoachbl en este concurso?? Te dejo el link del post 🙏
Gracias de antemano 🥰🥰
https://peakd.com/hive-140169/@lordbutterfly/help-us-decide-the-winner-of-vibes-week-27-community-poll