.jpg)
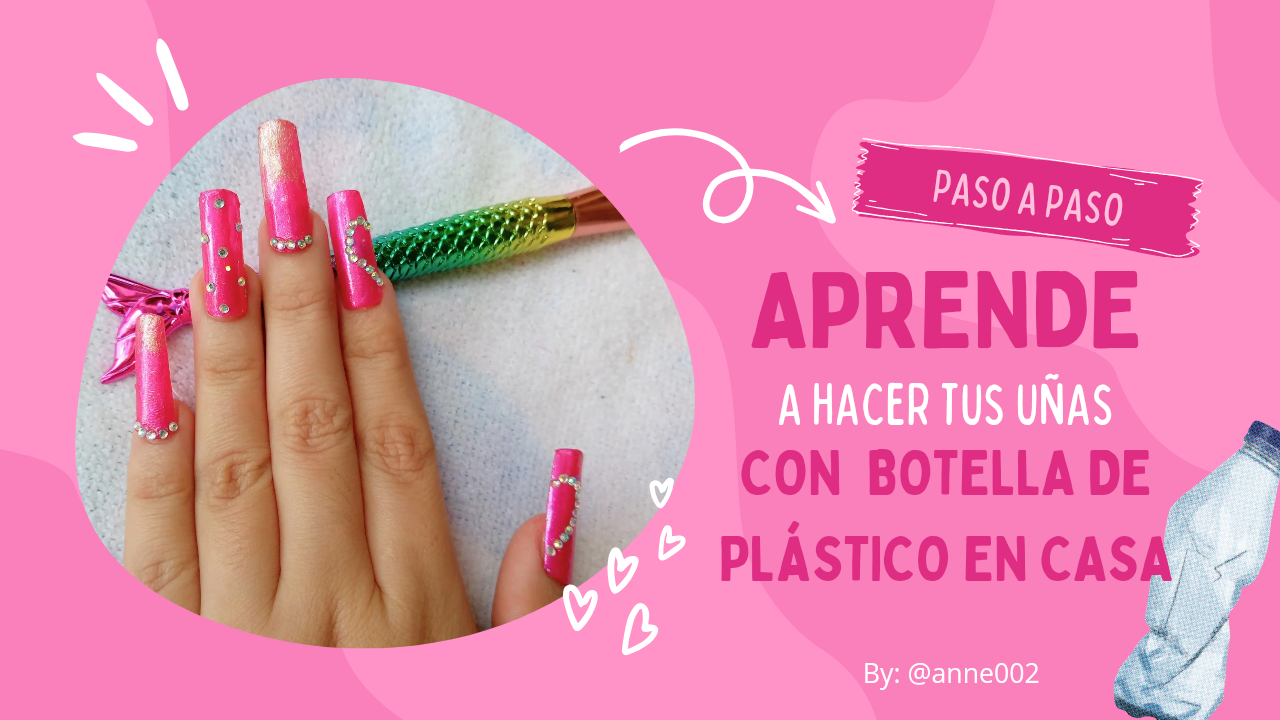
Nails with a plastic bottle?.... Yes, I know you're wondering and also things like how are you ... how so? Does this really work? Is it safe? Do they break in two? How long do they last? ... Questions like these I will be answering here, but first I welcome you to a new blog, a new day and a new tutorial with me
👋🏻🥰🌸.
Before I get started with this tutorial I have things to tell you, first I'll tell you that the last time I bought nails they didn't come in the size of my finger nails and it was a problem that actually made me a bit anxious because I wanted to use them for a special occasion so I had no choice but to of course fix my natural nails and just paint them. I had to go to the store like that because the nail on my ring finger came very small, smaller than normal in the nail package.
So I came up with the idea of thinking, could a clear bottle plastic nail be made to replace the nail that came in a small size on the packaging of my nails that I bought? And here it is, all of a sudden I started working on making it so I could use them completely later and it wasn't at all noticeable that I had a bottle nail on my ring finger, who would have thought but yes 🤣🤭, here we are, always the ones who solve something with ideas in five minutes.
So I'll be answering these questions for you. Let's start. Does this really work? How long do they last? Well, to tell the truth, we all know that if we don't use a good nail glue and clean and make the nail very porous before applying the glue, that nail won't last that long, and that depends on how we use our hands while we have it, but like a normal nail, it can last well adhered using the correct nail glue for the desired amount of time.
Is it safe? Do they not break in two? Yes! It is safe to use plastic bottle nails since this material is totally recycled and is almost the same material that a false nail is made of, they will not break in two because this material has some elasticity and is very resistant, another point that I want to mention is that when you submerge the plastic in boiling water before doing our nails it will become harder and more resistant, we may also not get the nail as perfect as we want but this technique is special for when a nail has fallen off, we want to replace it and when we need one like in my case, so if you want to learn how to do them here I will show you the super easy process to do them, I hope you like it.

.jpg)
Materiales que usé:
Materials i used:
.jpg)
- Botella de plástico ,solo usaremos la parte lisa del centro de nuestra botella
- Tijeras
- Cortauñas
- Esmaltes para uñas del color de tu preferencia
- Detalles para adornar la uña como piedras brillantes pequeñas
- Agua dos tazas
- Cinta adhesiva transparente
- Lápiz
- Lima para uñas
- Plastic bottle, we will only use the smooth part of the center of our bottle
- Scissors
- Nail clippers
- Nail polishes in the color of your choice
- Details to decorate the nail such as small shiny stones
- Two cups of water
- Transparent adhesive tape
- Pencil
- Nail file
.jpg)
Pasos a seguir:
Steps to follow:
.jpg)
Paso 01
Step 01
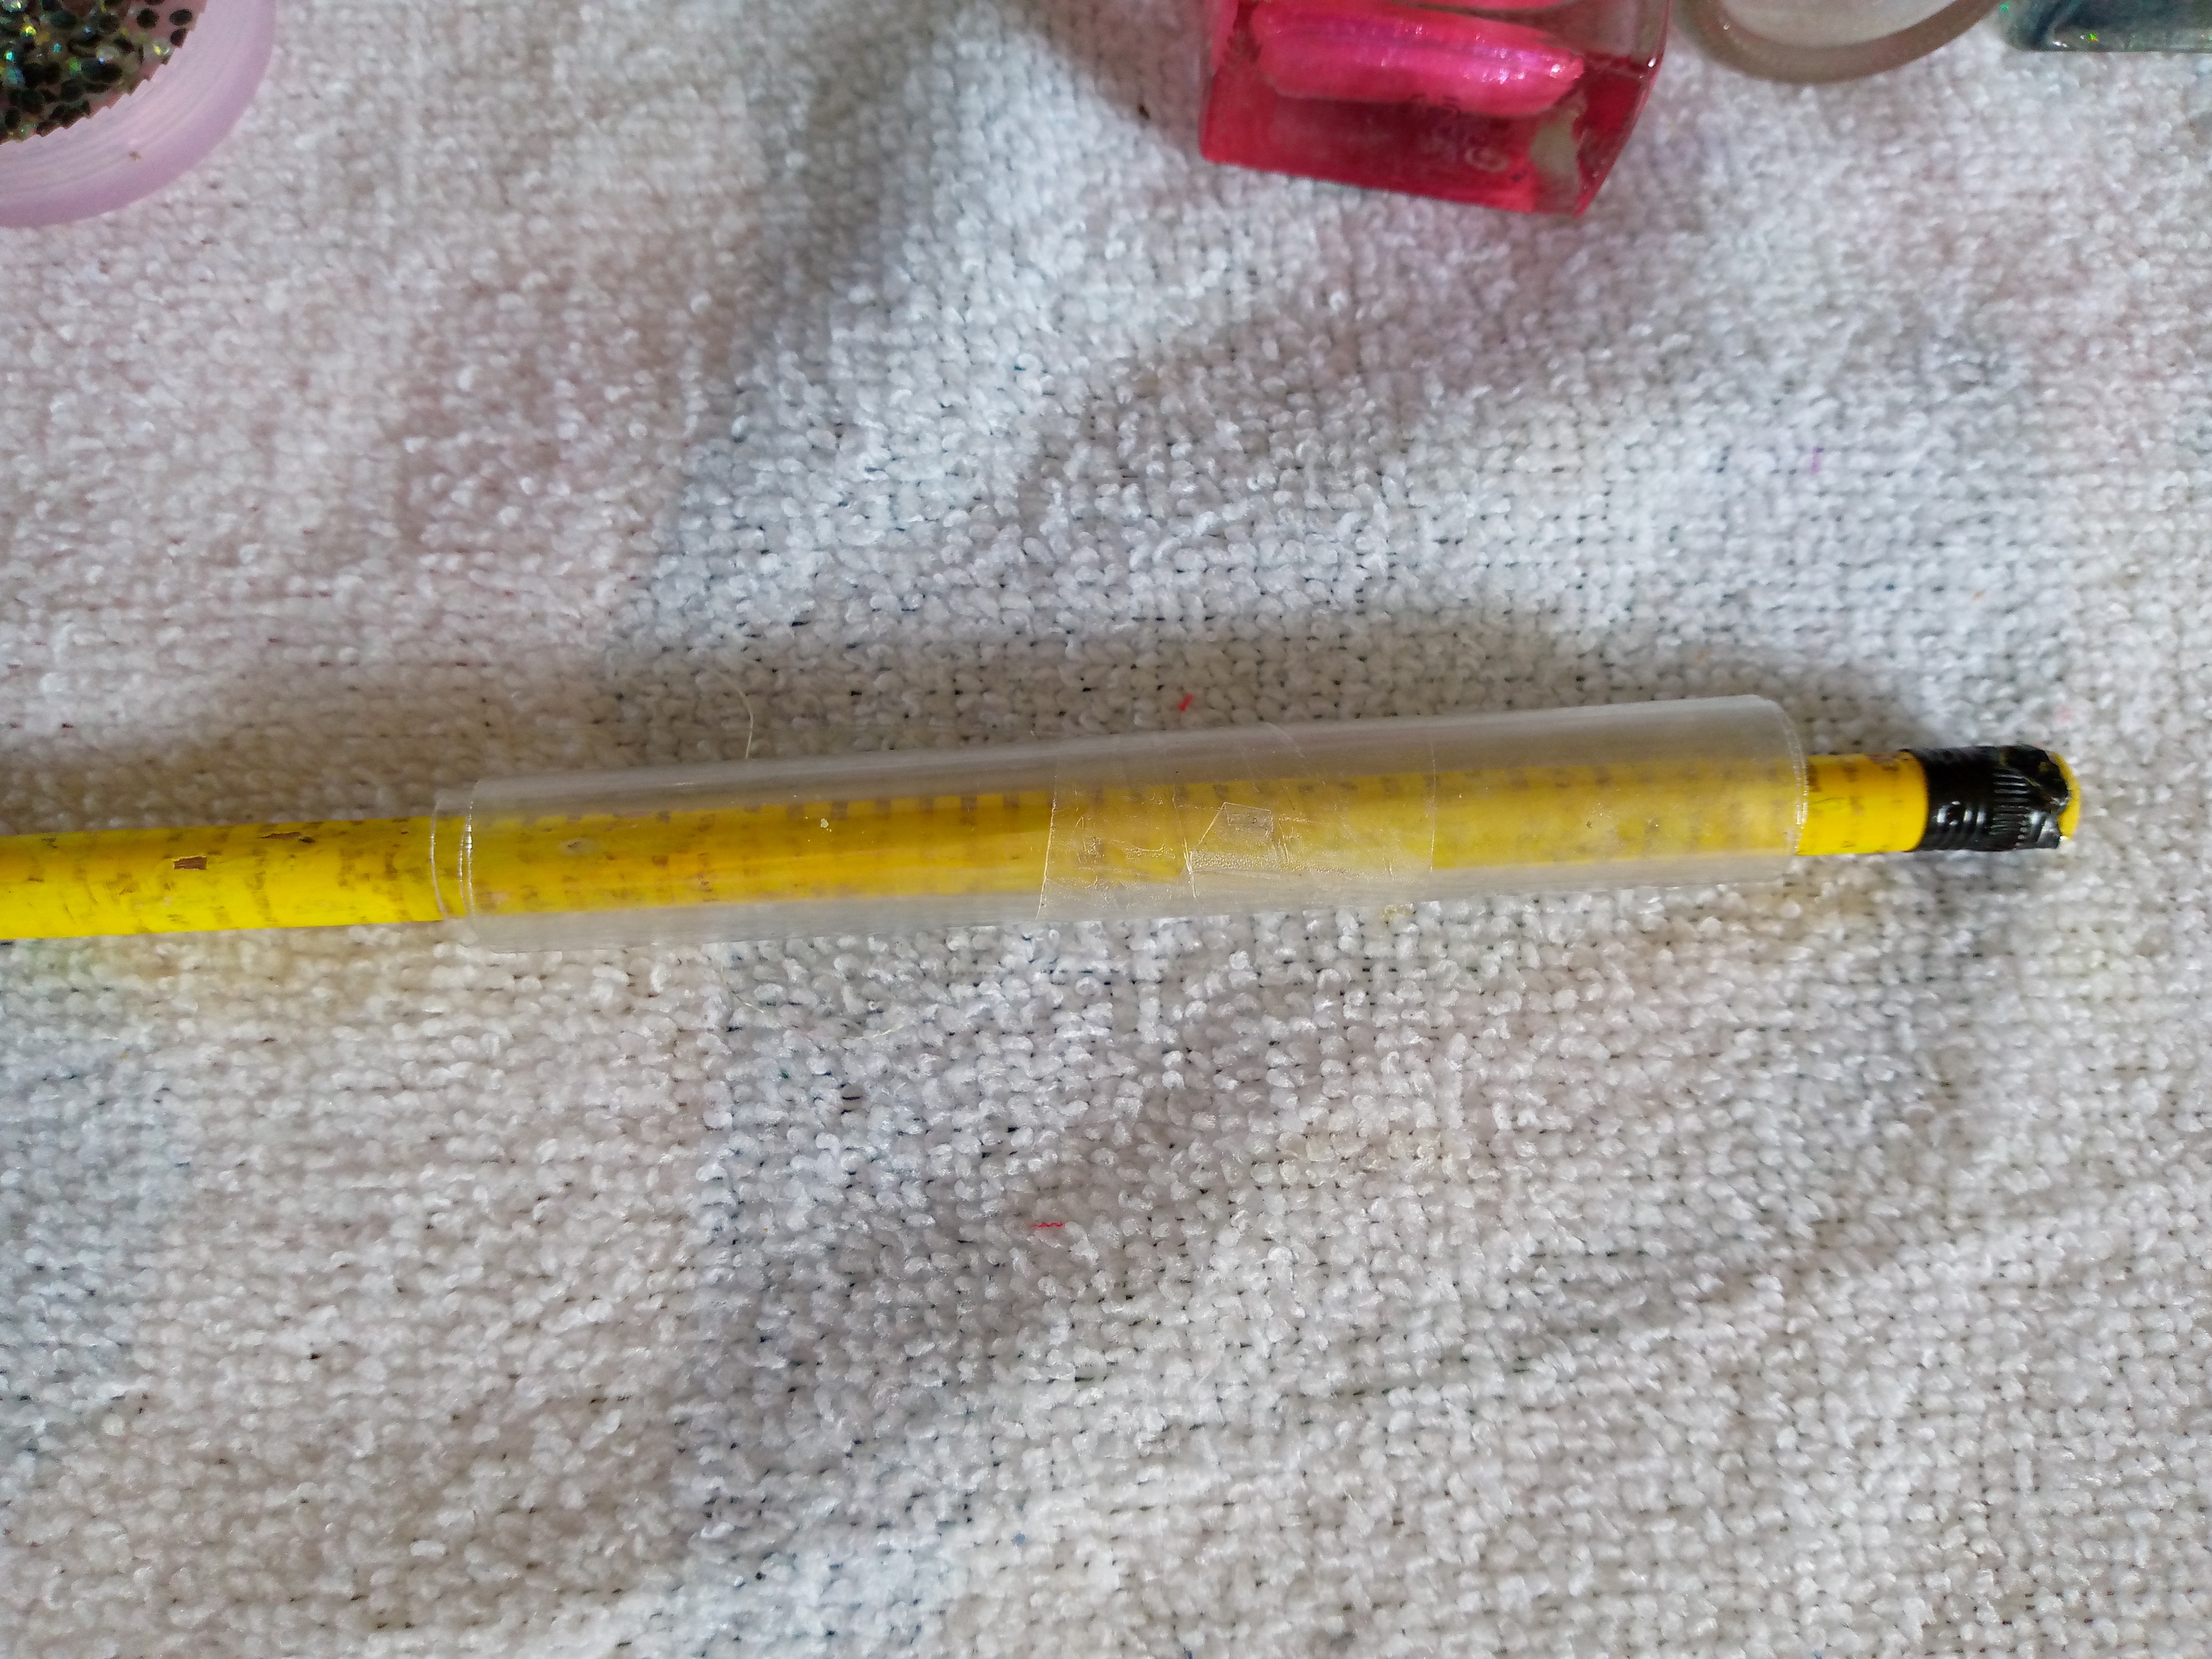
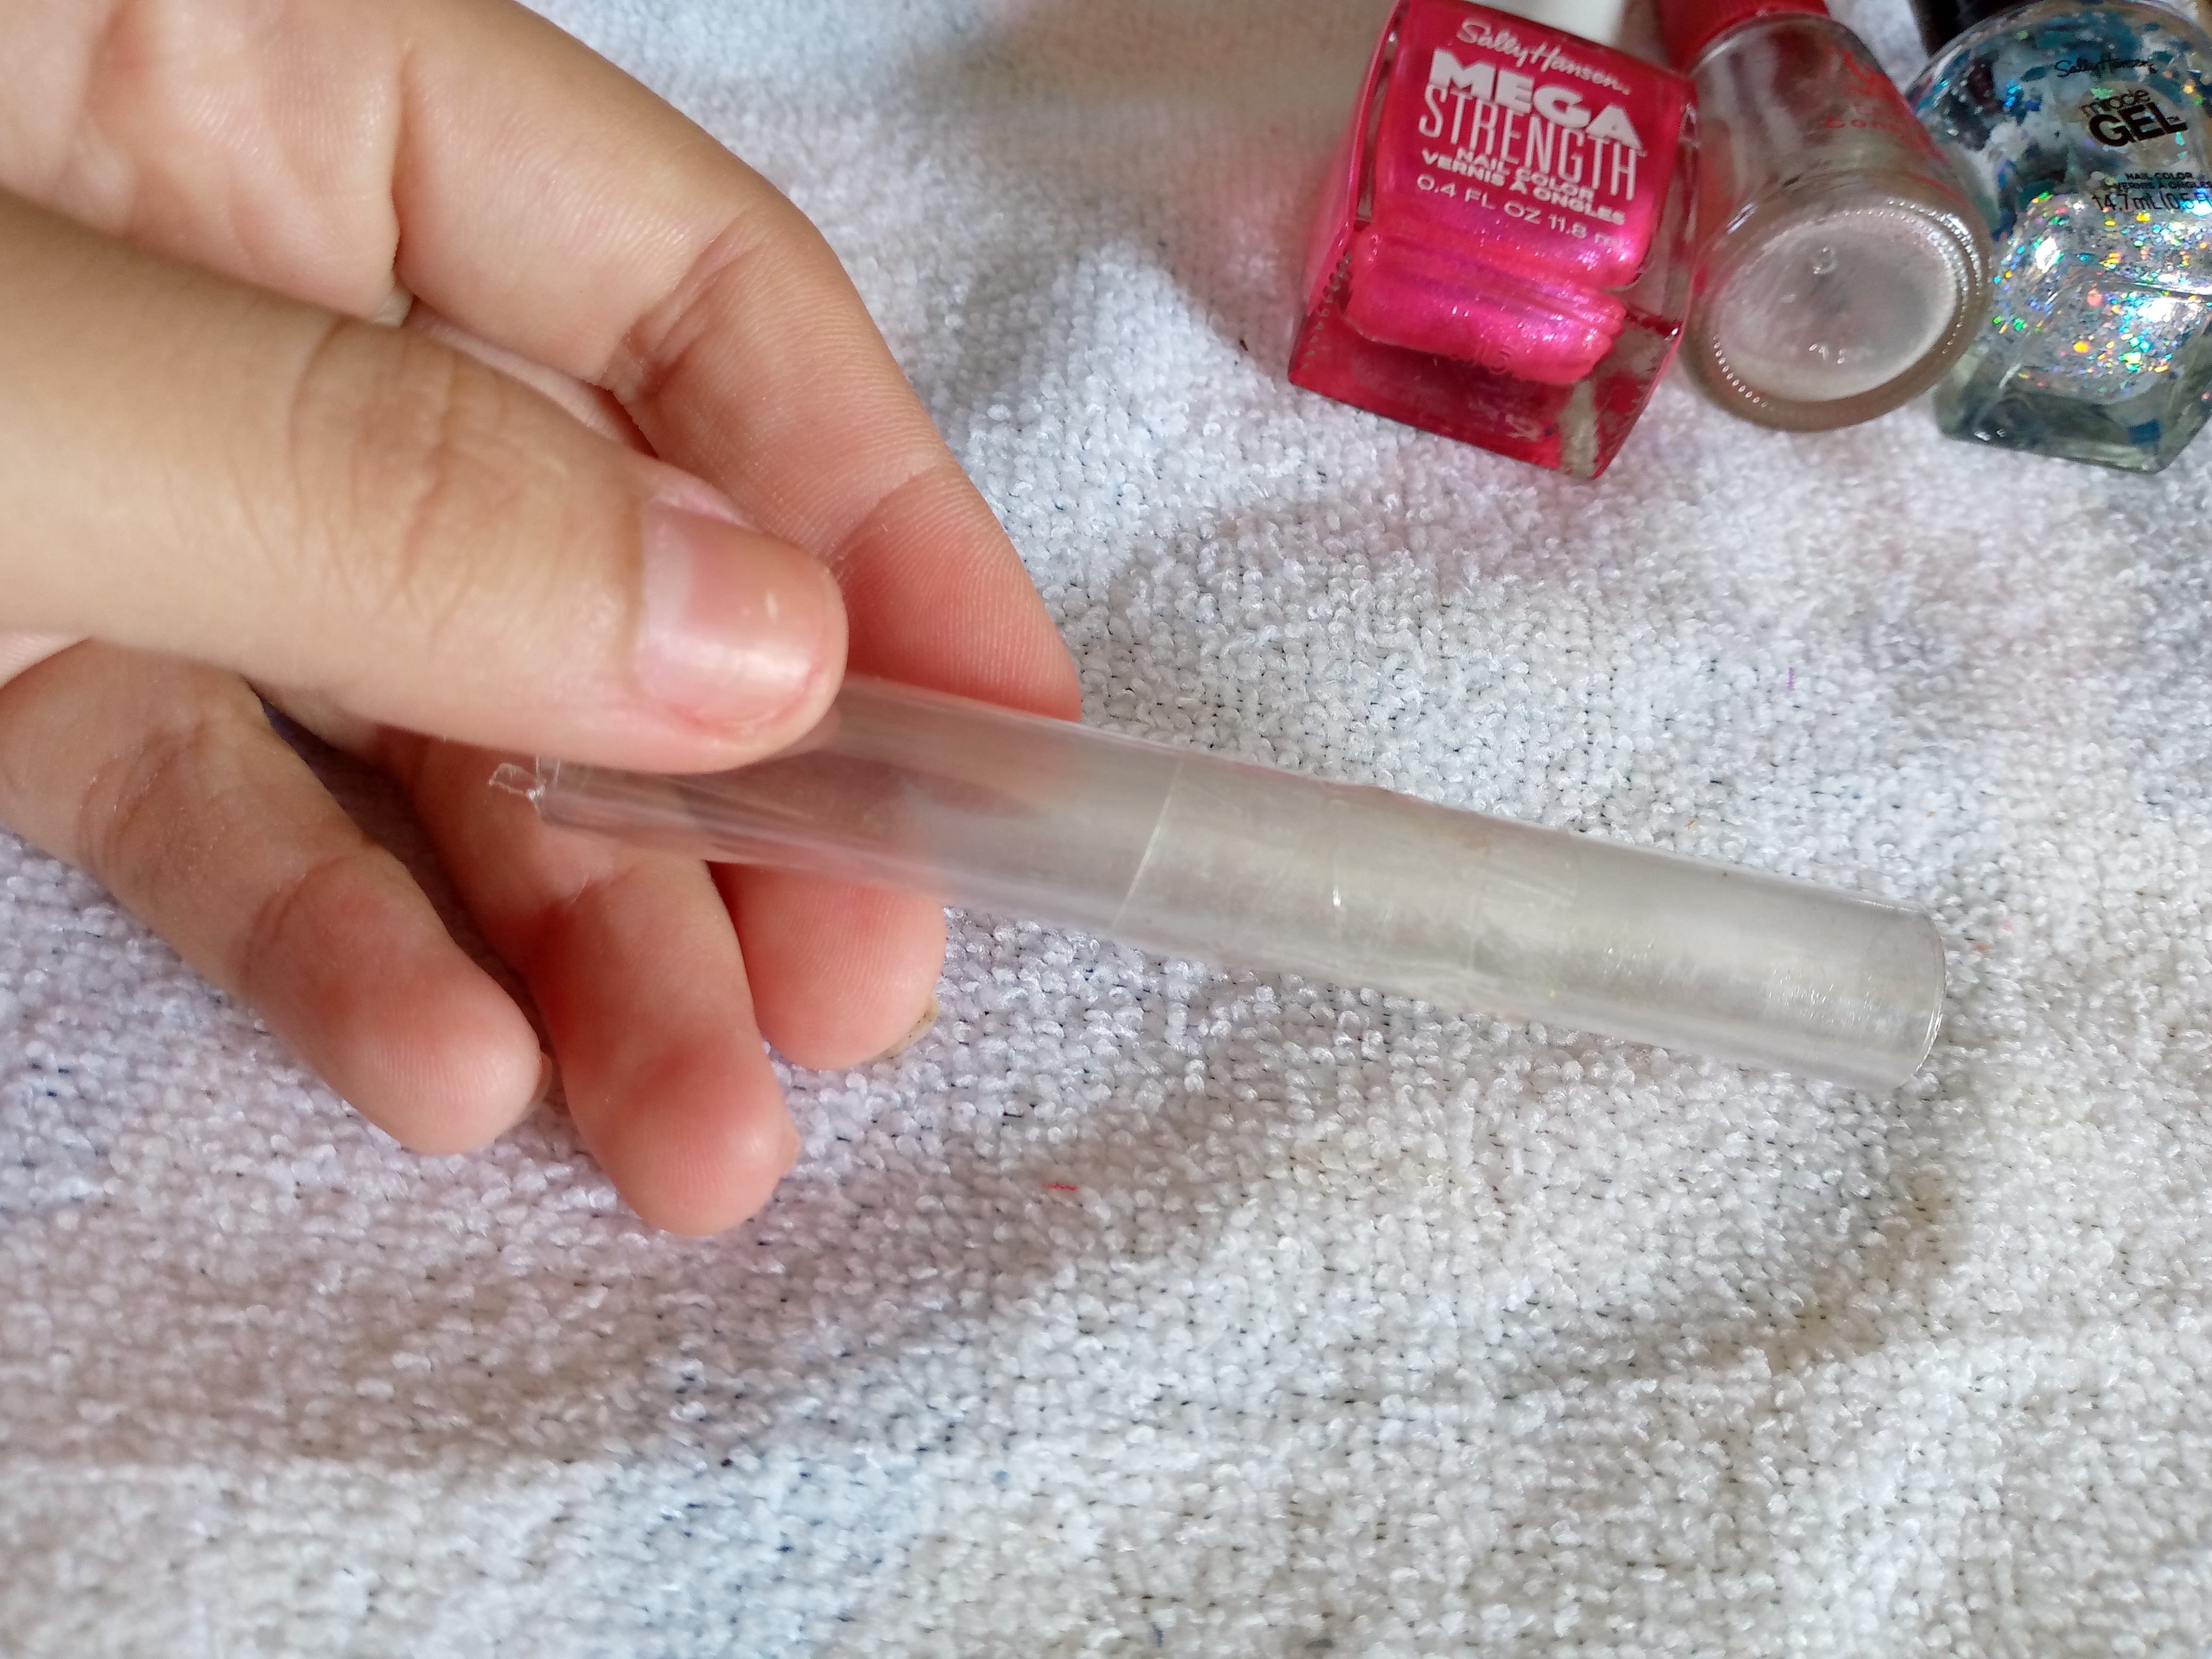
The first step will be to wrap or roll up our plastic on our pencil. Yes, we will roll the entire plastic around our pencil, then carefully and quickly use our adhesive tape so that it does not come loose. We will glue the end of the plastic that we have left. The plastic should be well rolled around the pencil and try to keep it from coming loose. We can wrap it two to three times with the adhesive tape.
Paso 02
Step 02
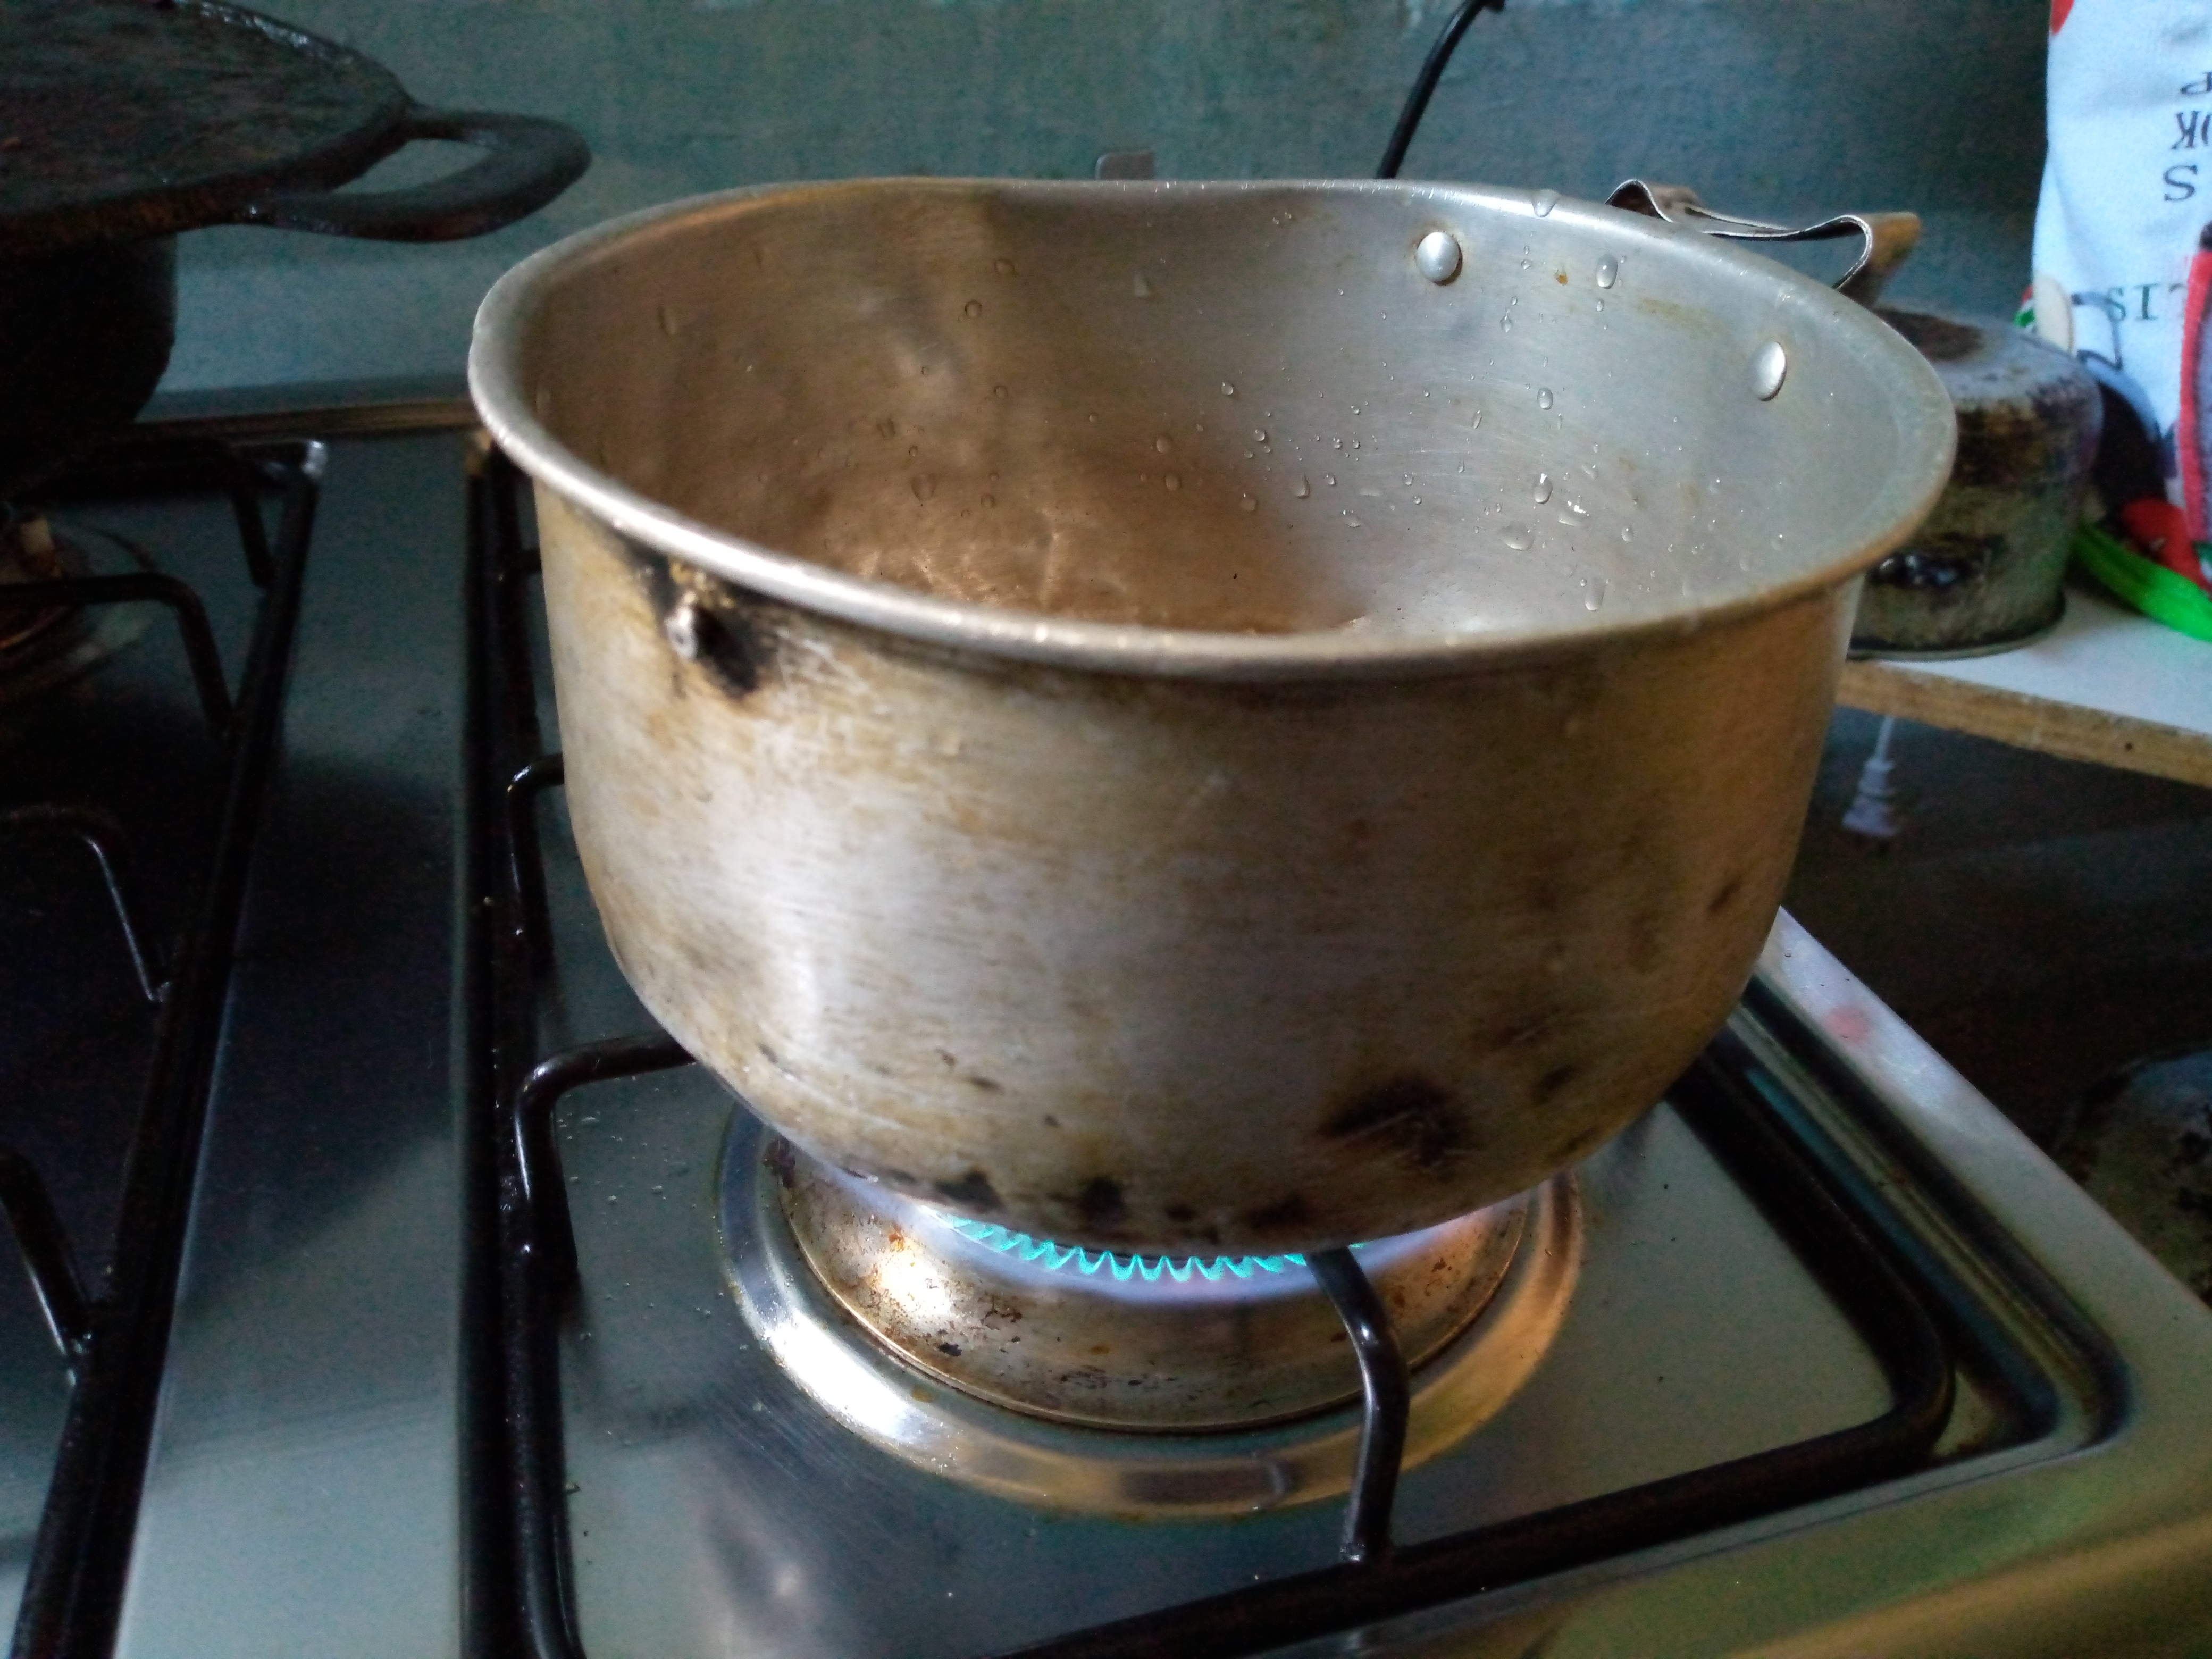
The next step we will do is boil a cup of our water in a pot in our kitchen, when our water is boiling or bubbling it means that it is ready to submerge our rolled plastic, we take out the pencil and insert it there in the pot, we lower the heat a little and let it boil for seconds, meanwhile in a cup of water we add the water there to remove our plastic and submerge it in it, it is important that this water is cold, what you can do is put the water to cool before boiling the plastic or simply grab and pour cold water from our refrigerator, that easy friends, then we see how our plastic reduced a little in size, we do this so that it takes the shape of the pencil, that is, that round shape that our false nails have.
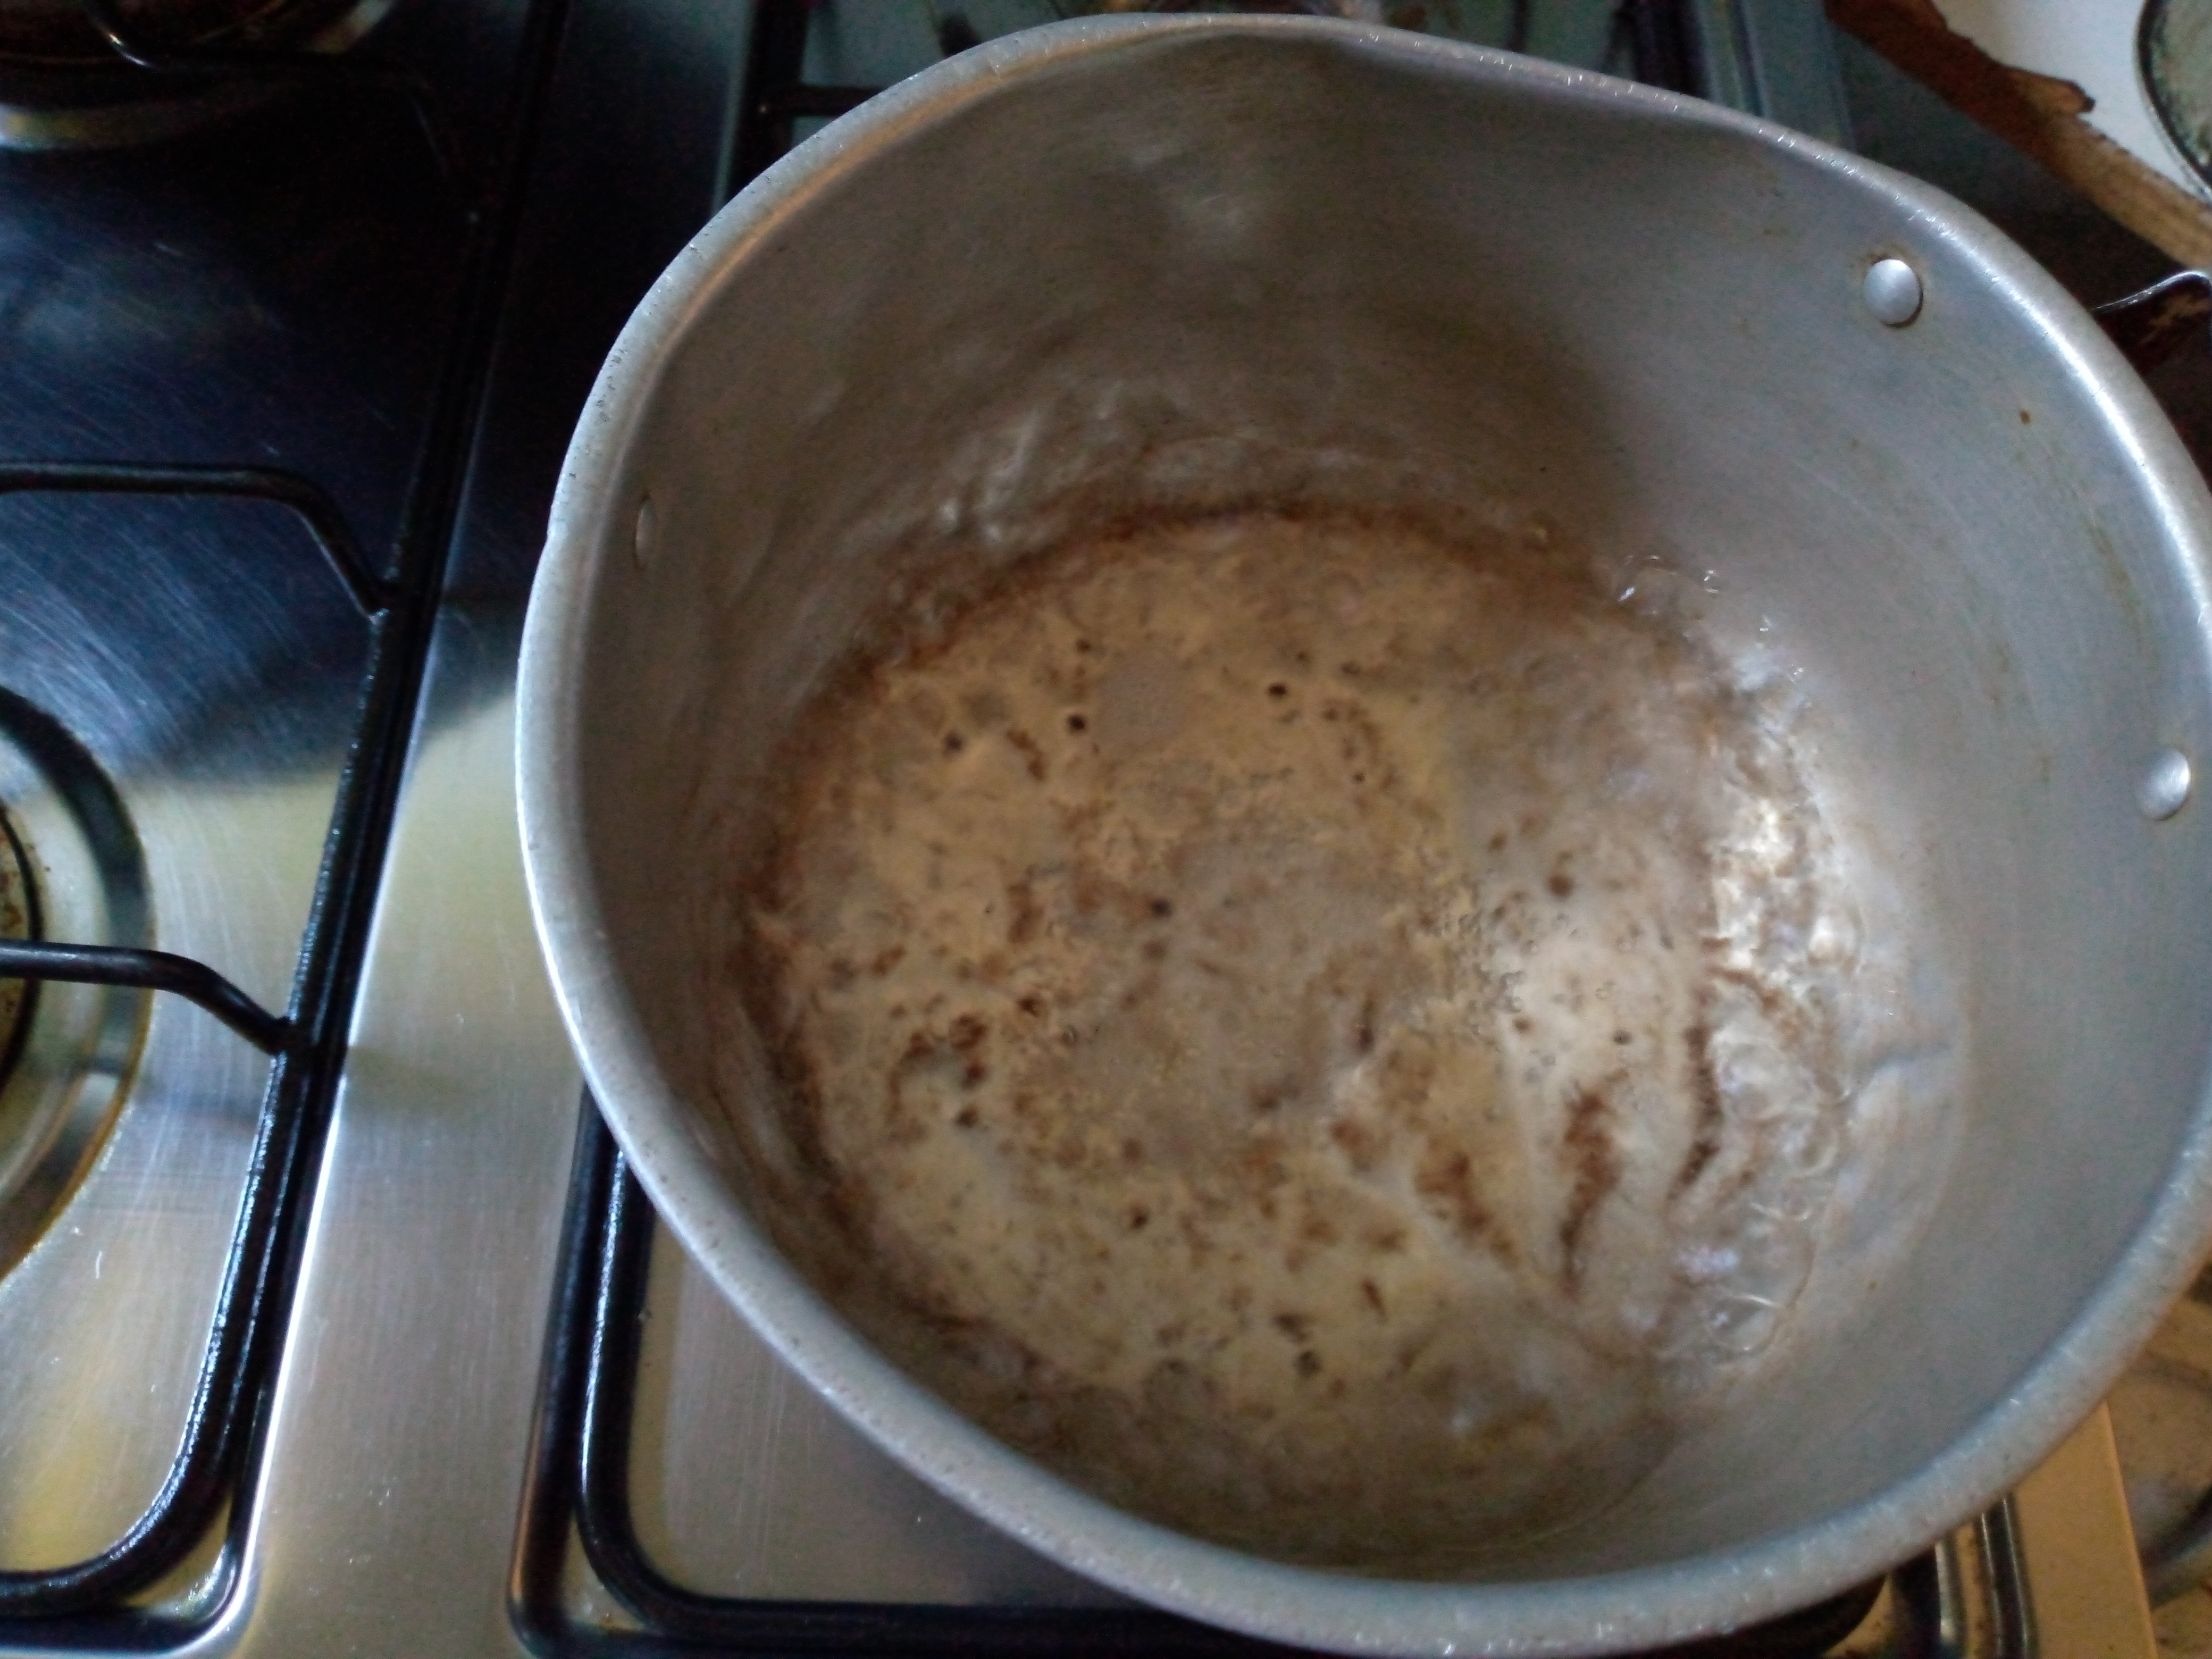
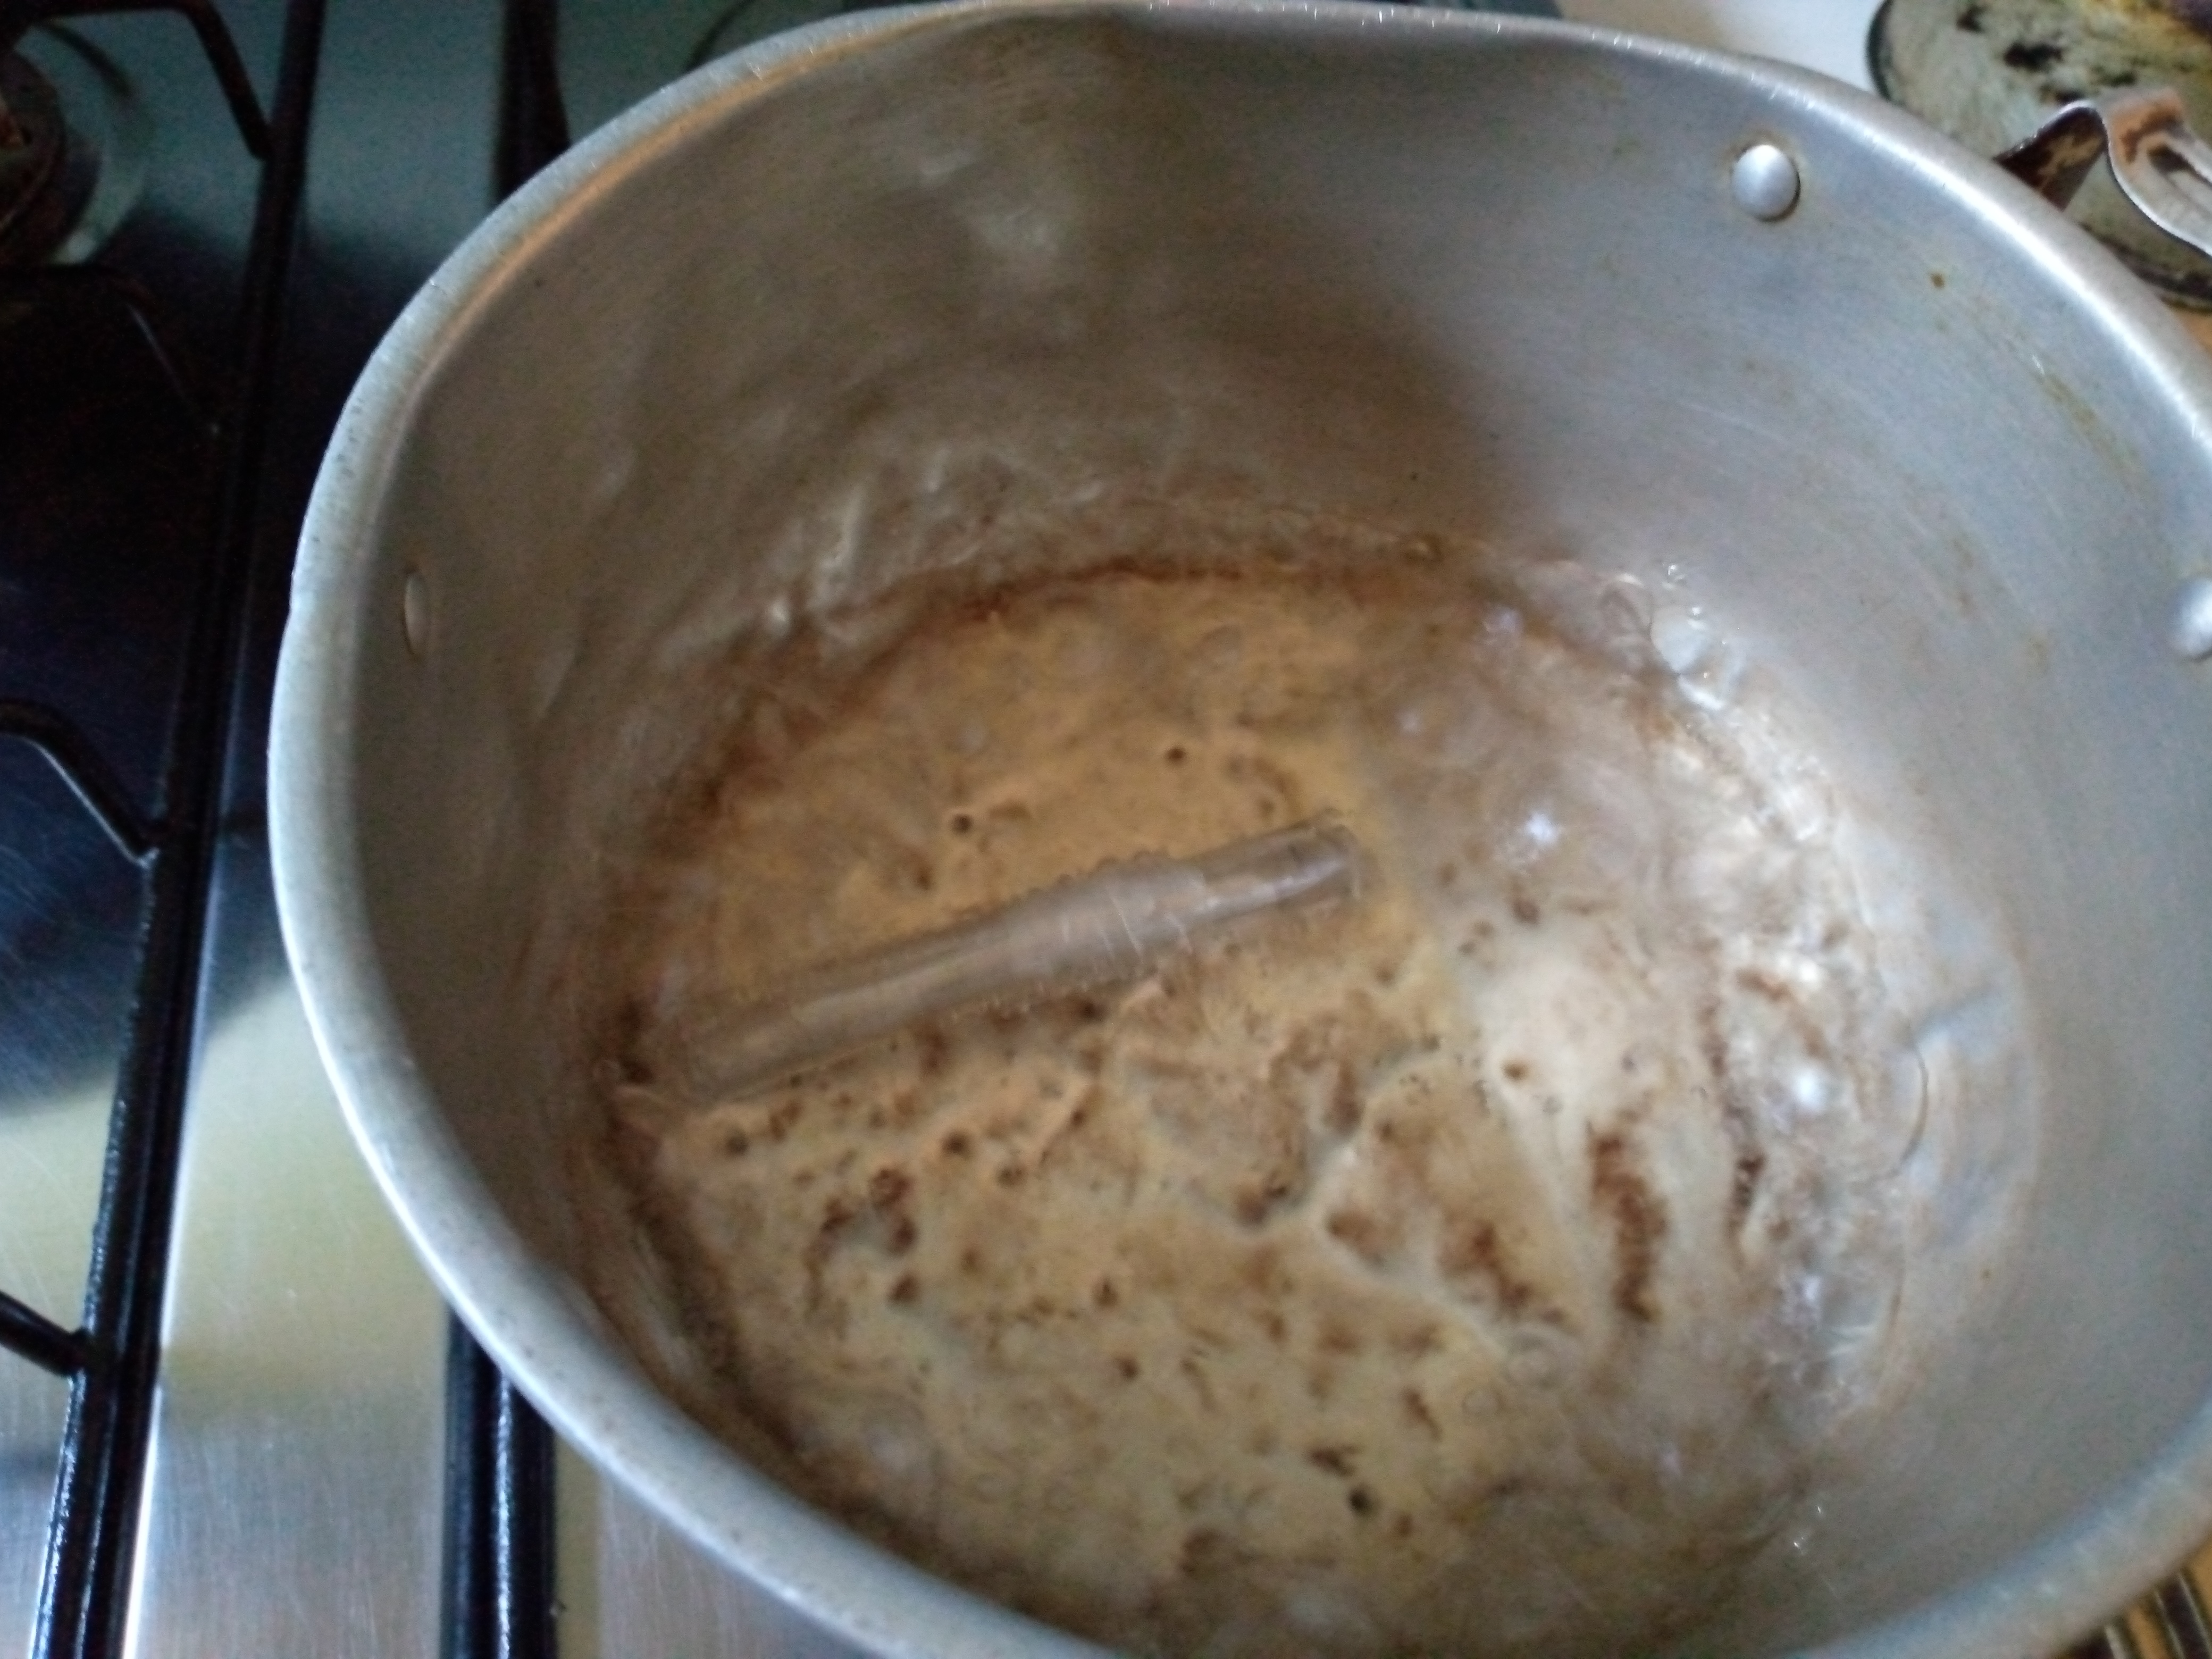
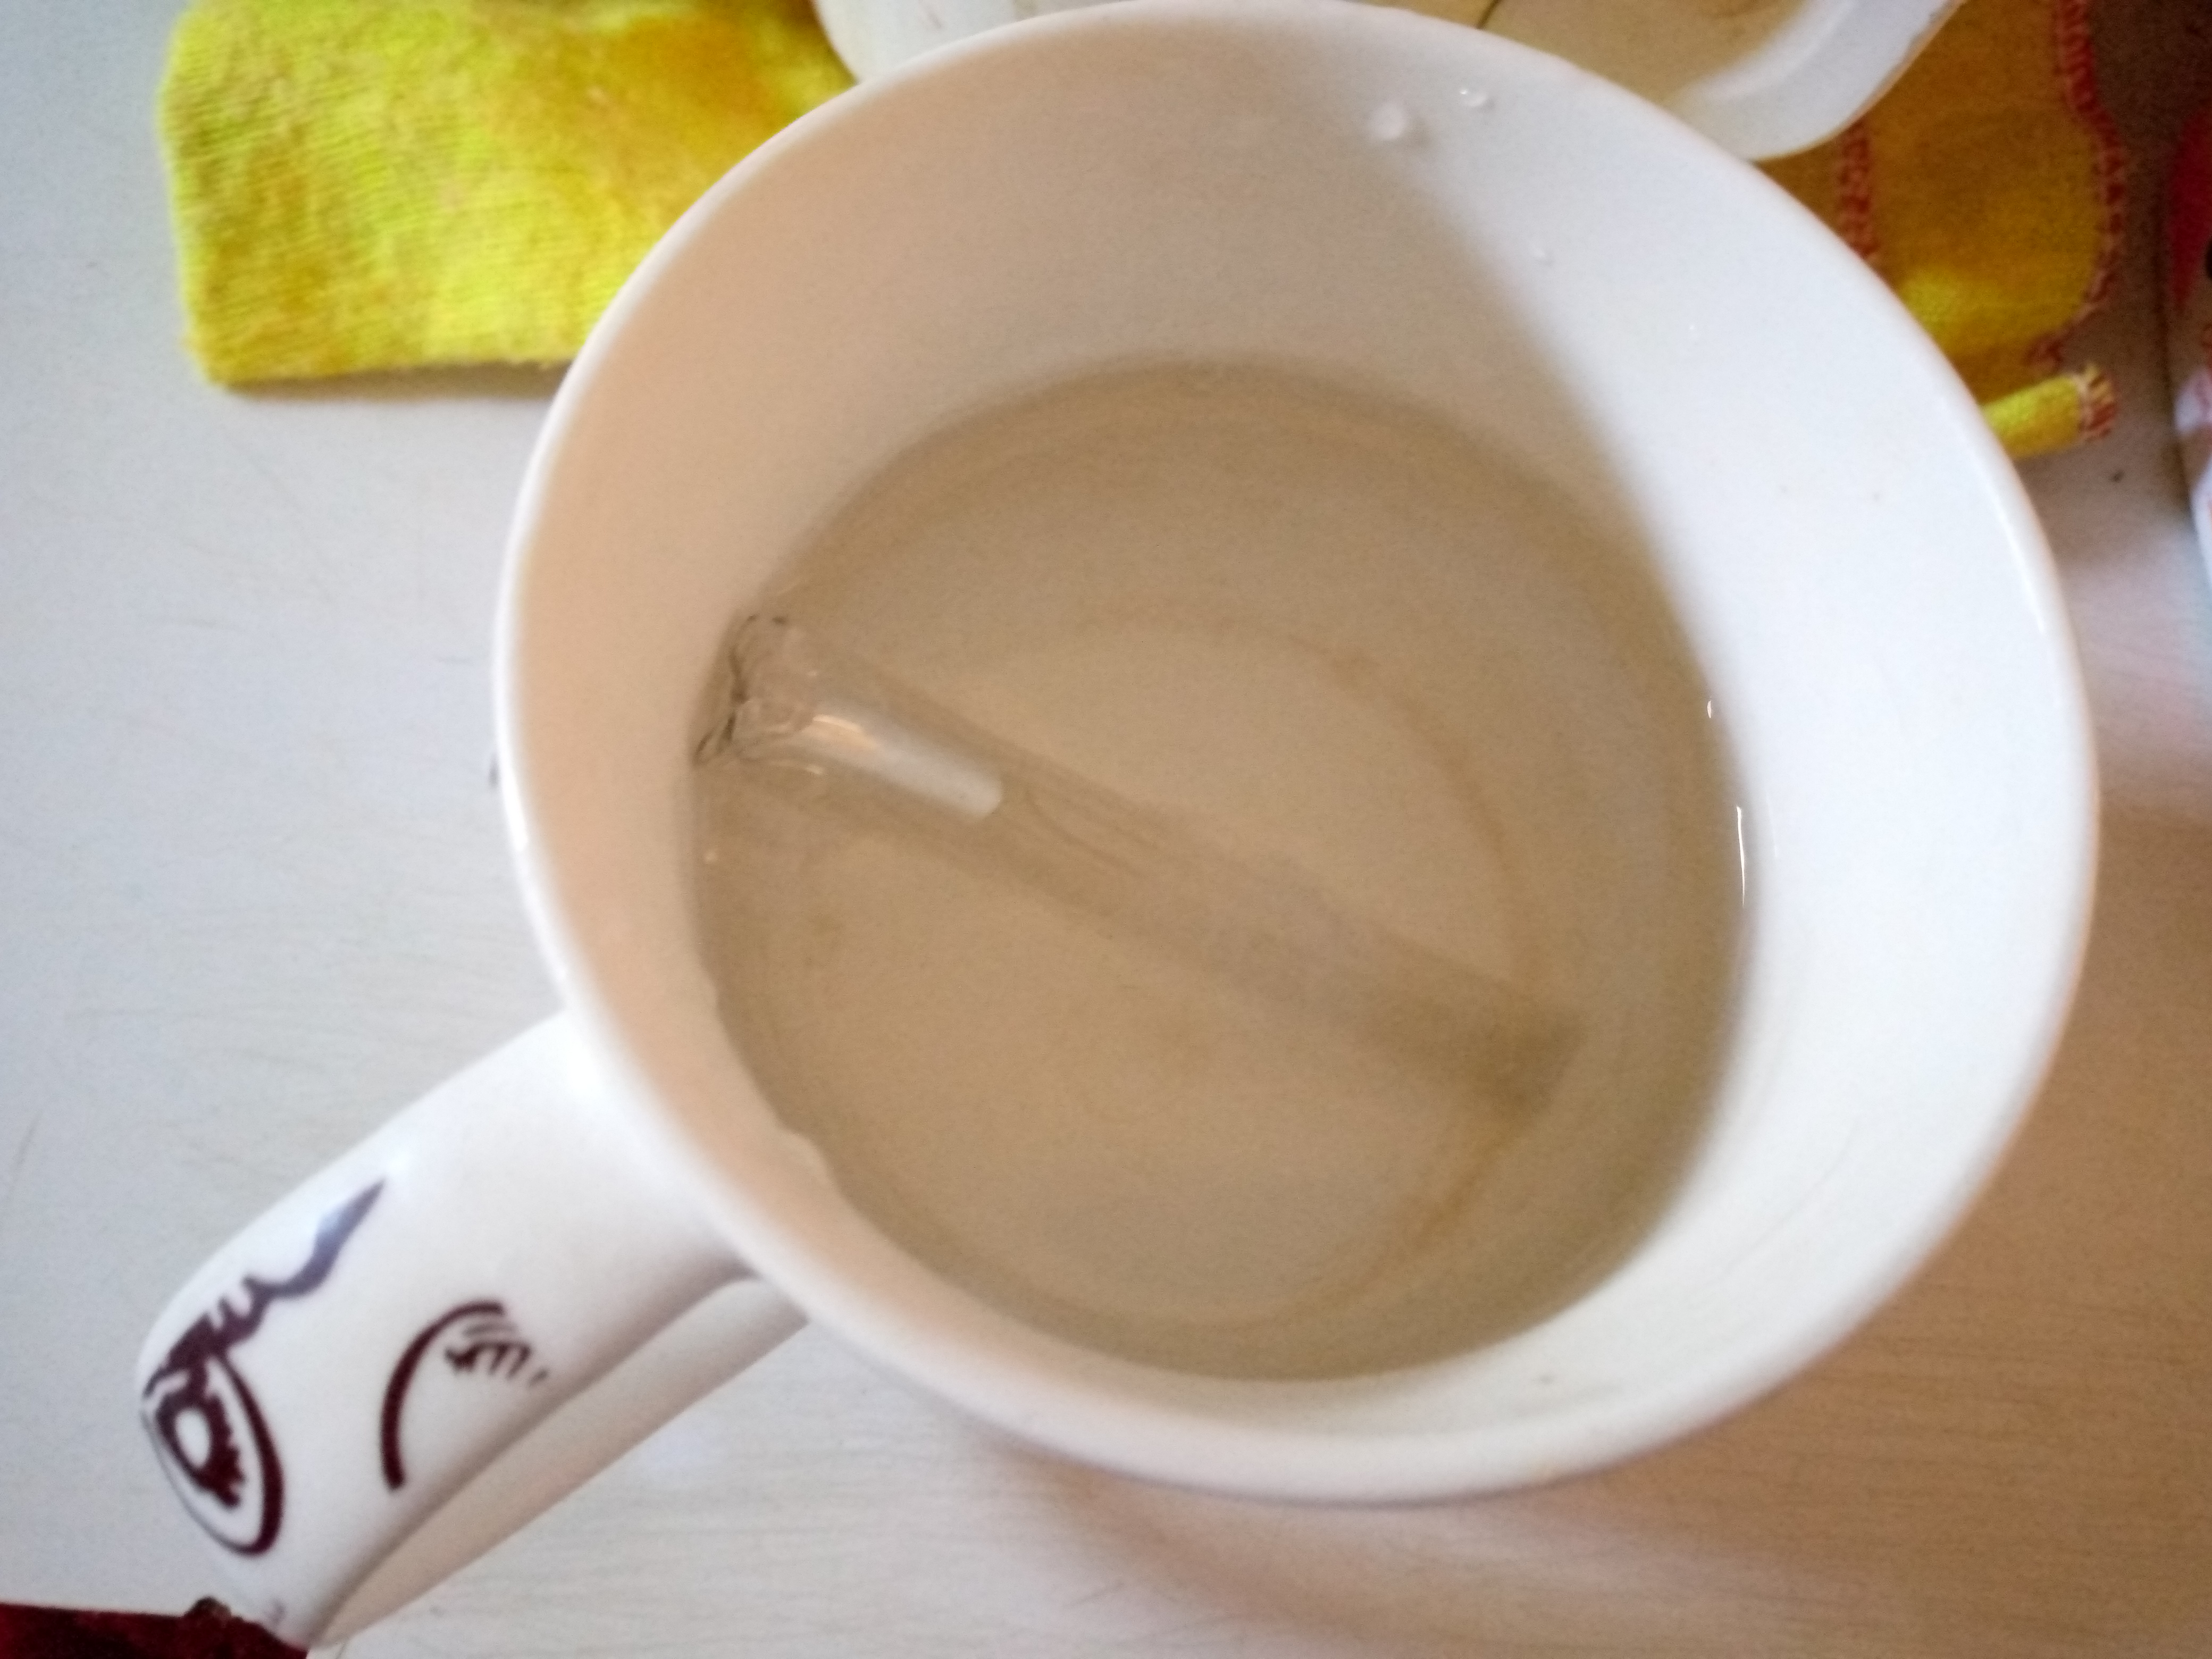

Paso 03
Step 03
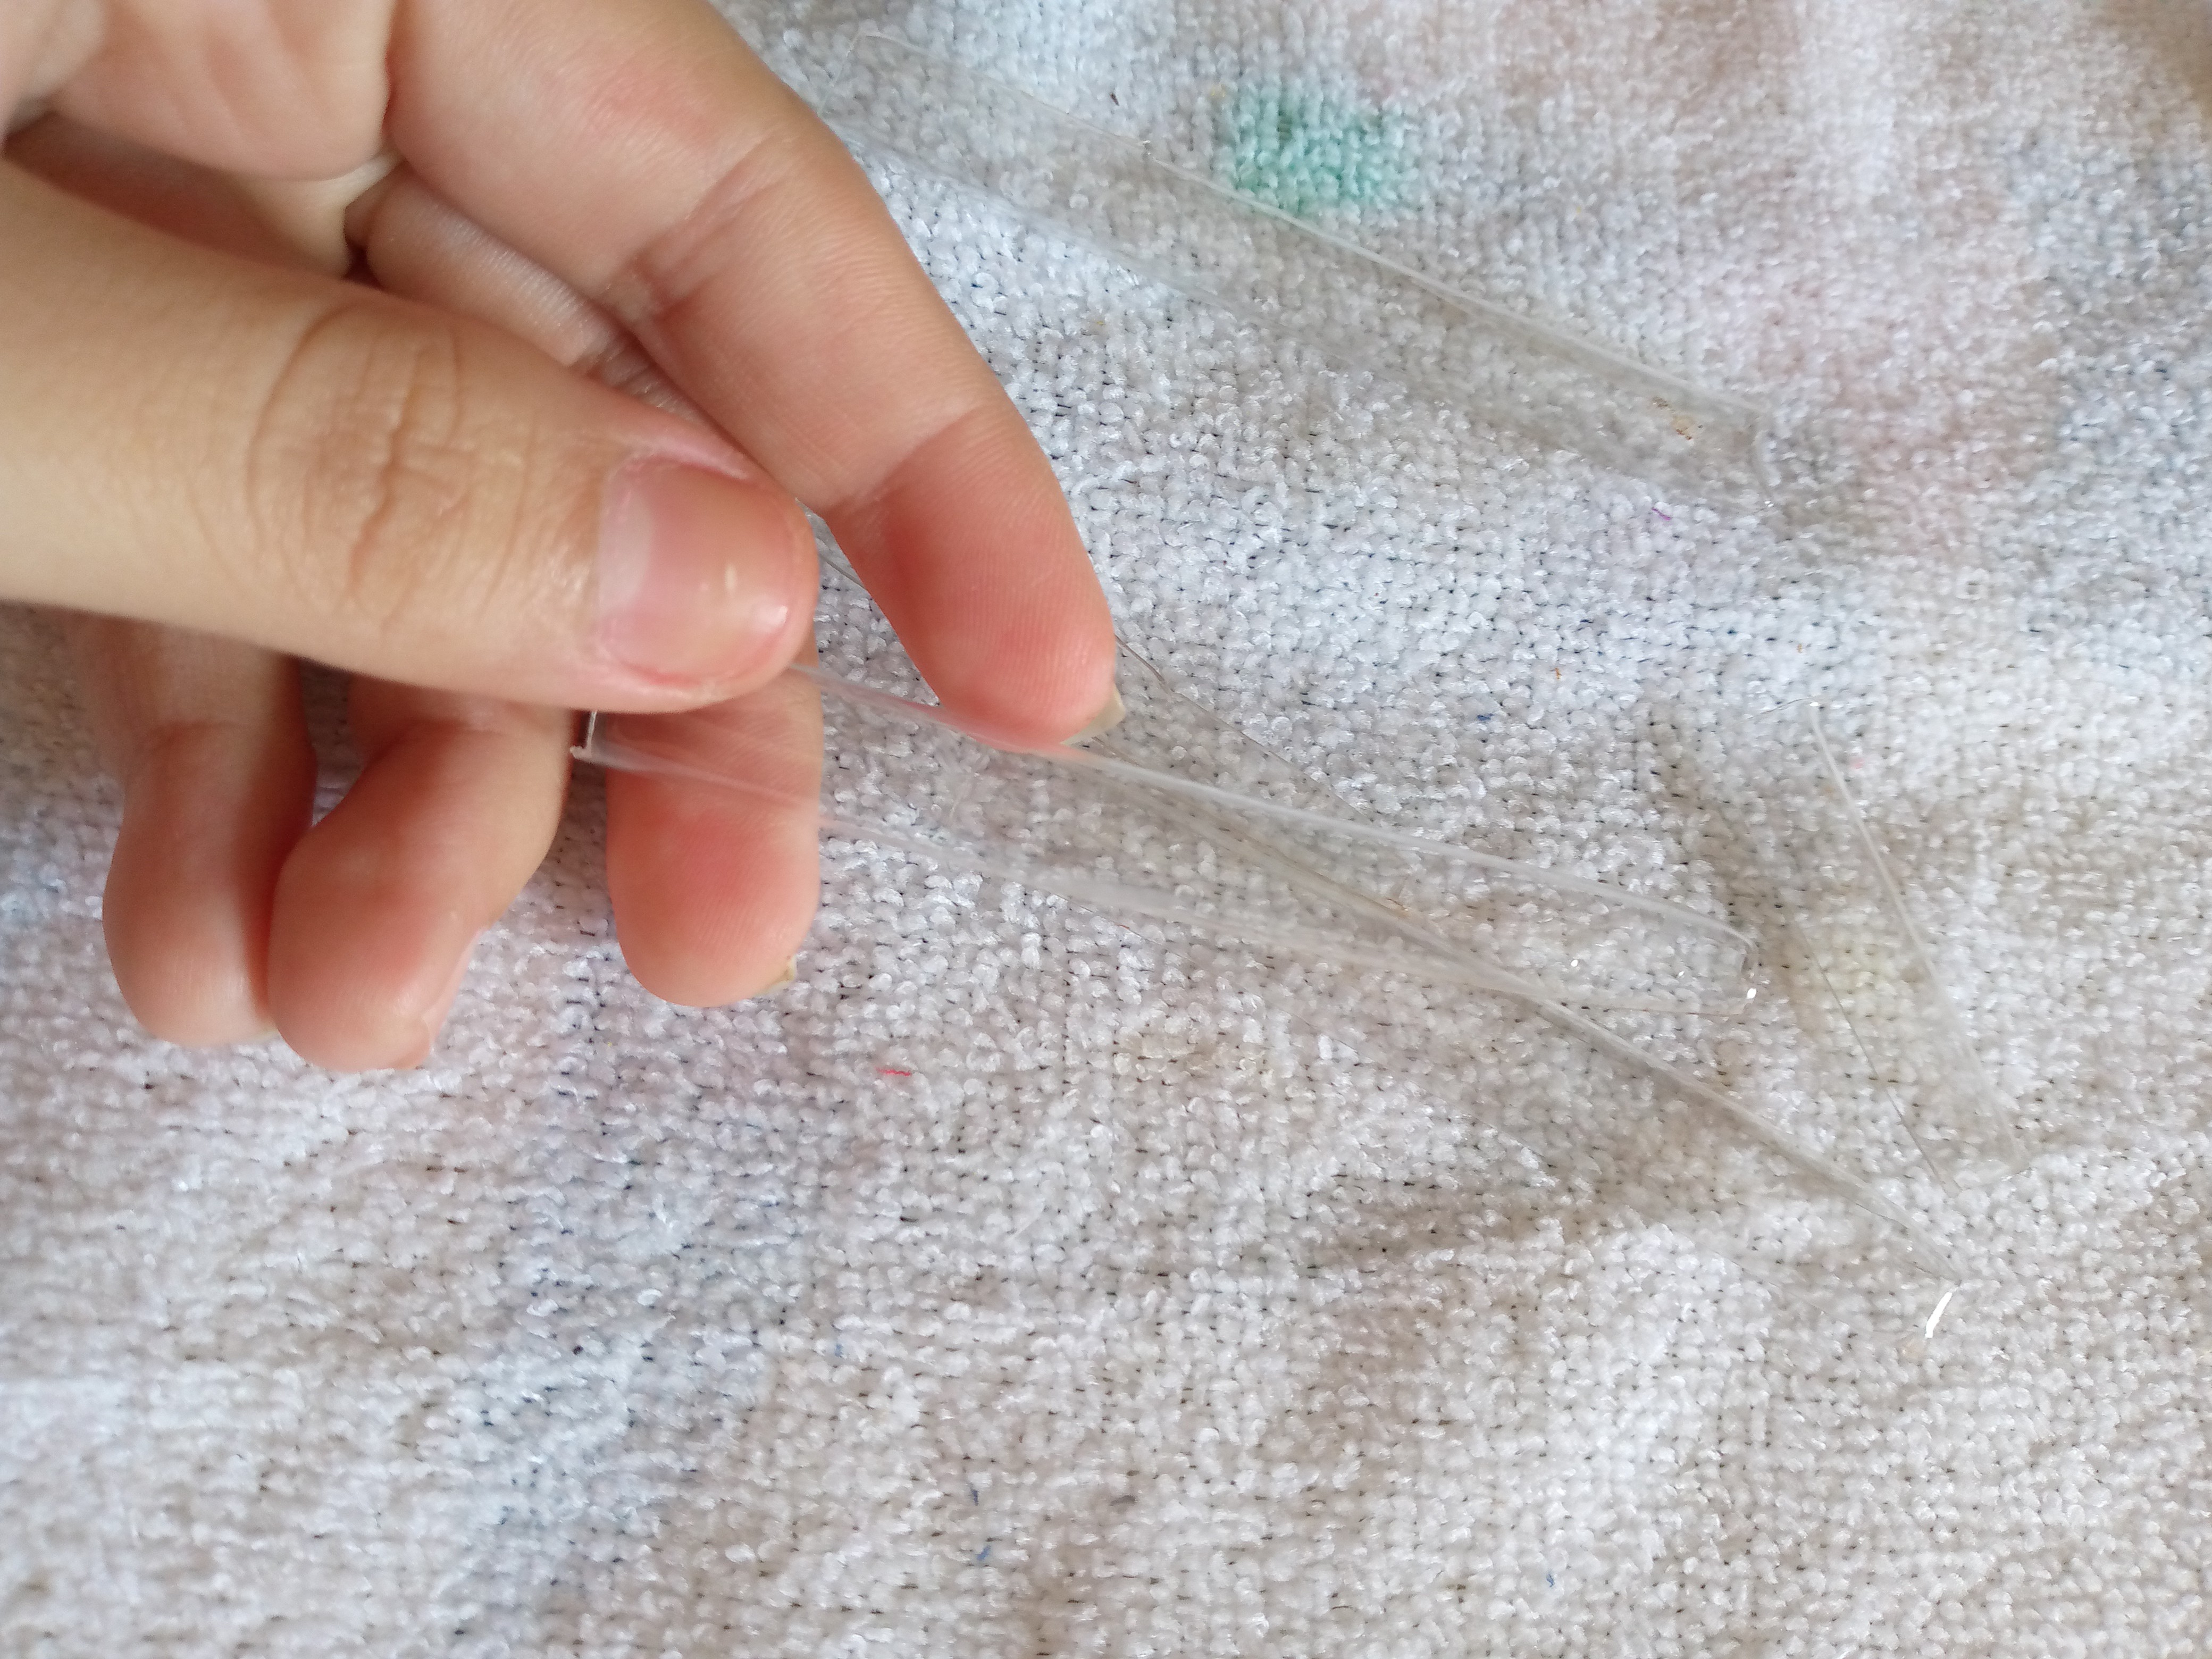
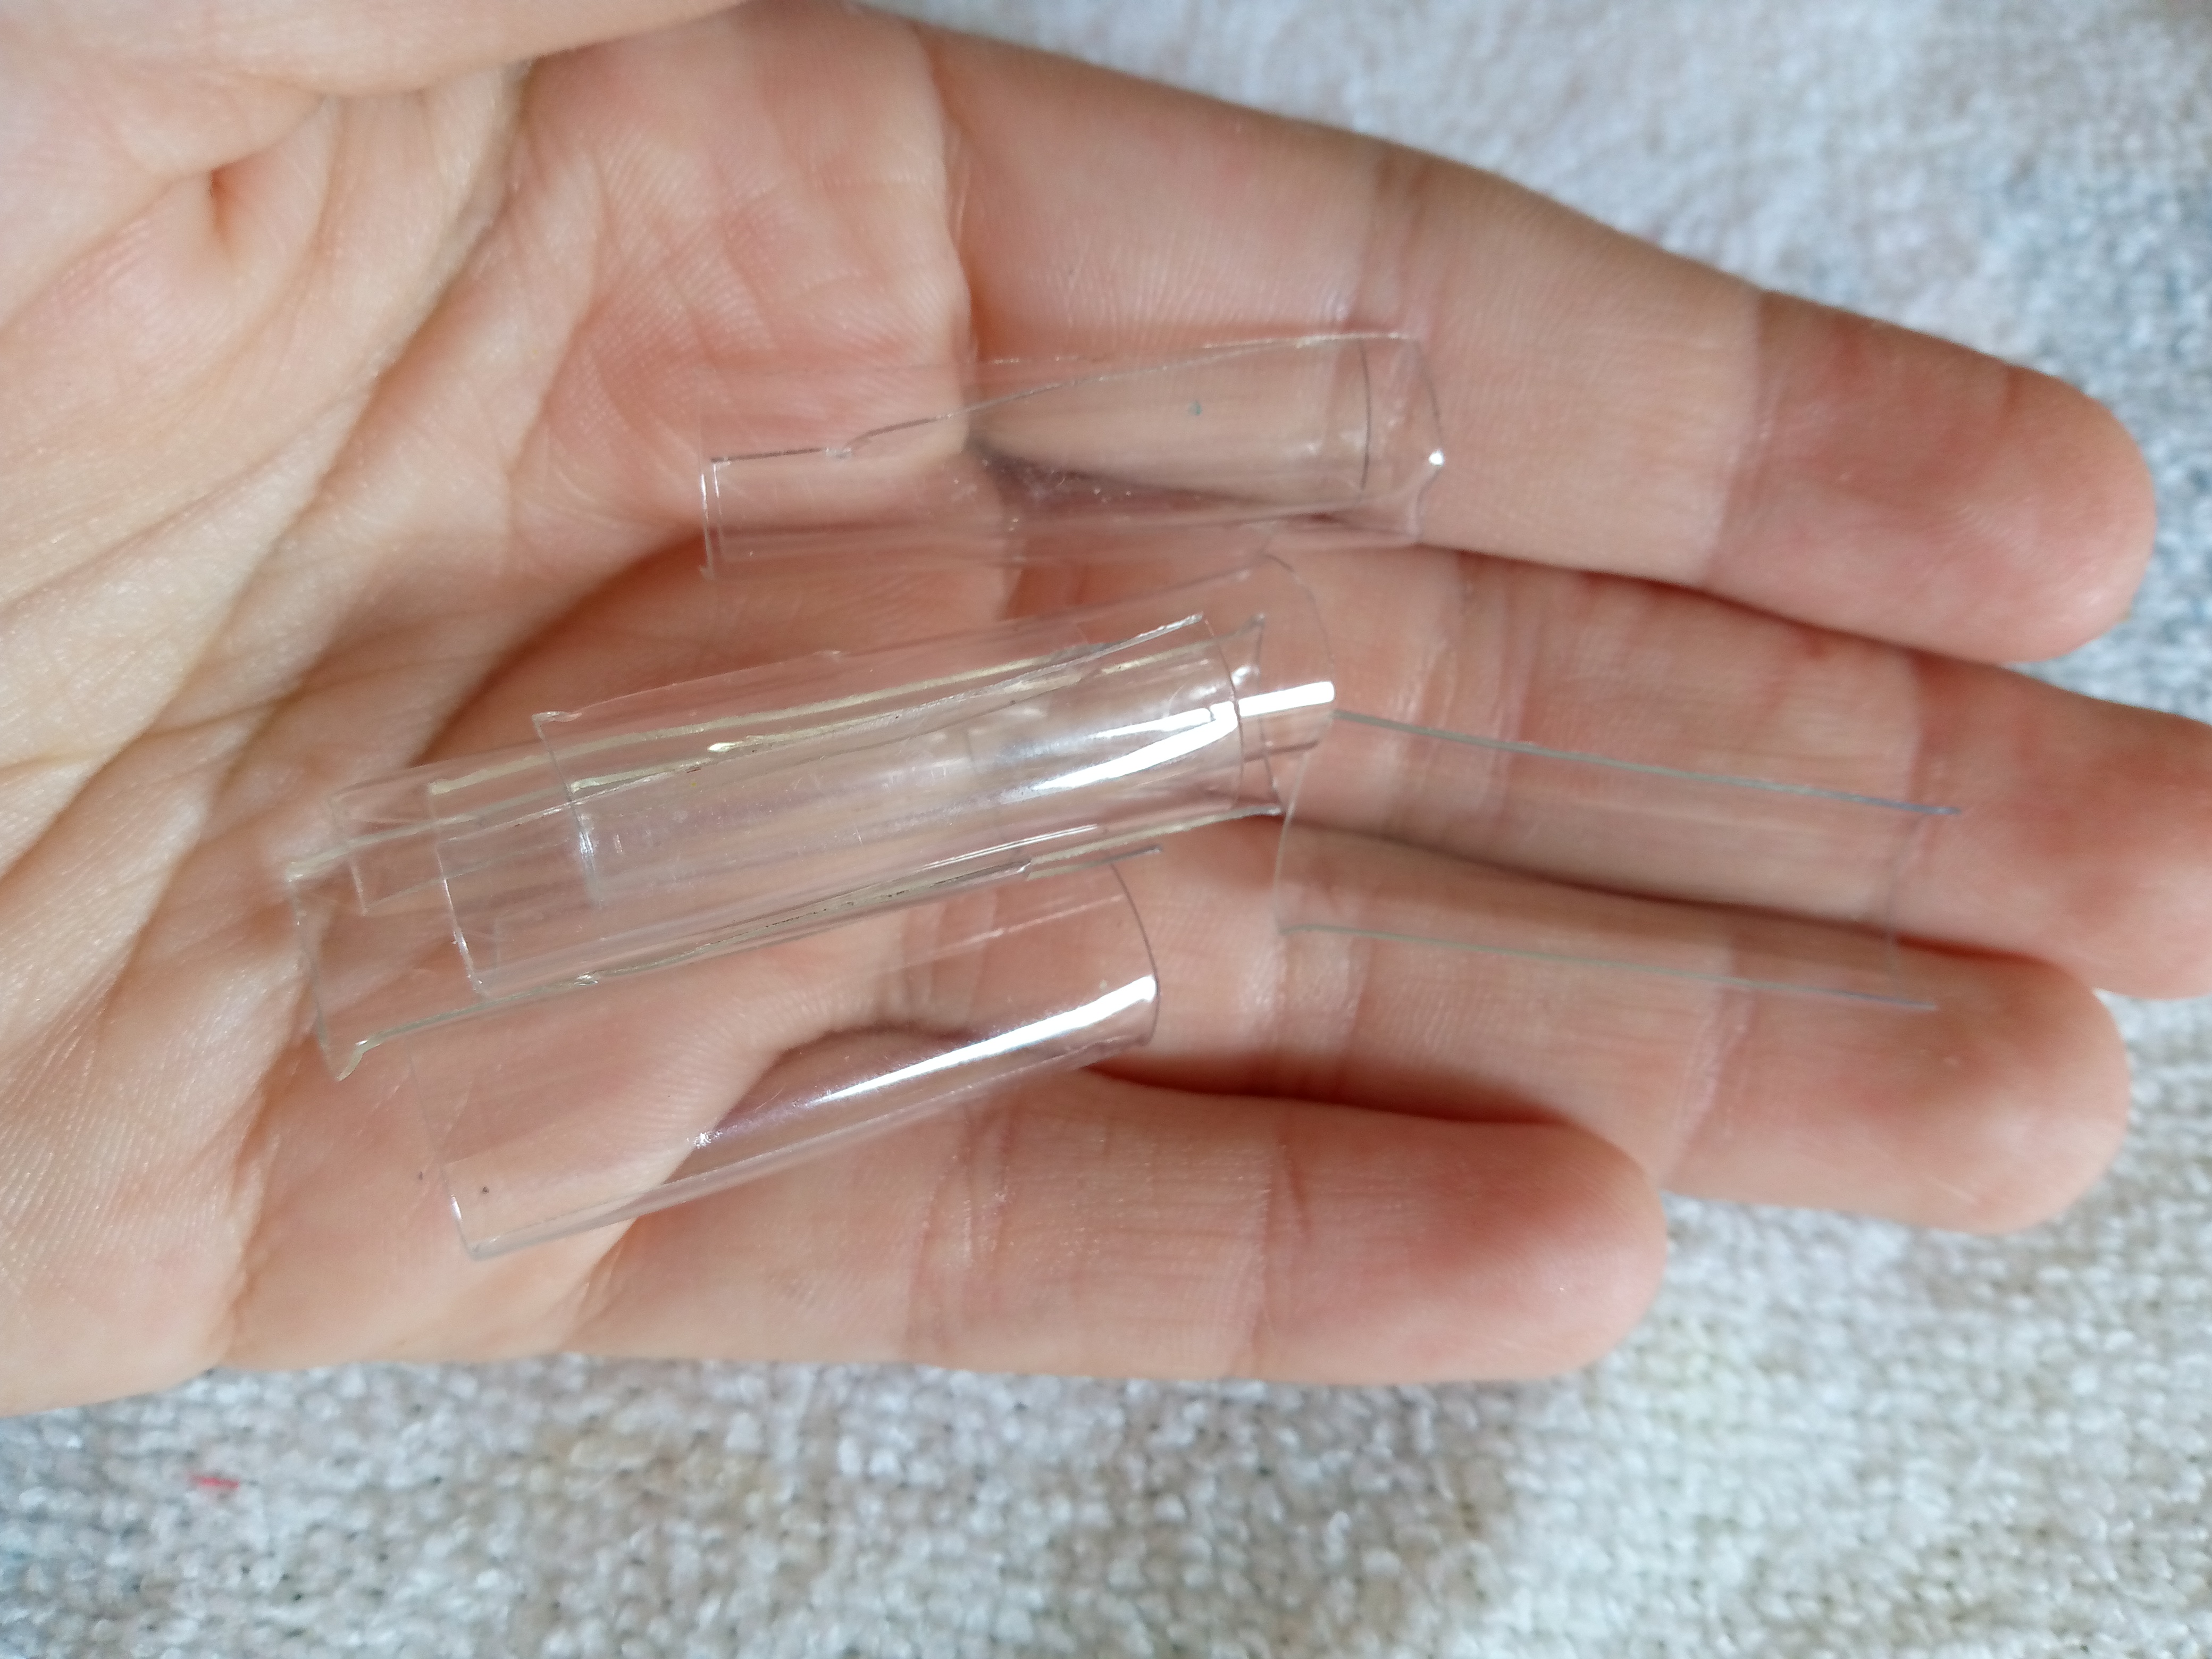
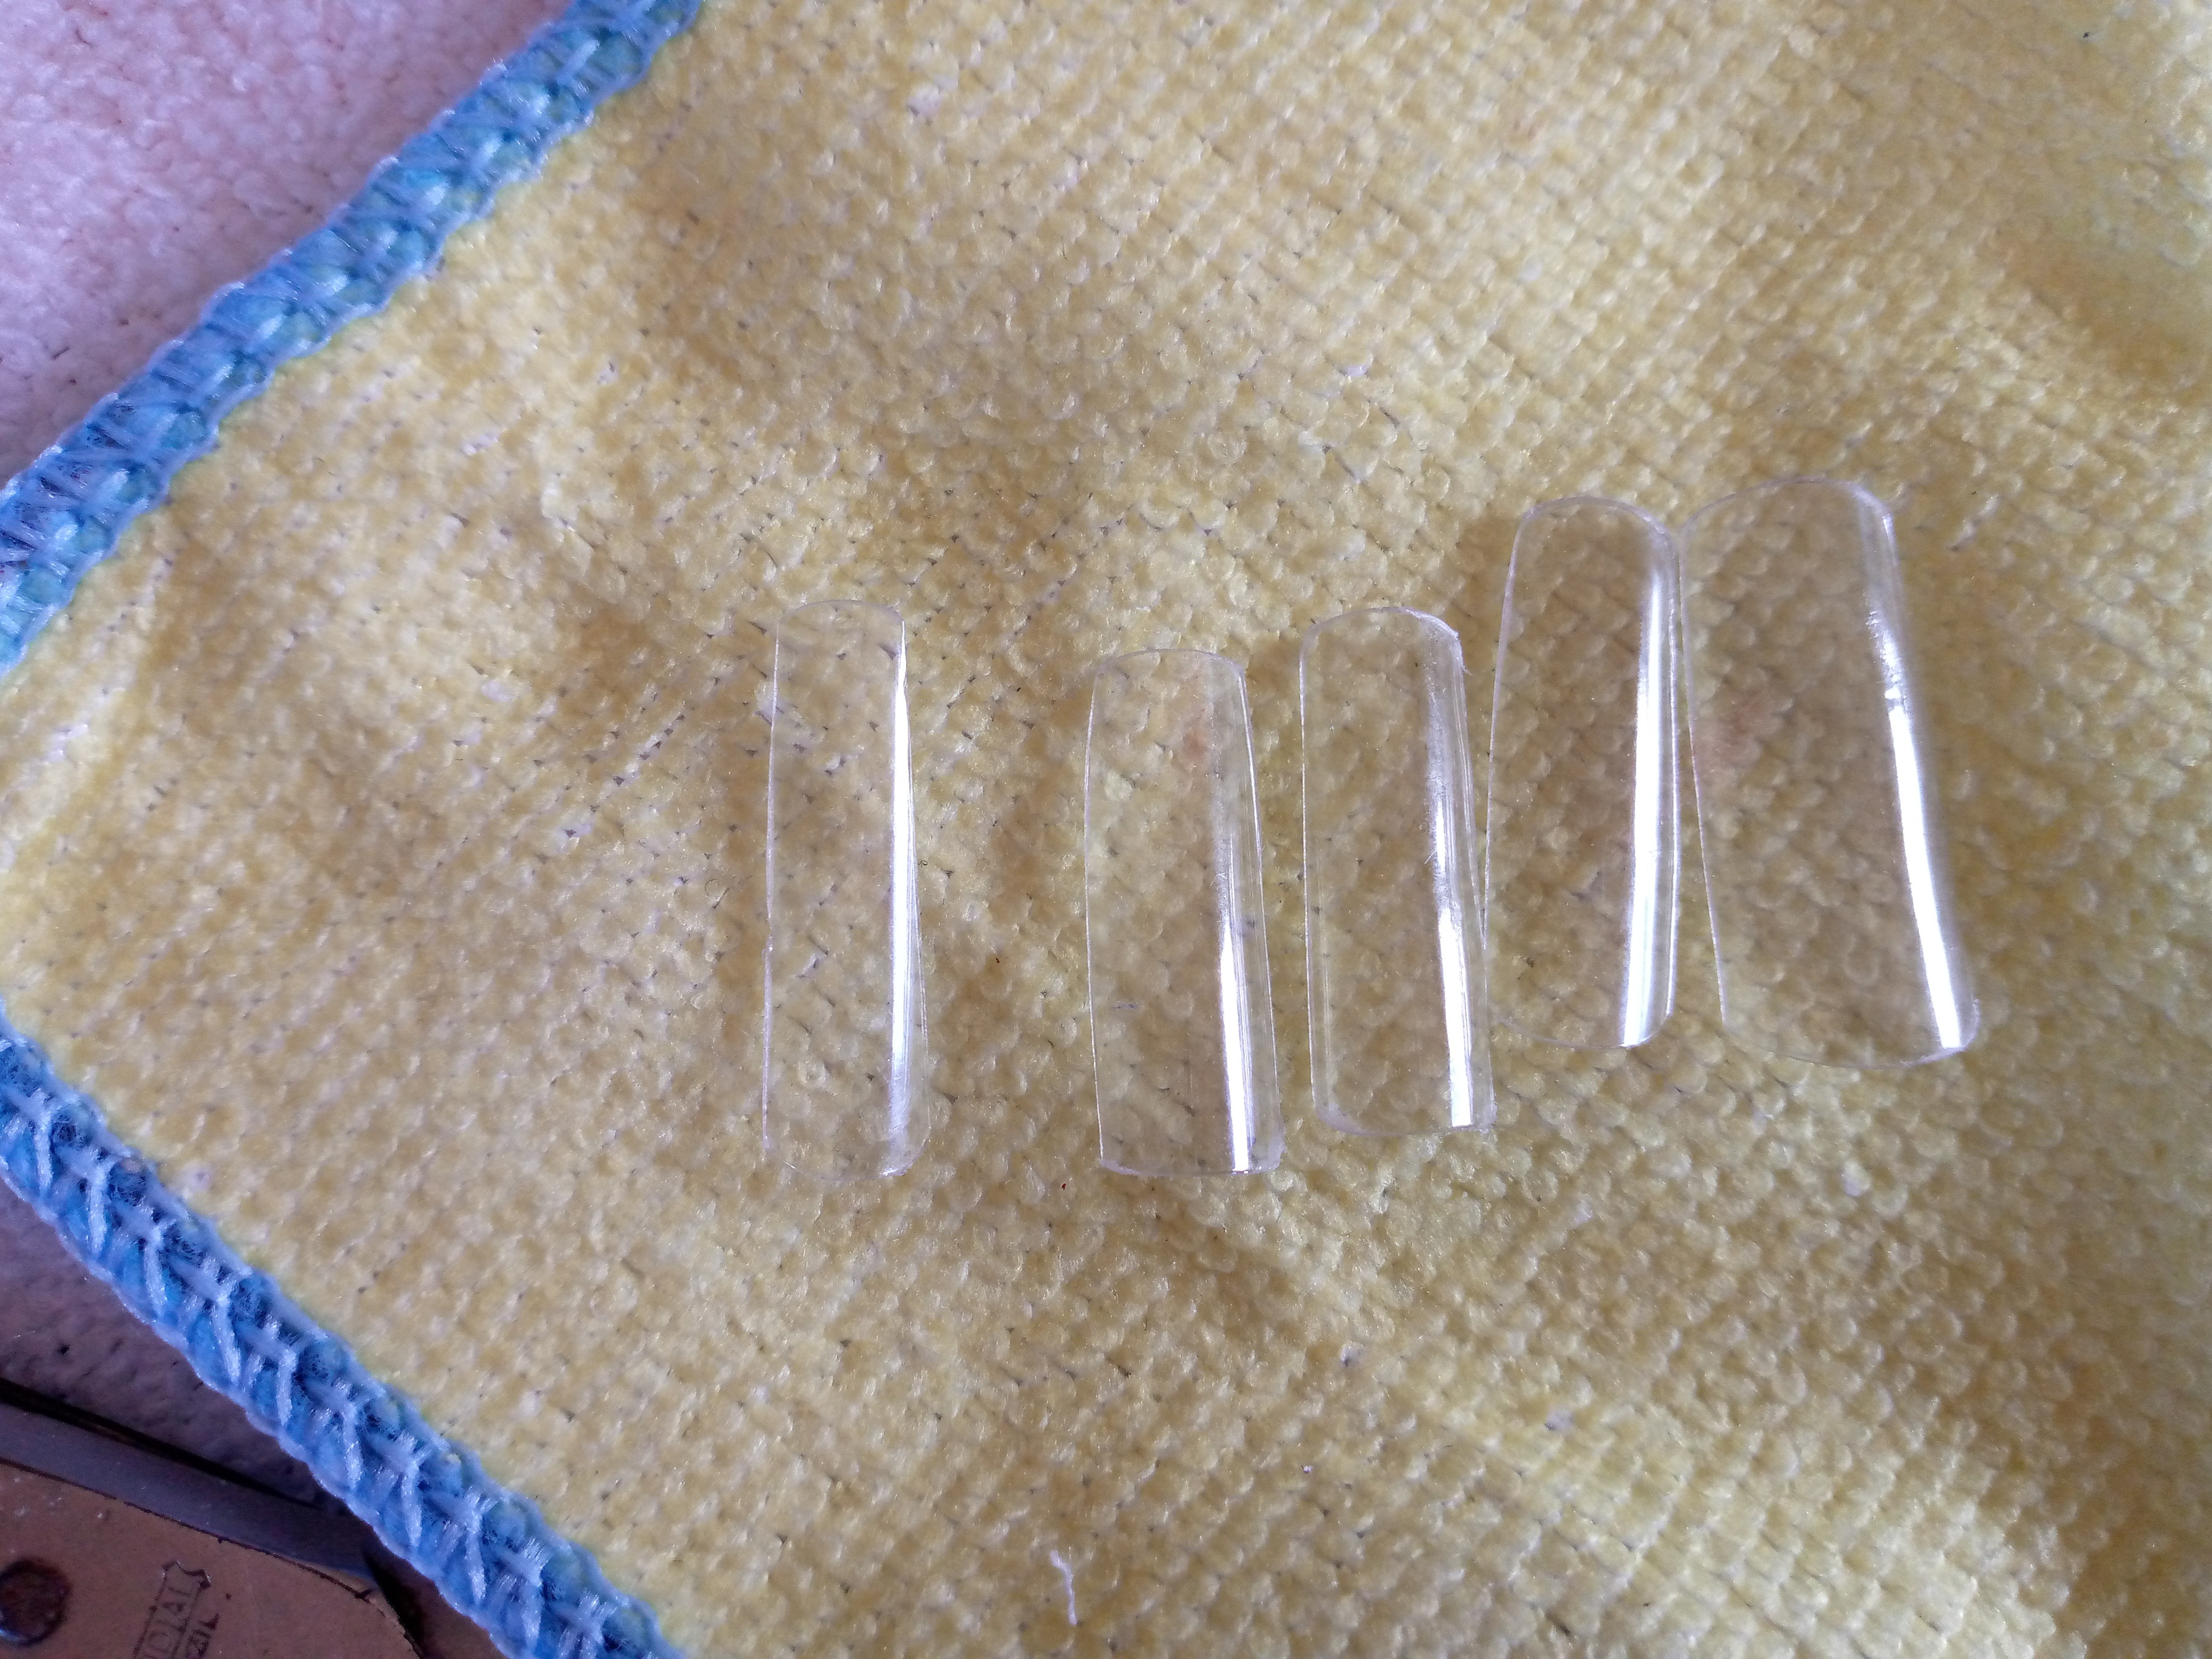
We proceed to remove the plastic from the cup, dry it and remove the adhesive tape, after drying it I will simply cut the pieces or nails of the size that I prefer, this time I will make them medium, I will help myself with my nail clippers to get the shape of the sides and of course with the file I will file the corners of the nail and give them shape also remember to file them well and file a little below them only up to the middle so that when we stick them on they will grab our natural nail and adhere more easily.
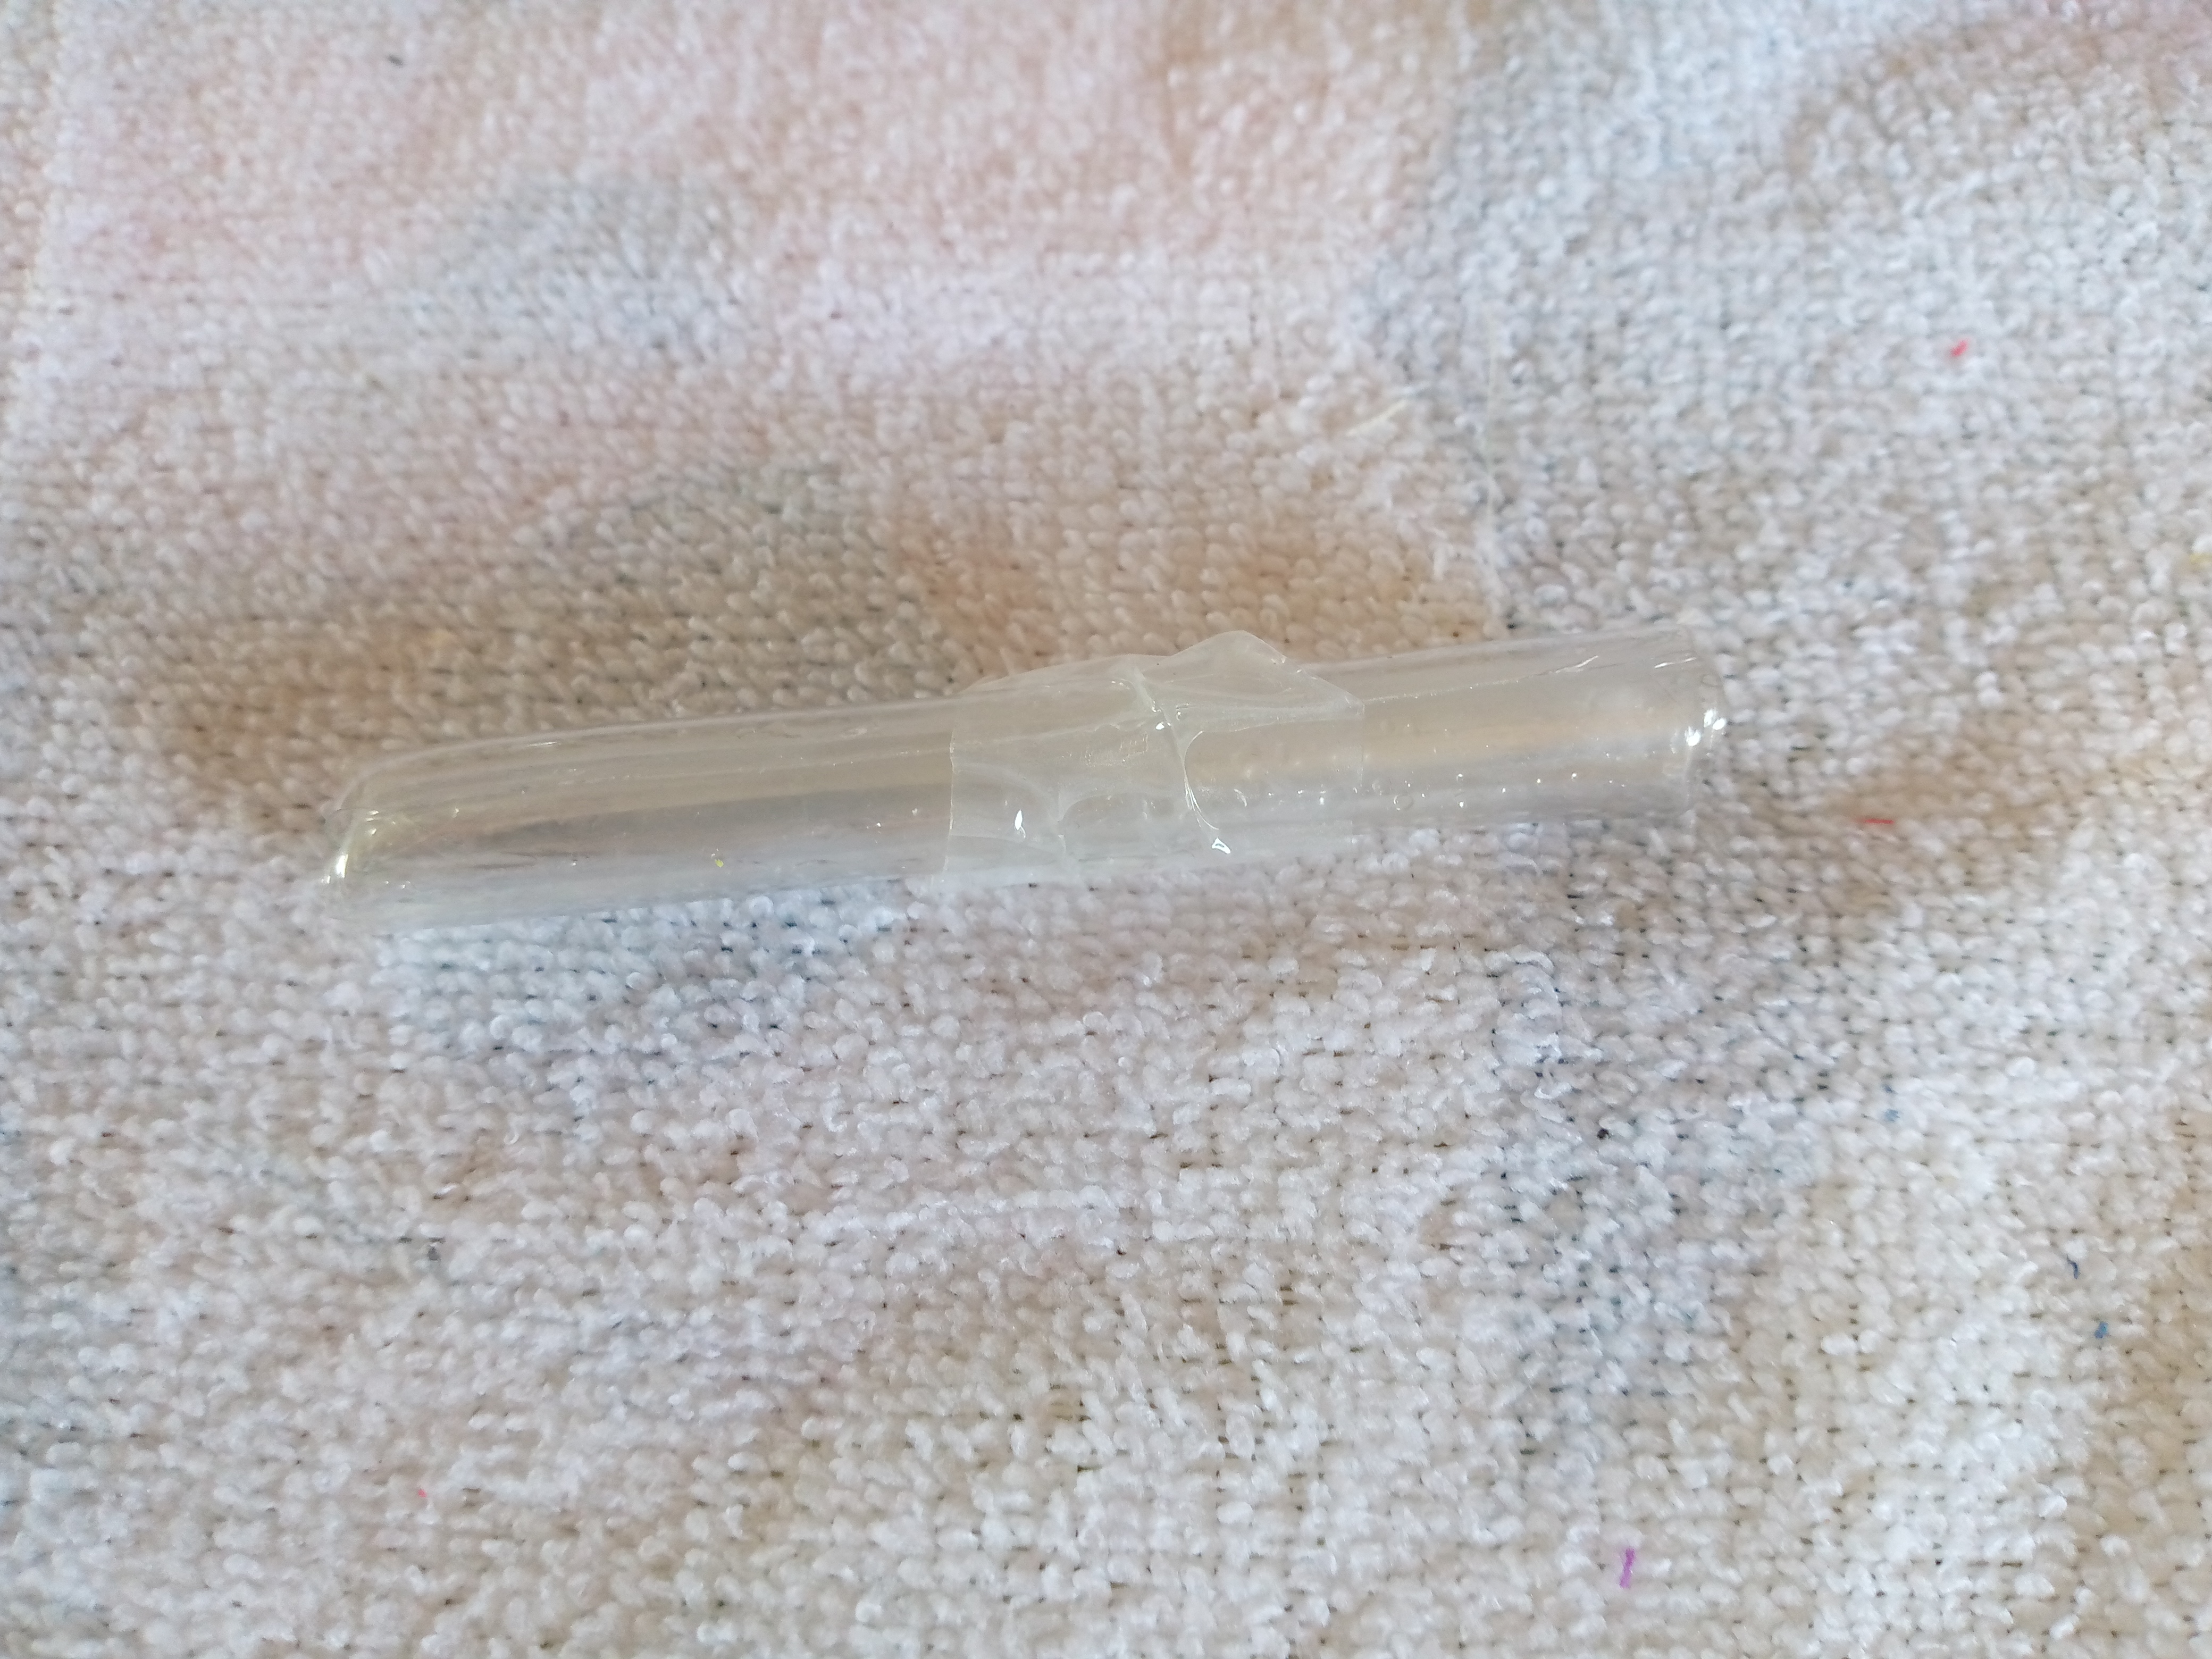
Paso 04
Step 04
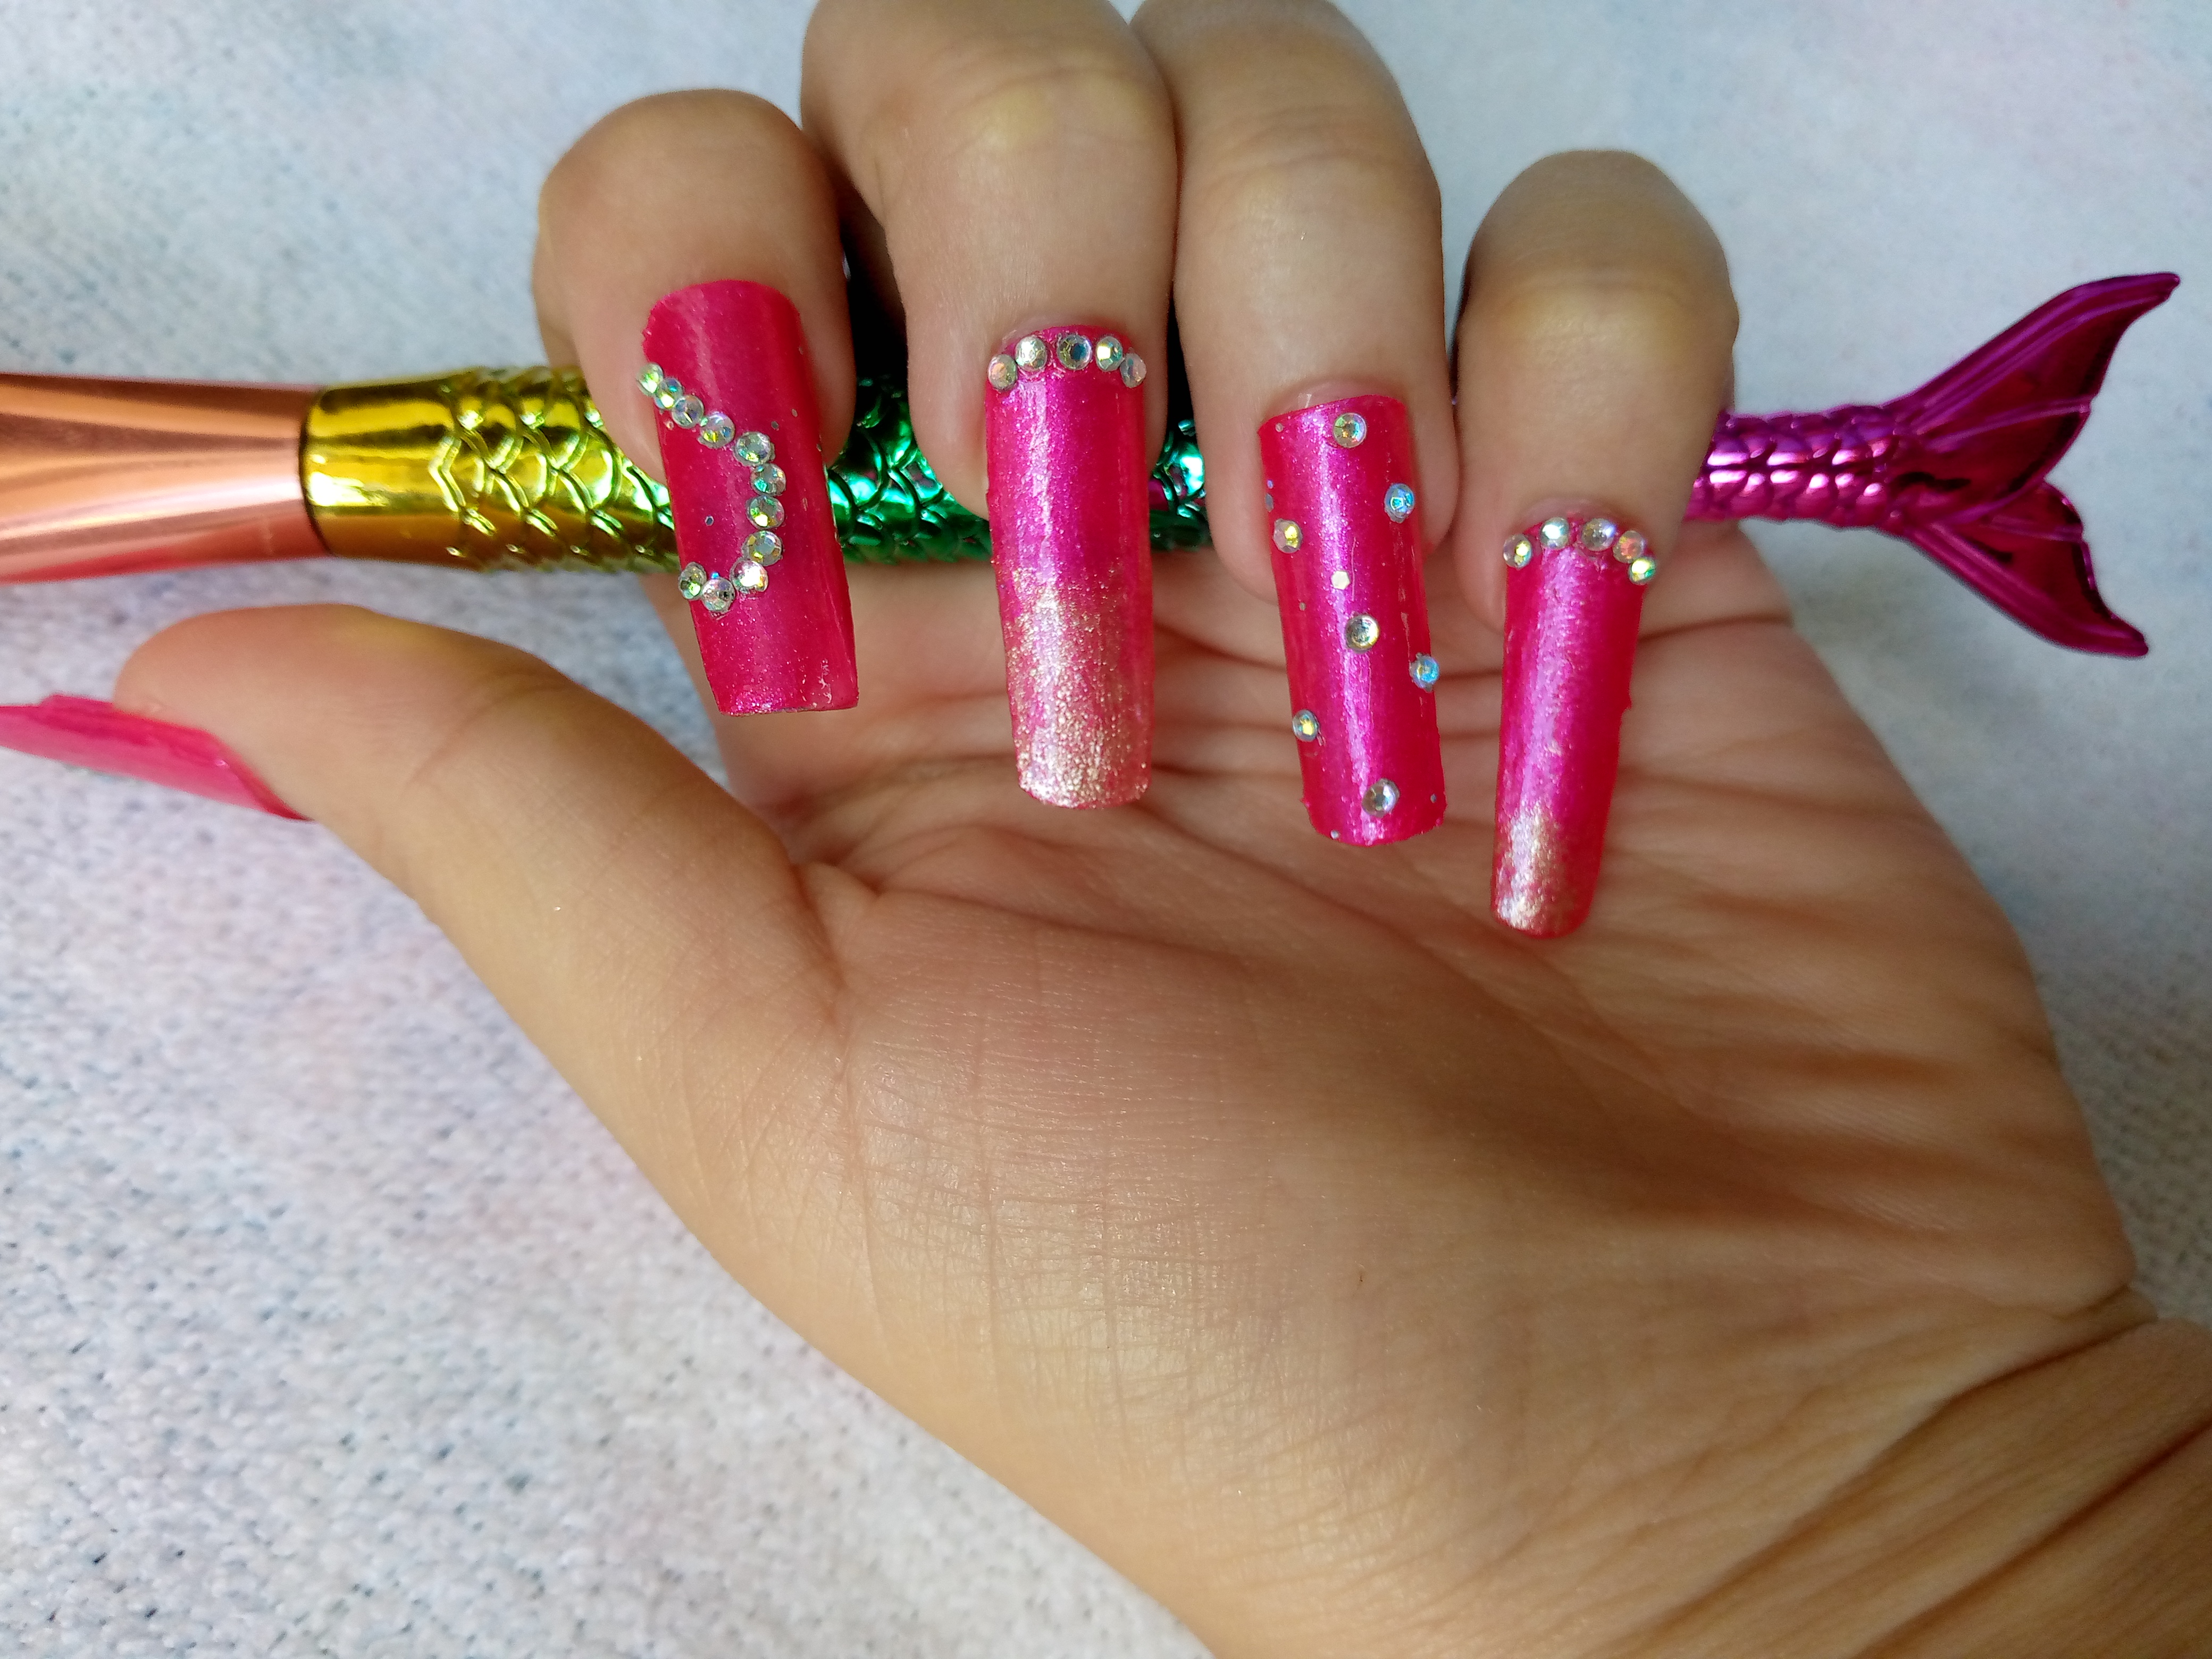
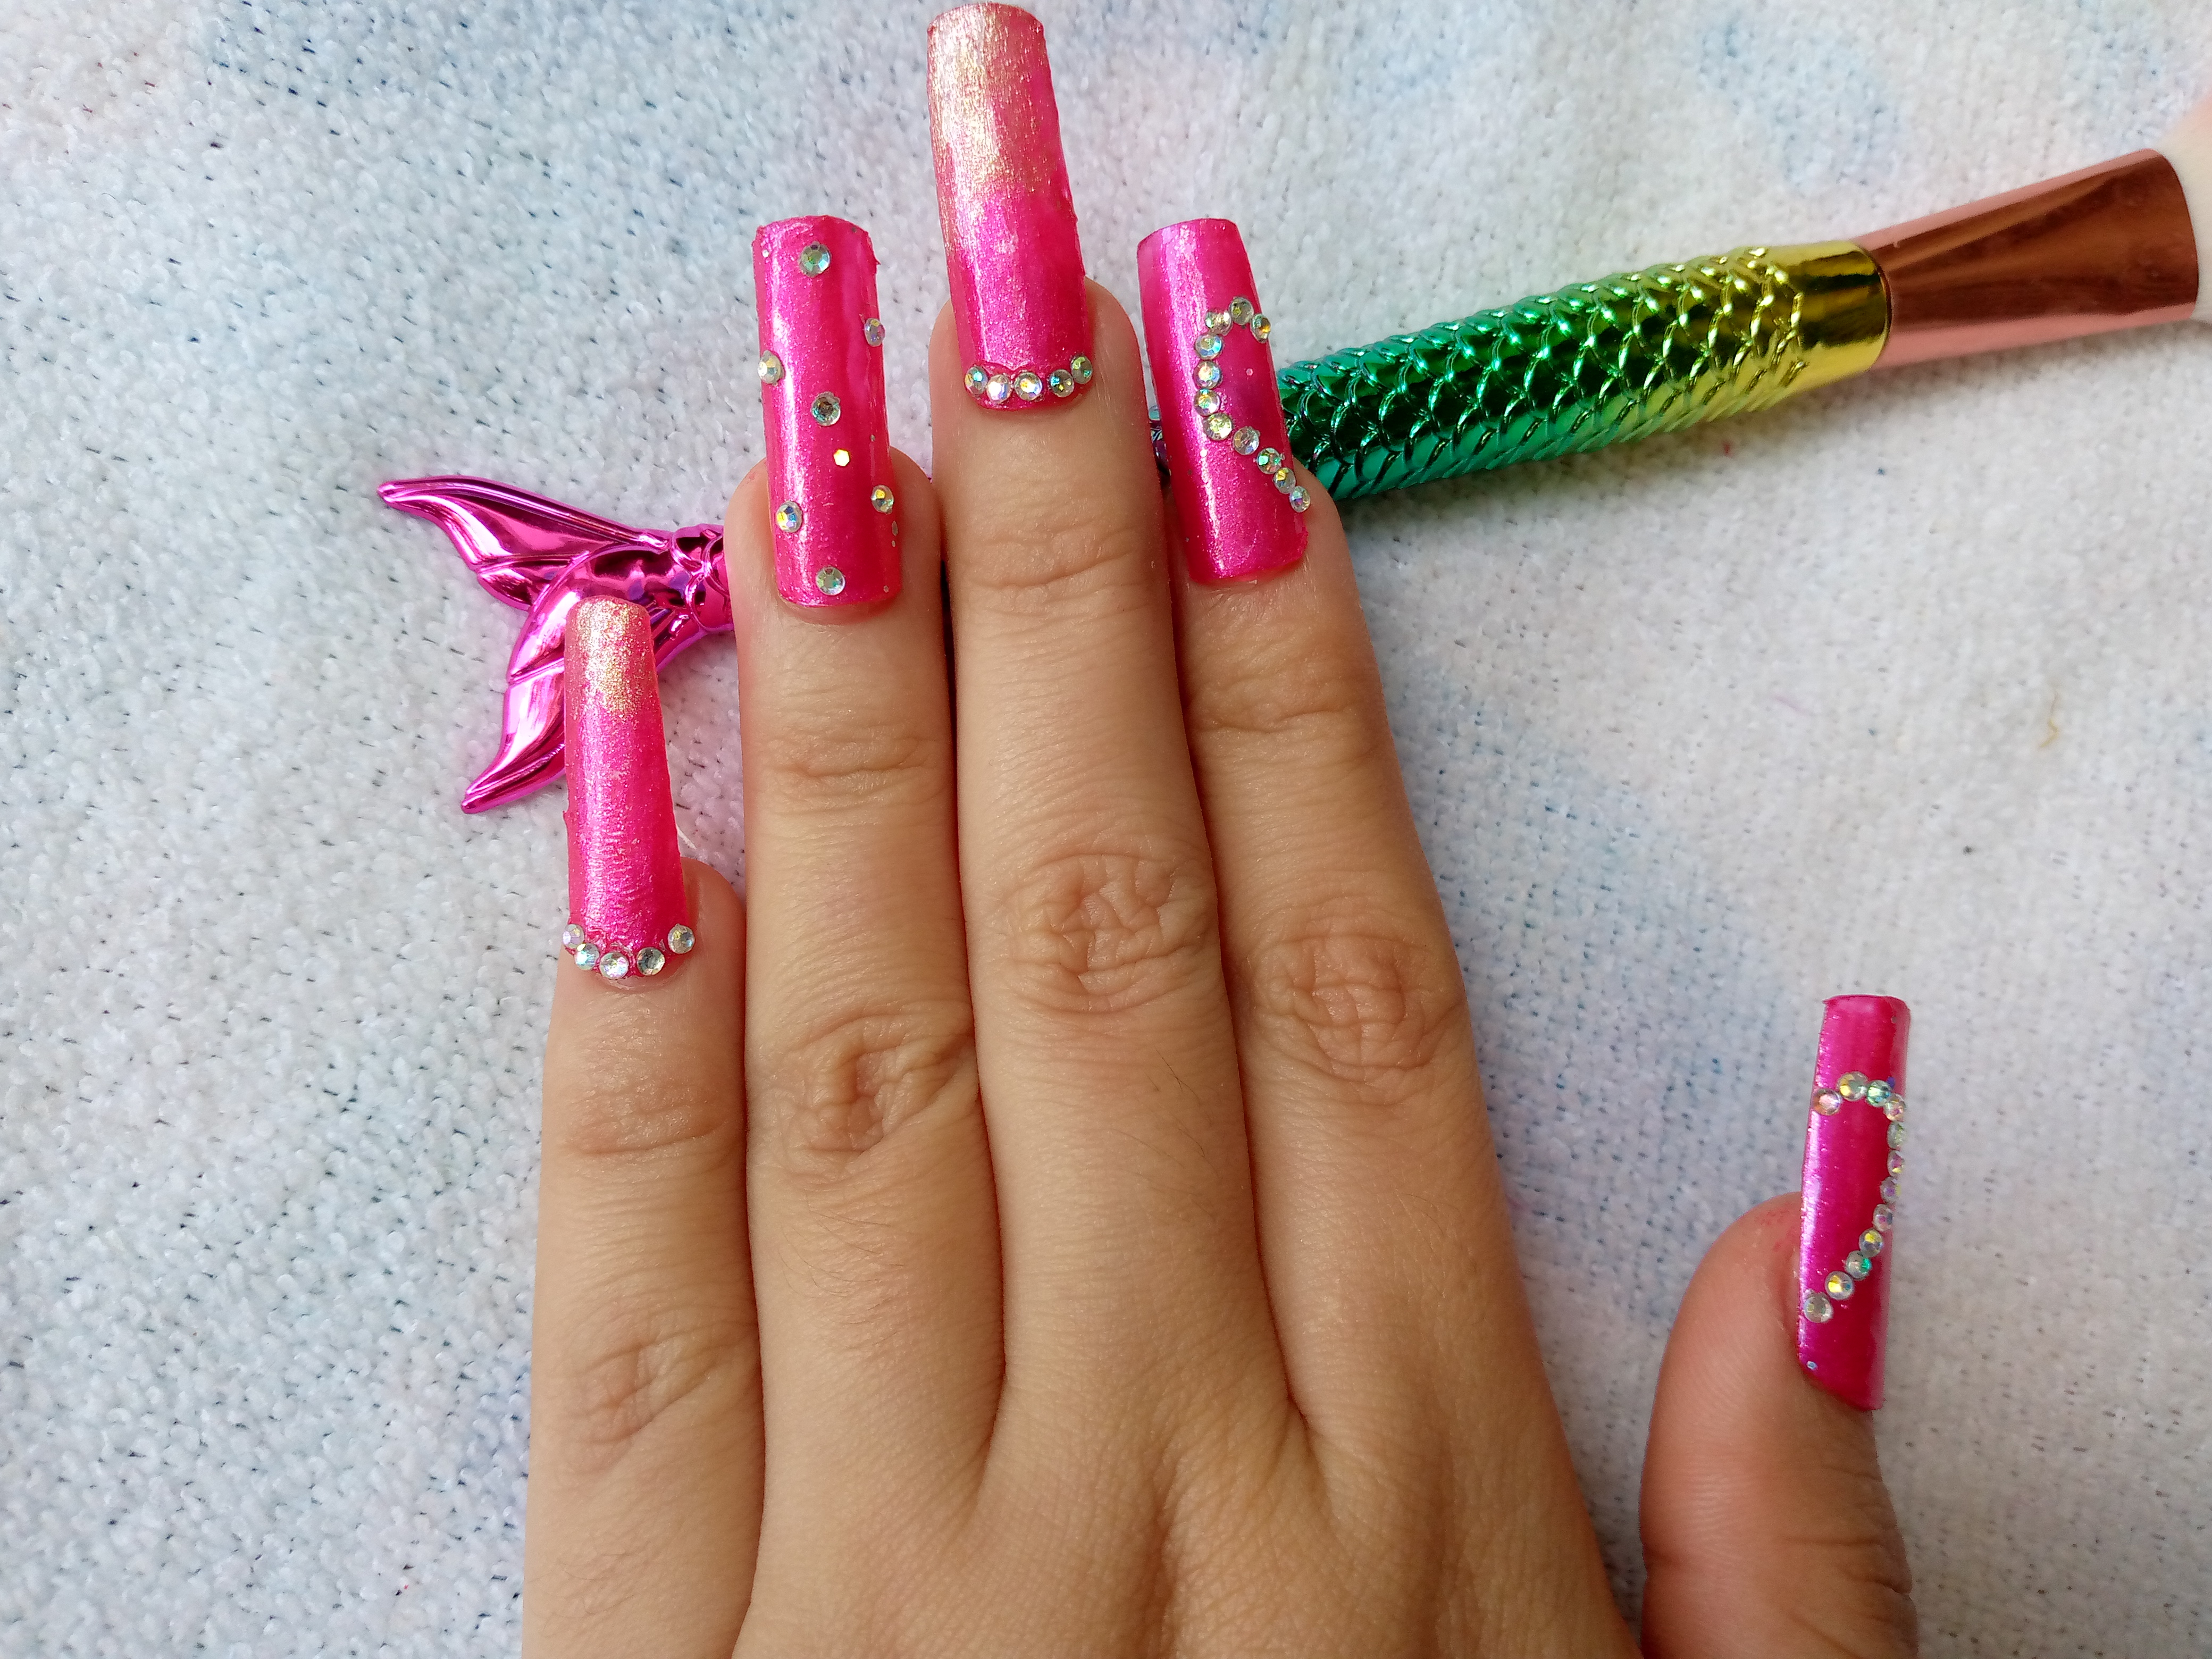
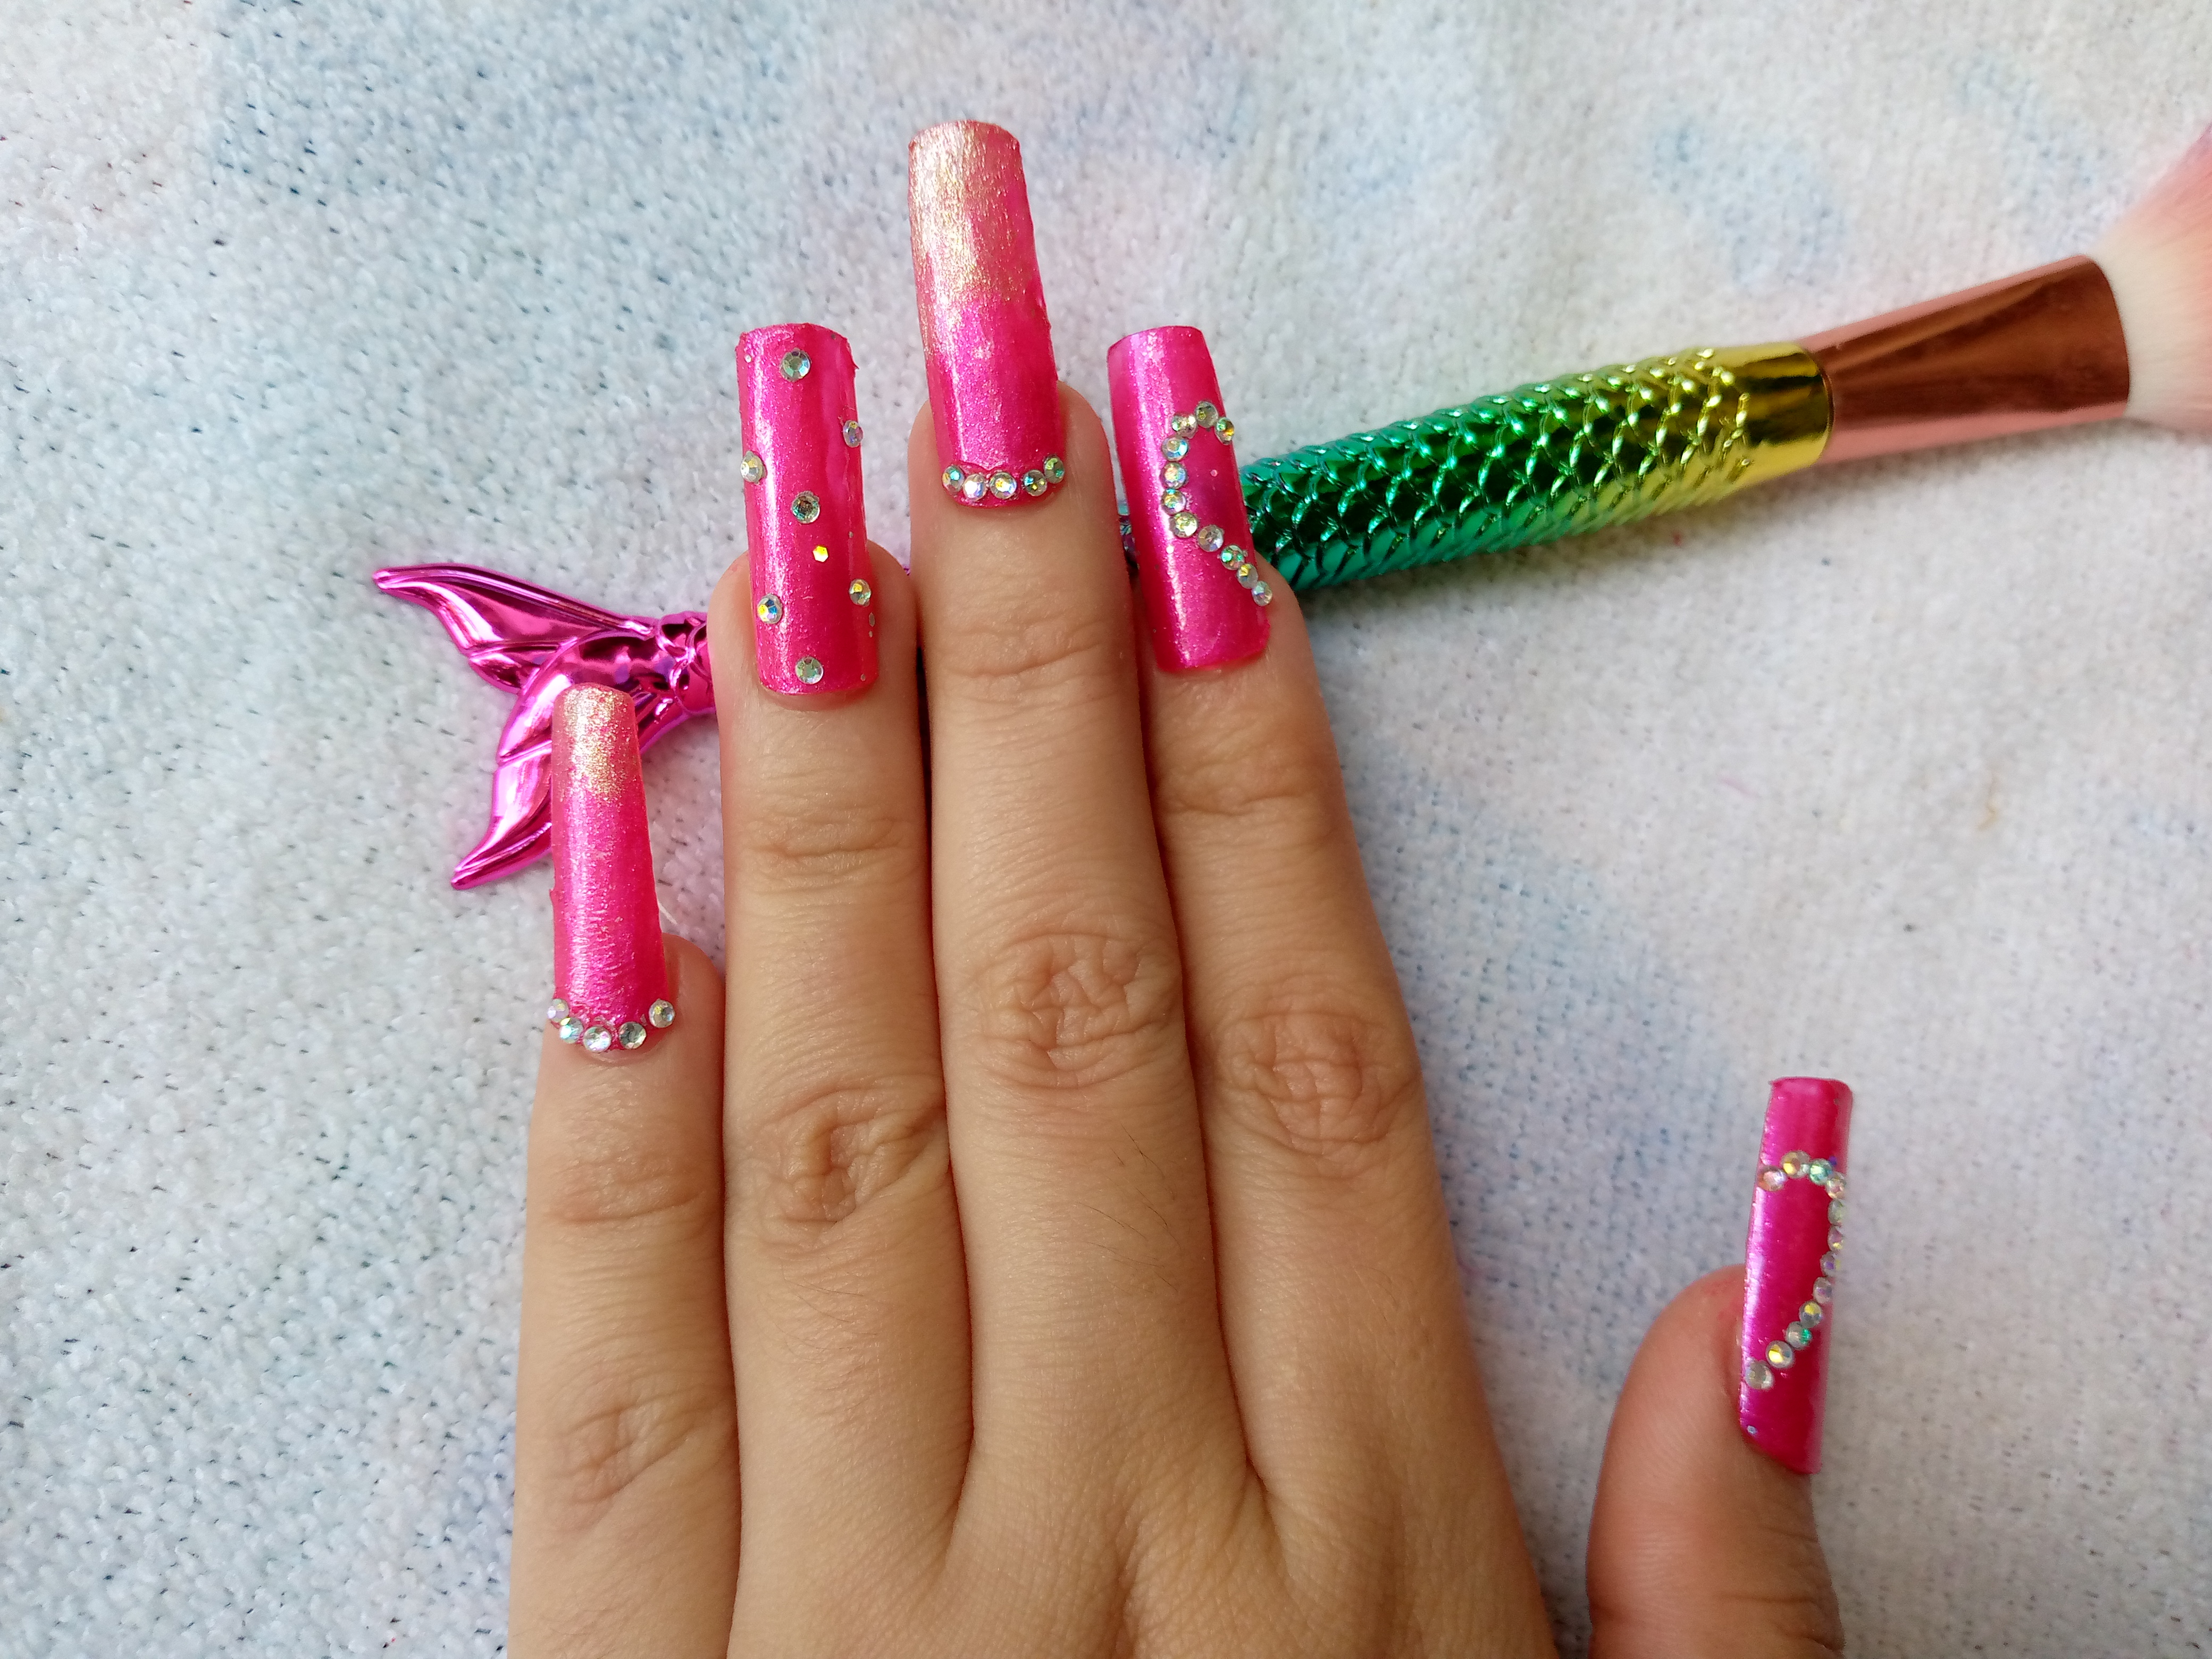
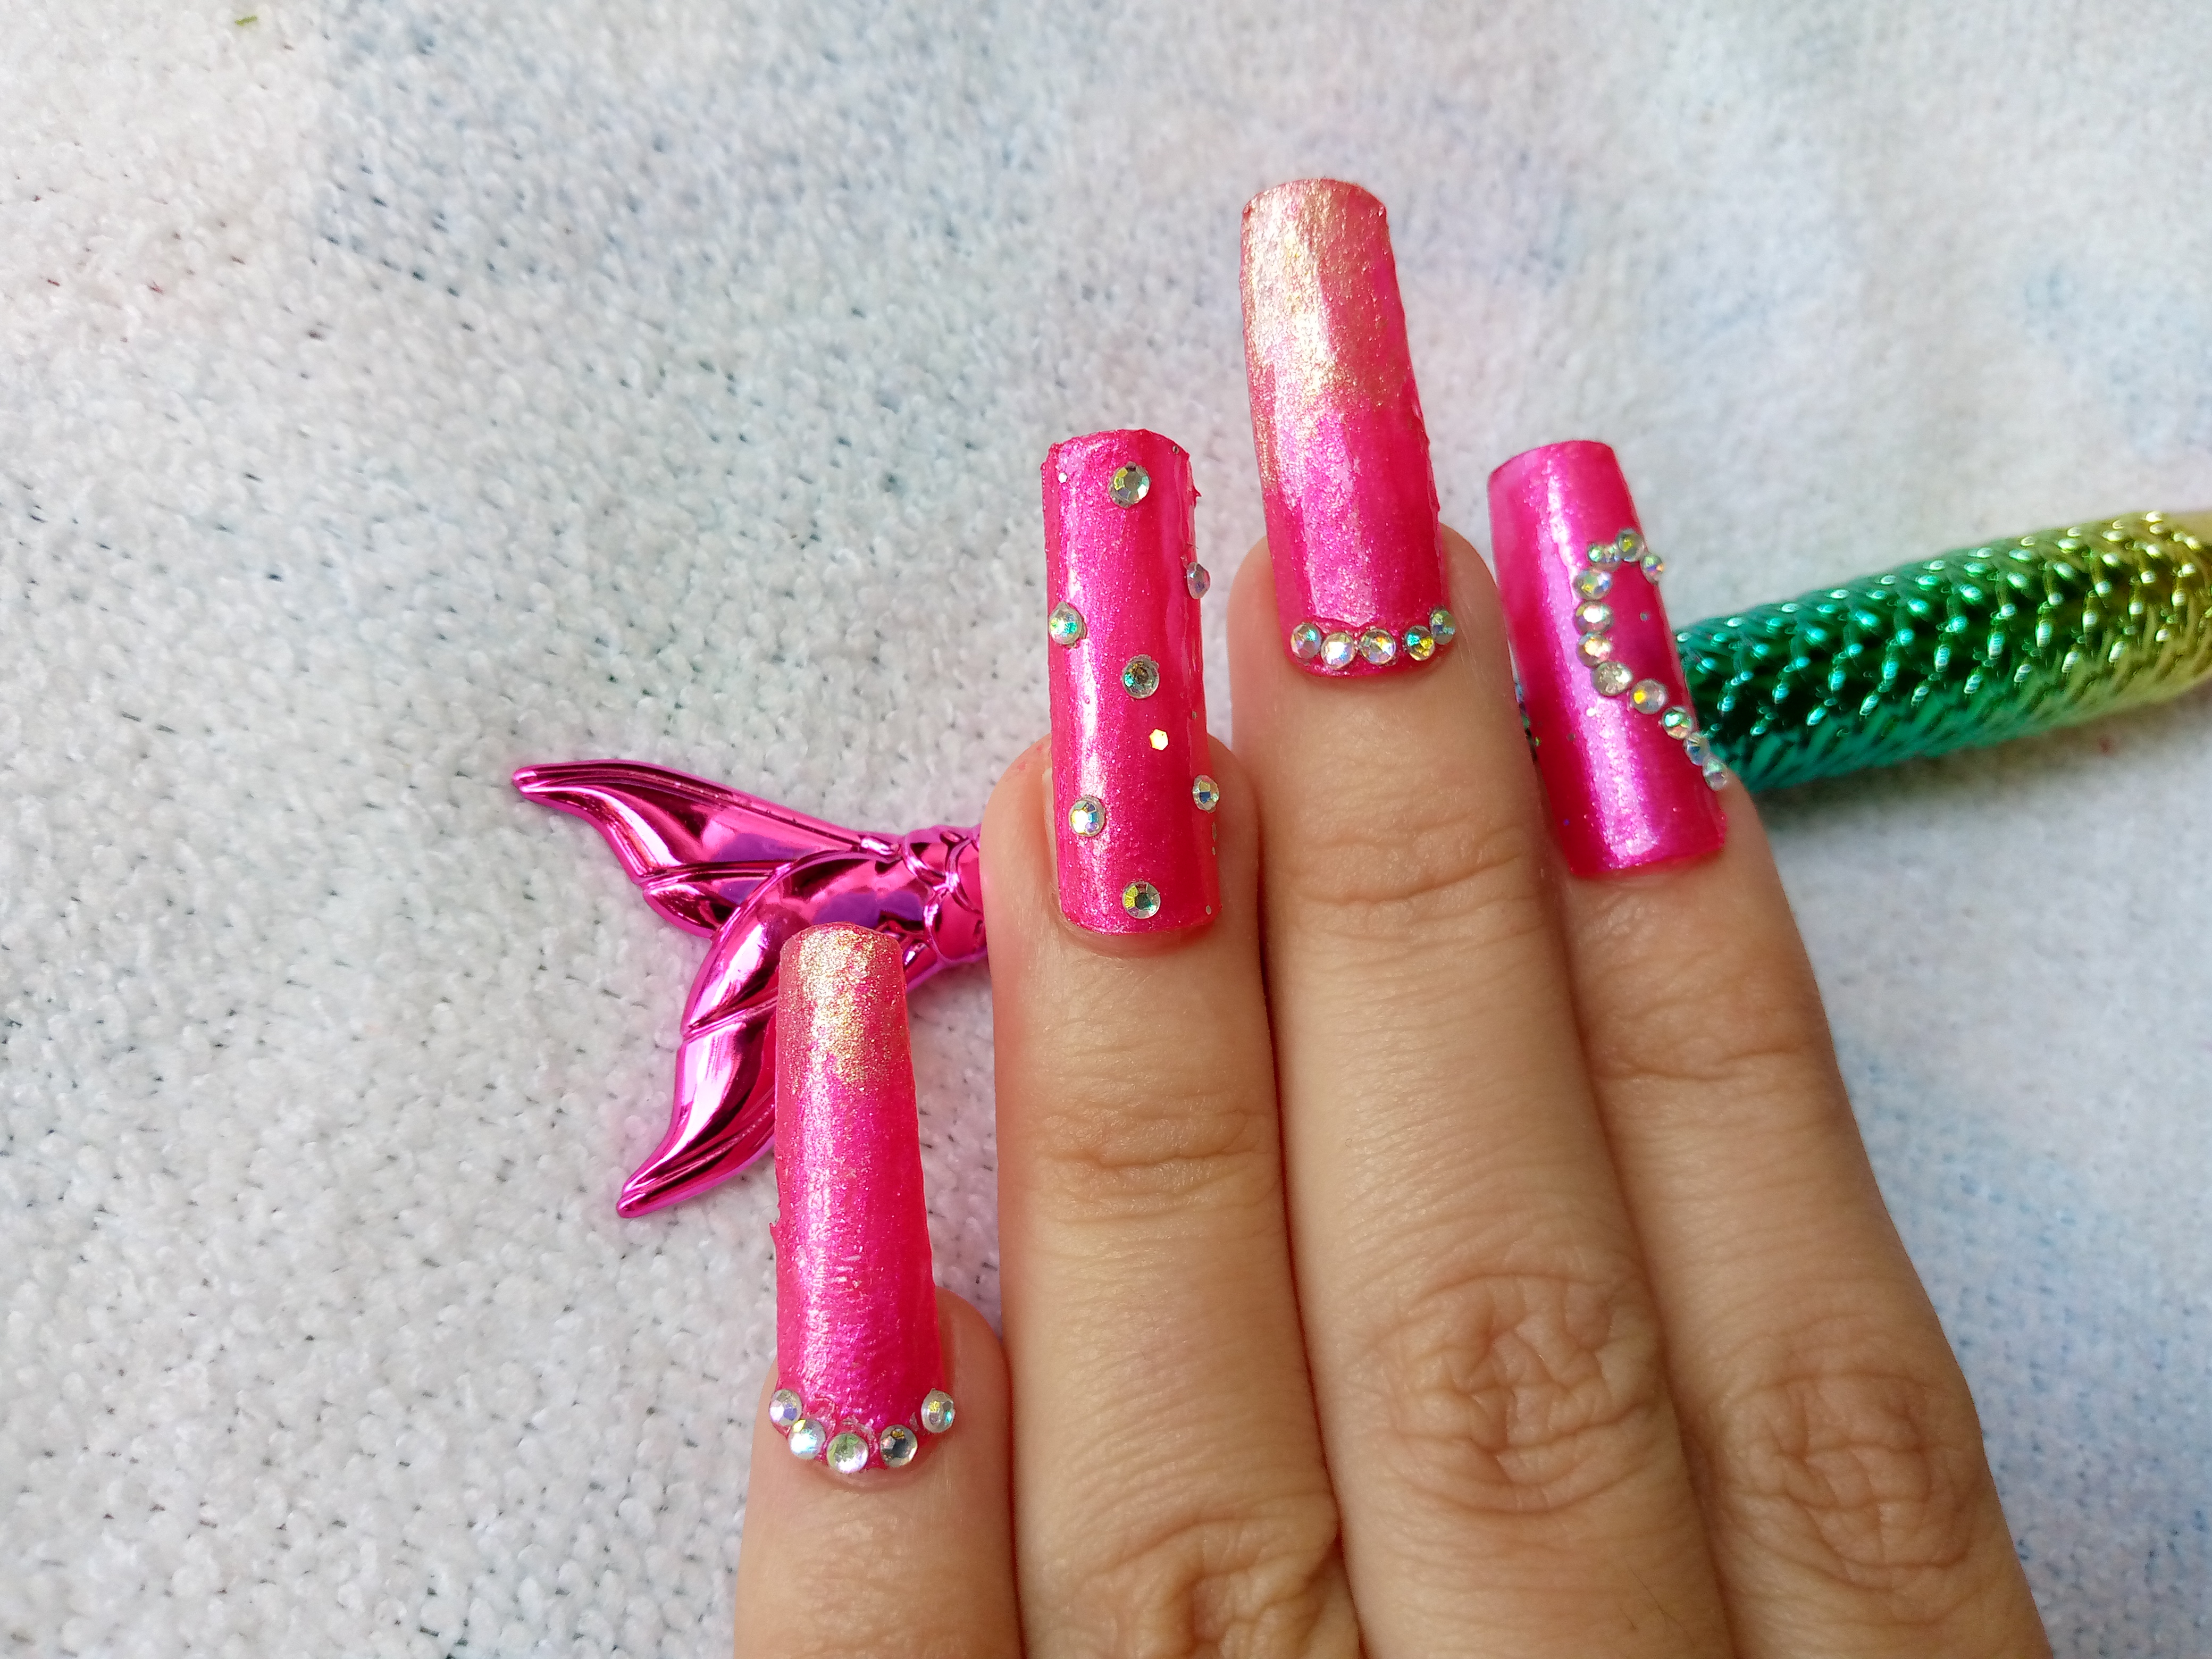
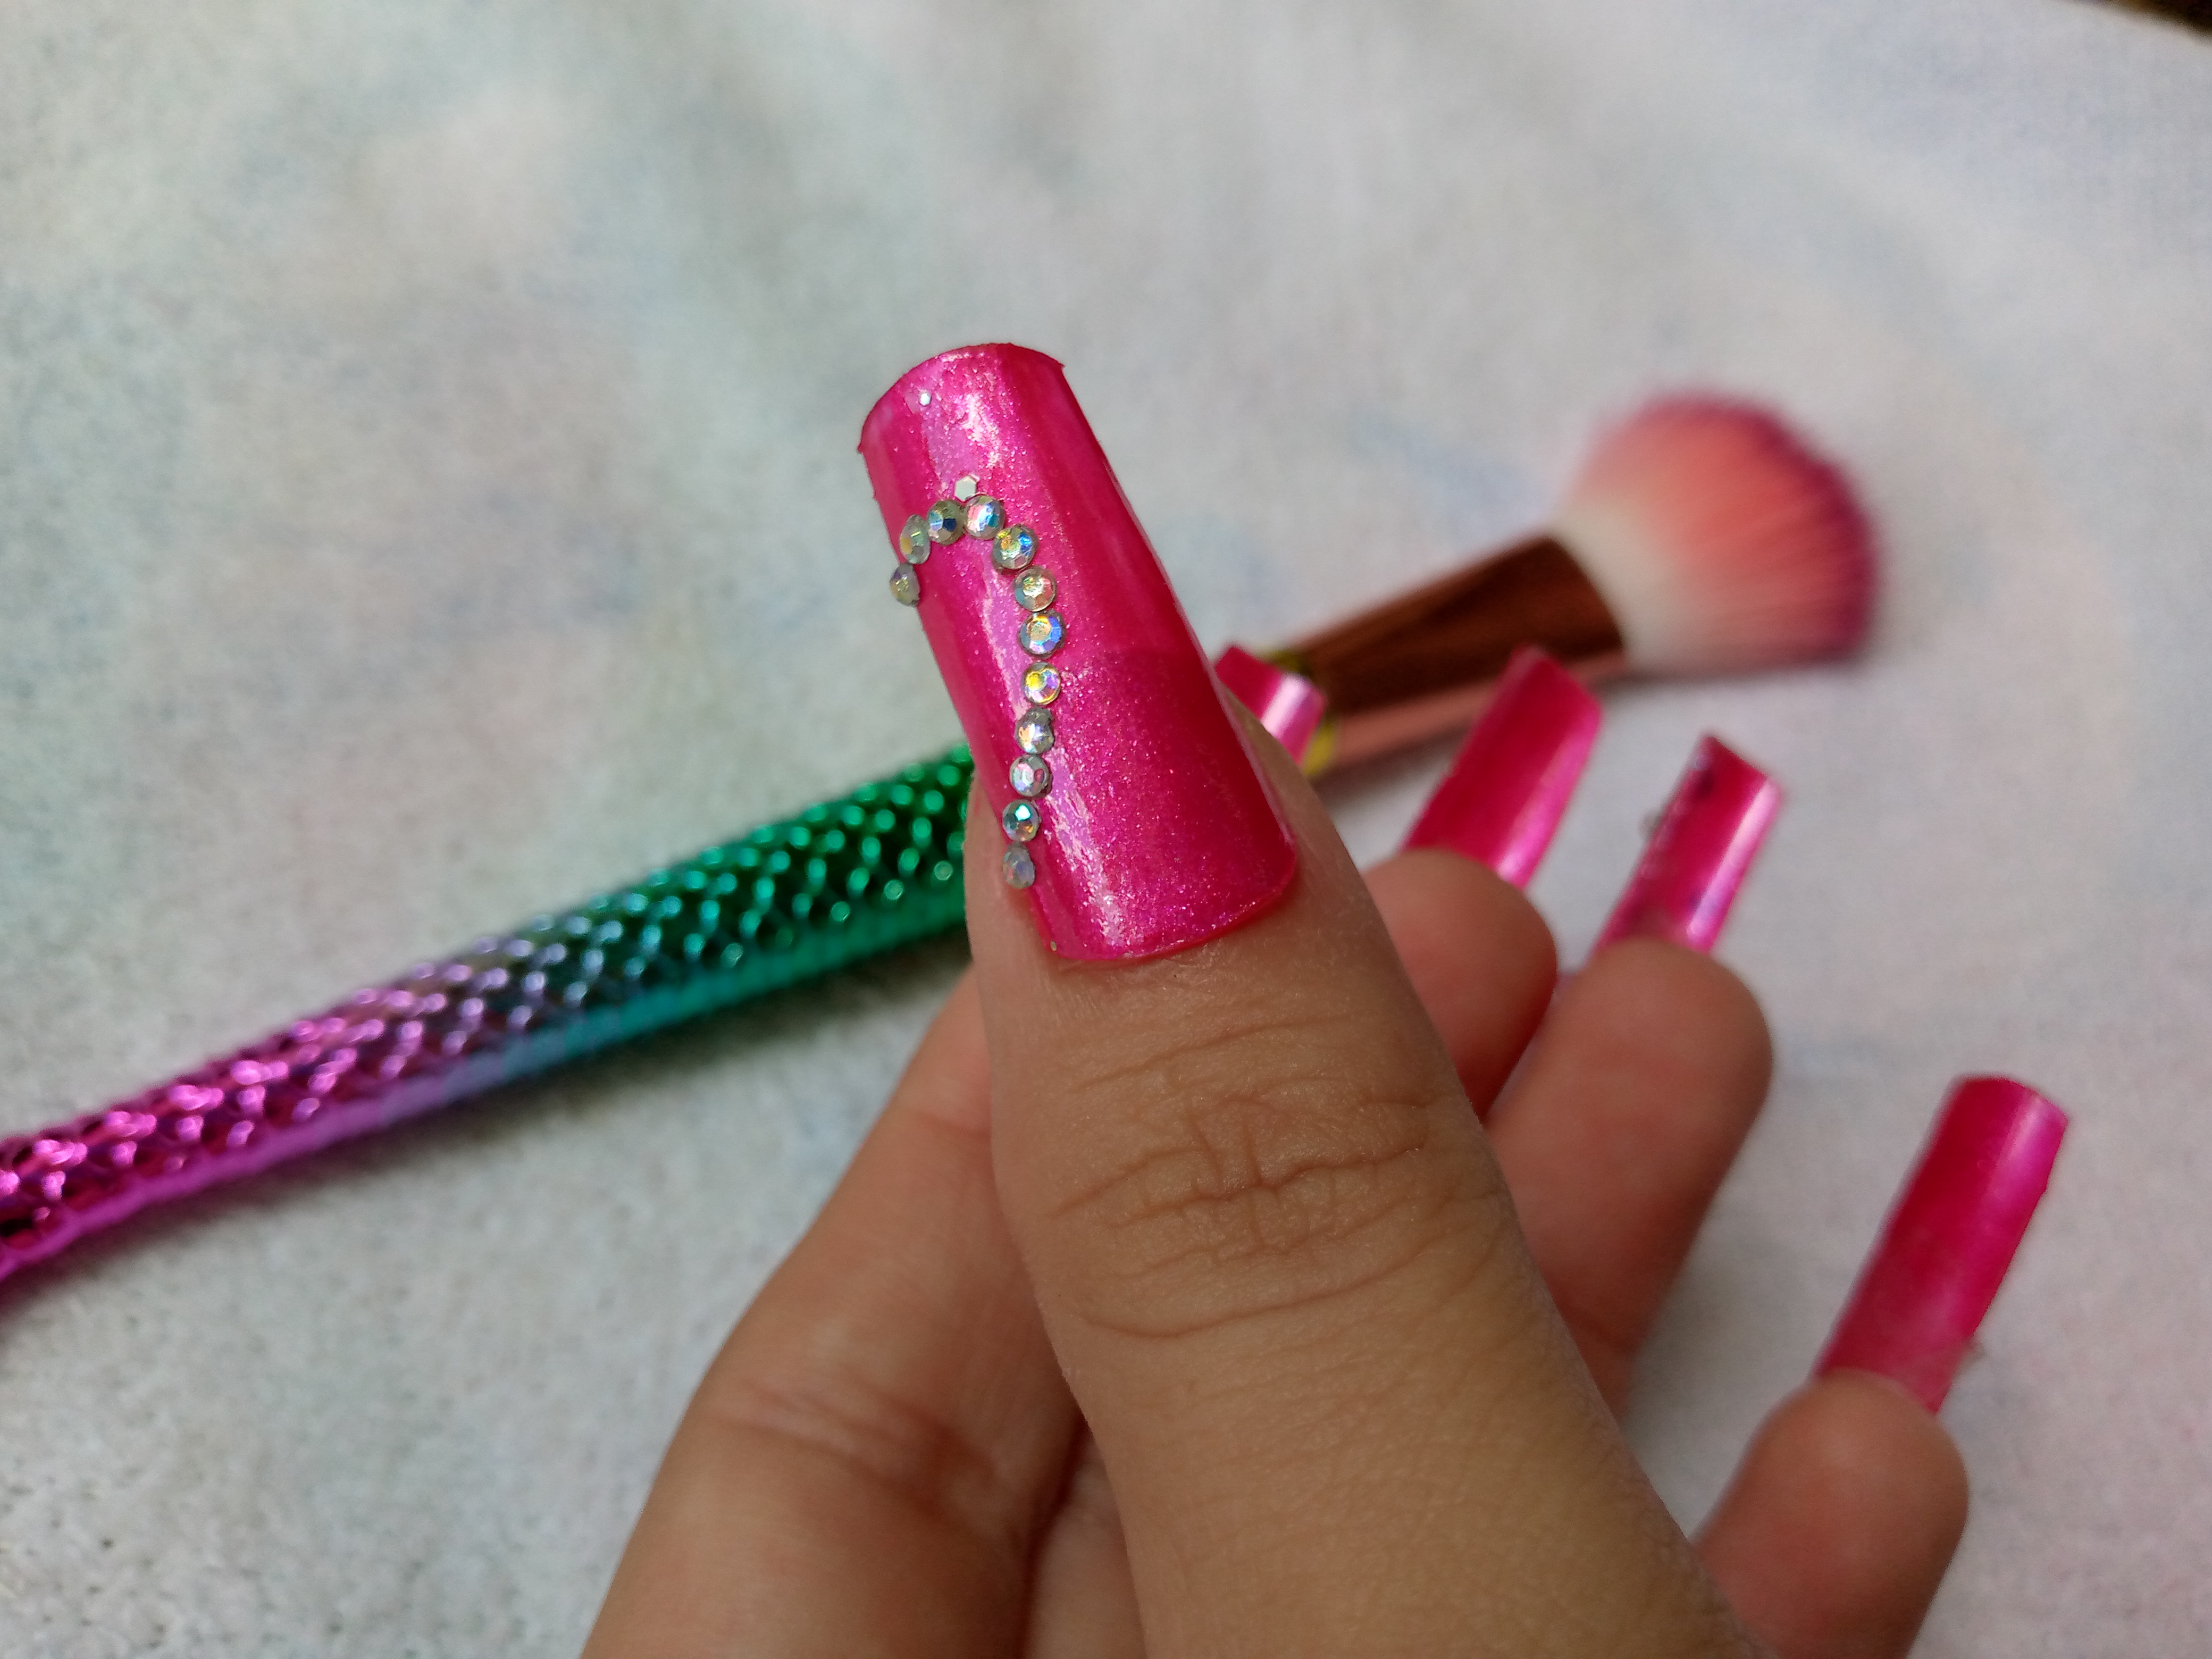
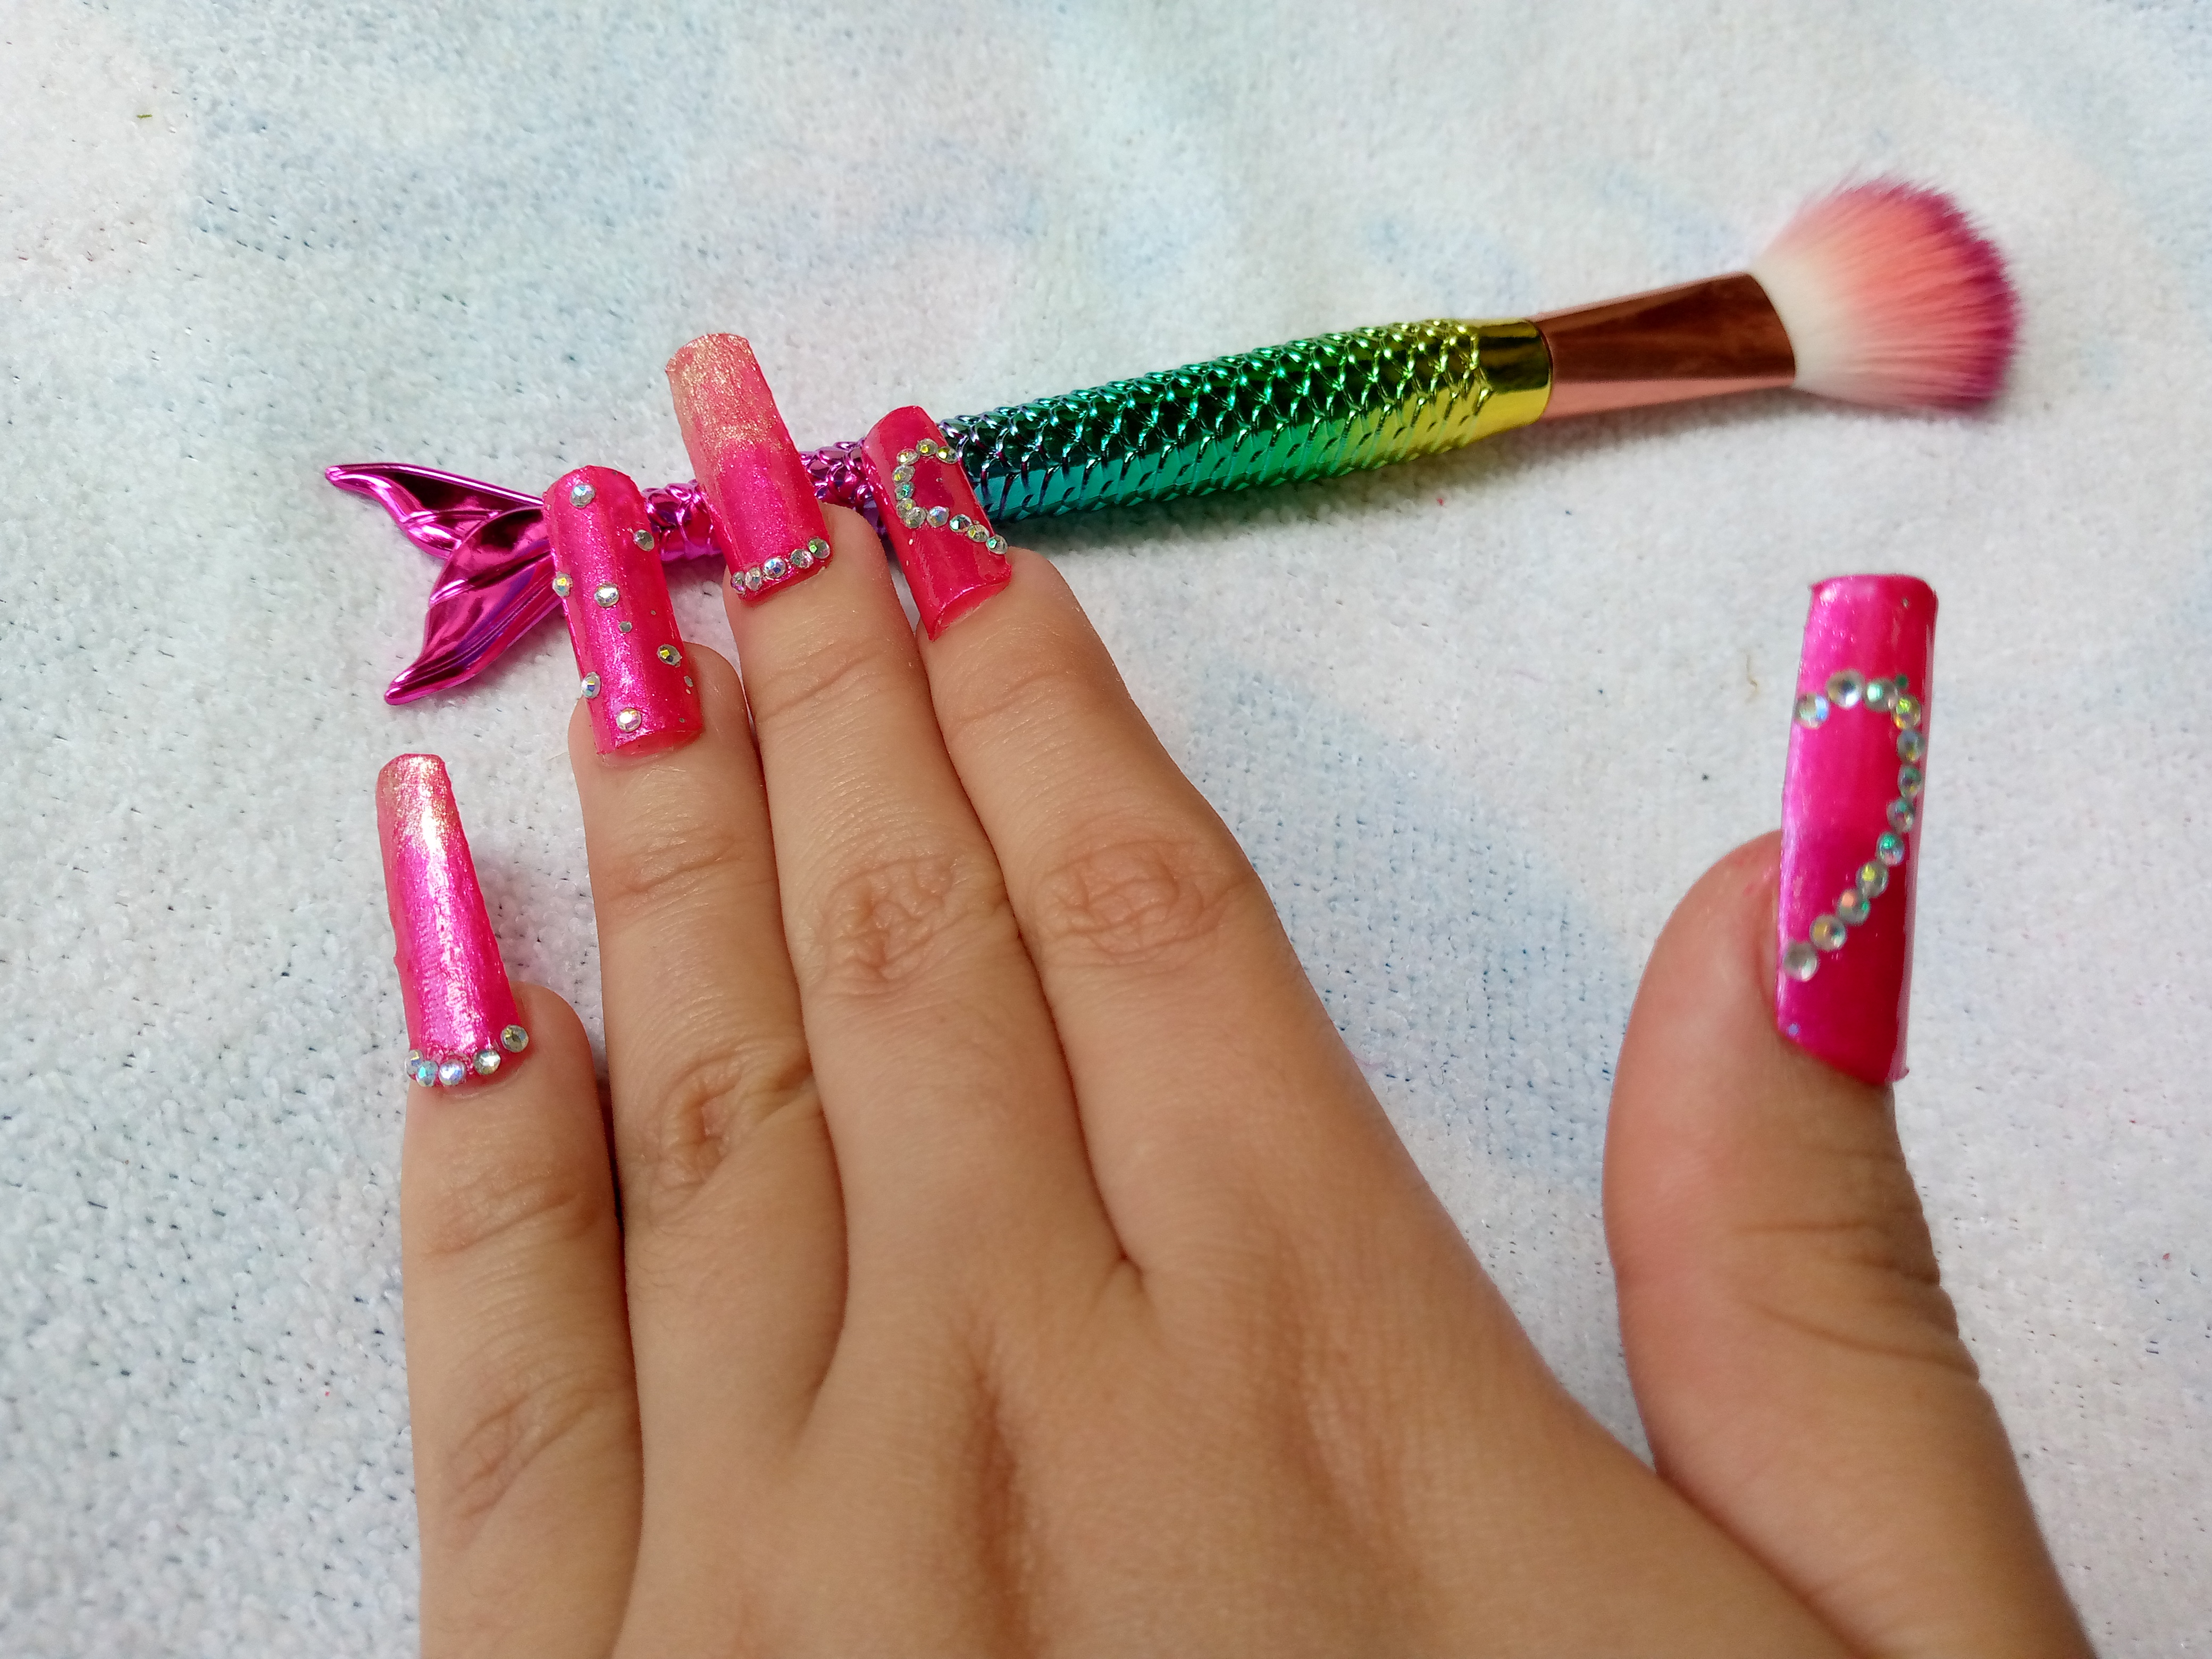
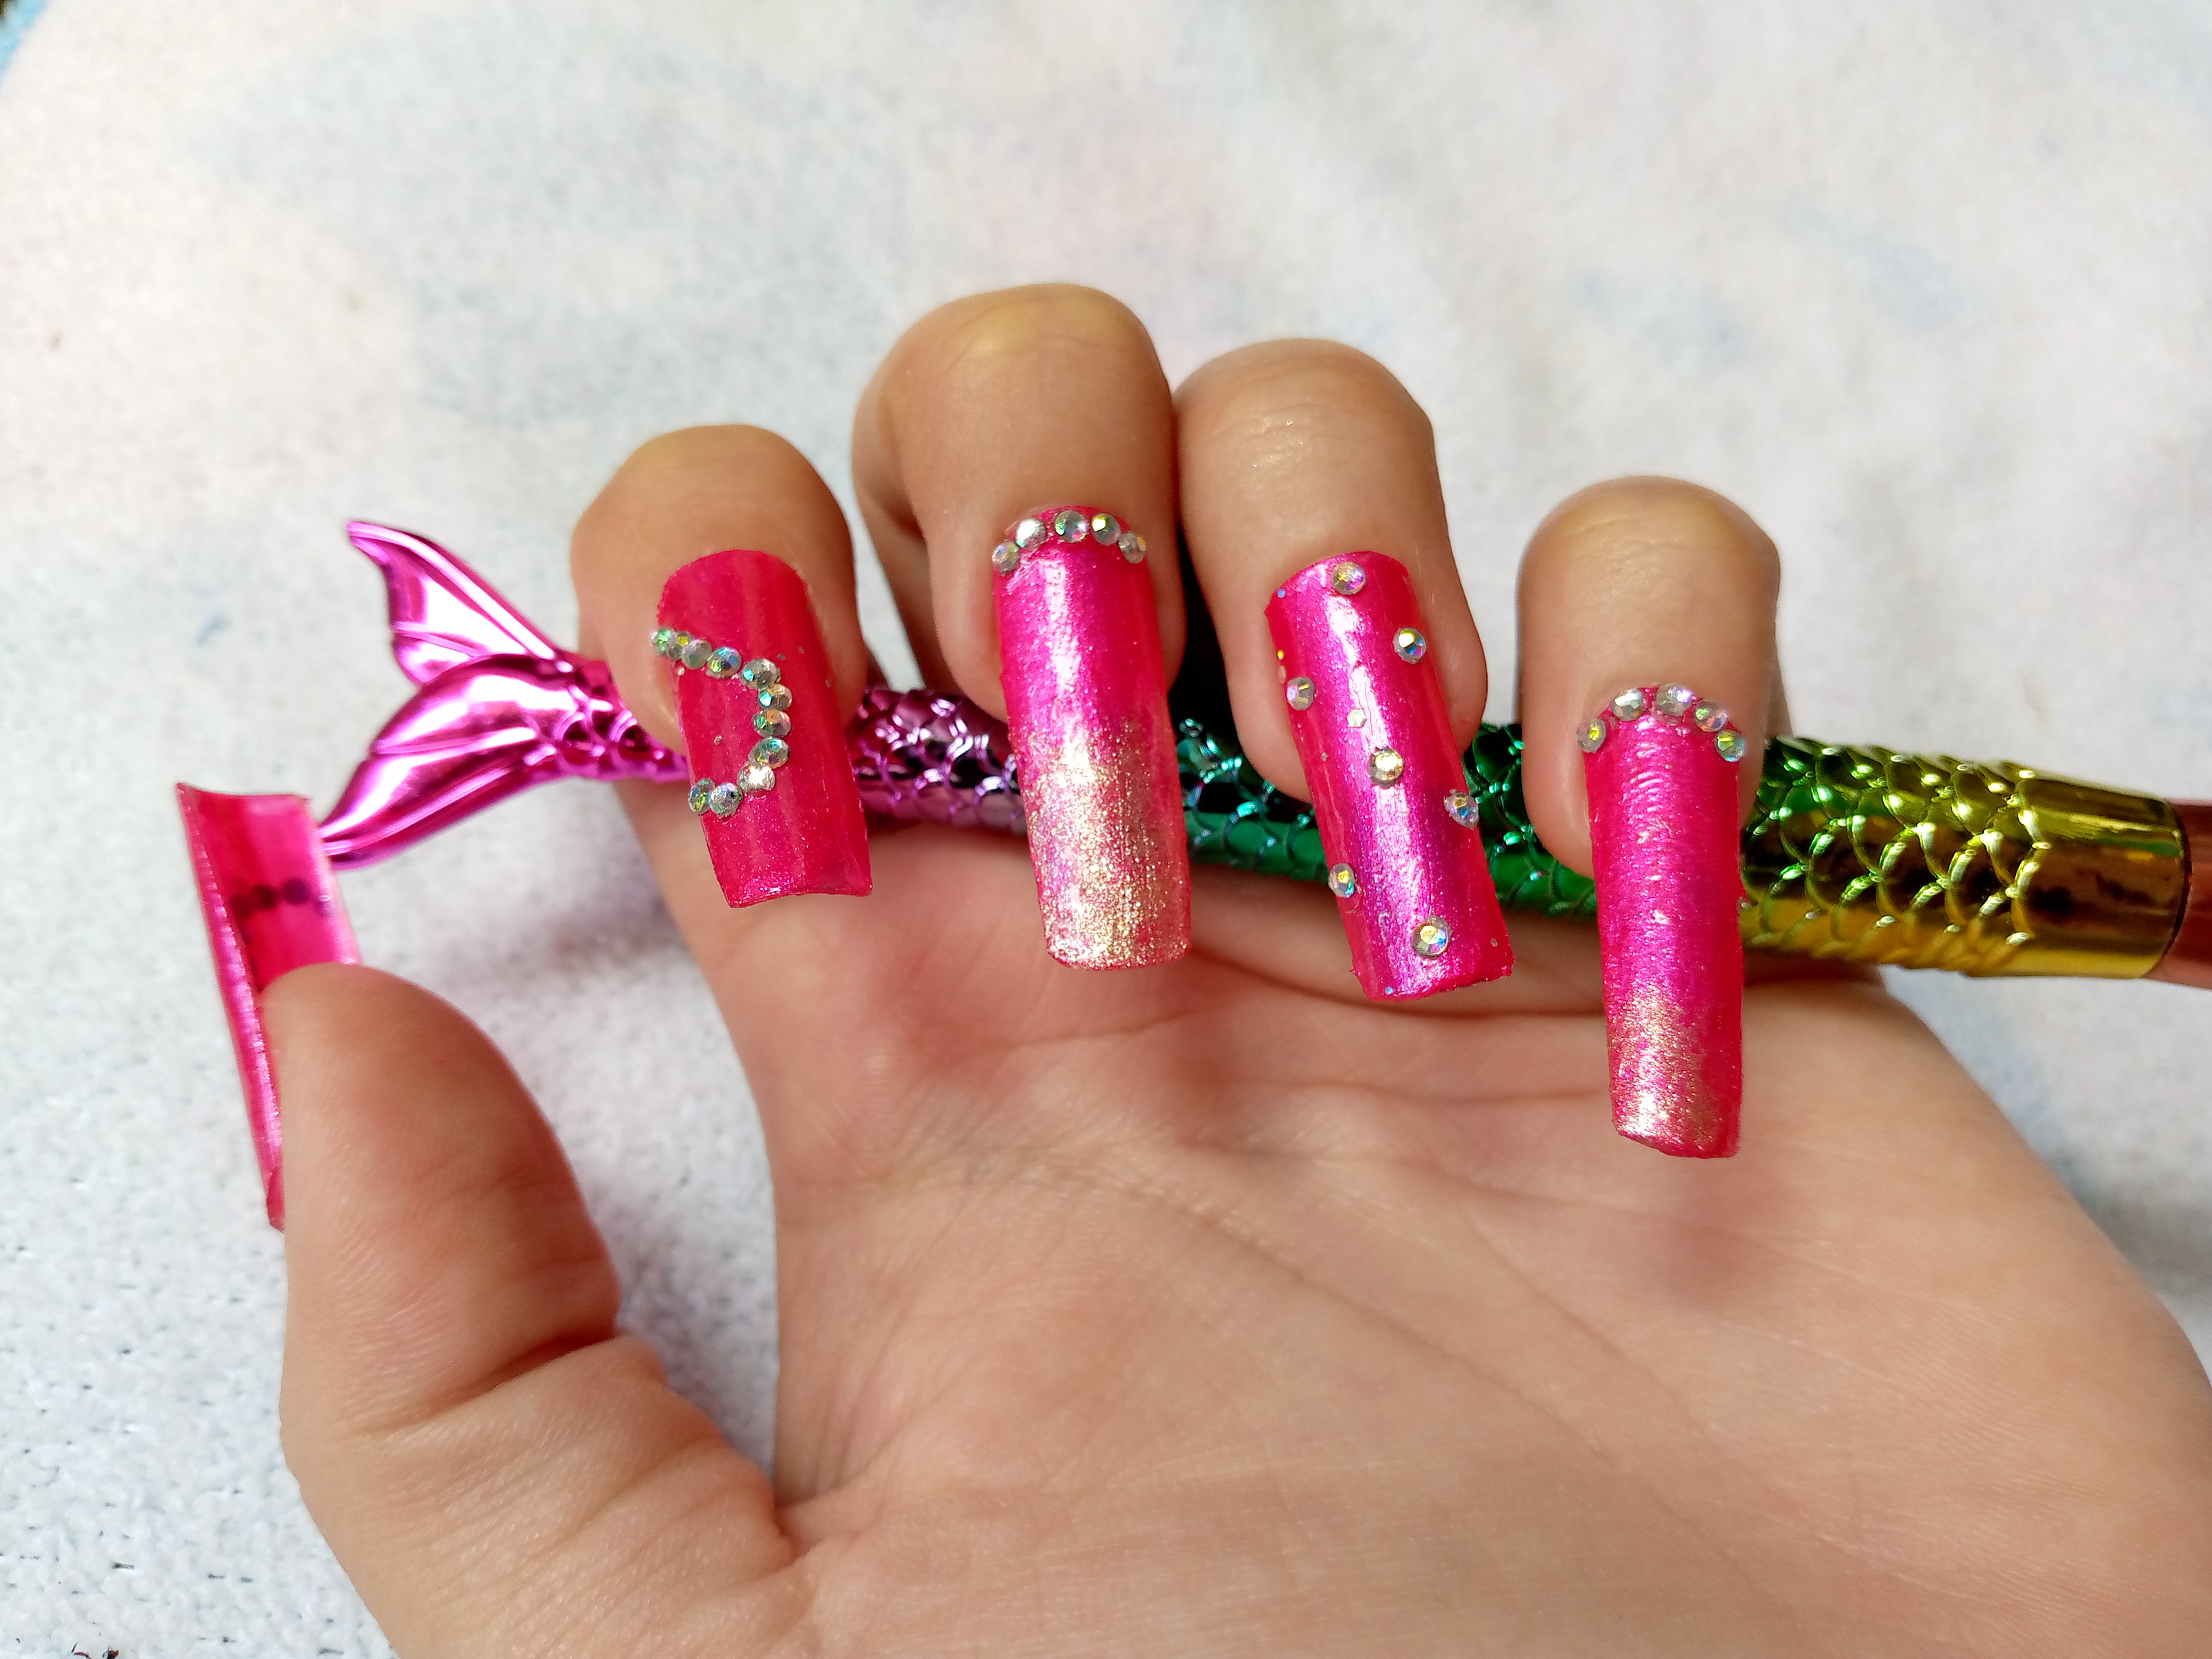
We then finish by painting our nail, I love this part because I can decorate my nails to my liking and decorate them, here I chose this bright fuchsia tone for the base of my nails and with the shiny stones I made like half a heart on the nail of the thumb then the nail of the index finger I also made half of the inverted heart so that between the two nails they complete the shape of the heart and that's how I finished them.
.jpg)

.jpg)
Resultado:
Result:
.jpg)
These are the final results of my nails, I haven't glued them yet but I wanted to show you how they looked by simulating gluing them with adhesive tape underneath and show you how they look, they all look great like this🤭😅 I hope you liked this technique and I hope it also helps you girls to get out of trouble, I say goodbye to you and leave you with some photos here of my nails.
.jpg)

Muy linda idea amiga @anne002, espero poder intentarlo en casa aprendiendo contigo. Bendiciones.
Gracias hermosa me alegra te haya gustado a ti también está idea espero te ayude mucho 🥰
Que interesante la verdad nunca había visto realizar uñas con este material es muy creativo y original, Gracias por el tutorial 😁 me gustó el color que utilizaste
Hola amiga 🤭ay muchas gracias bueno me encanta hacer ideas en 5 minutos para resolver en un momento las cosas jajaja 🌸
Interesante de verdad 😌 me gustó leer
Muchas gracias,saluditos para ti 😊💅🏻✨
Excelente idea y me sorprende la forma que lograste, son totalmente unas uñas de acrílico. Una buena opción para resolver una situación dada
Lindo día @yennysferm71 ,muchas gracias por tu apoyo a mi también me sorprendió 🤭
¡Felicitaciones!
Estás participando para optar a la mención especial que se efectuará el domingo 13 de octubre del 2024 a las 8:00 pm (hora de Venezuela), gracias a la cual el autor del artículo seleccionado recibirá la cantidad de 1 HIVE transferida a su cuenta.
¡También has recibido 1 ENTROKEN! El token del PROYECTO ENTROPÍA impulsado por la plataforma Steem-Engine.
1. Invierte en el PROYECTO ENTROPÍA y recibe ganancias semanalmente. Entra aquí para más información.
2. Contáctanos en Discord: https://discord.gg/hkCjFeb
3. Suscríbete a nuestra COMUNIDADEntra aquí para más información sobre nuestro trail. y apoya al trail de @Entropia y así podrás ganar recompensas de curación de forma automática.
4. Visita nuestro canal de Youtube.
Atentamente
El equipo de curación del PROYECTO ENTROPÍA