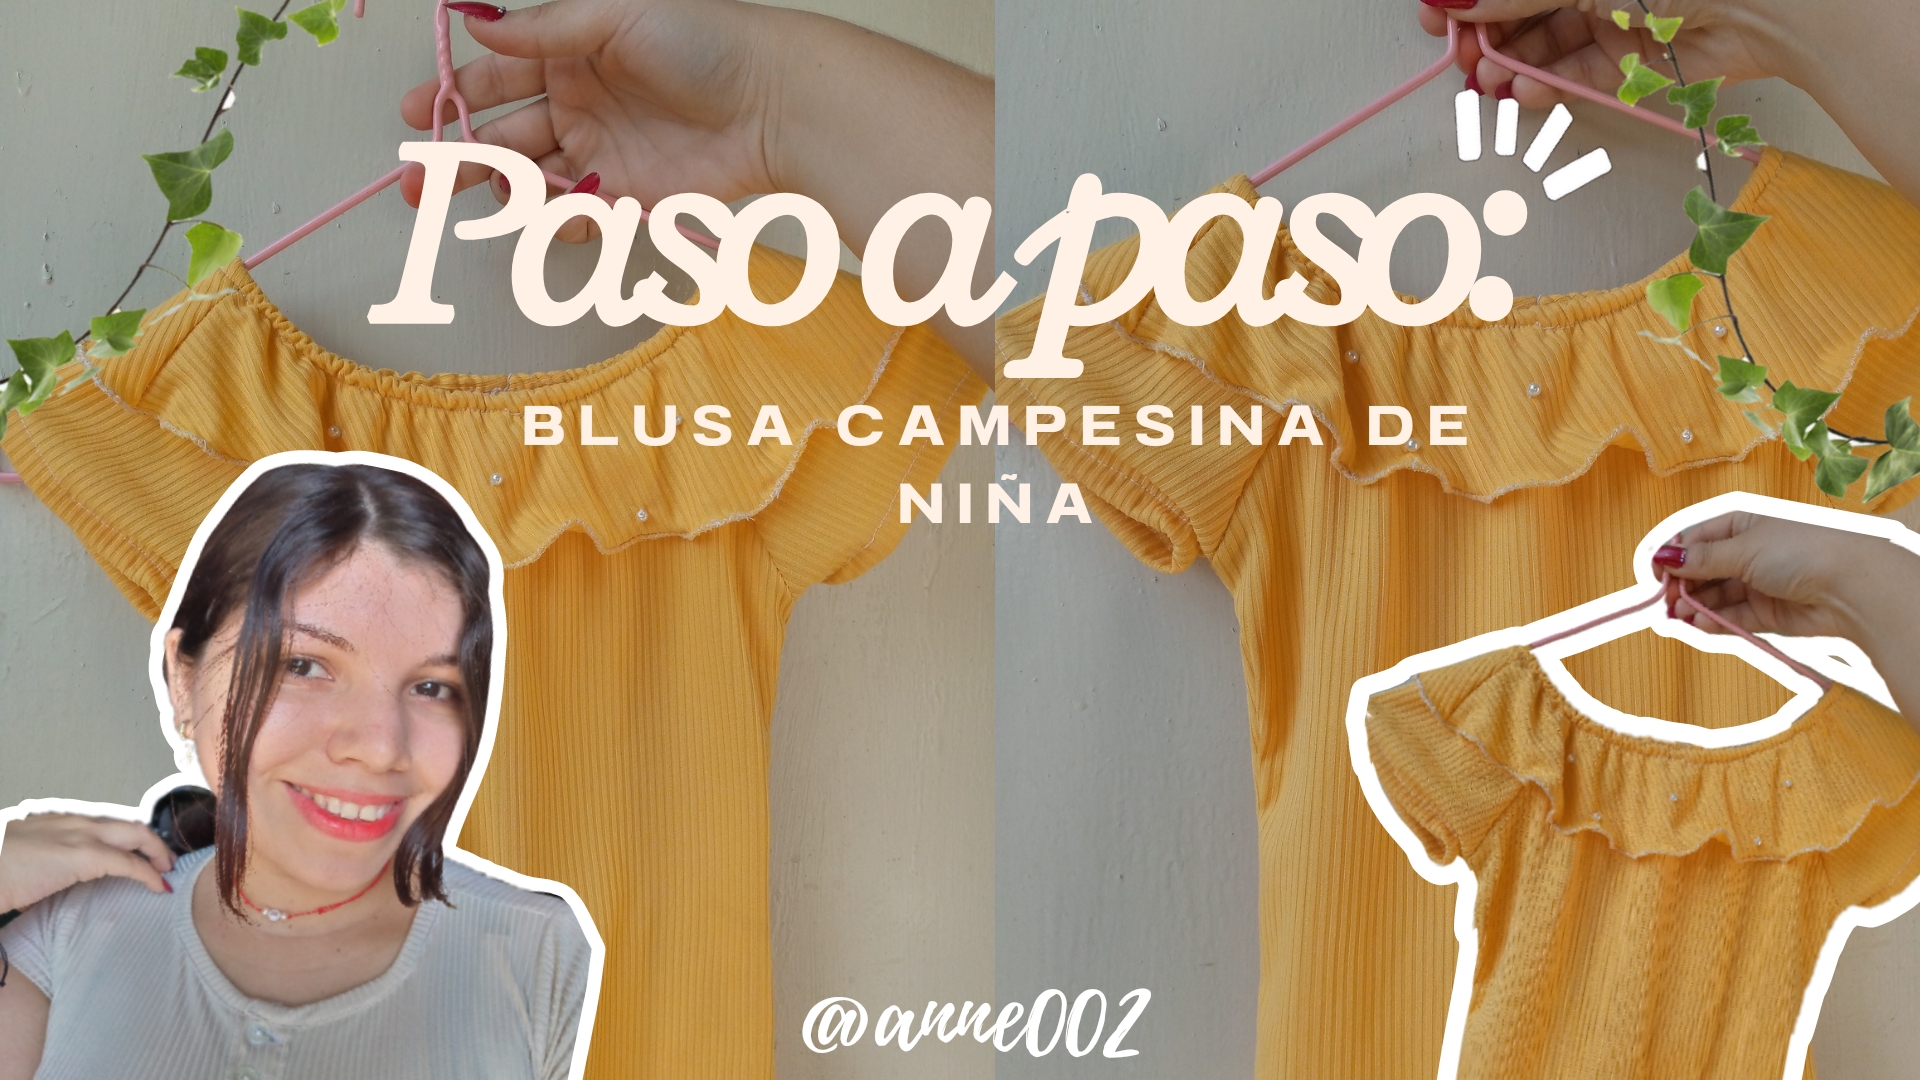
Corte y costura de una blusa modelo campesina para niña✨👚 //Cutting and sewing a peasant blouse for a girl✨👚[Esp~Eng]

in Hive Diy2 days ago

Picsart_25-01-07_11-23-00-713.jpg

¡Bienvenidos a mi blog amigos!

Welcome to my blog friends!

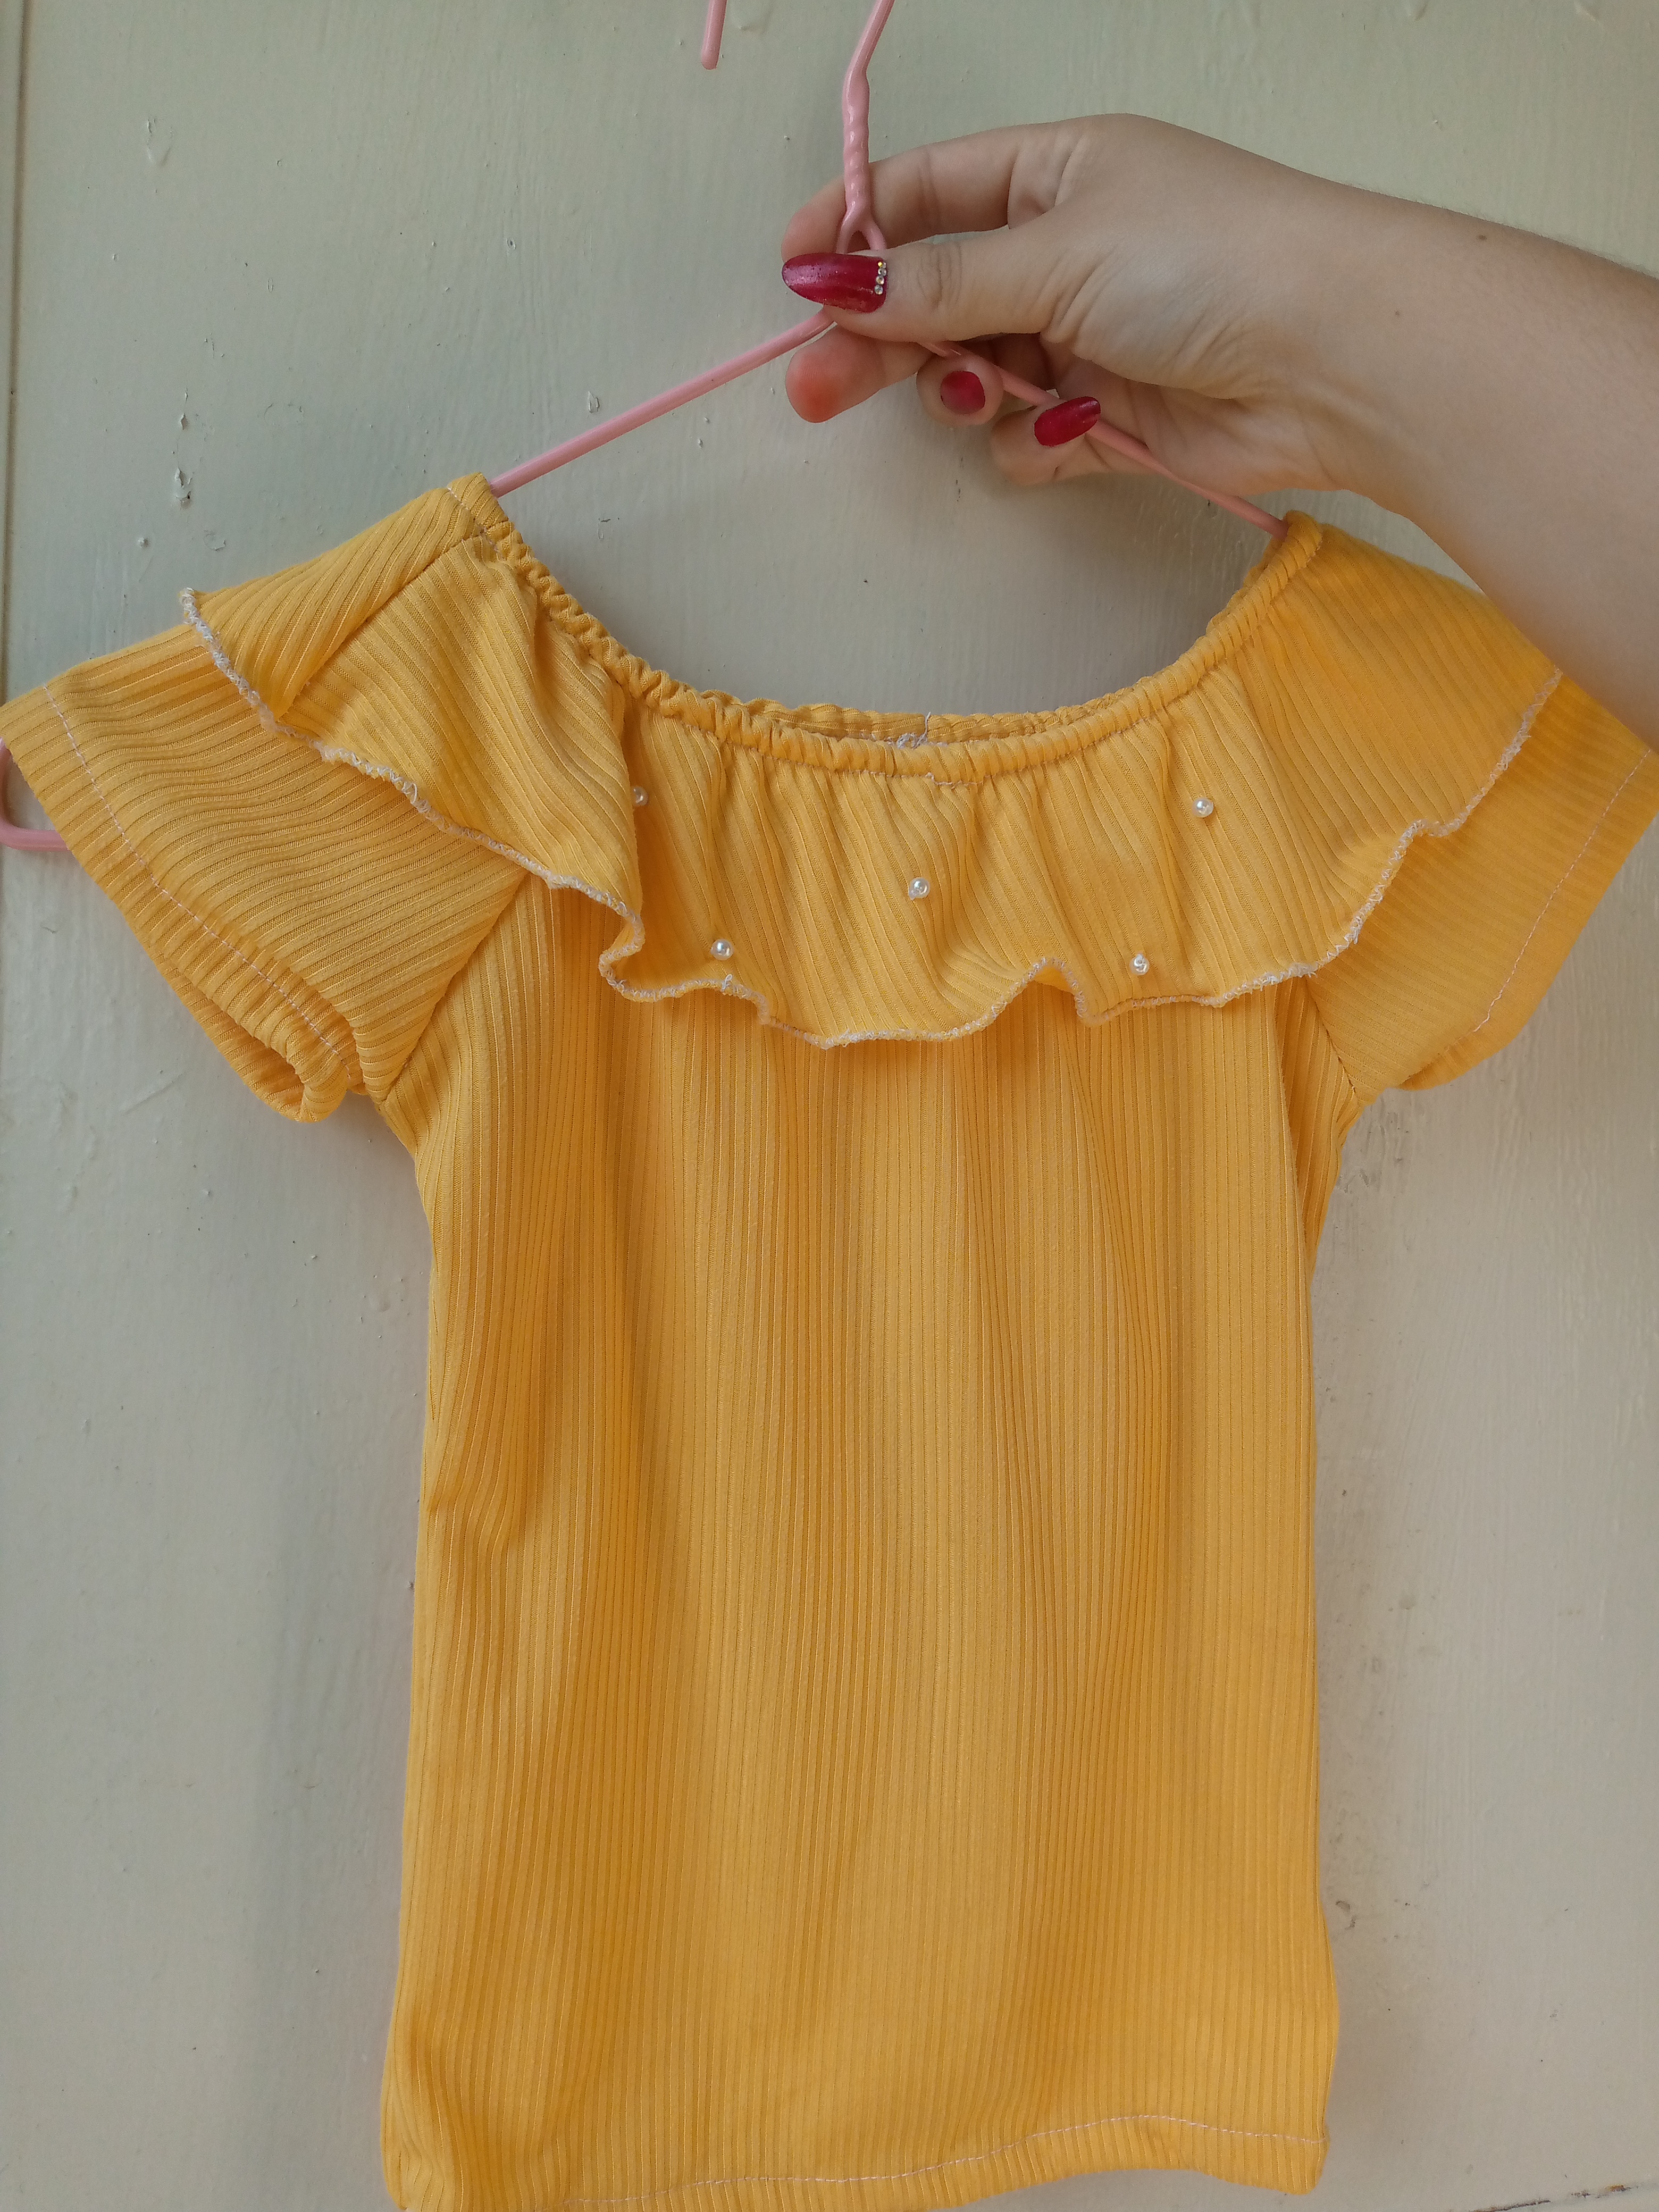
Buenos días queridos artesanos ,me alegraría saber que se encuentran bien ,yo estoy bien gracias a Dios iniciando el día con una nueva confección más,en esta oportunidad es para mi presentarte como es que hice esta blusa muy coqueta estilo campesina y volante para las niñas,su diseño es muy bonito y es una prenda casual que las niñas pueden usar para cualquier ocasión,a mí siempre me ha gustado hacer ropa de niña en colores un poco suaves ya que siento se les ve muy bonito y estas prendas ayudan mucho a mantener su cuerpo fresco ya que ellas tienden a jugar y saltar y lo ideal sería colocarle una blusita en color fresco para que ellas estén cómodas en cualquier lugar.

Good morning dear artisans, I would be glad to know that you are well, I am well thank God starting the day with a new confection, this time it is for me to introduce you how I made this very flirtatious peasant-style blouse with ruffles for girls, its design is very pretty and it is a casual garment that girls can wear for any occasion, I have always liked to make girls' clothes in slightly soft colors because I feel they look very pretty on them and these garments help a lot to keep their body cool since they tend to play and jump and the ideal would be to put a cool-colored blouse on them so that they are comfortable anywhere.

Picsart_24-11-15_15-51-20-828 (1).jpg

Cabe destacar que estilo hasta nosotras también lo podriamos usar a mi me gustan mucho estos modelos ,y pensar que yo no tengo ninguna blusa con este modelo estilo campesino,pero dije bueno por qué no hacérselo a mi prima que ya pronto se nos va y asi se lleve este lindo modelito de blusa puesto durante el viaje y se sienta cómoda,ya después hago una para mi porque si me gustó bastante como quedó,así que siéntanse cómodos y disfruten del proceso que es hecho con amor para ustedes,espero les guste y puedan confeccionar en algún momento está prenda.

It is worth noting that even we could use this style. I really like these models, and to think that I do not have any blouse with this peasant style model, but I said, well, why not make it for my cousin who is leaving soon and thus she can wear this cute little blouse model during the trip and feel comfortable. Later I will make one for myself because I really liked how it turned out, so feel comfortable and enjoy the process that is made with love for you. I hope you like it and can make this garment at some point.

IMG_20250106_114918_192 (1).jpg

Picsart_24-11-15_15-51-20-828 (1).jpg

Materiales:// Materials:

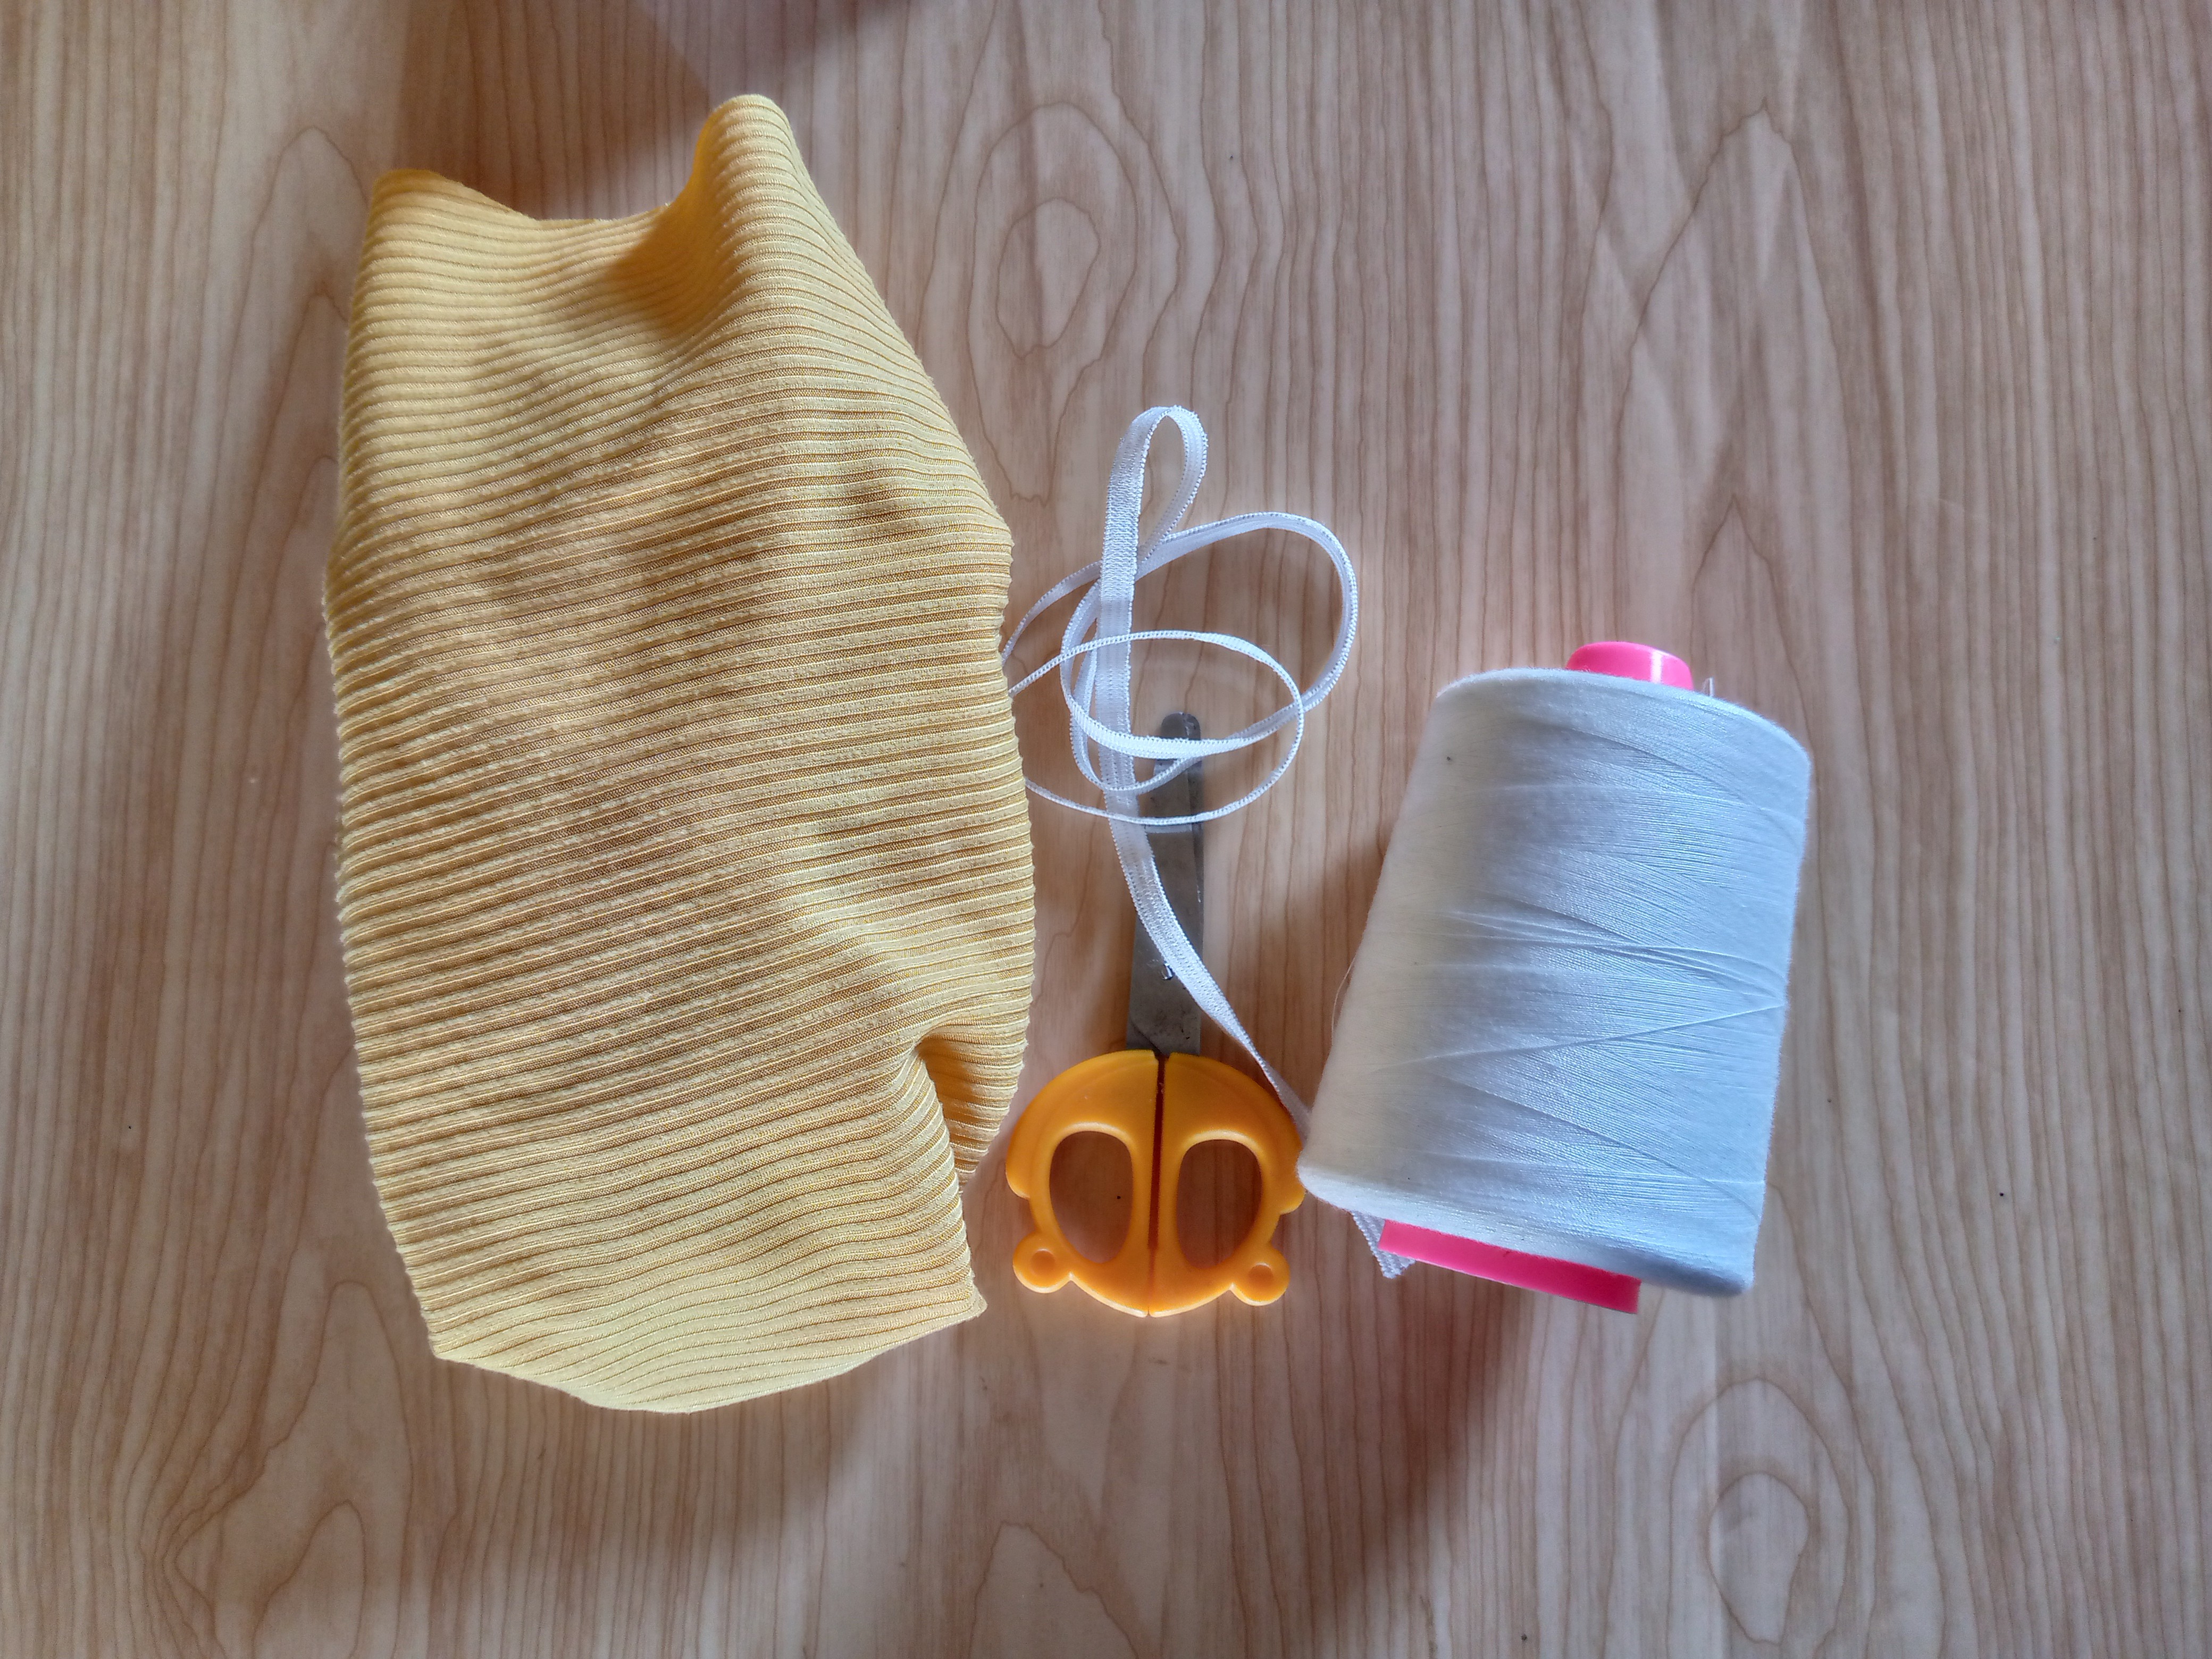
  • Necesitaremos 40 cm de tela acanalada
  • Agujas
  • Hilo
  • Perlitas decorativas en blanco o del color que desees
  • Máquina de coser
  • Elastico de 1 cm de ancho necesitaremos 30 cm
  • Nuestras tijeras

  • We will need 40 cm of ribbed fabric
  • Needles
  • Thread
  • Decorative pearls in white or the colour of your choice
  • Sewing machine
  • 1 cm wide elastic we will need 30 cm
  • Our scissors

Picsart_24-11-15_15-51-20-828 (1).jpg

Pasos a seguir://Steps to follow:

Picsart_25-01-07_11-52-50-627.jpg

Paso 01

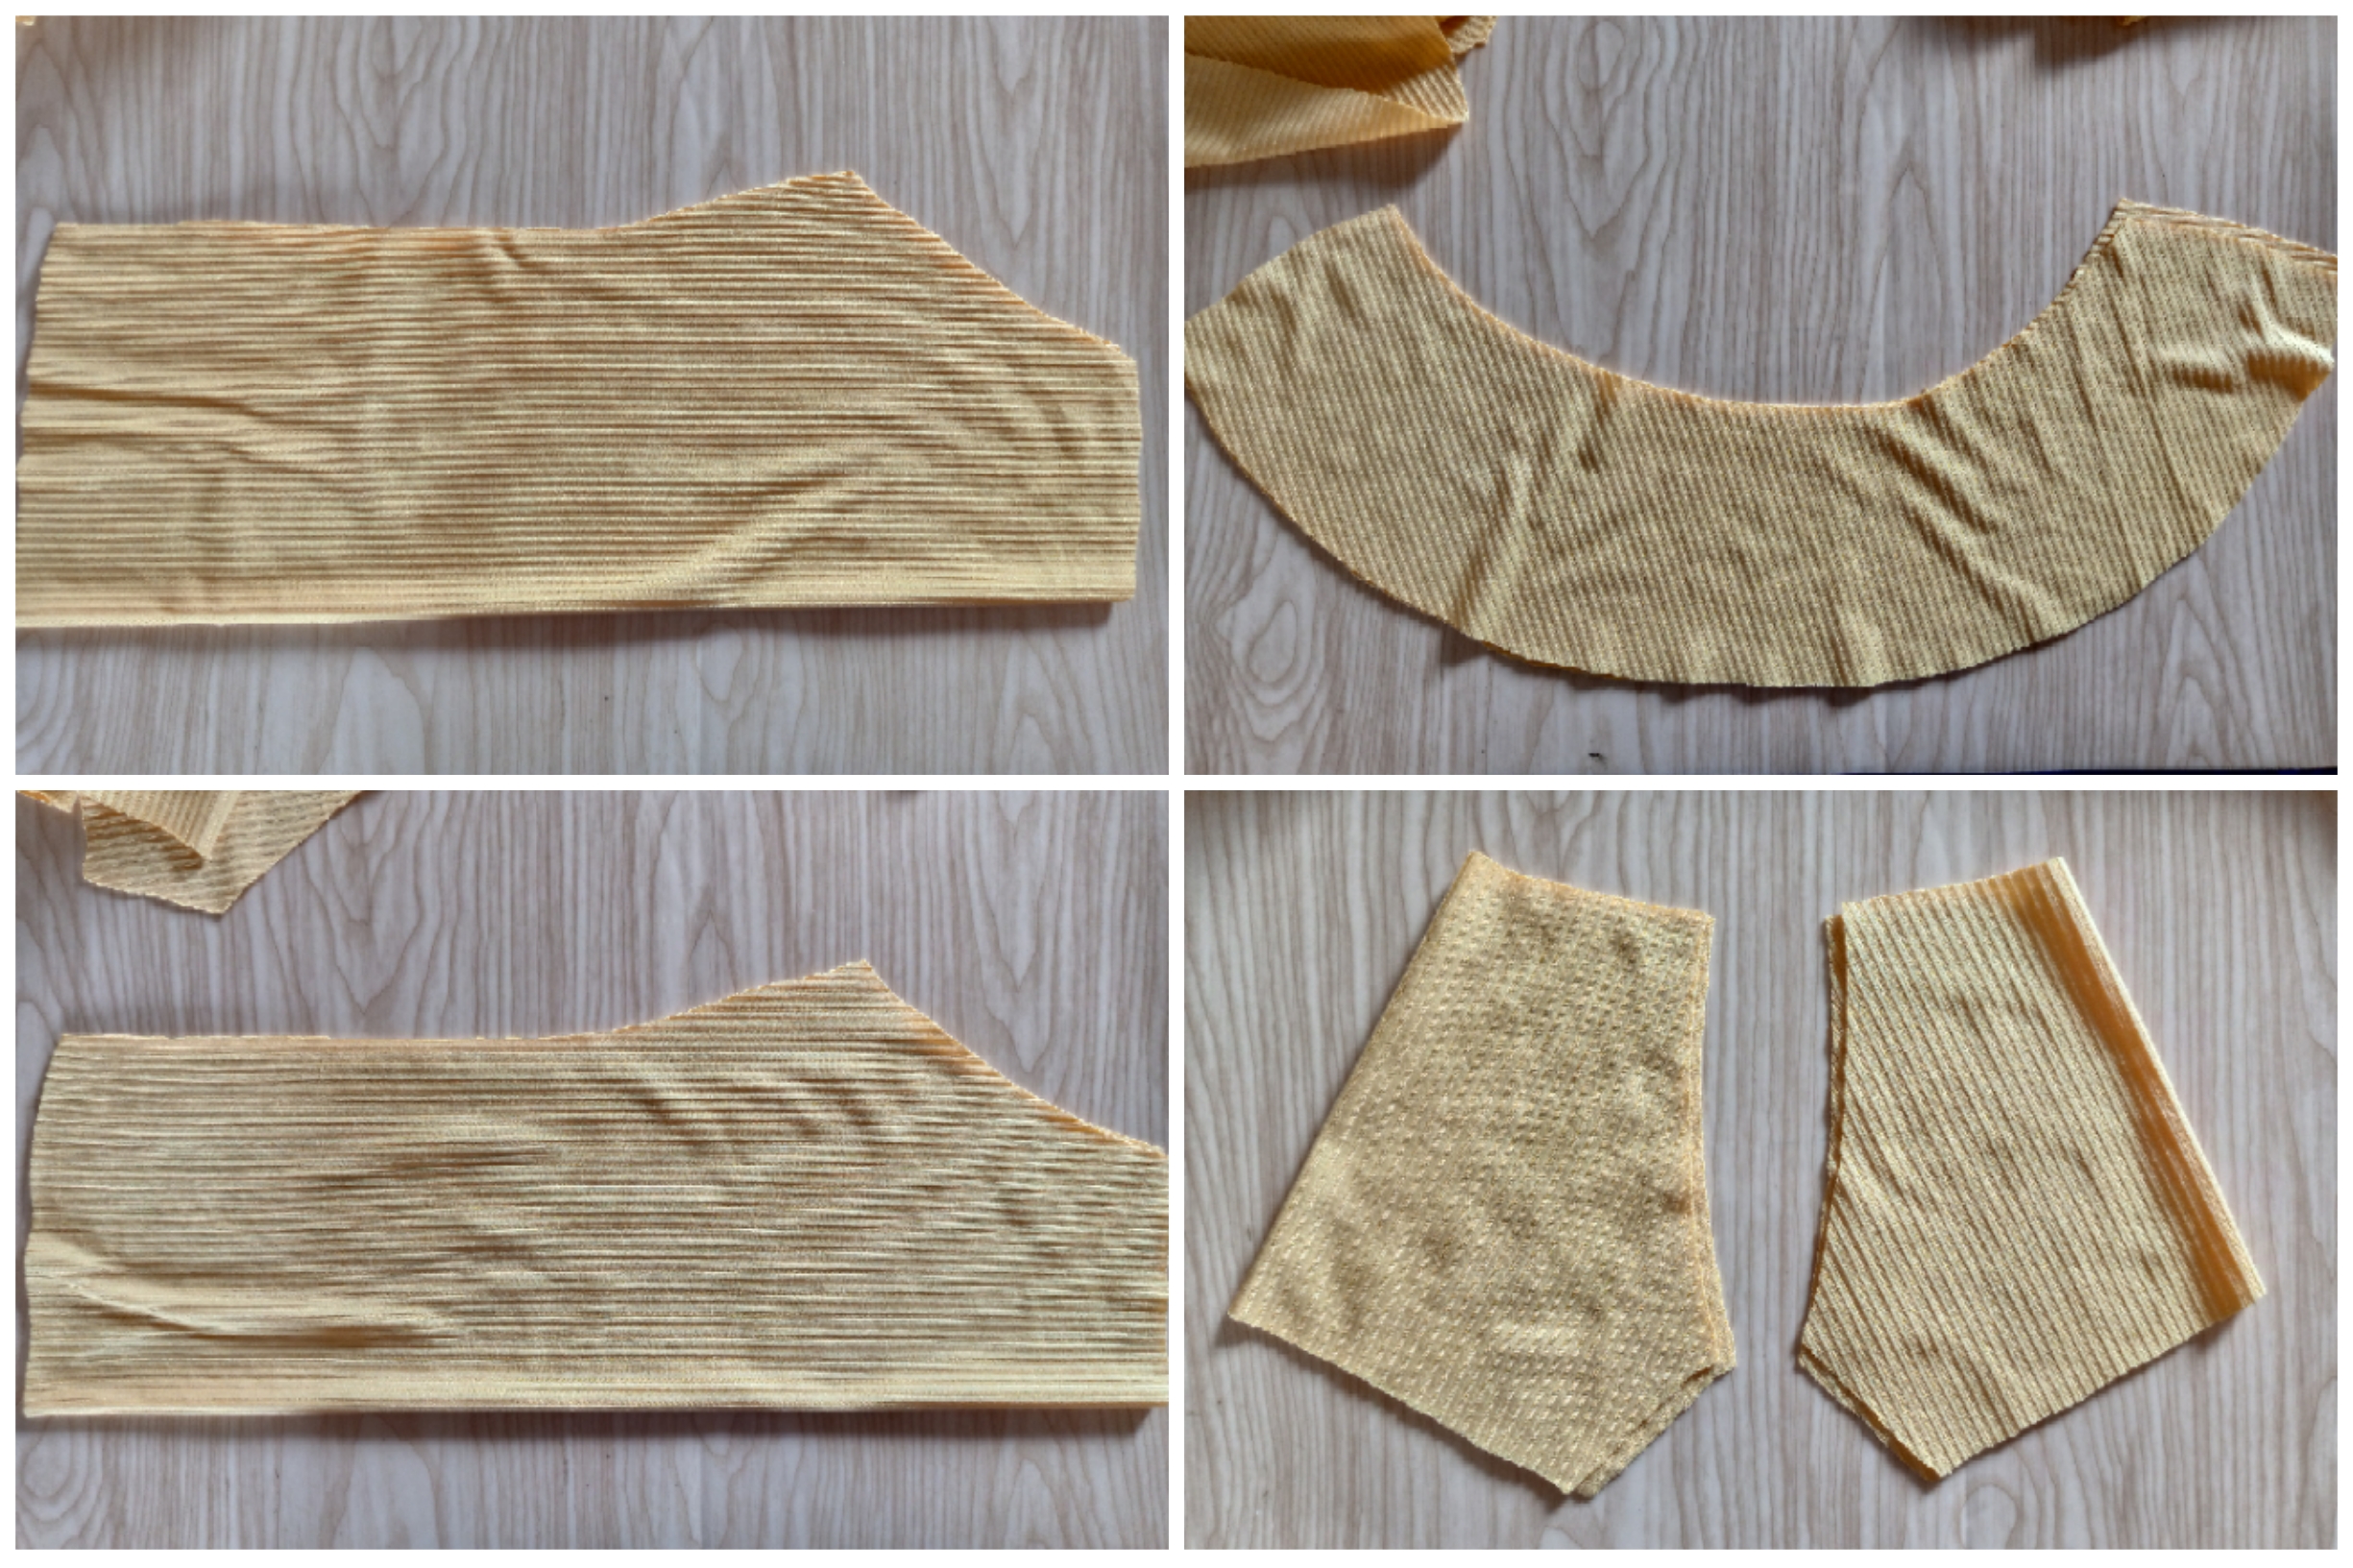
Antes de empezar a coser corté las piezas correspondientes,les cuento que yo no tenía ni idea de cómo hacer la manga al principio porque no se me da mucho haciéndola pero encontré un patrón que tenía guardado y la demás piezas de abajo las corté por una prenda usándola de medida de mi prima y solamente corté la sisa inclinada y el cuello cuadrado asi hice con las dos piezas la de adelante y atrás , corté también el vuelo de la blusa que va por todo el contorno de mi cuello.

Step 01

Before I started sewing I cut out the corresponding pieces. I have to tell you that I had no idea how to make the sleeve at first because I'm not very good at making them, but I found a pattern that I had saved and I cut the rest of the pieces below from a garment using my cousin's measurements and I only cut out the slanted armhole and the square neck, so I made the front and back with the two pieces. I also cut out the flare of the blouse that goes around the entire contour of my neck.

Picsart_25-01-07_11-55-23-816.jpg

Paso 02

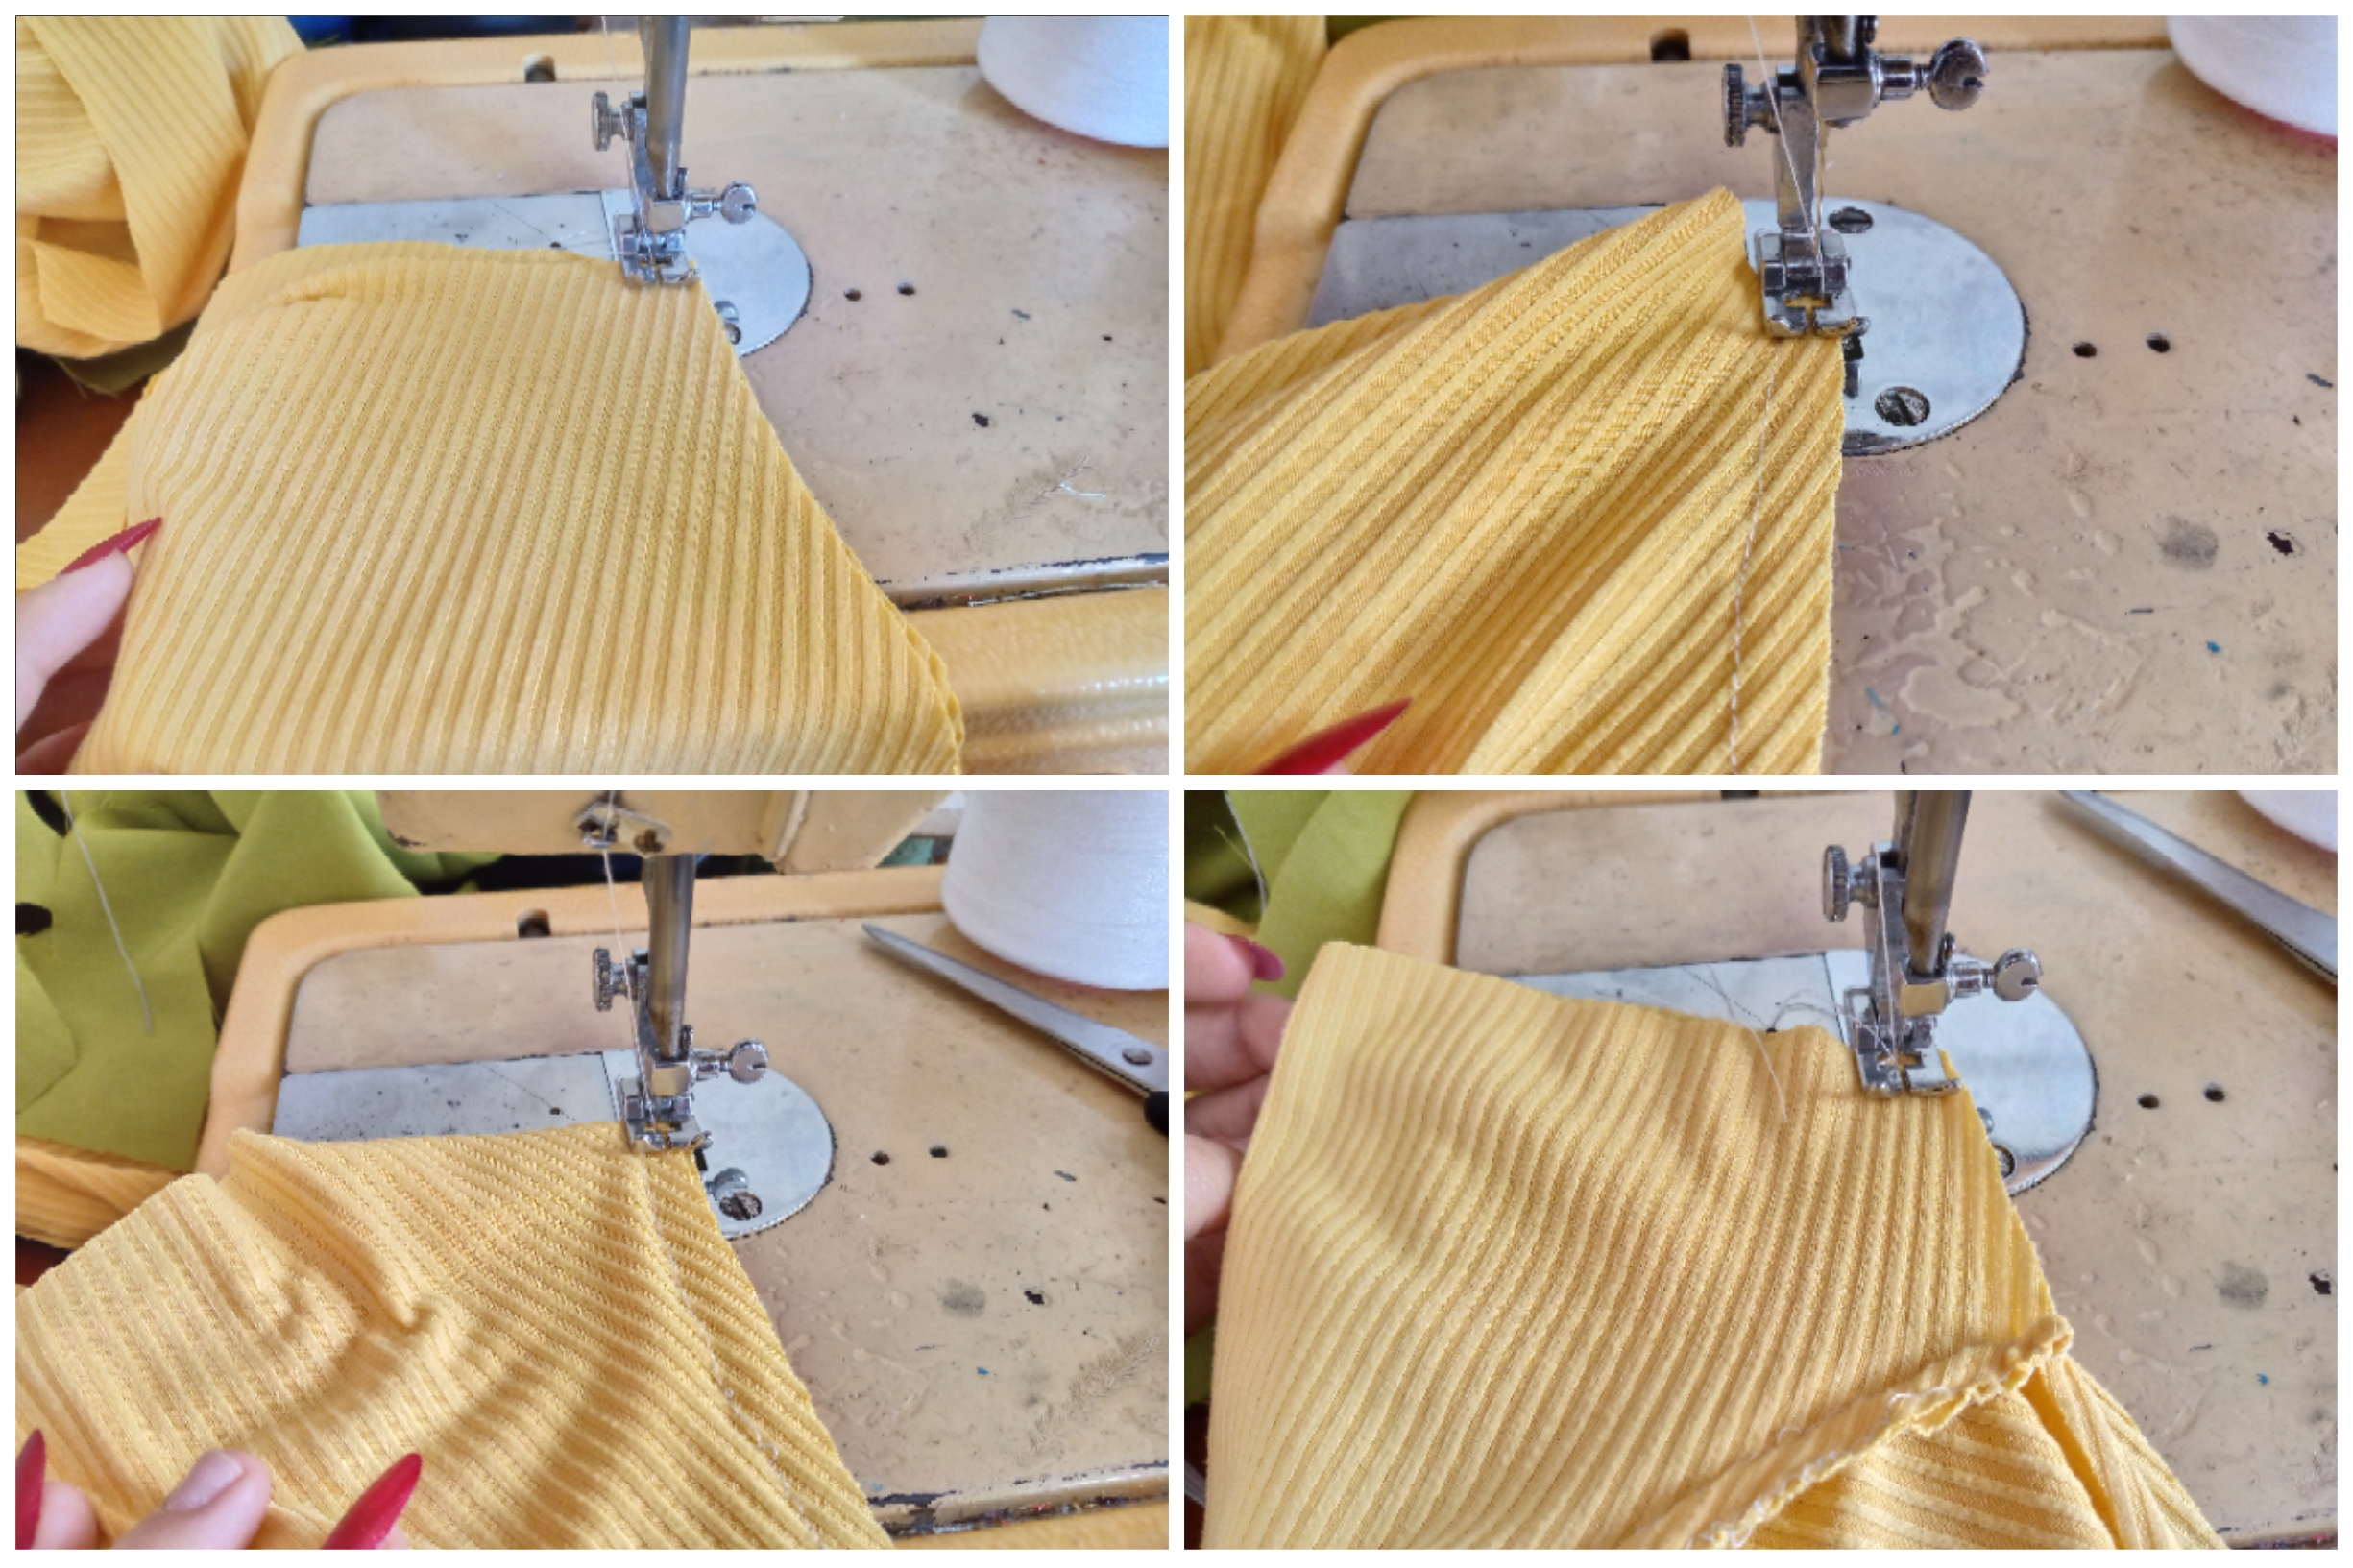
Entonces para empezar a coser estaré uniendo en la parte de la sisa de la pieza de adelante las mangas por los costados de la misma ,cosemos con costura recta y por los bordes la costura falsa overlock con zig zag.Estaremos cosiendo después en la parte de atrás las mismas mangas del otro lado y por último sellamos nuestra blusa por los costados de la punta de la manga hasta abajo de la blusa.

Step 02

So to start sewing I will be joining the sleeves on the armhole part of the front piece by the sides of it, we will sew with a straight stitch and along the edges the false overlock seam with a zig zag. We will then be sewing the same sleeves on the other side on the back part and finally we will seal our blouse by the sides from the tip of the sleeve to the bottom of the blouse.

Picsart_25-01-07_11-56-32-503.jpg

Paso 03

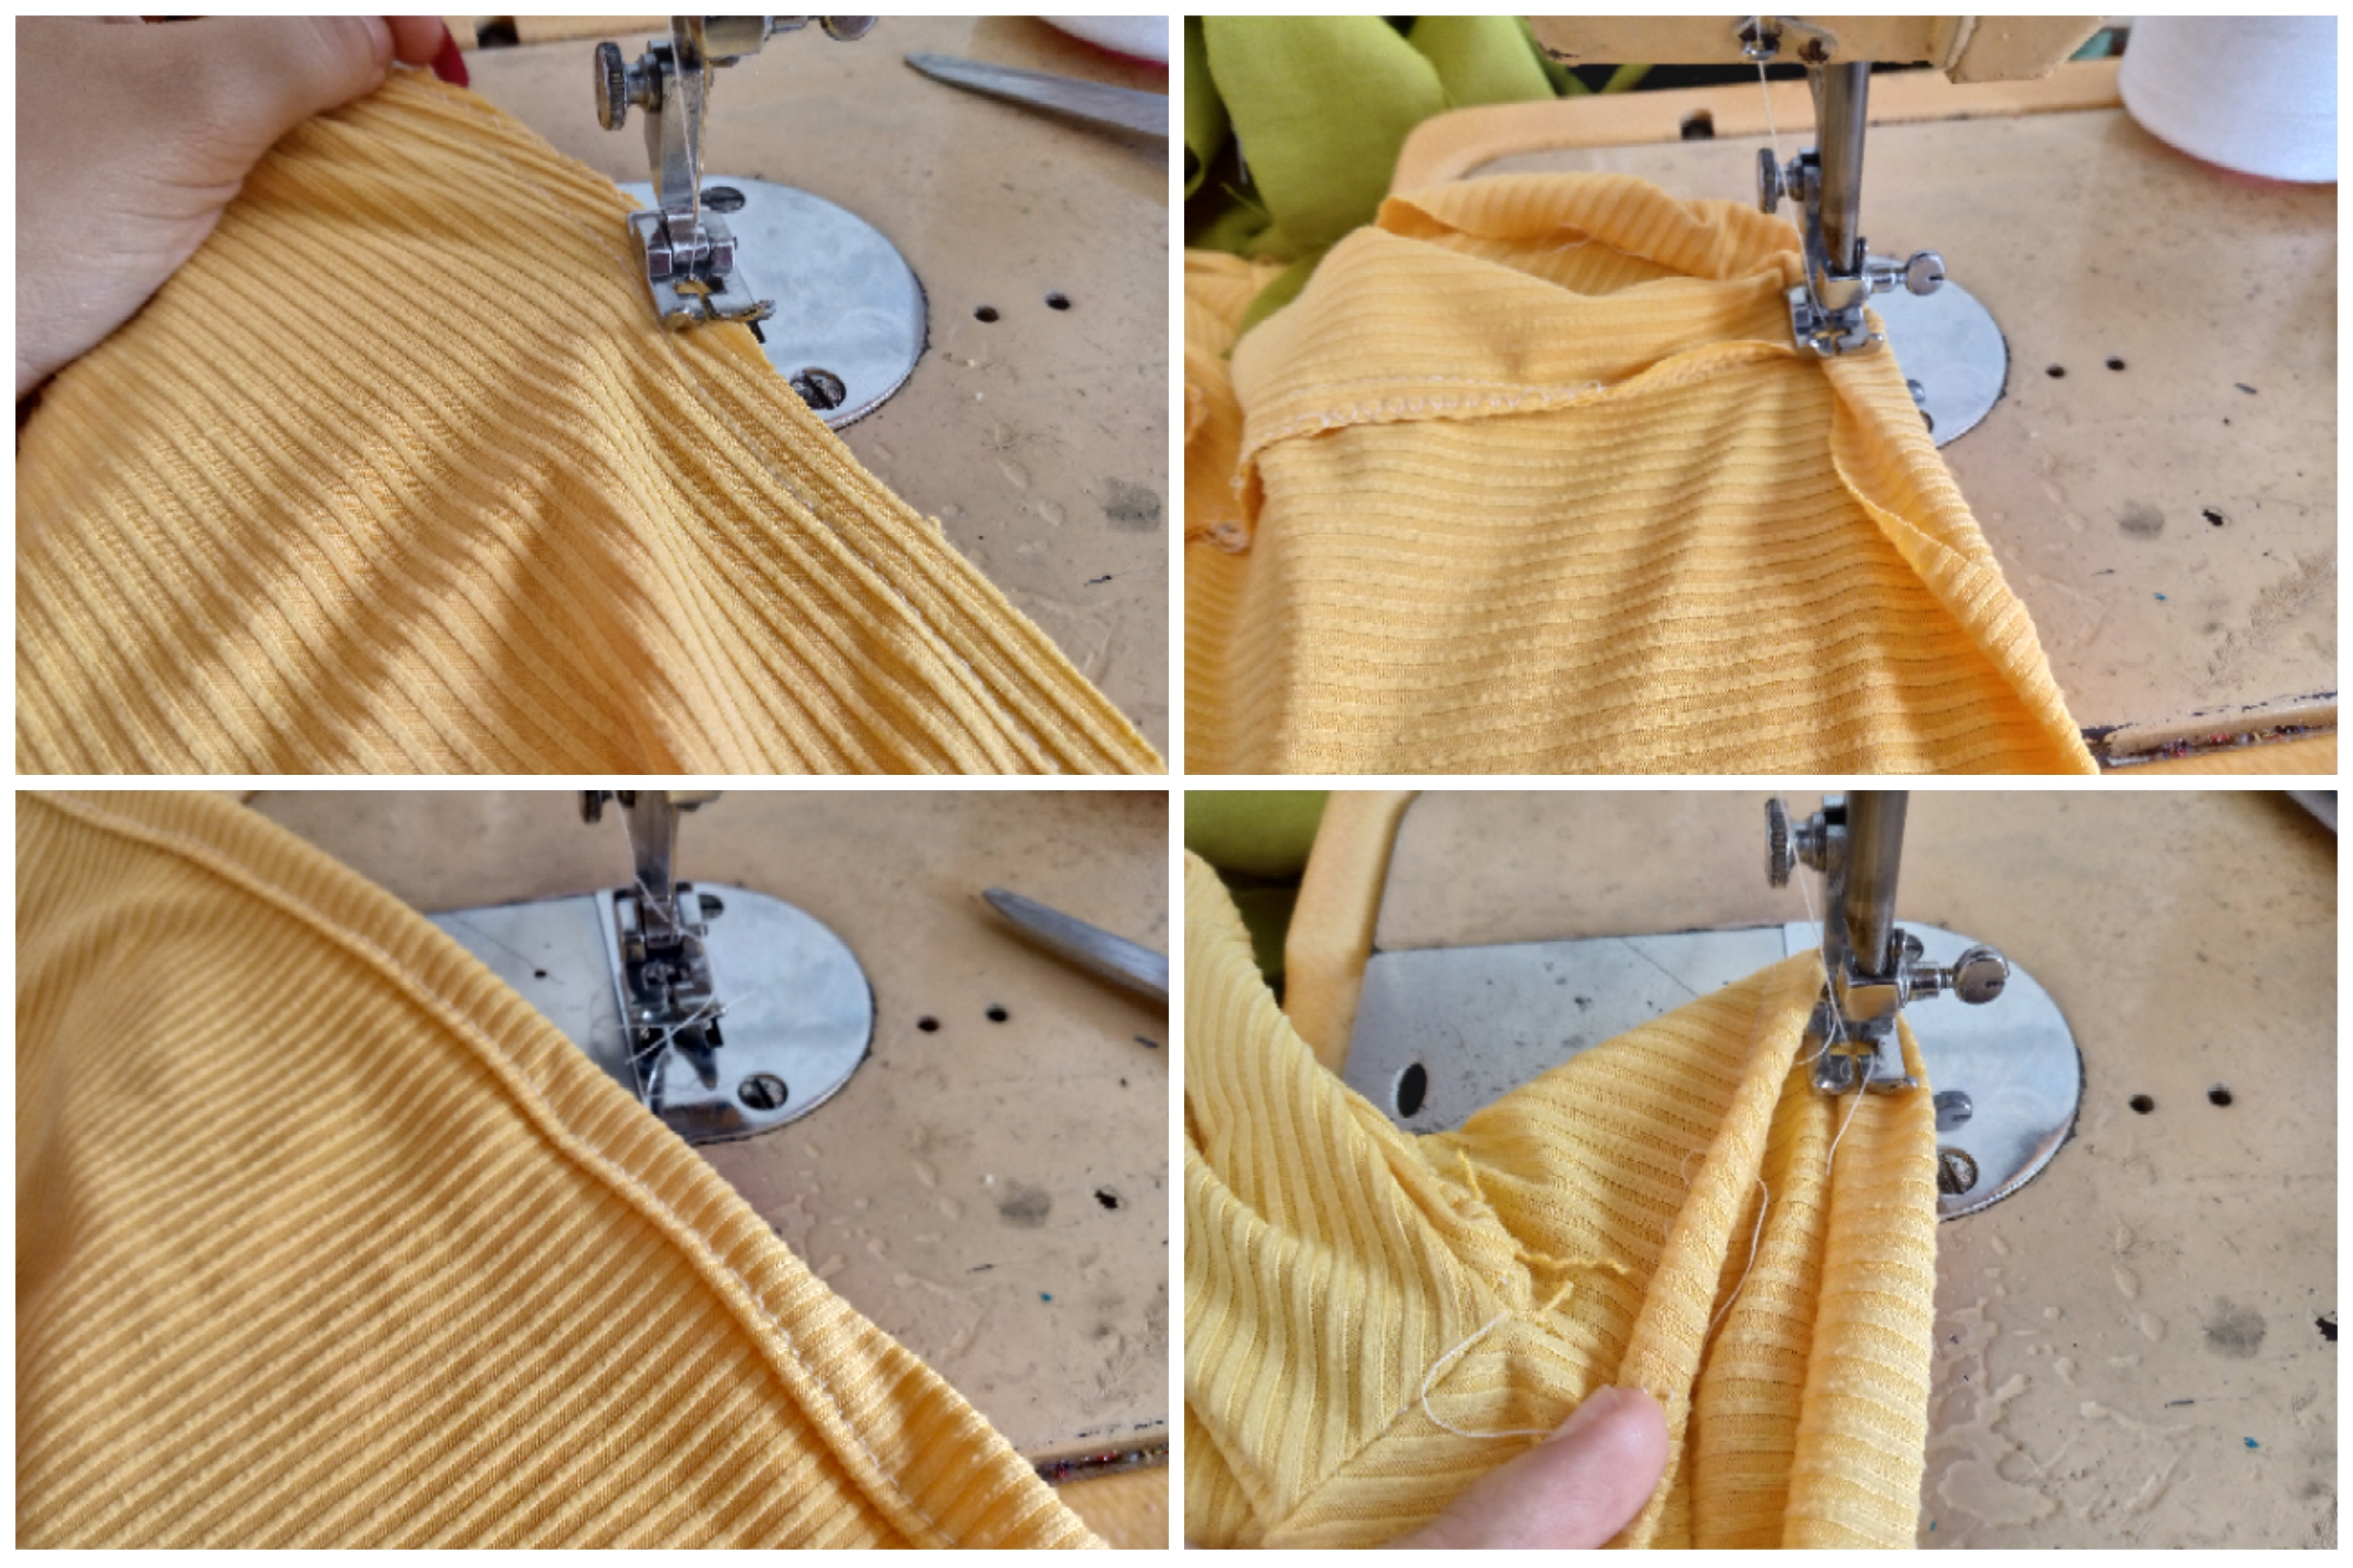
Rematé con el zig zag por el borde de la blusa,y fuí cosiendo los dobladillos de la parte de abajo tanto como el de cada manga , éstos los hice como de 1 cm de ancho no tan grueso.

Step 03

I finished with the zig zag along the edge of the blouse, and I sewed the hems at the bottom as well as those of each sleeve, I made these about 1 cm wide, not too thick.

Picsart_25-01-07_11-57-28-067.jpg

Paso 04

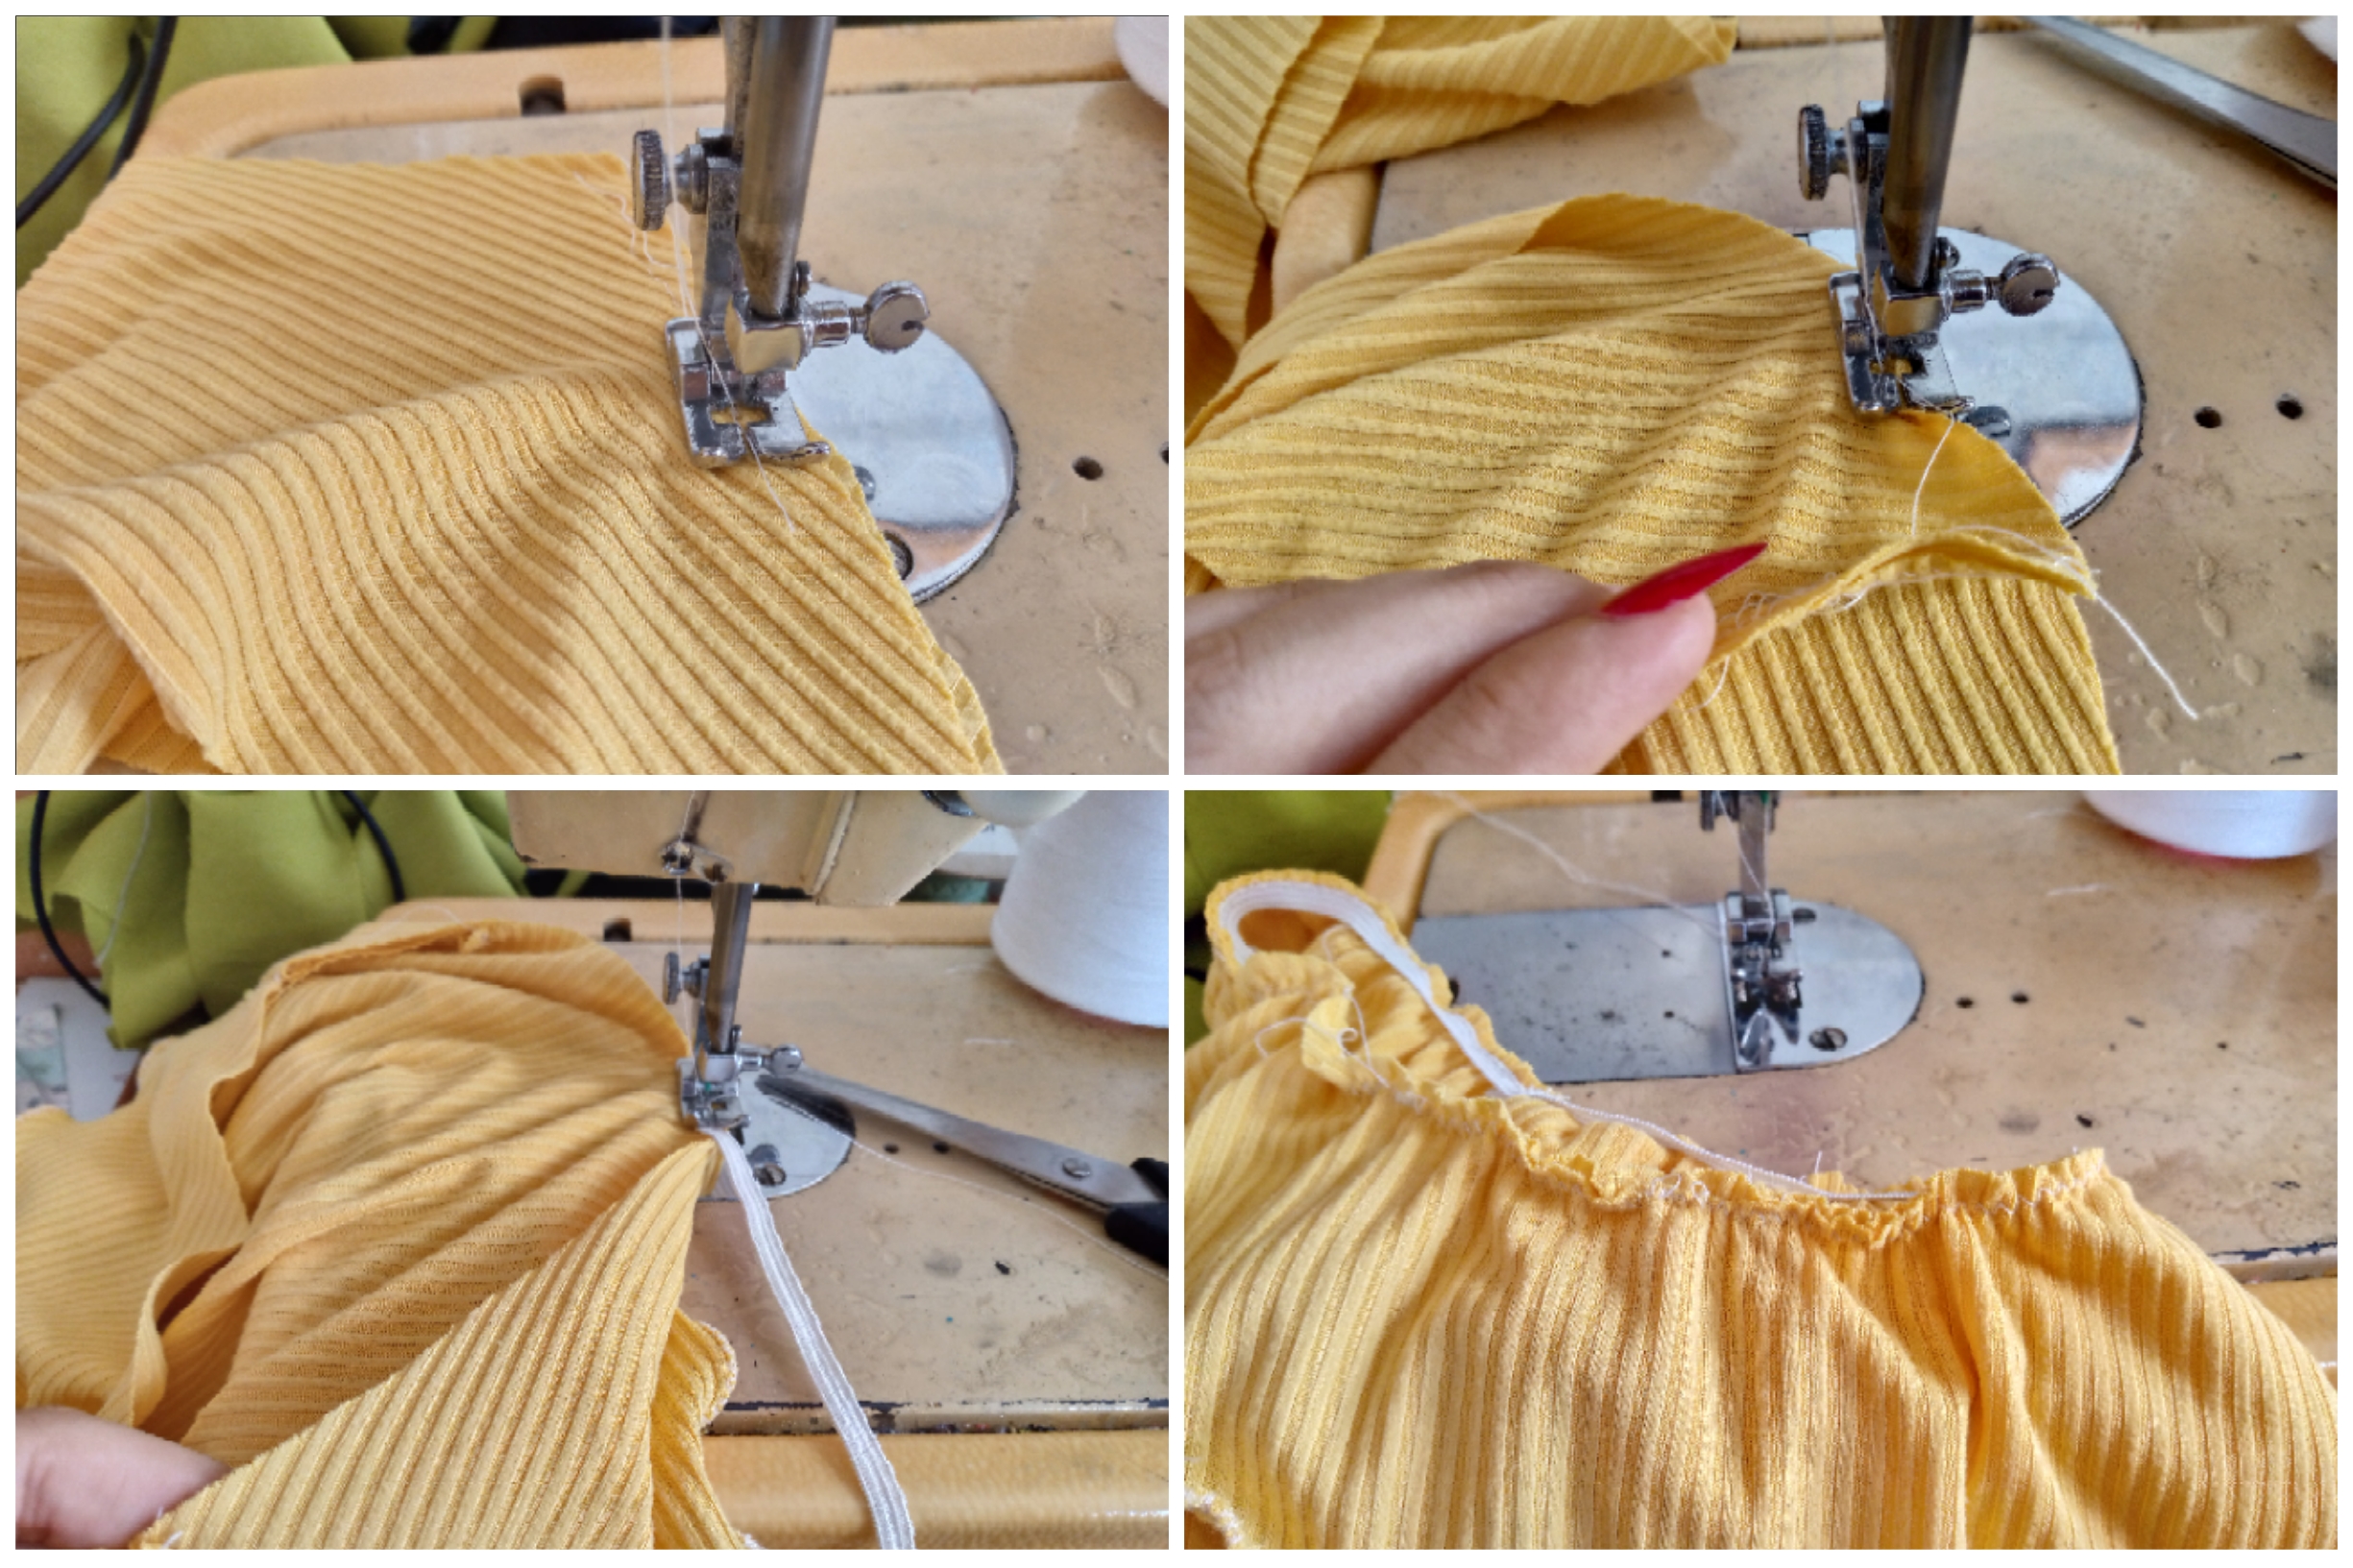
Aquí en este paso vamos a estar entonces cosiendo por los extremos del vuelo y lo vamos a sellar y le vamos a pasar costura zig zag por abajo del vuelo y lo estiramos para darle efecto de costura de lechuga, entonces lo ubicaremos en el contorno de nuestra blusa arriba le colocamos un alfiler,que la costura de ambos lados de nuestro vuelo nos quede exactamente en el medio de ambas mangas y vamos a estar colocando nuestro elástico y con la costura en zig zag de una vez cosemos este y lo estiramos poco a poco hasta que lo hayamos cosido por todo el contorno estirando muy bien el elástico.

Step 04

Here in this step we are going to be sewing around the ends of the ruffle and we are going to seal it and we are going to zig zag stitch underneath the ruffle and we will stretch it to give it a lettuce stitch effect, then we will place it on the outline of our blouse and place a pin on top, so that the seam on both sides of our ruffle is exactly in the middle of both sleeves and we are going to place our elastic and with the zig zag stitching we sew this at once and stretch it little by little until we have sewn it around the entire outline, stretching the elastic very well.

Picsart_25-01-07_11-58-52-897.jpg

Paso 05

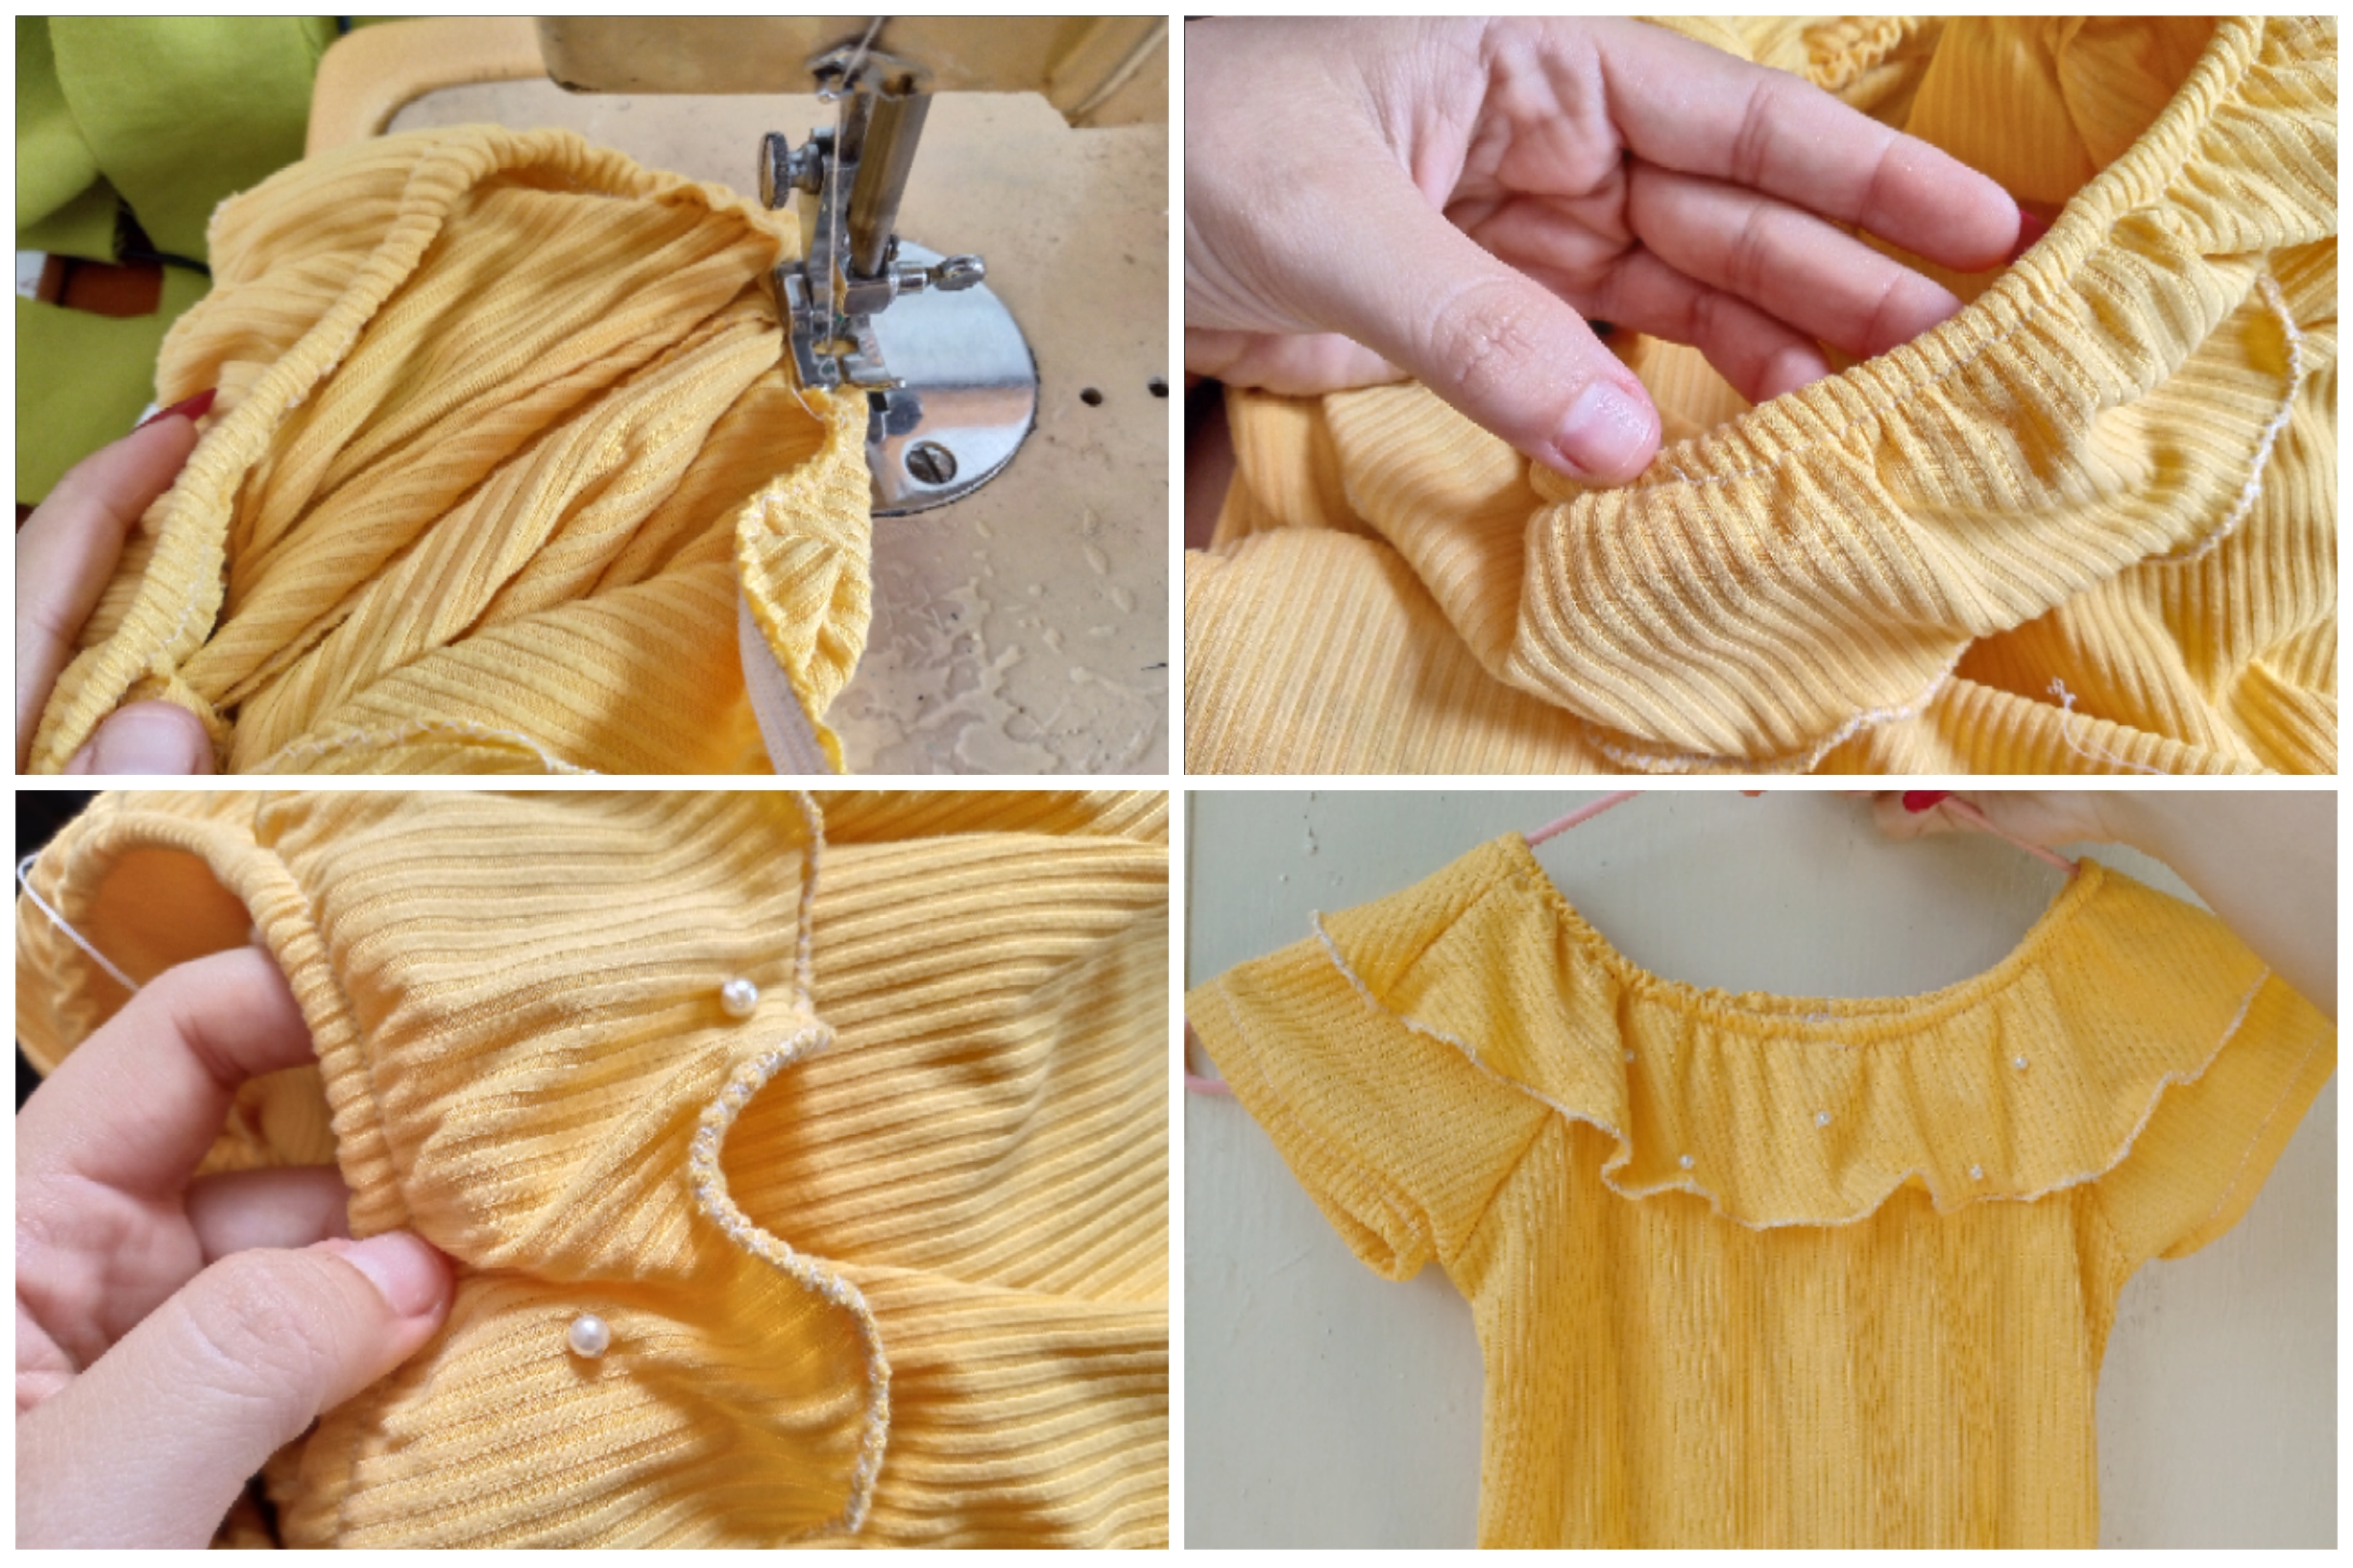
Finalizamos de coser en esta ocasión cosiendo por encima el elástico pero ésta vez con costura recta por todo el contorno mientras vamos estirando y así se ve como nos queda,para finalizar decidí coserle en el vuelo algunas perlitas con hilo las cosí bien para que no se descosieran y asi nos queda lista esta blusa.

Step 05

We finished sewing this time by sewing the elastic over the top, but this time with a straight stitch all the way around while we stretch it, and this is how it looks. To finish, I decided to sew some pearls on the hem with thread. I sewed them well so they wouldn't come undone, and this is how this blouse is ready.


Picsart_24-11-15_15-51-20-828 (1).jpg

Resultado:// Result:

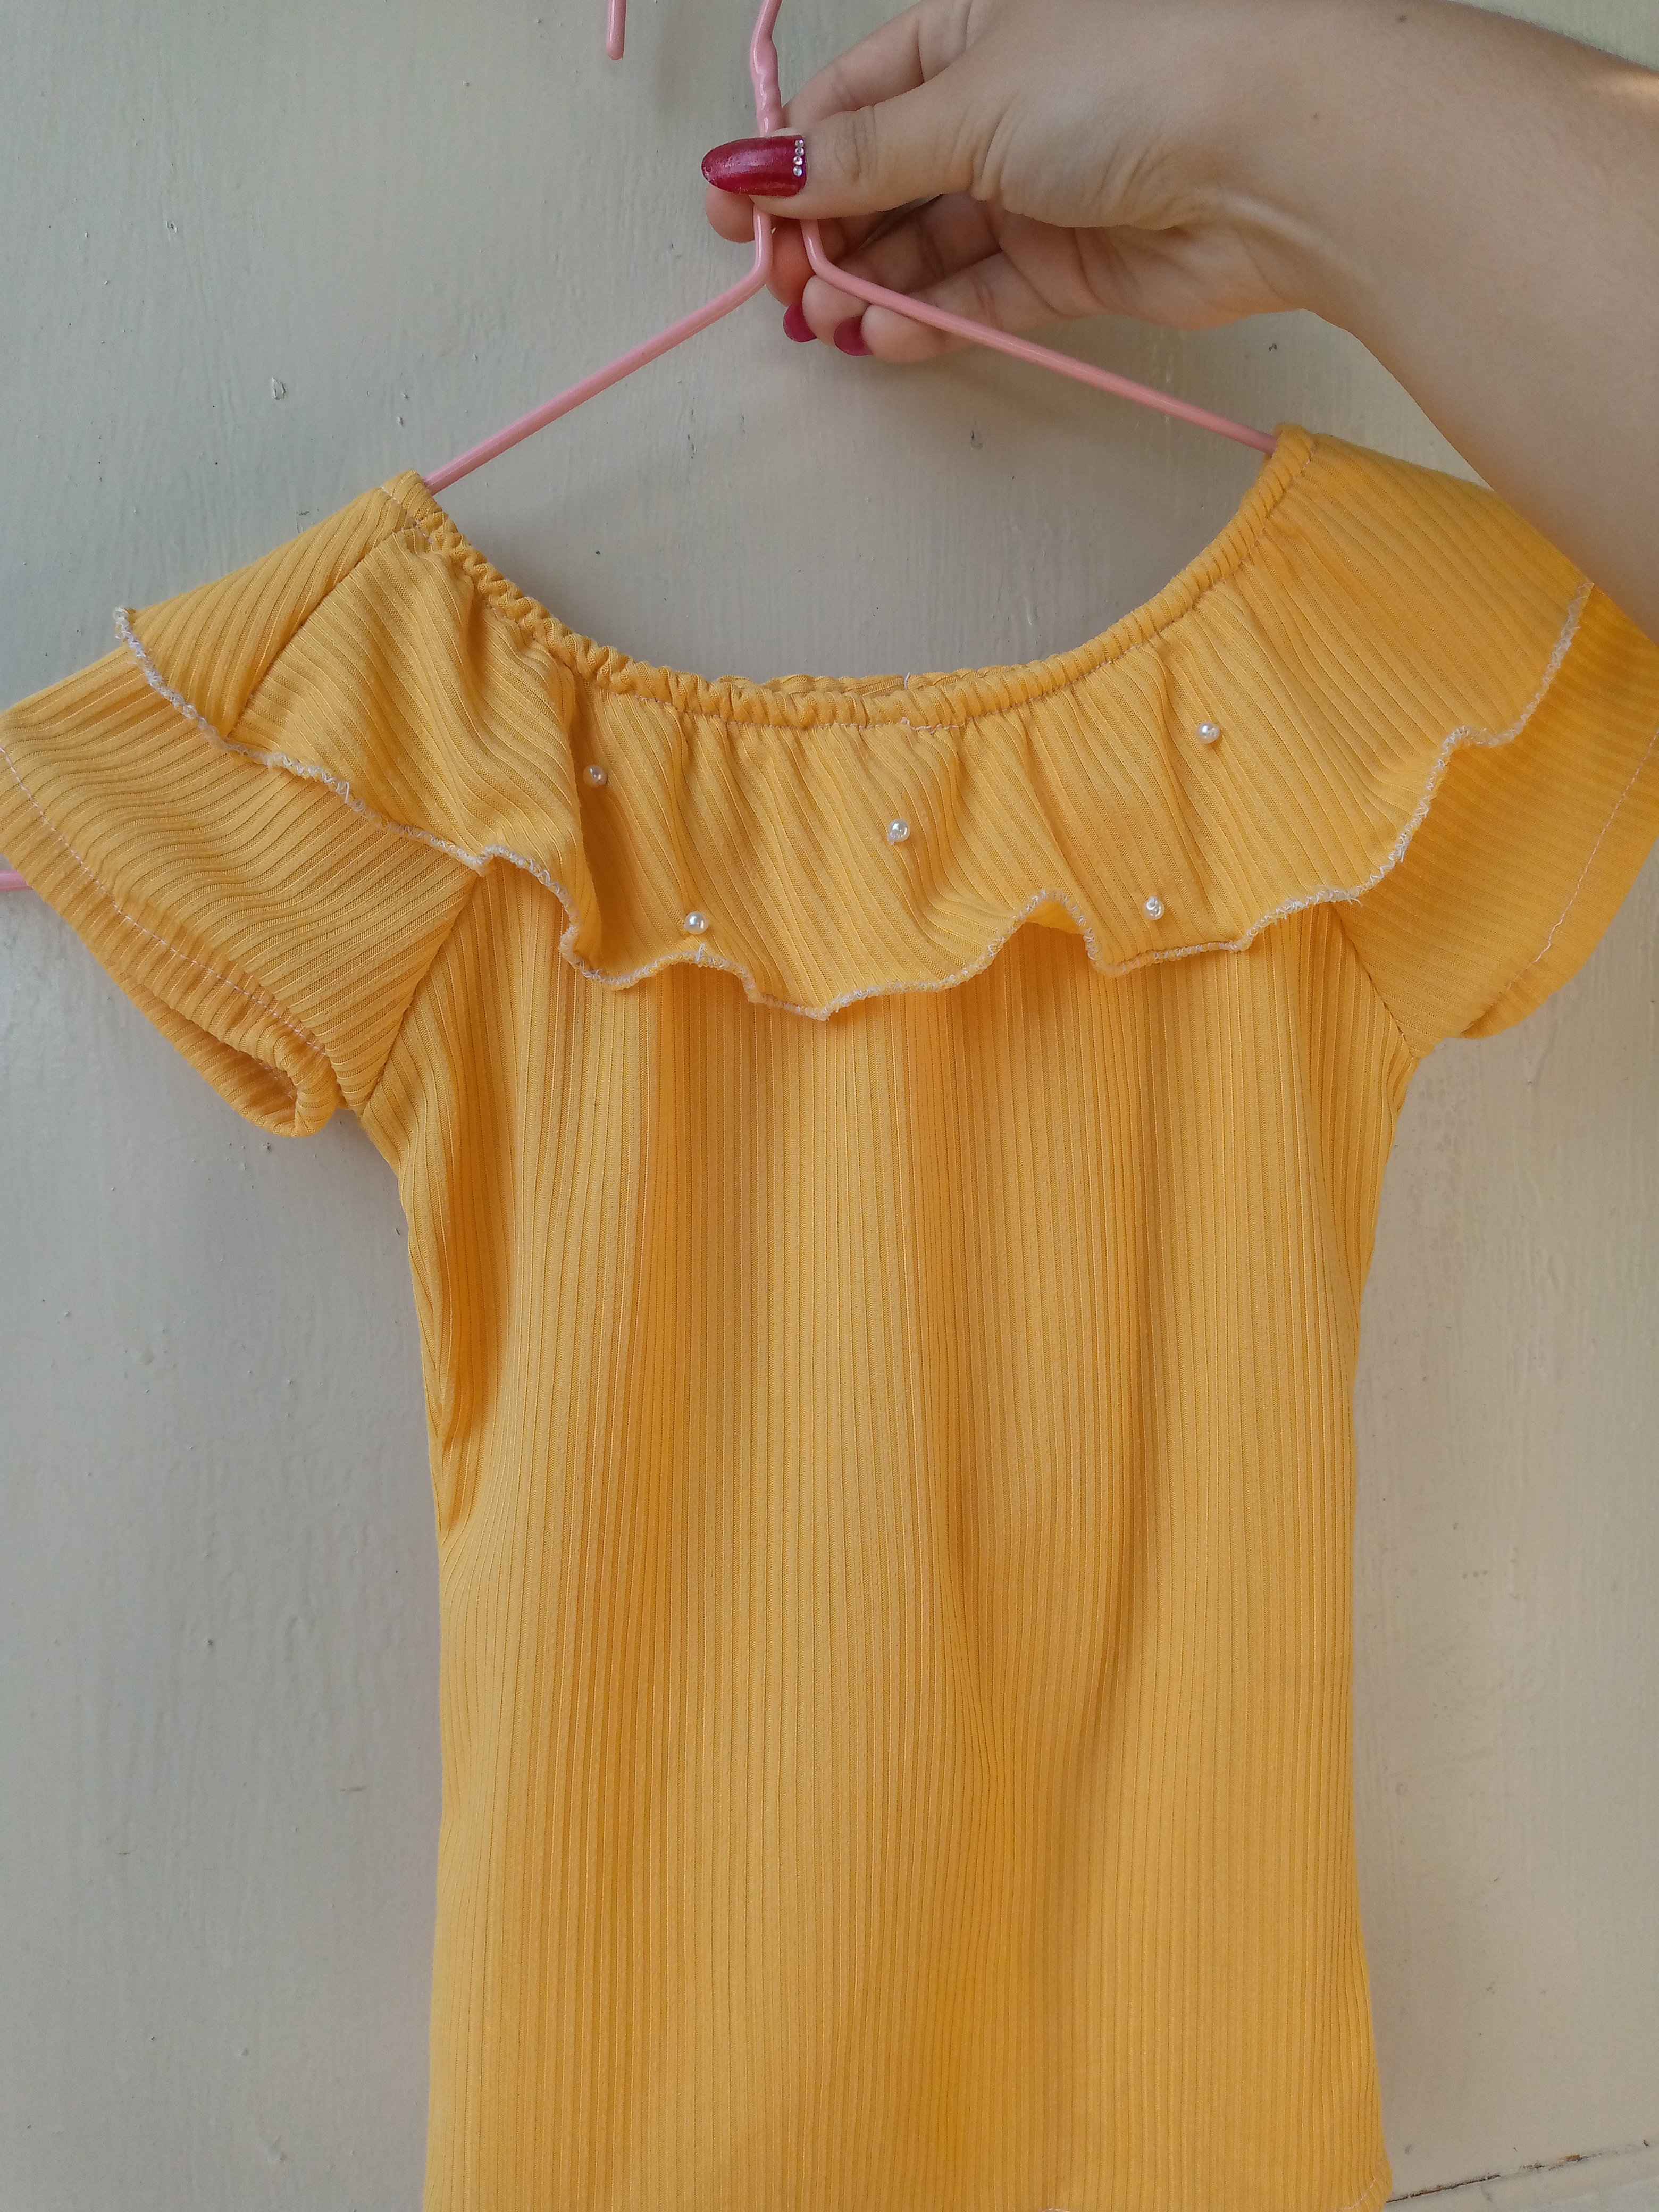
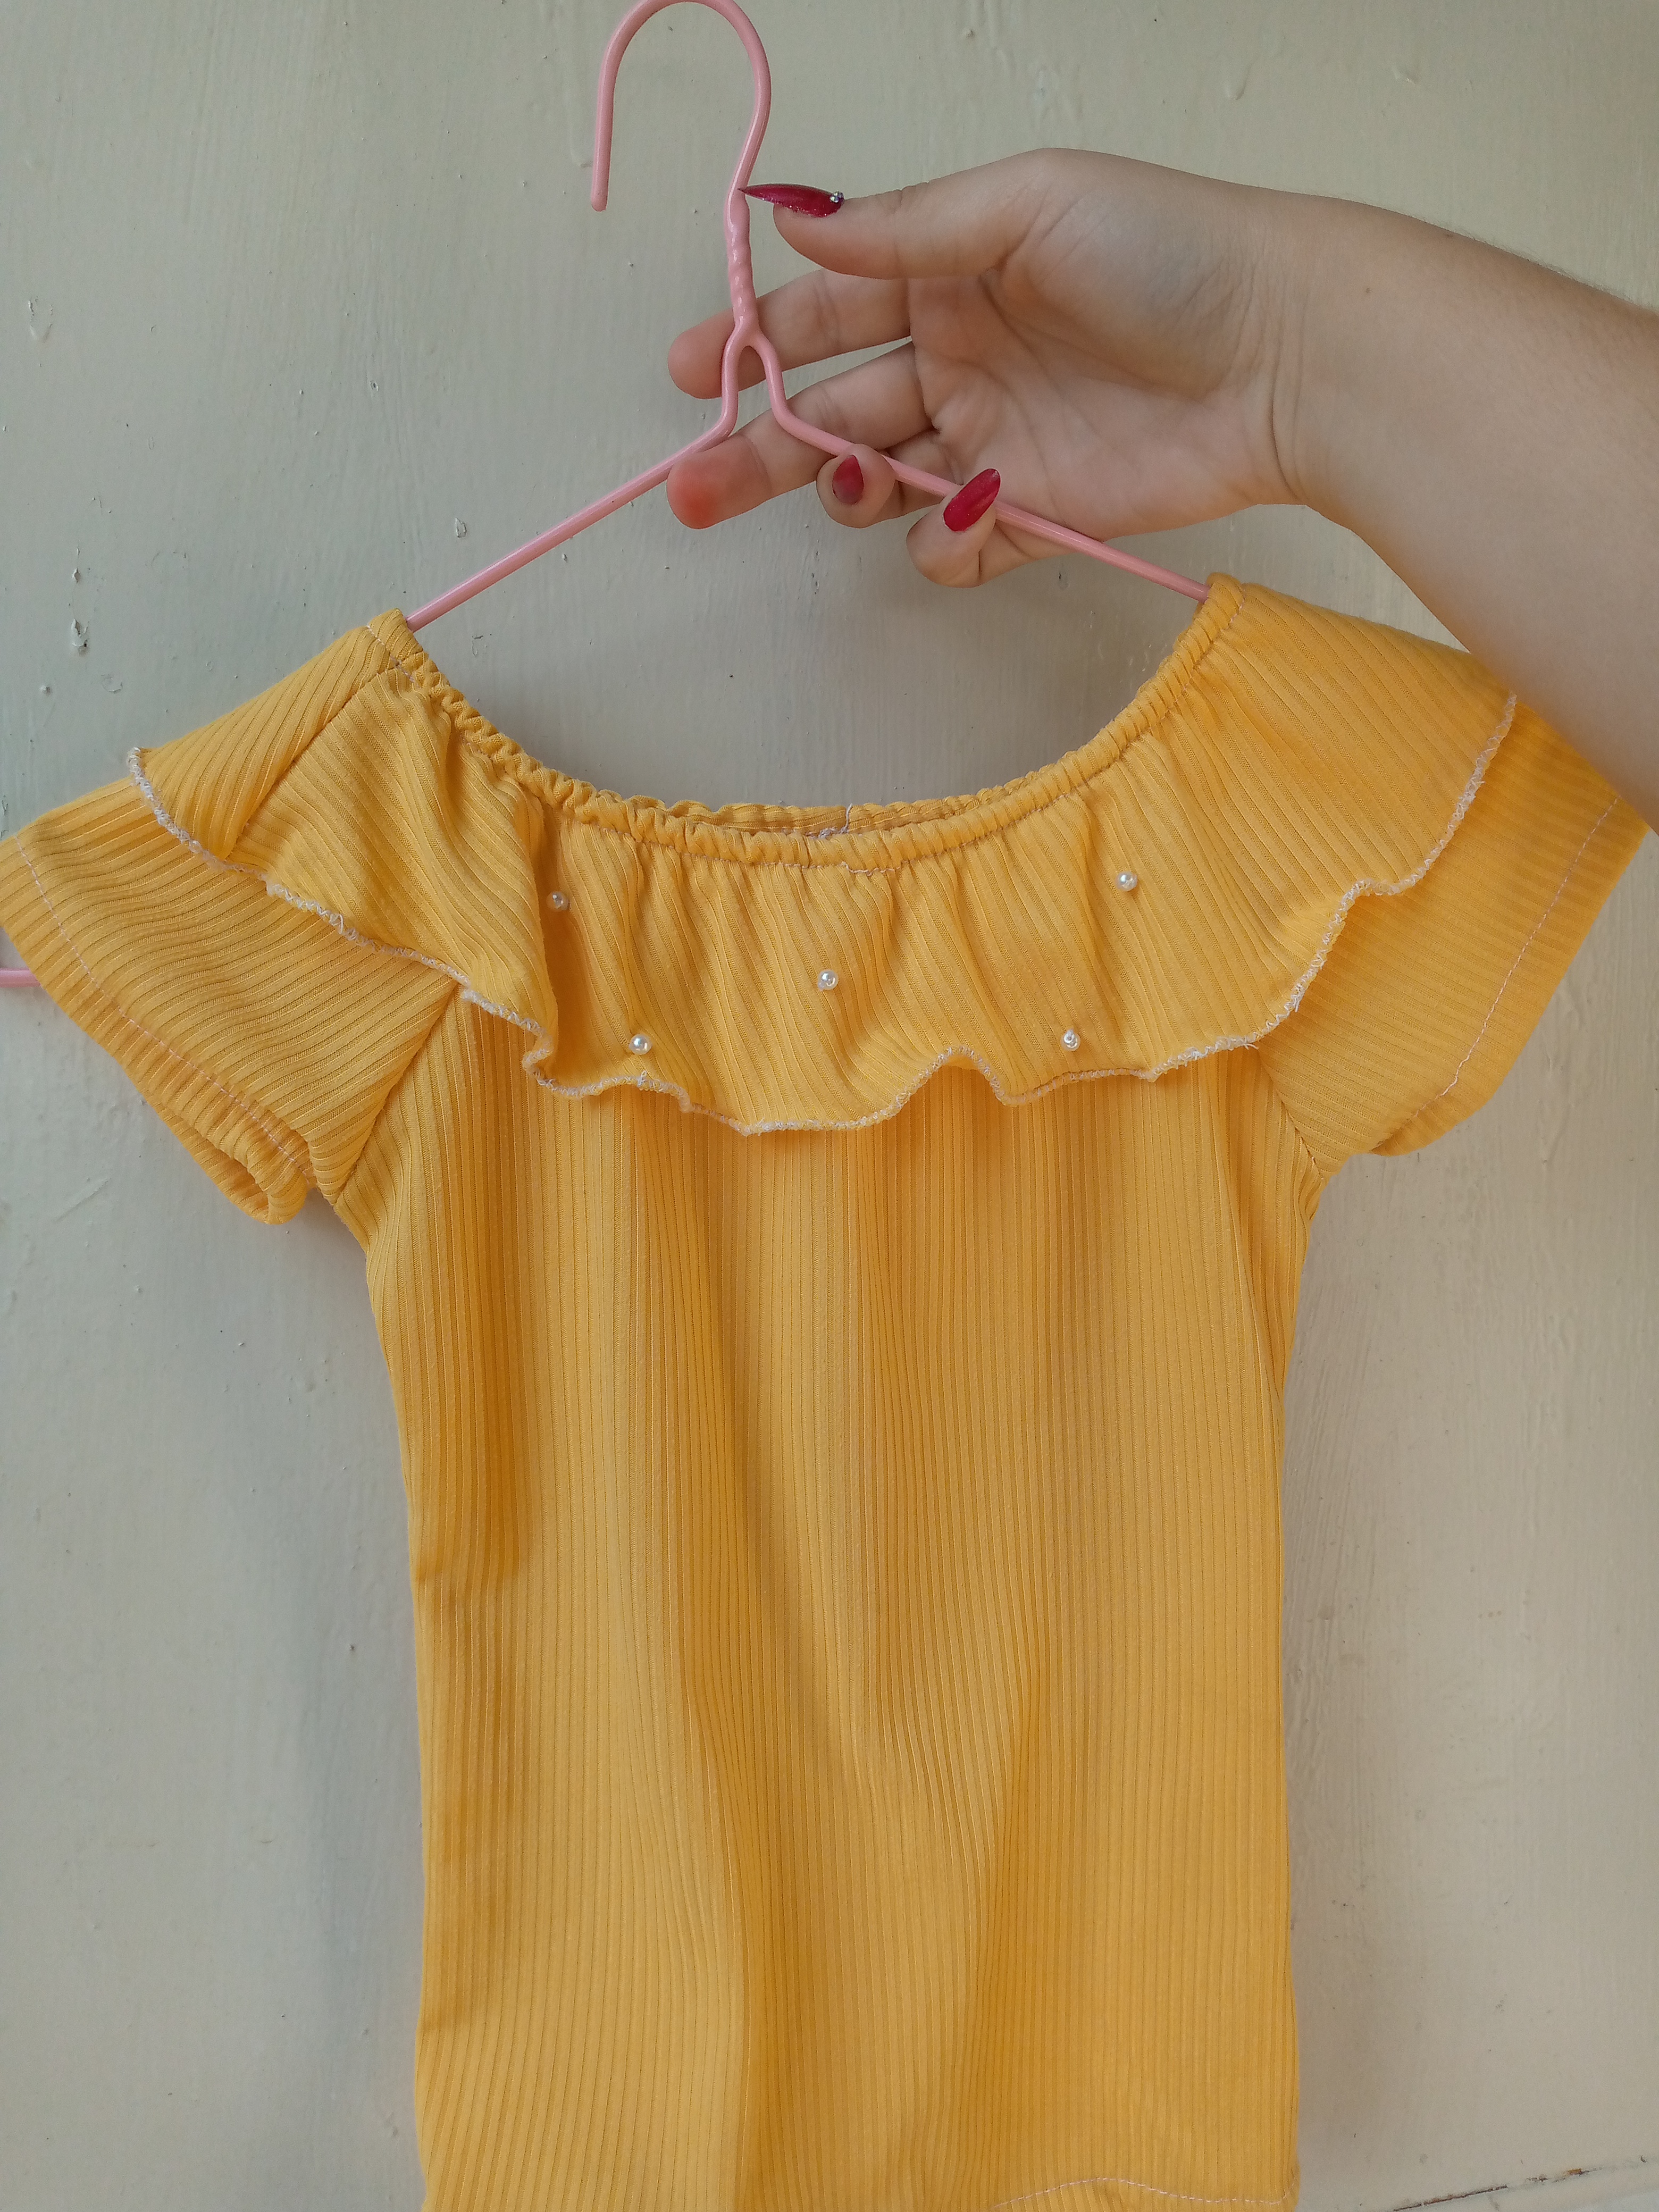
Finalmente he terminado de coserle las perlitas a la blusa y espero te haya gustado este proceso de esta confección y haciendo un modelo diferente para salir de la rutina,me alegraría saber que les ha gustado y gracias por tomarse su tiempo de leer mi blog ,y hasta otra ocasión y otro tutorial de confección de prendas y más,me despido de ustedes.

I have finally finished sewing the beads onto the blouse and I hope you liked this process of making it and making a different model to get out of the routine. I would be happy to know that you liked it and thank you for taking the time to read my blog. Until another occasion and another tutorial on making clothes and more. I say goodbye to you.
IMG_20250107_105334_464.jpg

IMG_20250107_105342_527.jpg

IMG_20250107_105346_007.jpg

IMG_20250107_105347_507.jpg

Picsart_24-11-15_15-51-20-828 (1).jpg

Creando las cosas con amor 🌷❤️

🦋✨Todas las imágenes de esta publicación son de mi autoria ,📱tomadas con mi celular TecnoSpark8C |📸Fotos editadas en PicsArt y Canva. Texto traducido en el traductor de Google.

Creating things with love 🌷❤️

🦋✨ All the images in this publication are my author ,📱taken with my TecnoSpark8C cell phone |📸Photos edited in PicsArt and Canva. Text translated in Google Translate.

Gracias por visitar mi blog_20241117_145338_0000.png