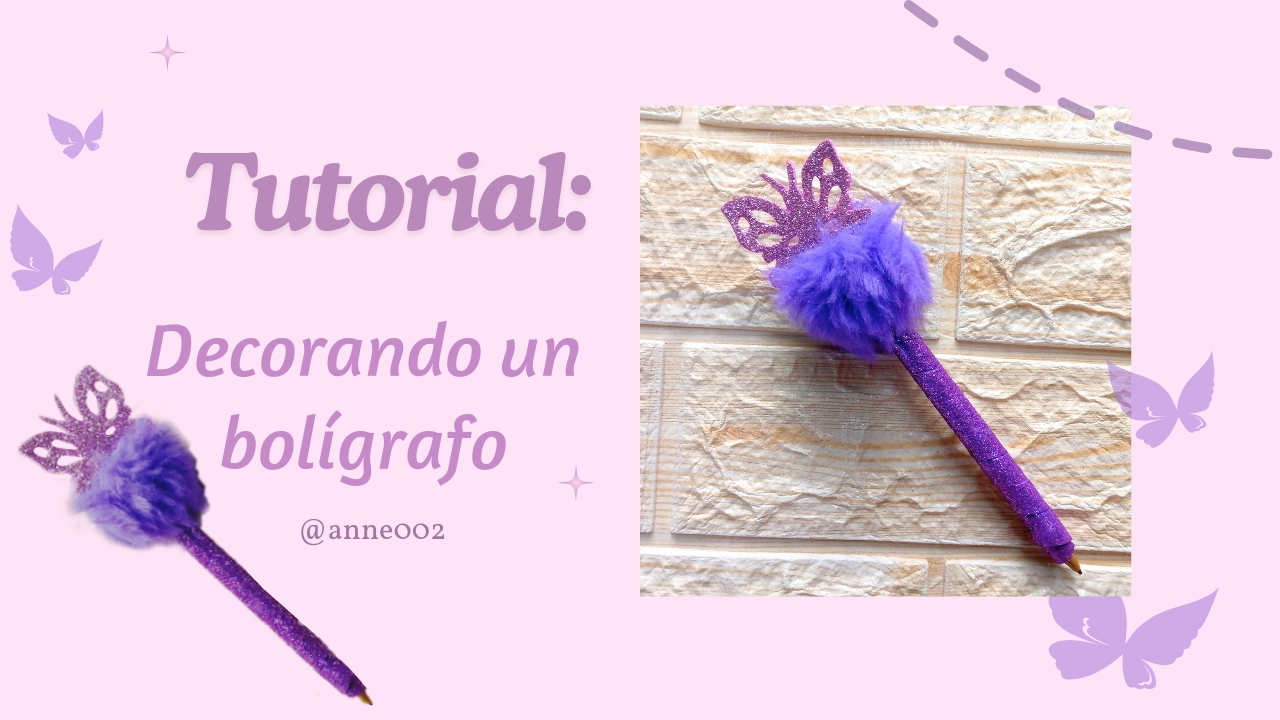
.jpg)
Hello beautiful community, it is a pleasure to greet you on this lovely morning. I hope you are doing very well at home and wherever you are reading this blog. My regards to you ☺️❤️
I don't know if you have seen some pencils that were in trend a while ago, the truth is I don't remember exactly the time but I do know that they were in fashion with these specks or whatever you call them furry tassels on the tip and on top of the pencil, I find them very pretty how they always were, they also had very cute details on top and almost the same color as the pencil design, sometimes you saw different motifs of fruits, flowers and even little animals, these looked so cute that it was irresistible not to buy a pencil like that and then take it to school and write down your notes with a unique, nice and elegant style.
I wanted to make this decorated pencil holder like those I used to buy with their cute design, for this I used materials that I had here at home stored and that I had left over from other projects I have done previously, for this I chose to make it in this color of shiny foam that we all like how it looks in our crafts because any design you make with this material is beautiful and very shiny, I love this color because it is my favorite color violet and pink, precisely I had saved a fabric or a circle of special plush fabric to make my furry speck as a detail of the pen and to keep it raised I filled it with a little bit of plush stuffing as well but I will only be using a little bit and as a special detail a cute pink shiny foam butterfly on top.
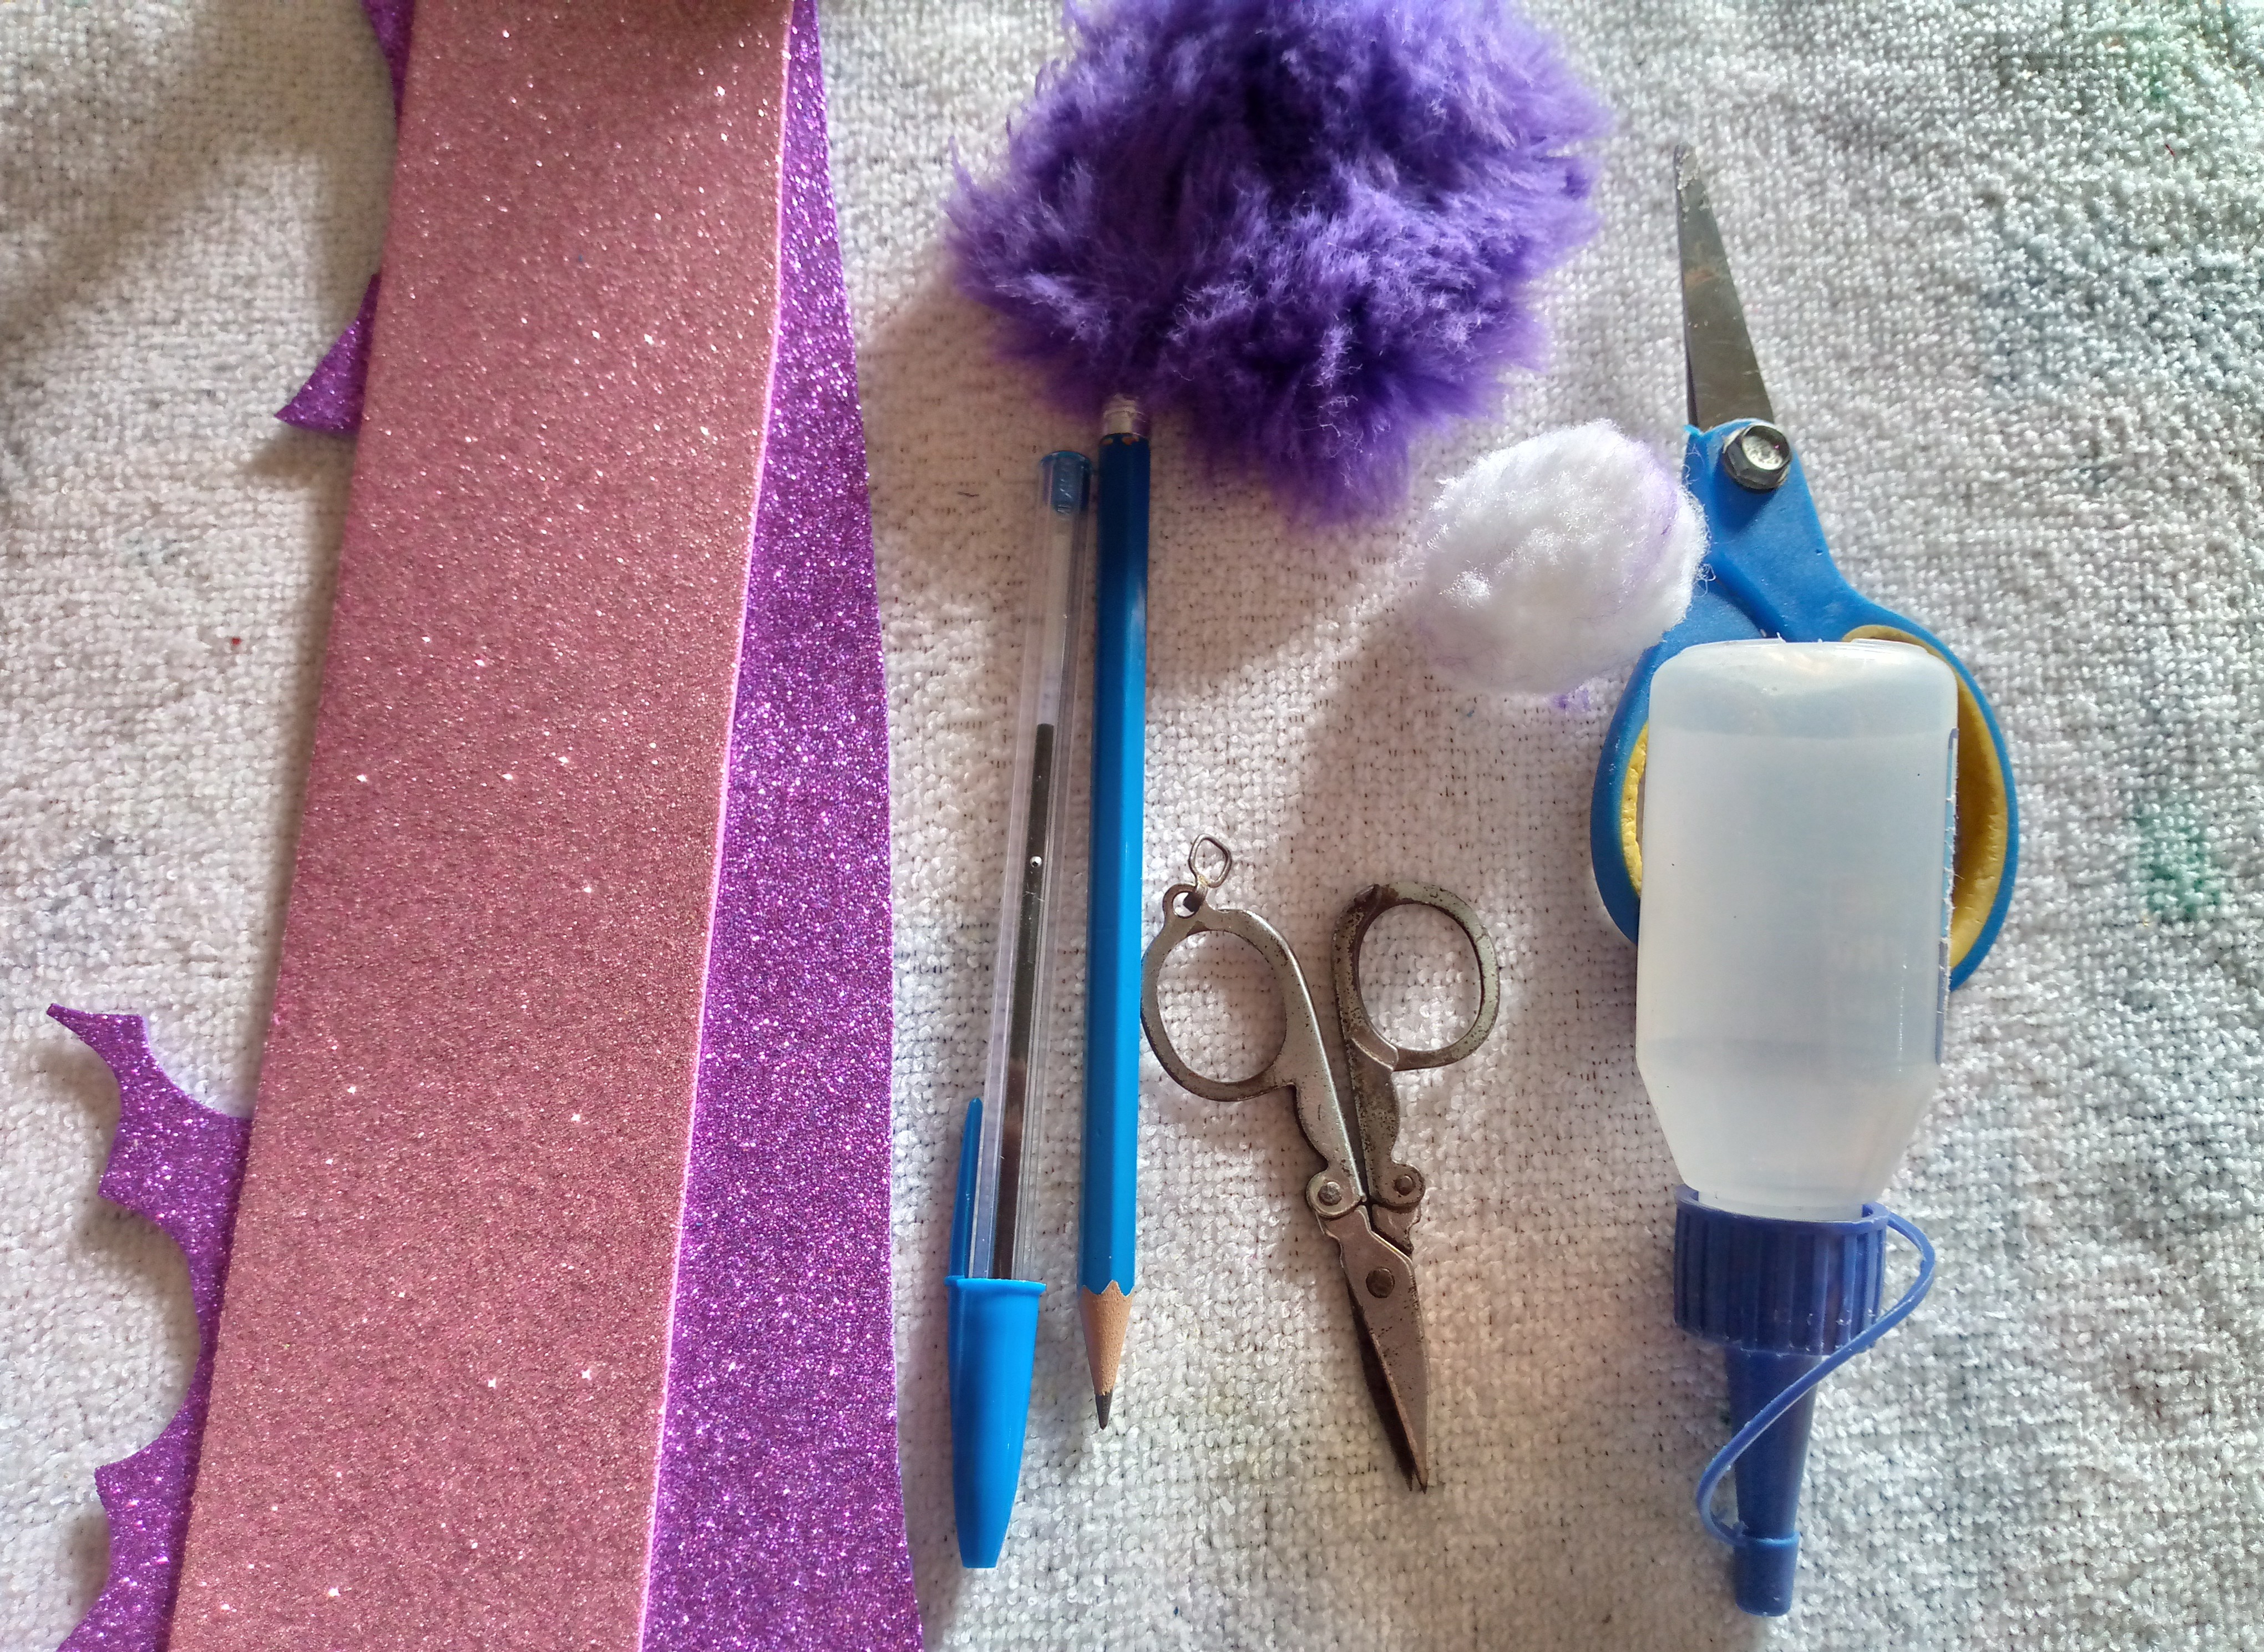
Before I tell you the whole process, how about I invite you to look at the materials we will use and then we will go through the step by step process. I really hope you like this decorated pencil holder and that you are encouraged to make it. Now with this design on your pencil holder I know you will be able to write your notes and notes with more enthusiasm and style. I hope you enjoy the process.
.jpg)
.jpg)
Materiales:// Materials:
- Utilizaremos un poco de fomi reciclado de los colores de tu preferencia yo usé rosa y violeta
- 1 lápiz
- 1 bolígrafo
- Silicón
- Tijeras
- Tela de peluche del mismo color del fomi
- Regla
- Un poco de relleno de peluche también
- Tijeras pequeñas
- We will use a little recycled foam in the colors of your choice. I used pink and violet.
- 1 pencil
- 1 pen
- Silicone
- Scissors
- Plush fabric in the same color as the foam
- Ruler
- A little stuffing as well
- Small scissors
.jpg)
Pasos a seguir:// Steps to follow:
.jpg)
Paso 01
Step 01
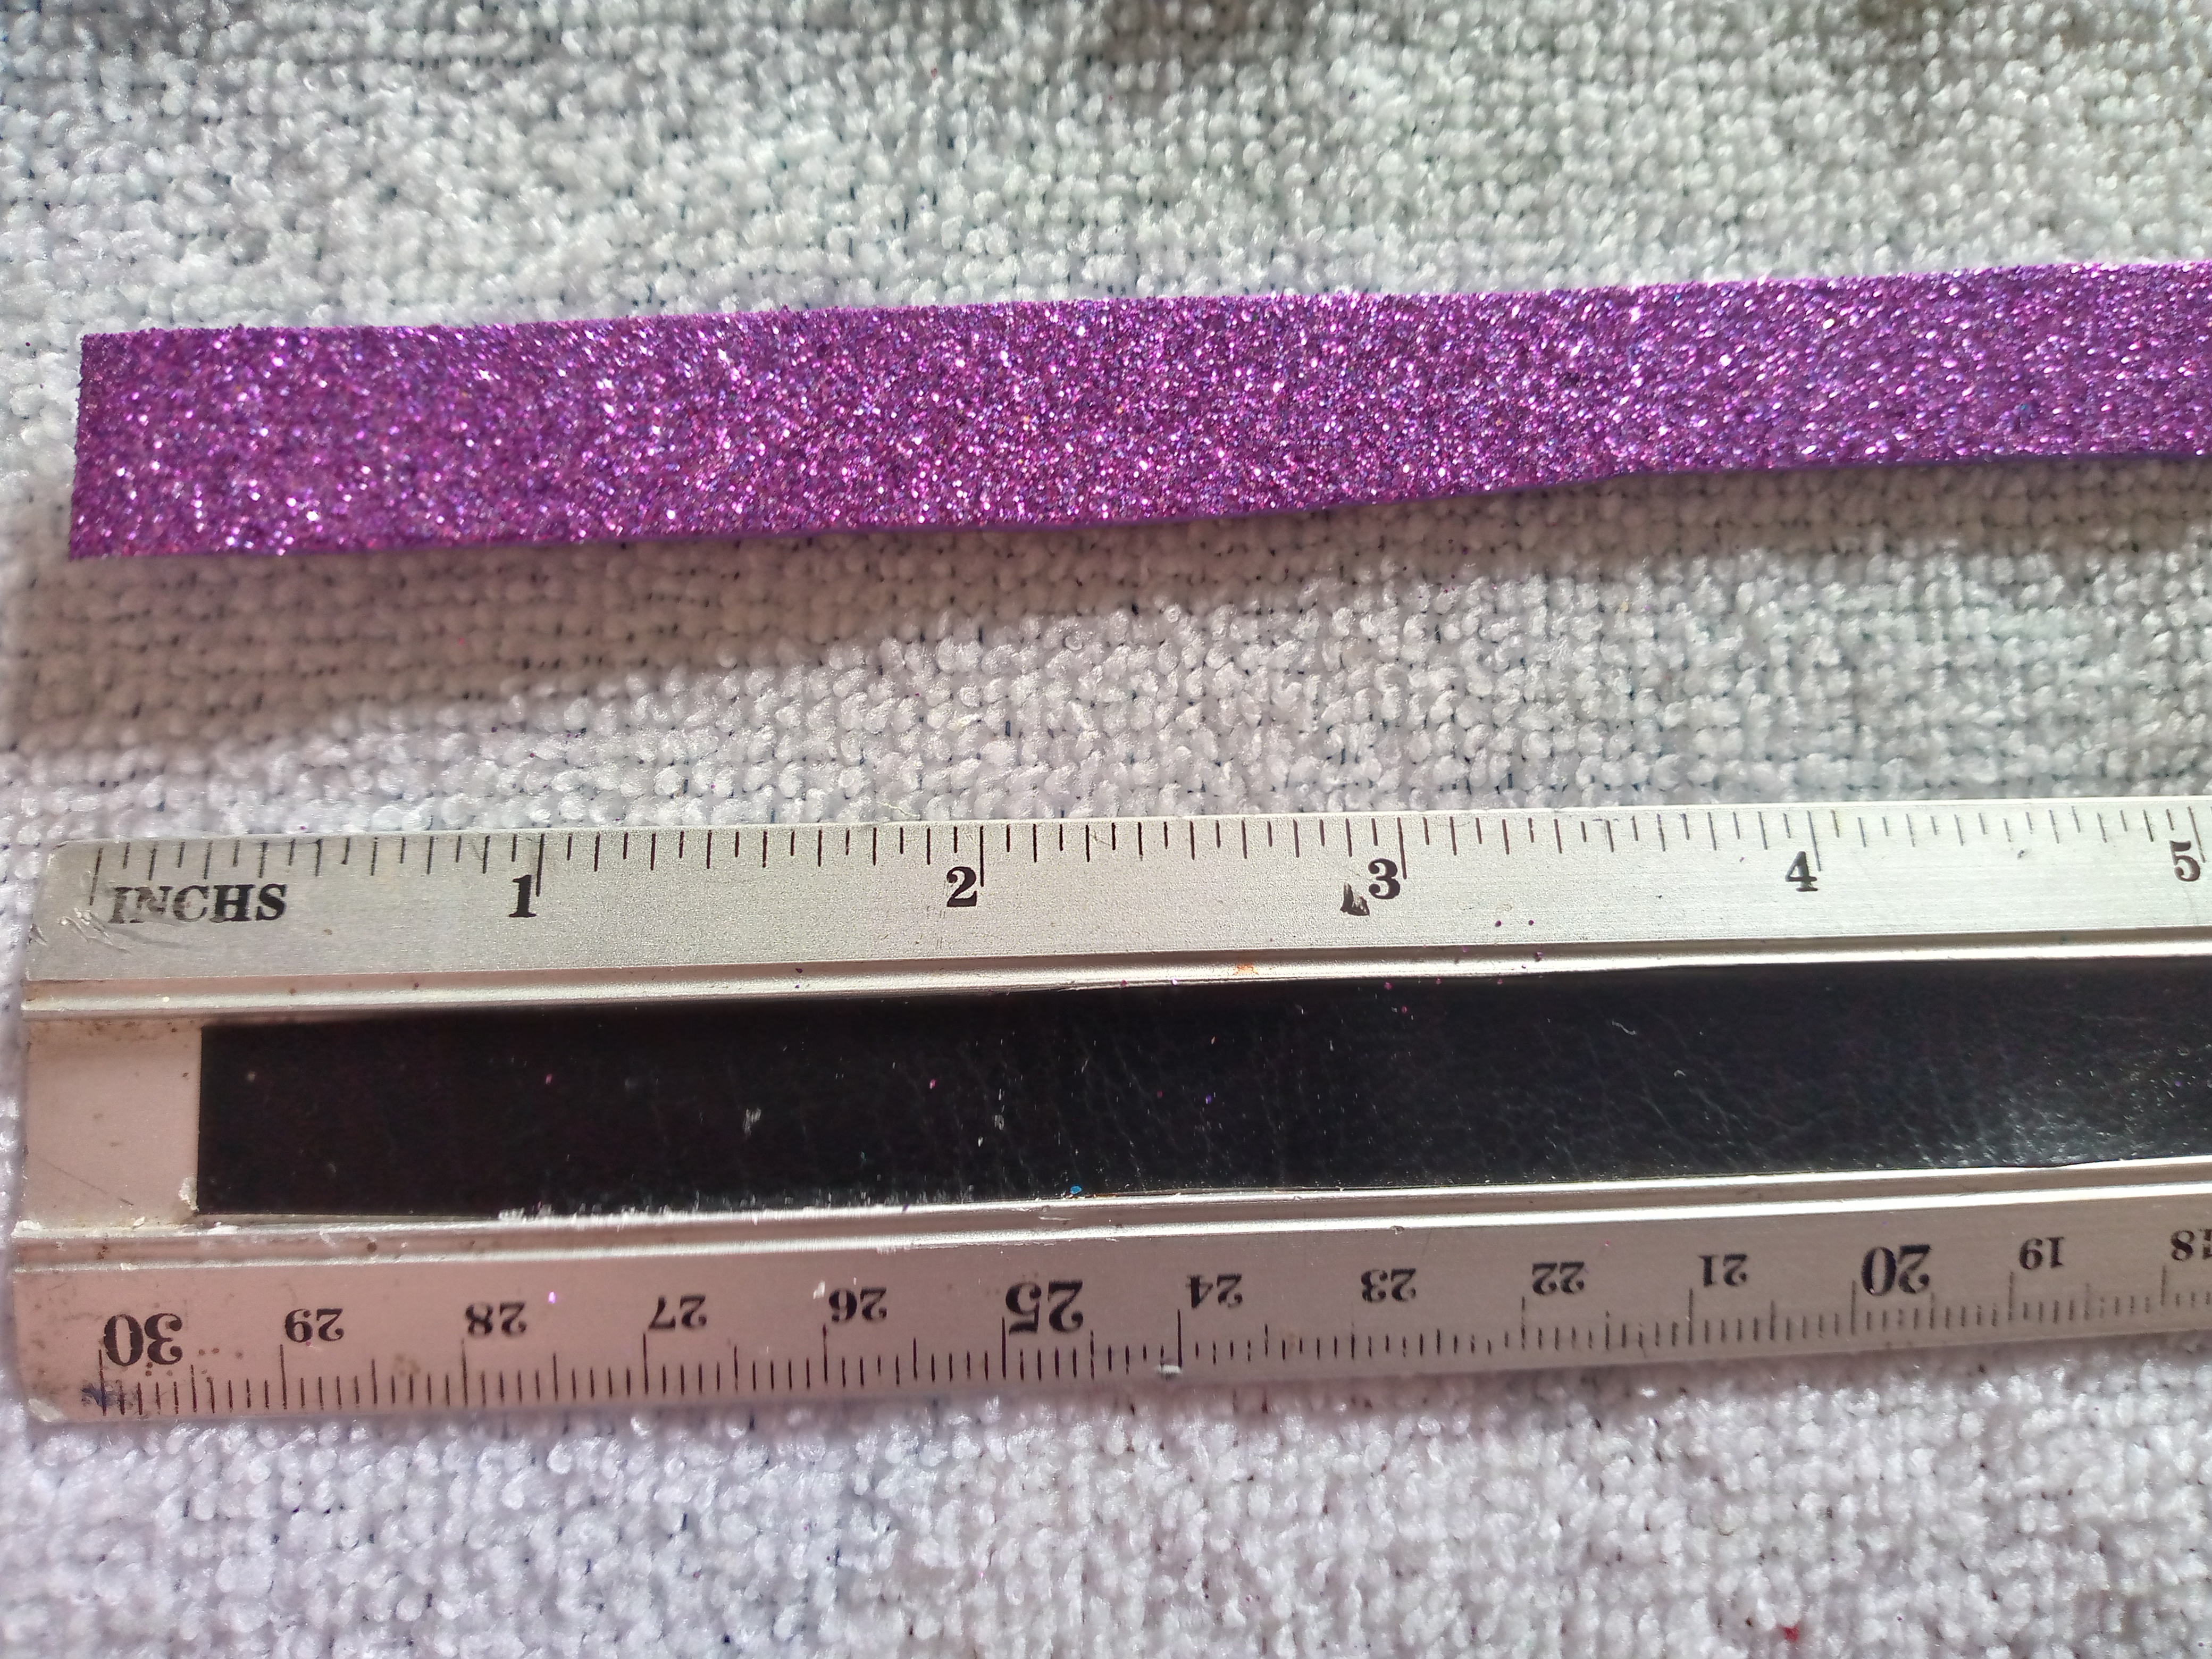
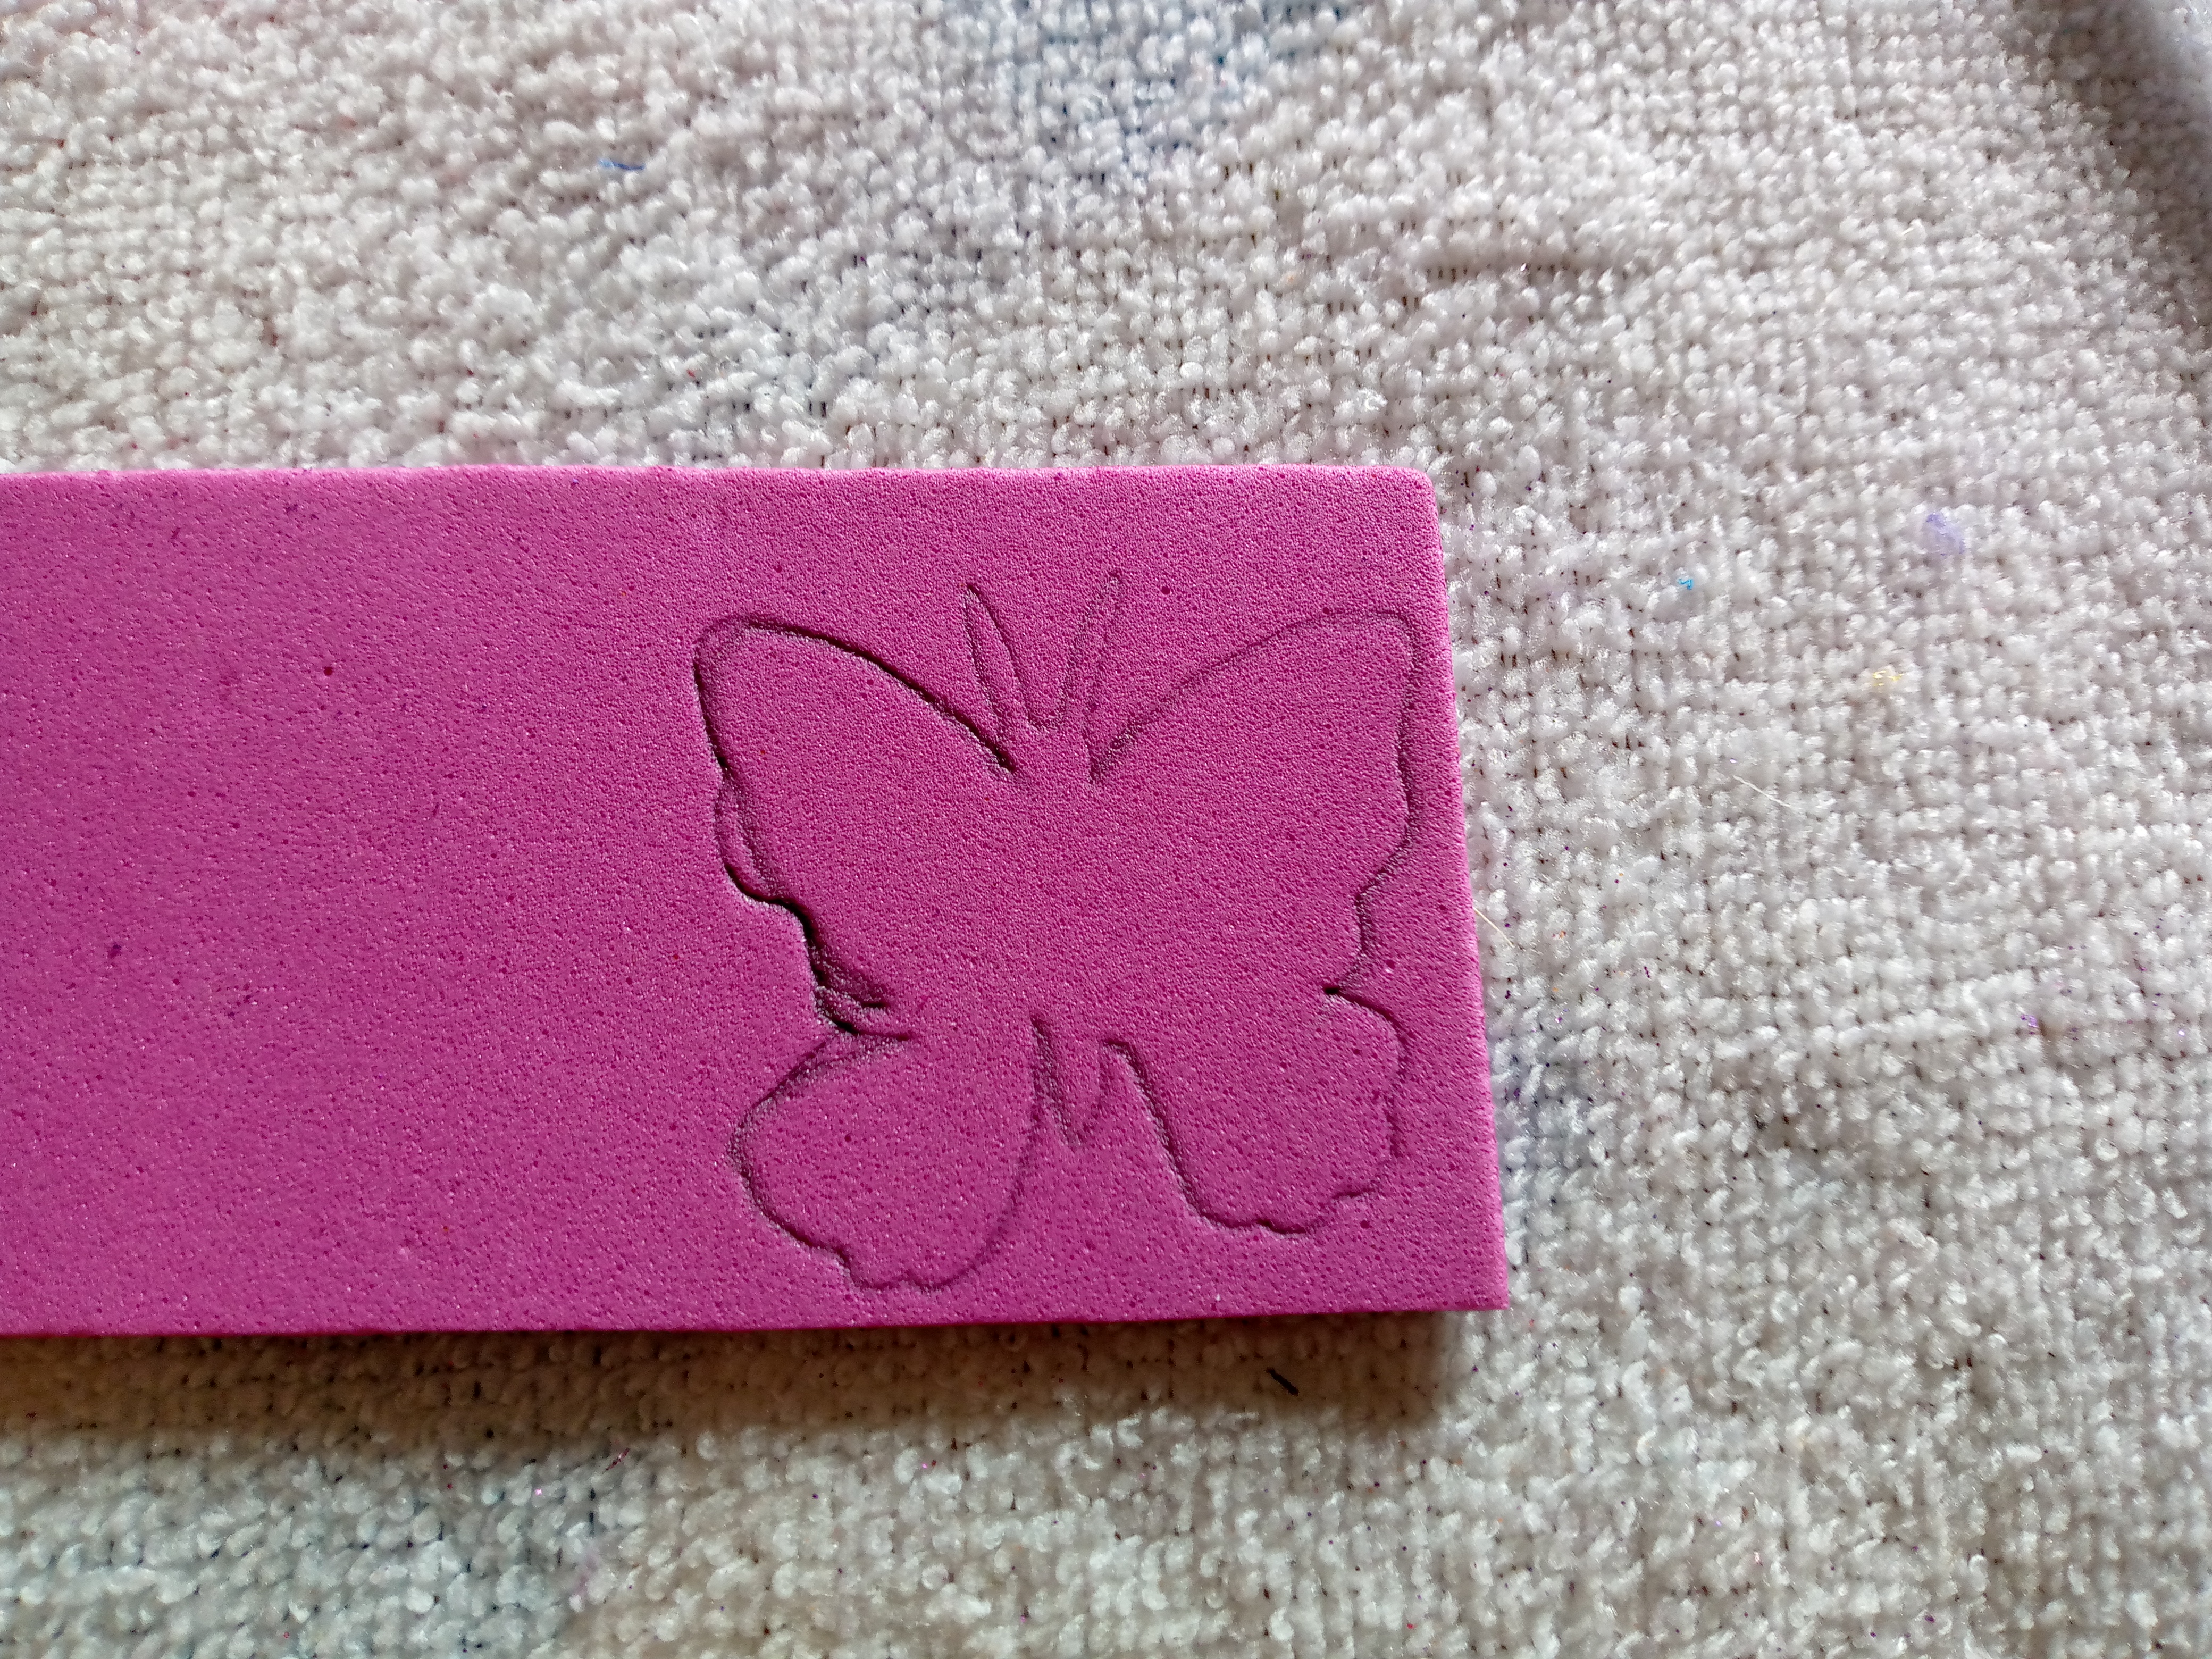
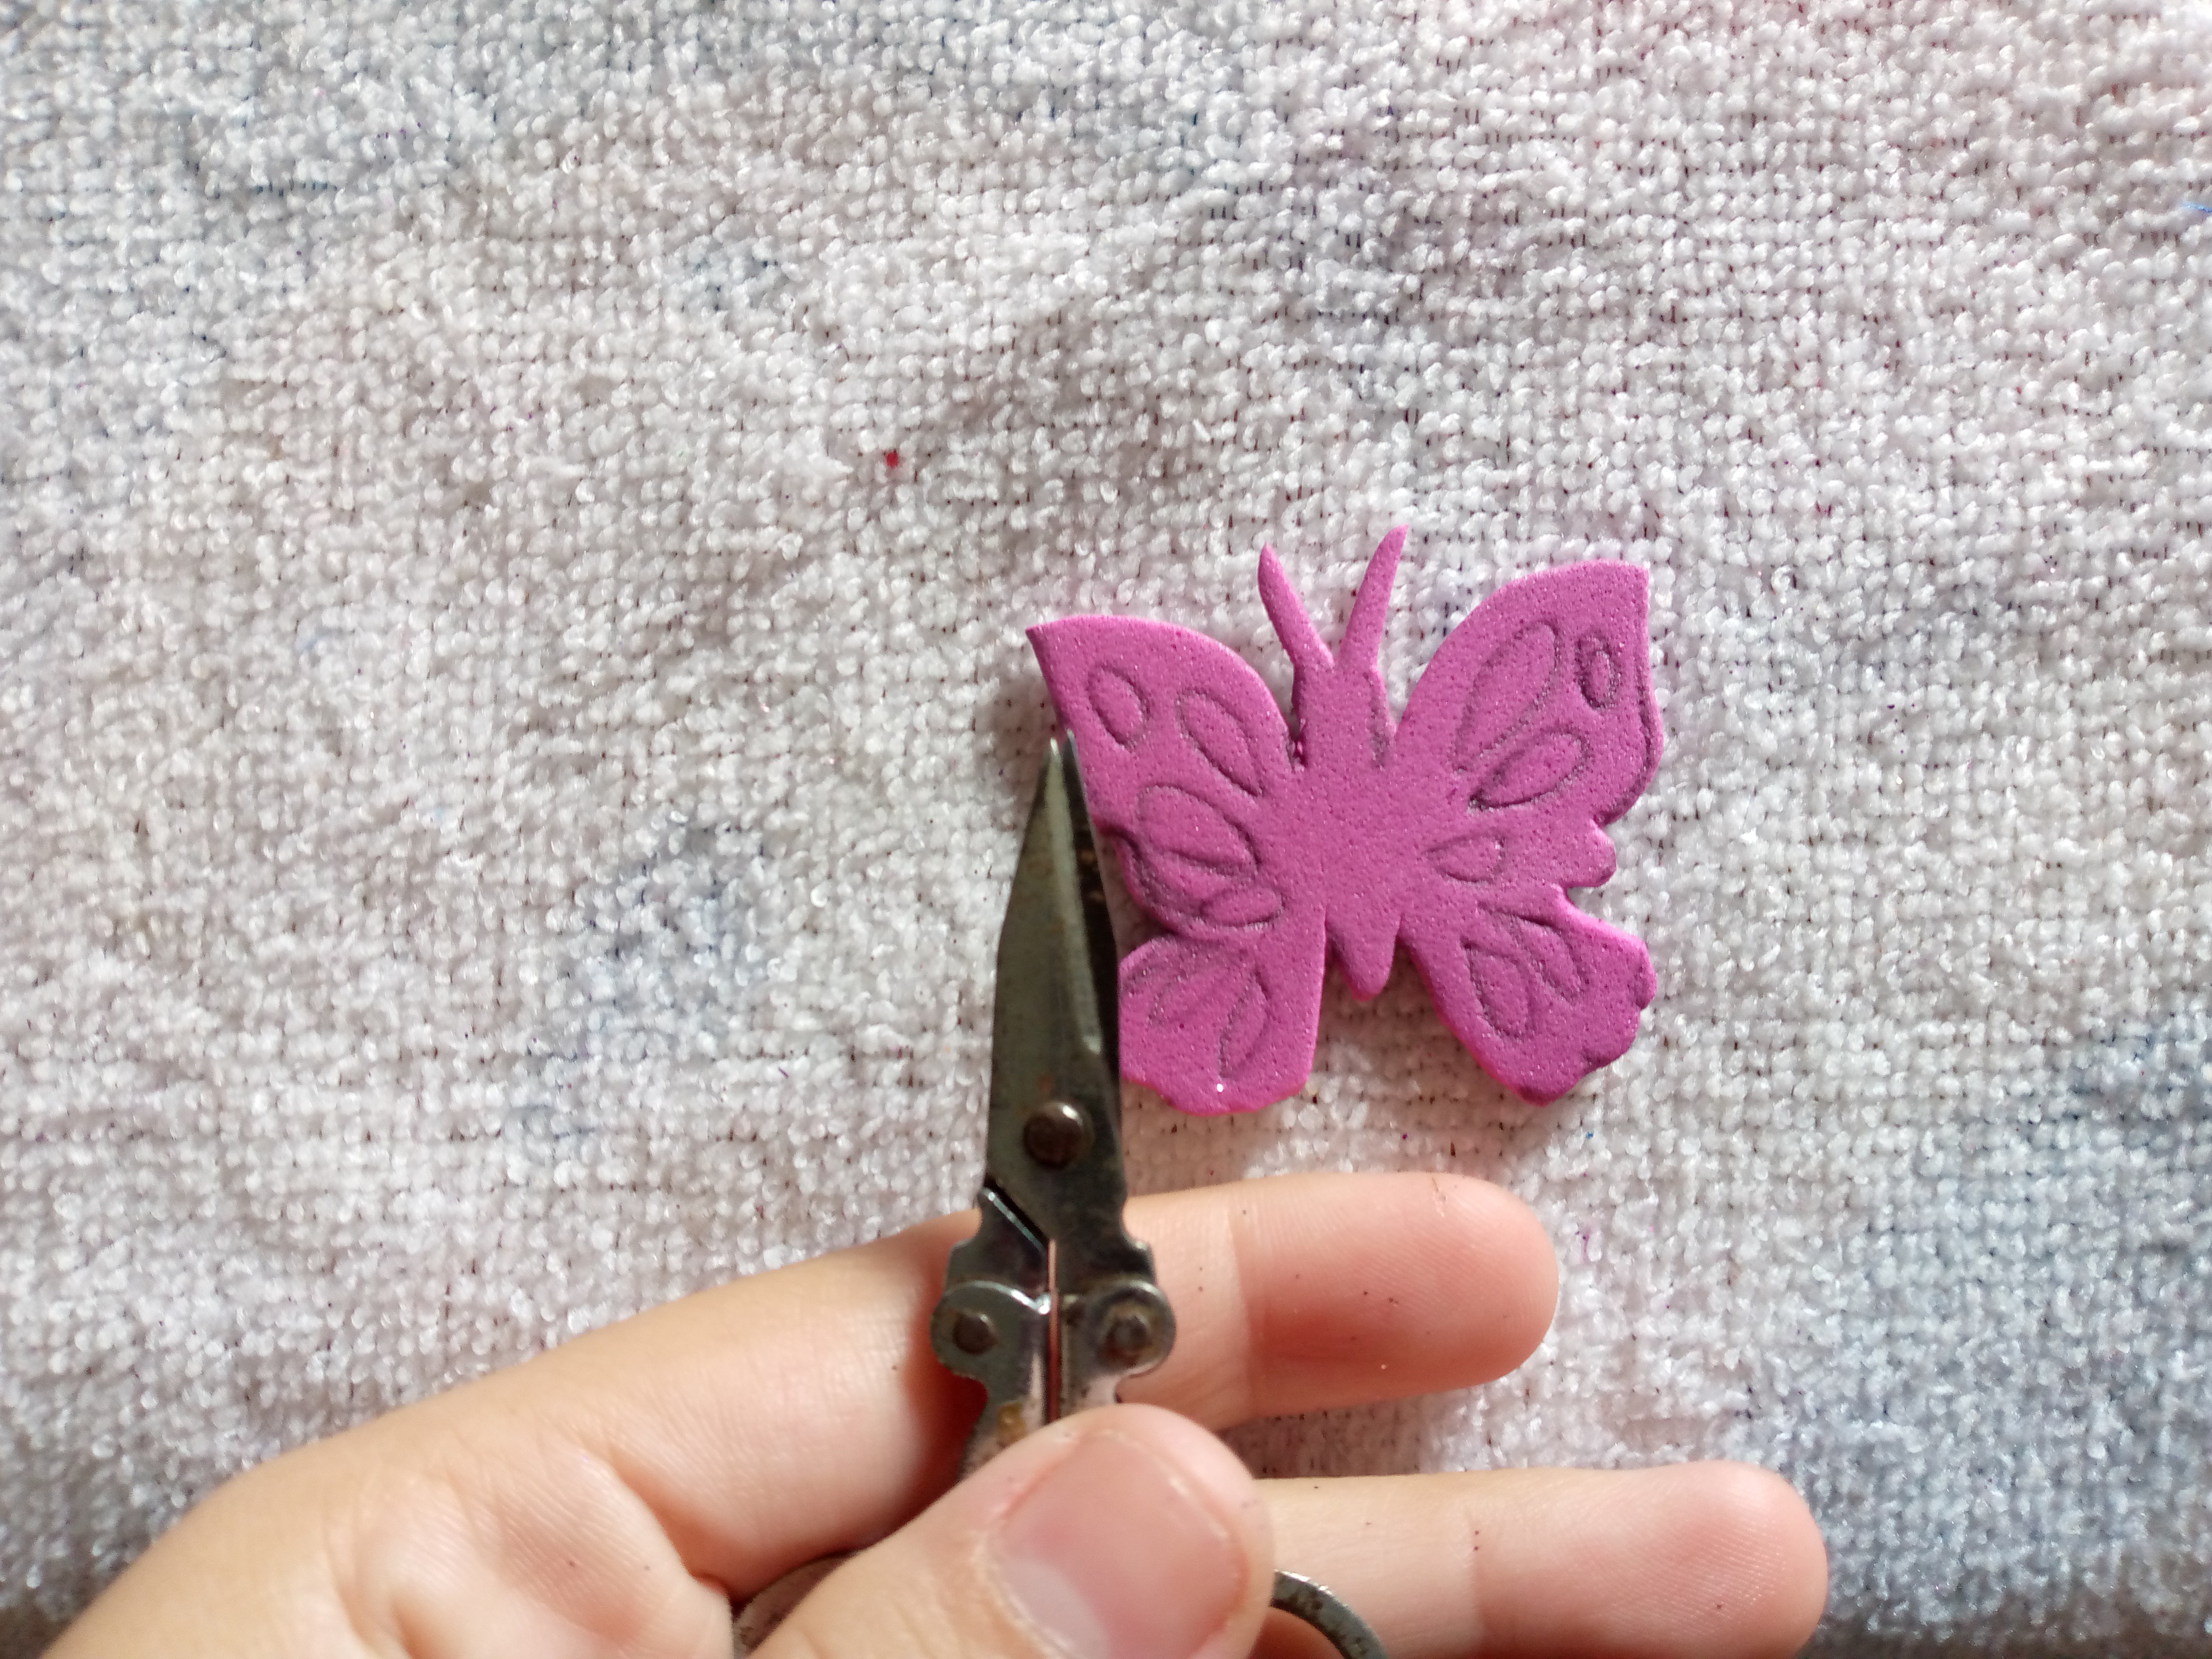
Before starting to work we need to have our surface where we will work completely clean and our hands as well, after having the materials and this ready I will start by cutting the pieces for this I will use a ruler to mark the length of the strip that I will use to cover the pen, the length of it is 30 cm and 1.5 cm wide or your preference, then I will cut it and I have it ready, to make the butterfly I will be turning over the bottom of the fomi in pink and there I will make the pattern of my butterfly, here clearly it did not turn out very well since I did not have a pattern for a small butterfly and it was difficult for me to make one in a pattern with the paper but you friends as you prefer can do it, here I improvised and used my gifts that I have to do it in pencil and by hand as I told you it did not turn out so well but the attempt was made 😁.
I also made the details of the butterfly drawn inside it, I made some very small ovals that mark the wings of the butterfly.

.jpg)
Paso 02
Step 02
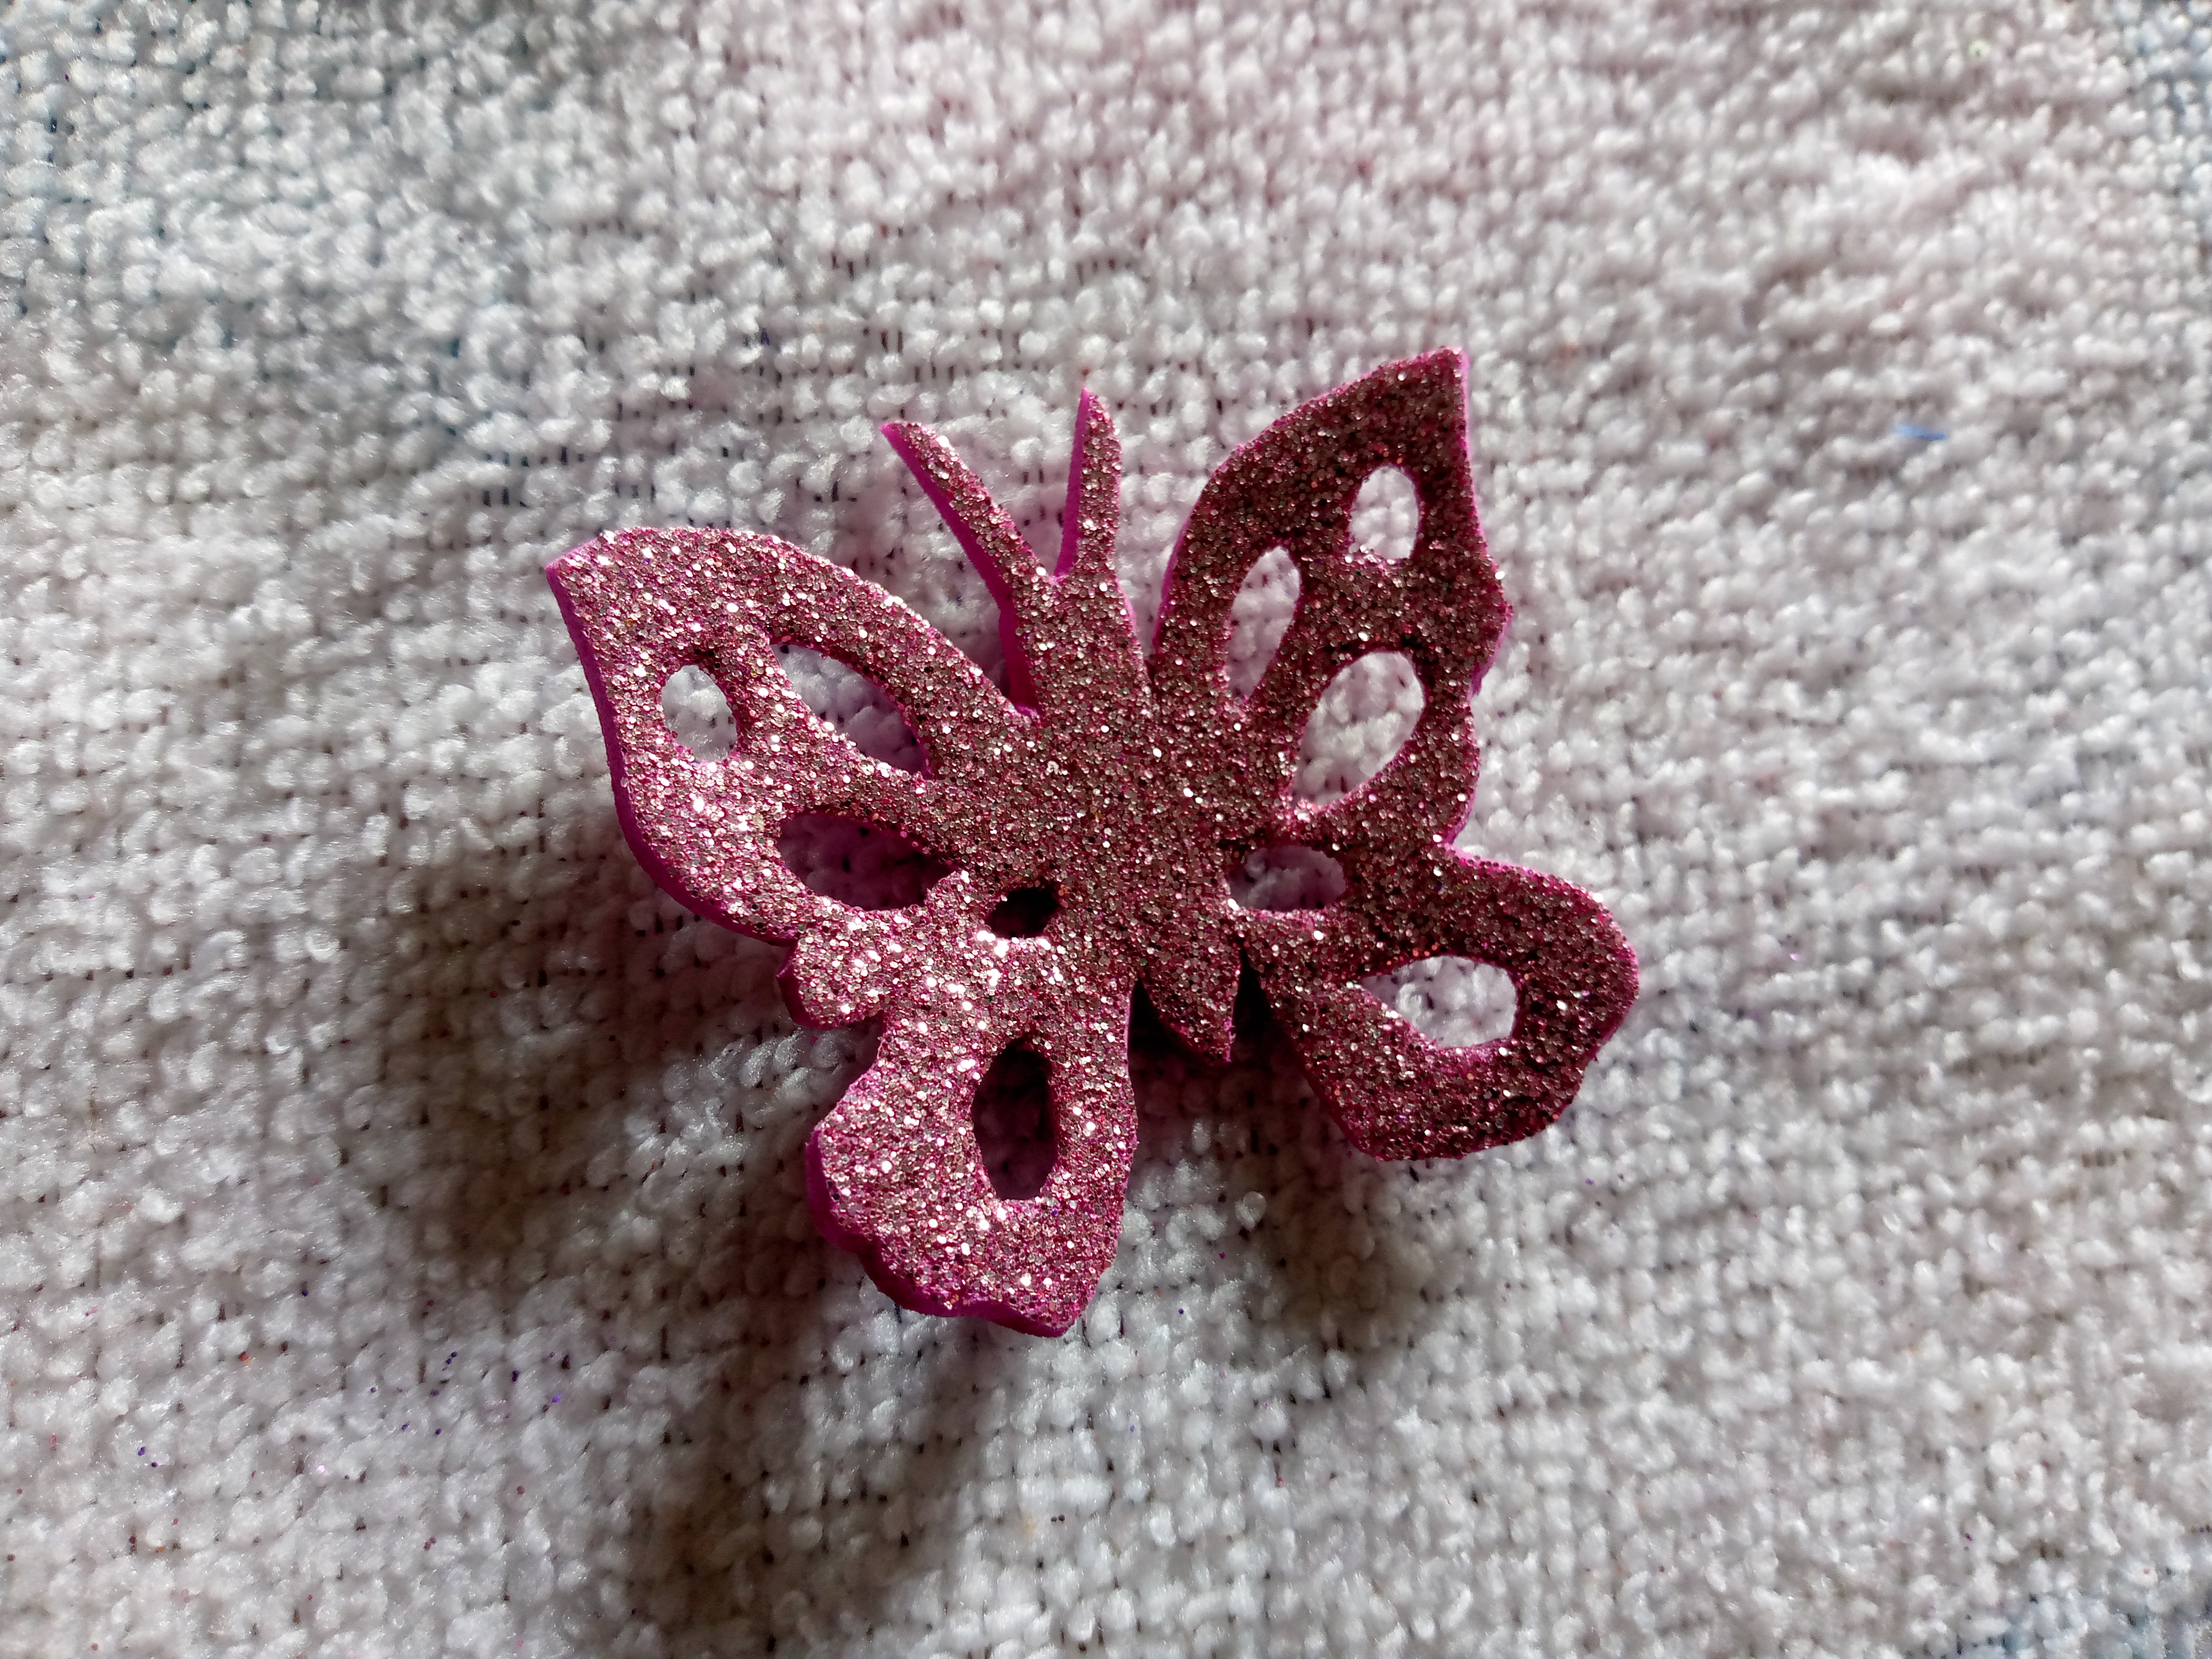
As a second step then here I will be cutting out my butterfly all around the outline and very carefully and with the help of my super small scissors that my mom had here to cut very small things from it, I will be cutting out those small ovals and the detail that we have made to our butterfly inside to simulate its wings, I feel that these little holes make the butterfly look much more real when gluing it, after removing these little holes you can now appreciate the butterfly.

.jpg)
Paso 03
Step 03
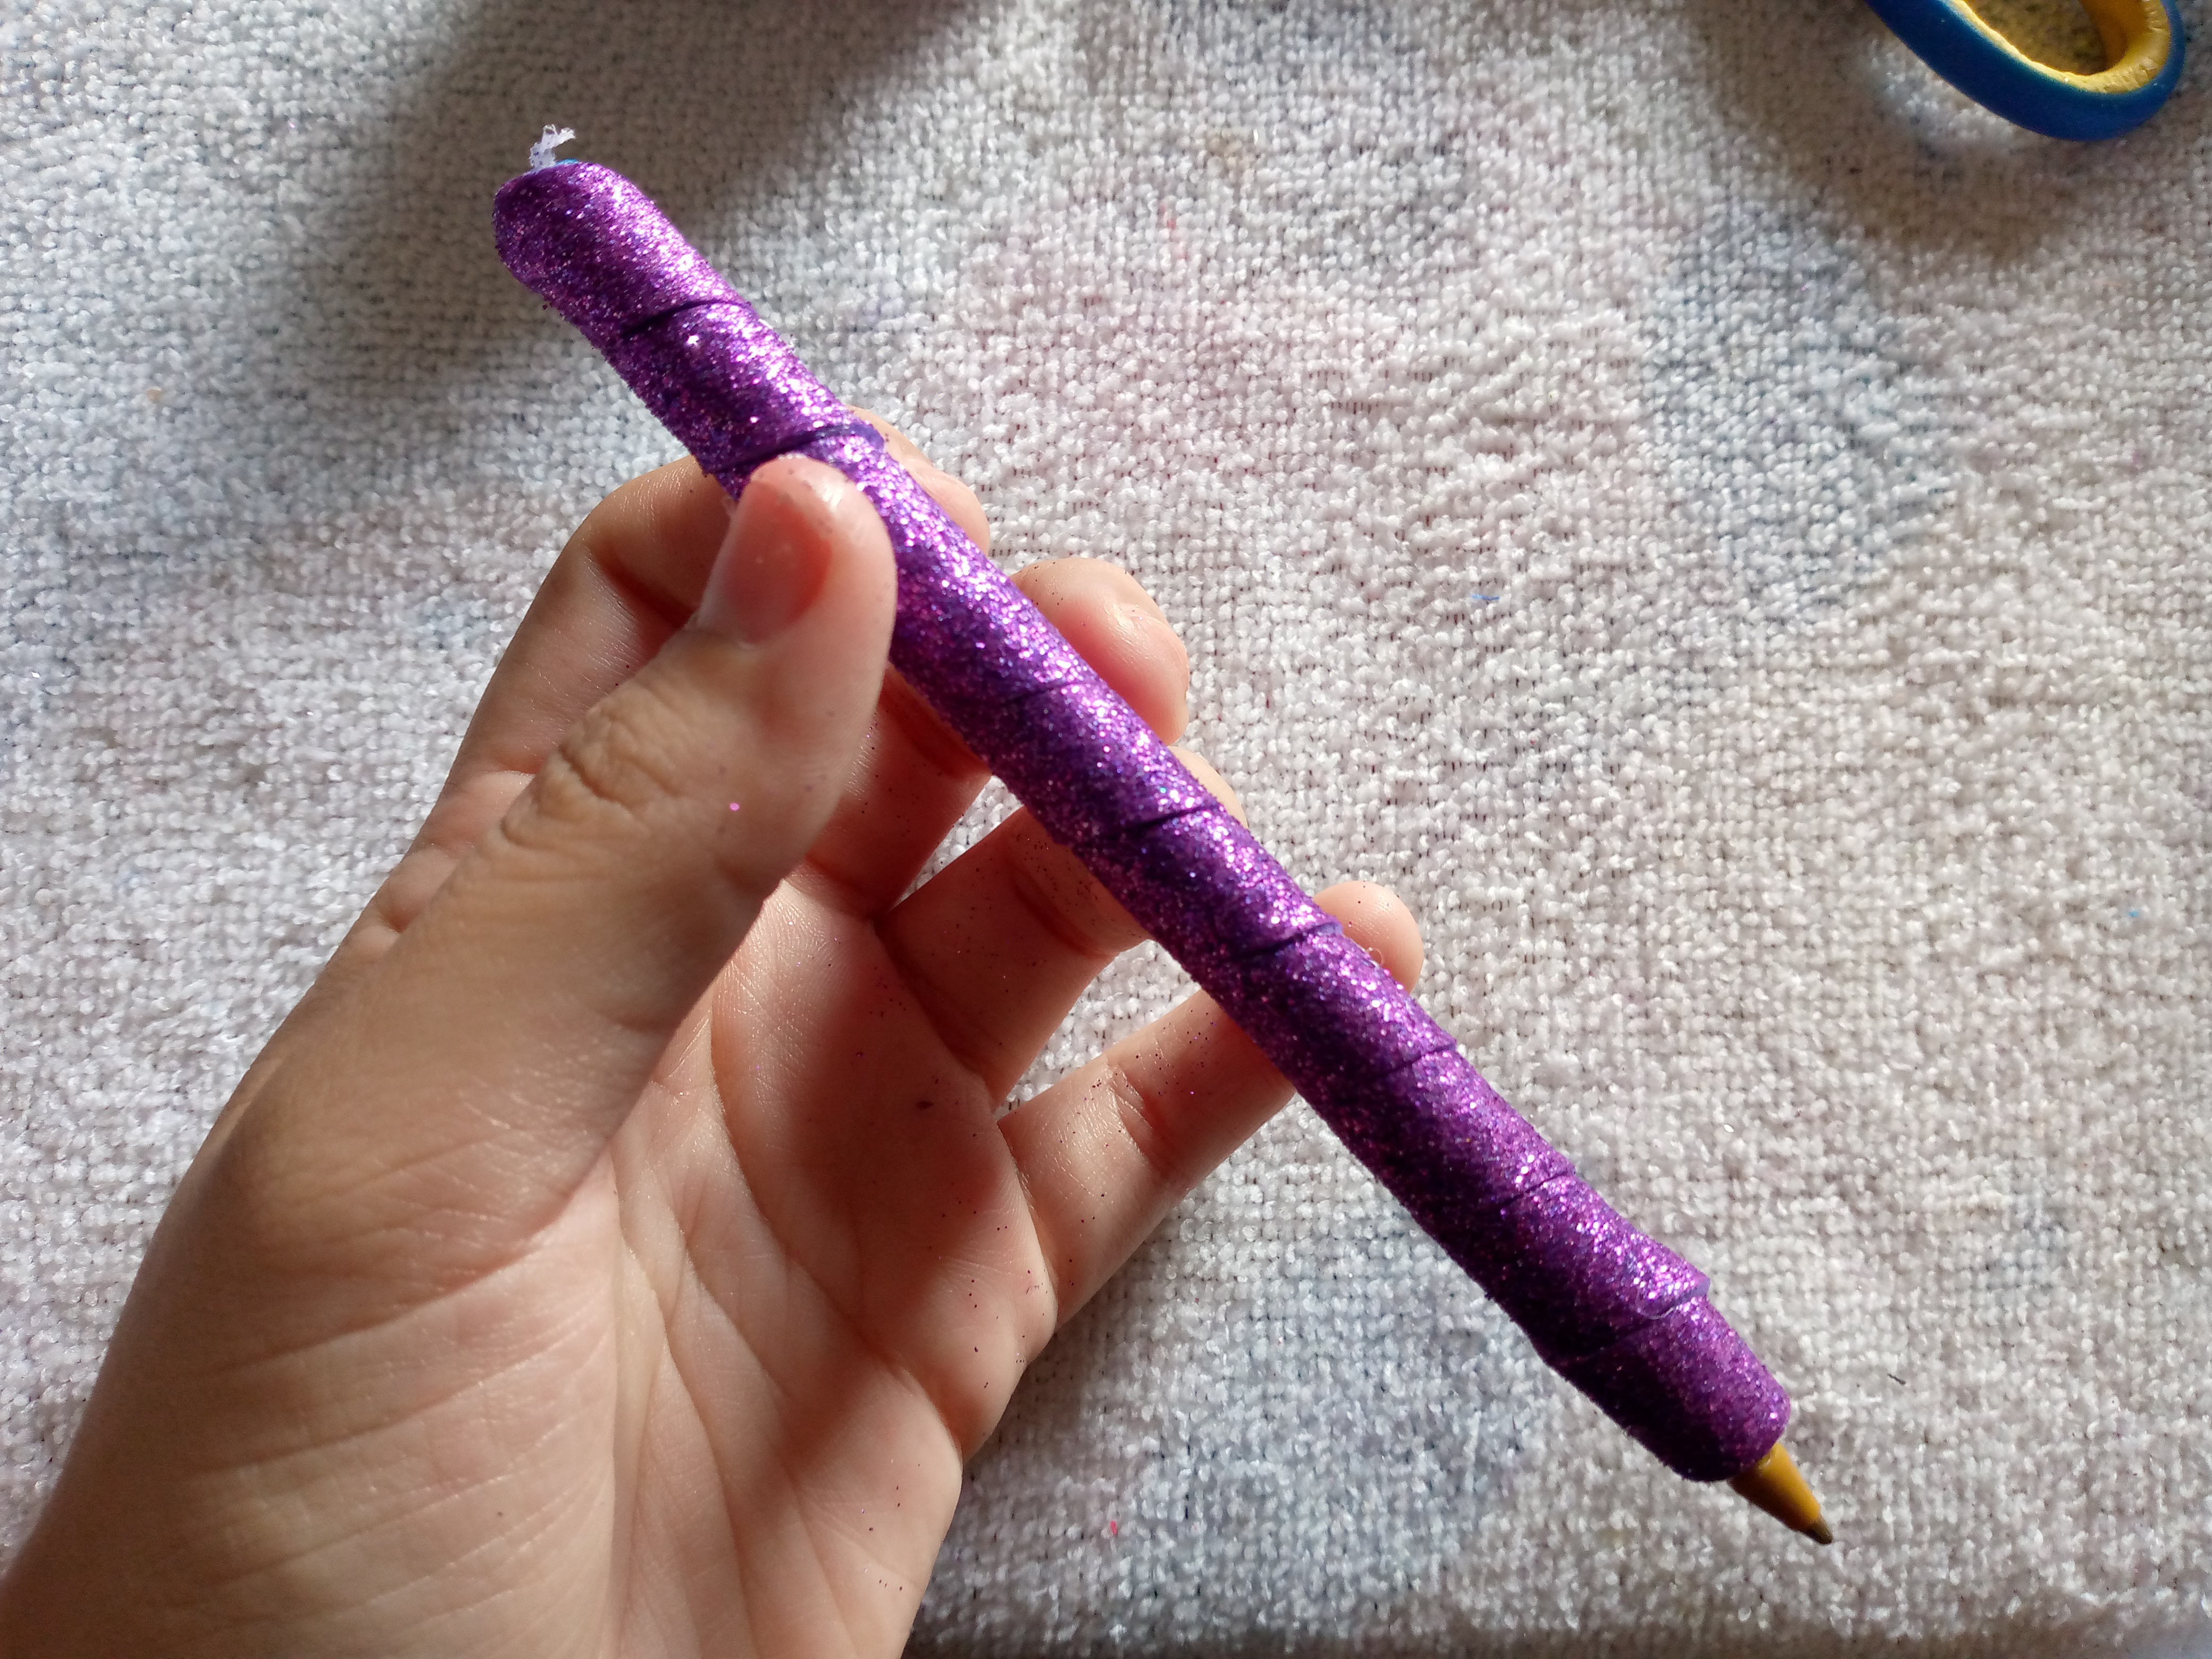
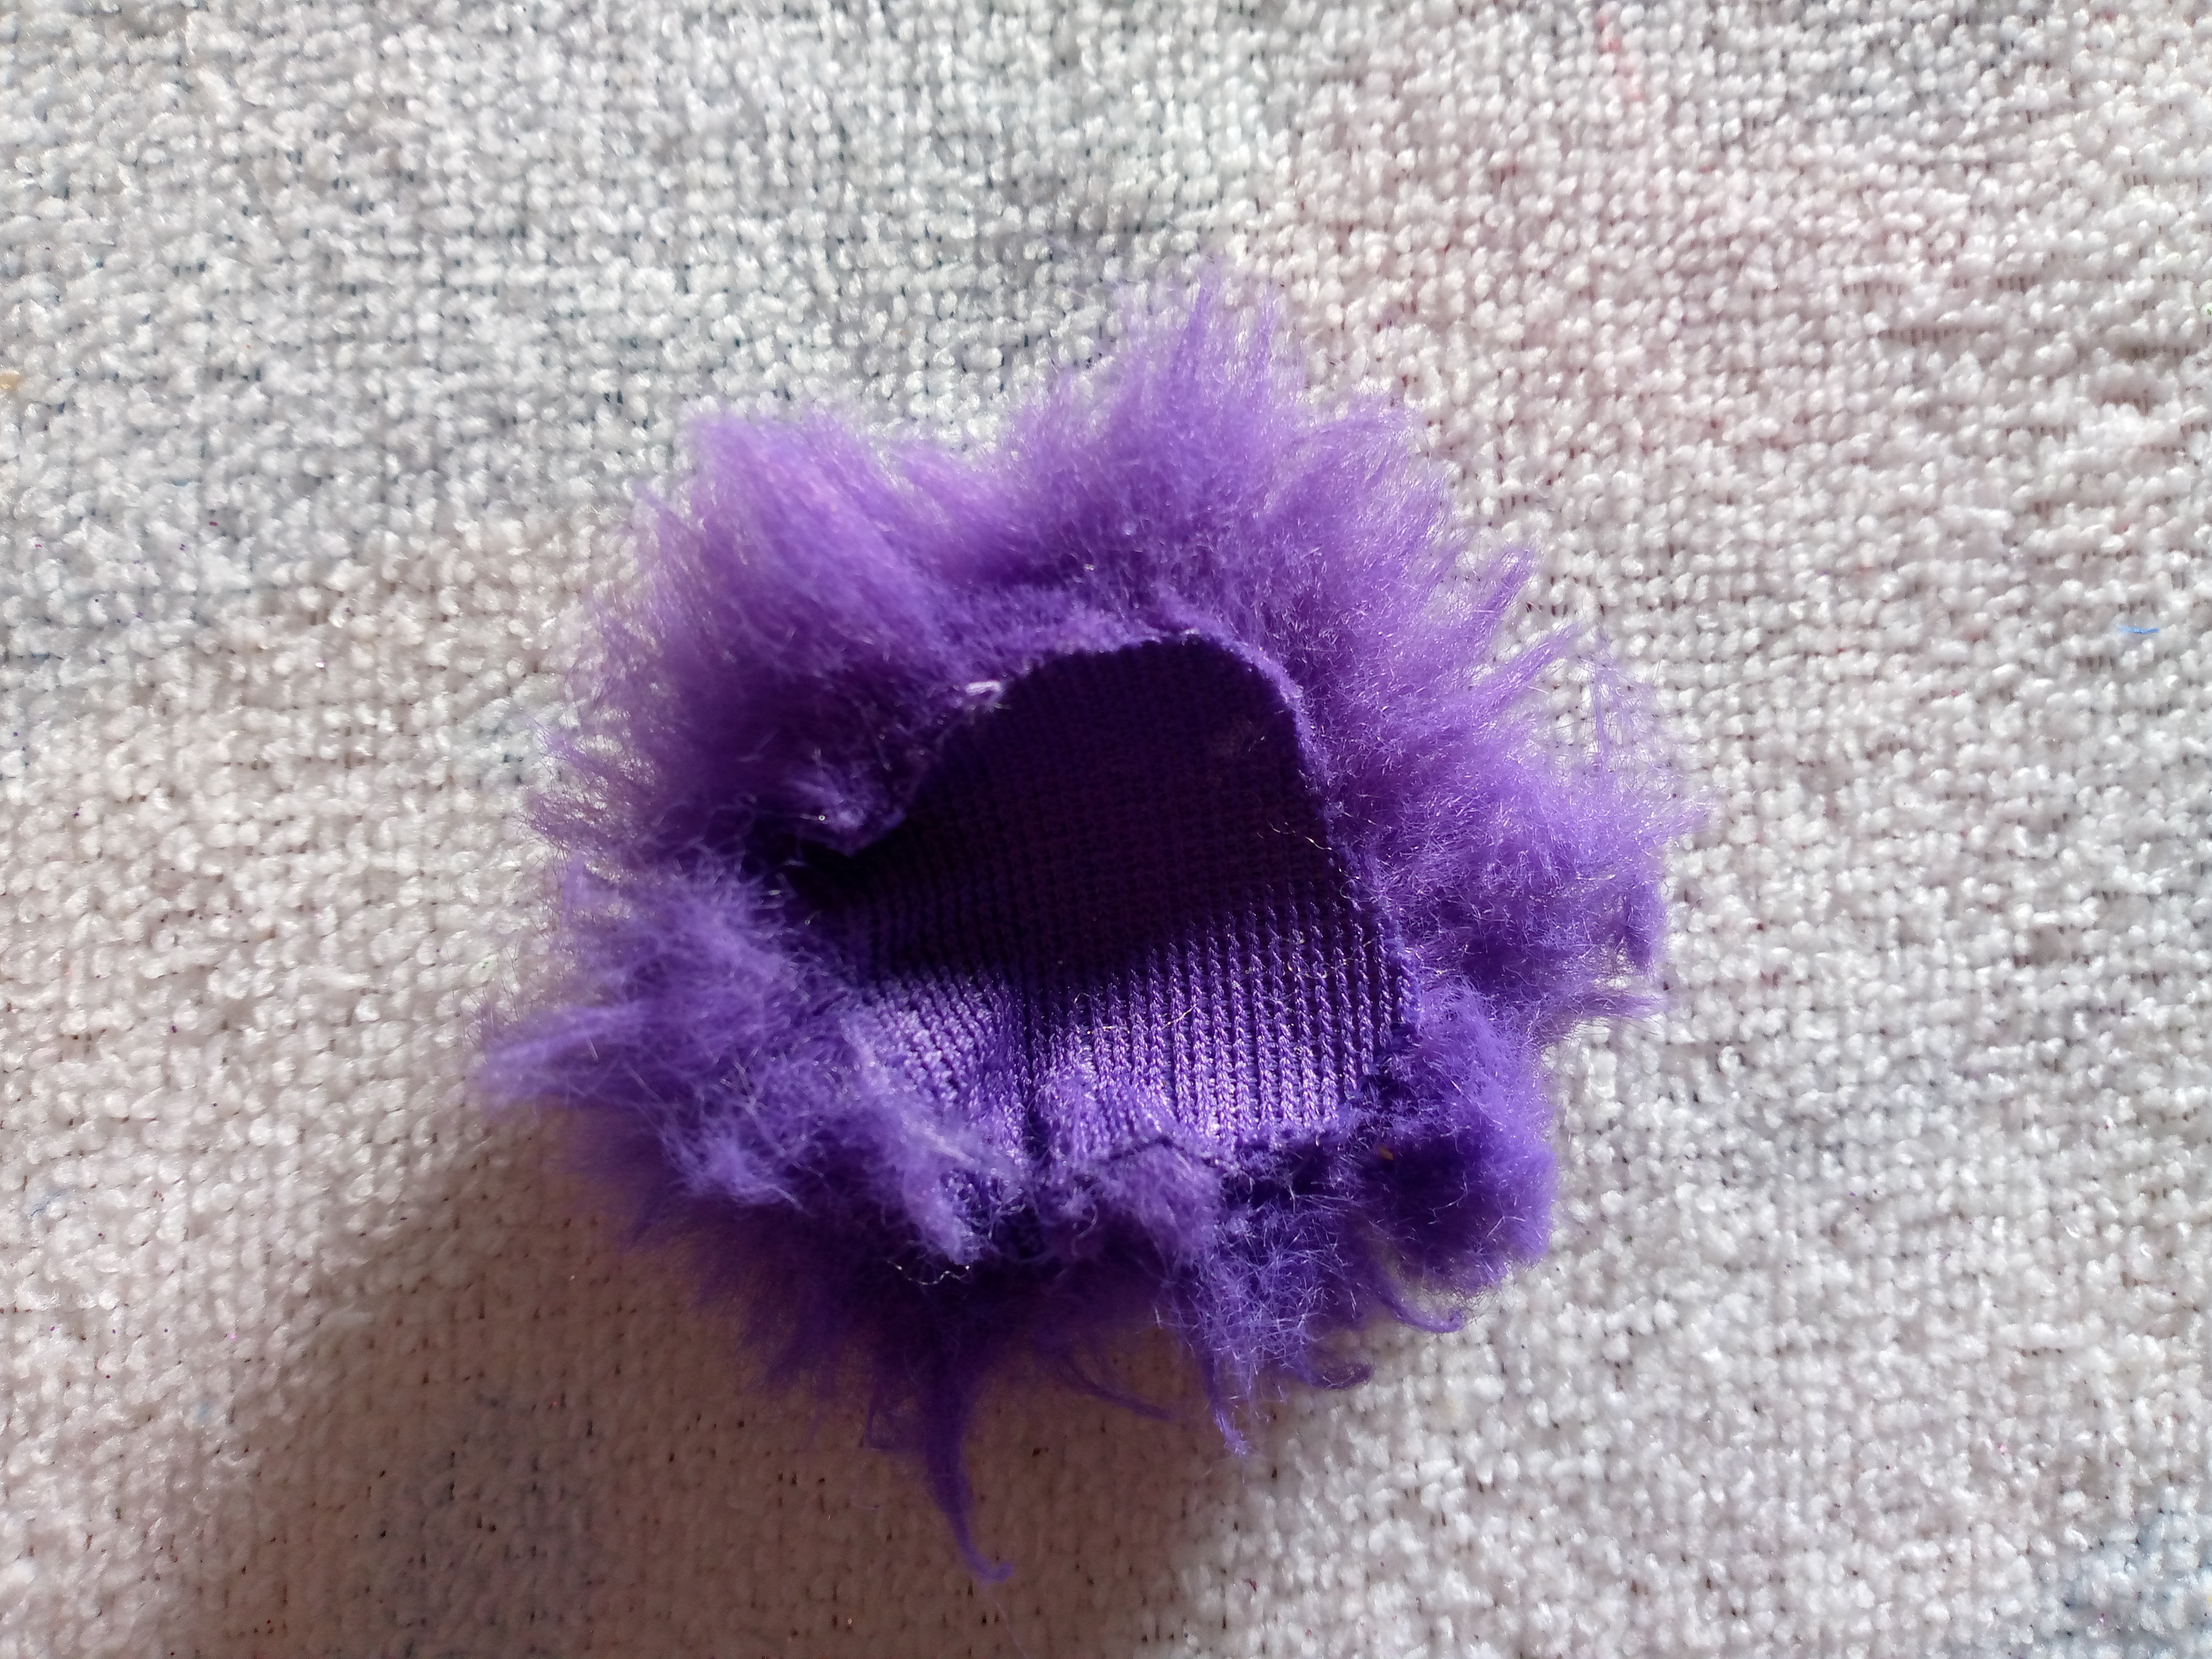
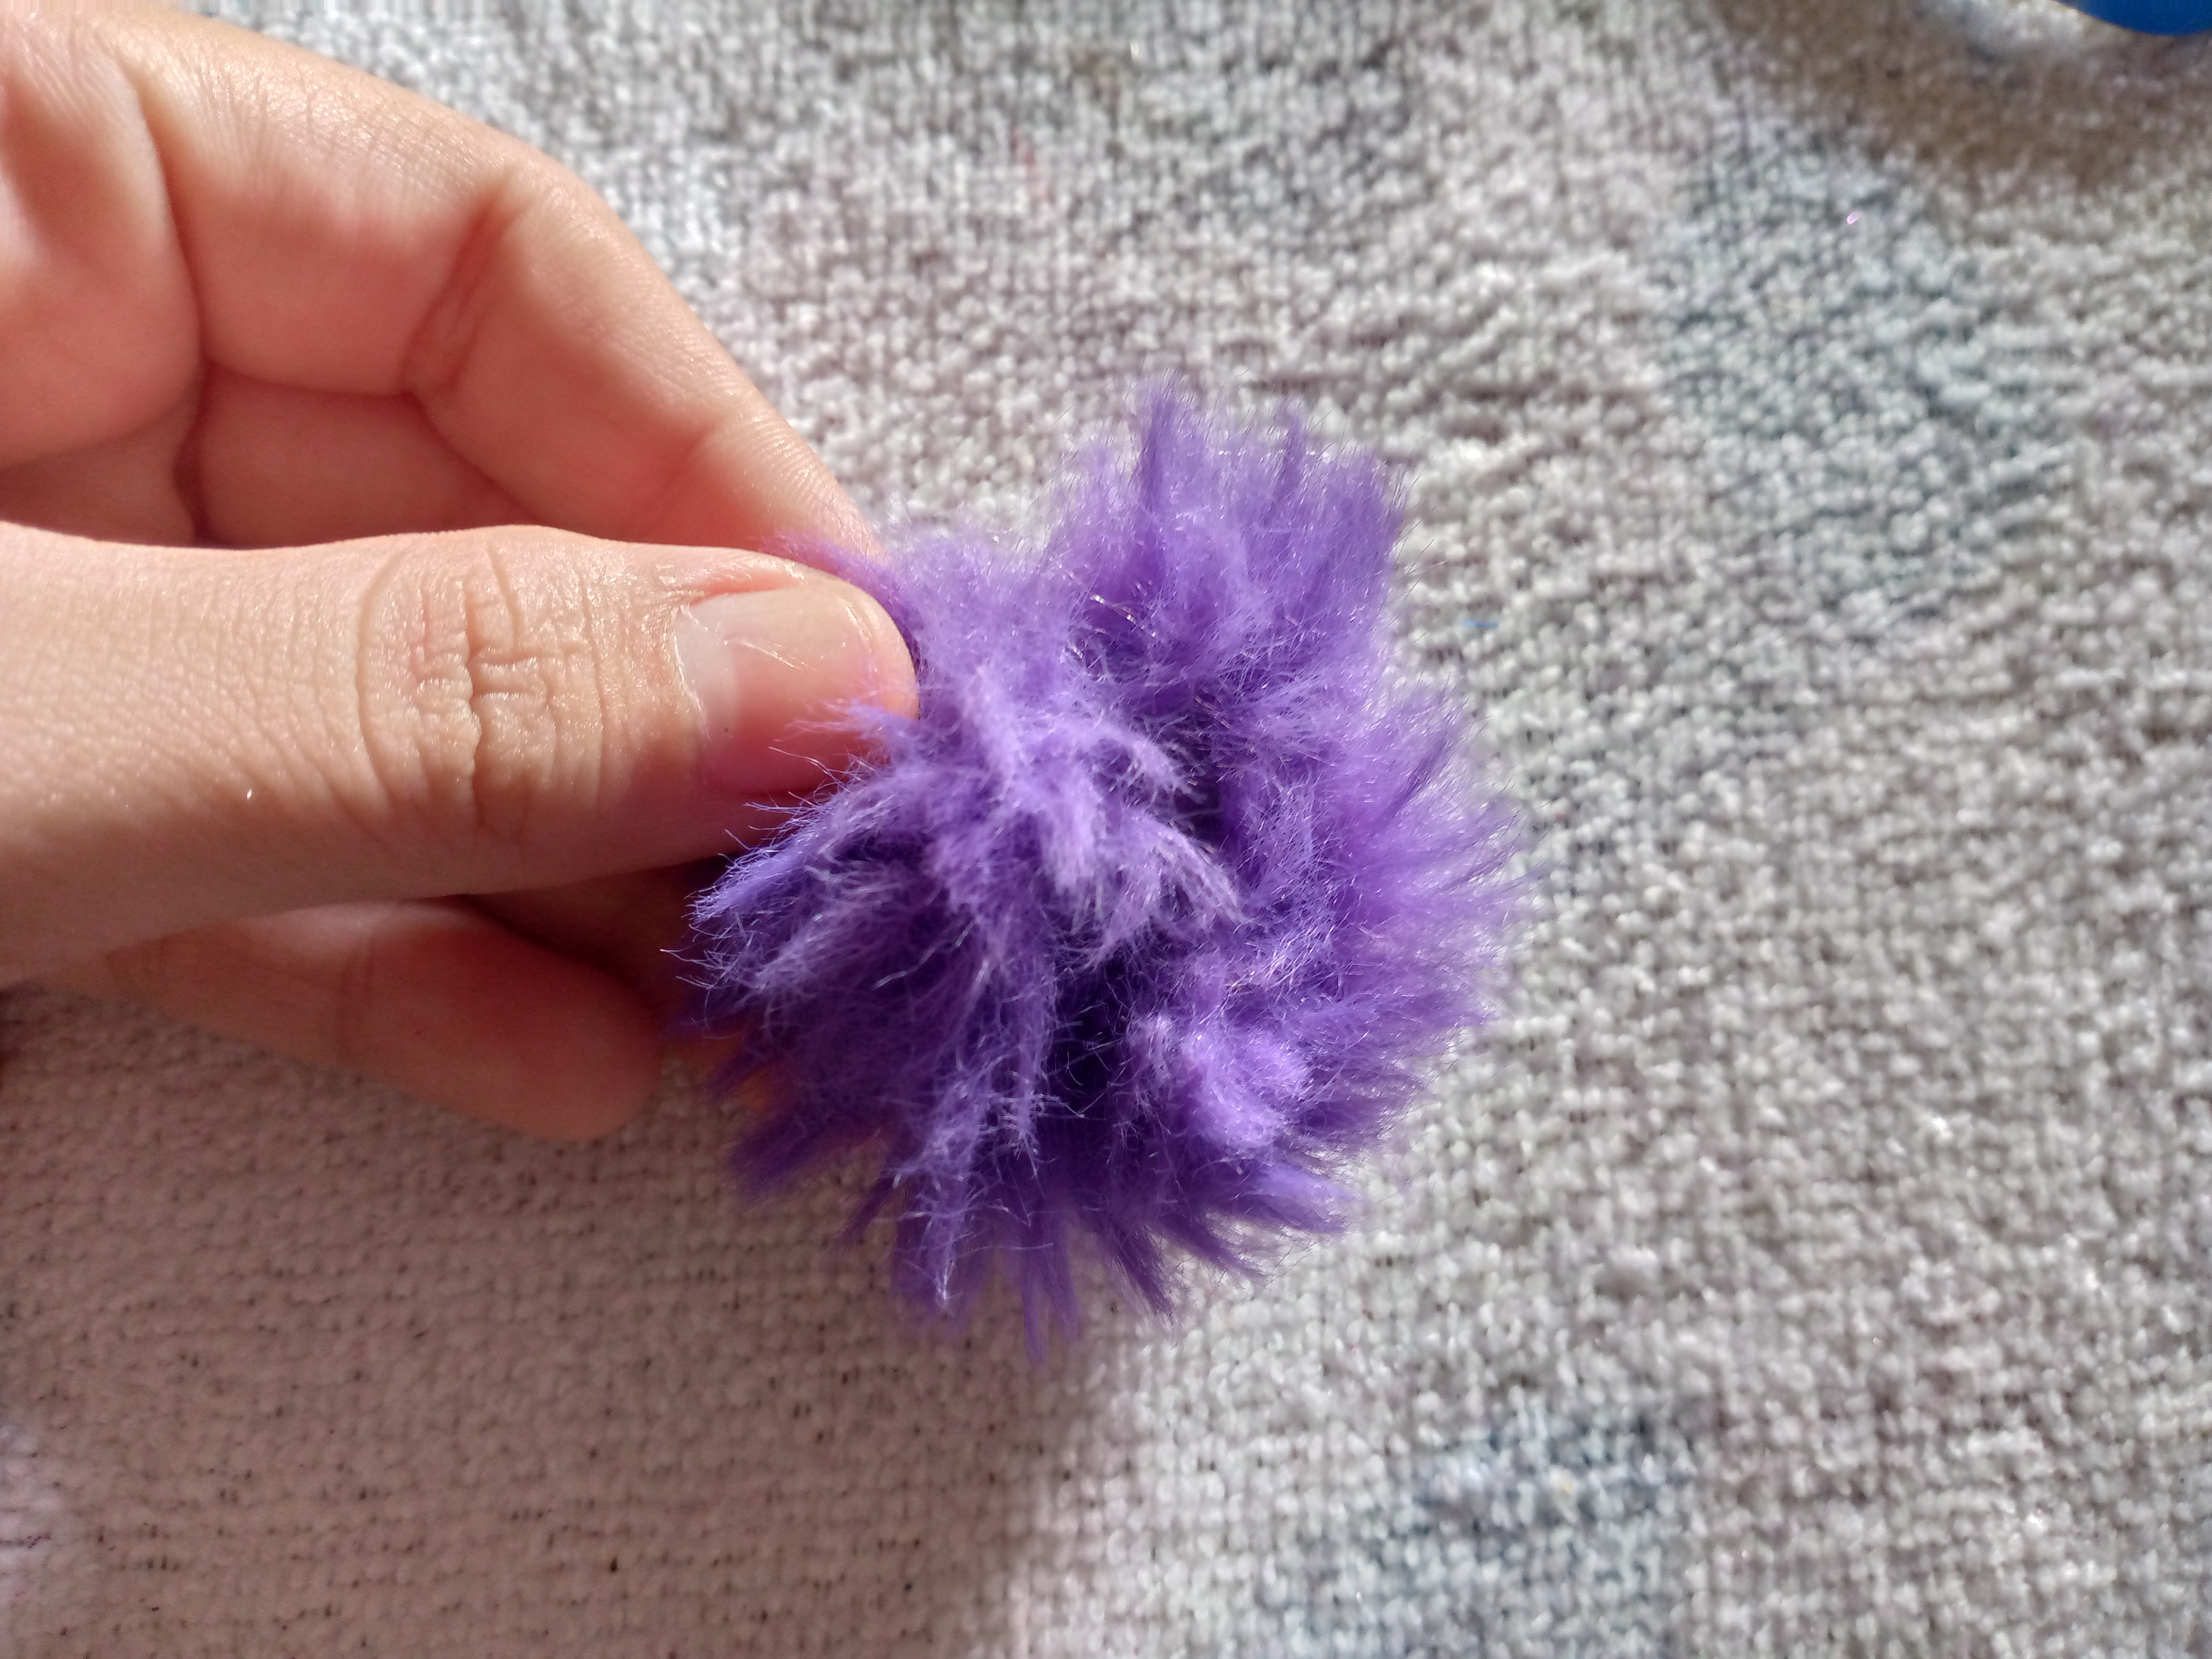
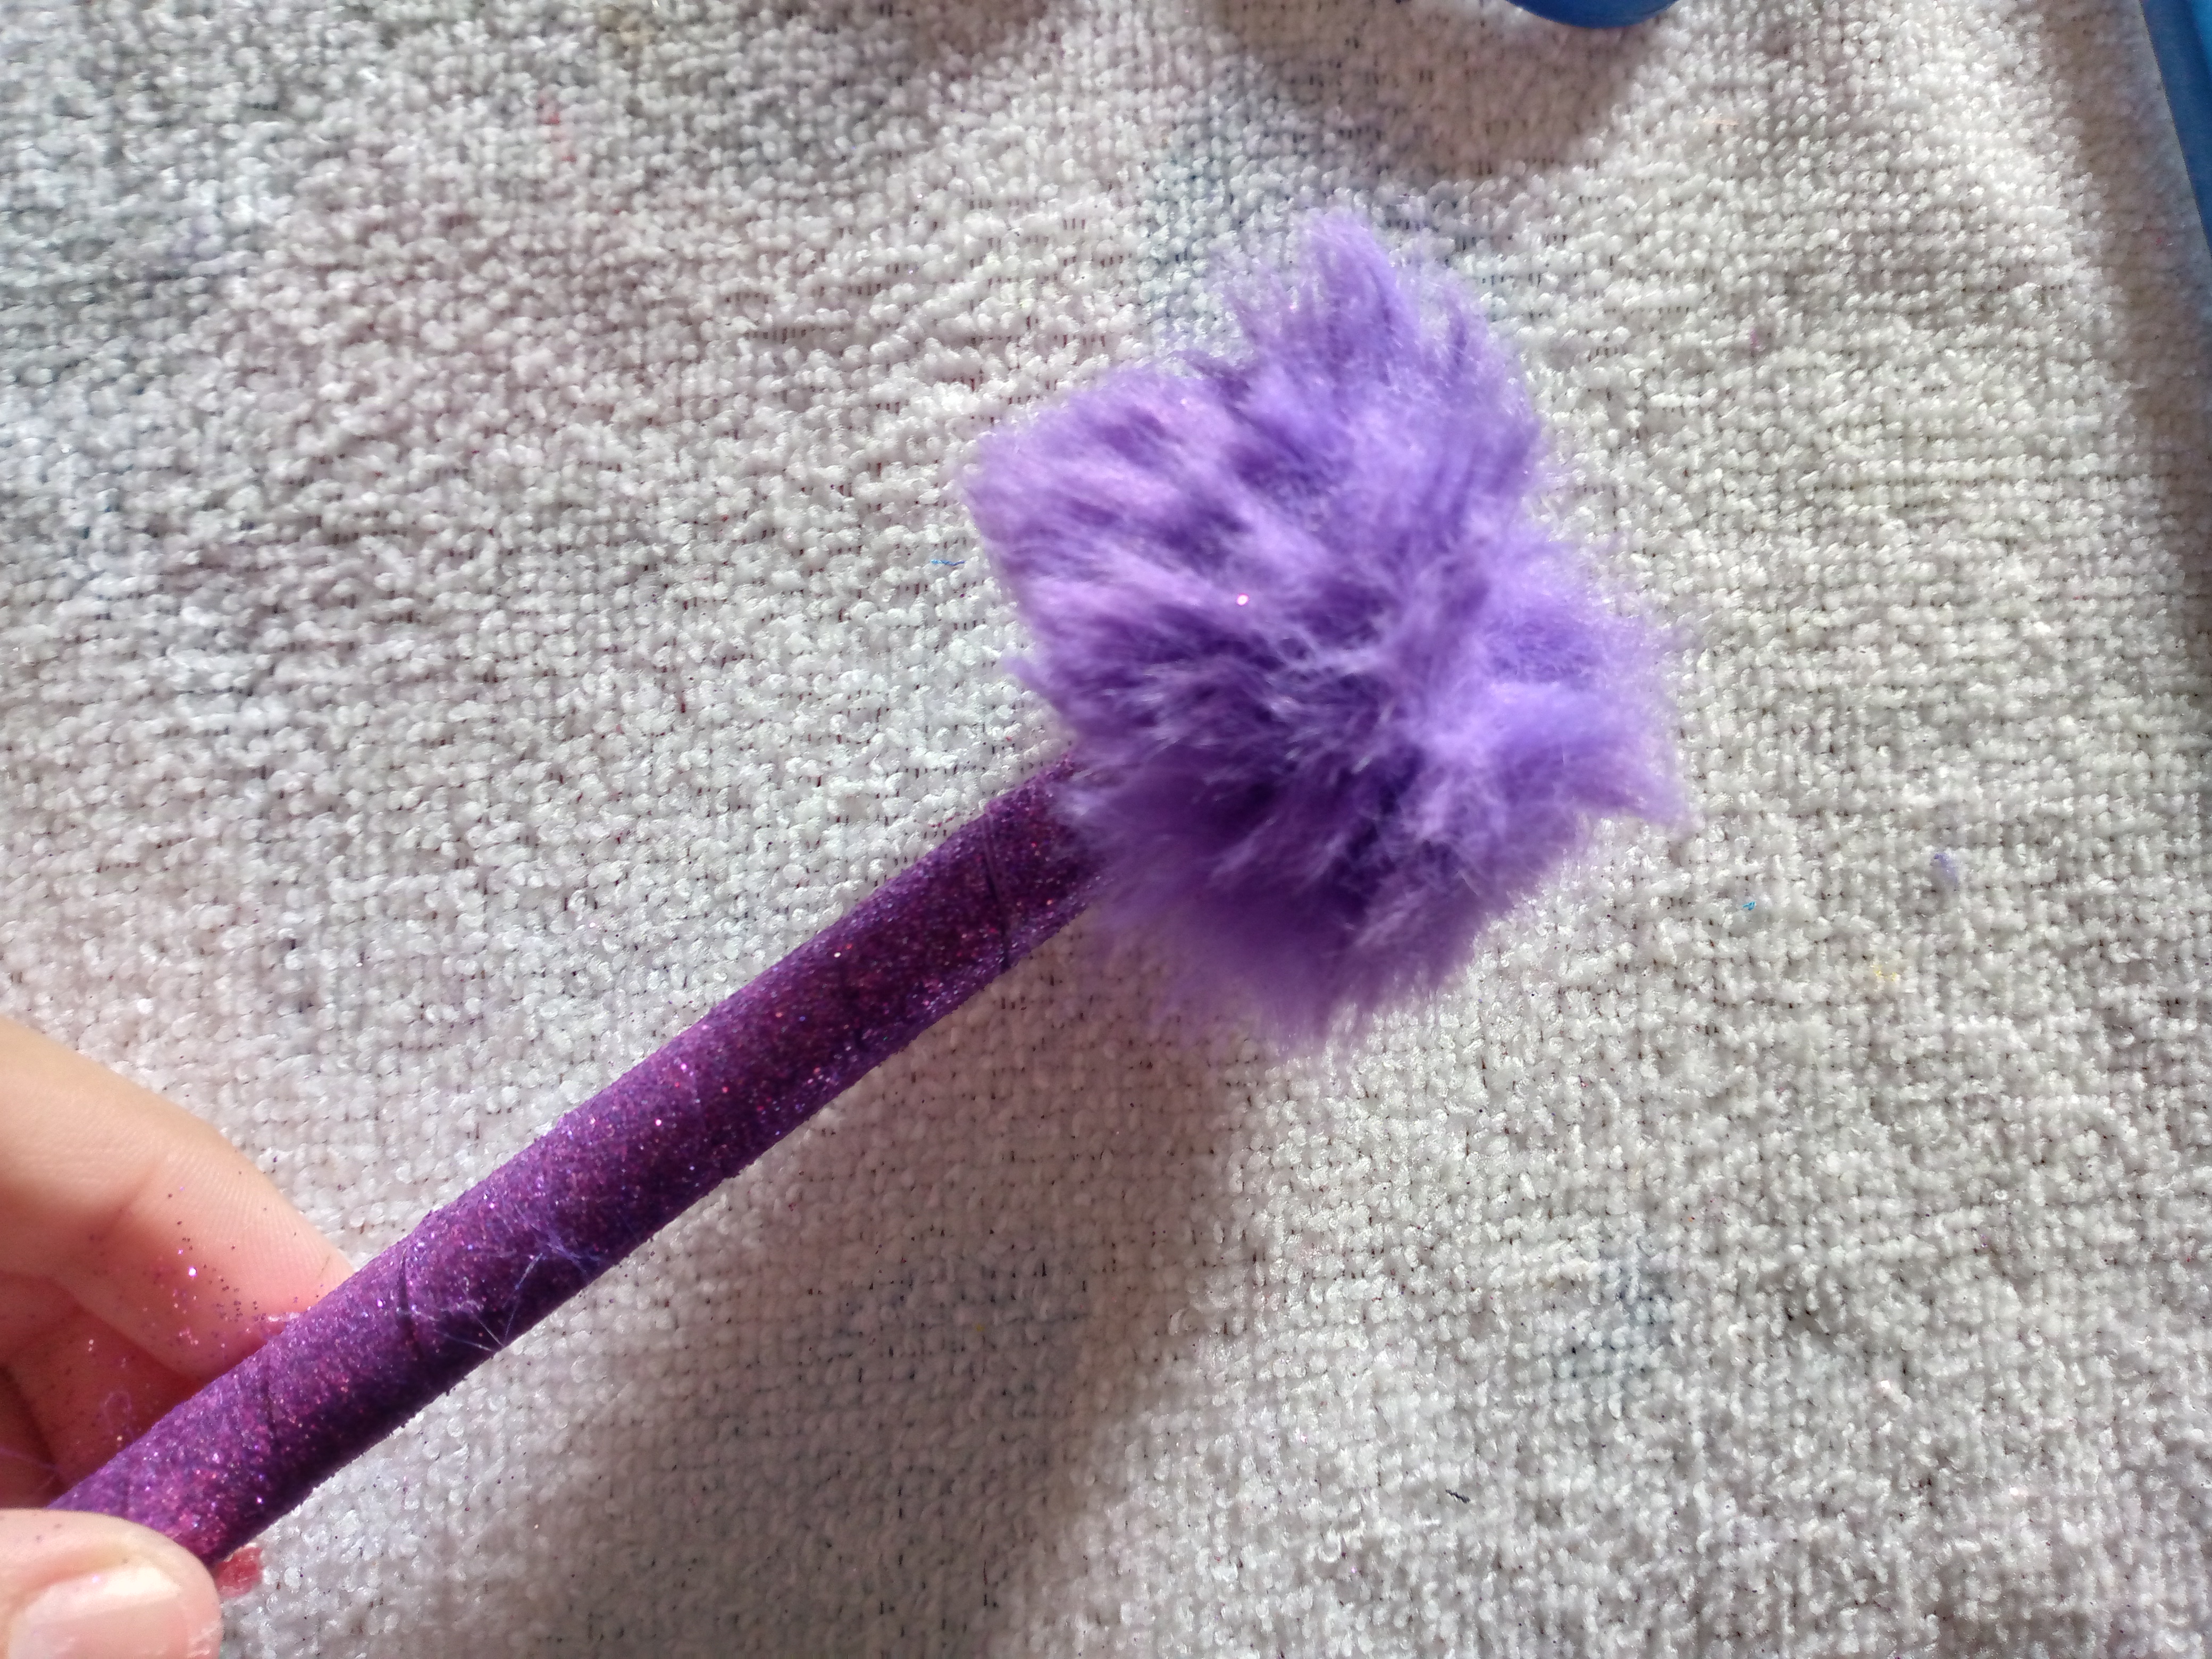
At first, the strip that we have taken from our violet foam we are going to be gluing from the tip of my pen, we are going to go around and adding silicone little by little we do this and press with the help of our fingers so that the foam adheres well to the surface and the plastic of my pen until we reach the top part which is where we are going to seal well with silicone so that it does not come off, after a while of pressing the foam to the pen and after it has dried we can remove our fingers from that part, we put our pen aside and move on to making our mote with the plush fabric which is very soft, we make a small circle that we are going to fill with the plush stamp, we will also only use a little bit, and we are going to seal and glue this with the silicone as well and we press this with our fingers until it dries with the filling already inside.
.jpg)
Paso 04
Step 04
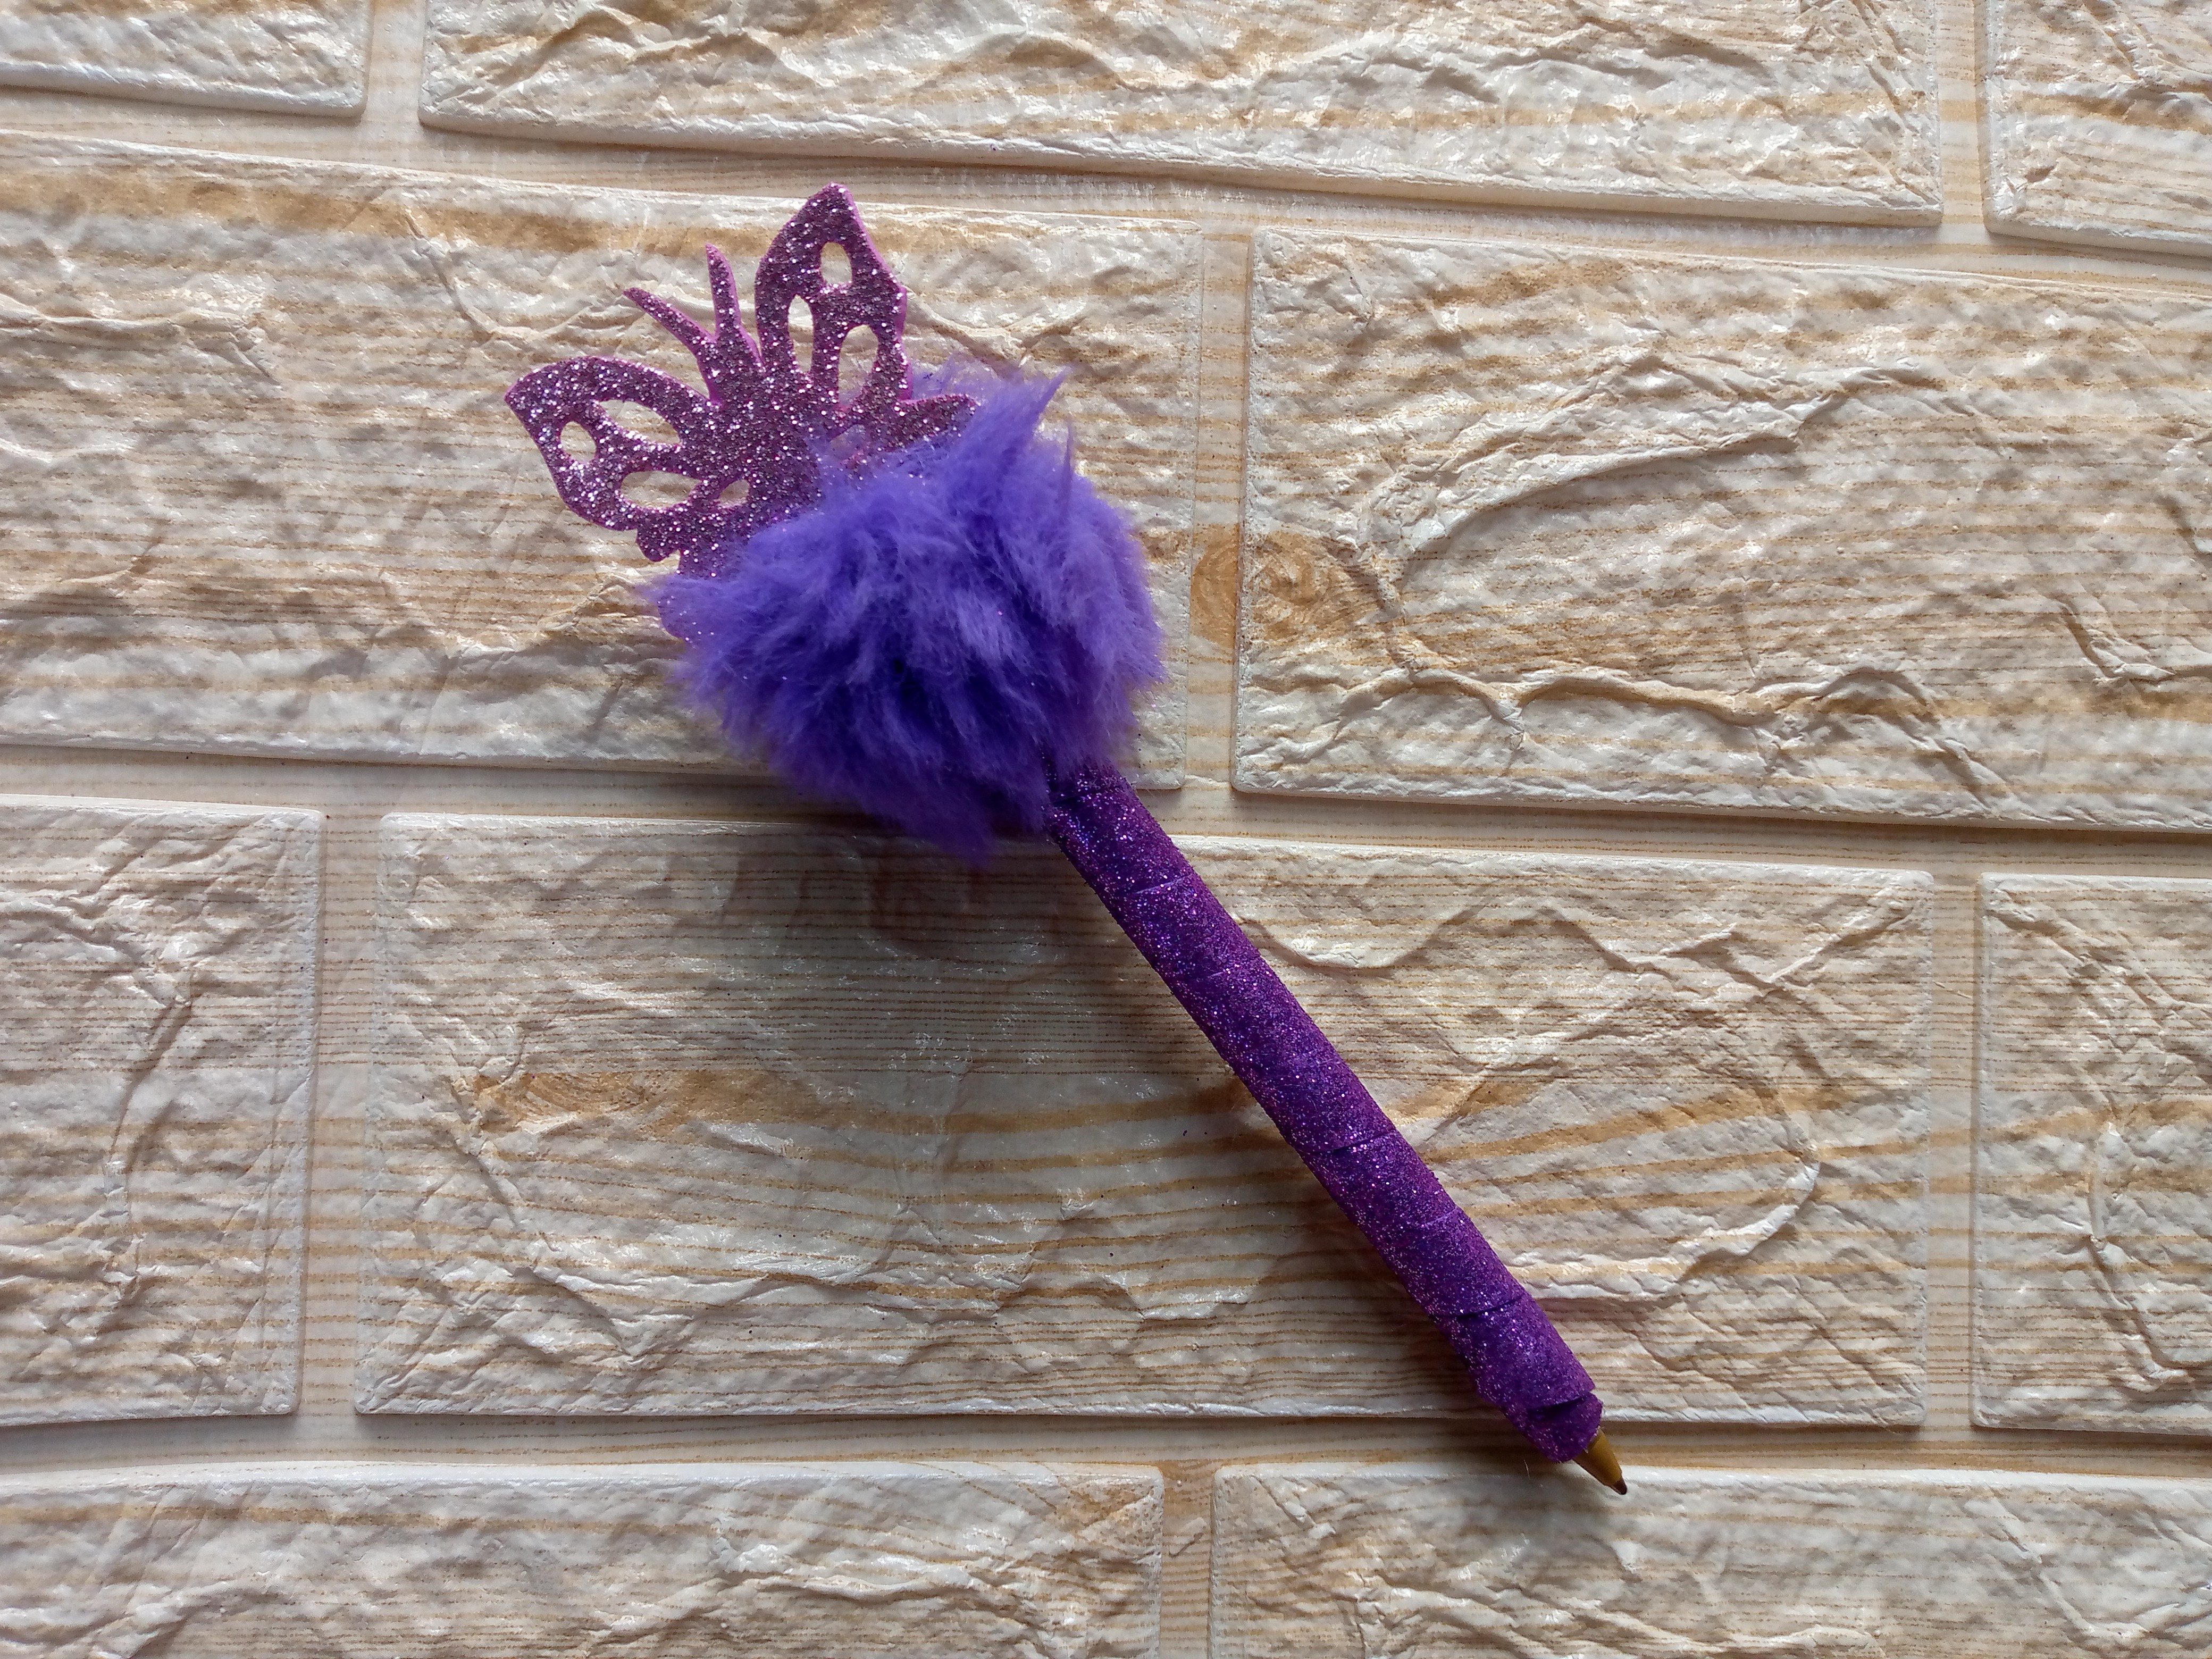
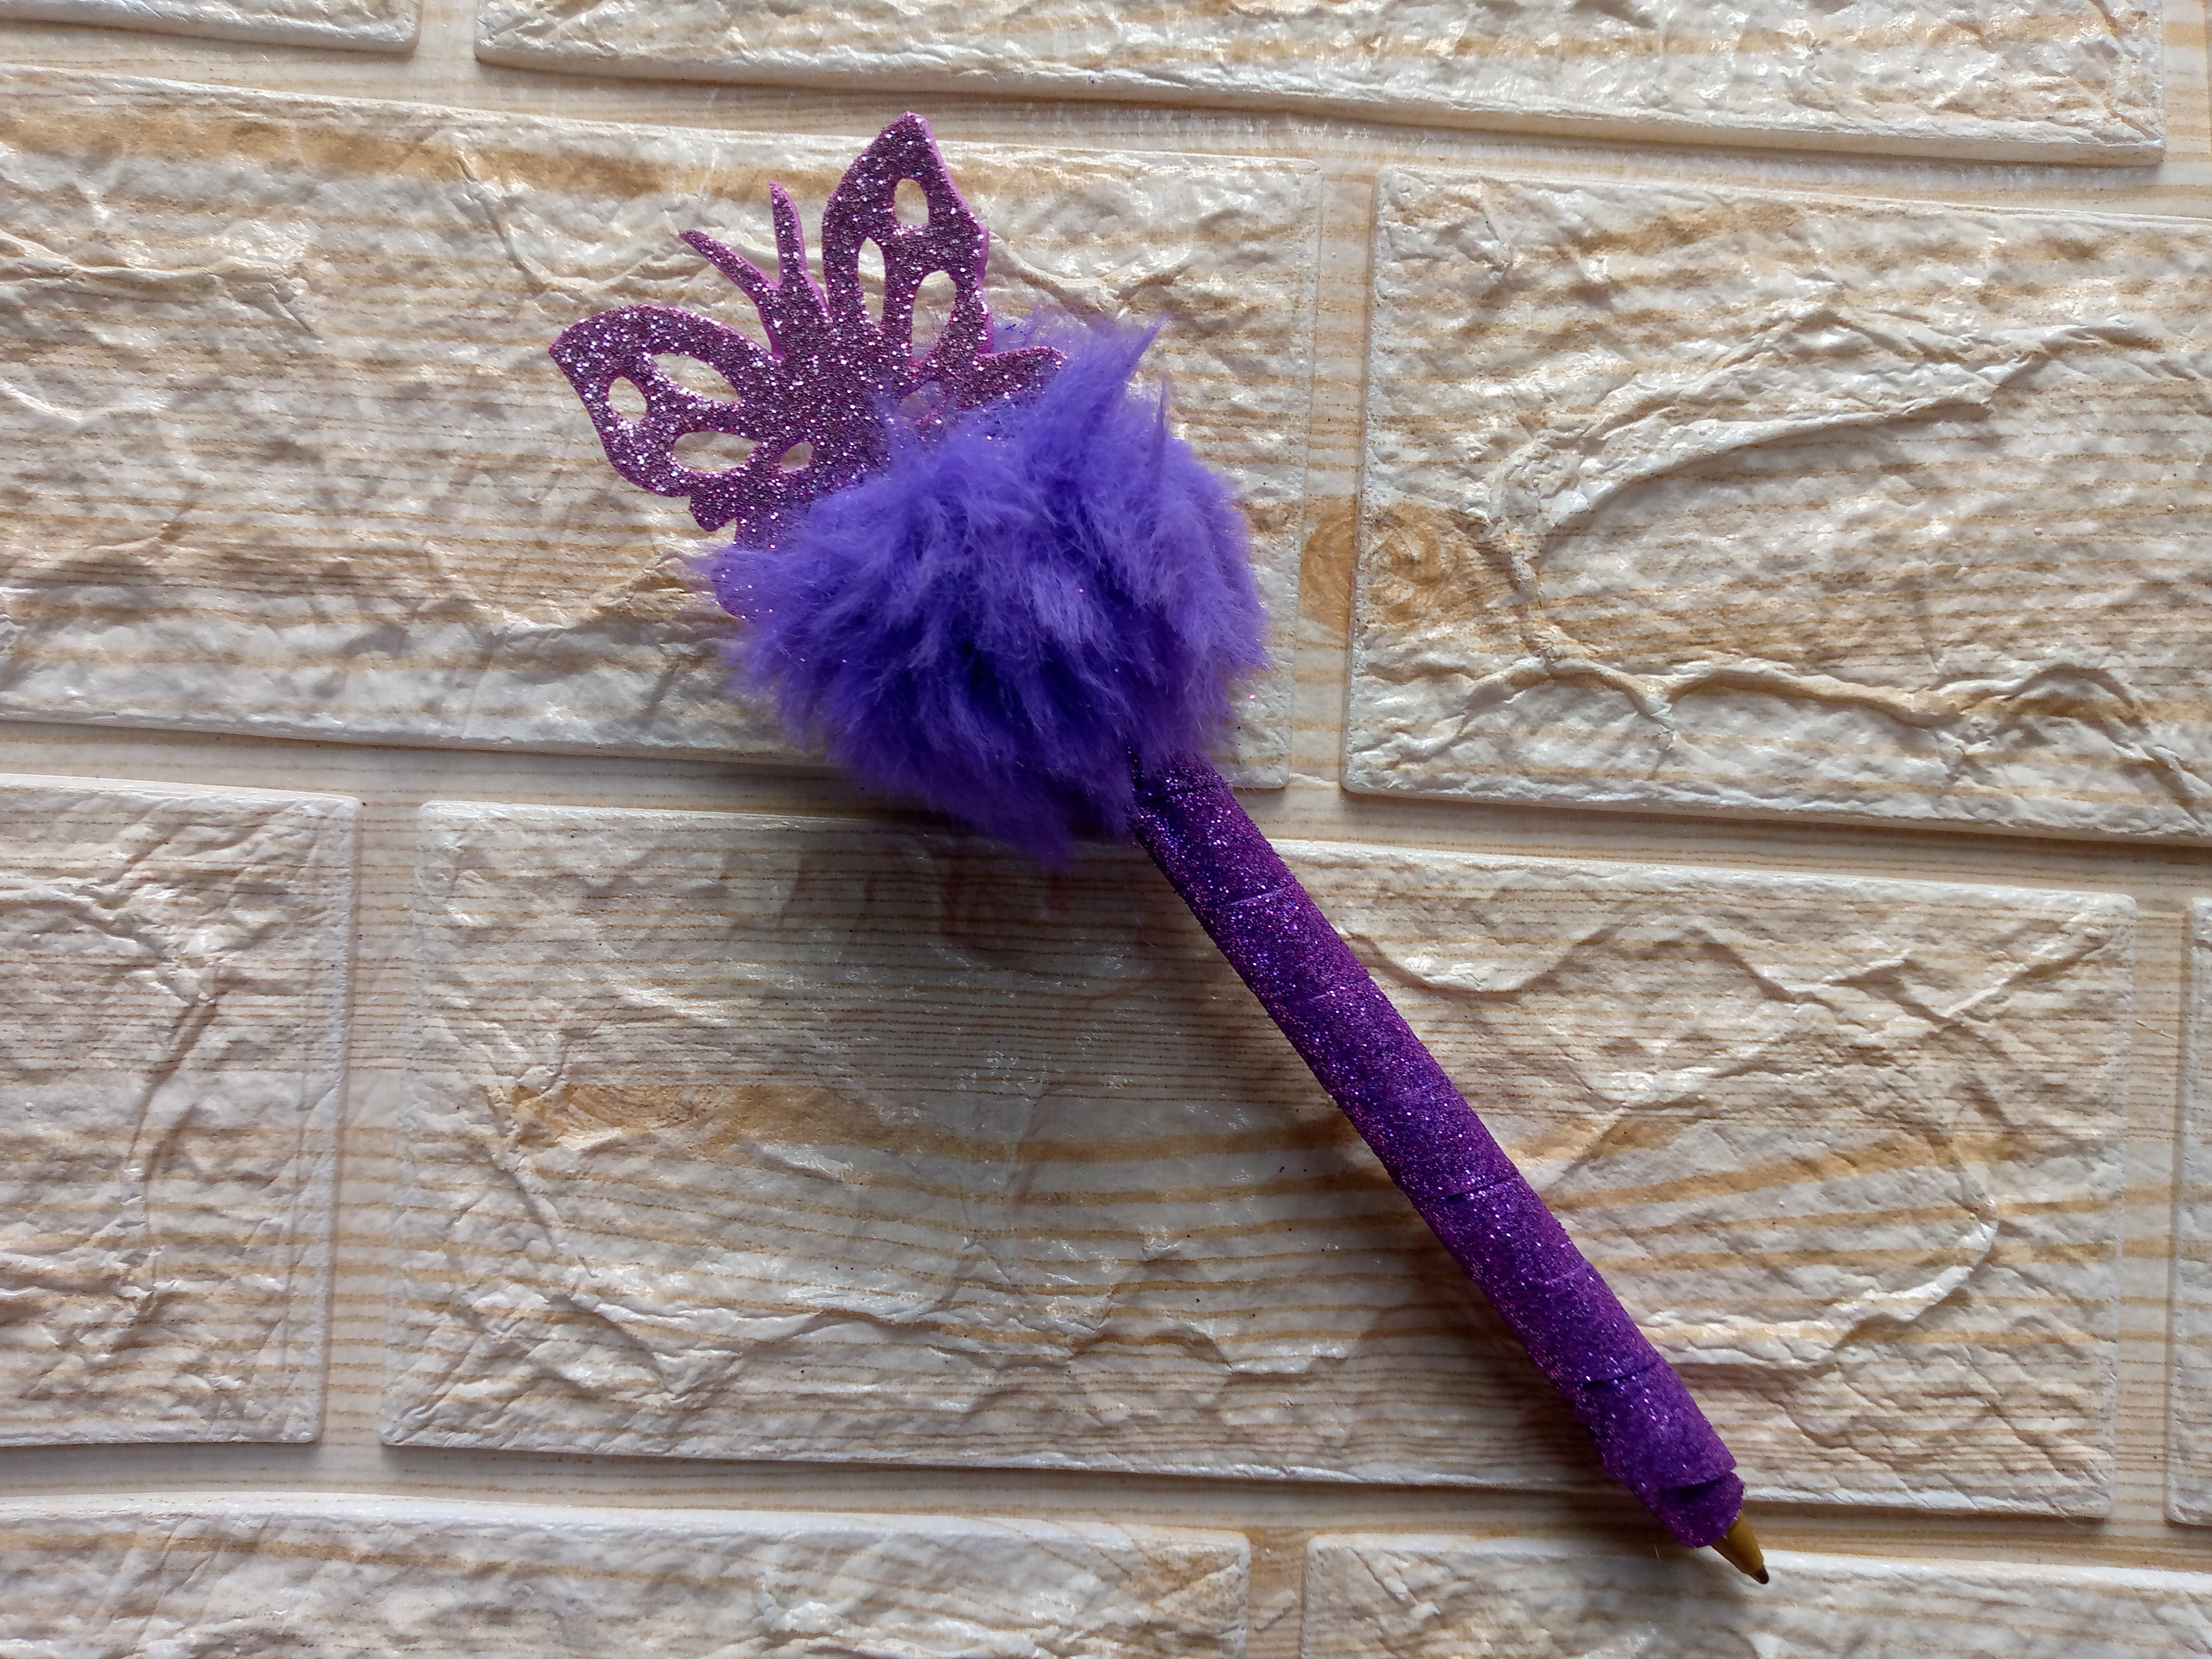
Here we finish by gluing our furry speck on the top of our pen, we glue it well and up to this point our pencil looks so pretty, I love how it is turning out, to finish with our star decoration we are going to be gluing our butterfly on the top little by little and carefully since the butterfly tends to go to the sides so that it looks good we can add a little silicone under the wings and in the center of the butterfly below we let the silicone dry a little and proceed to glue it quickly we press it just like we glued the fomi when we went to cover our pencil so that way the butterfly can be glued well and it will stay right in the center just as we want and you can better appreciate the detail of our butterfly, with this step we have finished it.
.jpg)
Resultado //Result:
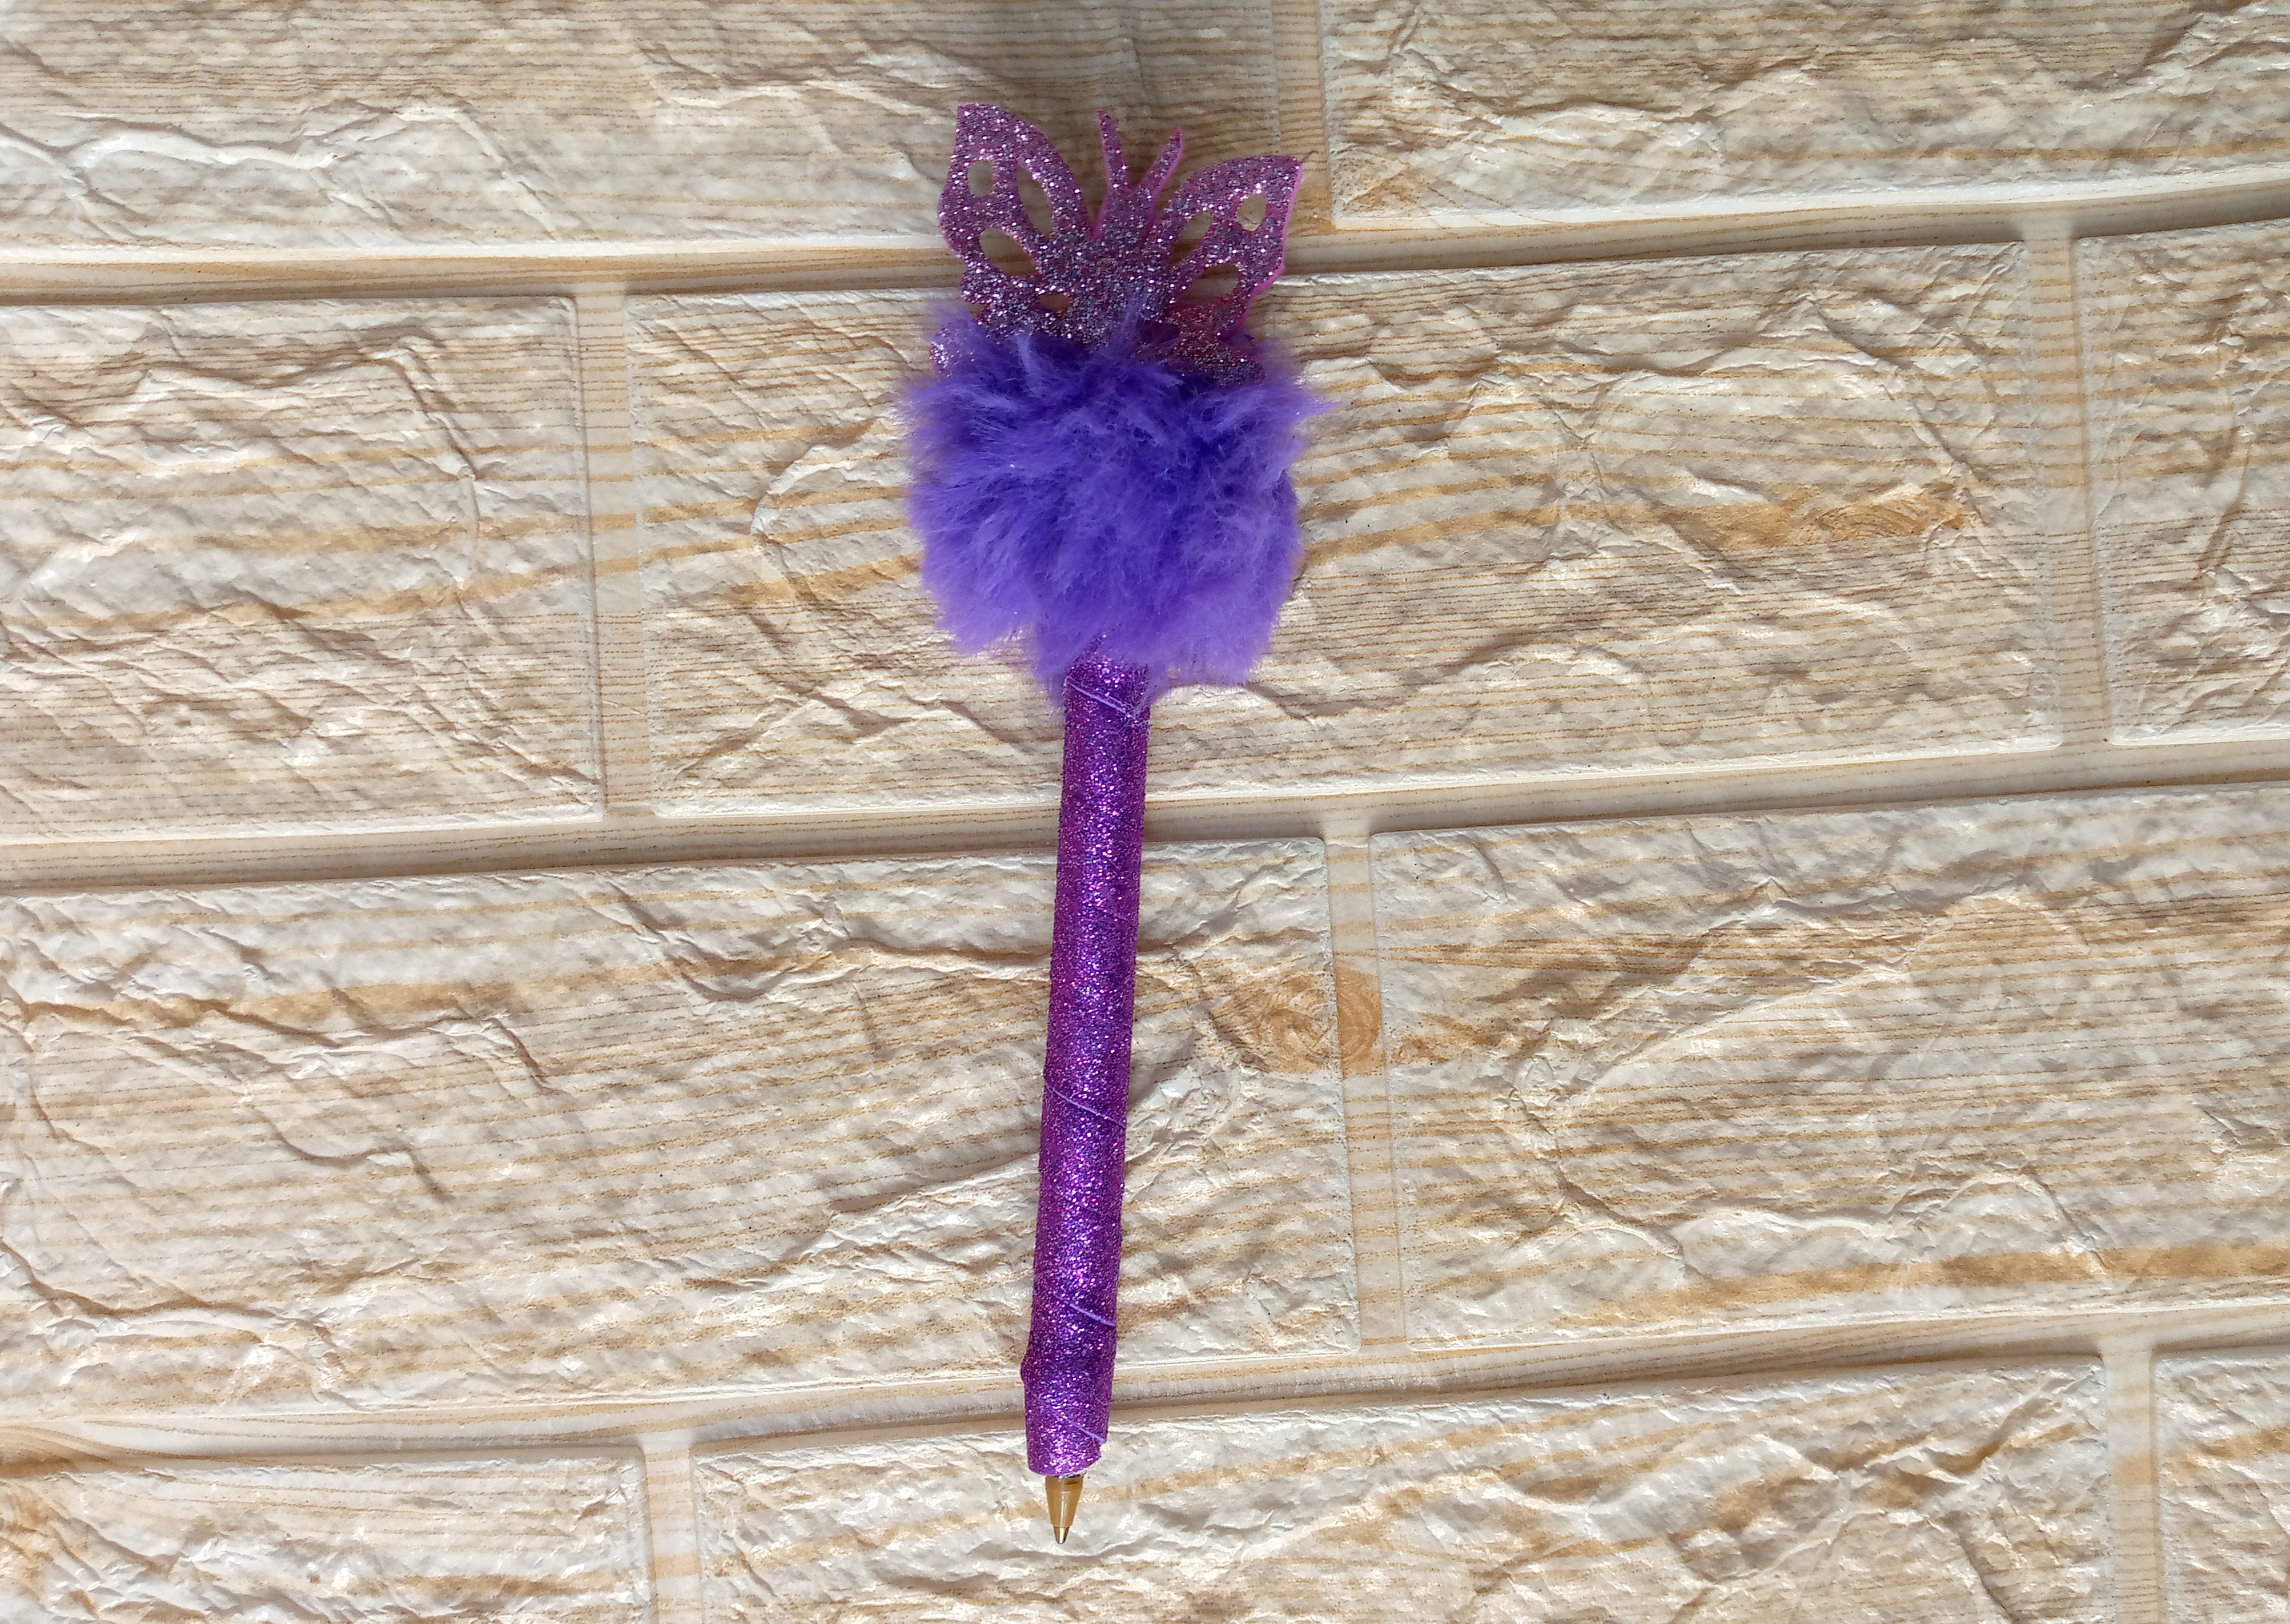
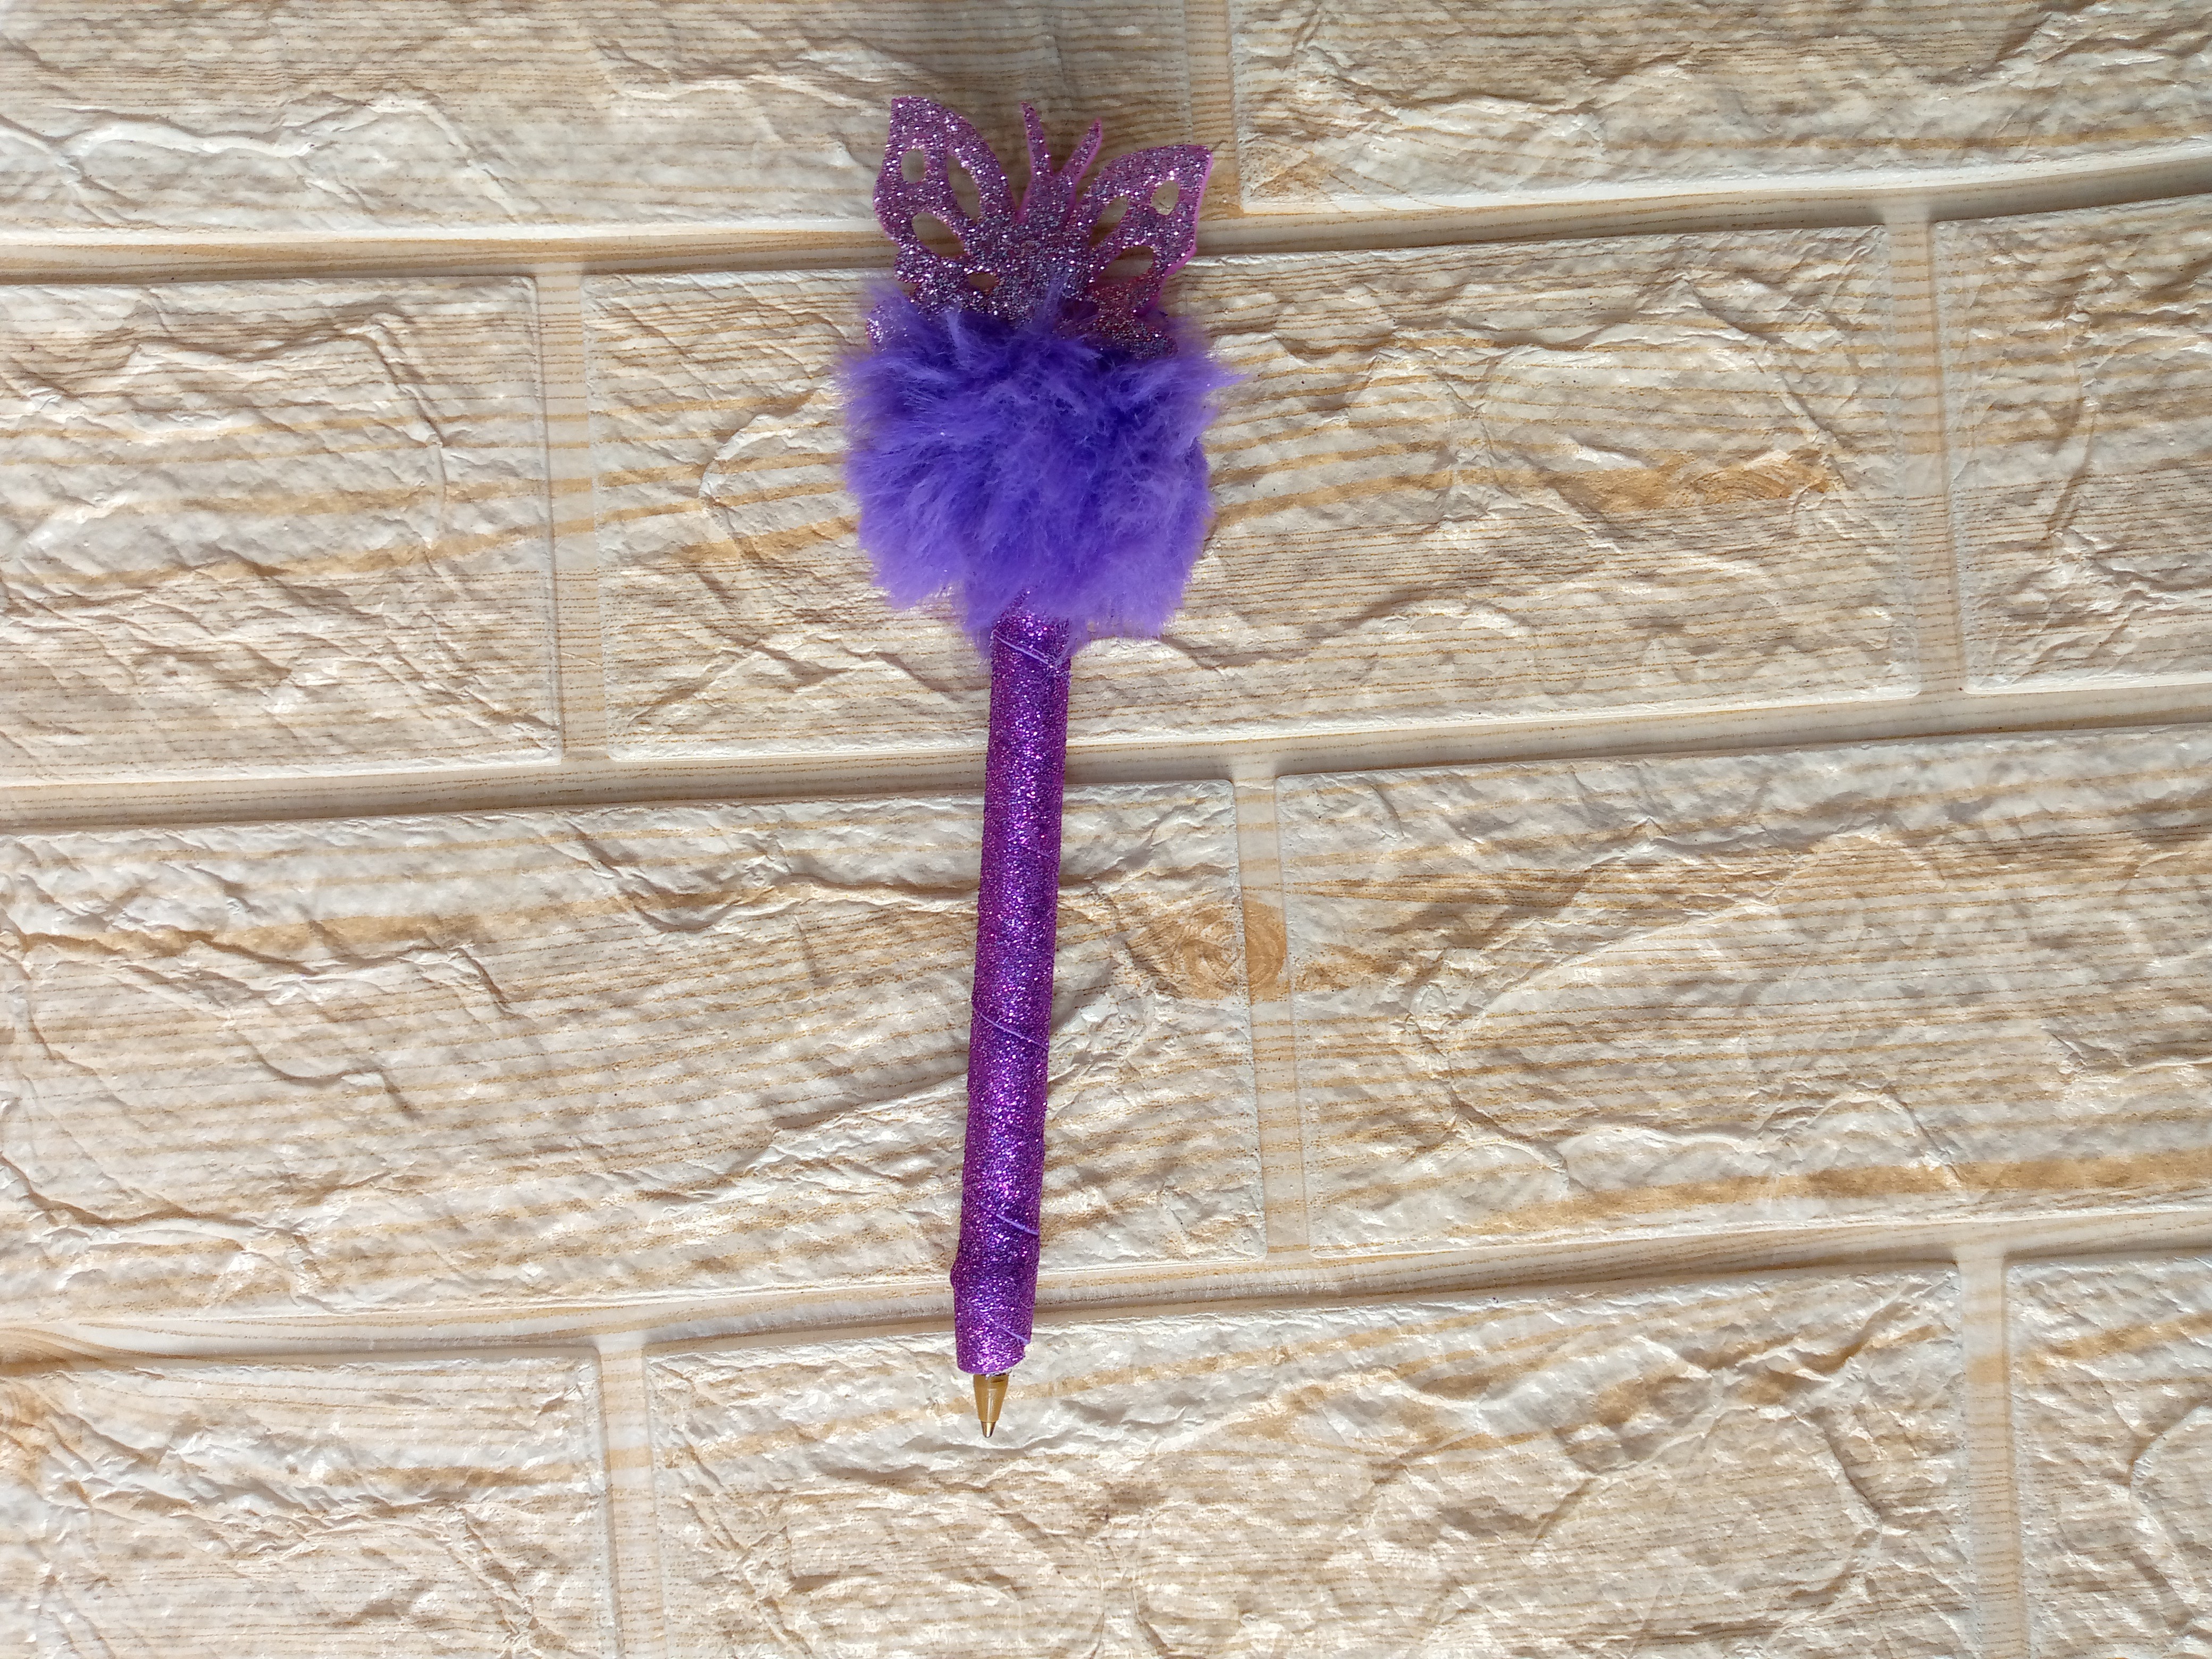
In this way we already have our pencil decorated and ready to write down anything ☺️I definitely liked how it turned out very shiny and my favorite color, I would be glad to know that you liked it and if you want you can leave me your nice comments and know your reactions, this decorated pencil is ideal to make a nice gift and an advantage is that you can do it with few materials and even if you have materials from other works you can do it like I have done and you can vary in its color just as you can do it for your girls if you are clear, they will love to write with an decorated pencil in this case you can use a graphite pencil and thus they could use it for school, the truth is it is a very good undertaking to make these pencils since they would attract a lot of attention.
This is where we have come with this tutorial friends, I hope my blog has provided and given you creative ideas to make school stuff and make your life easier by recycling material that perhaps sometimes we think would not be useful, I wish you a happy morning and I hope you have a nice Thursday and I say goodbye to you with a strong and warm hug, goodbye friends thank you for getting to the end of my blog we will read each other on another next occasion.
.jpg)

Creating things with love 🌷❤️
🦋✨ All the images in this publication are my author ,📱taken with my TecnoSpark8C cell phone |📸Photos edited in PicsArt and Canva. Text translated in Google Translate.
Follow me for more content 📌

Ha quedado muy hermoso y original 👍
Gracias @andreamtovar19 🥰✨me alegra que te haya gustado
The final look is so cute, writing with this would be such a delight. Thanks for sharing your creative idea with us, great job.
Oh thank you for the support and appreciating this tutorial from the bottom of my heart, I will continue with the crafts thanks 🤗
Tu cuidado al recortar los detalles de la mariposa, wow 👏👏👏
Gracias que bueno saberlo 🥺estás tijeras cortan bien es bueno afilarlas de vez en cuando ☺️
Muy original la decoración del lapicero.
Hola muchas gracias que bueno te guste🥰
Que lindo, me gustó 😽
Muchas gracias querida @marile21 🤗✨
Thank you for your witness vote!
Have a !BEER on me!
To Opt-Out of my witness beer program just comment STOP below
View or trade
BEER.BEERHey @marile21, here is a little bit of from @isnochys for you. Enjoy it!BEER at dCity game to buy cards to rule the world.Did you know that <a href='https://dcity.io/cityyou can use
Holaaa, me encantó el resultado, gracias por compartir.✨🩷
Holi @stefania16 me alegra te haya gustado hermosa saludos😍💗