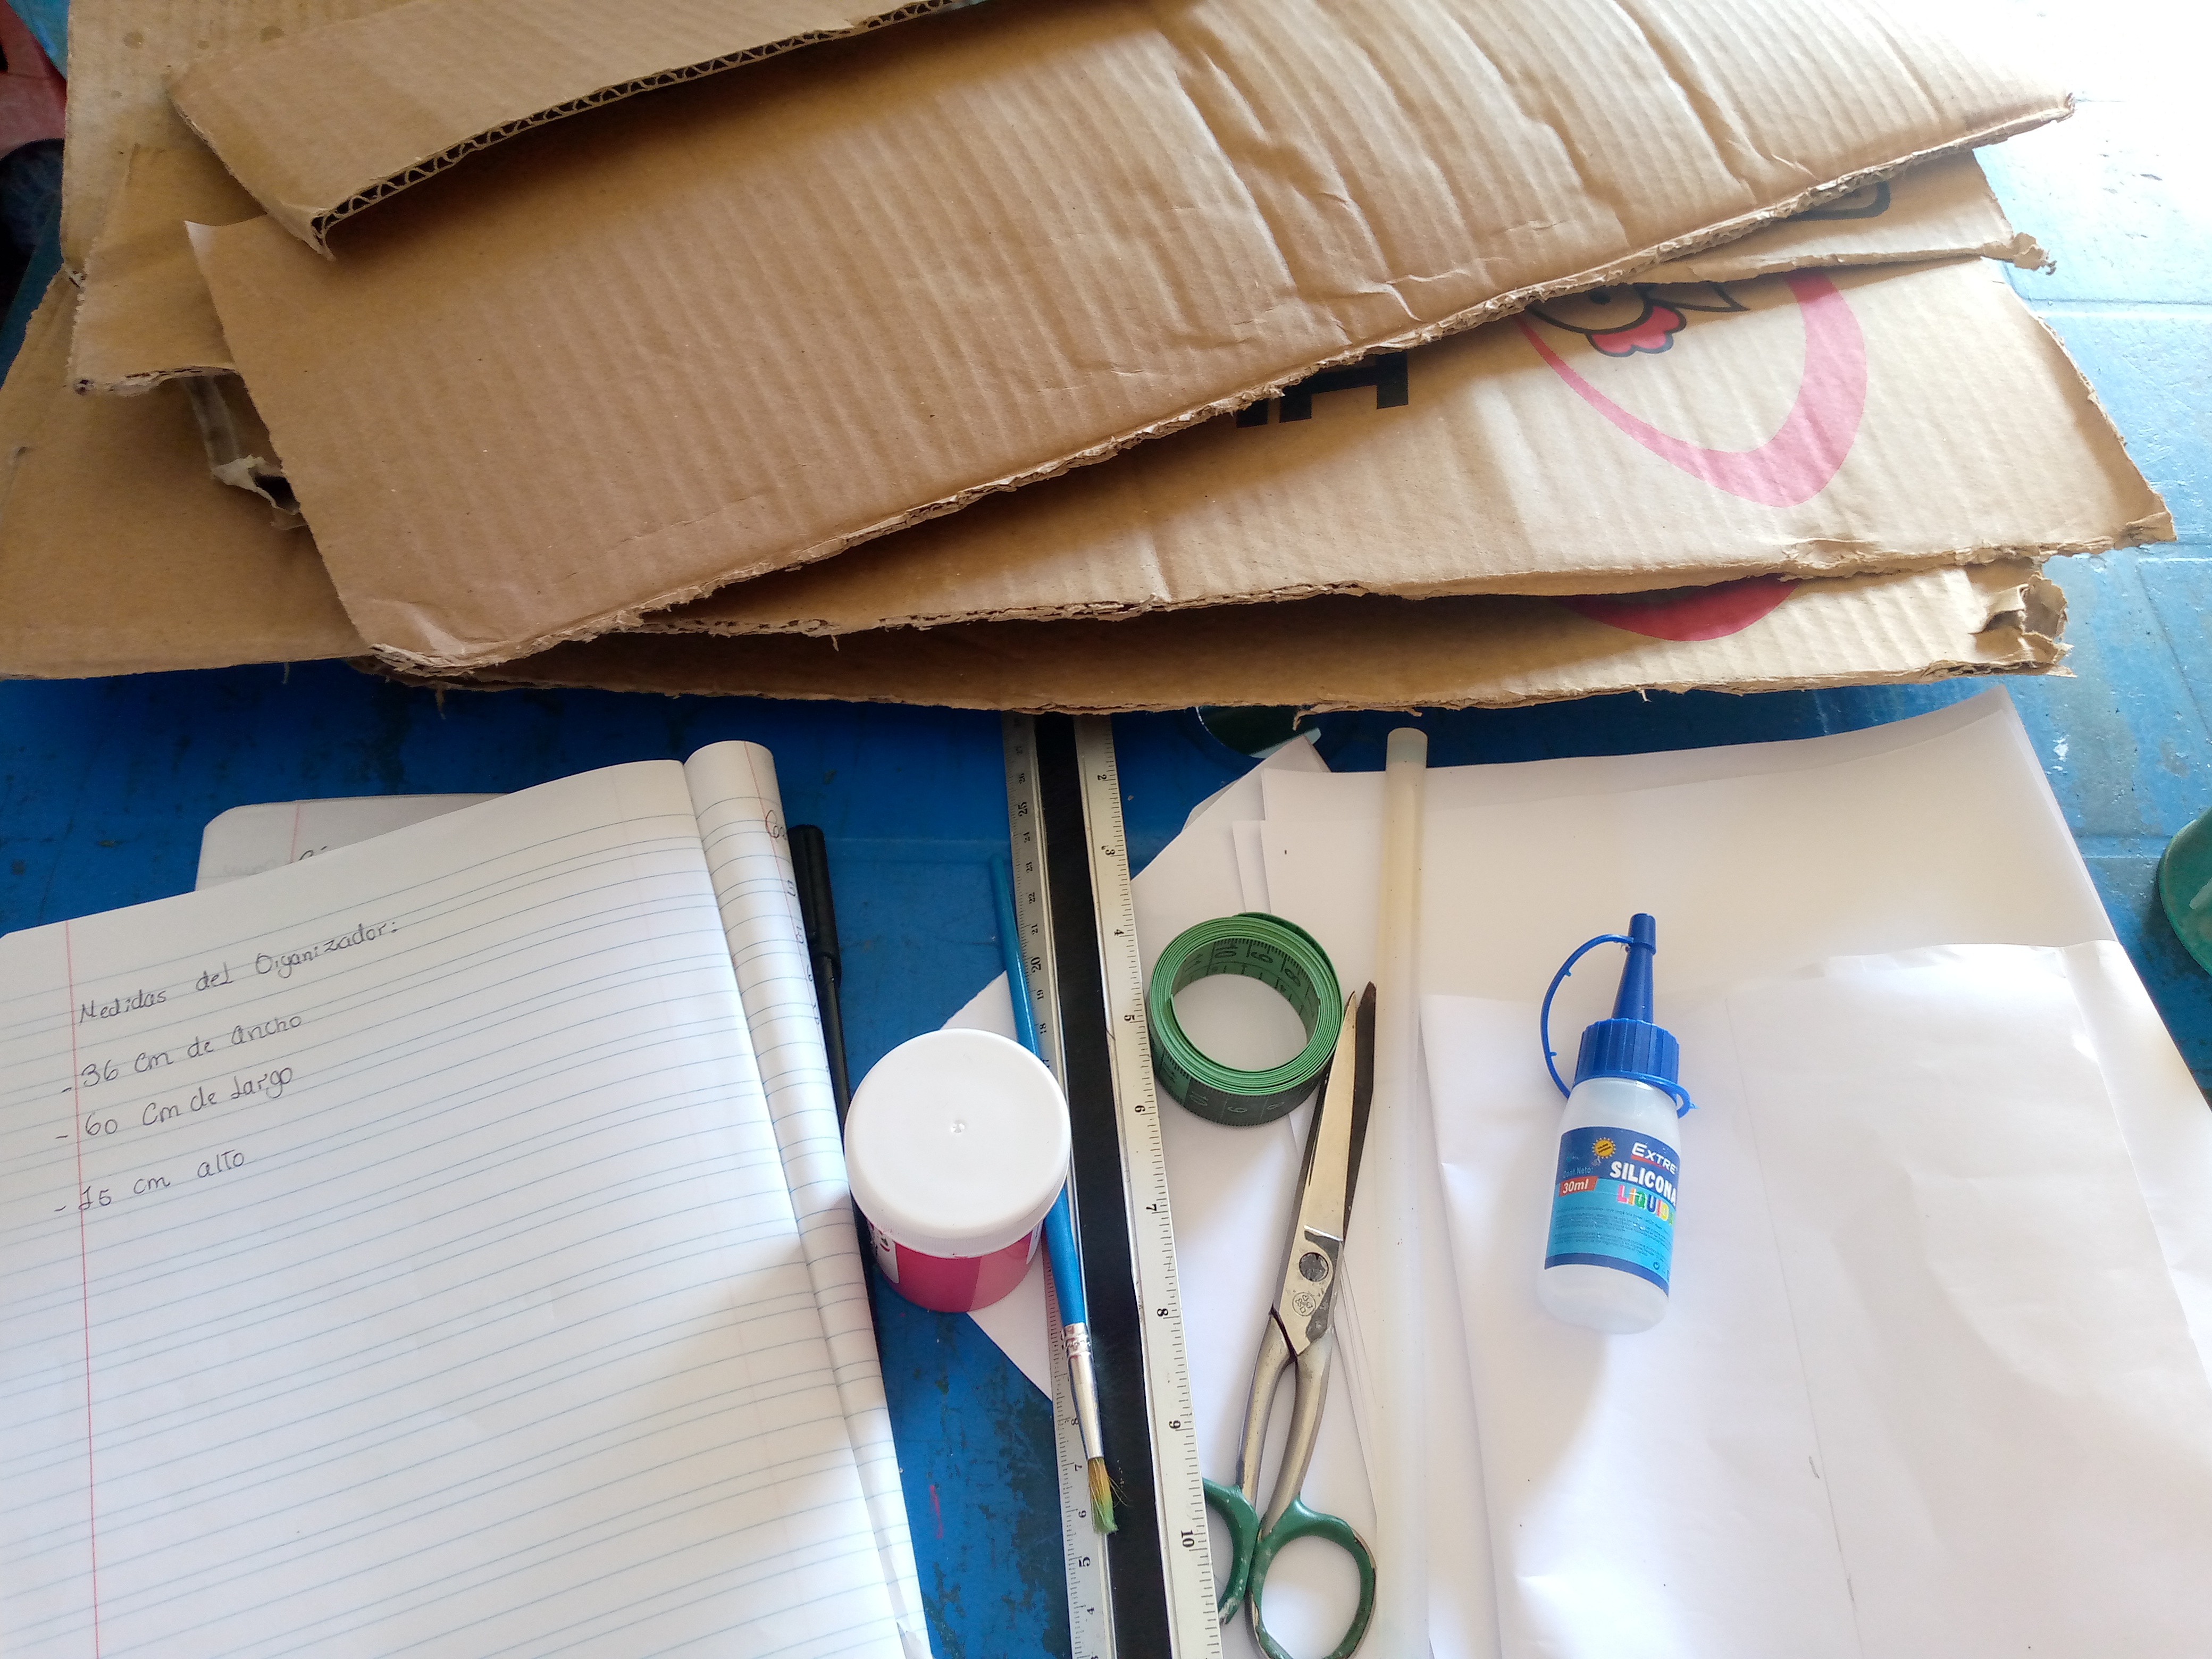
Hello everyone, I greet you my friends, a few days ago I had the idea in mind of making an organizer for my threads since they were in disarray and I couldn't find where to put them and here at home I had a cardboard box that was where the packaged eggs came from, it was somewhat large and I wanted to take advantage of it since it was going to be thrown away and the truth is that it made me feel sorry for that and you know that I like to recycle things that can be useful for something else, so I decided to make this organizer.
.jpg)
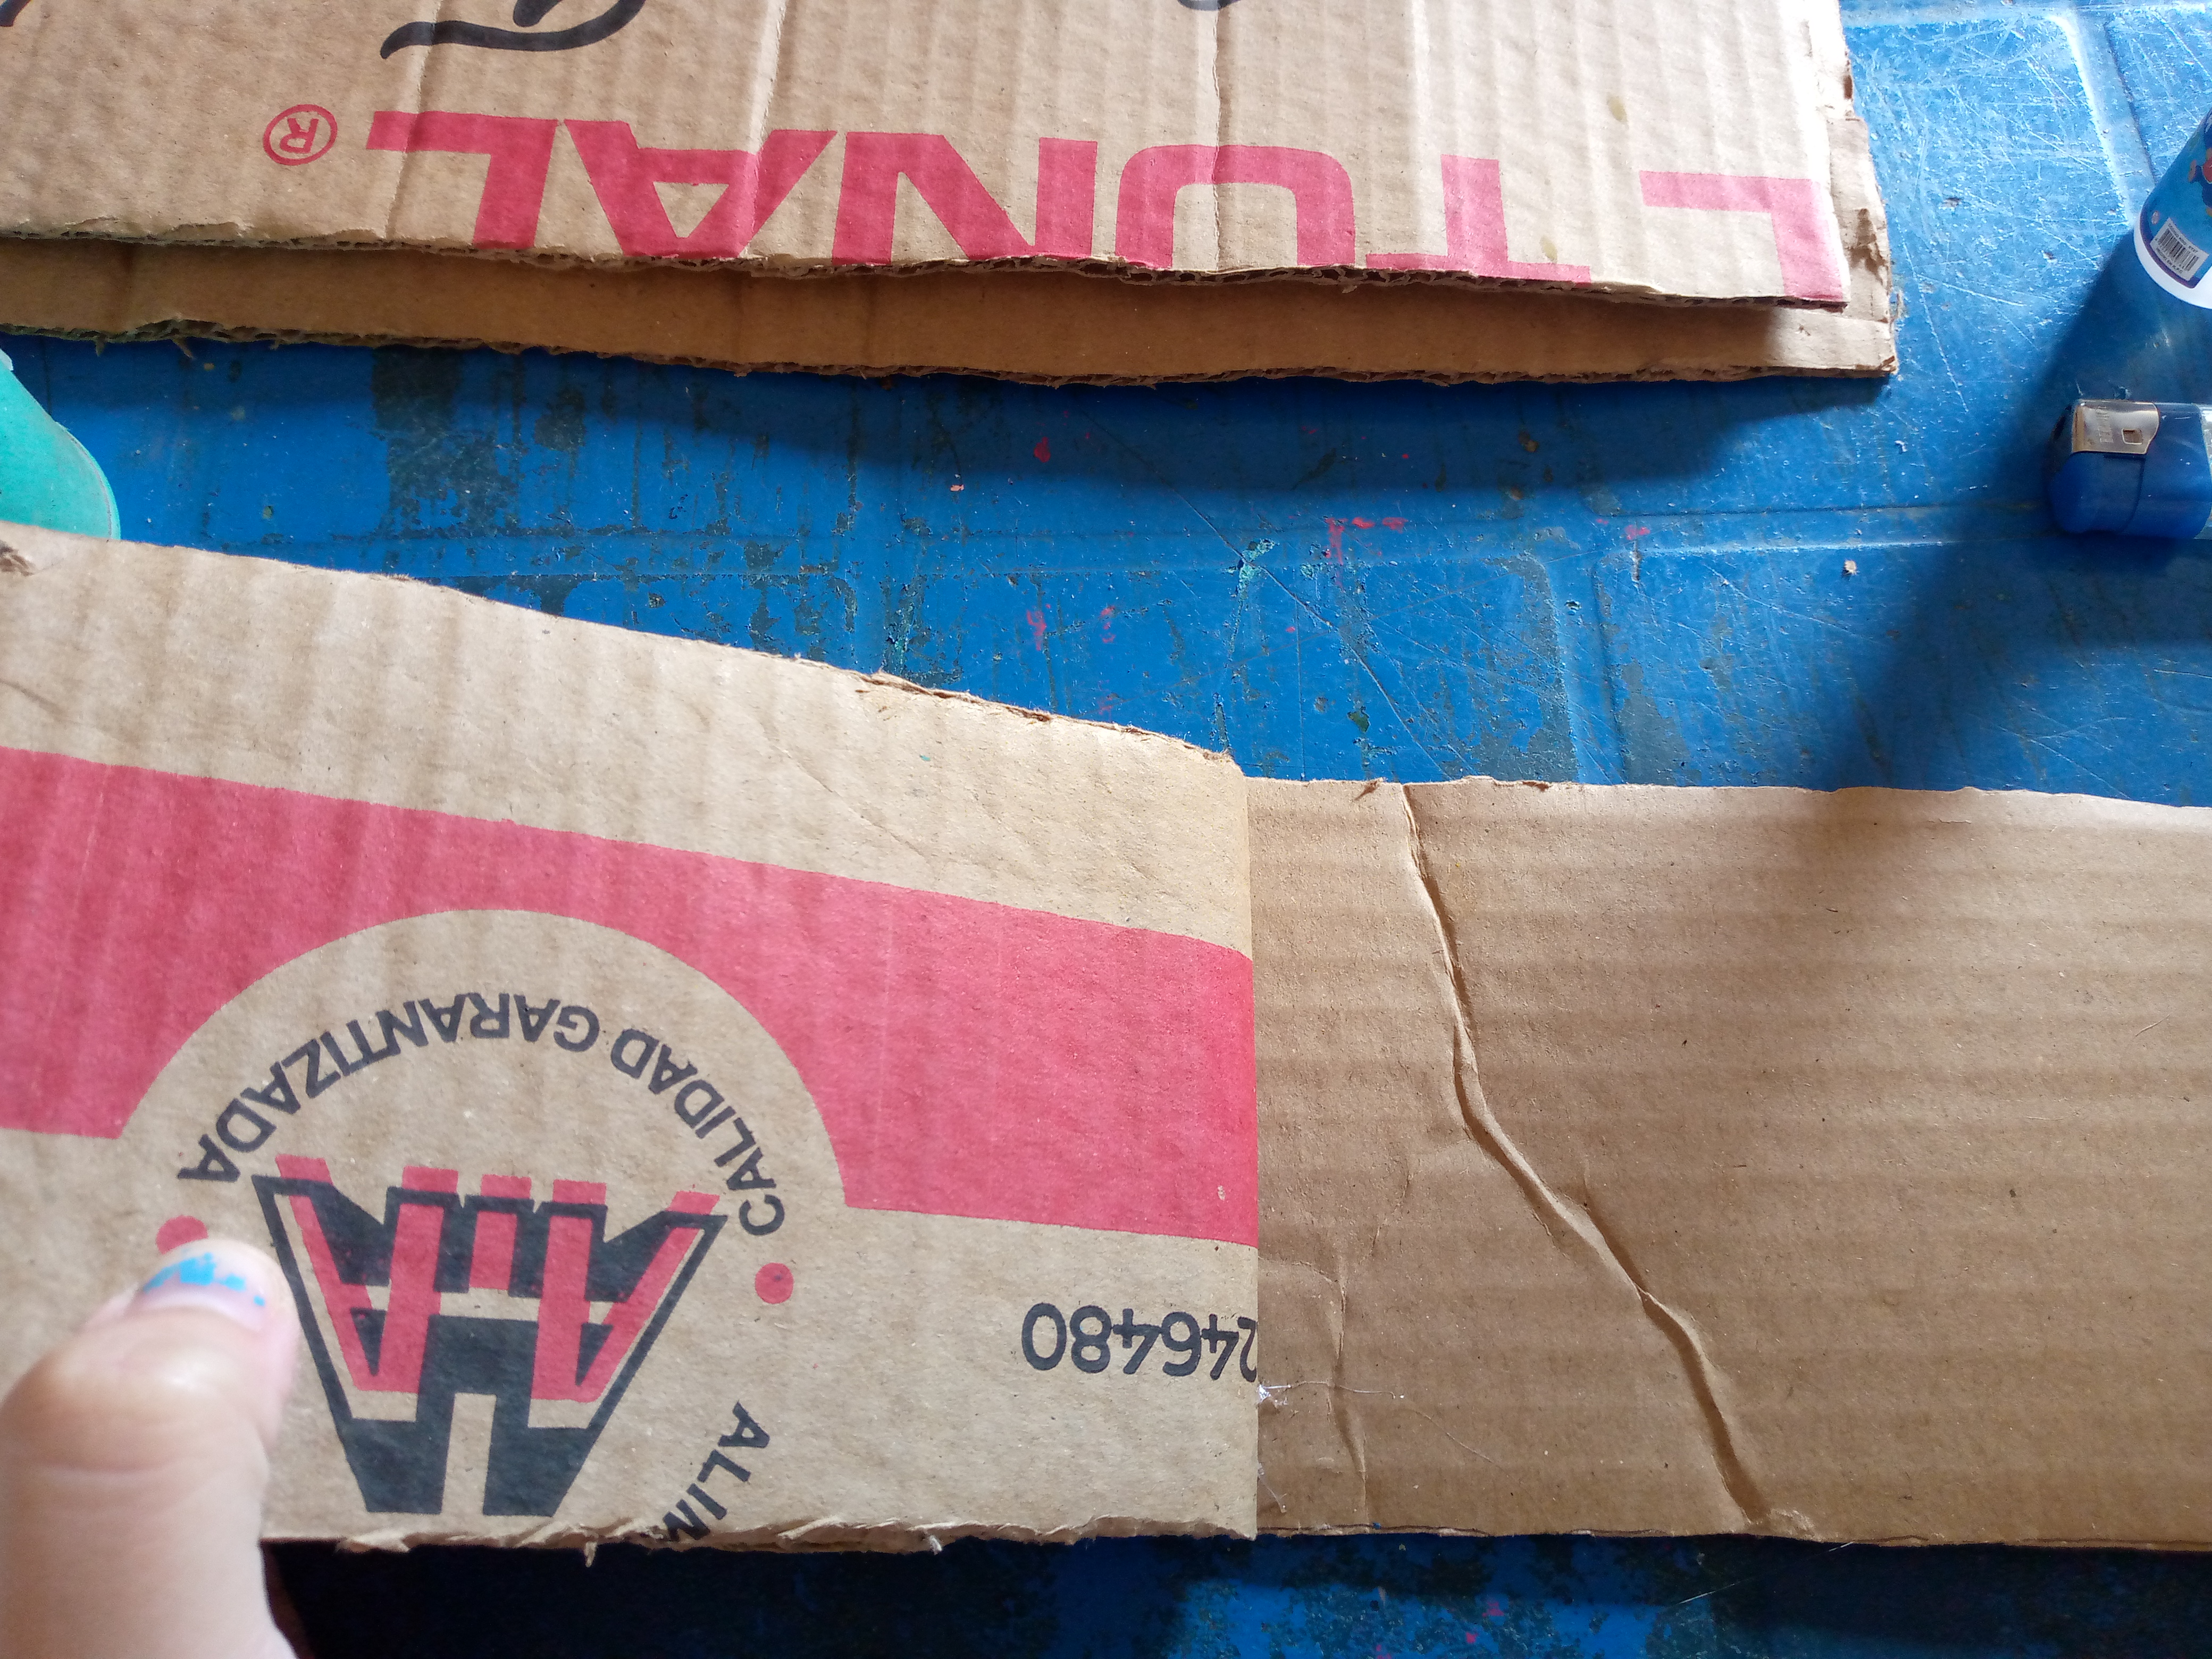
It was very necessary to cut the box and basically take it apart to leave the walls of the box flat so I could take the measurements and pieces of the box. I did this work before getting started with the main process and it was very necessary to do so since our cardboard was ready to be cut just as we are ready to see the super simple process. I hope you like this great idea and it is very useful to you 🥰.
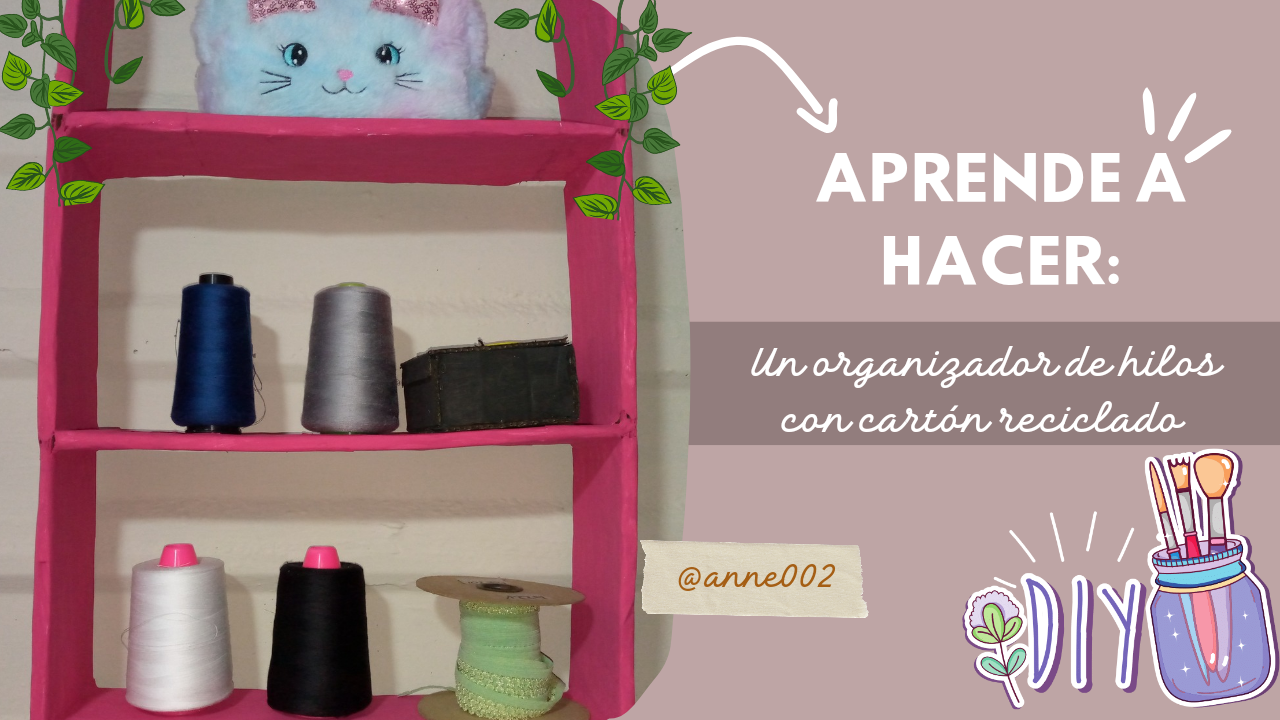
Materiales:// Materials:
| Español | English |
|---|---|
| • Cartón de caja | • Box cardboard |
| • Cinta métrica | • Measuring tape |
| • Silicón frío y en barra | • Liquid and stick silicone |
| • Boligrafo | • Pen |
| Hojas blancas | • White sheets |
| • Pintura al frio | • Cold painting |
| • Pinceles | • Brushes |
| • Tijeras | • Scissors |
| • Medidas proporcionadas para trazar las piezas | • Measures provided to trace the pieces |
Pasos a seguir://Steps to follow:
.jpg)
Paso 01
Step 01
The first thing we will do is cut the pieces that we will use and for this I am thinking of doing it double, for each piece we will place a double piece of cardboard on the walls of my organizer to make us a little more resistant and the cardboard does not bend, we will cut four pieces of 60 cm long for this we will use our tape or ruler to mark the pieces with the pen, then we will cut eight pieces of 36 cm wide for the bases in the center and those at each end above.
Paso 02
Step 02
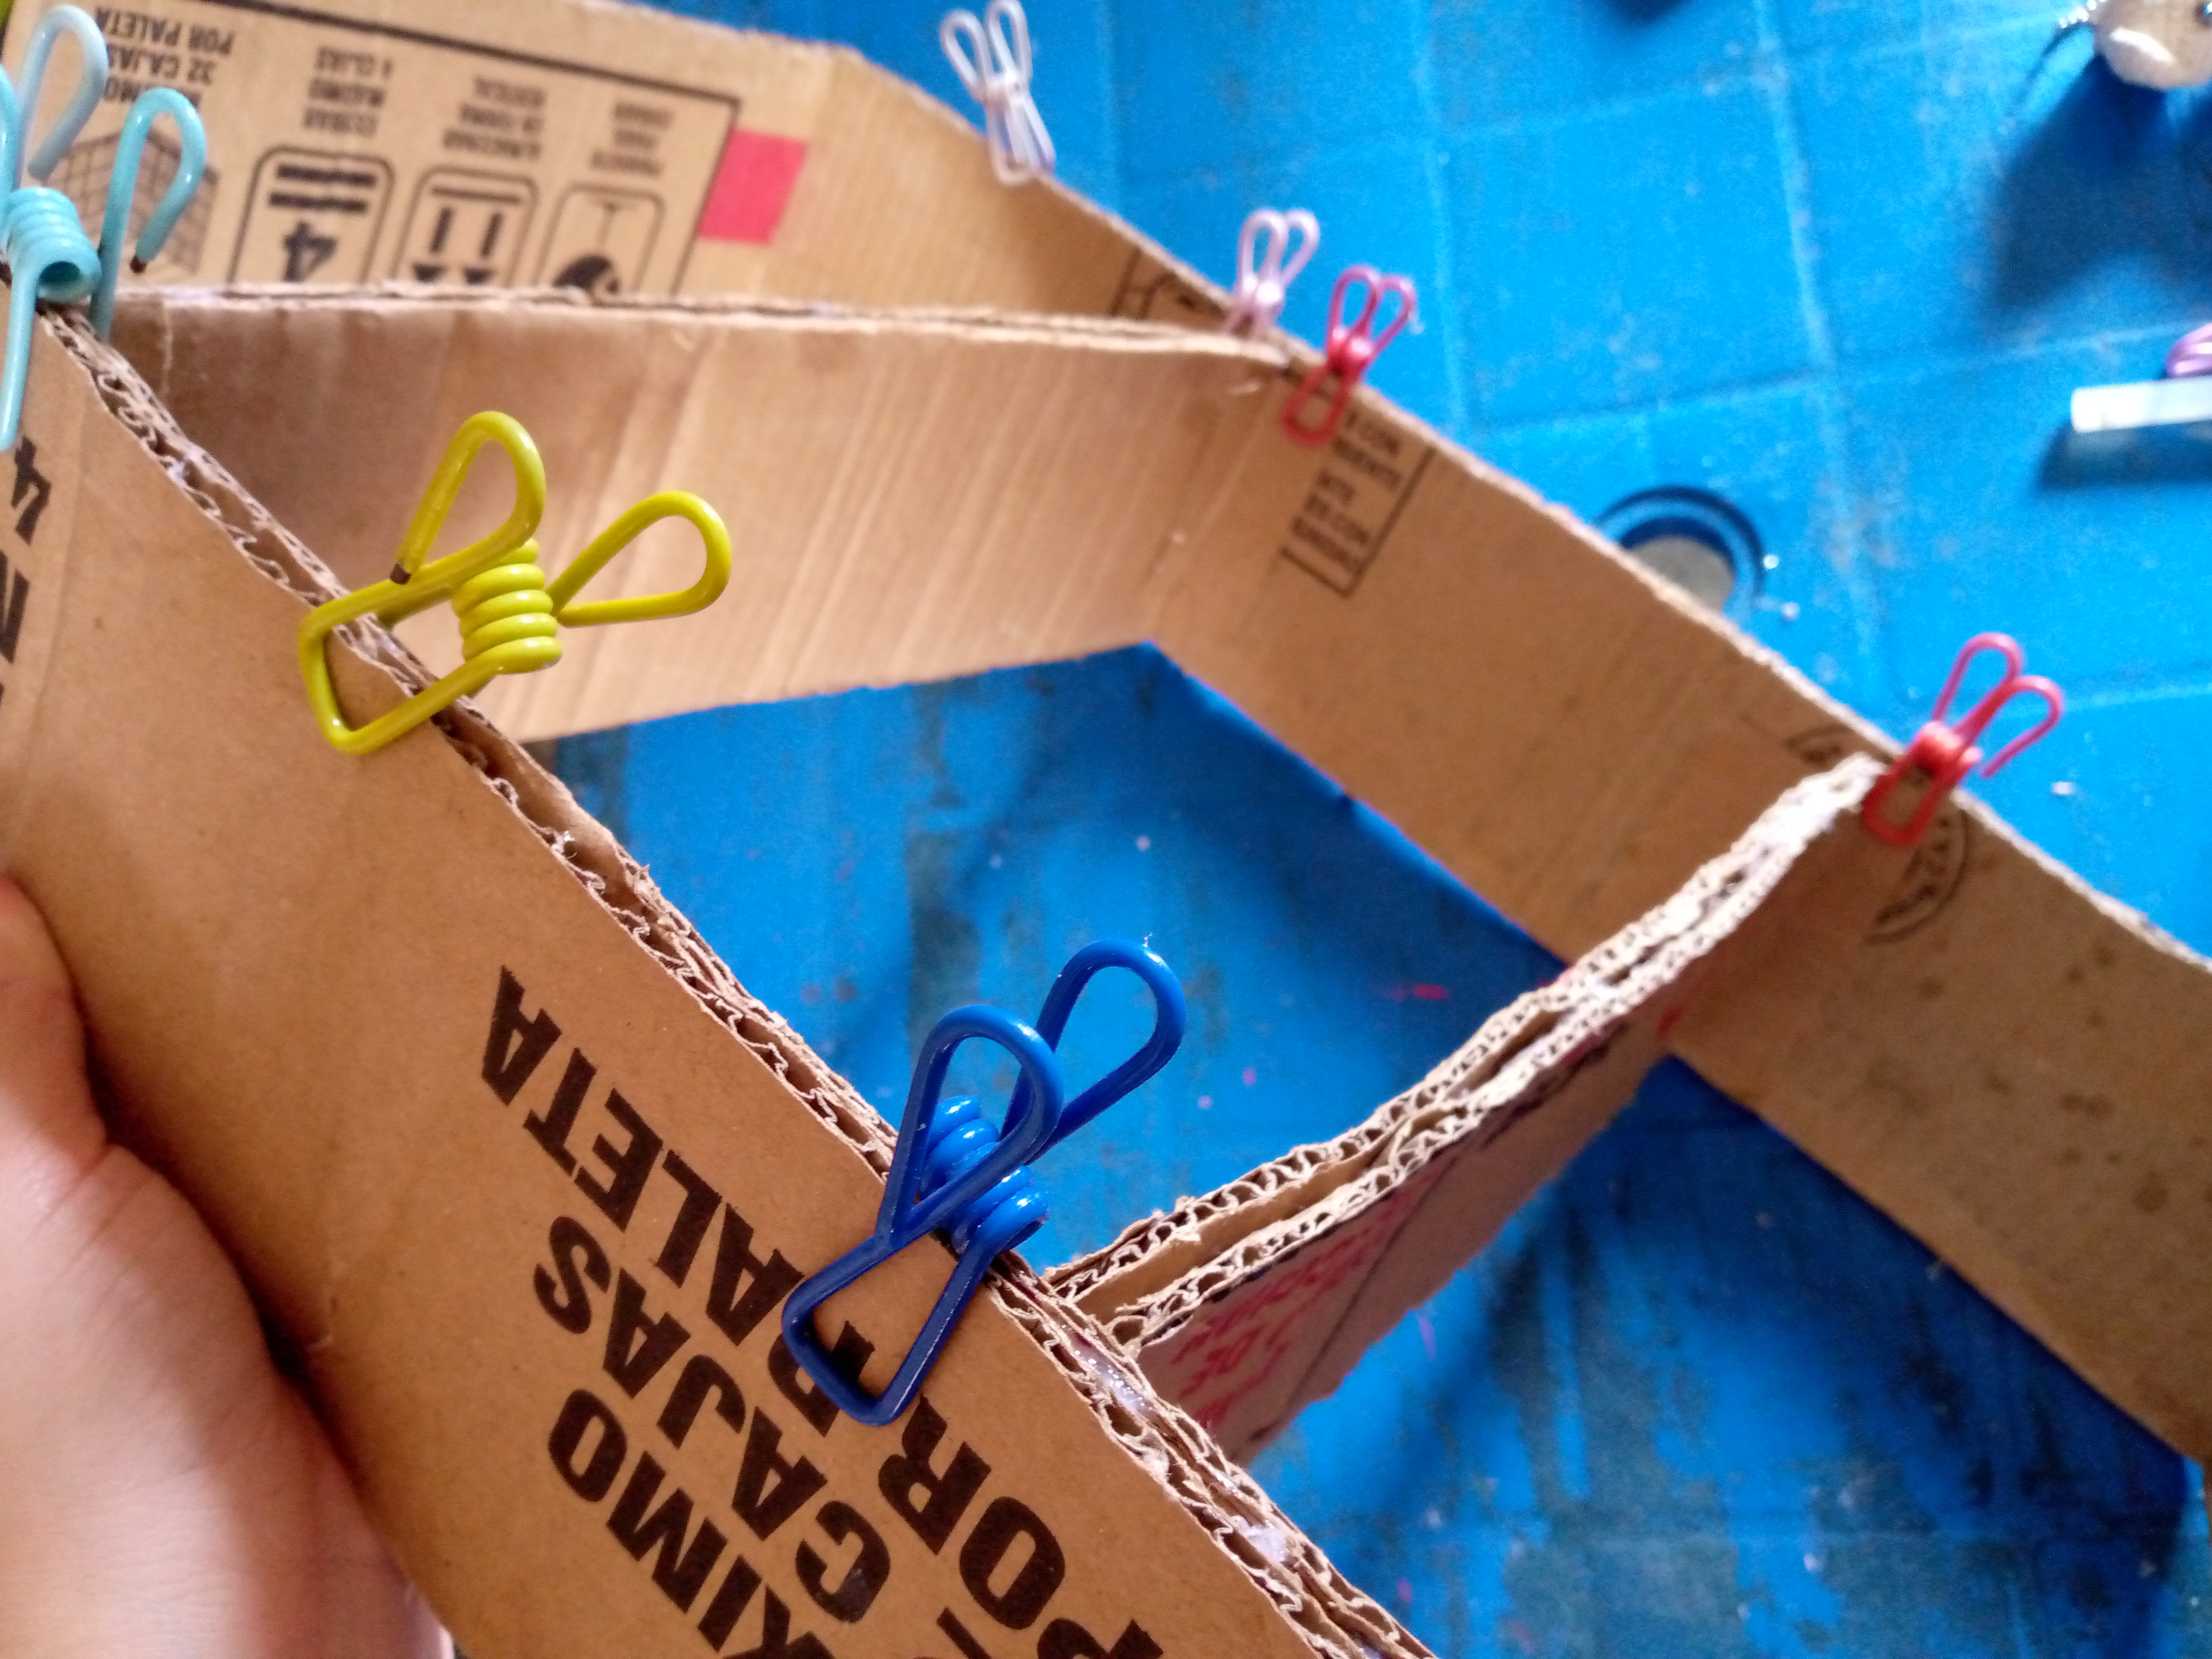
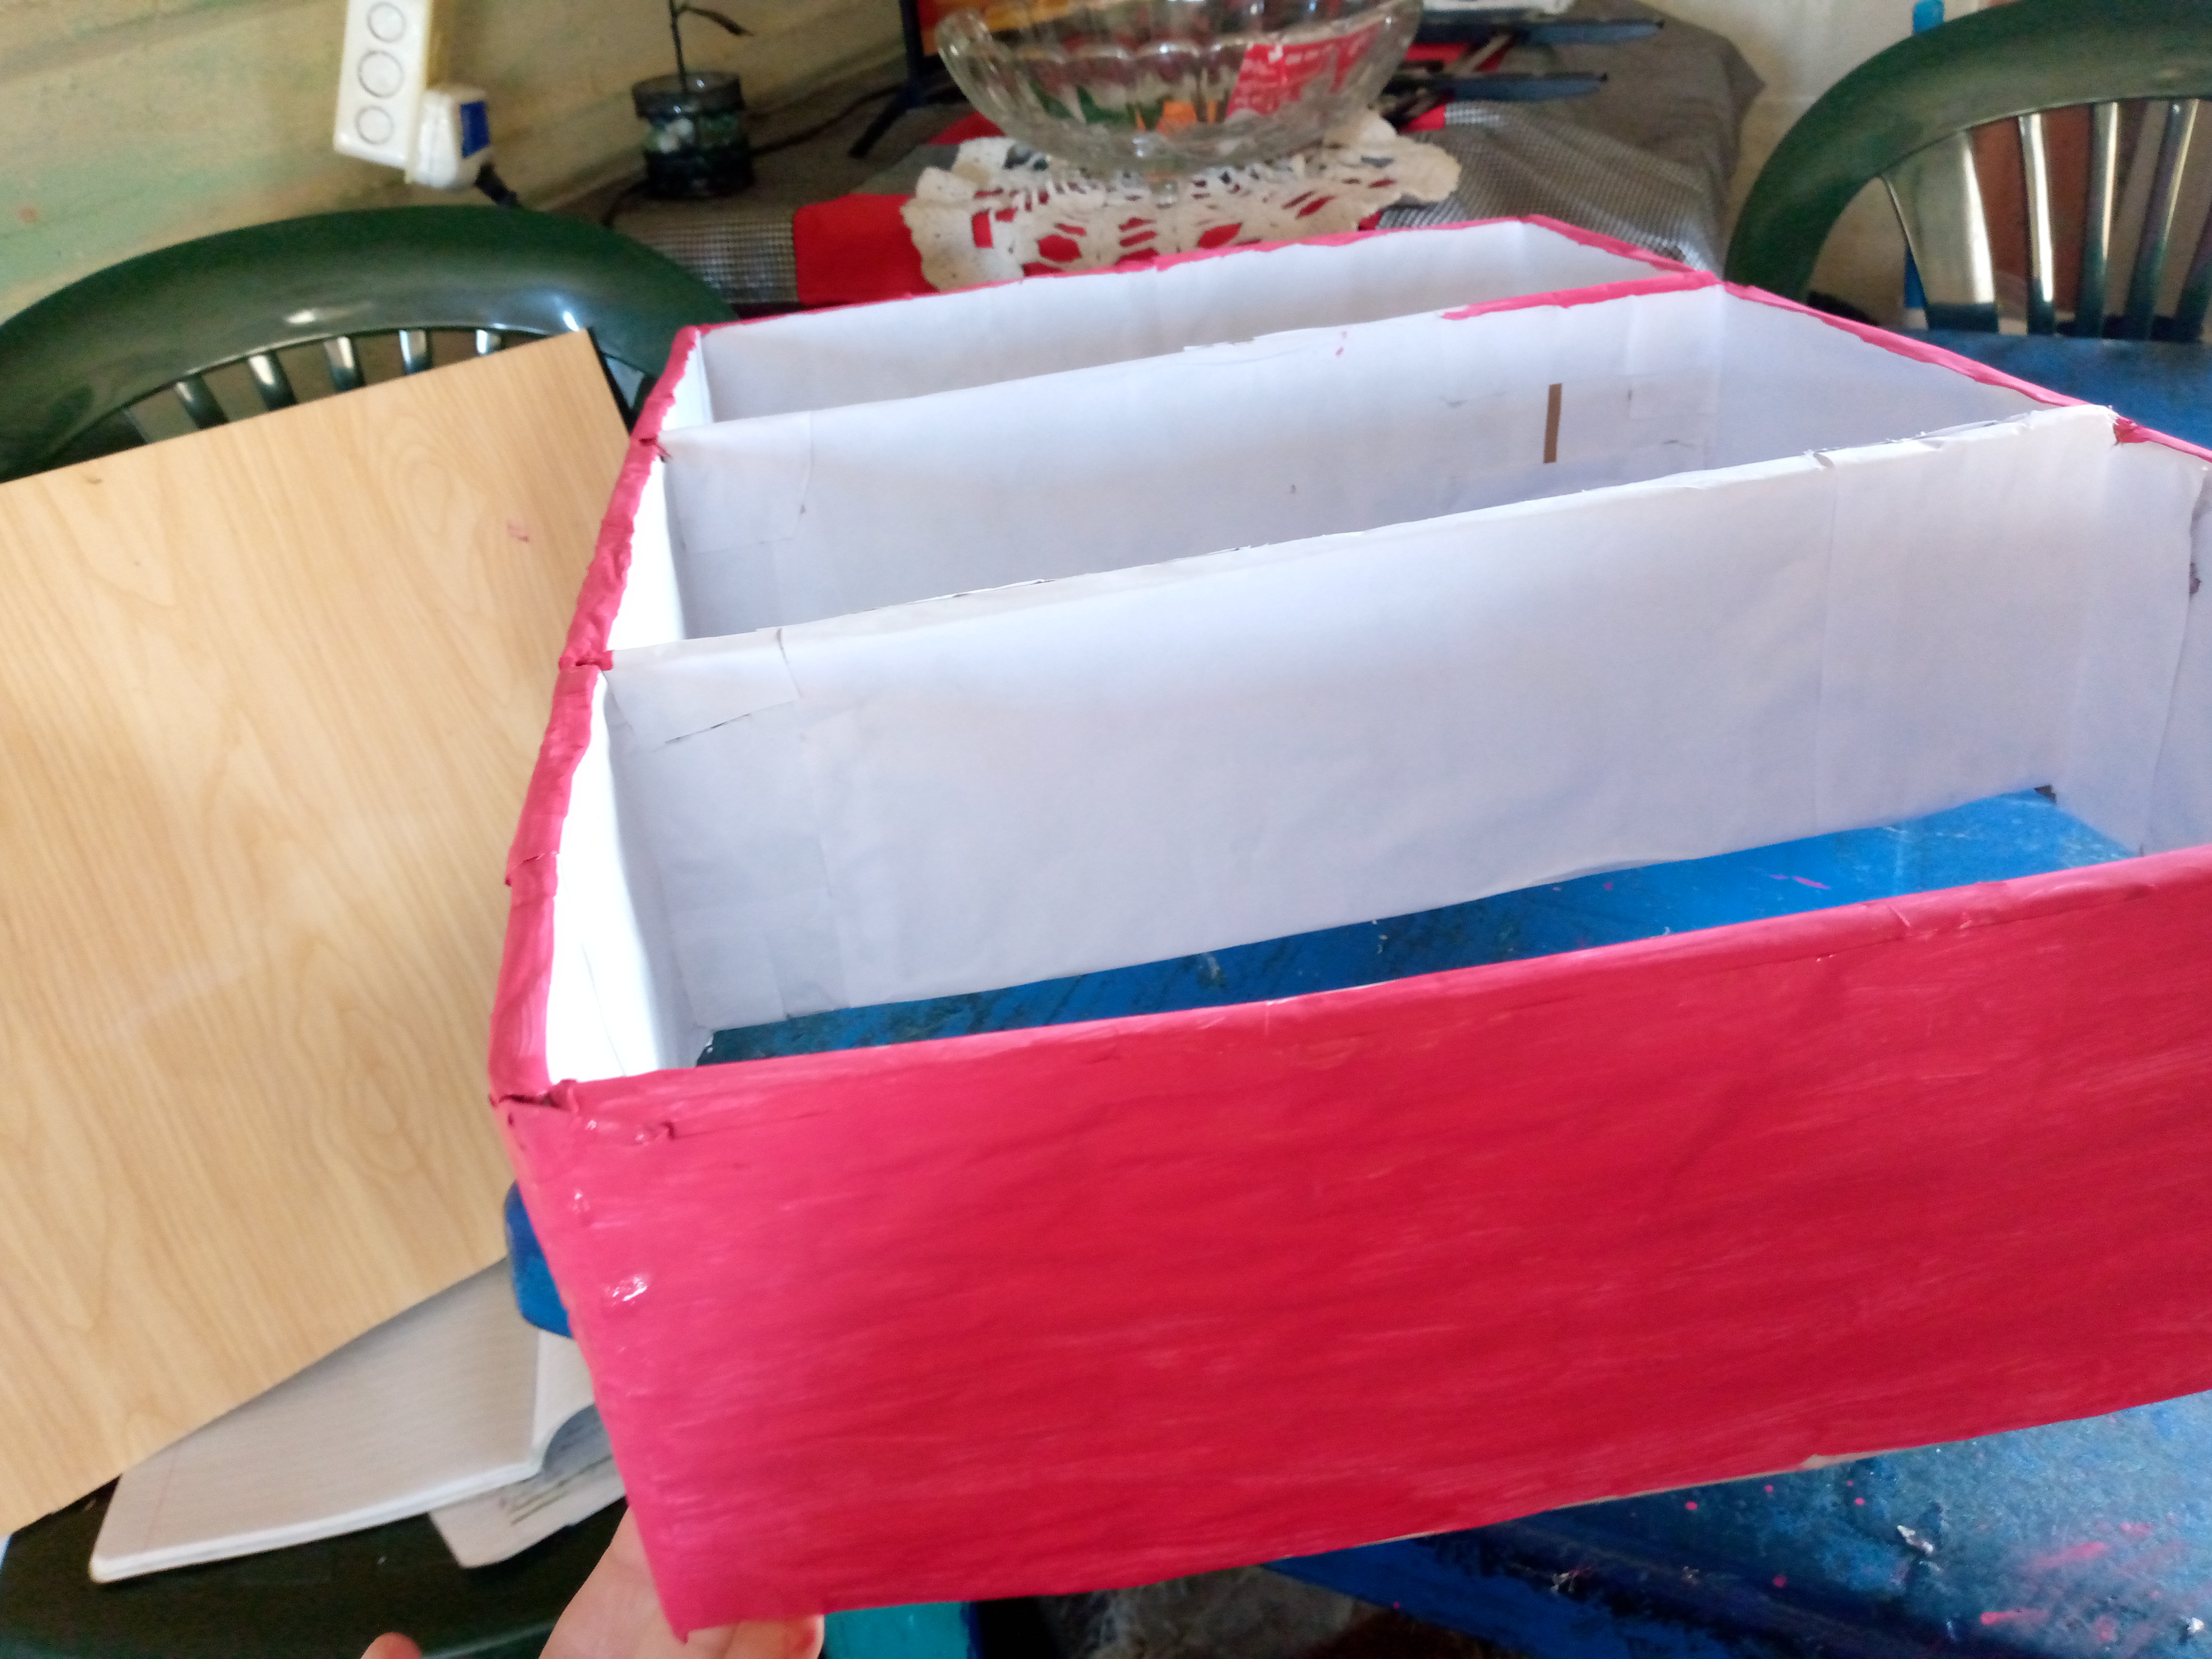
The next thing we will do is take a while because we are going to start gluing the pieces in double order and starting to assemble the organizer by piece. I will join the top pieces with the side pieces and in the corners I will use a super thin cardboard from the same box to join the corners and make this process much easier for us. Then we will take our sheets and we will cover the organizer with them to be able to apply the paint.

Paso 03
Step 03
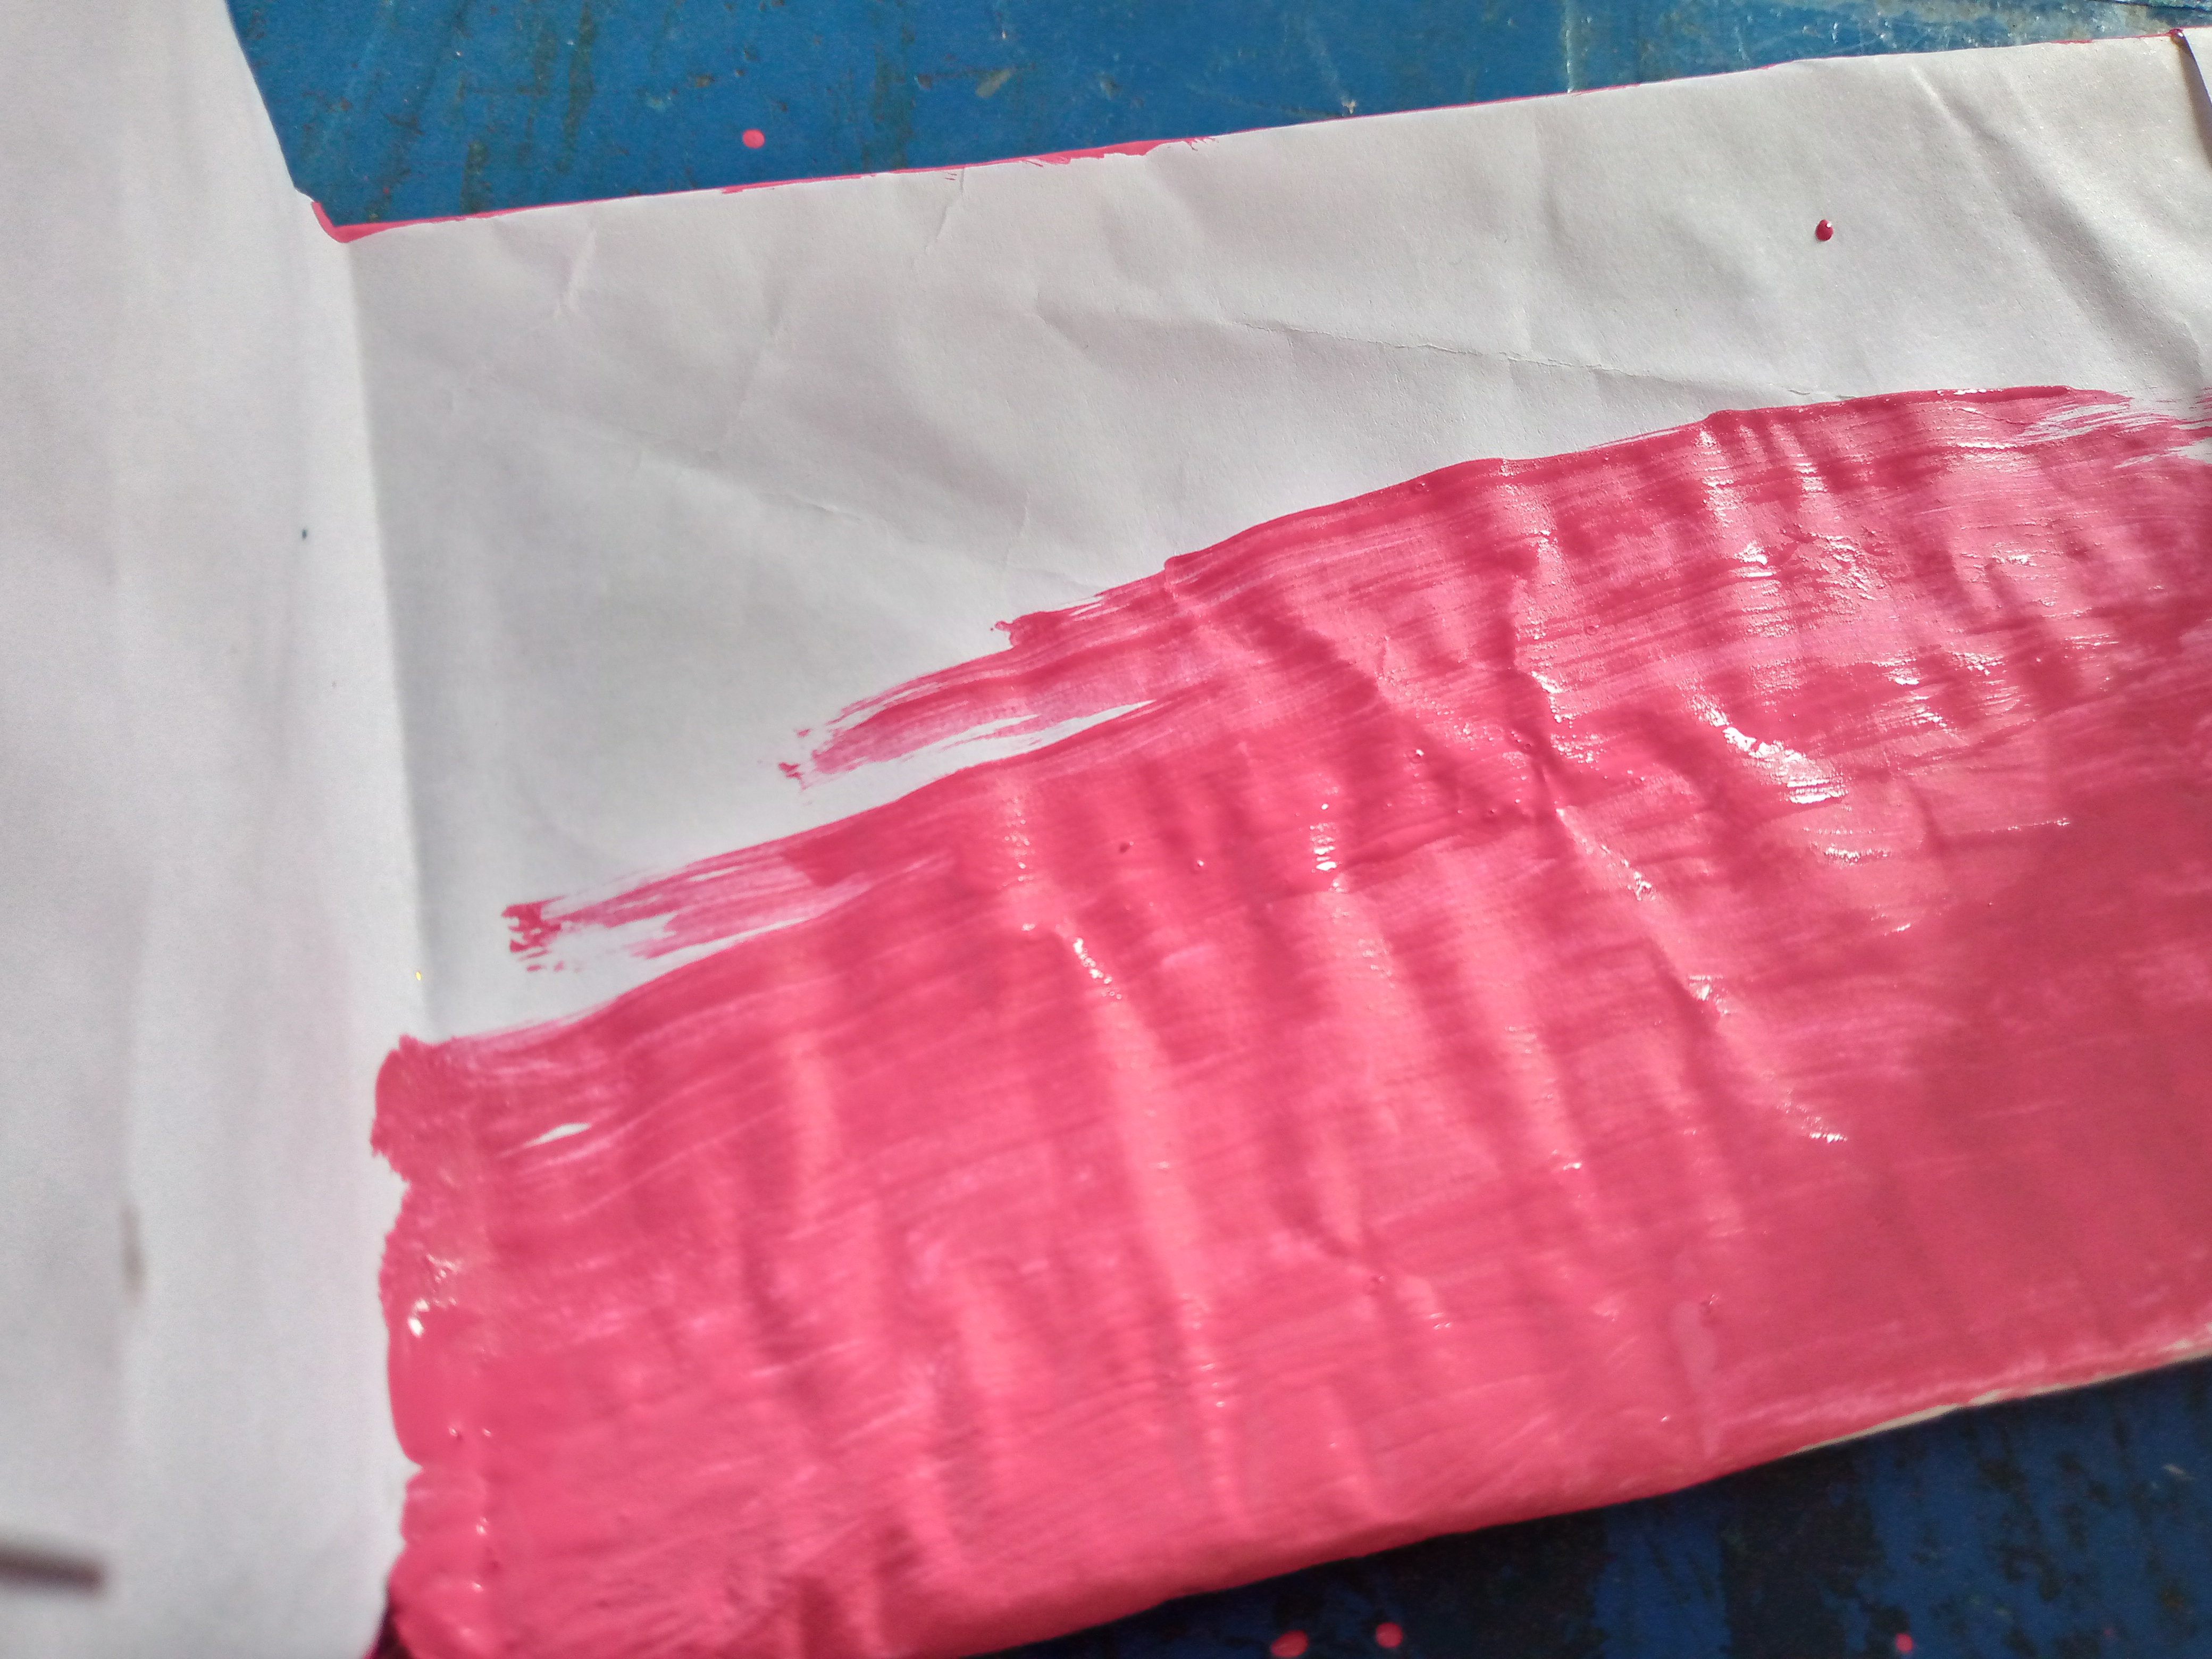
When our paper dries, we will use the brush to paint the surface where we glued the sheet. We will cover it with paint. I chose this fuchsia color because it is a very pretty, feminine color and it stands out a lot. We will paint horizontally, doing this with all the parts so that the paint does not run or remain very marked and does not look decent.
Paso 04
Step 04
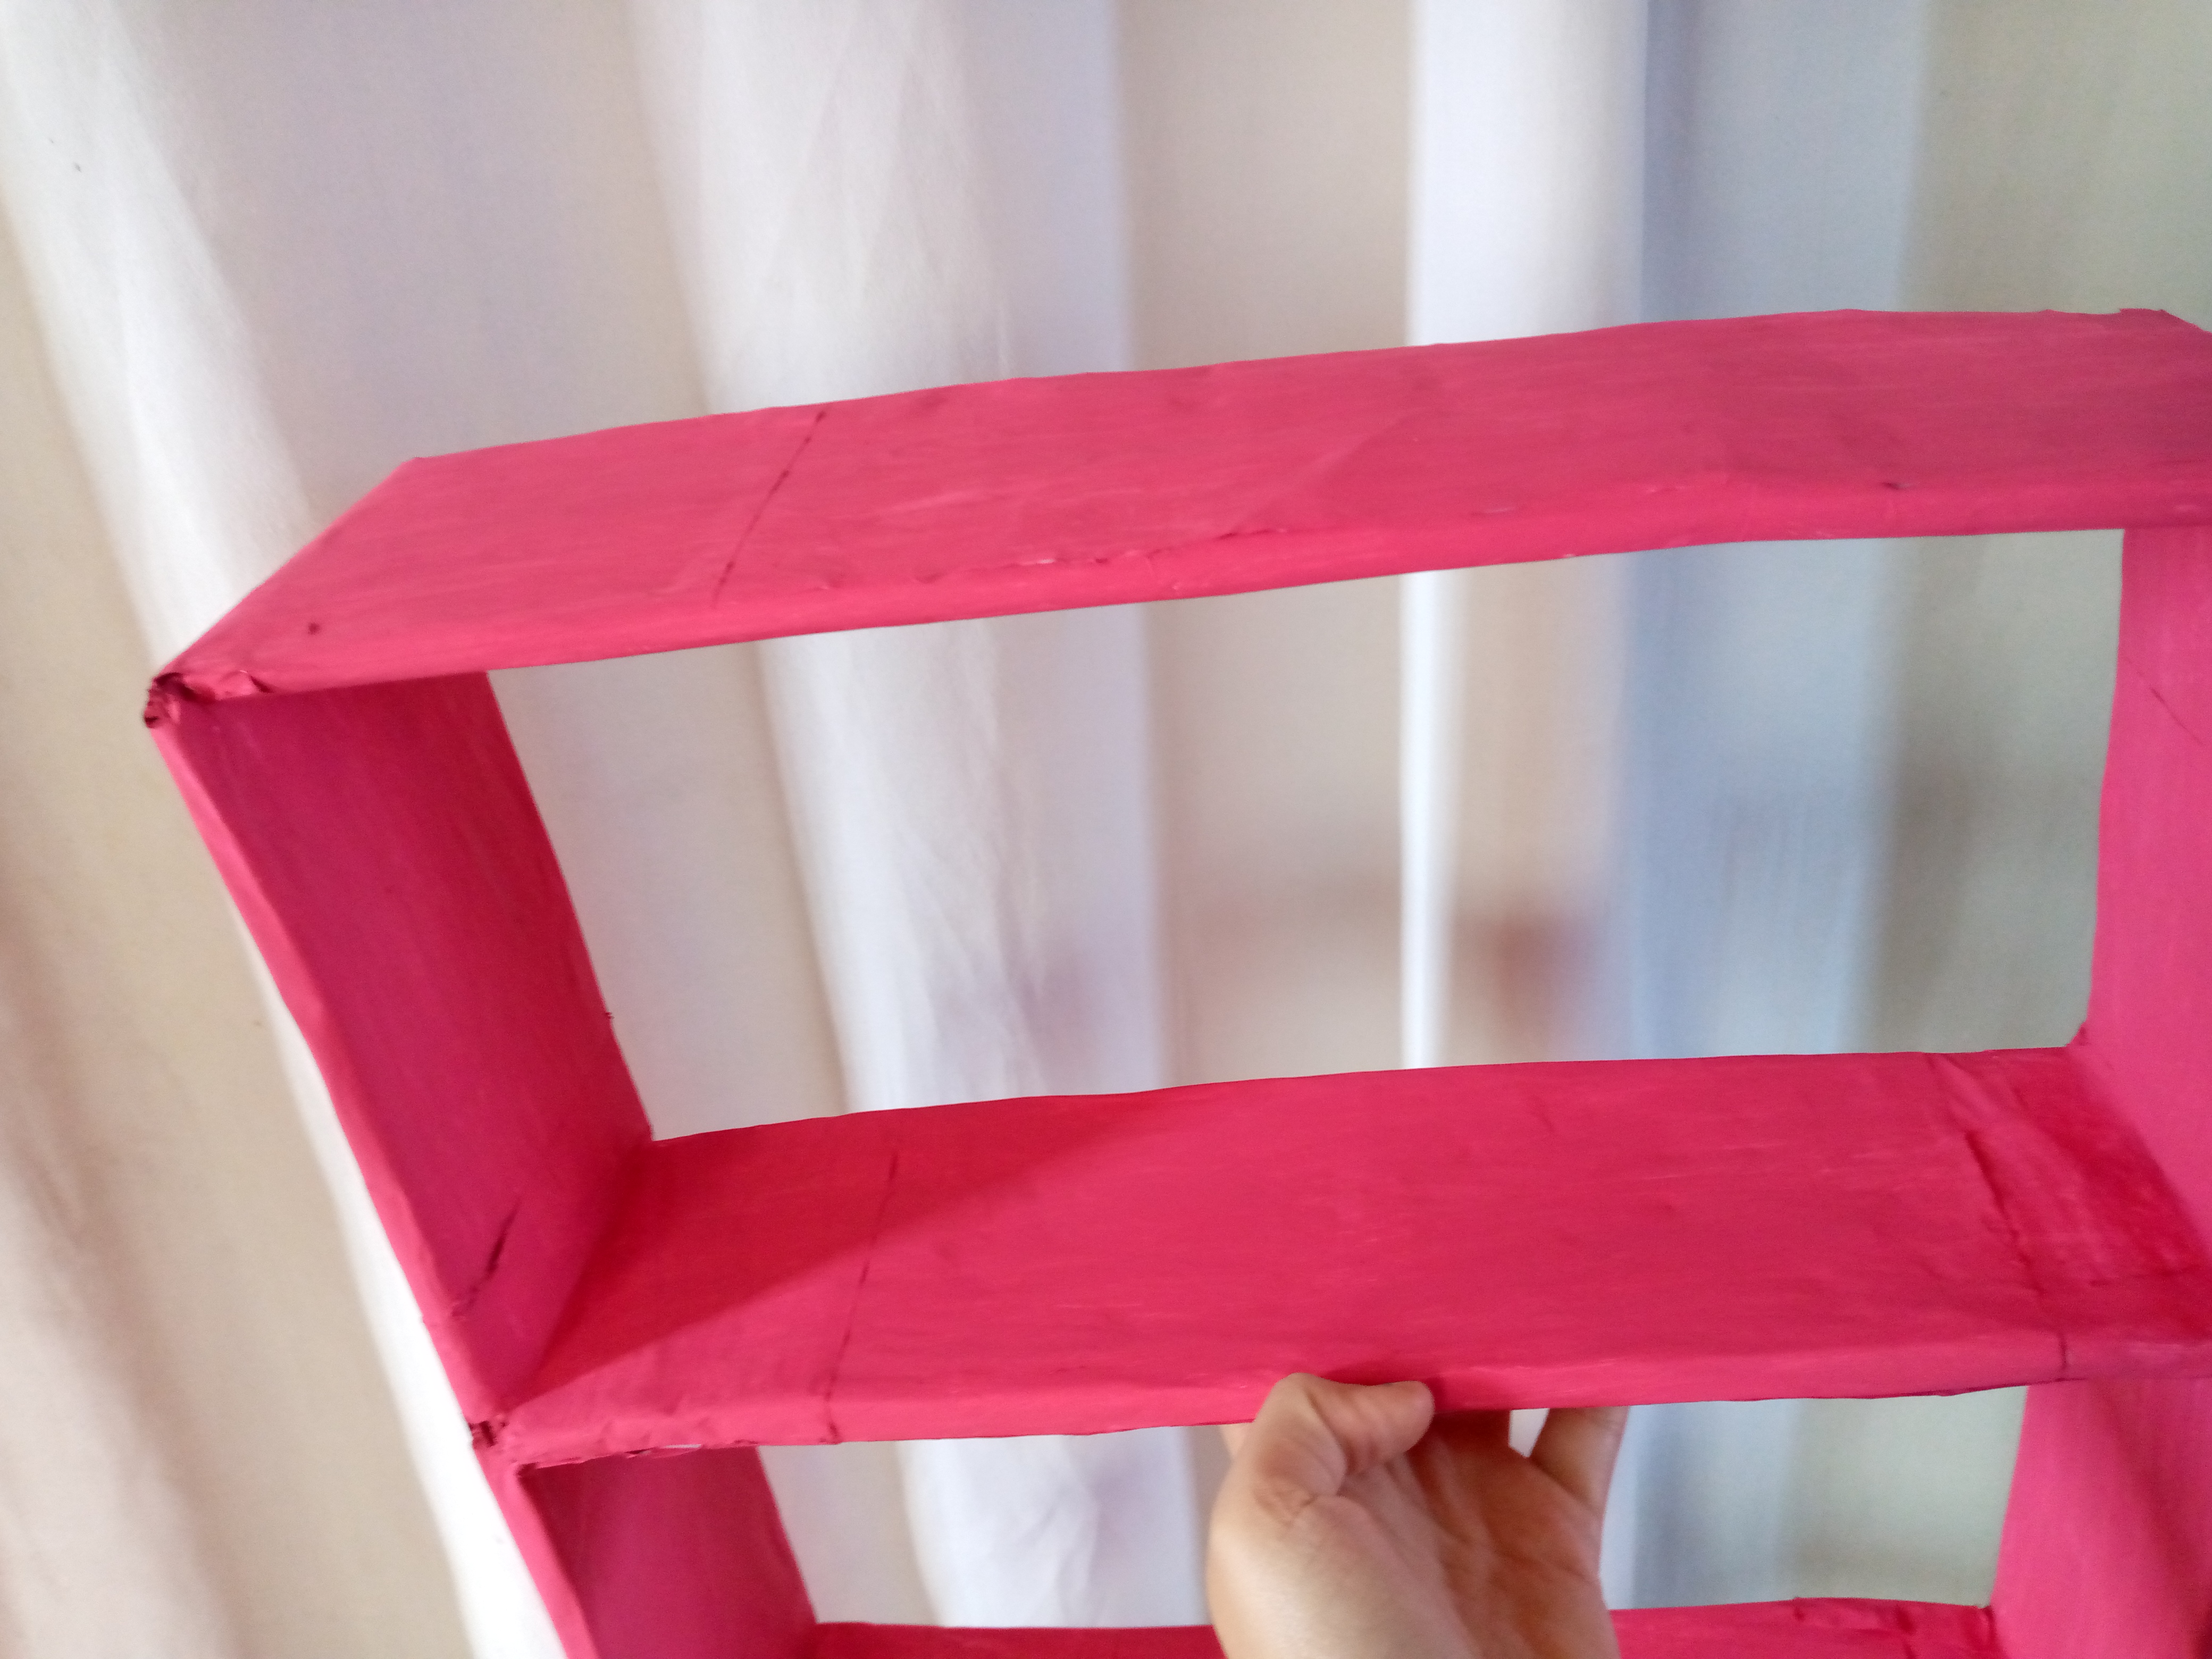
I first painted the outside of the edge, then applied paint to the inside corners and again went over it with the brush still full of paint for a better finish.

Paso 05
Step 05
Once the organizer was completely painted, what I did was let my paint dry and then I could use this beautiful organizer.
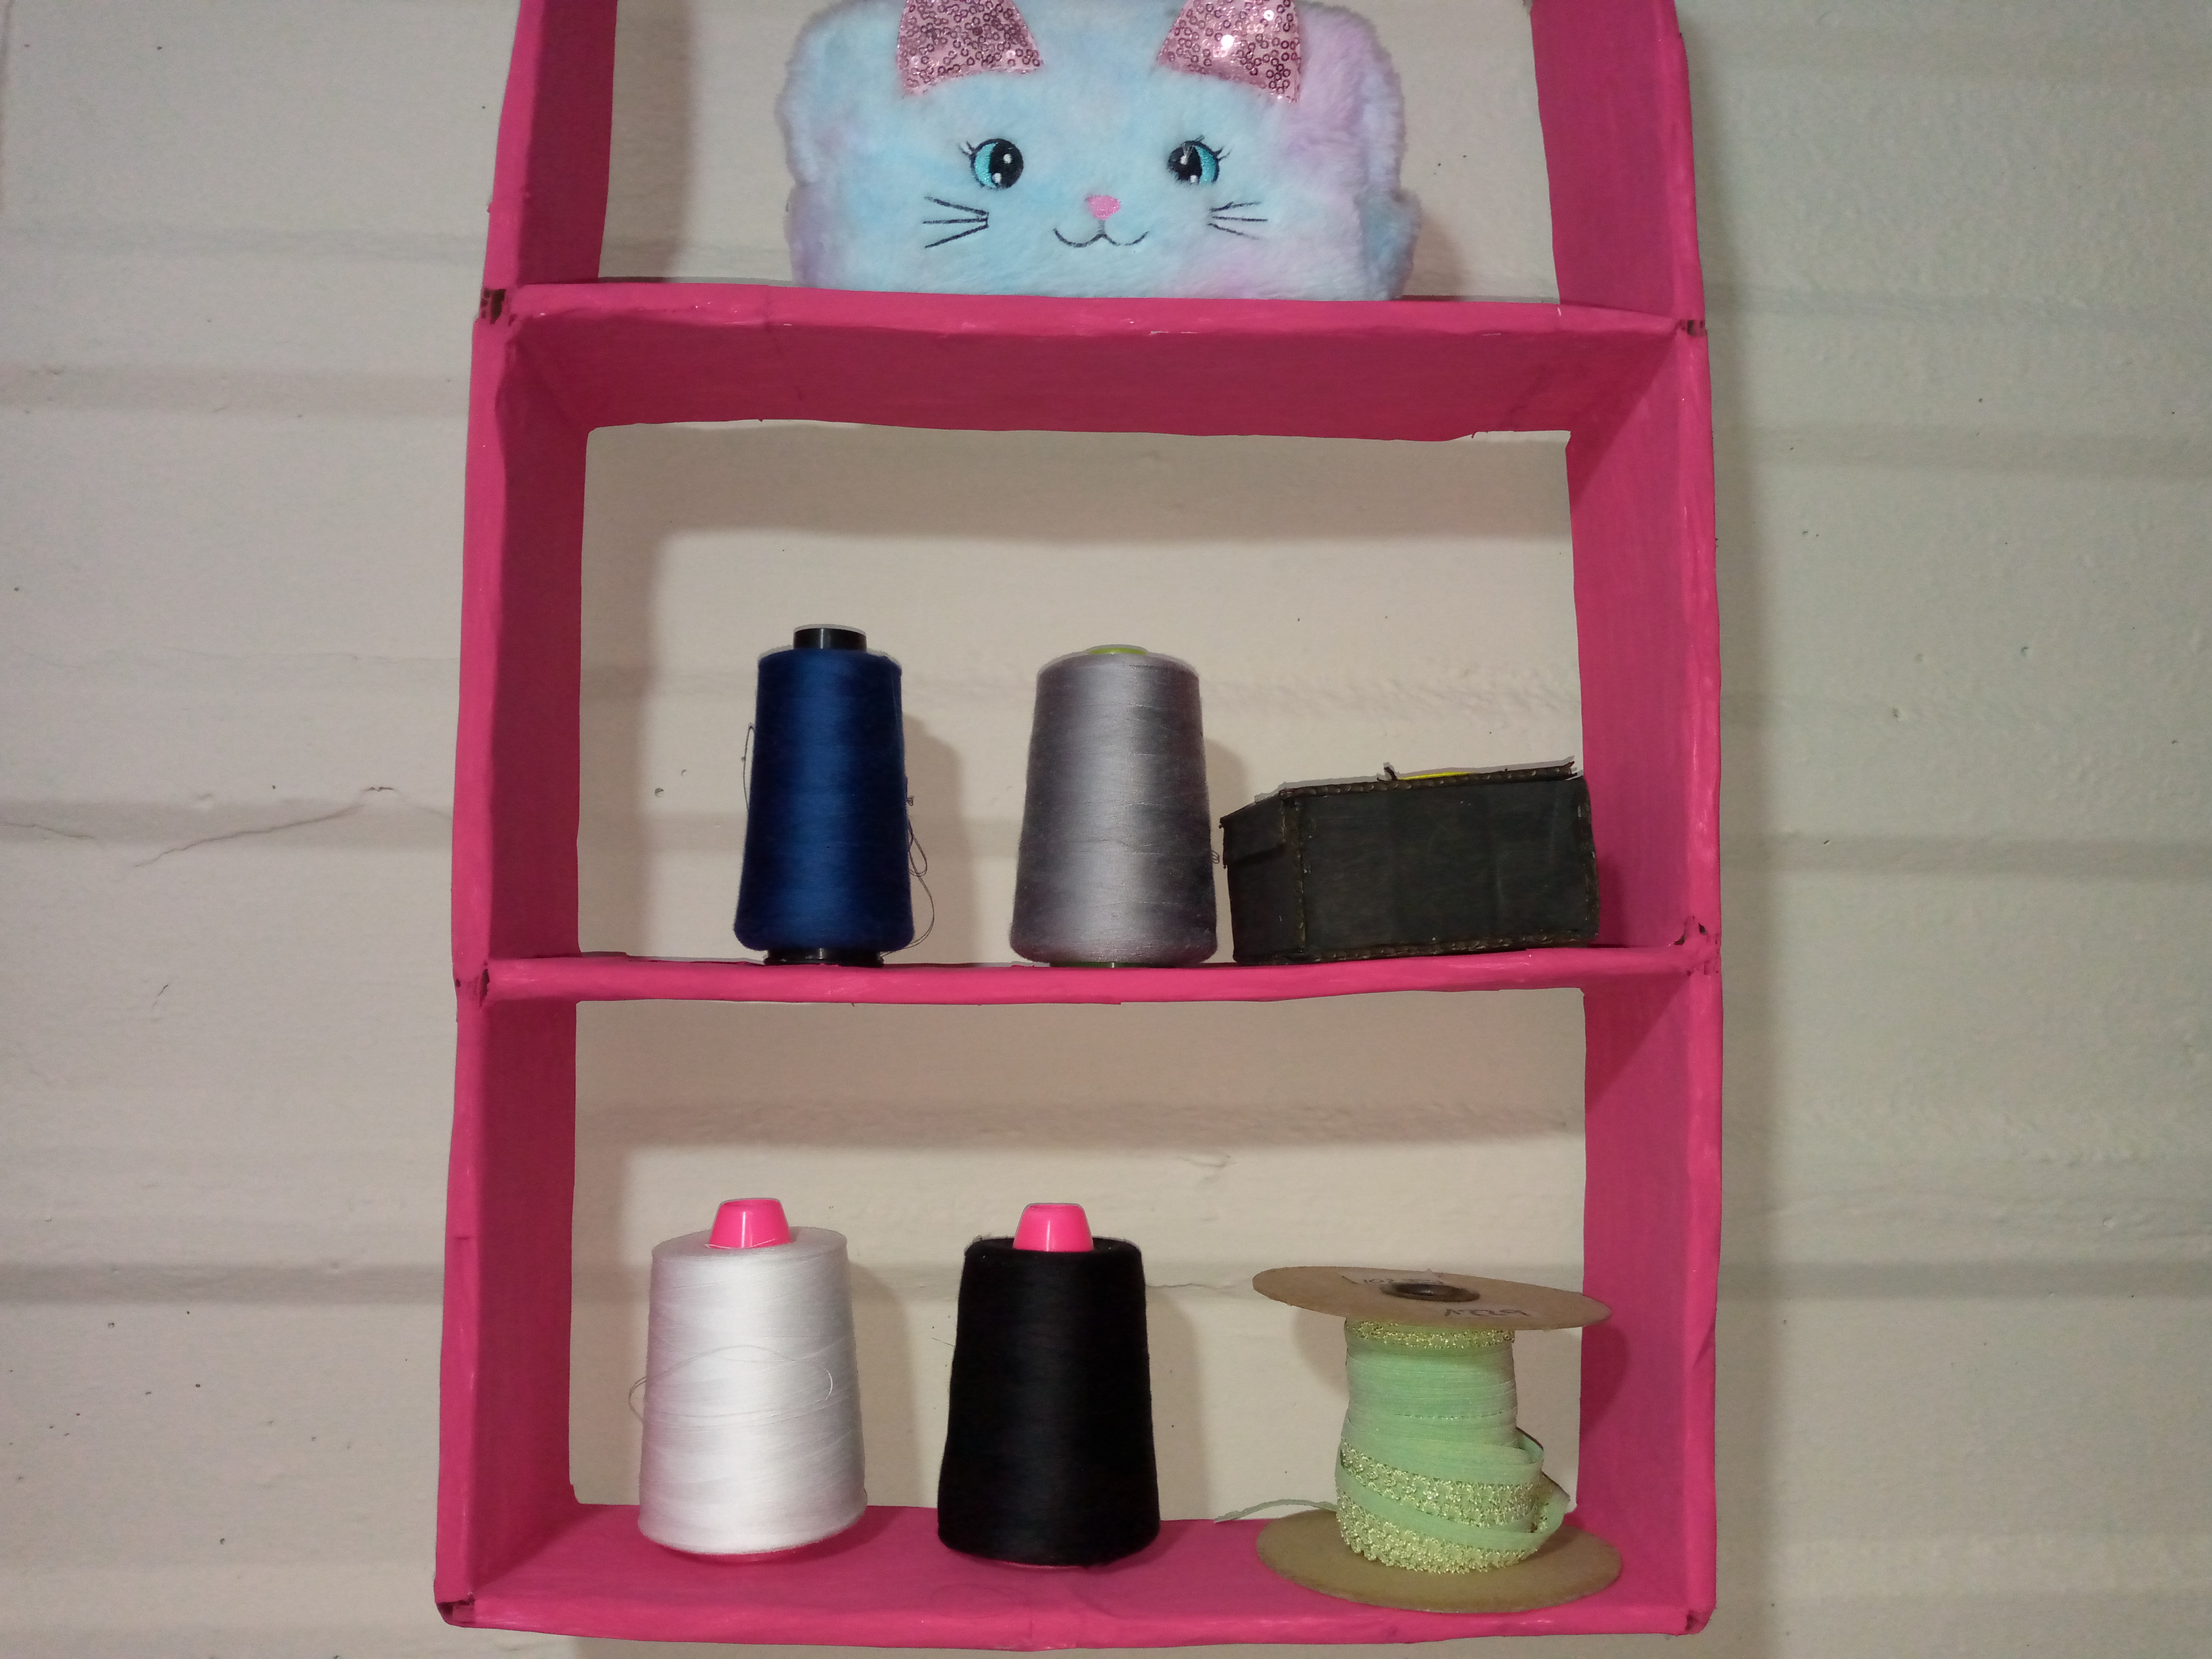
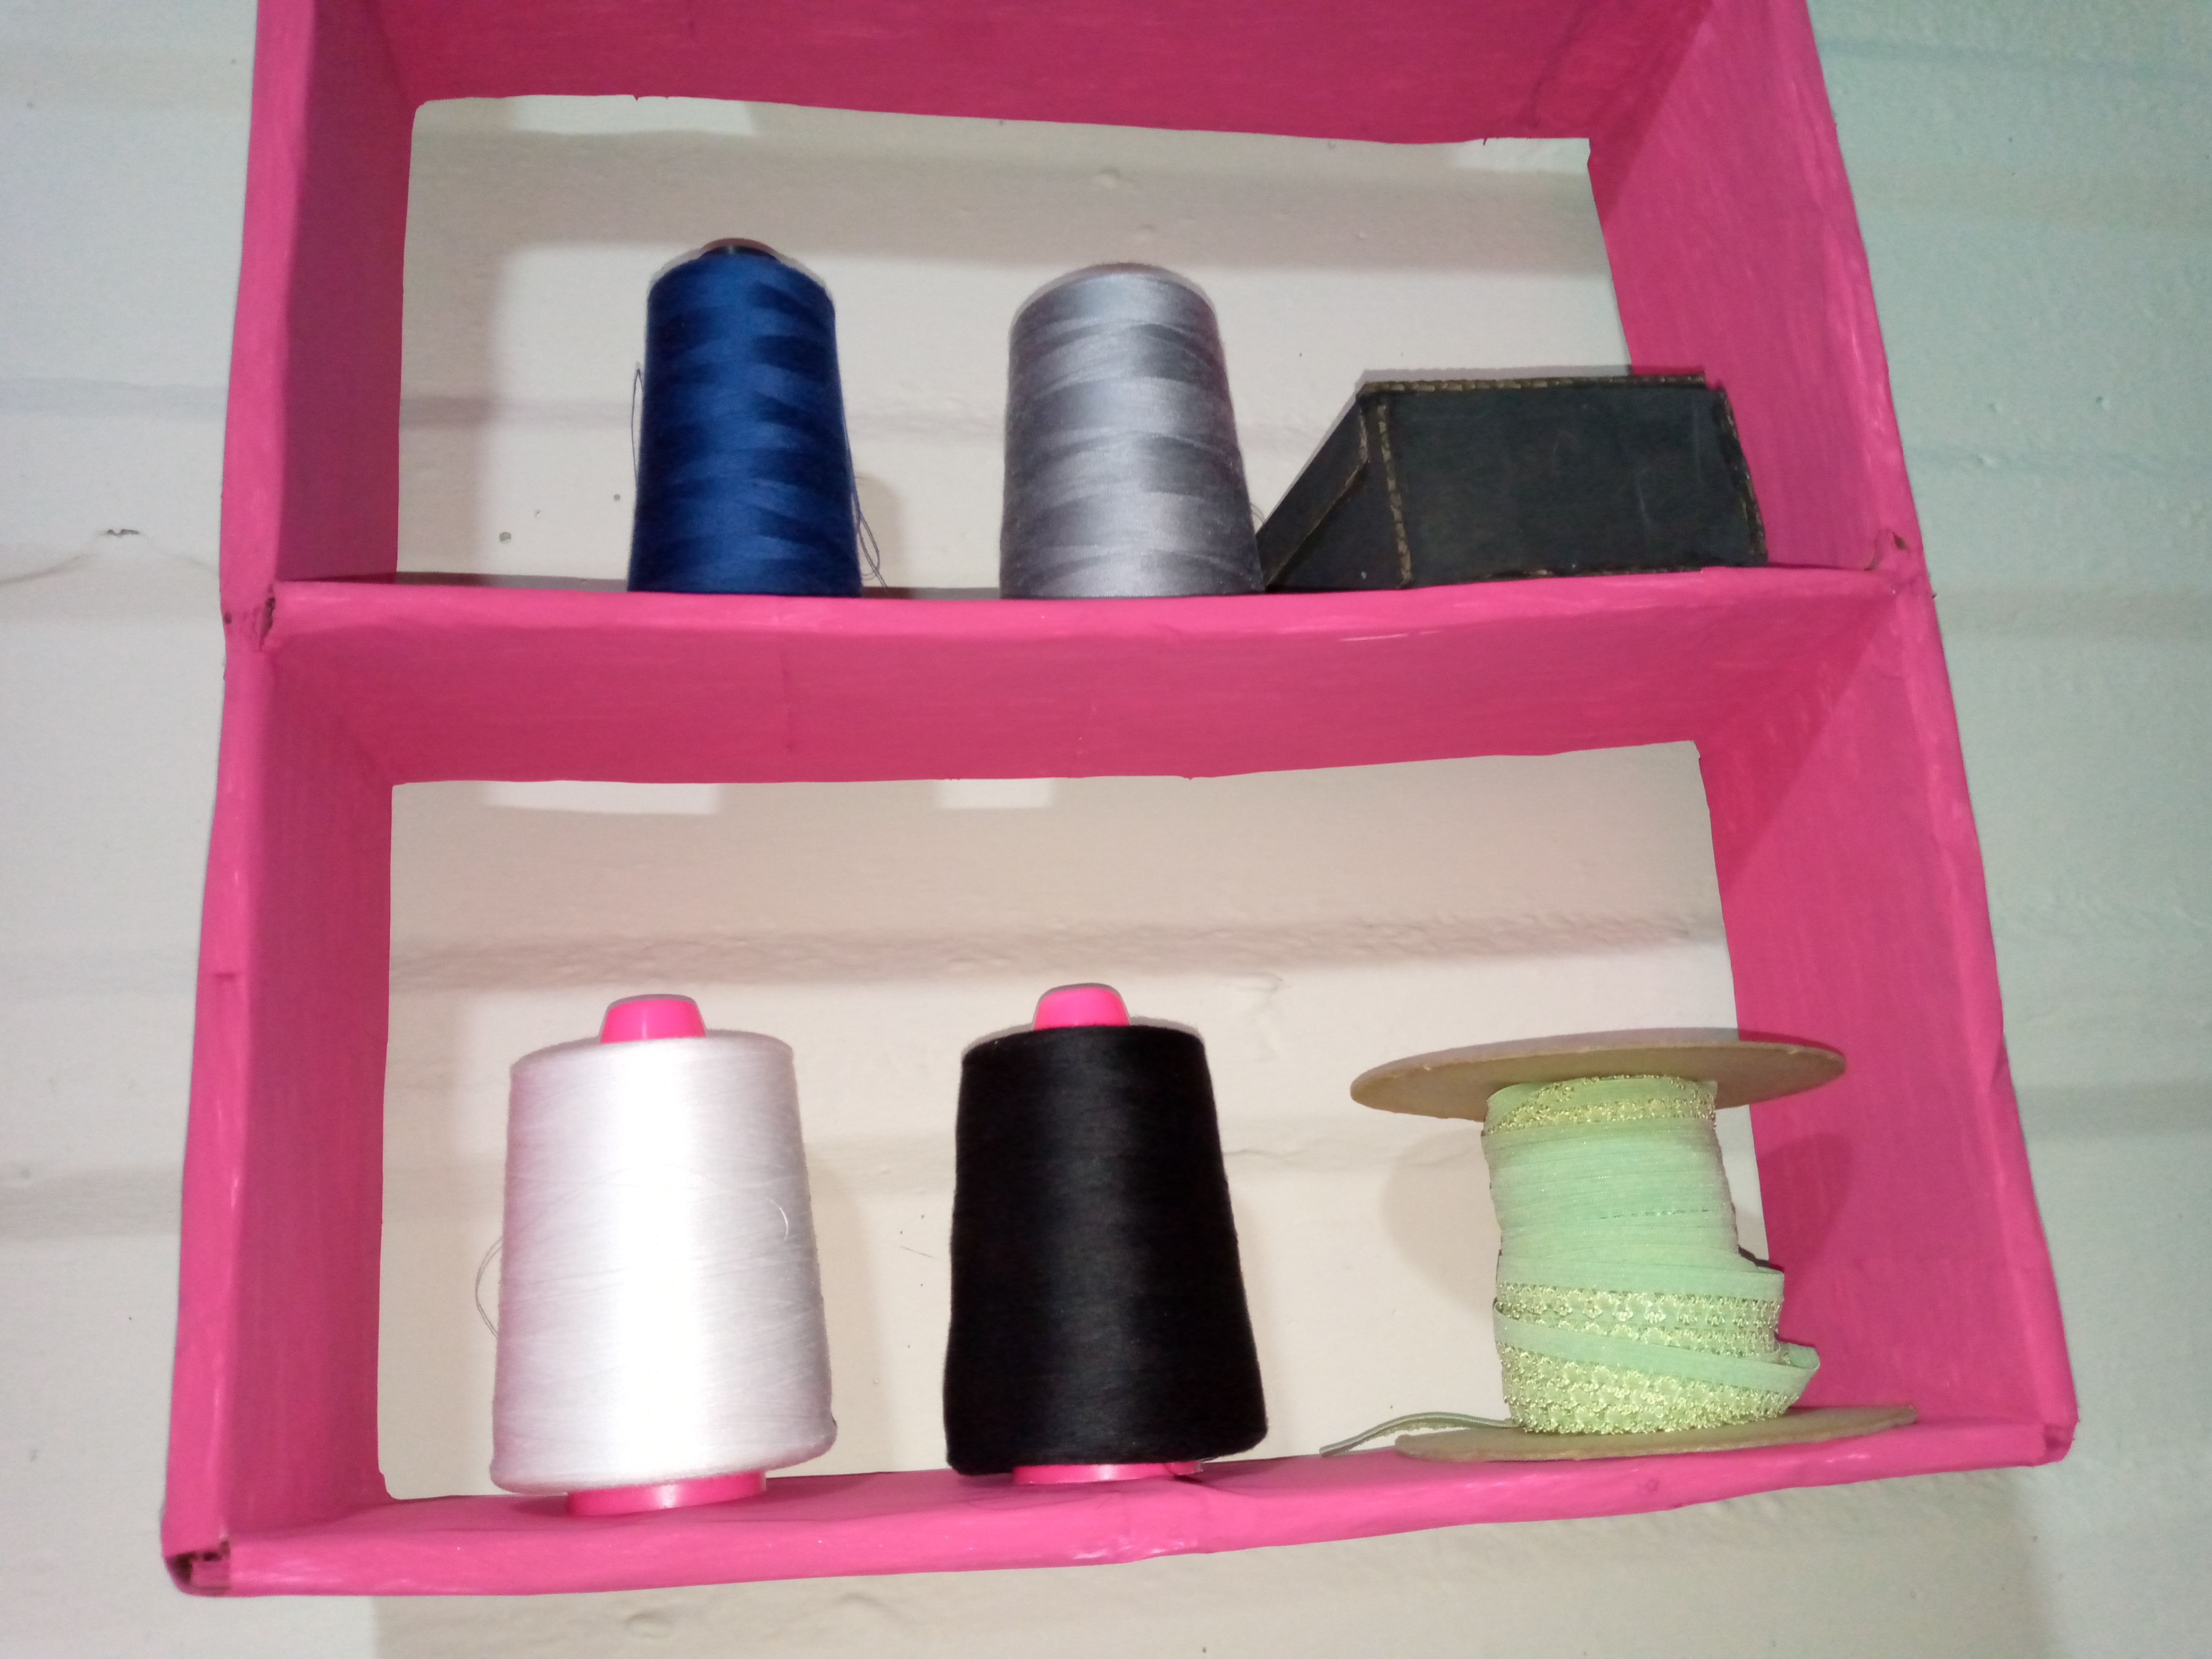
Resultado:// Result:
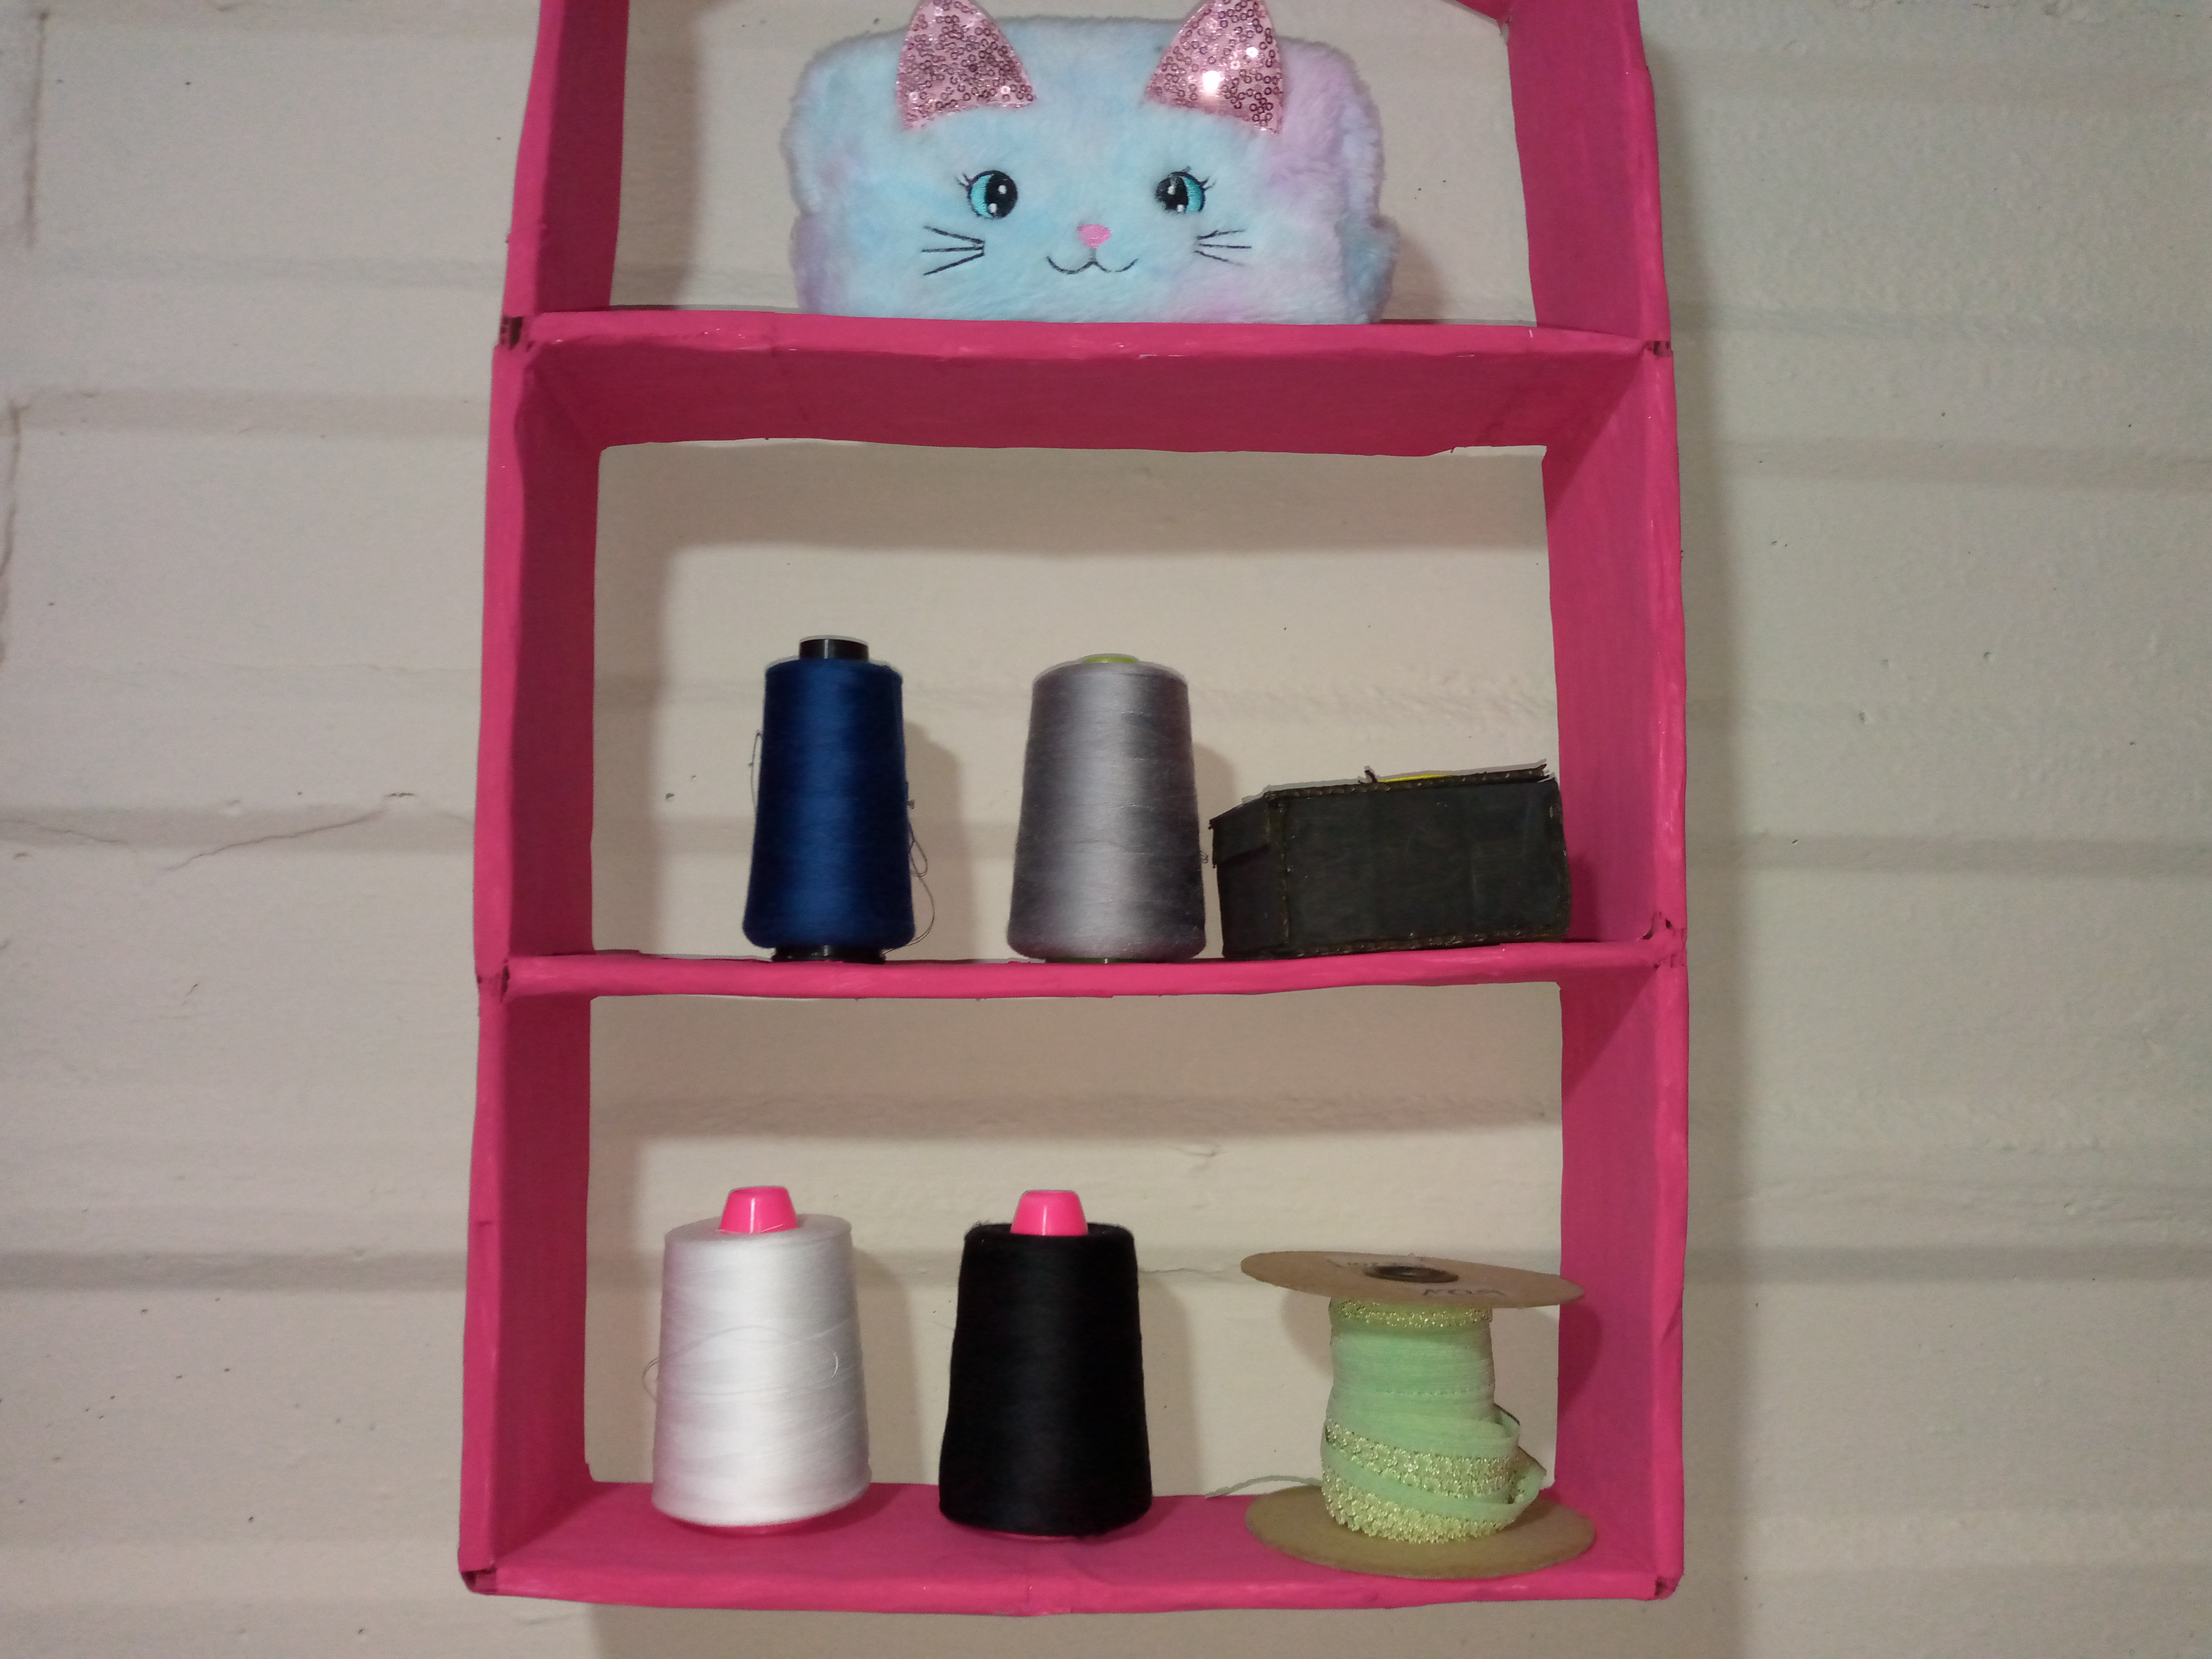
The finish looks incredible on this recycled work, I'm really surprised at how much things change when we give them a different use and reuse them, our things can again have life again and be useful for a long time🤭 I really liked how this organizer turned out and I didn't miss the opportunity to put some threads here, and tell me what you think of this great idea? Have you made one of these with recycled material?🤩.

Creating things with love 🌷❤️
🦋✨ All the images in this publication are my author ,📱taken with my TecnoSpark8C cell phone |📸Photos edited in PicsArt and Canva. Text translated in Google Translate.

Excelente idea para aprovechar los materiales de provecho.
Asi es amiga gracias por comentar 🥰
Turning trash into treasures is another form of creativity. Your beautiful thread organizer l is proof of that and we are impressed. Amazing job friend and thanks for sharing.
Thanks 🥰😊@diyhub
Amiga te quedo genial para colocar tus accesorios de costura, lo pintaste super lindo.
Si amiga me alegra que también a ti te haya gustado saludos y feliz tarde 😘
🤗😘
Te quedó genial ,y le da un aspecto muy bonito a tu lugar de trabajo ☺️
Gracias hermosa saluditos me alegra te haya gustado
Me encantó el color que elegiste💖 de verdad se ve muy femenino☺️ y lo mejor es que le dieras un segundo uso a esos materiales✨
Hola amiga feliz tarde muchas gracias 😊🌸
Excelente para reciclar y mantener el orden 👍
Muchas gracias amiga ...Saludos bendiciones