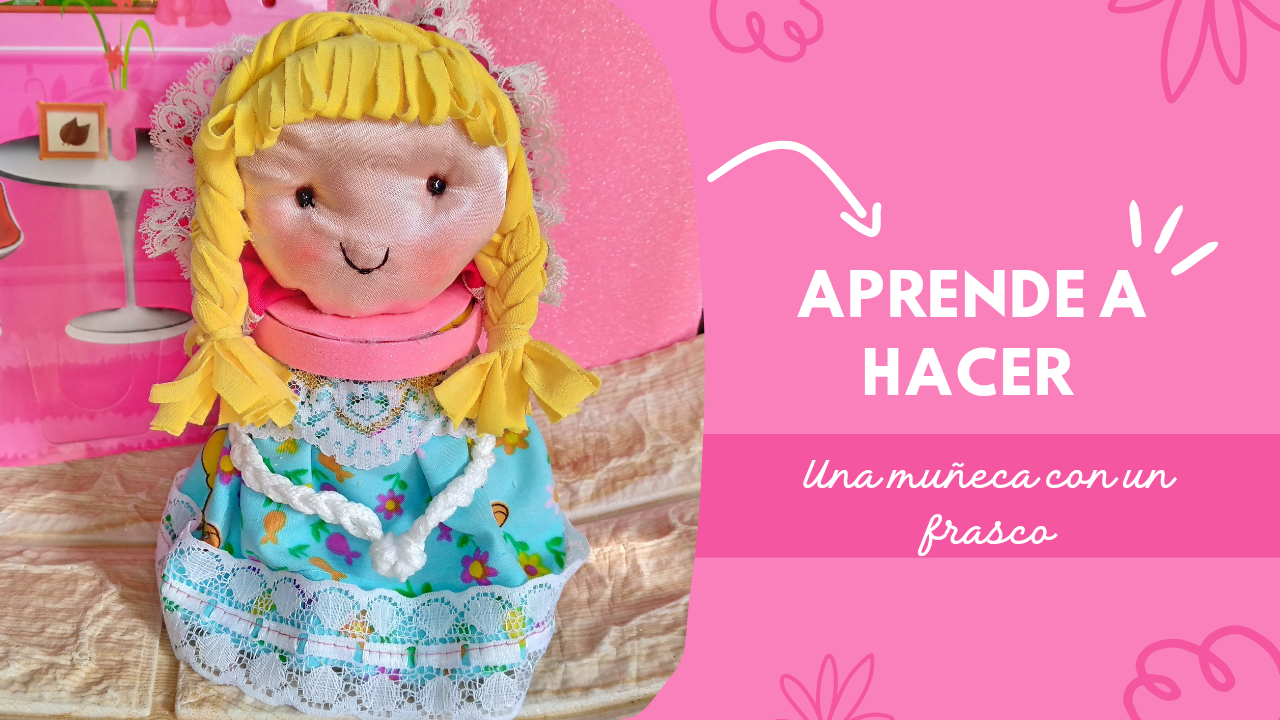
Hello, beautiful day! It's a pleasure to greet you🌞. I hope you are all doing very well, dear and appreciated friends. I warmly welcome you to a new blog where I will be sharing with you the creative process of what we will do here step by step. Feel comfortable and thank you for being here reading this blog.✨💗
.jpg)
I want to show you the last project of this year friends 🥰, today cleaning my fabric basket I decided to finish recycling the few scraps that I have that I know are useful to make these types of things, this time I wanted to make this cute little doll to store spices and decorate the kitchen, since I have tried to organize that space a bit because I said that a little life was needed and what more life than to decorate the containers where we have the condiments and spices, if you want to appreciate the process and see how I did it, I invite you to join me in this easy and simple process for today 🥰 you will love it.
.jpg)
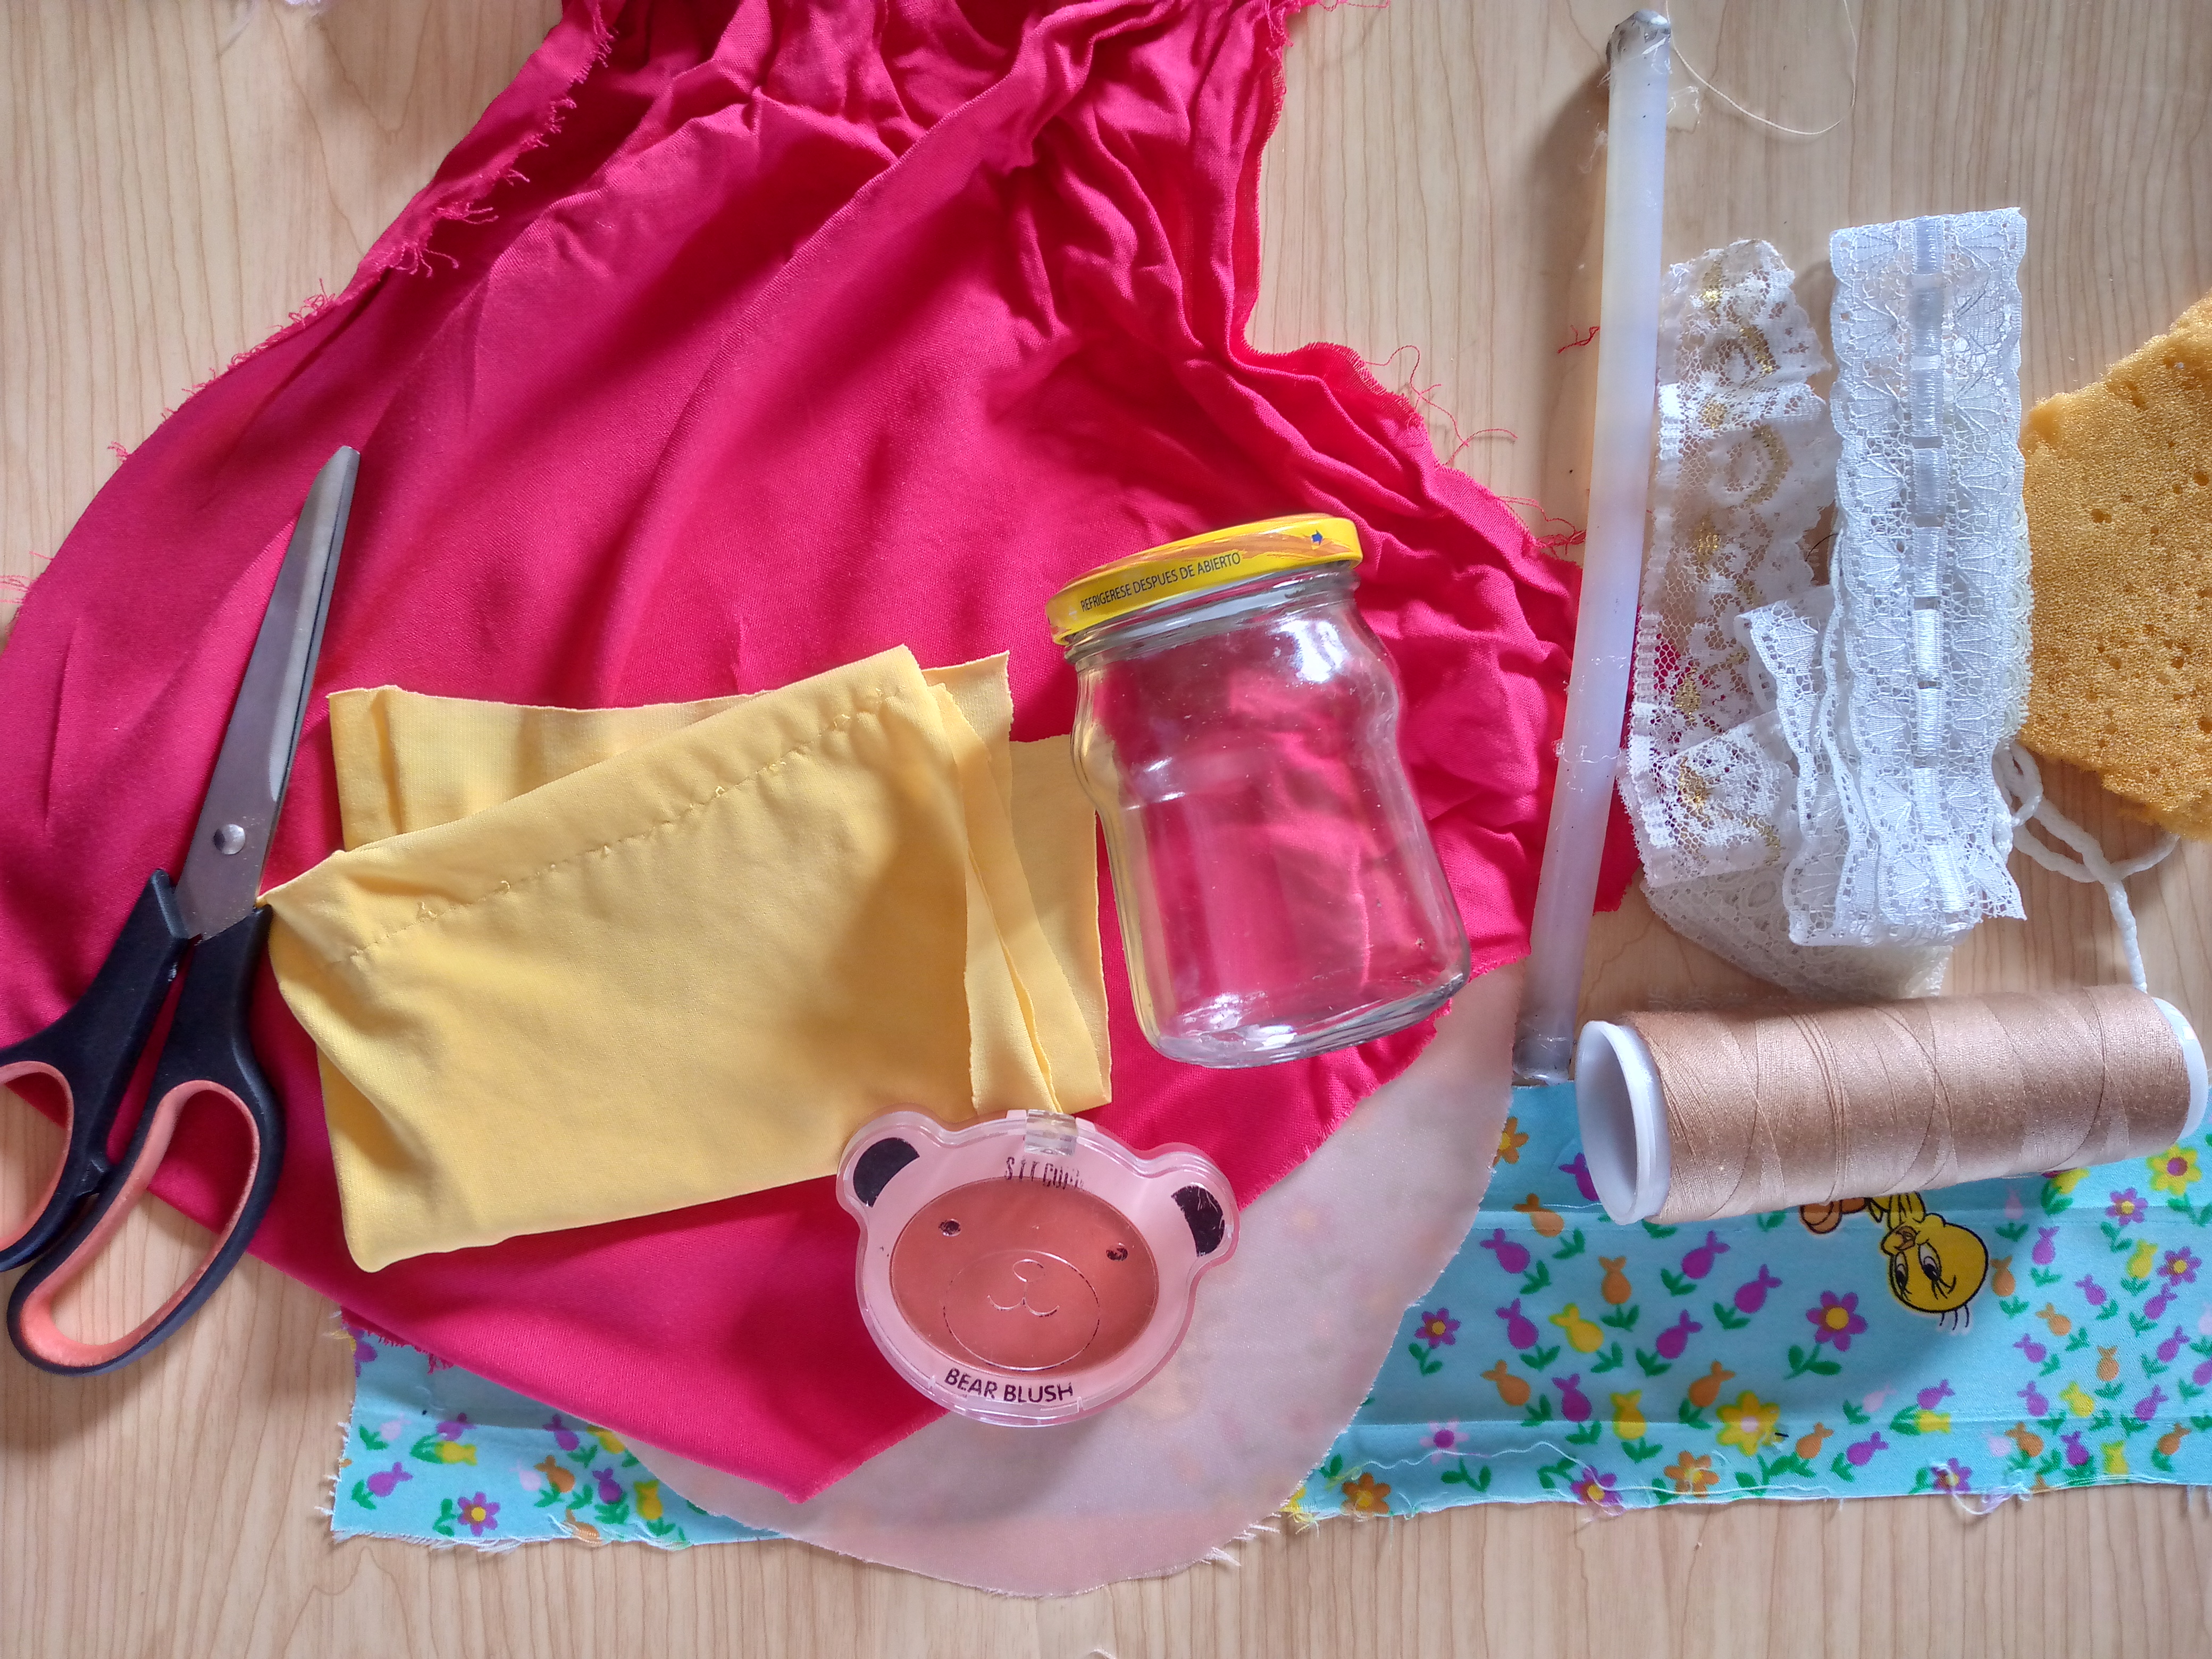
Materiales:// Materials:
- Fomi brillante
- Tijeras
- Retazos de tela
- Silicón
- Cordón
- Relleno o esponja
- 2 mostacillas negras
- Envase de vidrio
- Encajes
- Hilo y aguja
- Máquina de coser
- Rubor compacto
- Shiny foam
- Scissors
- Scraps of fabric
- Silicone
- Cord
- Filling or sponge
- 2 black beads
- Glass container
- Lace
- Thread and needle
- Sewing machine
- Compact blush
.jpg)
Pasos a seguir://Steps to follow:
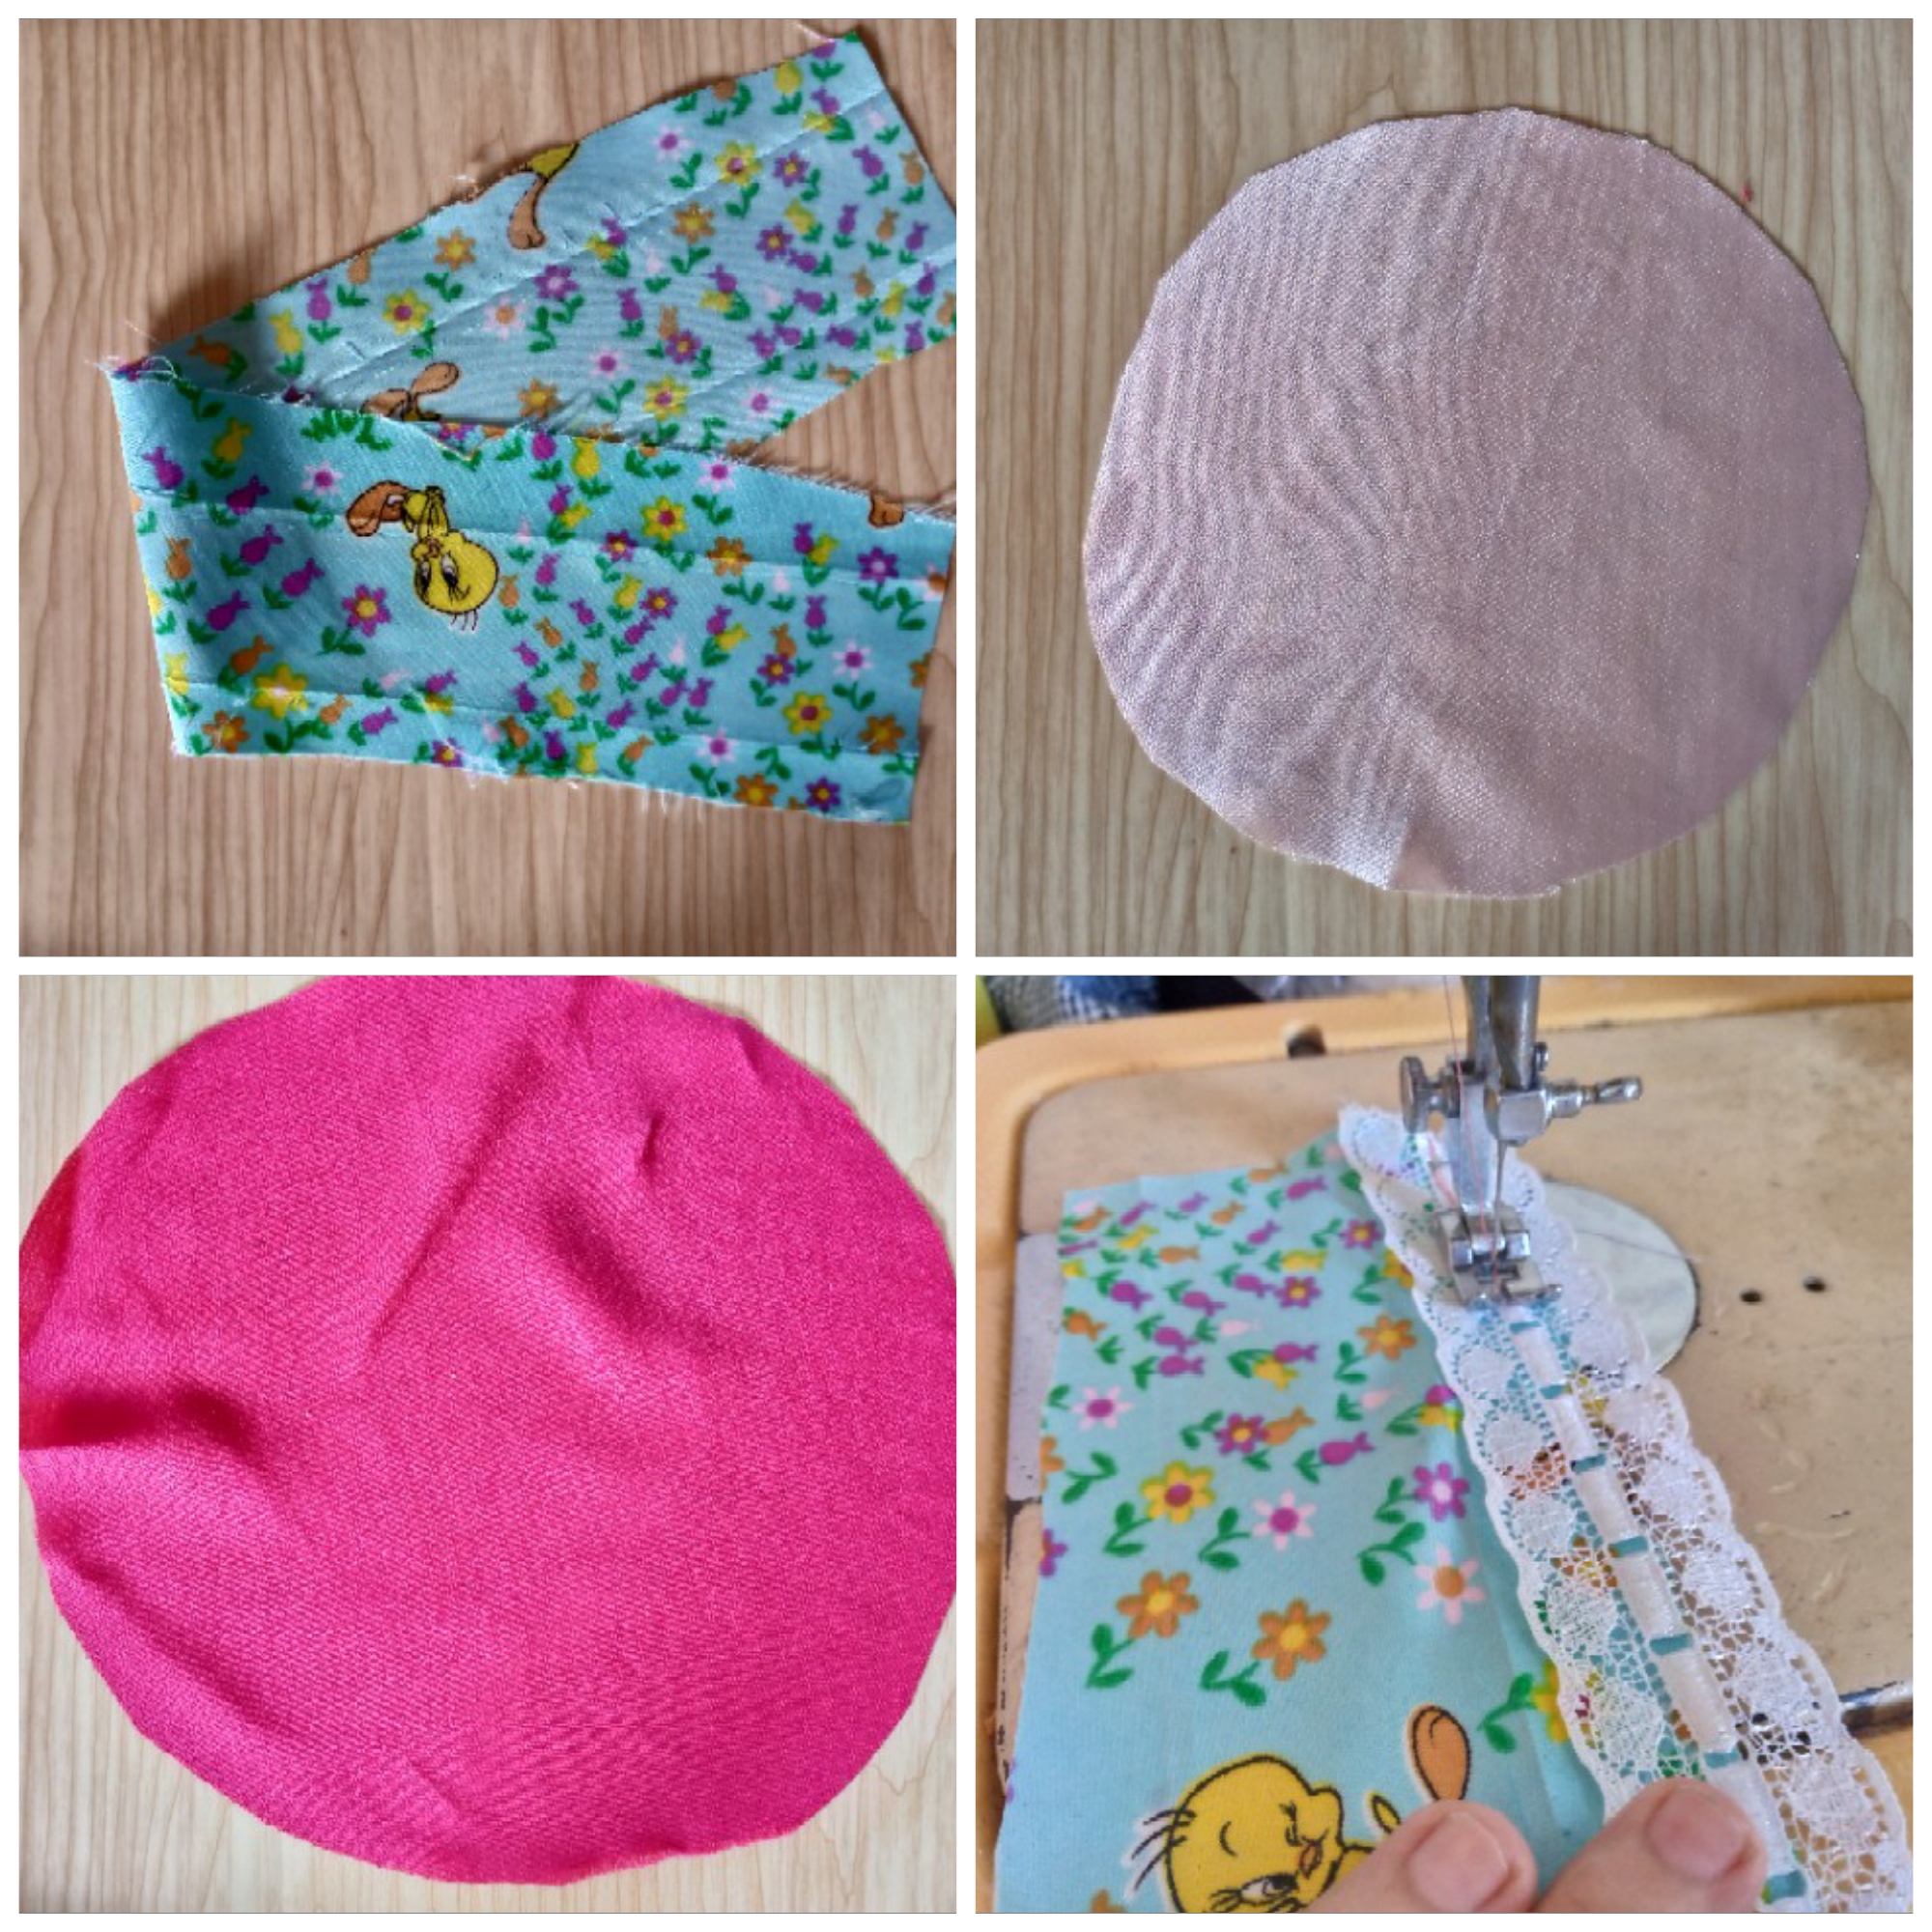
Paso 01
Step 01
The first step will be to cut the pieces for the dress and hat of our doll. We make a circle with a circumference of 25 cm and a rectangle of 35 cm wide and a circle of skin-colored fabric for the head of our doll. Then we will sew our lace onto the bottom of the rectangle. I decided to sew the thick lace onto this rectangle.
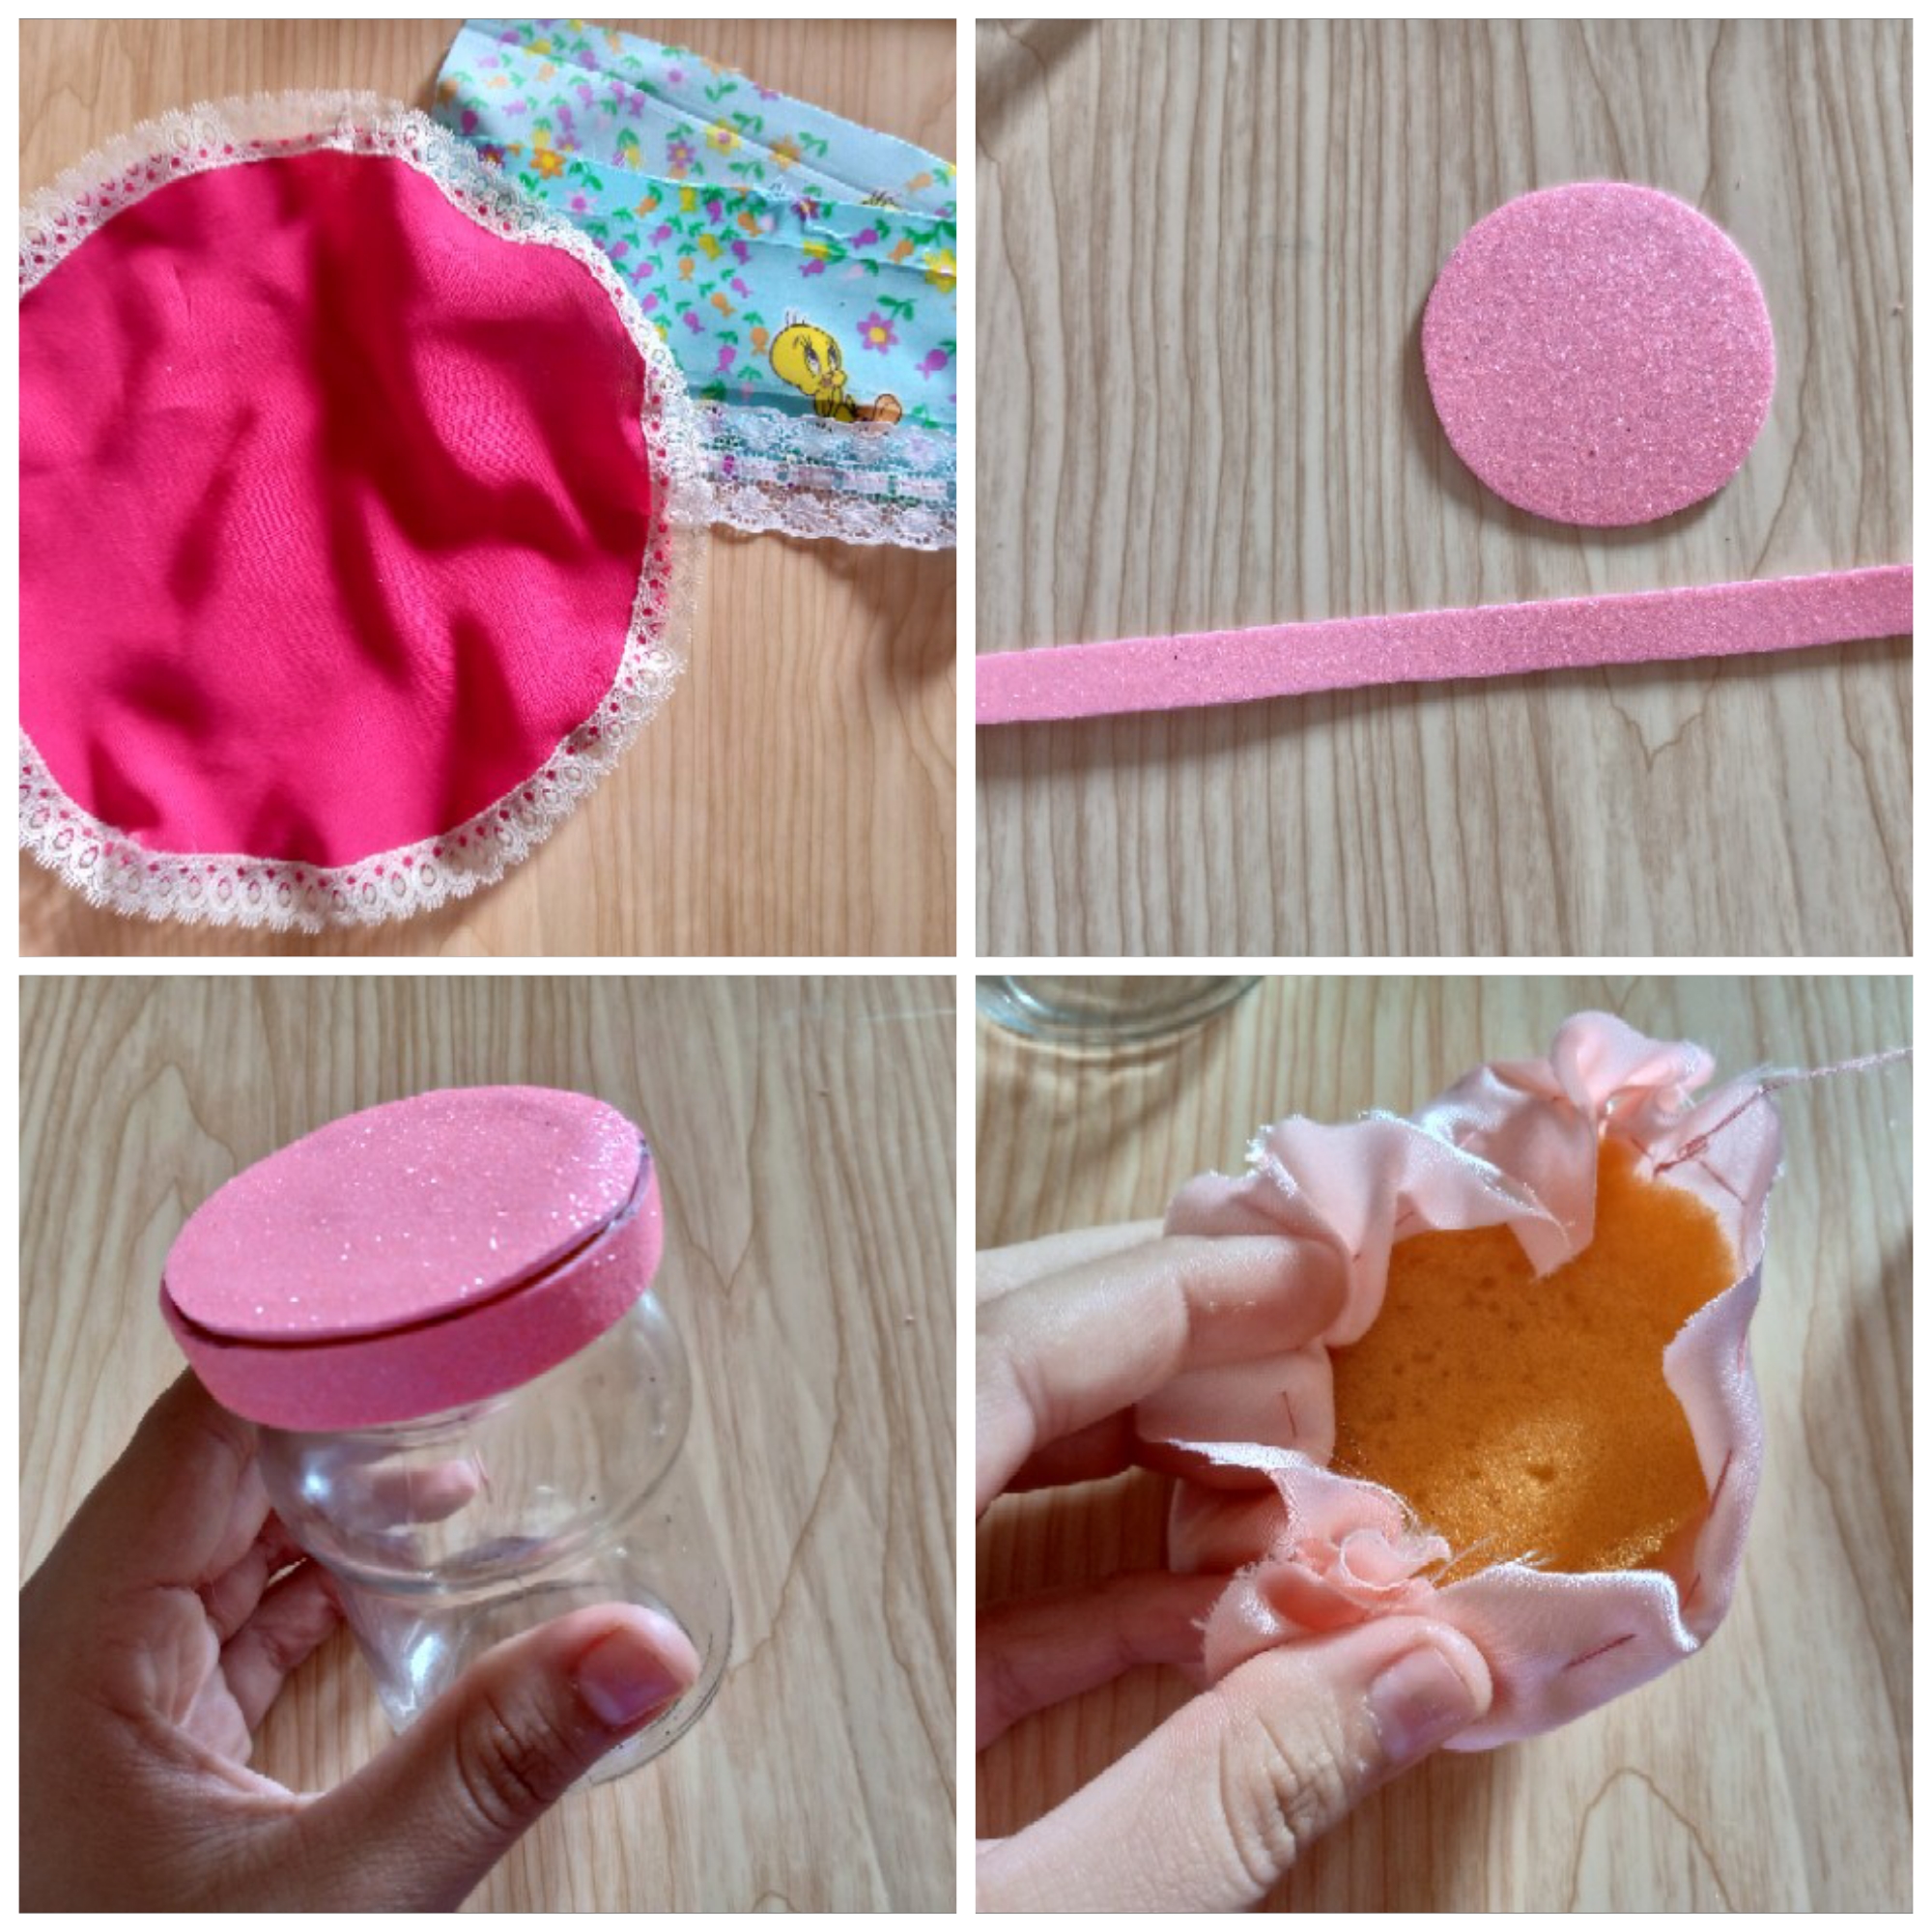
Paso 02
Step 02
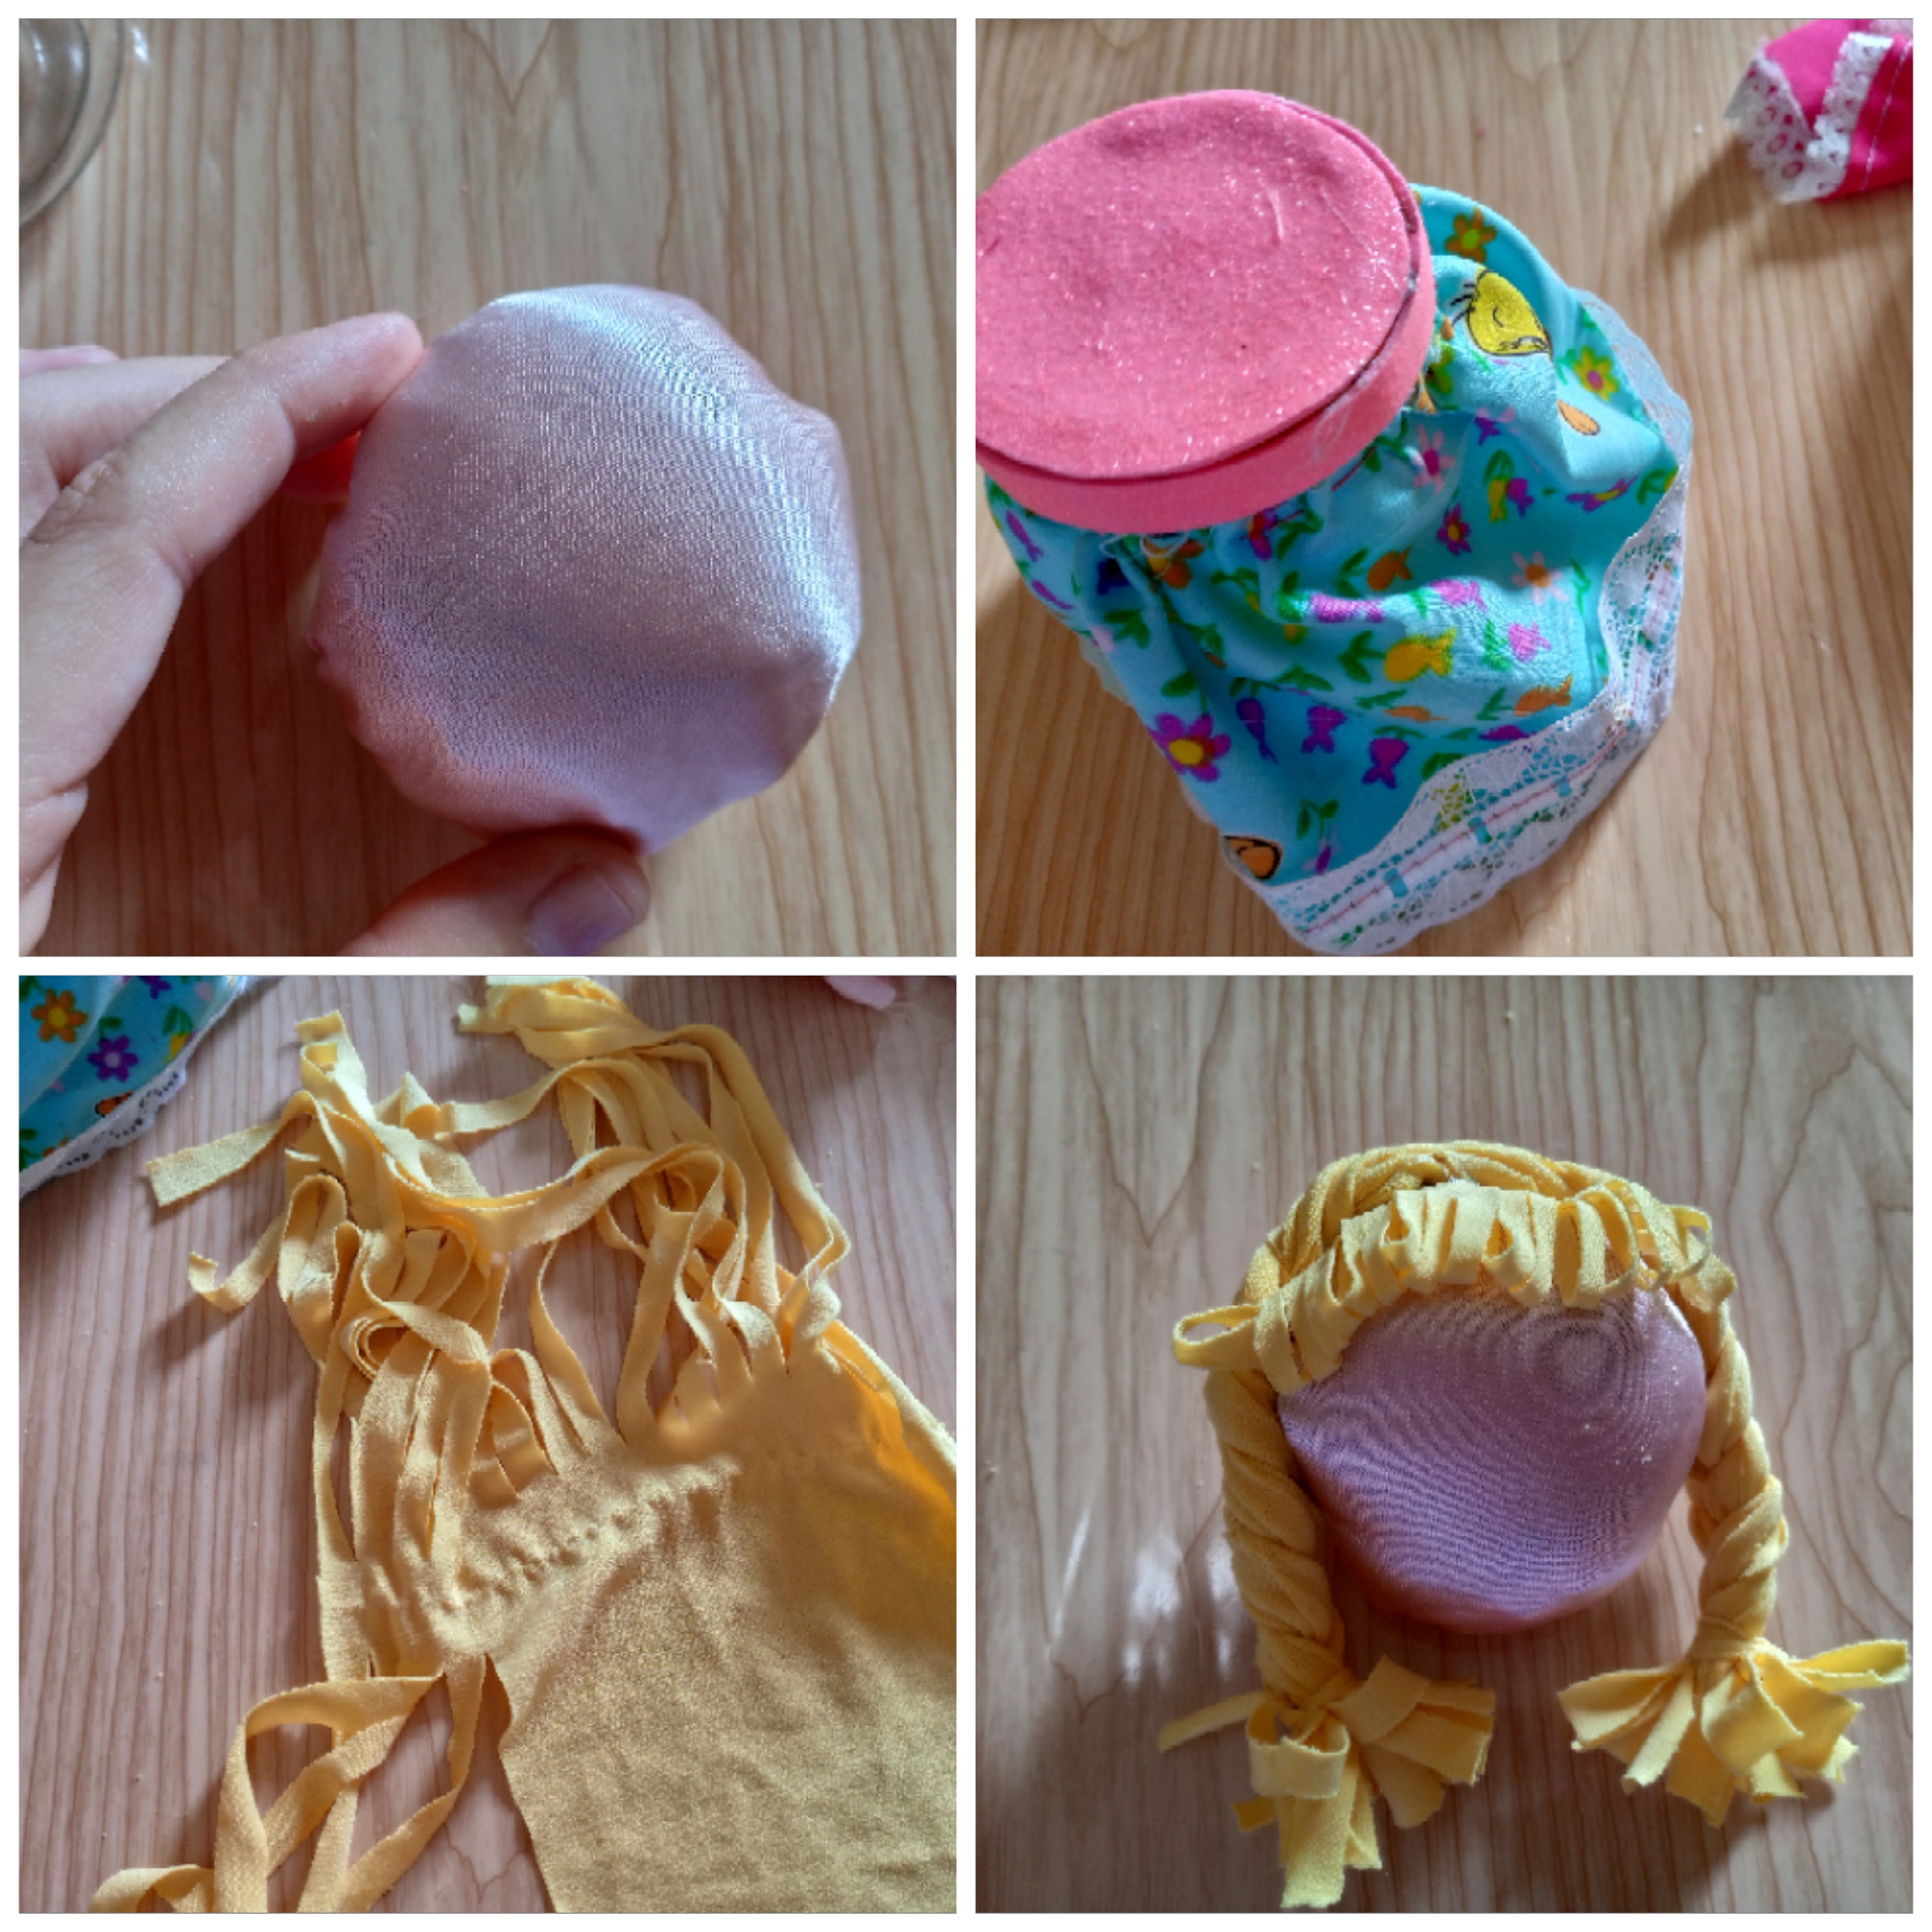
We proceed to sew our thin lace around the edge of the hat piece to decorate it better. We will also be cutting pieces to line the lid of the container. For this occasion, we will cut a circle and a ribbon of the same width and thickness as the lid. Then, we will gather the outline of our head circle with a needle and thread. We gather and insert the filling that you get. I used sponge. We will gather and seal the thread well so that it does not come loose.
Paso 03
Step 03
So we have the head already stuffed of our little doll and we will go on to cover the lid with silicone and glue it well and glue the piece of the dress around the outline of the container, gathering it, then we will cut a square of 15 cm wide x 15 cm long and we will cut strips without cutting at the top we cut strips on both sides to make the doll's hair, we sew with a seam in the middle, glue it to the head and braid both parts of the hair, we will be placing a fringe in front of the same yellow fabric and cut it into small strips and glue with silicone and tie at the ends with a small strip of the same fabric.
Paso 04
Step 04
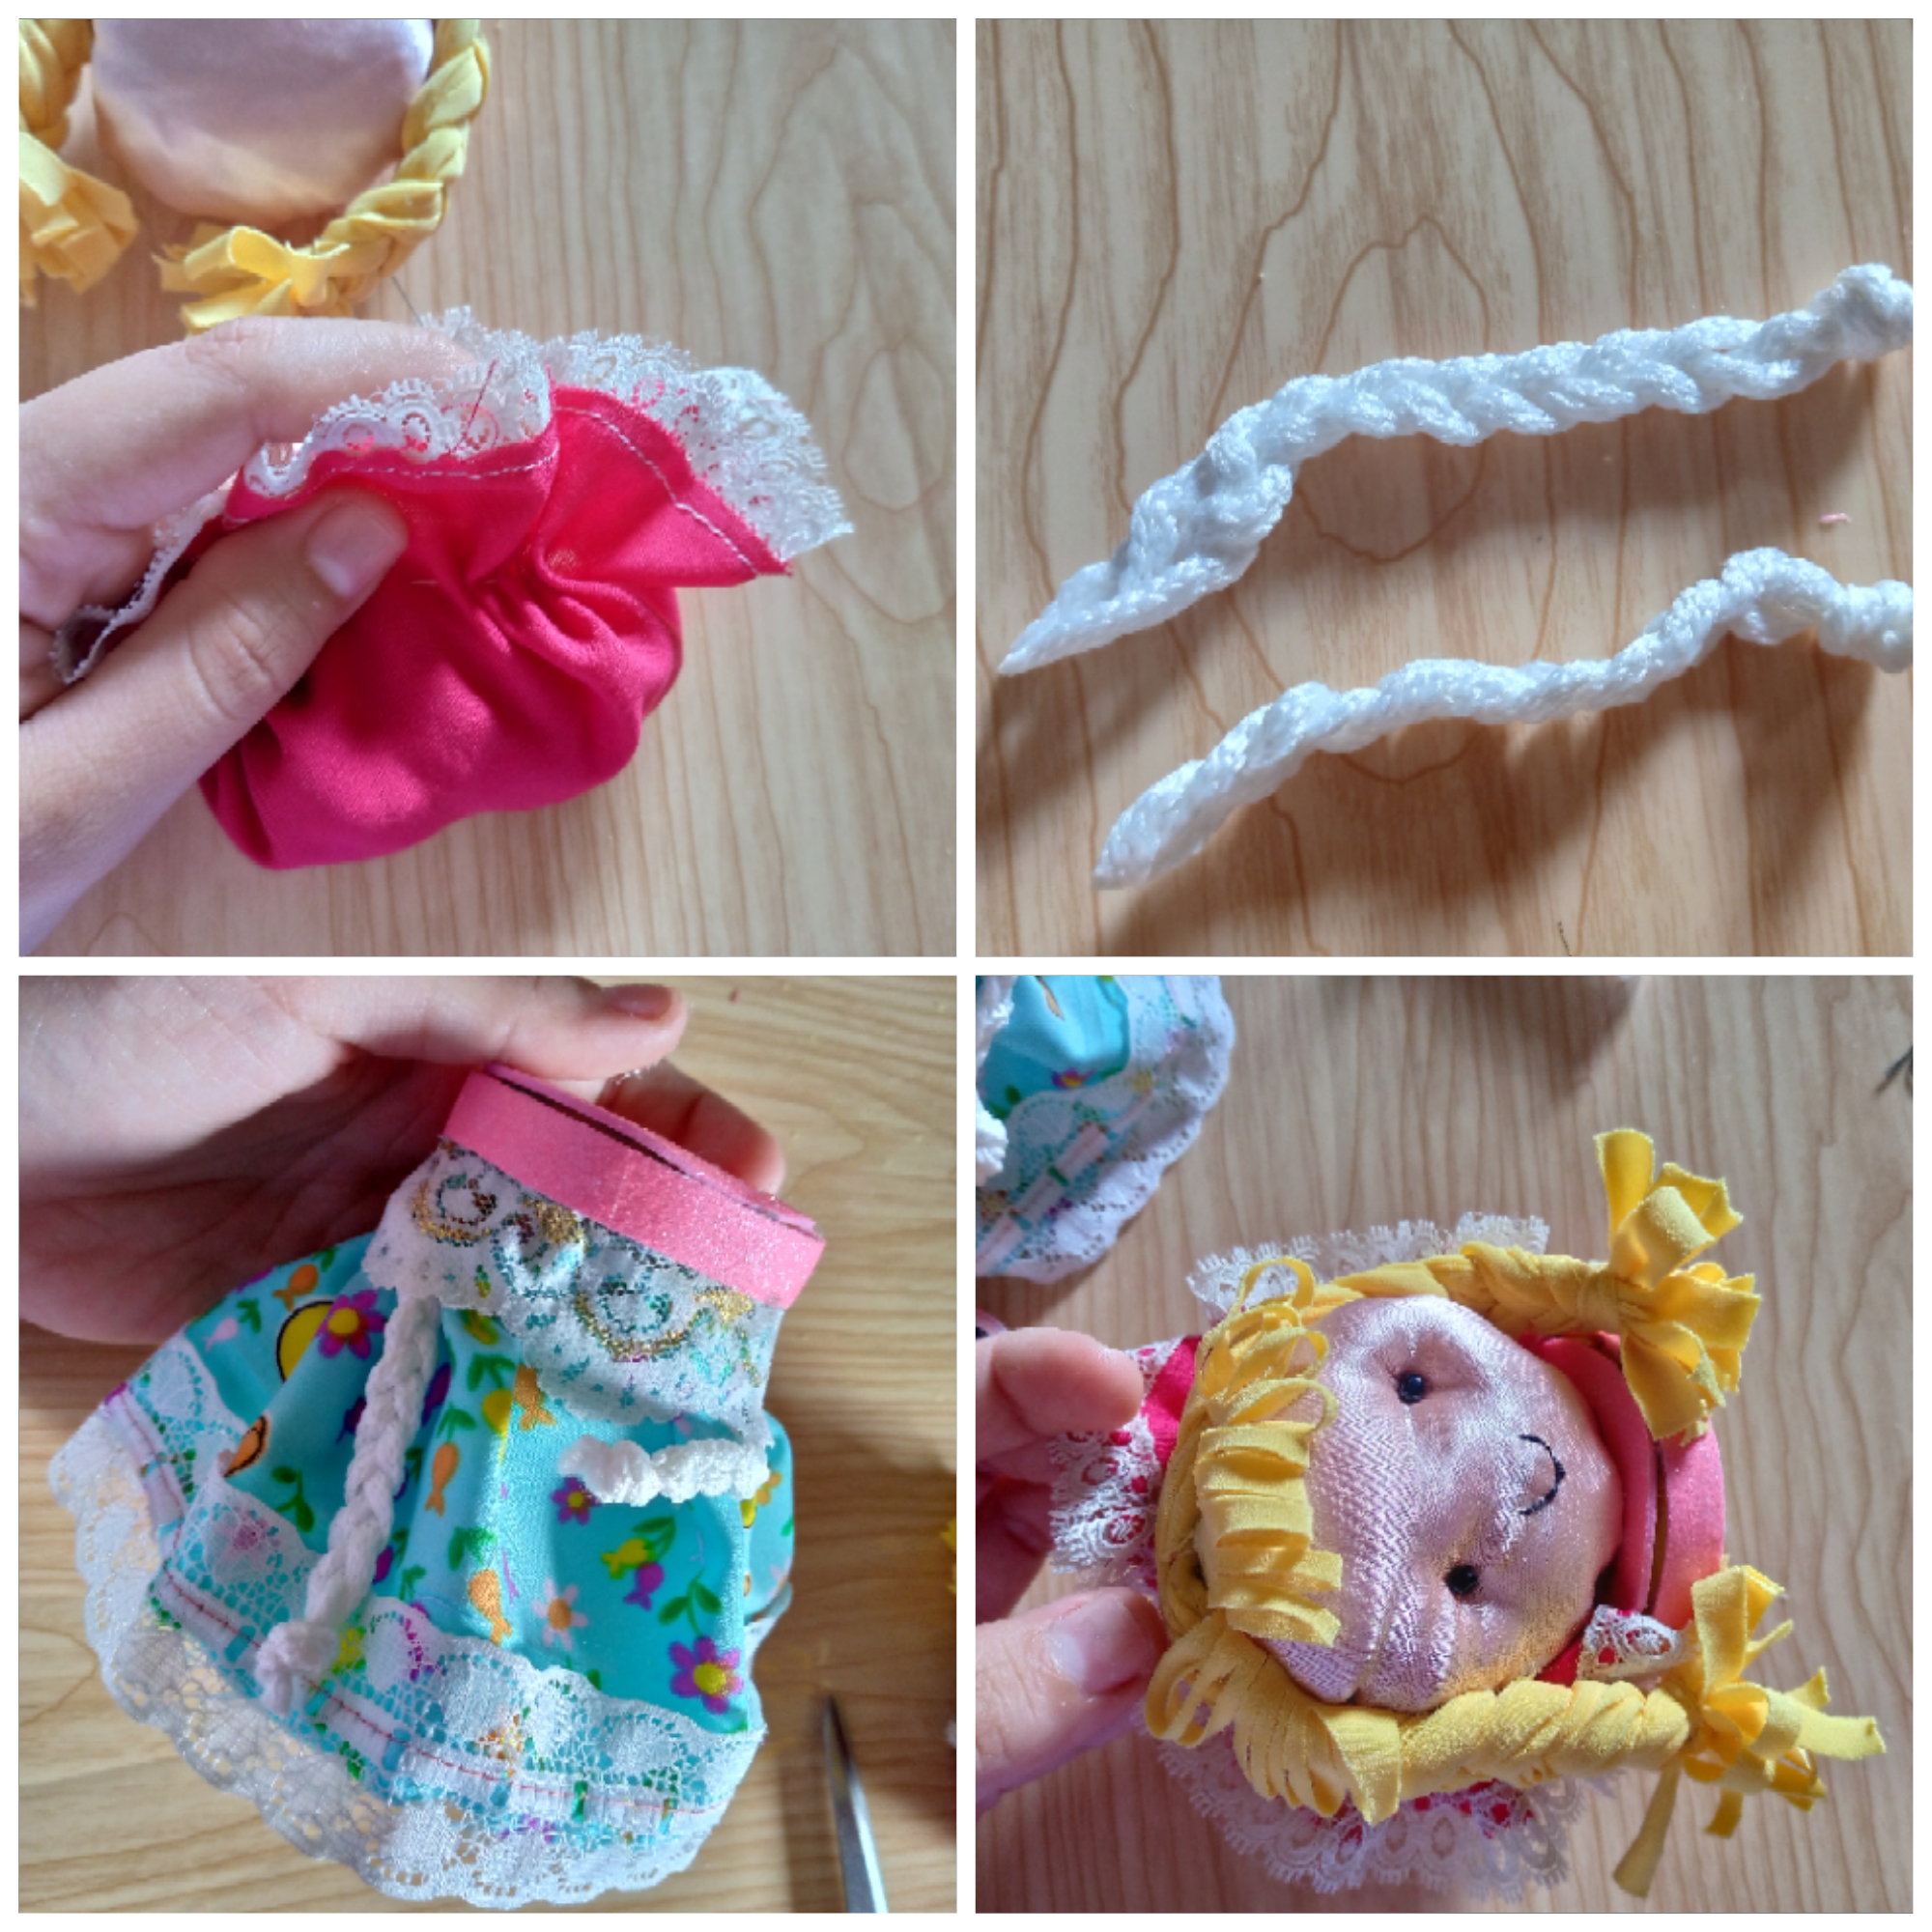
It’s time to finish our little doll in this container by gathering the hat and the round piece around the edges and filling it with sponge, and sewing it to the head at the back of the head, then we’ll grab three strands of white cord to make the hands and I’ll tie a knot at the end of one piece on top and braid until this braid is 10 cm long, and cut it in half then we’ll glue the hands on each end of the container and glue a wide lace
around the edges, and then we’ll glue the head to the lid and sew the beads side by side and the mouth with black thread, with the compact blush we’ll mark the red cheeks with the tips of our fingers and that’s it, that’s how it’s finished.
.jpg)
Resultado:// Result:
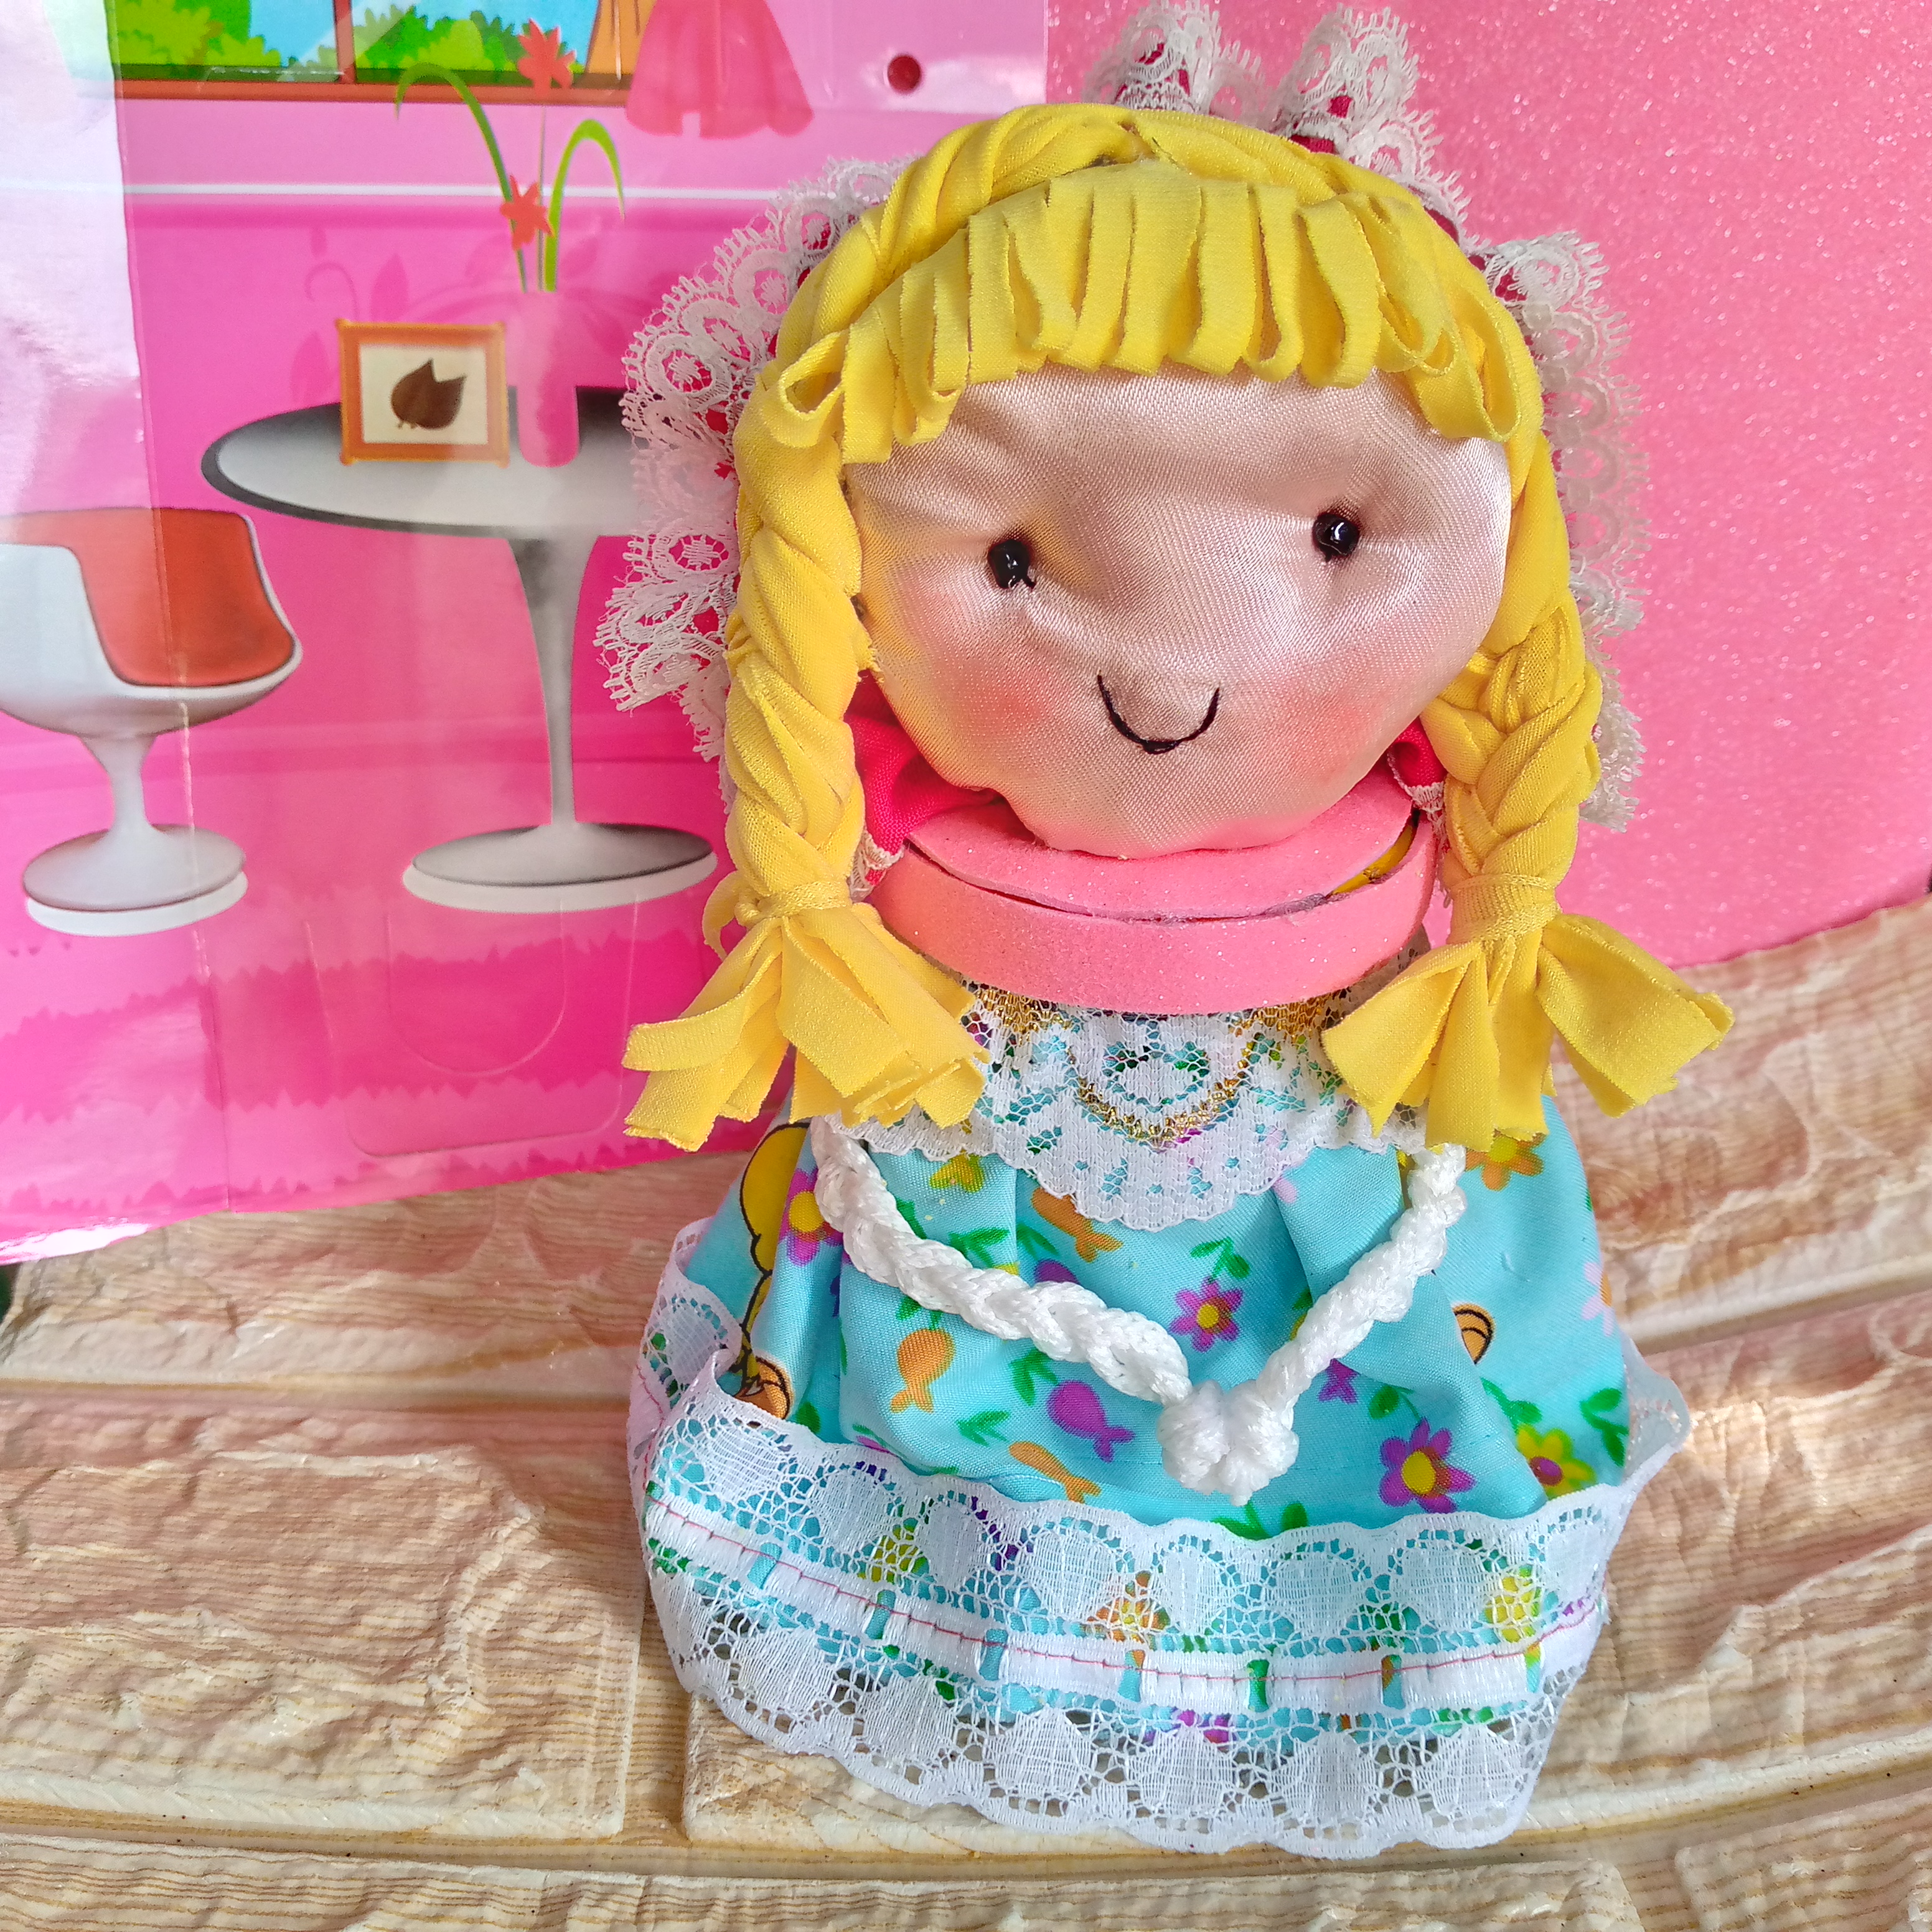
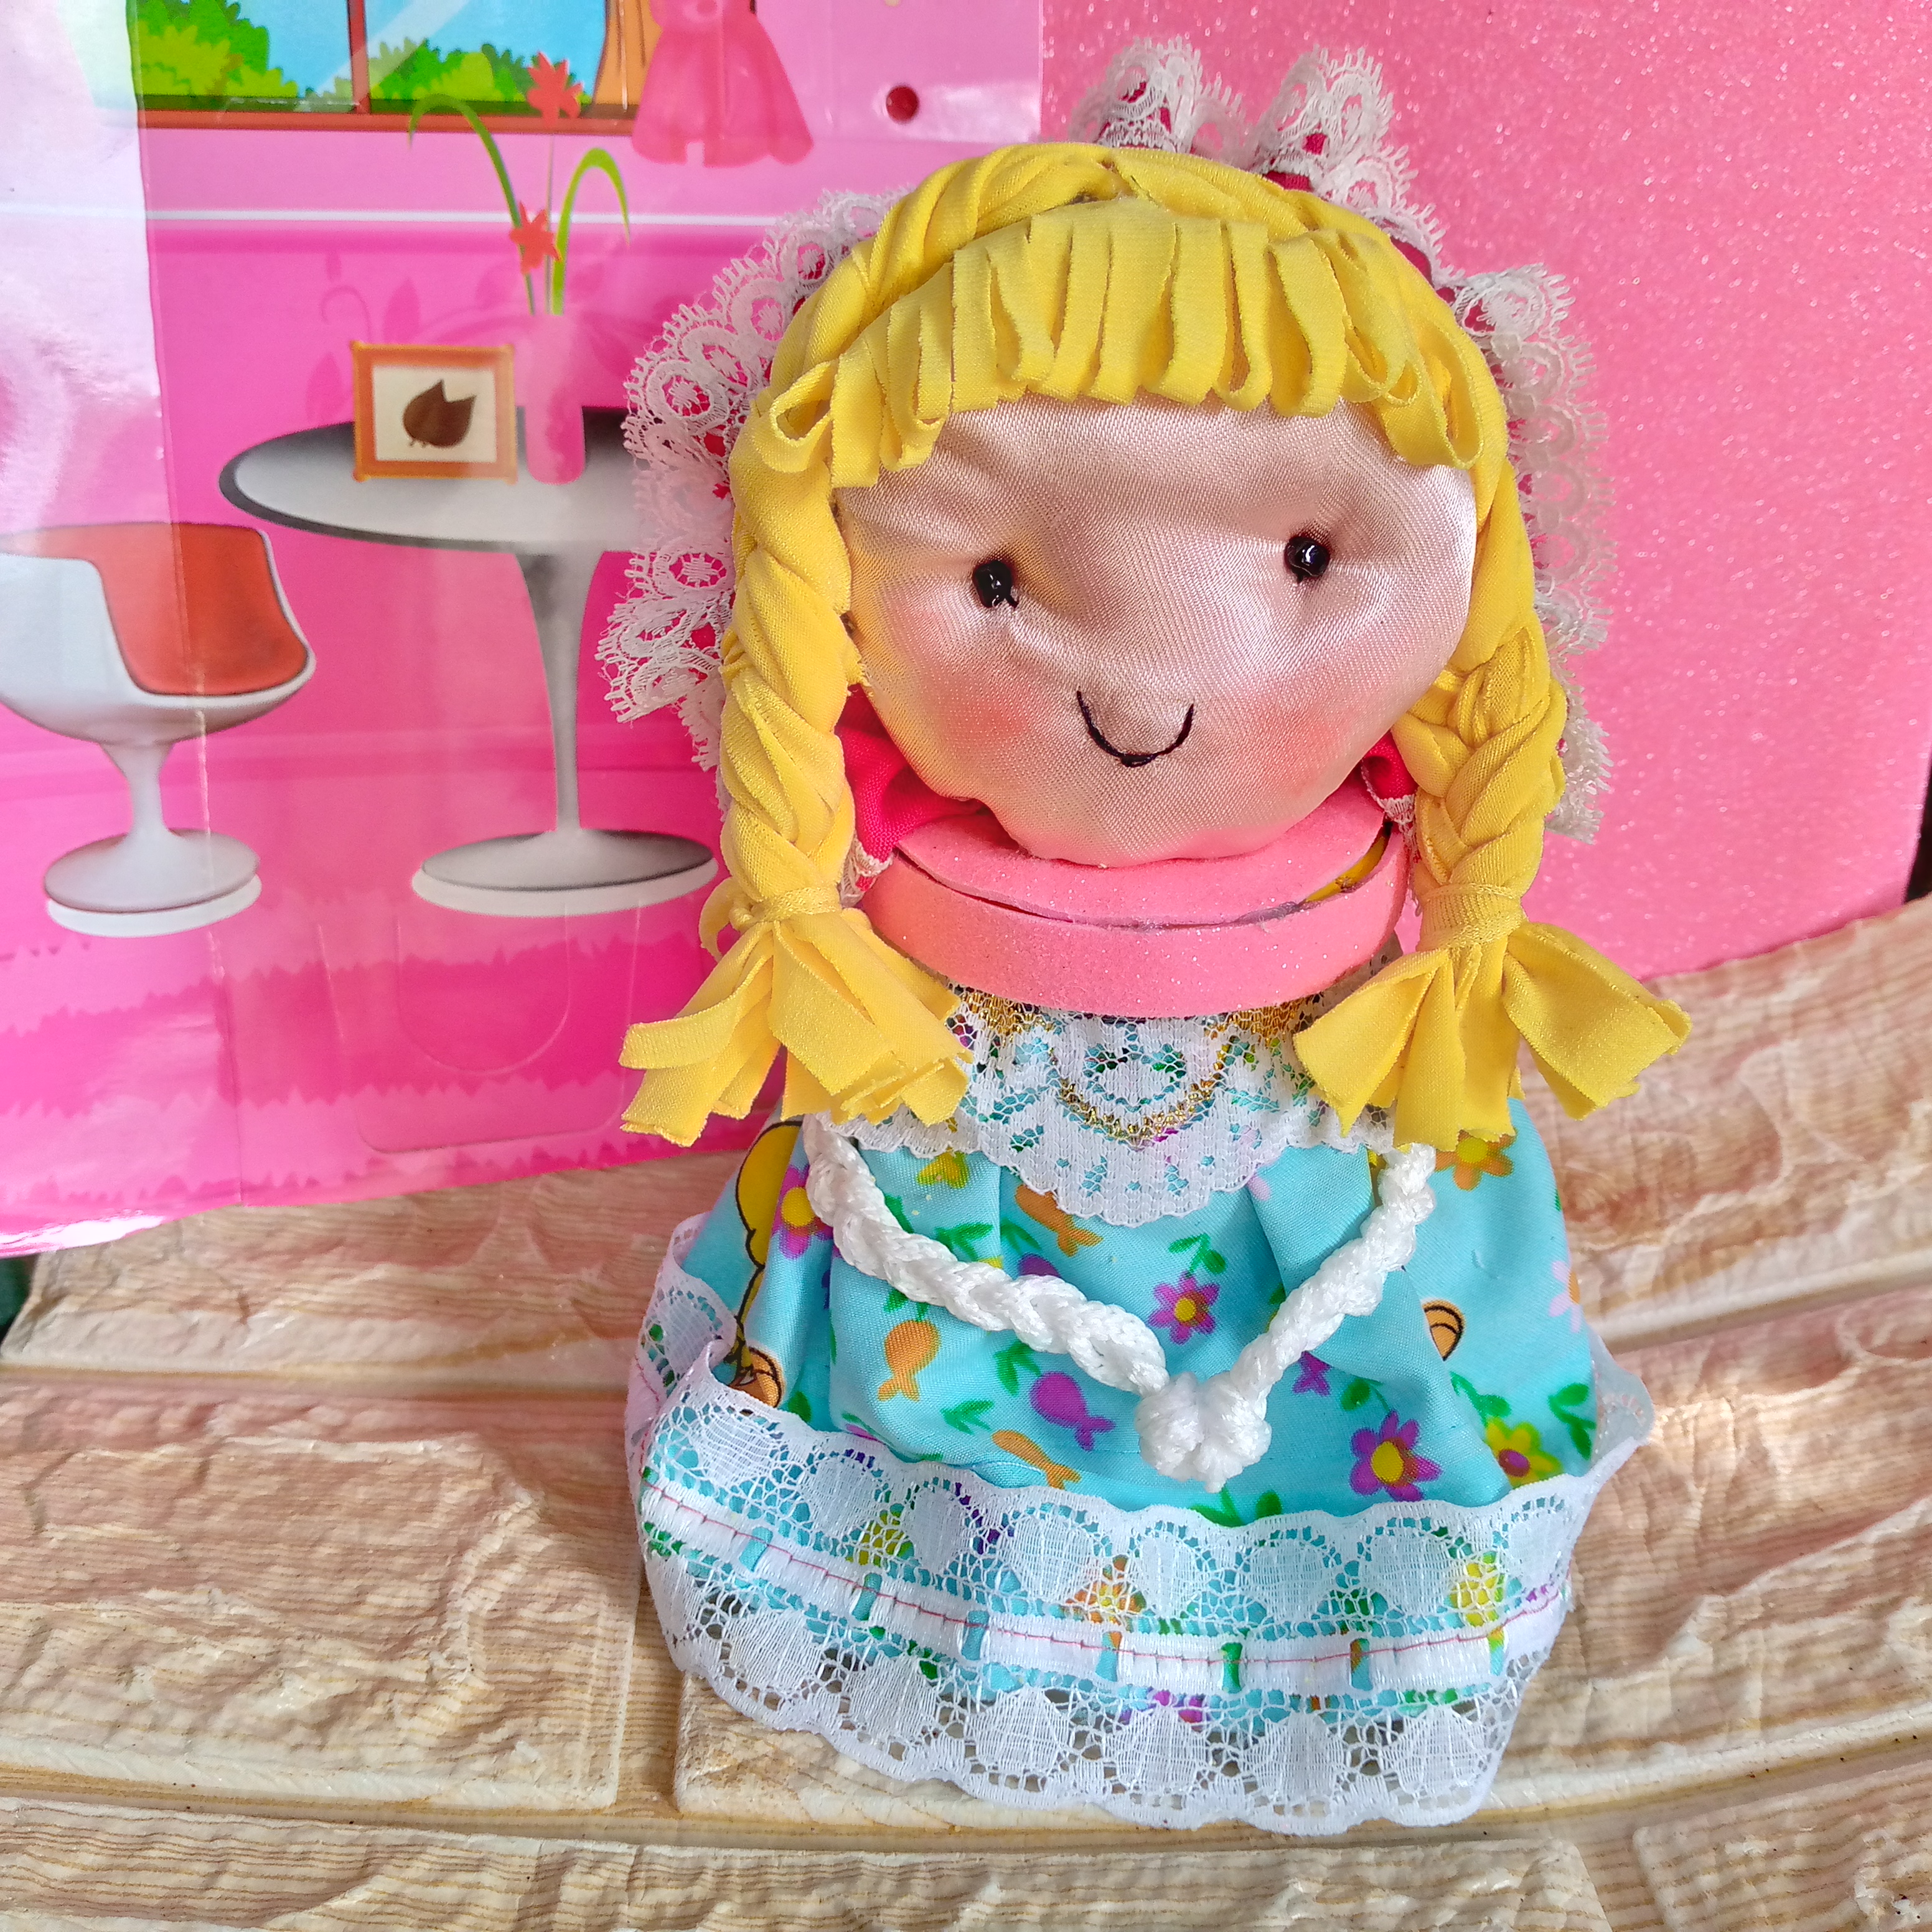
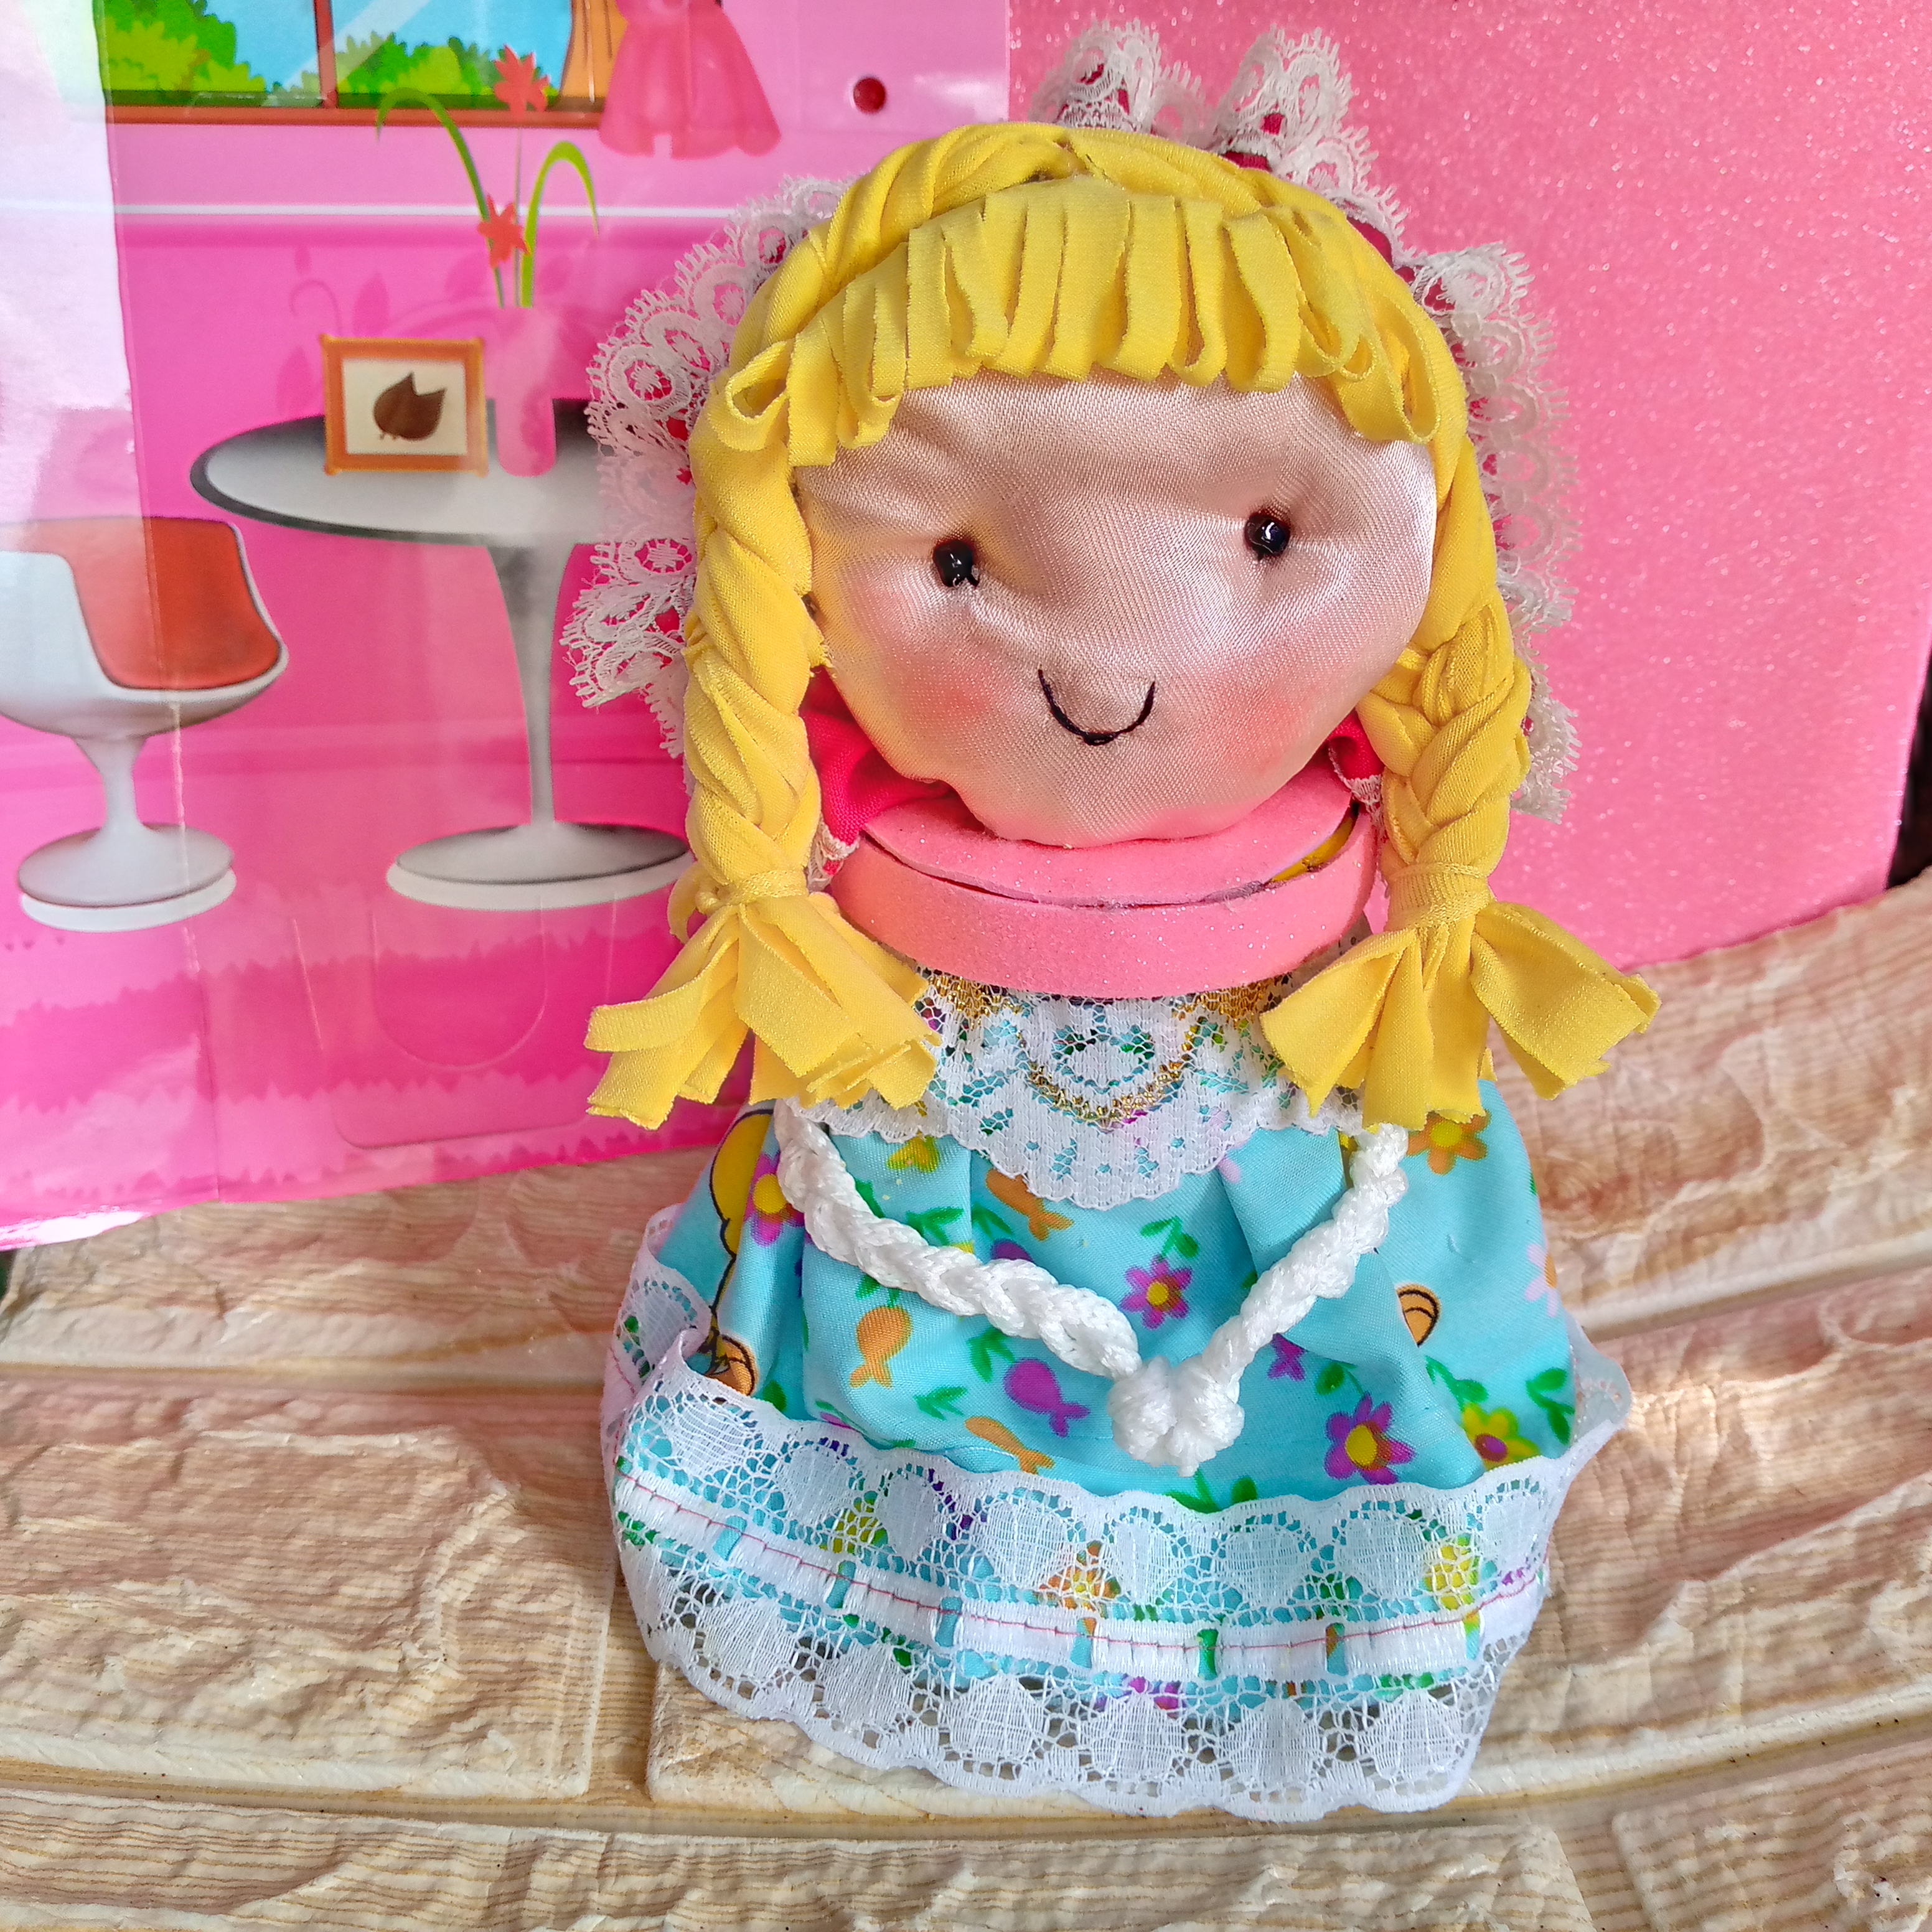
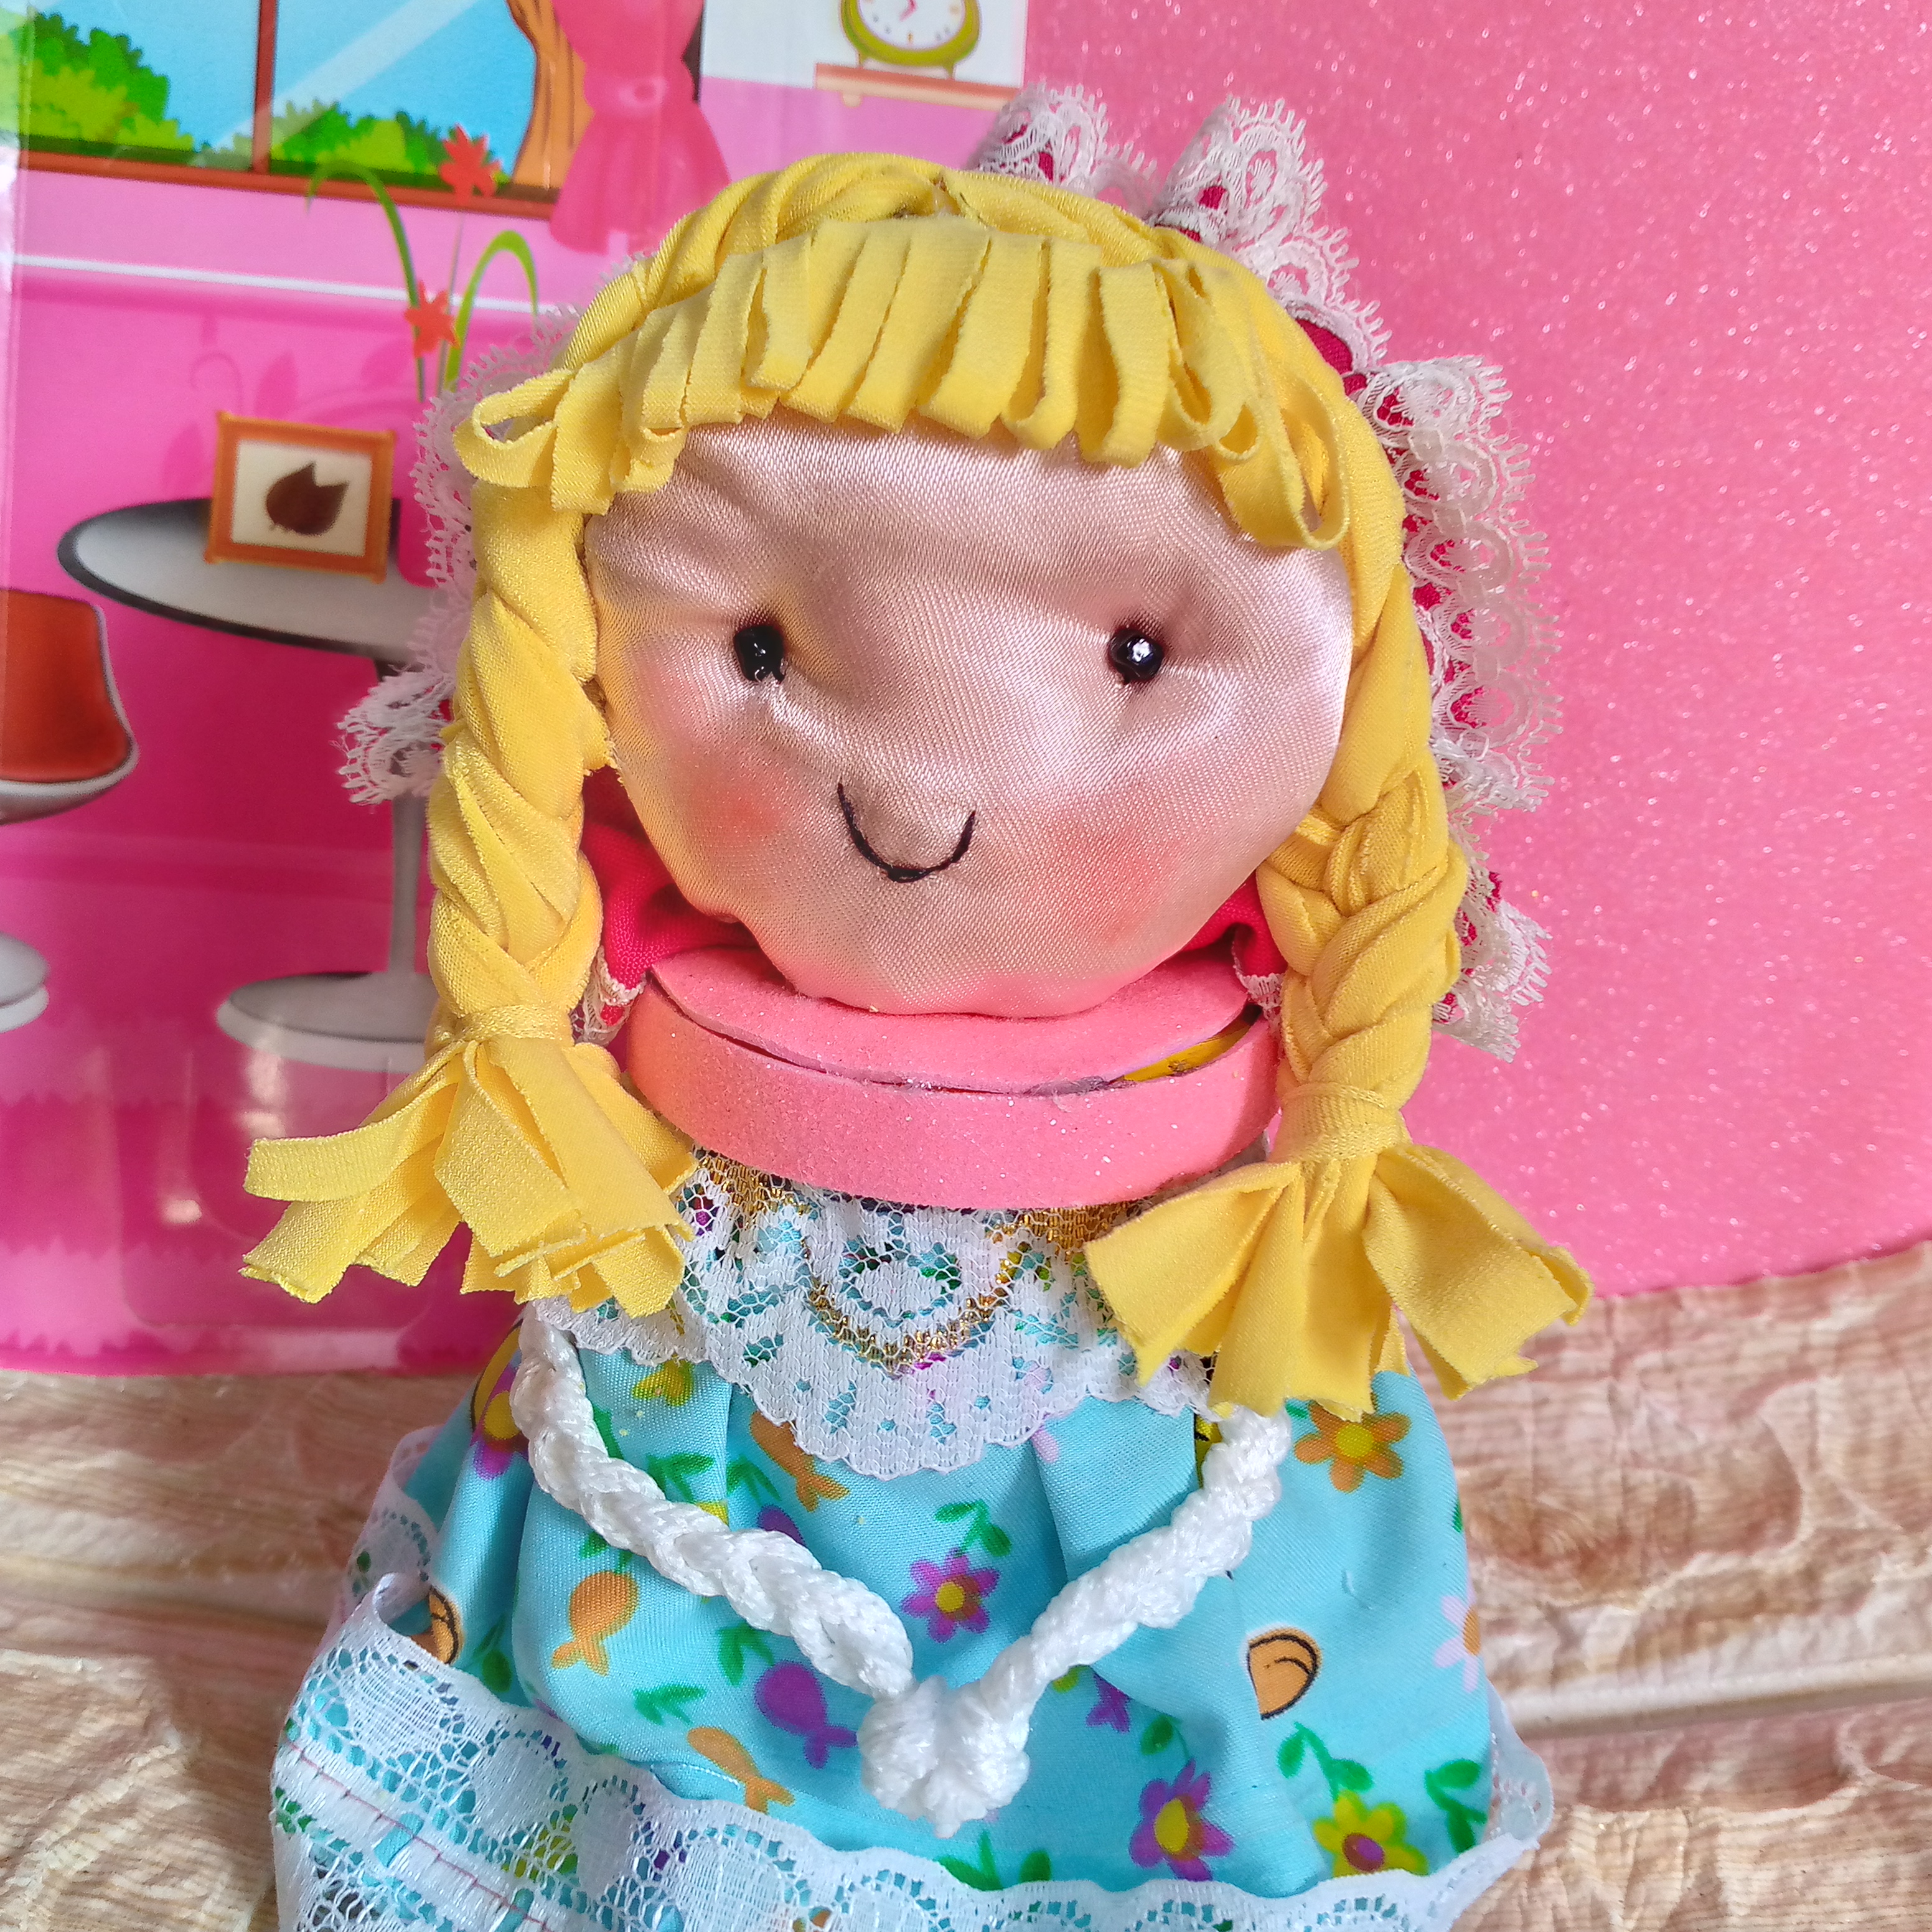
In this simple way I have covered this doll and this container ready to use and store the condiments you want, if you really liked this idea recycling my scraps I would like you to let me know, I was very happy to share with you this great idea to decorate your space and any other place, I hope you have a great day and see you next year with new ideas friends, thank you for appreciating my work and we will read each other soon, goodbye friends greetings blessings and a big hug, success.
.jpg)
Creating things with love 🌷❤️
🦋✨ All the images in this publication are my author ,📱taken with my TecnoSpark8C cell phone |📸Photos edited in PicsArt and Canva. Text translated in Google Translate.
Me encantó el trabajo que realizaste, la muñeca se ve muy linda 😍 que pases un feliz año 🤍
Que linda amiga muchas gracias 💕✨😇
Wow! This is so creative and beautiful, you did an incredible job friend. Thanks for sharing this beautiful work of yours with us.
Thanks 😊 good afternoon
Congratulations @anne002! You have completed the following achievement on the Hive blockchain And have been rewarded with New badge(s)
Your next target is to reach 1000 comments.
You can view your badges on your board and compare yourself to others in the Ranking
If you no longer want to receive notifications, reply to this comment with the word
STOPCheck out our last posts:
What a beautiful result, it is a very cute and charismatic doll. The magic you create with fabric and your hands is amazing. Best regards and happy 2025.
Thanks friend 🥰