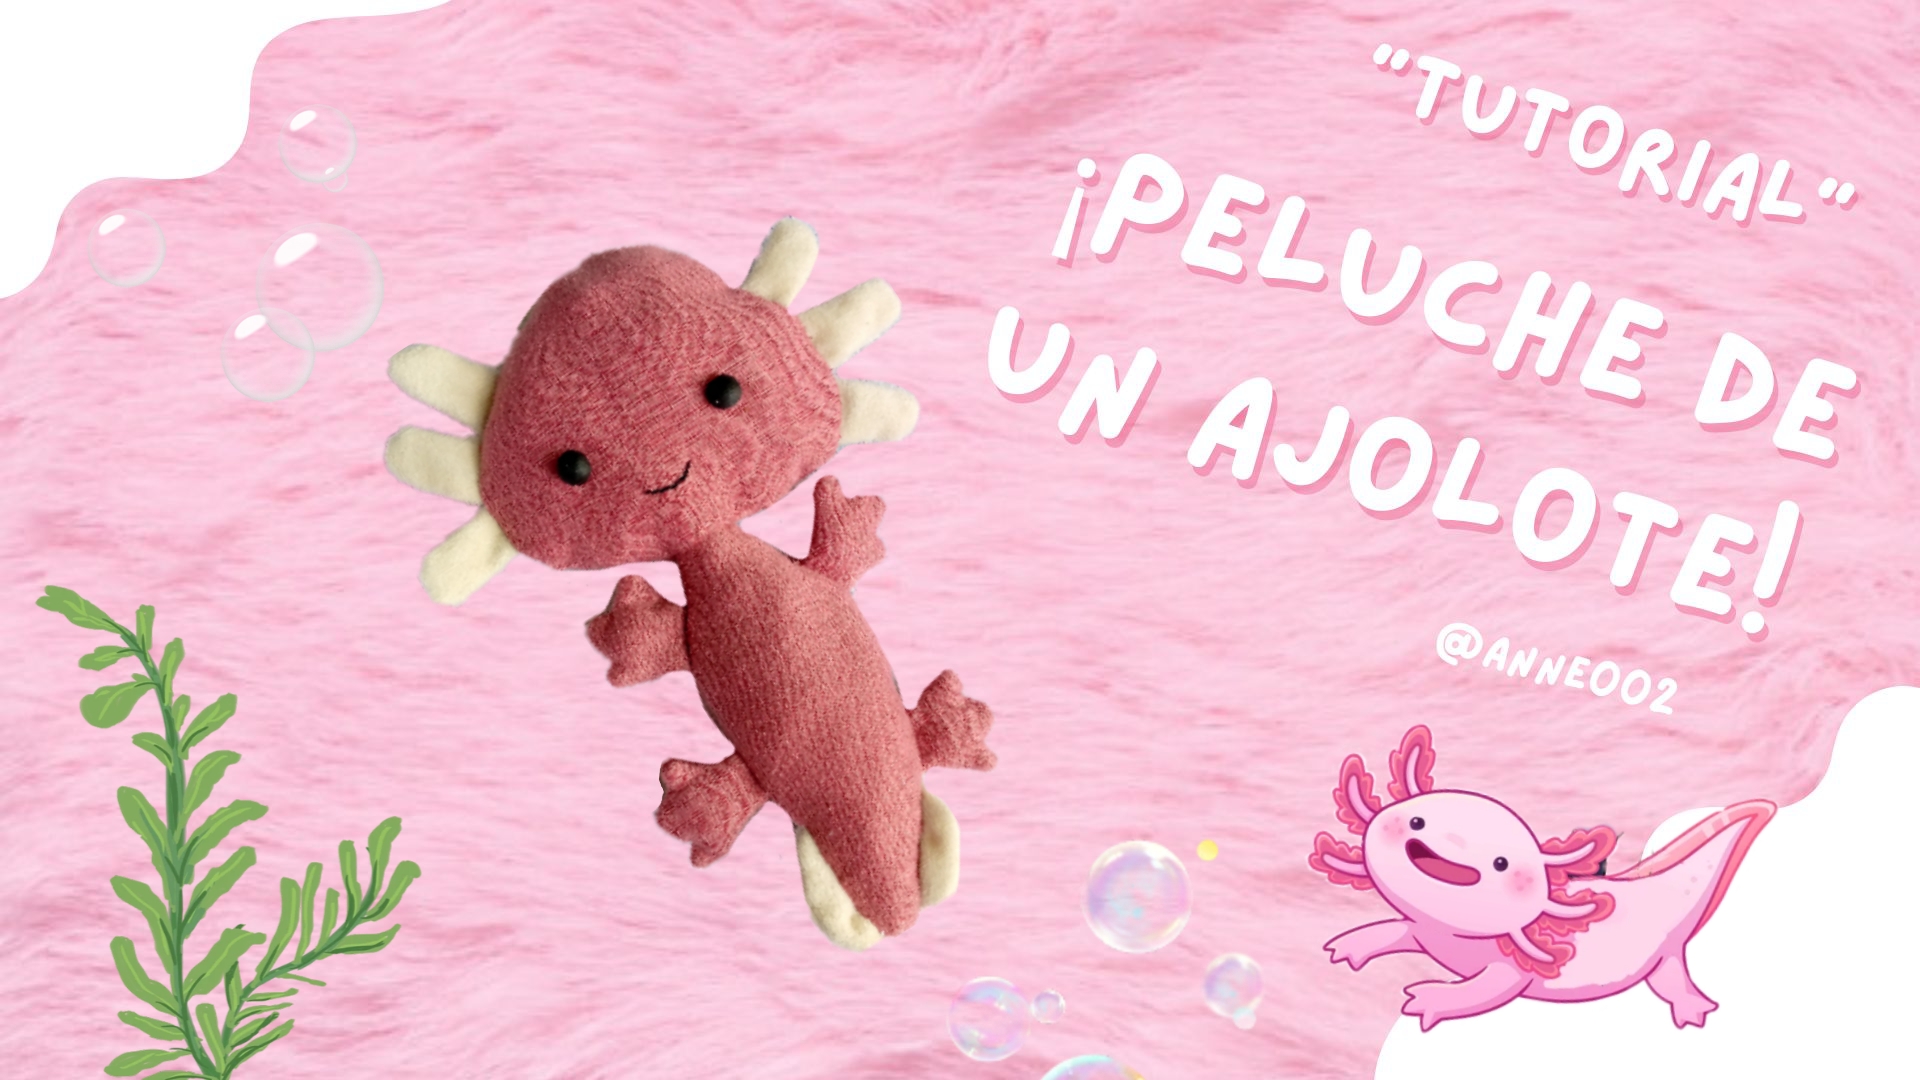
.jpg)
How are you my little bees, I send you a big hug 💕🐝! It's a pleasure to greet you and I hope you are great today this Sunday, thank God I am very well, happier than a worm 😍 because I have finally made my axolotl into a stuffed animal that I have wanted to do for a long time🥺 but I could not find the necessary fabrics to do it, the truth is I feel that the fabric with which I made it did not come close to the pink skin of our axolotls but I wanted to have it so I dared to do it with this fabric in a somewhat dark pink tone with the little fins on its cheeks in white and those on its tail.
These little animals are so peculiar and in danger of extinction due to the gradual destruction of their natural habitat 😞, sadly it is a species that may cease to exist in a few years, so to remember this cute little animal in danger today we are going to be making this cute stuffed animal and thus value these little animals that are very special in our ecosystem, below I show you step by step how we can easily do it with only a few materials and recycled fabrics.
.jpg)
.jpg)
Materiales que usé:
Materials i used:
- Trozos te tela
- Hilo
- Aguja
- 2 botones negros para los ojos
- Alfileres
- Relleno para muñecos
- Patrones
- Tijera
- Scraps of fabric
- Thread
- Needle
- 2 black buttons for eyes
- Pins
- Stuffing for dolls
- Patterns
- Scissors
.jpg)
Pasos a seguir:
Steps to follow:
Paso 01
Step 01
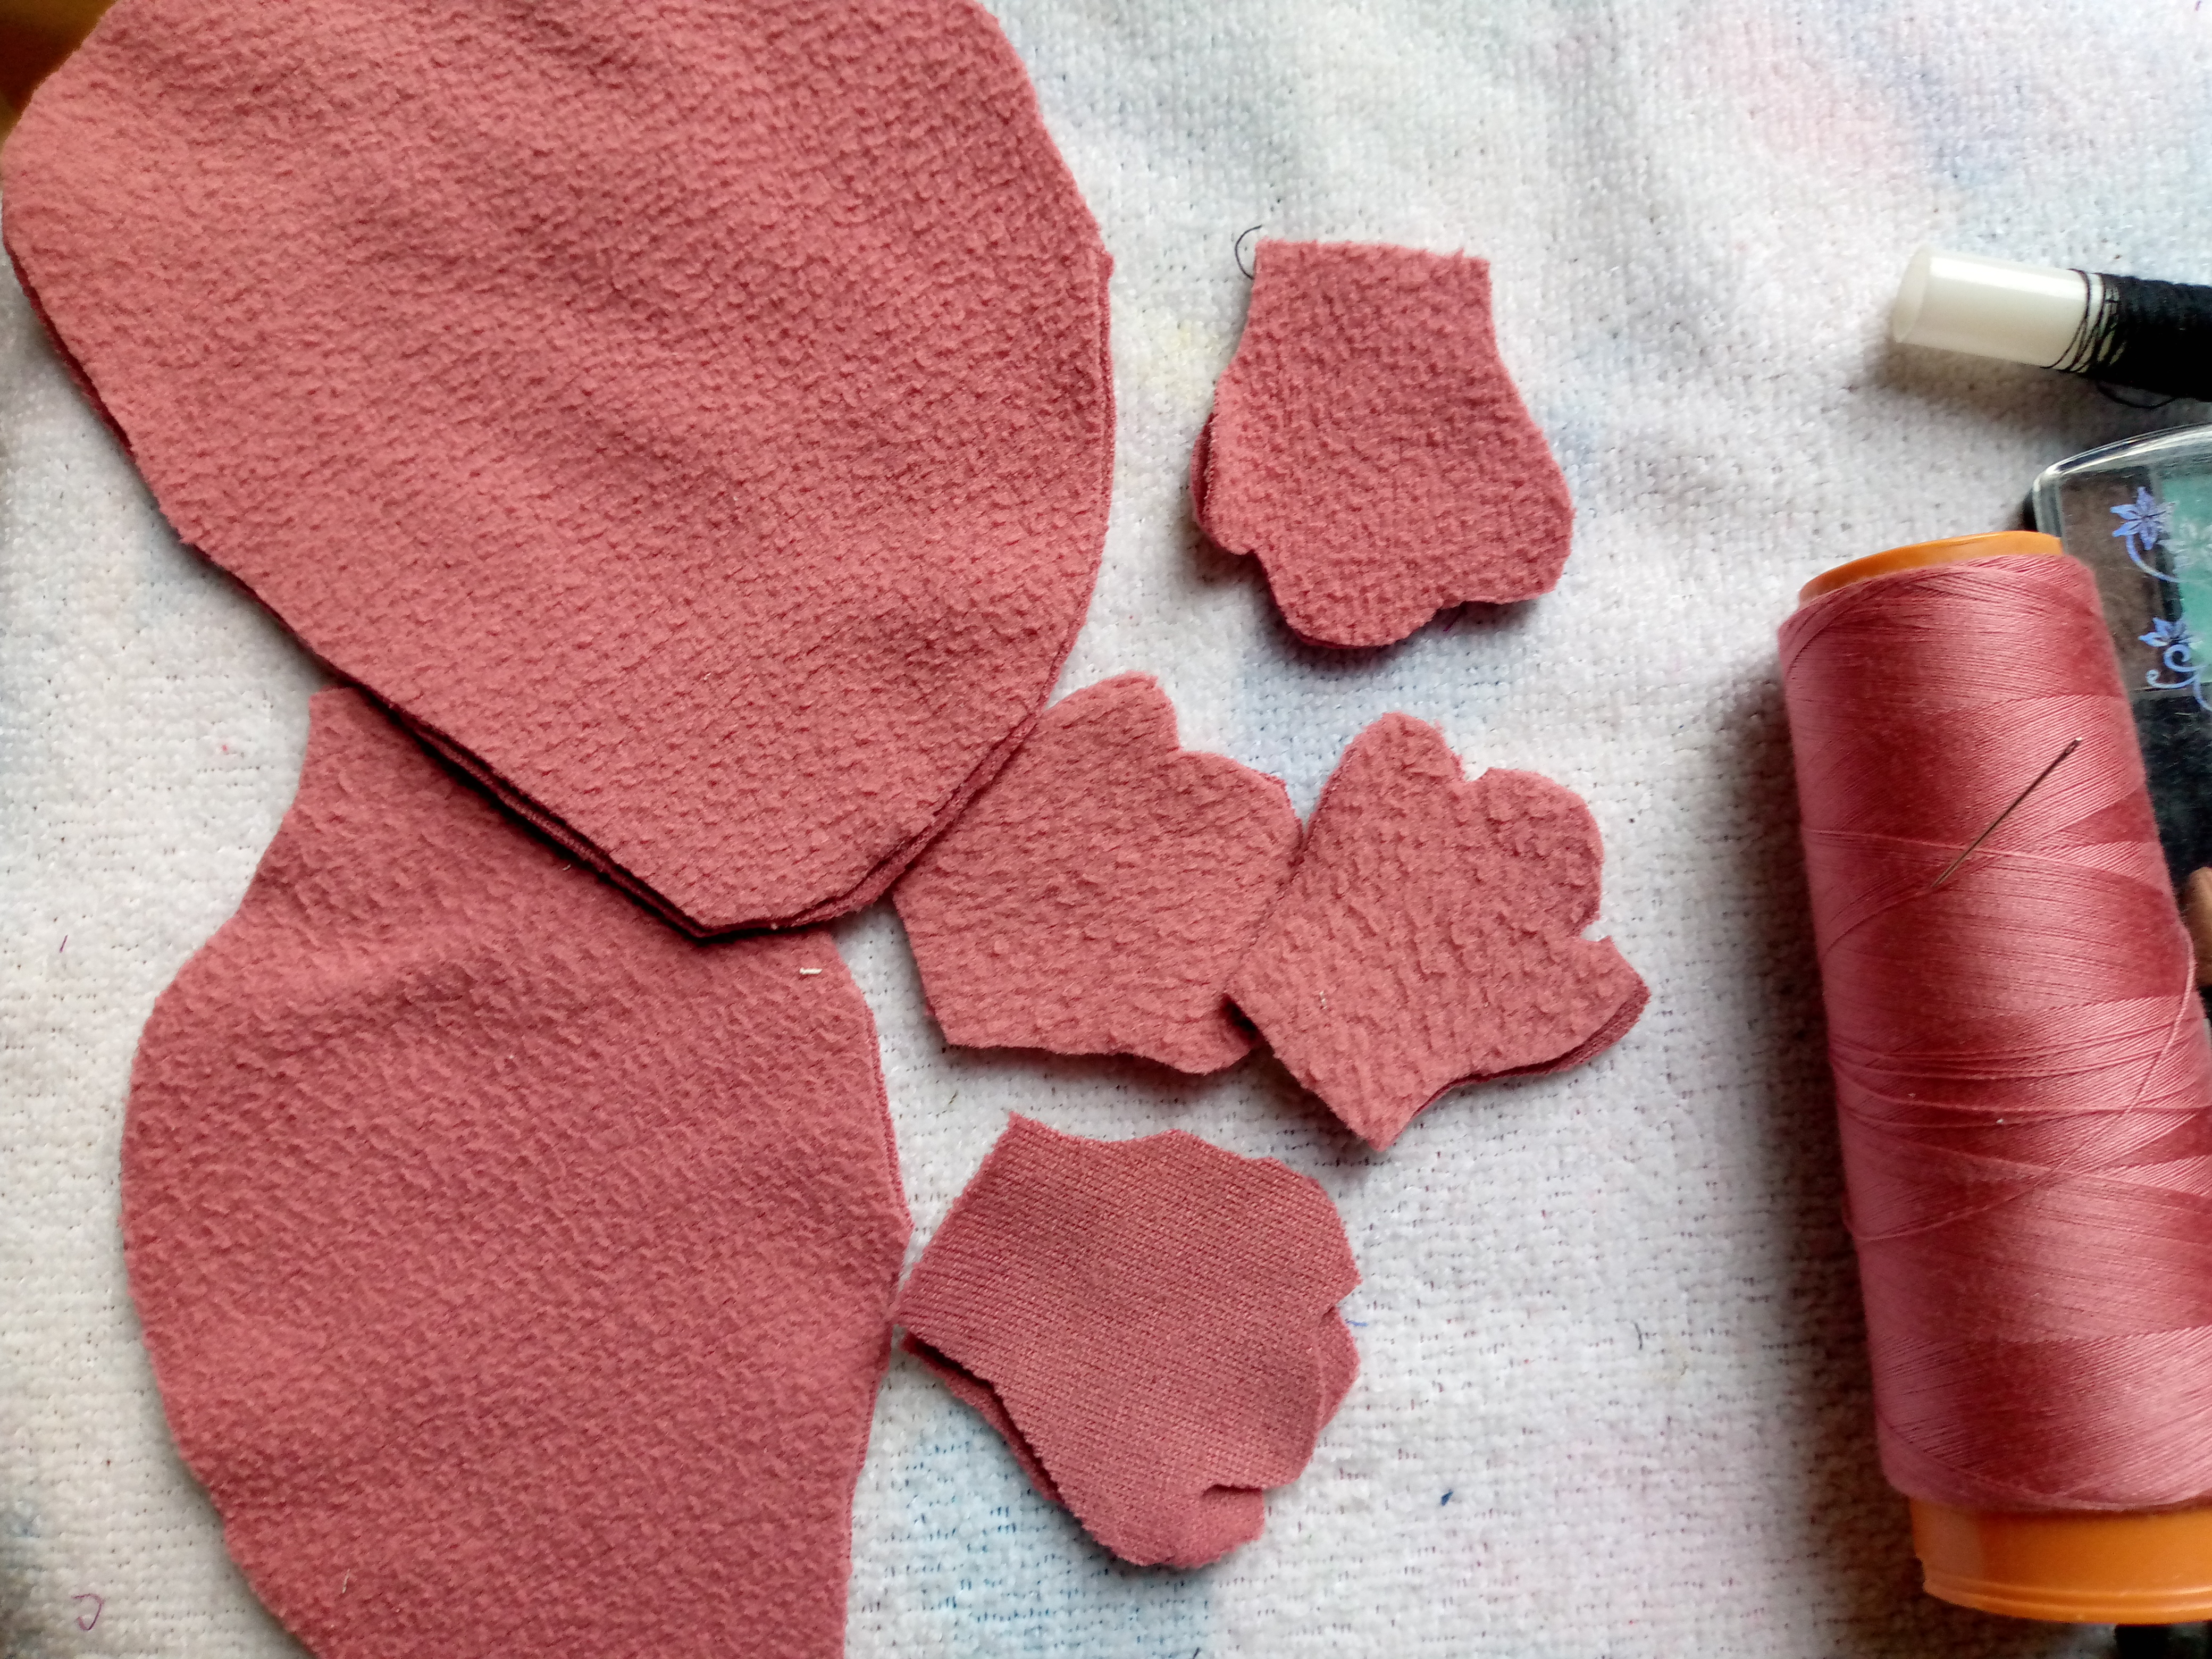
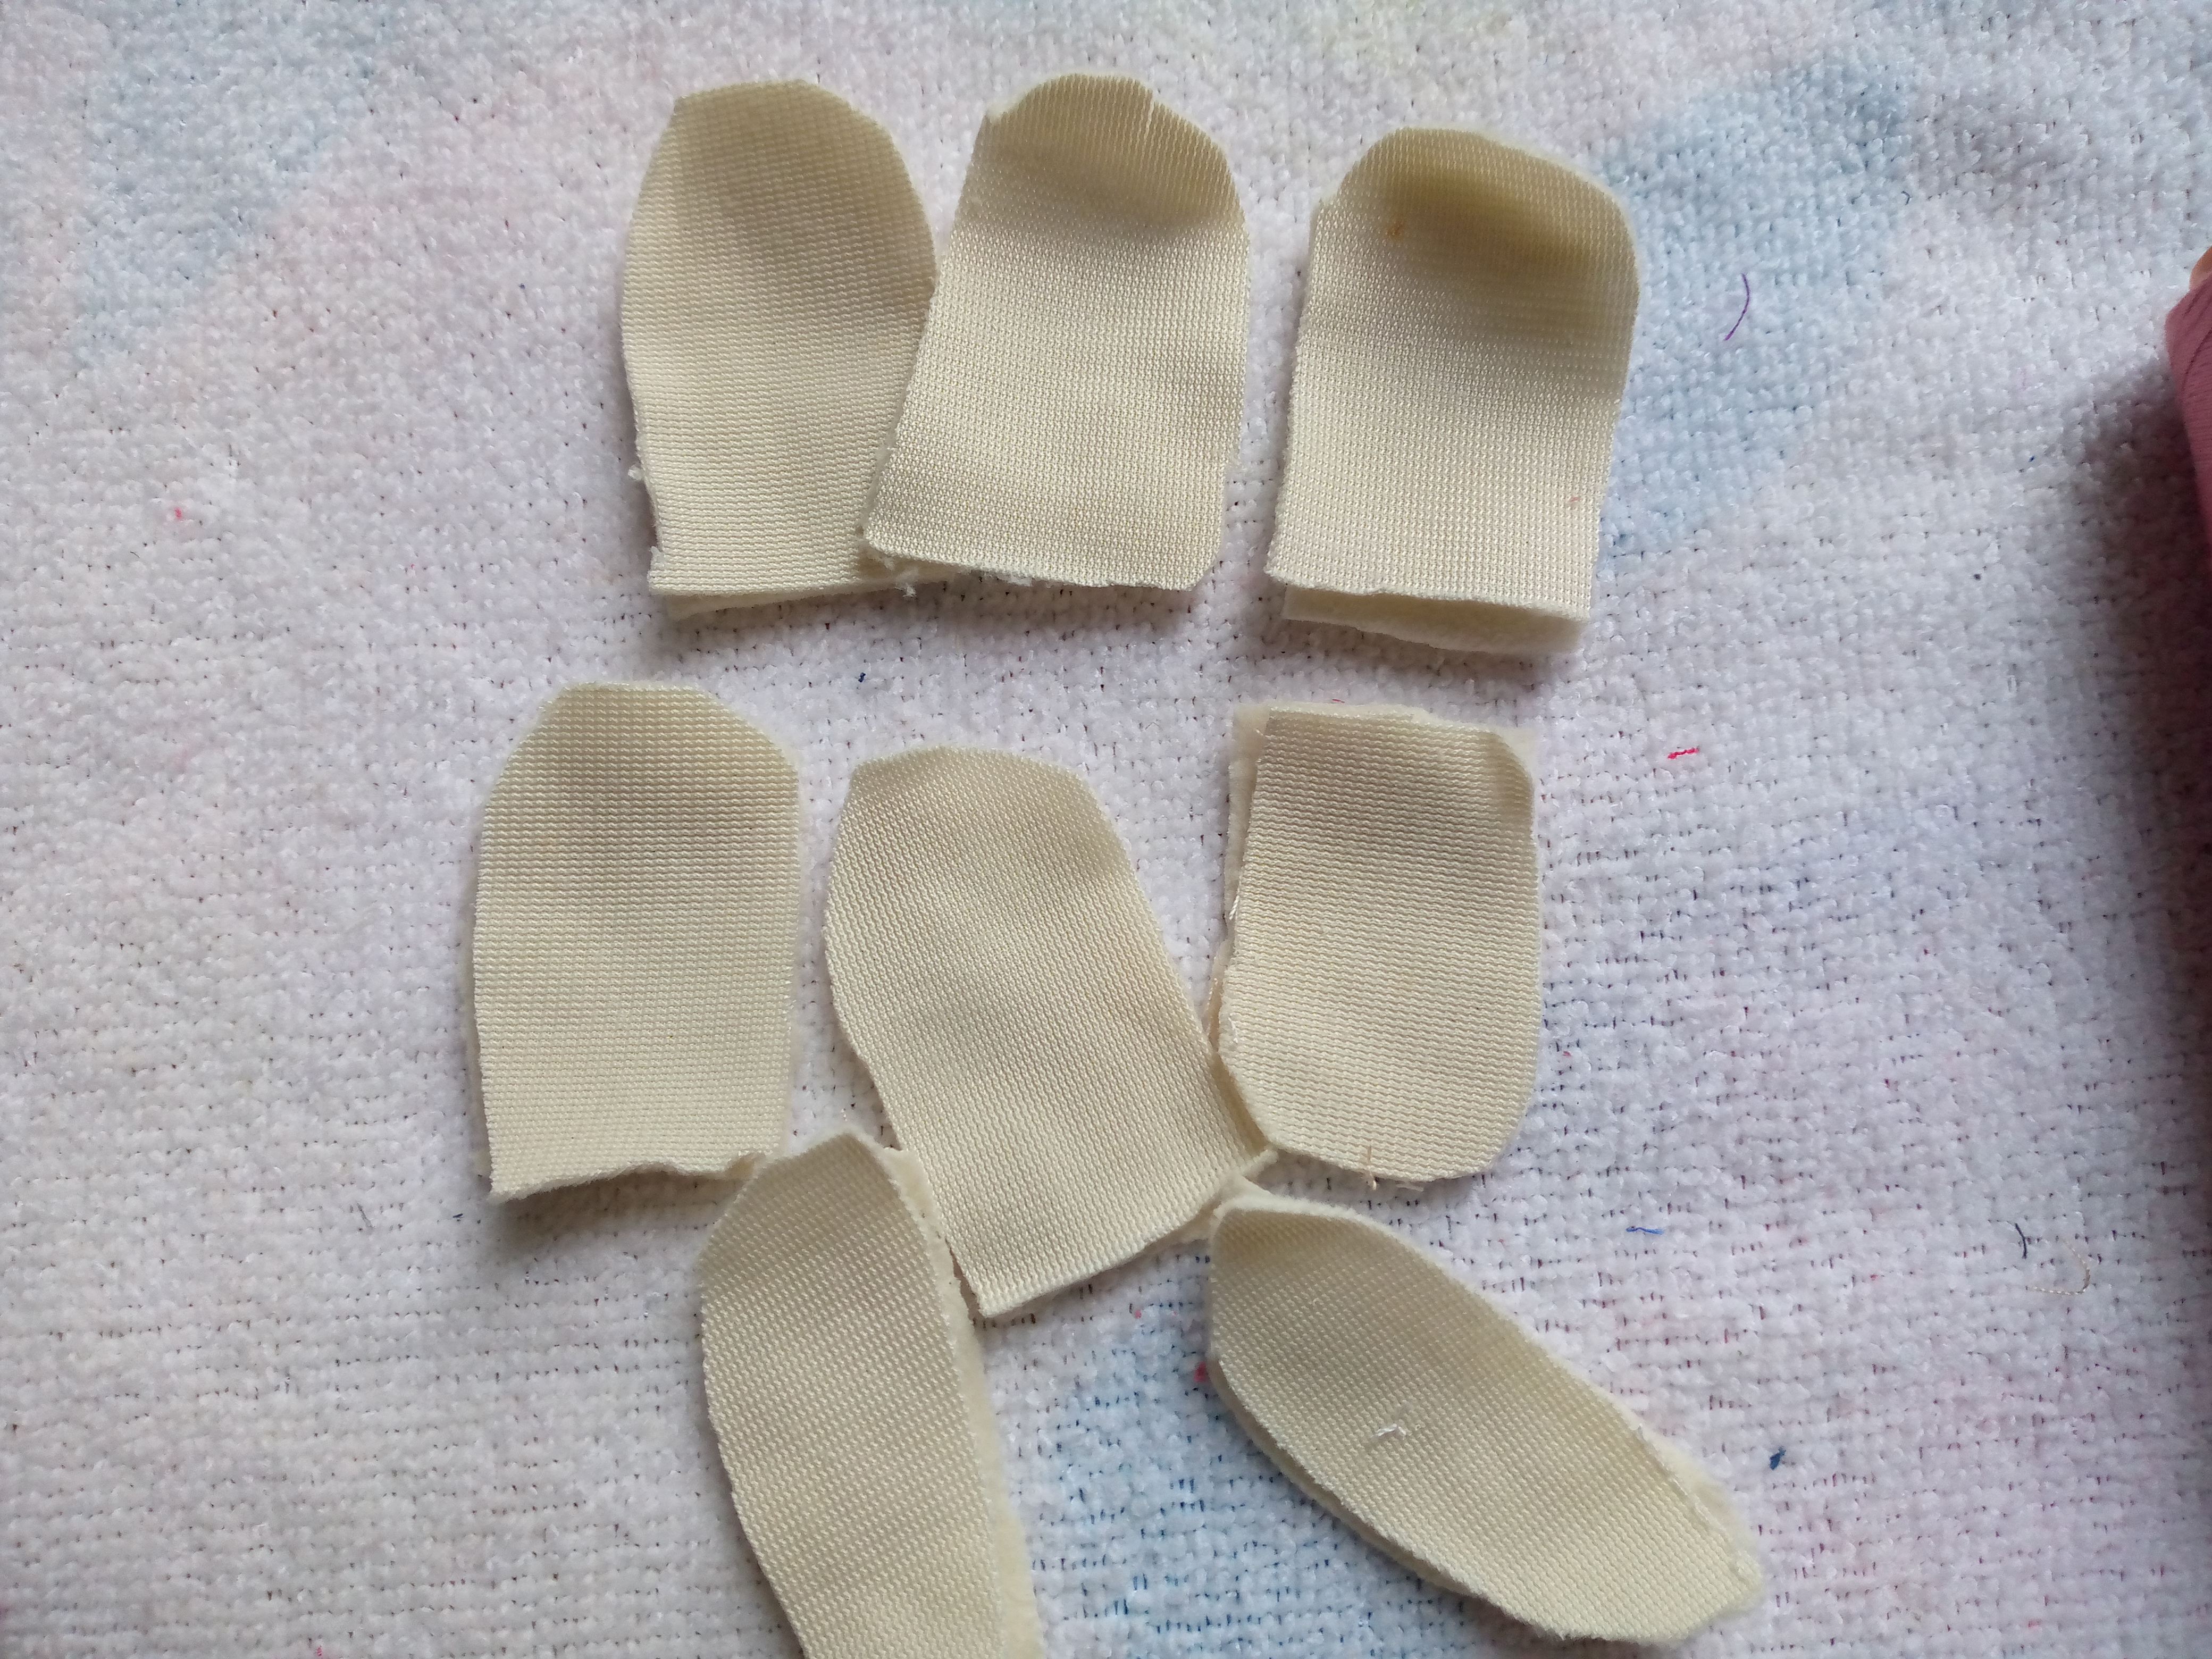
We are going to start friends by first cutting the pieces that we will use to make our stuffed animal. I have done it with the help of some patterns that I have previously taken out, I cut the head and the body in the shape of a lizard, the legs on this occasion we will use four legs, the fins of the tail and the cheeks were 6 that I also cut with the help of the patterns, these pieces are the ones that we will use to make the axolotl.
Paso 02
Step 02
We move on to sewing the legs and at the same time the body while we sew it we are going to place the legs in their place inside the body all four and sew the edge, we do this same step to sew the fins to the cheeks of course previously I had already sewn them and turning it over we sew along the edge as well always leaving a small hole in these pieces to insert our stuffing.

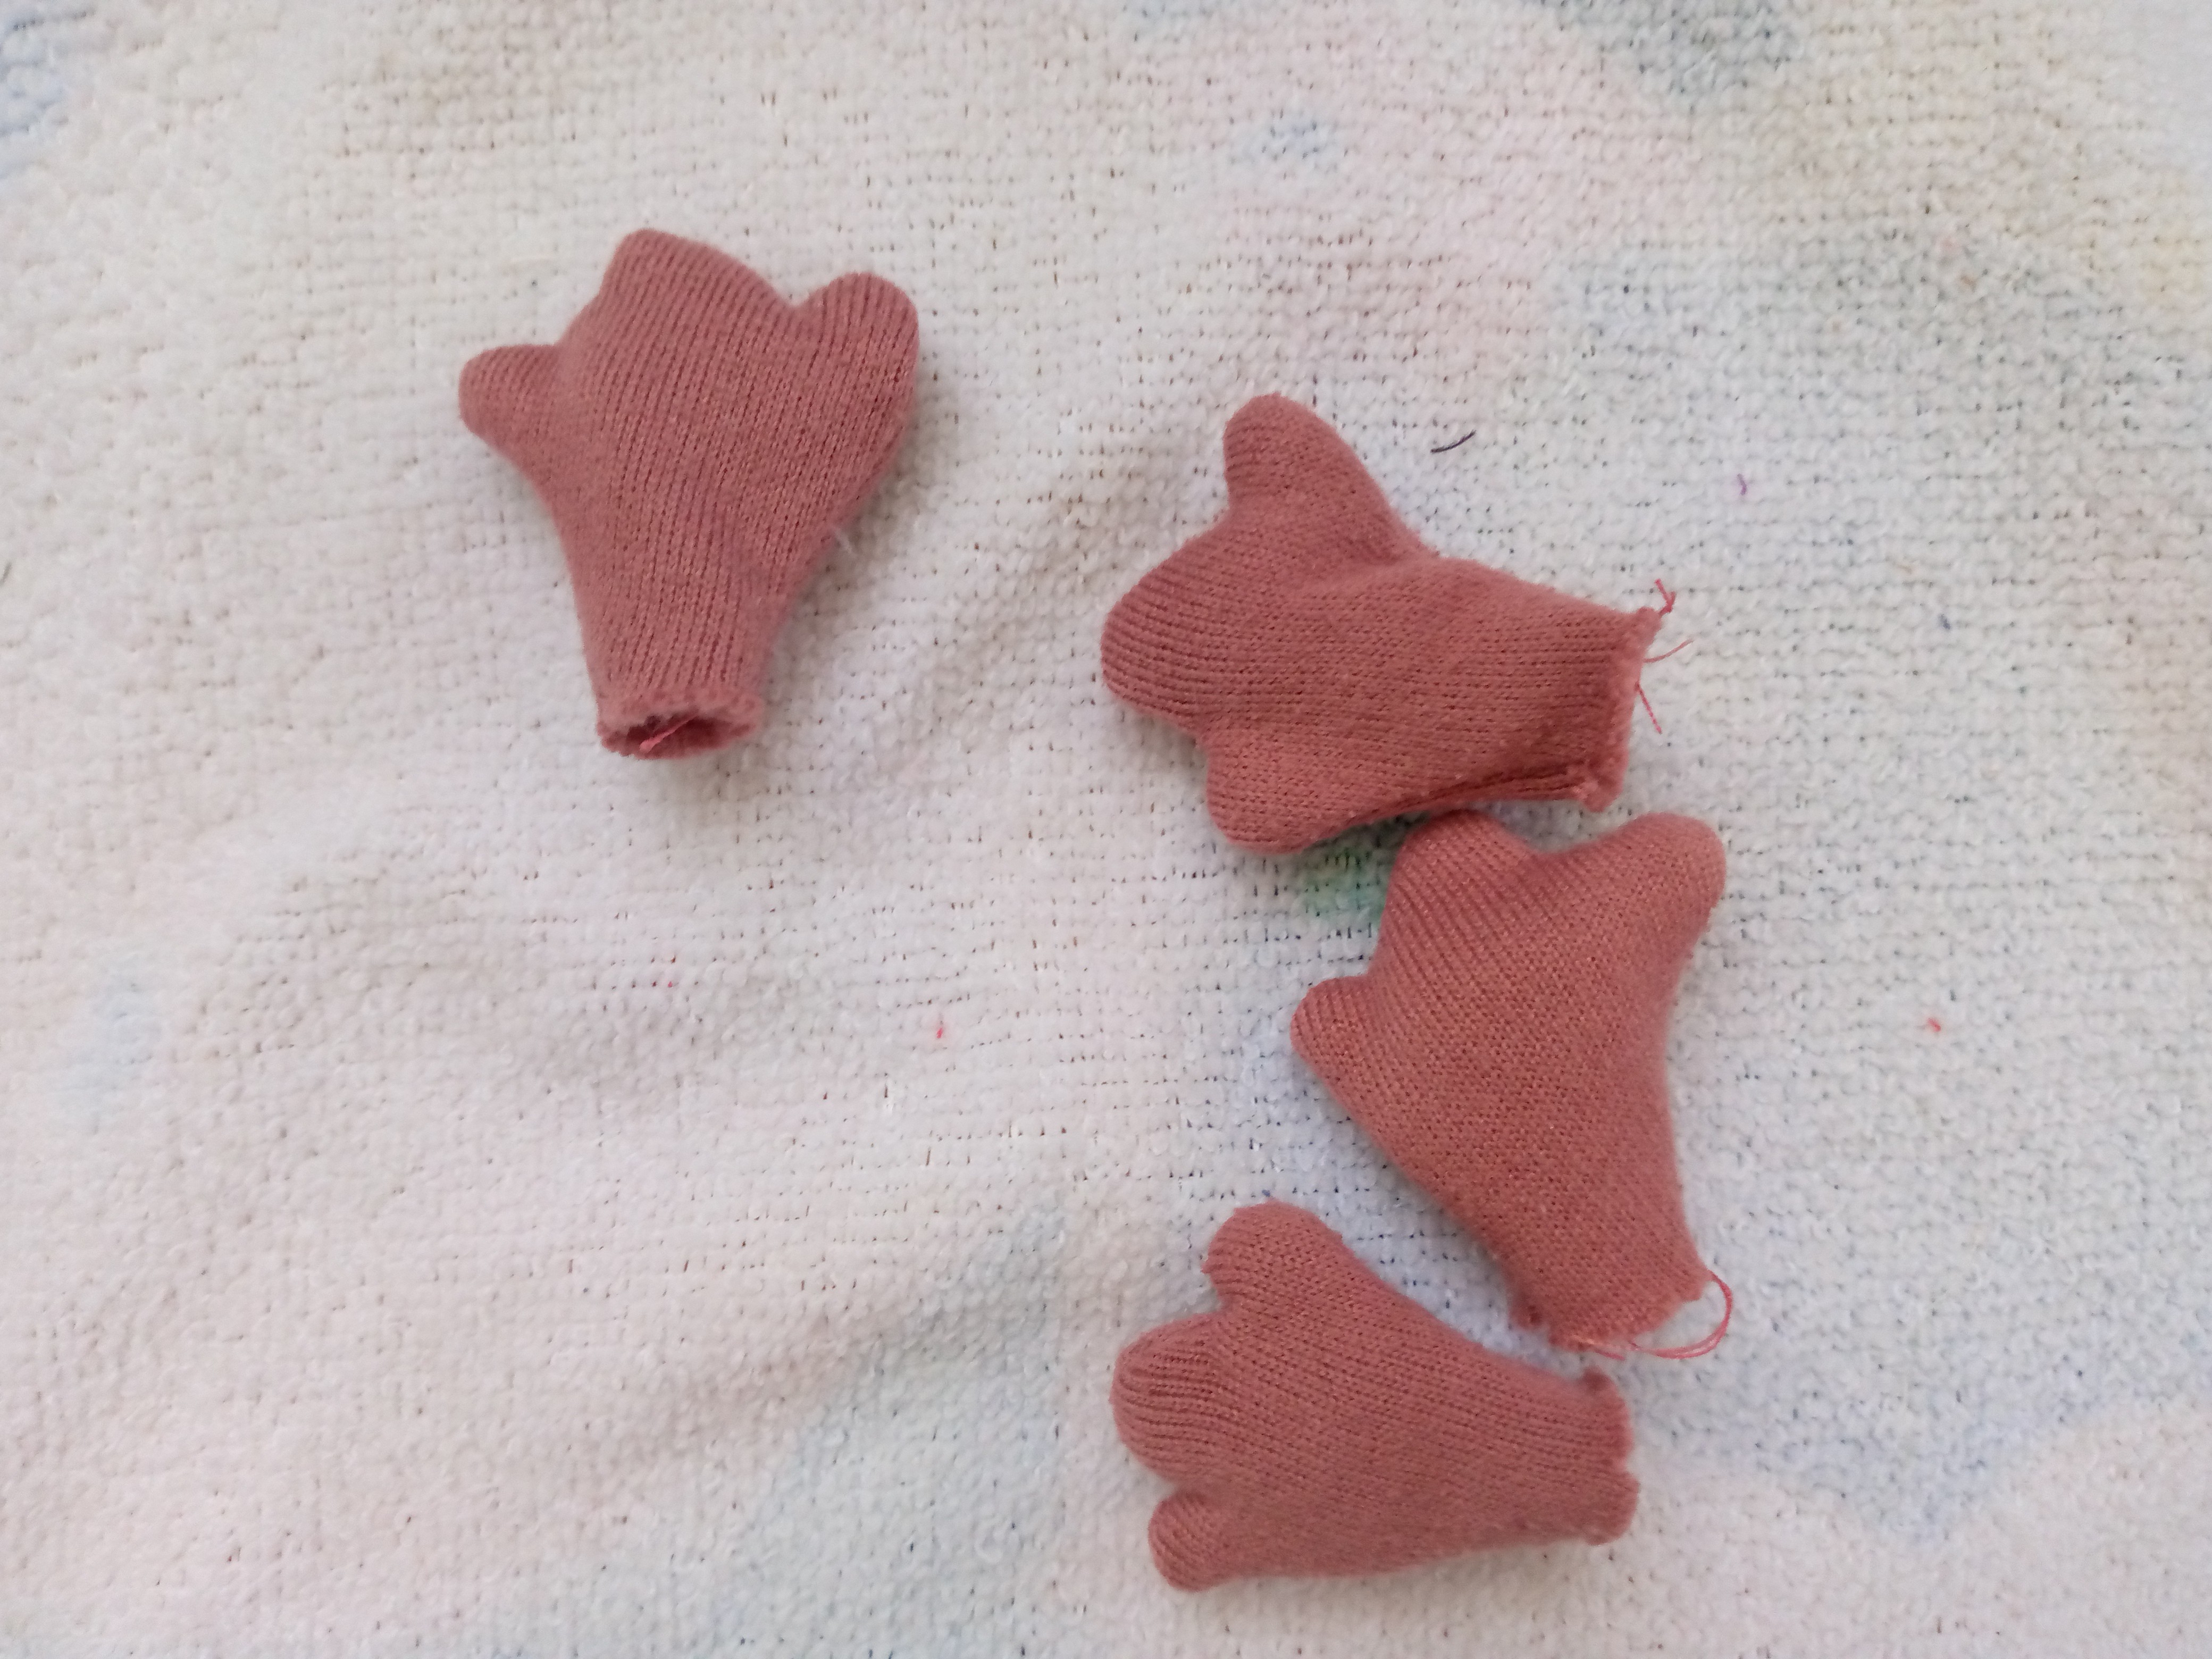
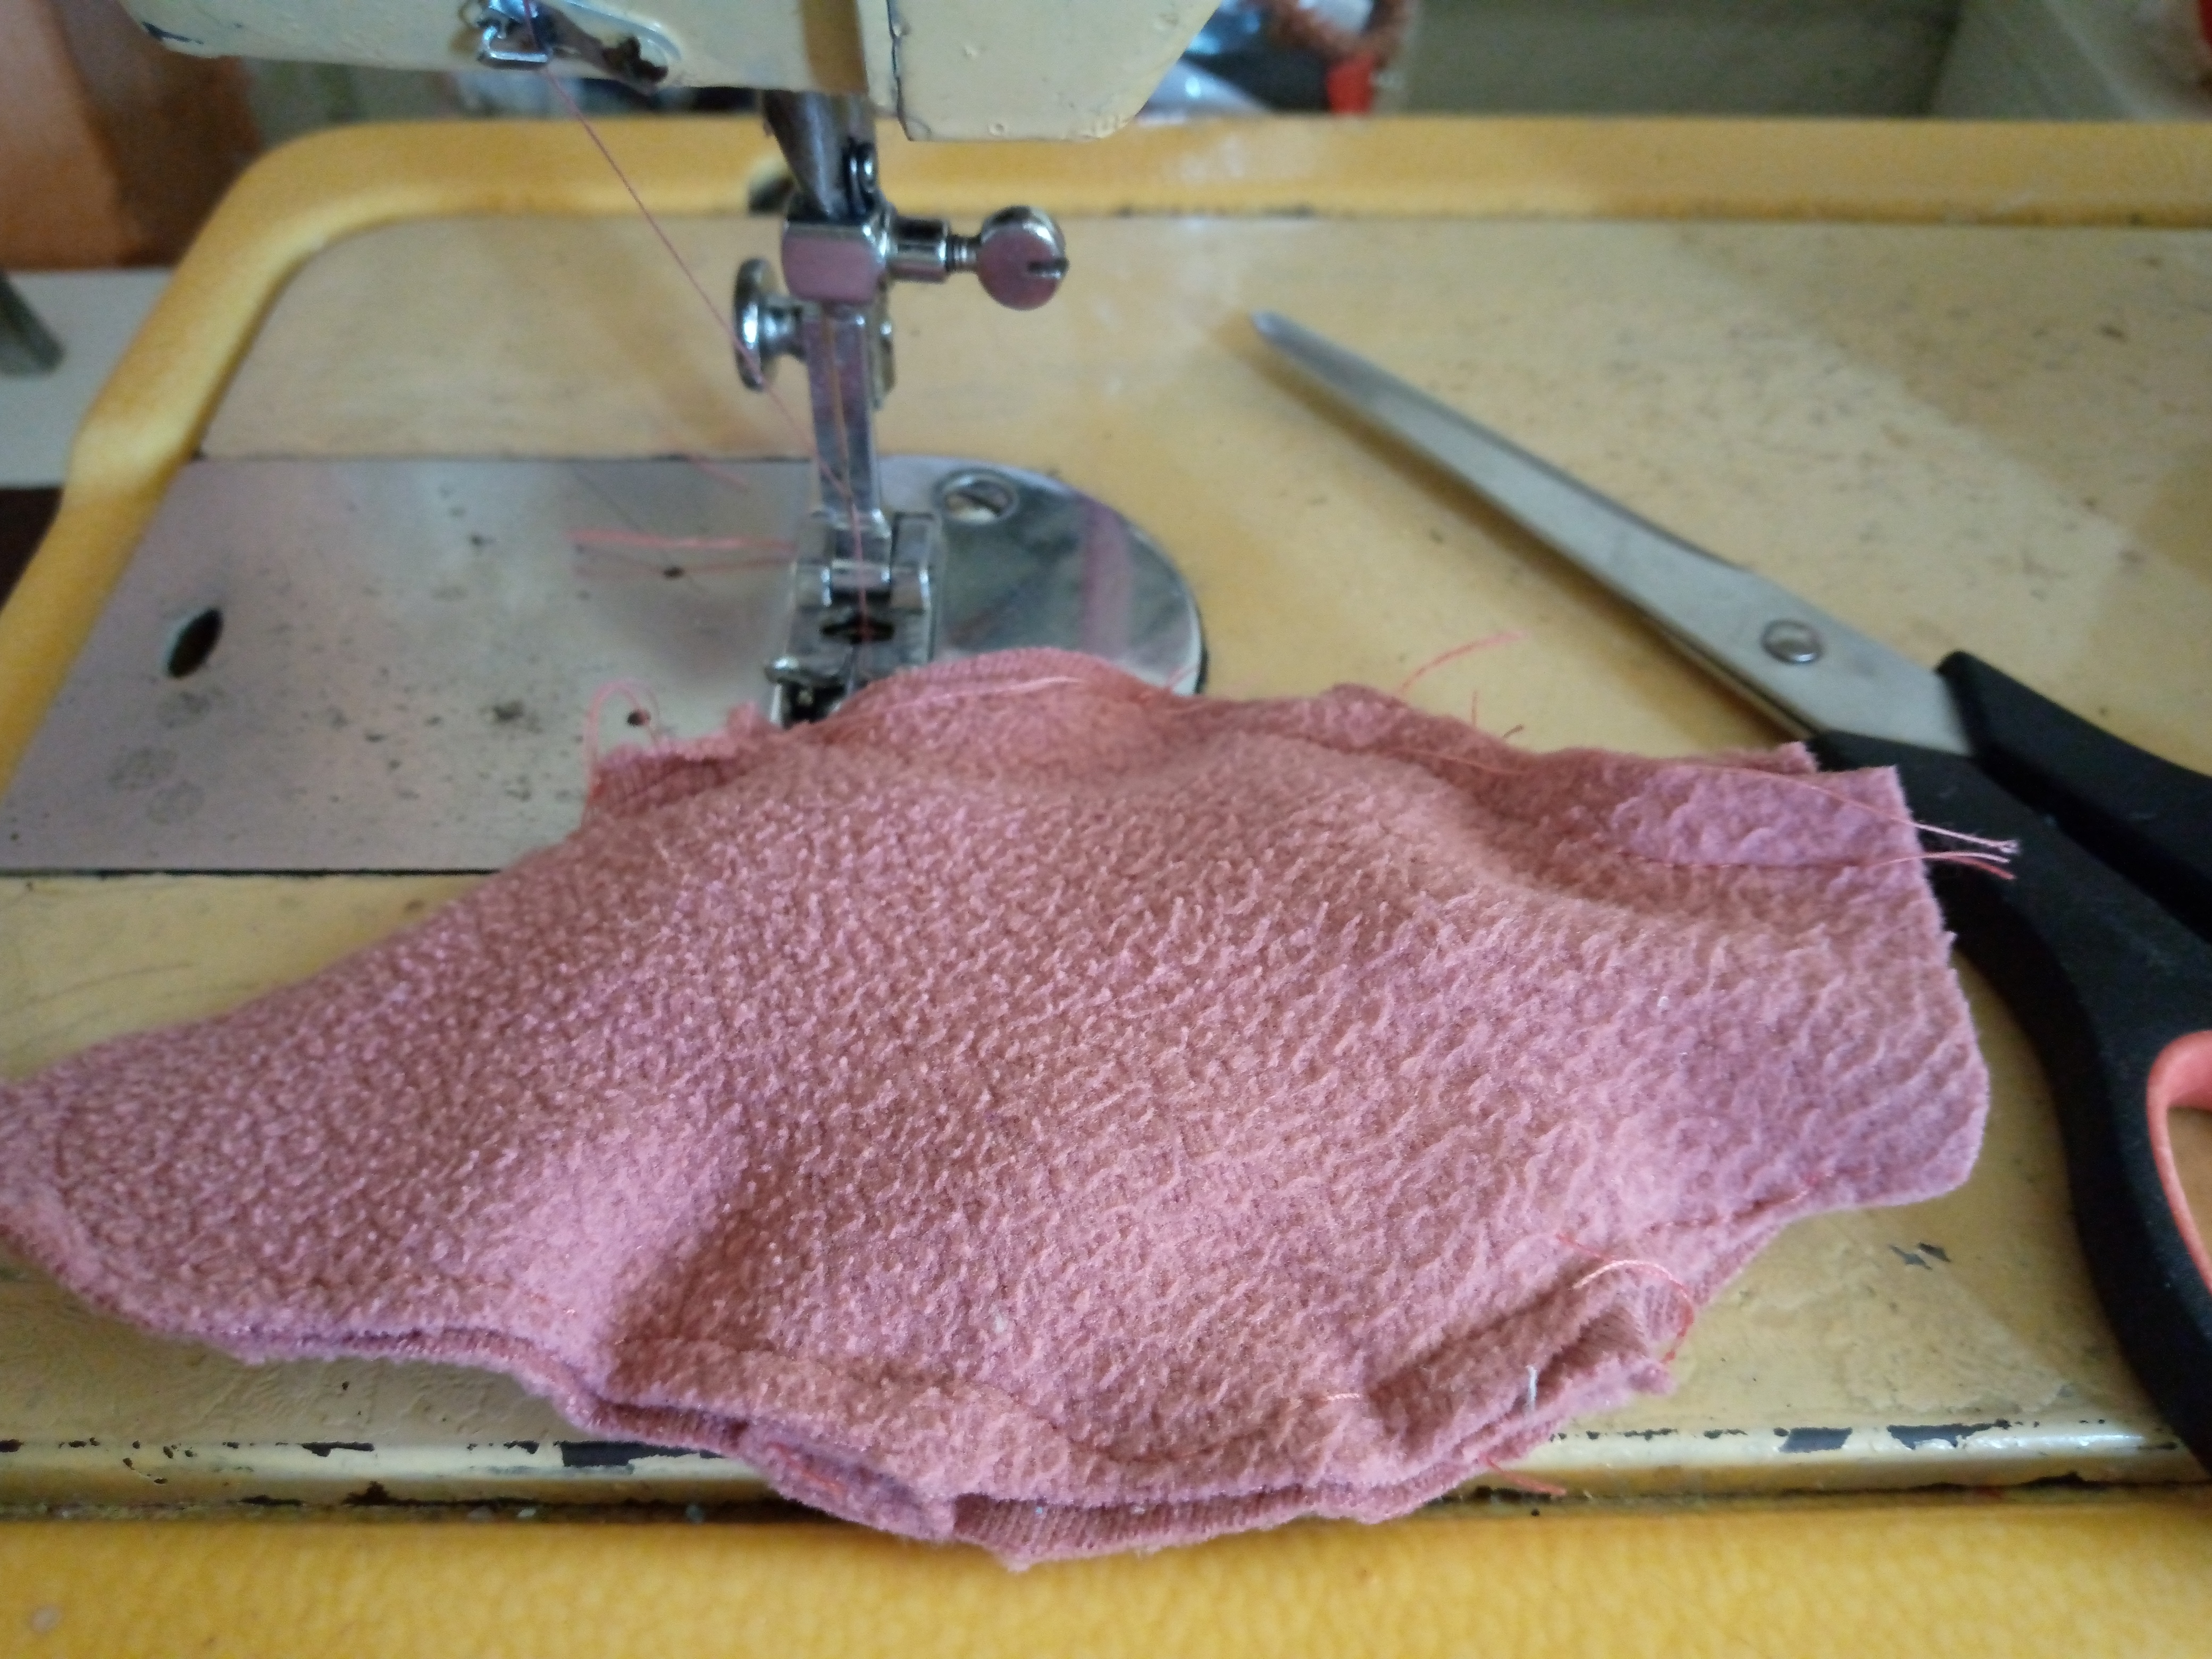
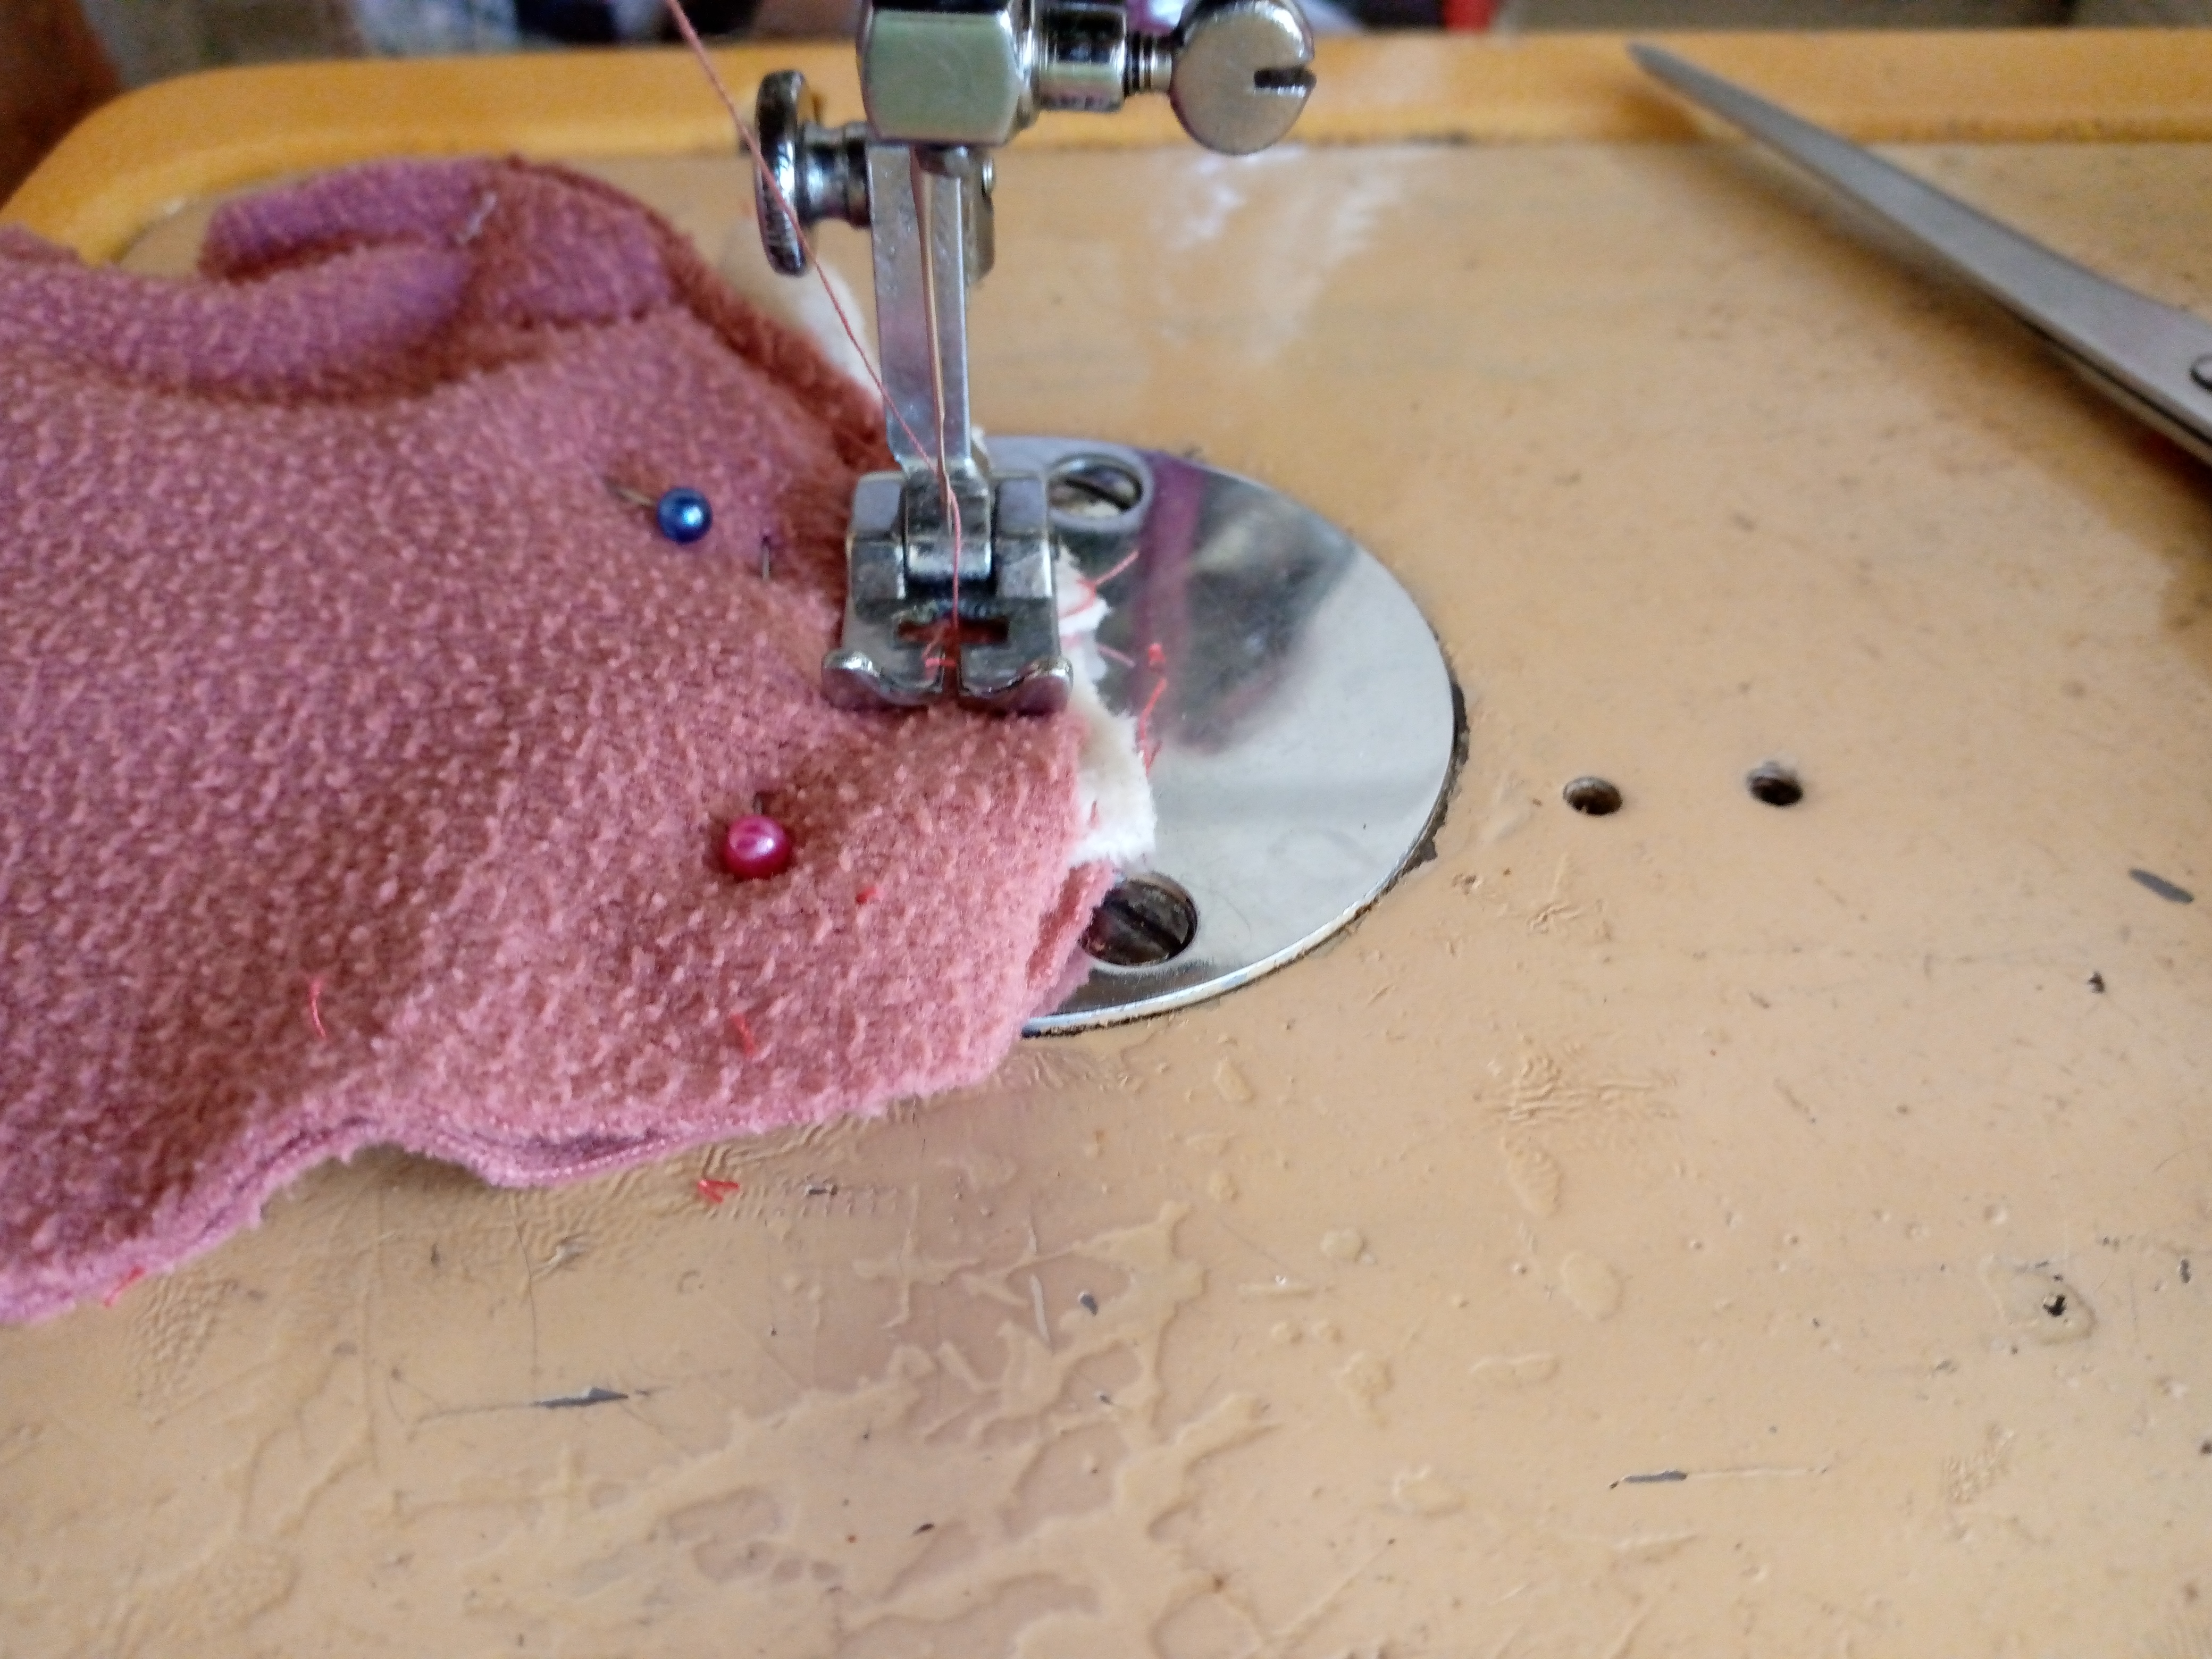
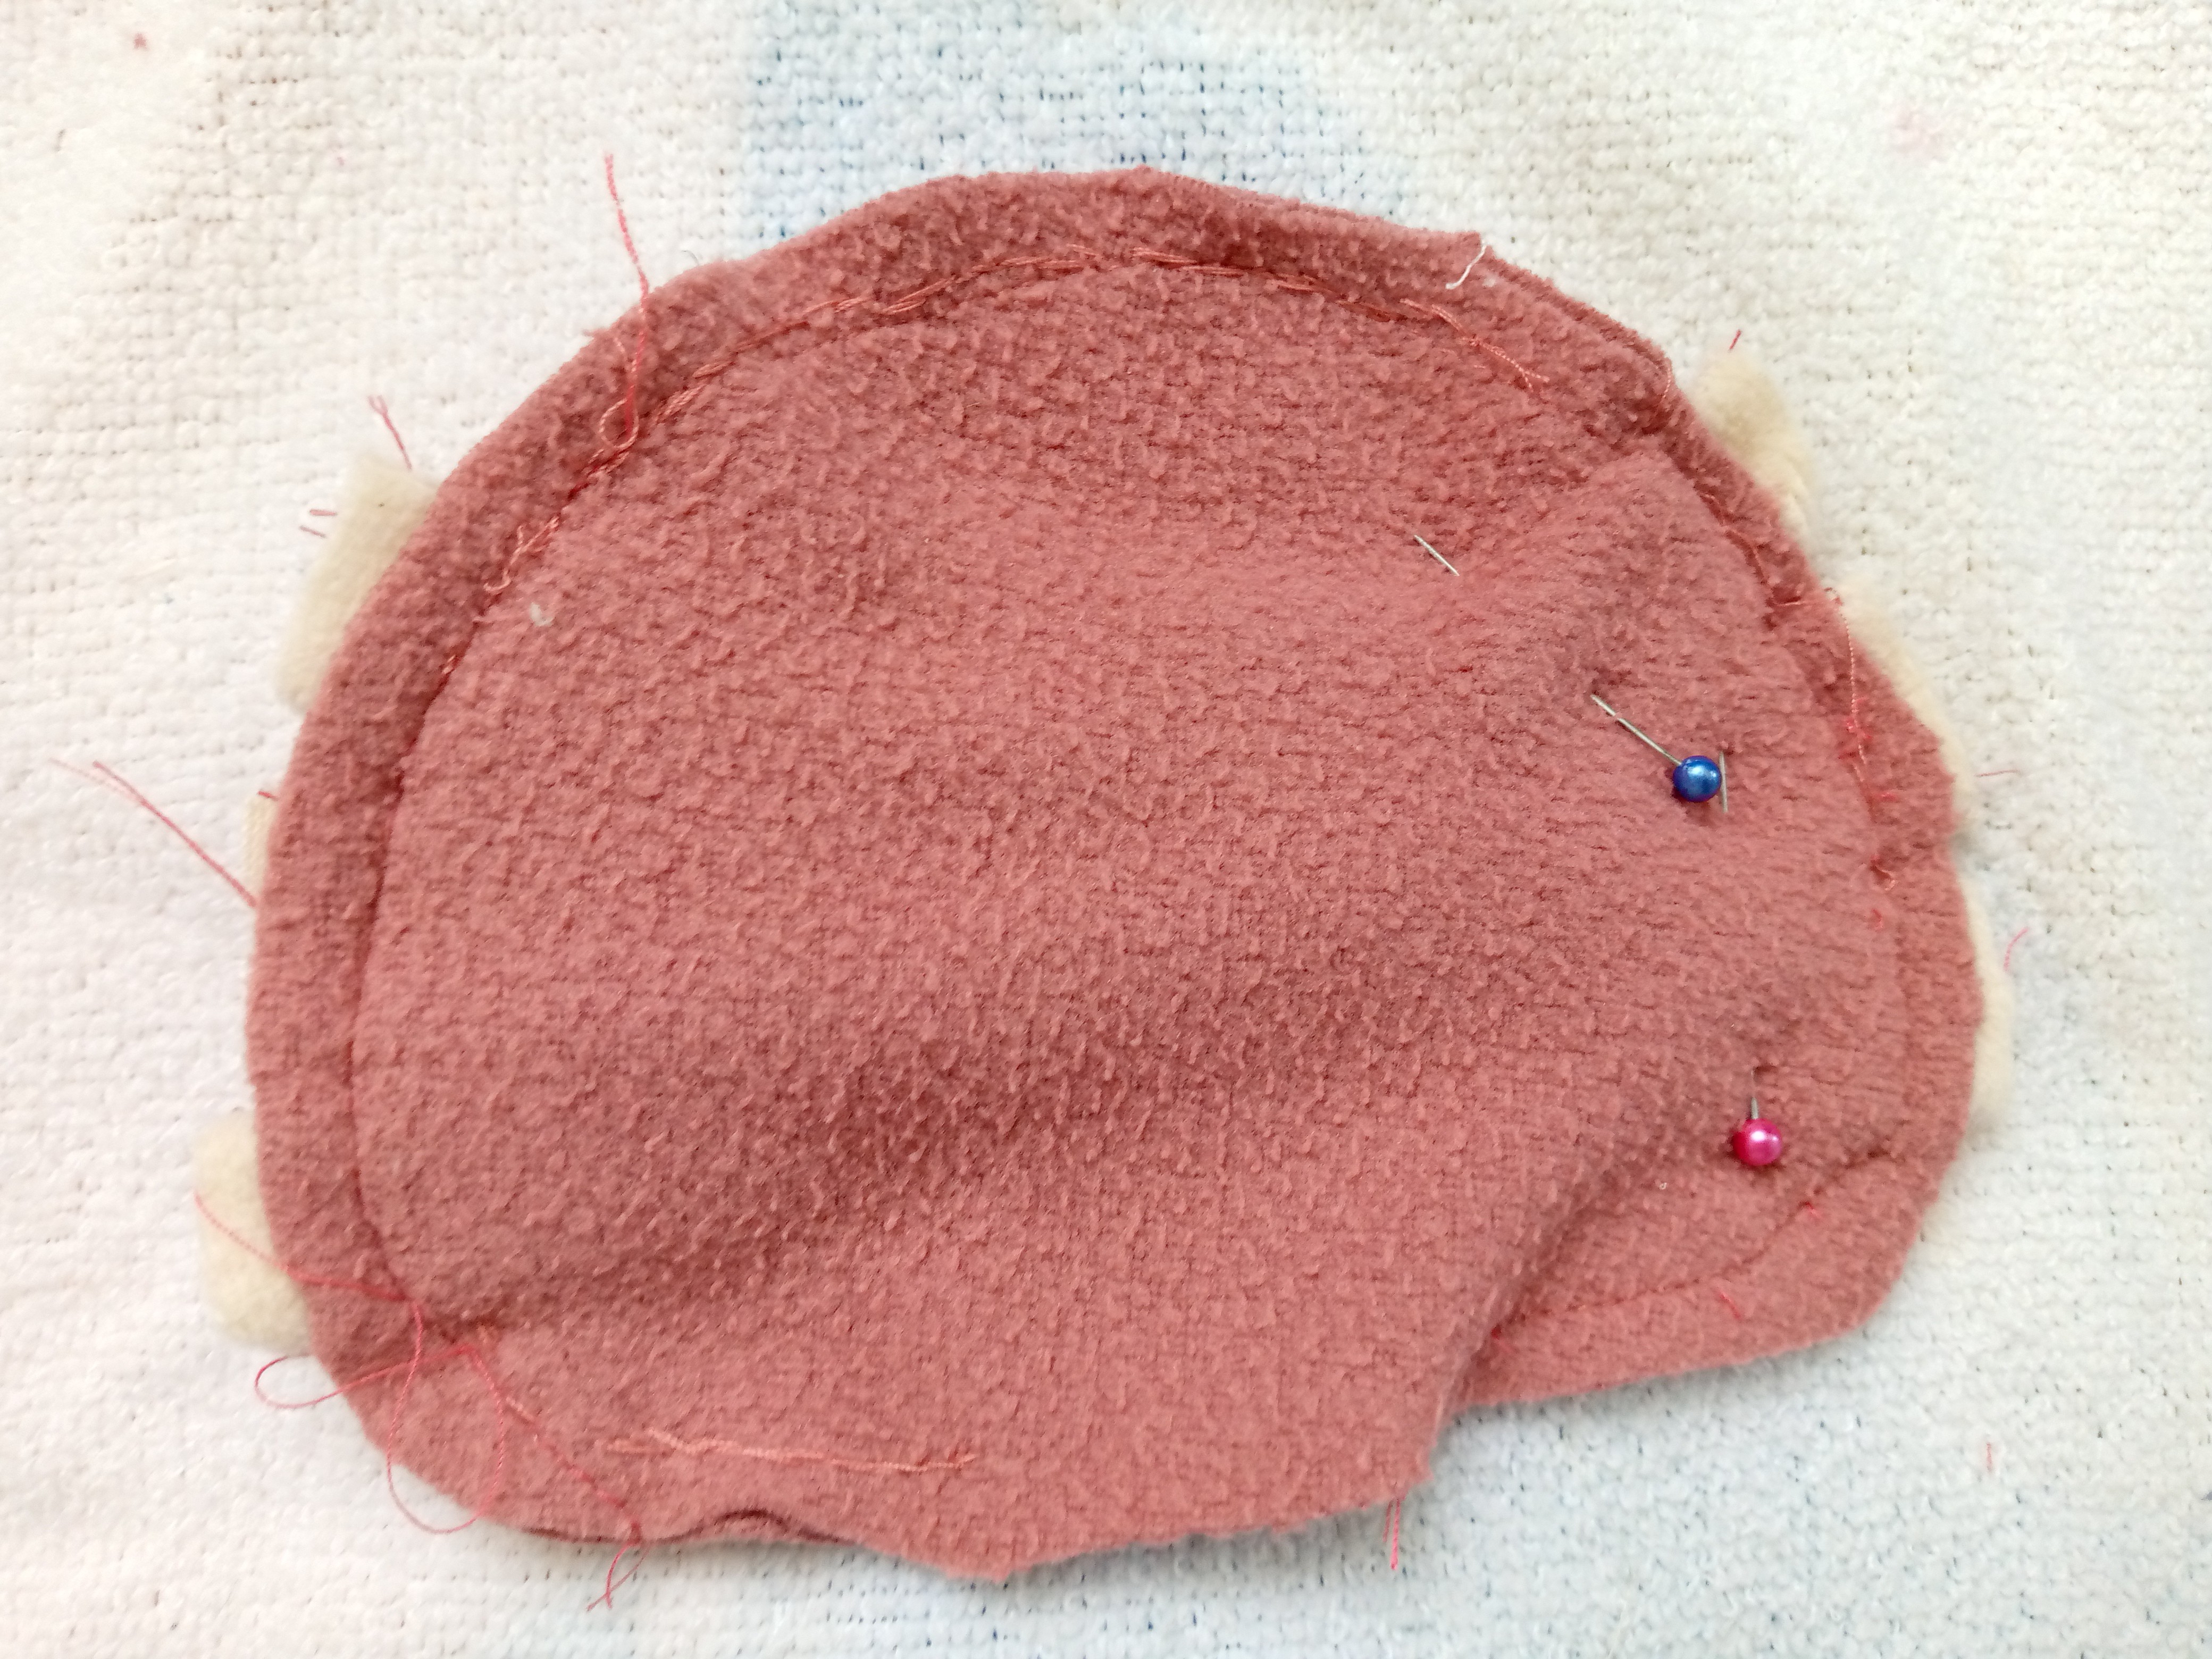
Paso 03
Step 03
I have turned the pieces over as shown in the images and we began to insert the filling through the little hole that we have left in the pieces. We are going to fill them without putting in too much filling so that it does not become so bulging. It should remain somewhat flattened, like the salamanders, which are somewhat flat. I have filled the body and the head as well.
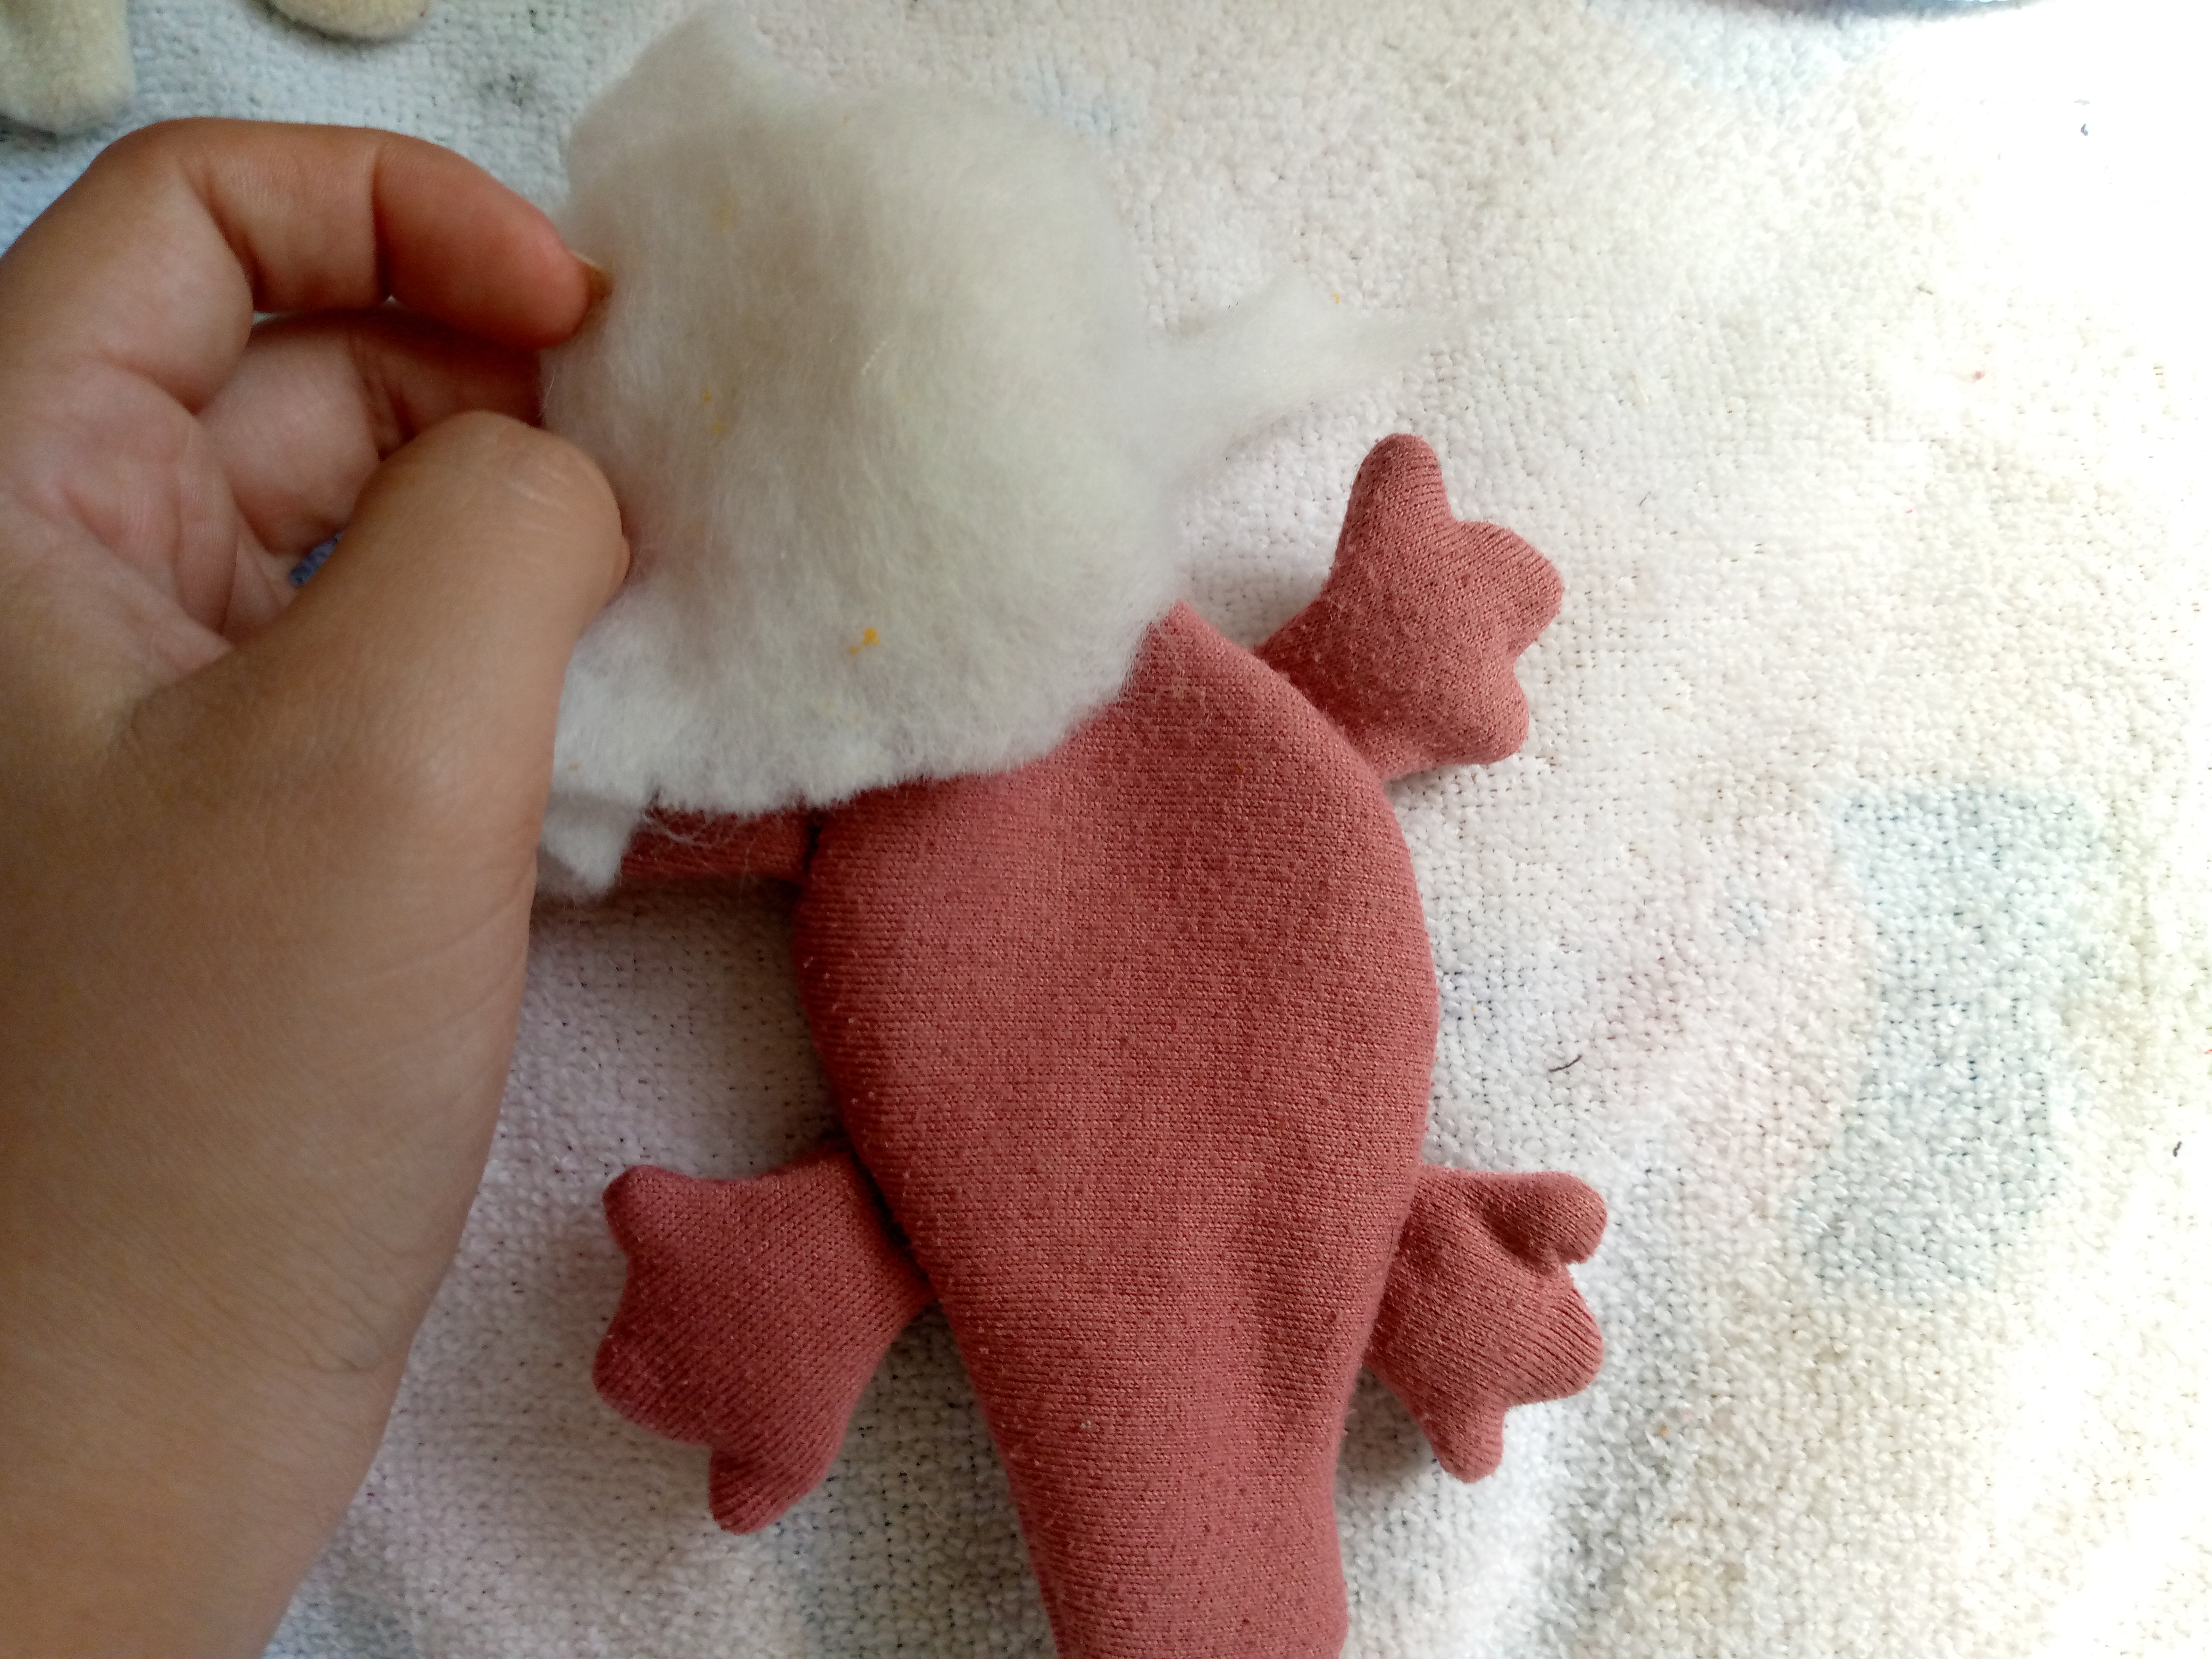
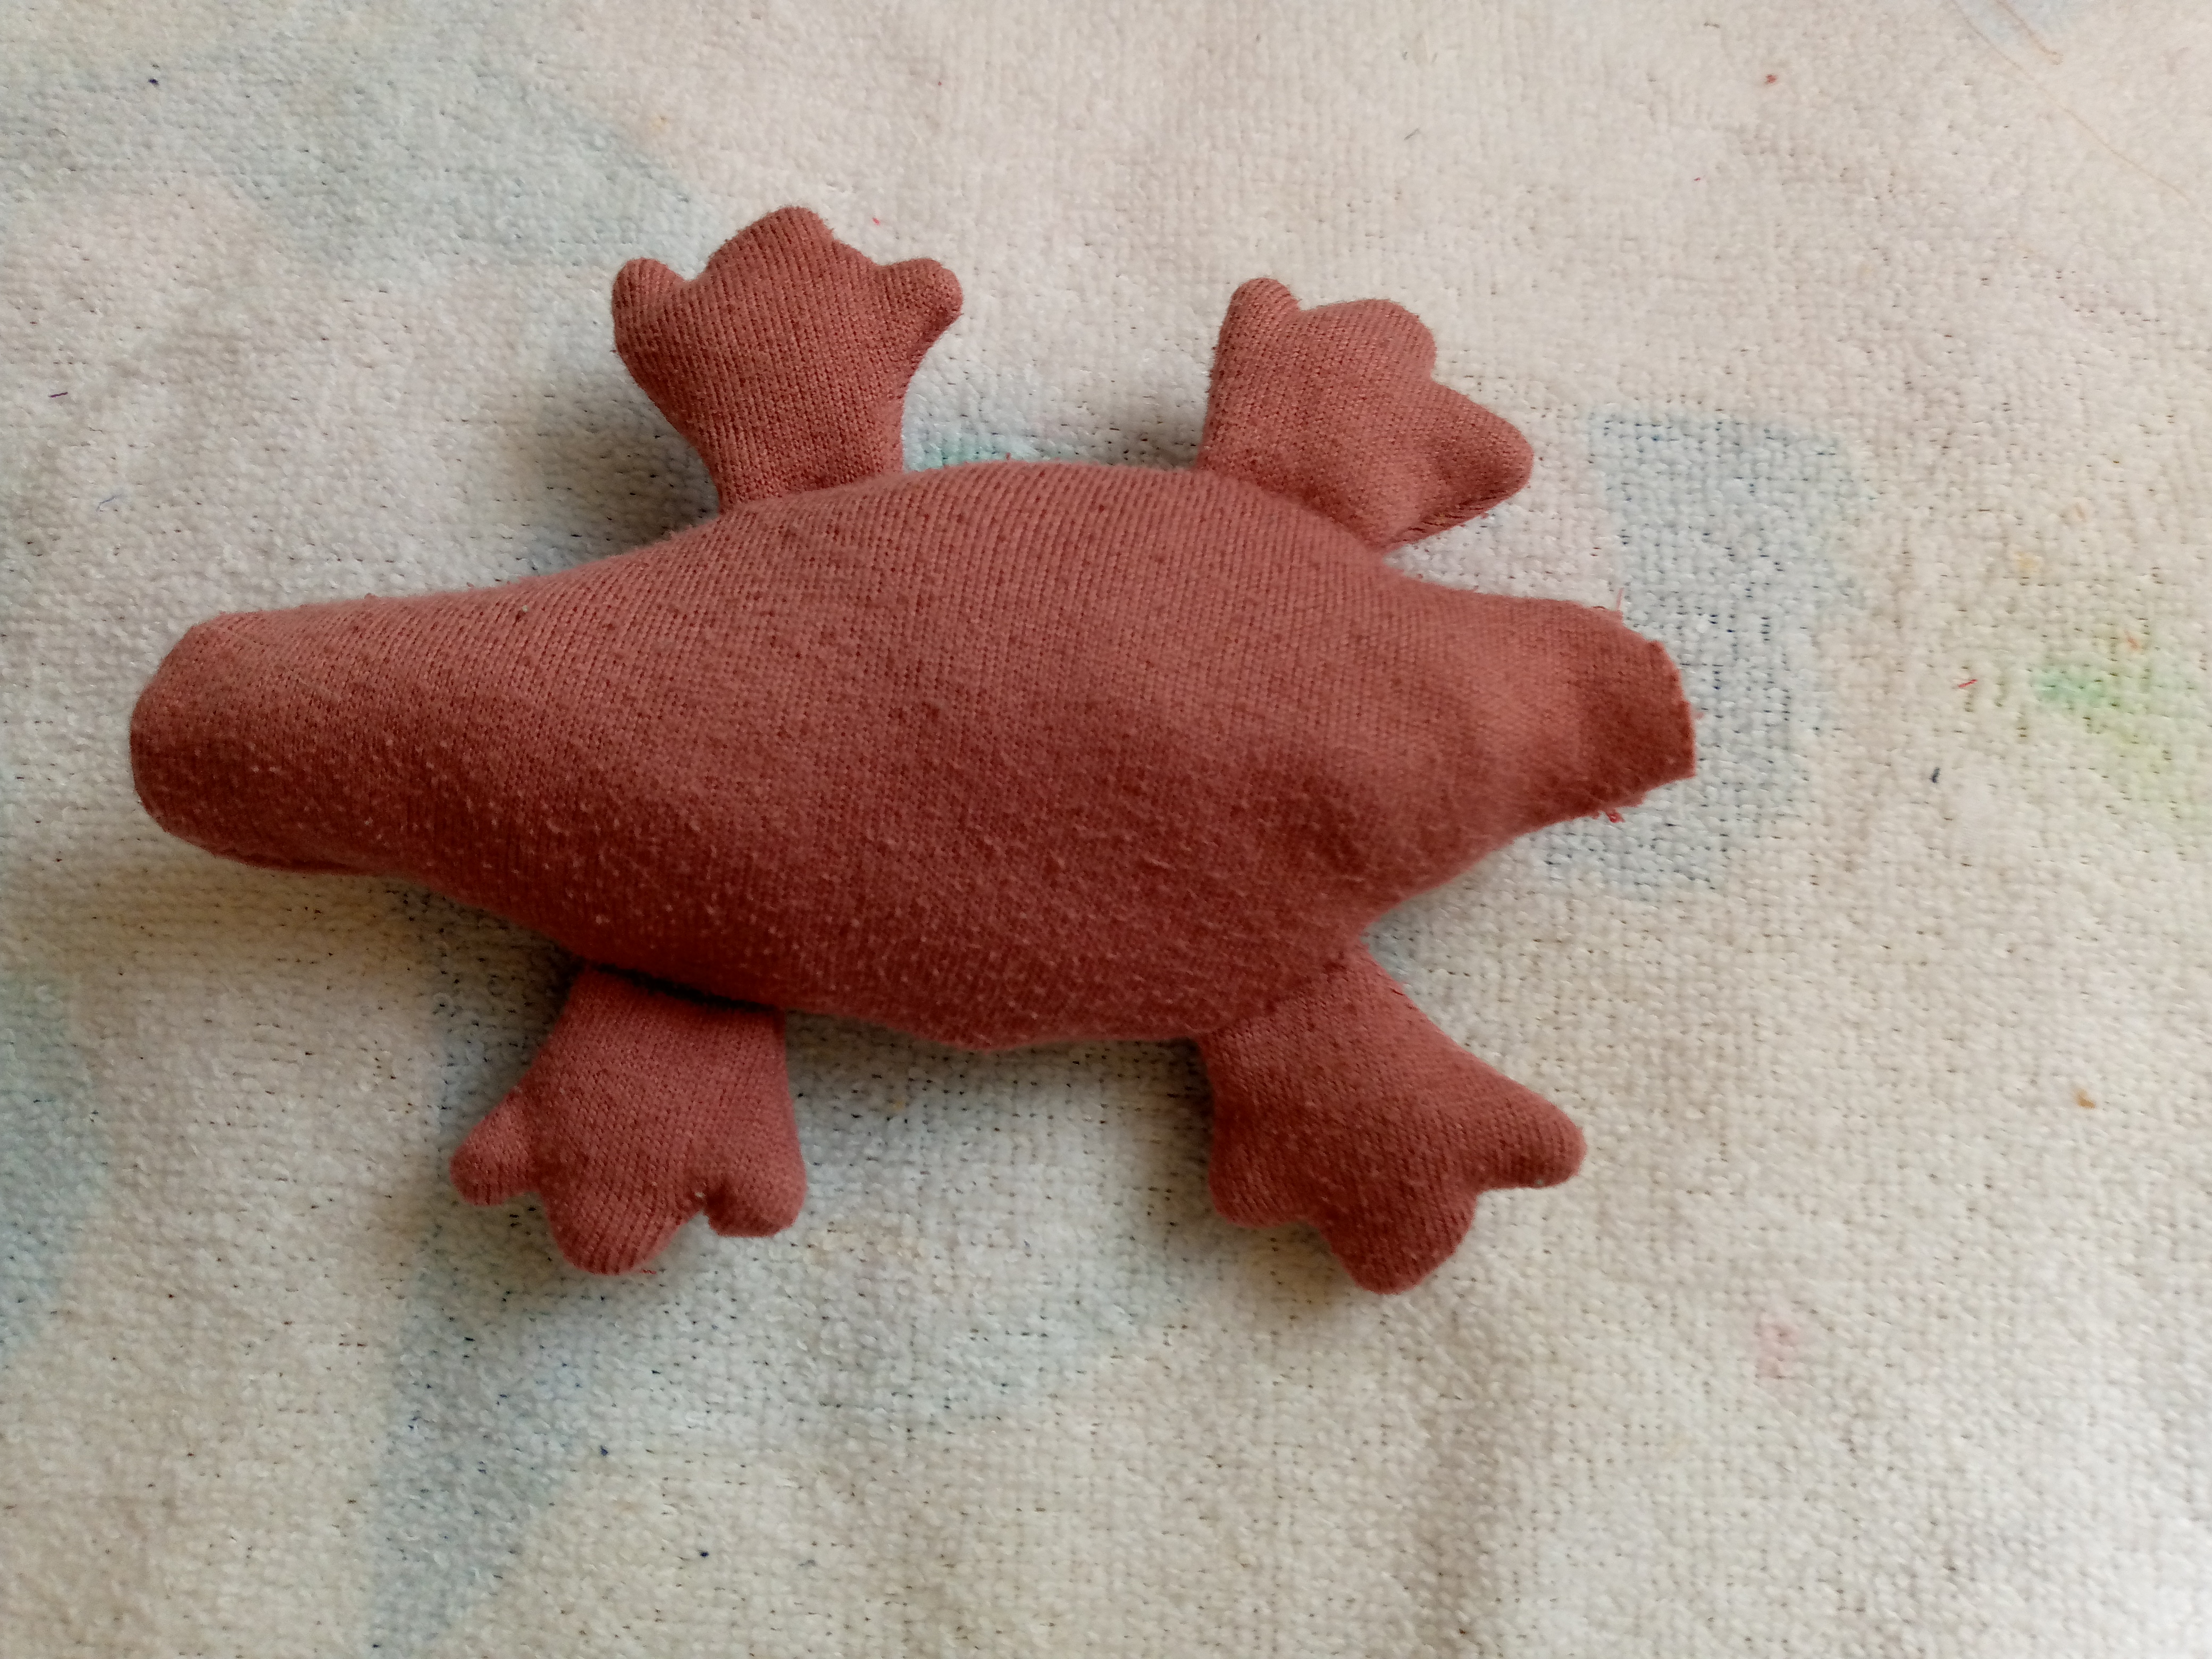
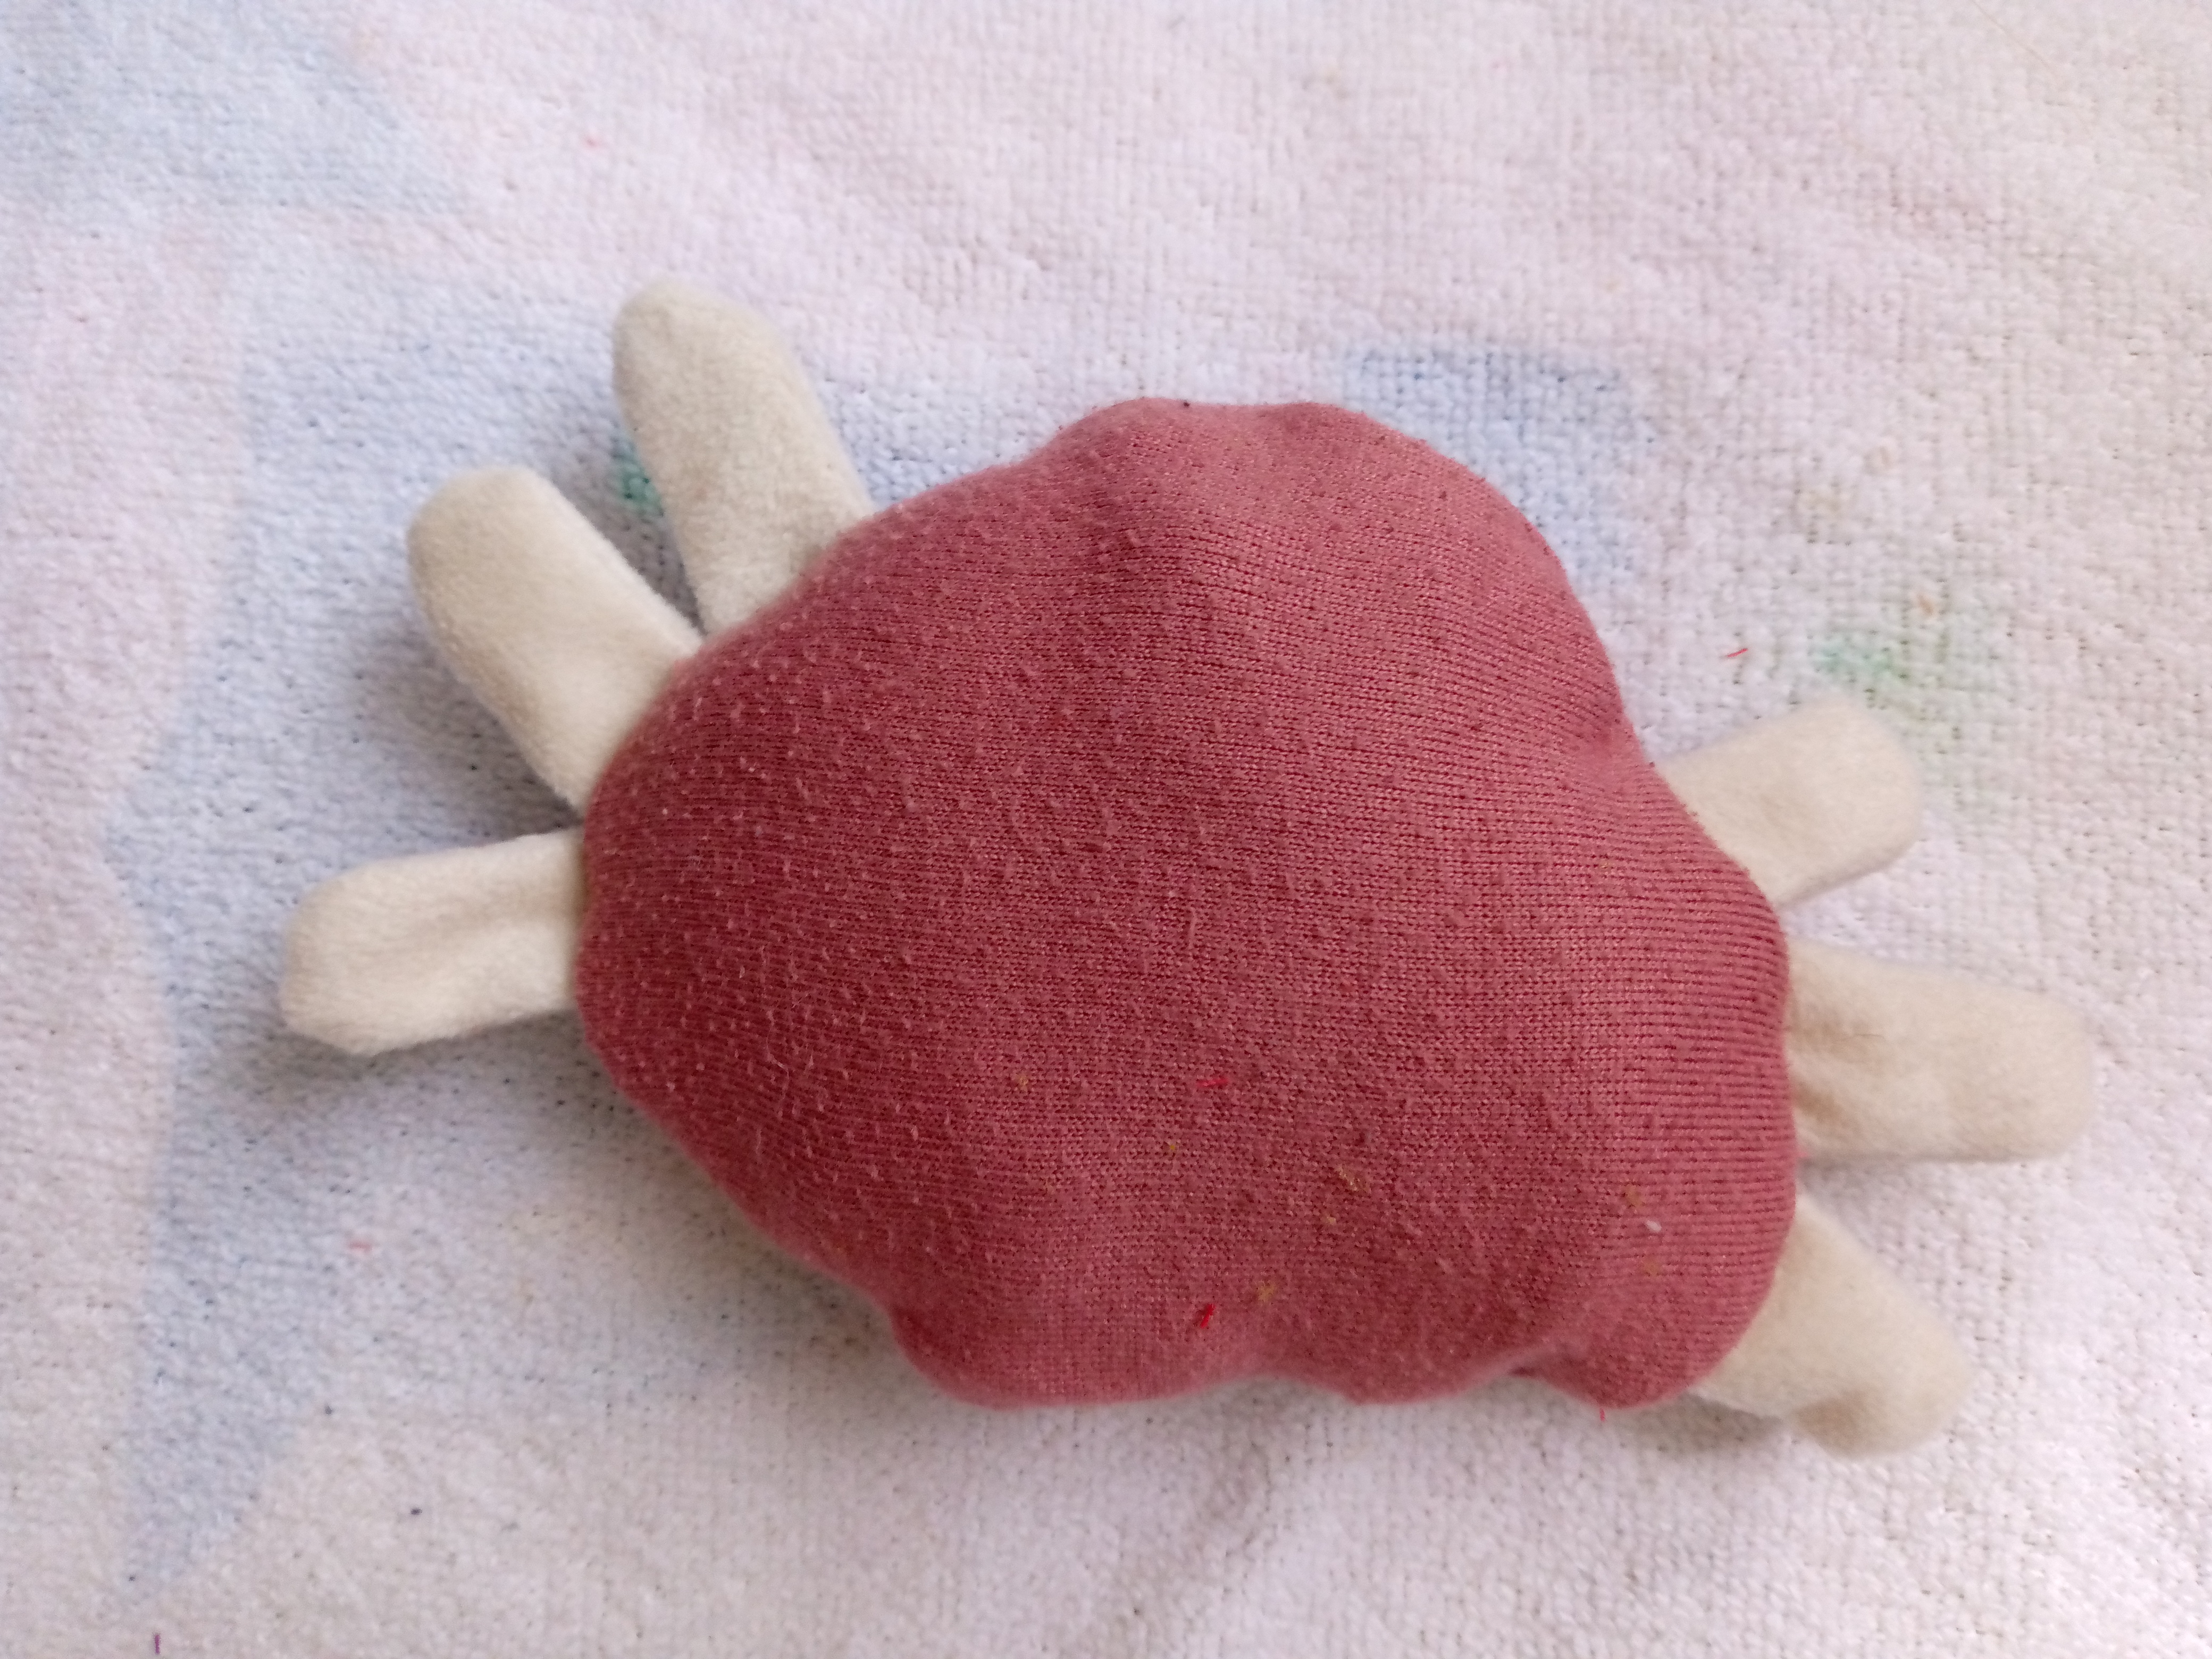
Paso 04
Step 04
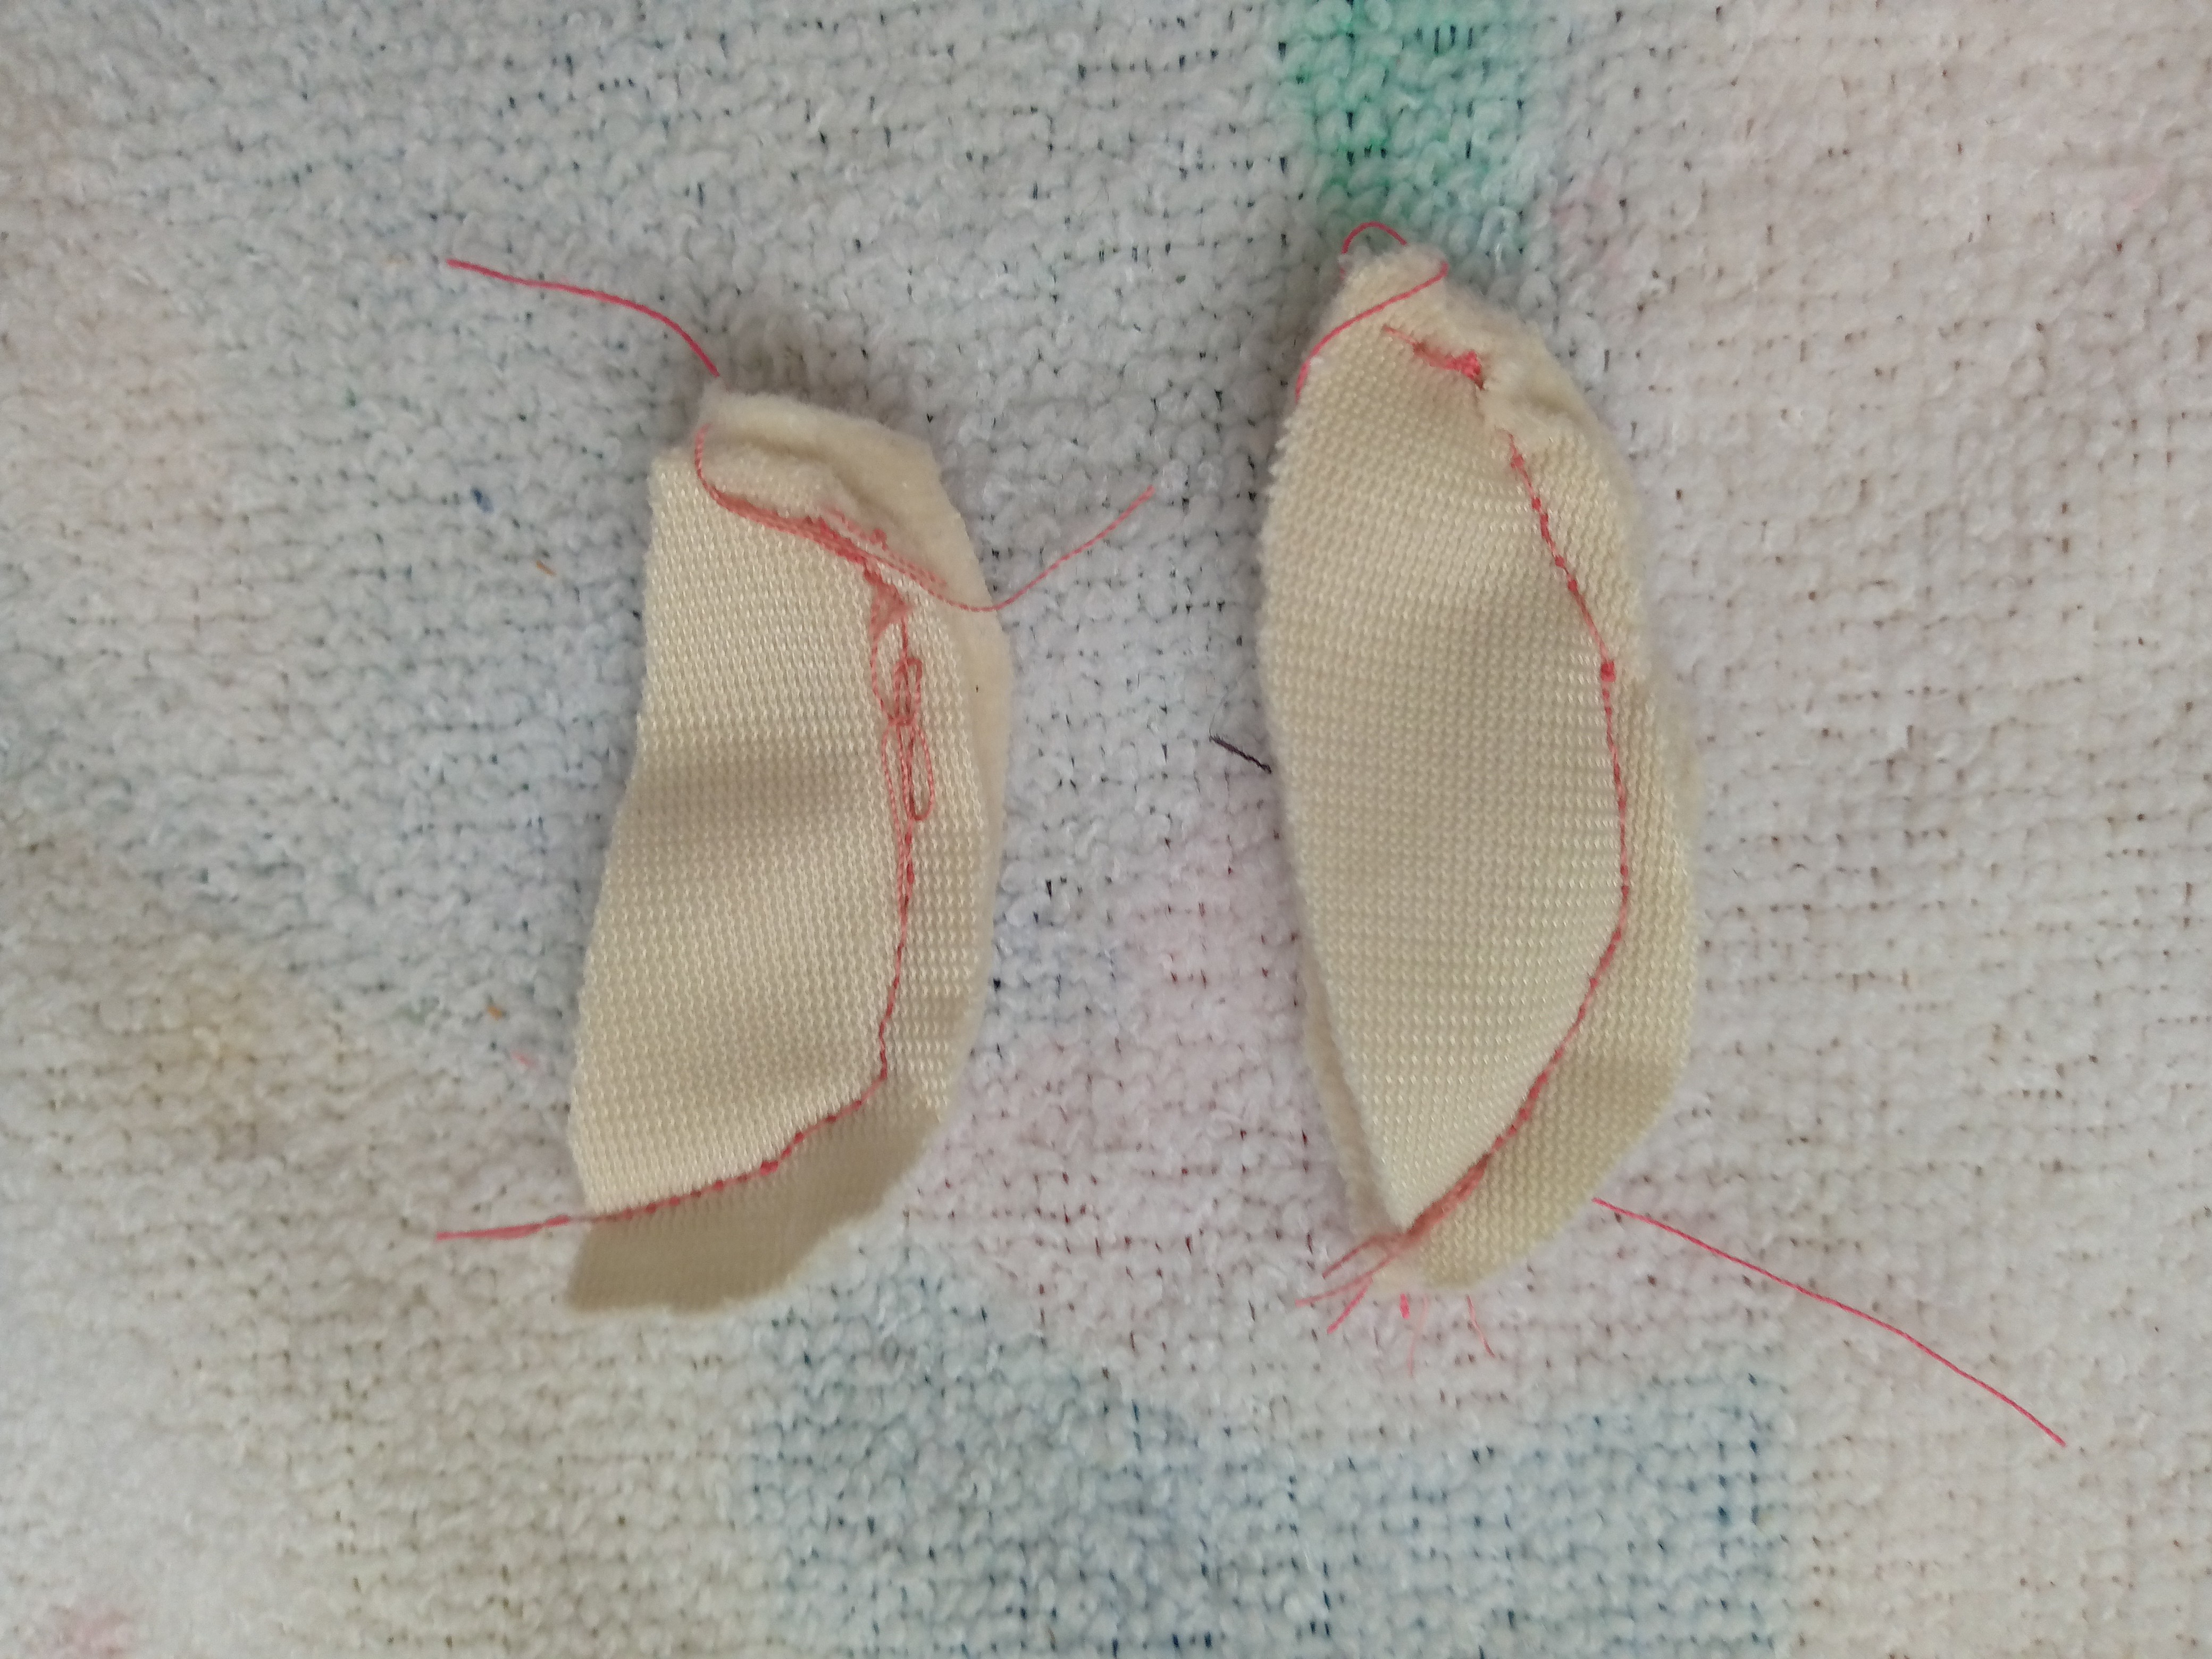
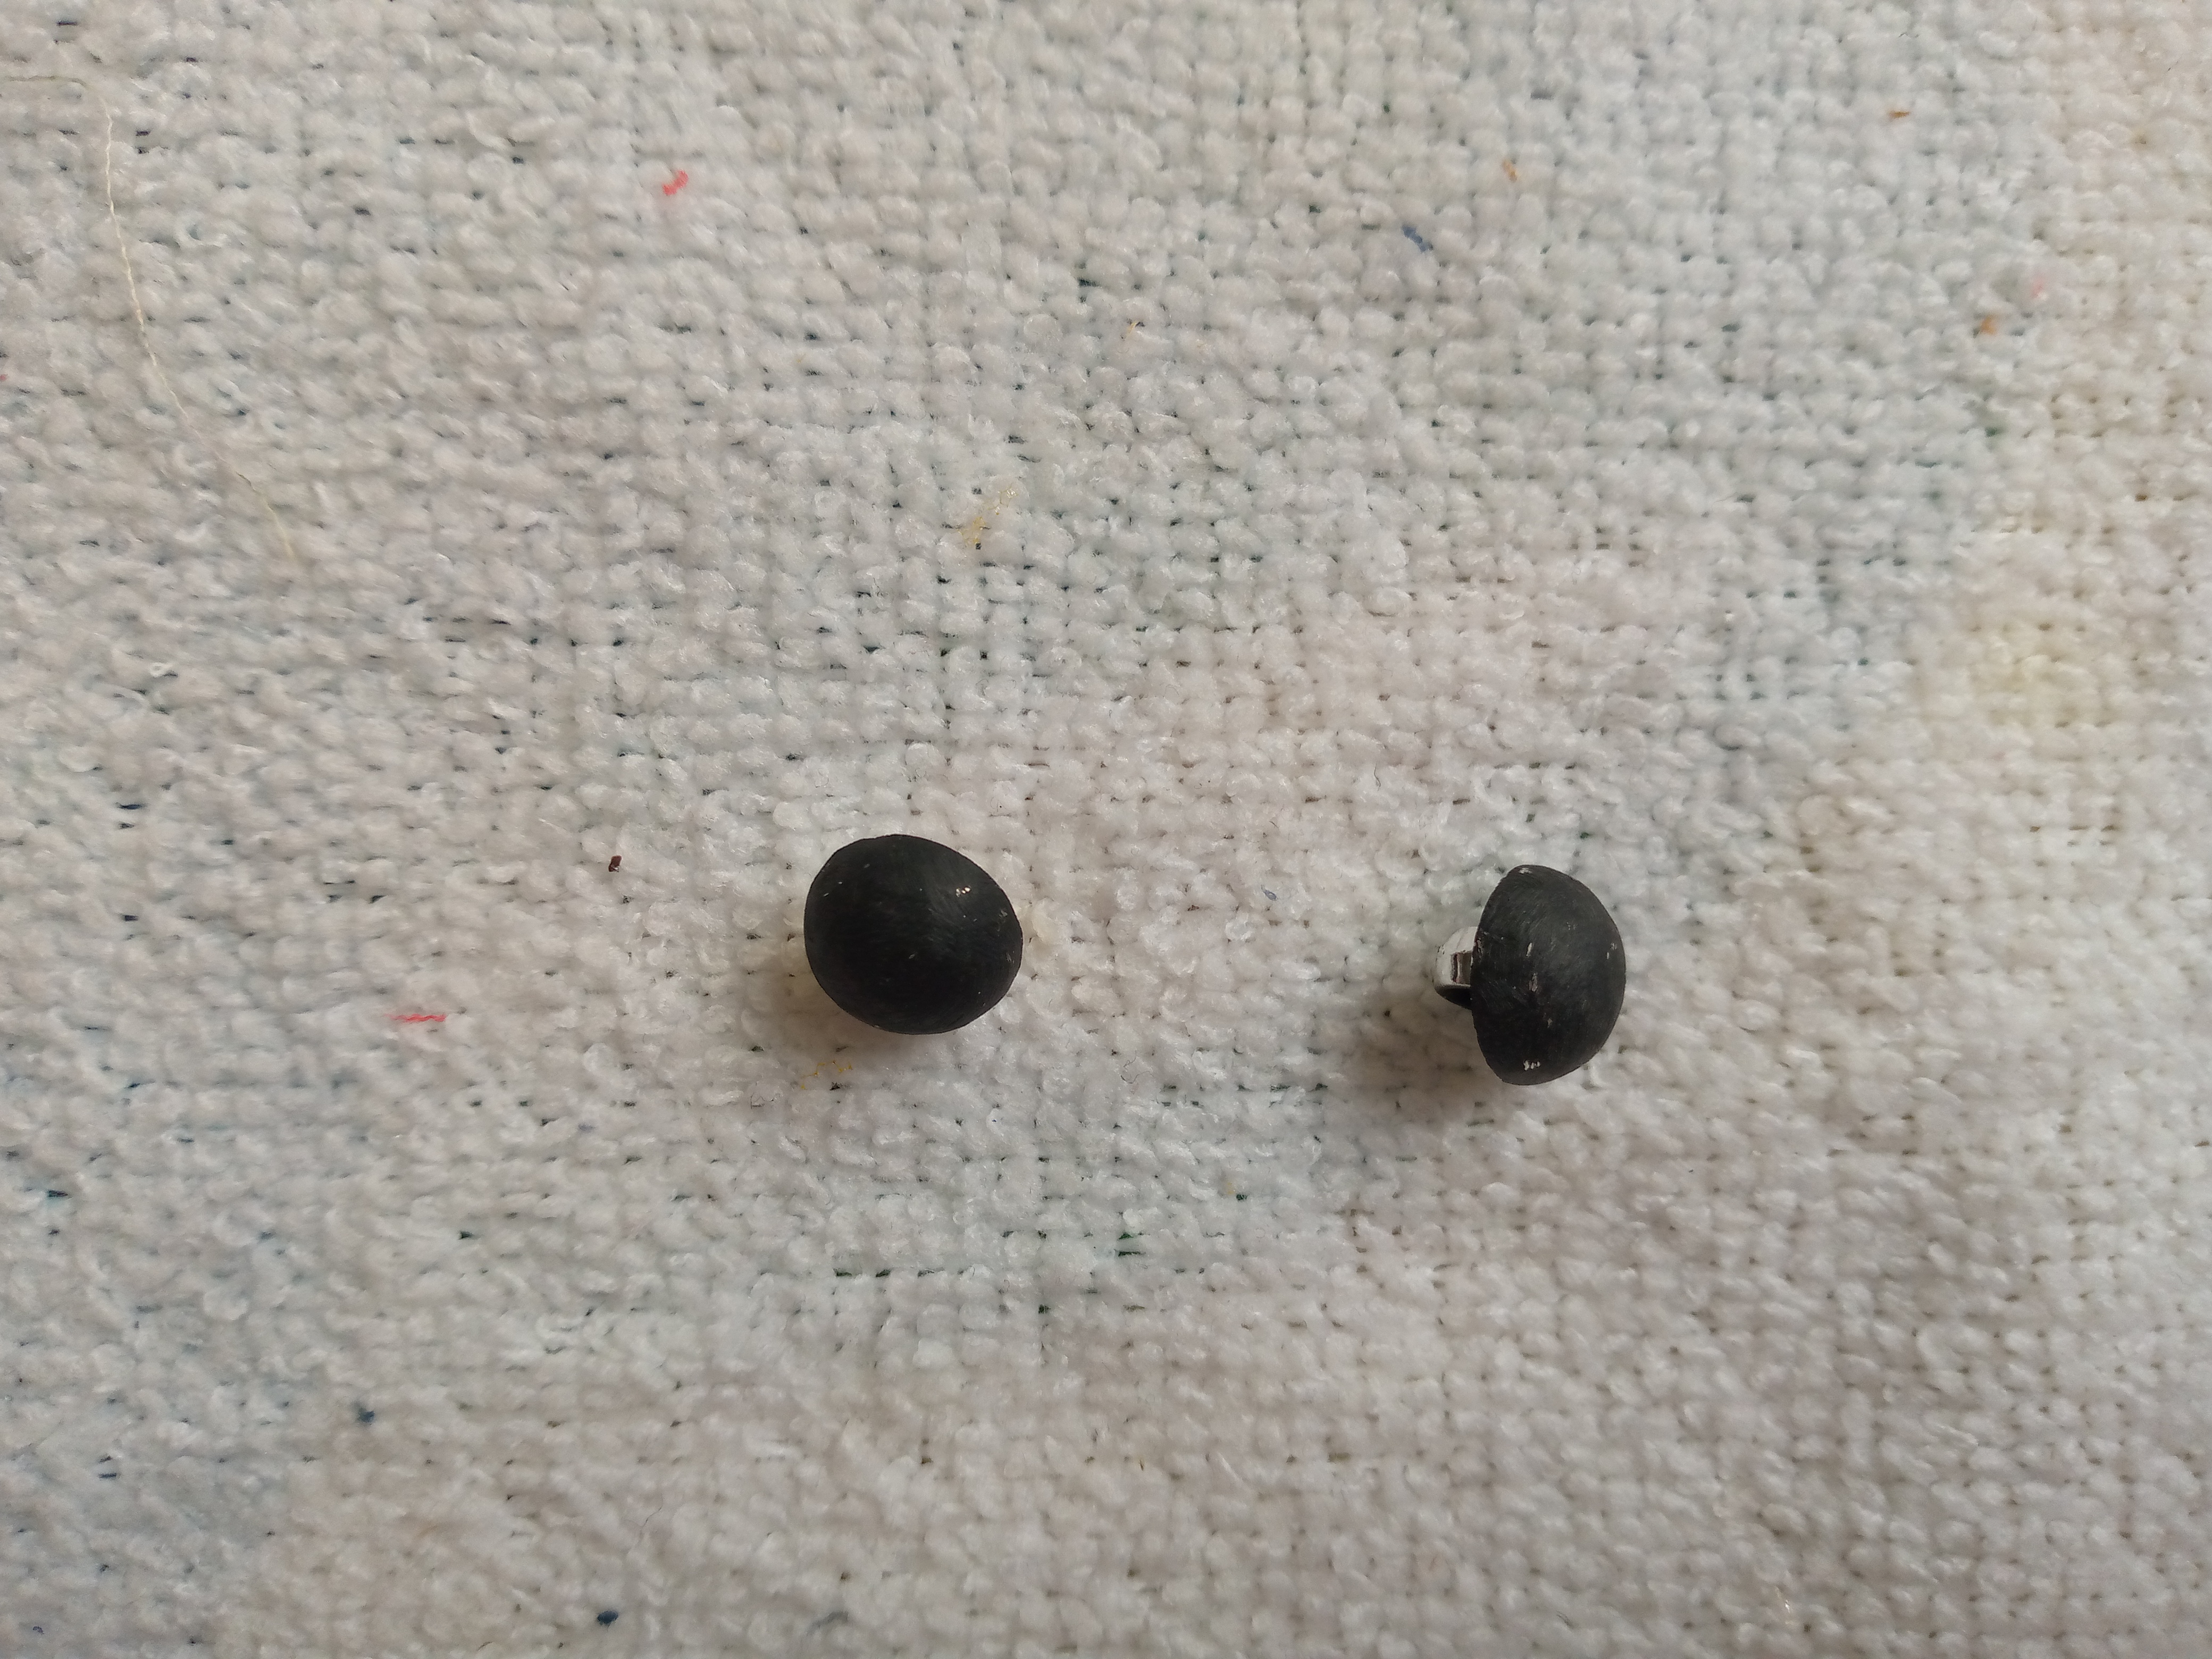
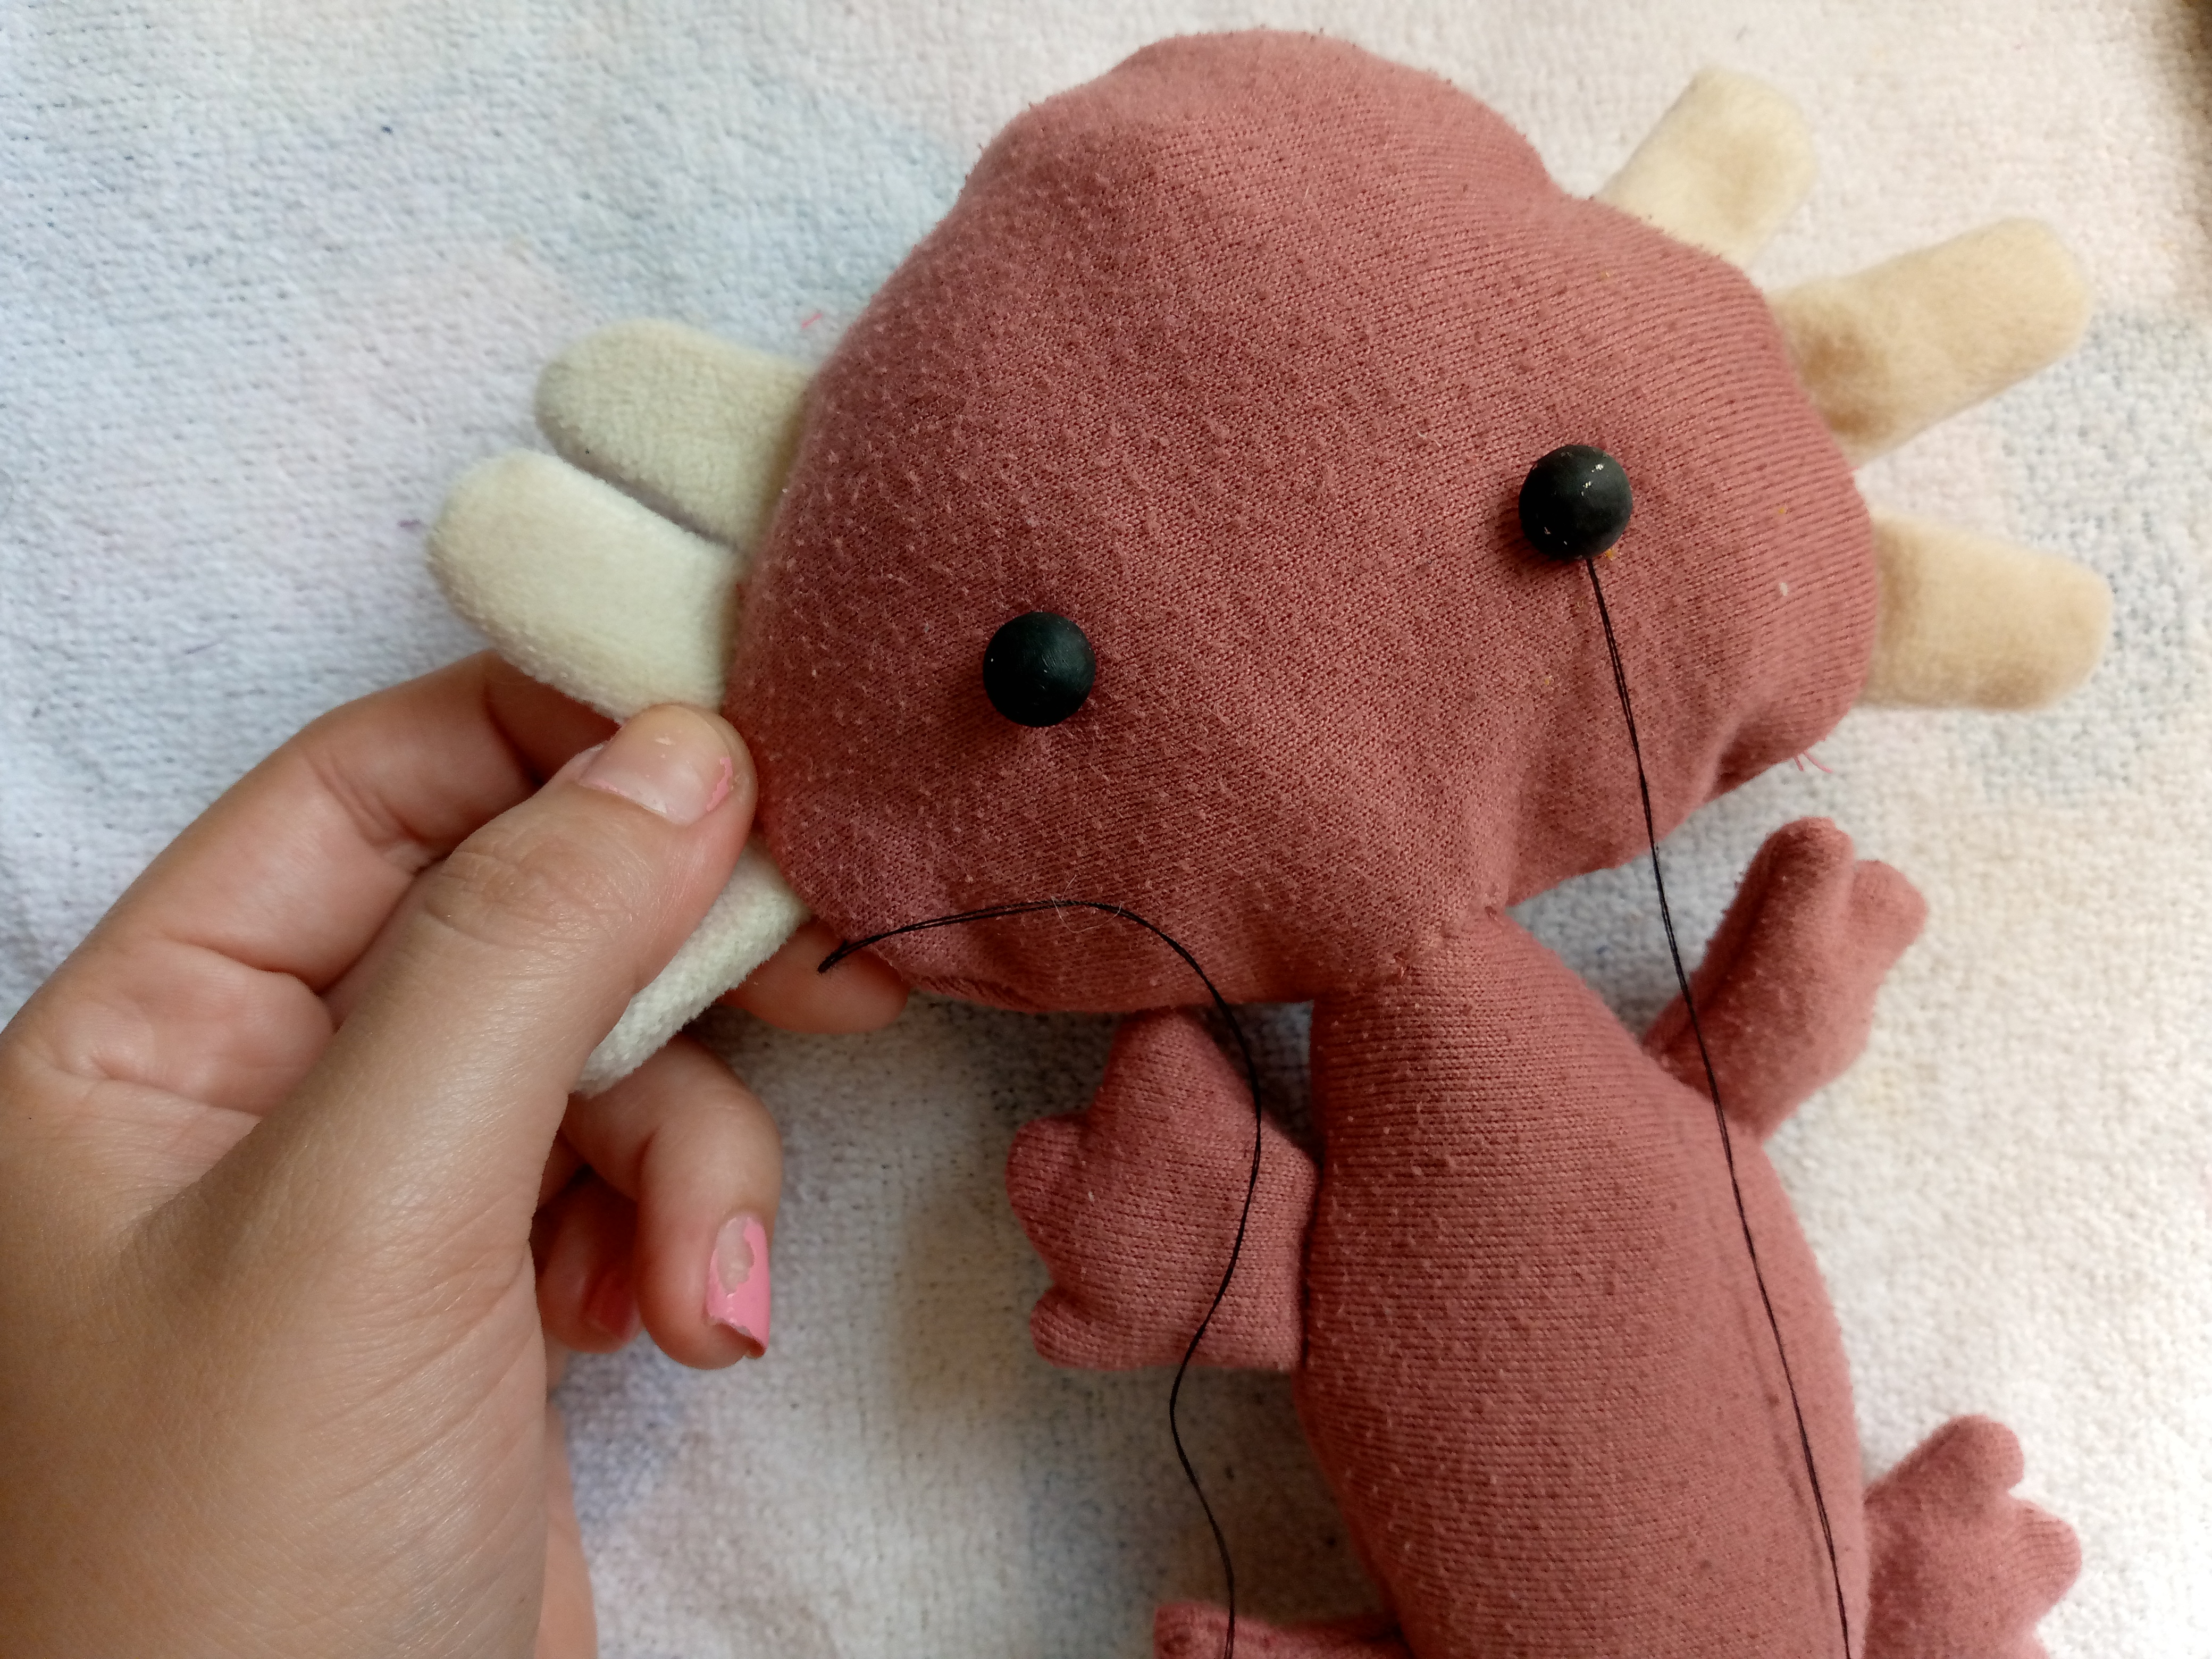
I proceed to sew the head to the body with our thread and needle with invisible stitching so that the seam cannot be seen, friends. After doing this, I sewed the edge of the pieces of the fins that I would use to put on the tail, then I sewed them by hand, one on each side with an invisible seam as well. I will be sewing the buttons with black thread, one from side to side, slightly separated to give the axolotl a touch of tenderness.
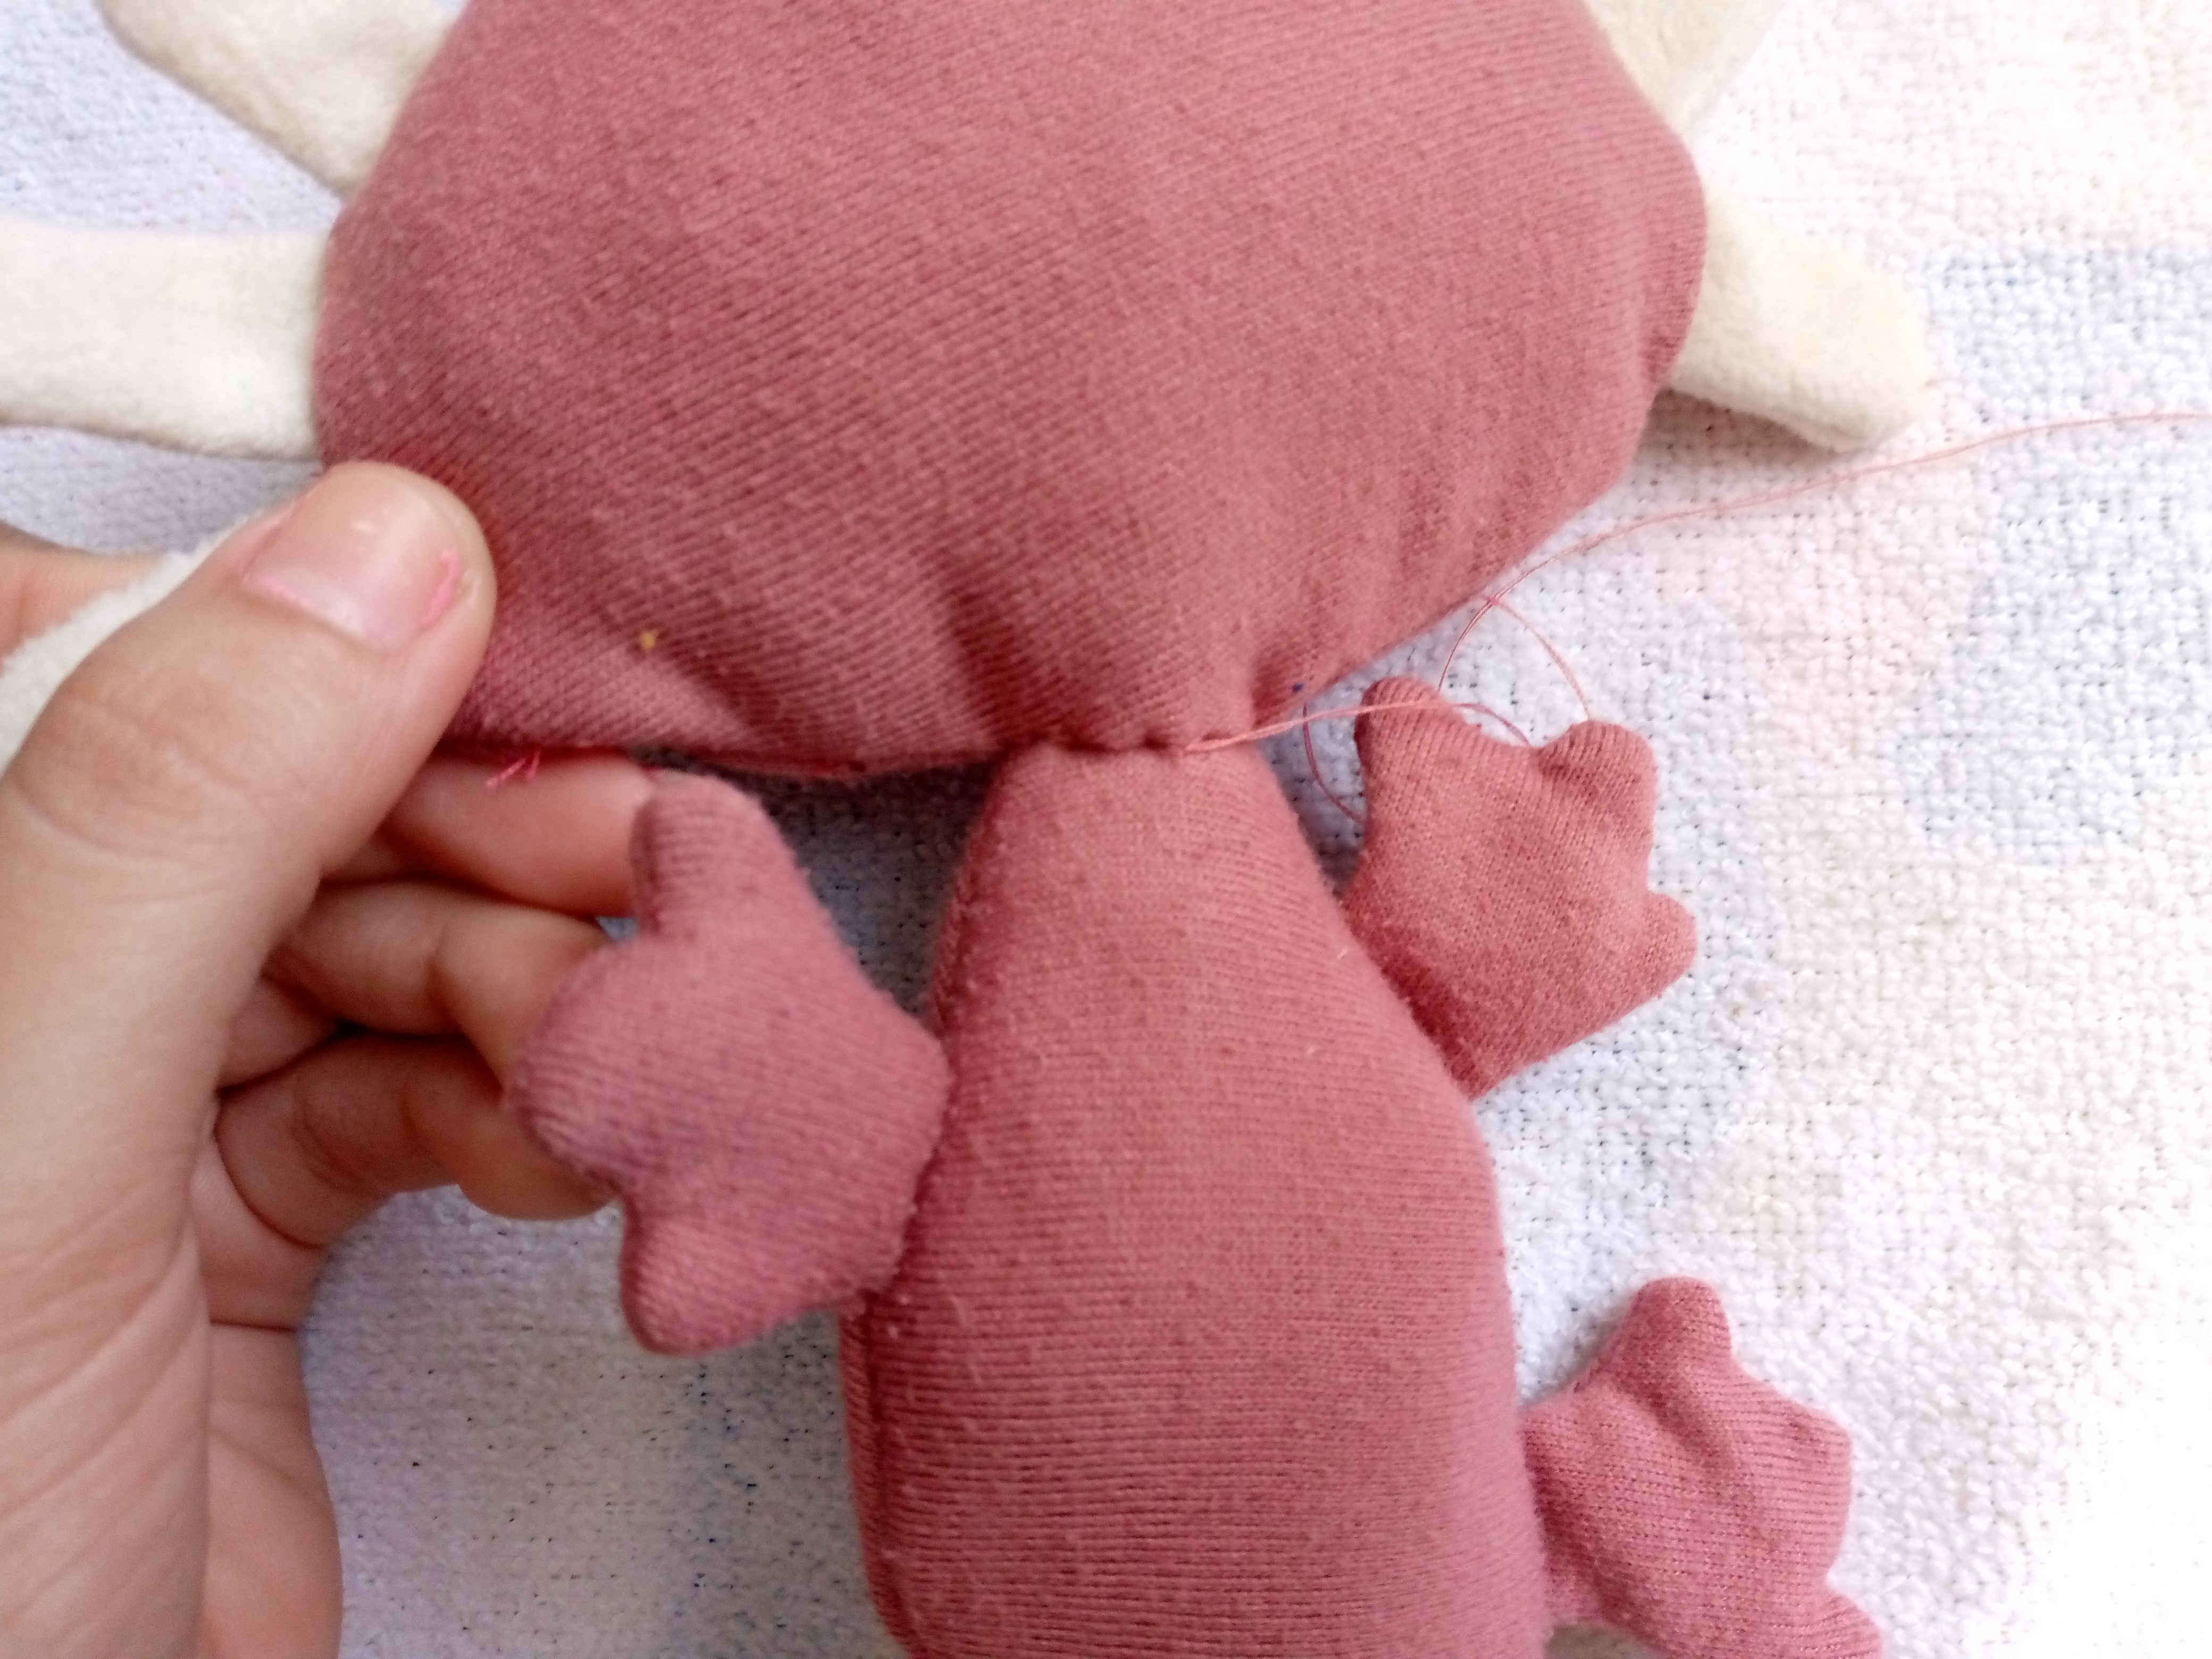

Paso 05
Step 05
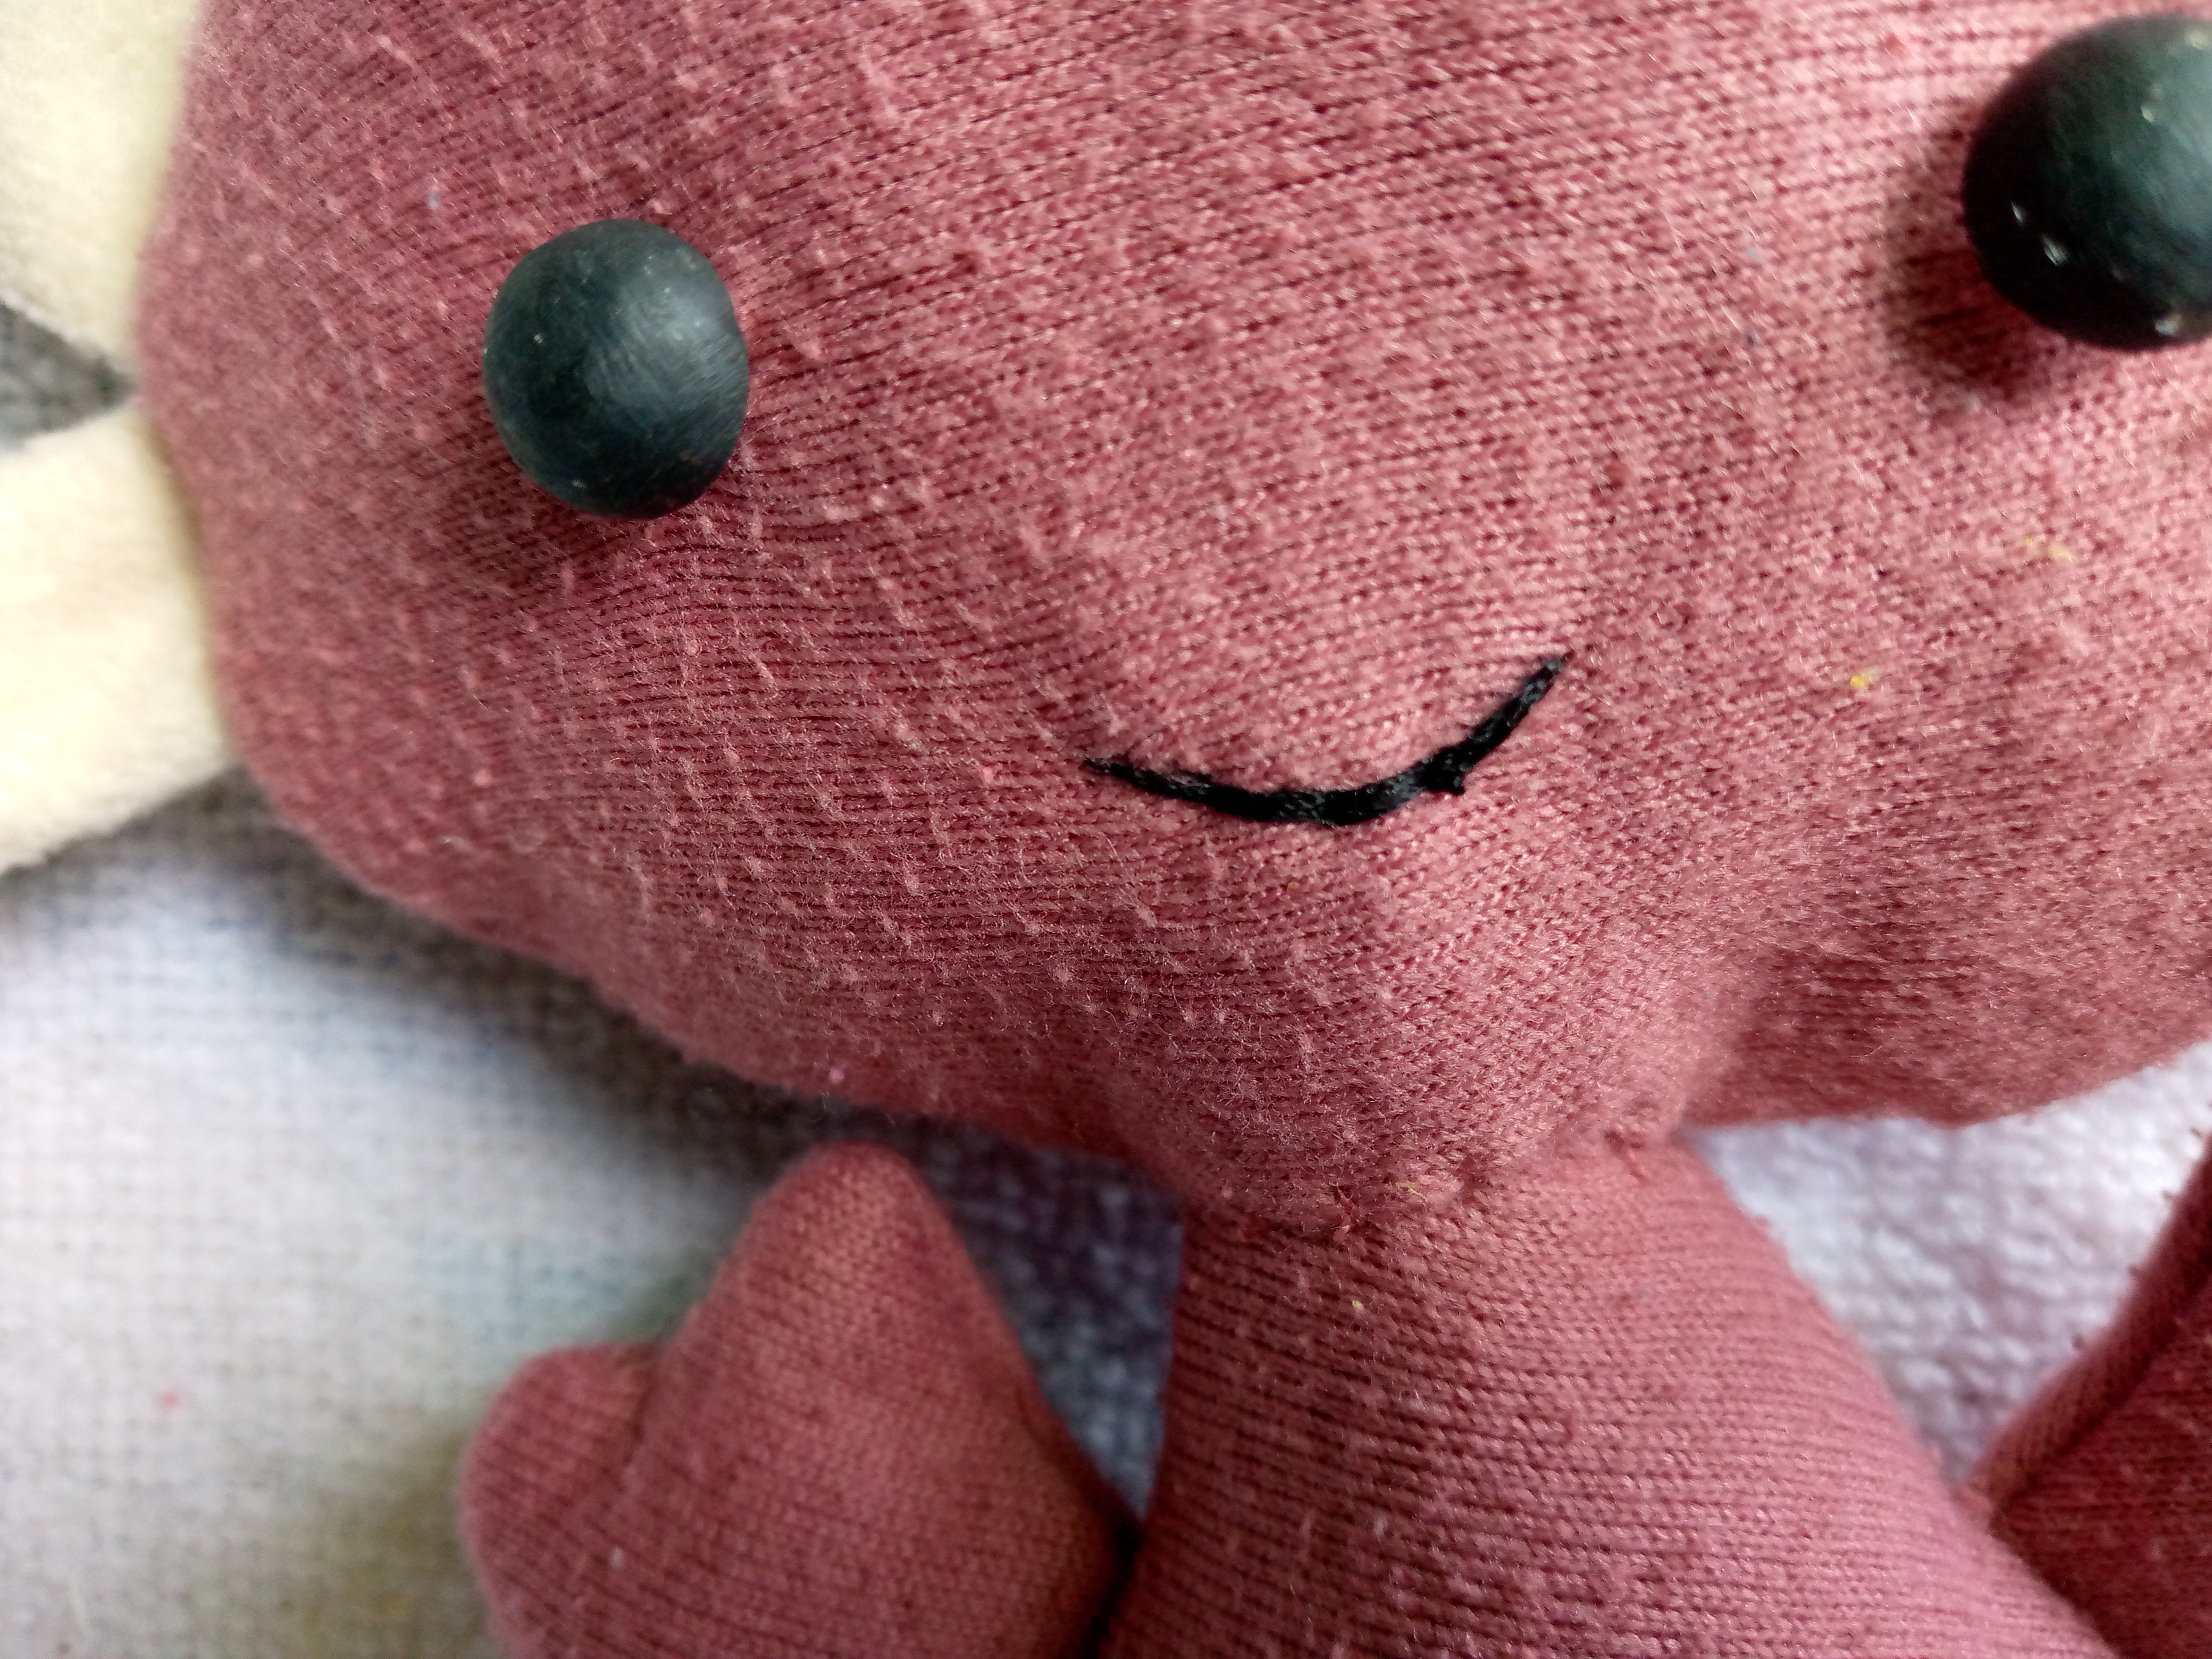
We then finish by sewing a small mouth, for this I will sew the shape and sew it several times to make it thicker with the same thread so that it is not visible as much but so that you can appreciate that our mouth is embroidered and the threads do not come loose, we seal the thread at the end we cut and that's it, so we have finished, if you want you can paint your cheeks with pink shadow, I was going to paint it but the truth is that this color of fabric did not look good so the tone of your painted cheeks was not going to be appreciated so I decided to leave it like that 😊🥺.
.jpg)
Resultado:
Result:
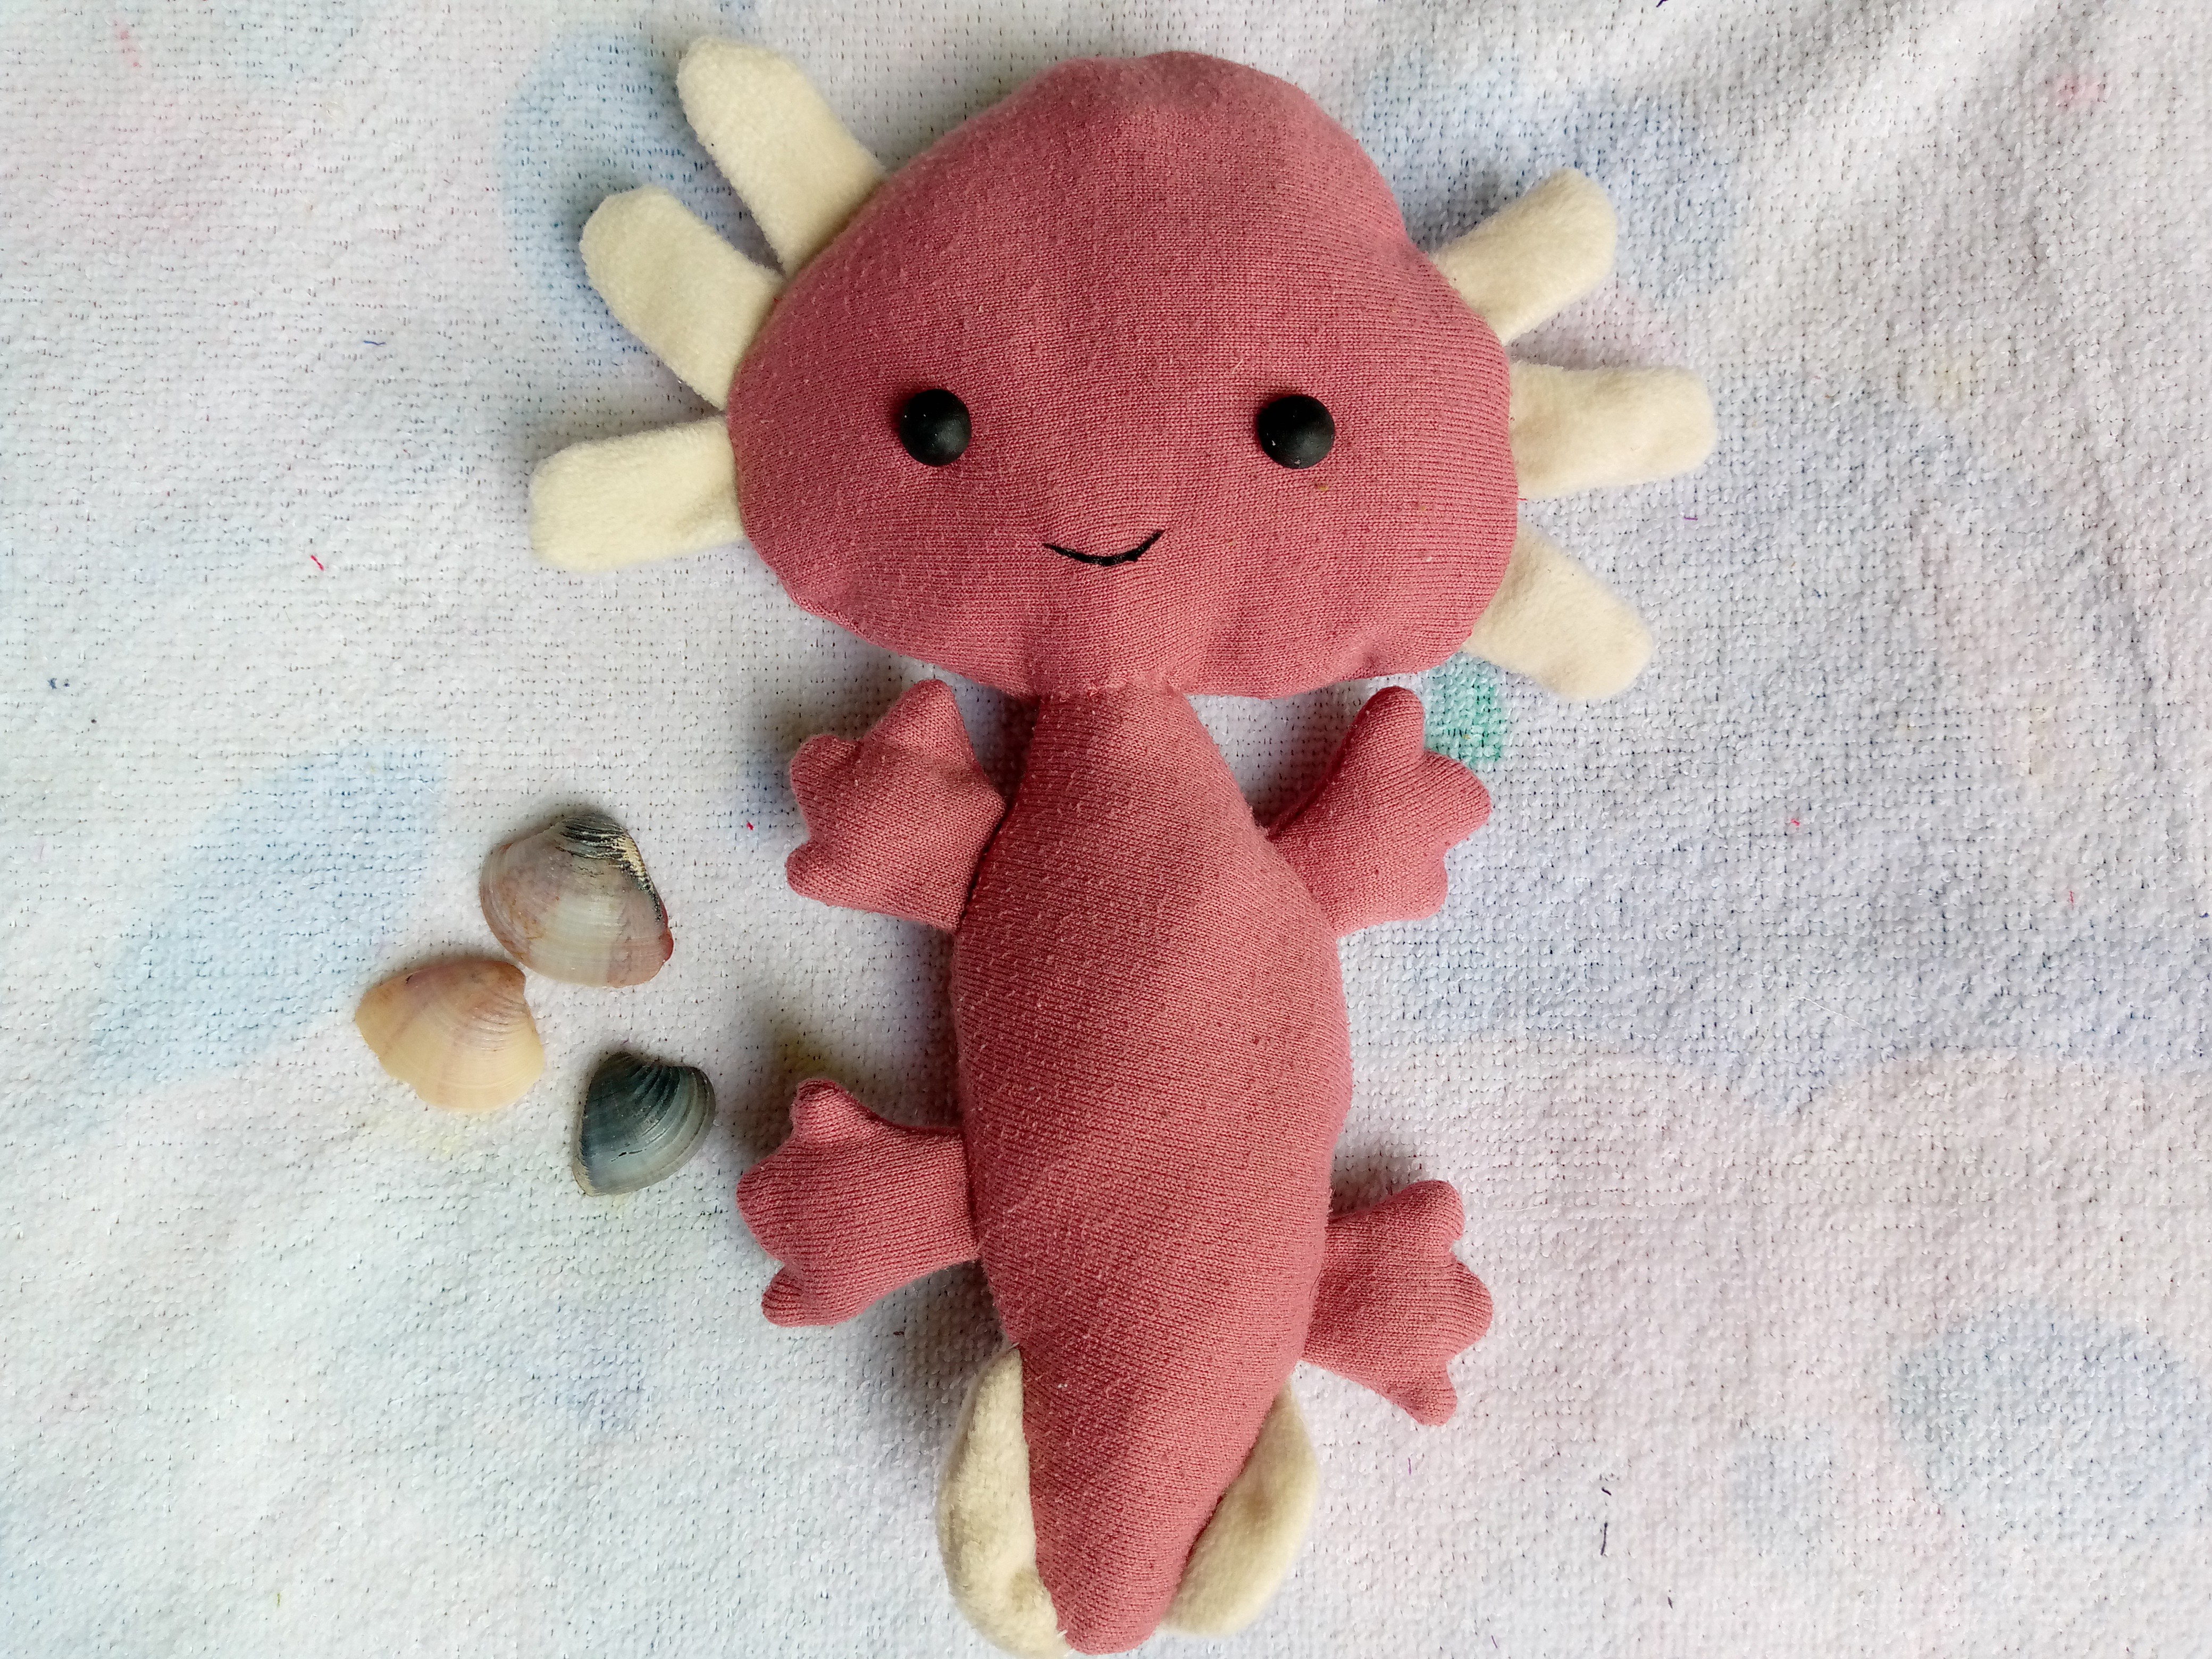
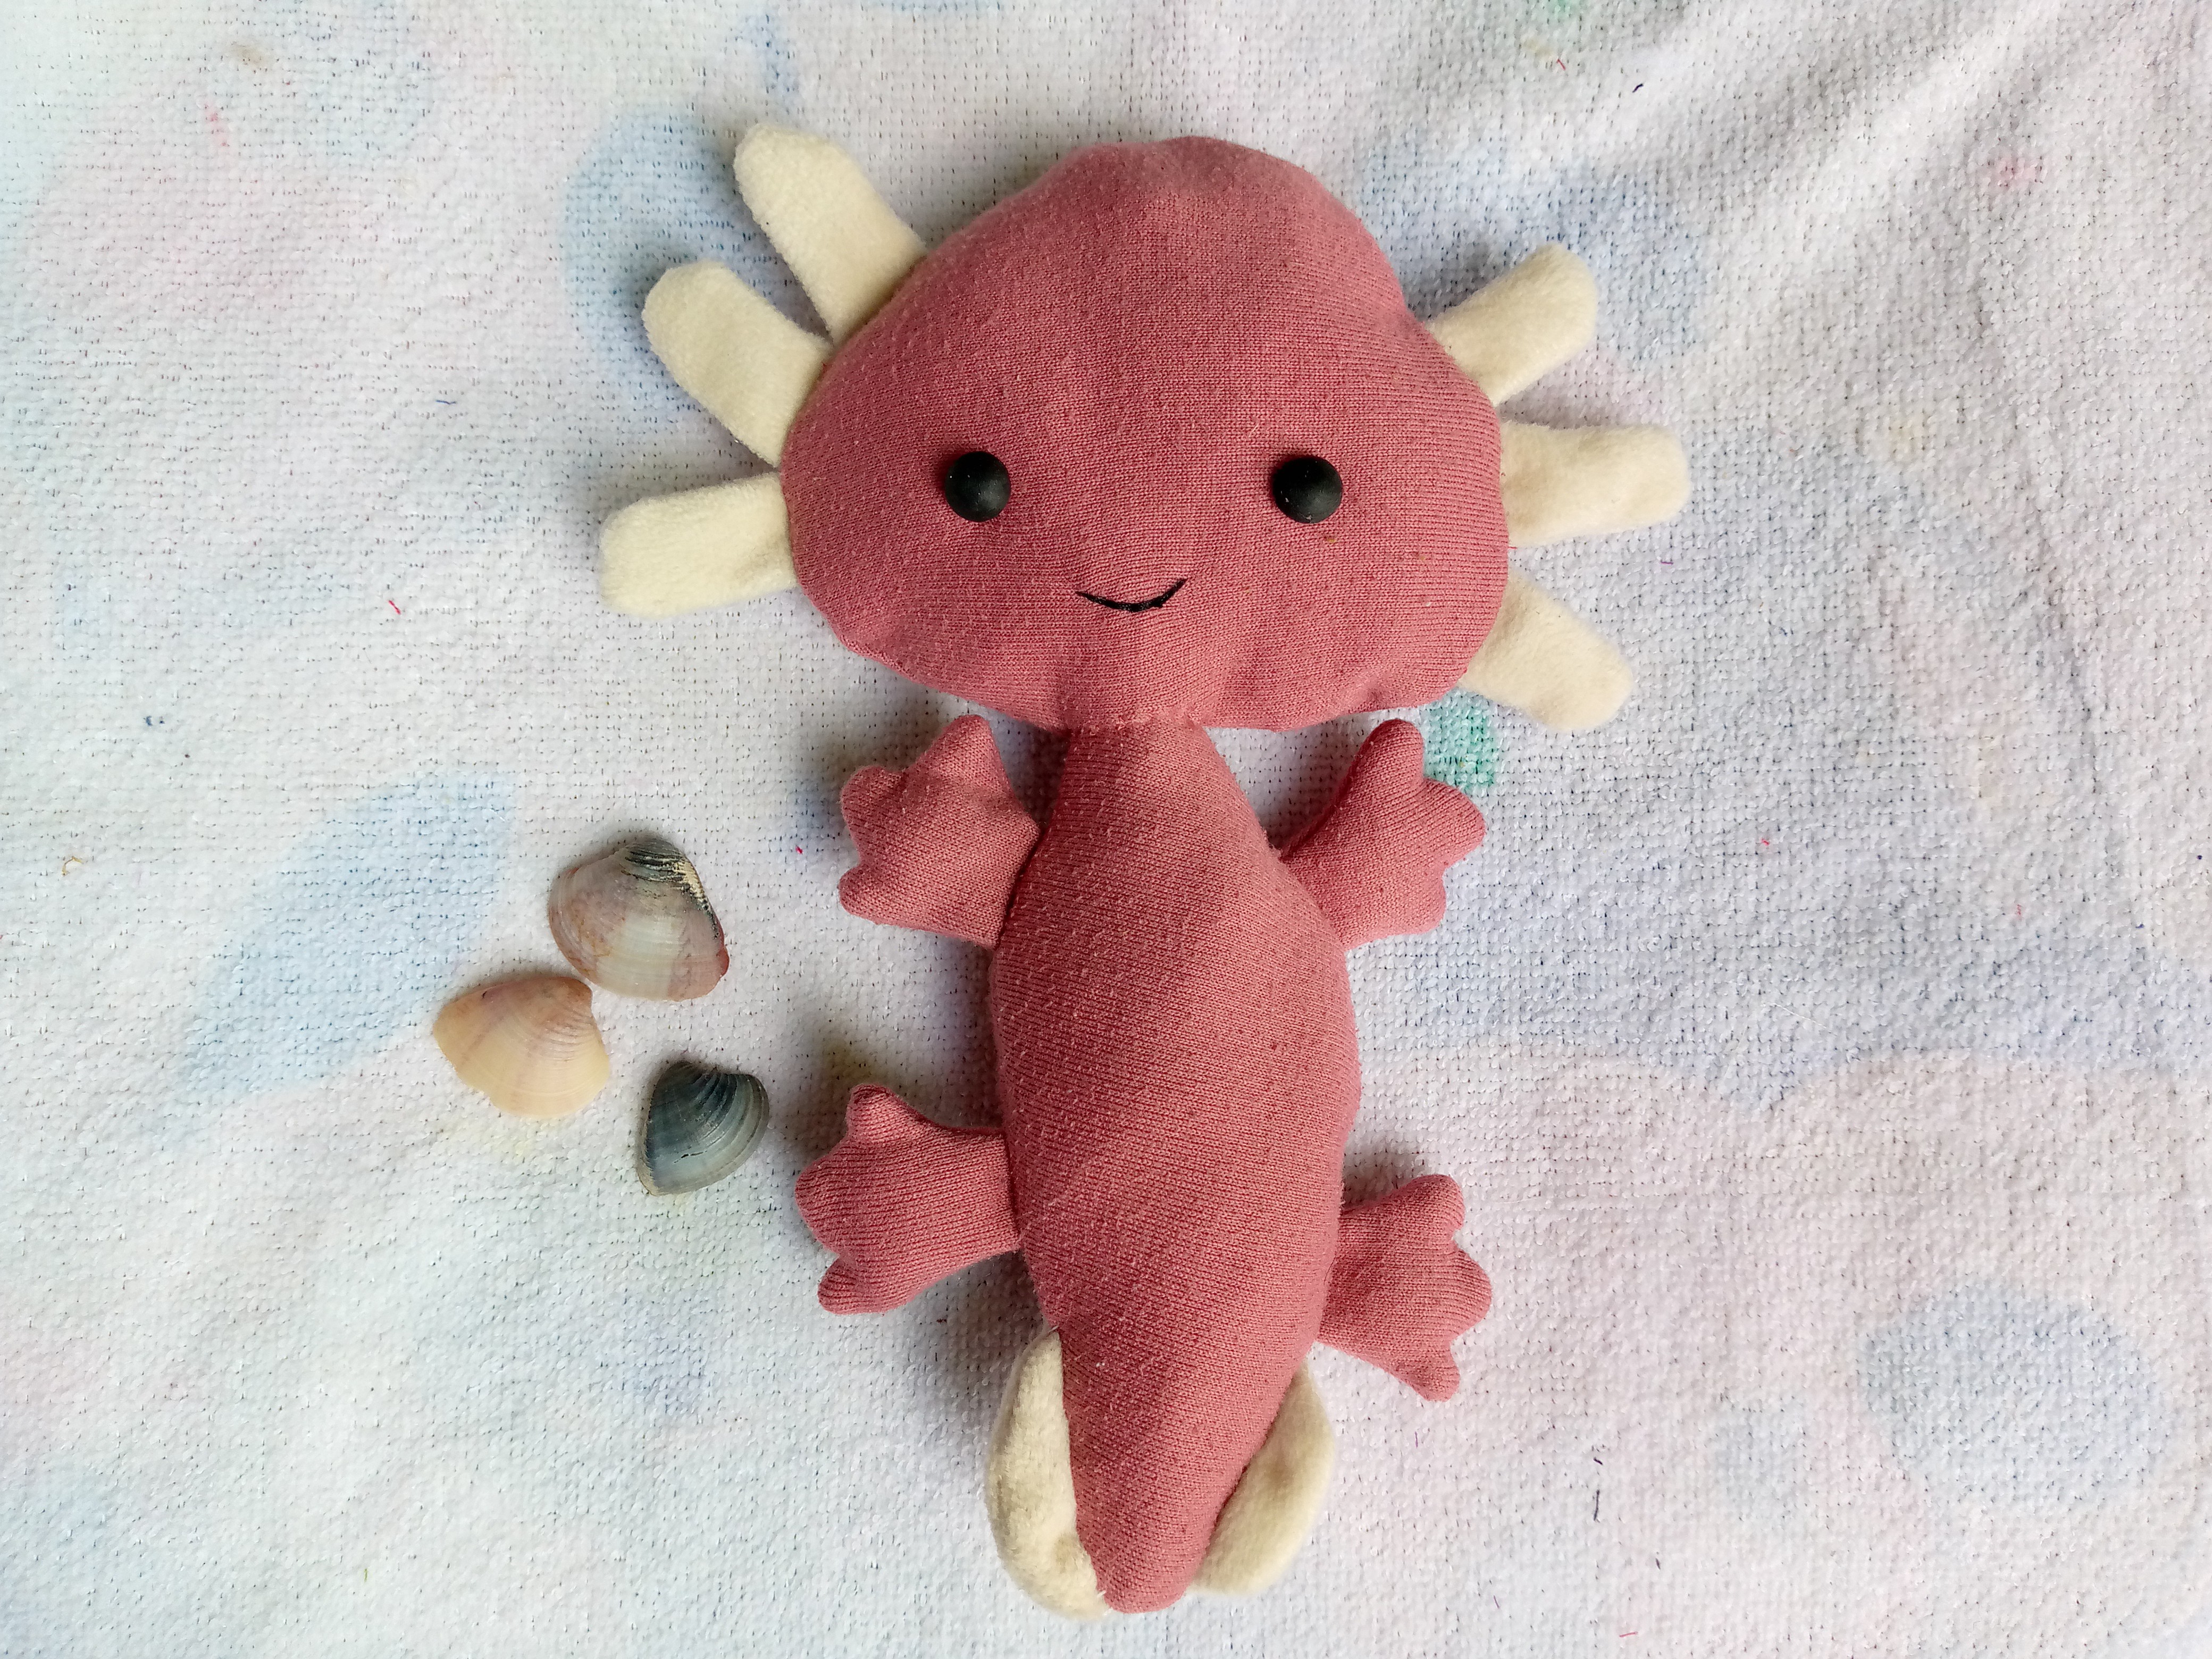
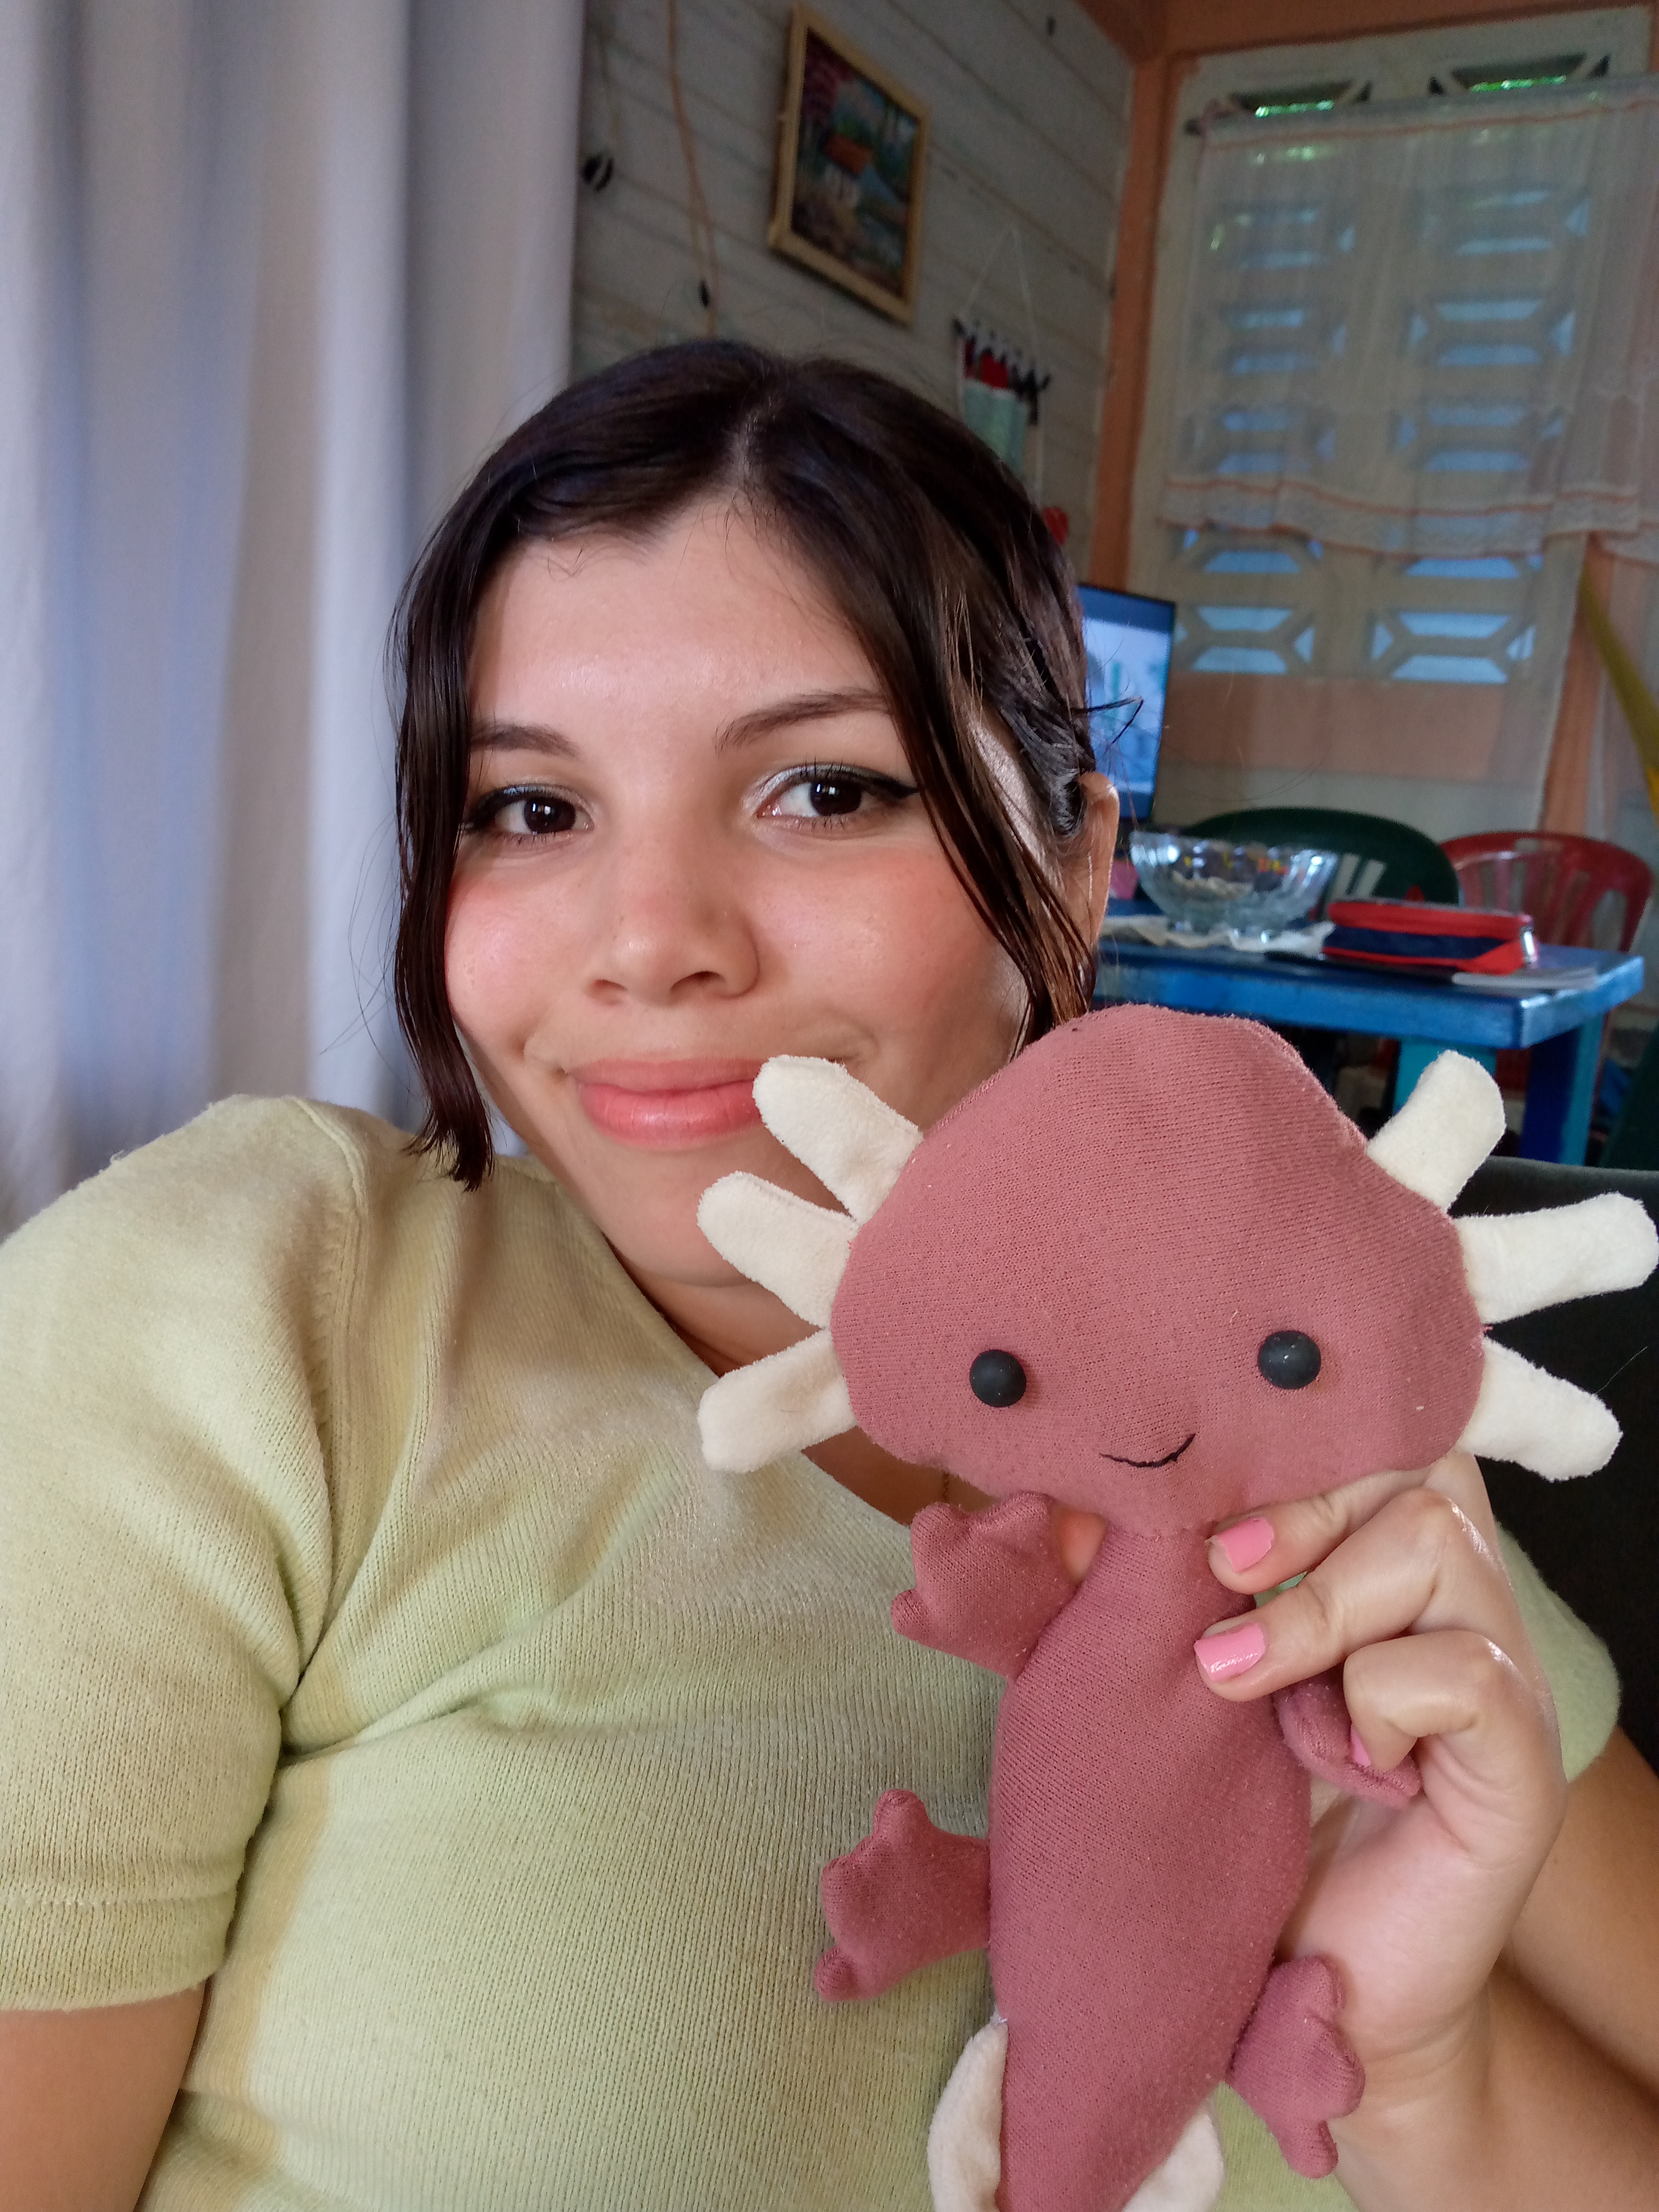
In this nice way our axolotl is ready, it looks so cute that I couldn't bear not to take a photo with it, I love it, I think I'll put it next to my pillow 🤭🥰 I hope you liked this way of making this super simple axolotl stuffed animal by recycling those fabrics that we can't find what to do with, if you liked it tell me in the comments and I'll say goodbye to you by leaving you here with photos of the final result, enjoy it, see you friends 💕✨.
.jpg)
Muy tierno, me encantan los peluches de animalitos y este te quedo muy bonito 😊
Ay muchas gracias me alegra que este ajolote te haya gustado 🥰💕
Que tierno te ha quedado el ajolote, te entiendo con lo del color de la tela, en mi caso trabajo con hilo y es difícil cuando no encontramos el color que necesitamos. Saludos ☺️
Ooow🥺😊me encanta que te encante
La verdad si es un reto ,pasa seguido 🤣pero no es motivo para desanimarse a pesar de todo nos puede quedar bien las cosas aunque uno diga que no, gracias por apreciar :3
Quedó muy hermoso amiga. Bendiciones 😘.
Holiiichii awww gracias amiga hermosa 🥰💕
Saludos para ti ,linda tarde 🥰
Congratulations @anne002! You have completed the following achievement on the Hive blockchain And have been rewarded with New badge(s)
Your next payout target is 3000 HP.
The unit is Hive Power equivalent because post and comment rewards can be split into HP and HBD
You can view your badges on your board and compare yourself to others in the Ranking
If you no longer want to receive notifications, reply to this comment with the word
STOPCheck out our last posts:
Súper tierno tu Ajolote @anne002 Me encantó mucho el tamaño y el color, además se ve muy simpático. Excelente proceso en tu paso a paso
Gracias querida @yennysferm71 sin duda yo quedé más que encantada con el ,me alegra que te guste y mi ajolote de peluche también te lo agradece ,saluditos 💕😊🤗
Que ternurita...
!discovery 40
Gracias ☺️💗
This post was shared and voted inside the discord by the curators team of discovery-it
Join our Community and follow our Curation Trail
Discovery-it is also a Witness, vote for us here
Delegate to us for passive income. Check our 80% fee-back Program
Keep it up a good work dear. The finish work look amazing
Thanks friend 🤗