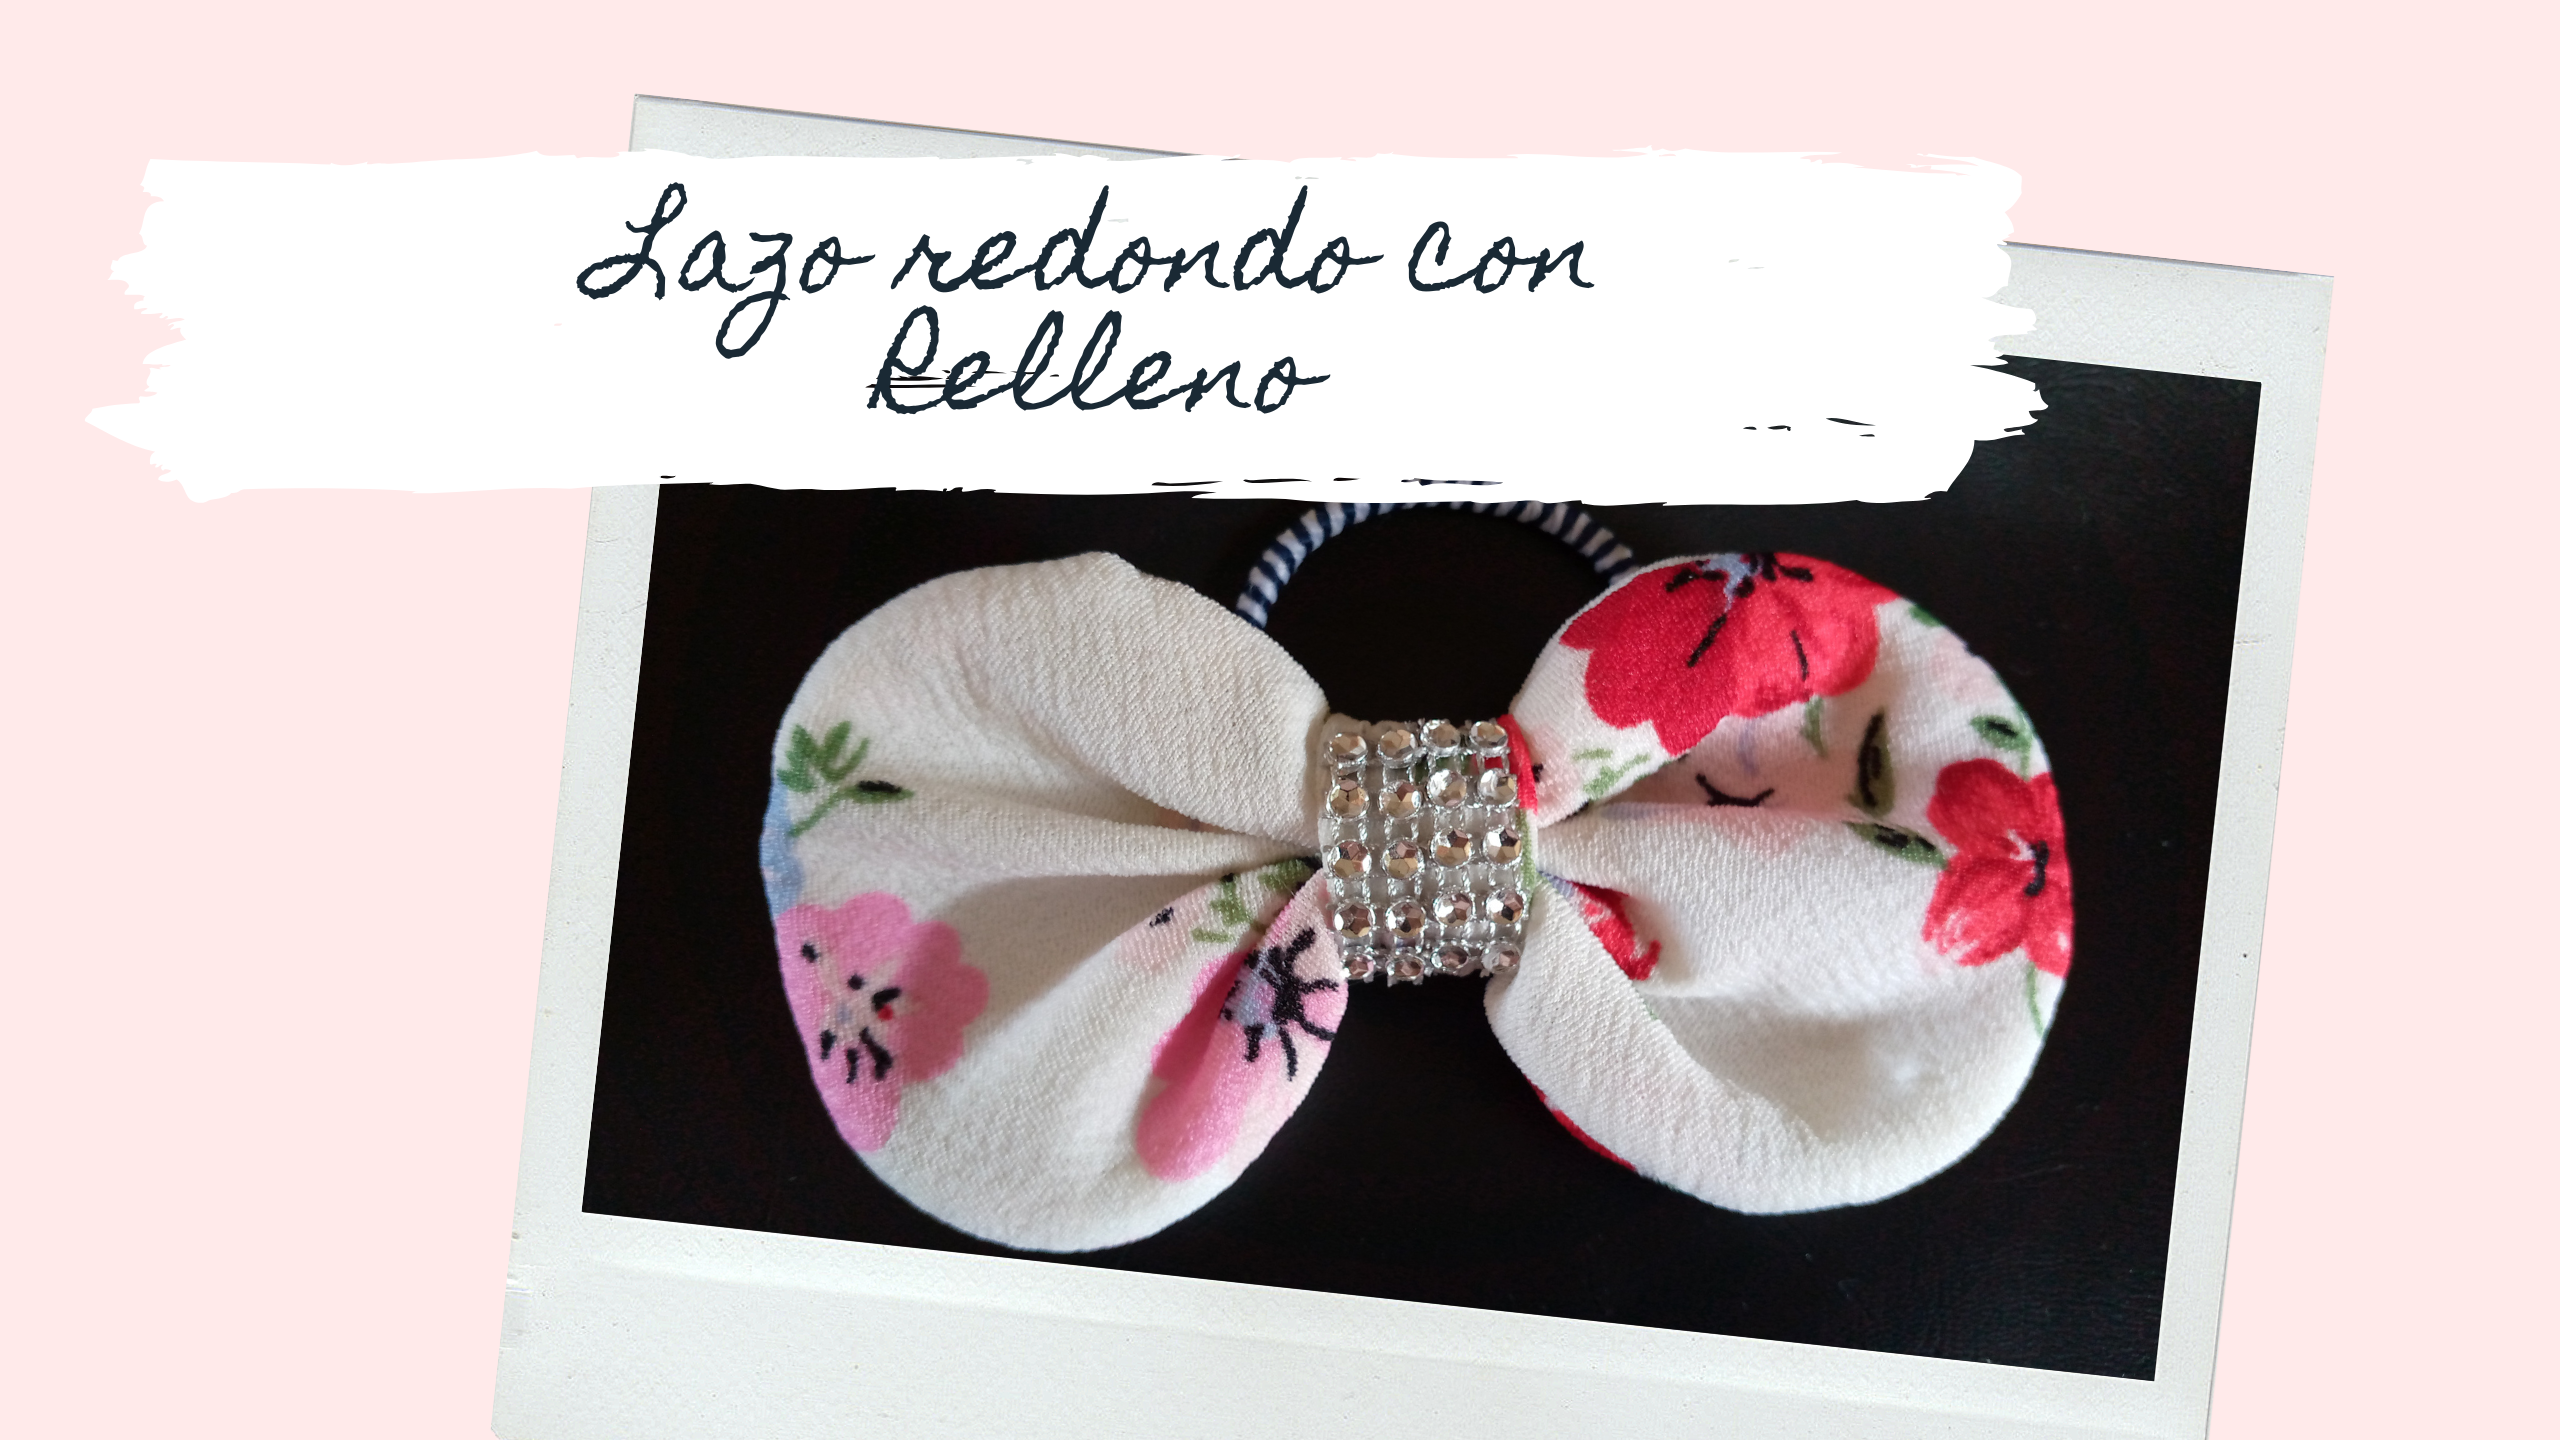
🌸✨Hello beautiful community, it is a pleasure and a pleasure for me to greet you, I hope you are having a great day✨🌸, I am always excited by the idea of sharing with you a lot of what I do, your work has inspired me a lot in this last week, I really like how elaborate you are. Truly, thank you very much for those beautiful and beautiful works, I am also grateful to the @hivediy community for giving me their heartfelt support, once again, thank you❤️❤️.
This day I made a beautiful printed bow for the little ones in the house, it is made of a delicate fabric, this fabric is very beautiful so I said well I will use this one to make this bow, I know that you really love crafts and handmade work so I have dedicated myself to doing the sewing by hand so the beautiful finish will be more visible, so let's take it step by step.
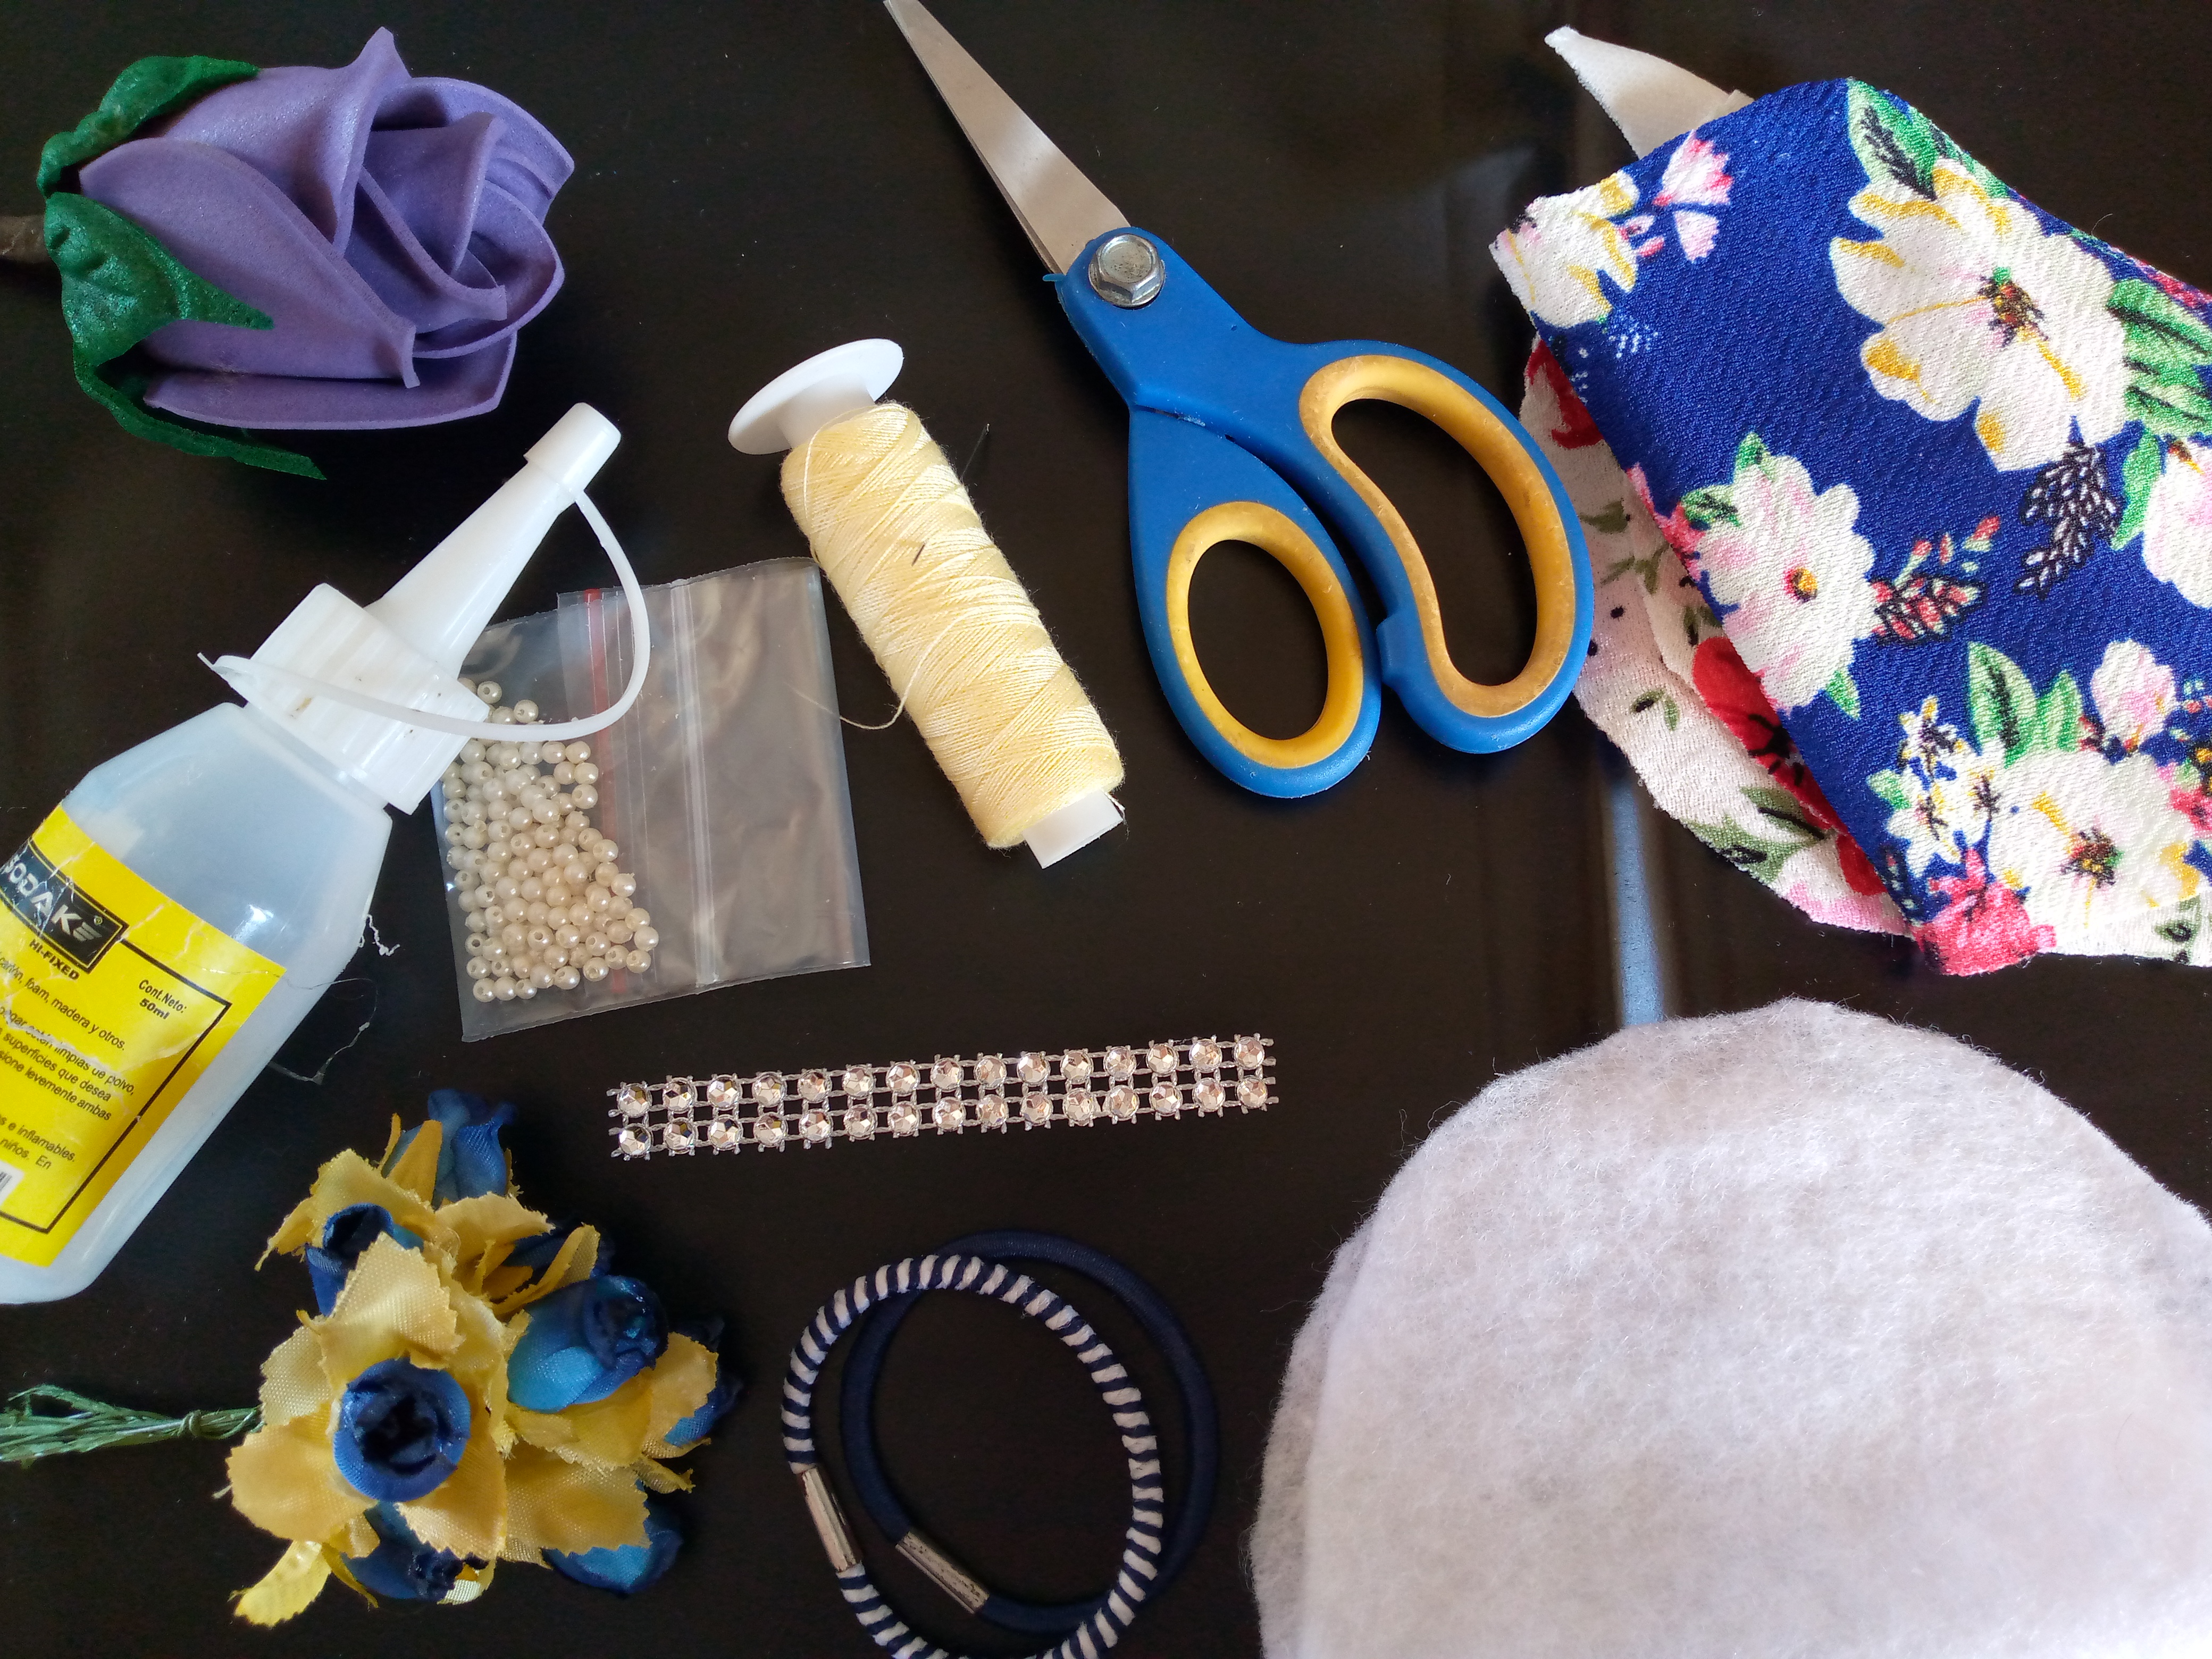
🌸Materiales que usé :🌸
Materials i used :
- Retazos de tela
- Tijeras
- Hilo y aguja
- Detalles(perlas para decorar,diseños plateados,rositas entre otros)
- Gomita para el cabello
- Silicón
- Relleno
- Pieces of cloth
- Scissors
- Thread and needle
- Details (pearls to decorate, silver designs, roses among others)
- Hair gum
- Silicone
- Stuffed
🌸🎀(Pasos a seguir.)🎀🌸
(Steps to follow)
Paso 01
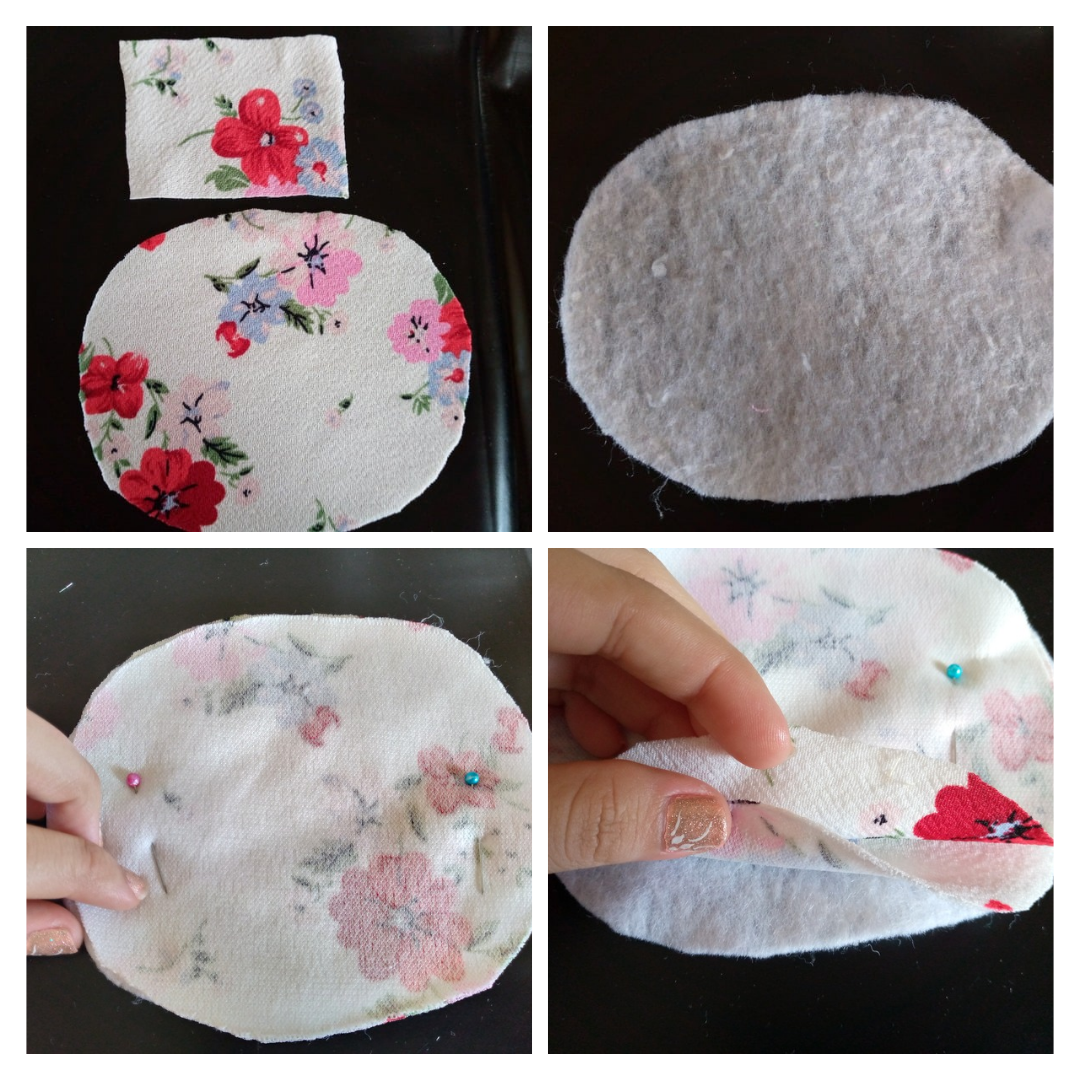
We begin by marking our piece or side on the fabric and the filling, we make a circle about 14 cm wide x 12 cm long, a rectangle 6 cm wide x 8 cm long, once we have this ready, these pieces are going to be arranged How are they going as I show you here in the photos.
Paso 02
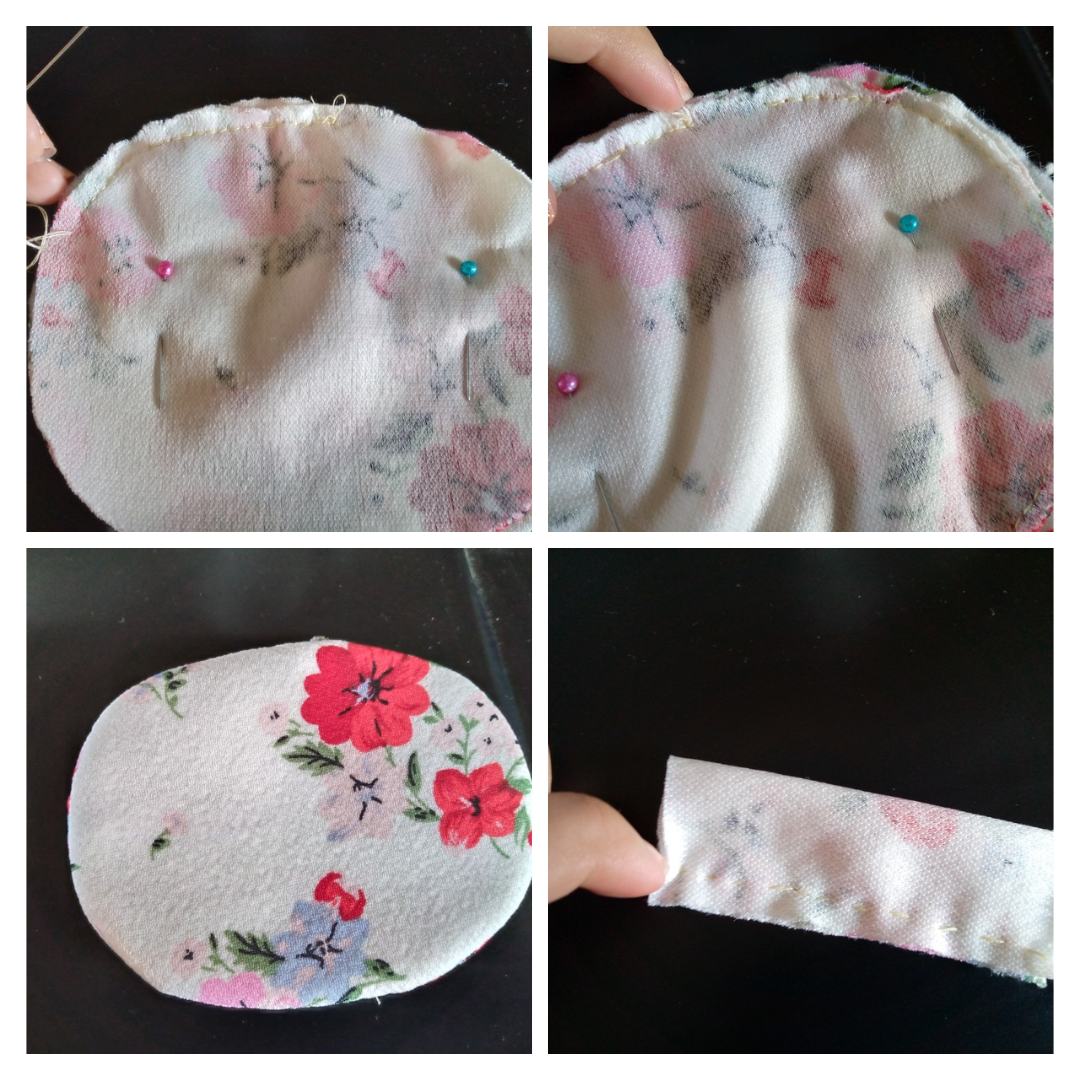
Then we began to sew our pieces together so that they would not come loose, I put some pins to hold them. We are going to sew the circle along the entire edge, leaving a small space, then we turn it over and start sewing the rectangle along the bottom.
Paso 03
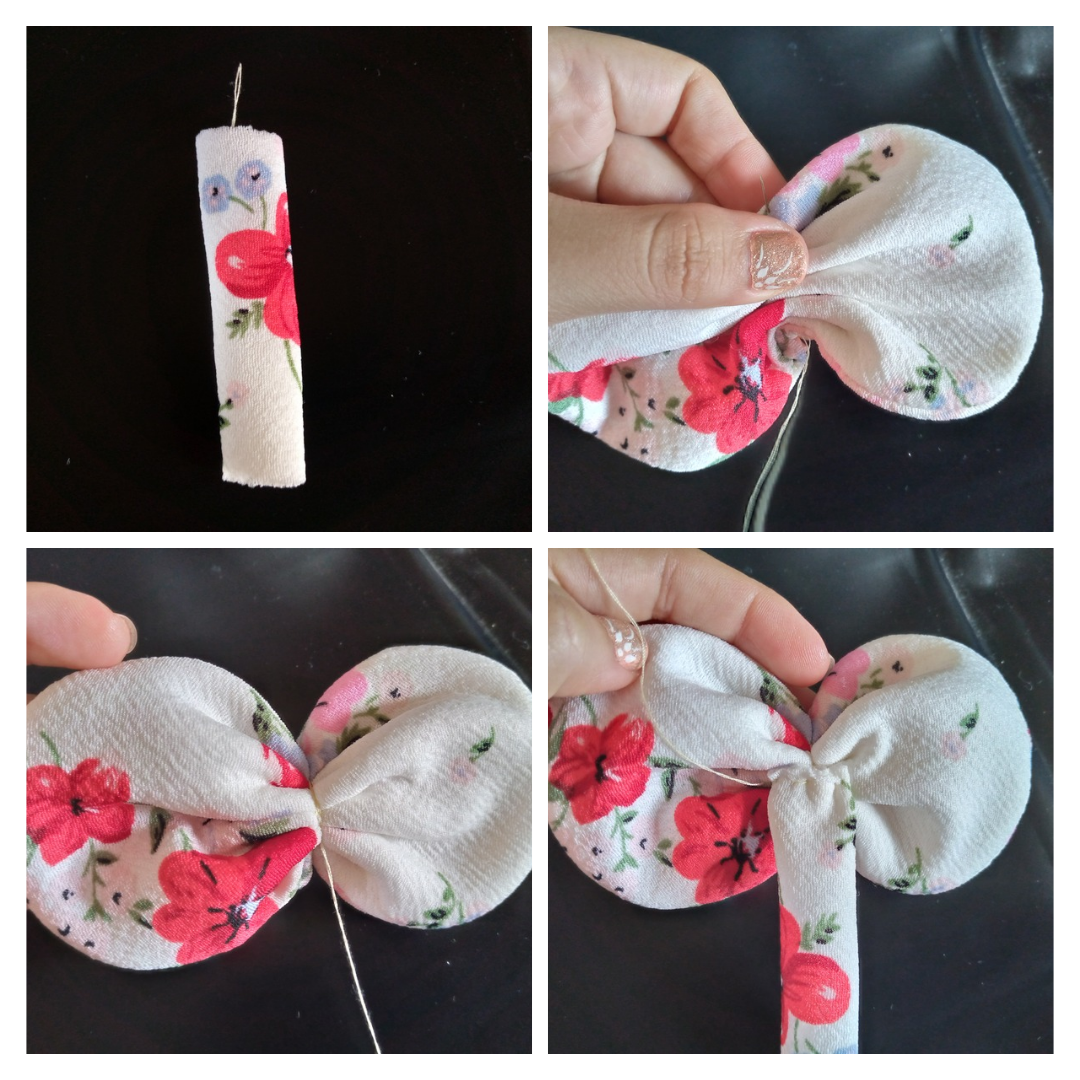
As the next step we are going to turn our rectangle and we have those pieces ready to assemble the bow, we start by gathering our circle and we make two turns with the thread, we pull and close the seam so that it does not come loose, then we are going to sew our rectangle at the bottom with invisible seam to hold the rectangle.
Paso 04
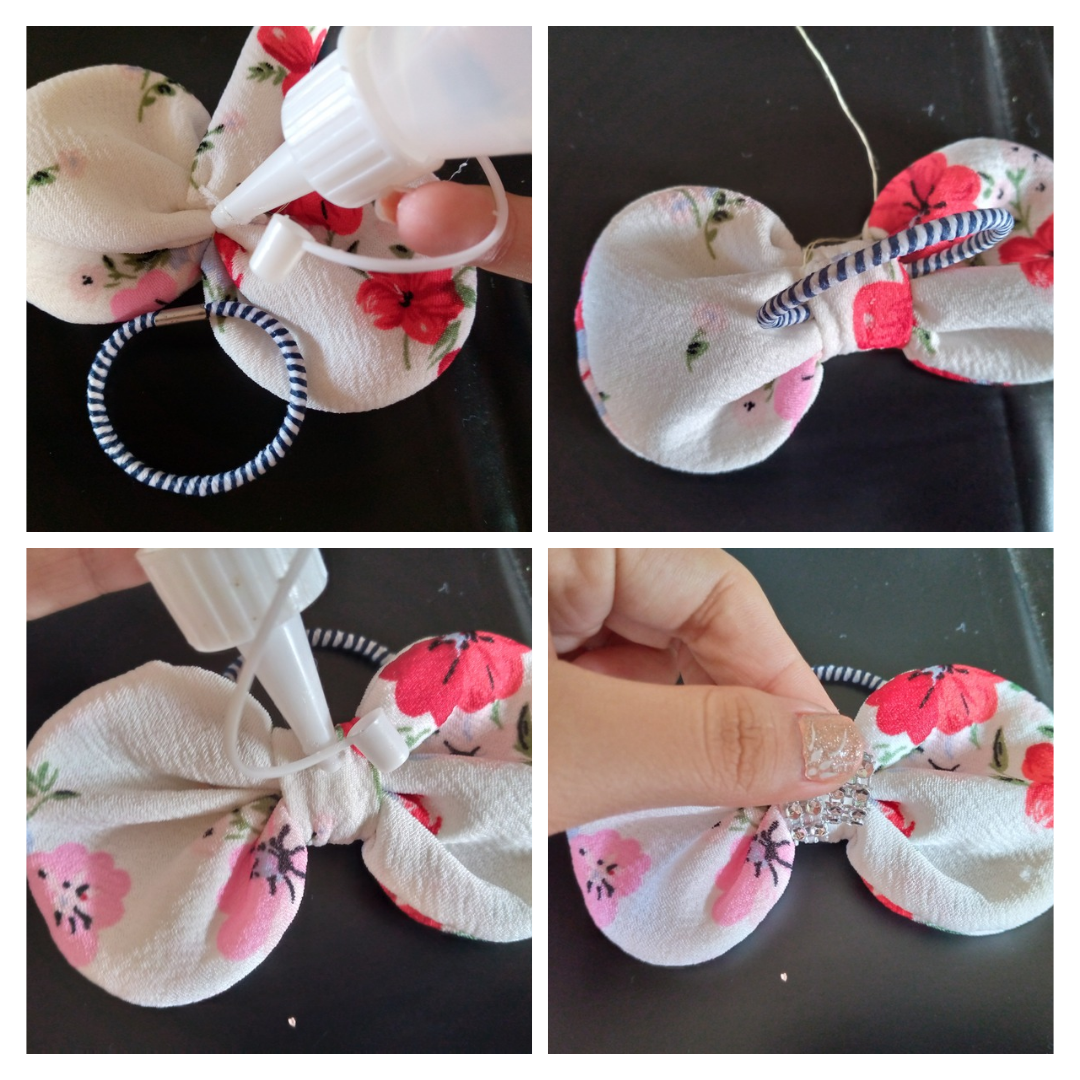
We go on to sew our rubber band and attach it to the bow, we finish sewing the rectangle and our little bow is assembled, then we add the shiny design as a detail because I liked it more, it looks more elegant and gives it a prettier touch and that's it, we're done.
🌸✨Resultado✨🌸
Resultado
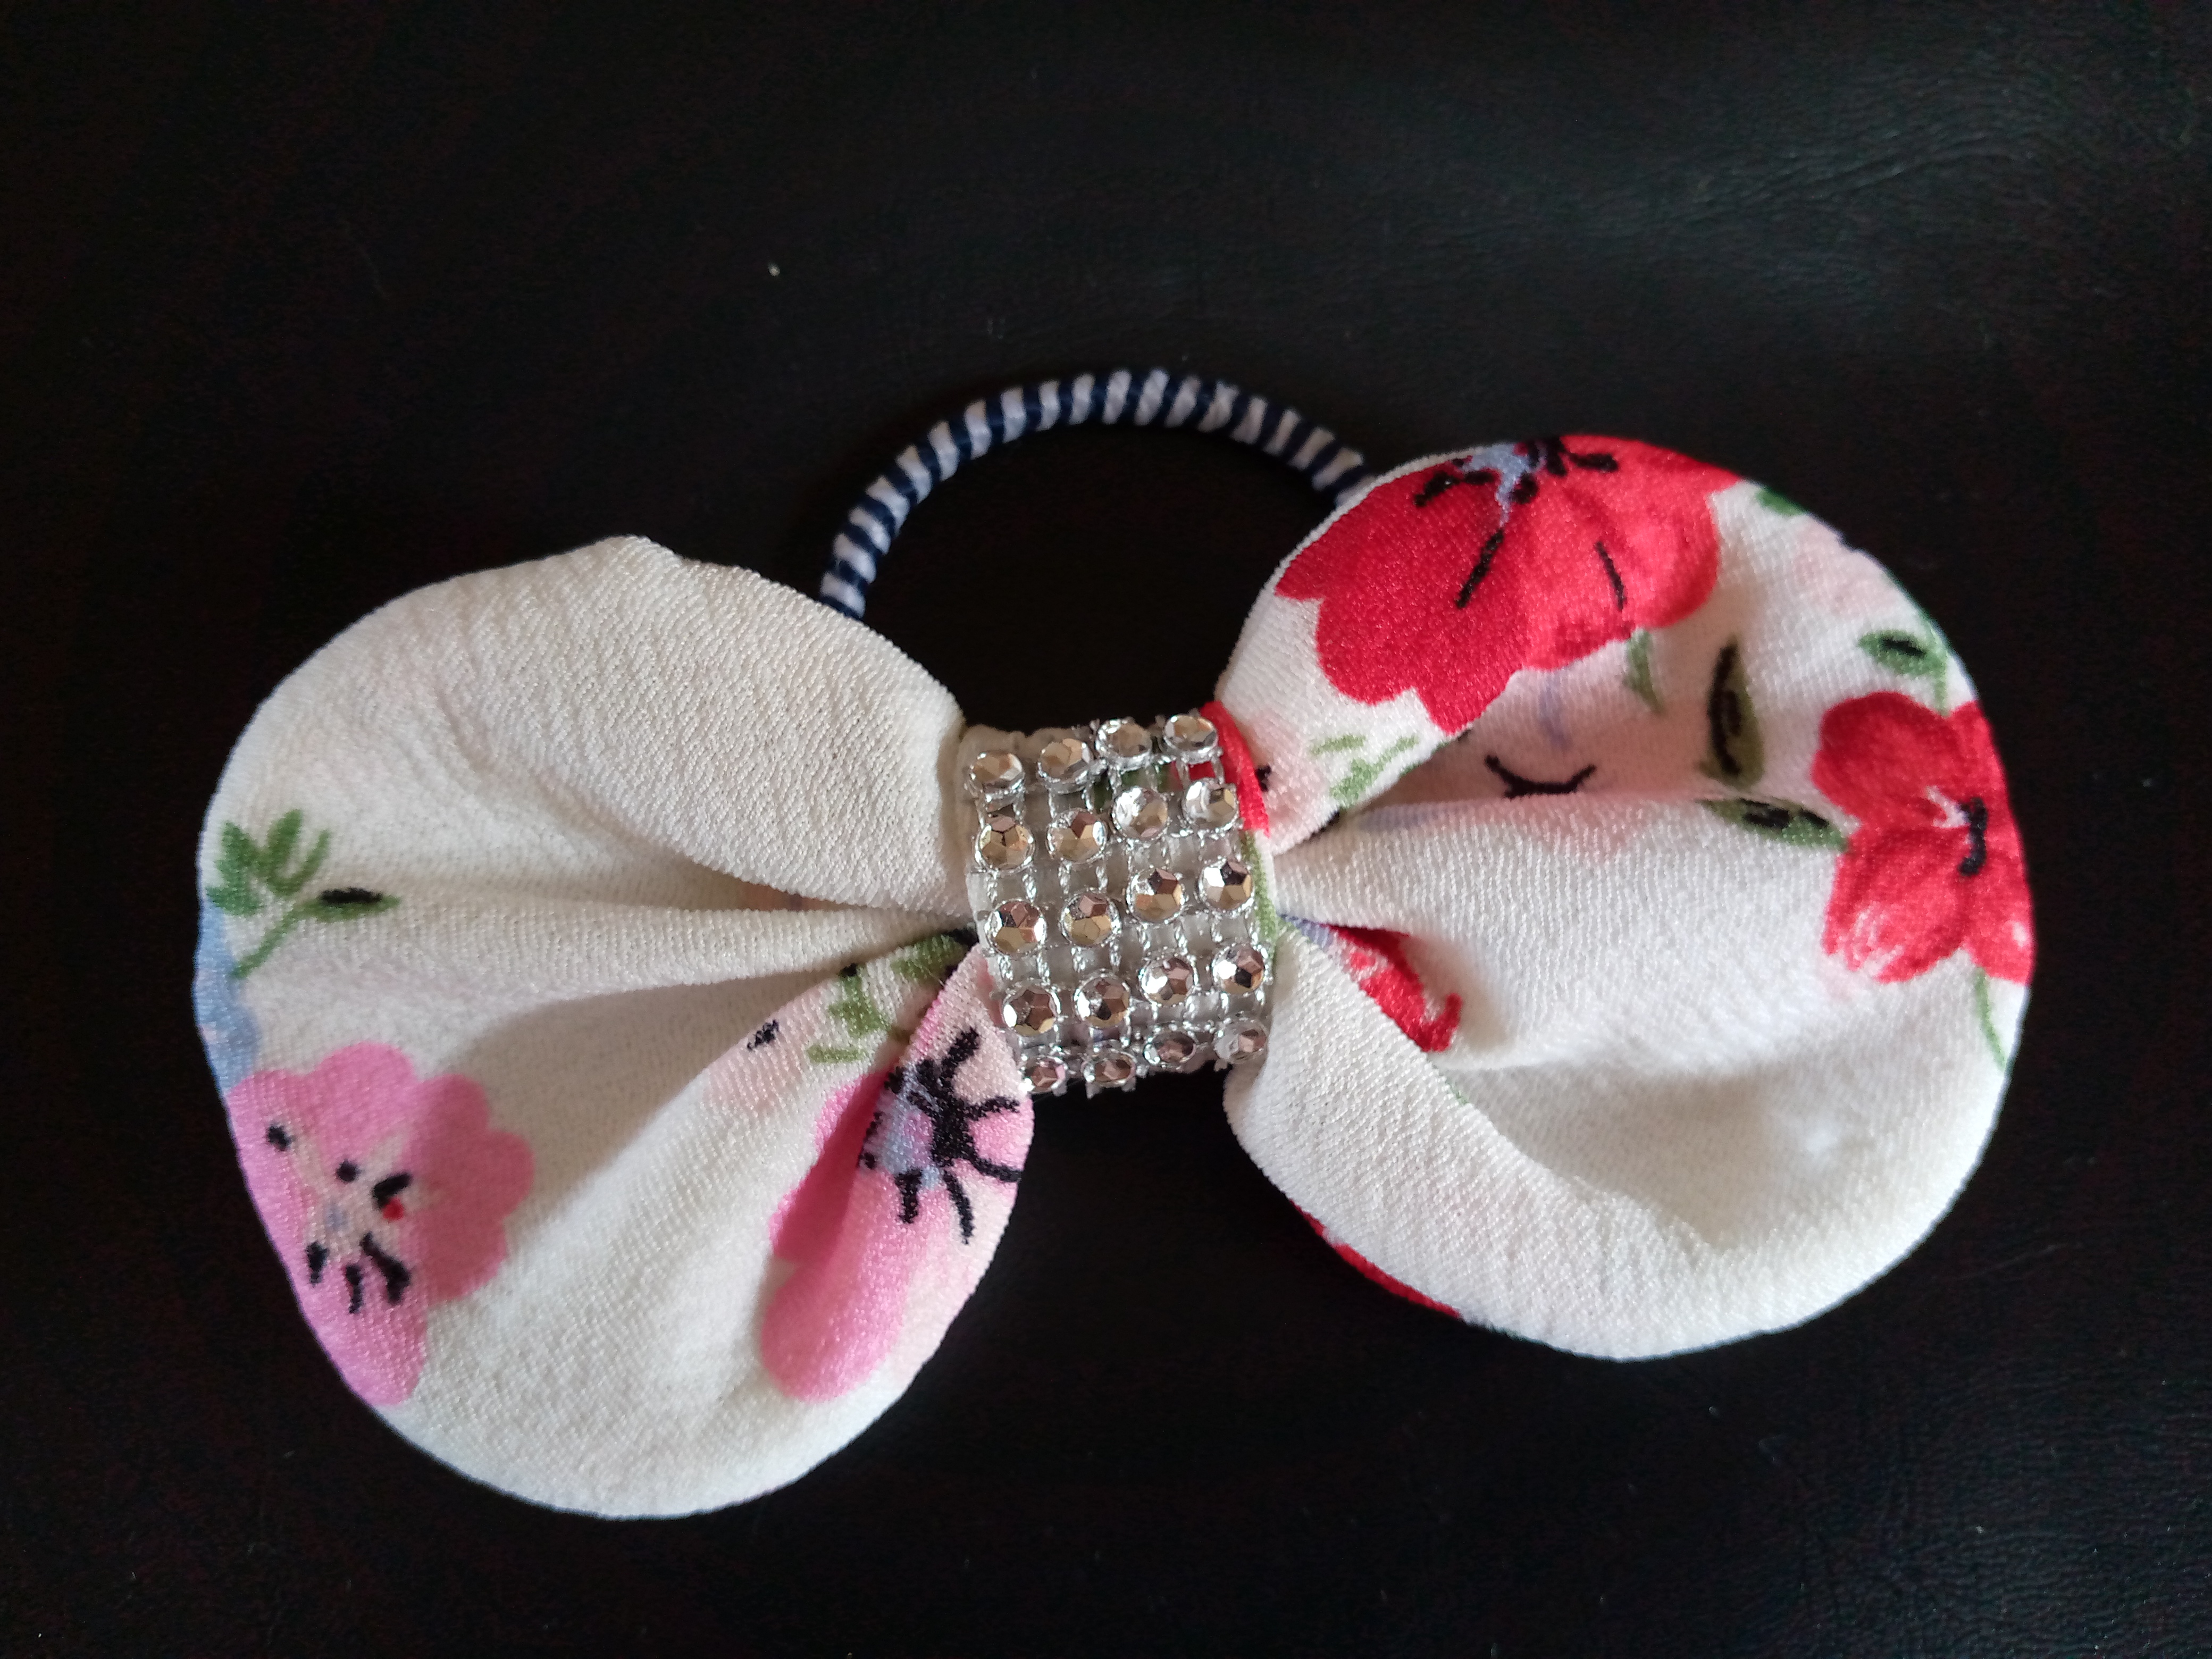
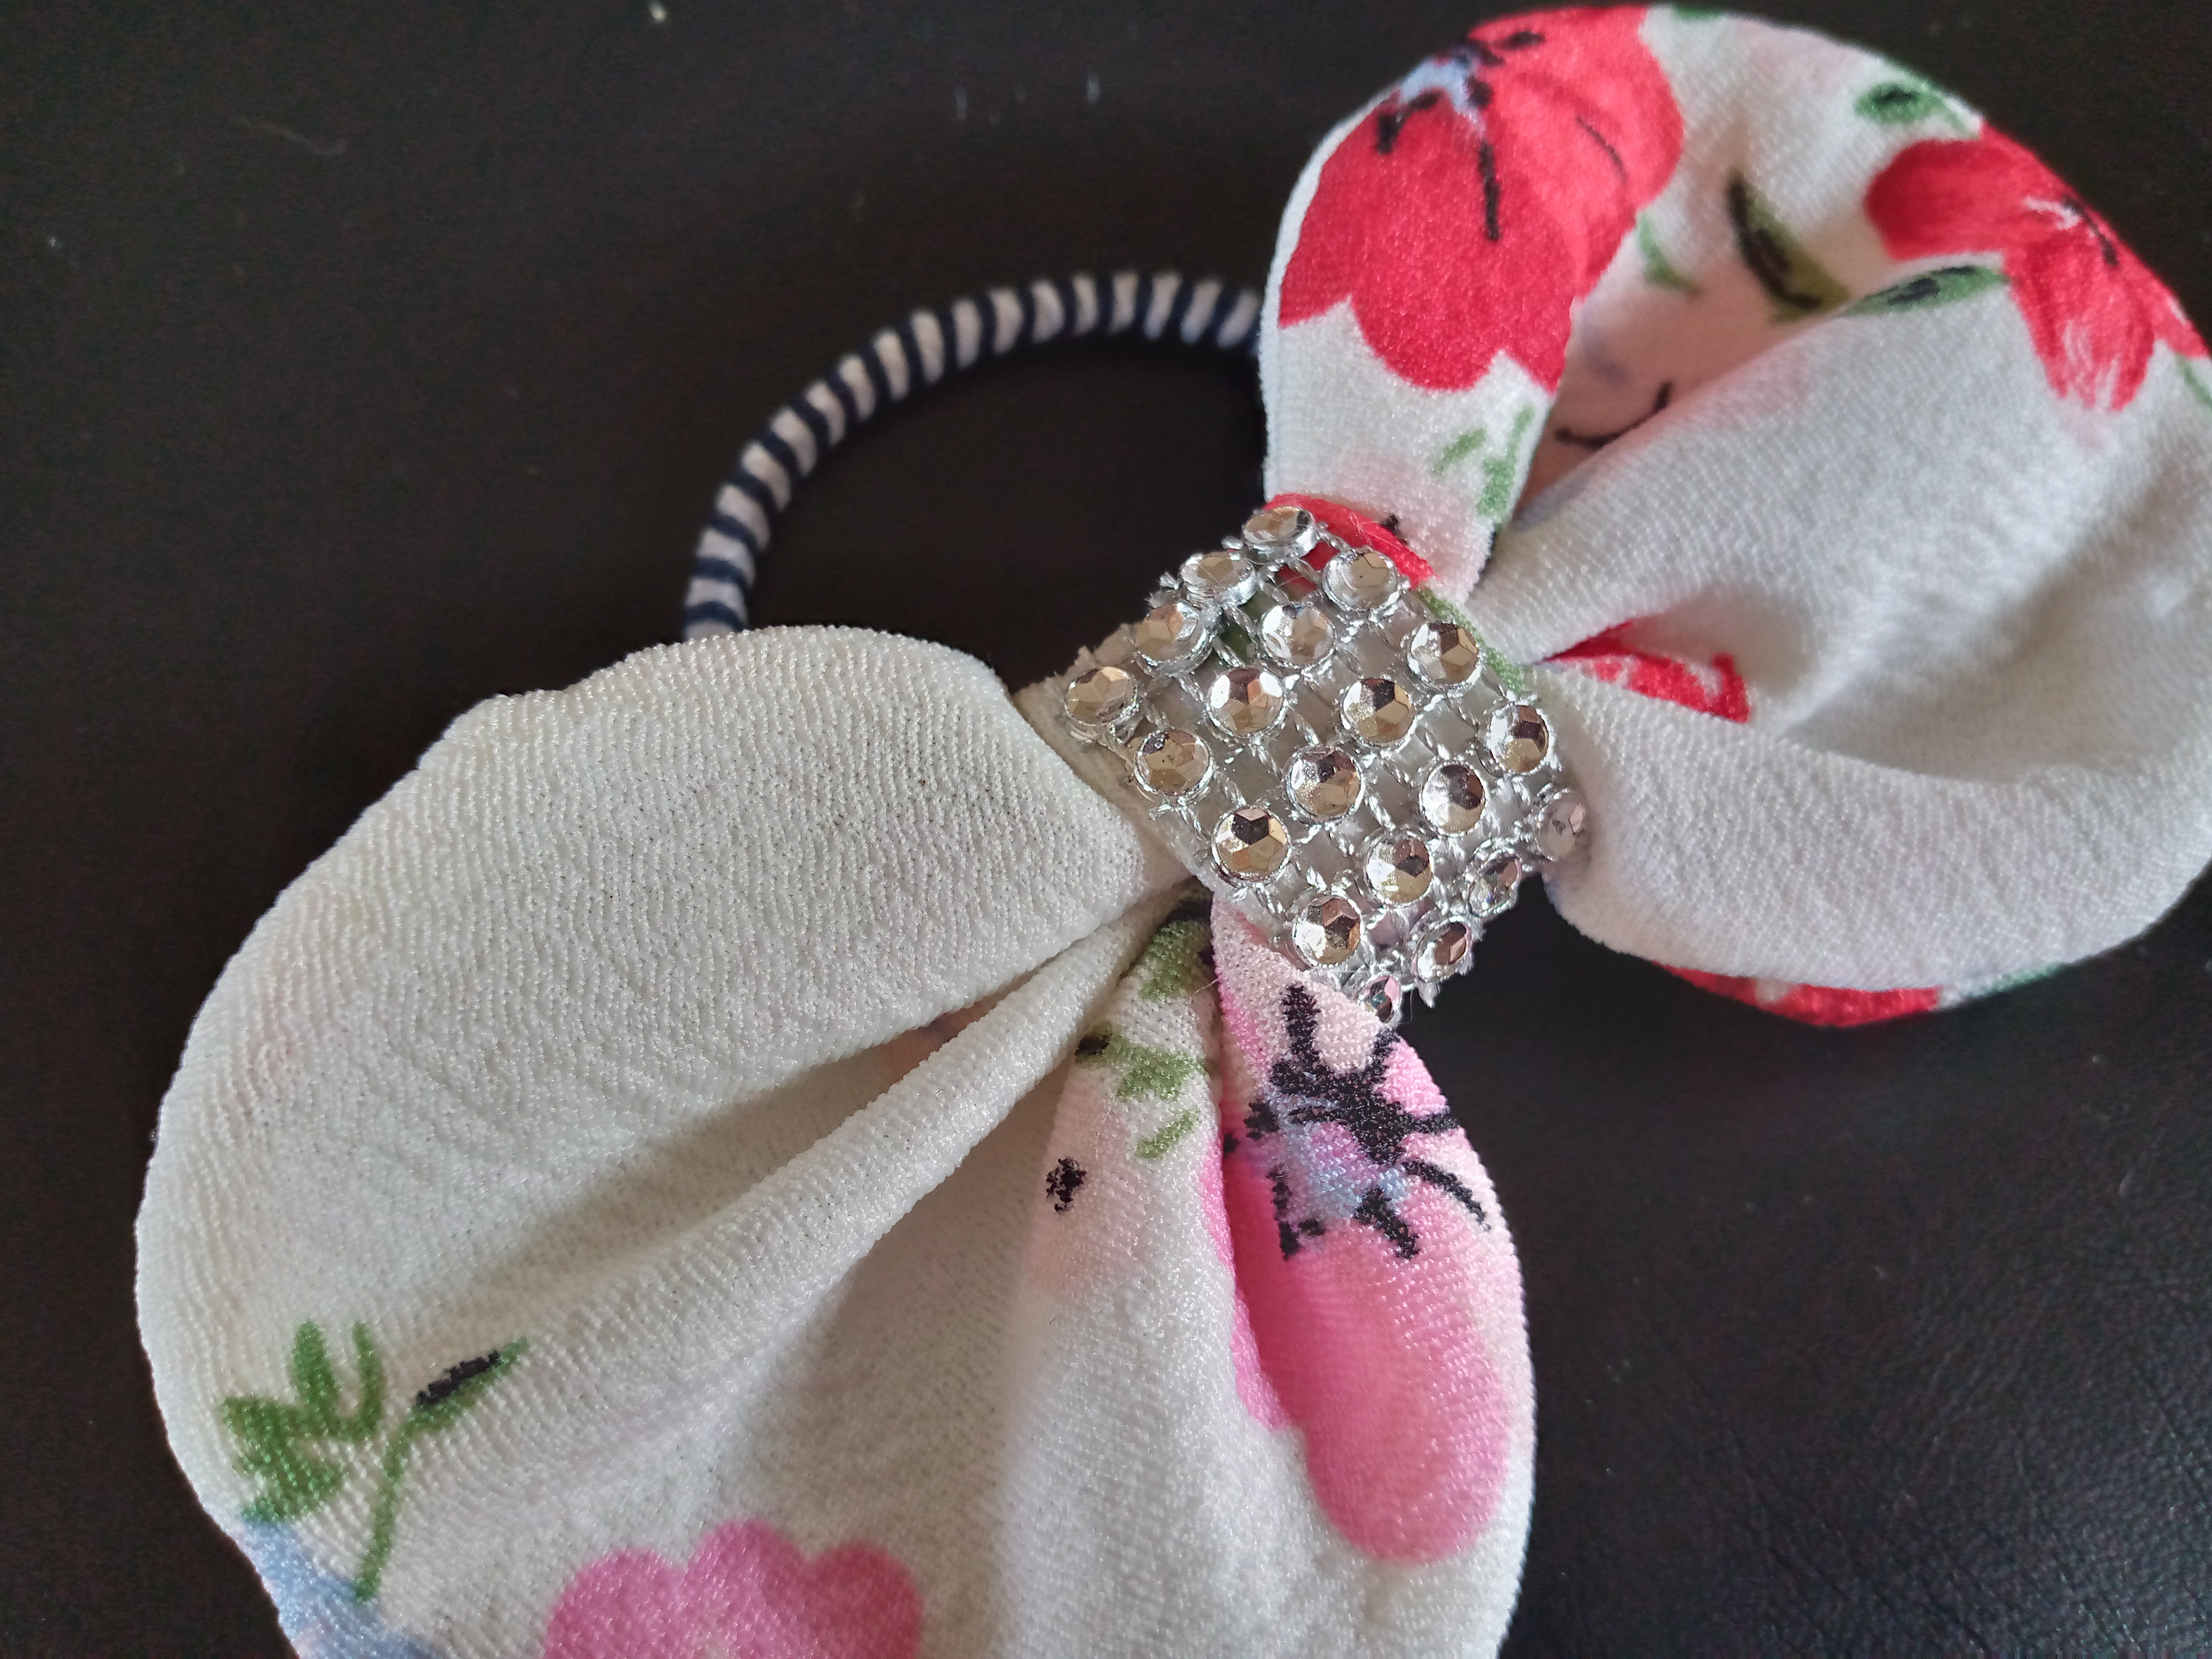
I loved how this cute little bow turned out for girls, this is a good option when working with fabrics that are very soft and cannot have the shape when working with them, you can use the filling on these occasions, I hope You liked my work, here I leave you photos of how it turned out up close and you can appreciate it, I hope you have a happy afternoon, friends, don't forget to leave your nice comments. I would love if you could also tag me in your work so I can appreciate them with pleasure. I would love to see them, I leave you and see you in another next blog, goodbye, God bless each of you, hugs, take care.
Se ve lindo este lazo redondo, queda espectacular para las colitas, me gusto mucho. Gracias por compartir.
Así es amiga queda muy lindo , gracias a ti por el apoyo 😍😊✨❤️
Muy lindo lazo con relleno y me gustan los colores.