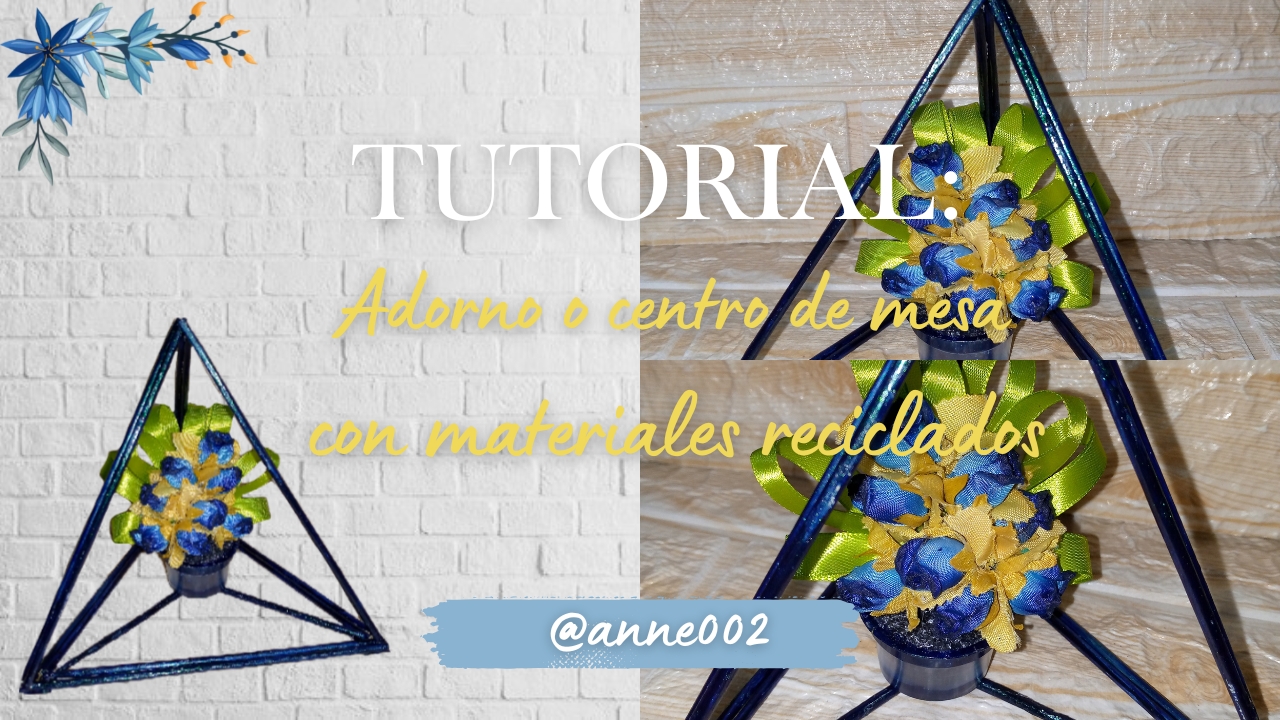
Hello, beautiful day! It's a pleasure to greet you🌞. I hope you are all doing very well, dear and appreciated friends. I warmly welcome you to a new blog where I will be sharing with you the creative process of what we will do here step by step. Feel comfortable and thank you for being here reading this blog.✨💗
.jpg)
I want to show you how to make this very pretty ornament for decorations and centerpieces made by yourself and with recycled materials, you can do it with these kitchen bamboo sticks cut in half, we will also use that nail polish that we no longer use and that is thick is special to paint the sticks and give a prettier finish, of course the paint also lasts in this arrangement.
As a detail in the center I wanted to place a small flowerpot made with flowers that I had saved, you could find these in any store that sells haberdashery or crafts, you can also make them yourself with foam or ribbons, it would look great, here the important thing friends is that we use things as recycled as possible and that it looks very pretty, if you want to know how I did it I invite you to the step by step of this beautiful creation and the final results I hope you like them as much as I do ..

.jpg)
Materiales:// Materials:
- Cinta de 1 cm de ancho
- Tijeras
- Flores pequeñas de decoración
- Envase pequeño
- Silicón
- 6 palillos de altura o de bambú
- Bolígrafo
- Trozo de goma espuma
- Esmalte de uñas que ya no uses preferiblemente que no sea semipermanente
- Regla
- 1cm wide tape
- Scissors
- Small decorative flowers
- Small container
- Silicone
- 6 tall sticks or bamboo sticks
- Pen
- Piece of foam rubber
- Nail polish that you no longer use, preferably not semi-permanent
- Ruler
.jpg)
Pasos a seguir://Steps to follow:
.jpg)
Paso 01
Step 01
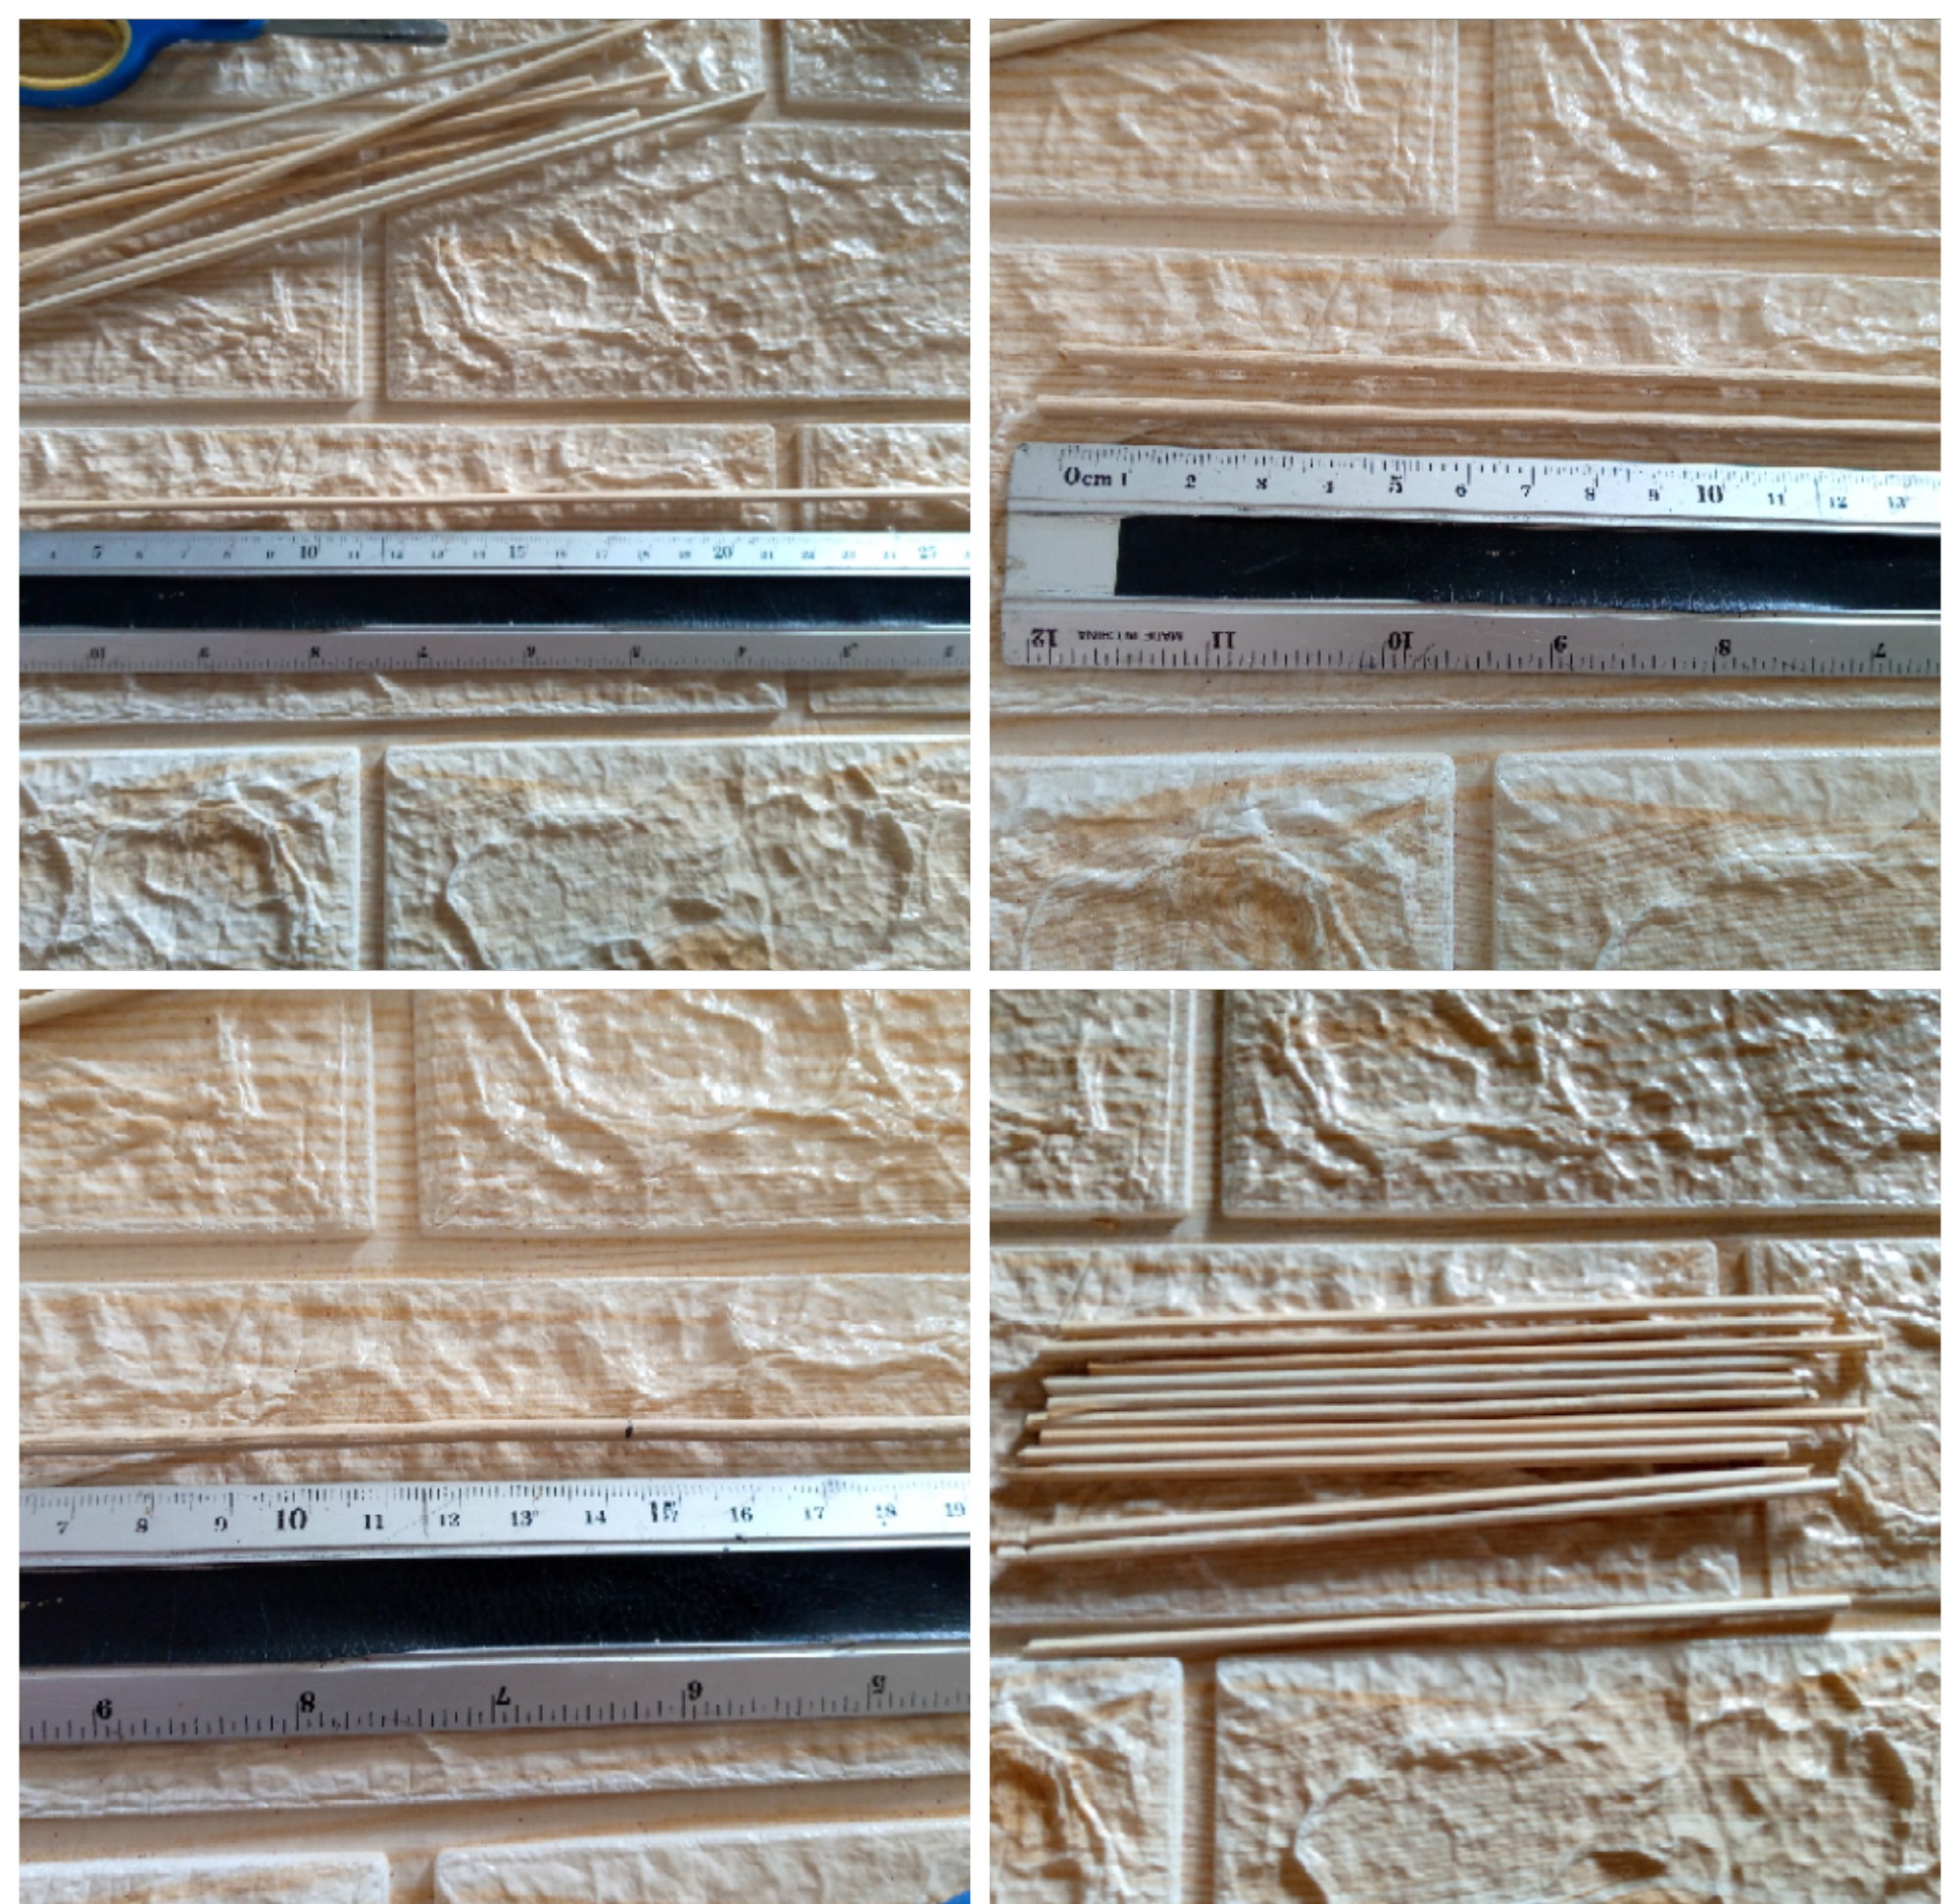
To start what we will do is measure the length of our toothpick with the help of our ruler, the toothpick mostly has a standard length of 30 cm but in this case my toothpick was 29 cm so what we will do is with our pen mark half of that measurement in this case as the toothpick is 29 cm long divided by 2 it gives us a total of 14.5 cm half of the toothpick and where we should mark, we are going to make a small mark with the pen that will show me where to cut the toothpick, and simply with my scissors I cut it there, so I will do with the following toothpicks I should have 12 toothpicks cut in half.
Paso 02
Step 02
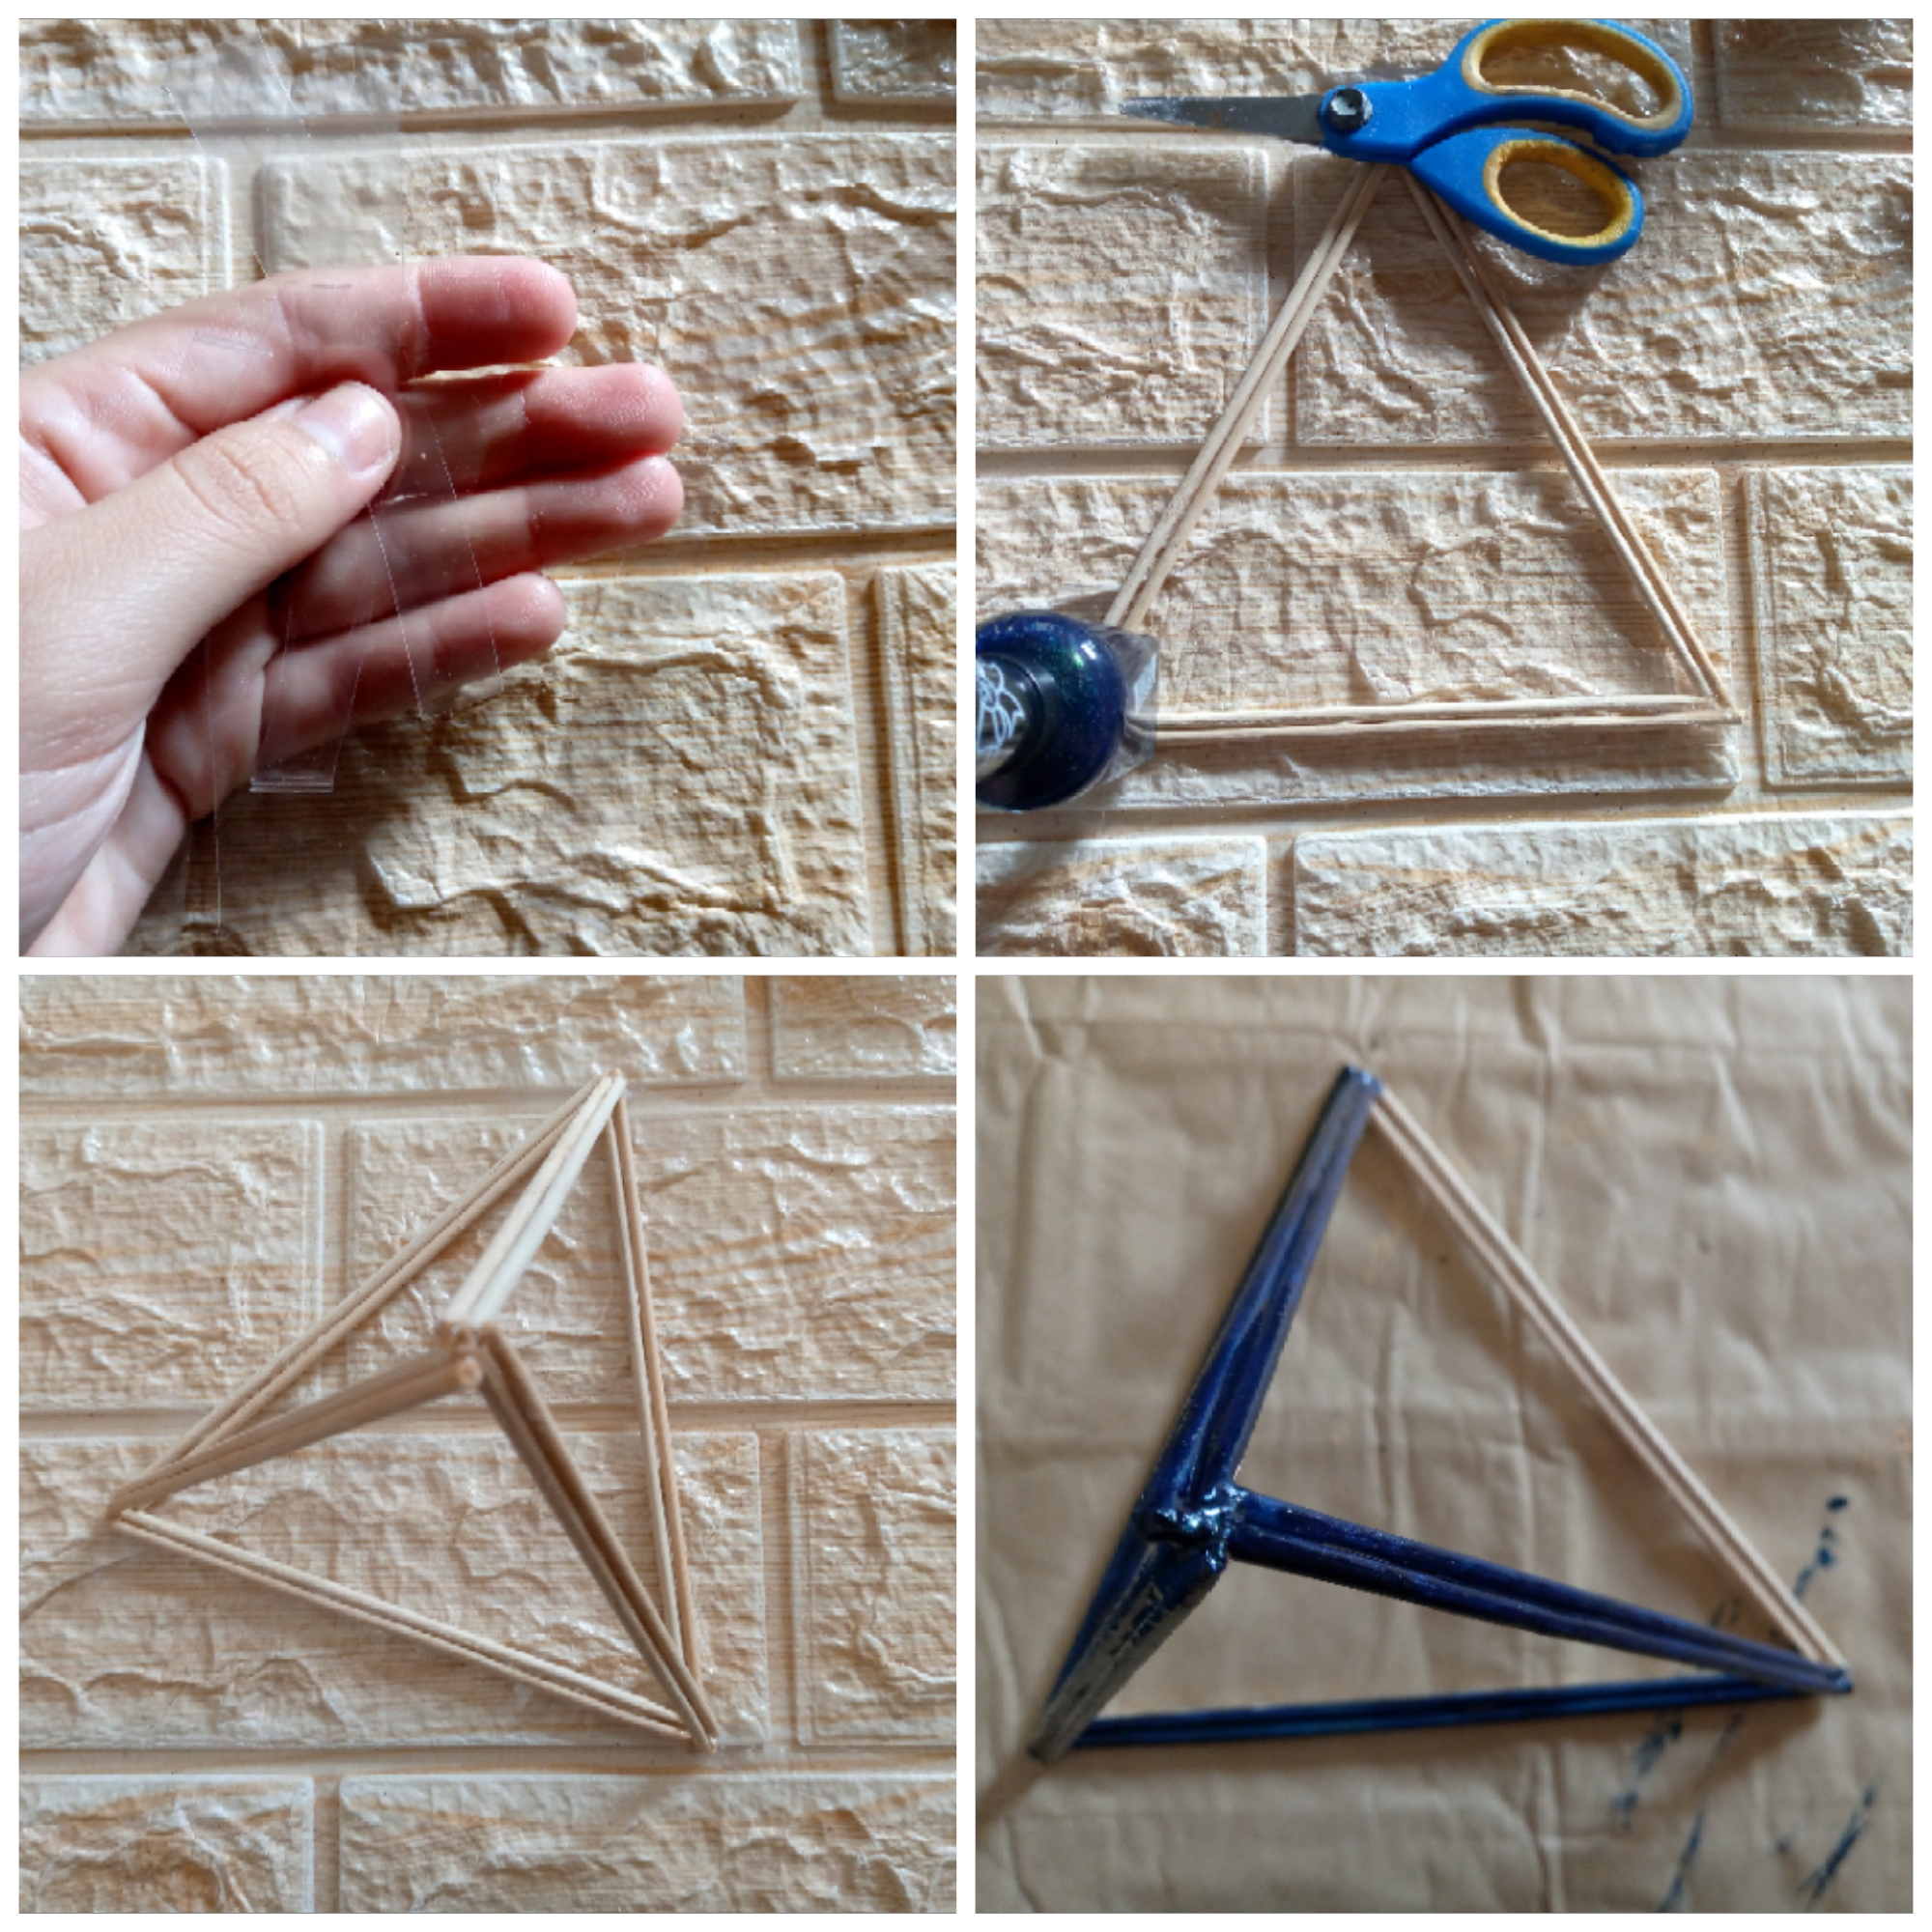
The second step is to assemble our ornament, in this case we are going to make the ornament in the shape of a triangle since there are different shapes, rectangle, square, triangle, hexagon and more, for this we will cut small square pieces of any transparent plastic and we will place them on the surface where we are working, we are going to glue each stick, that is, glue two by two and we begin to assemble the triangle by gluing it at each tip as seen in the images, it is important to let our piece dry so that the handling of the structure of the triangle is much better, then we are going to assemble and glue the pieces of the top, we let the piece dry again and it is time to paint it, make sure to lift it and paint the parts of the cracks between the sticks.
Paso 03
Step 03
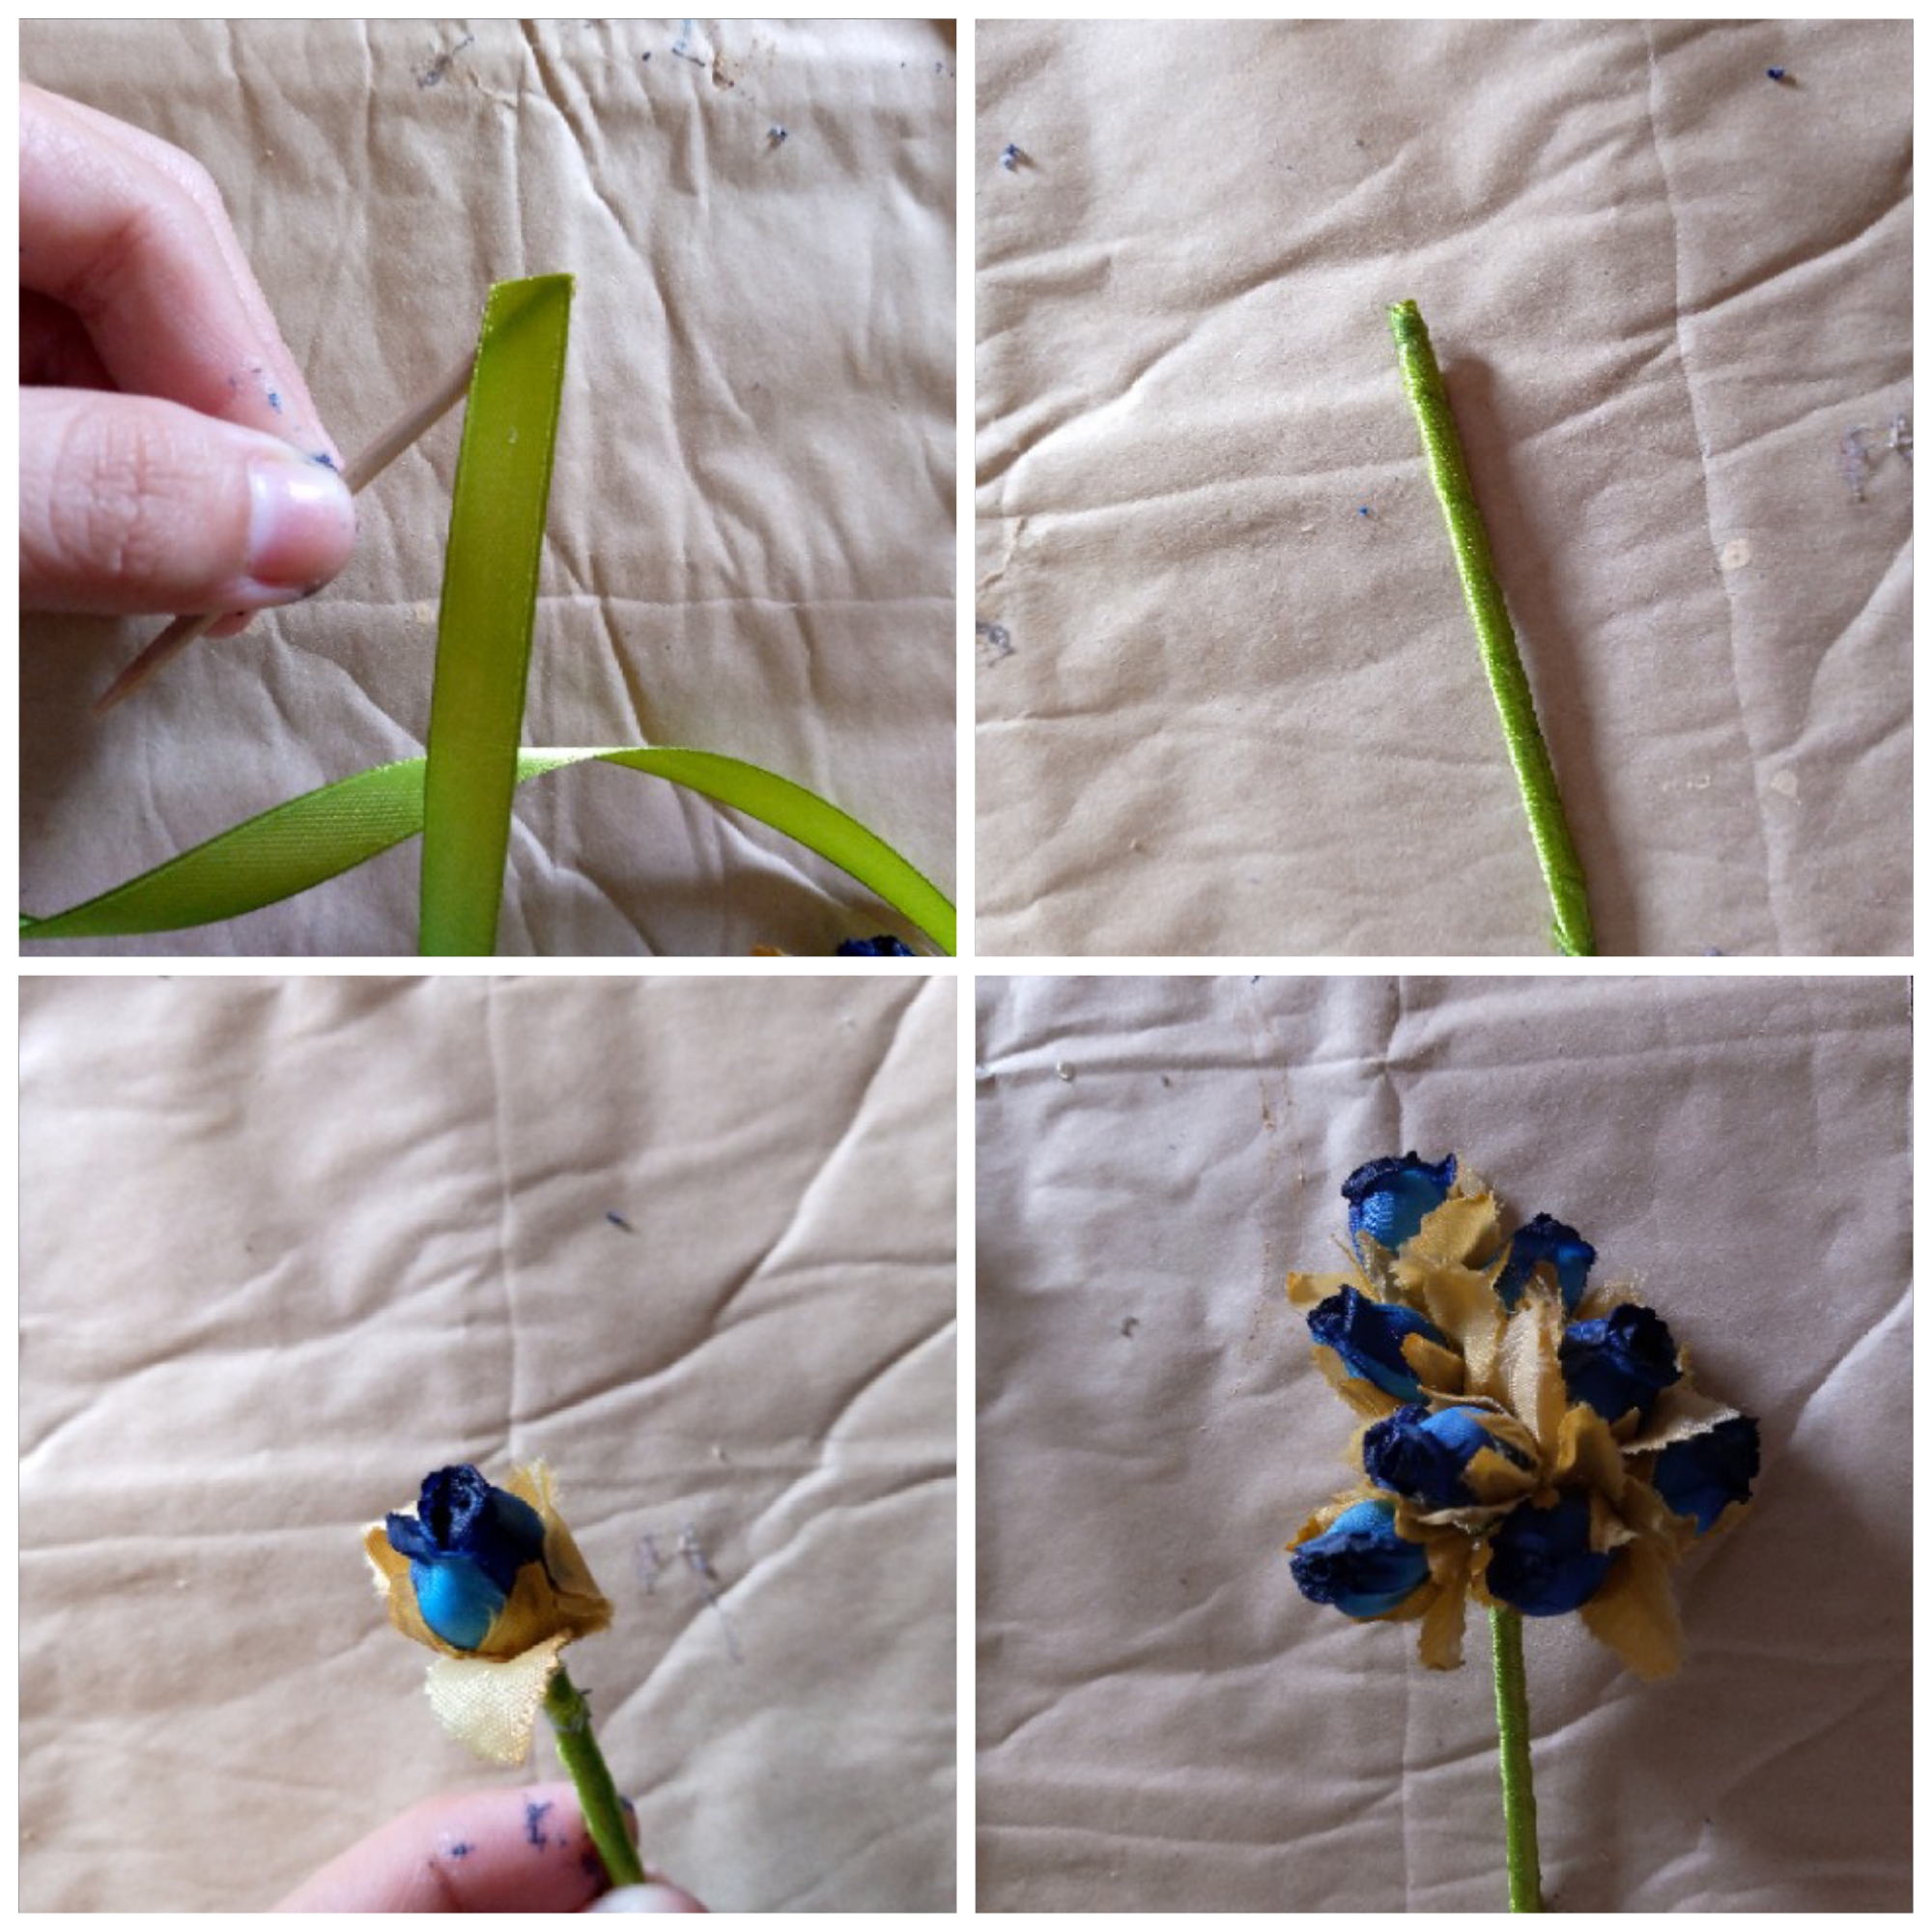
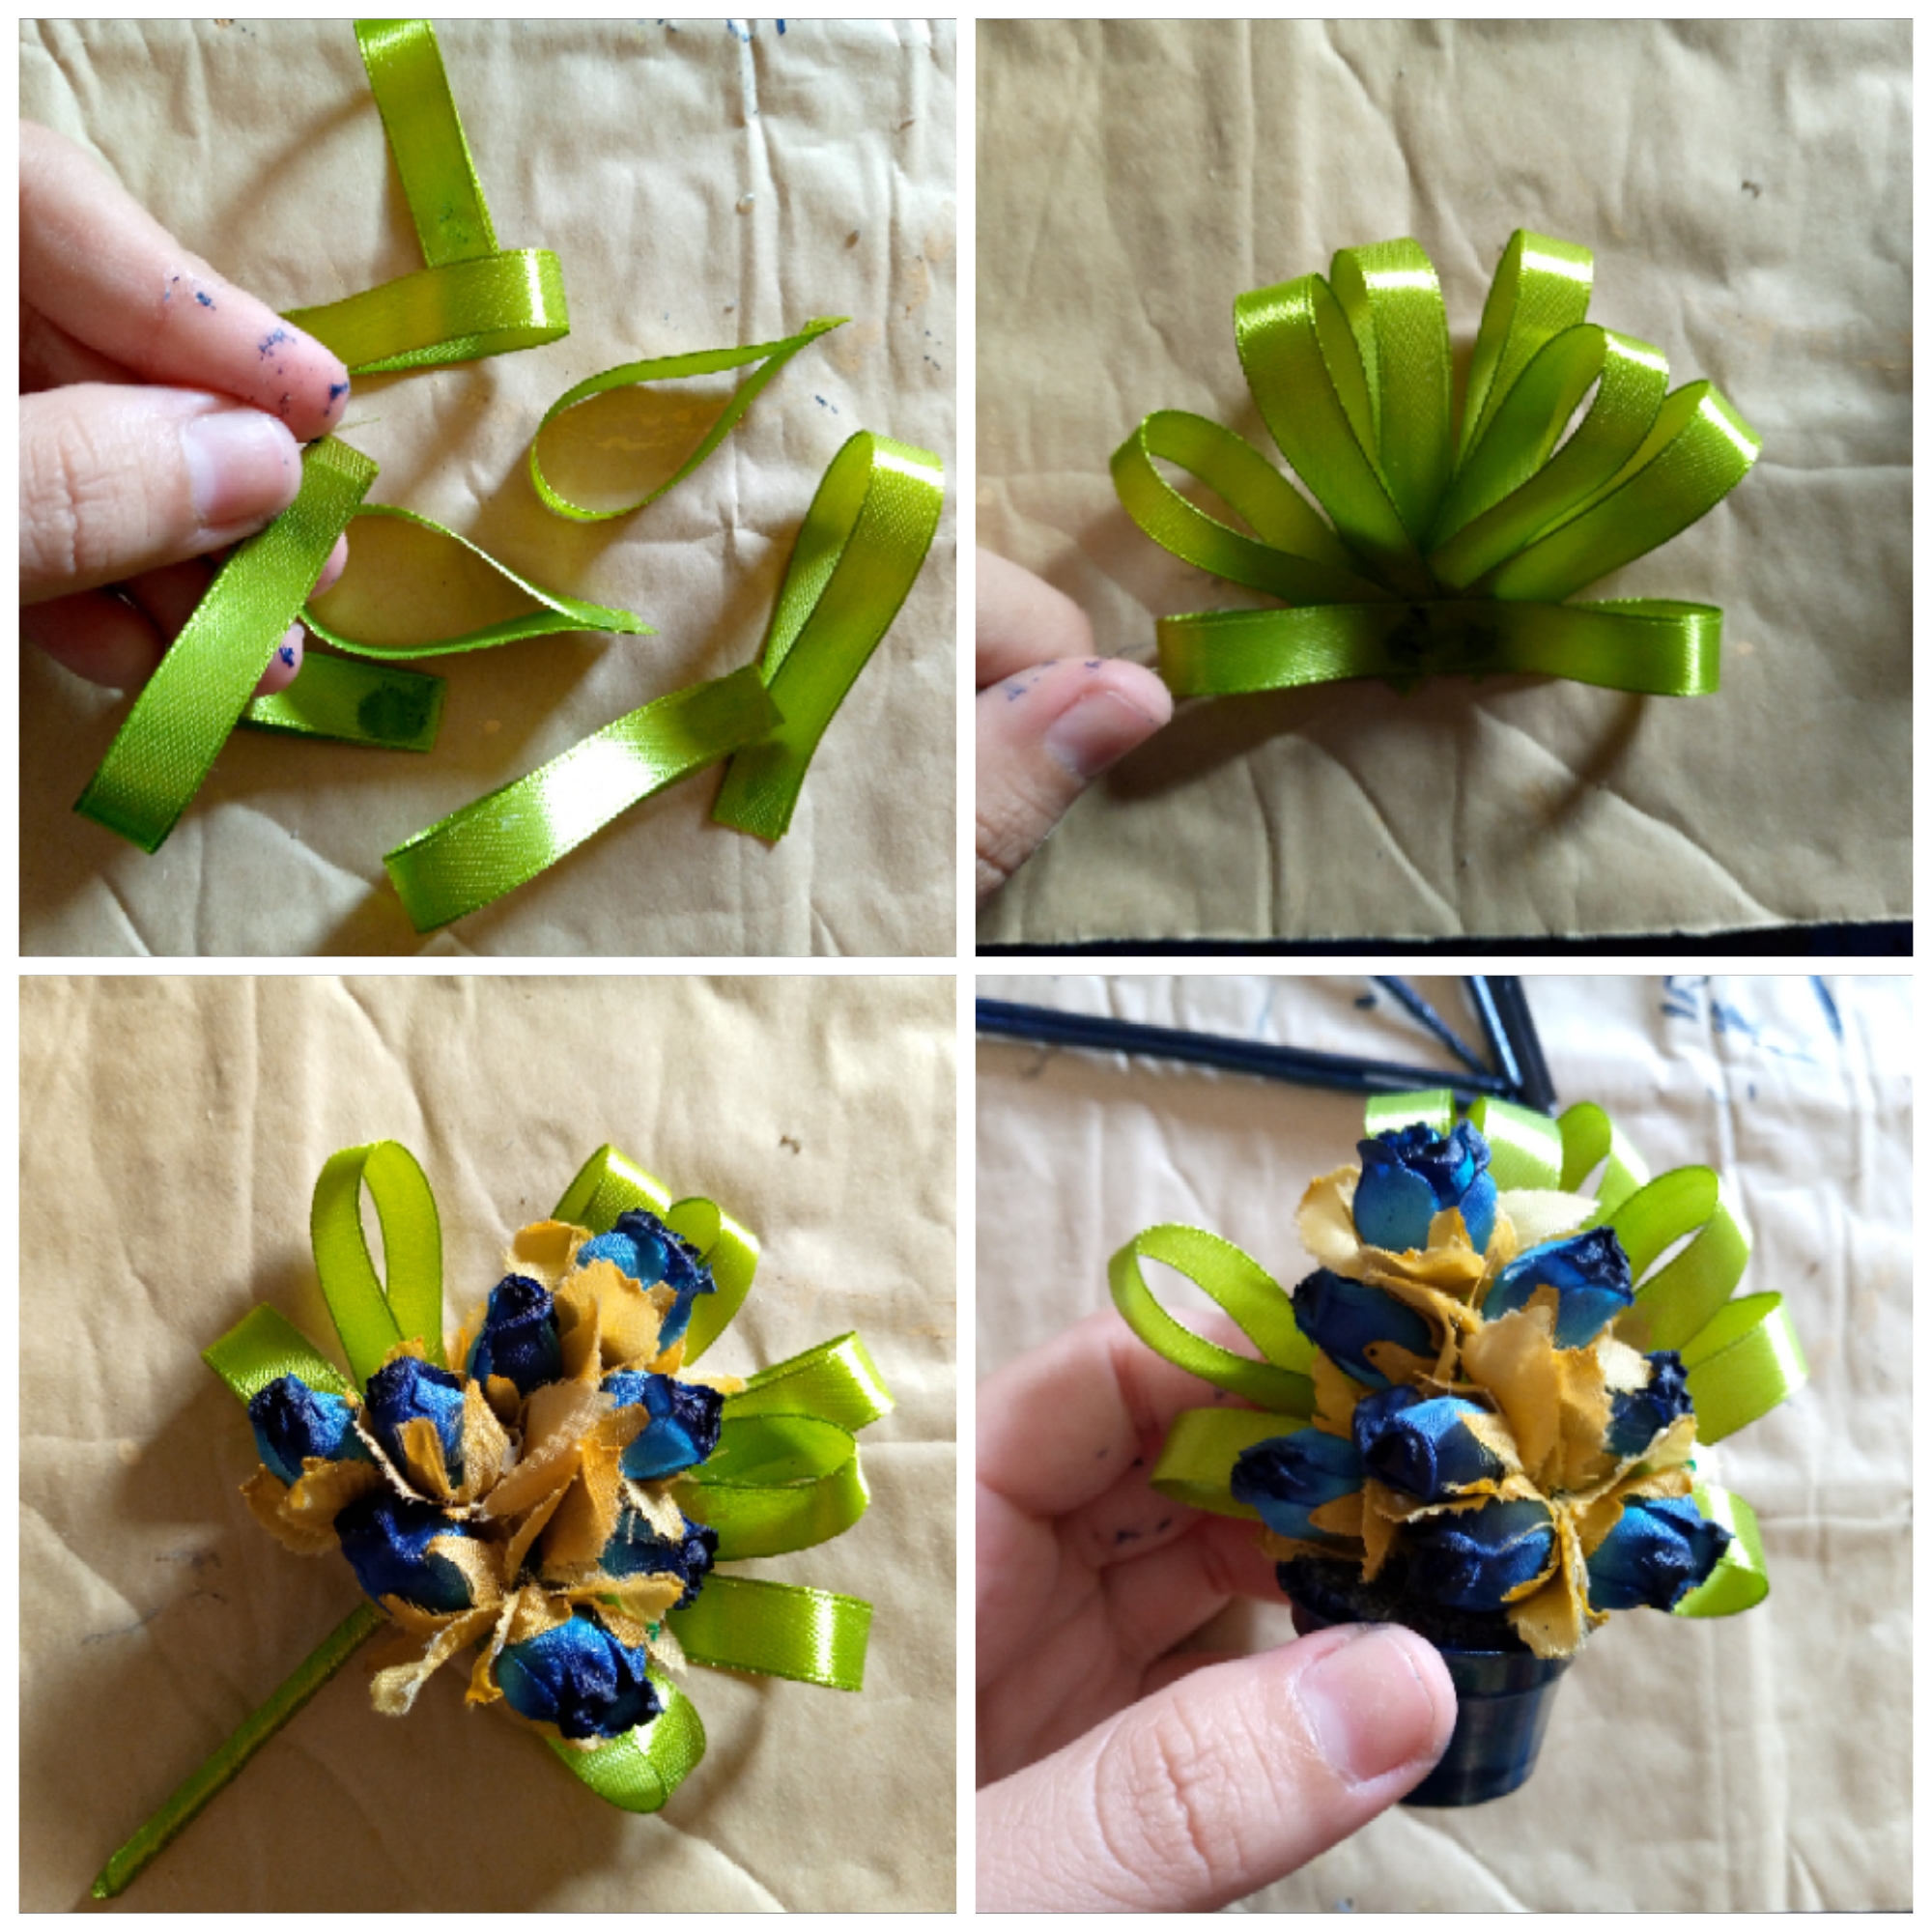
While we let our piece dry we are going to make the ornament that we will place in the center, which is the small vase and the flower pot, we begin by assembling the arrangement of small flowers, I will take a 5 cm long toothpick and with the 1 cm green ribbon I will cover it to simulate the stem of the arrangement I start from the tip and wrapping the ribbon around the toothpick, when we get to the bottom we cut the ribbon and add a little silicone to stick it, we begin to assemble the flowers I will place one on top as these small flowers have a wire that is very thin it was very easy for me to wrap the wire around the toothpick and thus place the first flower we will continue assembling two more below and three more a little bit lower in total I placed 8
of these small flowers.
Paso 04
Step 04
I proceed to make the small leaves that I wanted to place in the back of my flower arrangement. For this, I will cut a piece of green ribbon 8 cm long. I will cut 8 as well. When I have my pieces of ribbon to put them together, it is very simple. I will glue each piece of ribbon to each end with silicone and begin putting the pieces together from bottom to top, just as I show you in the images.
To stick it is simple because we will add a little silicone in the middle of the previously assembled leaves and I will simply be placing it on the back of my vase and let the silicone dry since it is liquid, I have also painted the small container the same color of enamel that I used to paint the structure, and I simply cut a small circle of foam rubber, inserted it inside and in the middle I placed my vase, do not forget to add a little silicone to the vase so that it does not move from the sides.
.jpg)
Resultado:// Result:
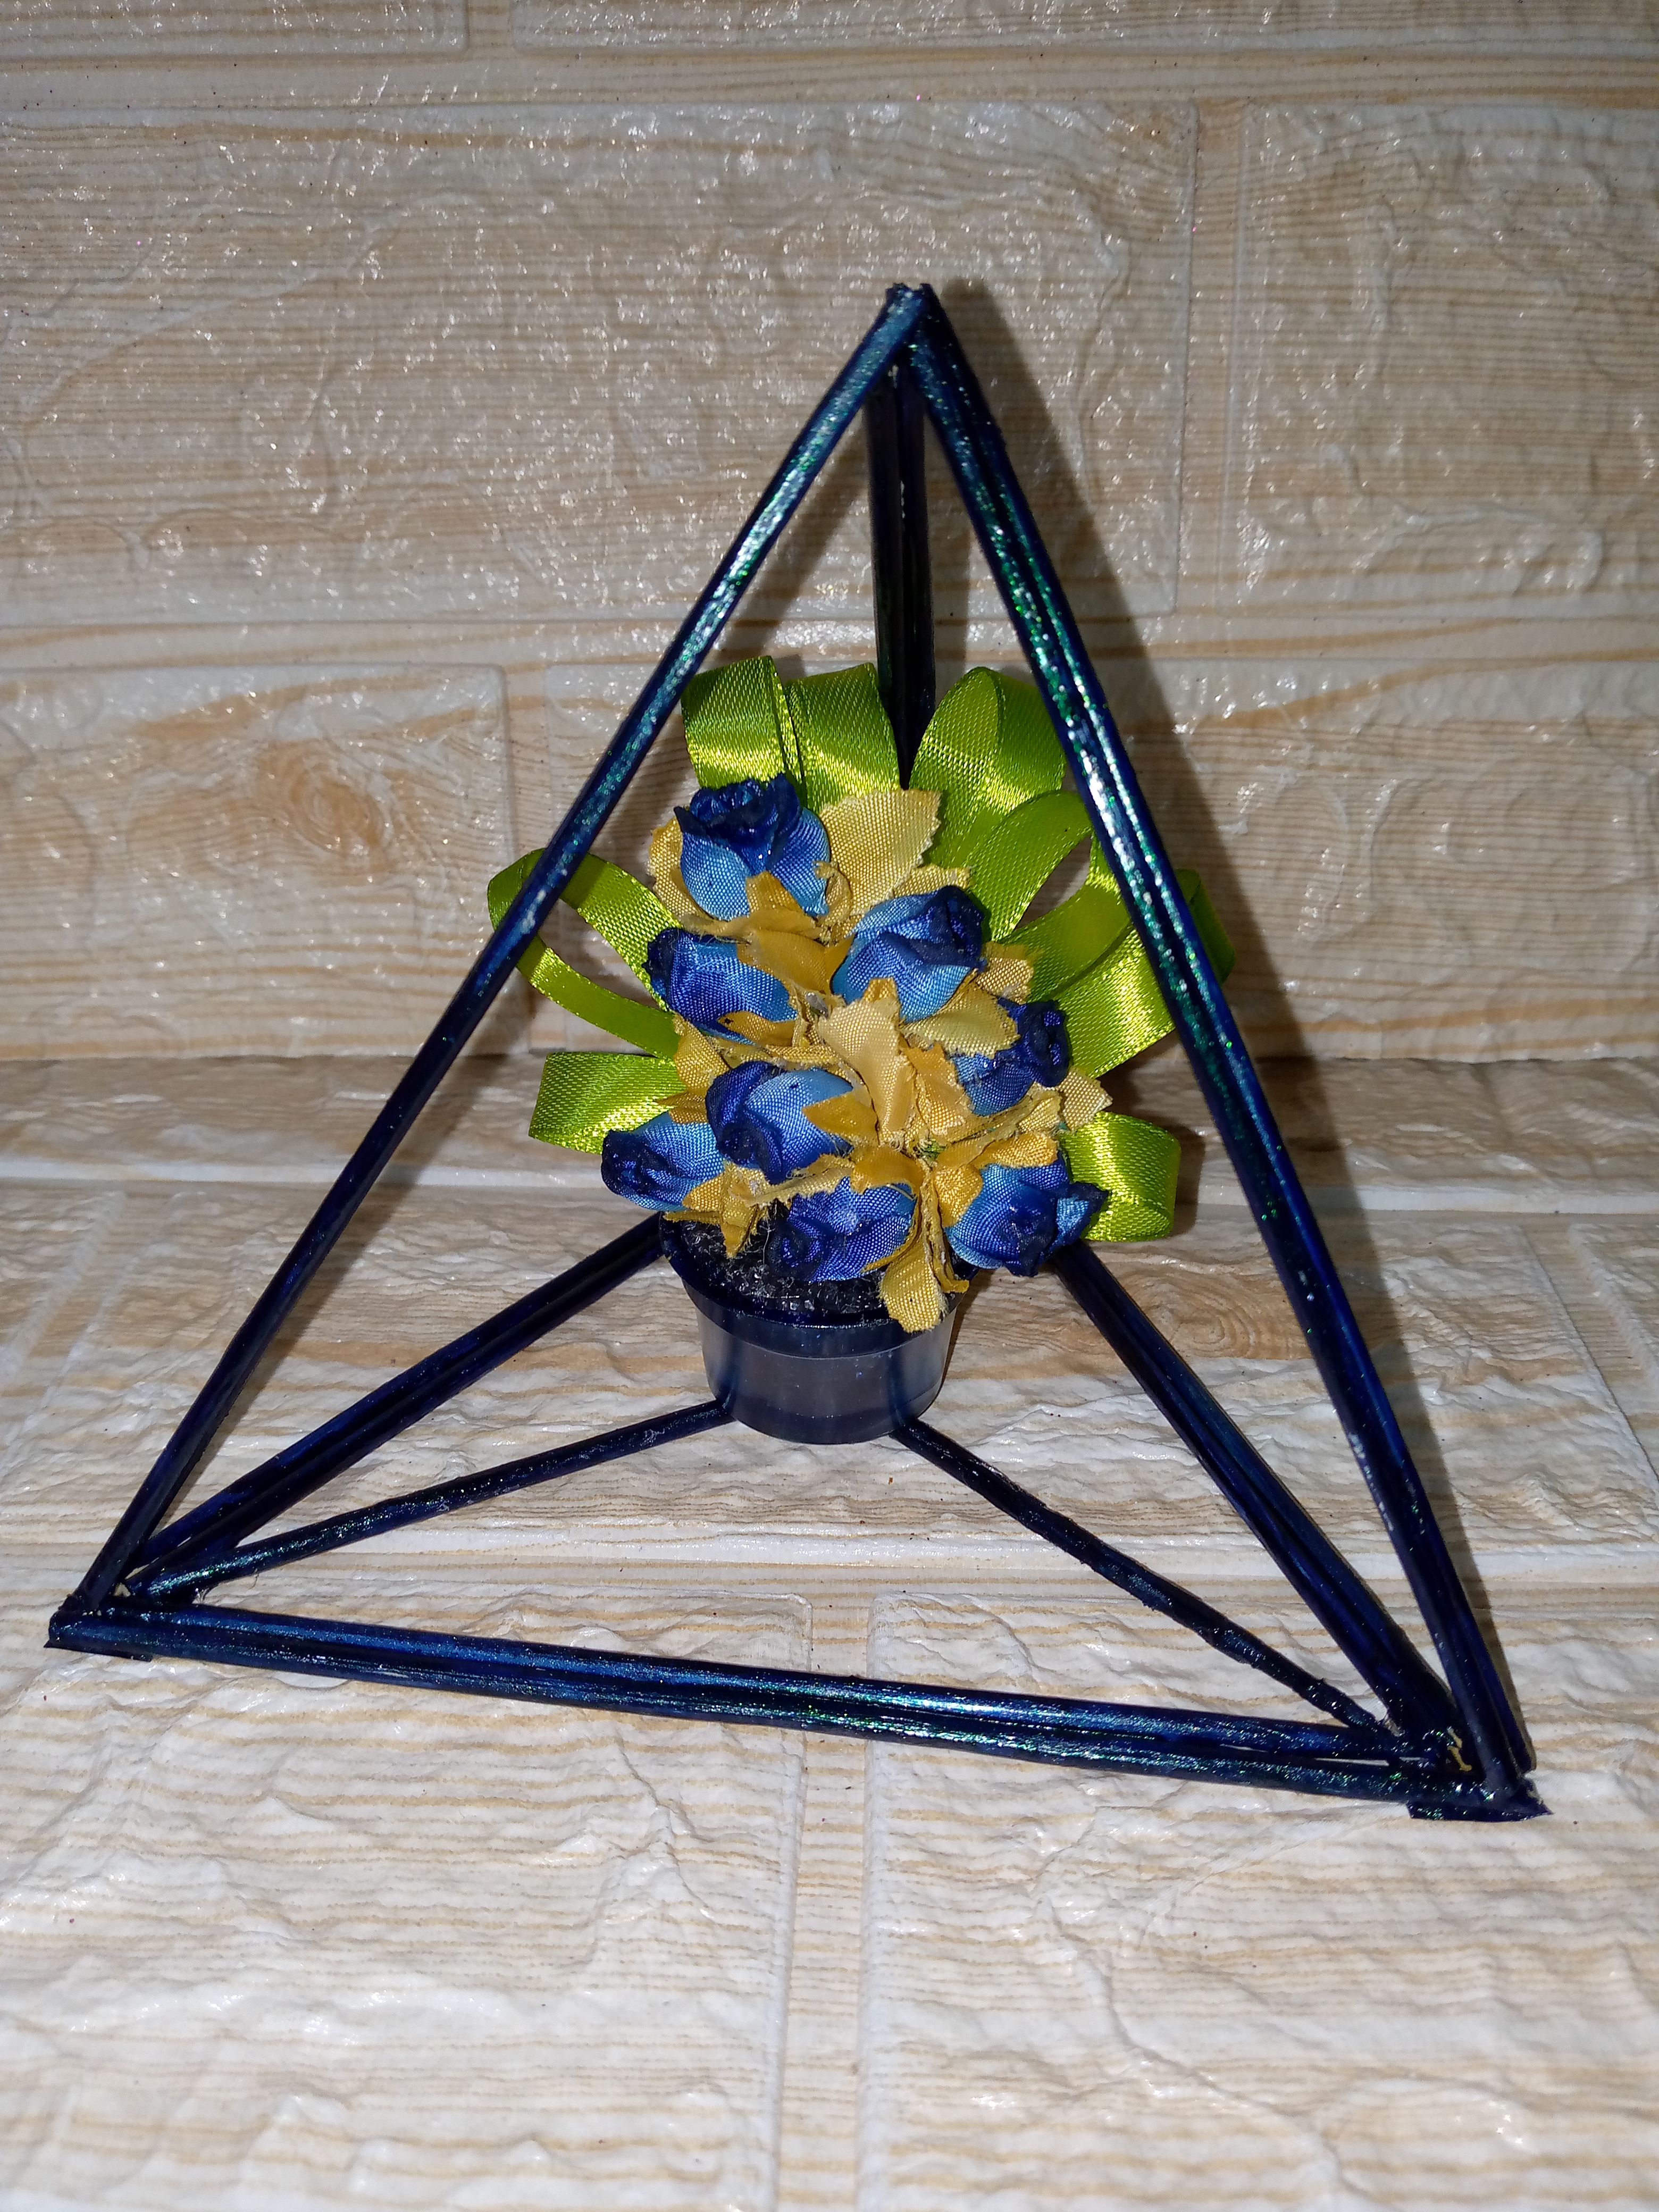
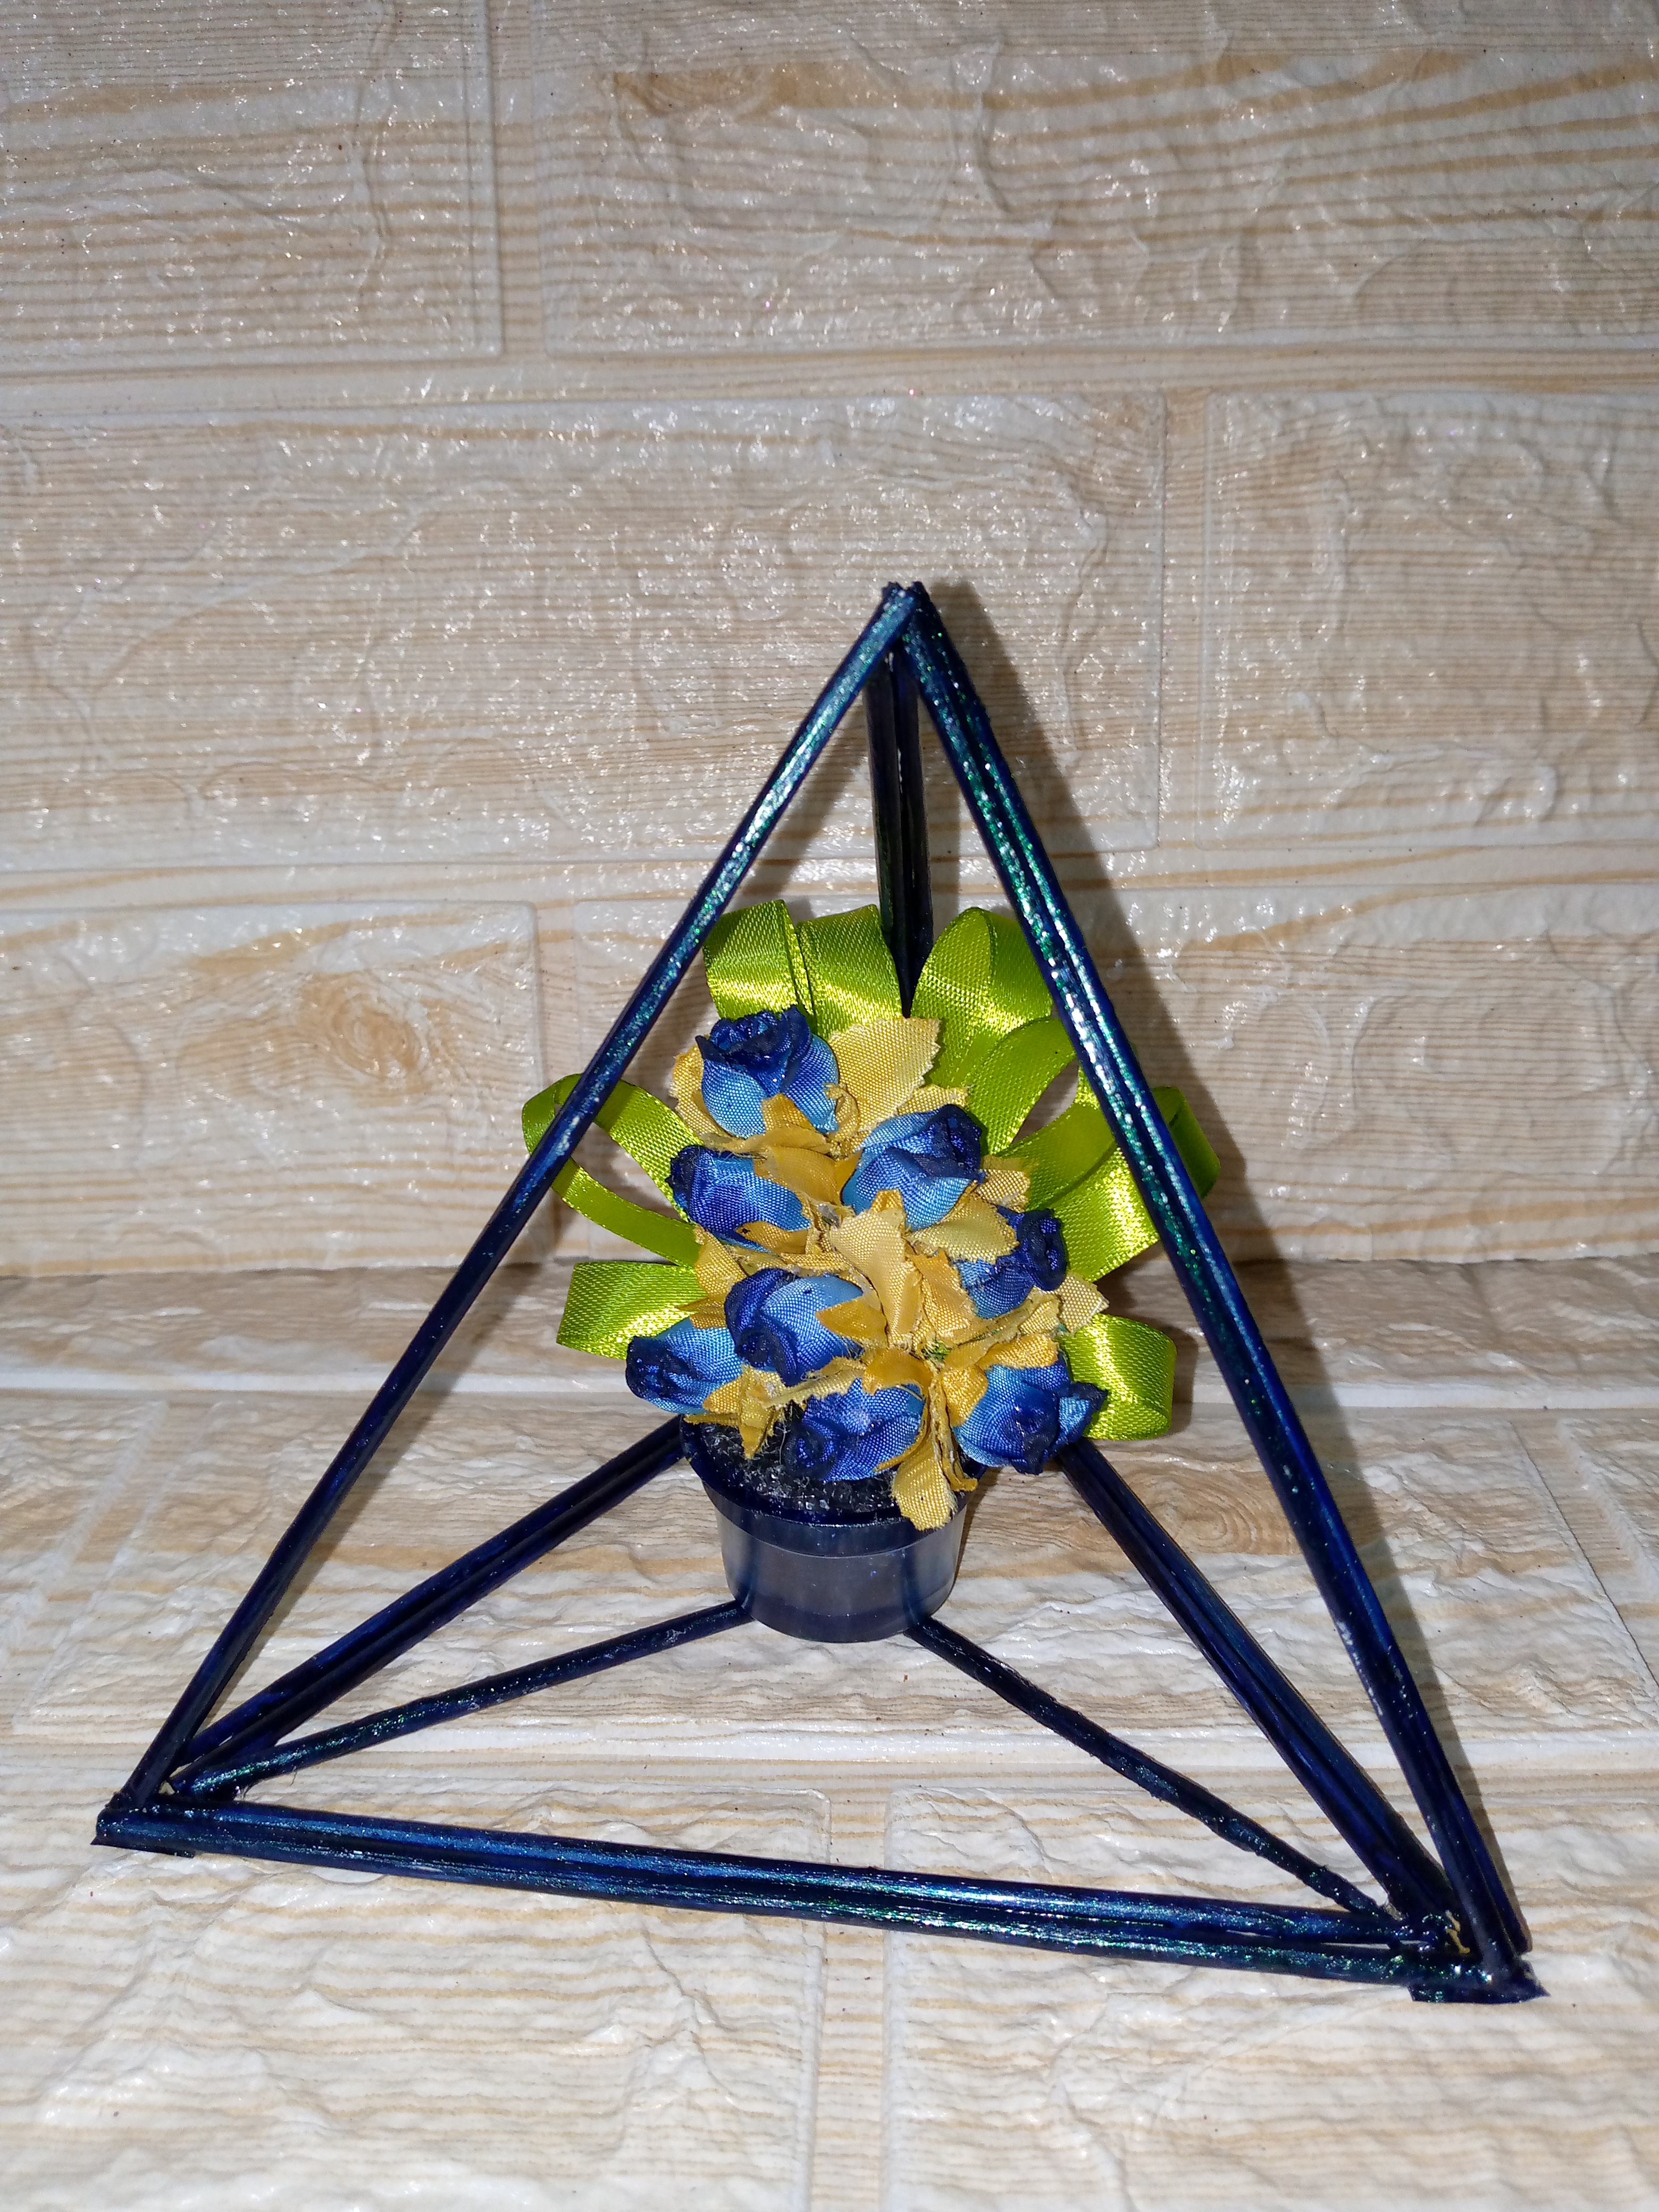
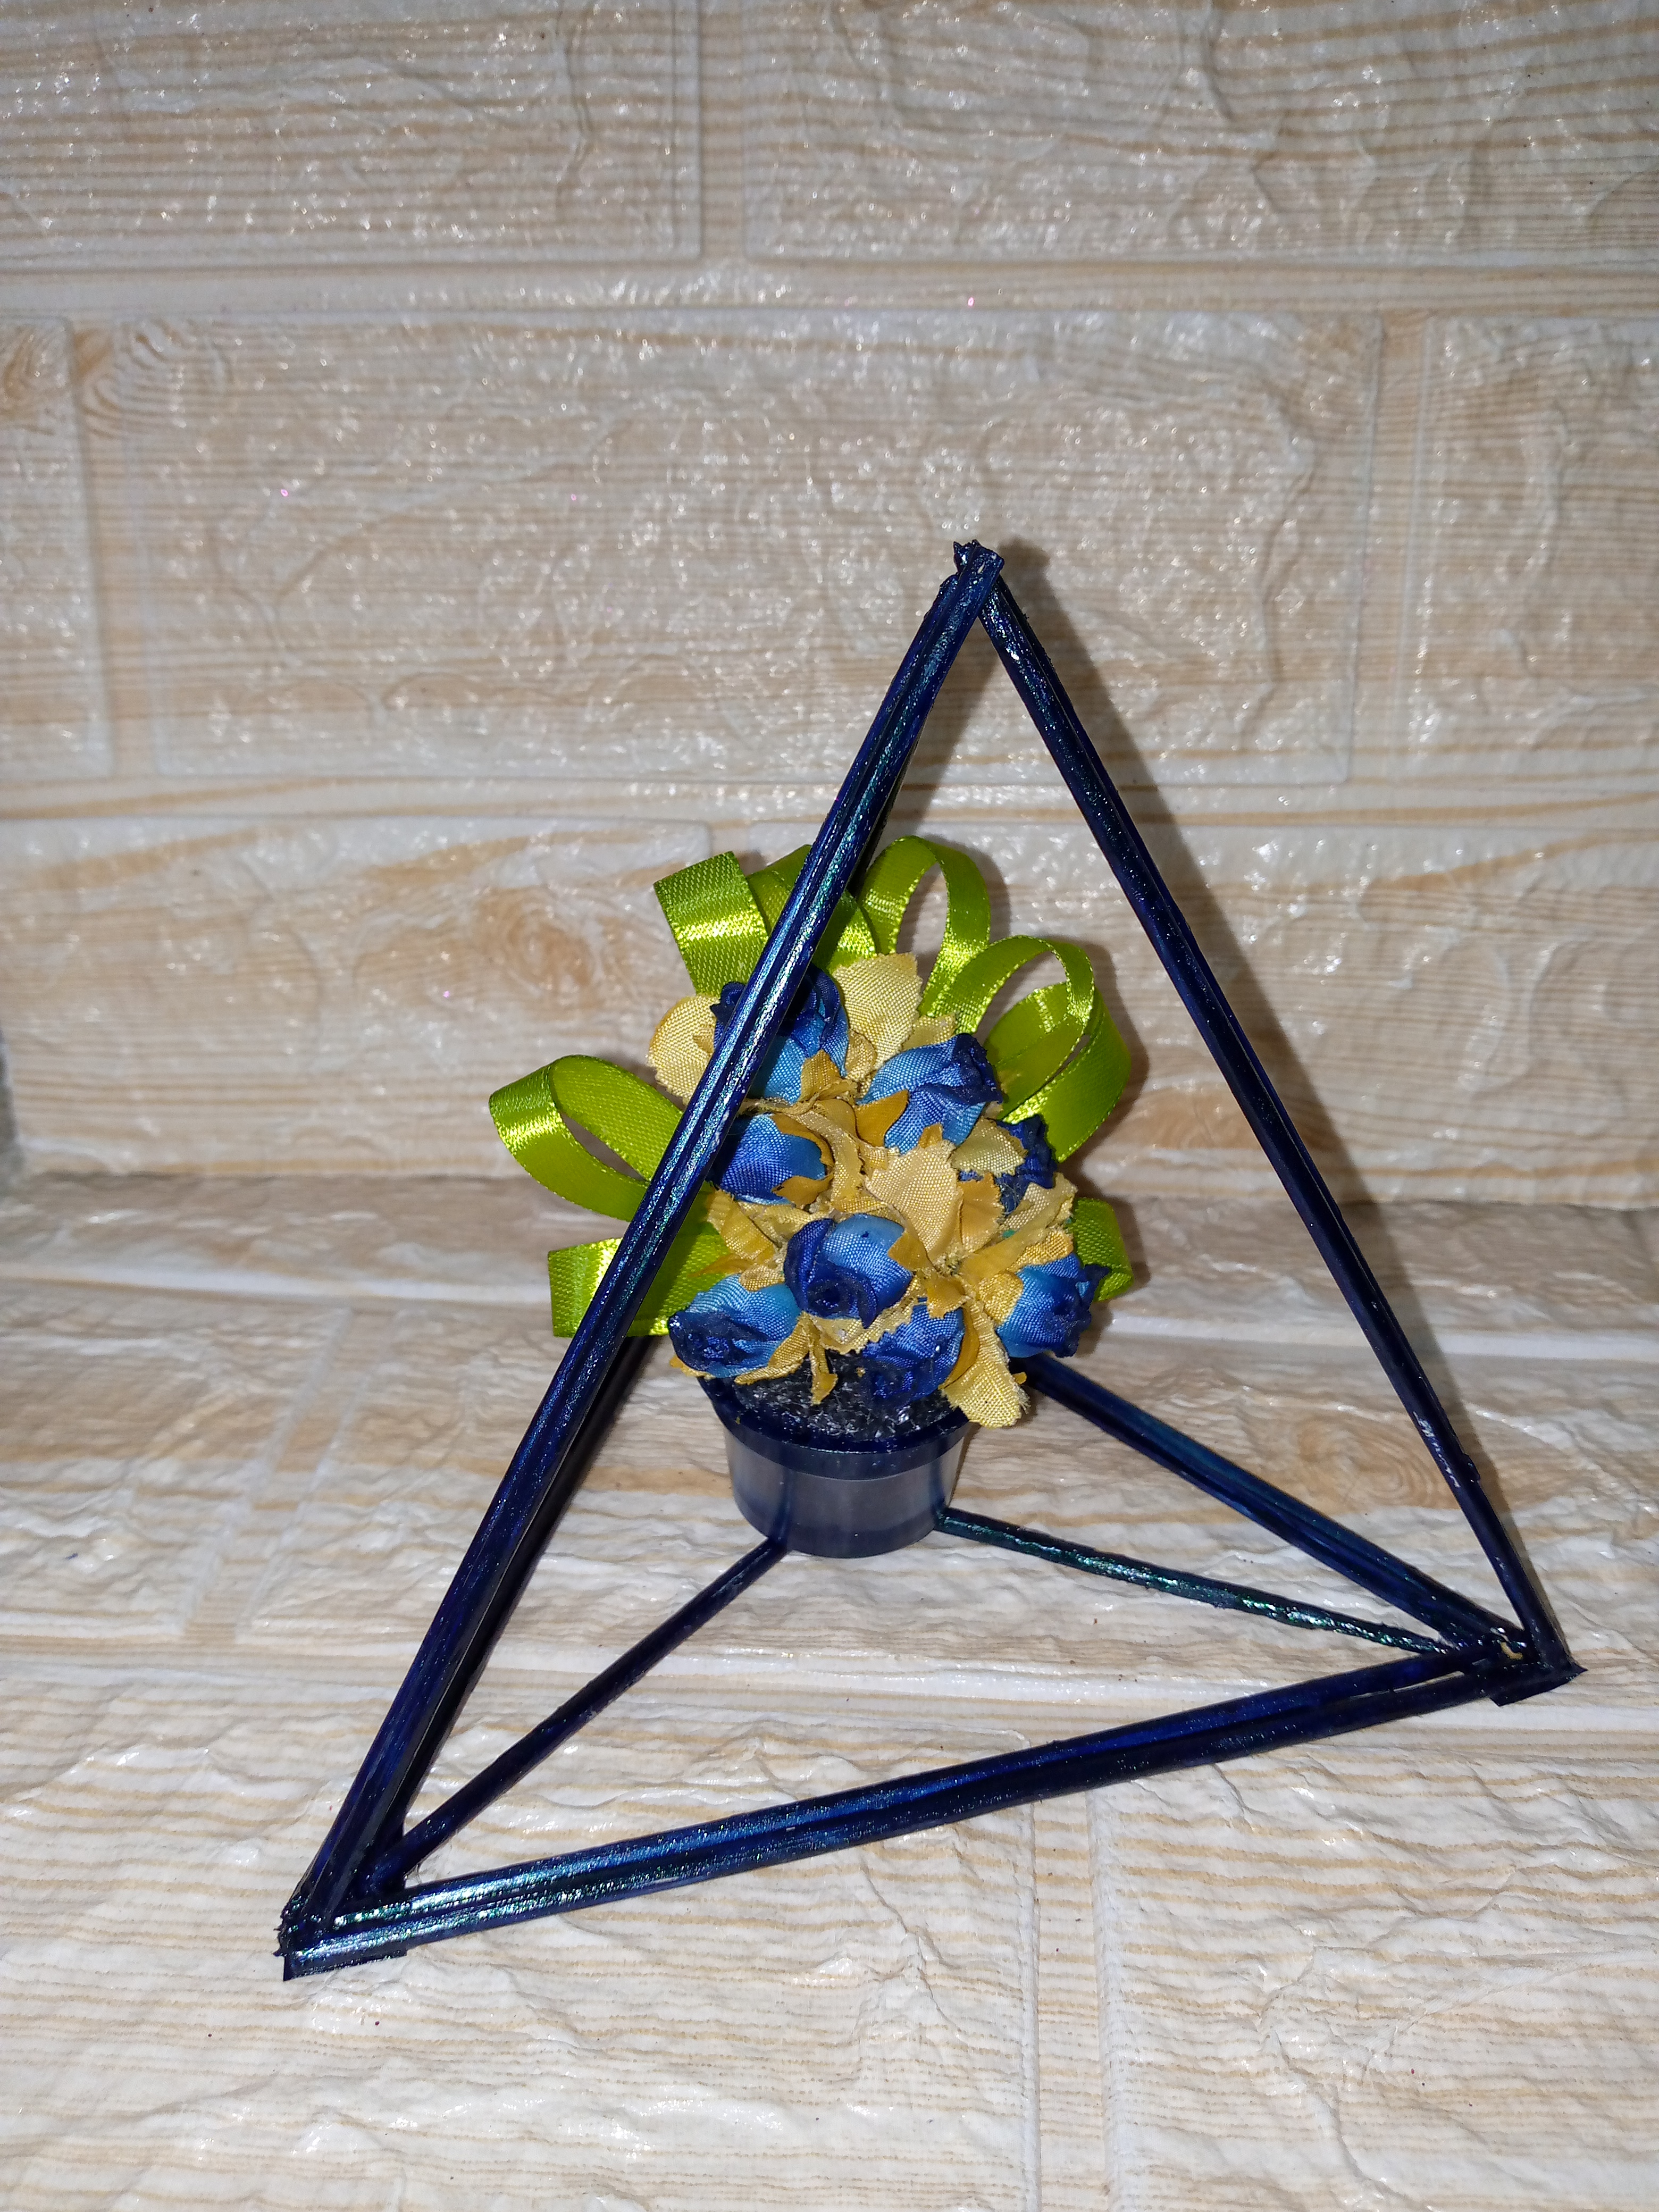
When I finished making my flower pot with the little flowers, it was time to place or glue it. To do this, I placed three more toothpicks in the center of my structure, which I also measured, cut and assembled in the center. If you want to leave it like that, you can do so. After I placed the toothpicks, it was time to glue the small floral arrangement and this is how this beautiful detail and arrangement turned out.
Once again I thank you for reading my blog and I hope you really liked this creative idea 🥰if you liked it don't forget to mention it here in the comments and I would be happy to know what you think of this idea and also if you have any more tips, you could comment here and I will gladly respond to you, I was very happy to share this step by step with you and I say goodbye to you wishing you many blessings and a happy Monday, have a great start to the week and until another next blog, bye friends.
.jpg)
Creating things with love 🌷❤️
🦋✨ All the images in this publication are my author ,📱taken with my TecnoSpark8C cell phone |📸Photos edited in PicsArt and Canva. Text translated in Google Translate.

You made do with the simple materials you had at your disposal and the outcome is wonderful. Amazing work friend.
Thank you very much @diyhub for appreciating this nice work
Luce muy bonito y muy elegante para decoracion, los colores estan muy bien combinados y eso lo hace lucir aun mas elegante 😊
@elbuhito ay muchas gracias que bueno te haya gustado esta idea creativa , gracias por apreciar,saluditos al buhito..🥰☺️