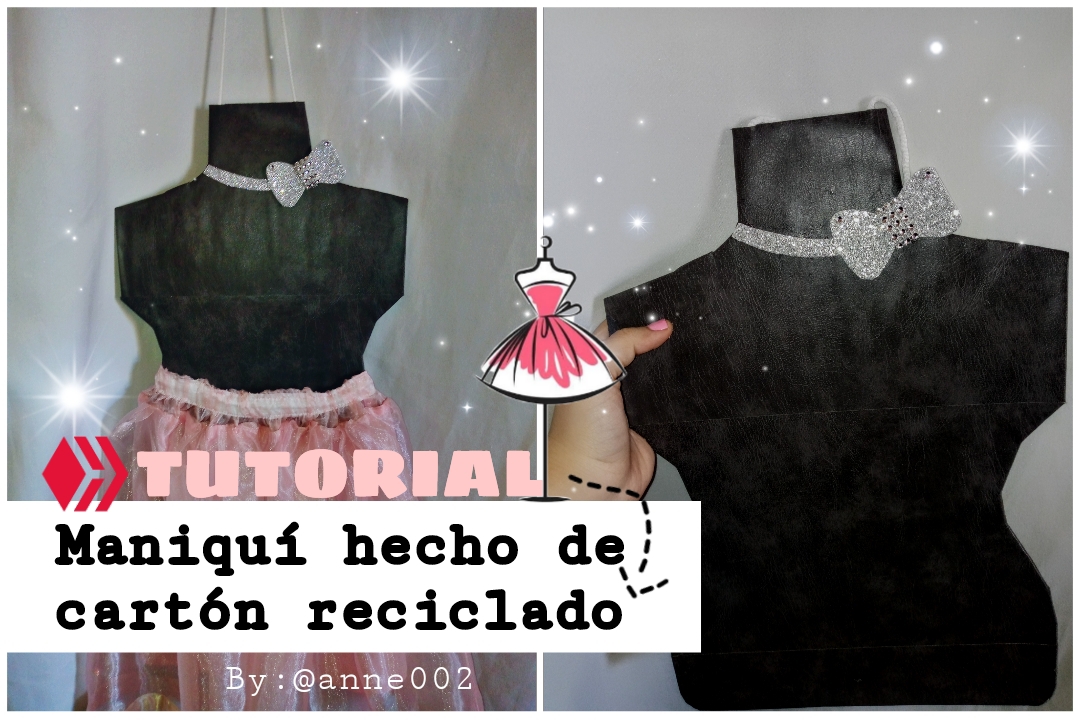
Good morning my friends from @hivediy, how do you wake up today, here in my city I tell you that we woke up with very cool weather since yesterday, because it has been raining here and today a little fresh and rich rain is falling to calm the heat 🌧️.
I tell you my loves that since yesterday I have been doing this job to show you how it turned out, it is curious to be honest, and the idea arose since I don't count on a plastic mannequin as such so I said well how about I do it myself With the materials that I have, which is cardboard from a box that I had lying around, let's say that it was the base of a box where the soft drinks come, those that are somewhat hard and difficult is to cut that cardboard that I used to make this mannequin, that is why today I show you How I did it.
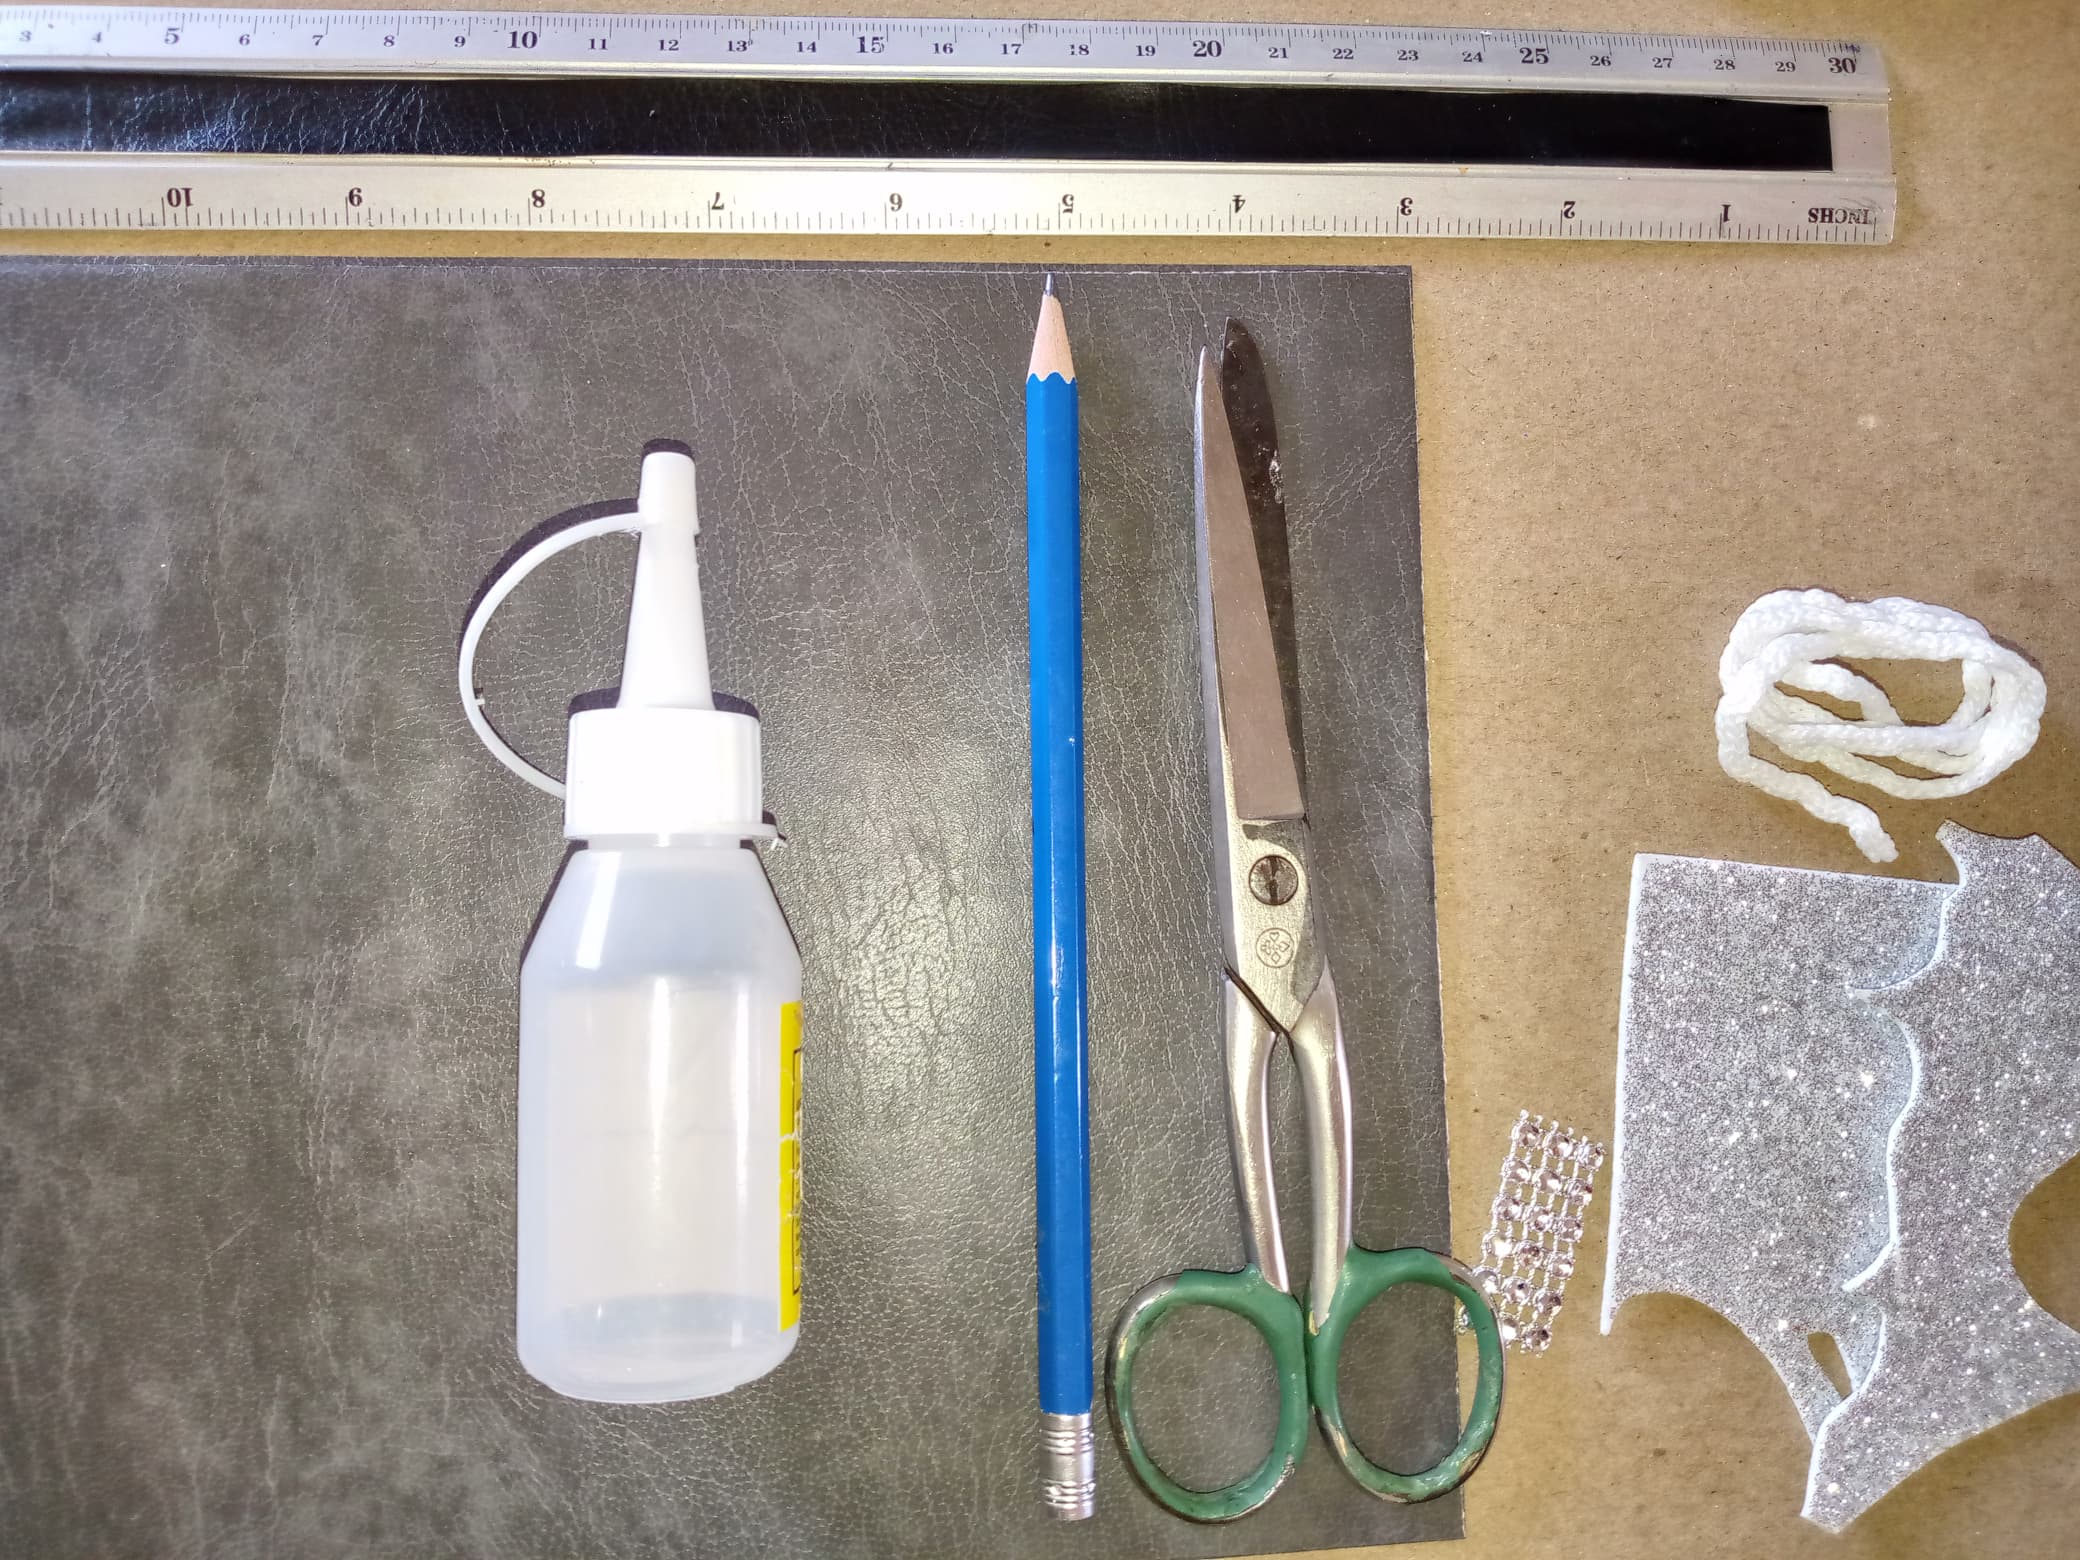
Materiales que usé :
Materials i used :
- Tijeras
- Silicon
- Cartón de cajas que ya no uses
- Lápiz
- Regla
- Cartulina escolar o con textura de cuero
- Cordón
- Fomi brillante y decoración plateada
- Scissors
- Silicon
- Cardboard from boxes that you no longer use
- Pencil
- Ruler
- School or leather textured cardboard
- Lanyard
- Shiny fomi and silver decoration
(Pasos a seguir.)
(Steps to follow)
Paso 01
Step 01
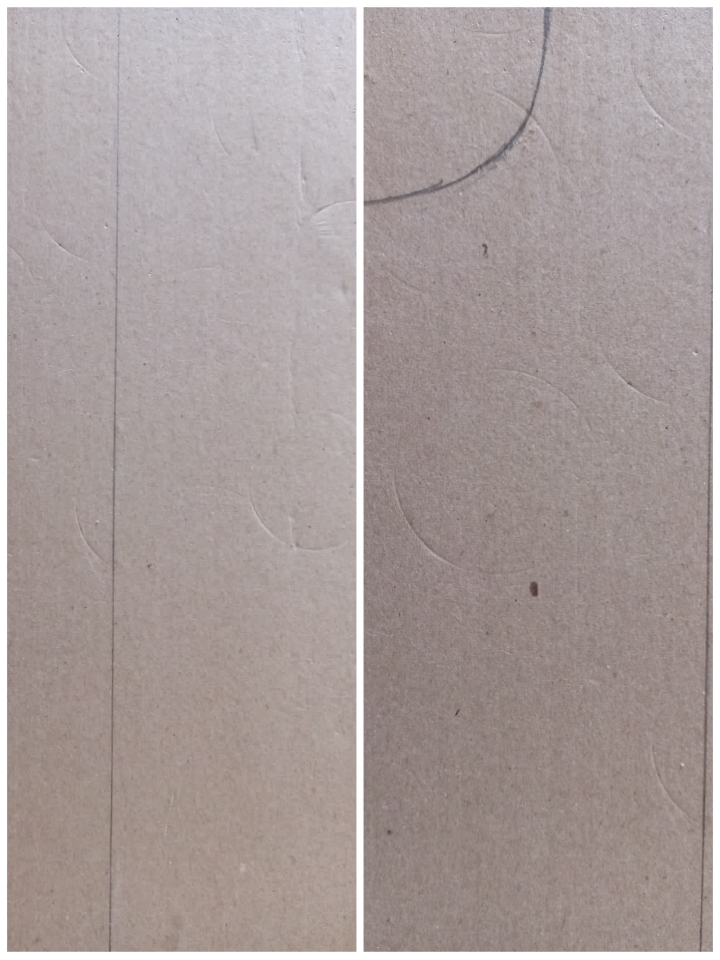
I started by marking half of my cardboard with a ruler and marked a straight vertical line, this is to divide the center of the cardboard and be able to make the shape on the sides of the mannequin, I made a curved line to form the neck and from there I began to guide to make the other curved lines.
Paso 02
Step 02
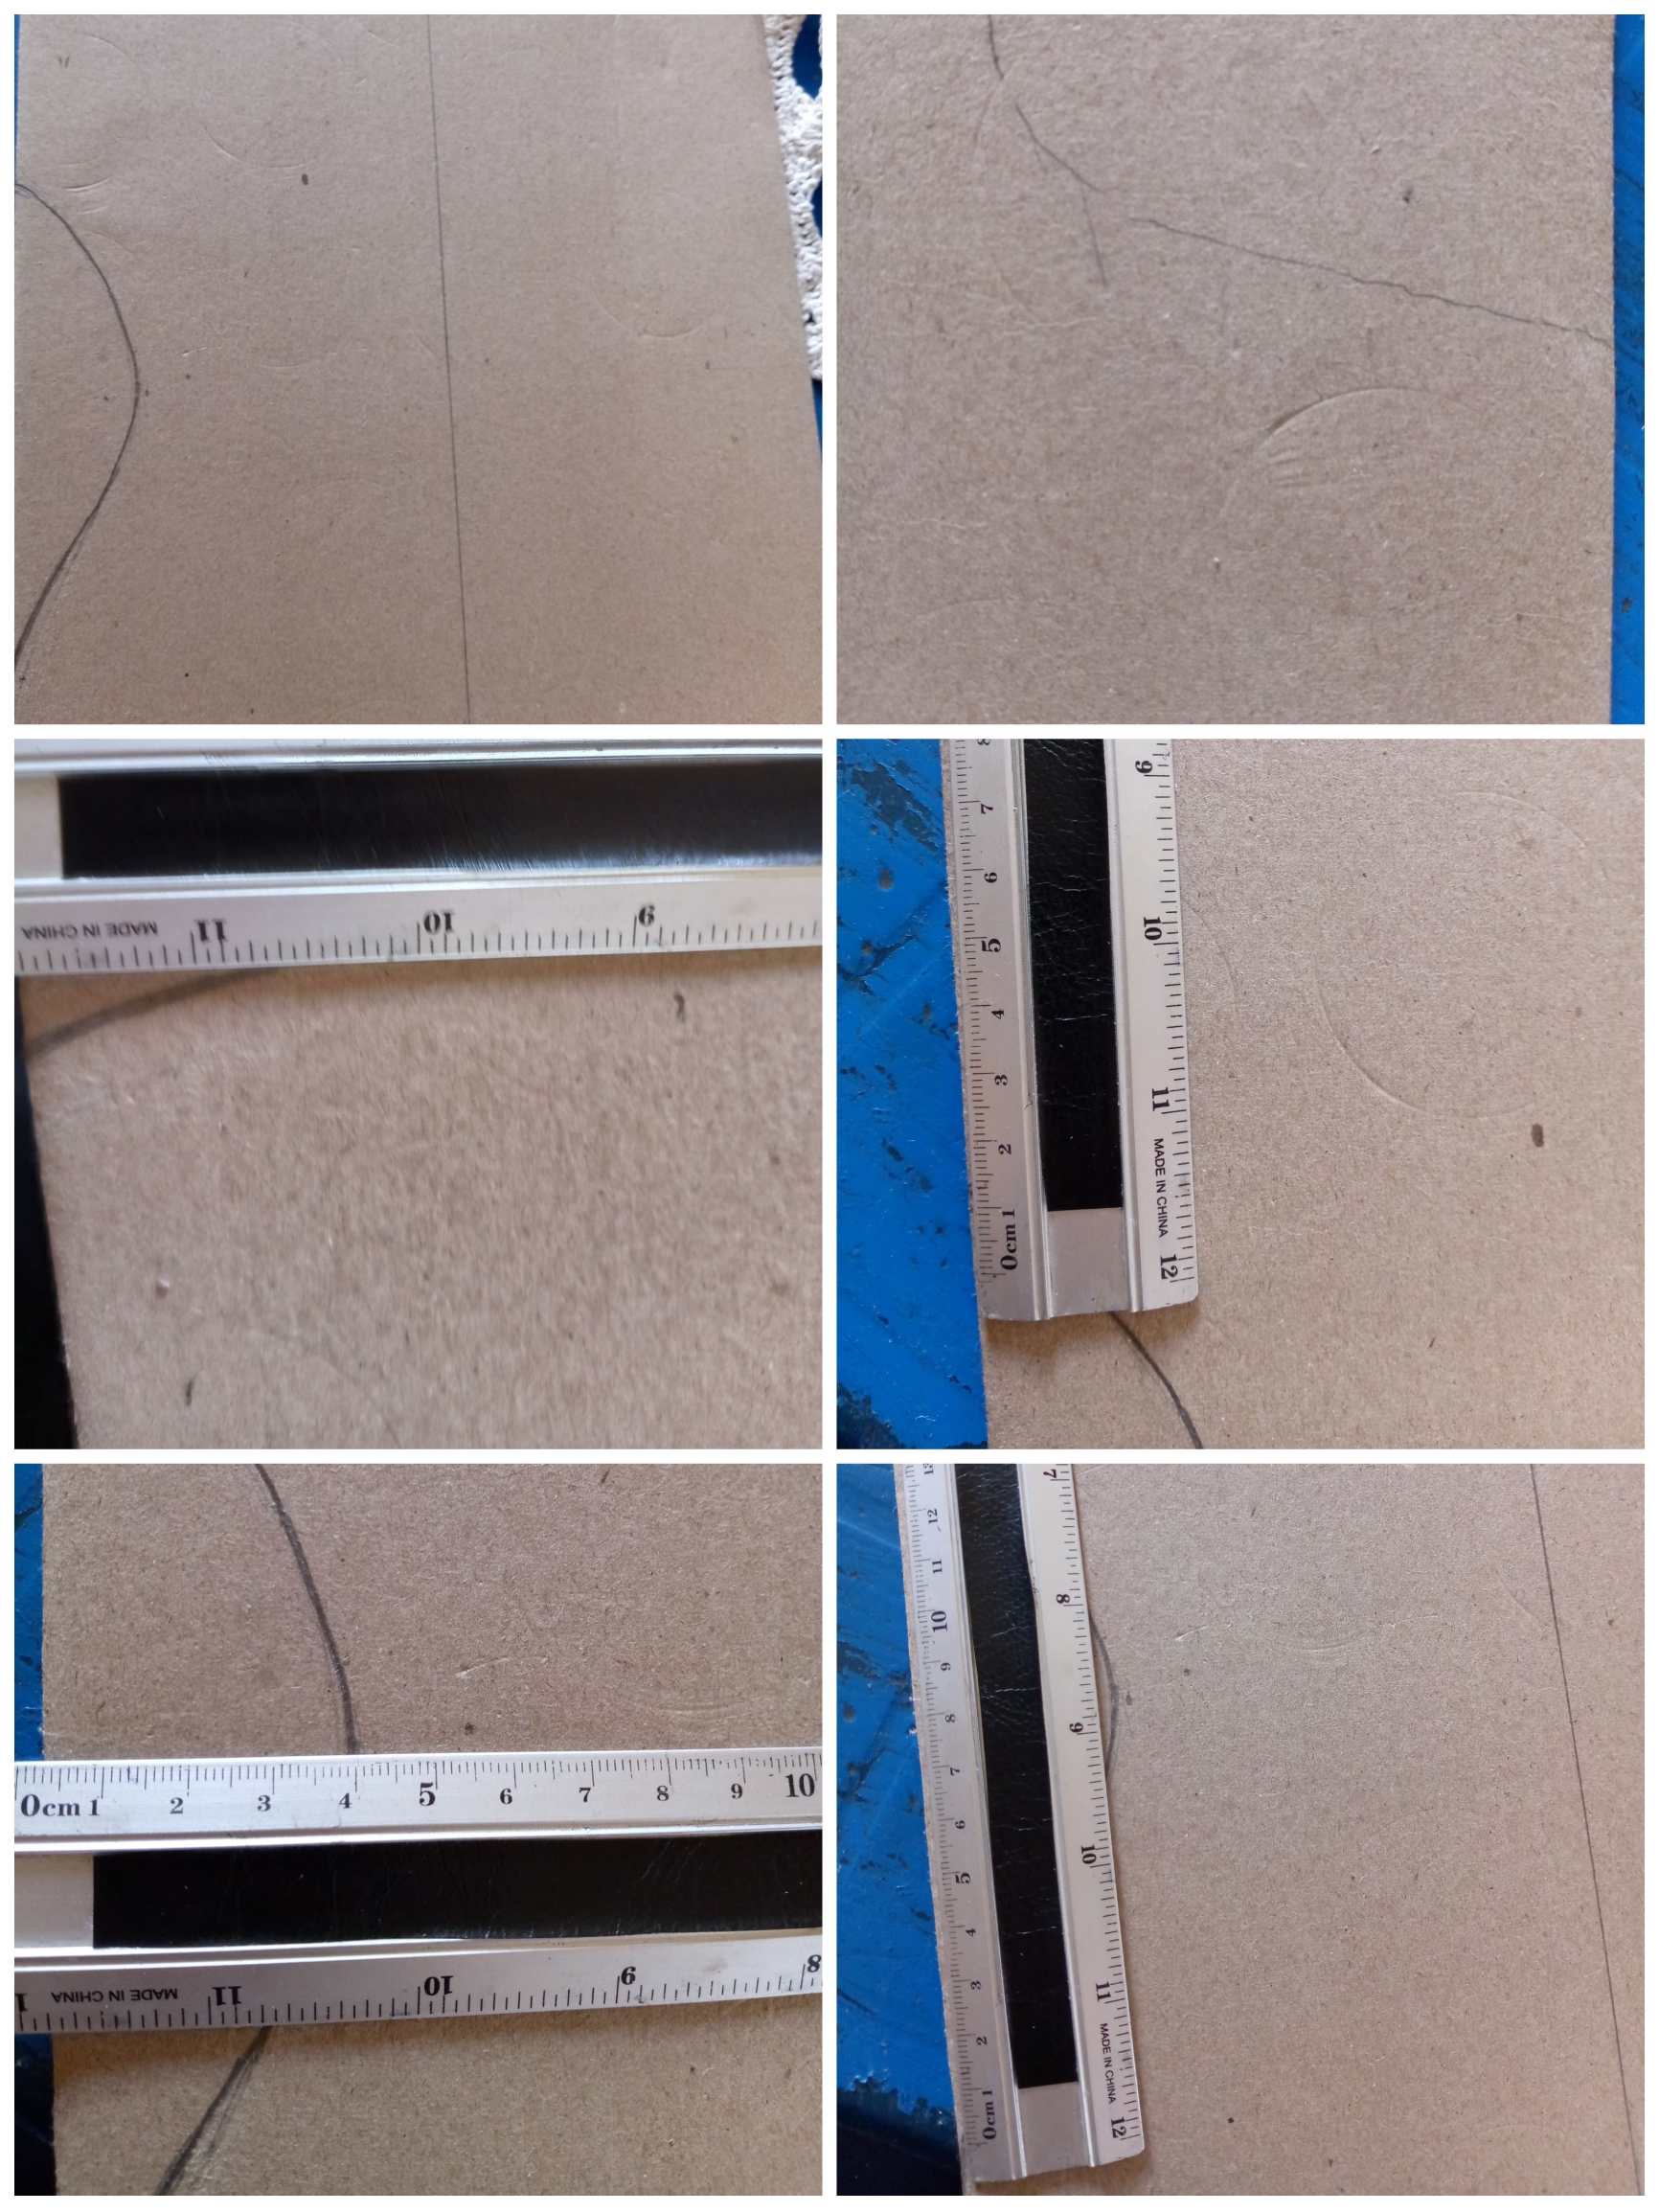
We measure on the cardboard to make the following curves, lines of the shoulder of the mannequin, waist and hip, for the shoulder we measure 9 cm long, for the waist we measure 4 cm inwards and 14 cm long there we are going to form the curve, leaving the waist Starting the hip, to make the hip we just do this from where we marked we are going to take the curved line towards the edge of the leftover cardboard.
Paso 03
Step 03
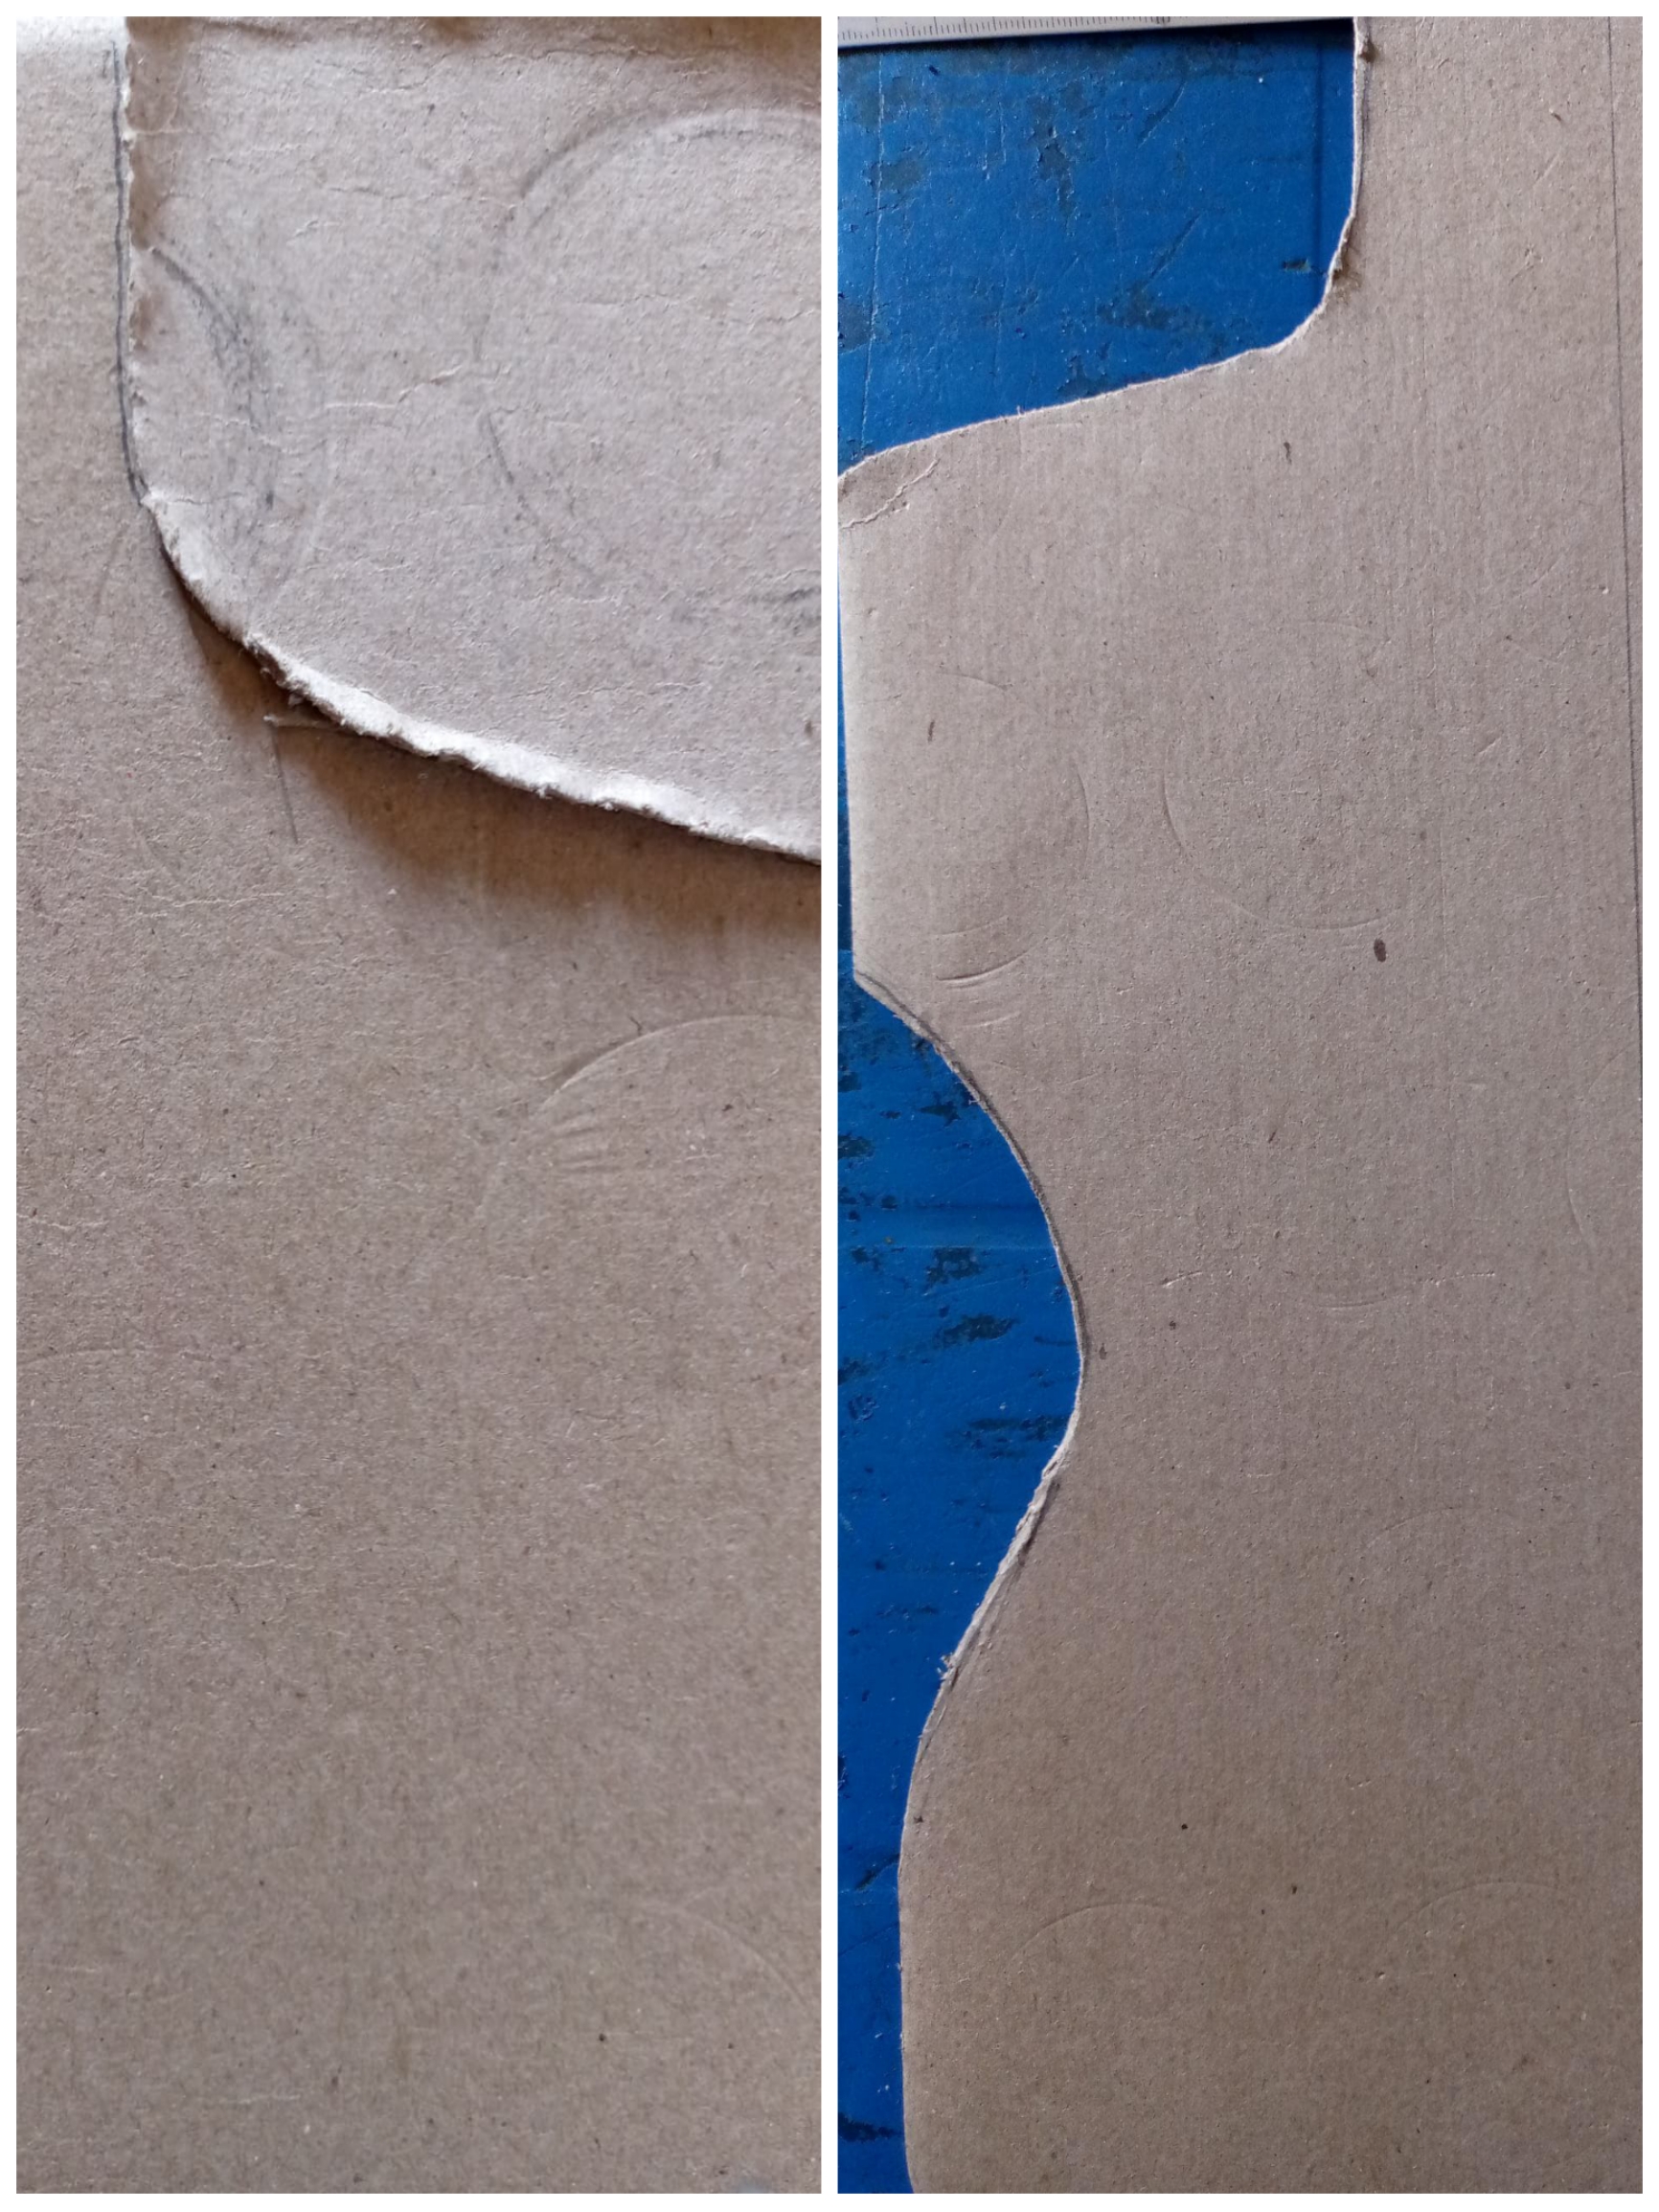
Once we have the measurements on the cardboard on the left edge, we go on to cut out those parts with scissors. What we cut out of the cardboard is going to be used as a guide to cut out the pieces on the right side. We use that as a guide so that the curved lines will look the same. both sides of the mannequin.
Paso 04
Step 04
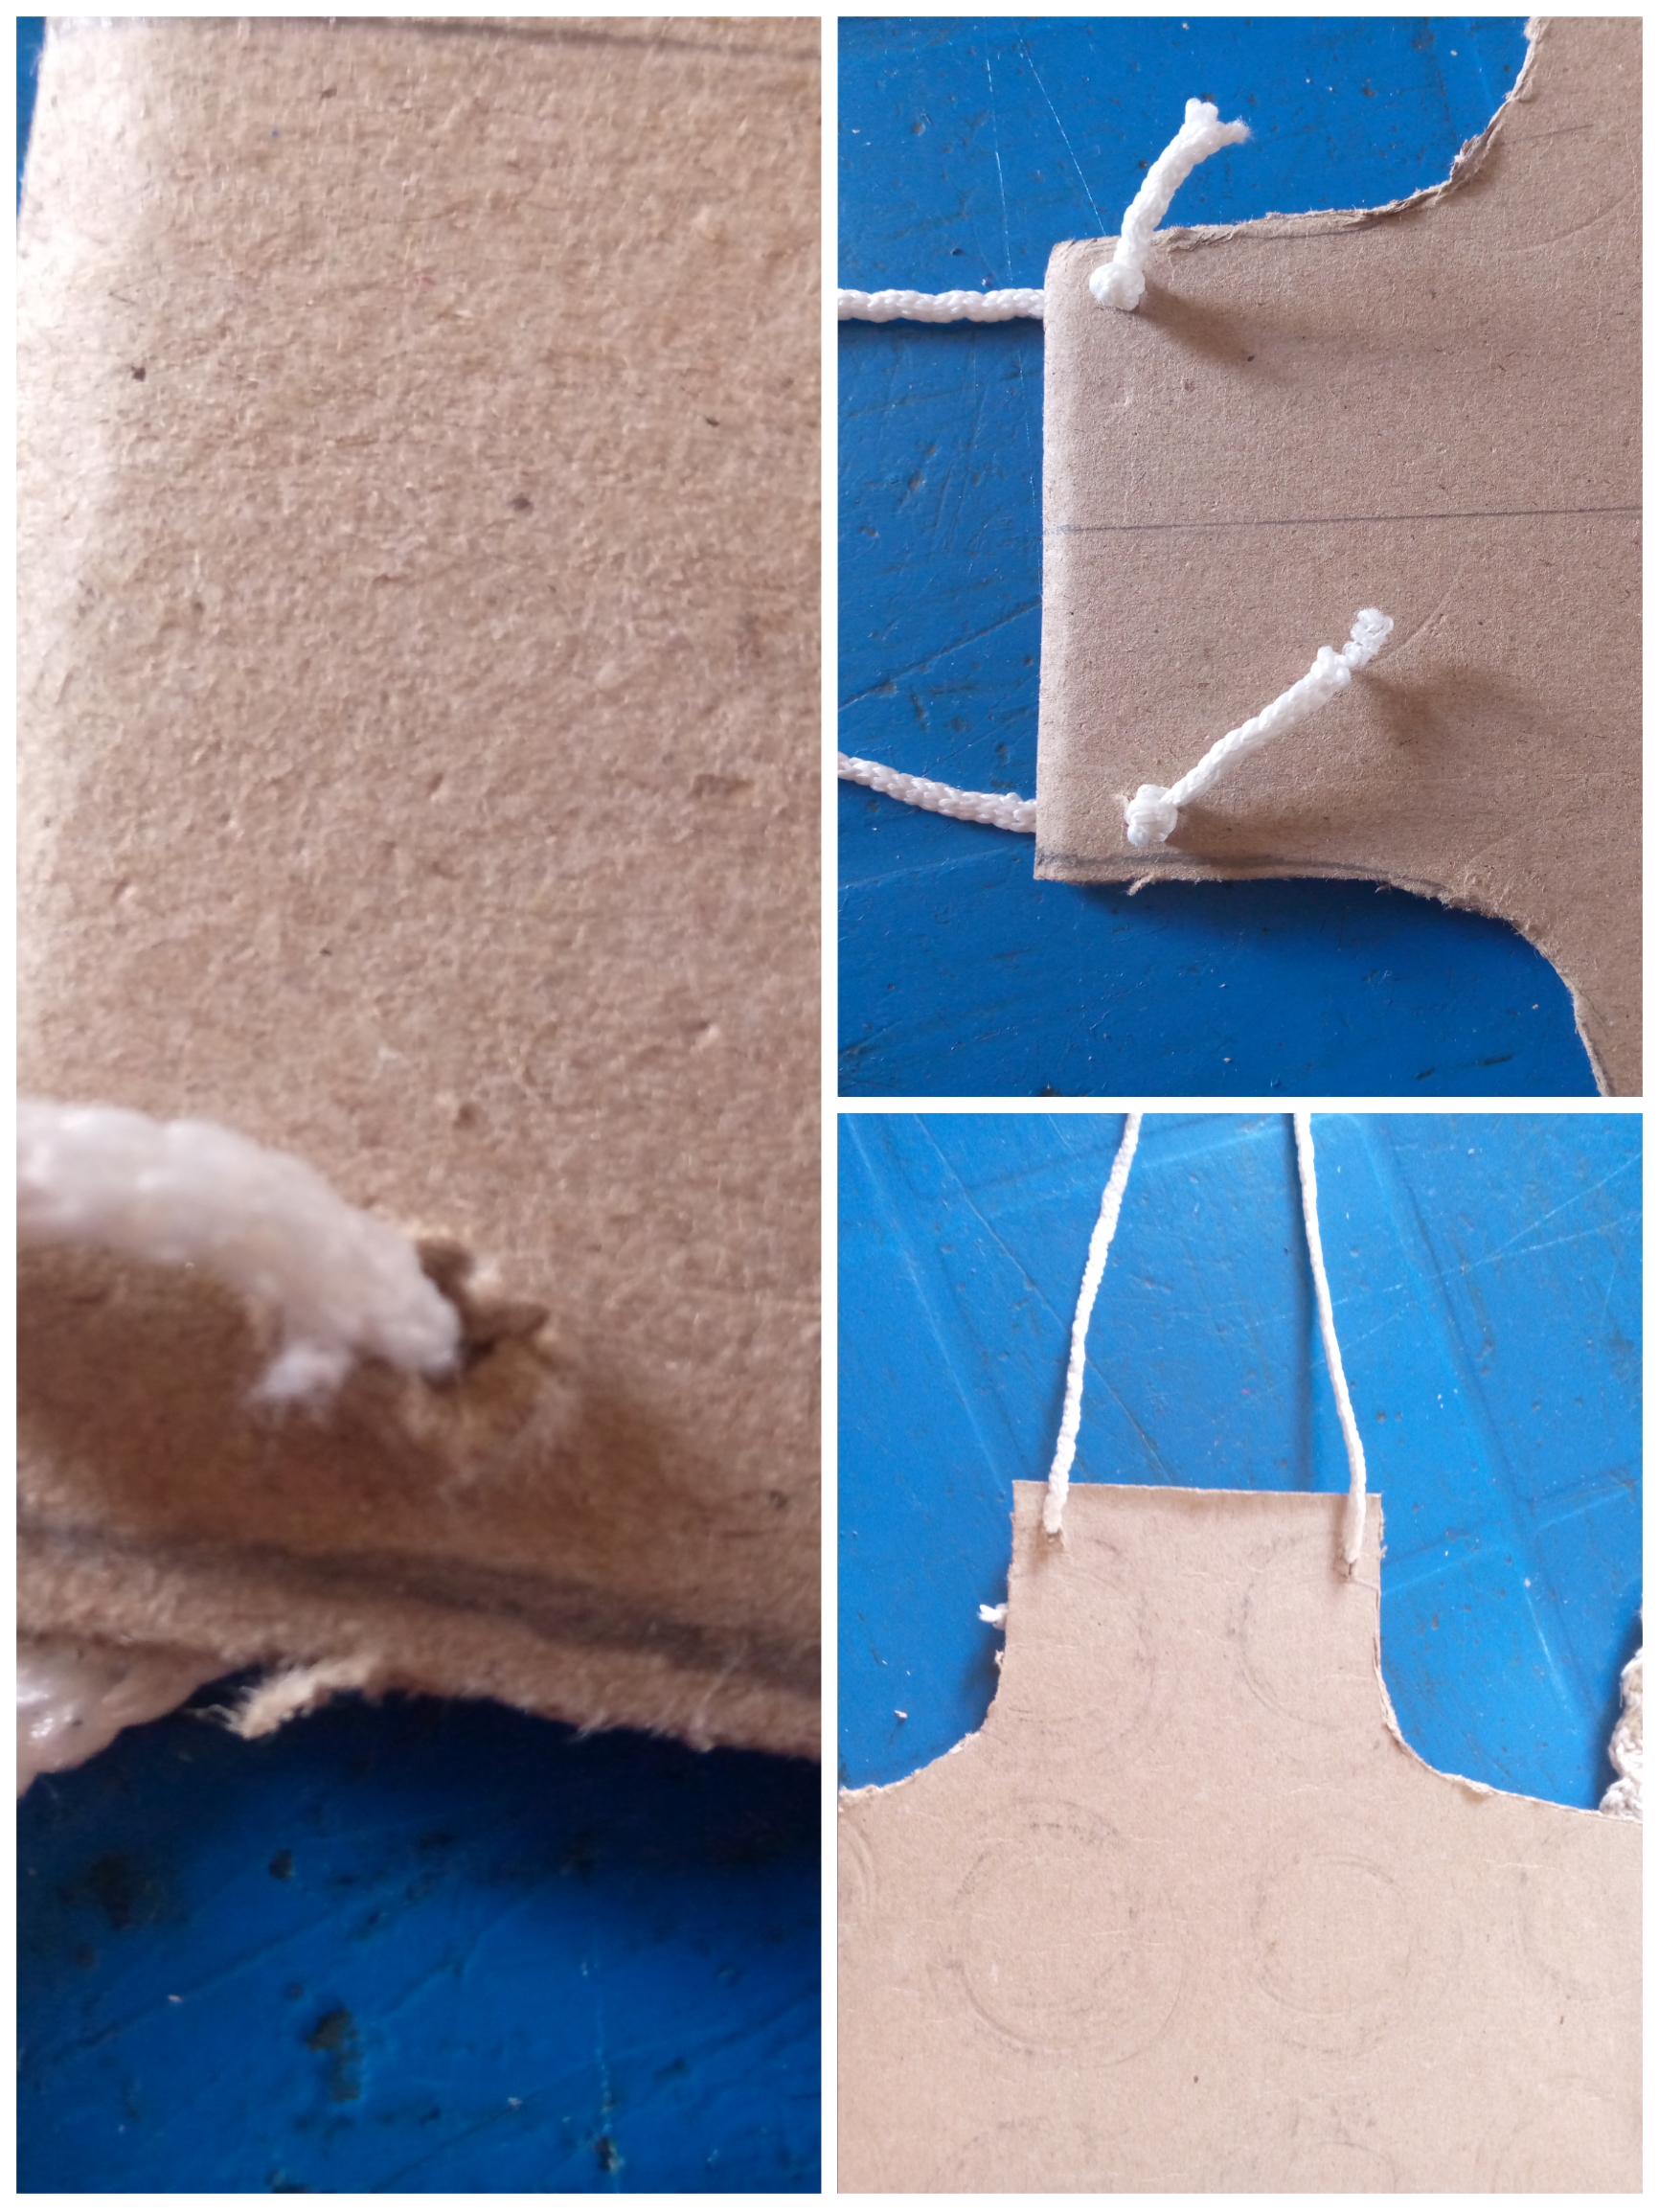
We are going to open two holes in the upper part of the mannequin's neck to be able to insert the cord that will hold the cardboard through there, we open it and pass both threads through each hole and close with a knot so that the rope does not come out.
Paso 05
Step 05
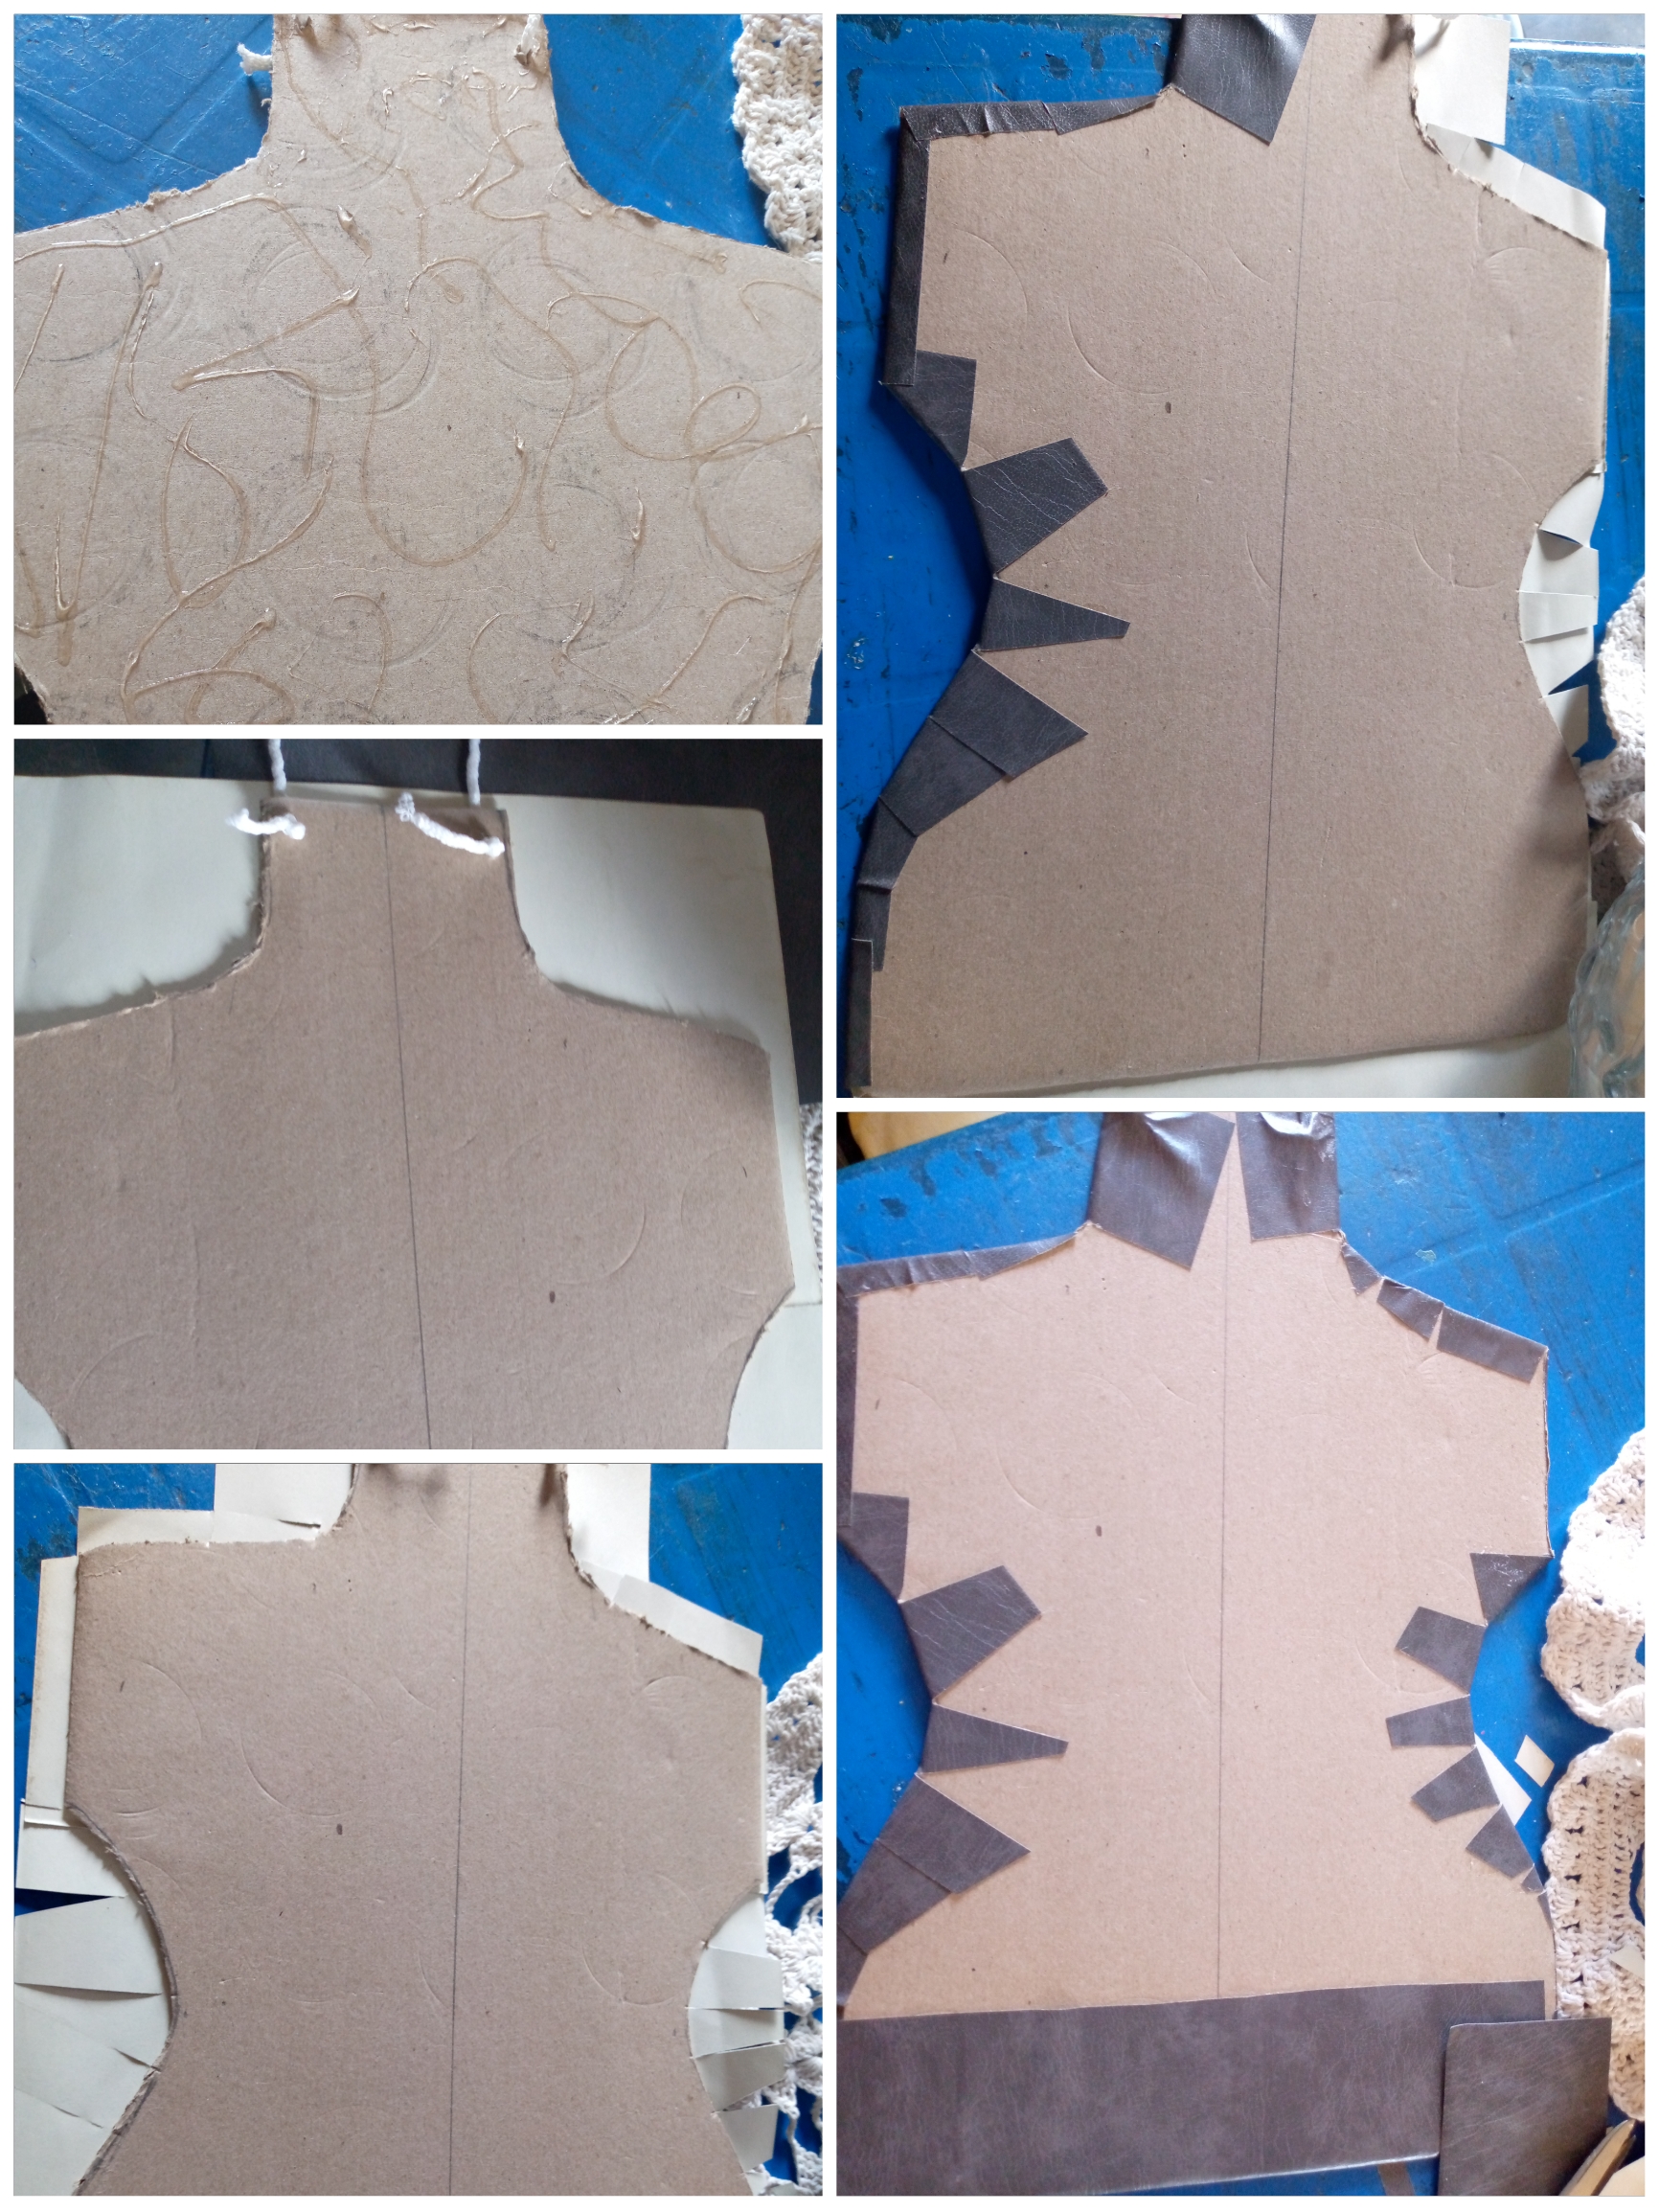
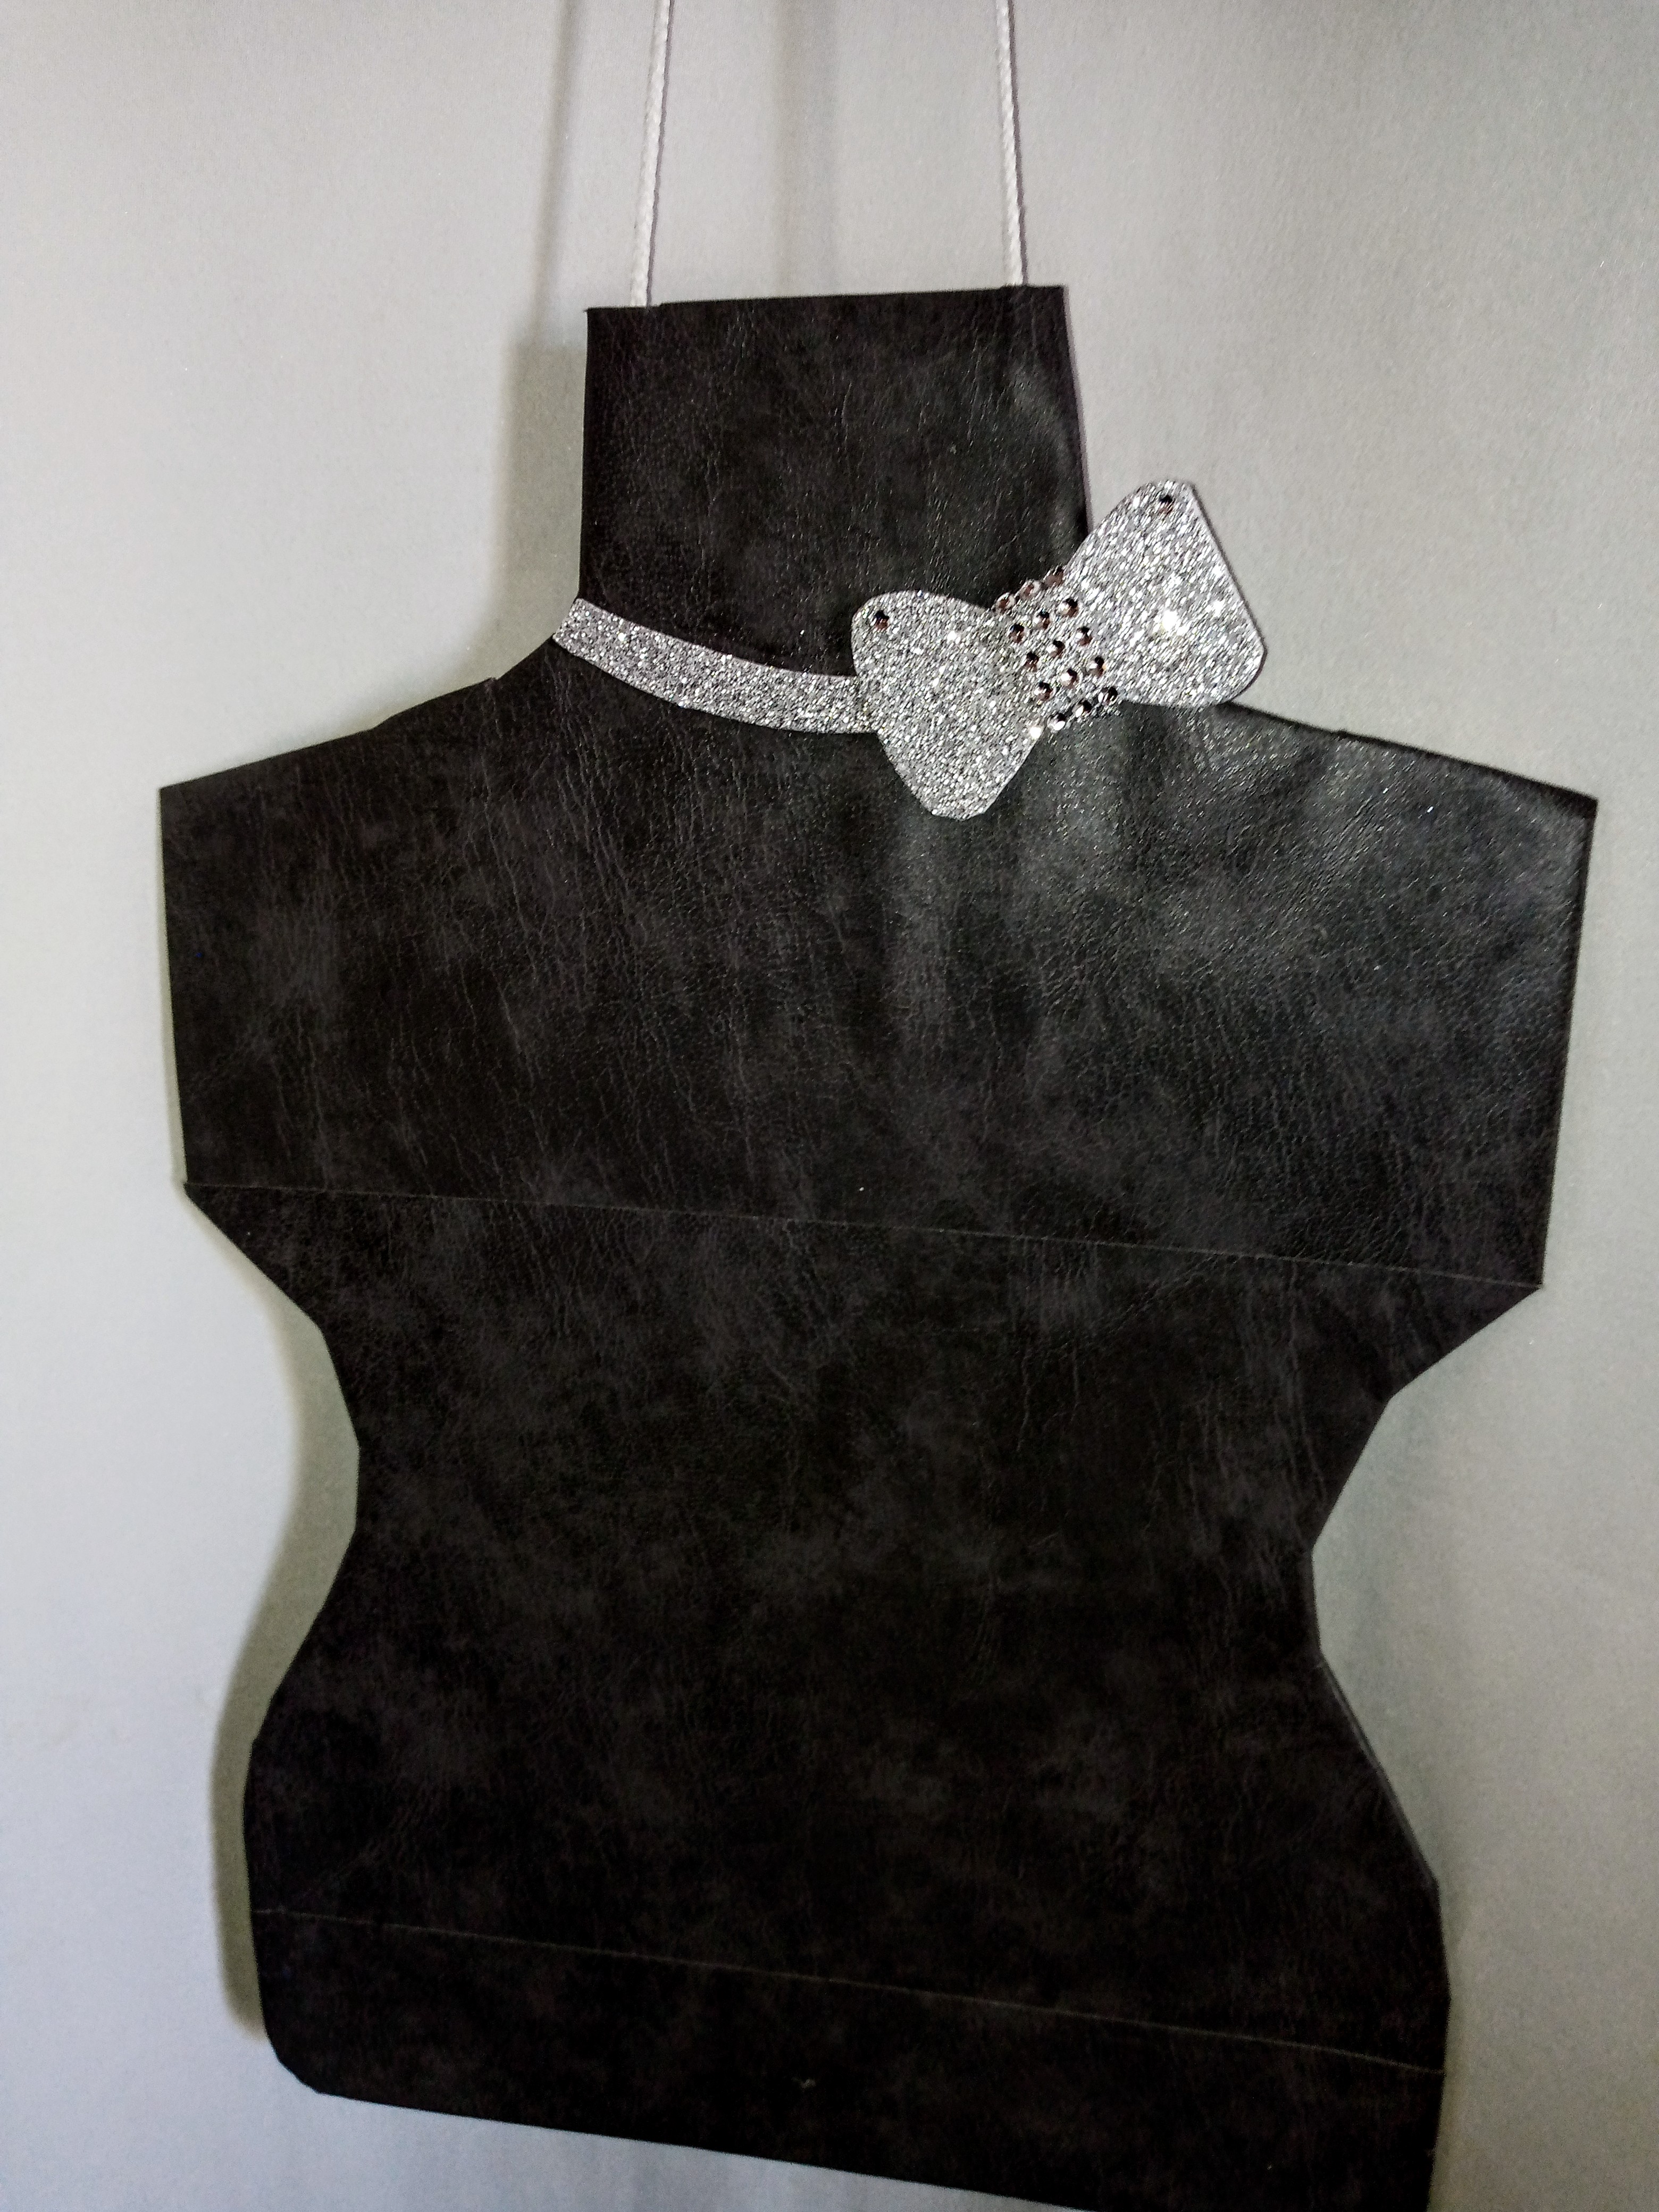
We then proceed to cover our cardboard with cardboard or the material we have at home. You can use newspaper and paint it or use the paper mache technique to design your mannequin. You can use whatever you want, my loves. In this case, I used some small sheets of cardboard. with a semi-leather texture, what I did was use liquid silicone for the base or cardboard and place the sheets of cardboard on top, I covered it completely, turned it over and made some small cuts to fold the cardboard on the underside, in the end too On that side I lined it that way the cardboard will not be visible anywhere but it will be well lined.
Paso 06
Step 06
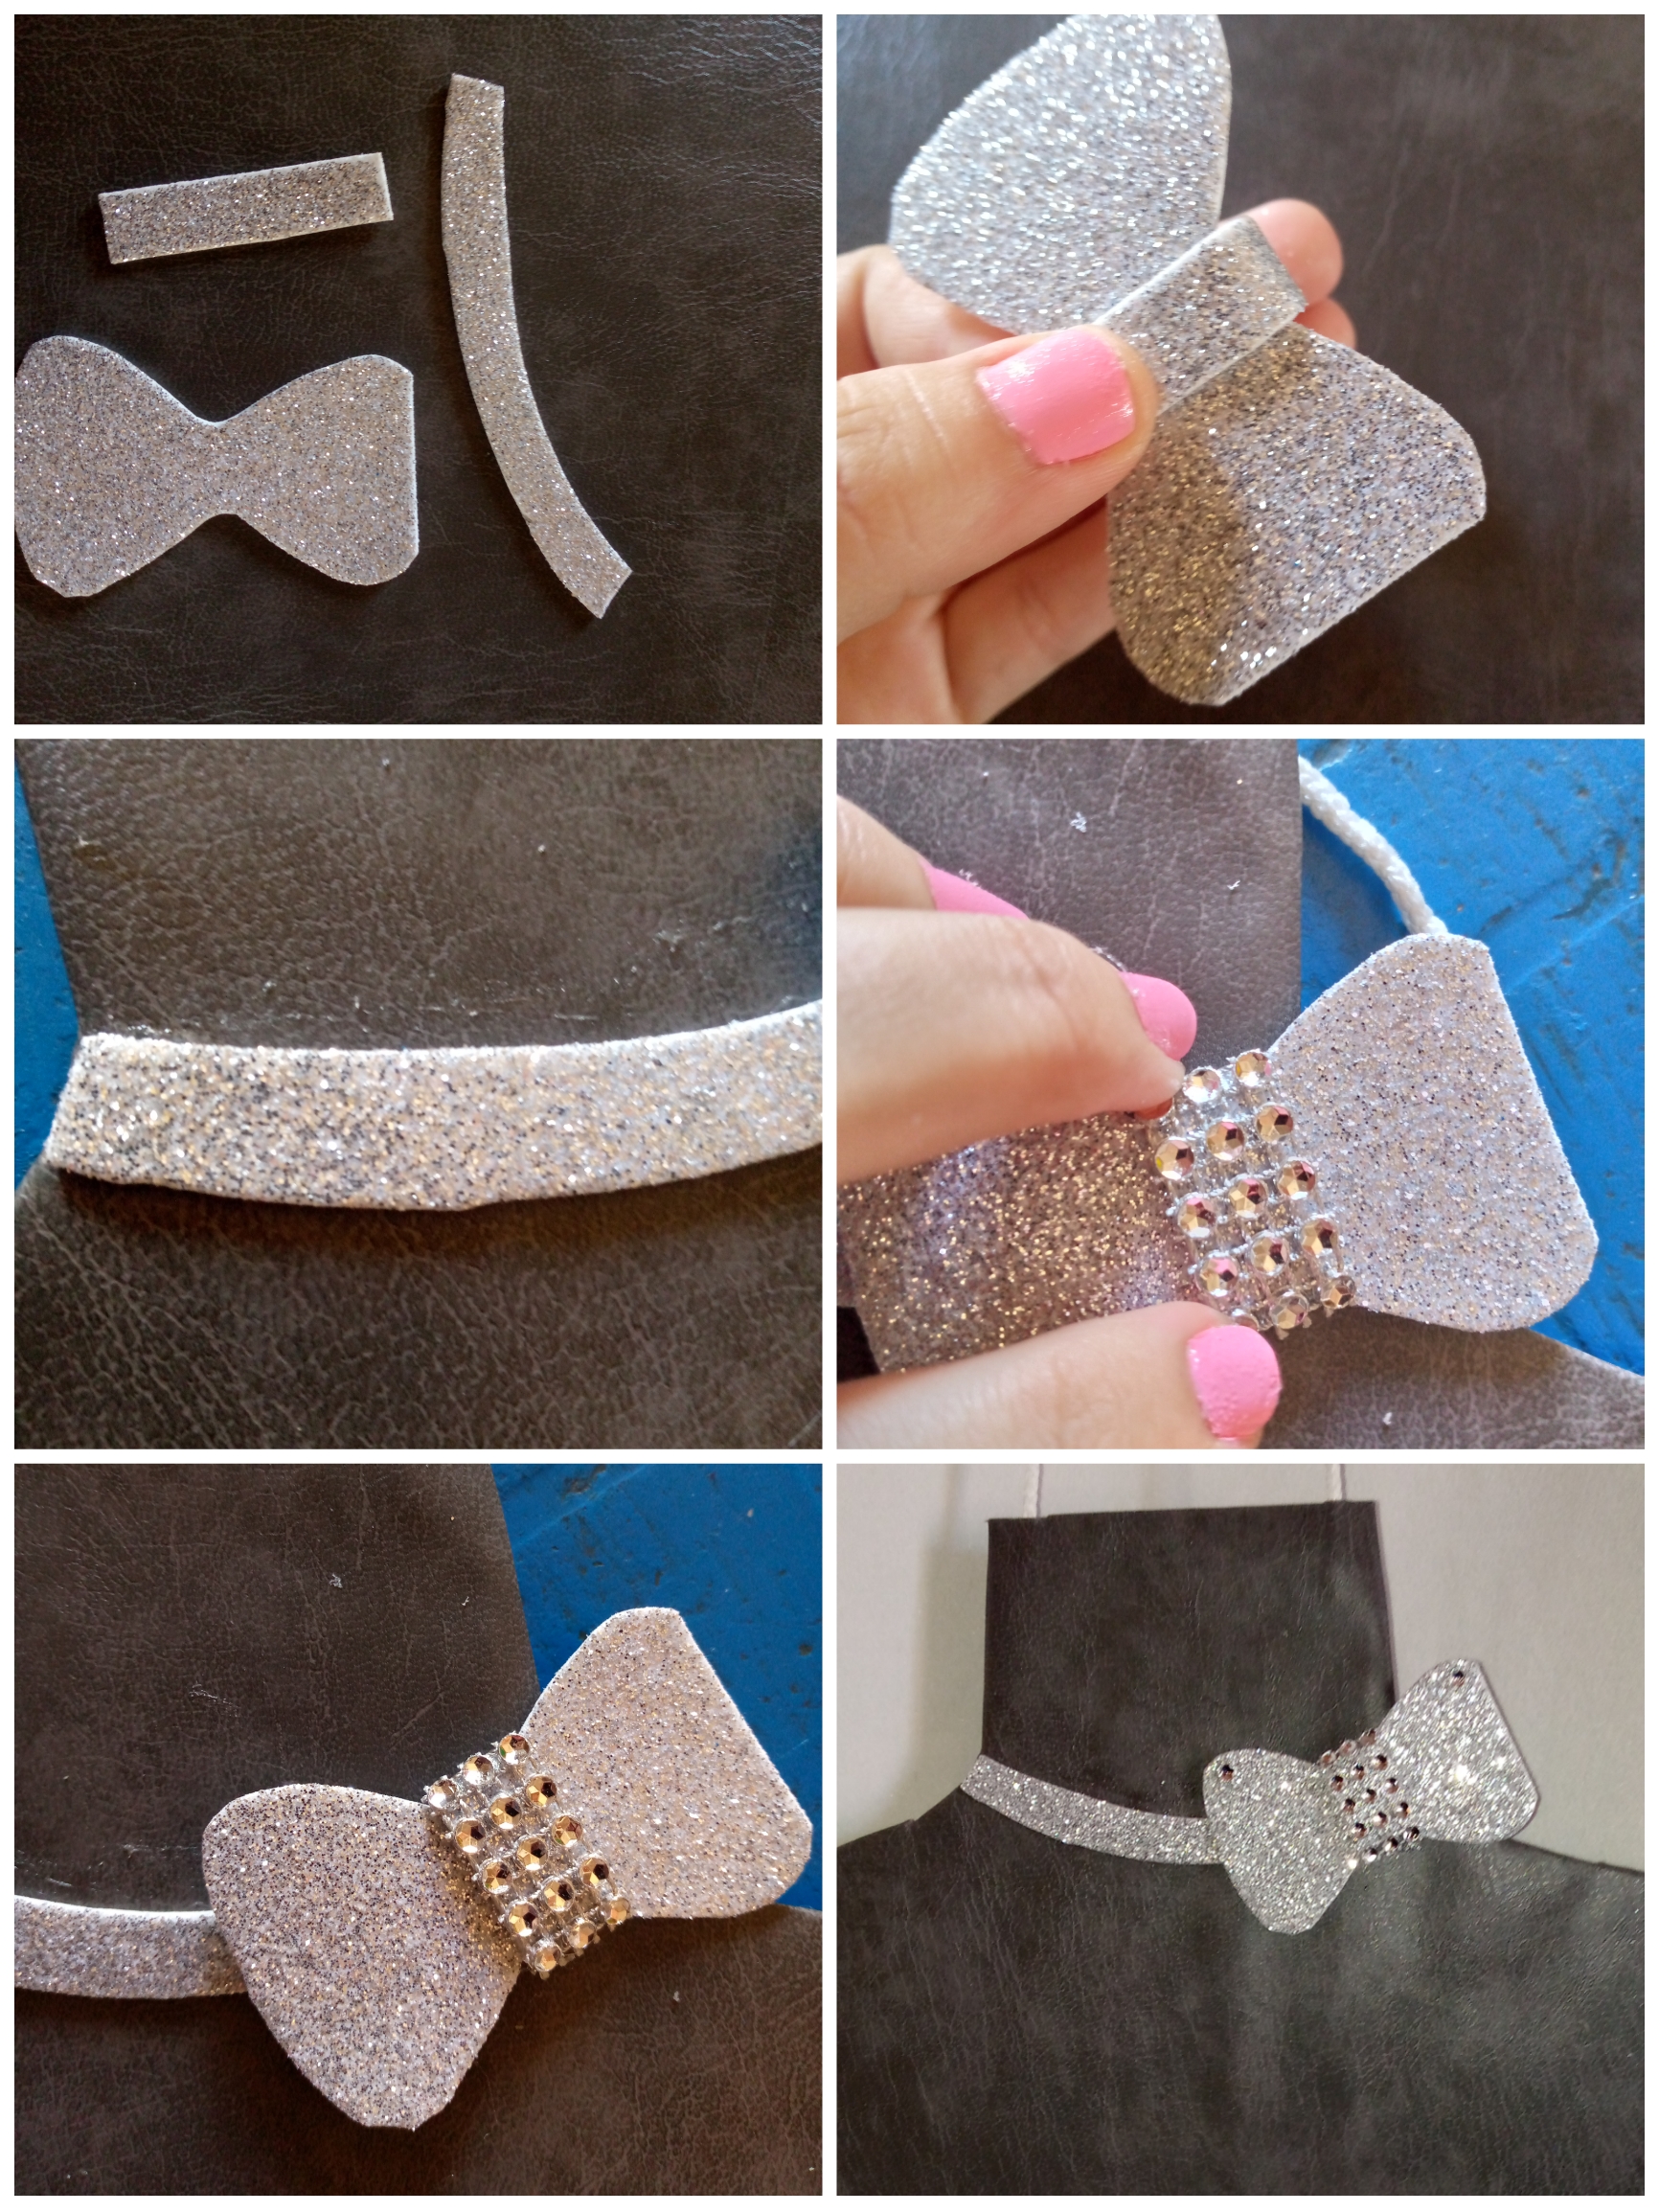
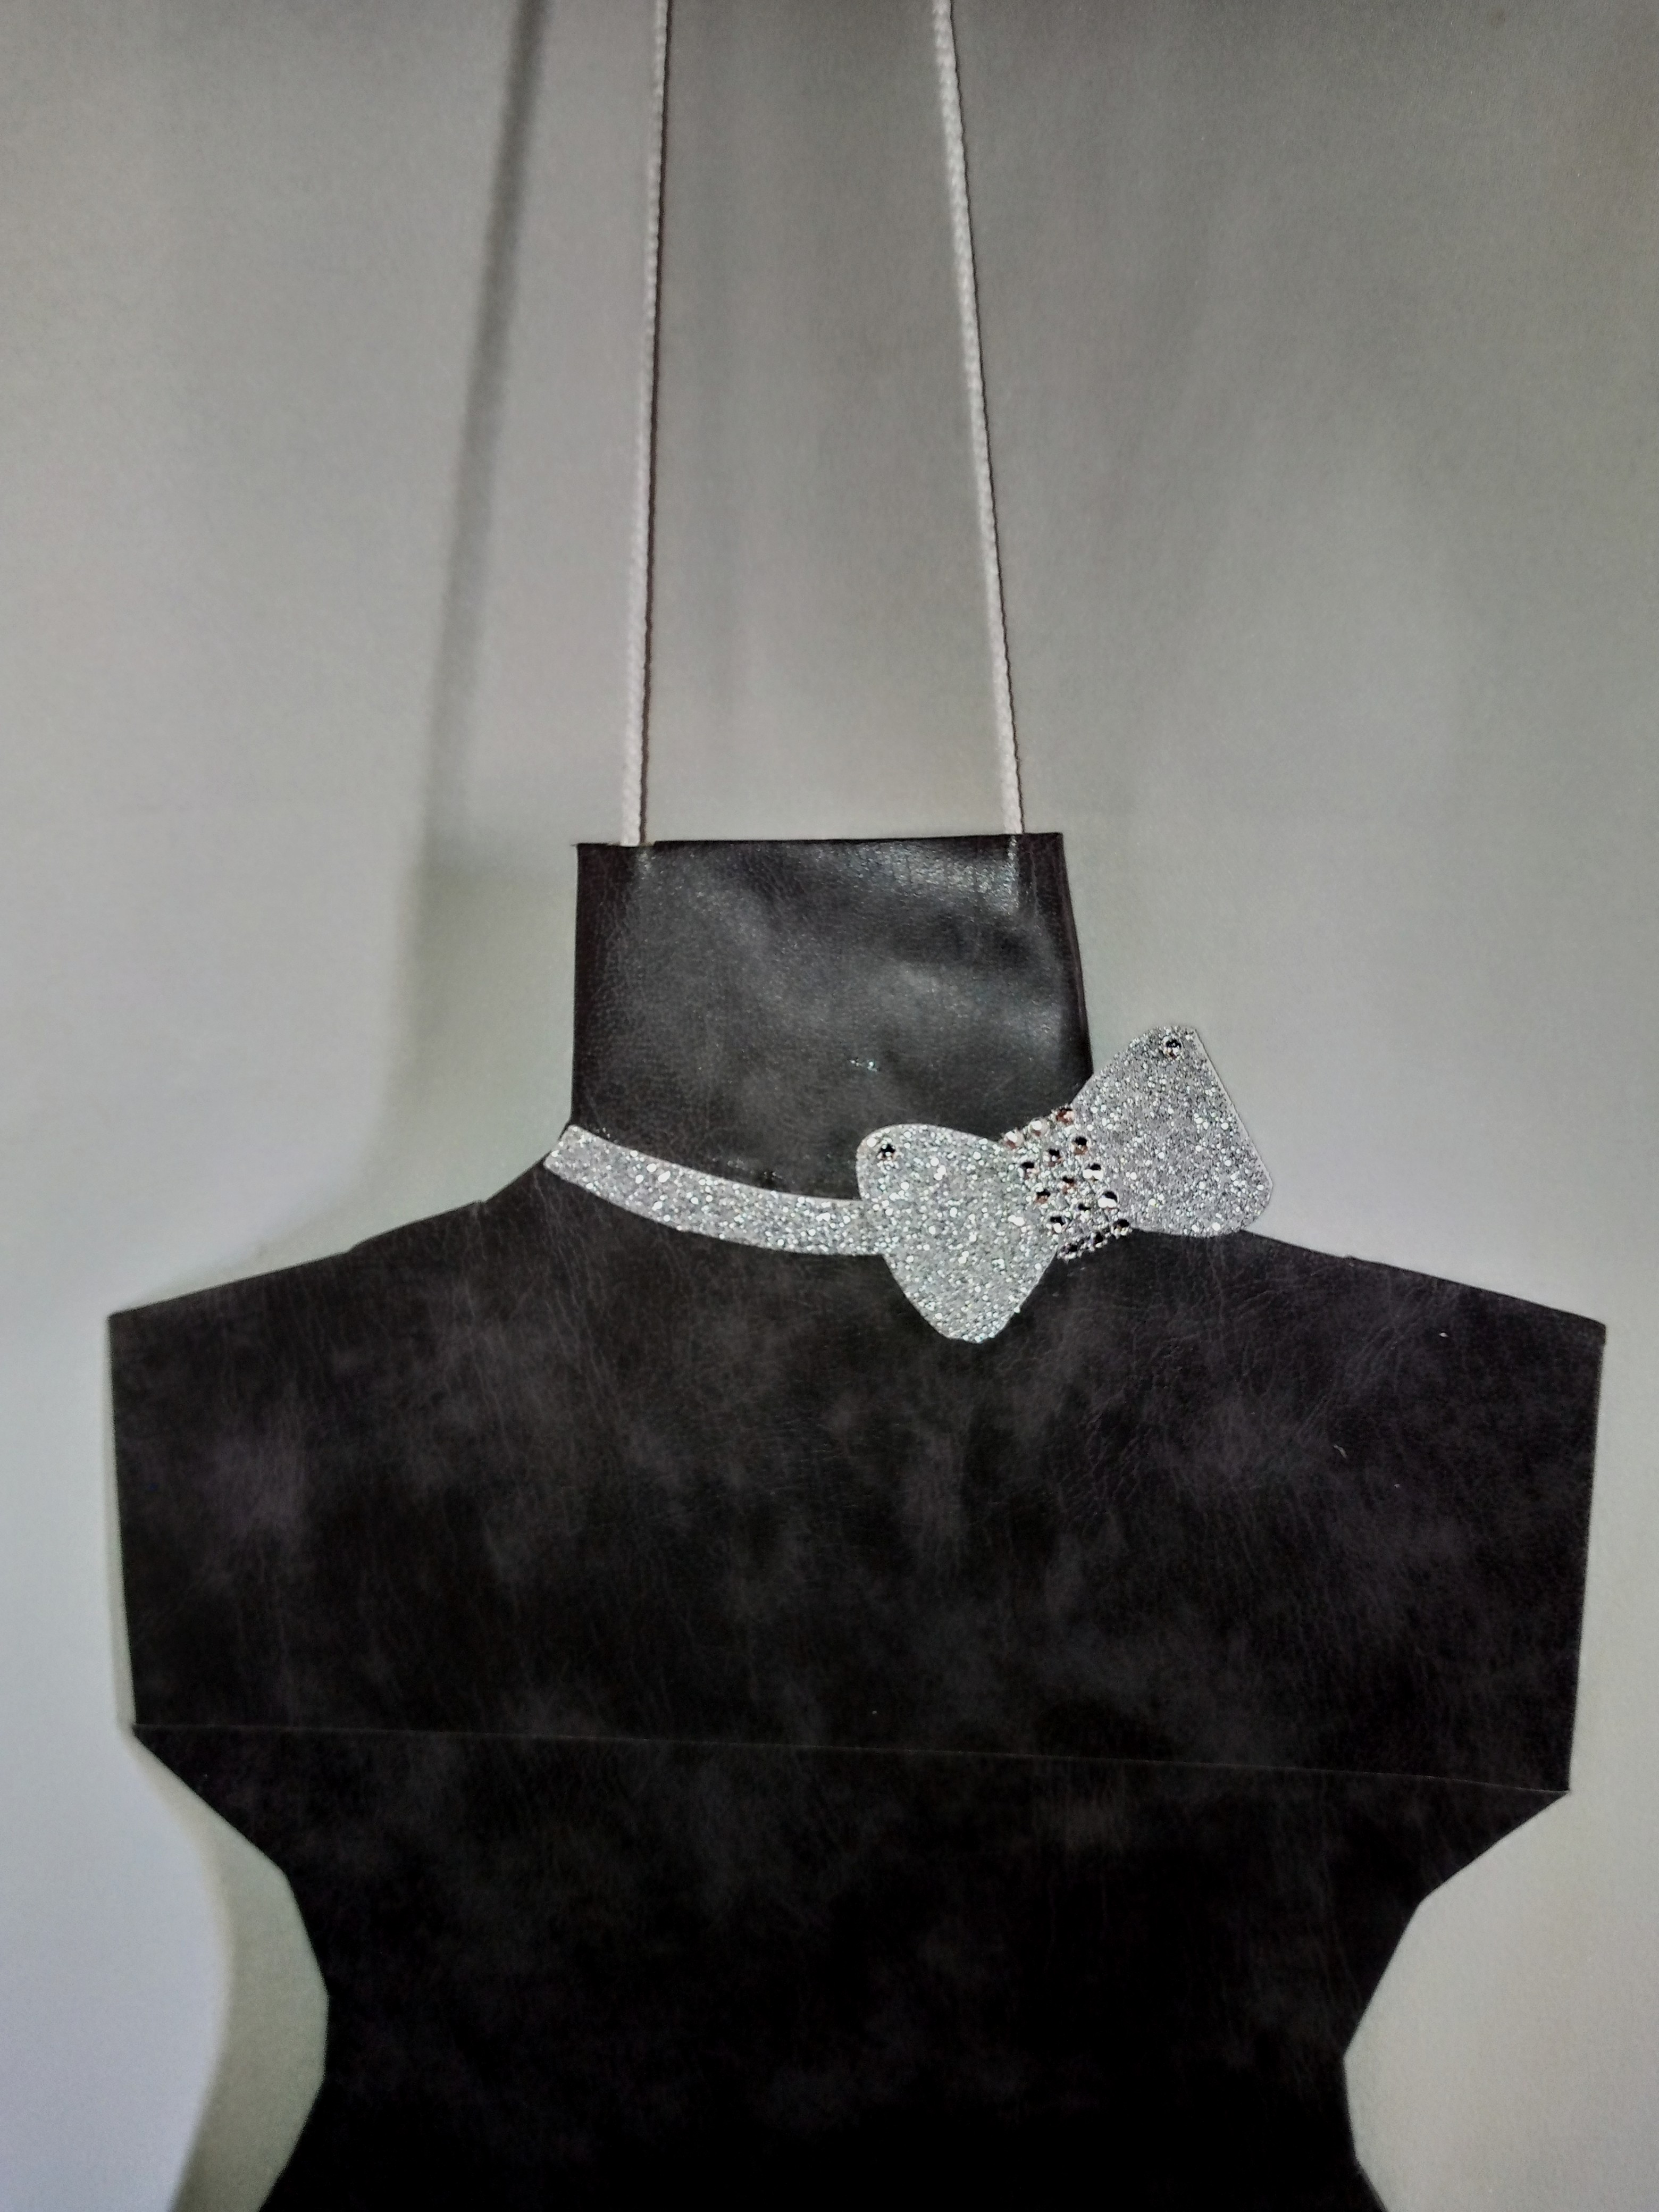
The last step is the decoration of the mannequin, for this I used the shiny fomi and took the shape of a necklace to put on the neck, I made a bow and decorated it with the silver design in the middle, I proceeded to glue it well with silicone and so on. This is how beautiful the design of the mannequin looks, in this way I have finished making it.
Resultado
Resultado
In this very simple way friends can make their mannequins counters, this one that I have made is for a child size we can also do it for a large size and complete everything as your imagination allows using resources that we can recycle from the comfort of our home, I hope you liked this project my loves, I always appreciate the support you have given me, thank you with all my heart and I hope to also continue seeing your creative works that are inspiration for me and to this beautiful creative community for its support, without further ado to say goodbye to you, a hug from a distance, see you in another next blog, goodbye friends❤️.
.jpg)
.jpg)
.jpg)
.jpg)
Que genia¡¡¡ me encantó para exhibir los diseños y el toque del lazo lo amé 🎀 Cuando hay ganas de hacer las cosas nadie ni nada te detiene . Maravillosa idea ¡¡¡
@mergusa88 hola buen día aprecio tu sincero comentario un placer te haya gustado este trabajo reciclado ,muchas gracias,así es nadie nos detiene ,saludos ✨
Muy buena idea para hacer muestras de ropa a traves de estos maniquis que son realizados con materiales sencillos. Excelente
Así es linda de esa forma reutilizamos el cartón de cualquier caja que tengamos en casa ,feliz noche 🥰
Hola linda, que bonita y creativa te resulto esta idea, se ve ideal para decorar el espacio de hacer costuras, me gustan mucho esos lazitos que siempre usas para tus creaciones. ❤️
Hola linda tarde que bien te haya gustado amiga ,si ese tipo de lacitos me encanta a mi hacer decora mucho cualquier tipos e diseño que haga 🥰me alegra te gusten
a creative way to recycle stuff,
this DIY made me remember the games that I played when I was a child :)
Hello hello, I'm glad you liked it, the truth is that when I was doing it I also remembered the times when I dressed my dolls, greetings, beautiful
👍