Hola 🙆🏻♀️🥰 Bienvenido a mi blog amigo artesano.
Hello 🙆🏻♀️🥰 Welcome to my blog, artisan friend.
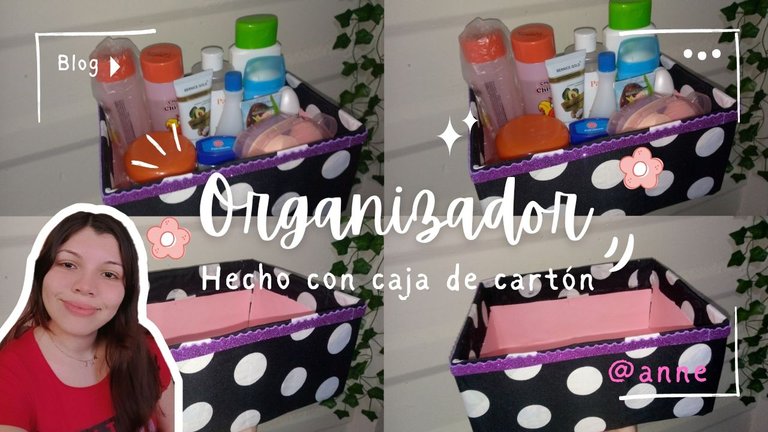
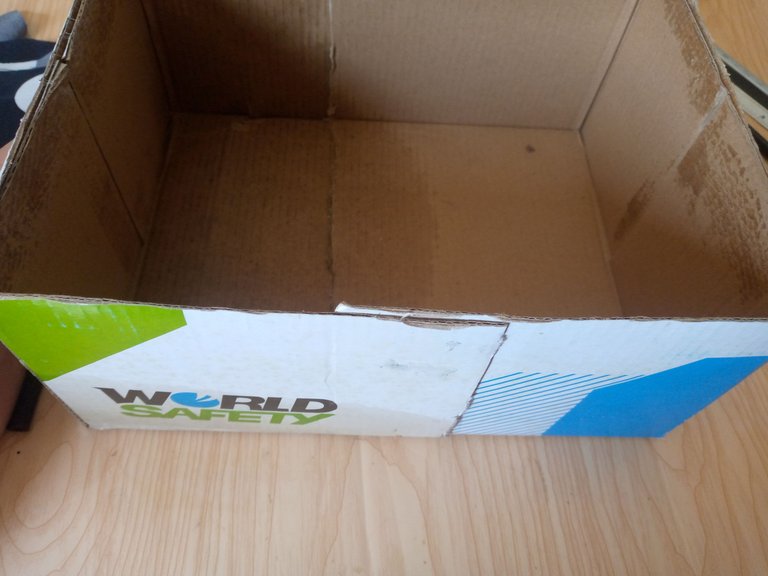
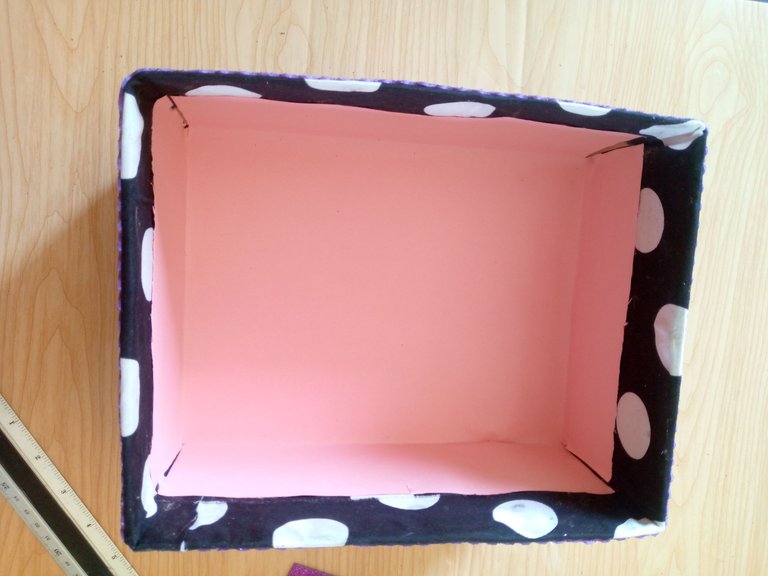
Making cardboard and fabric organizers is something I've always wanted to do because obviously I'd never done anything before, but it was time for my things to be organized where I have them. Because where I keep my things, which is my wooden drawer, they always fell down and there were products like makeup that, if they weren't closed properly, could spill. To avoid that, I wanted to make this cute and beautiful organizer myself with an old shoe box to take advantage of this recycled material, like this box that my mom no longer used.
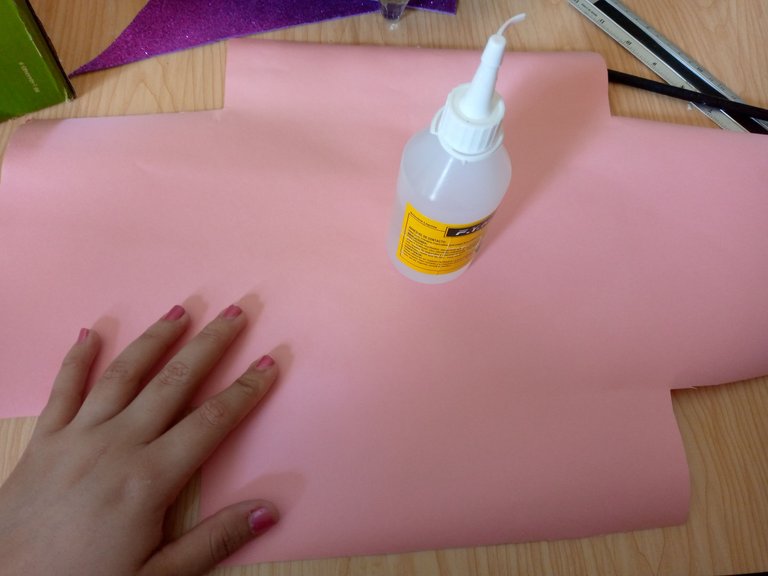
I looked for several ideas on Pinterest, which is my almost daily newspaper because I always see a lot of ideas there and well, that way I come up with many more things that I can learn to do and thus continue doing different things that I like, especially to organize my room, which is something I have focused on a little bit these days, and thus find everything in its place. Doing it wasn't difficult. I just took any piece of fabric that had silicone and foam scraps to decorate, but you can use many things you have at home like newspaper, recycled paper, paints, plastic, and many other things.
Materiales:// Materials:
- Caja de cartón grande
- Silicon líquido
- Tijera
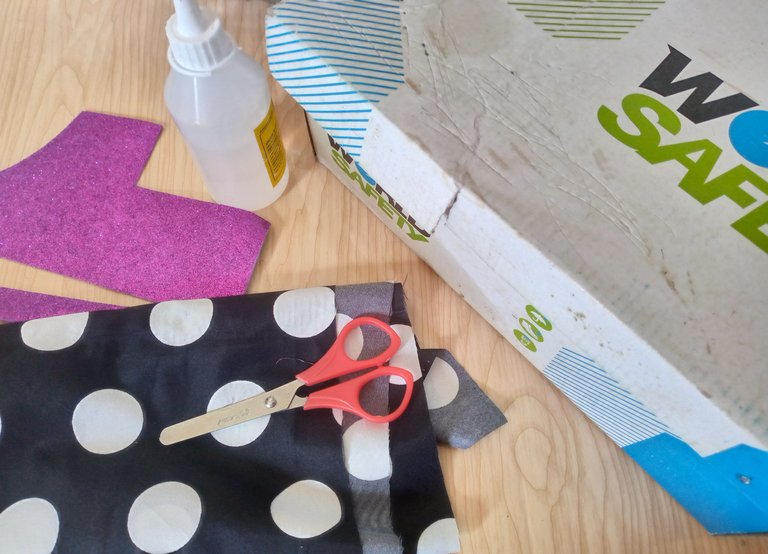
- Trozos de tela y fomi de color
- Cartulina escolar
- Large cardboard box
- Liquid silicone
- Scissors
- Pieces of fabric and colored foam
- School cardboard
Pasos a seguir://Steps to follow:
Paso 01
Step 01
We will cut the shoe box in half so that our organizer is a little smaller because mostly shoe boxes come wider so if you want to reduce it a little or more we will cut the box in half and since I want to reduce it a little I will put one of my pieces 6 cm inside the other piece and glue it to join it, then I will take the cardboard and cut the square pieces on the sides to be able to put it inside since this will be the lining that we will glue inside our box.
Paso 02
Step 02
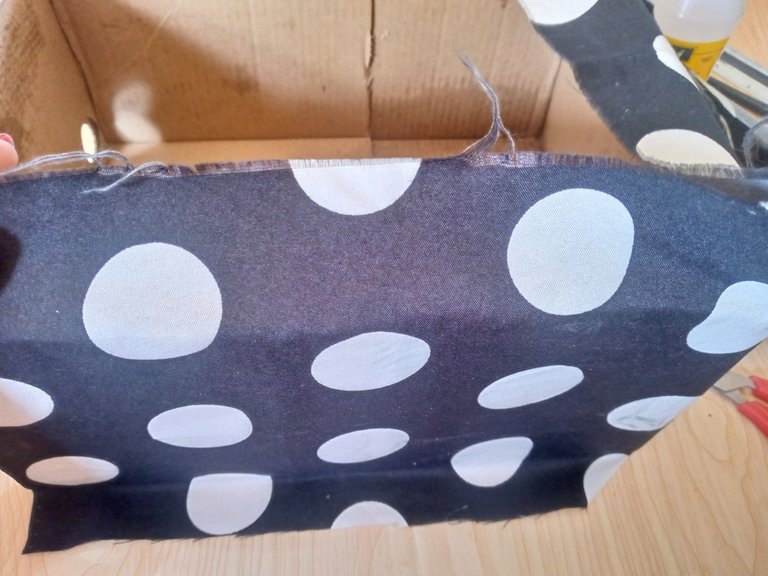
With our piece of fabric we will be lining the outside of the box, leaving 4 cm of fabric width outwards because we will then fold it inwards and glue it little by little.
Paso 03
Step 03
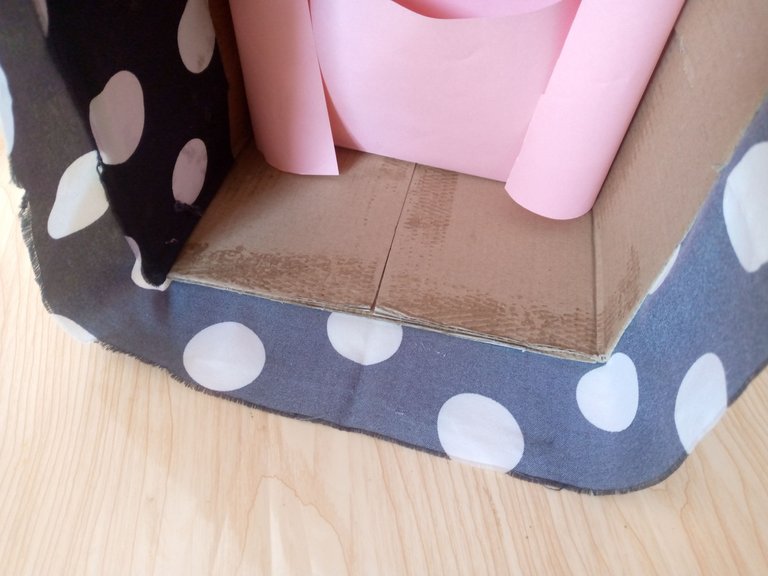
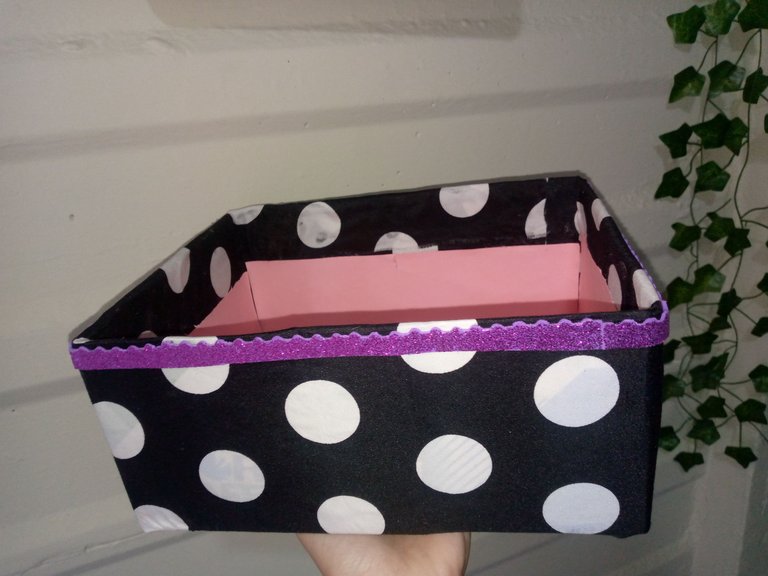
We then fold inwards what we had left of the fabric and we also glue the cardboard to the bottom inside the box and we glue the views of the cardboard also covering our fabric that we put inside.
Paso 04
Step 04
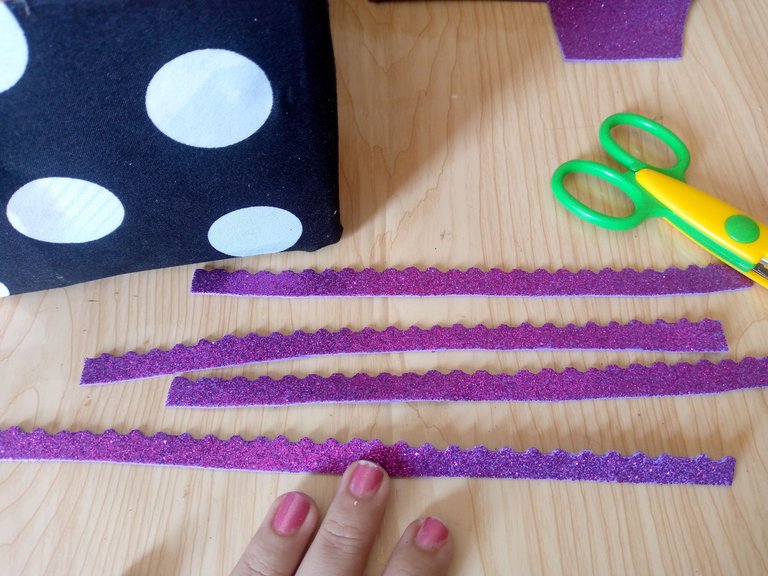
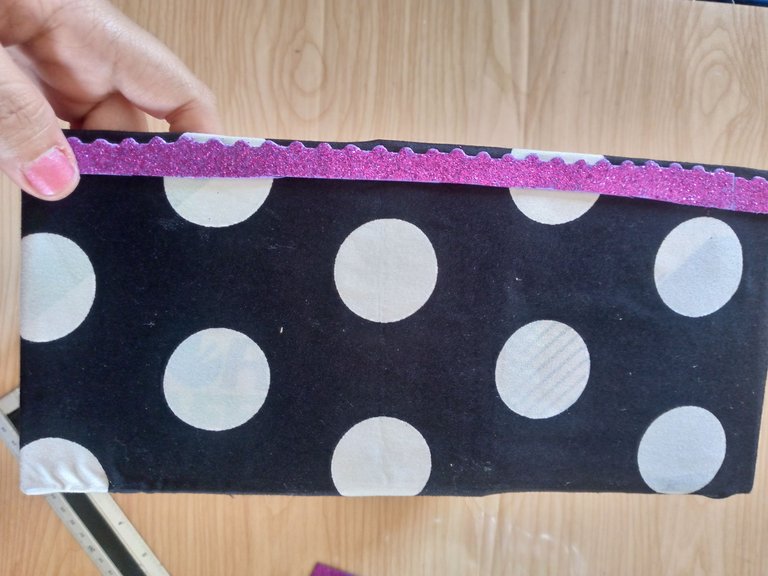
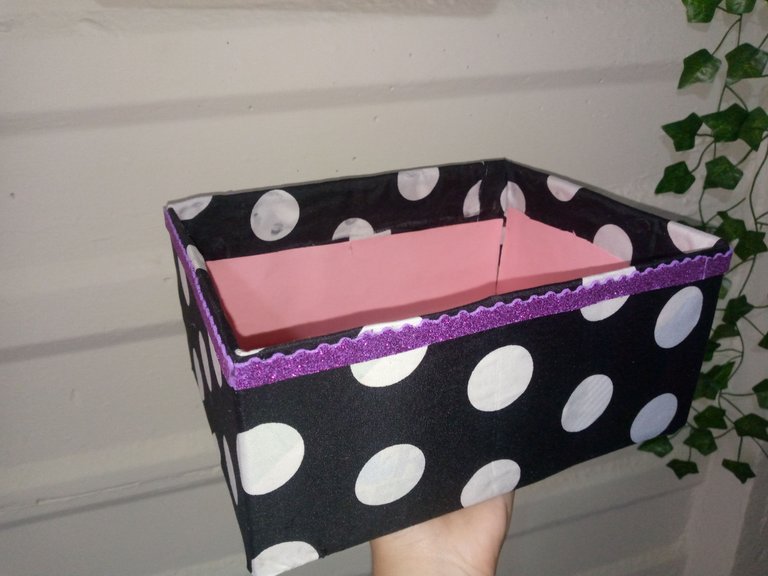
I finished decorating this box with a shiny foam ribbon. I made a nice lace-style design with my pretty scissors and glued it with silicone all around the edge of the box, right at the top.
Resultado:// Result:
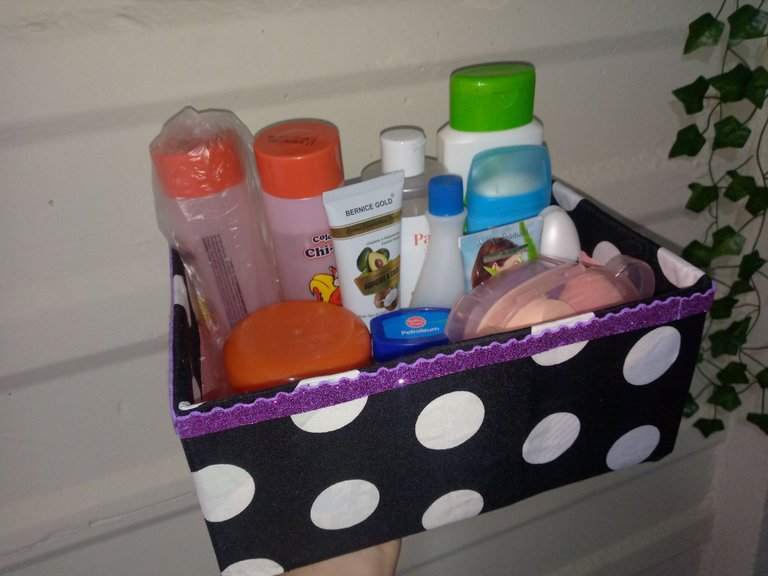
This organizer was super spacious because I put all the things I had on top of the drawer and I still had room to keep putting more things that I will put there later 🥰📦.
If you like this great idea don't forget to share it. I know you're going to really like the idea of personalizing and decorating any place in your home with these recycled boxes decorated with fabrics and other things. With this I say goodbye to you, wishing you a beautiful afternoon and I was happy to share this idea with you. Greetings, I love you all very much ♥️✨.
Creating things with love 🌷❤️
🦋✨ All the images in this publication are my author ,📱taken with my TecnoSpark8C cell phone |📸Photos edited in PicsArt and Canva. Text translated in Google Translate.