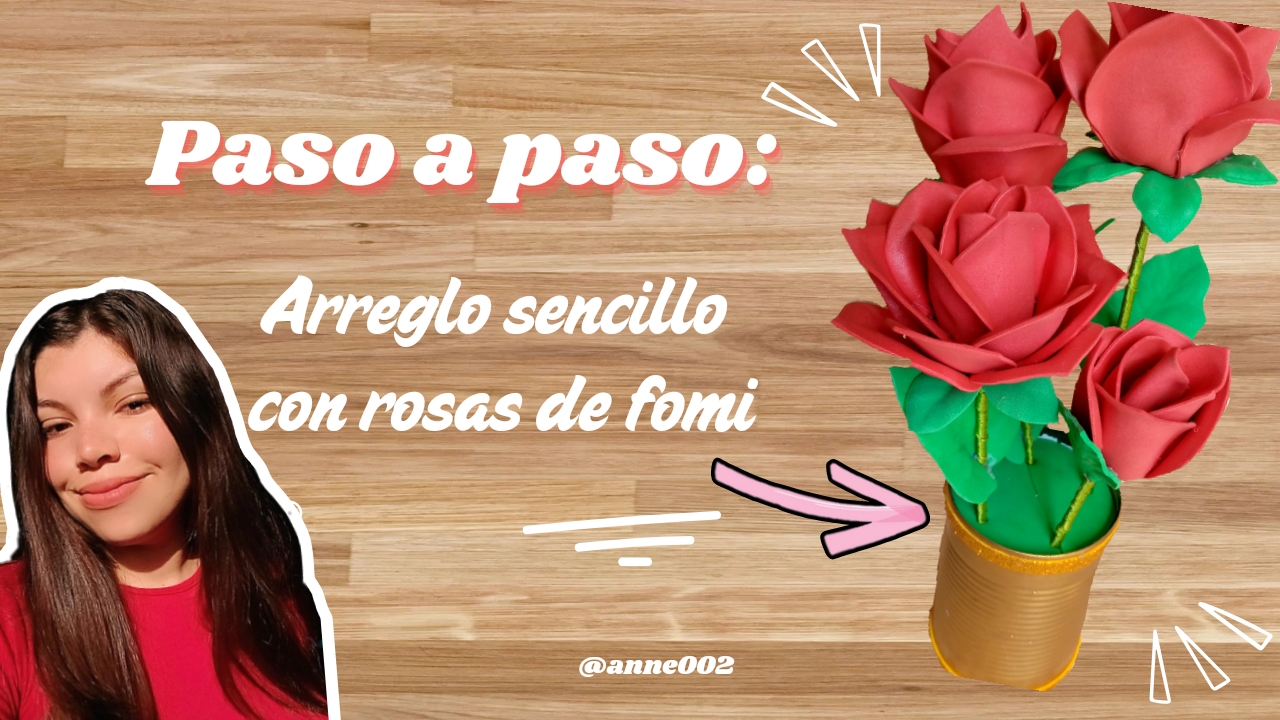
Hello good afternoon dear friends of this beautiful community, welcome to a new tutorial and a new creative blog where I will be telling you how I made this cute easy-to-make craft for your home, this ornament is very simple since I have not made so many flowers, I wanted to make sunflowers but I decided to make roses because I love them very much and my mother too so I will be making it to decorate my space or a little table that I have to place decorations, but the arrangement that this one had were some old flowers that I had made with egg cartons you know that I like to recycle a lot and I had made those little flowers to decorate it but due to time they were already deteriorating, I think it had been like a year since I had made it and this arrangement needed a change of flower.
.jpg)
To make the flowers for this beautiful arrangement I used my dies or molds to make roses, flowers and leaves out of foam or any other material like cold porcelain. These molds are especially for making pretty decorations and I had it saved so today we will use it. I used a letter-sized sheet of red foam and a medium-sized green one for the leaves, so today we will be making this incredible ornament to decorate any corner we want in our home. Come and join me to enjoy the very easy process. You will love the results, my artisan friends.
¡Manos a la obra!✨🎨
Let's get to work!✨🎨
.jpg)
.jpg)
Materiales:// Materials:
- 2 pliegos de fomi uno rojo y verde
- Tijeras
- Silicon líquido y caliente
- Cinta verde para forrar los palillos
- Palillos de madera
- Moldes para hacer flores y hojas
- Lápiz
- Plancha de ropa
- Pinceles
- Pintura en color oro
- 2 sheets of foam, one red and one green
- Scissors
- Hot liquid silicone
- Green tape to cover the sticks
- Wooden sticks
- Molds to make flowers and leaves
- Pencil
- Clothes iron
- Brushes
- Gold paint
.jpg)
Pasos a seguir://Steps to follow:
Paso 01
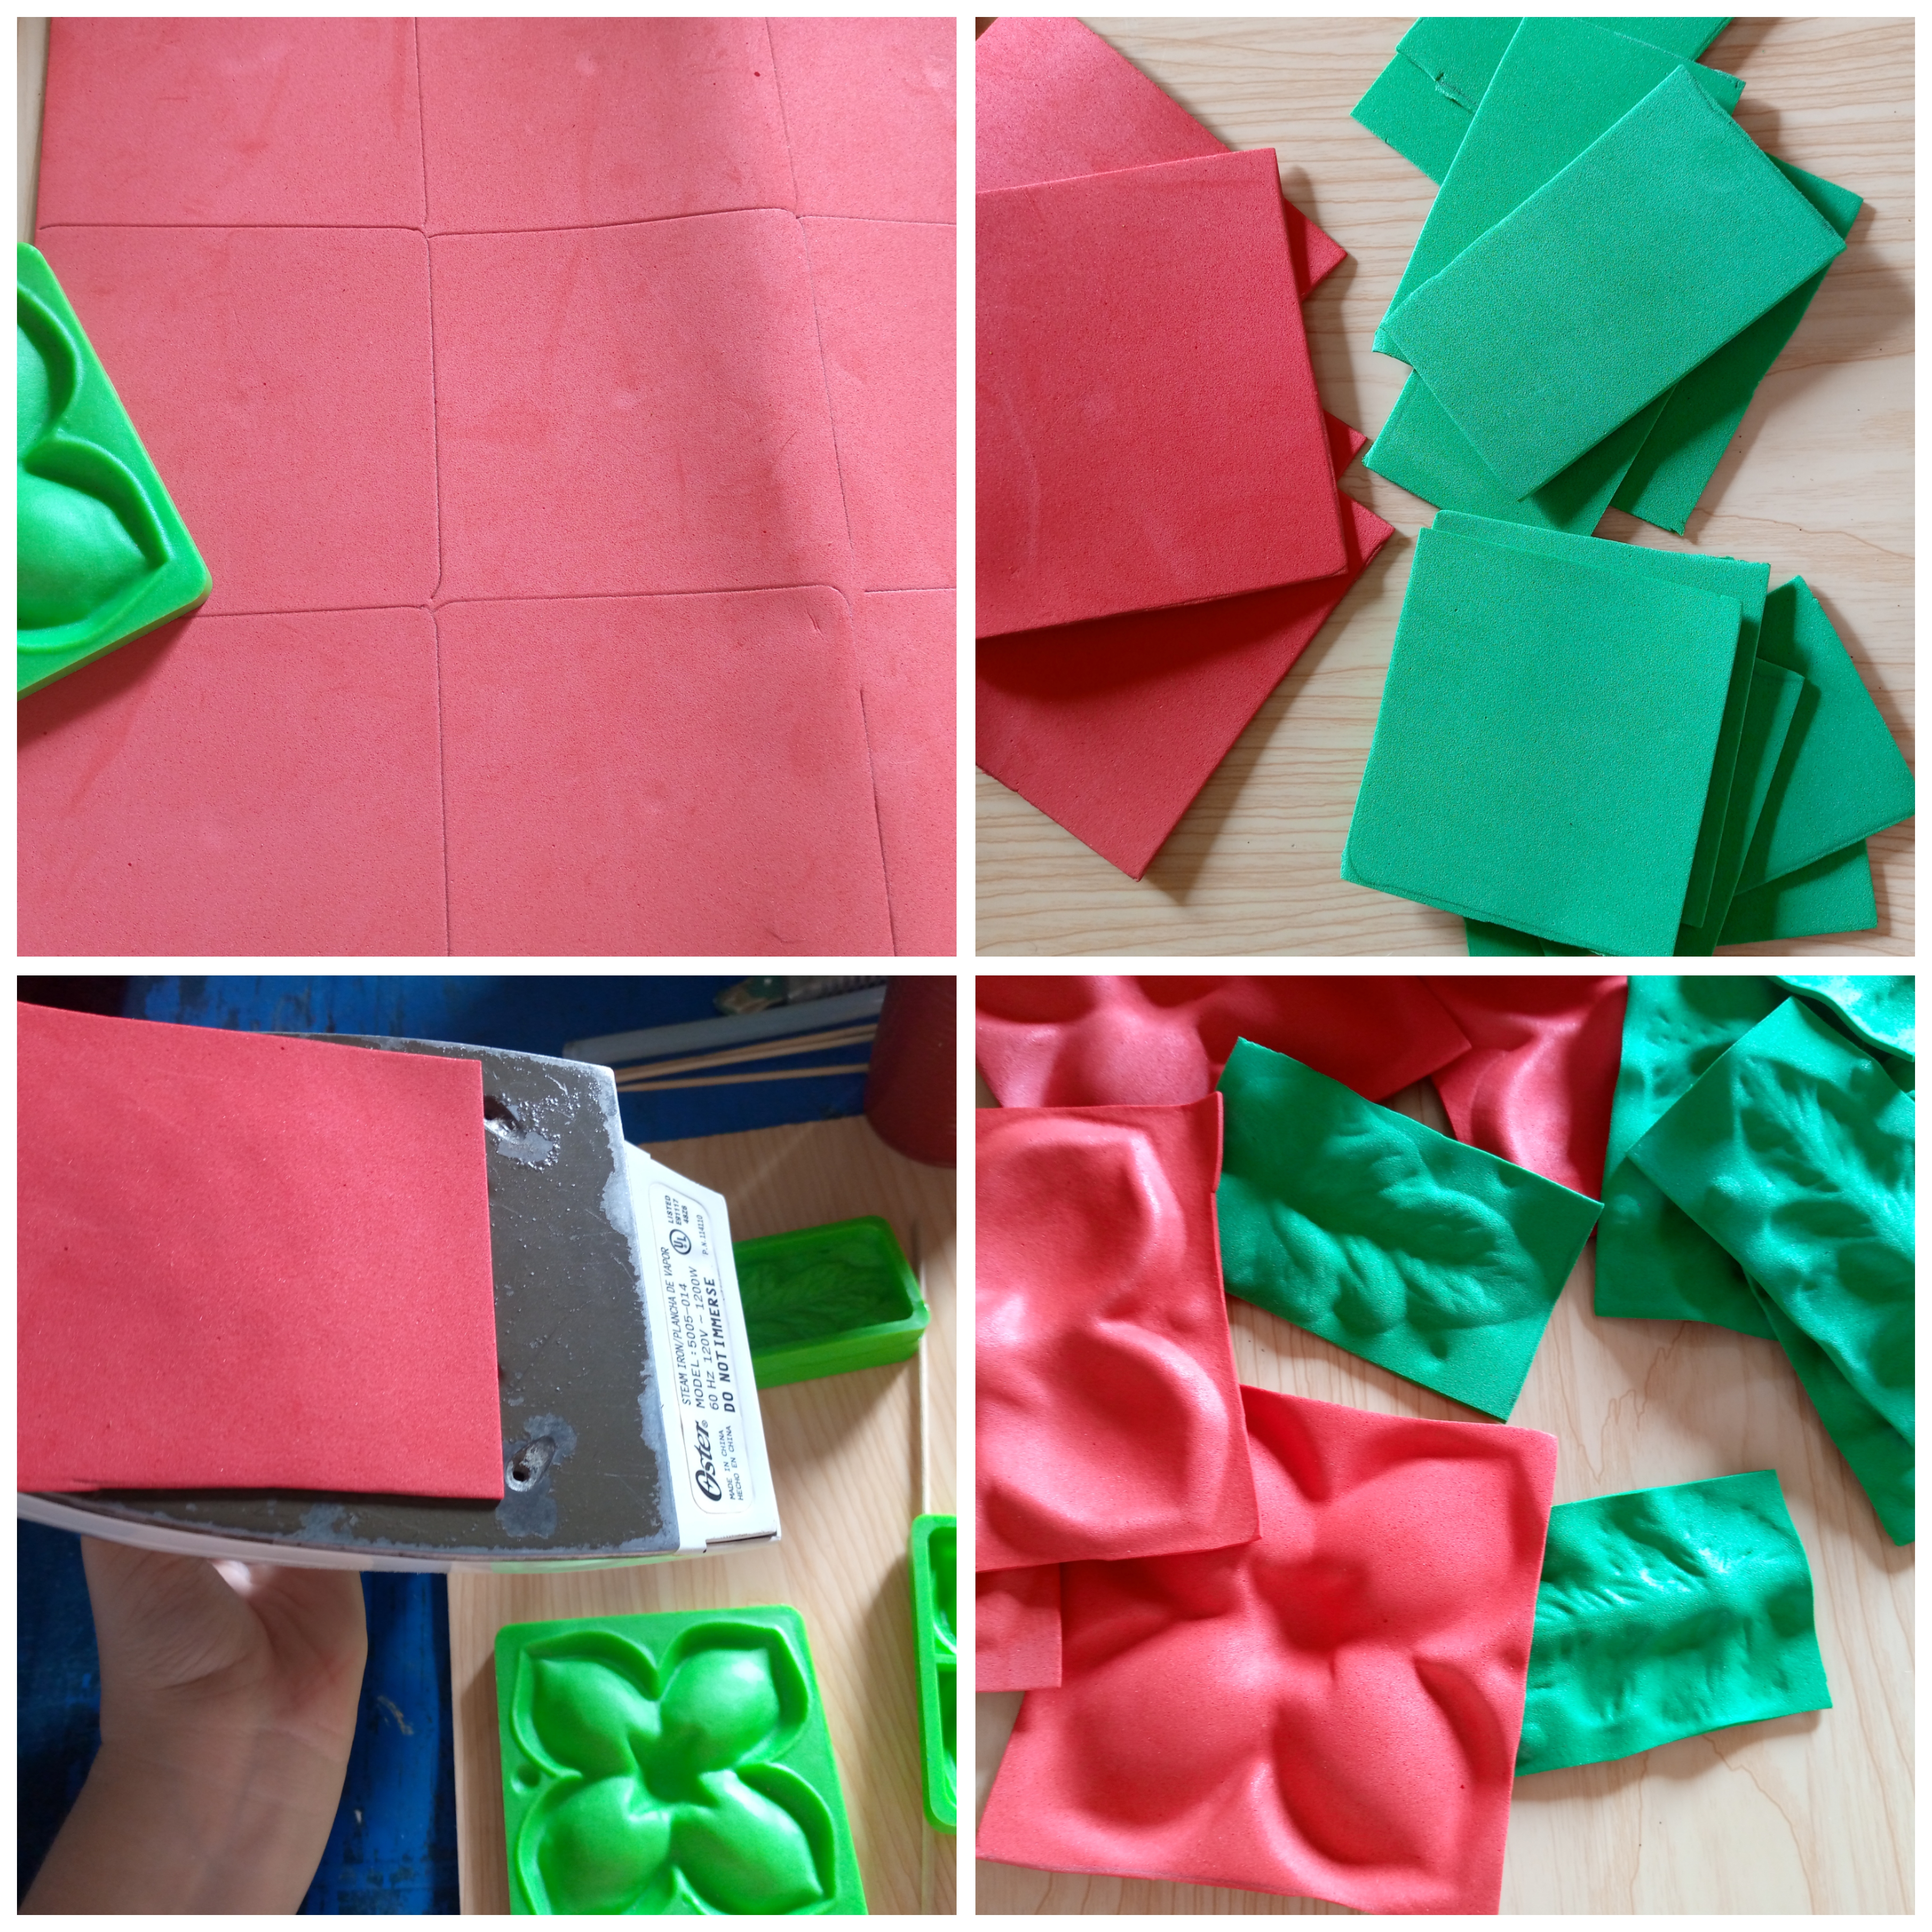
Step 01
The first step we must do is draw squares of the same size as our mold and we will be using four squares for each flower, we will mark with our pencil the squares on the foam to cut the petals, we mark the squares for the leaves and the leaves that go under the flowers, from this we will cut three, the process is simple to make the flowers, we will start by cutting the squares and we will place our iron at medium heat and we will place the foam, when it begins to rise upwards the foam we quickly remove it, place it on one of the flower molds and place the other on top, pressing for a few seconds and remove the petal from the mold, this is how we will do with the leaf molds.

Paso 02
Step 02
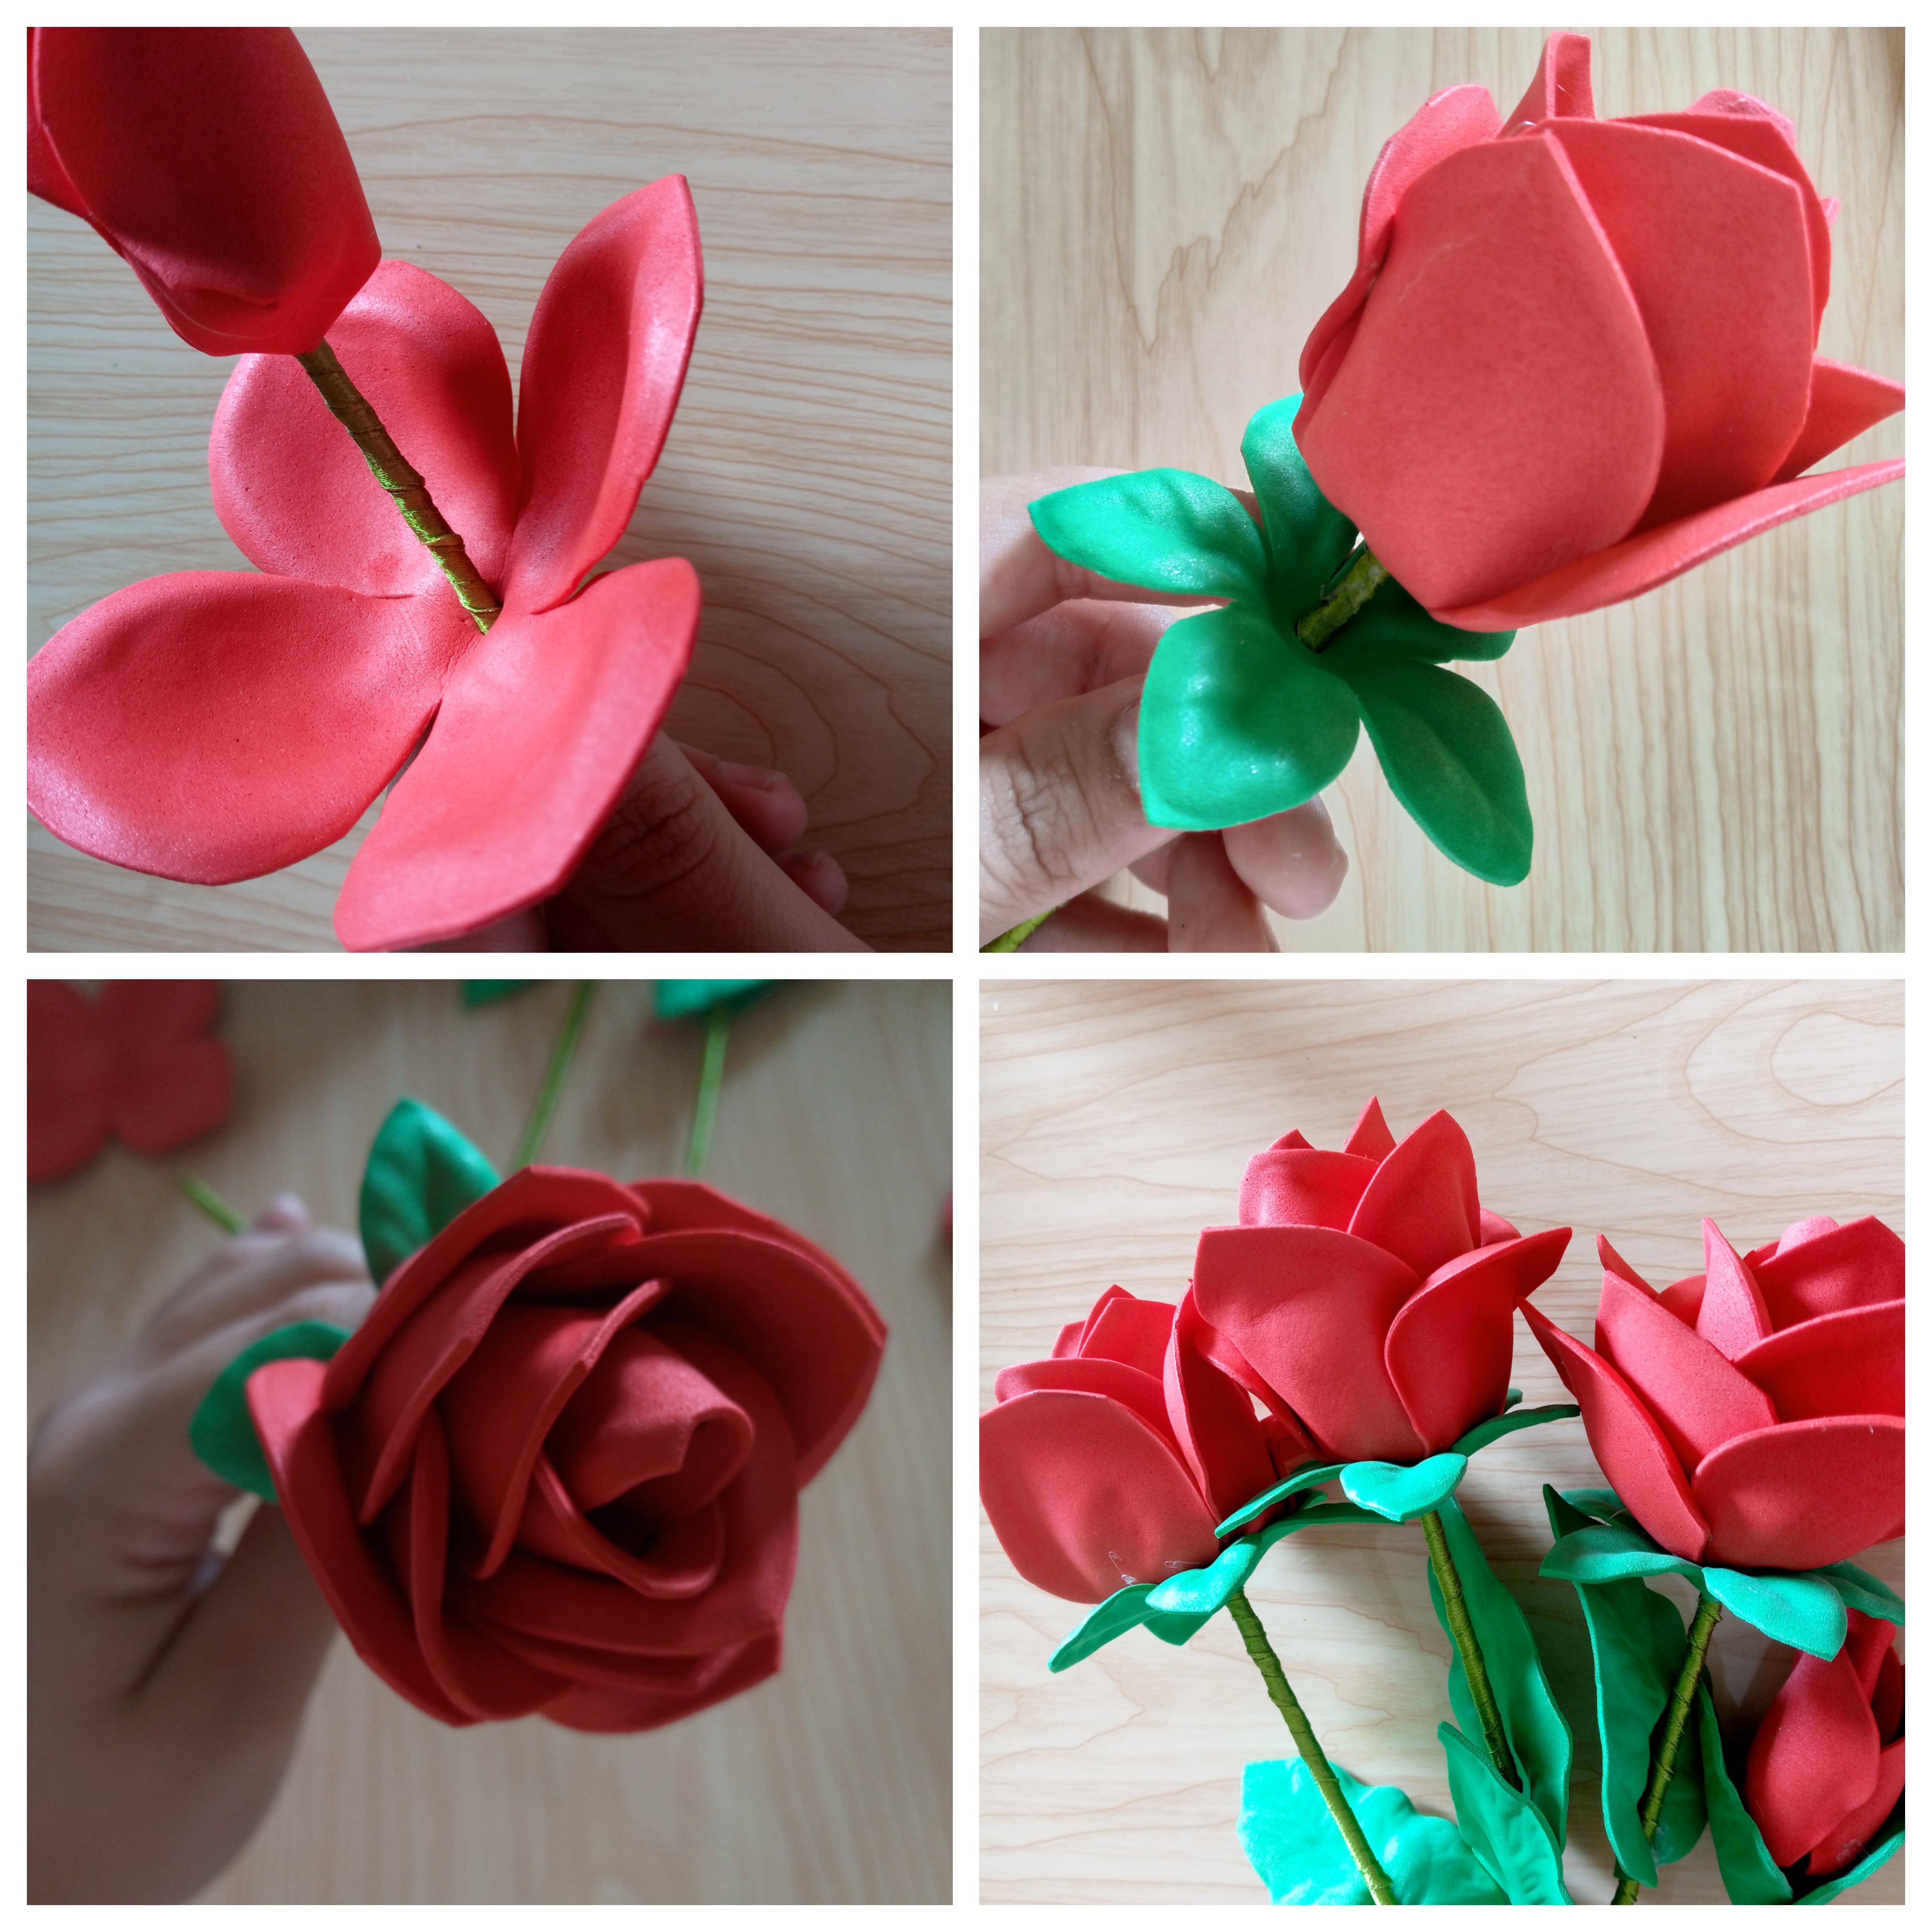
We proceed to cut out the pieces and then we will cover the wooden sticks with the ribbon, on the tip I put a little silicone to hold the tip of the ribbon and I will turn around the stick to cover it with green ribbon forming the stem then we will make a bud, we put the first petal in and seal the four parts of a flower and then another but we will glue it at the tips to close it well.
Paso 03
Step 03
We are going to insert the petals and we are going to pour the hot silicone underneath so that the petals can stick much faster to the bud that we have formed, then it is time to stick the leaves of four small leaves and we stick it in each corner so that it does not come loose, and we are going to repeat this process with the other flowers, for me they were enough to make three flowers with a bud and the leaves.
Paso 04
Step 04
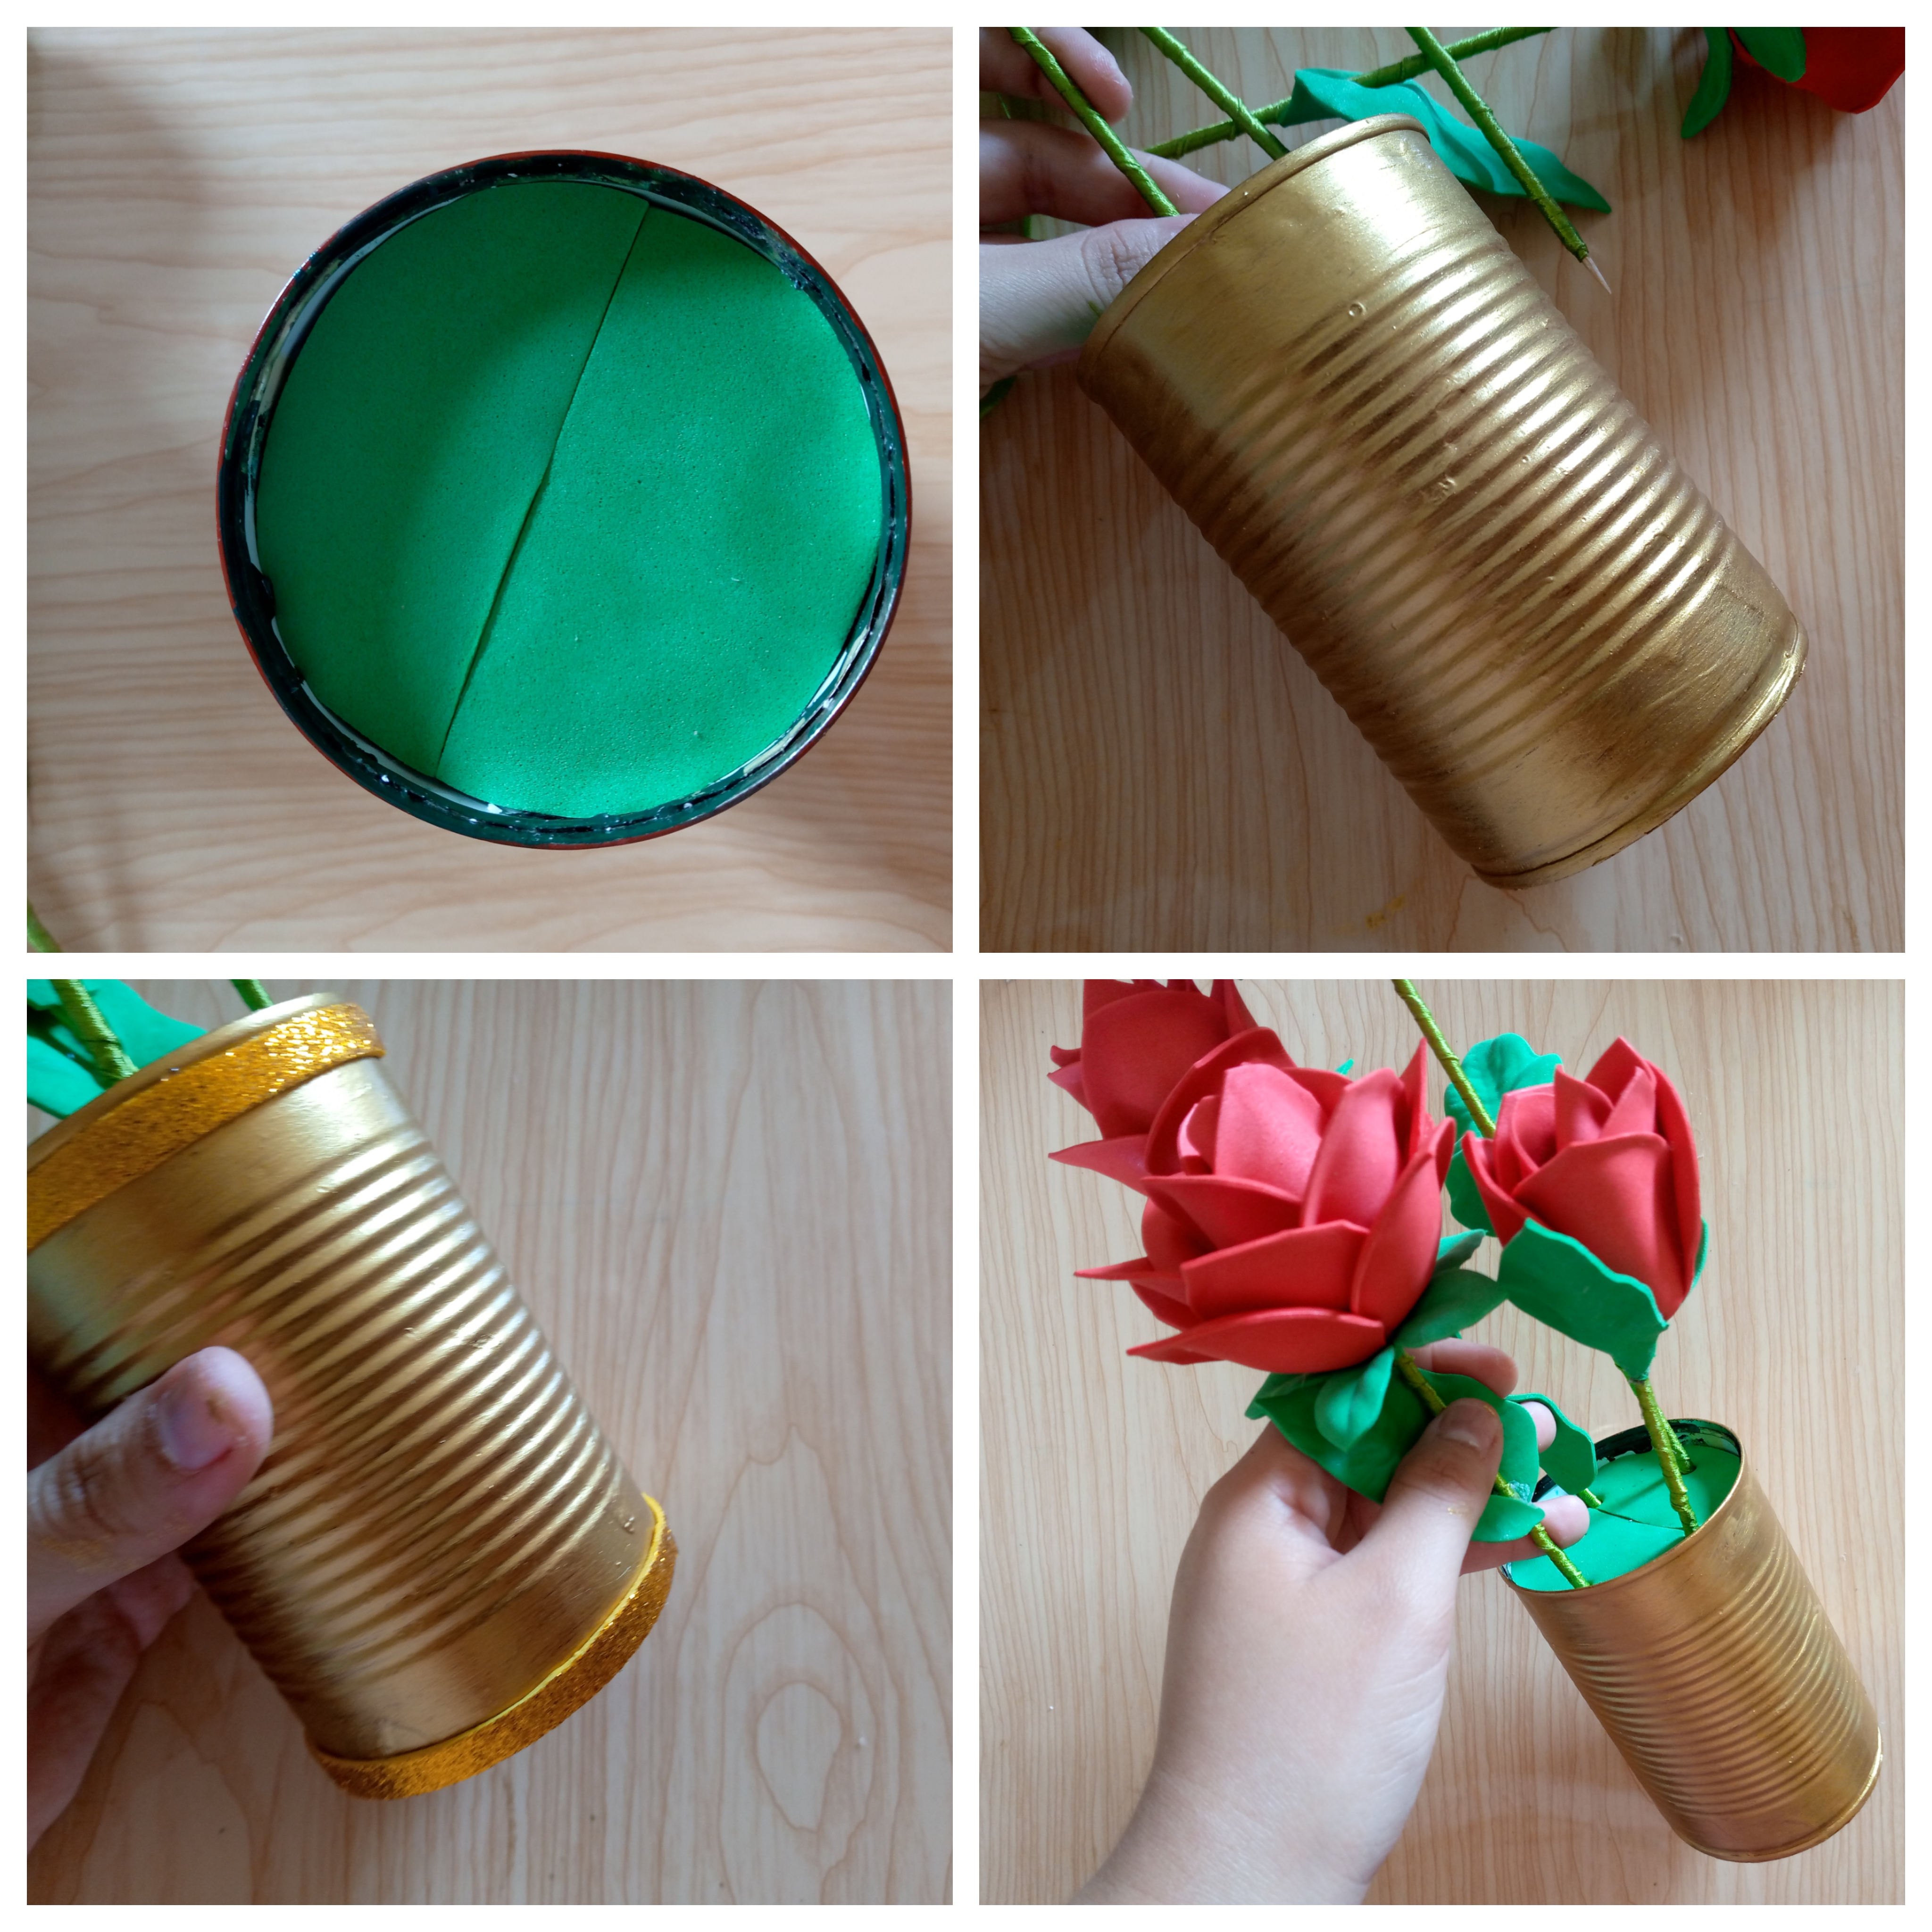
We finish this arrangement friends by gluing a green foam circle on the base where I will place the flowers. Since I didn't have enough, I decided to cut it in half and join both and glue it with liquid silicone and we are going to paint my container. This is recycled, it is a can that I was previously painting red but we are going to paint it gold. We let it dry and we decorate it with a gold foam ribbon around the top and bottom so you can see that the gold paint stands out much more. Then we will assemble our arrangement, we will place the flowers from largest to smallest and that is how we have finished.
.jpg)
Resultado:// Result:
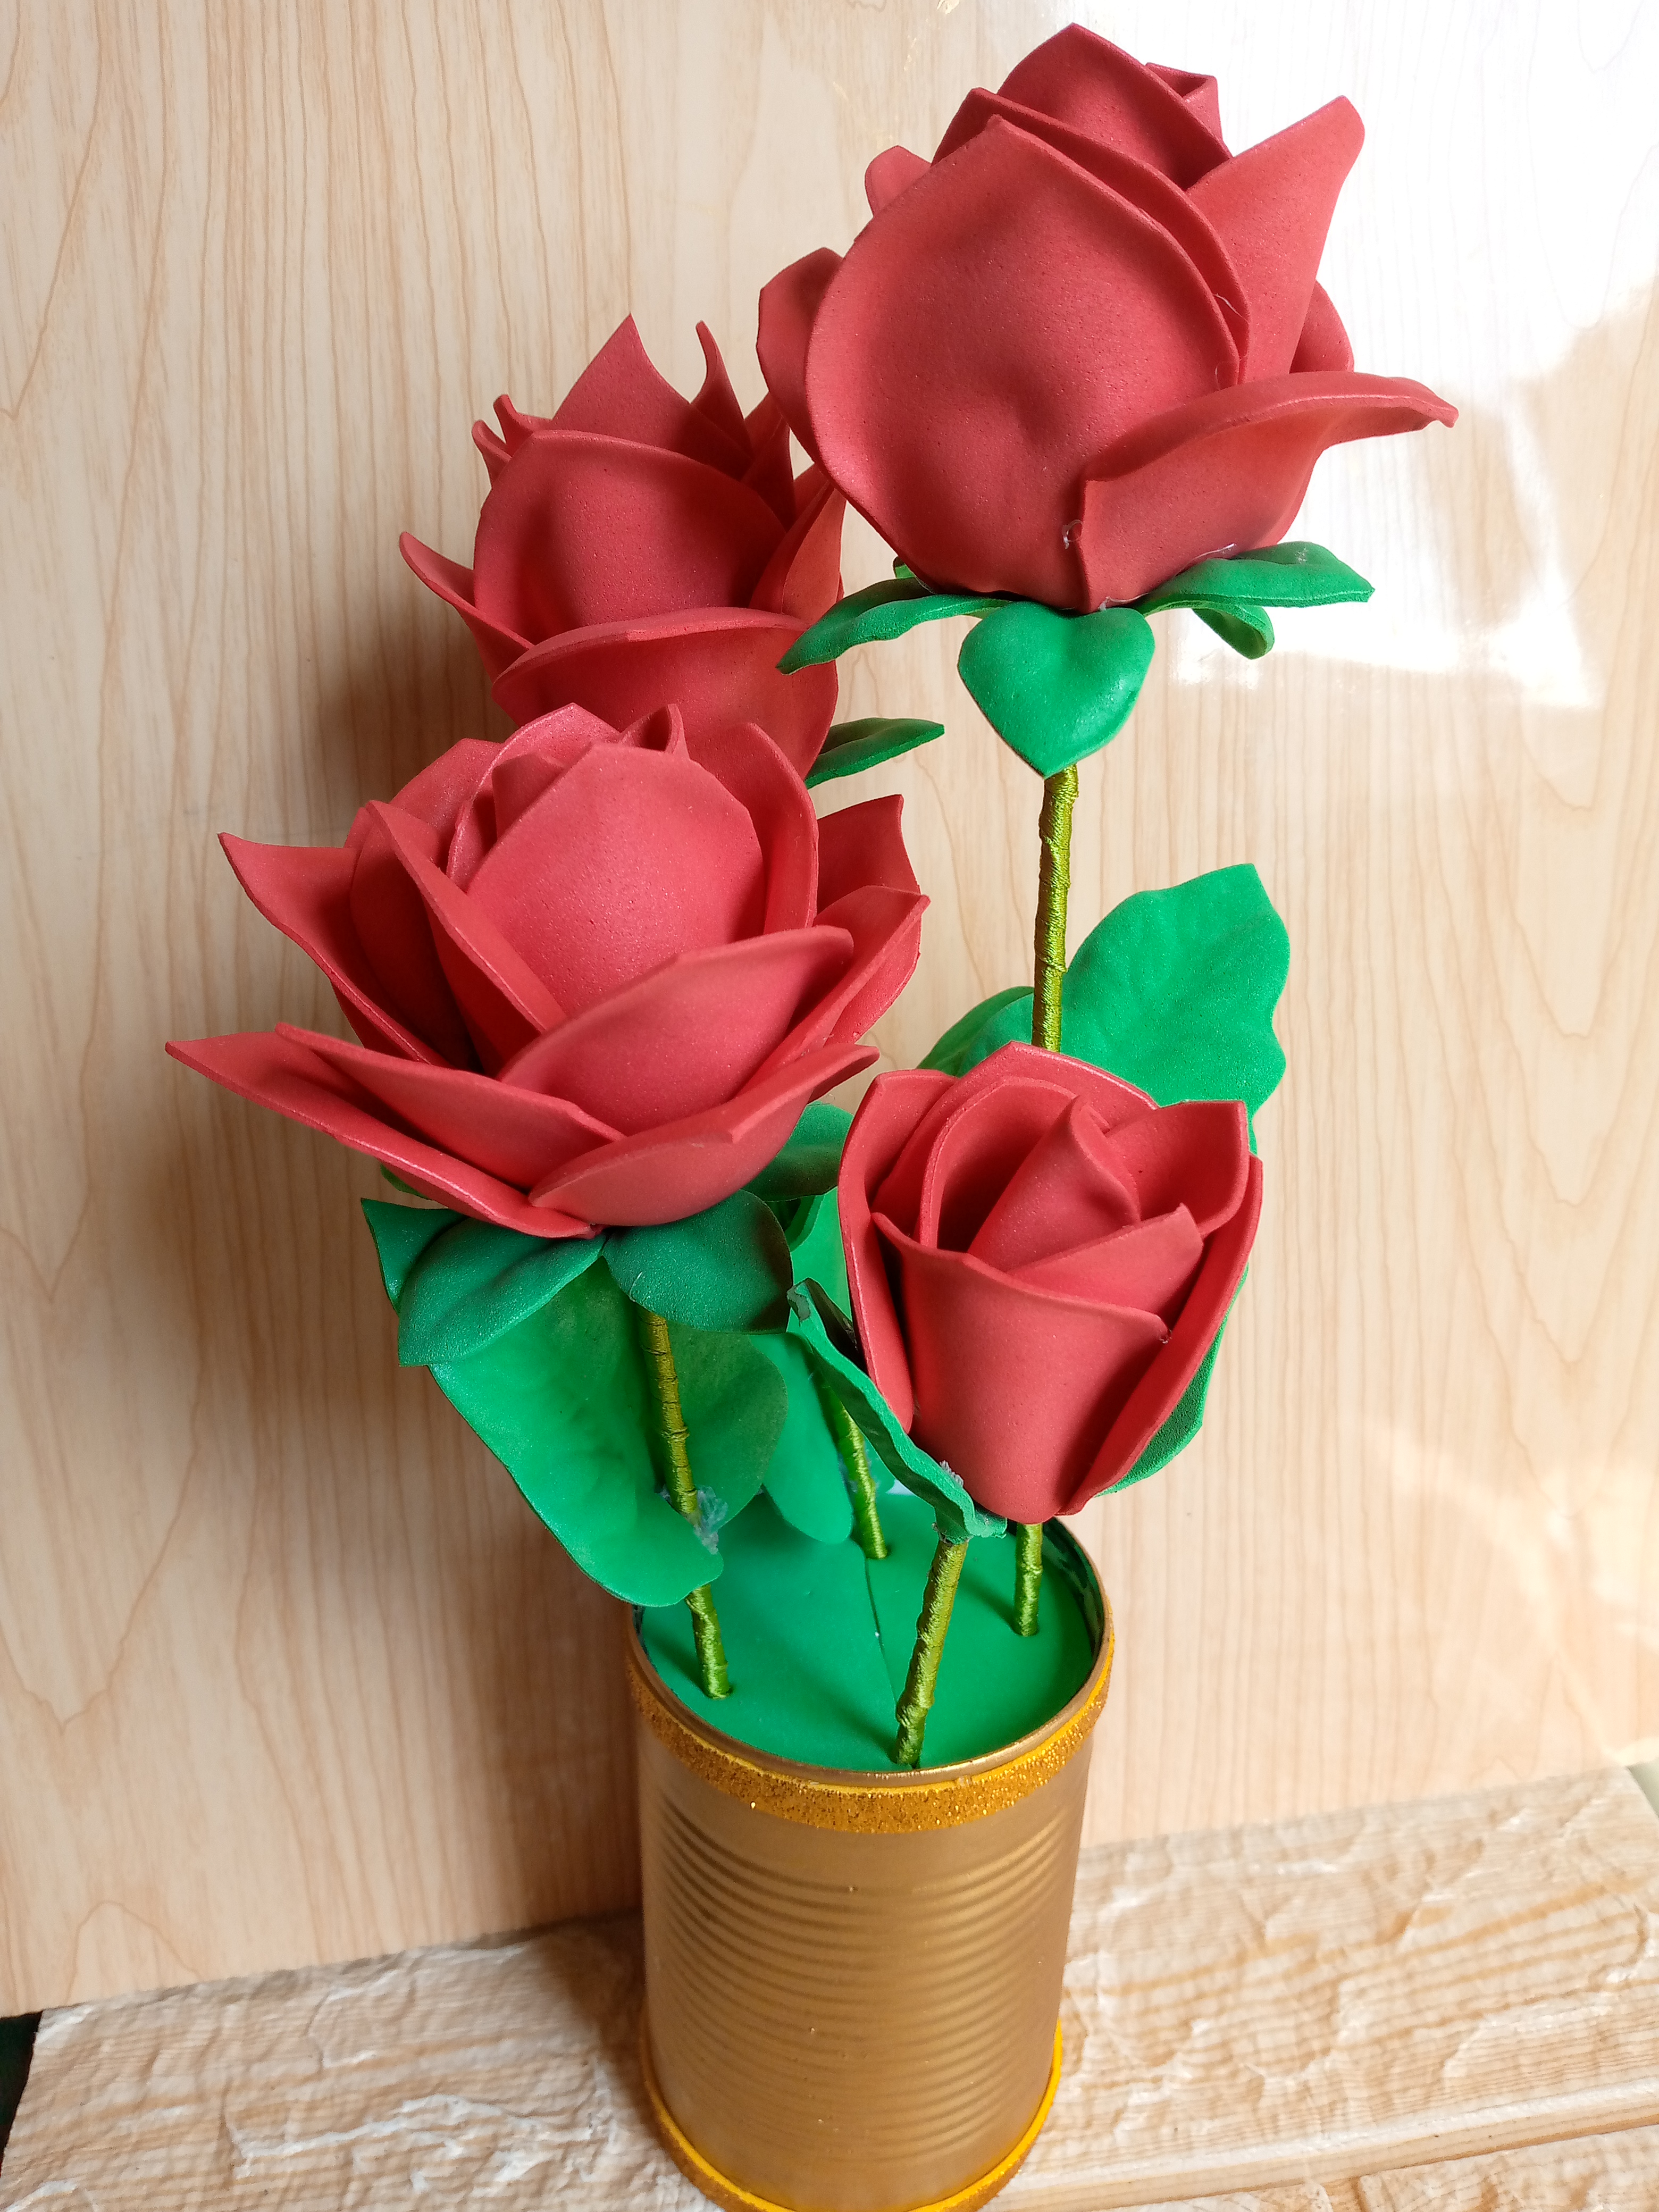
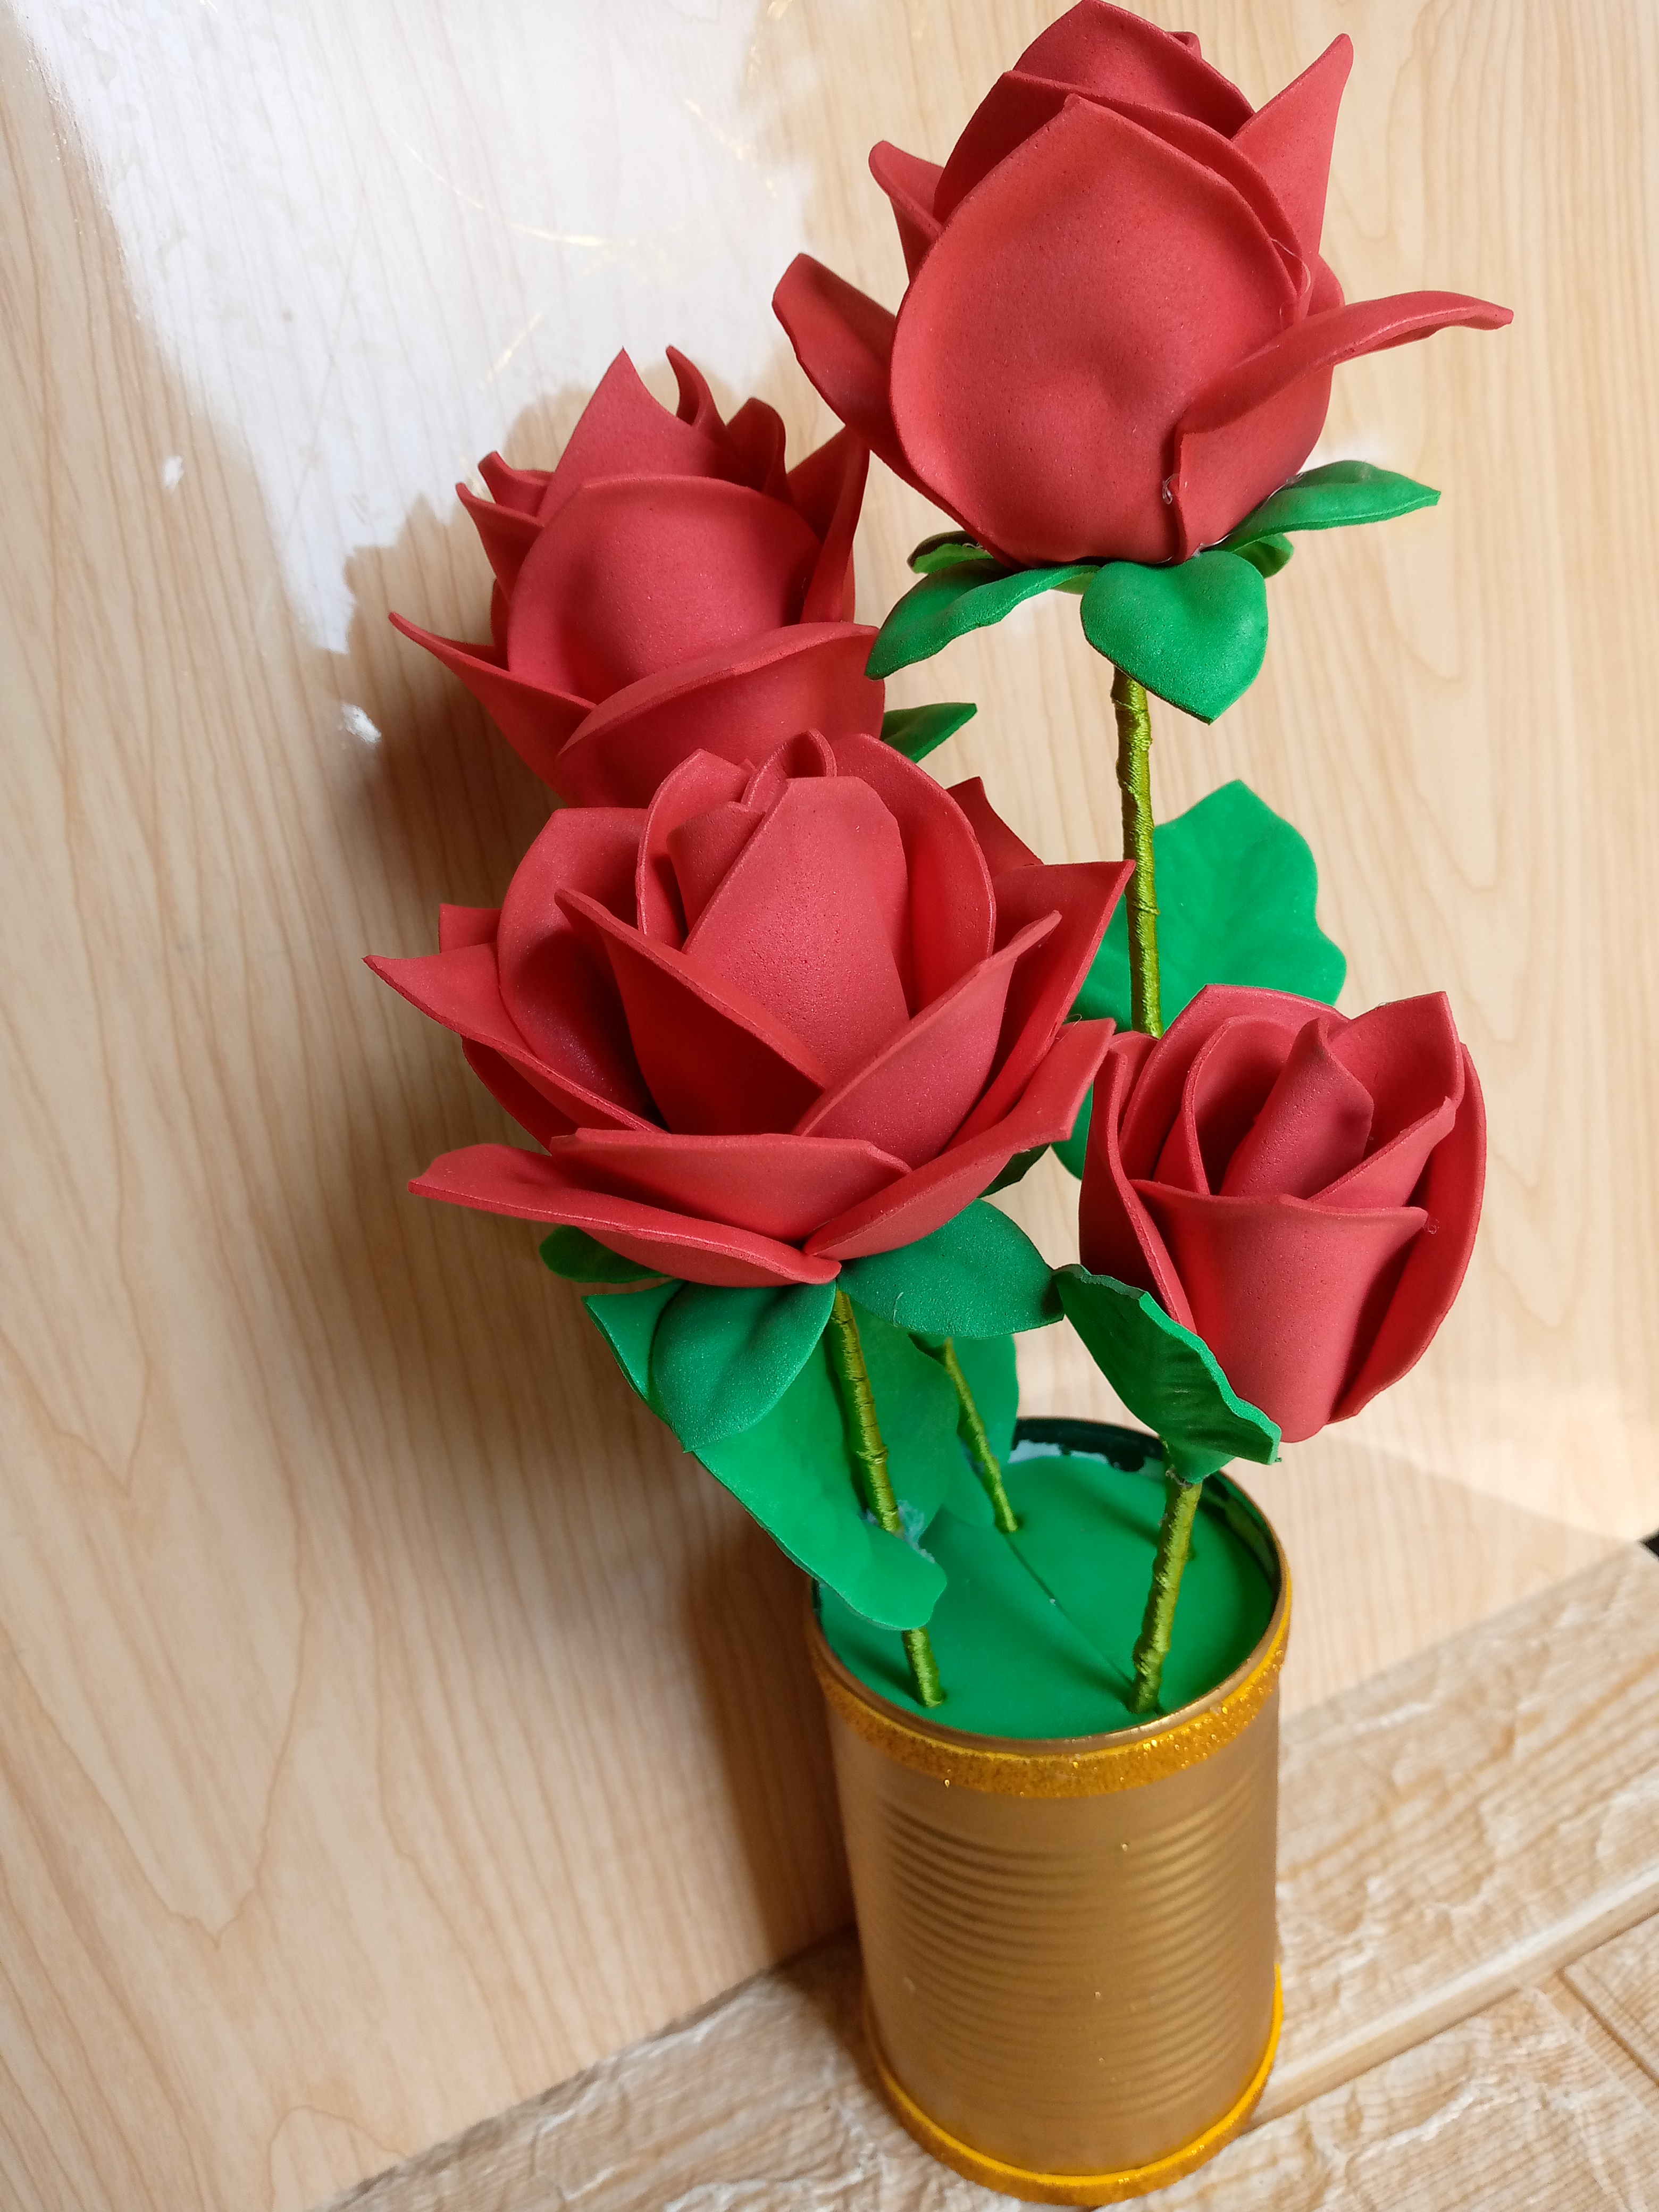
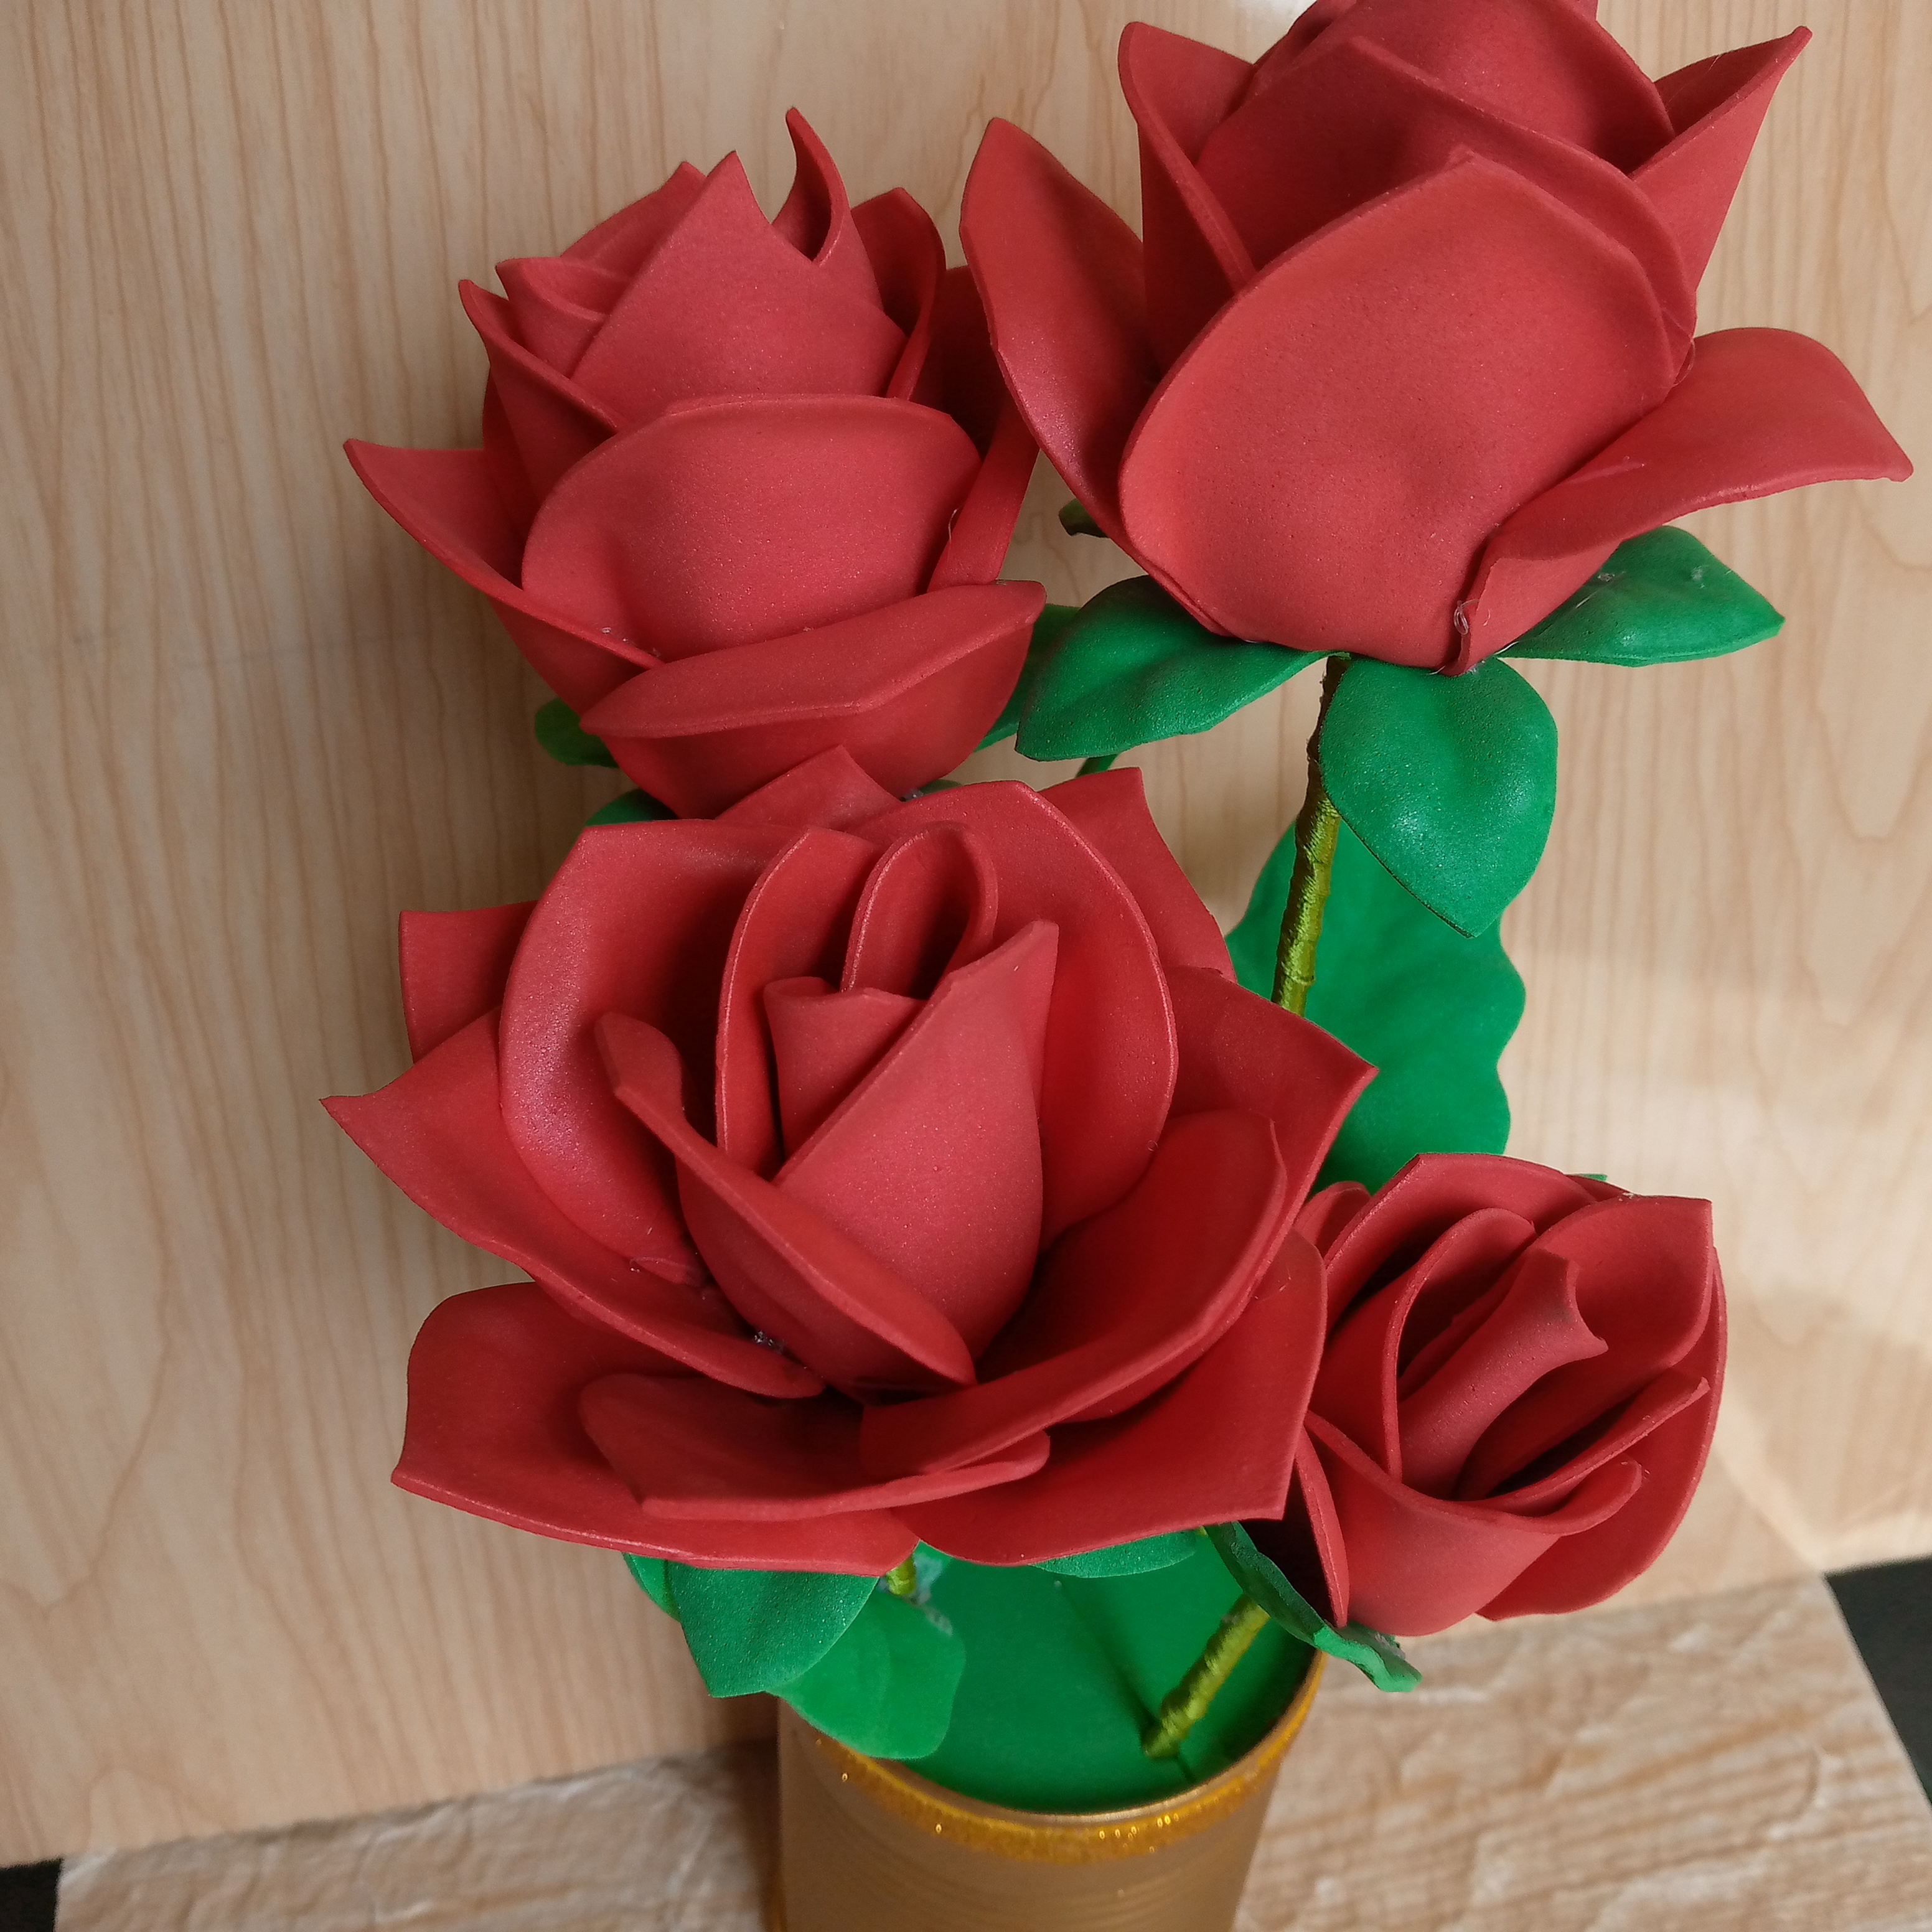
The results of this arrangement that was so easy to make are really pleasing to me, my mom loved it too, and she has already placed it in the living room to decorate the place, it looks so pretty and I hope you liked it too, I would be happy to know and that's all for today, dear creative friends, don't forget to share this idea and save this blog in case you want to make an arrangement that is easy to make, have this tutorial on hand, thanks for getting to the end and I'll see you in another upcoming creative blog, I greet you and say goodbye with a big virtual hug for you, bye bye 🥰🫂.
.jpg)
Creating things with love 🌷❤️
🦋✨ All the images in this publication are my author ,📱taken with my TecnoSpark8C cell phone |📸Photos edited in PicsArt and Canva. Text translated in Google Translate.

Están realmente preciosas...
!discovery 40
Una amiga tiene moldes de esos para termoformar, salen unas flores preciosas. Este adorno te quedó hermoso, un gran cambio para tu espacio. 😍
Que lindo a mi me encanta trabajar haciendo flores de fomi usando estos moldes súper geniales y de provecho 😊✨ gracias por tu comentario
Having this beautiful decoration in one’s space would be really nice. Thanks for sharing your work and detailed tutorial.
Thanks @diyhub😊
Me encantó, amé los moldes 🥹😍
Muchas gracias hermosa es bueno saberlo 🥰☺️pasa feliz noche gracias por tan bello comentario 🌹
This post was shared and voted inside the discord by the curators team of discovery-it
Join our Community and follow our Curation Trail
Discovery-it is also a Witness, vote for us here
Delegate to us for passive income. Check our 80% fee-back Program
Que bella forma le has dado a estas flores, lucen exactamente iguales a la rosa original, que buen detalle el de los petalos para hacerla lucir mas realista, necesito uno de esos moldes jaja me encanta 😍