Tutorial para hacer hermoso girasol con materiales reciclados✨🌻//Tutorial to make a beautiful sunflower with recycled materials🌻✨[Esp~Eng]

in Hive Diy2 months ago

Picsart_24-11-21_10-20-28-562.jpg

Picsart_24-11-15_15-51-20-828 (1).jpg

Hola amigos y artesanos de esta comunidad me complace saludarles y darles una cálida bienvenida espero se encuentren muy bien este día y sientanse cómodos con mi nuevo blog❤️✨.

Hello friends and artisans of this community, I am pleased to greet you and give you a warm welcome. I hope you are doing very well today and feel comfortable with my new blog❤️✨.

Me da mucha alegría compartir con ustedes estos trabajitos manuales que tanto me gustan hacer y aunque no precisamente todo sea hecho con materiales reciclados por supuesto los aprovechamos muchísimo,en el tutorial anterior pues les contaba que le estaba haciendo una bolsita de regalo a una amiga así que para completar este detalle quise hacerle un girasol porque se que ella le gusta mucho y es su flor favorita, también es mi flor favorita pero es que digo a quien no le gustan los girasoles y que se los regalen muchísimo mas 😍.

It gives me great joy to share with you these little manual projects that I like to do so much and although not everything is made with recycled materials, of course we make a lot of use of them. In the previous tutorial I told you that I was making a gift bag for a friend so to complete this detail I wanted to make her a sunflower because I know that she likes it a lot and it is her favorite flower, it is also my favorite flower but I say to who does not like sunflowers and that they should be given much more 😍.

Así que vamos a estar elaborando este hermoso girasol con fomi brillante que encontré en la tienda de manualidades y que me gustó muchísimo porque es como doradito hermoso y en tono amarillo, también he usado rollos de papel y lo he pintado espero les guste mucho el proceso amigos asi que vamos manos a la obra.

So we are going to be making this beautiful sunflower with shiny foam that I found at the craft store and that I really liked because it is beautiful golden and yellow in tone, I have also used paper rolls and I have painted it, I hope you like the process a lot friends, so let's get to work.

IMG_20241121_083720_694.jpg

Picsart_24-11-15_15-51-20-828 (1).jpg

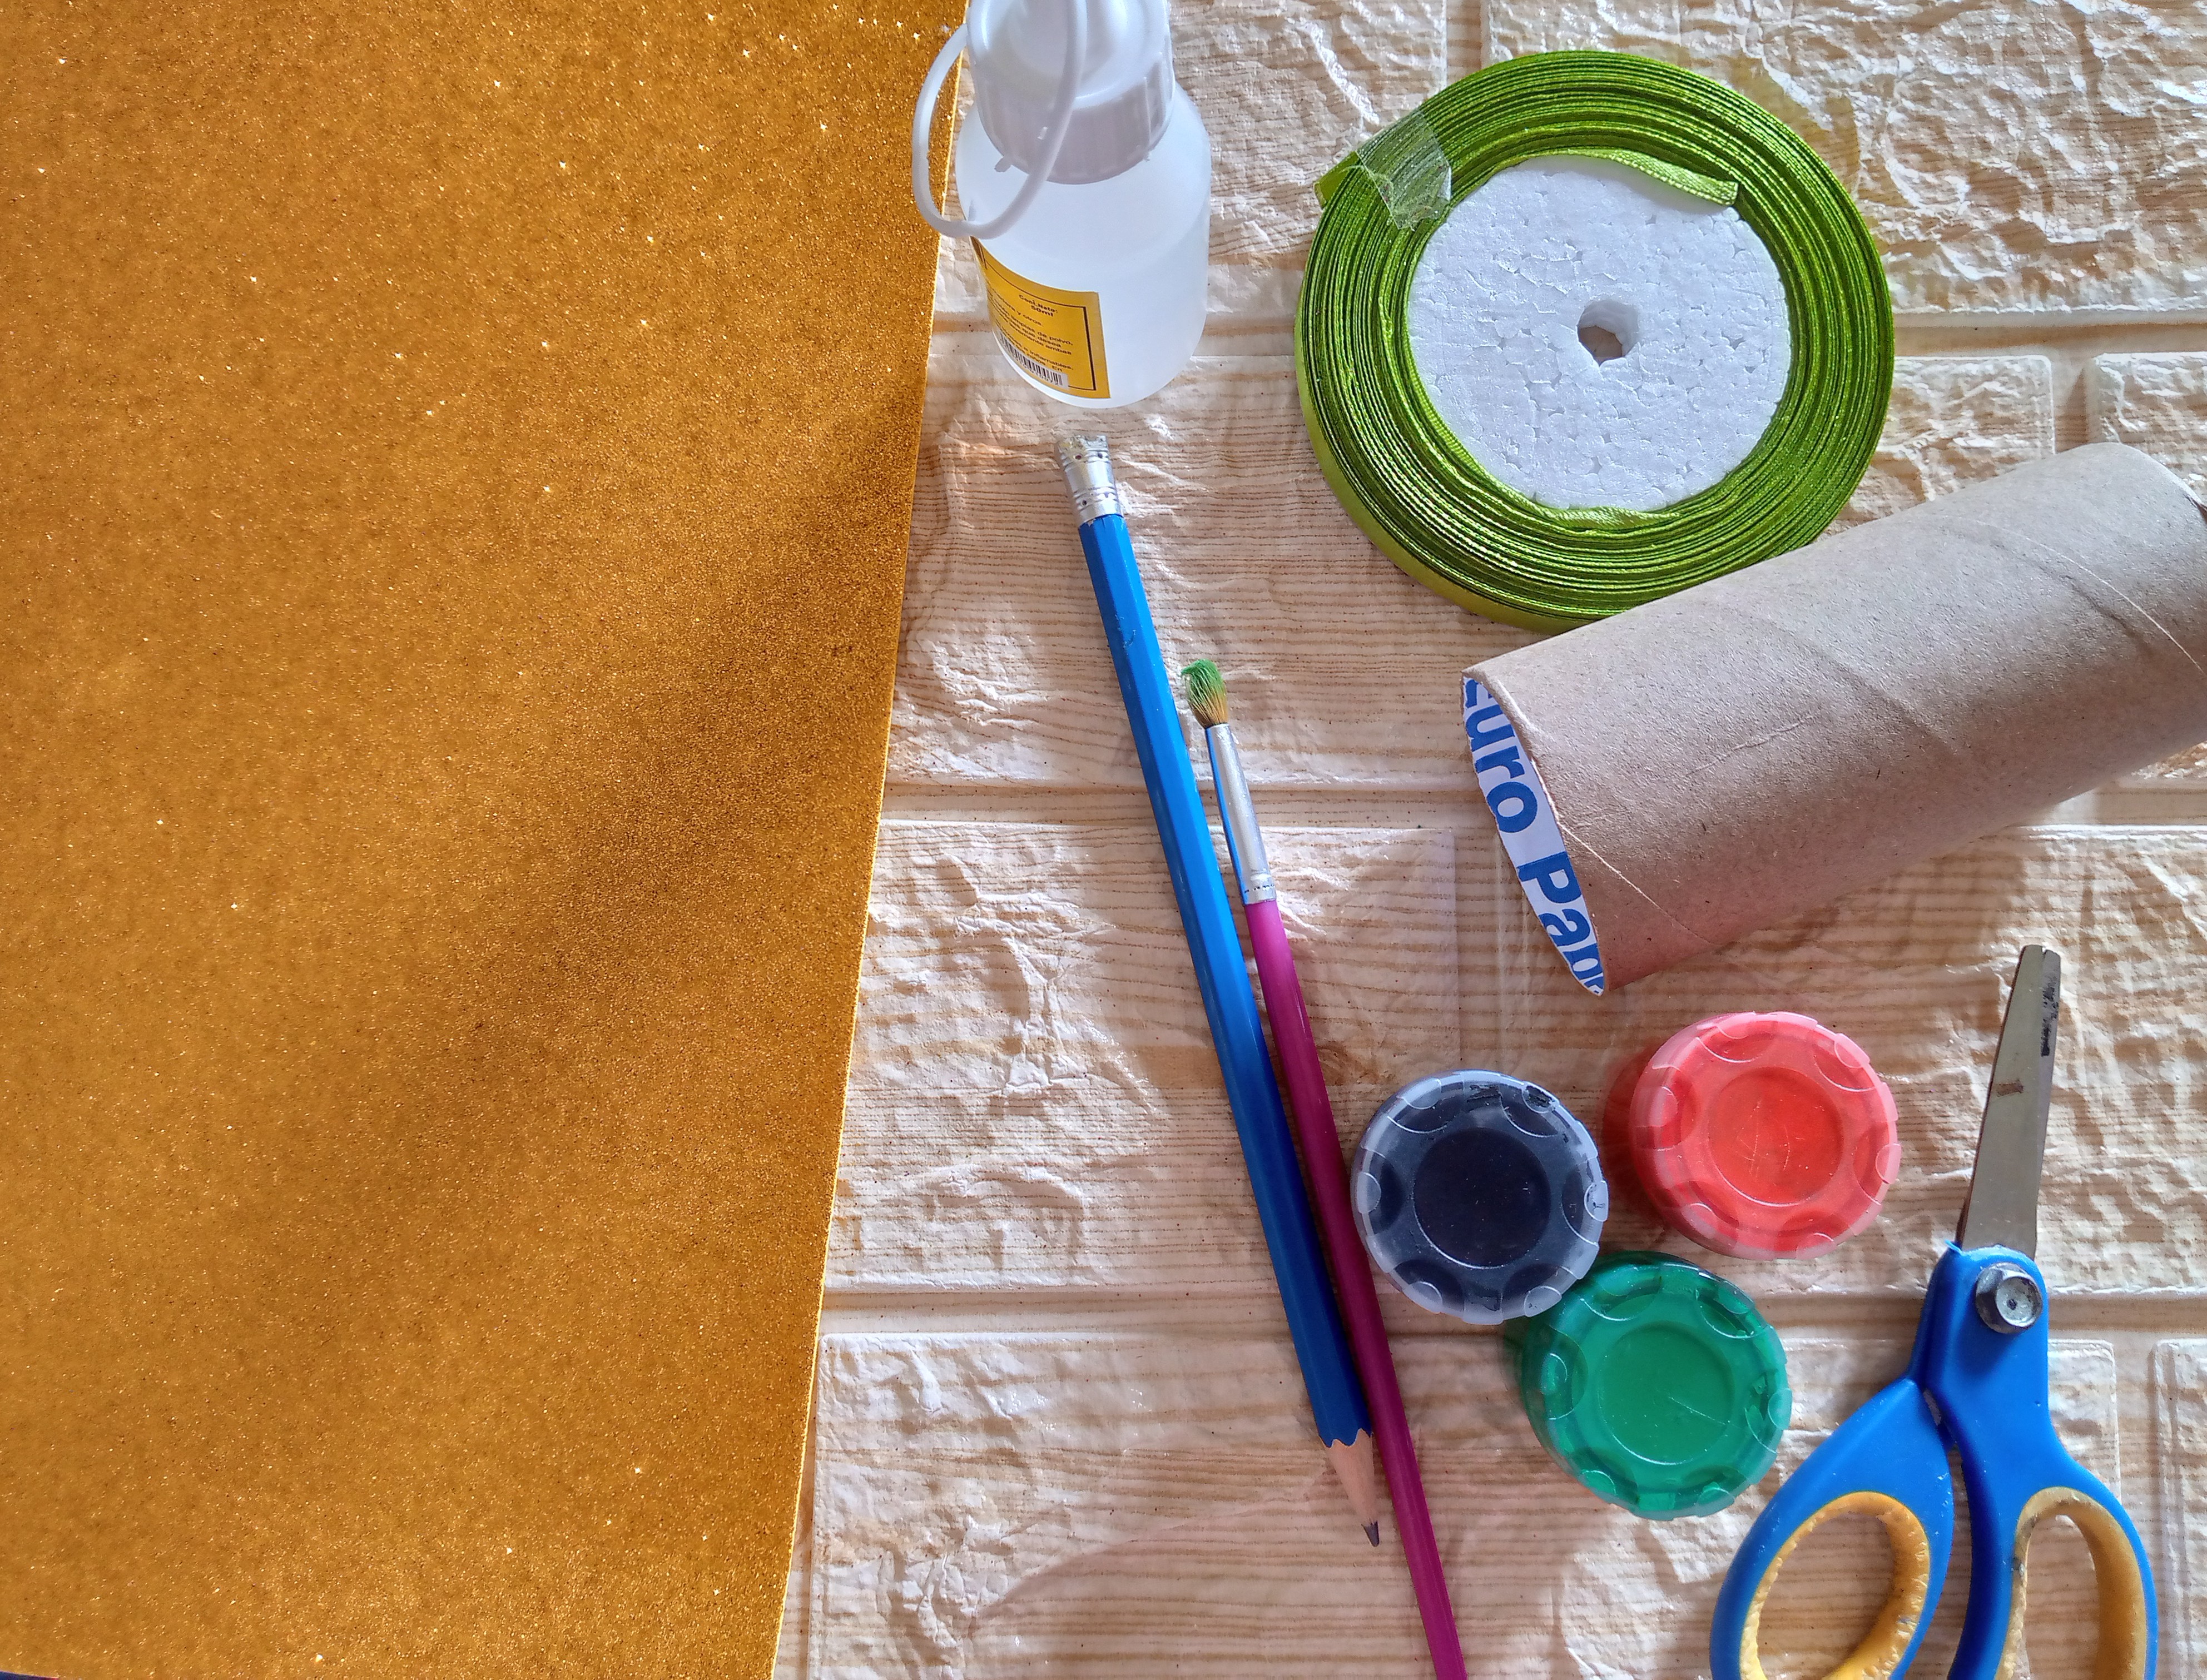
Materiales:// Materials:

EspañolInglish
• Fomi brillante• Shiny foam
• Tijeras• Scissors
• Silicón líquido• Liquid silicone
• Pinturas y pincel• Paints and brush
• Cinta verde de 1 cm• 1 cm green ribbon
• Palillo de altura• Height stick
Rollo de papel• Roll of paper
• Moldes para flores• Molds for flowers

Picsart_24-11-15_15-51-20-828 (1).jpg

Pasos a seguir:// Steps to follow:
IMG_20241121_084136_762.jpg

IMG_20241121_084228_967.jpg

IMG_20241121_084256_649.jpg

IMG_20241121_084313_080.jpg

IMG_20241121_084553_220.jpg

IMG_20241121_084905_689.jpg

Paso 01

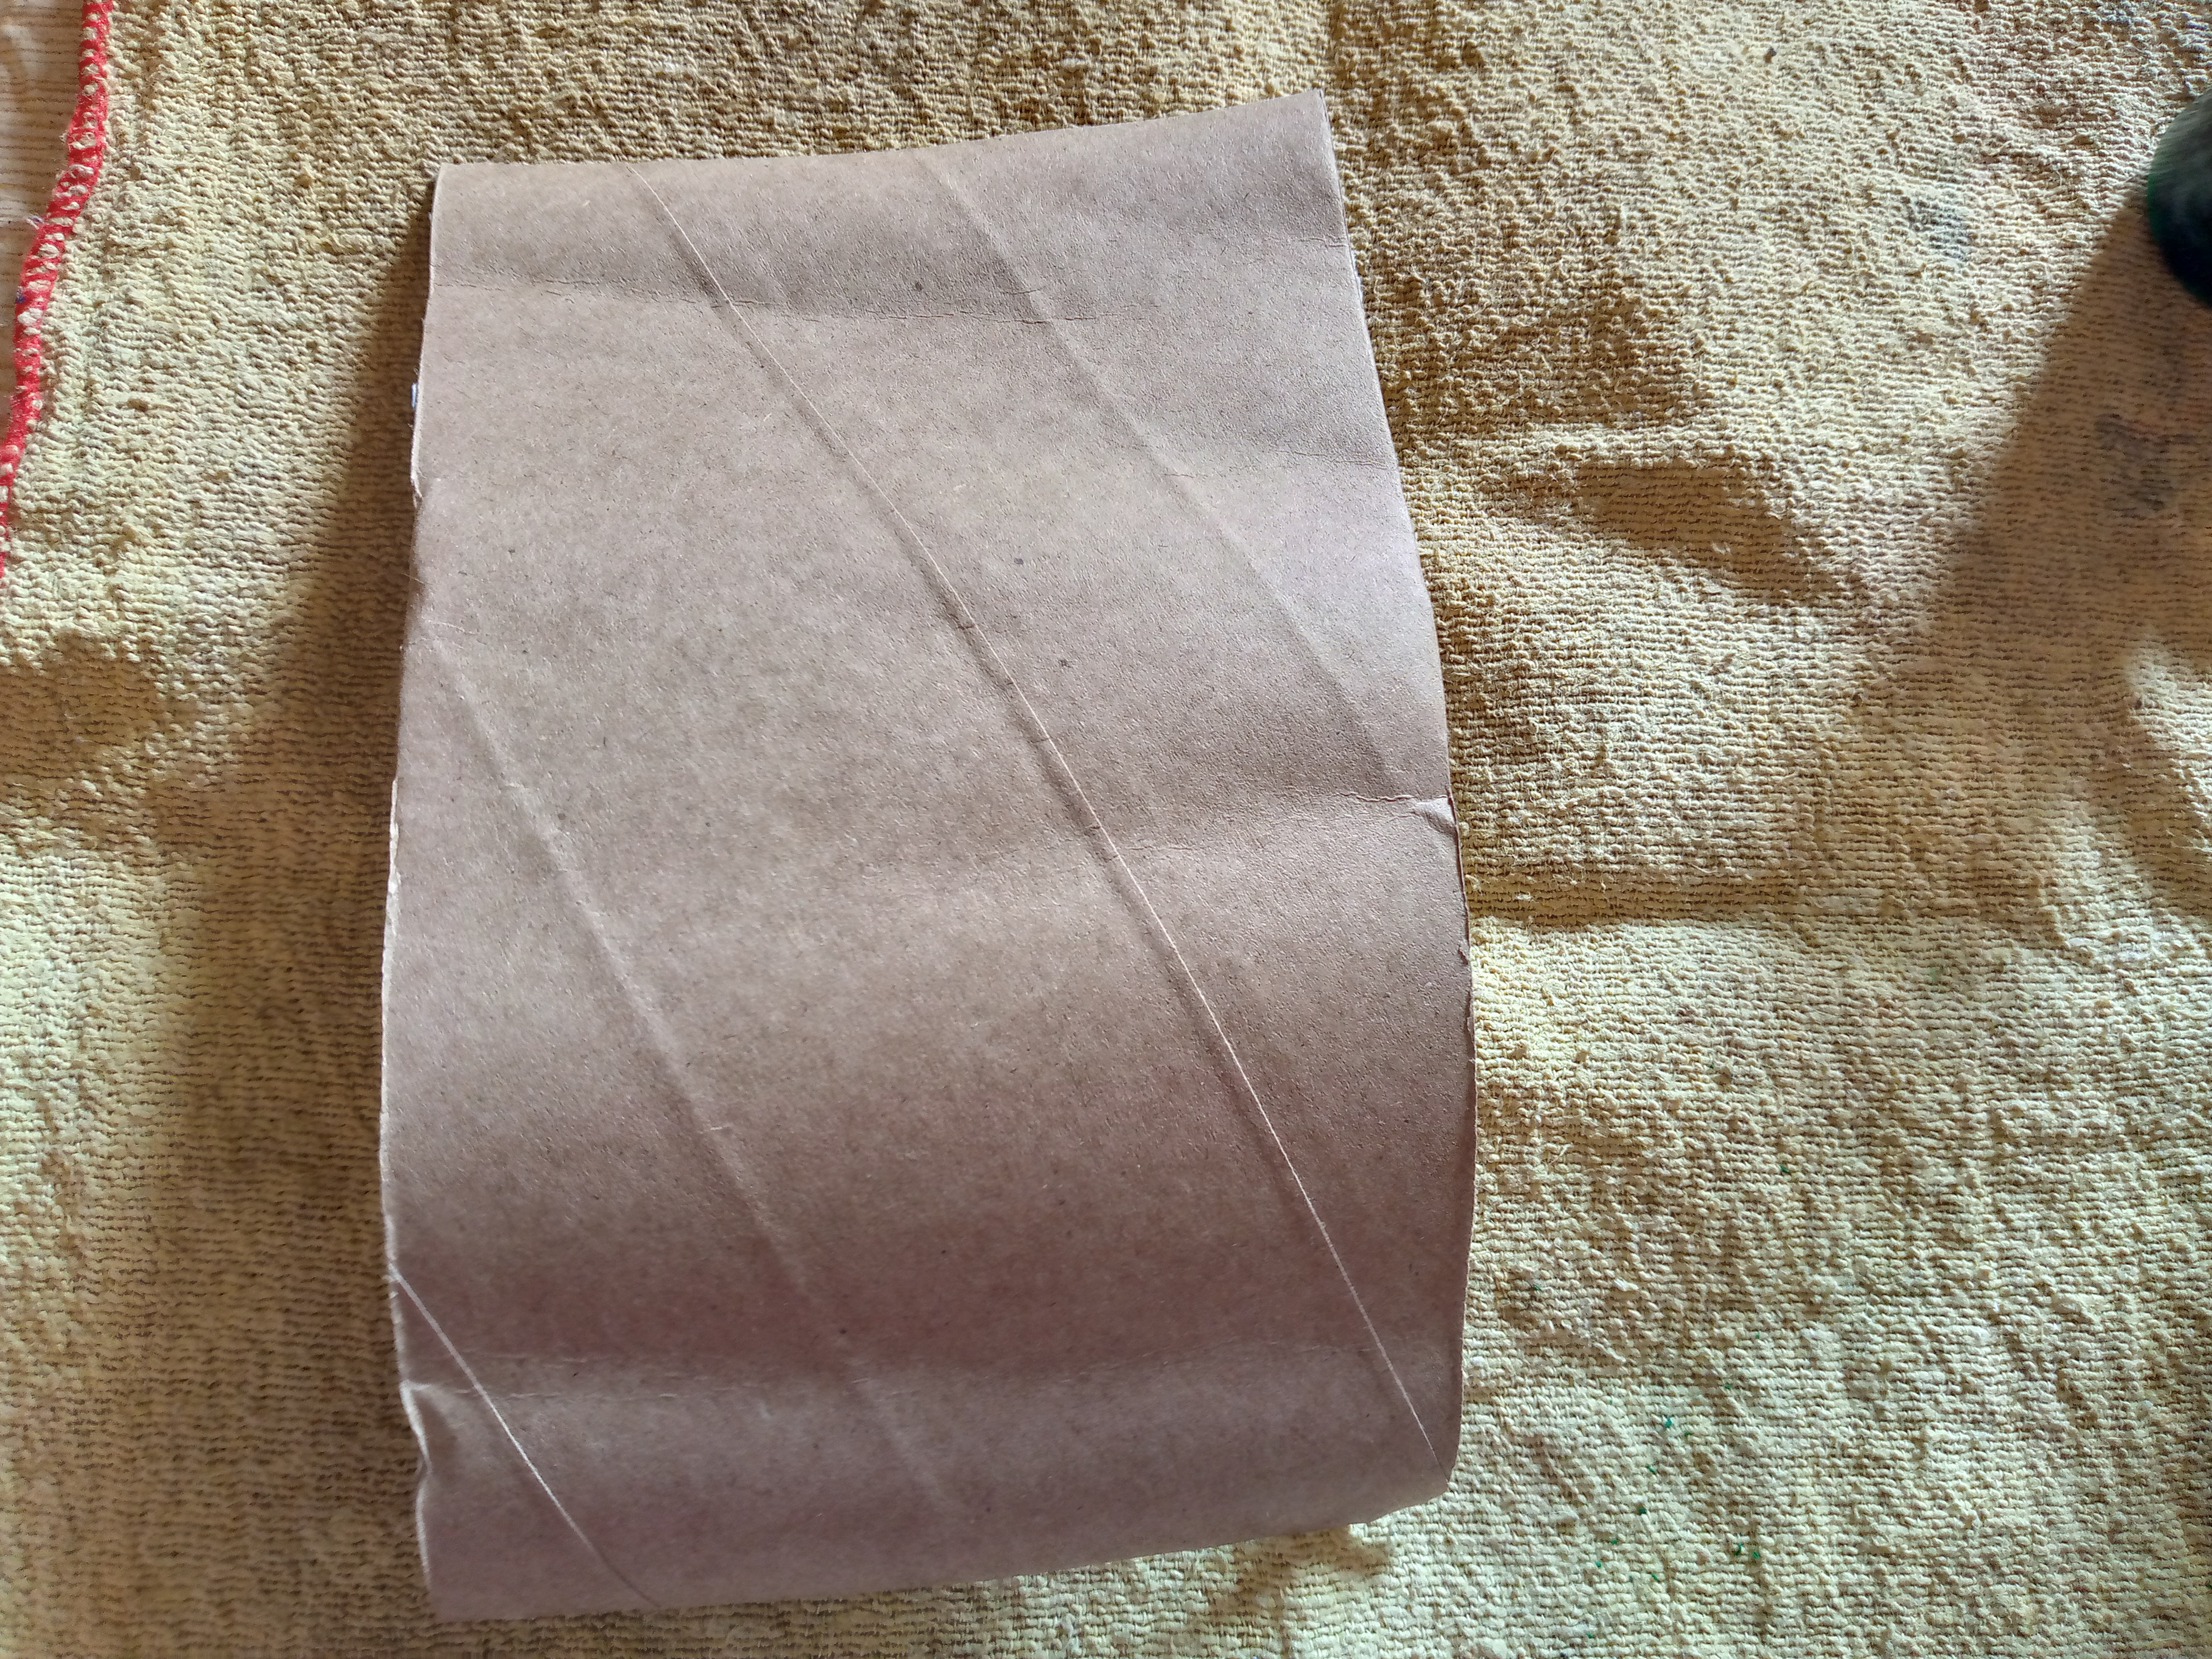
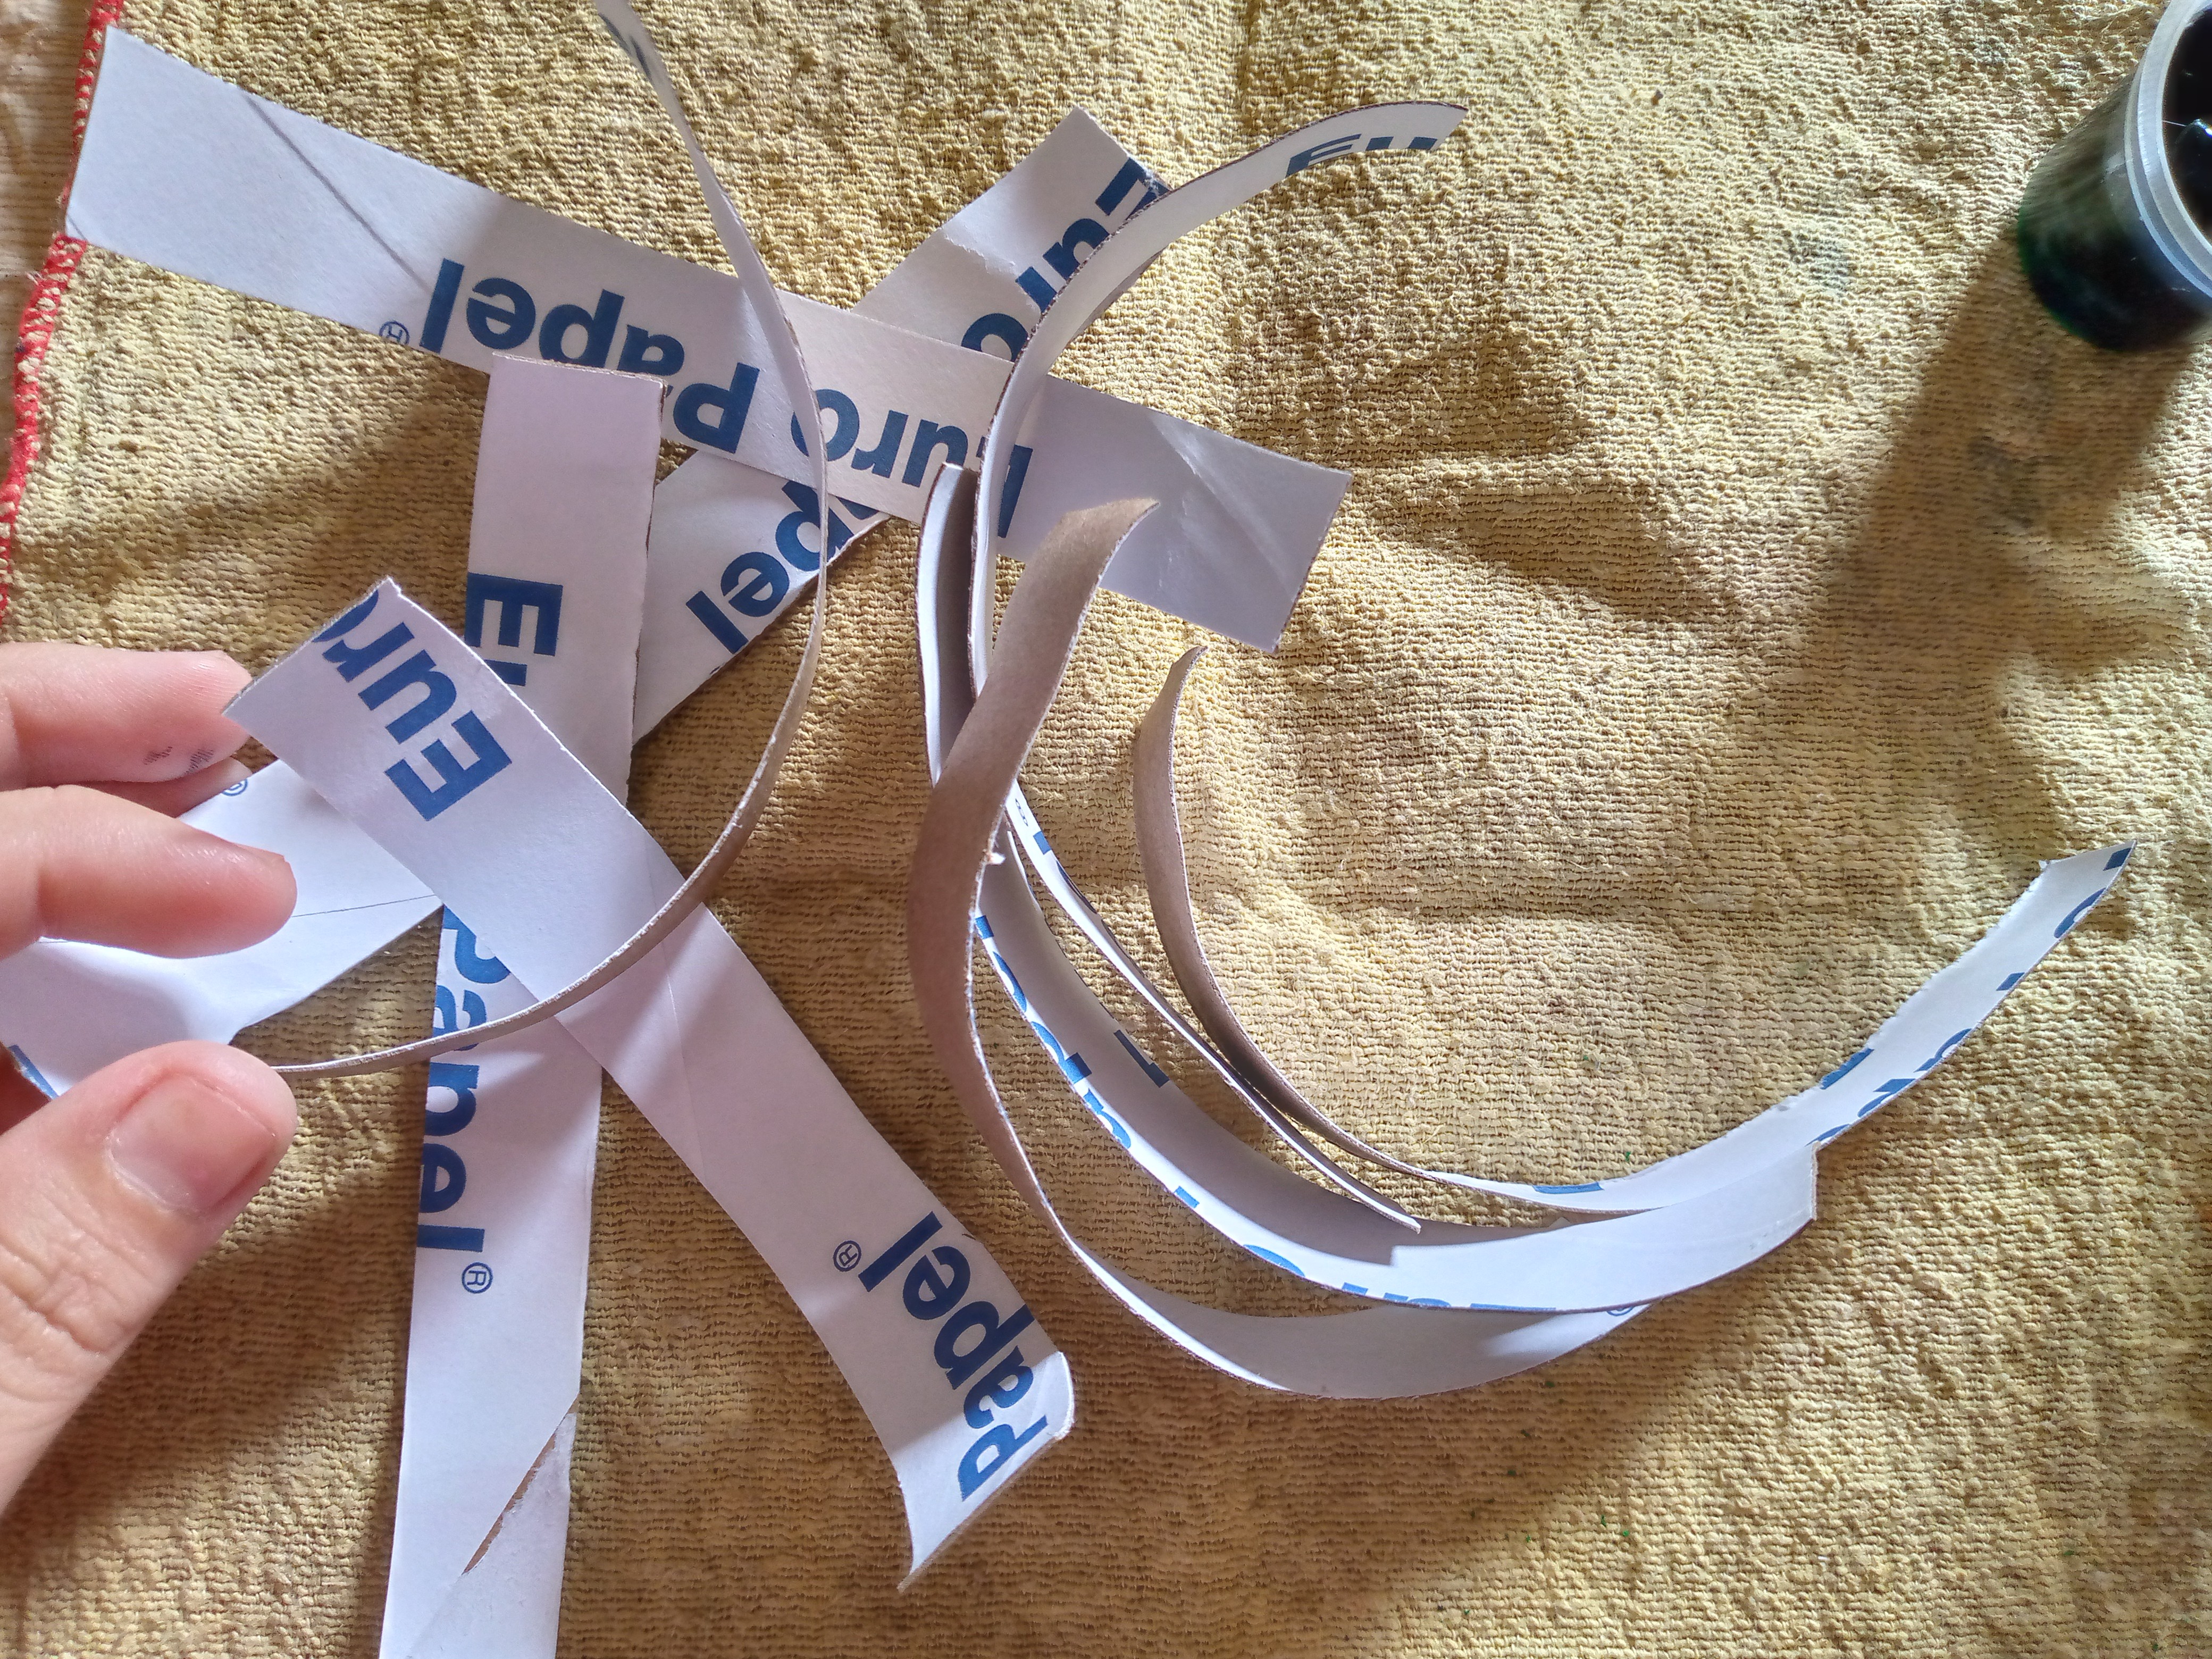
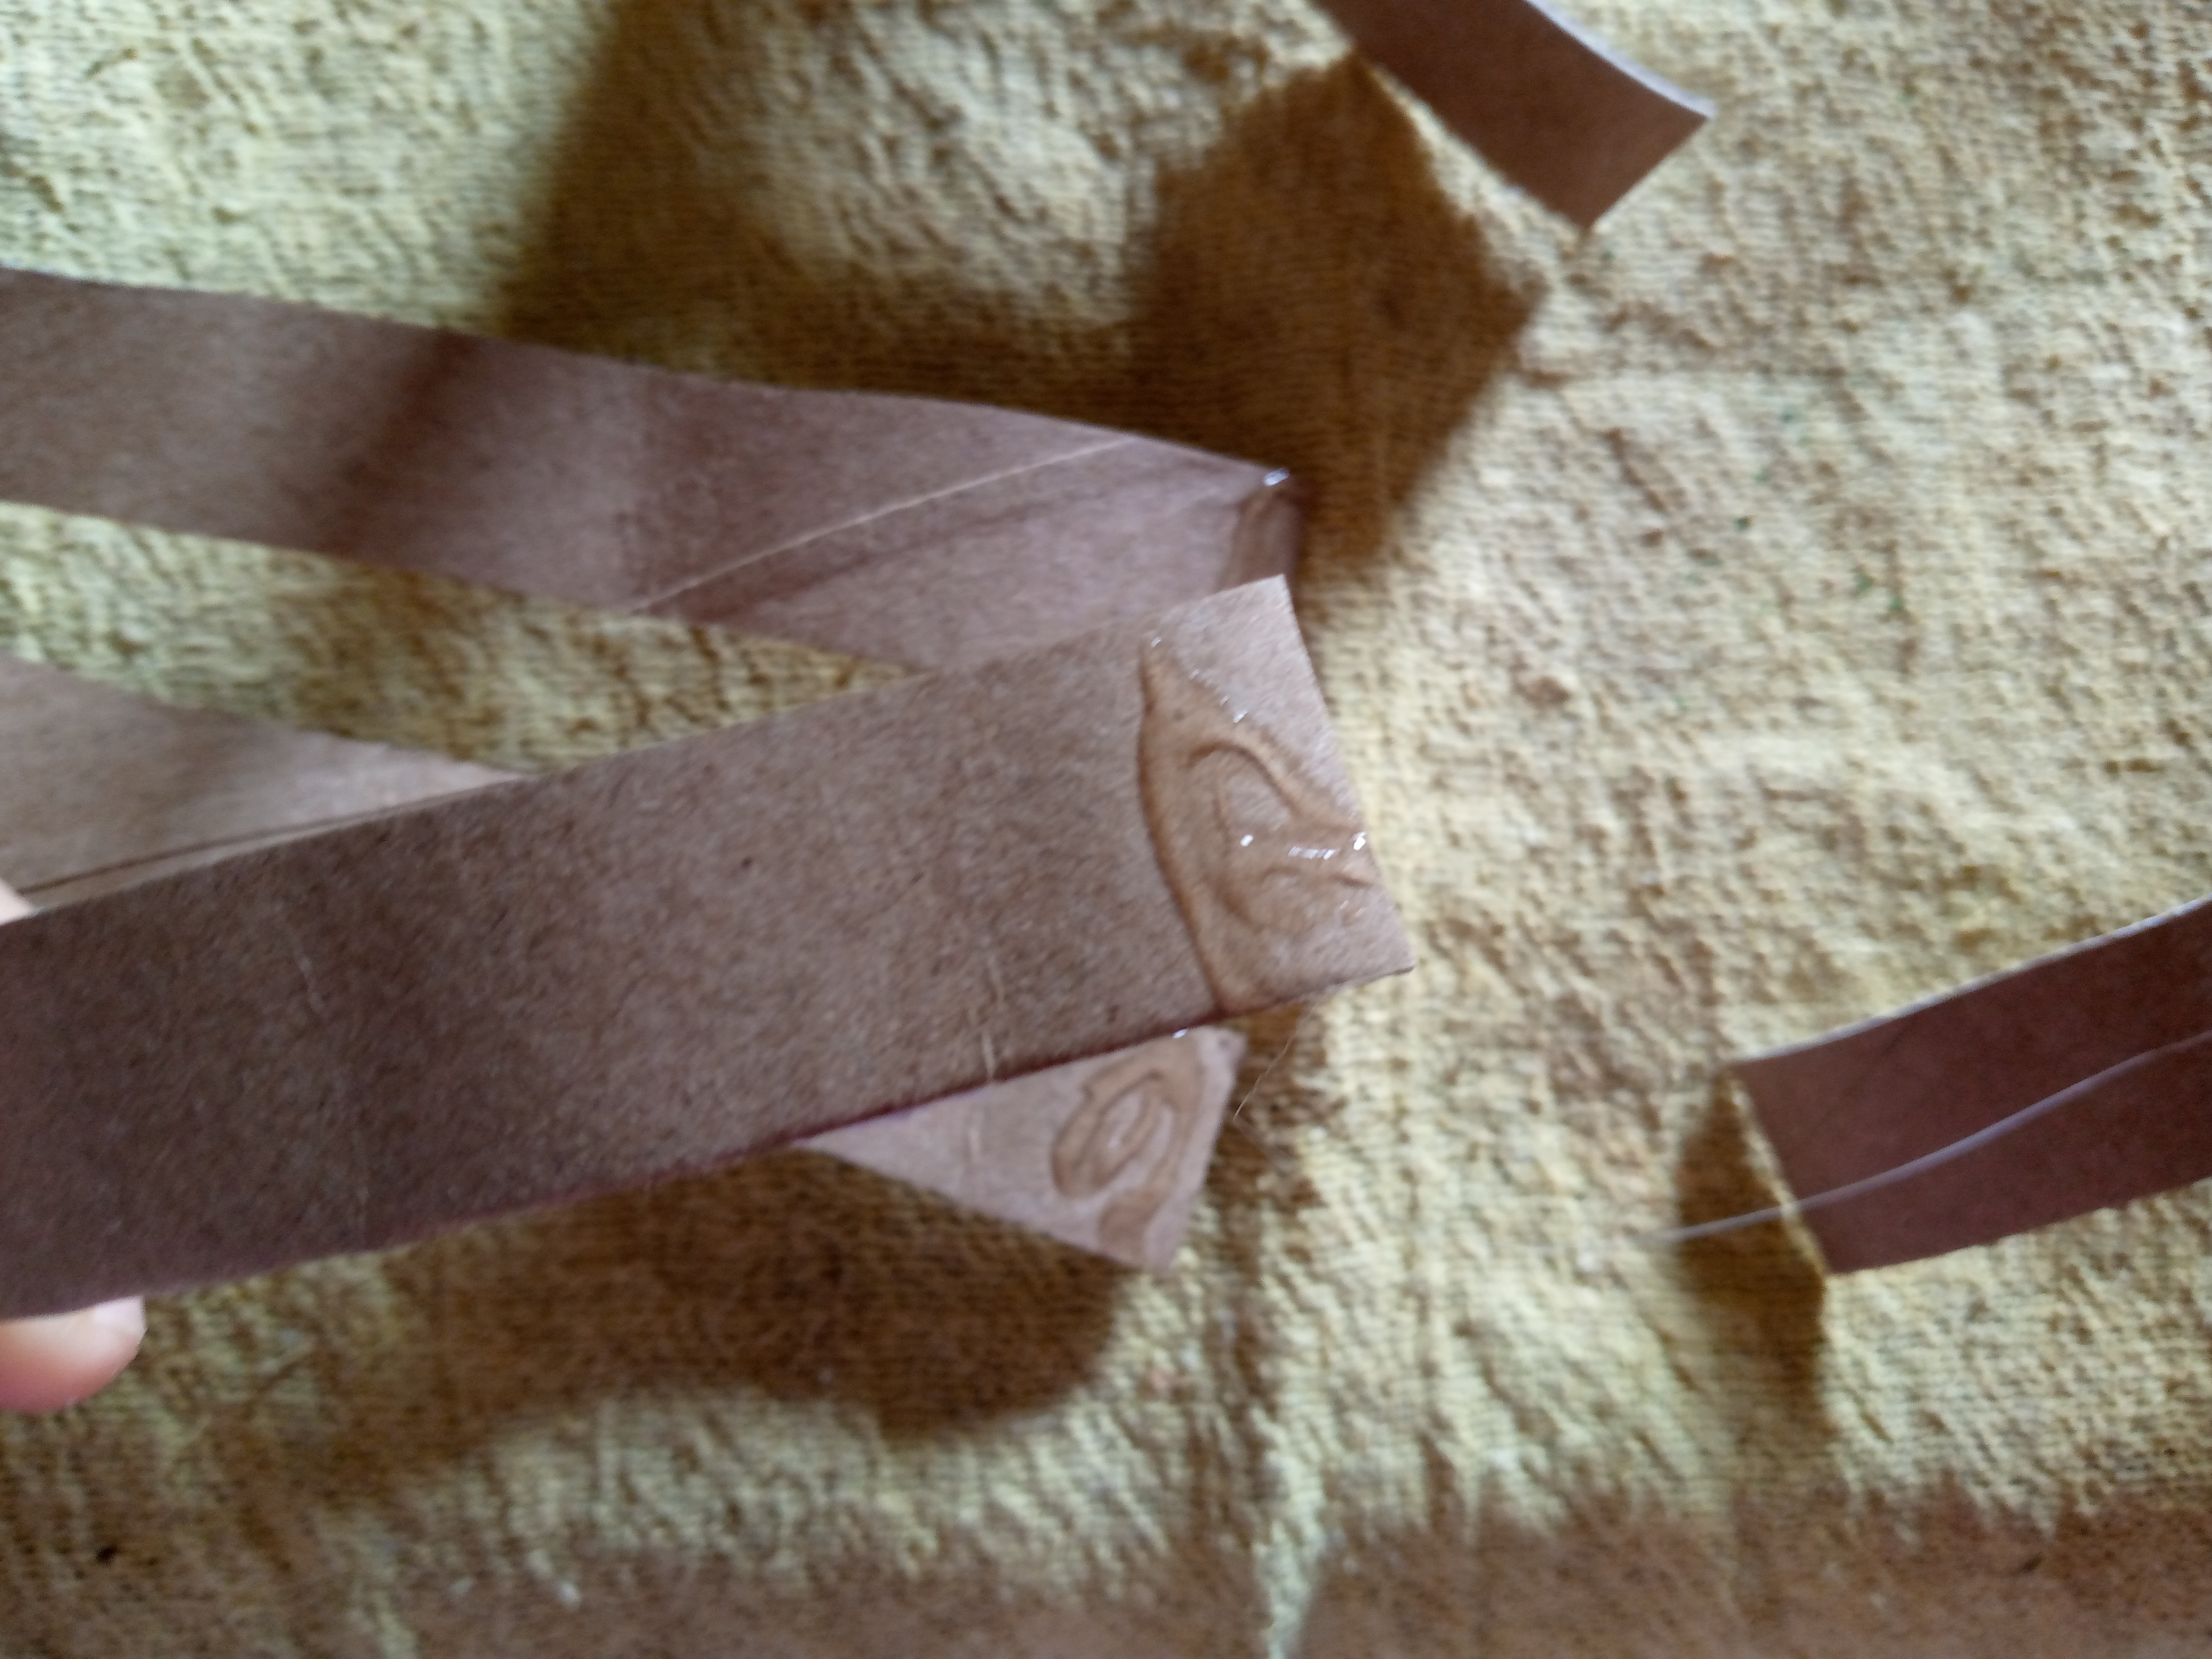
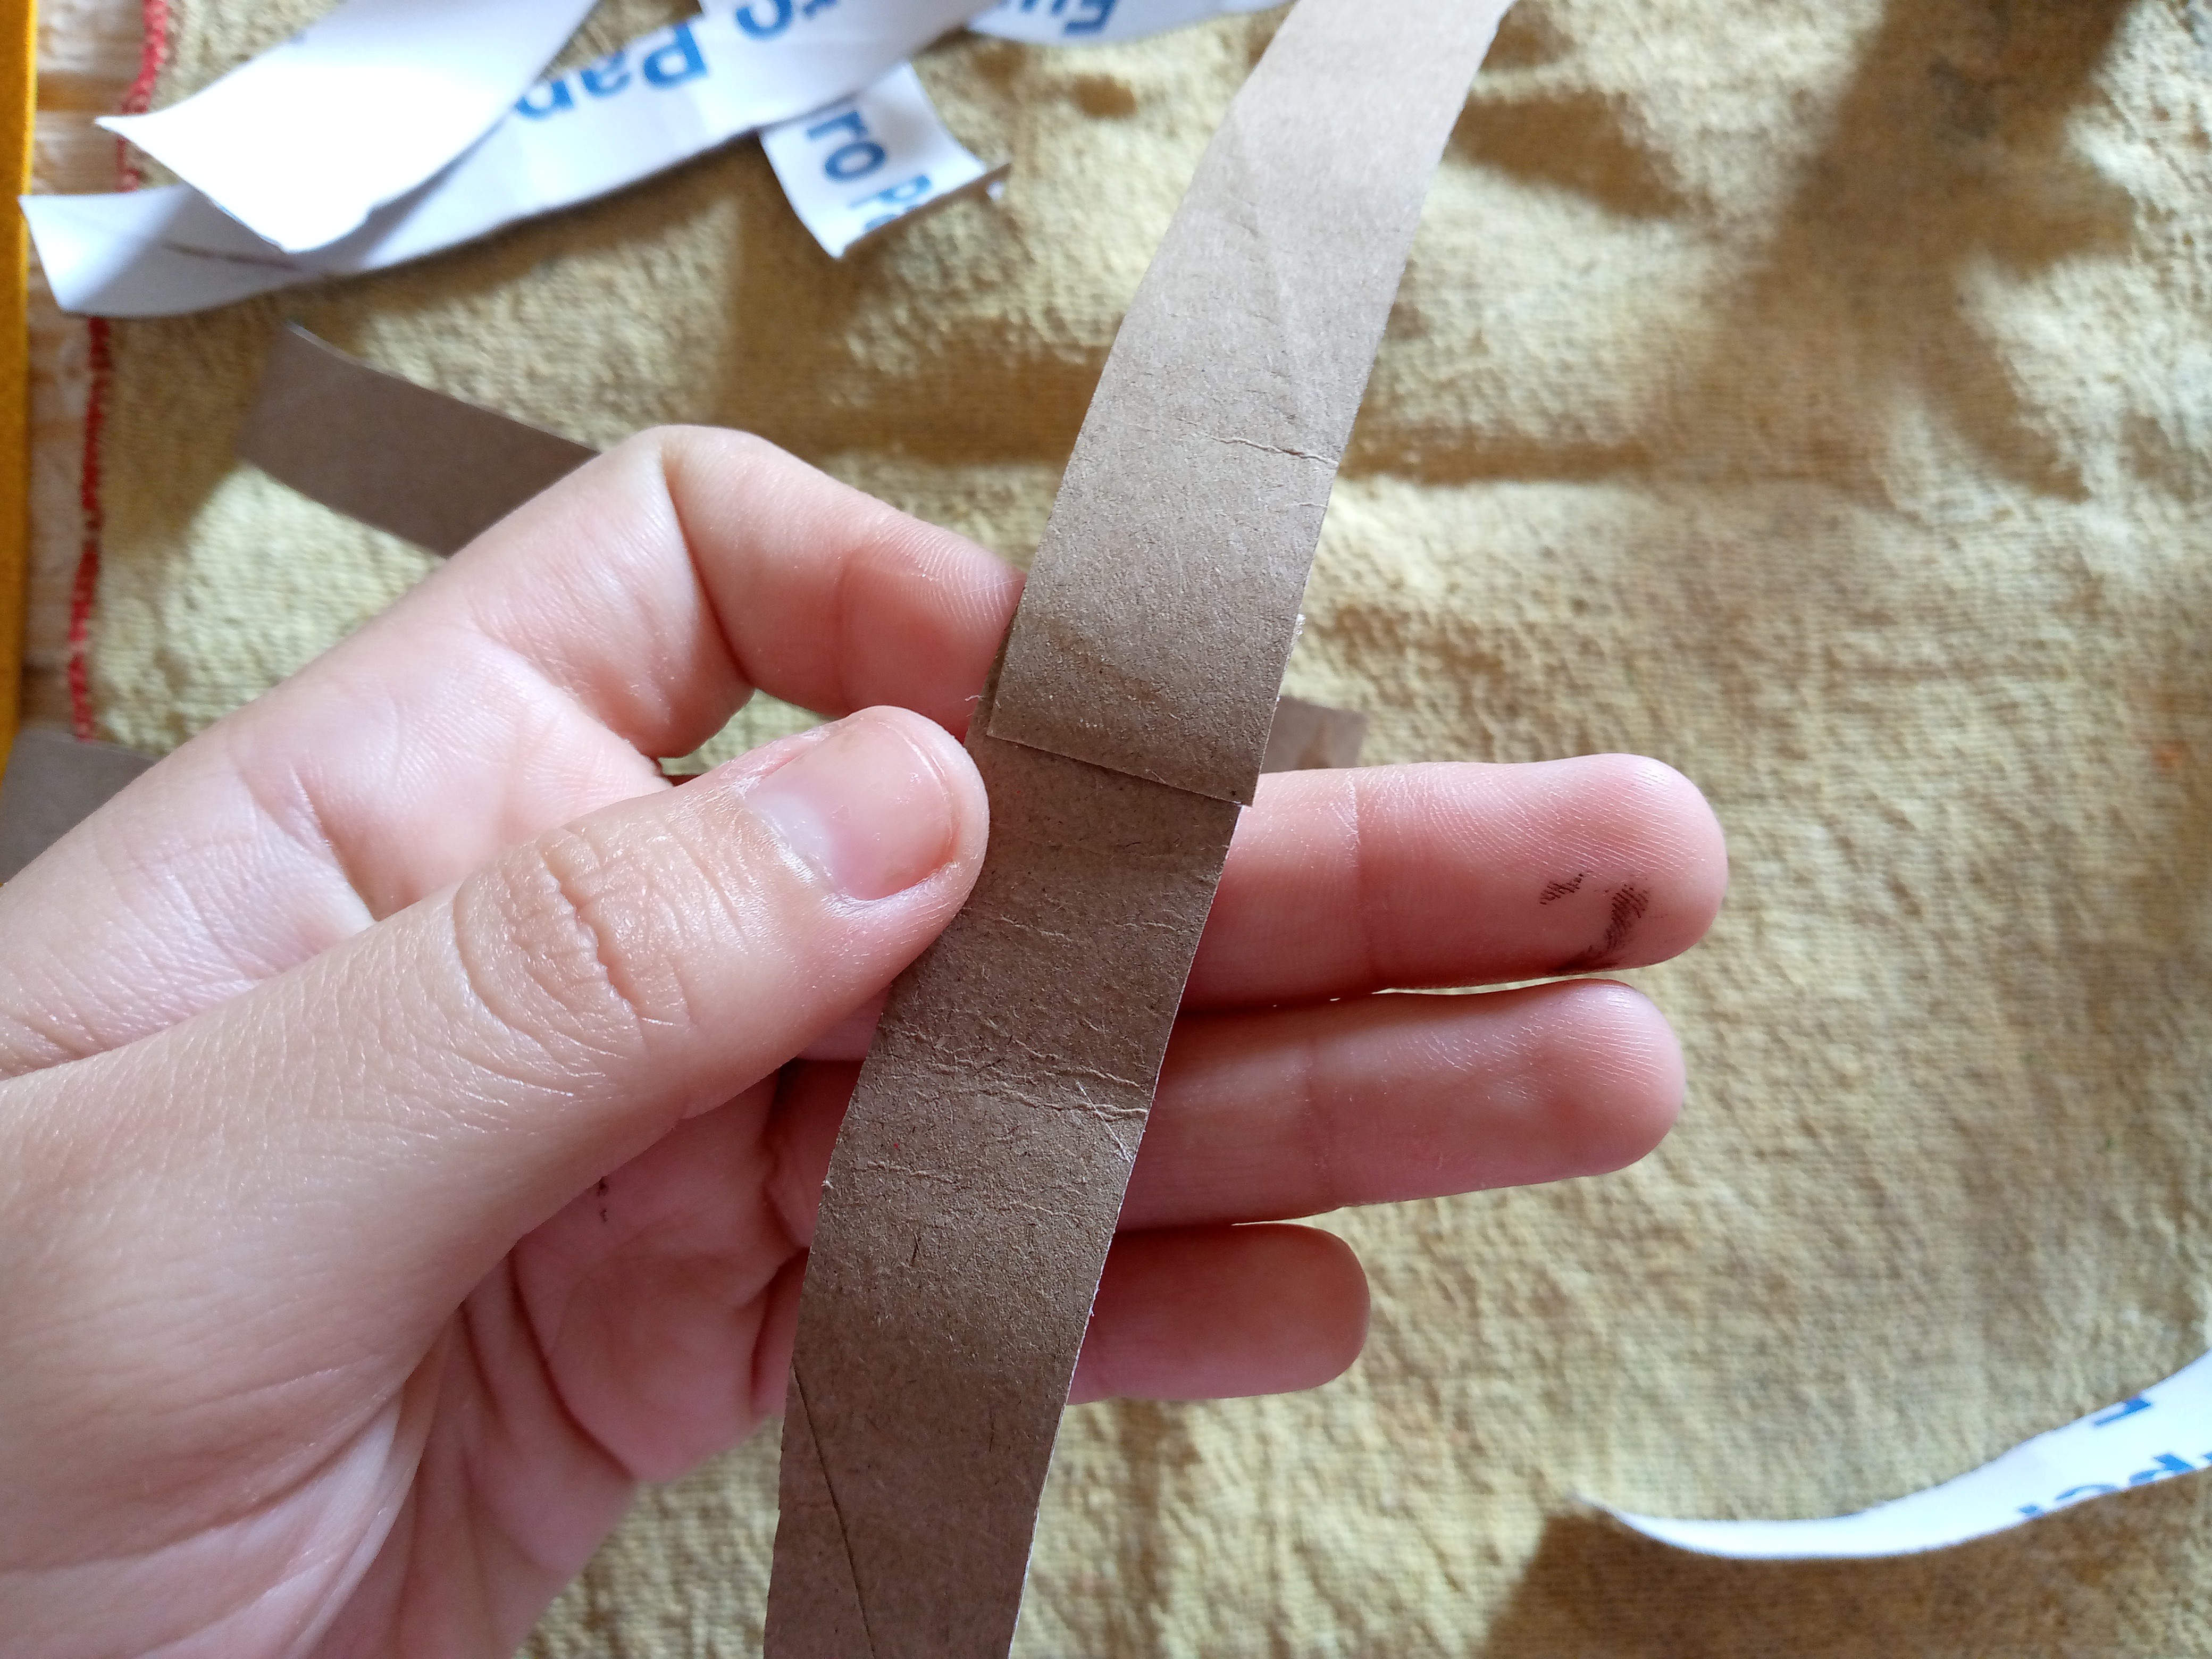
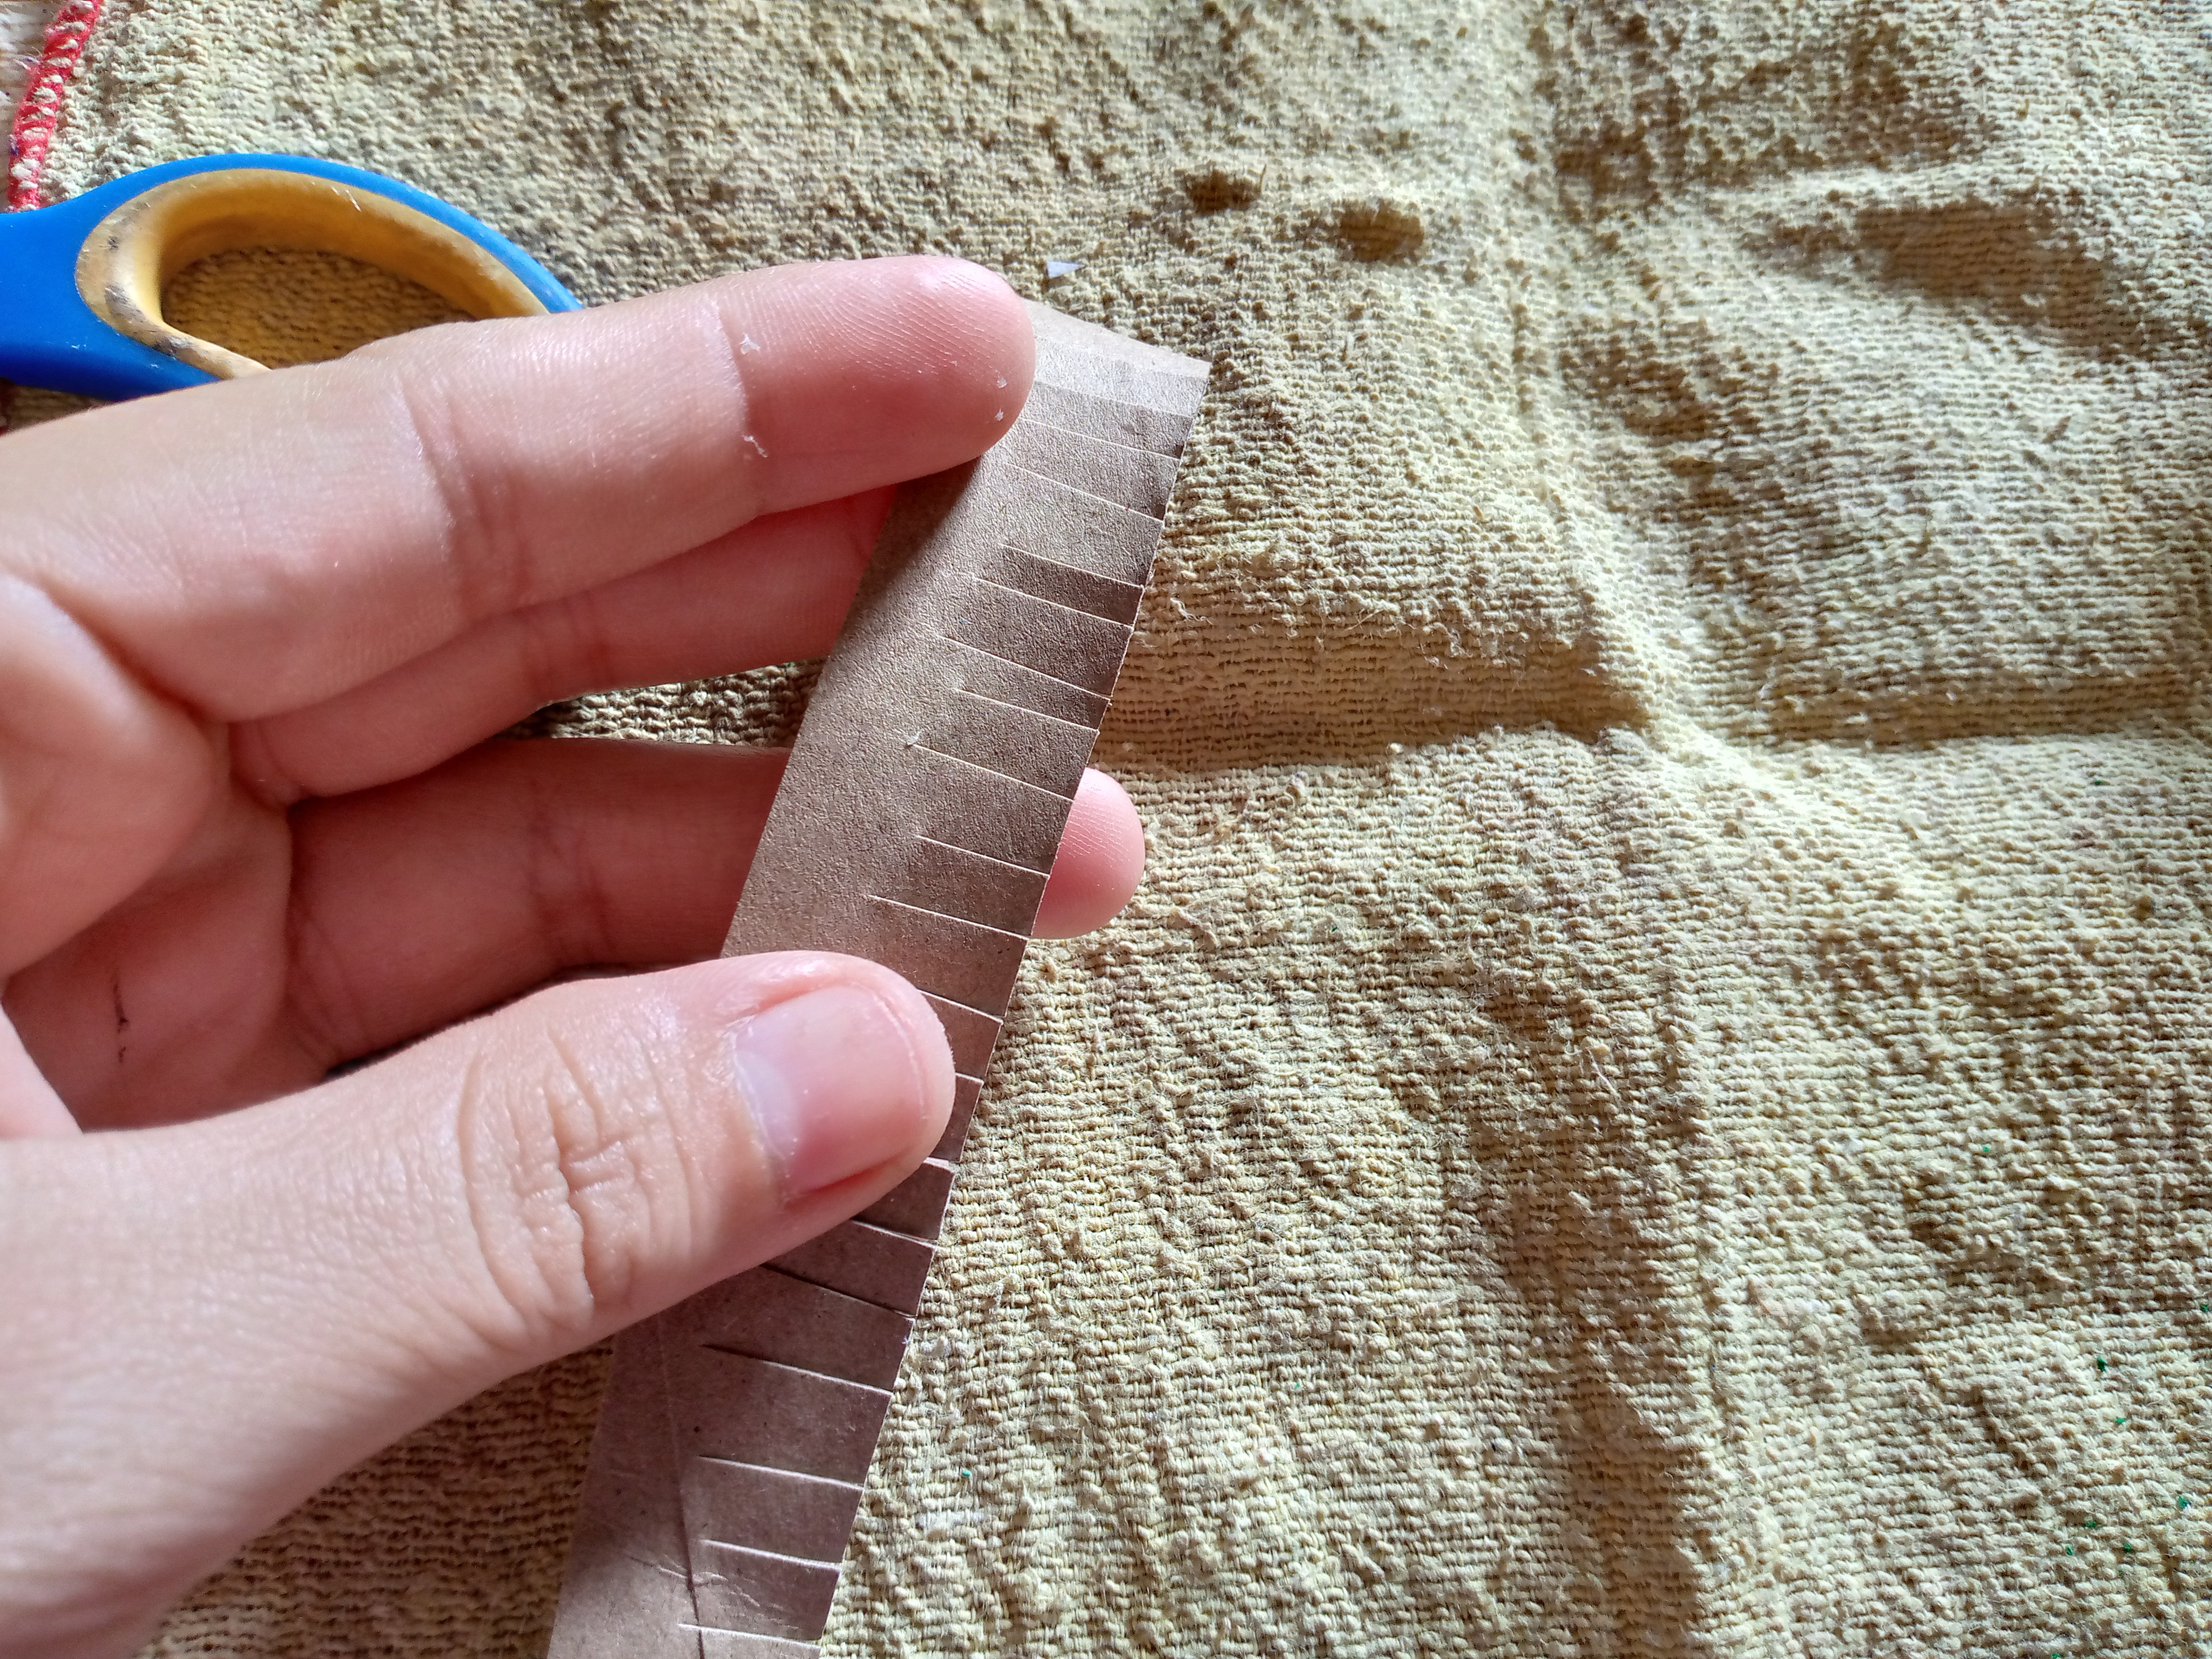
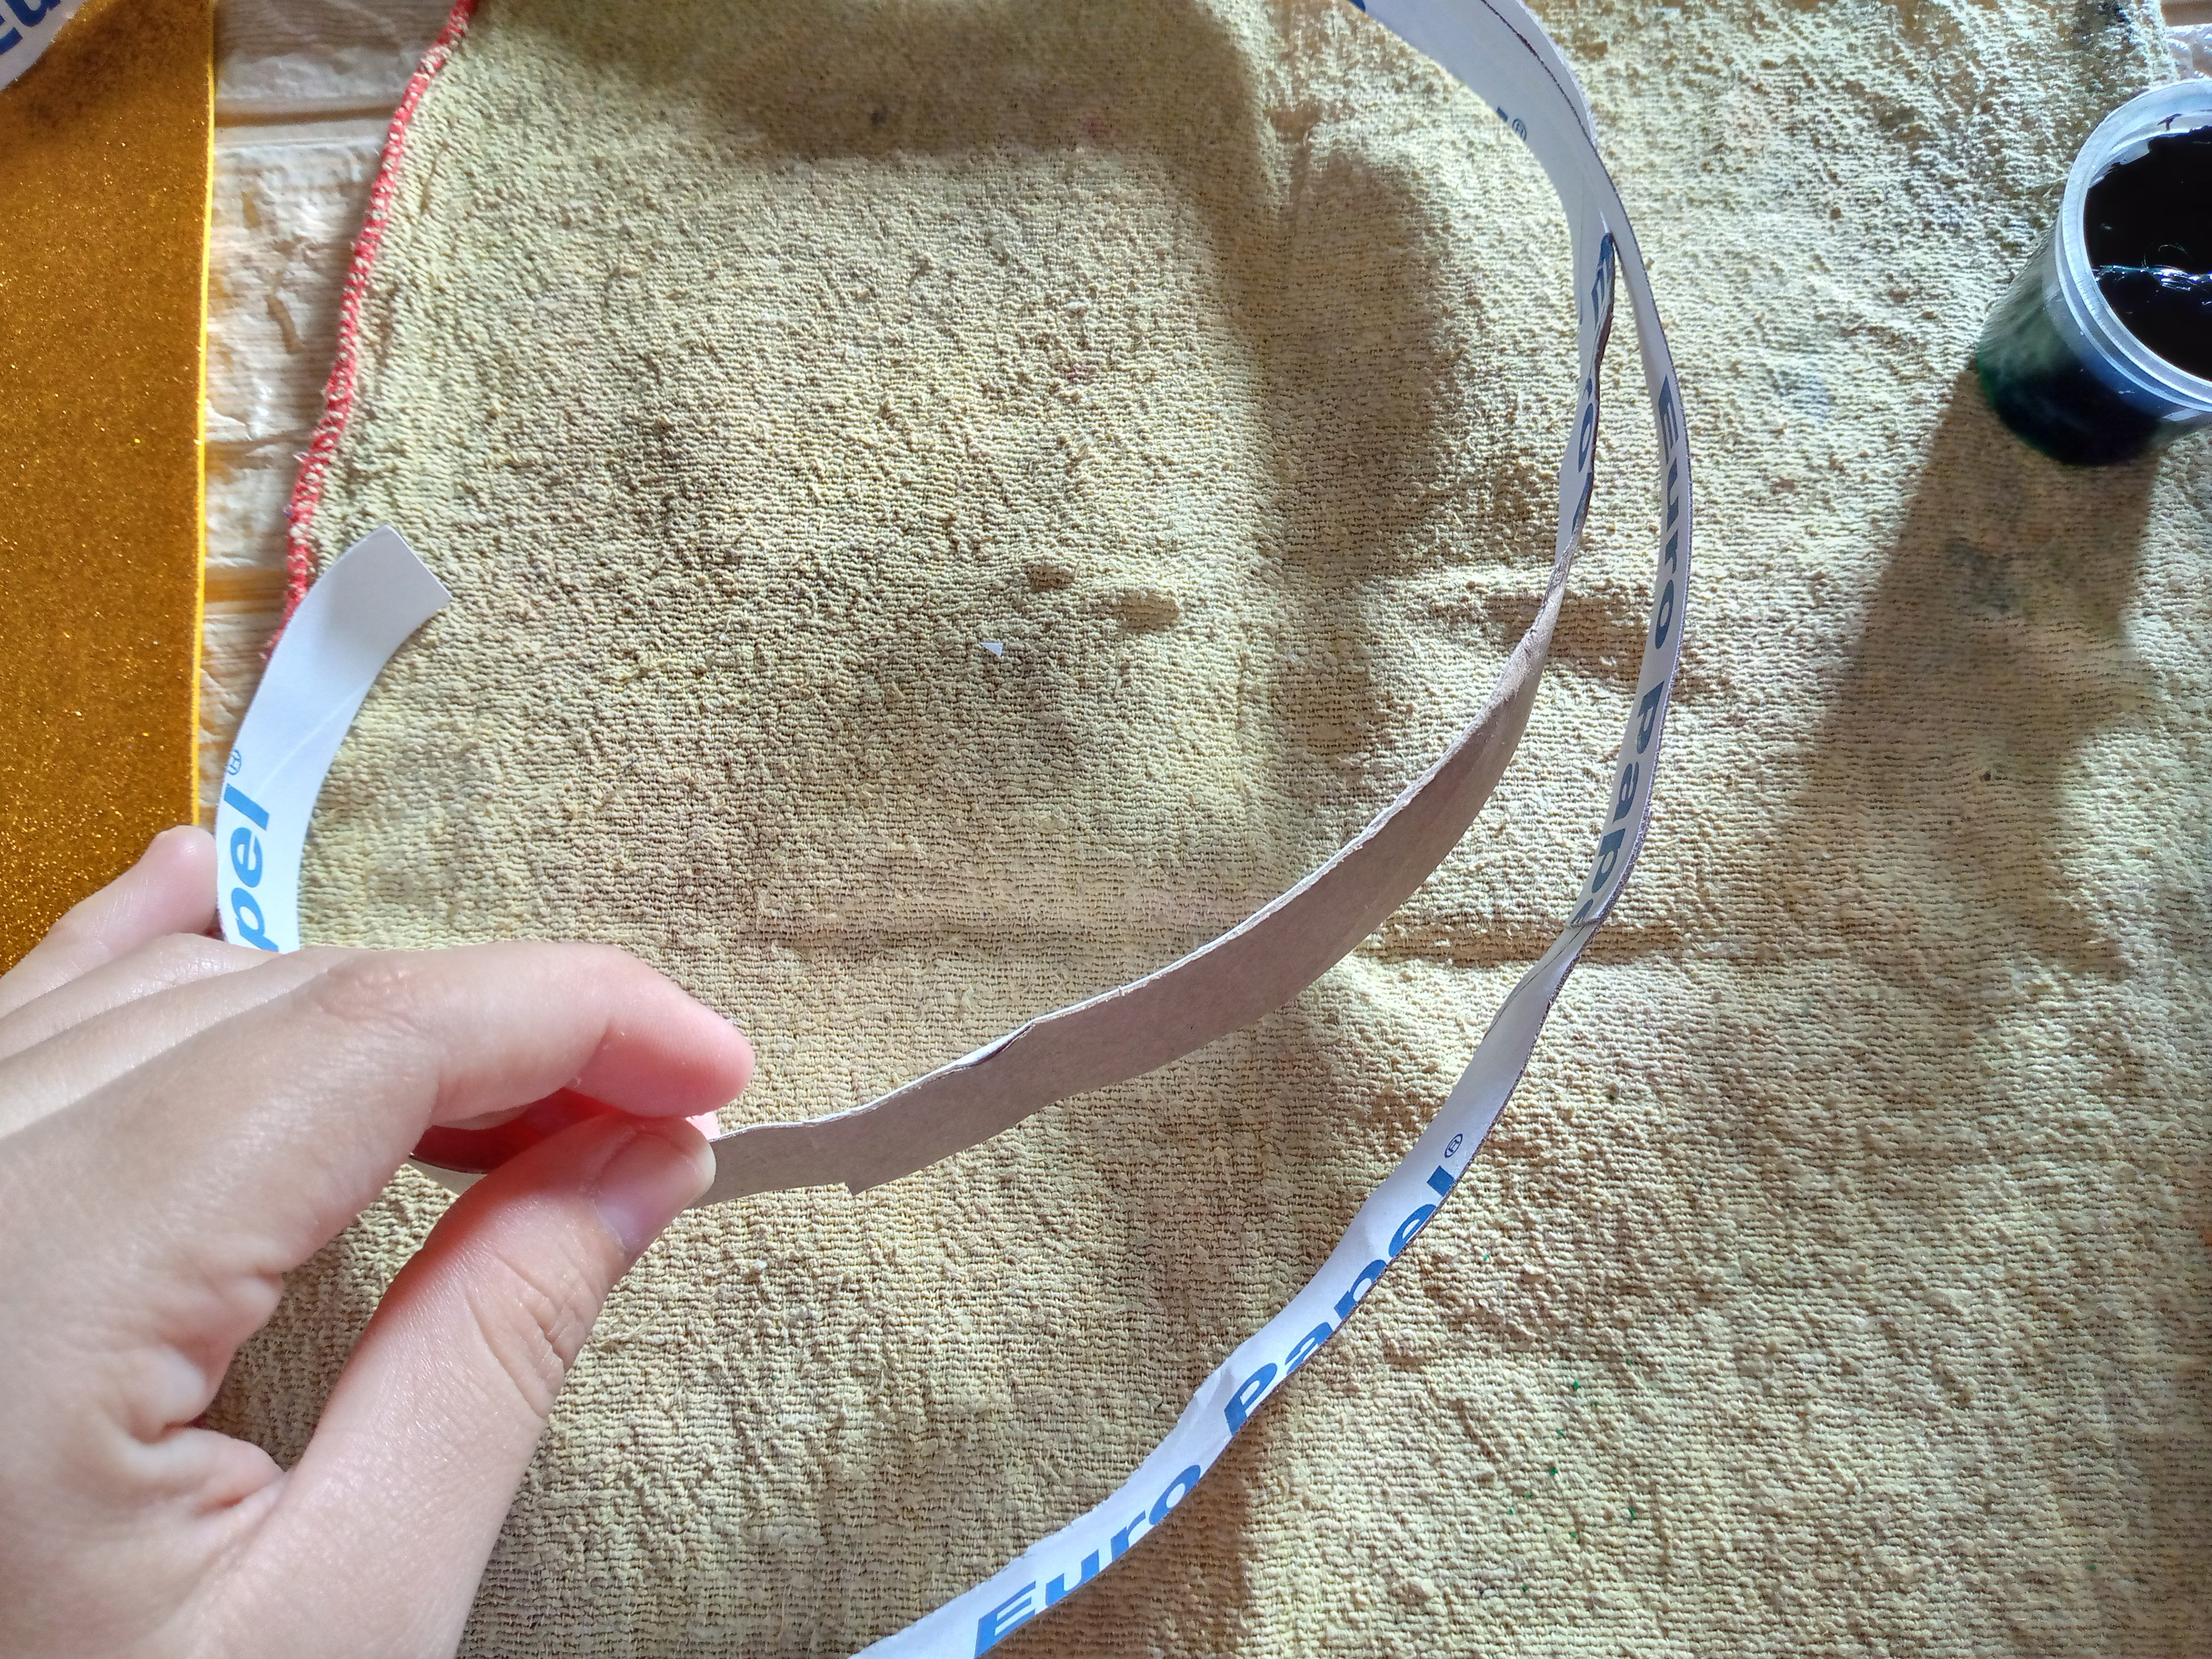
Vamos a empezar a hacer el centro de la flor para ello comenzamos cortando nuestro rollo de papel en tiras de 1 cm o 1.5 cm de ancho la vamos a cortar todas las cintas y luego vamos a ir uniendo cada cinta en cada extremo hasta obtener una cinta grande de este cartón después que seque lo que haremos será cortar la cinta en pequeños cortes hasta casi abajo de ella para que queden como tipo bambalinas.

Step 01

We are going to start making the center of the flower. To do this, we begin by cutting our roll of paper into strips of 1 cm or 1.5 cm wide. We are going to cut all the ribbons and then we are going to join each ribbon at each end until we obtain a large ribbon of this cardboard. After it dries, what we will do is cut the ribbon into small cuts almost to the bottom of it so that they look like curtains.
IMG_20241121_085054_916.jpg

IMG_20241121_085304_149.jpg

IMG_20241121_085632_361.jpg

Paso 02

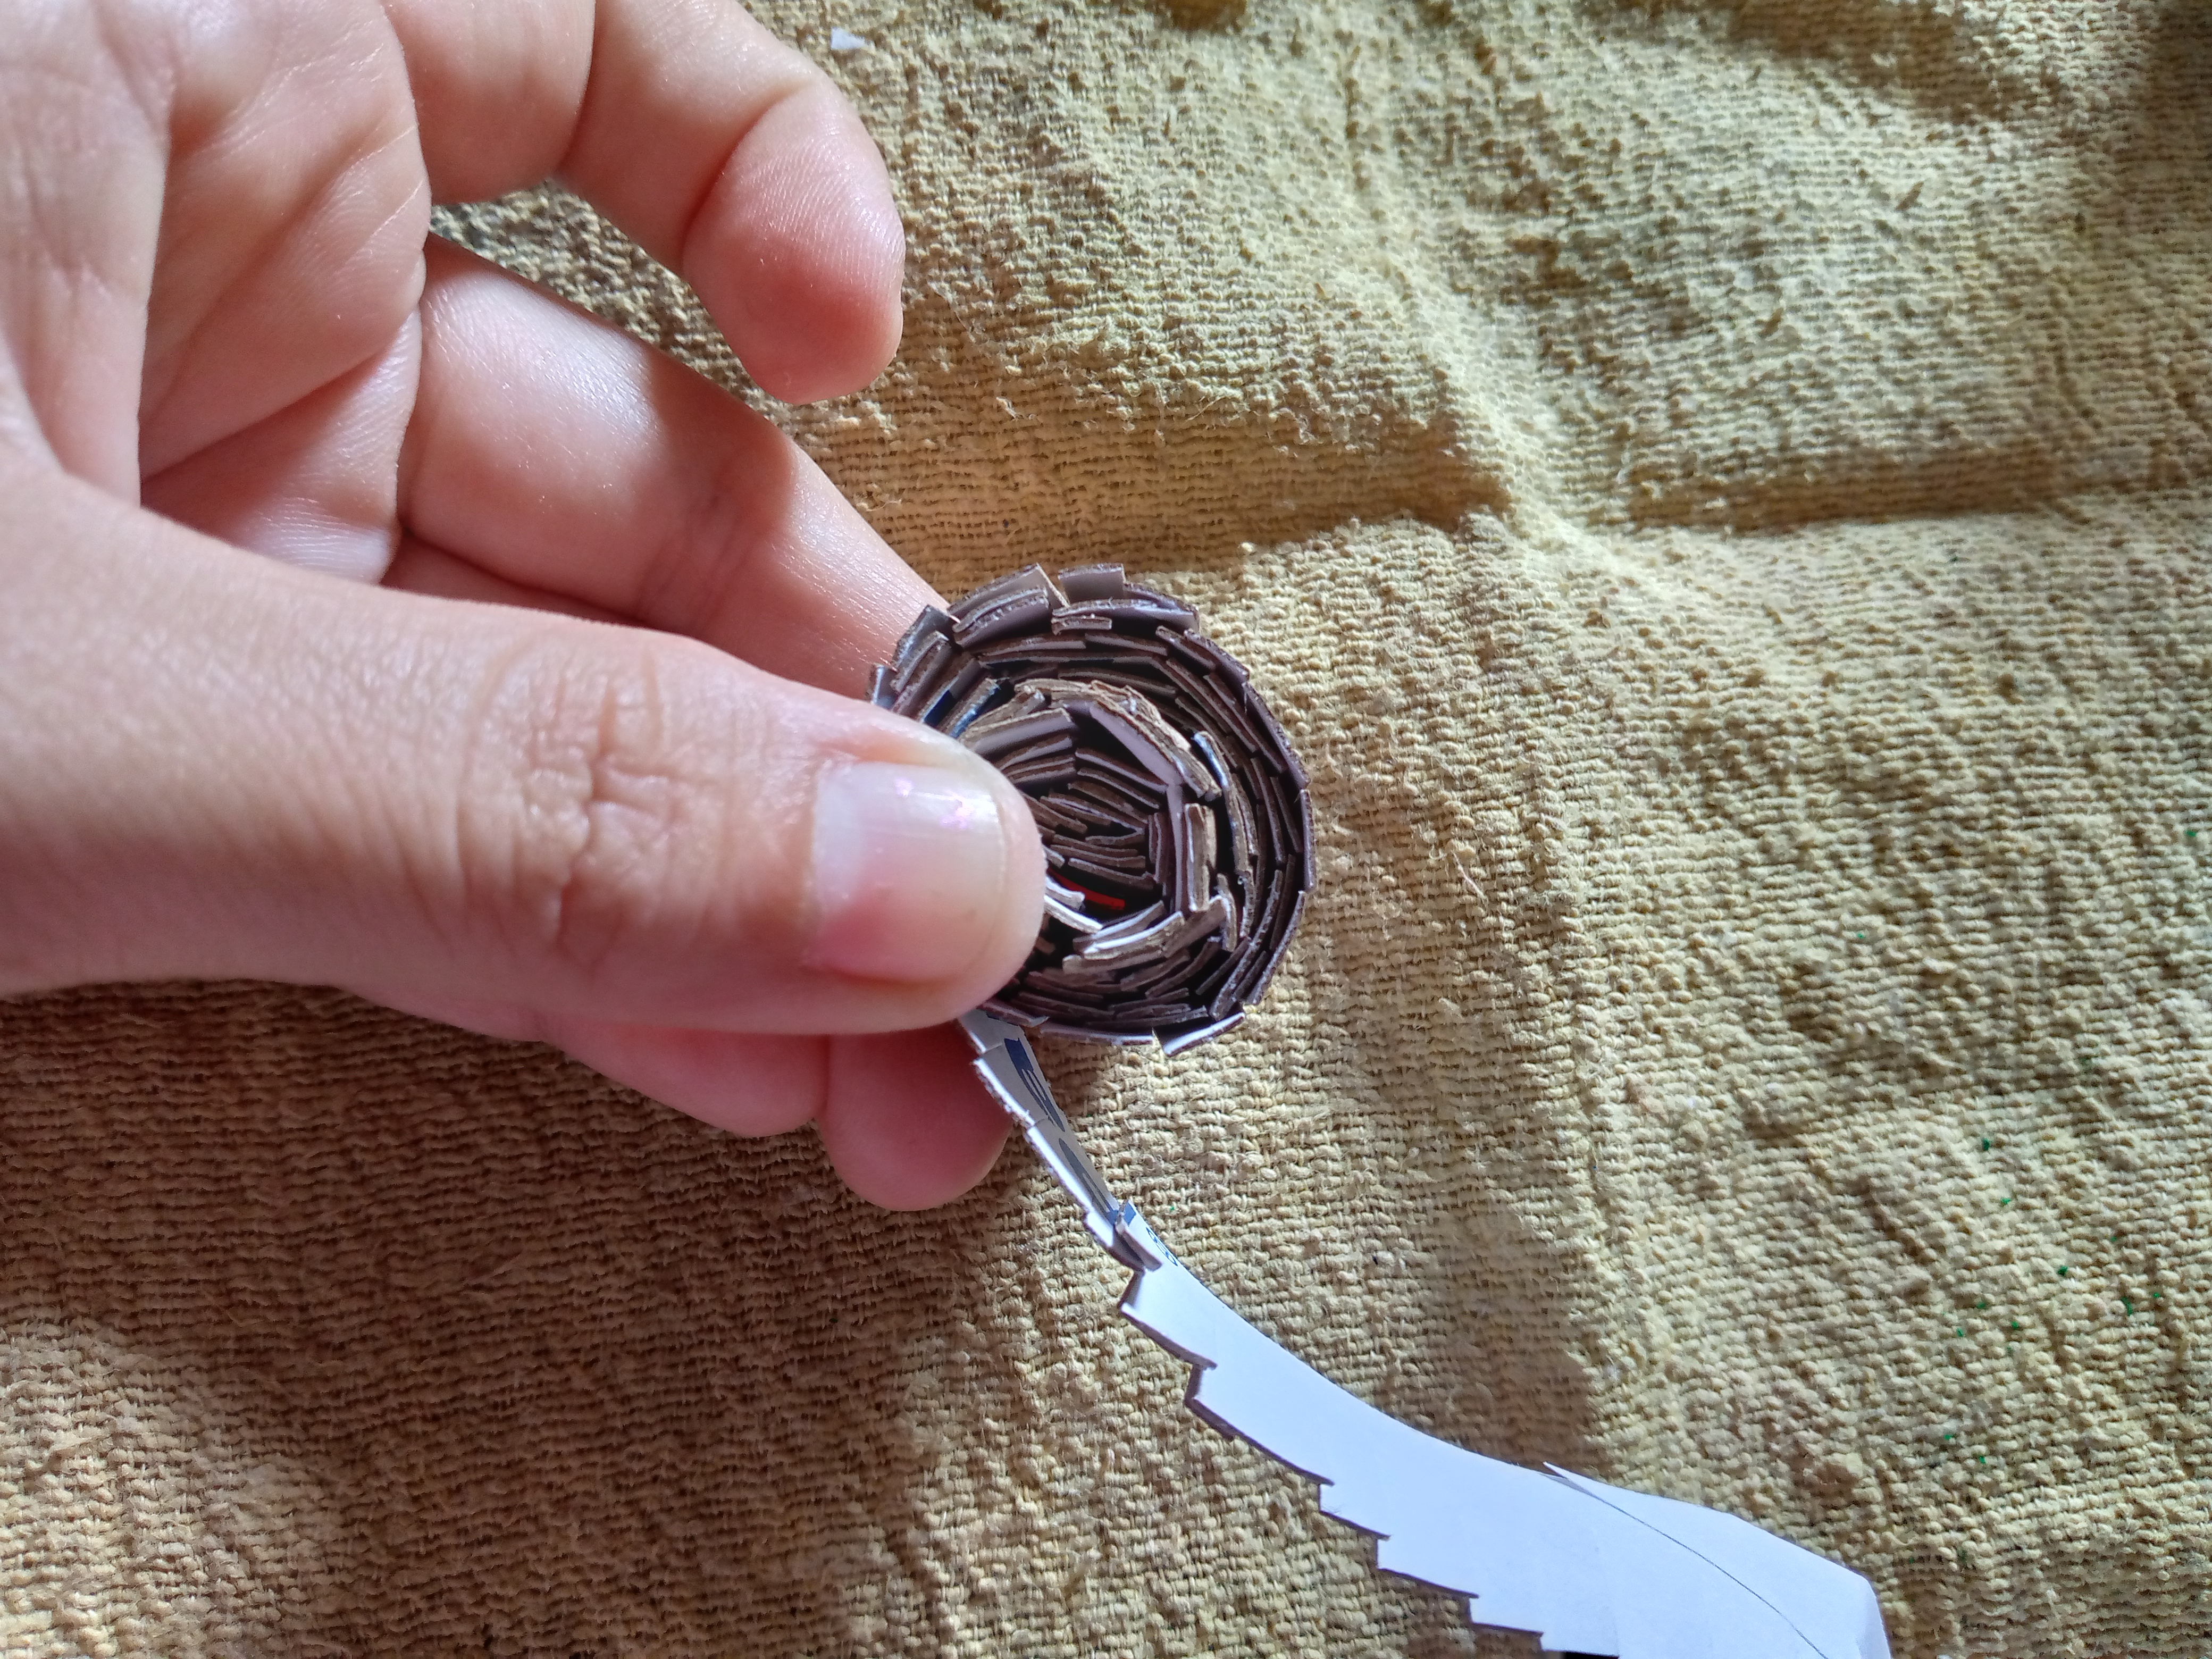
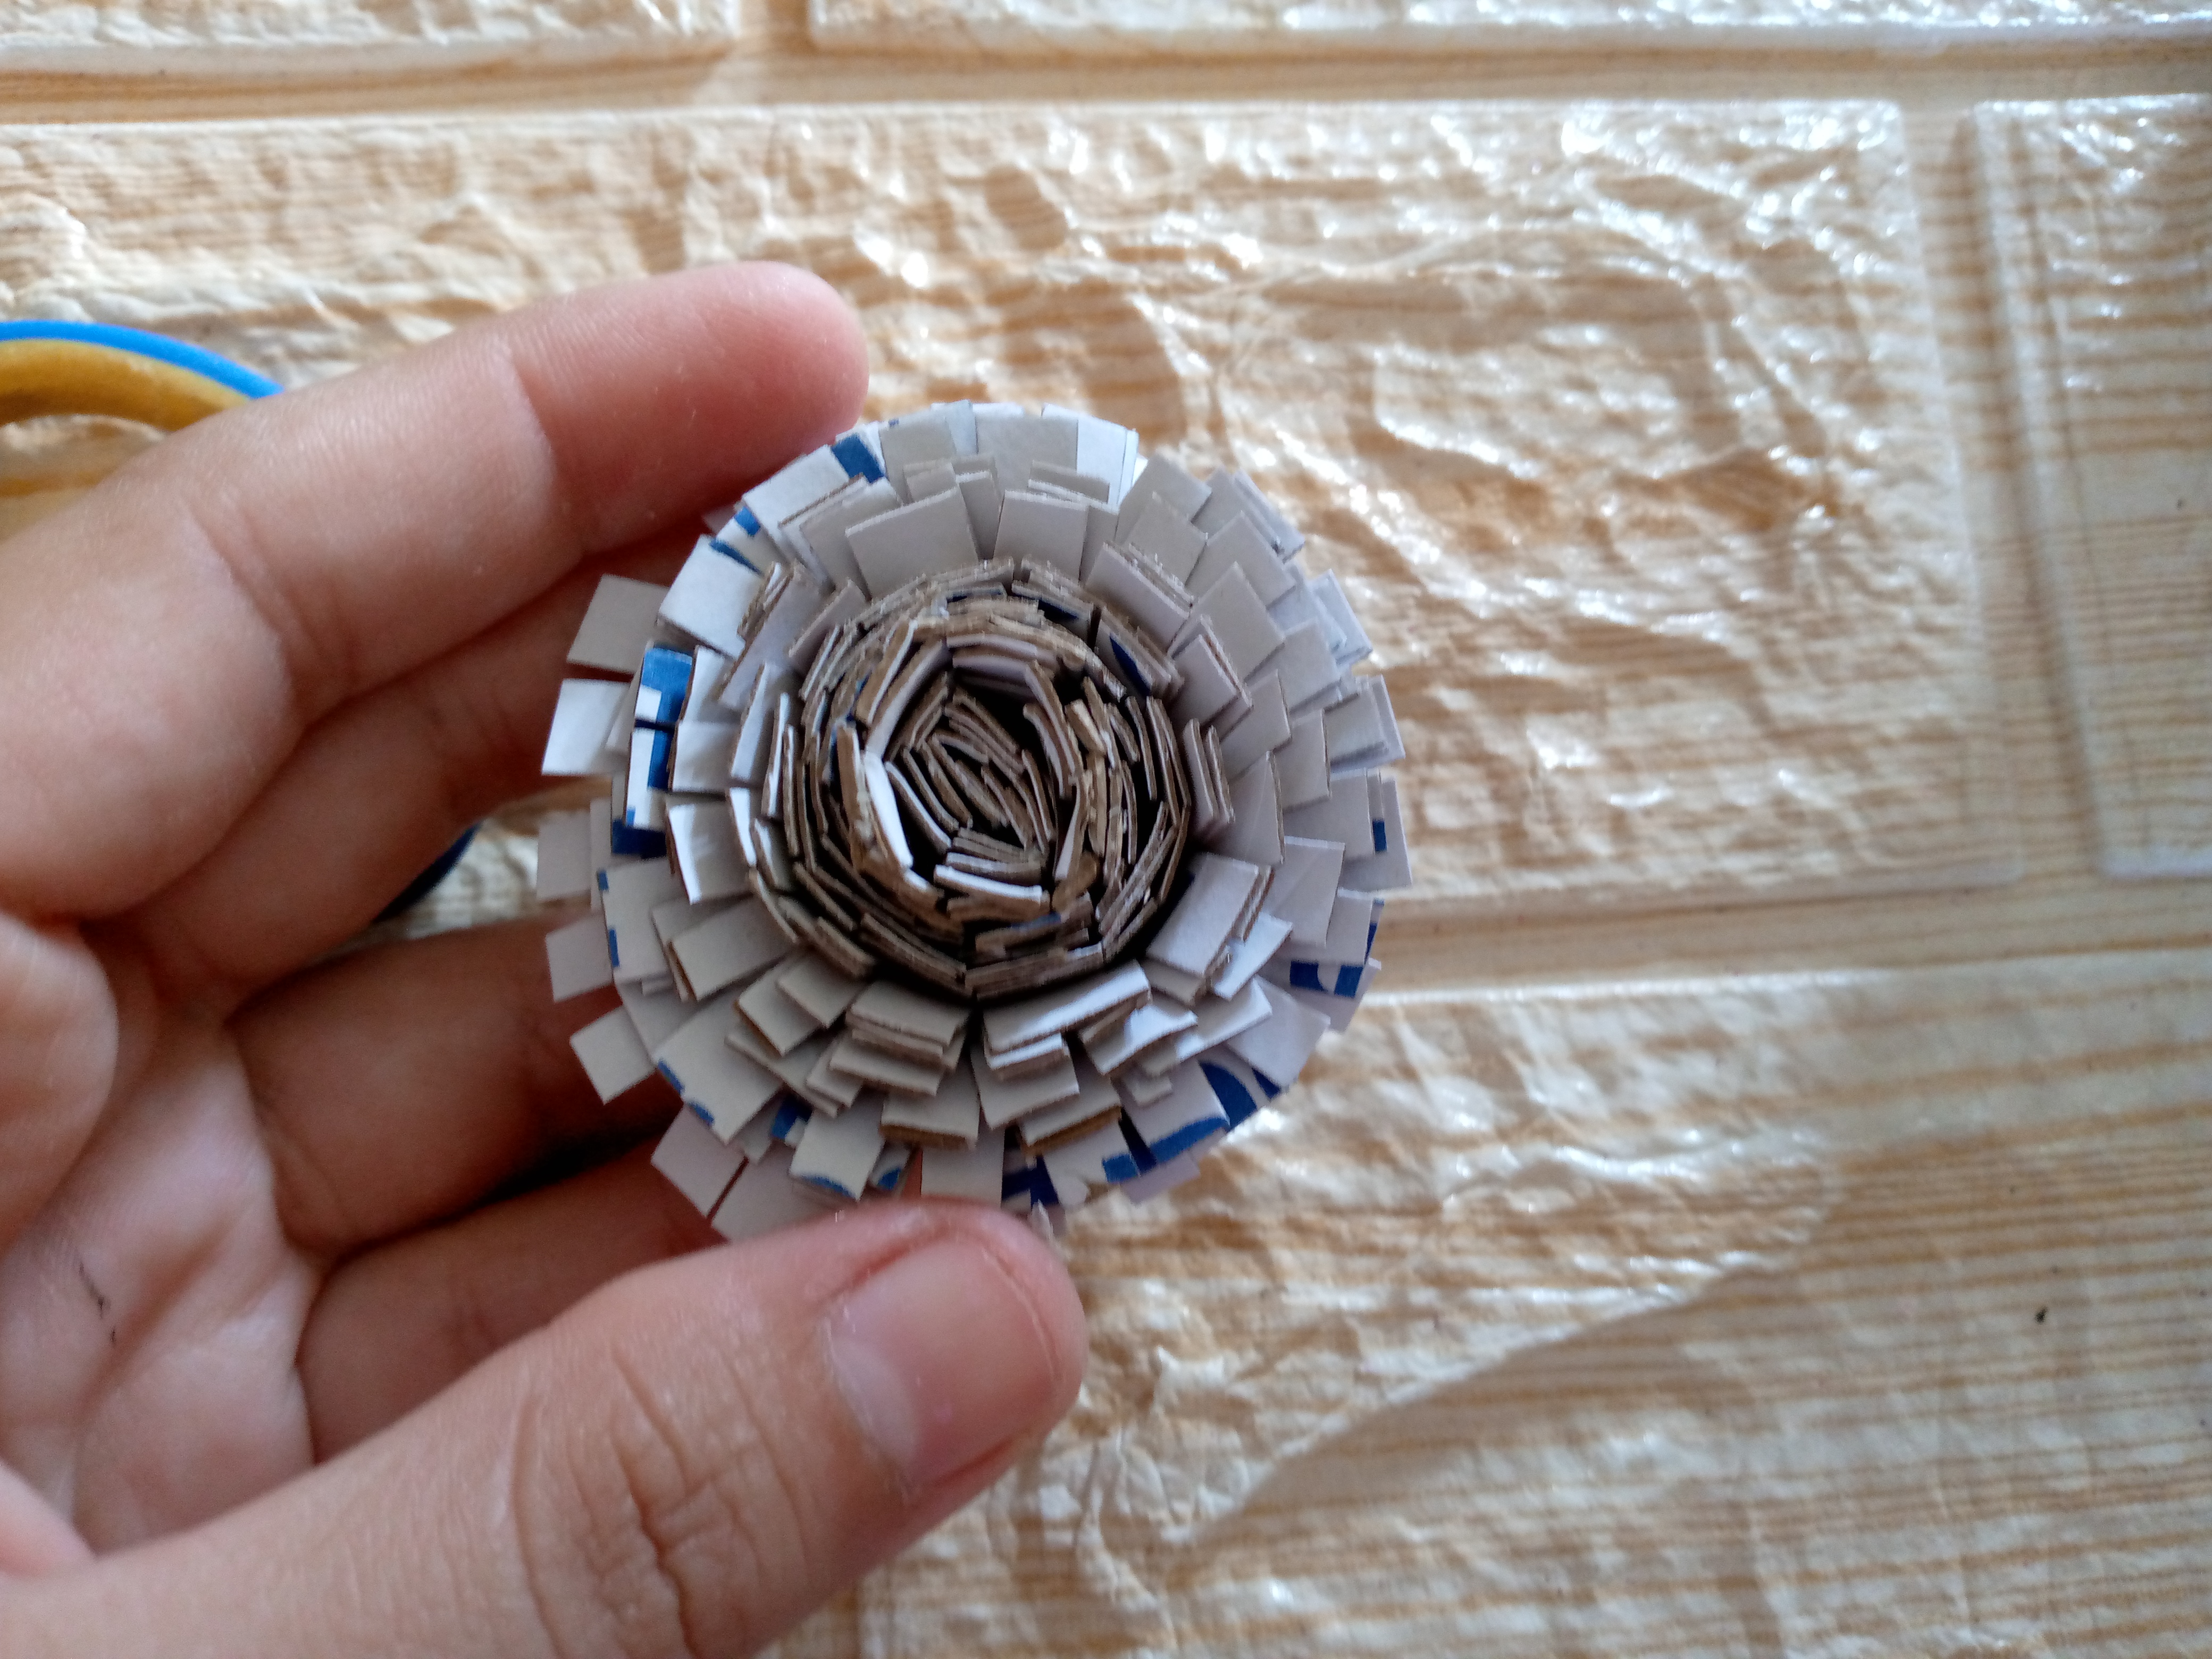
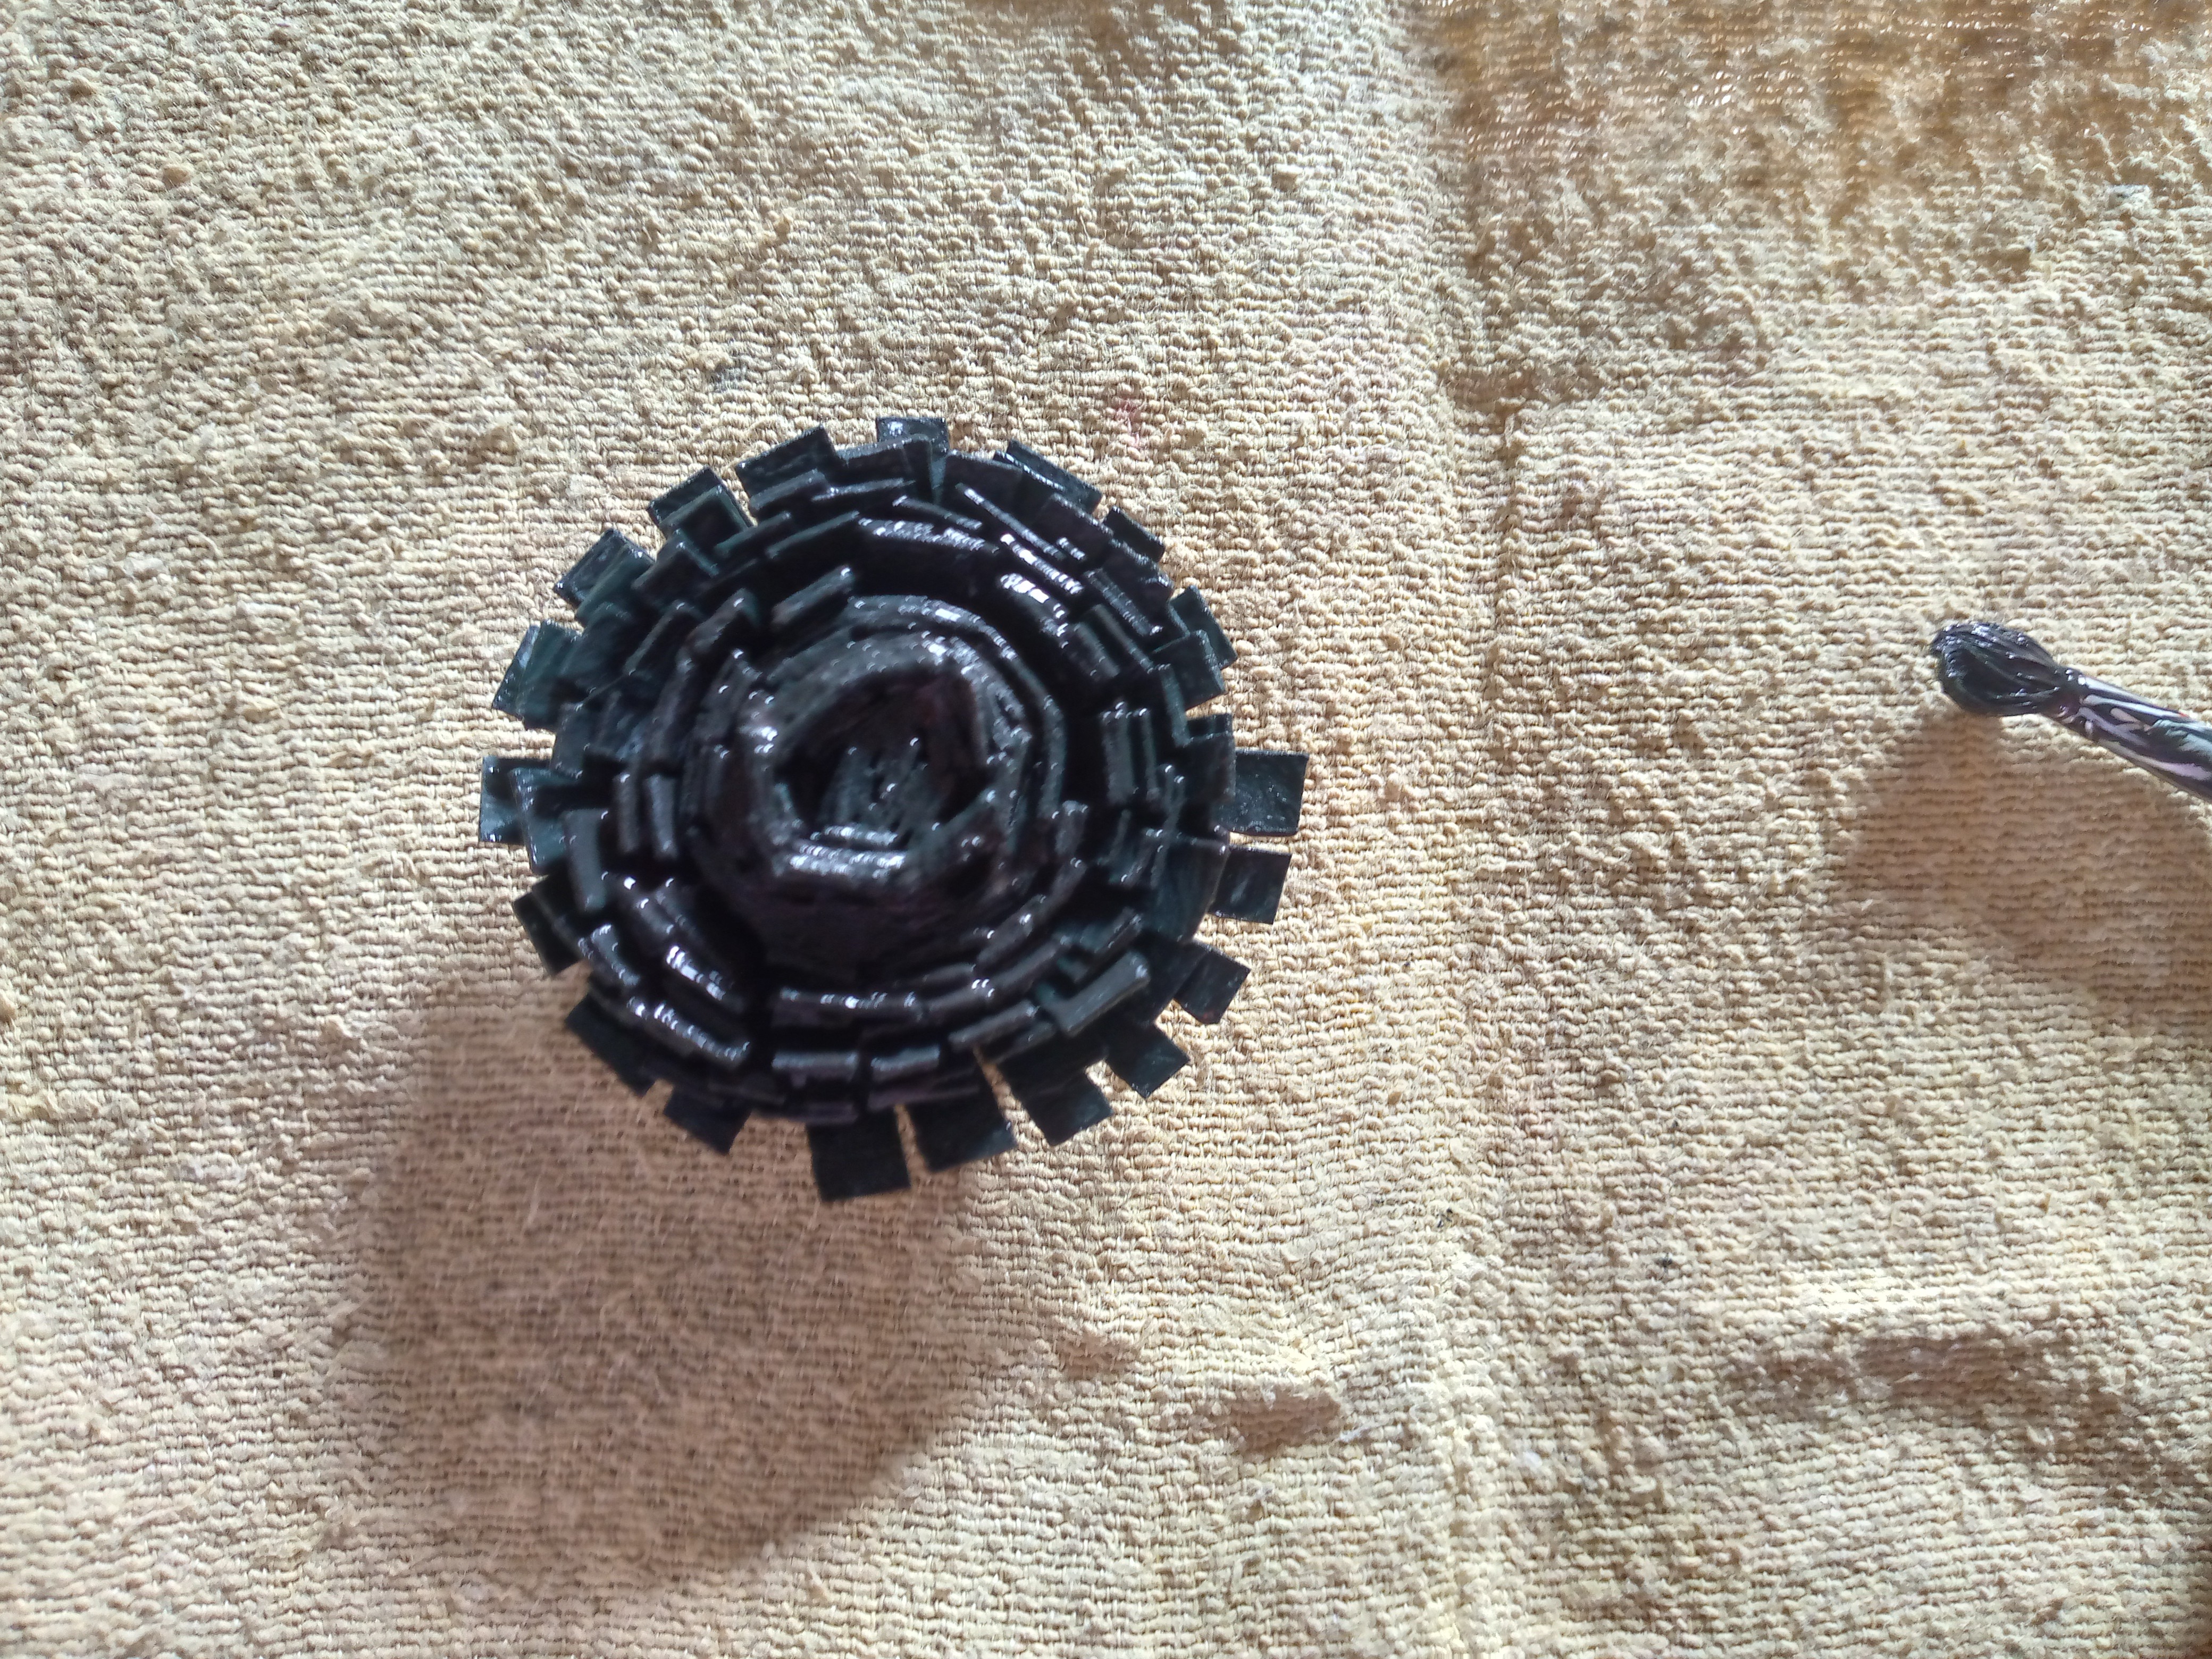
Después de hacerle estos cortes al cartón vamos a ir enrollandolo pero antes de eso vamos a echar un poco de silicón en la punta y ahora si vamos a empezar a enrollarlo hasta que terminemos la cinta,pegamos el sobrante y pintamos con las pinturas como no tenia pintura marrón he mezclado los colores rojo verde y negro para obtener un tono de marron oscuro de pintura,vamos a ir abriendo los cortes que le hicimos a la cinta de cartón y la abrimos de manera que se aprecie el centro del girasol.

Step 02

After making these cuts to the cardboard we are going to roll it up but before that we are going to put a little silicone on the tip and now we are going to start rolling it up until we finish the tape, we glue the excess and paint with the paints
since I didn't have brown paint I mixed the red, green and black colors to get a dark brown tone of paint, we are going to open the cuts that we made in the cardboard tape and we open it so that the center of the sunflower can be seen.
IMG_20241121_090451_317.jpg

IMG_20241121_090950_857.jpg

IMG_20241121_091039_453.jpg

IMG_20241121_091327_803.jpg

IMG_20241121_091341_473.jpg

Paso 03

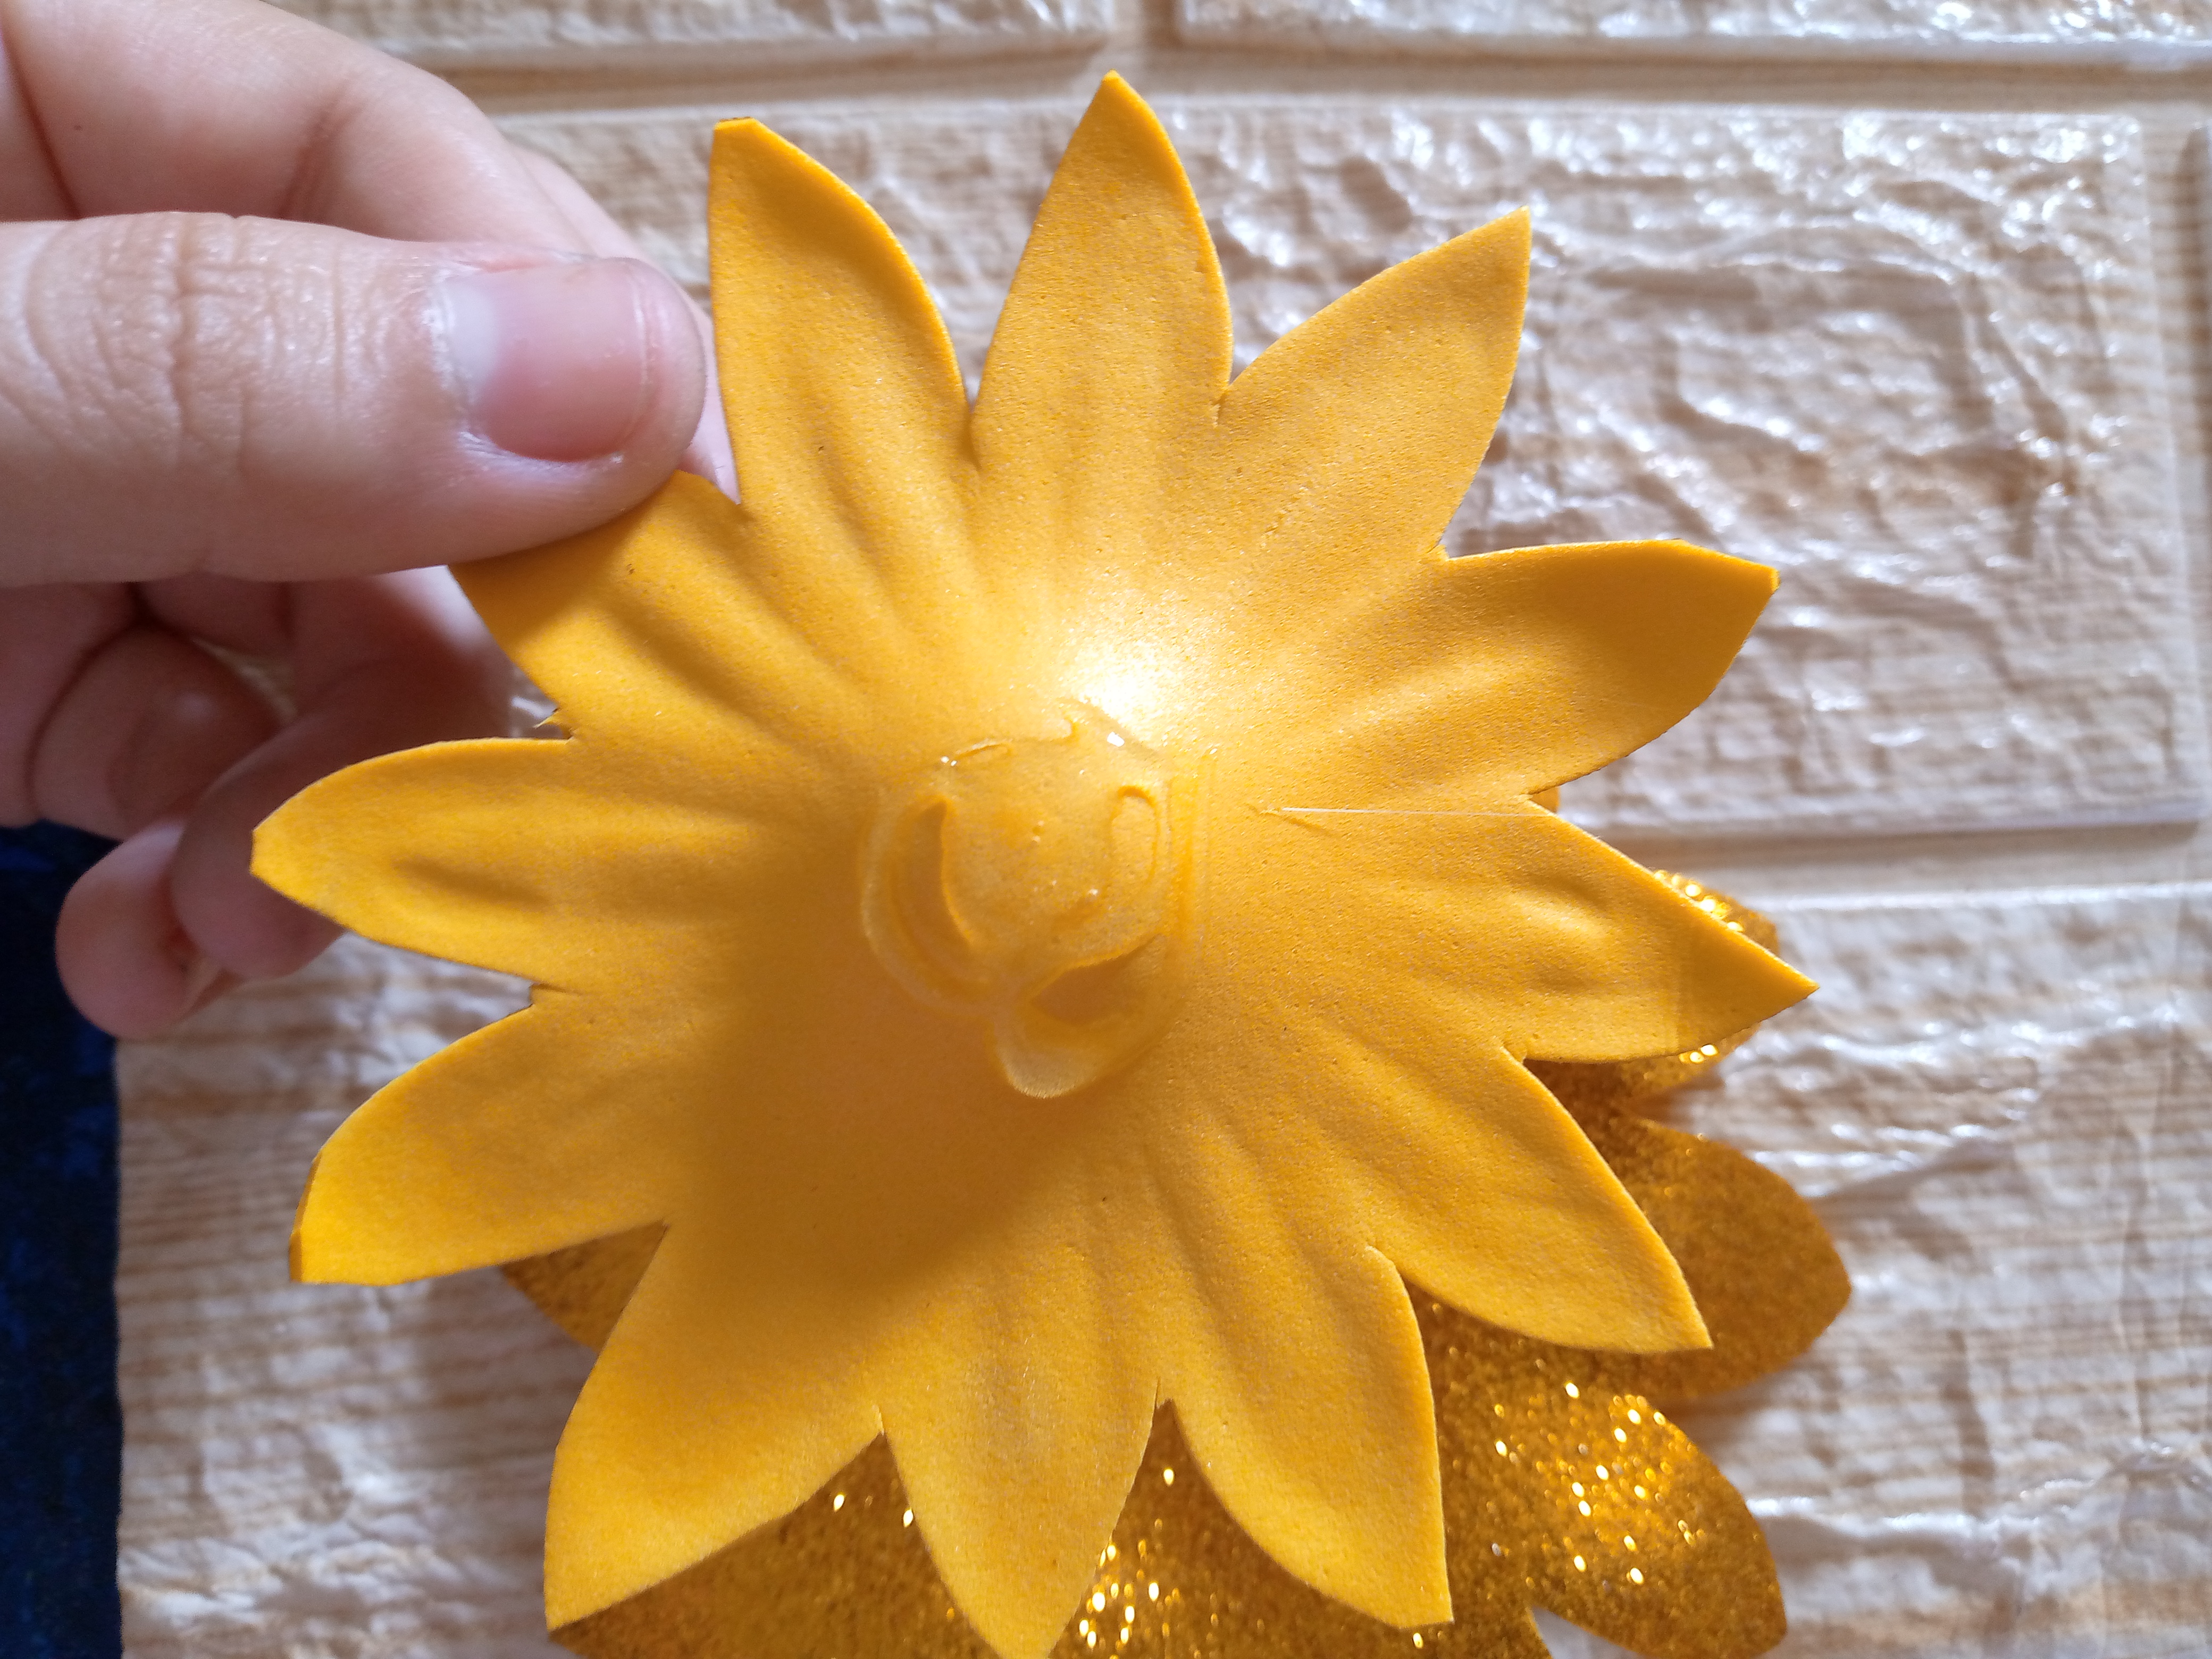
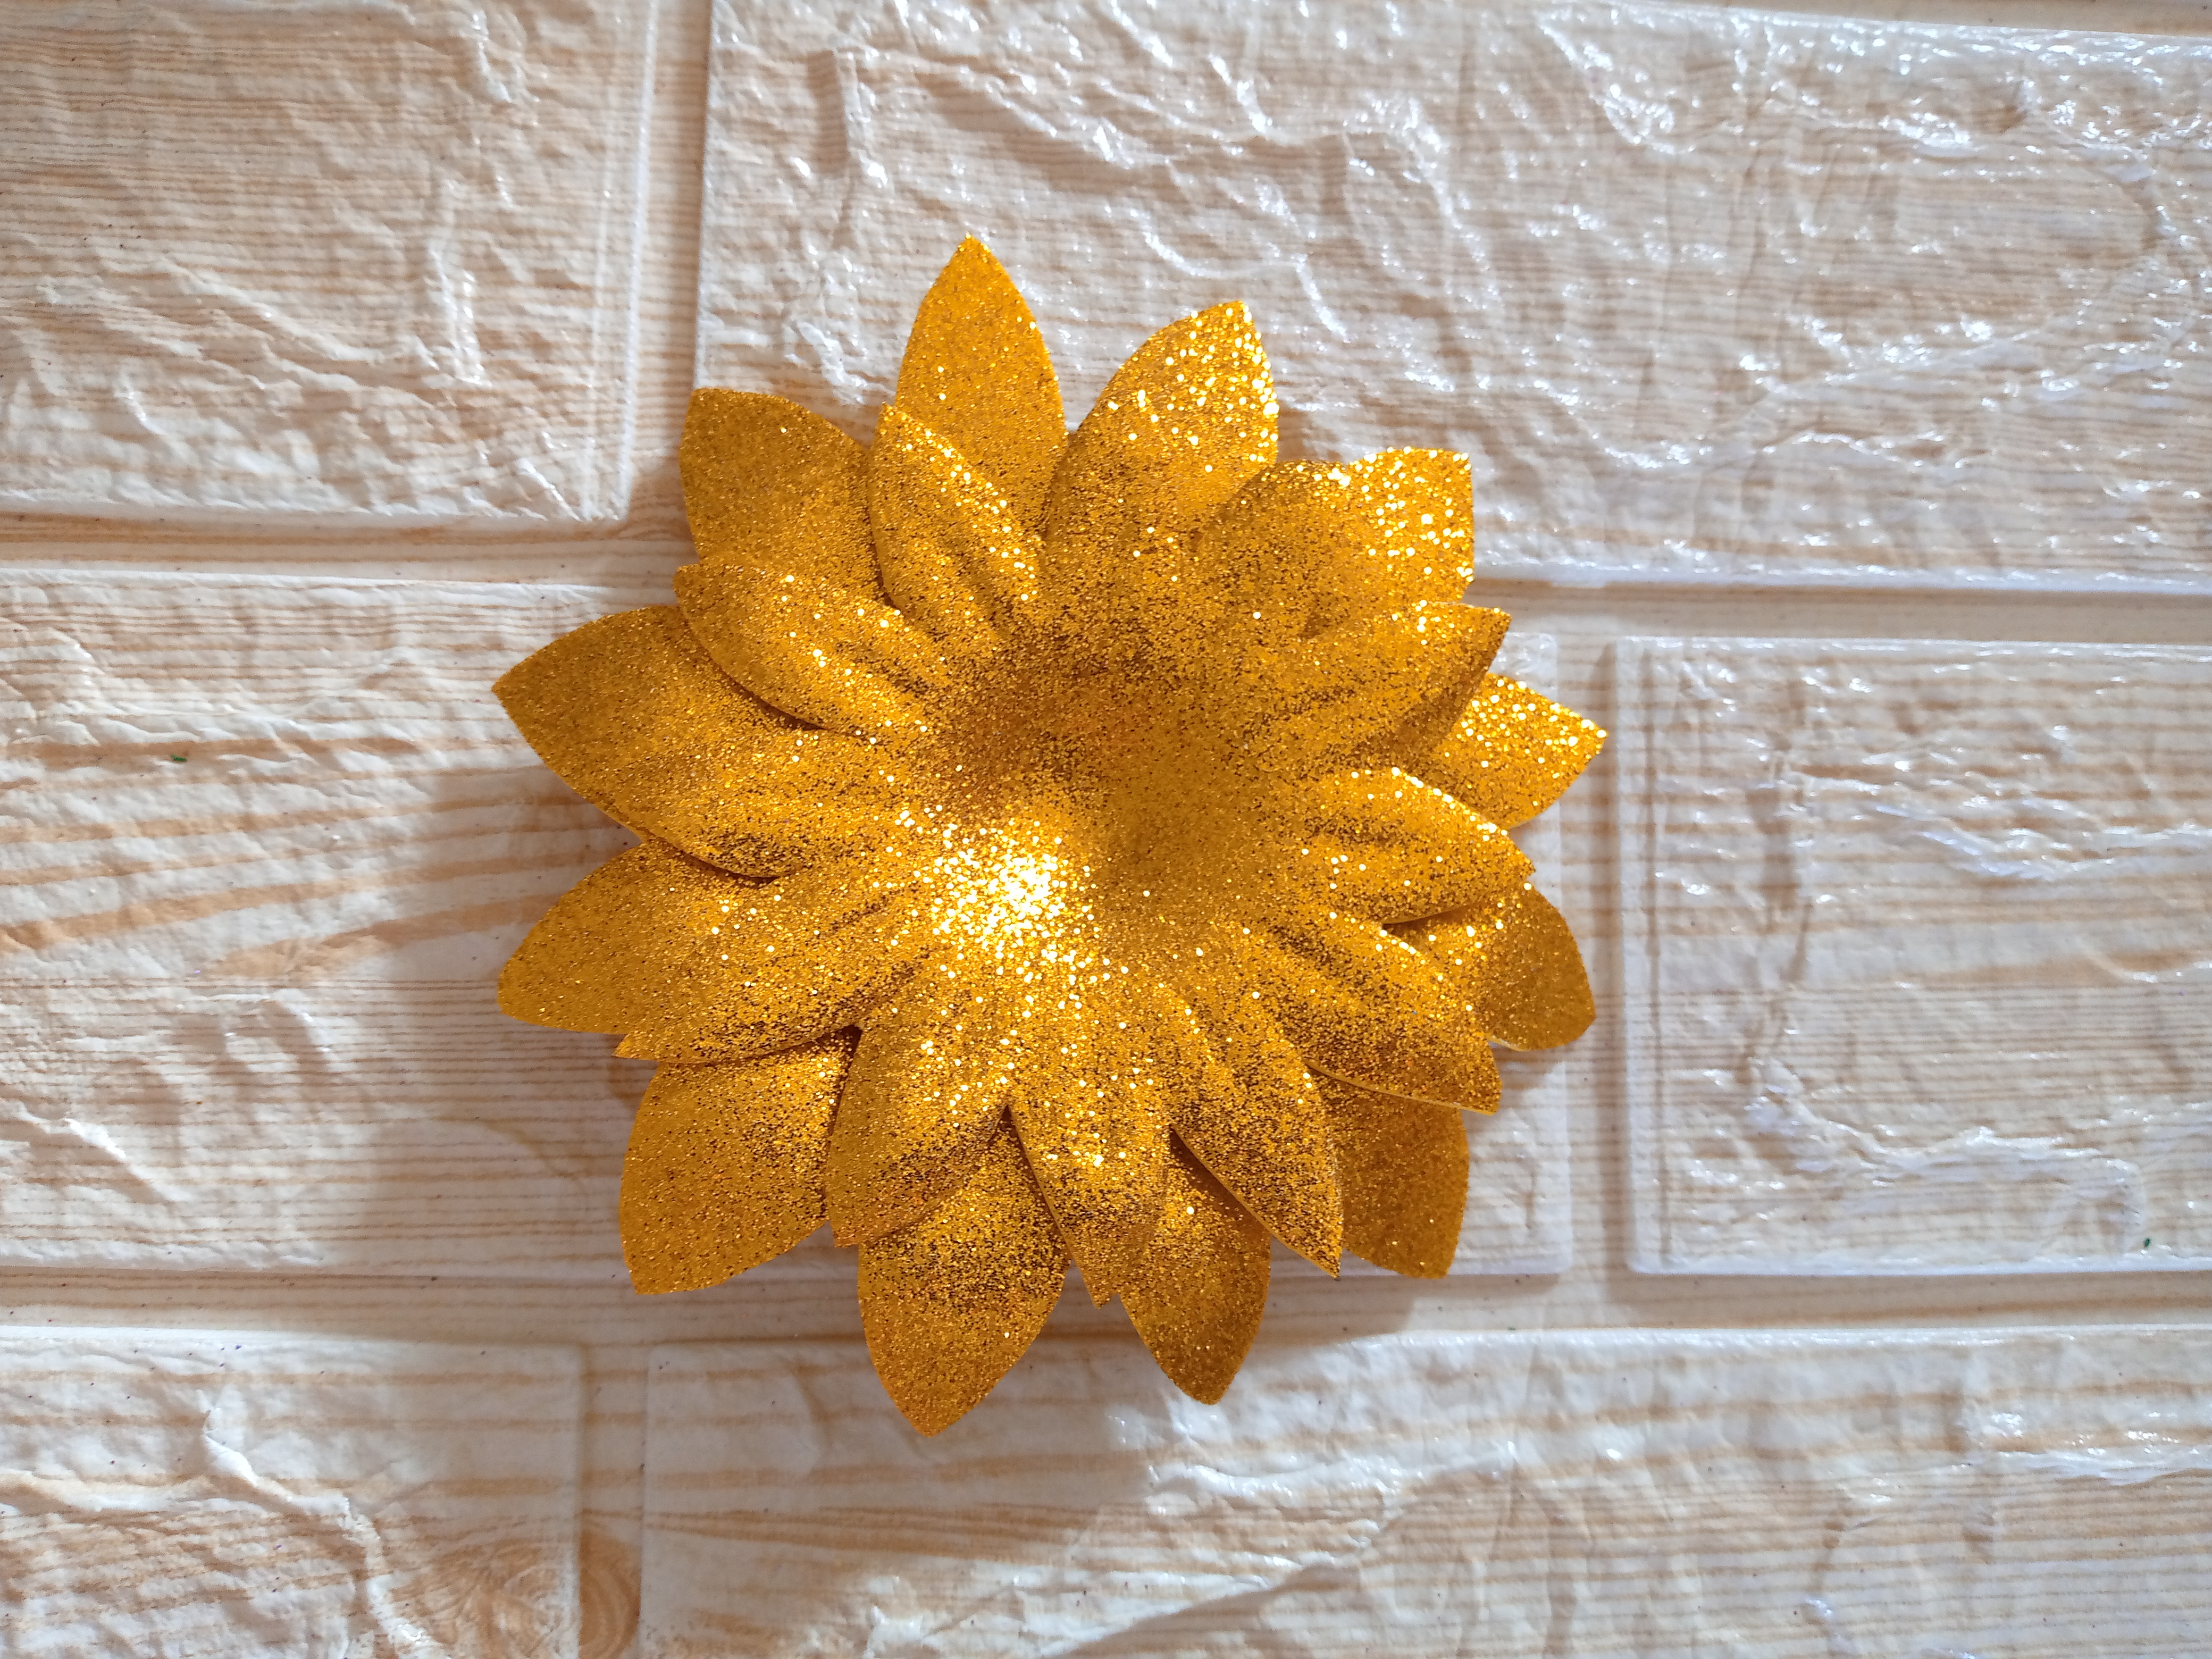
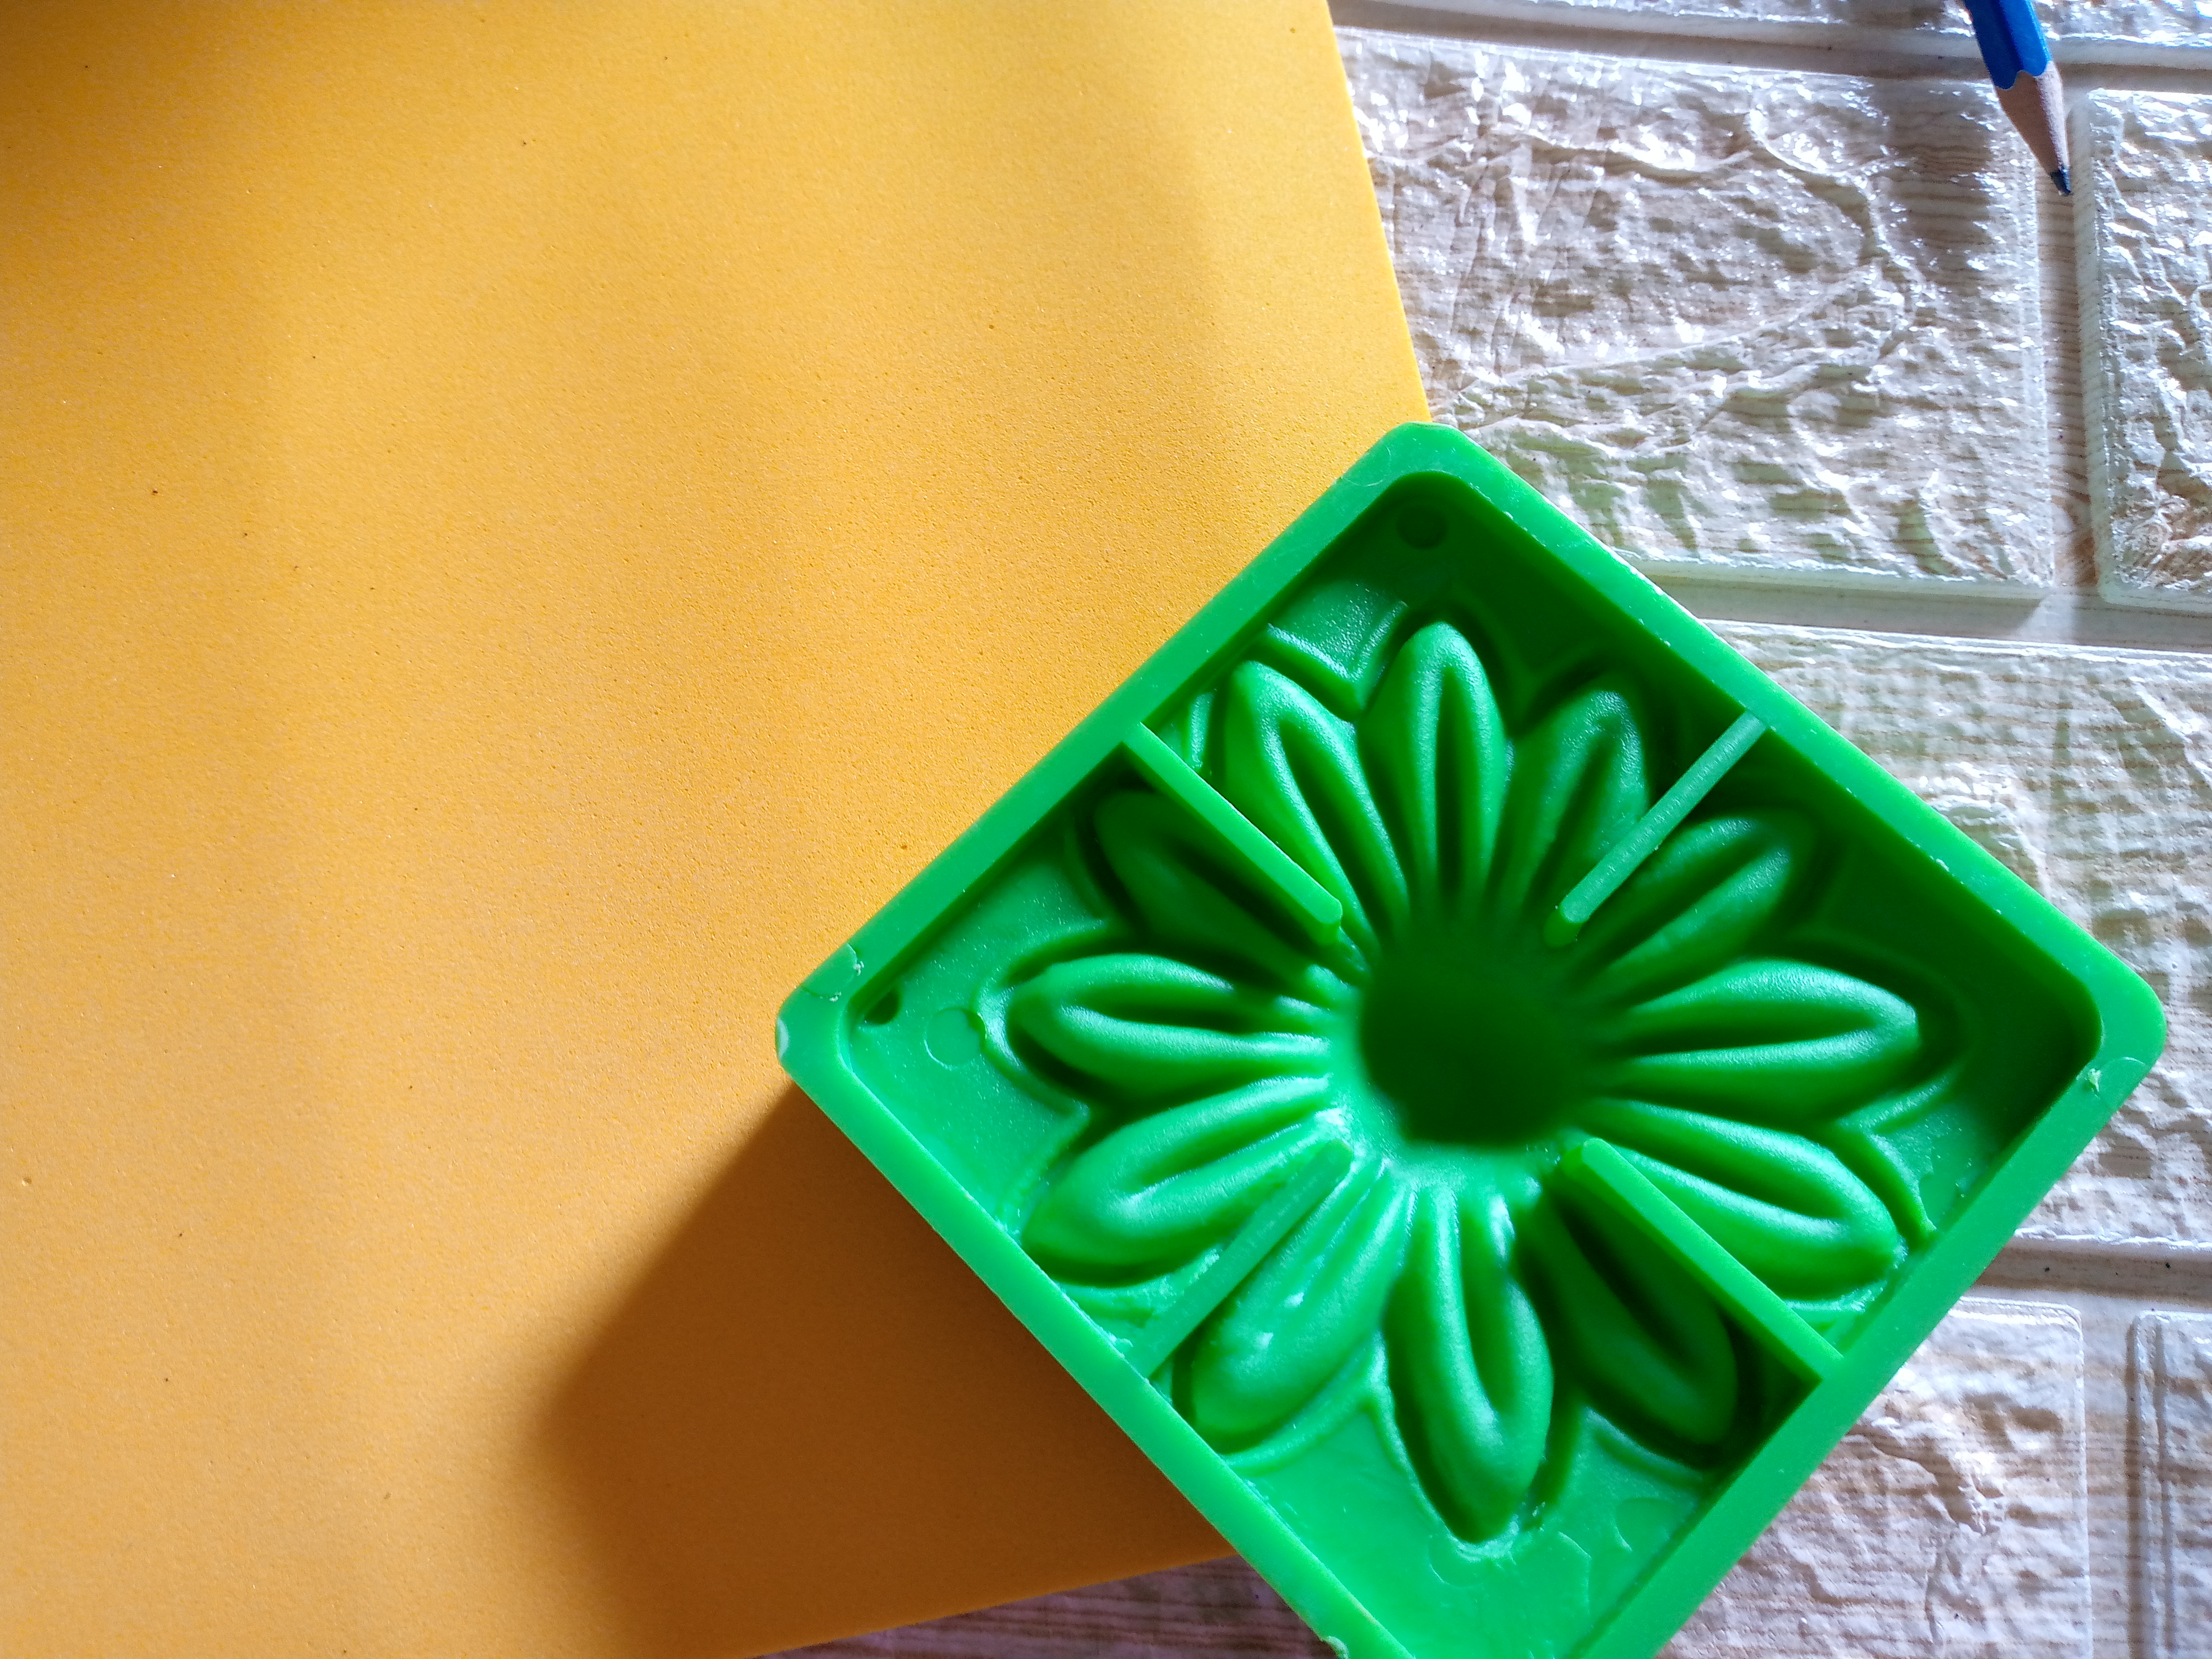
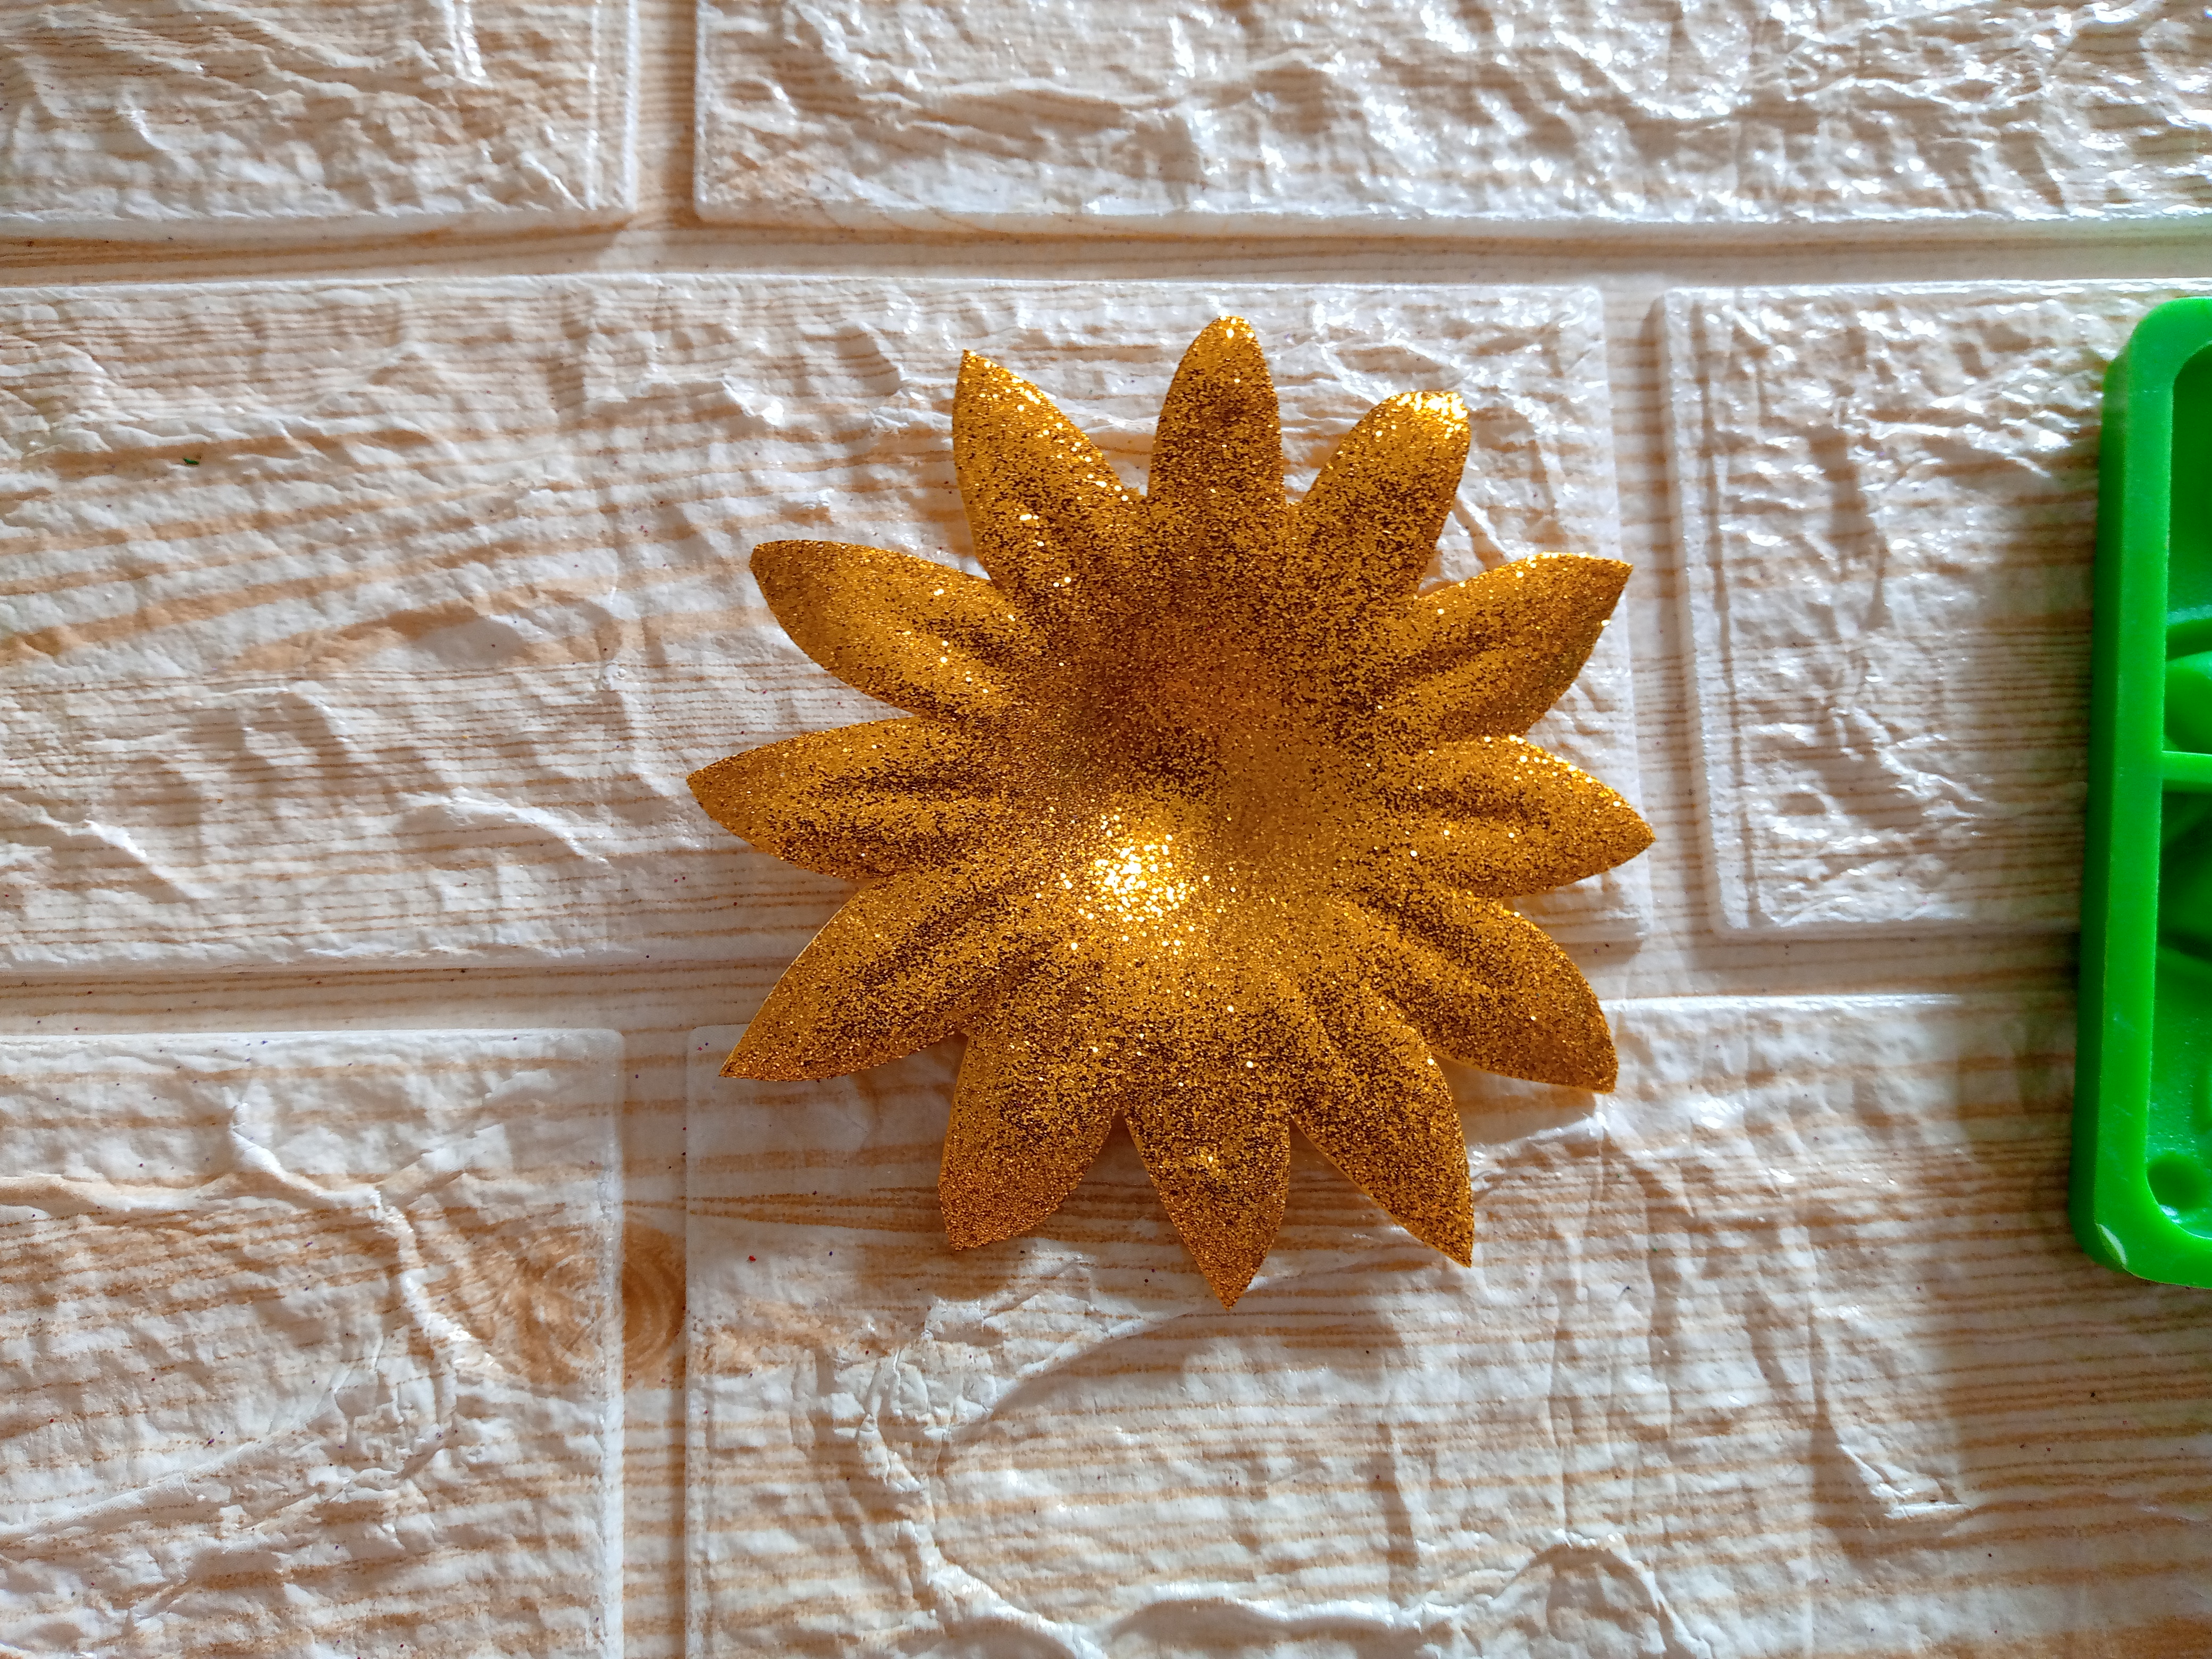
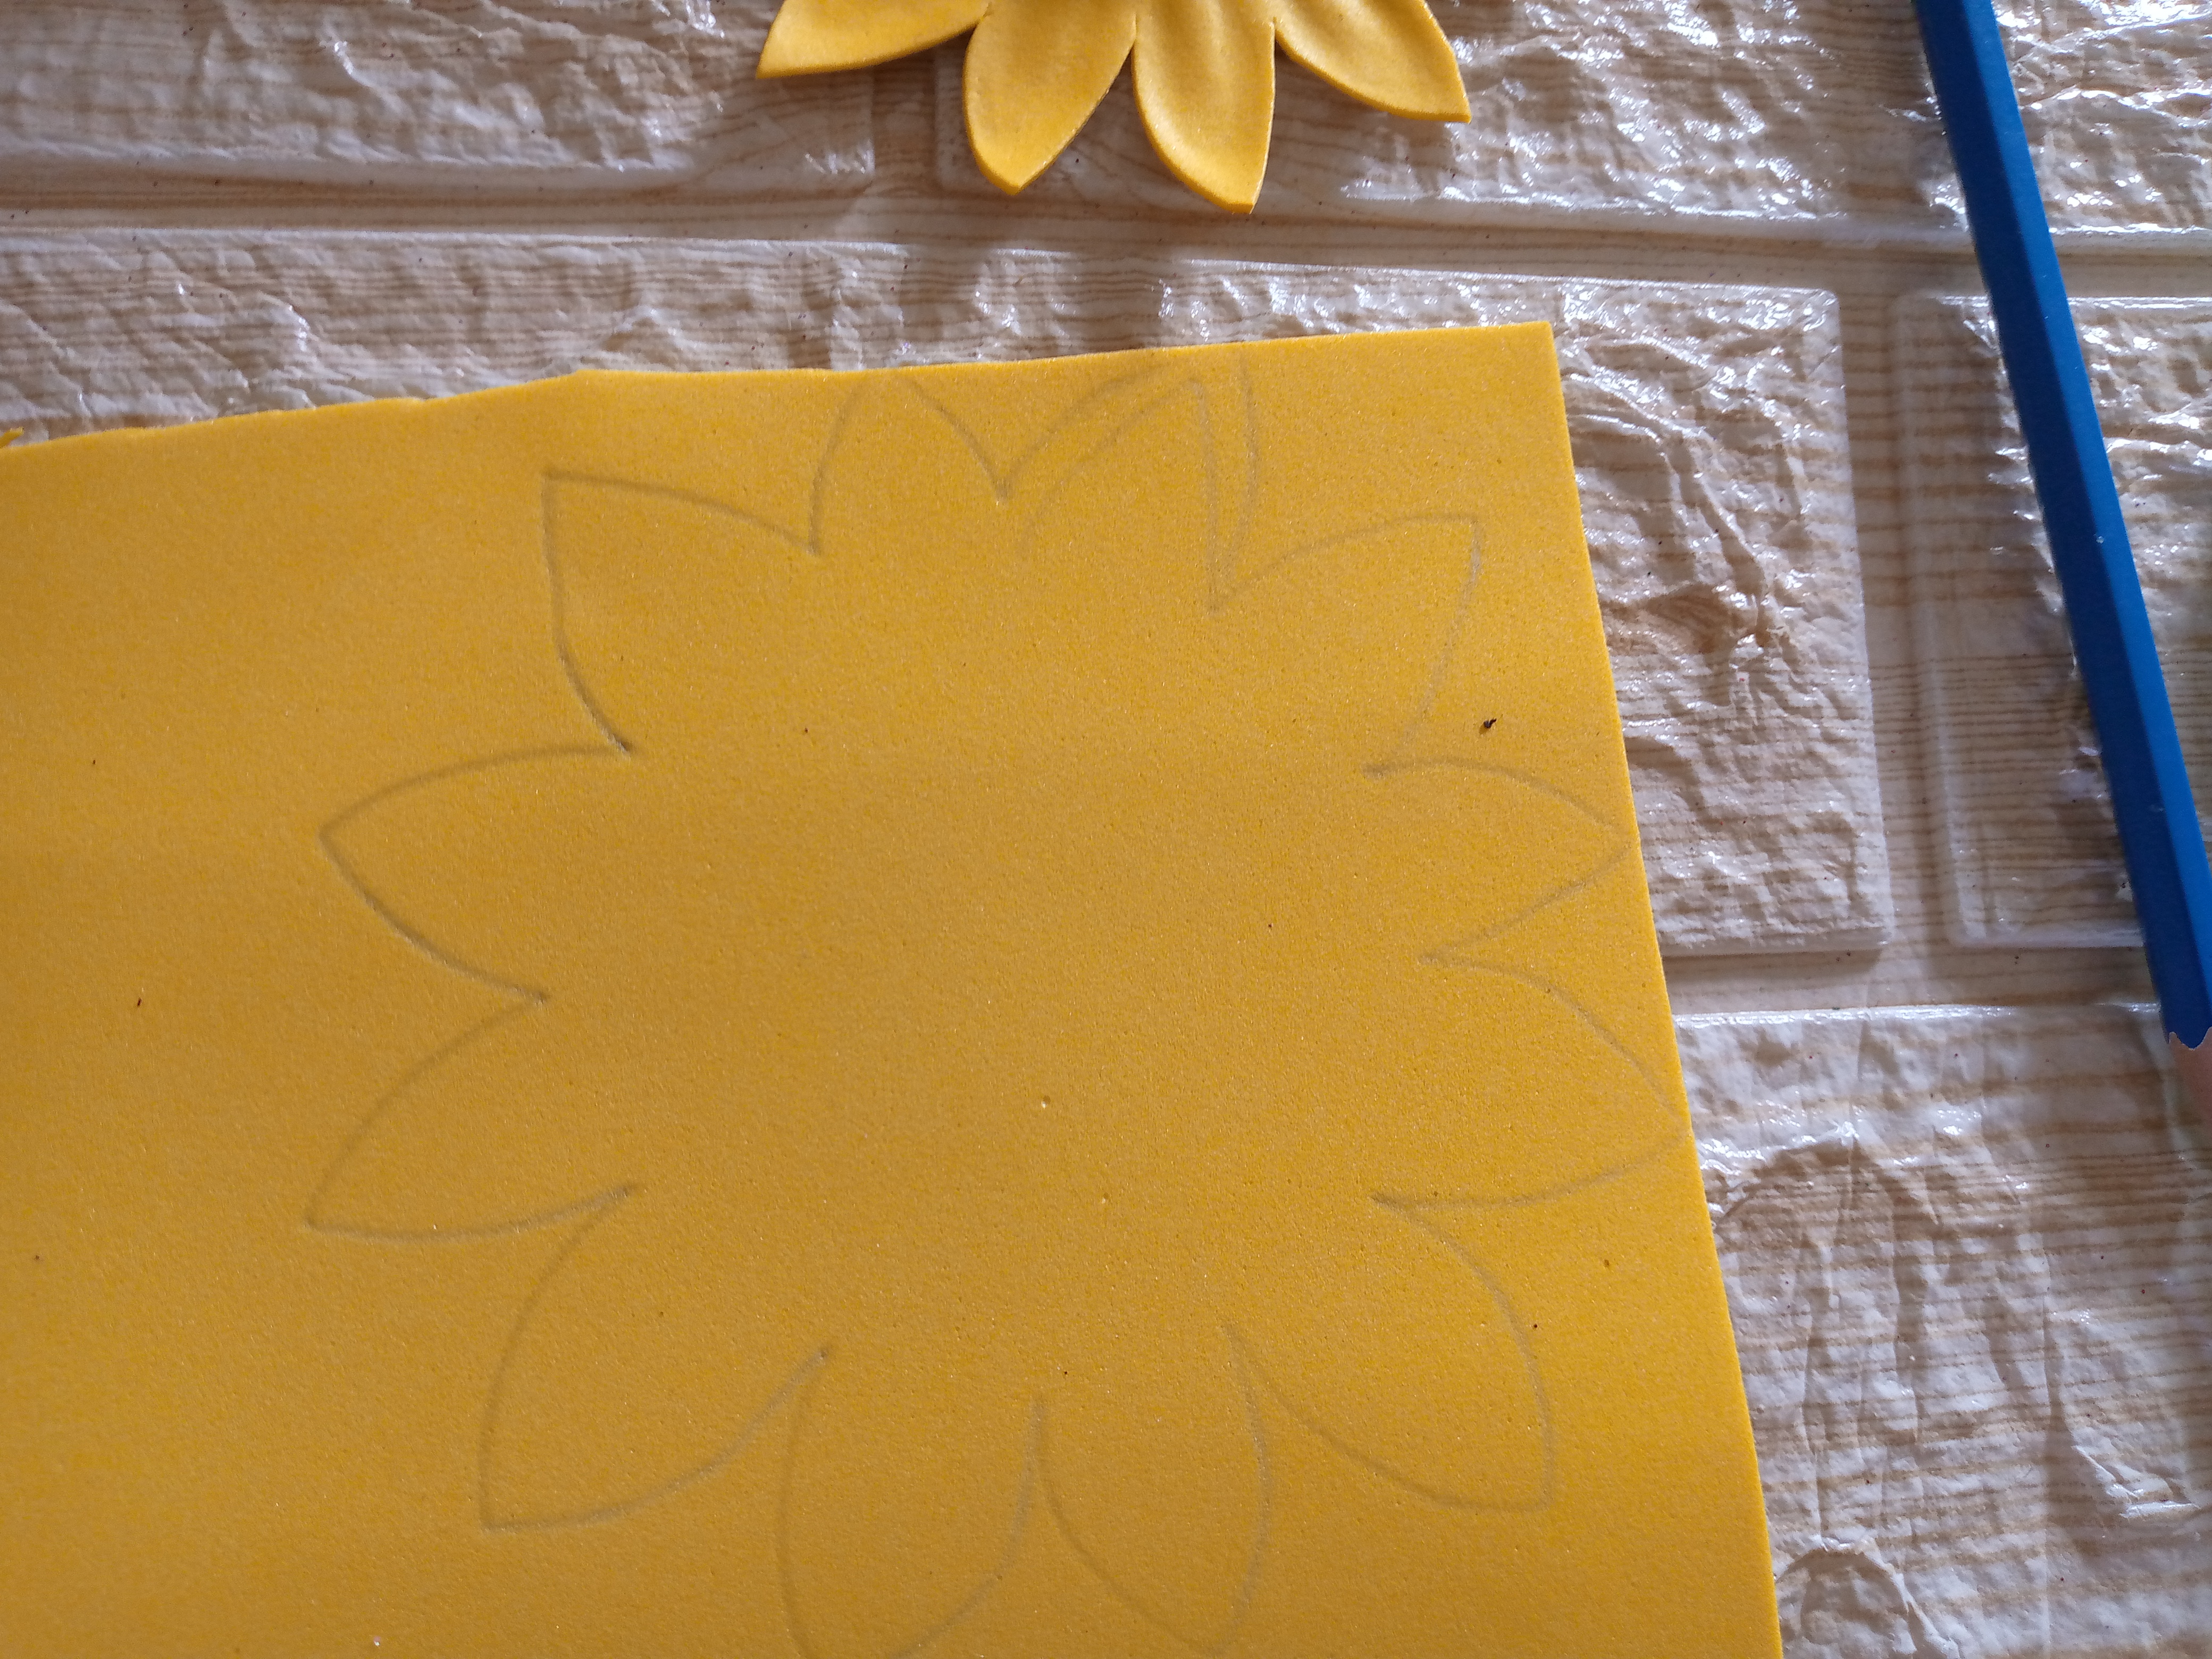
He pasado a hacer la flor pequeña del centro del girasol para ello he usado mis moldes de hacer flores artificiales, entonces para hacerlas vamos a usar nuestra plancha de planchar ropa calentamos a término medio y mientras cortamos un cuadro del mismo tamaño del molde llevamos a la plancha a calentarlo y rápidamente lo coloco en el molde y con el de arriba lo aplanó junto al otro molde apretamos bien hasta que el fomi se enfríe asi nos queda la forma de la flor y recortamos con las tijeras de esta manera hicimos la primera capa de la flor ahora hacemos la otra directamente en el fomi marcando con el lápiz y simplemente la recorto y la pego bajo la otra que hemos hecho.

Step 03

I have moved on to making the small flower in the center of the sunflower, for this I have used my molds to make artificial flowers, so to make them we are going to use our clothes iron, heat it to medium heat and while we cut out a square the same size as the mold, we take the iron to heat it and quickly place it in the mold and with the one on top I flatten it next to the other mold, we press well until the foam cools so we have the shape of the flower and we cut it out with the scissors in this way we made the first layer of the flower, now we make the other directly on the foam marking with the pencil and I simply cut it out and glue it under the other one that we made.
IMG_20241121_091830_304.jpg

IMG_20241121_091923_282.jpg

IMG_20241121_092123_902.jpg

IMG_20241121_092301_335.jpg

IMG_20241121_092720_877.jpg

Paso 04

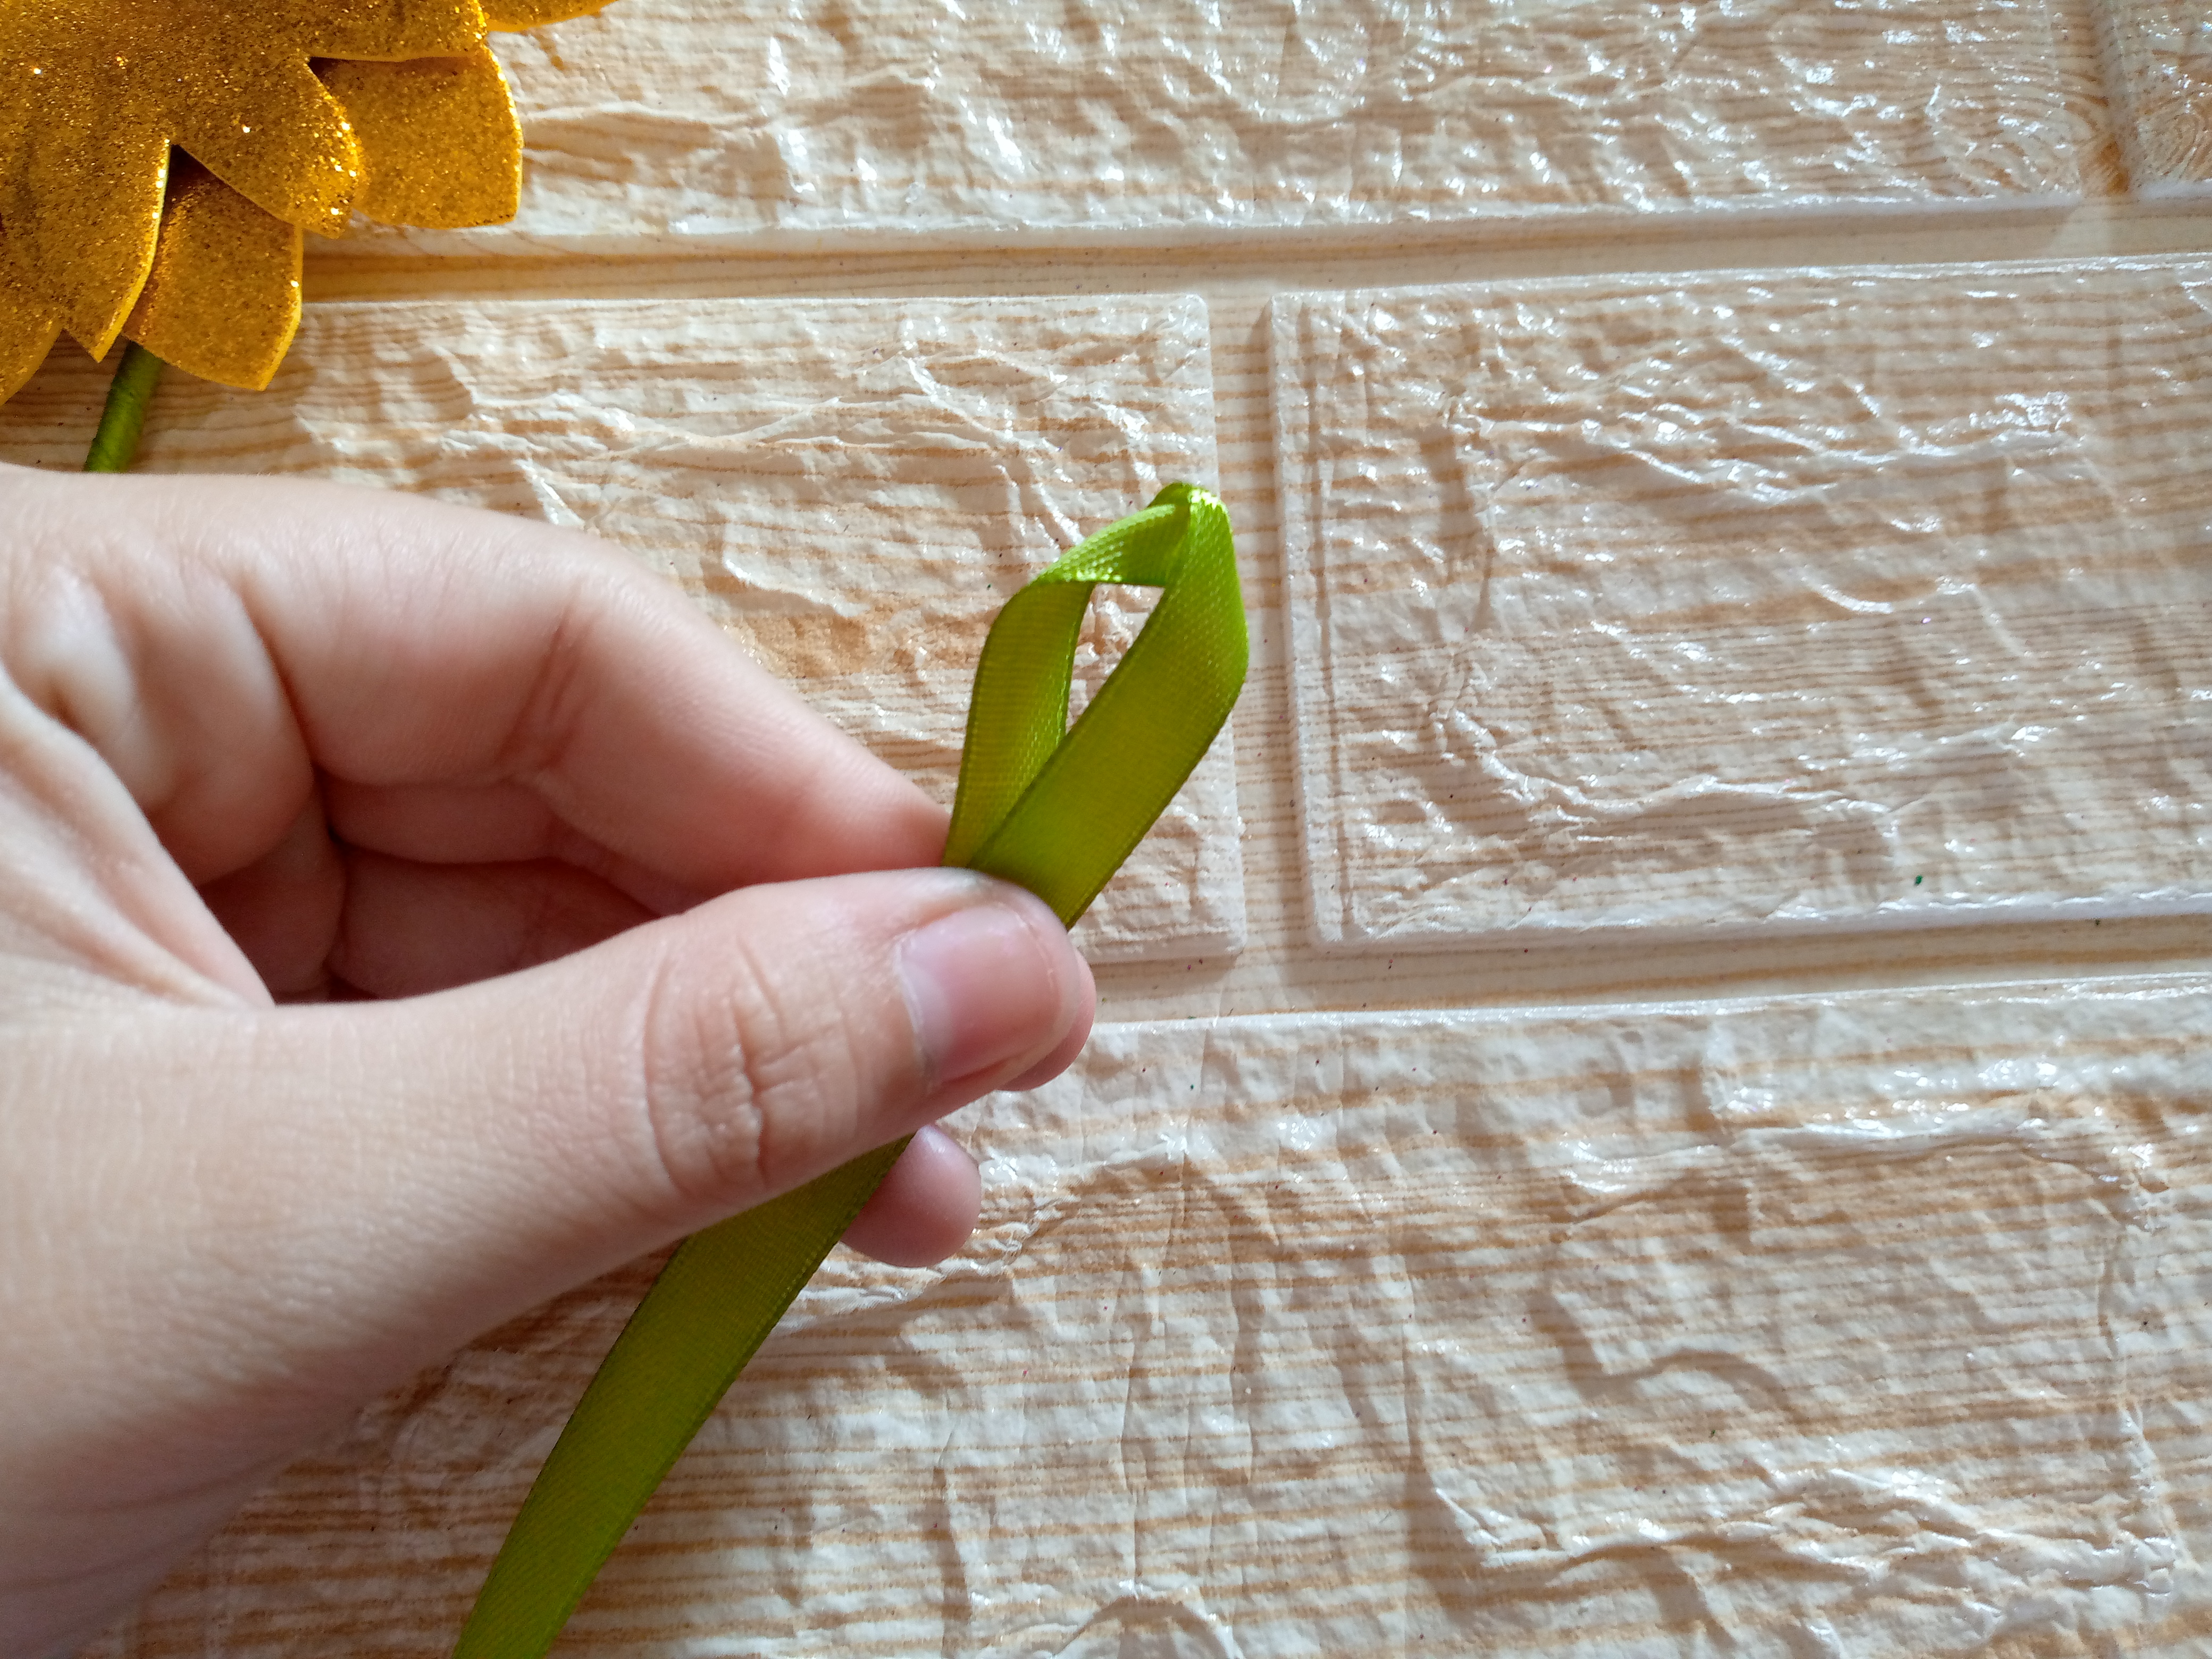
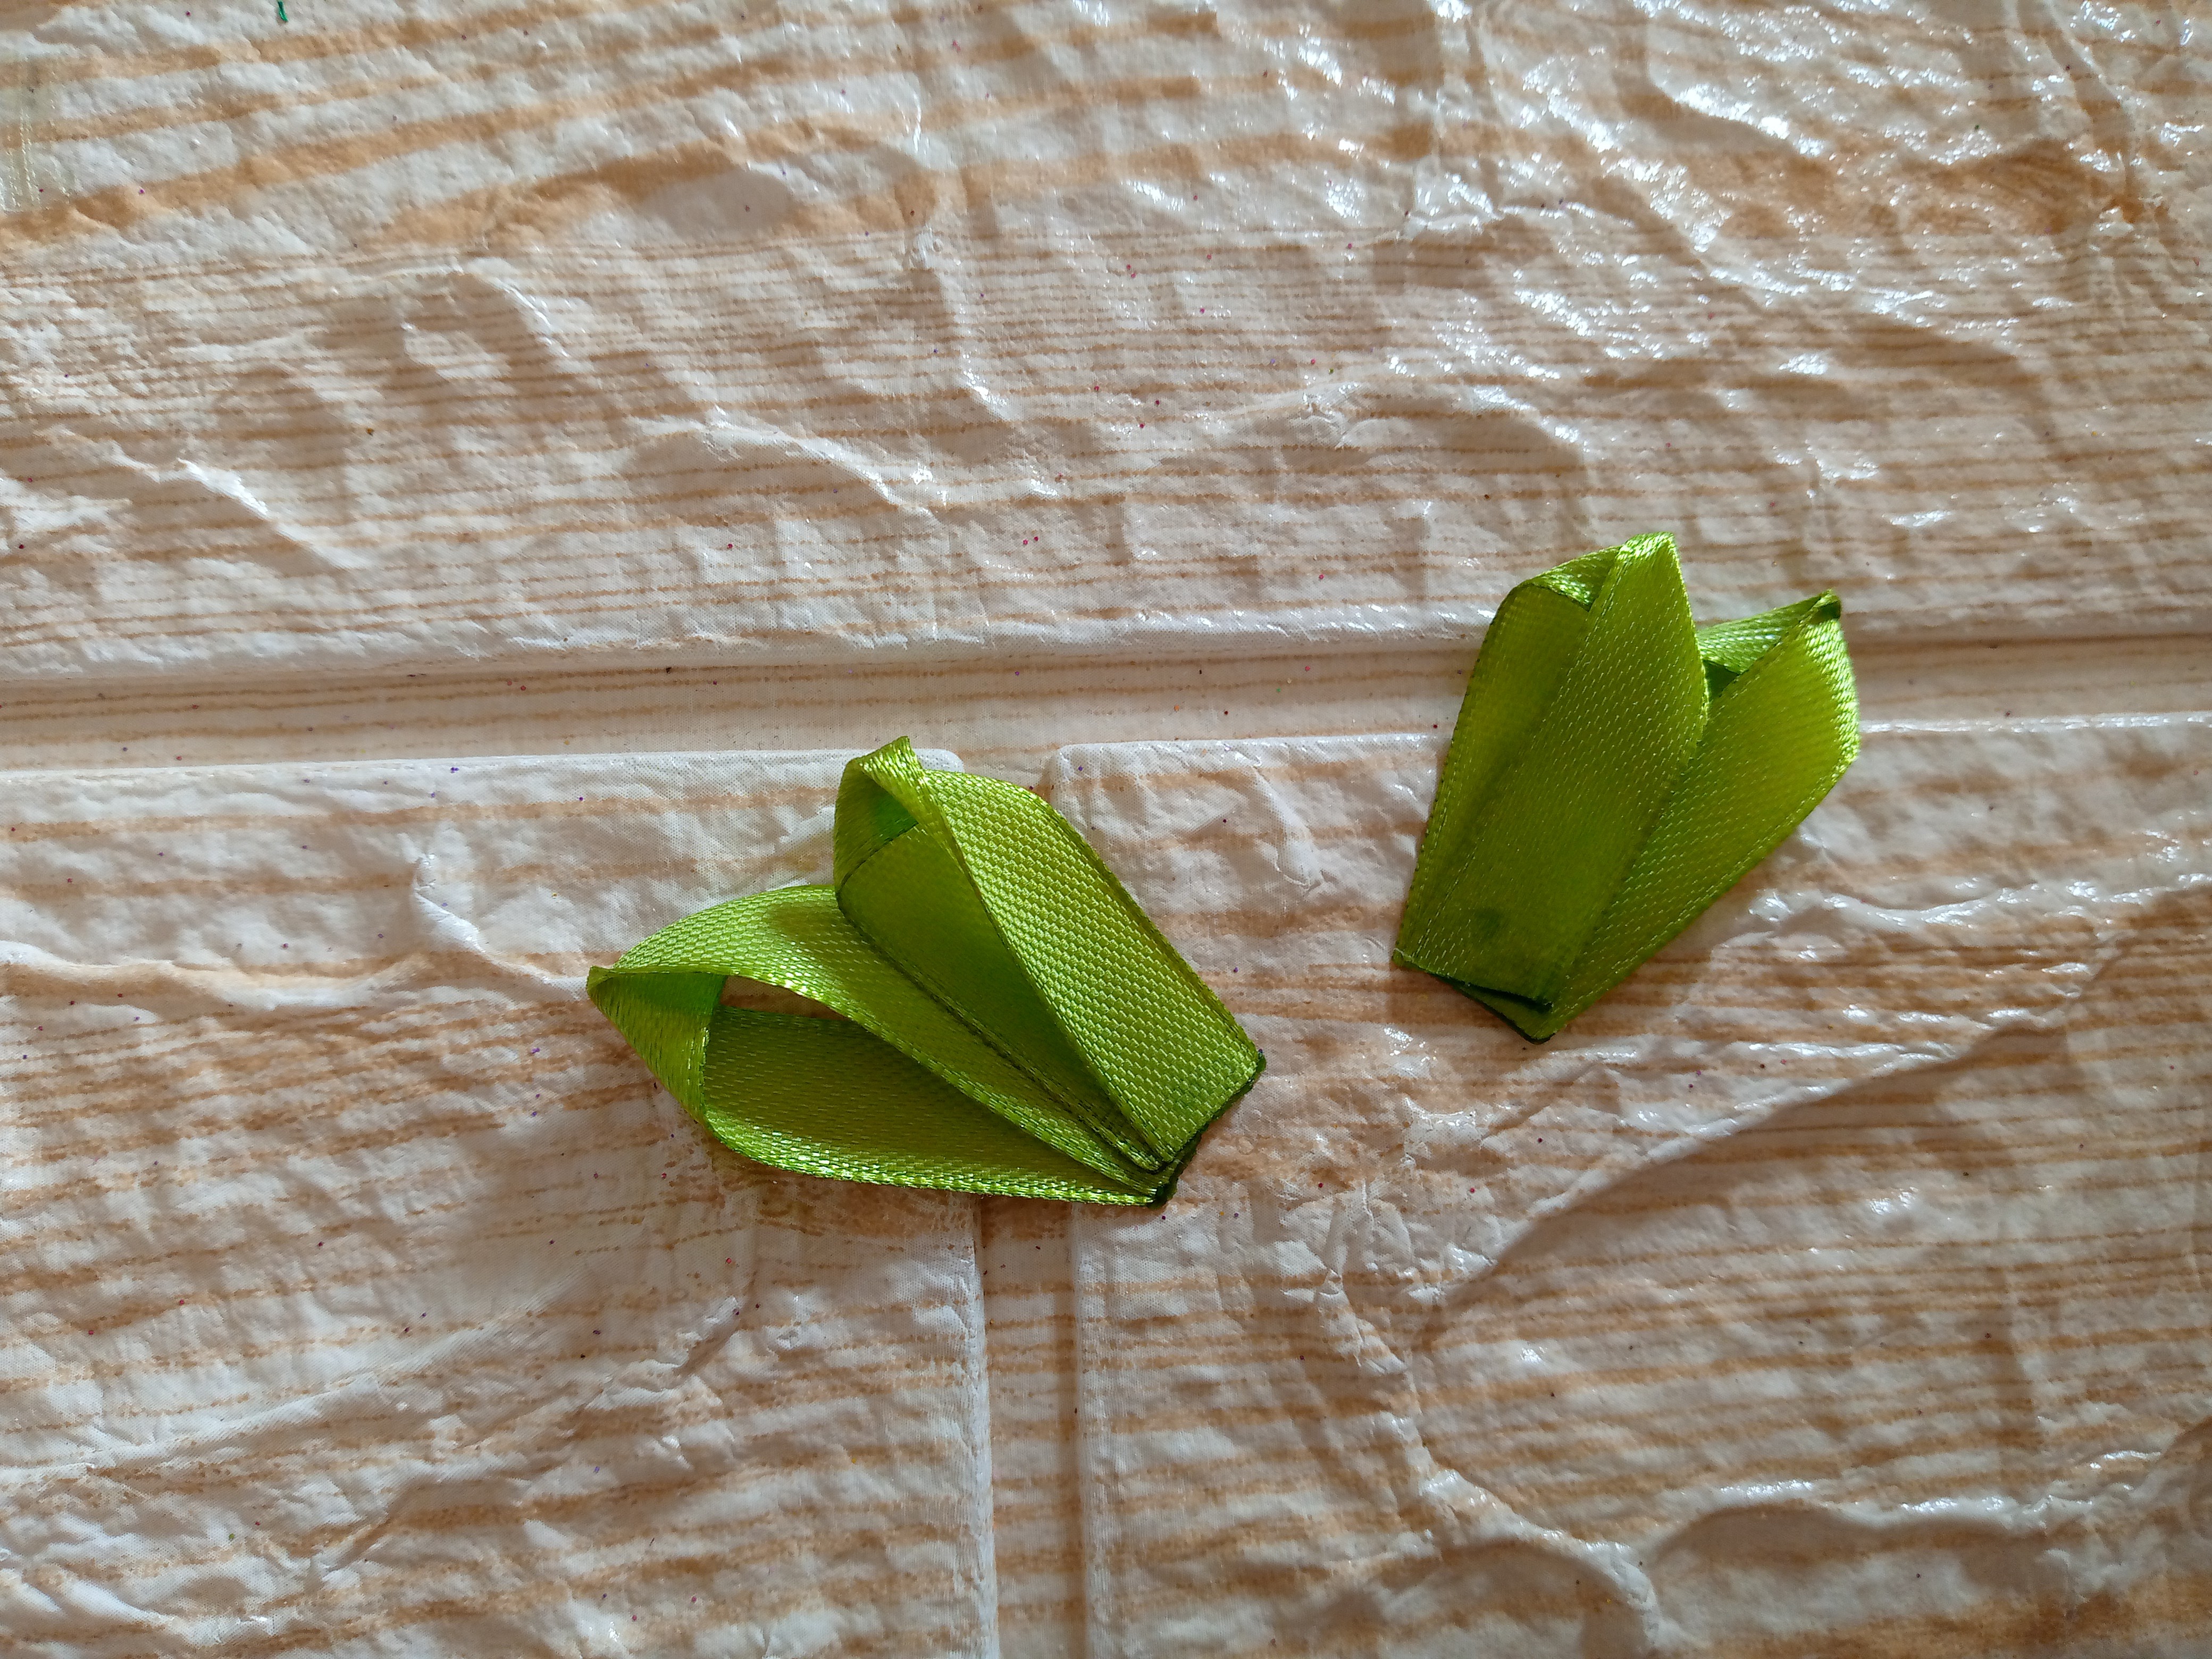
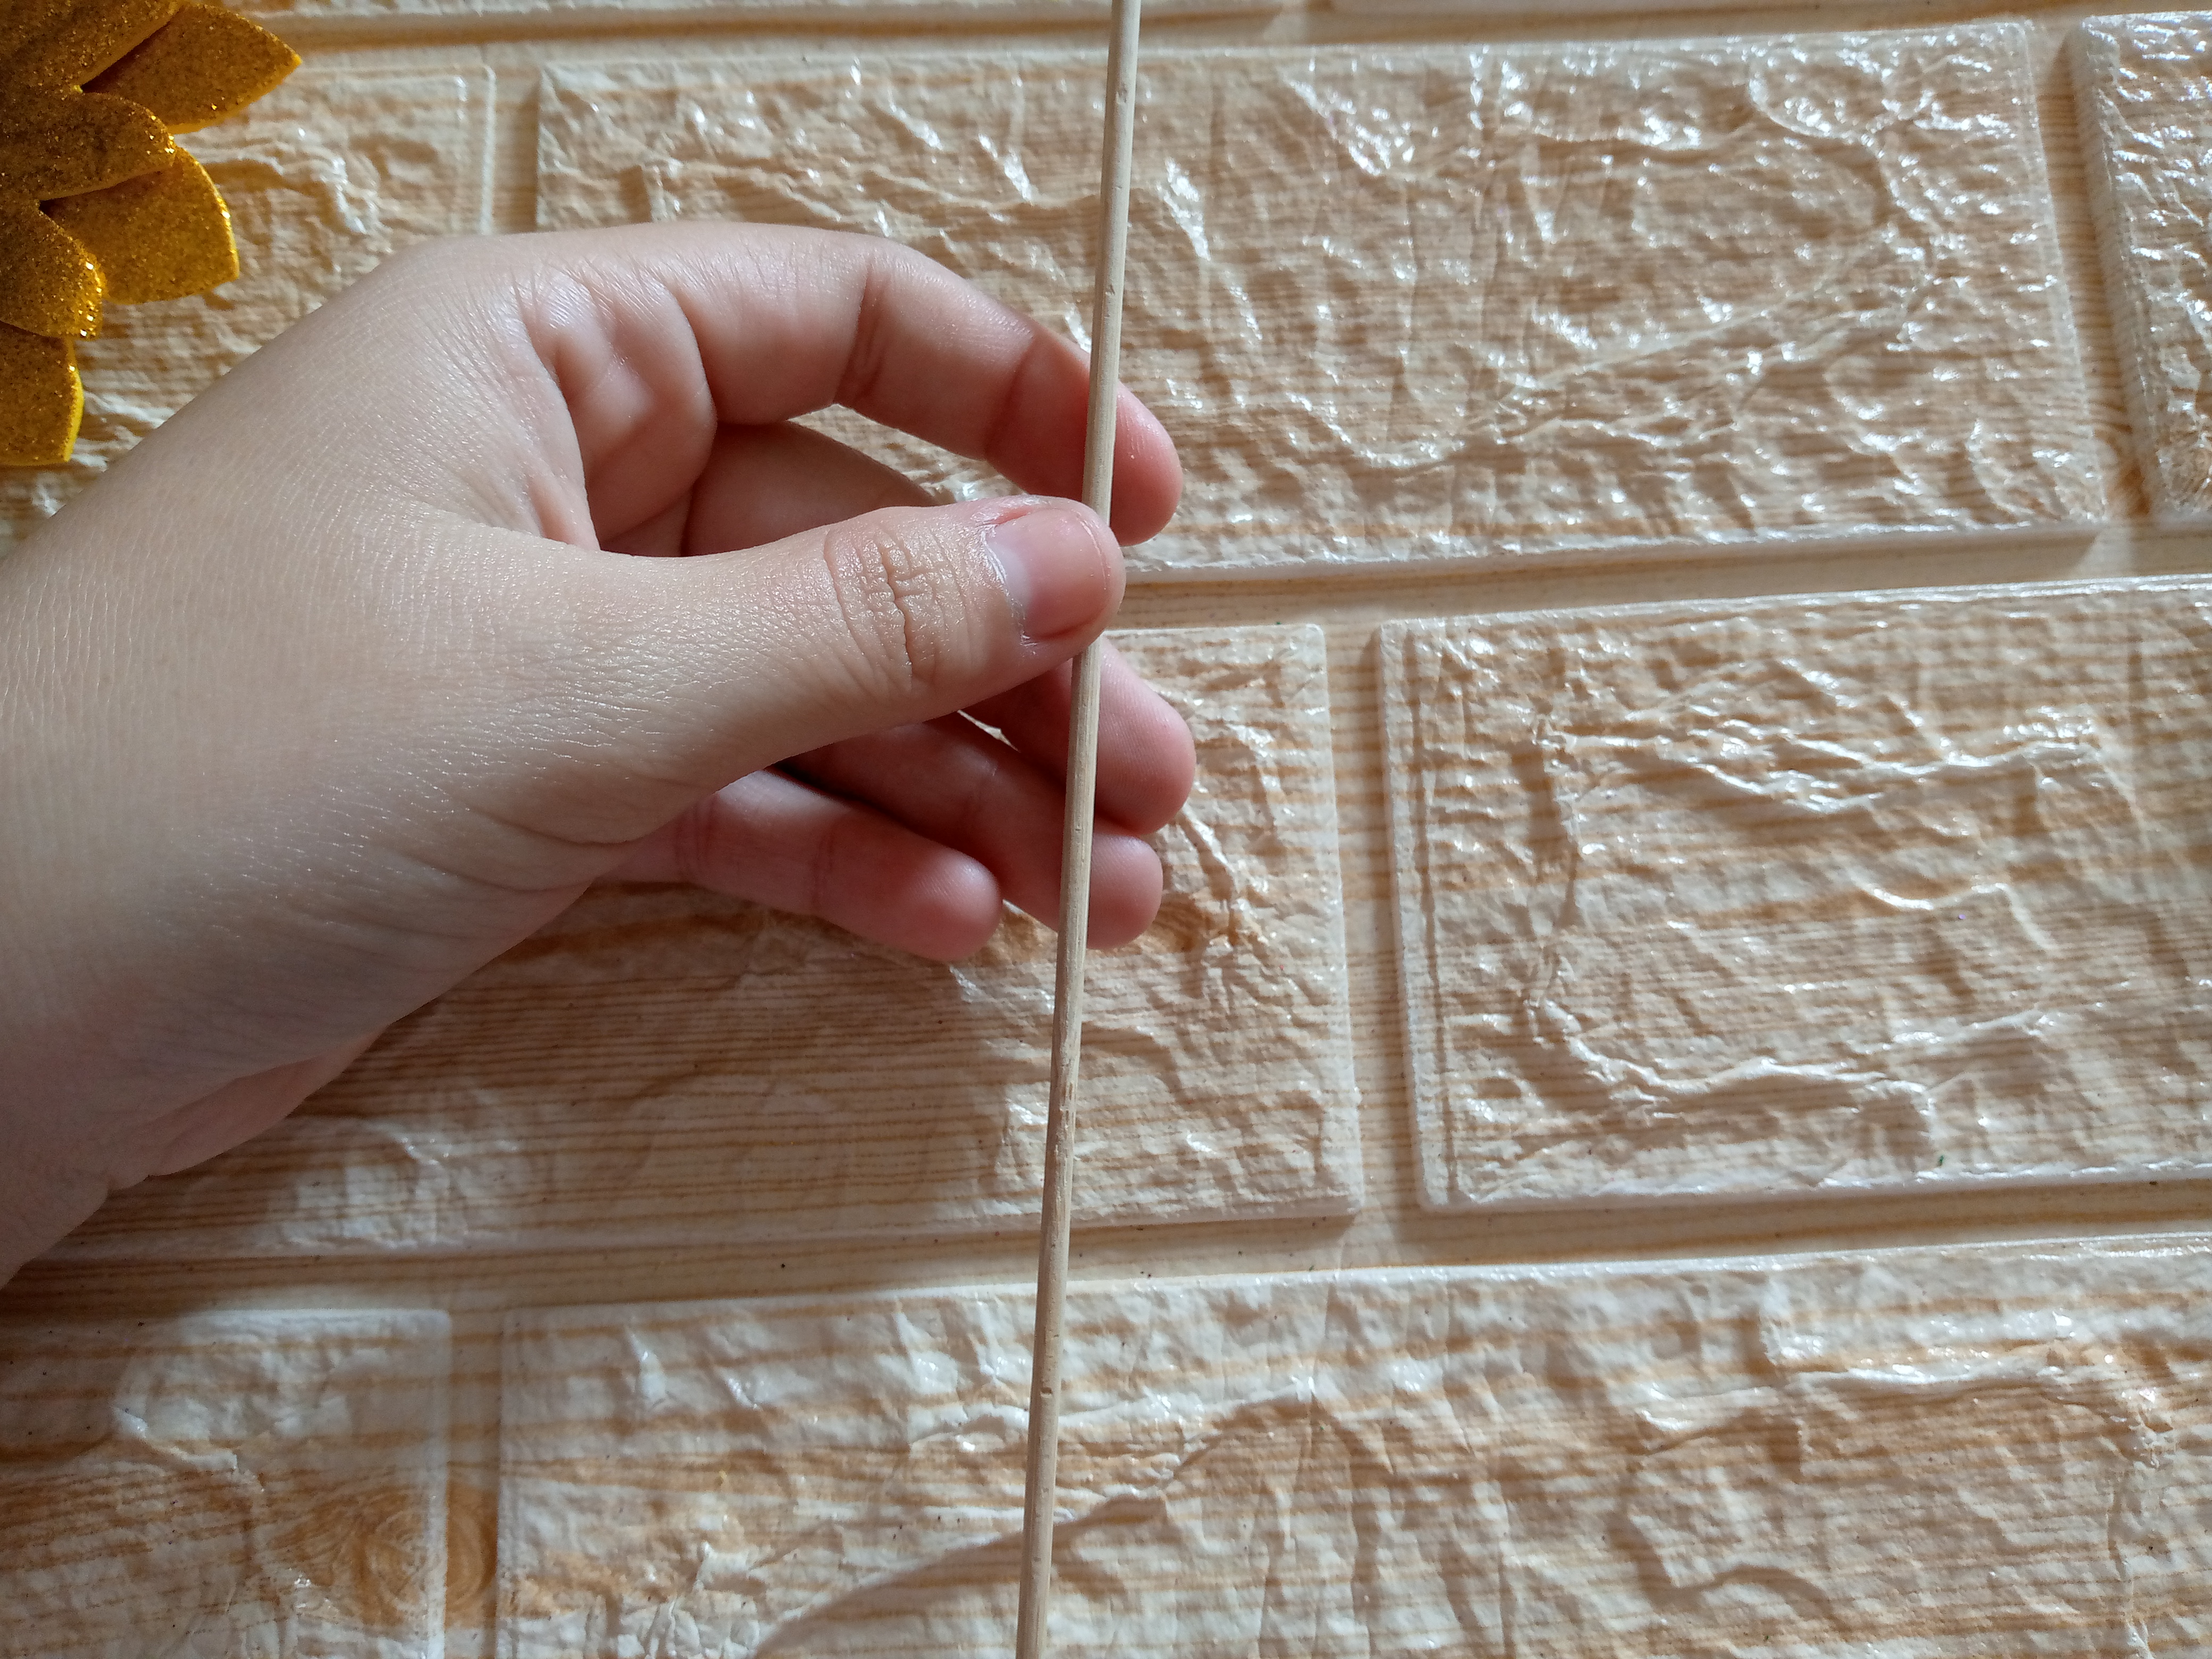
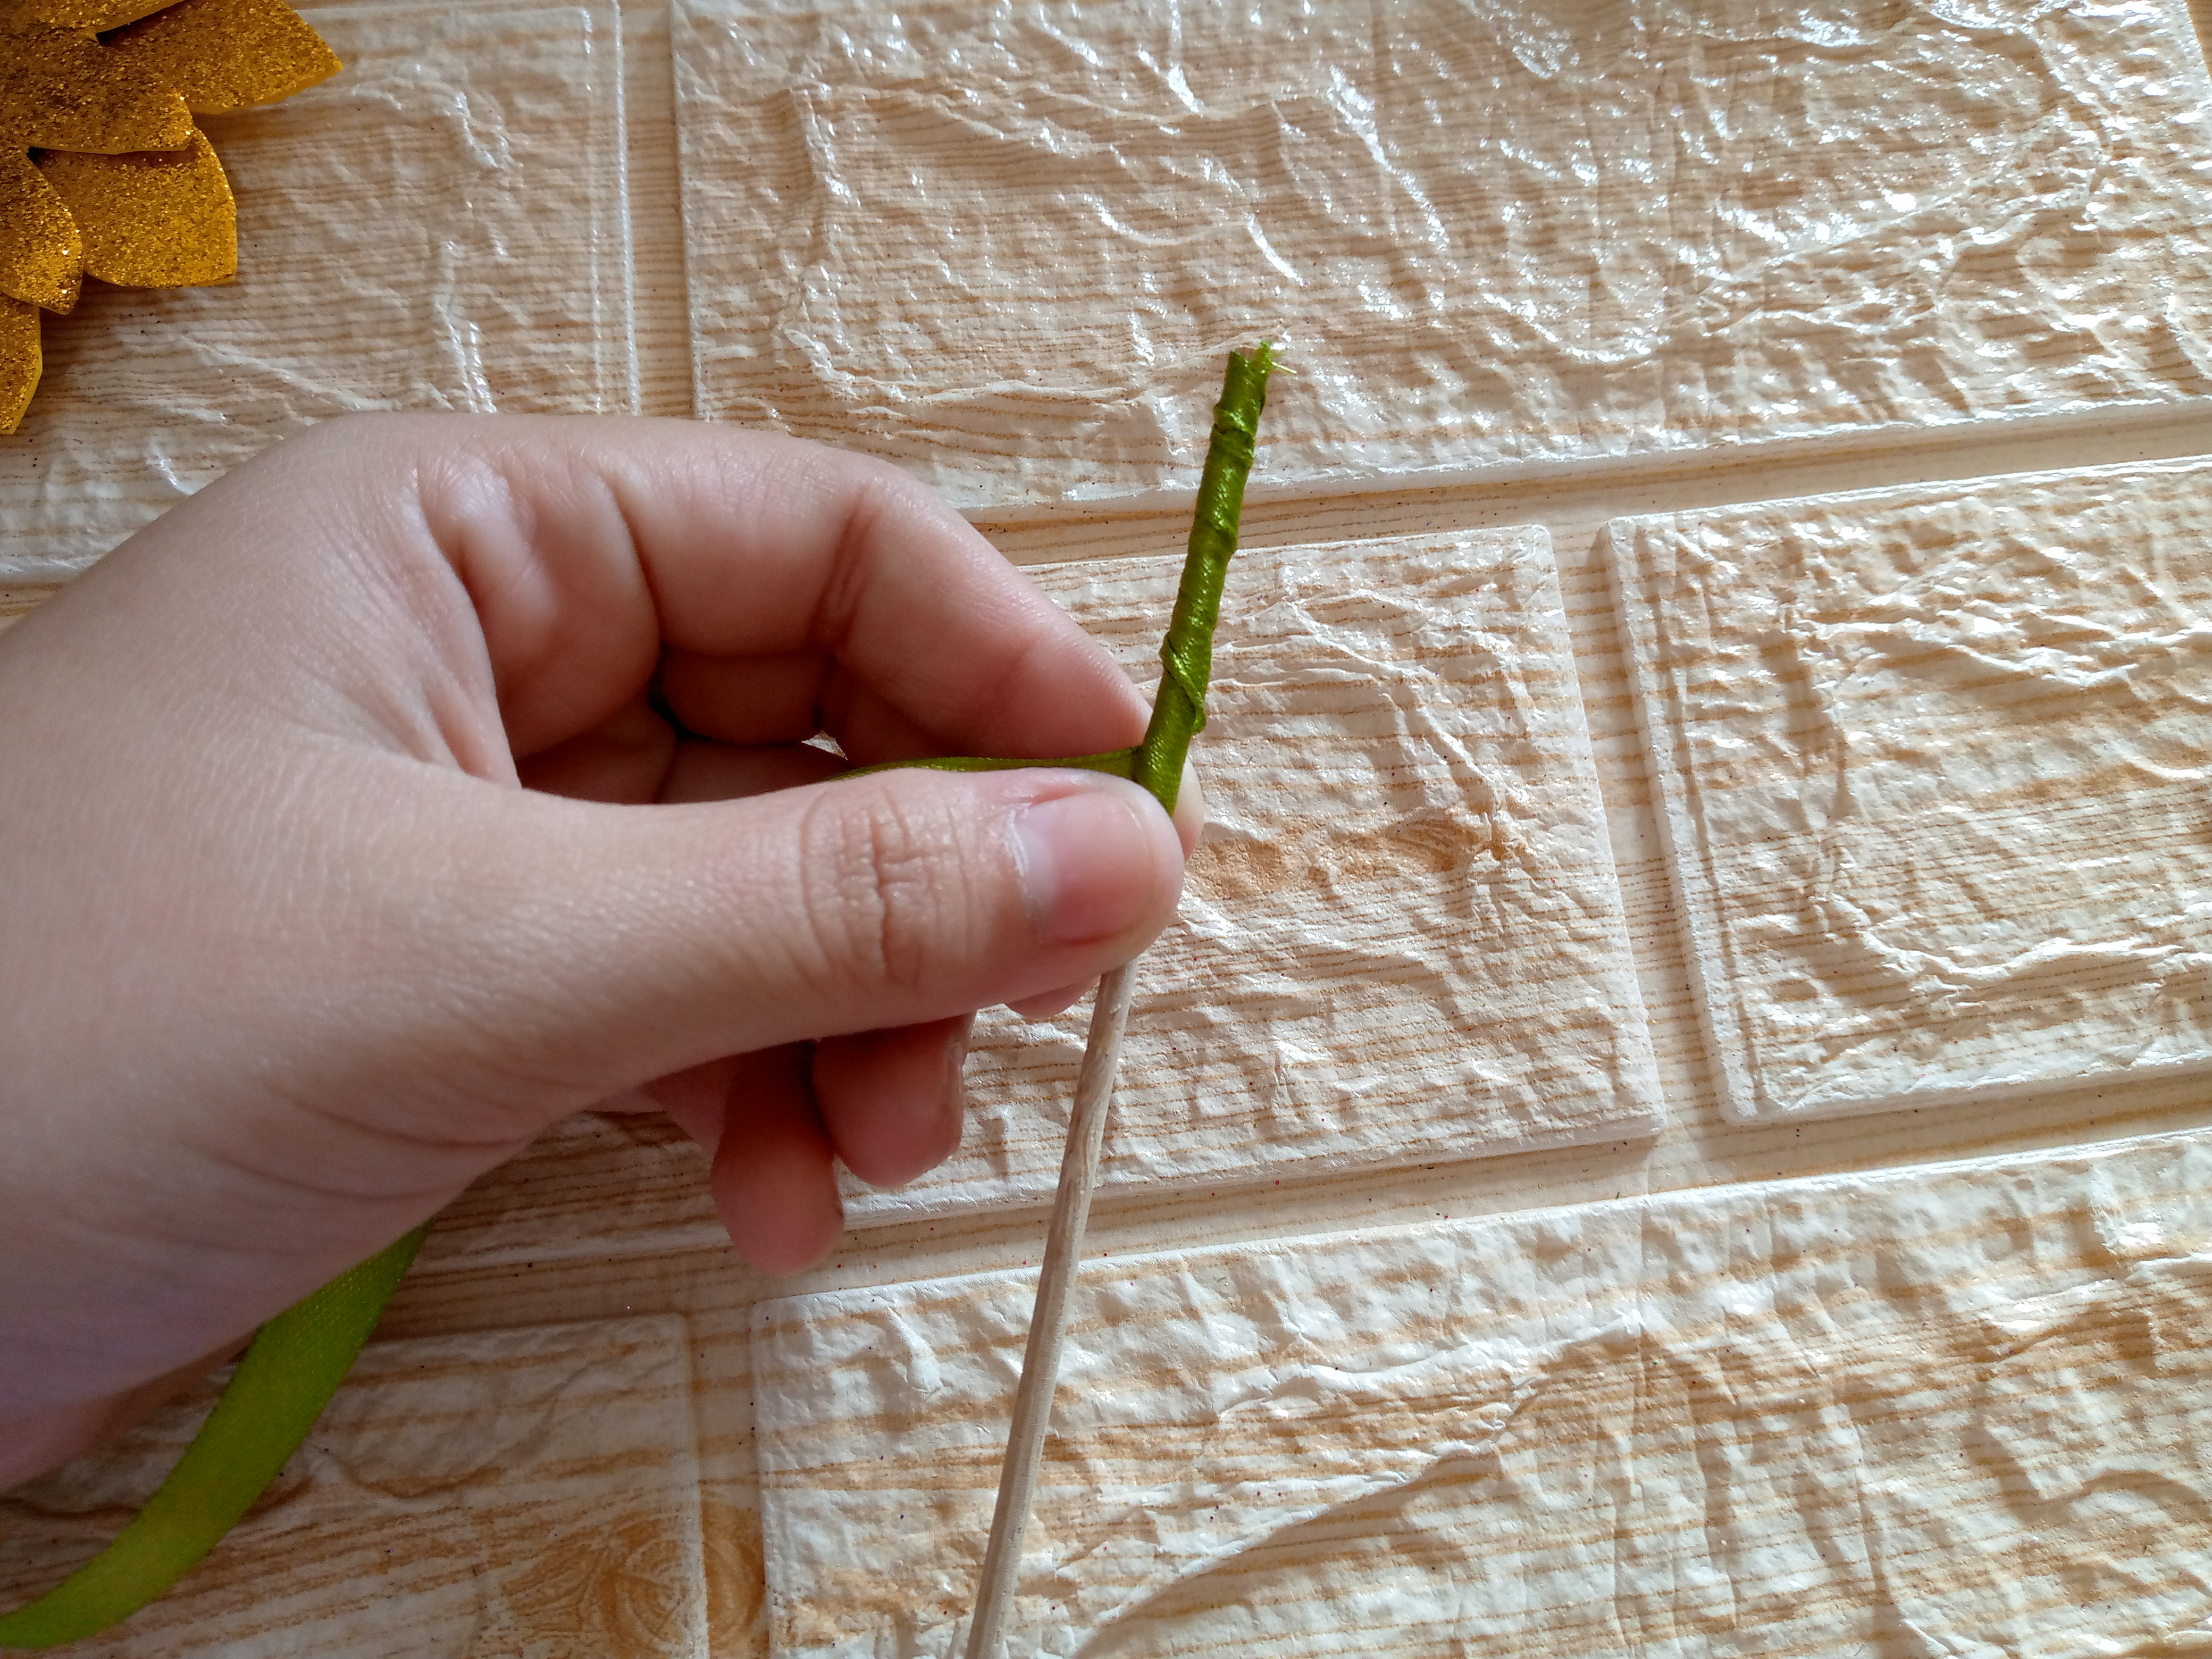
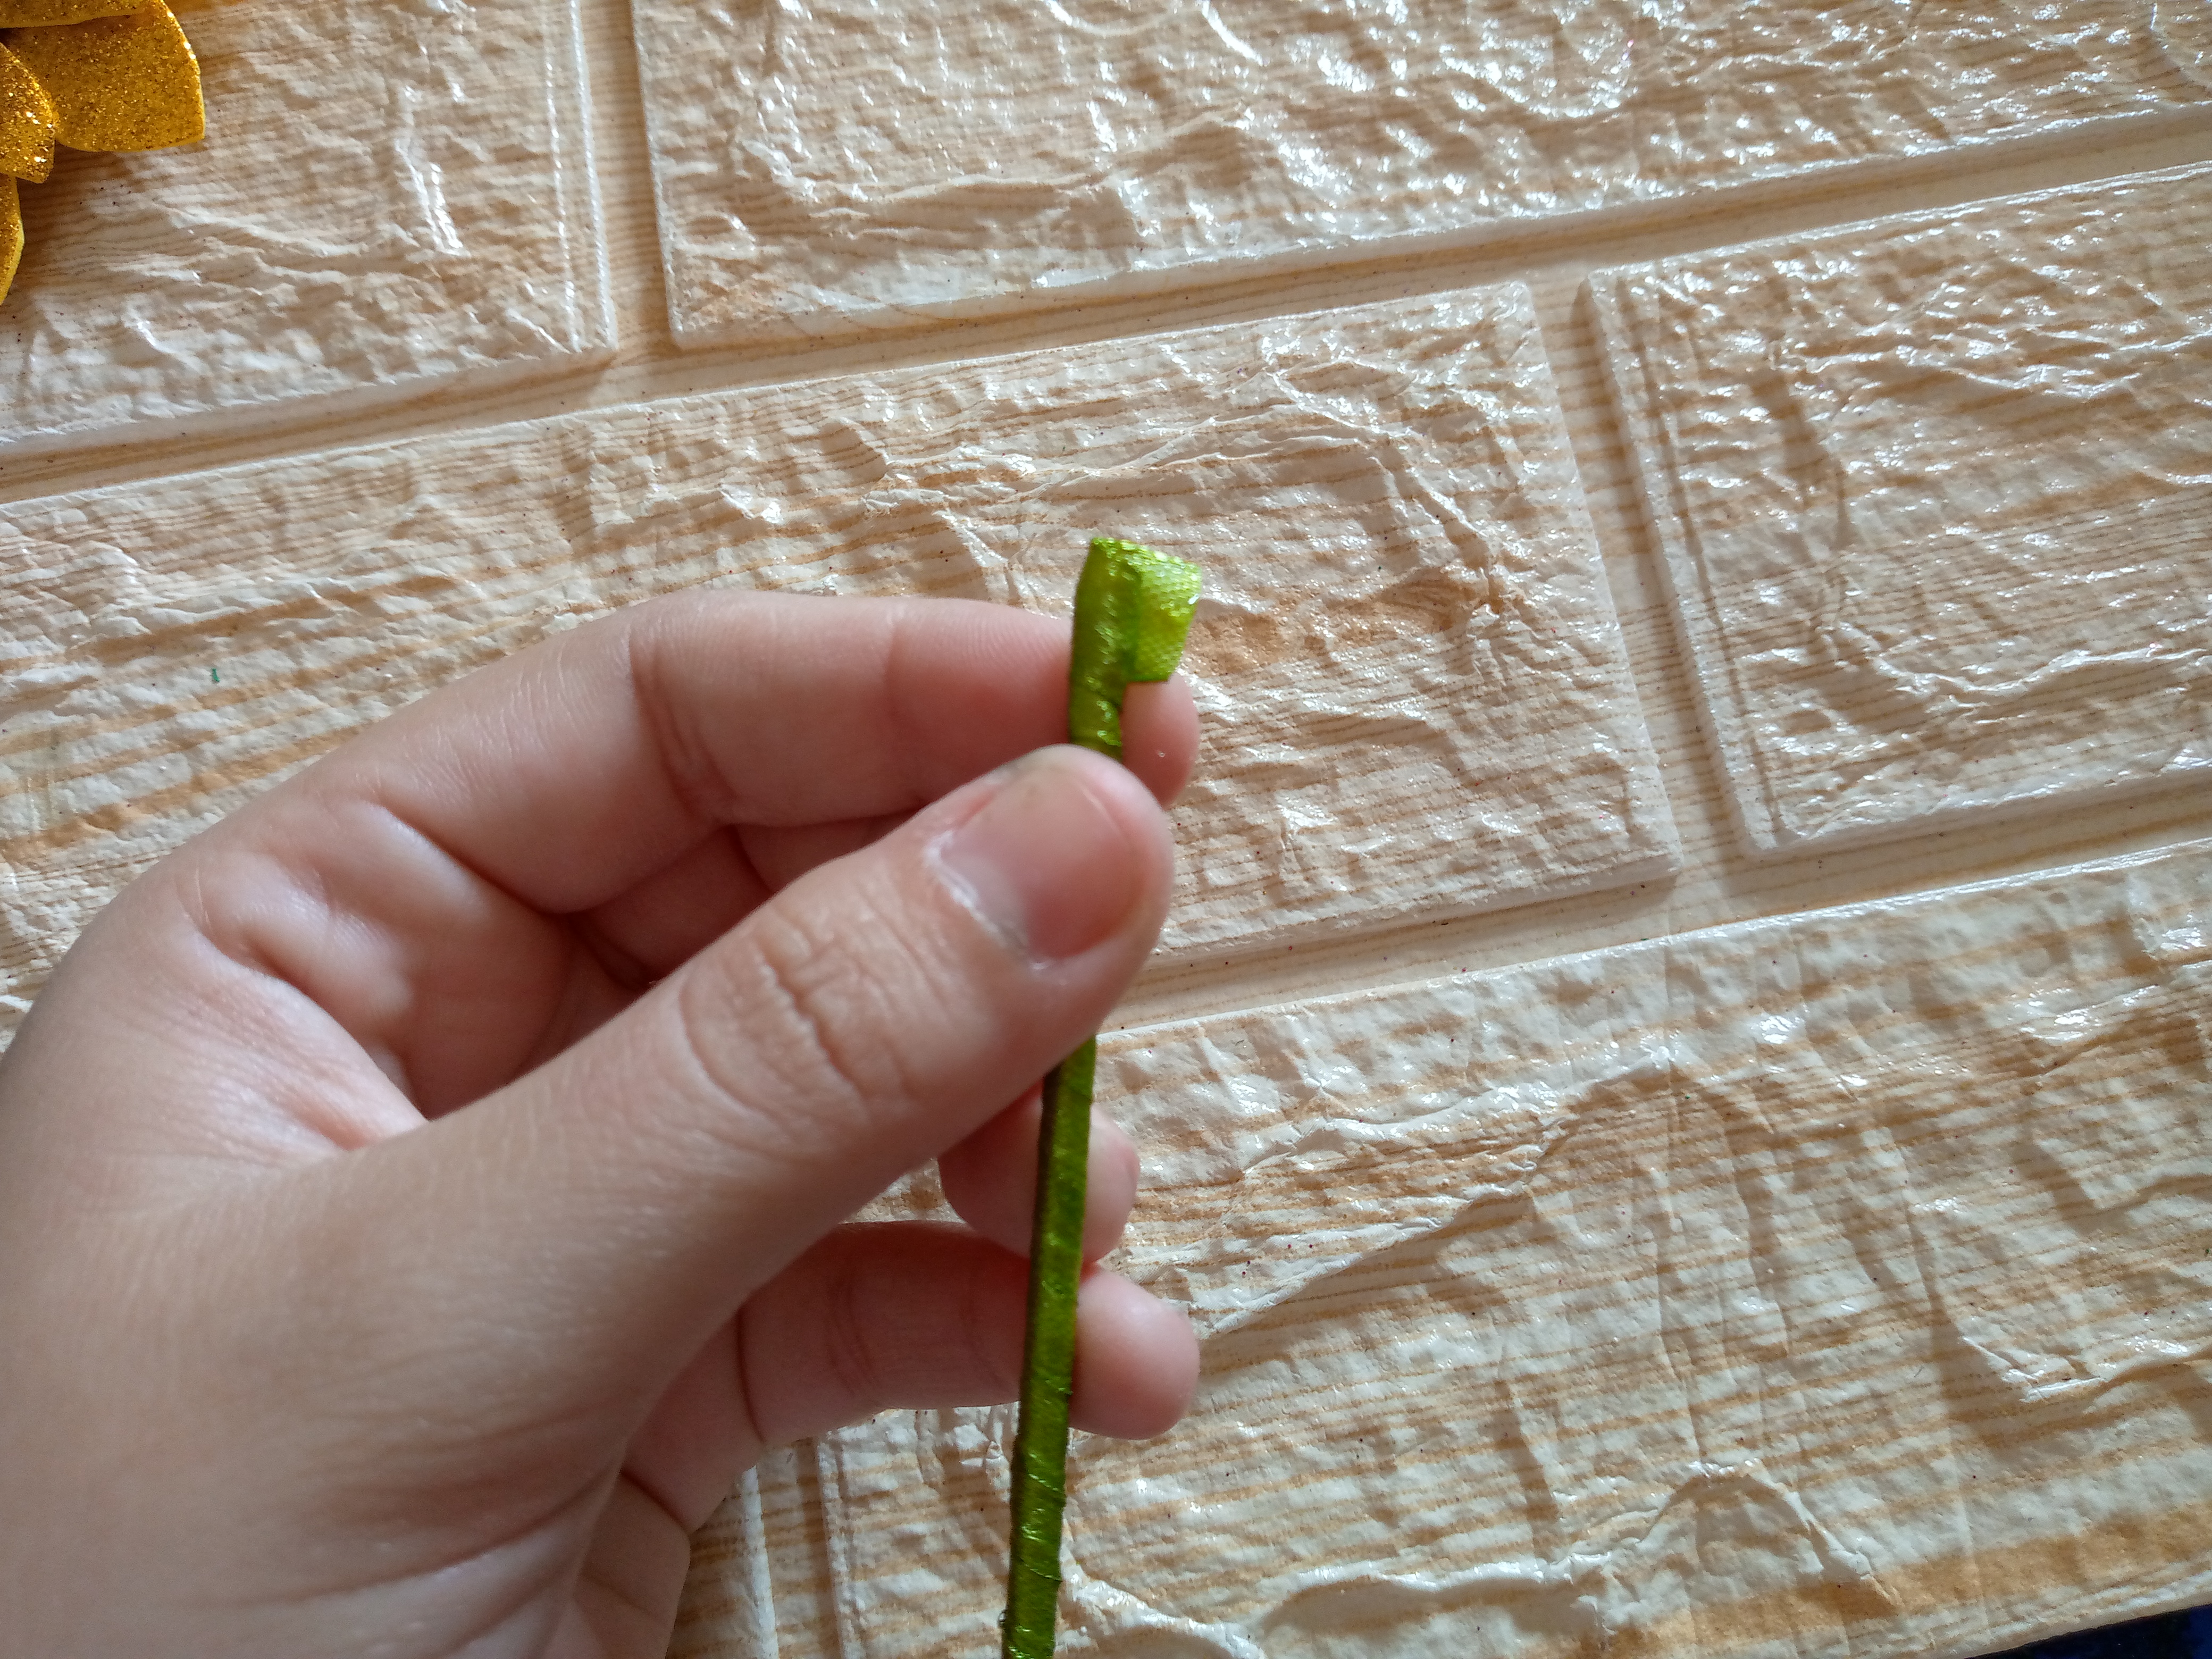
Con nuestro palillo de altura le vamos a cortar 5 cm menos y comenzamos a forrarlo con la cinta de tela en color verde,para hacer las hojas tomo un trozo de cinta de 6 cm de largo lo doblo y pego en las puntas con encendedor o simplemente con silicón haremos cuatro de ellas y las vamos a unir de manera que nos queden dos.

Step 04

With our tall toothpick we are going to cut it 5 cm less and begin to cover it with the green fabric ribbon, to make the leaves I take a piece of ribbon 6 cm long, fold it and glue the tips with a lighter or simply with silicone we will make four of them and we will join them so that we have two left.
IMG_20241121_093006_676.jpg

IMG_20241121_093351_272.jpg

IMG_20241121_093923_735.jpg

Paso 05

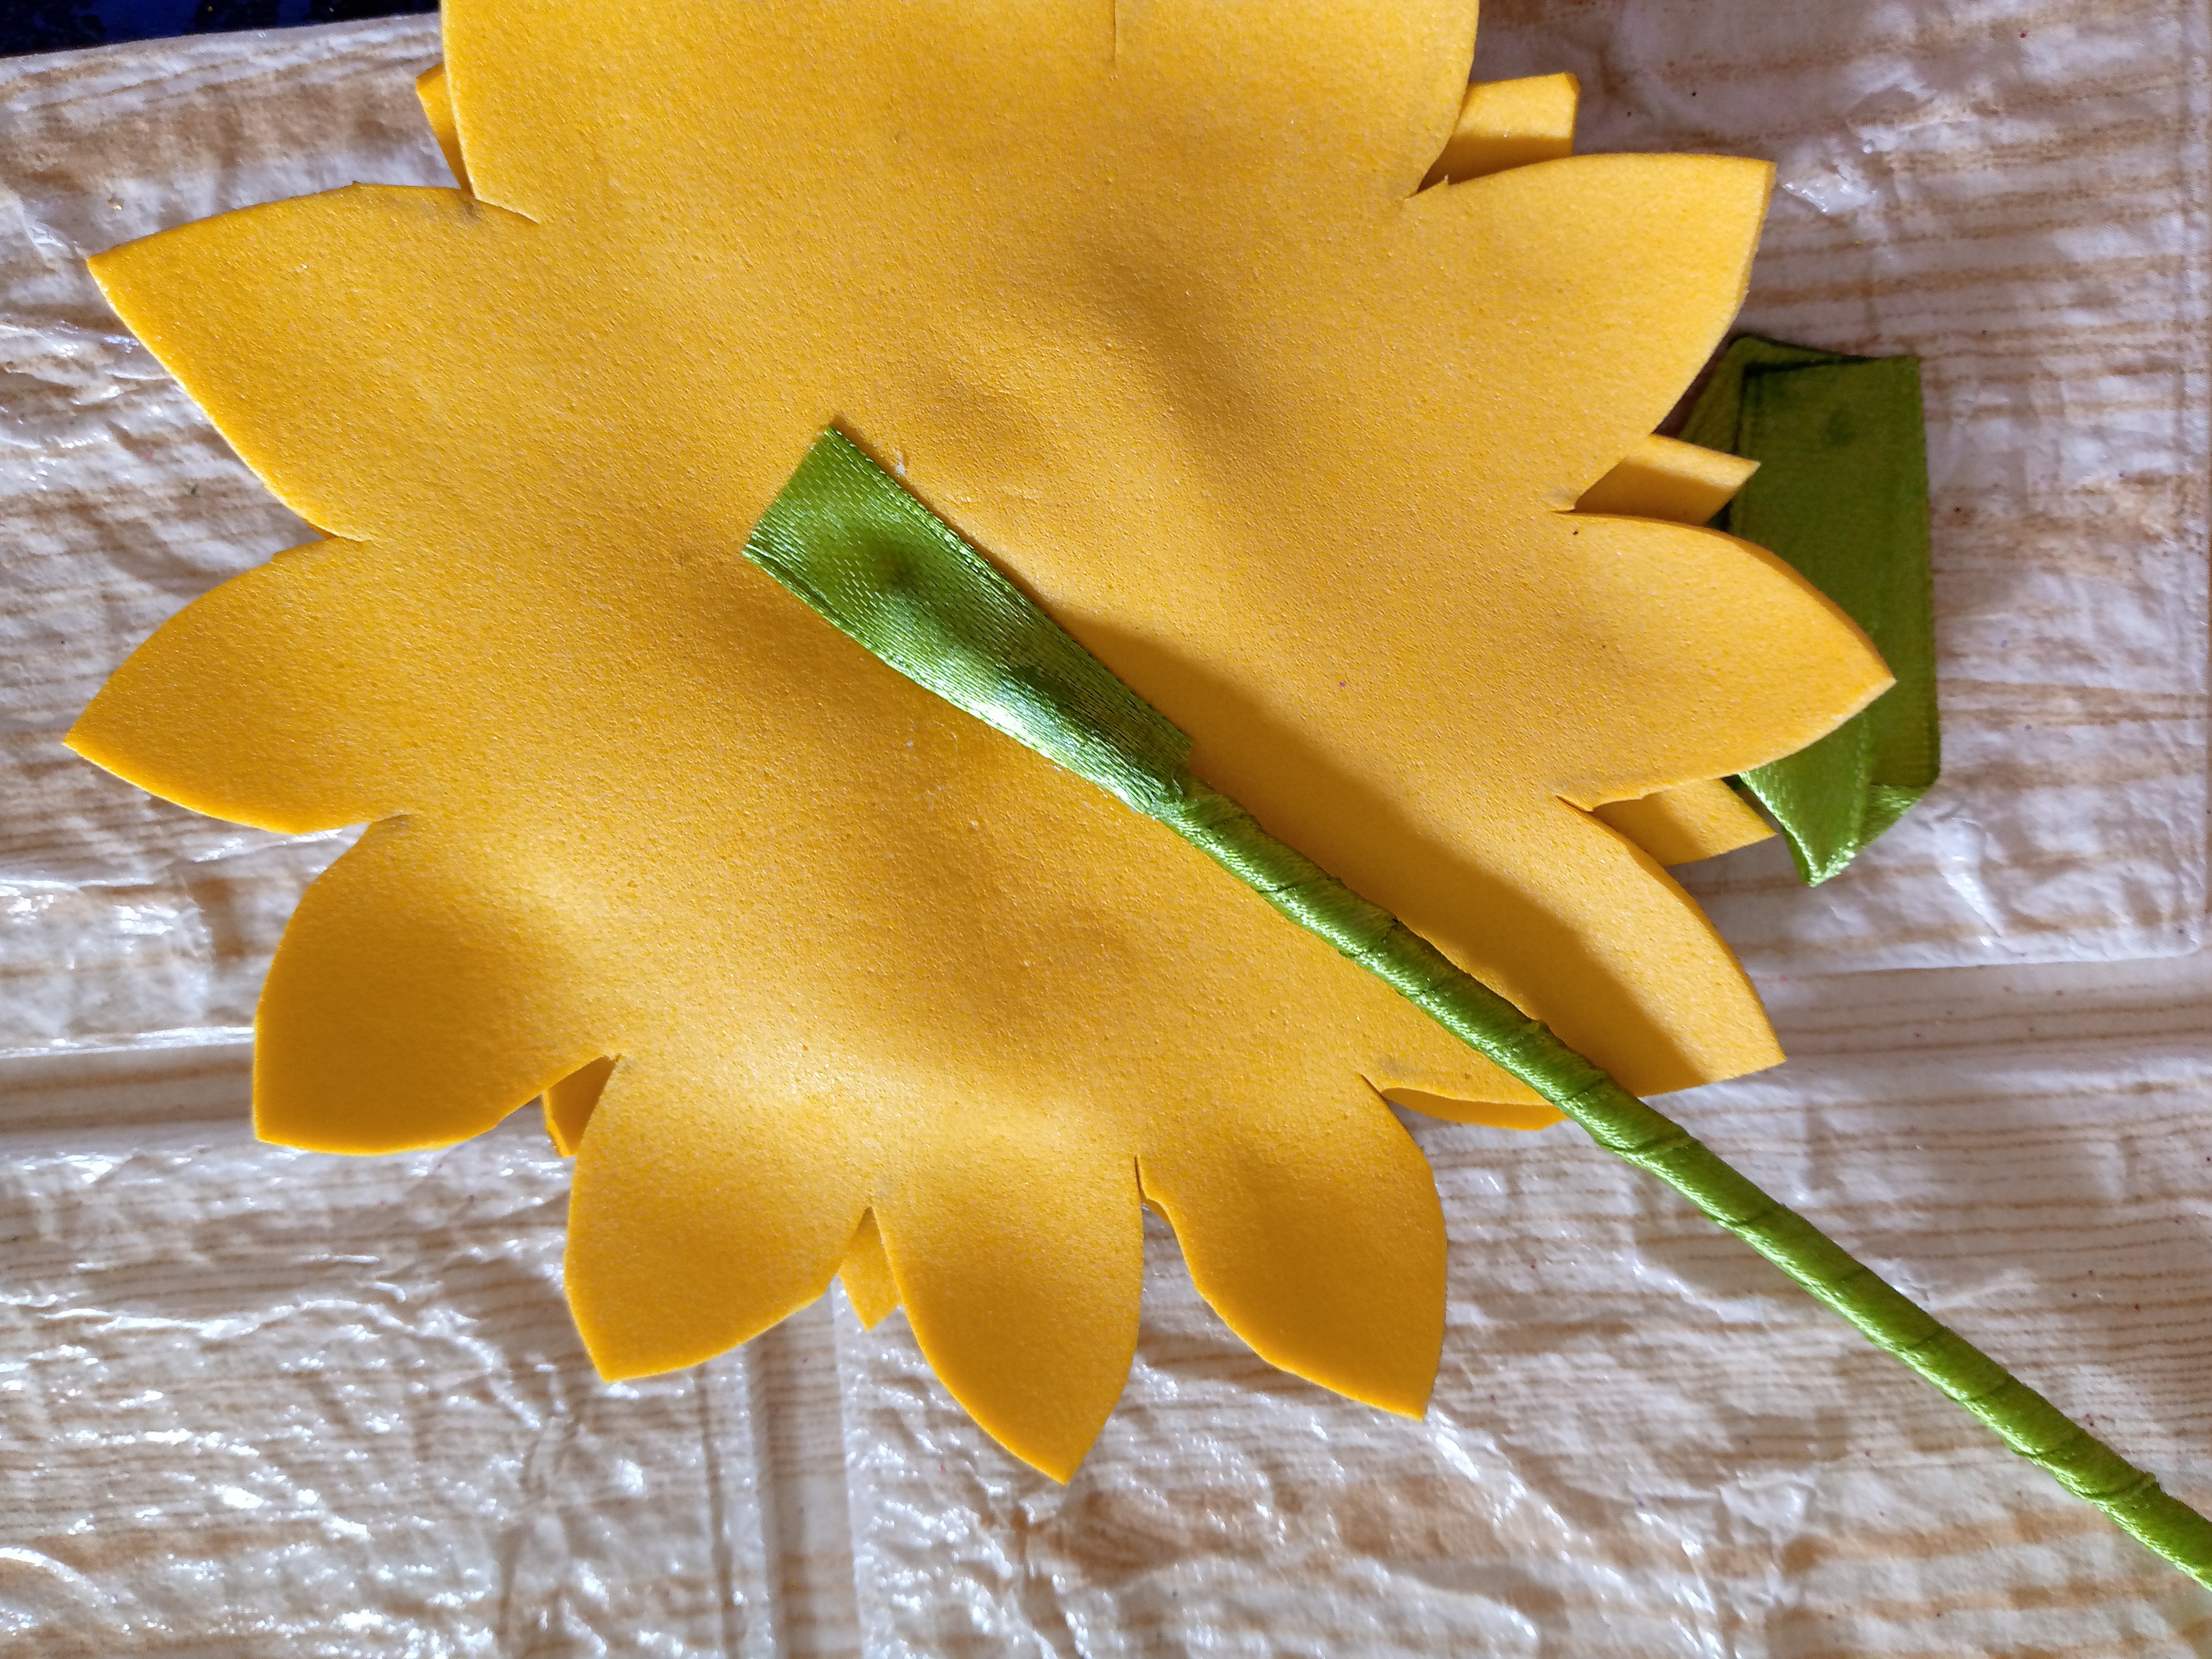
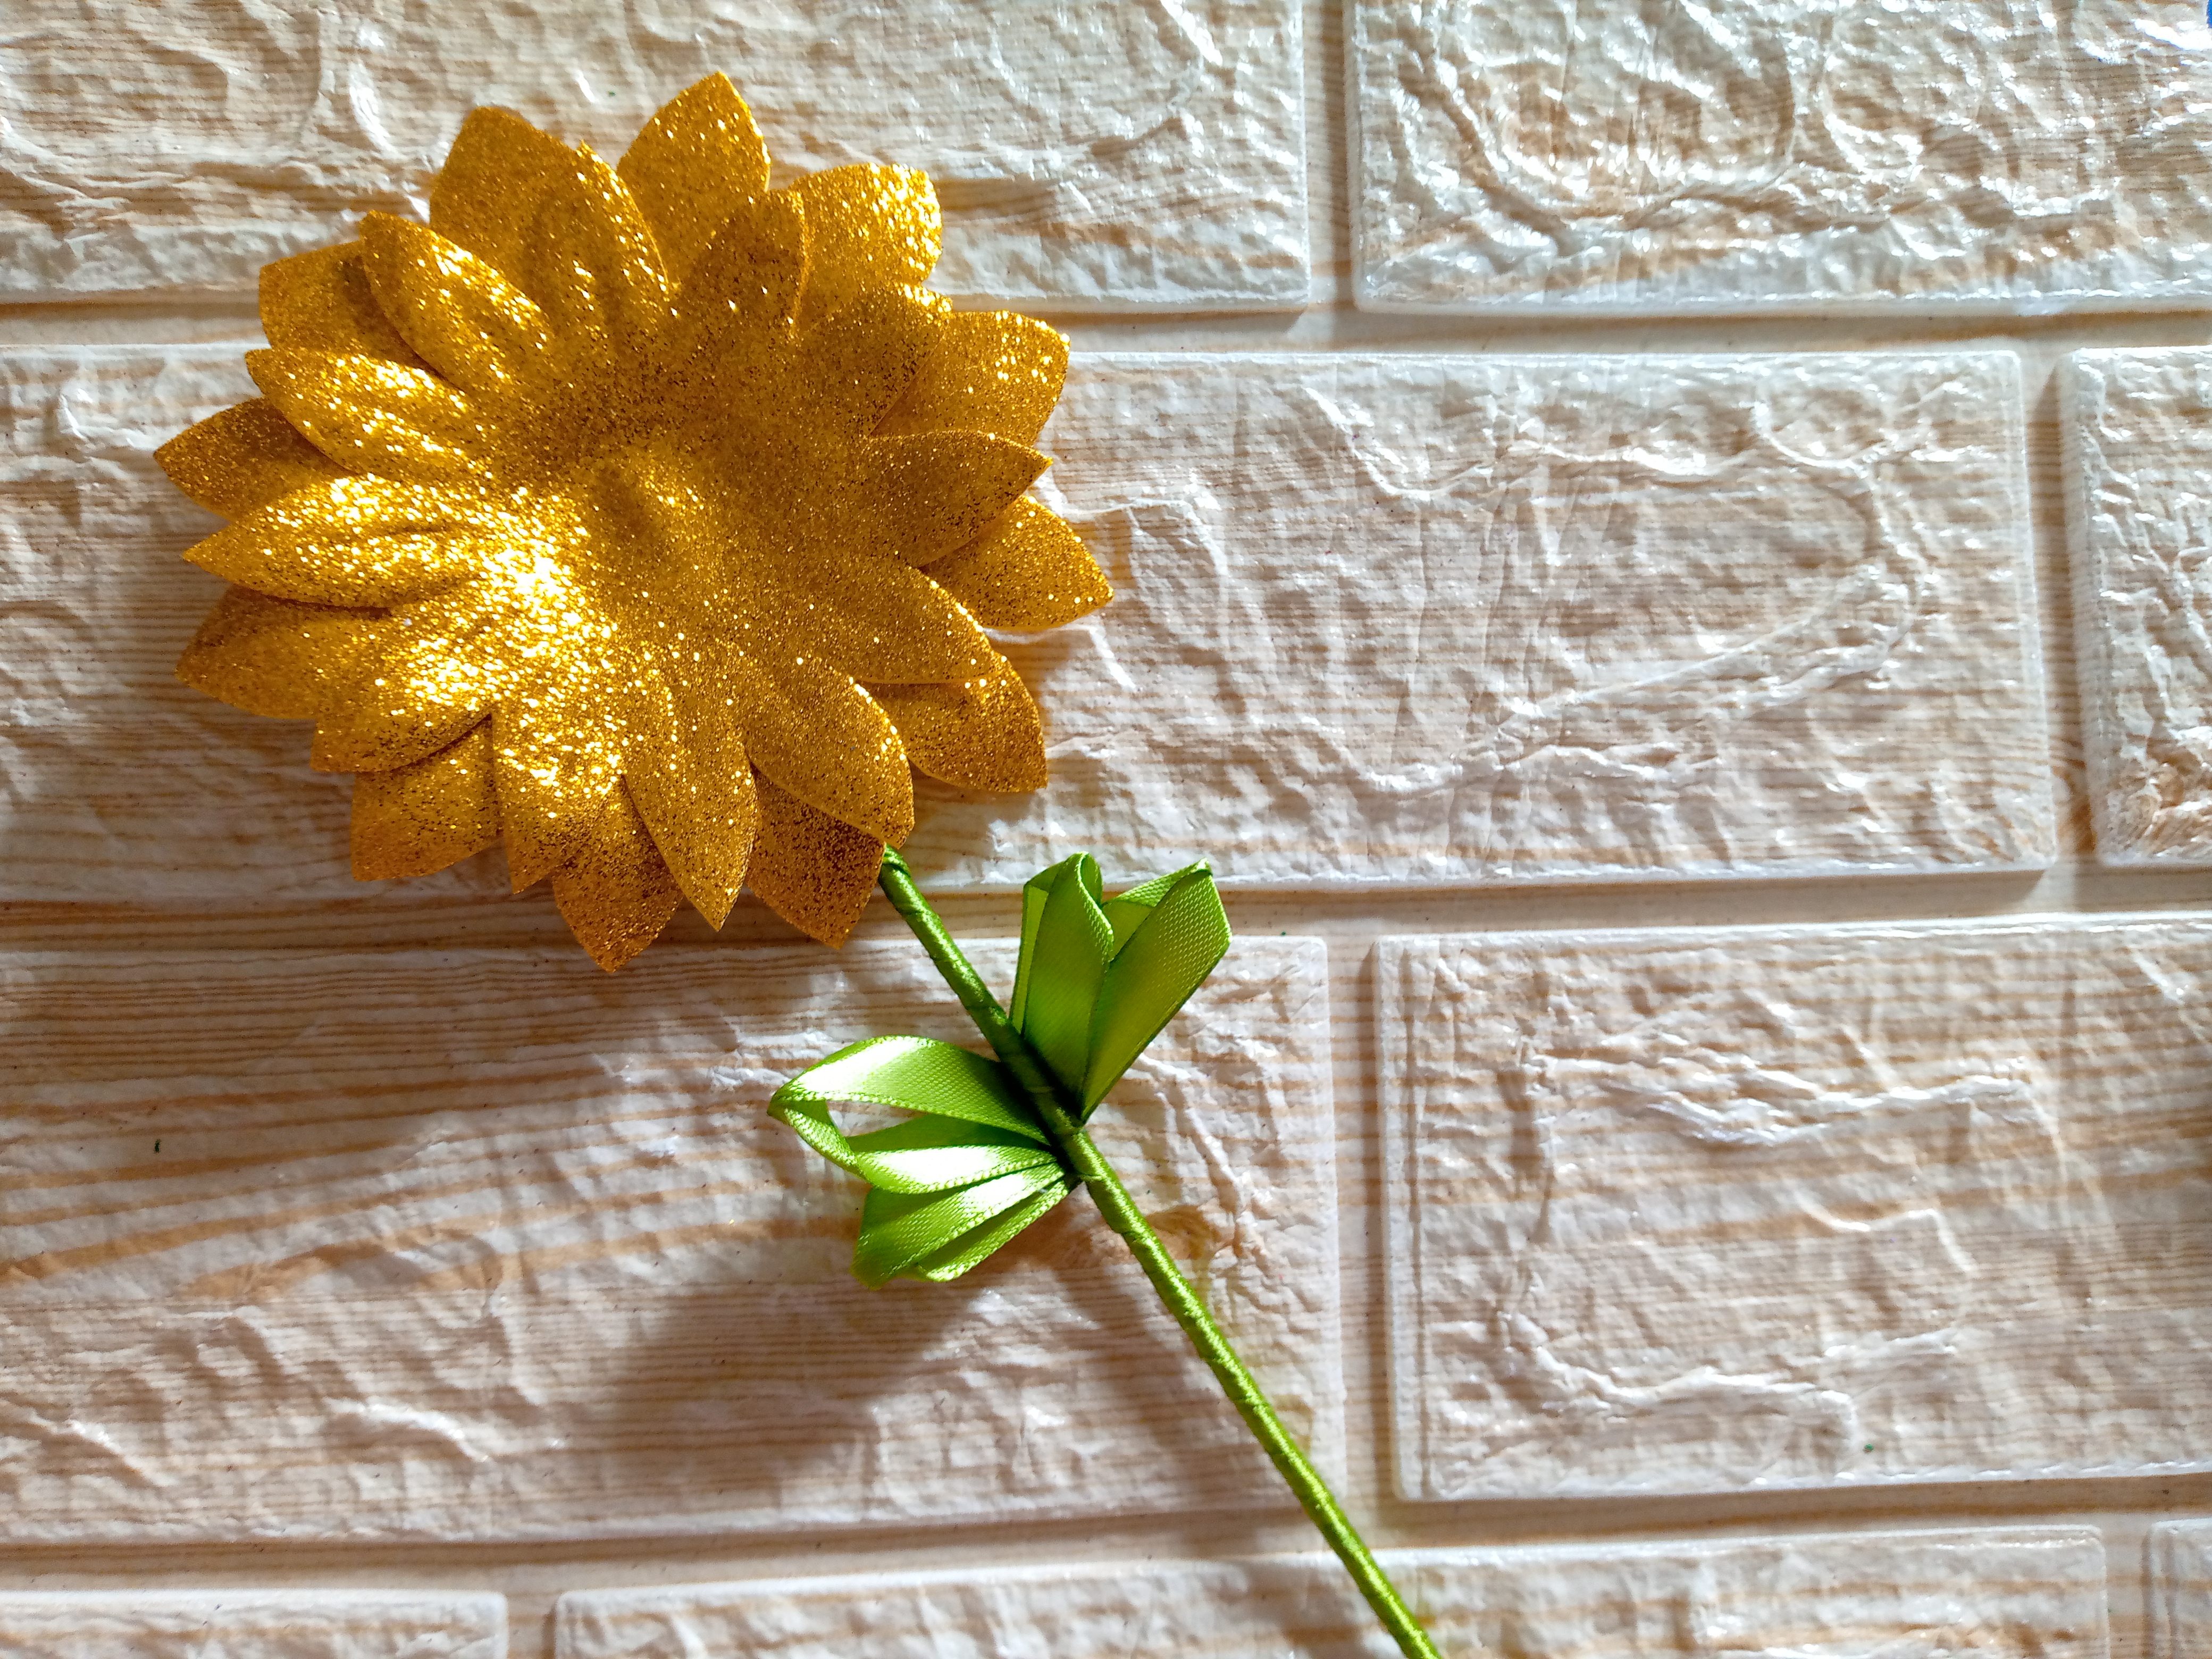
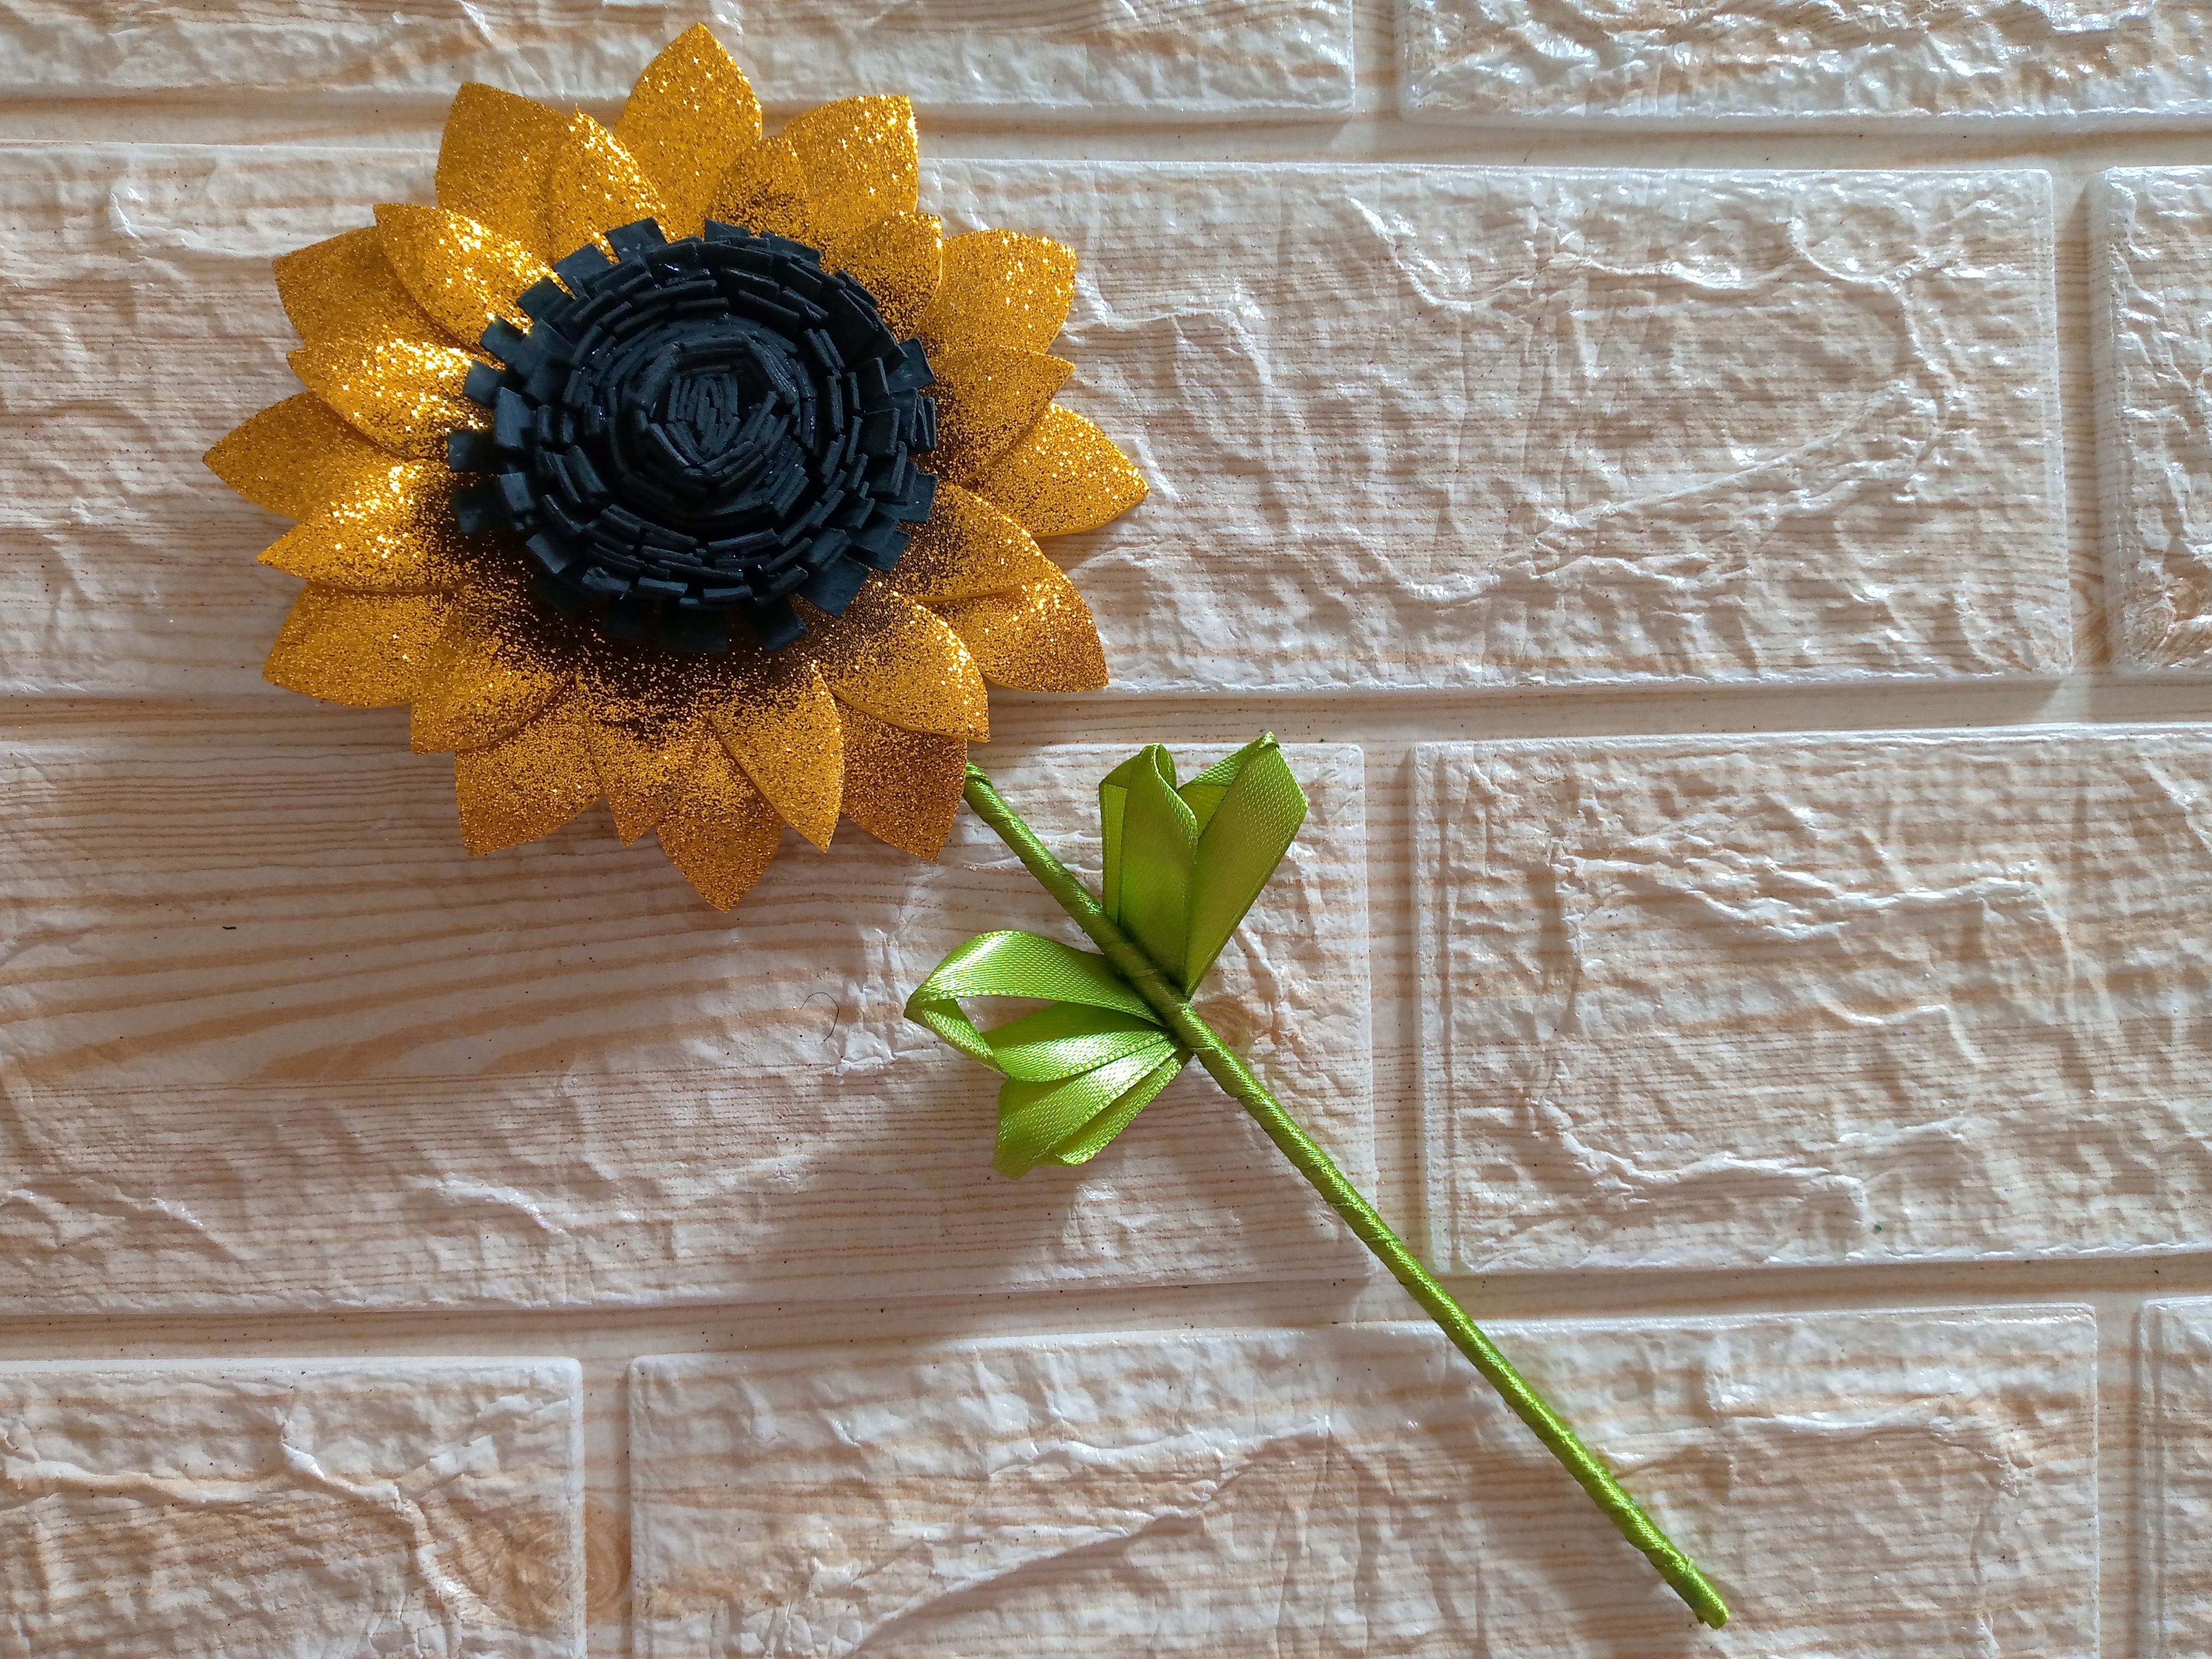
Finalizamos entonces pegando el tallo a la flor por la parte de atrás con un poco de silicón y forrandolo con un trozo pequeño de cinta dejamos secar y pegaremos las hojas de ambos lados de nuestro tallo,para el centro vamos a echar un poco de silicón bajo el centro marrón del girasol y vamos a pegarlo justo en el medio dejamos secar y nuestra flor está lista.

Step 05

We finish by gluing the stem to the flower on the back with a little silicone and covering it with a small piece of tape. We let it dry and we will glue the leaves on both sides of our stem. For the center we will put a little silicone under the brown center of the sunflower and we will glue it right in the middle. We will let it dry and our flower is ready.


Picsart_24-11-15_15-51-20-828 (1).jpg

Resultado //Result:

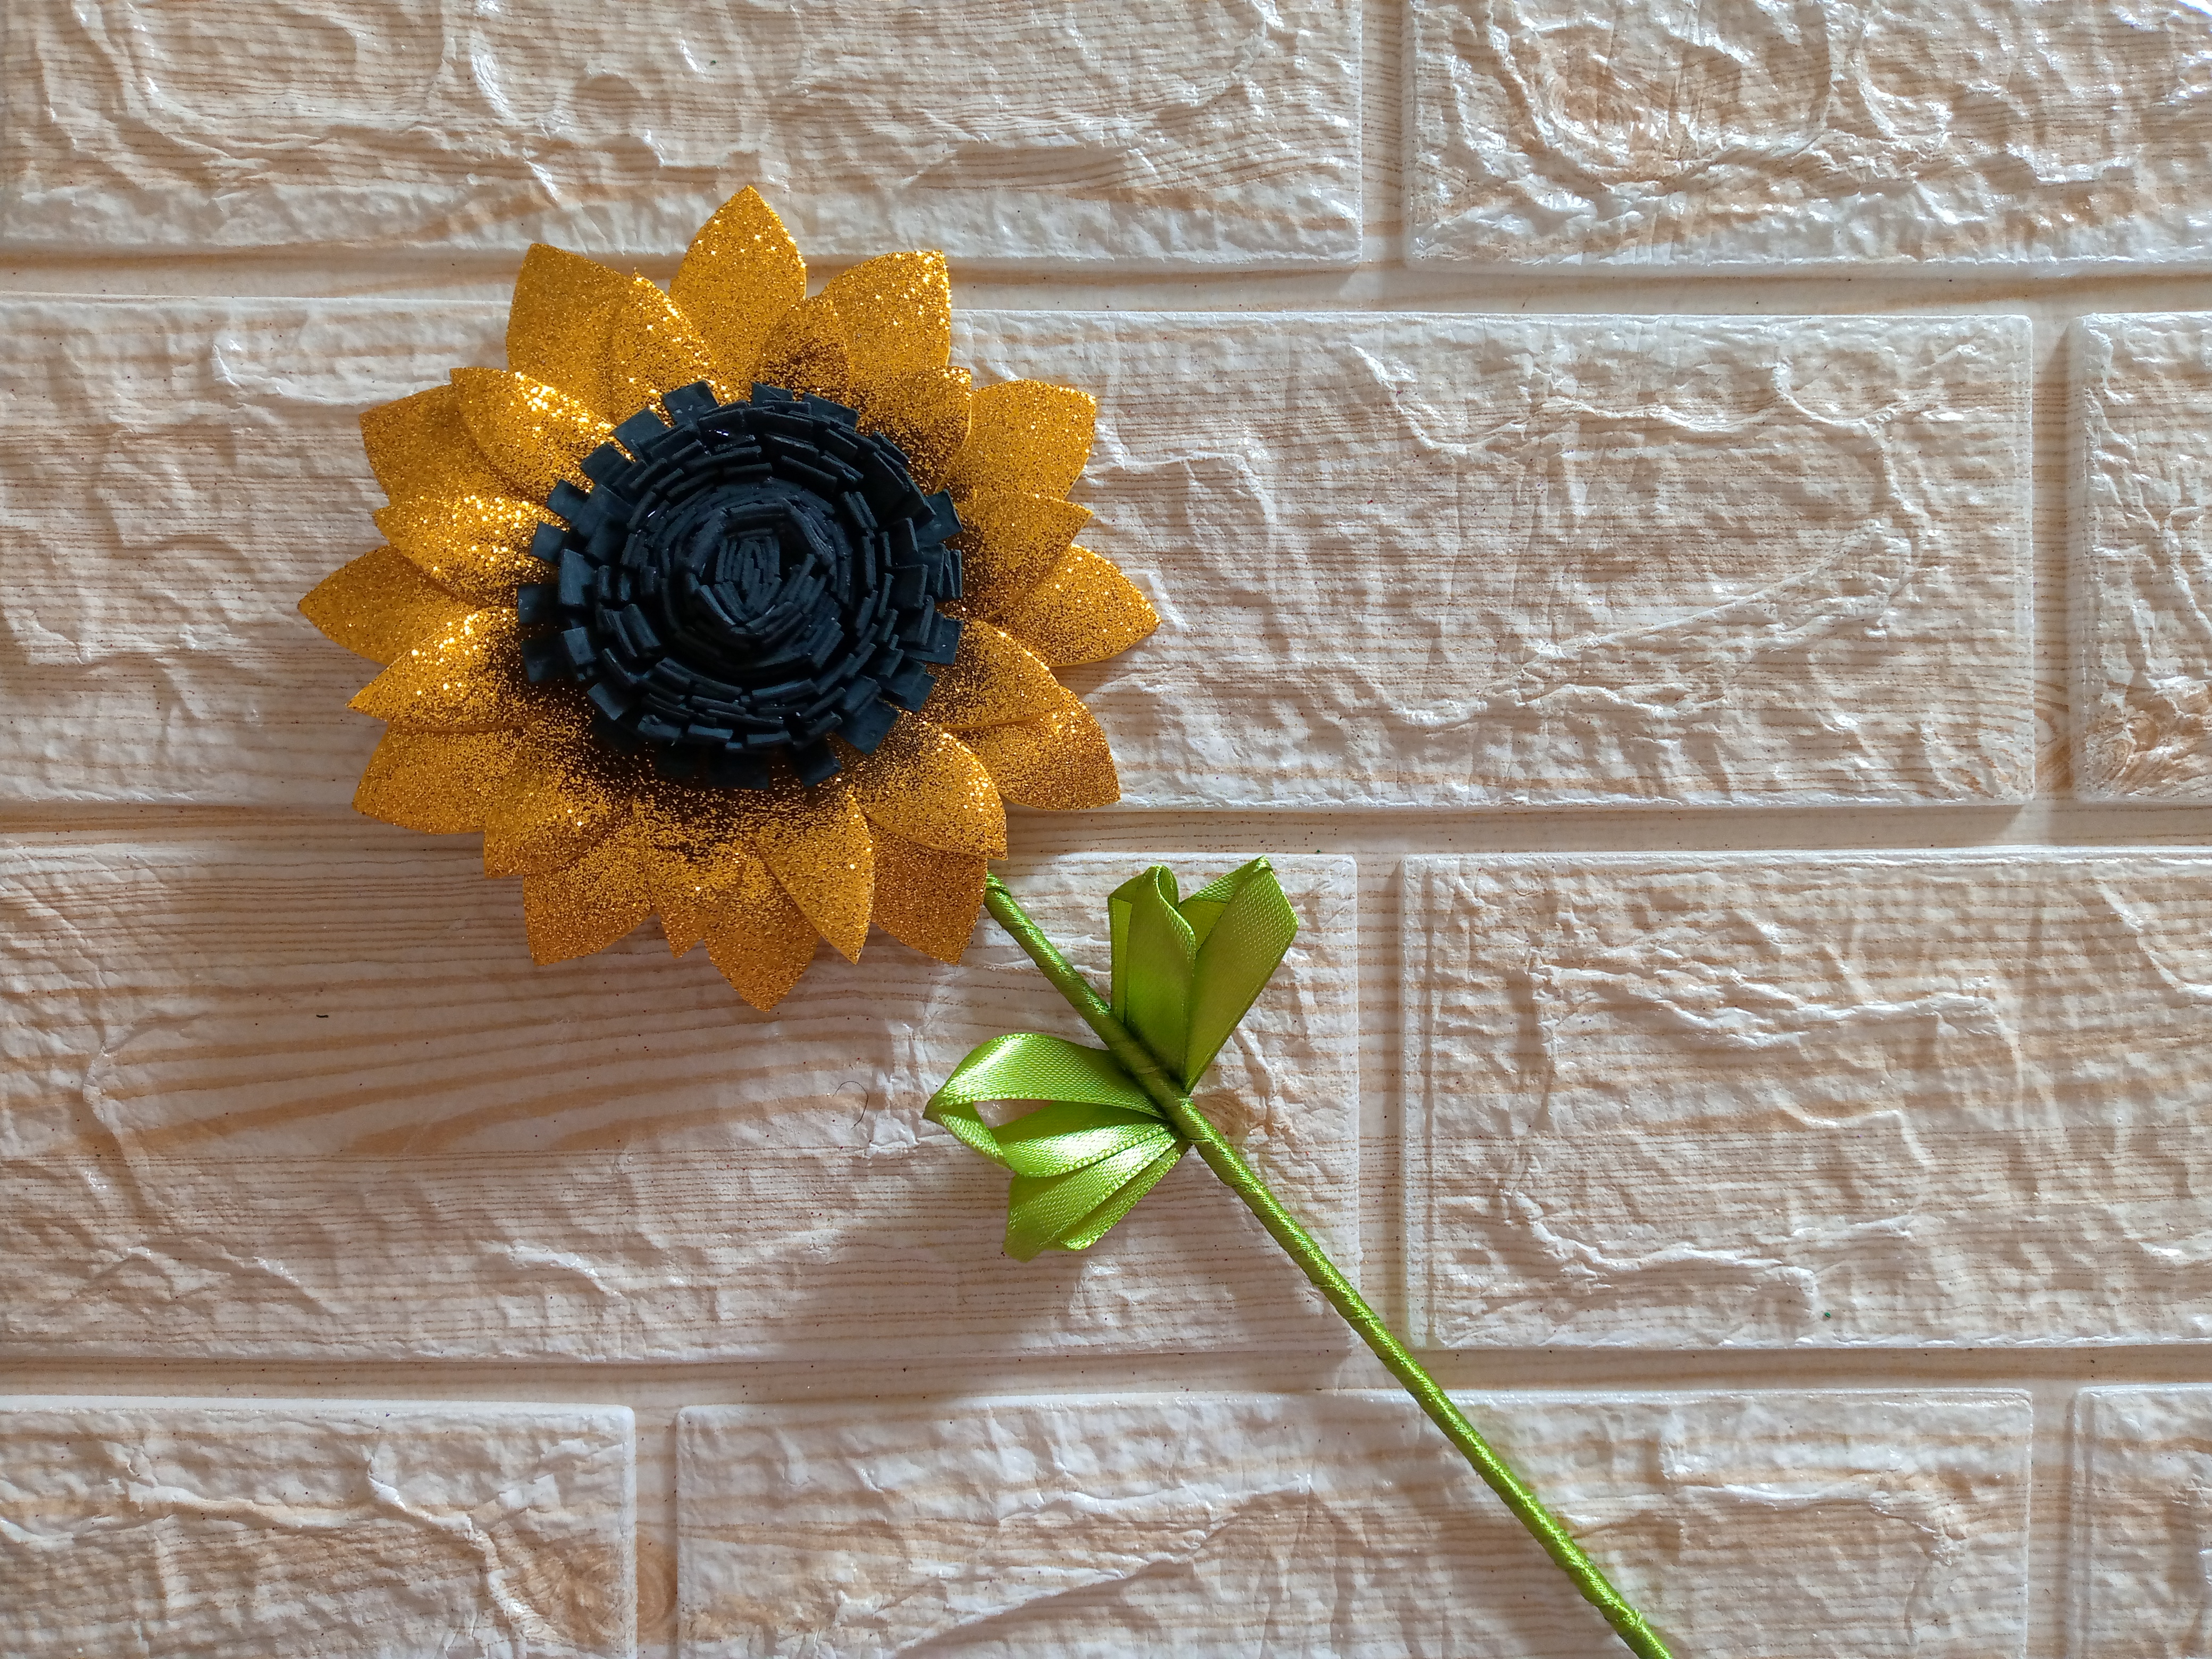
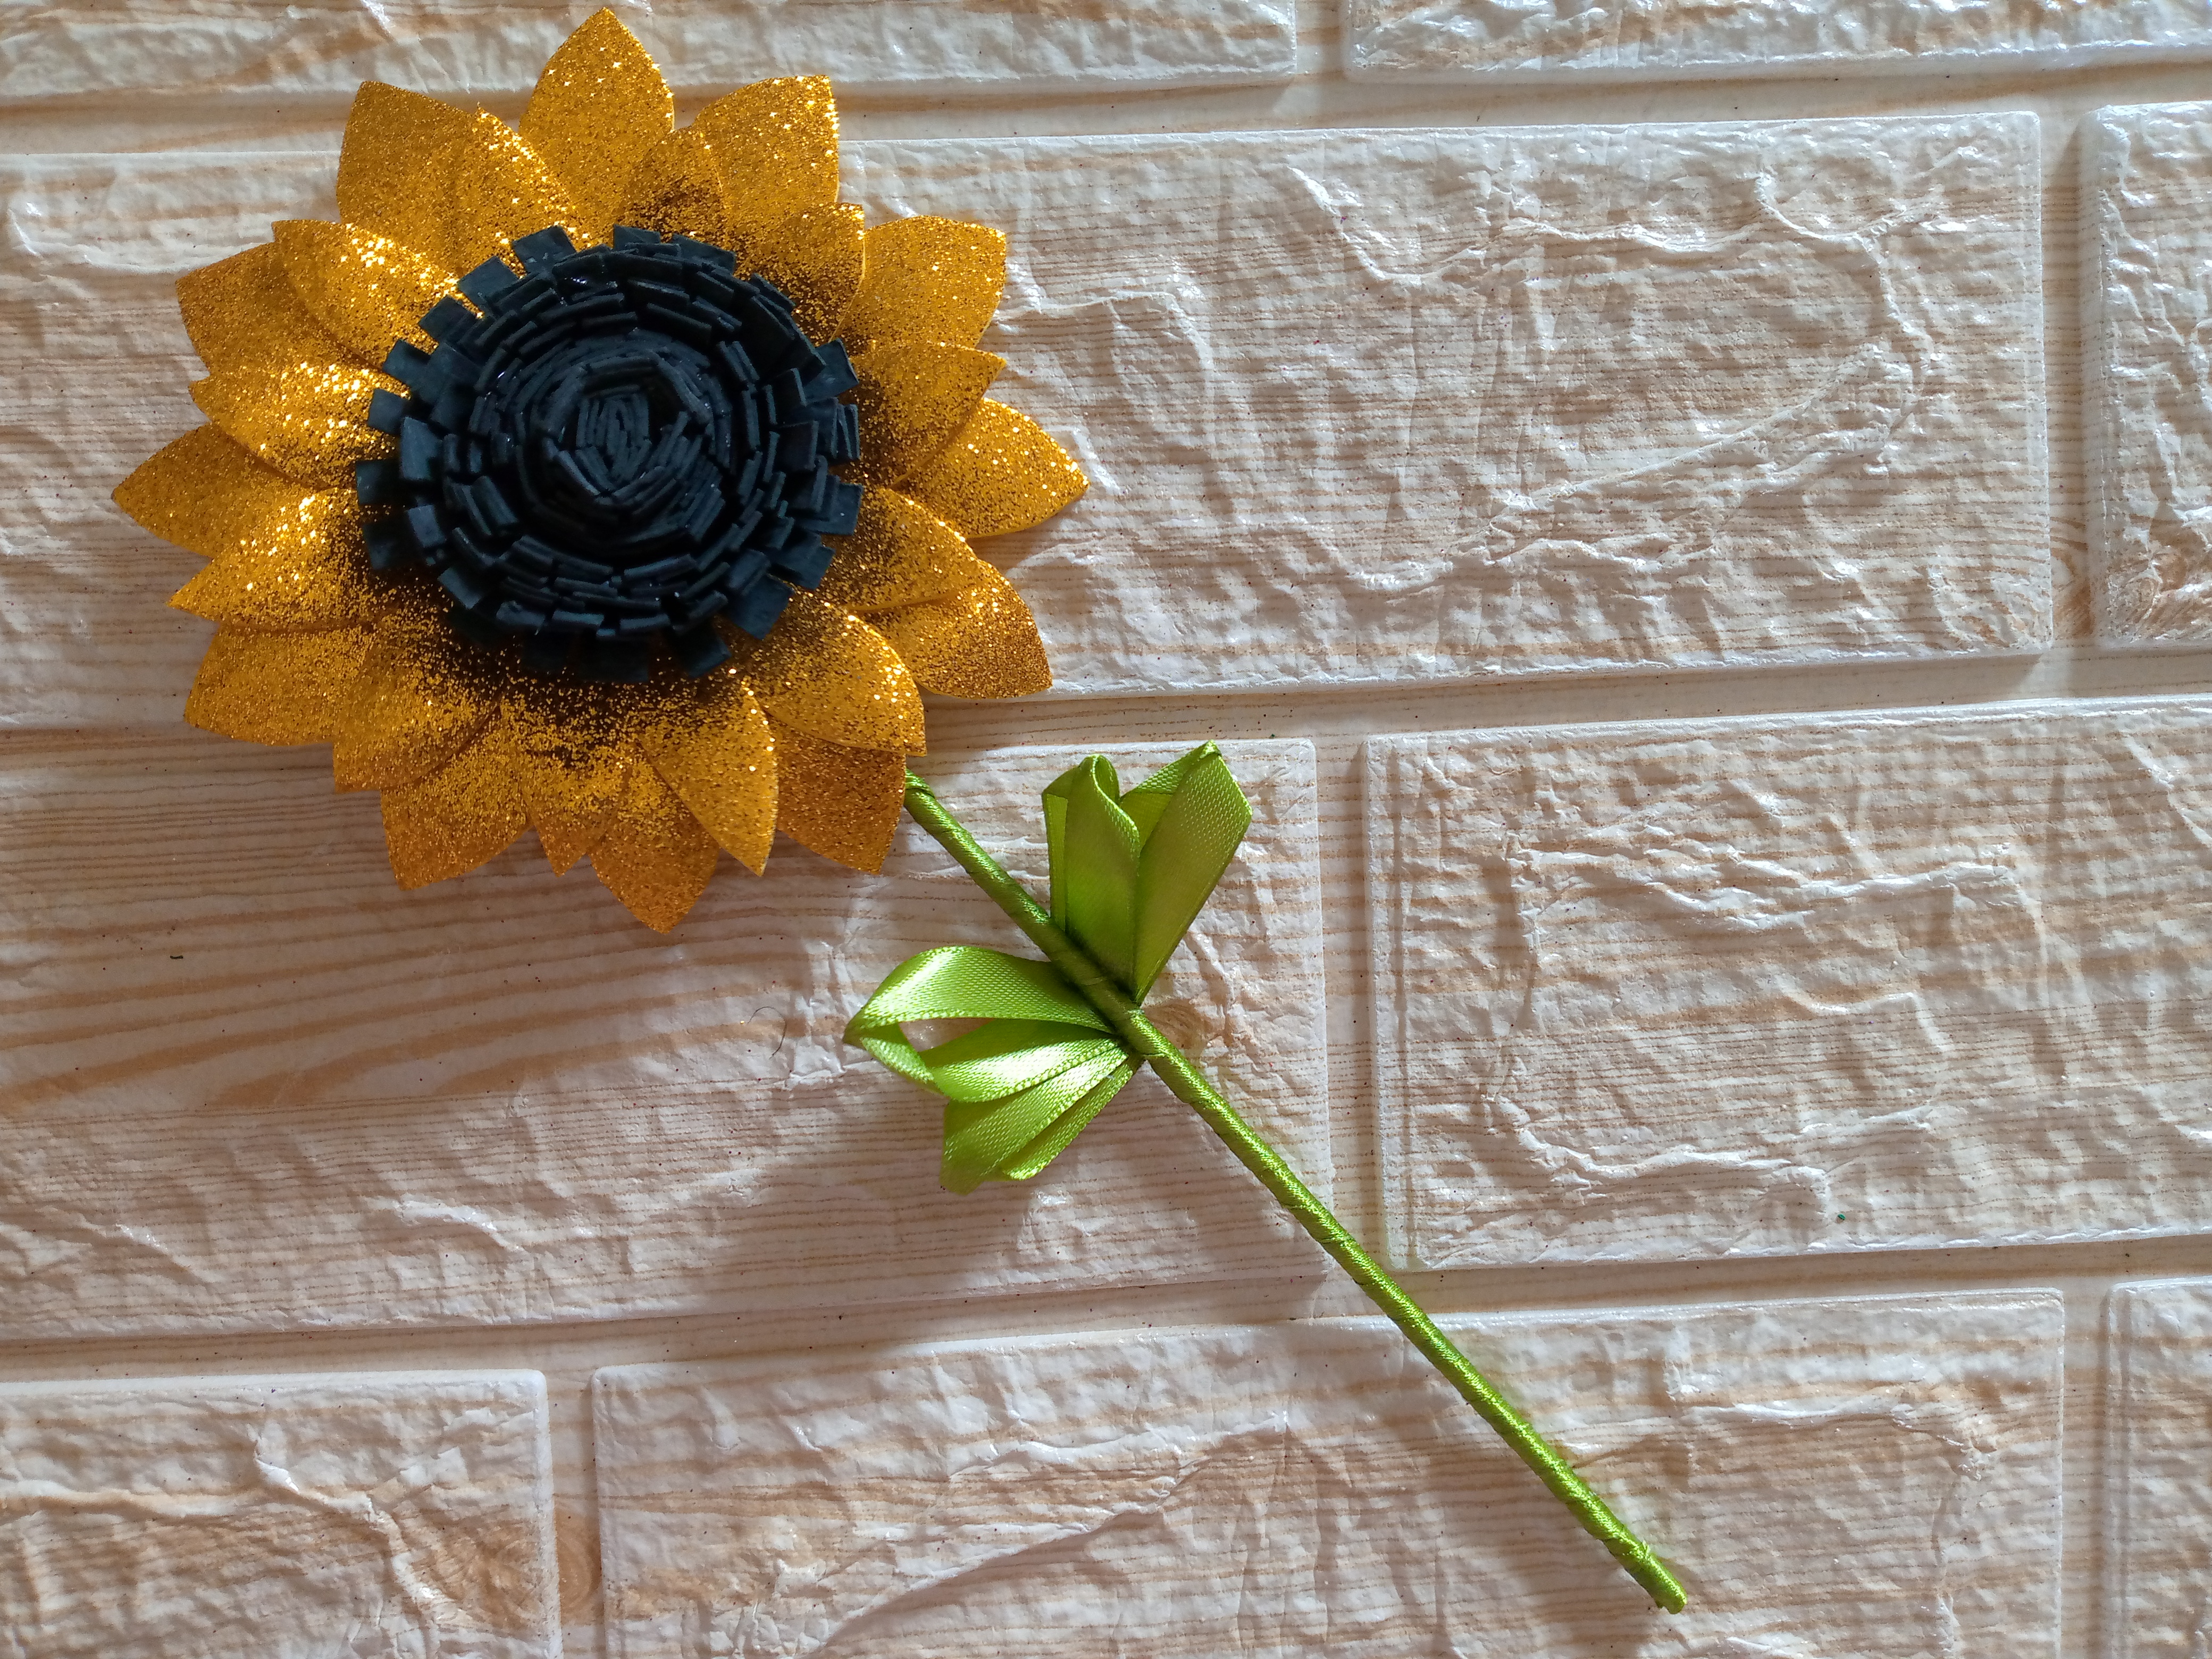
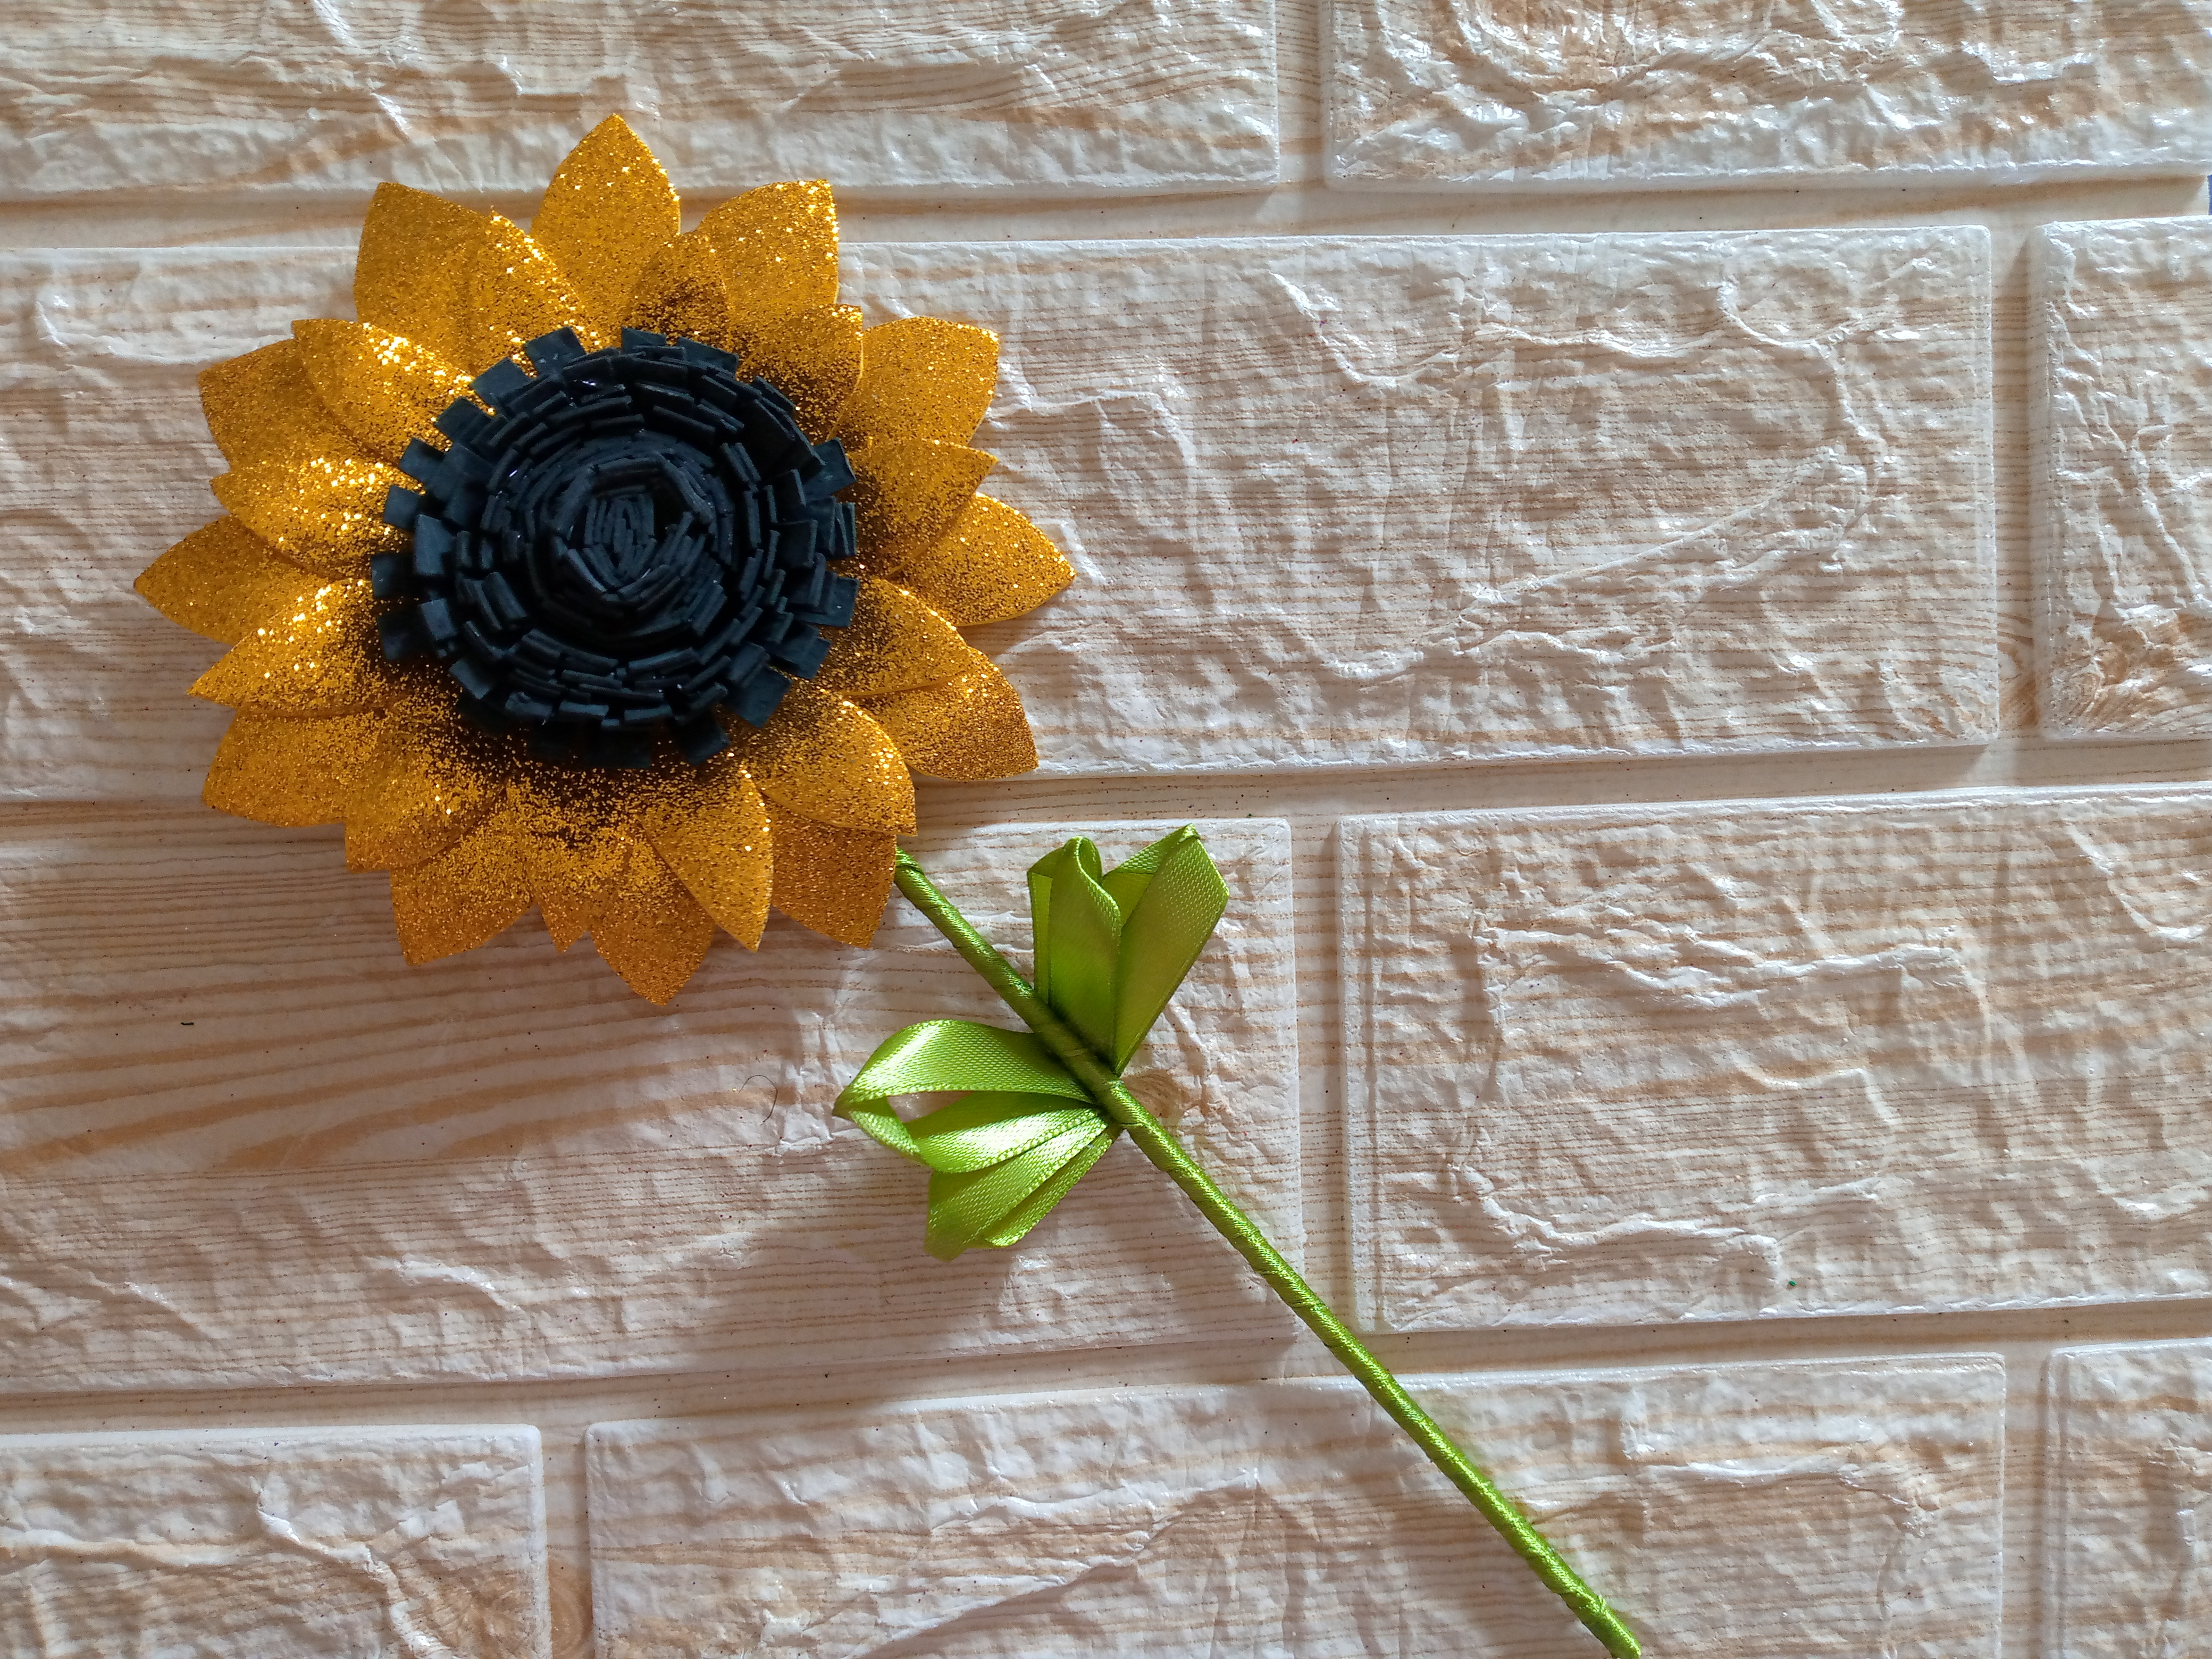
Estos son los resultados finales de nuestro hermoso girasol ✨😍🌻 quedó muy bonito y espero te haya gustado como quedó,si te gustan las manualidades como estás no olvides seguirme para más contenido y decirme que tal te ha parecido,gracias por su apoyo amigos y por llegar al final de este blog saludos les dejo fotitos de este hermoso girasol 🥰,hasta otro próximo blog,feliz día.

These are the final results of our beautiful sunflower ✨😍🌻 it looked very pretty and I hope you liked how it turned out, if you like crafts like these don't forget to follow me for more content and tell me what you thought, thanks for your support friends and for getting to the end of this blog, greetings I leave you photos of this beautiful sunflower 🥰, until another next blog, happy day.
IMG_20241121_093929_733.jpg

IMG_20241121_093927_756.jpg

IMG_20241121_093925_626.jpg

Picsart_24-11-15_15-51-20-828 (1).jpg

Creando las cosas con amor 🌷❤️

🦋✨Todas las imágenes de esta publicación son de mi autoria ,📱tomadas con mi celular TecnoSpark8C |📸Fotos editadas en PicsArt y Canva. Texto traducido en el traductor de Google.

Sígueme para más contenido 📌

Creating things with love 🌷❤️

🦋✨ All the images in this publication are my author ,📱taken with my TecnoSpark8C cell phone |📸Photos edited in PicsArt and Canva. Text translated in Google Translate.

Follow me for more content 📌


Picsart_24-08-15_13-46-37-839.jpg


Sort:  

Hermosos los girasoles, me encantan y tu creacion quedo muy bonita con materiales reciclados 😍

Gracias @elbuhito 🥺🌻😊

This look amazing. Thanks for sharing

Thanks friend 😊

The outcome is wonderful, you did an awesome job.

Oh yes thanks 😍✨❤️