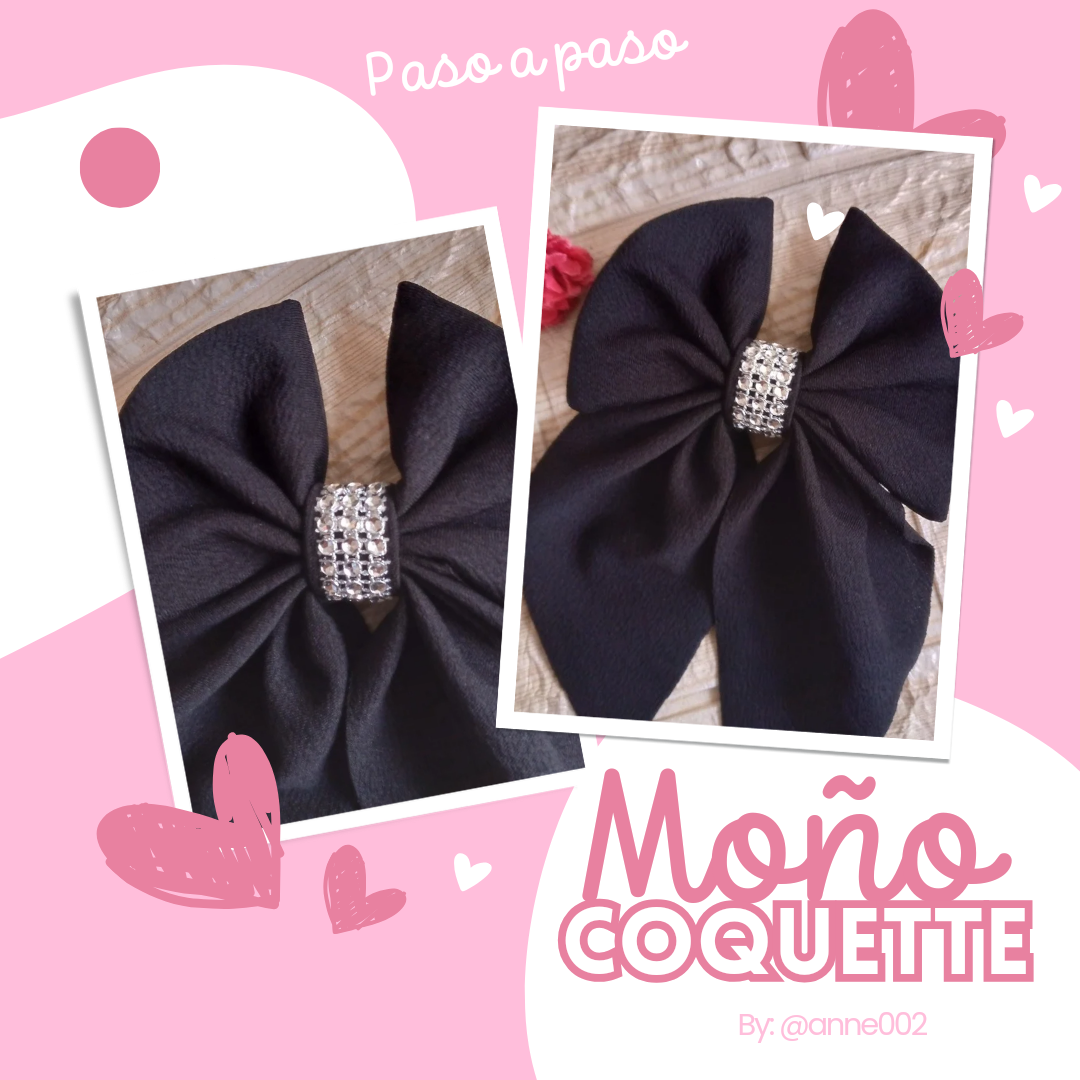
Once you learn to make these pretty bows there is no turning back, all the fabrics of different colors that you have on hand and that you see left over from previous works, you will want to make a nice flirty bow, of course as is my case. I love making them for my friends, my cousins and of course for myself, I have enough models to give their bows to 🤭 and it is that these bows are very dressy for any occasion and if they are your favorite color you will love them even more.
.jpg)
Flirty bows have never gone out of style and although months ago this trend was all over the networks because they have always been a trend and an ideal accessory for a special meeting, they have not stopped going out of style, I remember when this coquette fashion was in trend, you coquette we coquette all coquette hahaha it was a bit funny even filters on networks with the typical flirty bows one could even see maybe you were a victim of this trend posing in photos with these cute and irresistible flirty bow filters, I tell you that I have even seen those filters around on Instagram and I have rarely used them 🤭😂.
If you are one of those who still likes to use these bows that have not gone out of fashion, you will like this tutorial and although the bow that I will be making is for me, you might also really like the final result and see how I made it. If so, then I welcome you to this blog and tutorial where we will make this flirtatious but small bow since I have a big one so we will be making the small one. Without further ado, let's get to the materials.
.jpg)
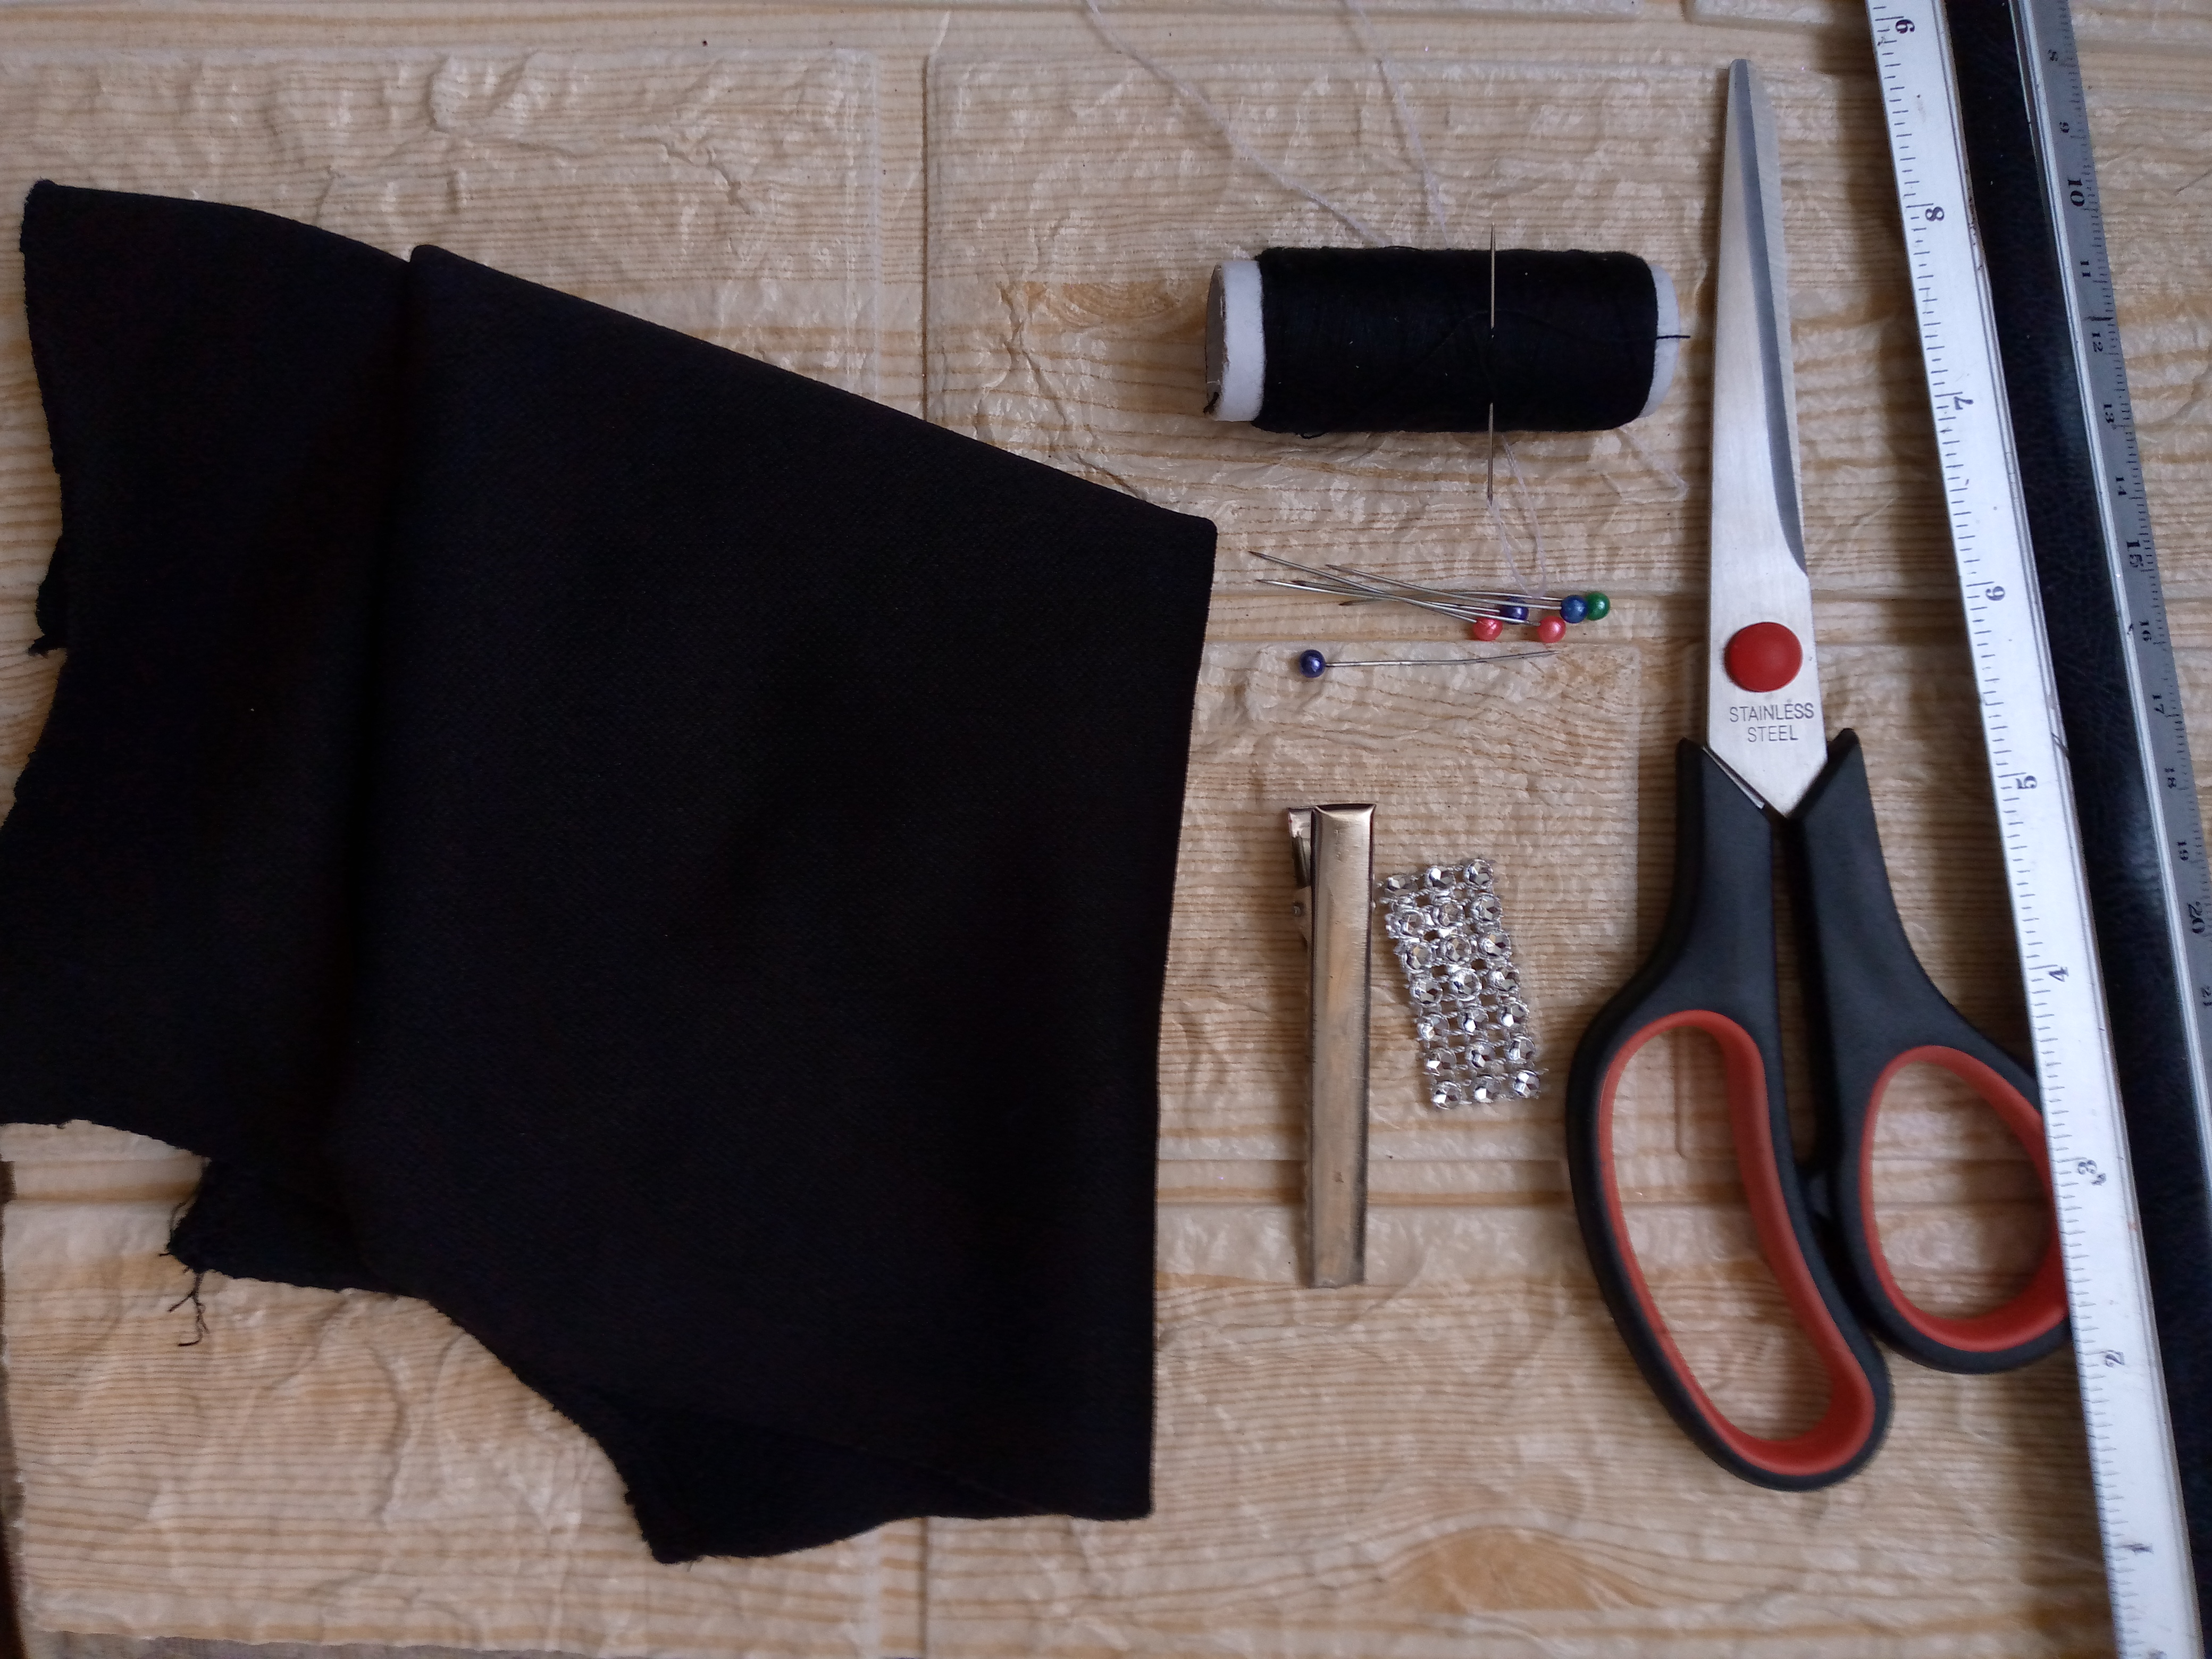
Materiales:// Materials:
| Español | Inglish |
|---|---|
| • Trozo de tela Beverly | • Beverly piece of fabric |
| • Alfileres | • Pins |
| • Aguja | • Needle |
| • Hilo | • Thread |
| • Decoración plateada u otro adorno | • silver decoration or other ornament |
| • Maquina de coser | • Sewing machine |
| • Tijera | • Scissor |
.jpg)
Pasos a seguir:// Steps to follow:
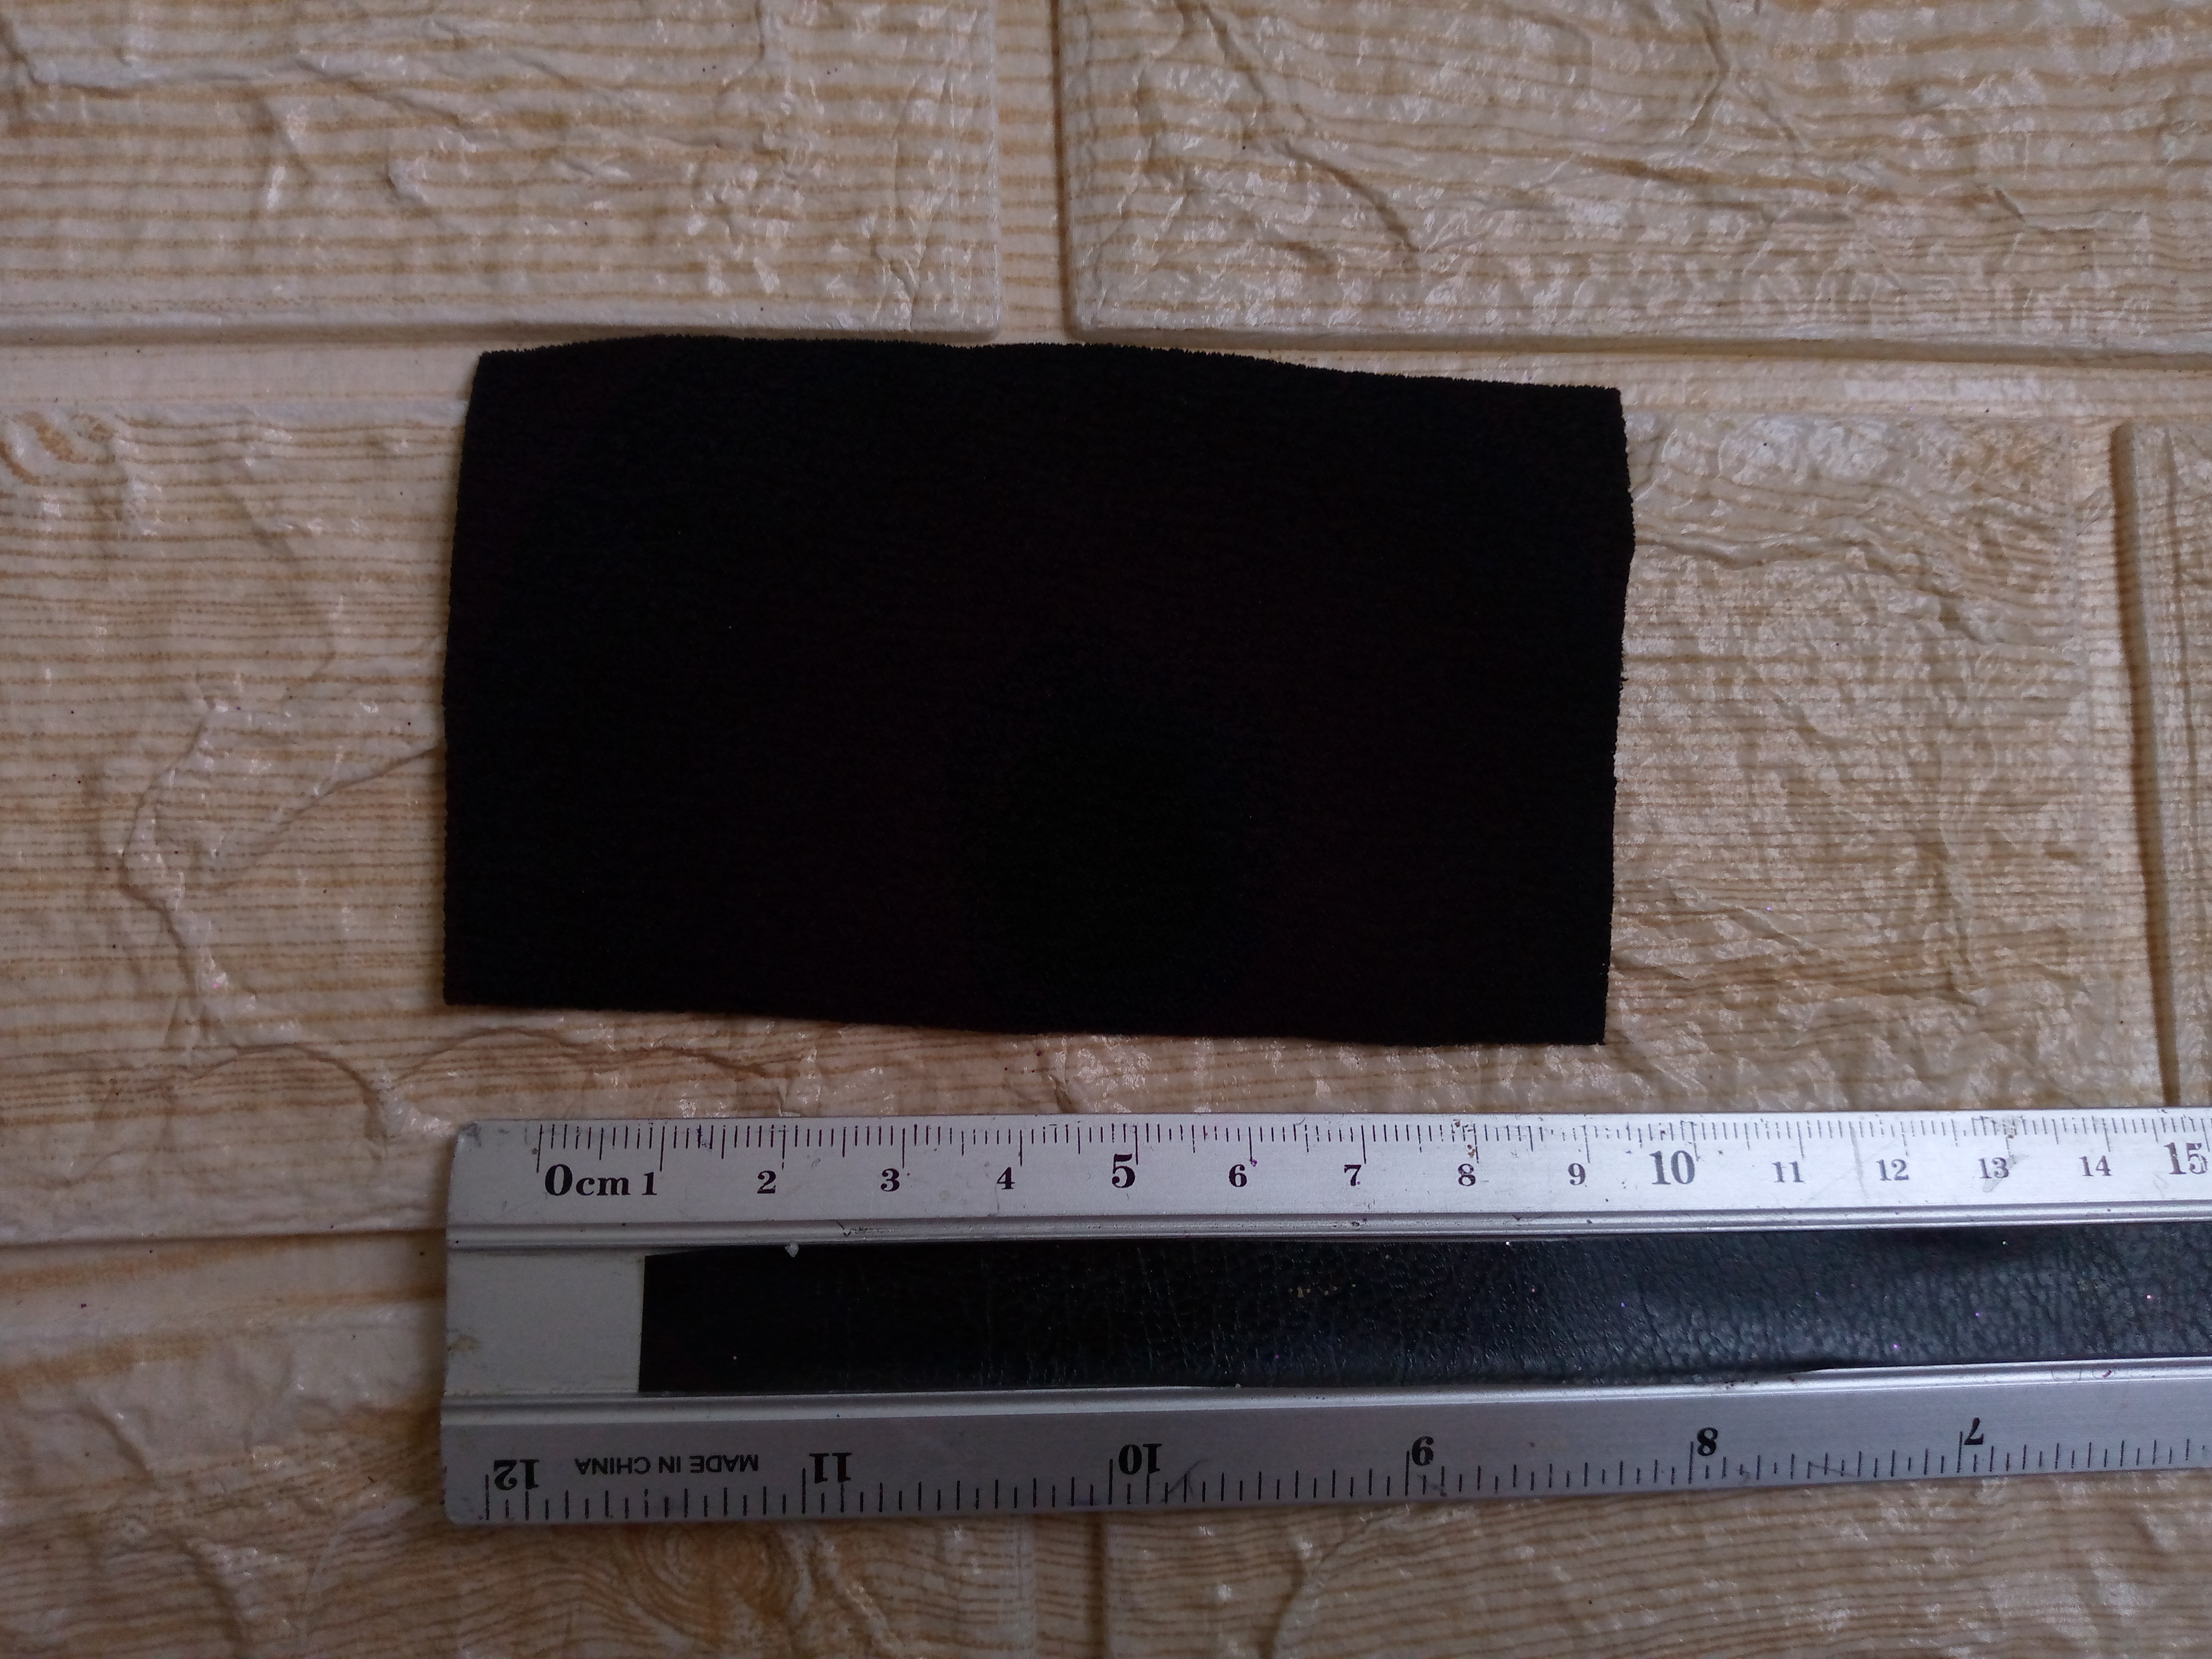
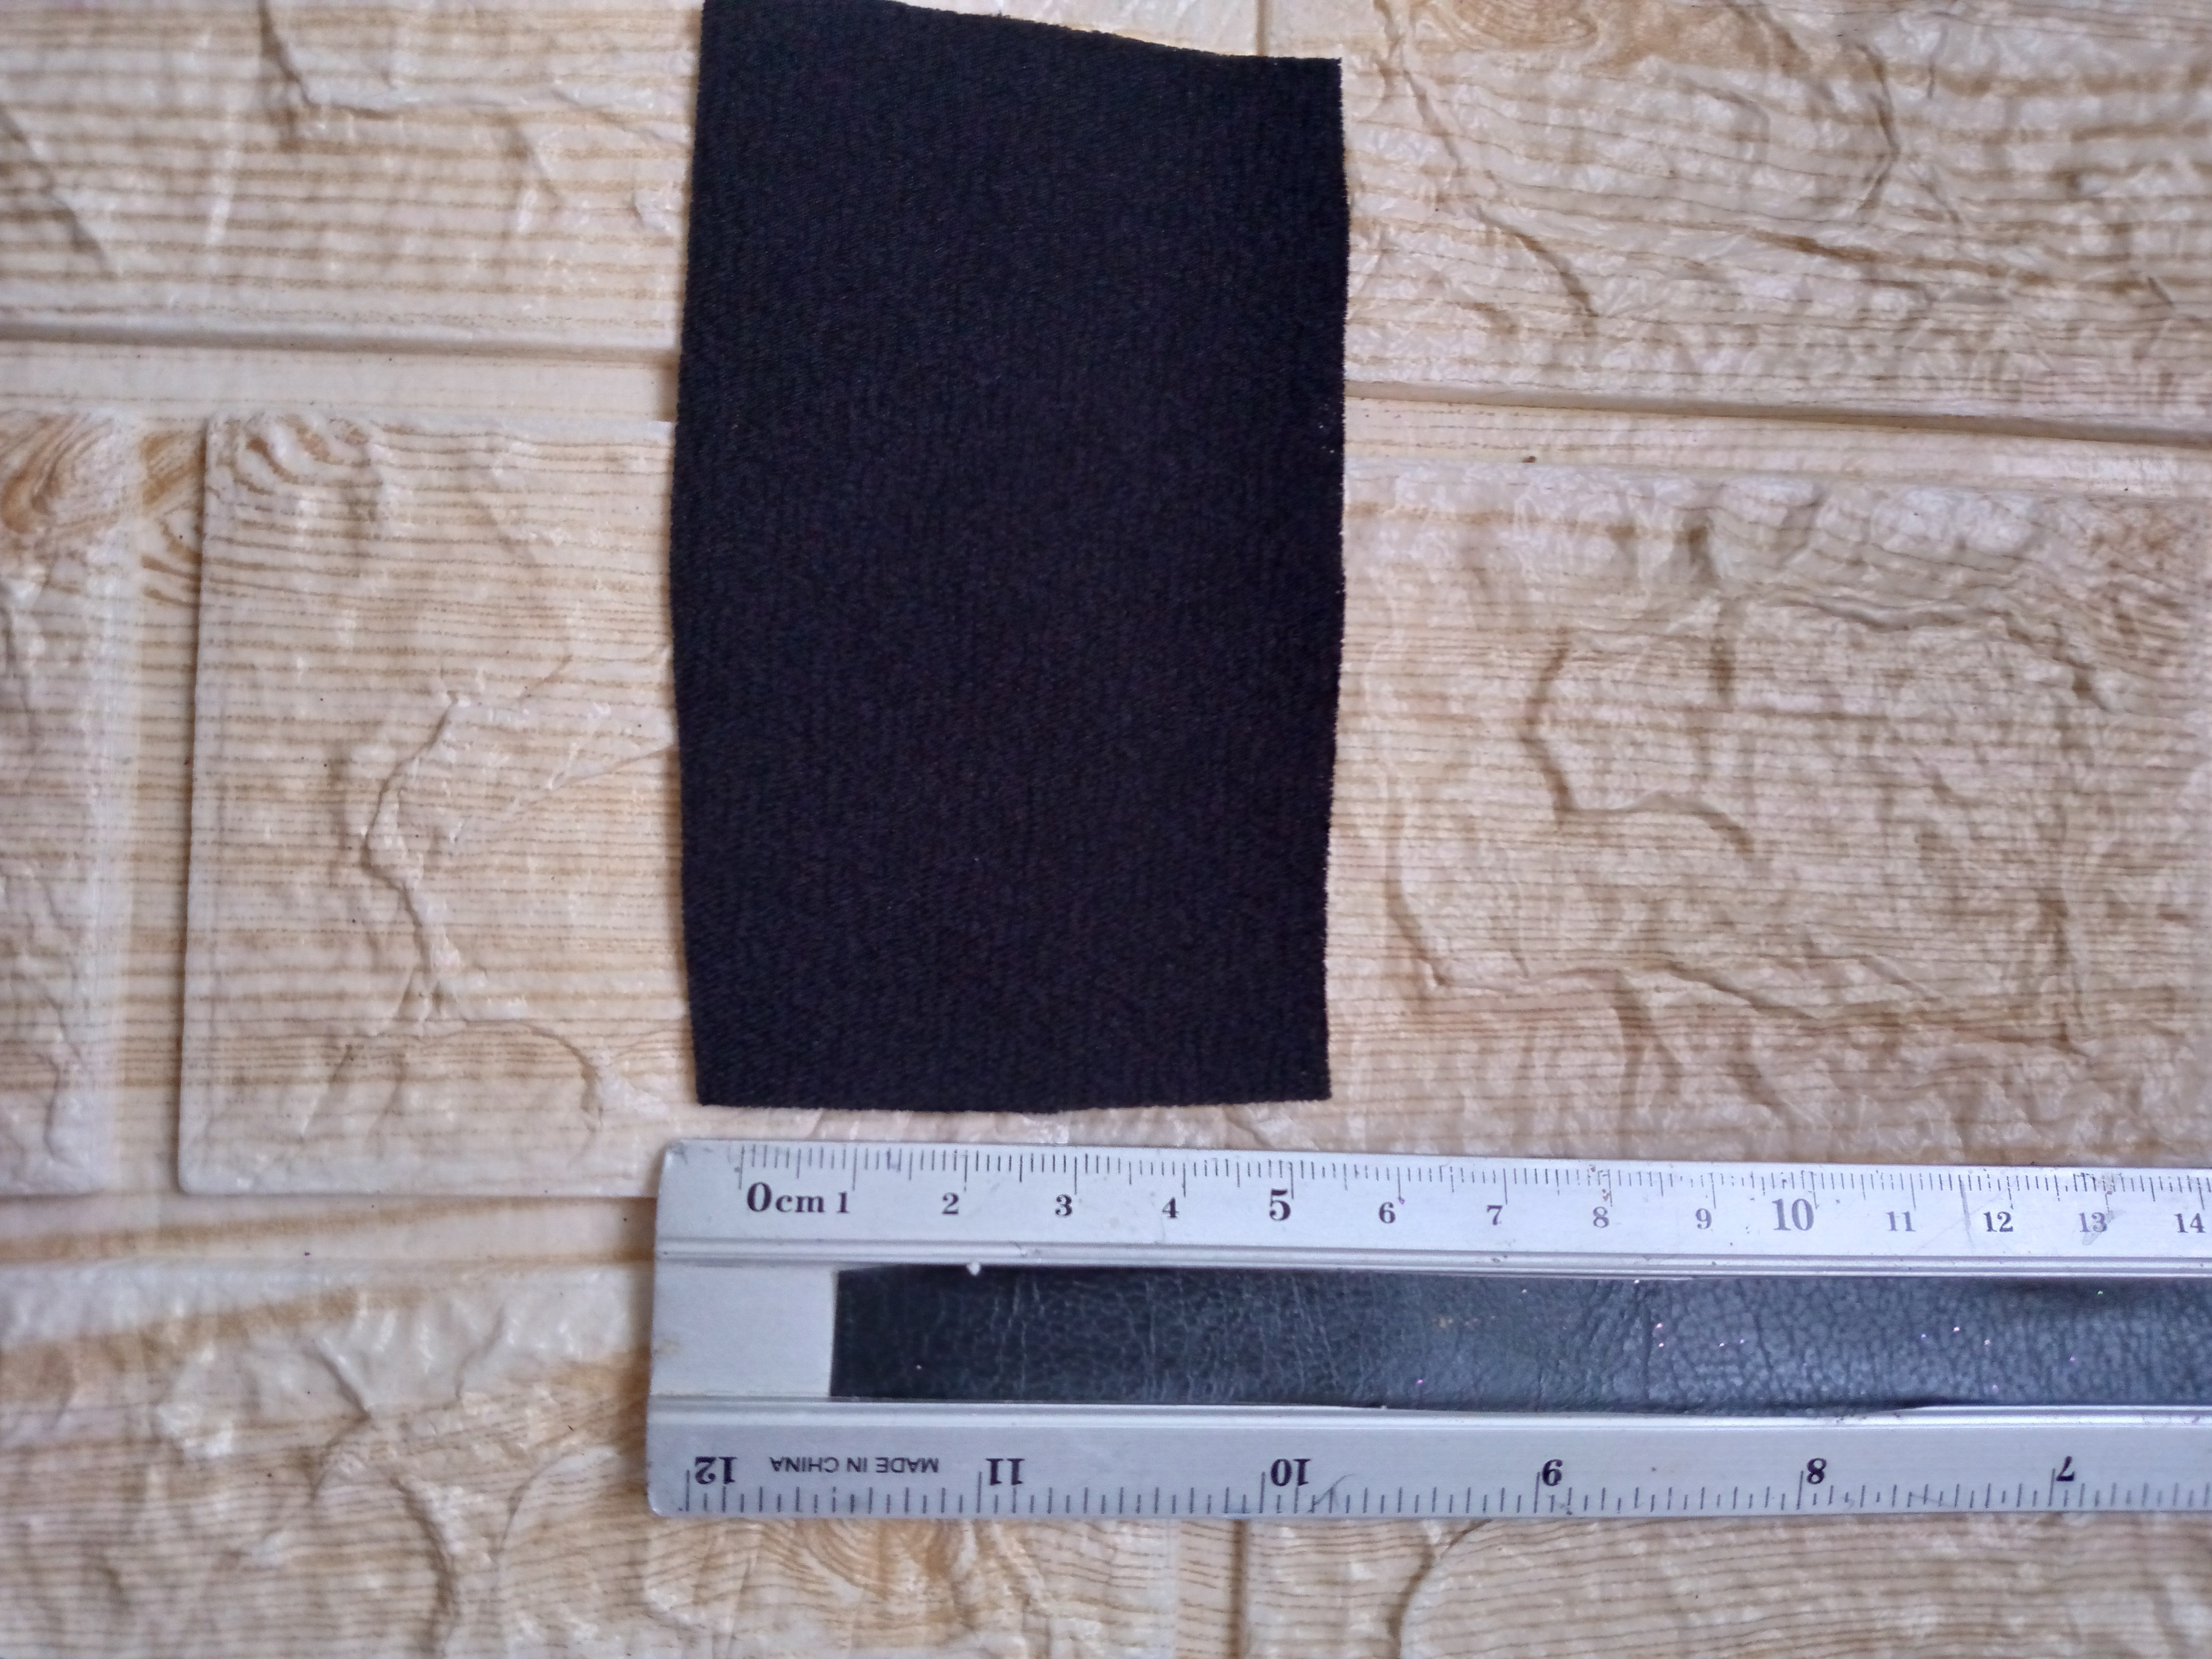
Paso 01
Step 01
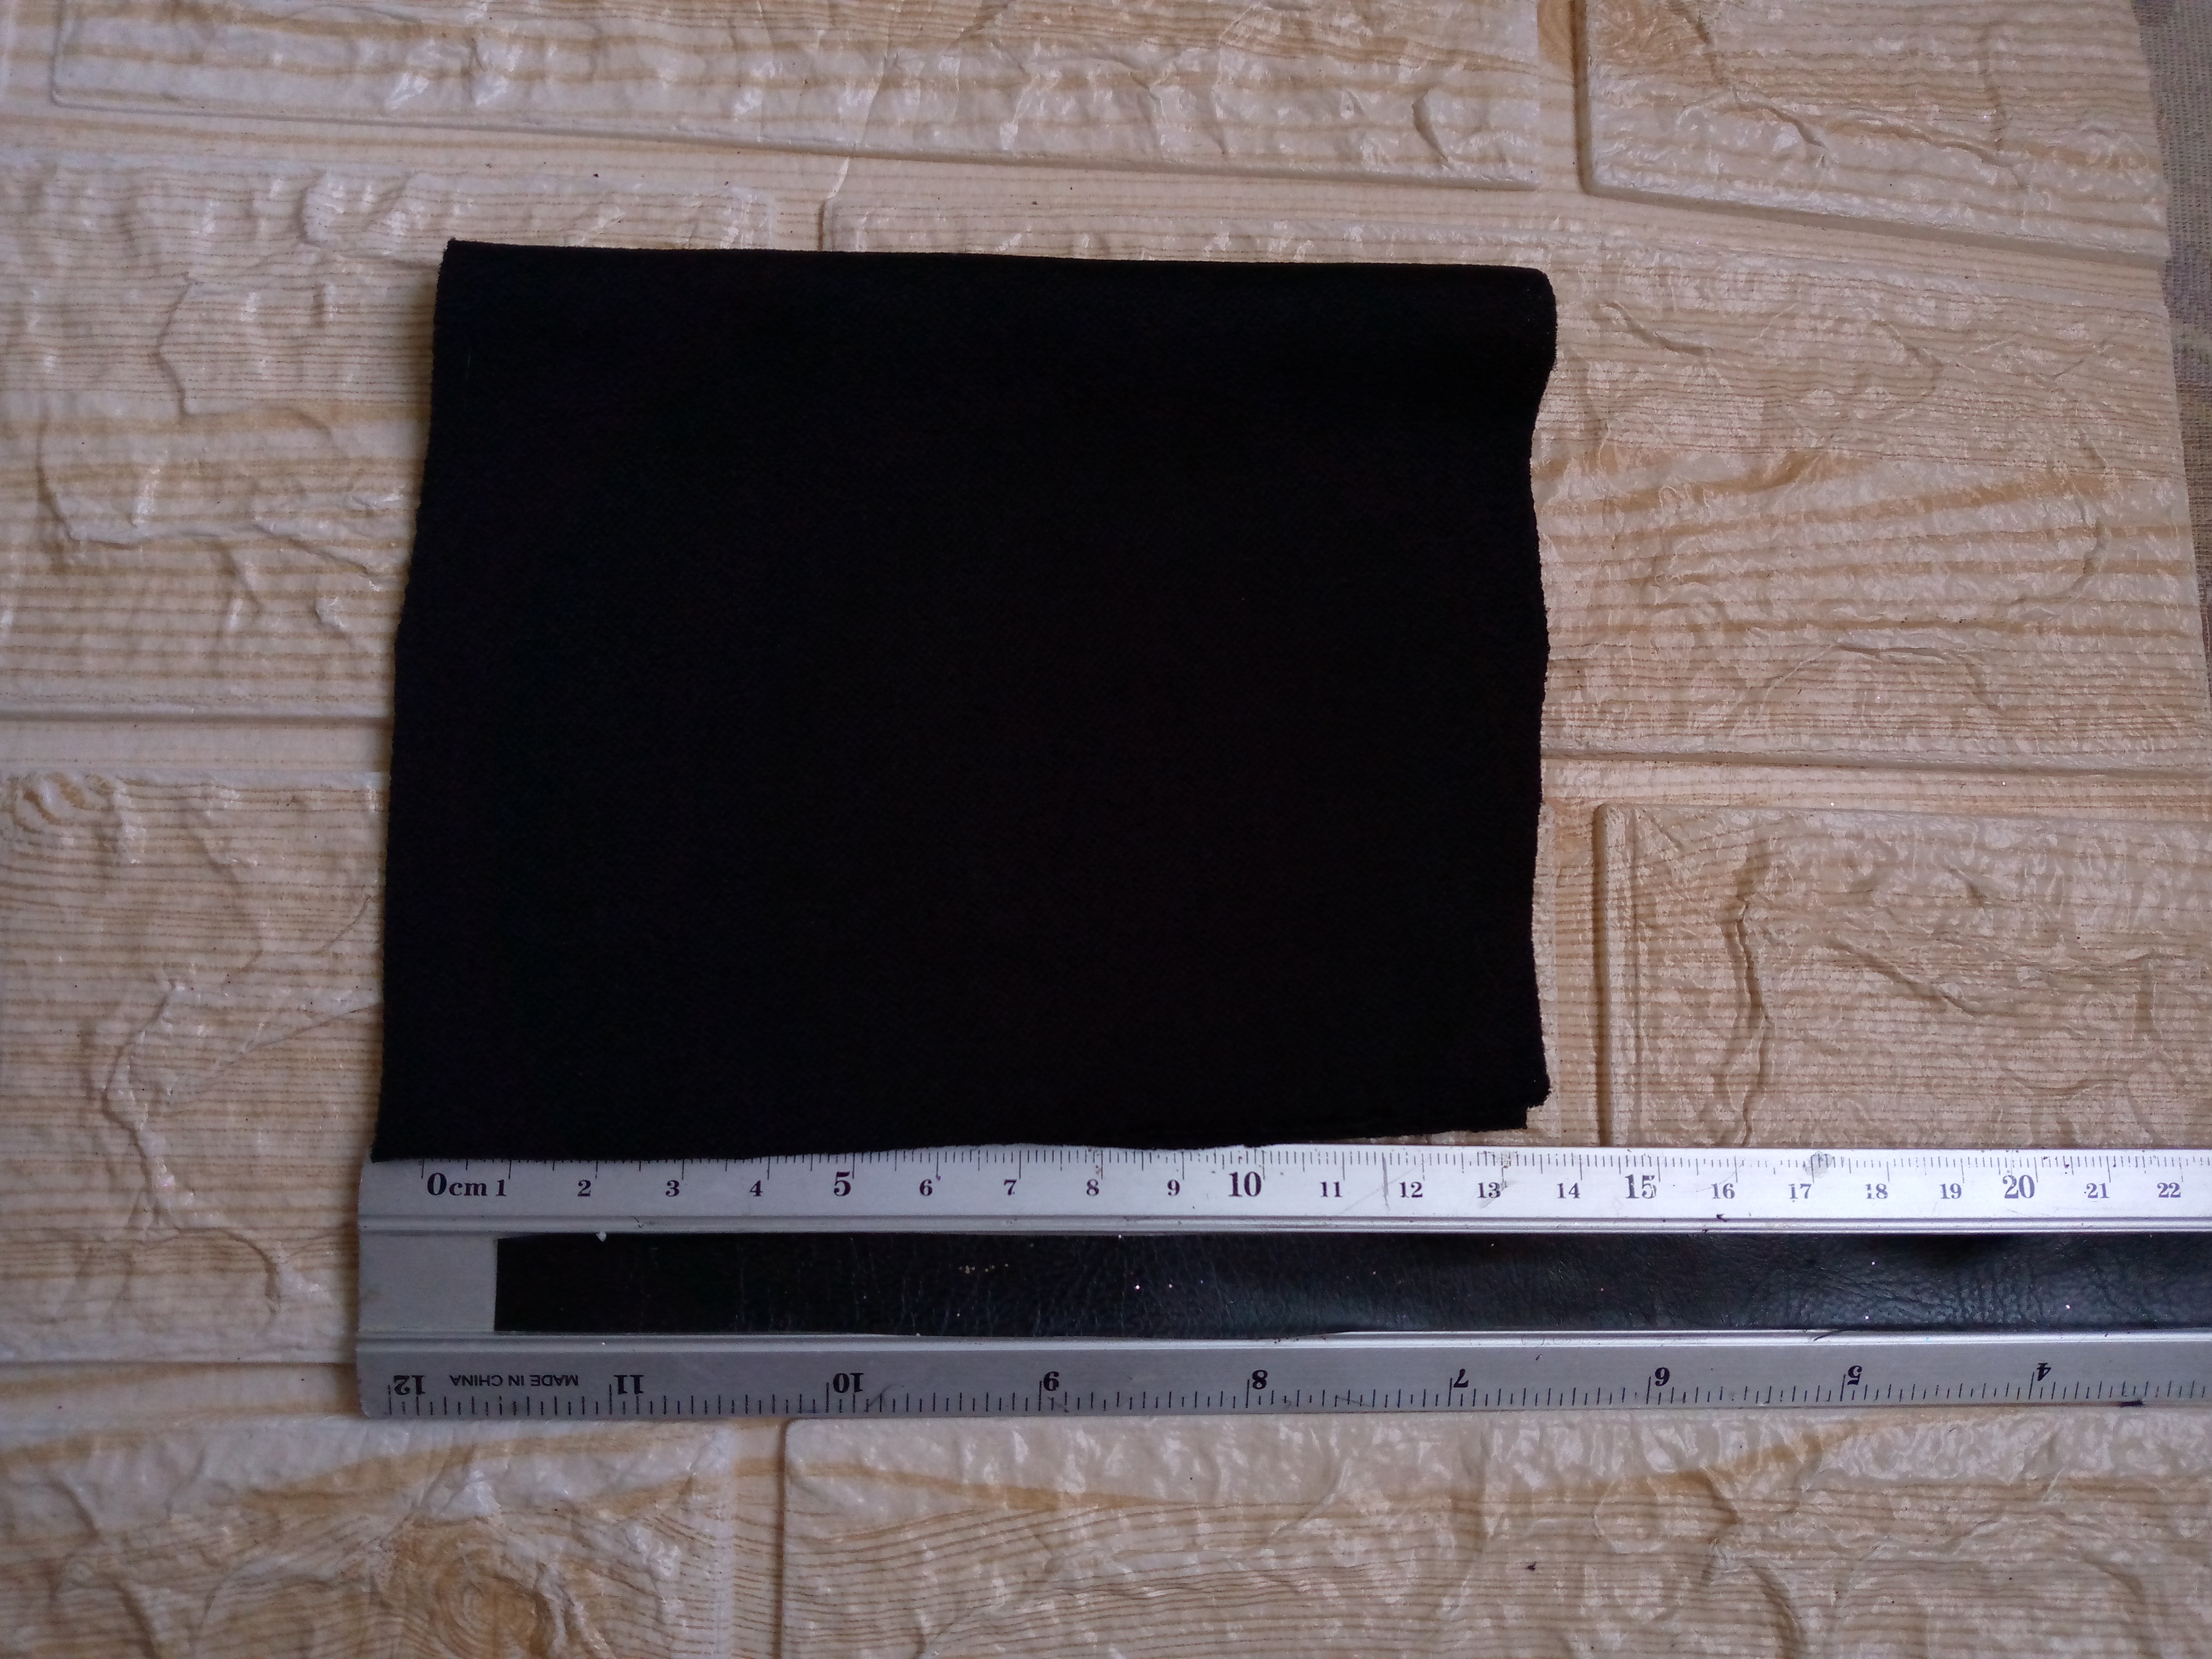
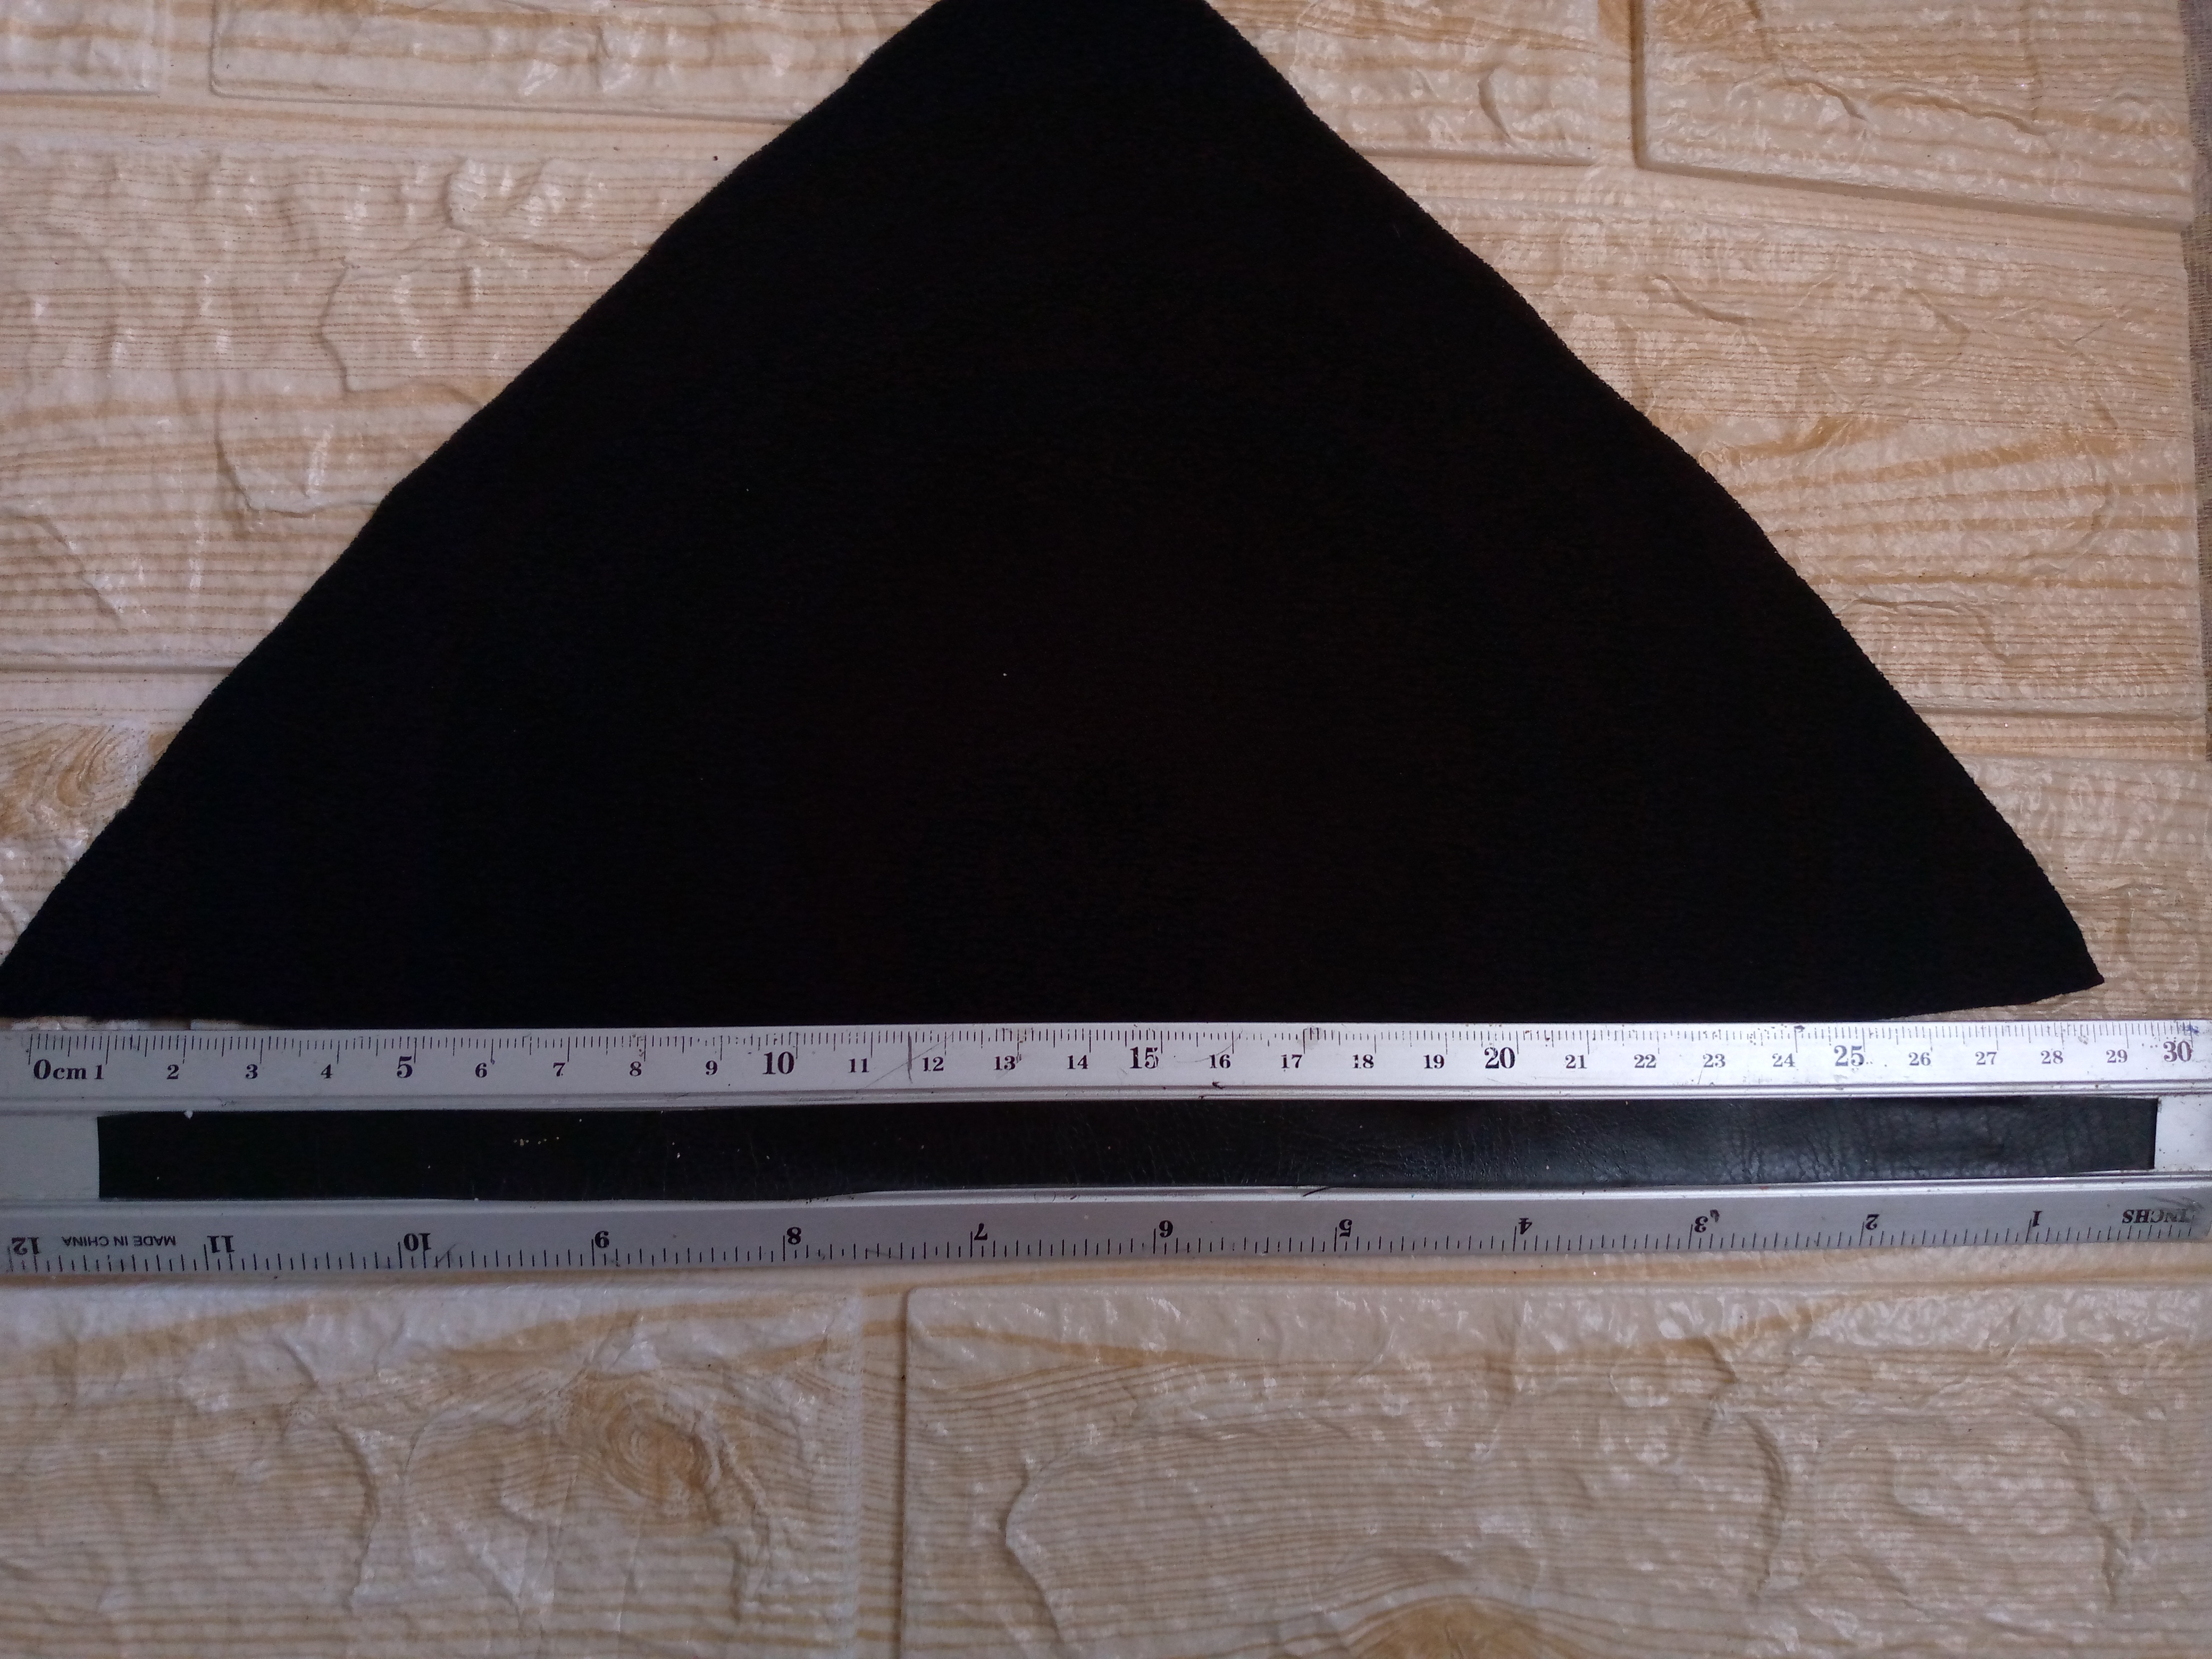
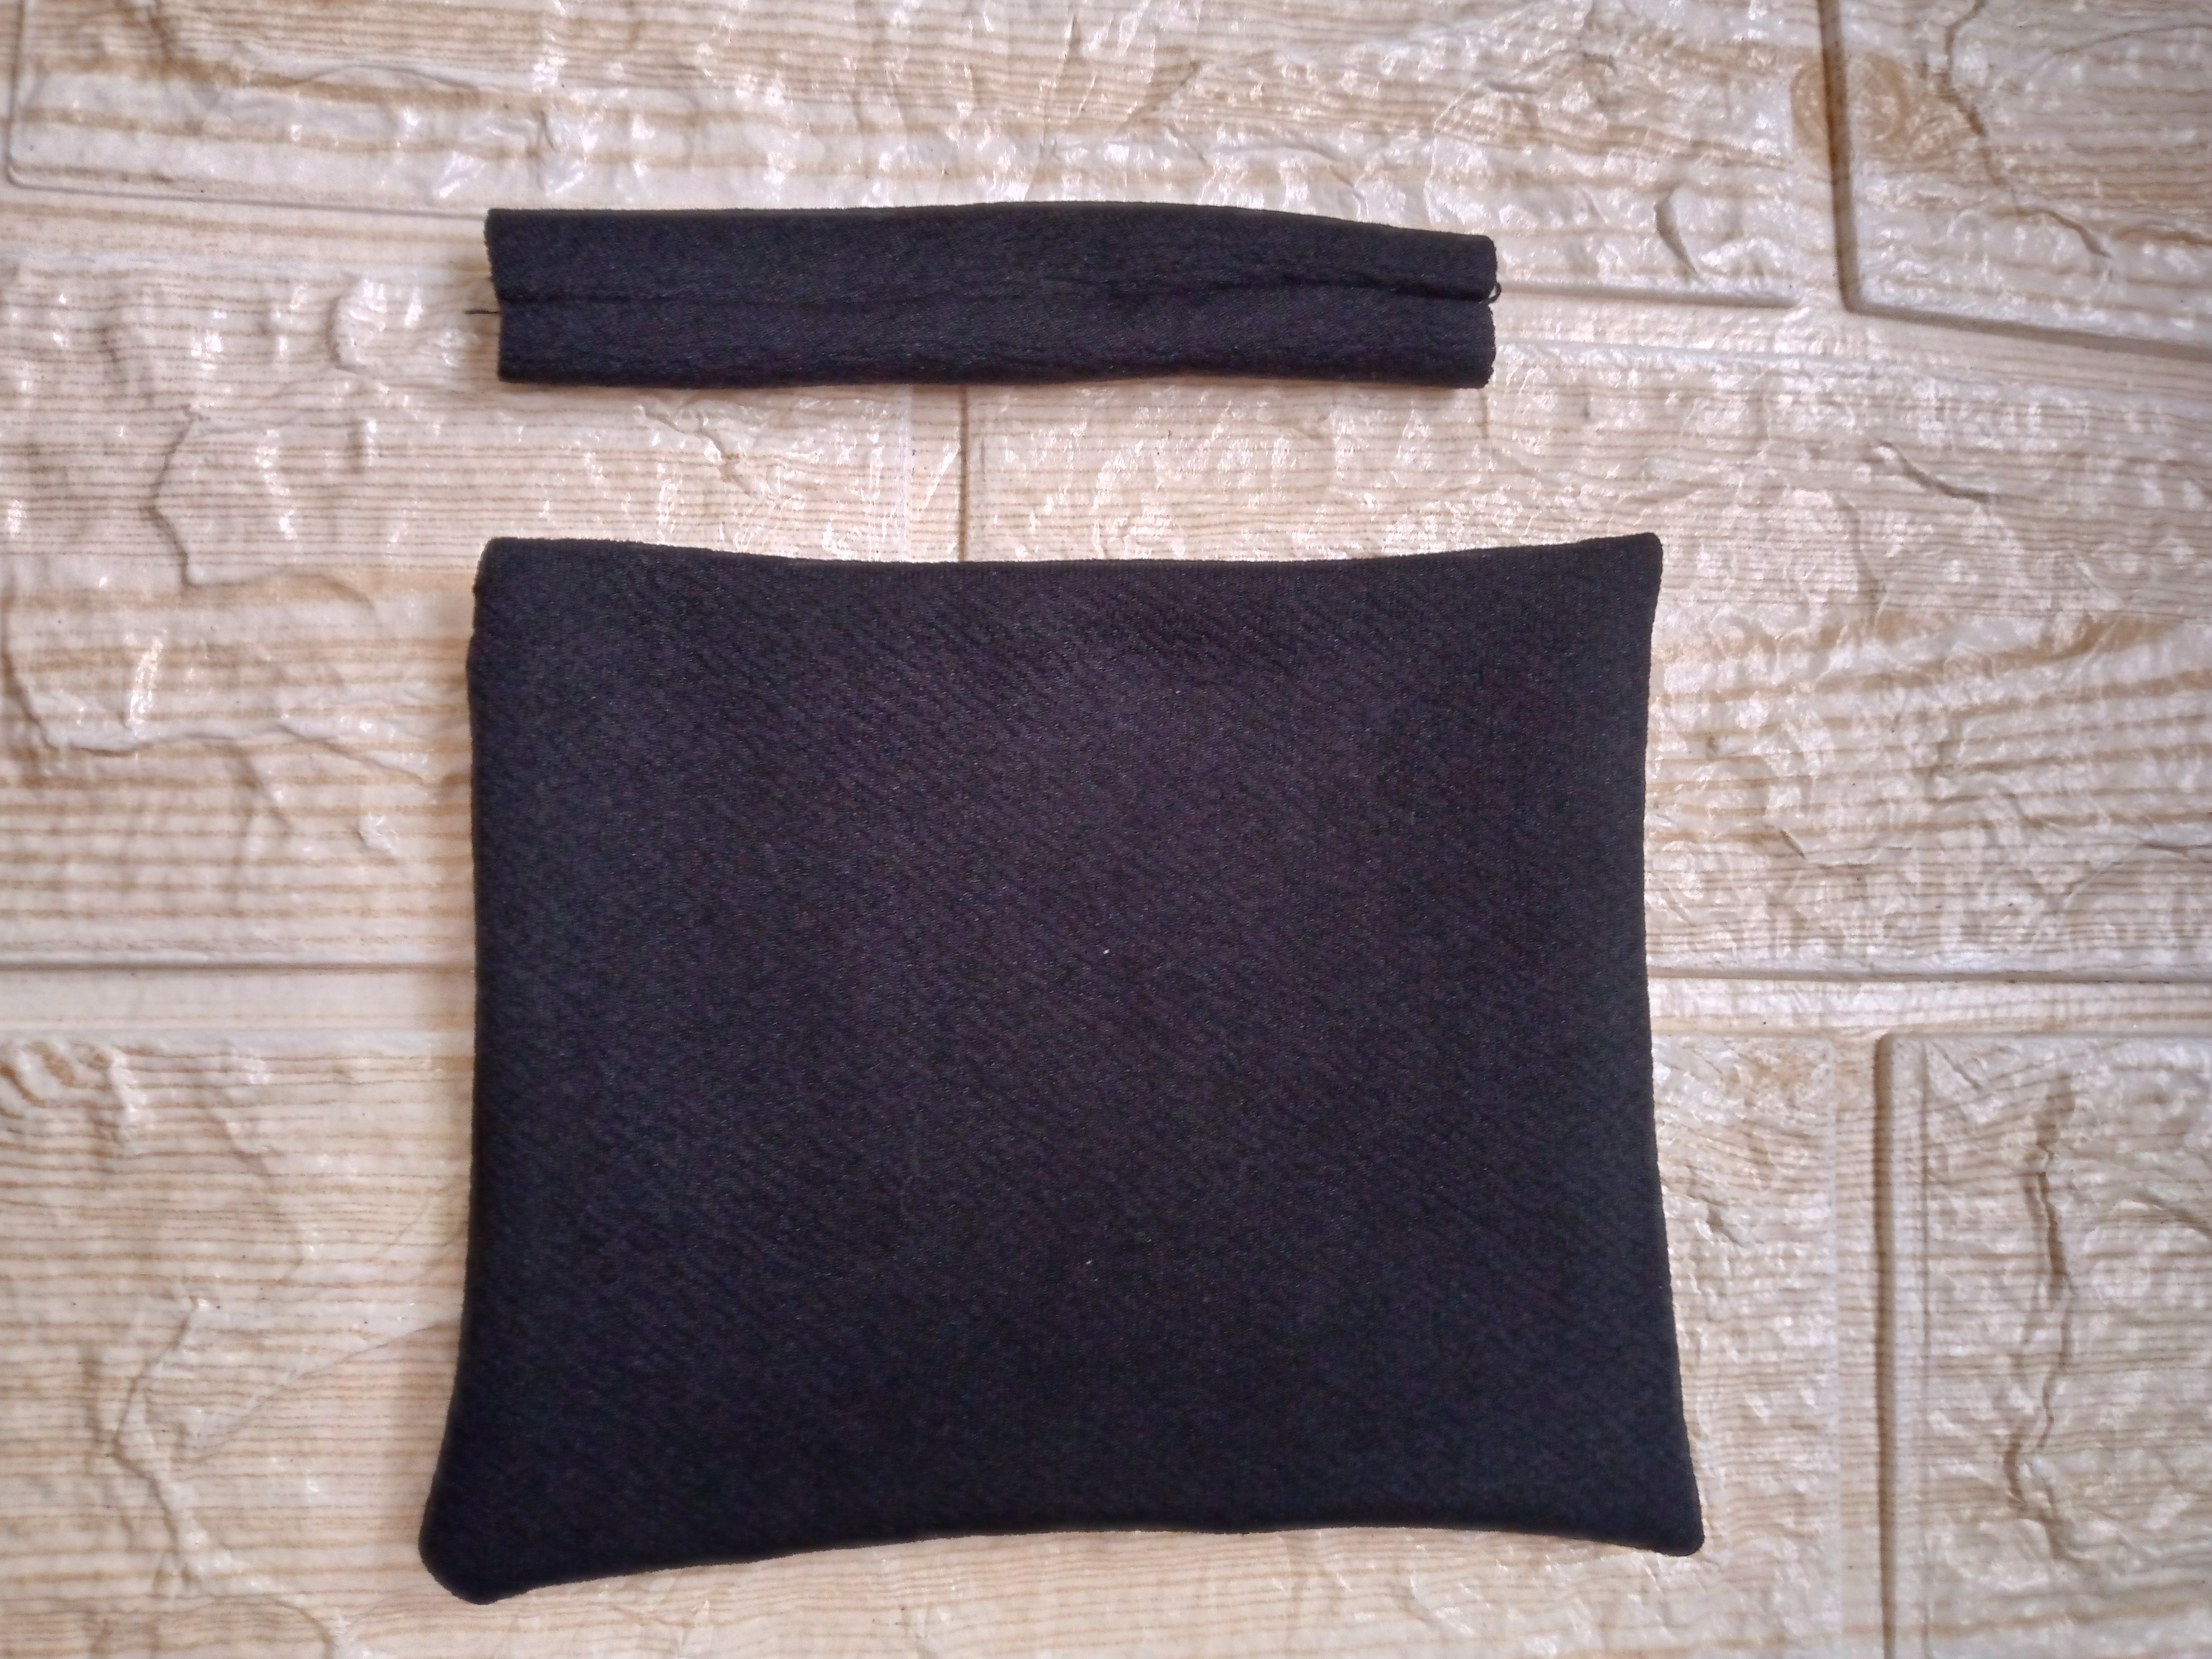
We will start by first cutting out a 13.5 cm wide x 13.5 cm high square from our fabric, a 29 cm wide triangle from both top parts, and finally the piece that joins our bow to the rectangle, this piece is 9 cm long x 5 cm wide, we will use these pieces to make our medium bow or bow.
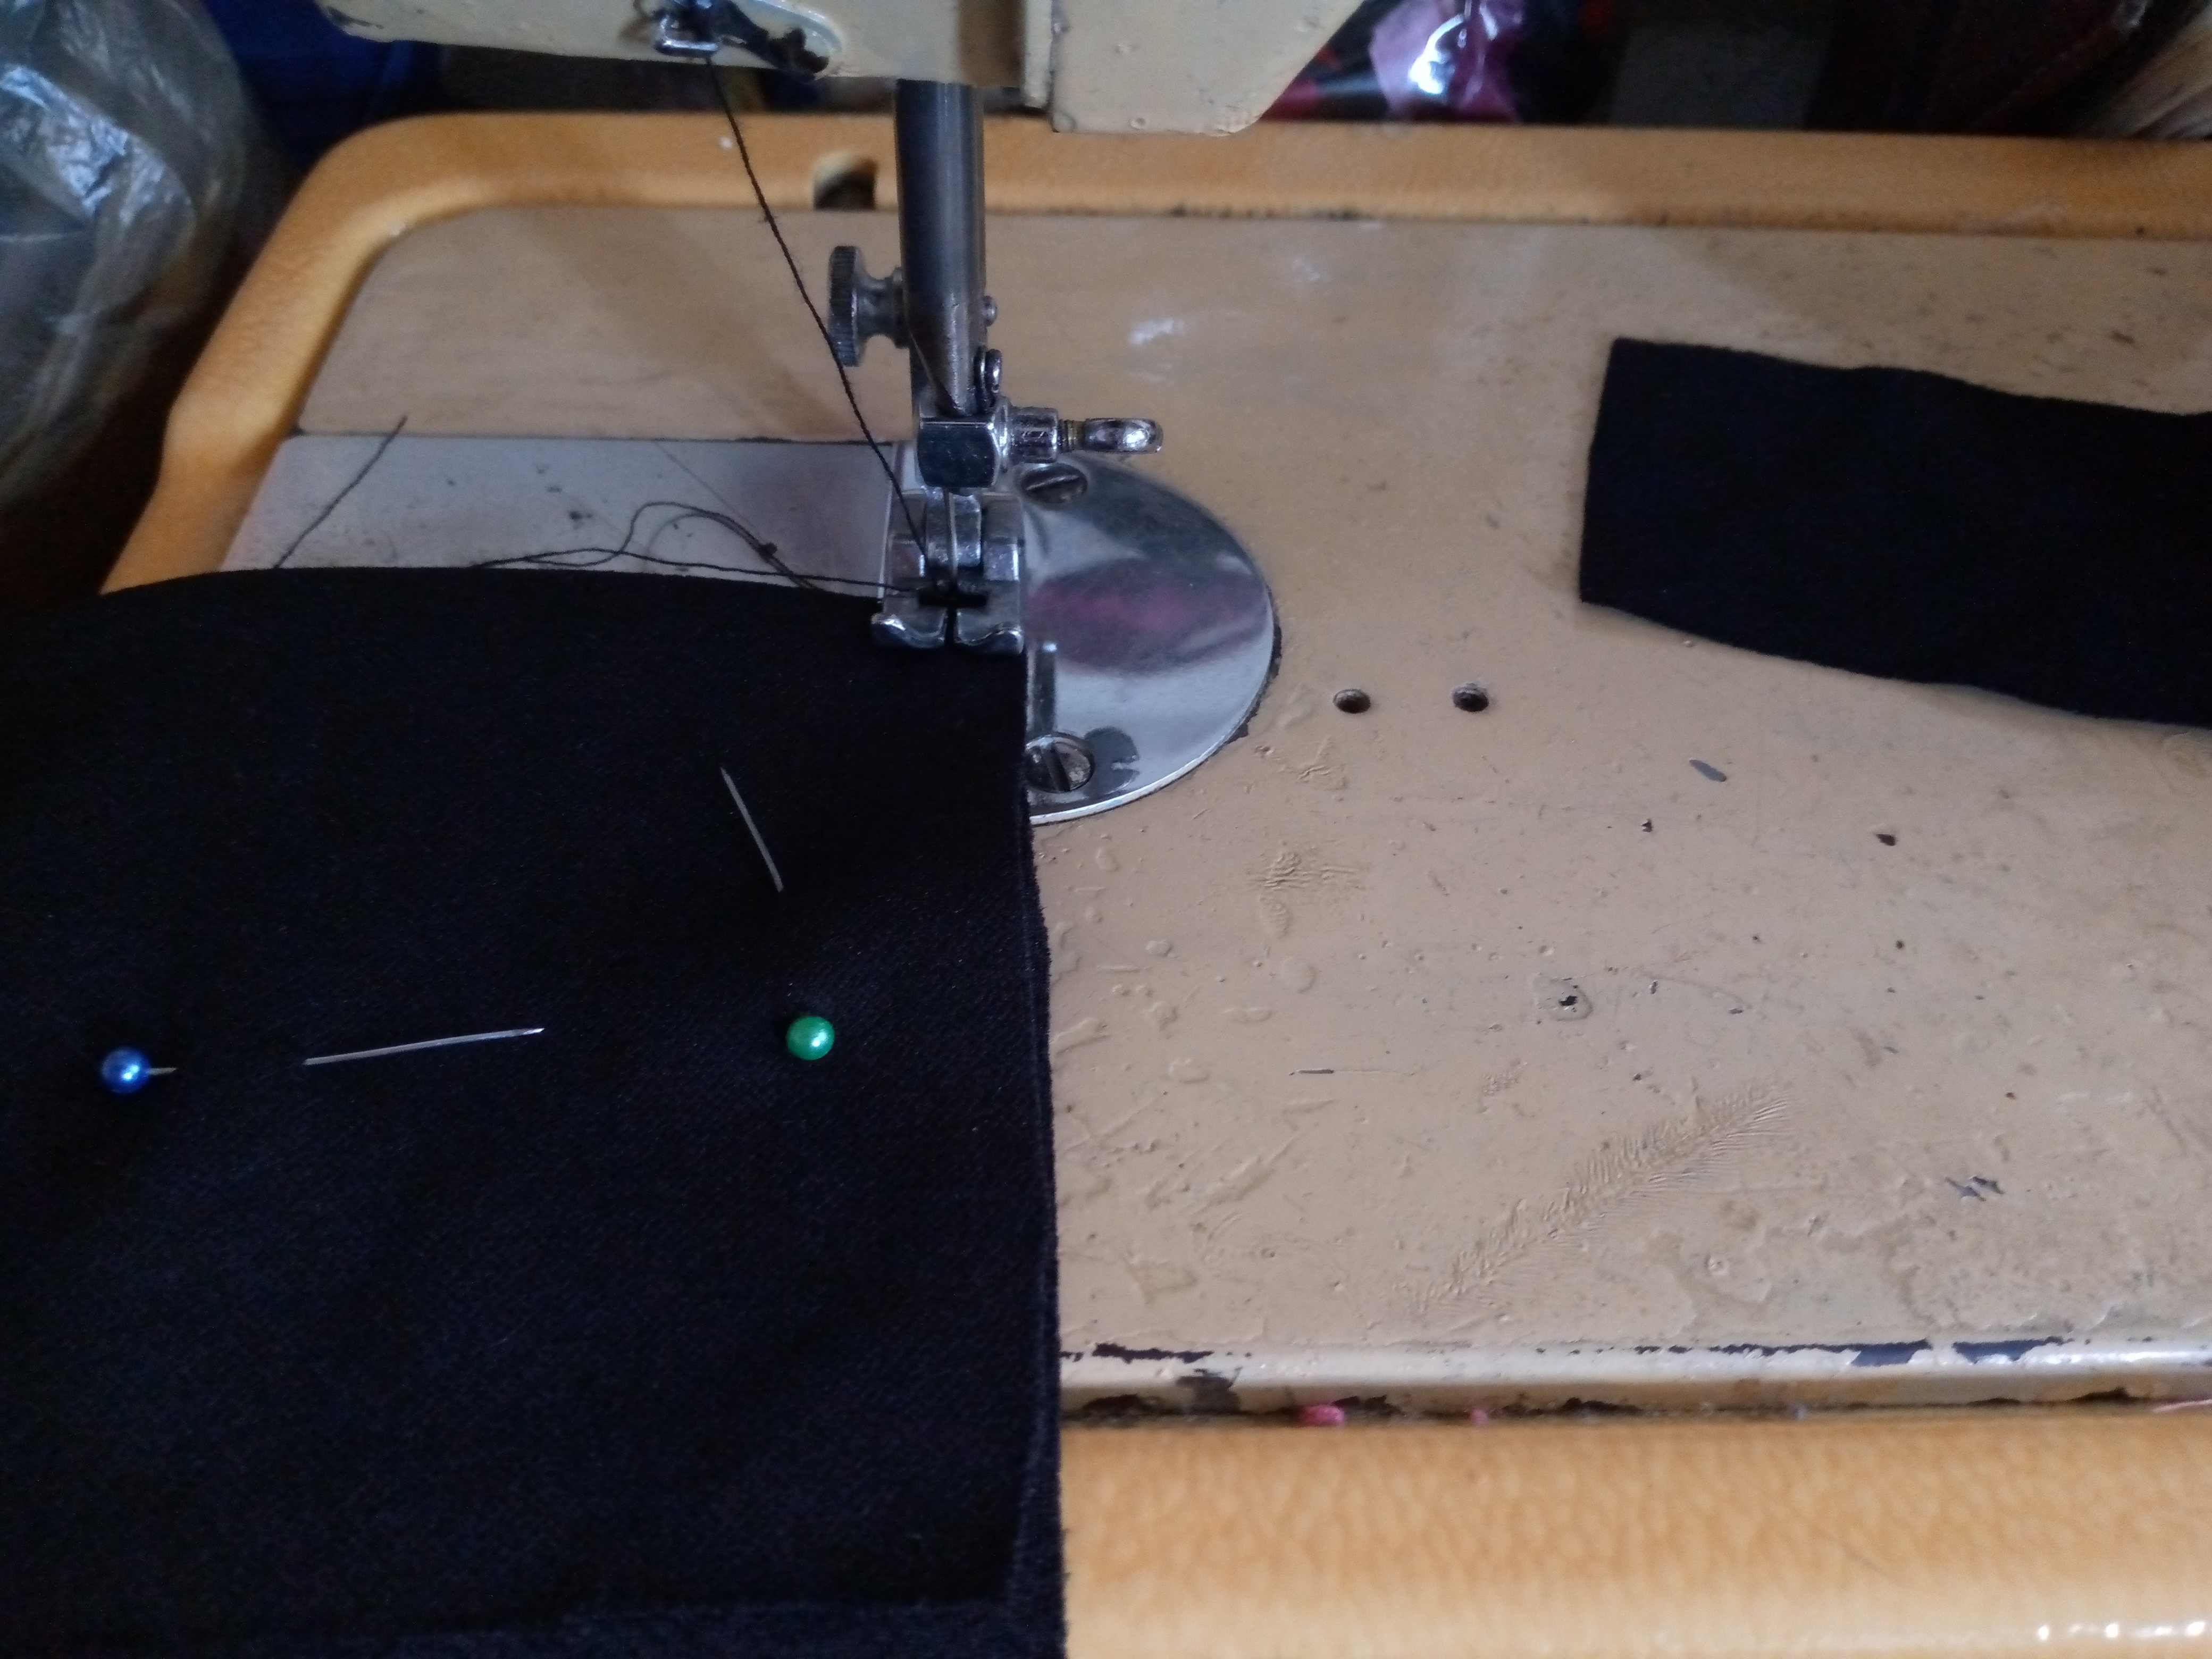
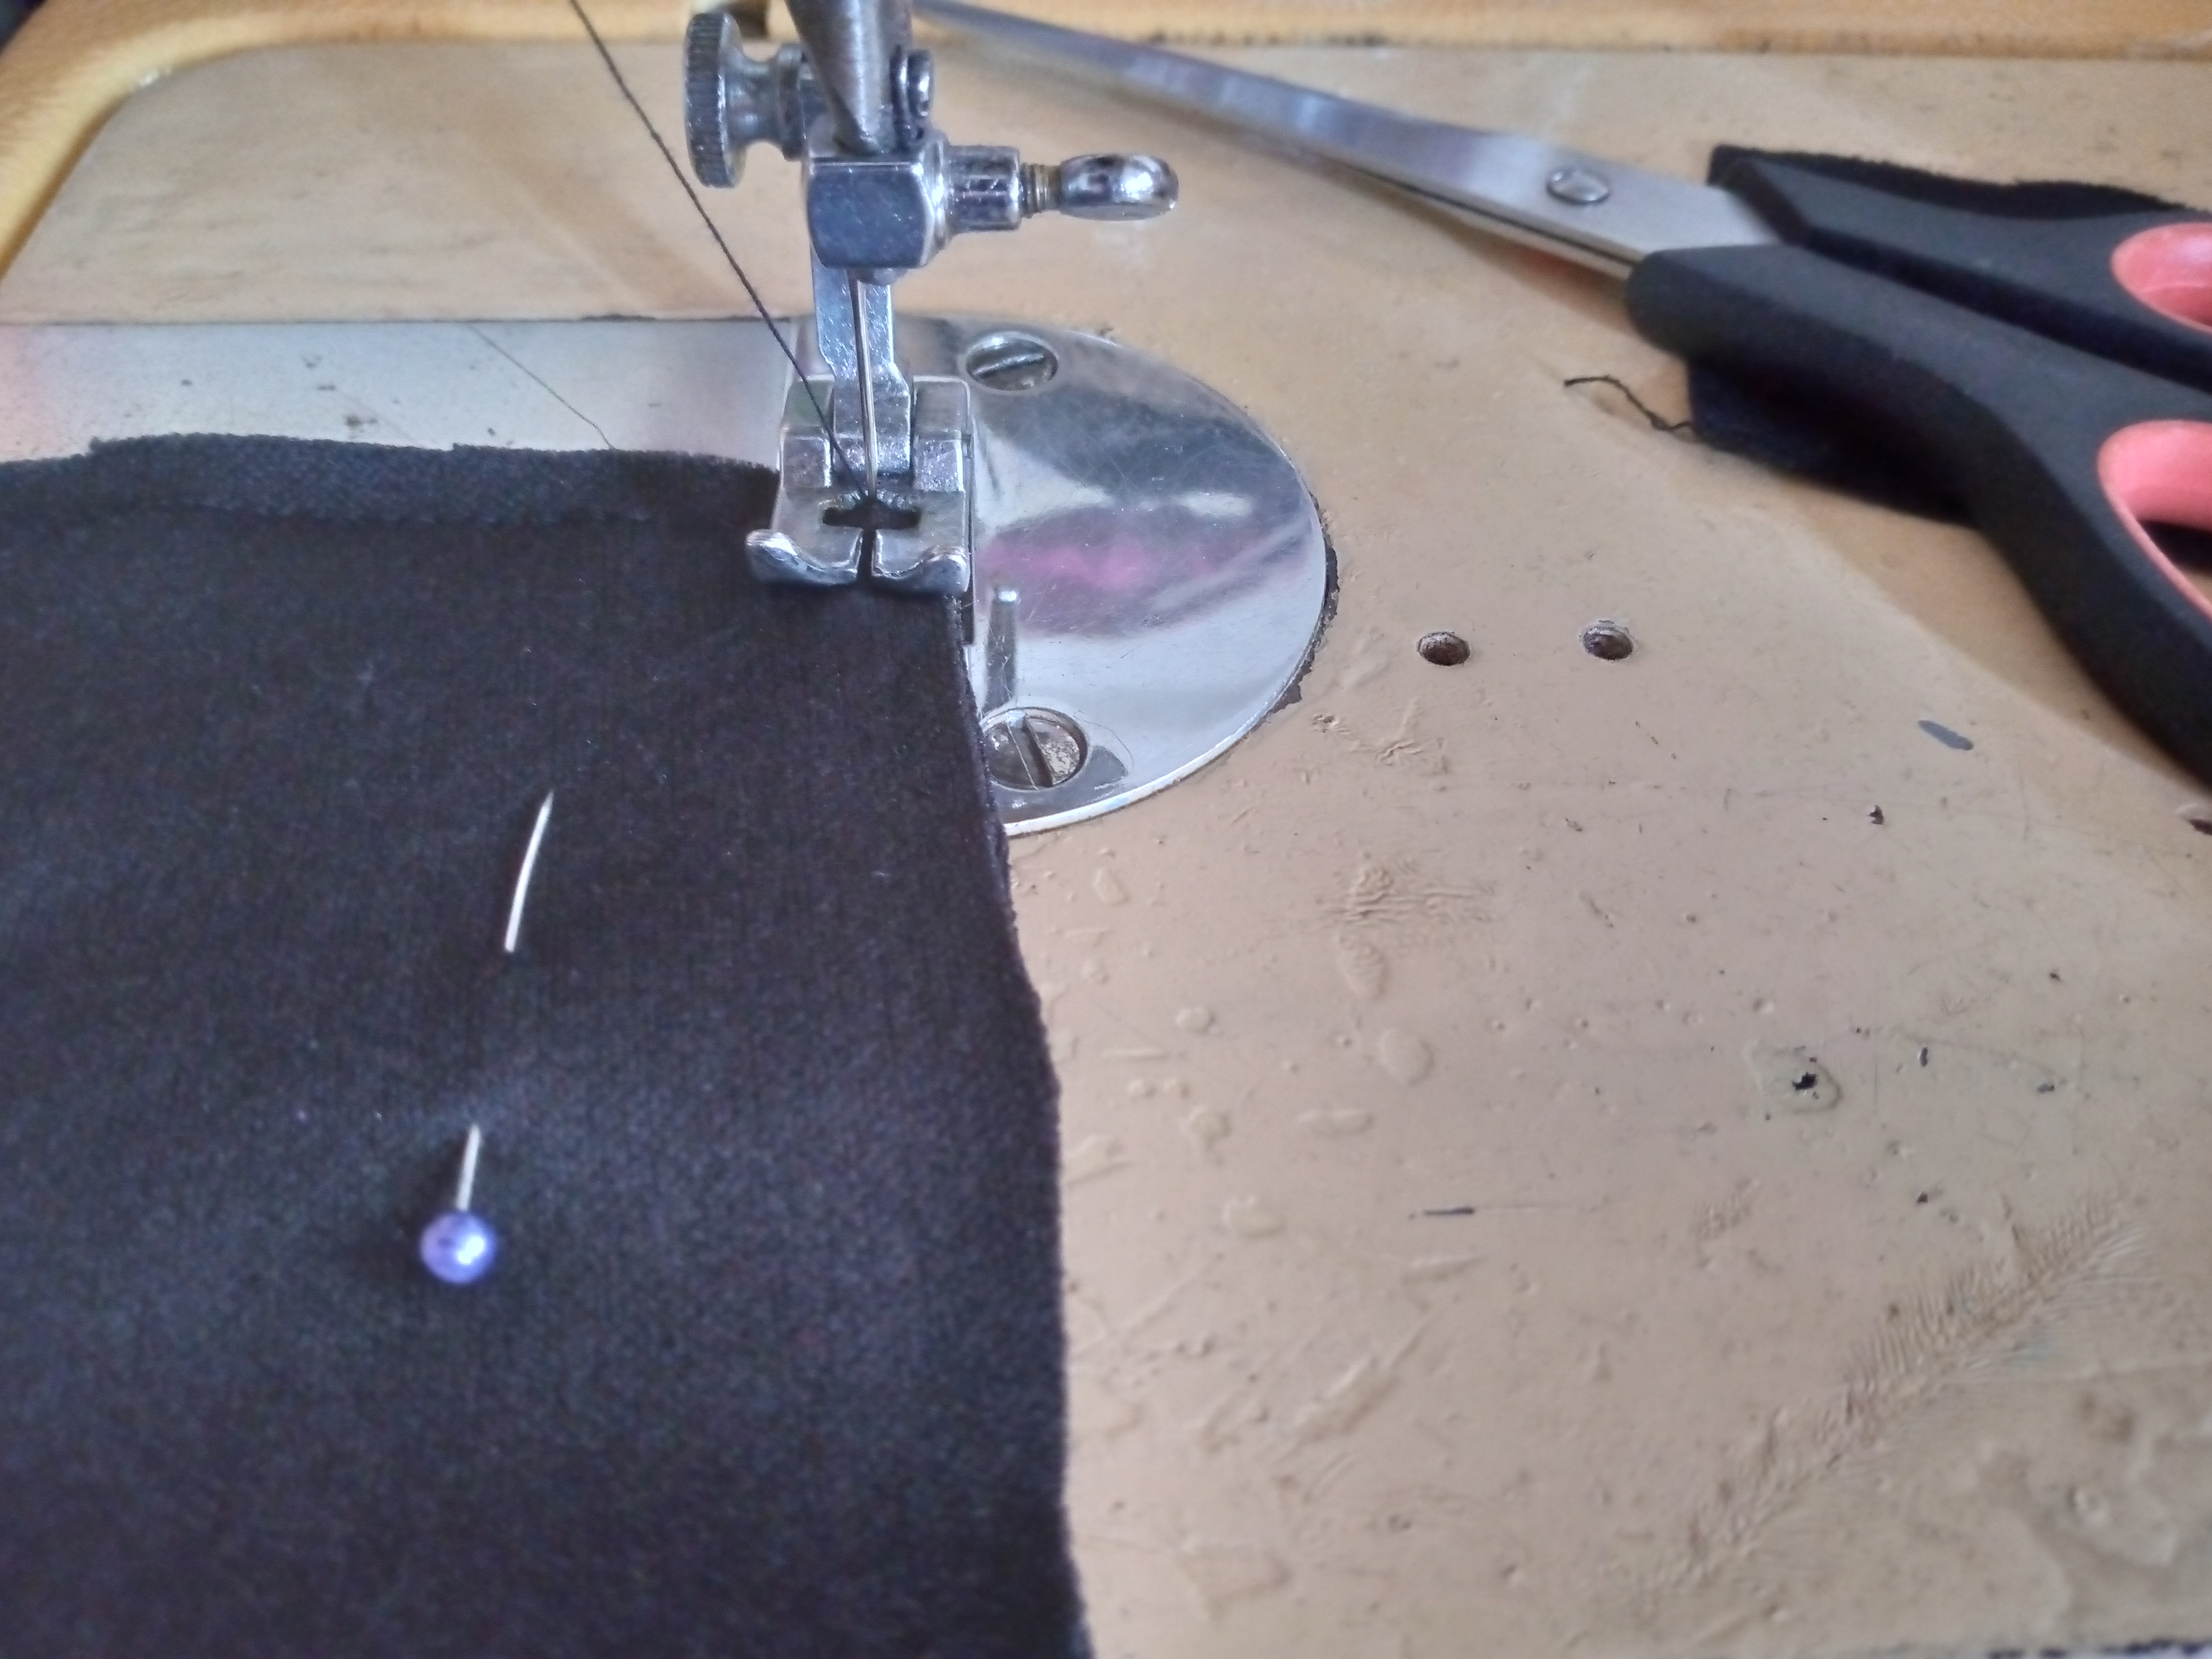
Paso 02
Step 02
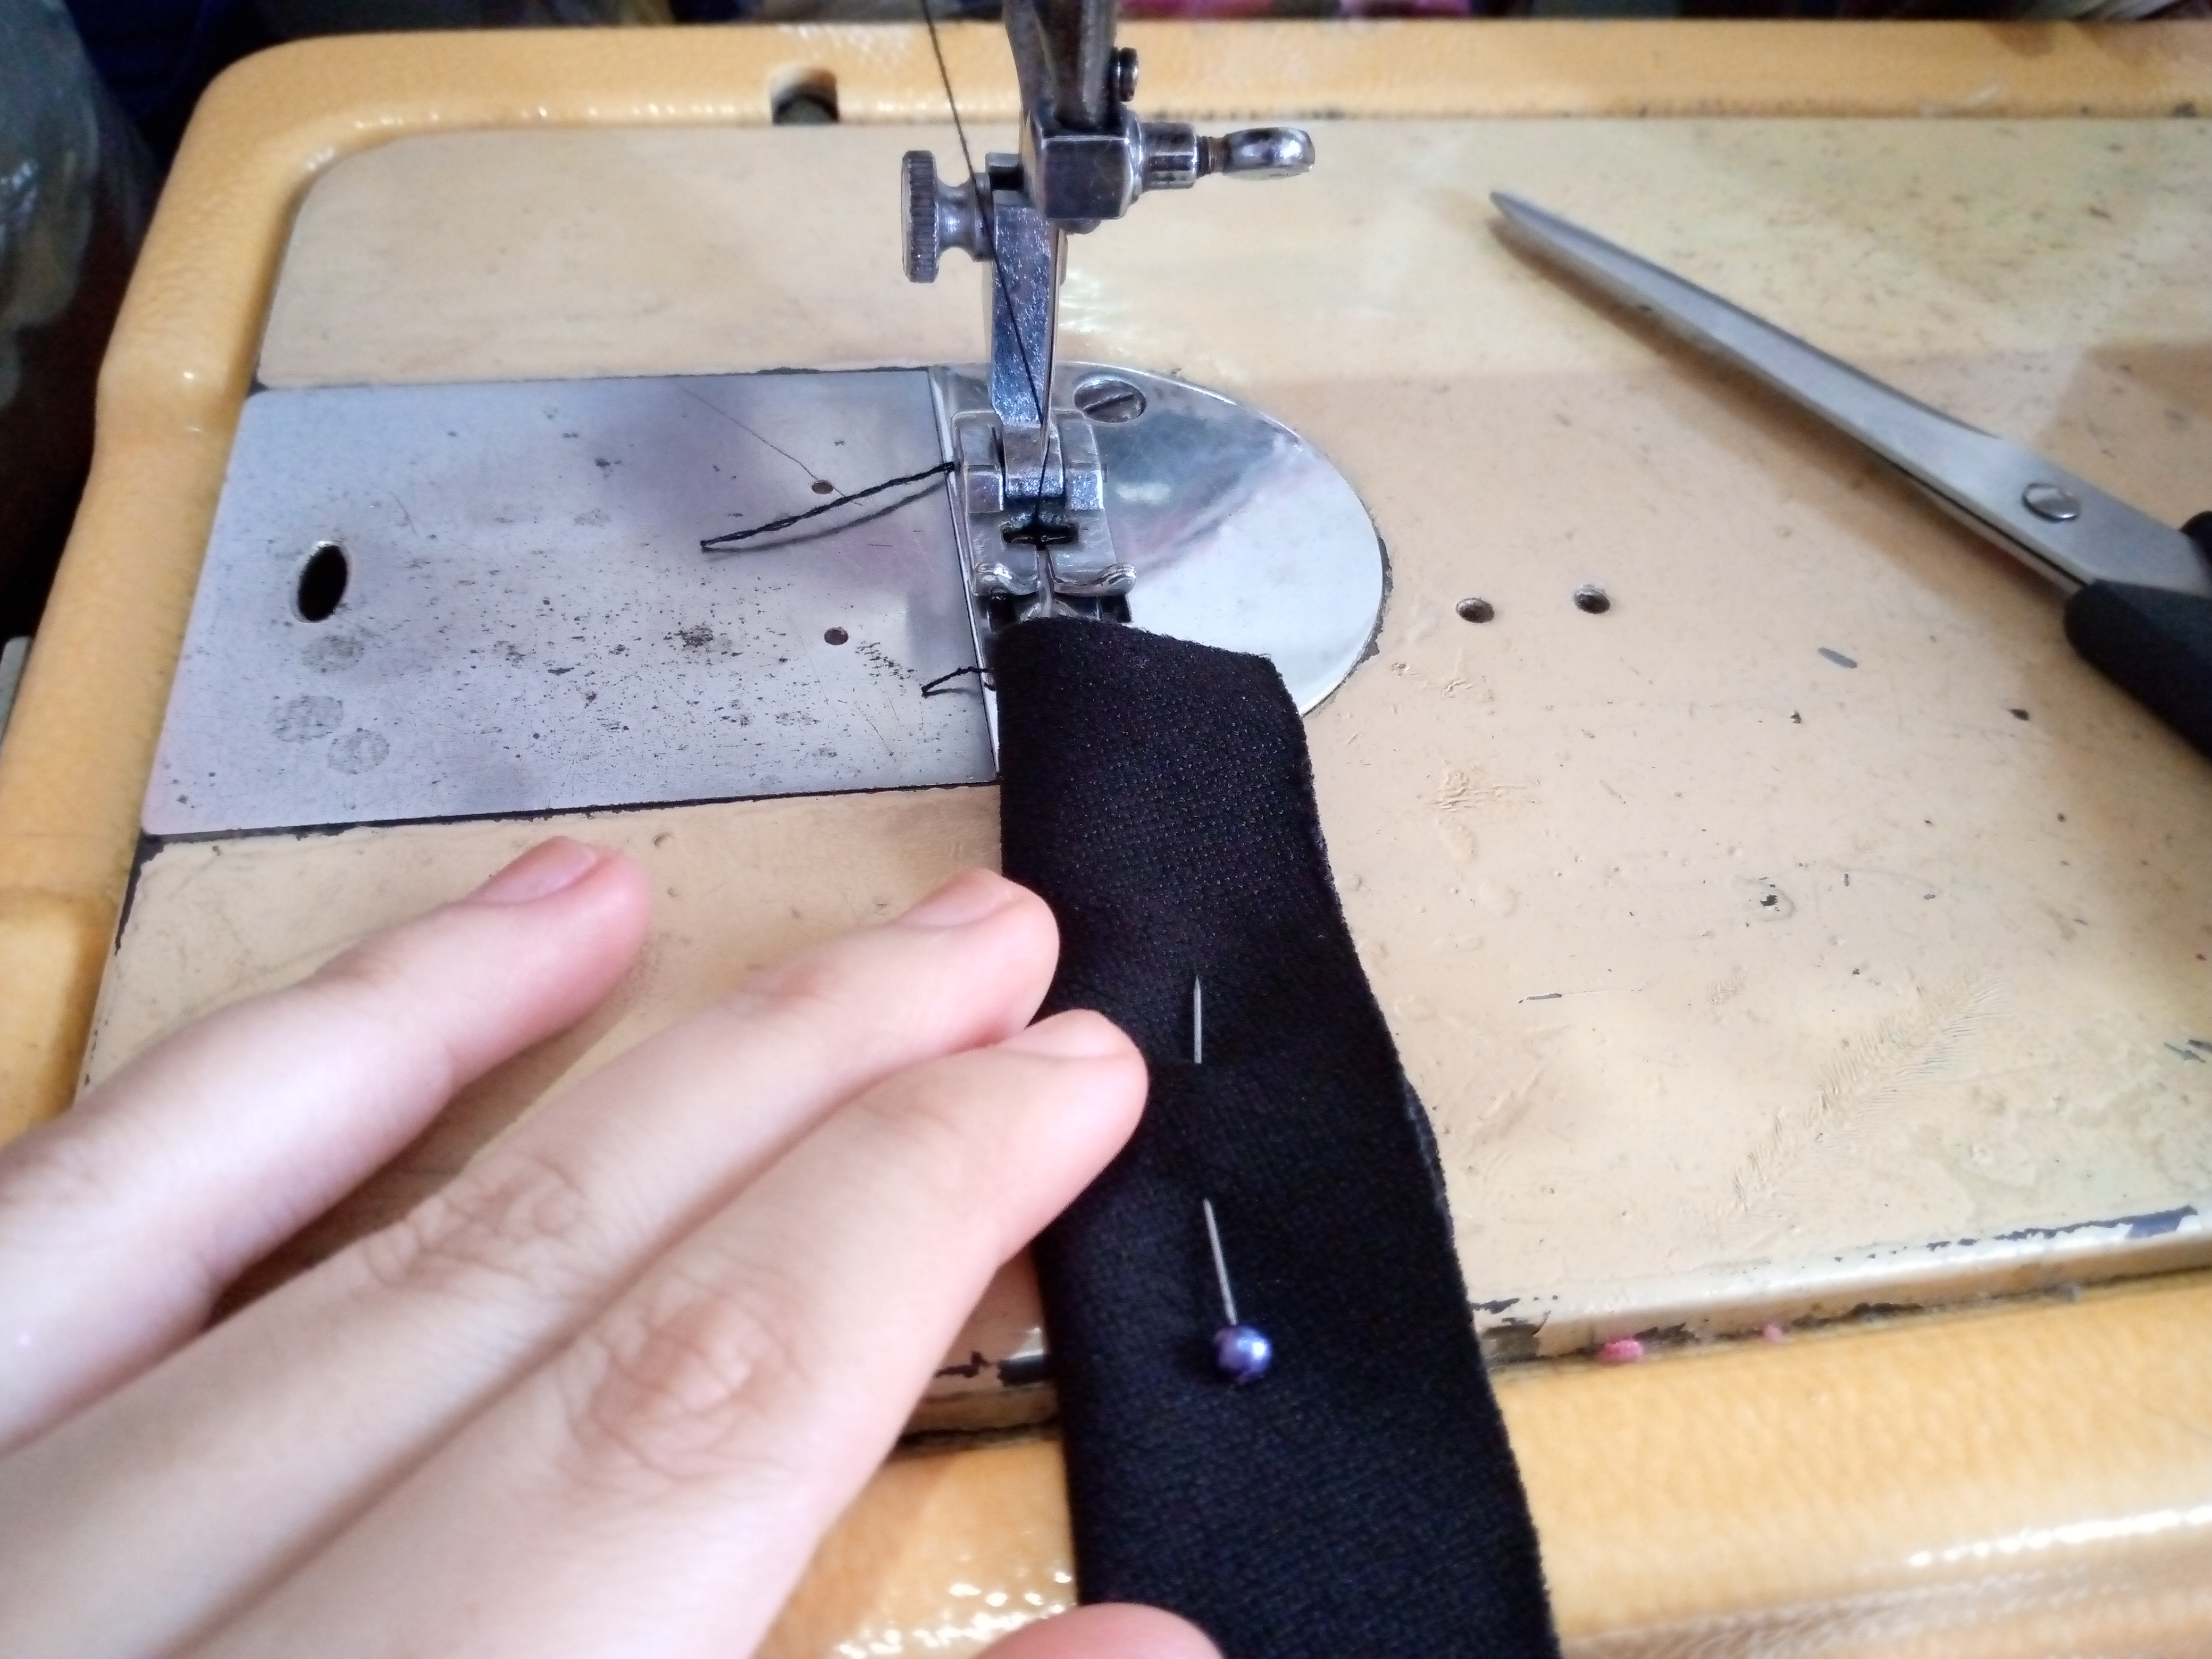
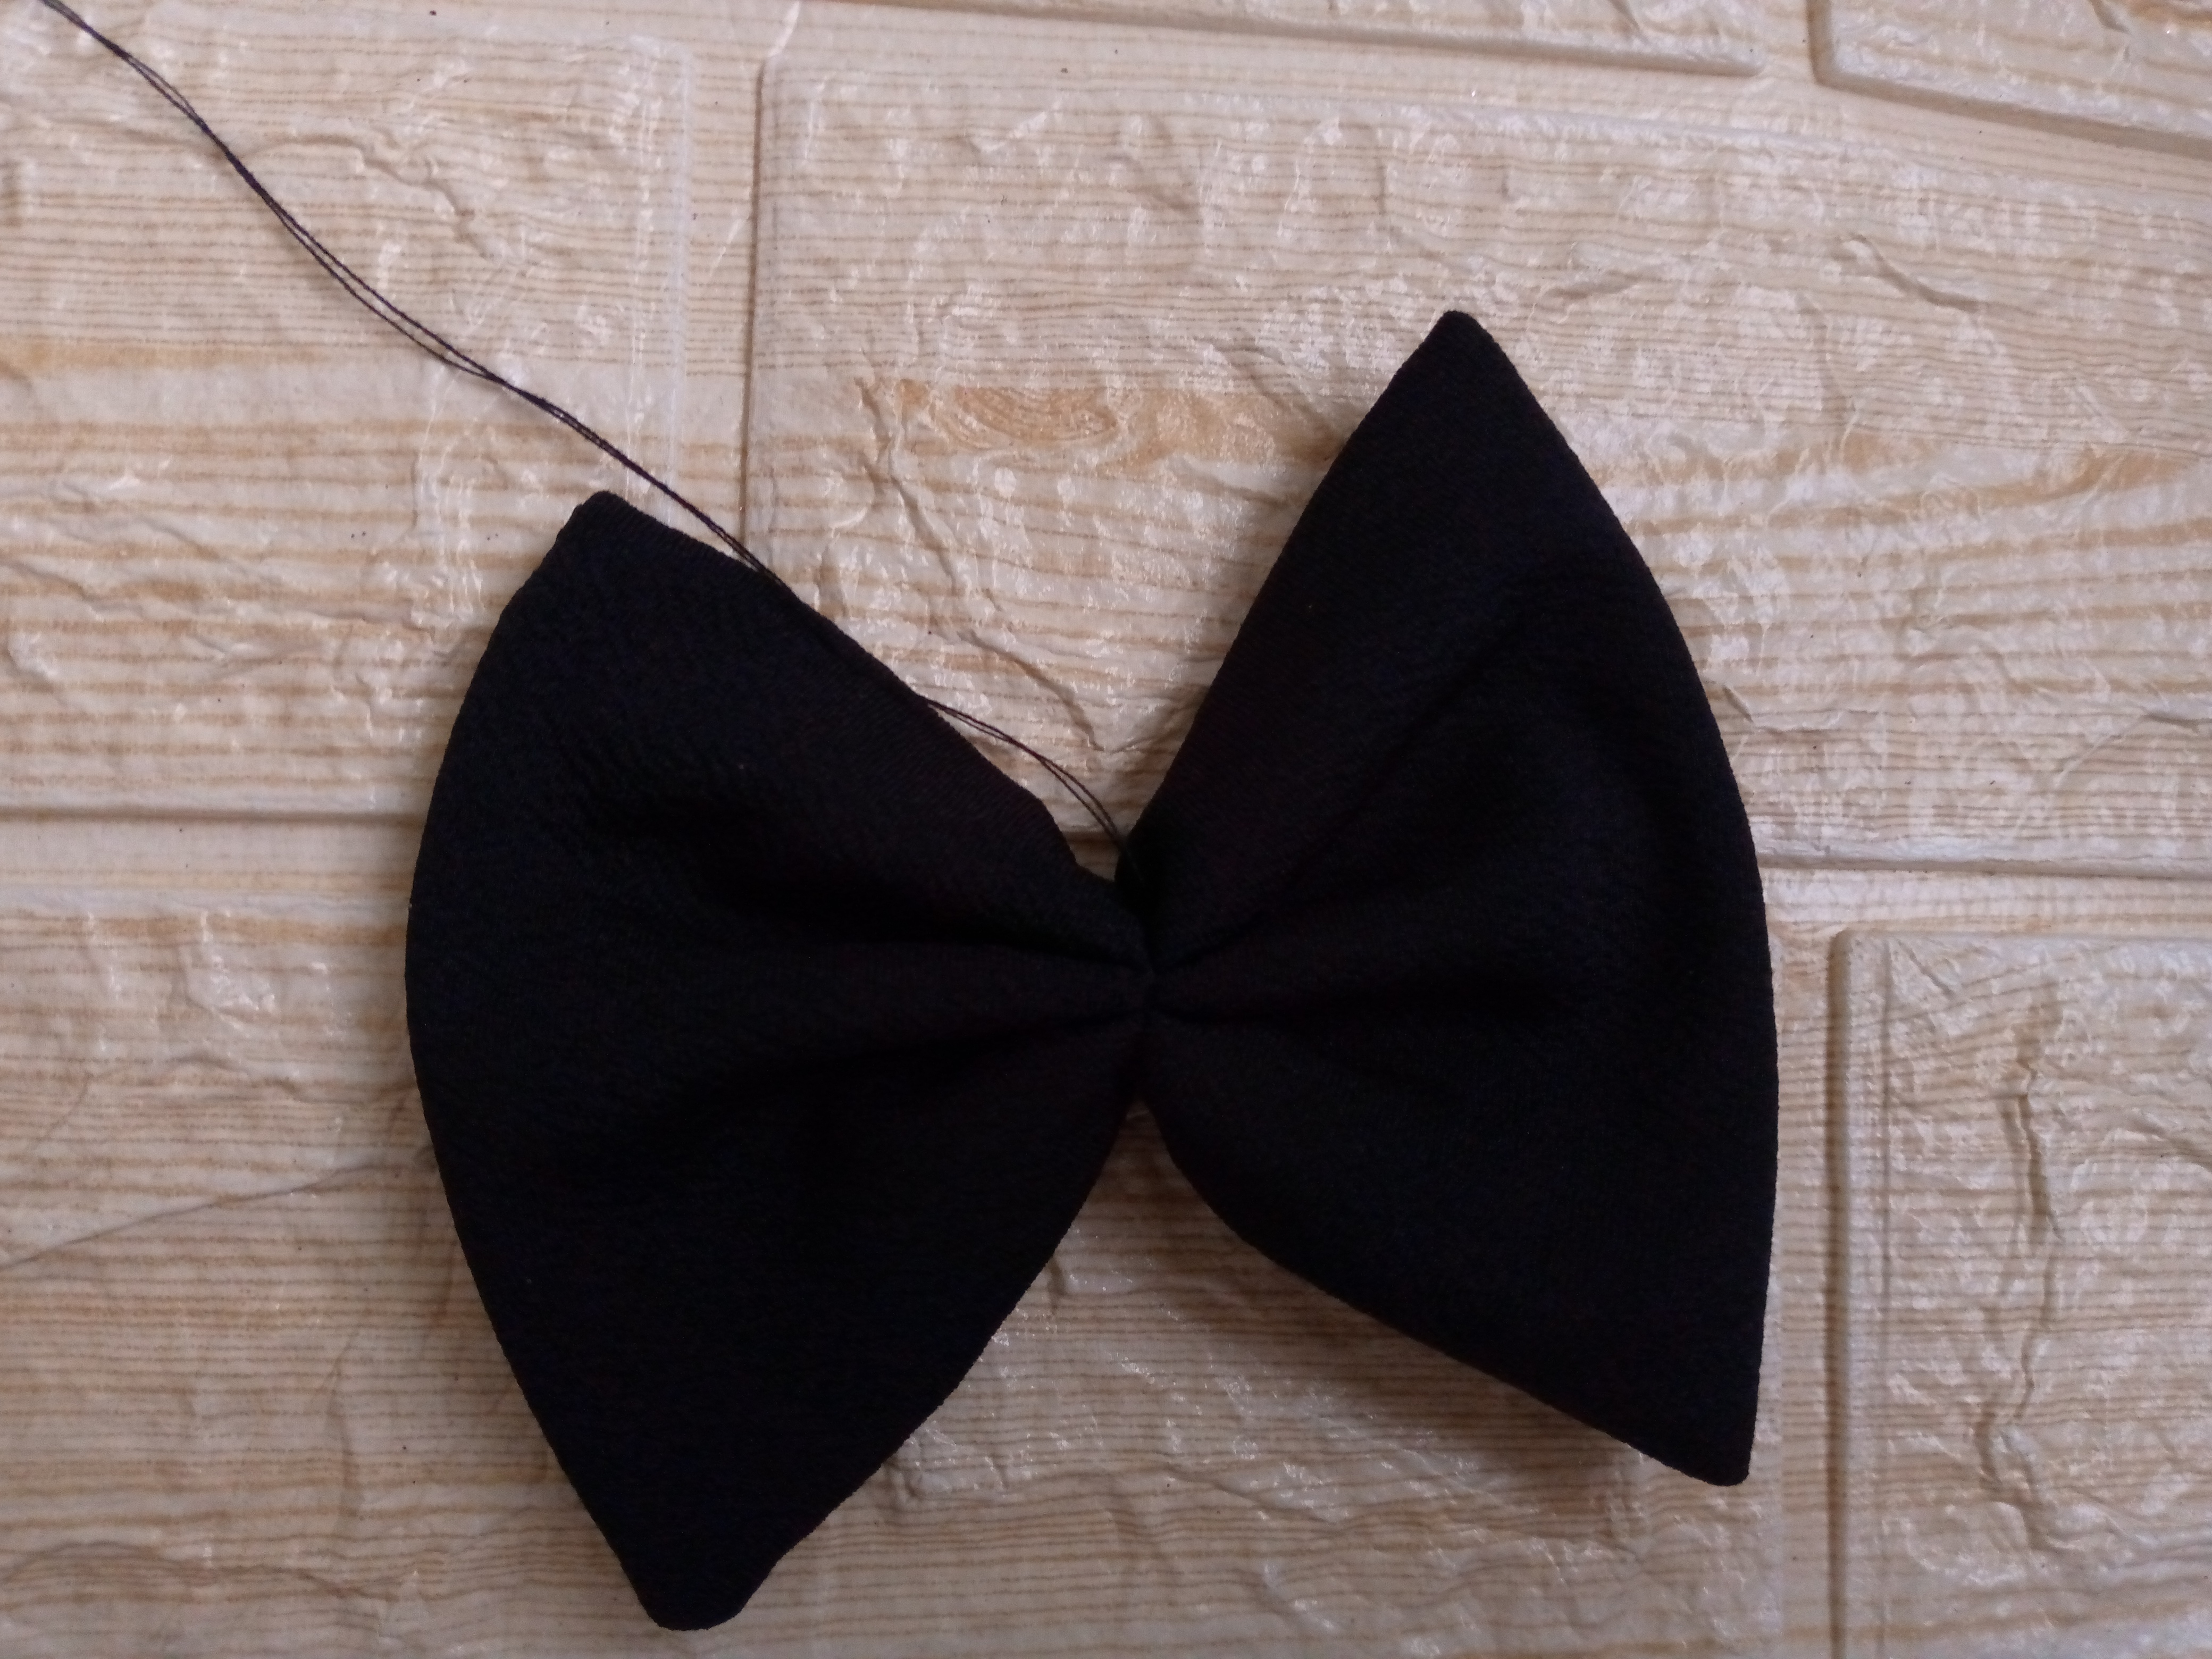
Before starting to sew I placed pins in each piece so that it does not come out and avoids rolling when sewing, then we placed pins almost close to the edge and first I sewed the square, for this I sewed it with a straight stitch and left a hole at the bottom which is where I plan to turn it over when I finish sewing it, for the rectangle I only sewed it on the straight side since it can easily be turned over, then I went on to, as I told you, turn said pieces over and when turning them over I recommend ironing them for a better finish, I seal with a needle and thread the hole that we left in the square so that the thread does not continue to come loose.
Paso 03
Step 03
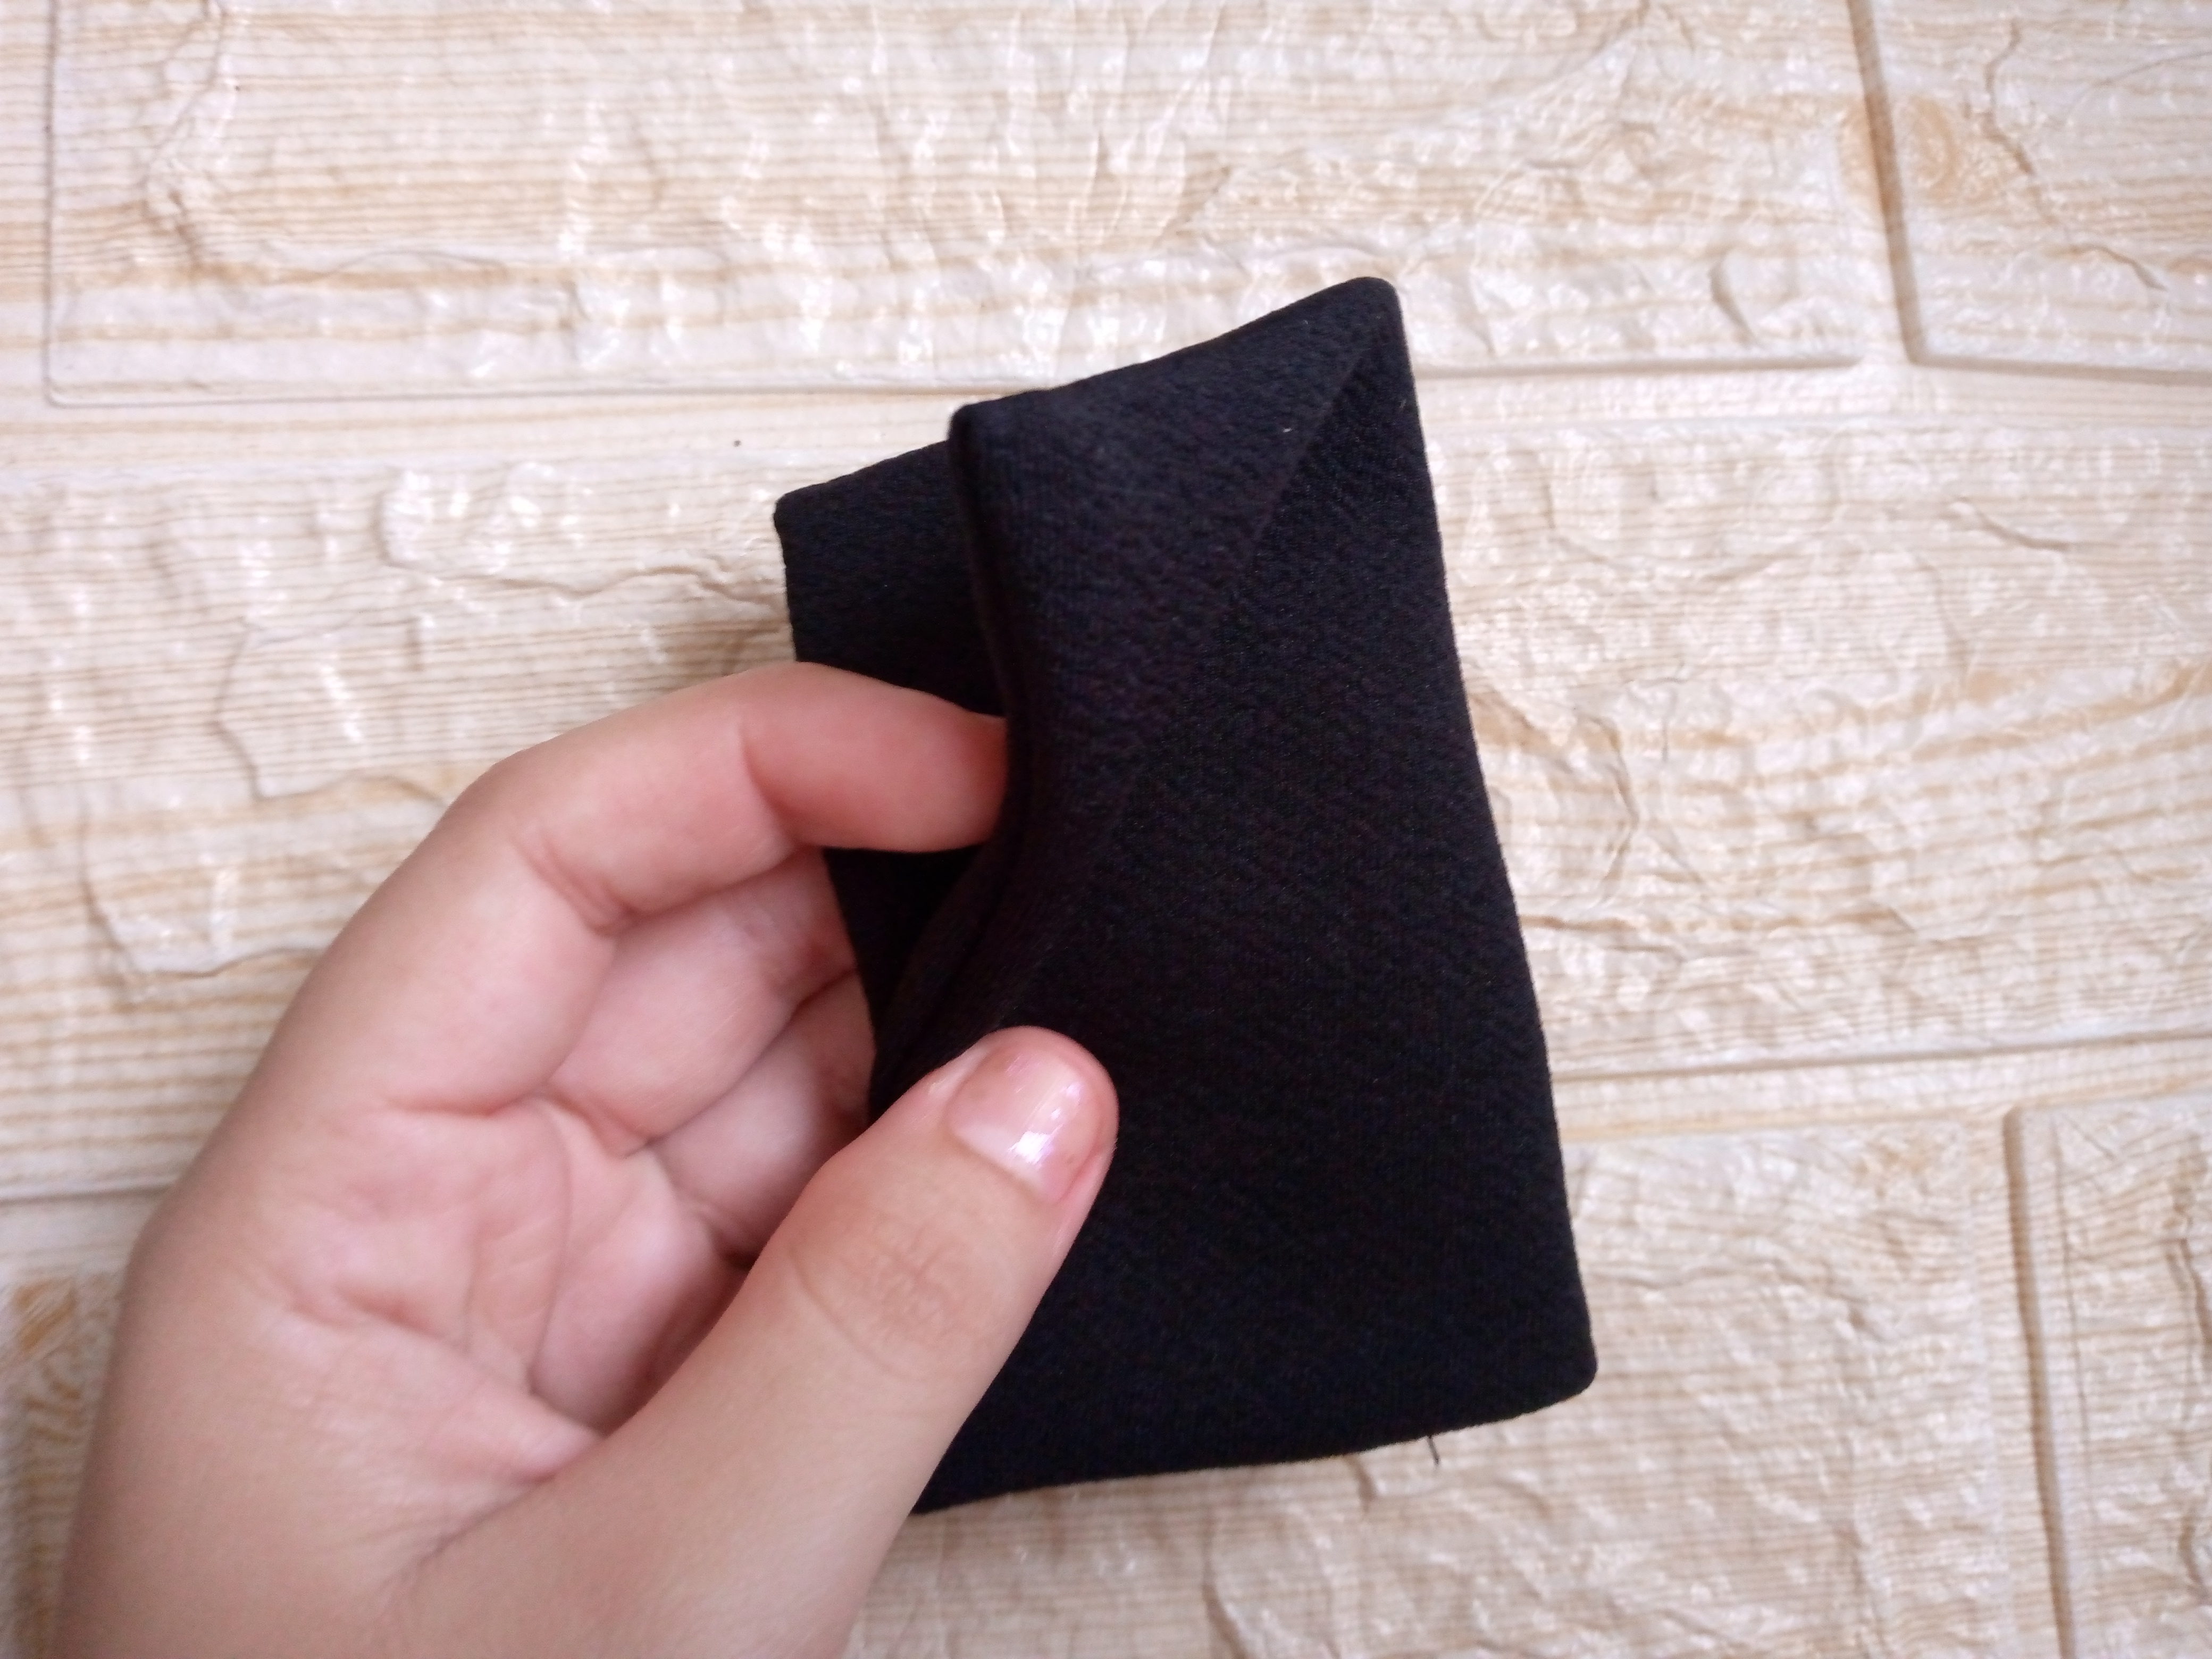
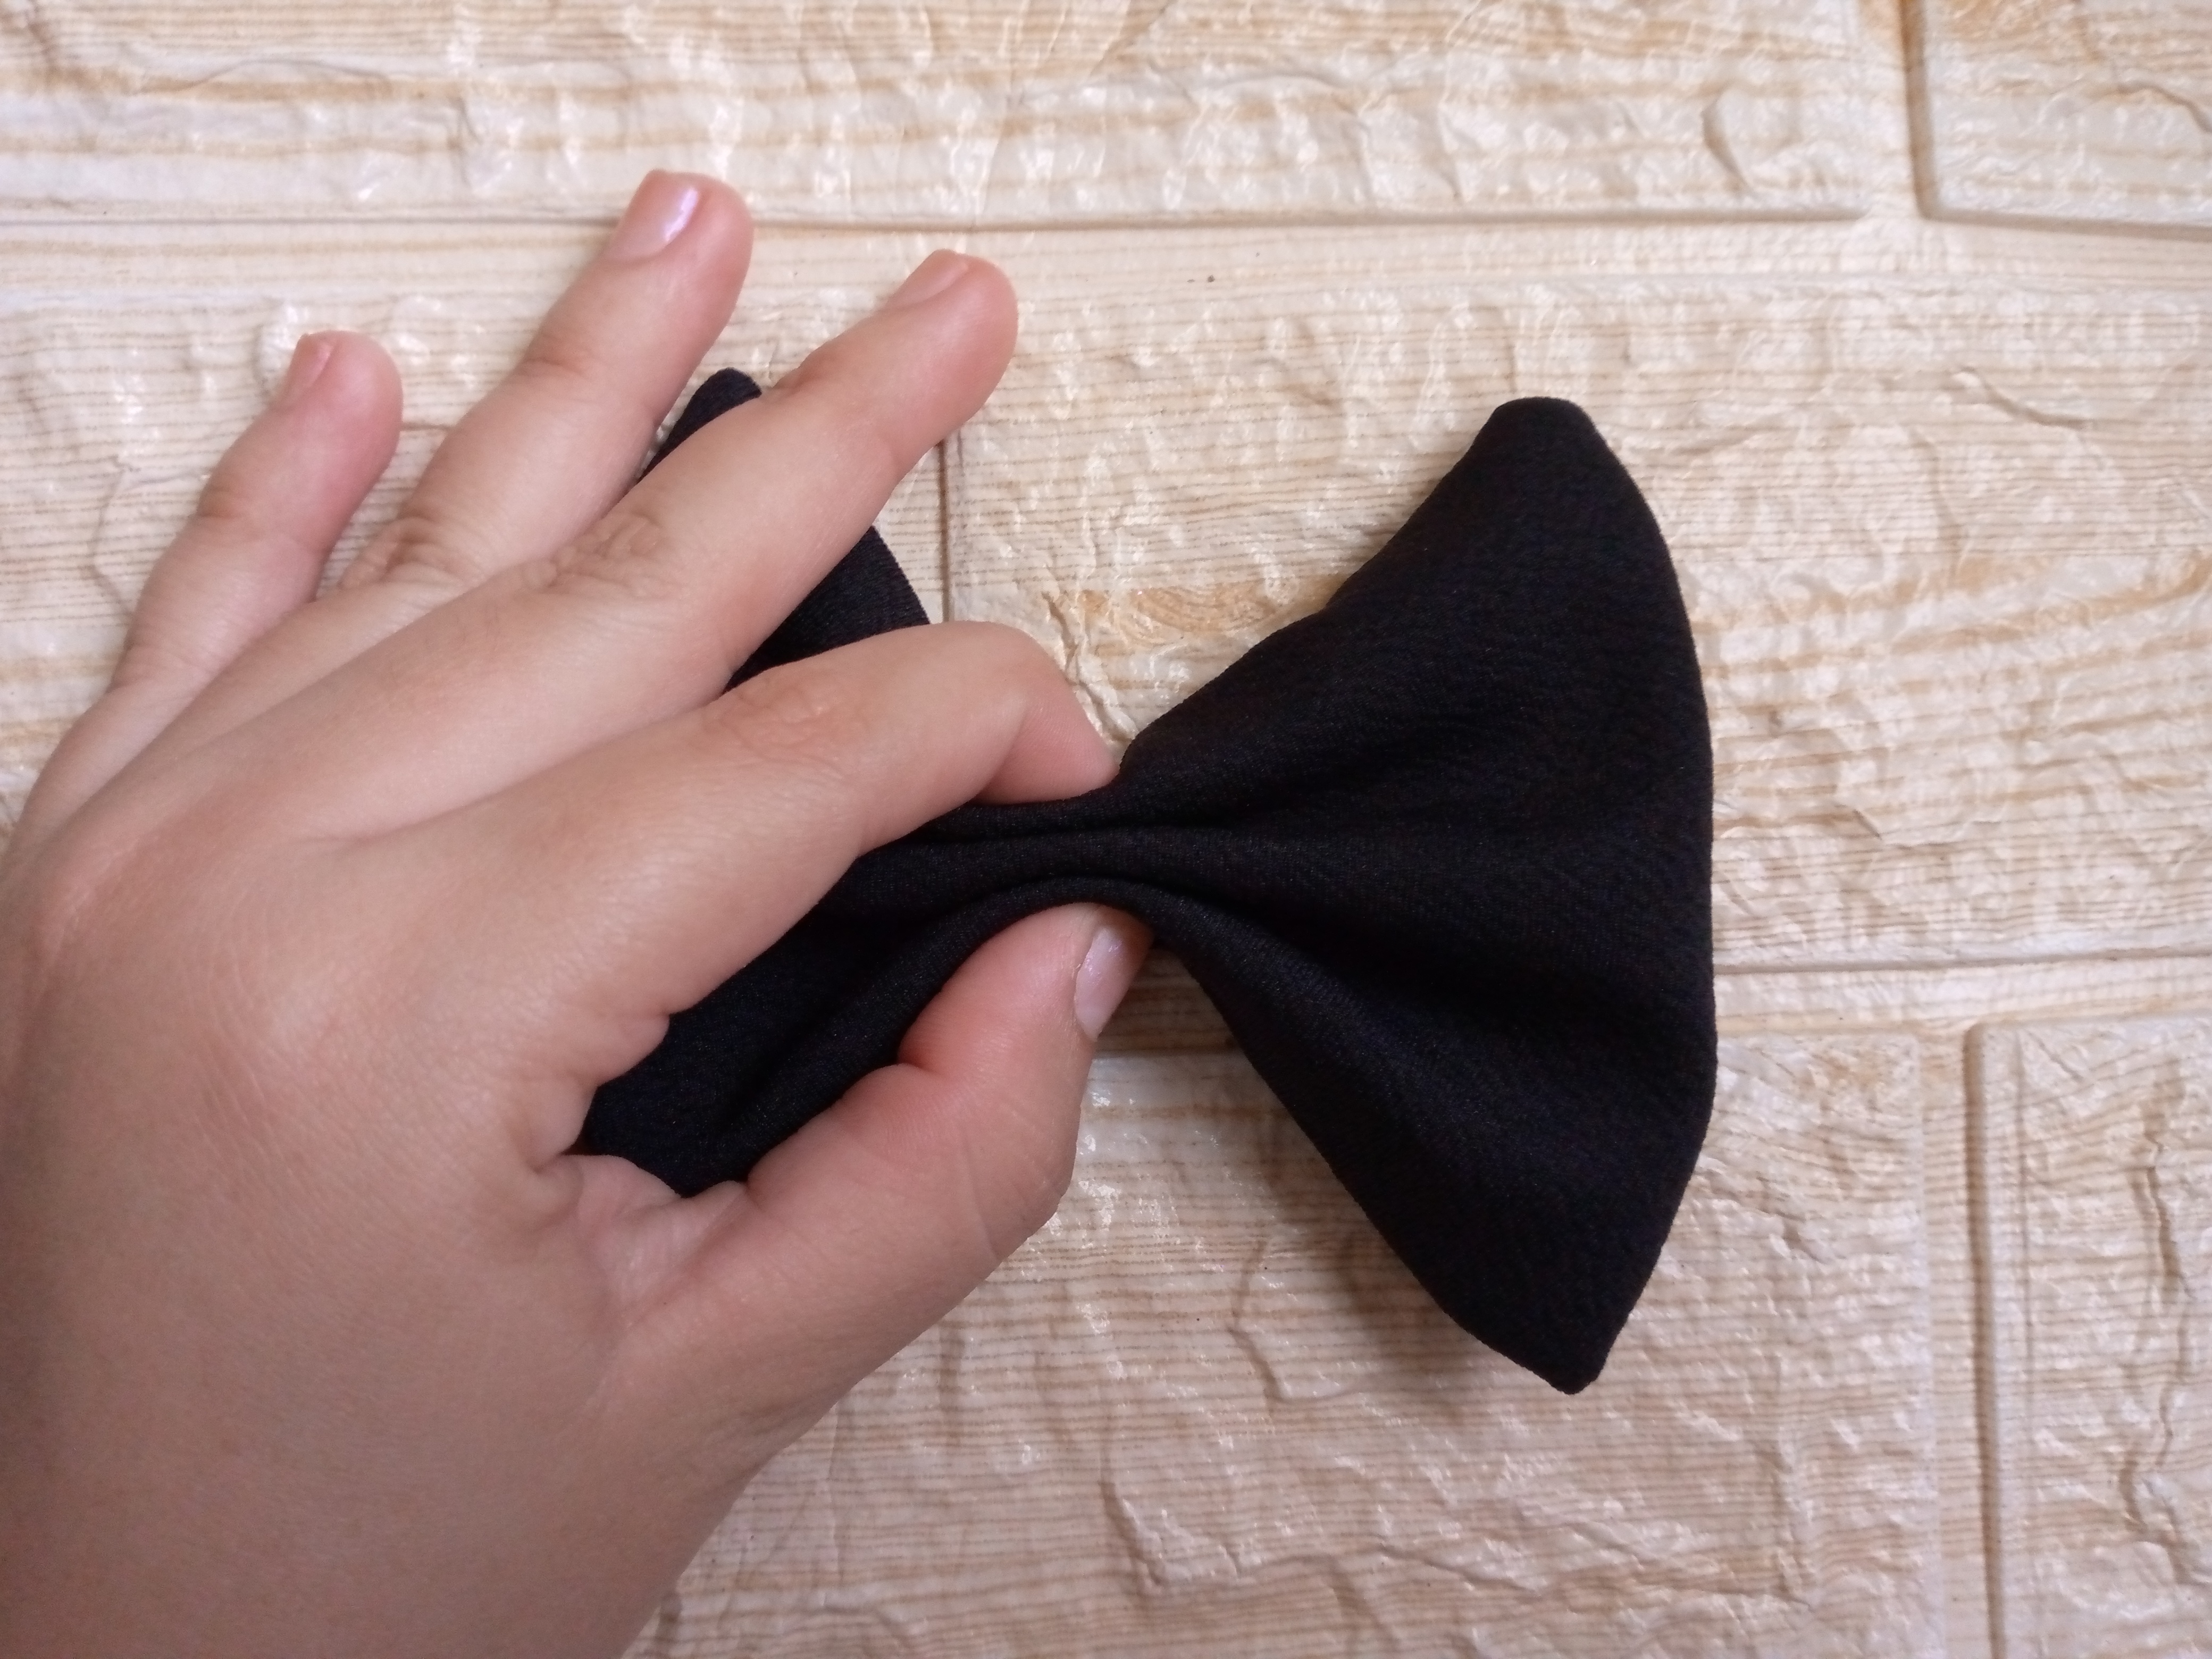
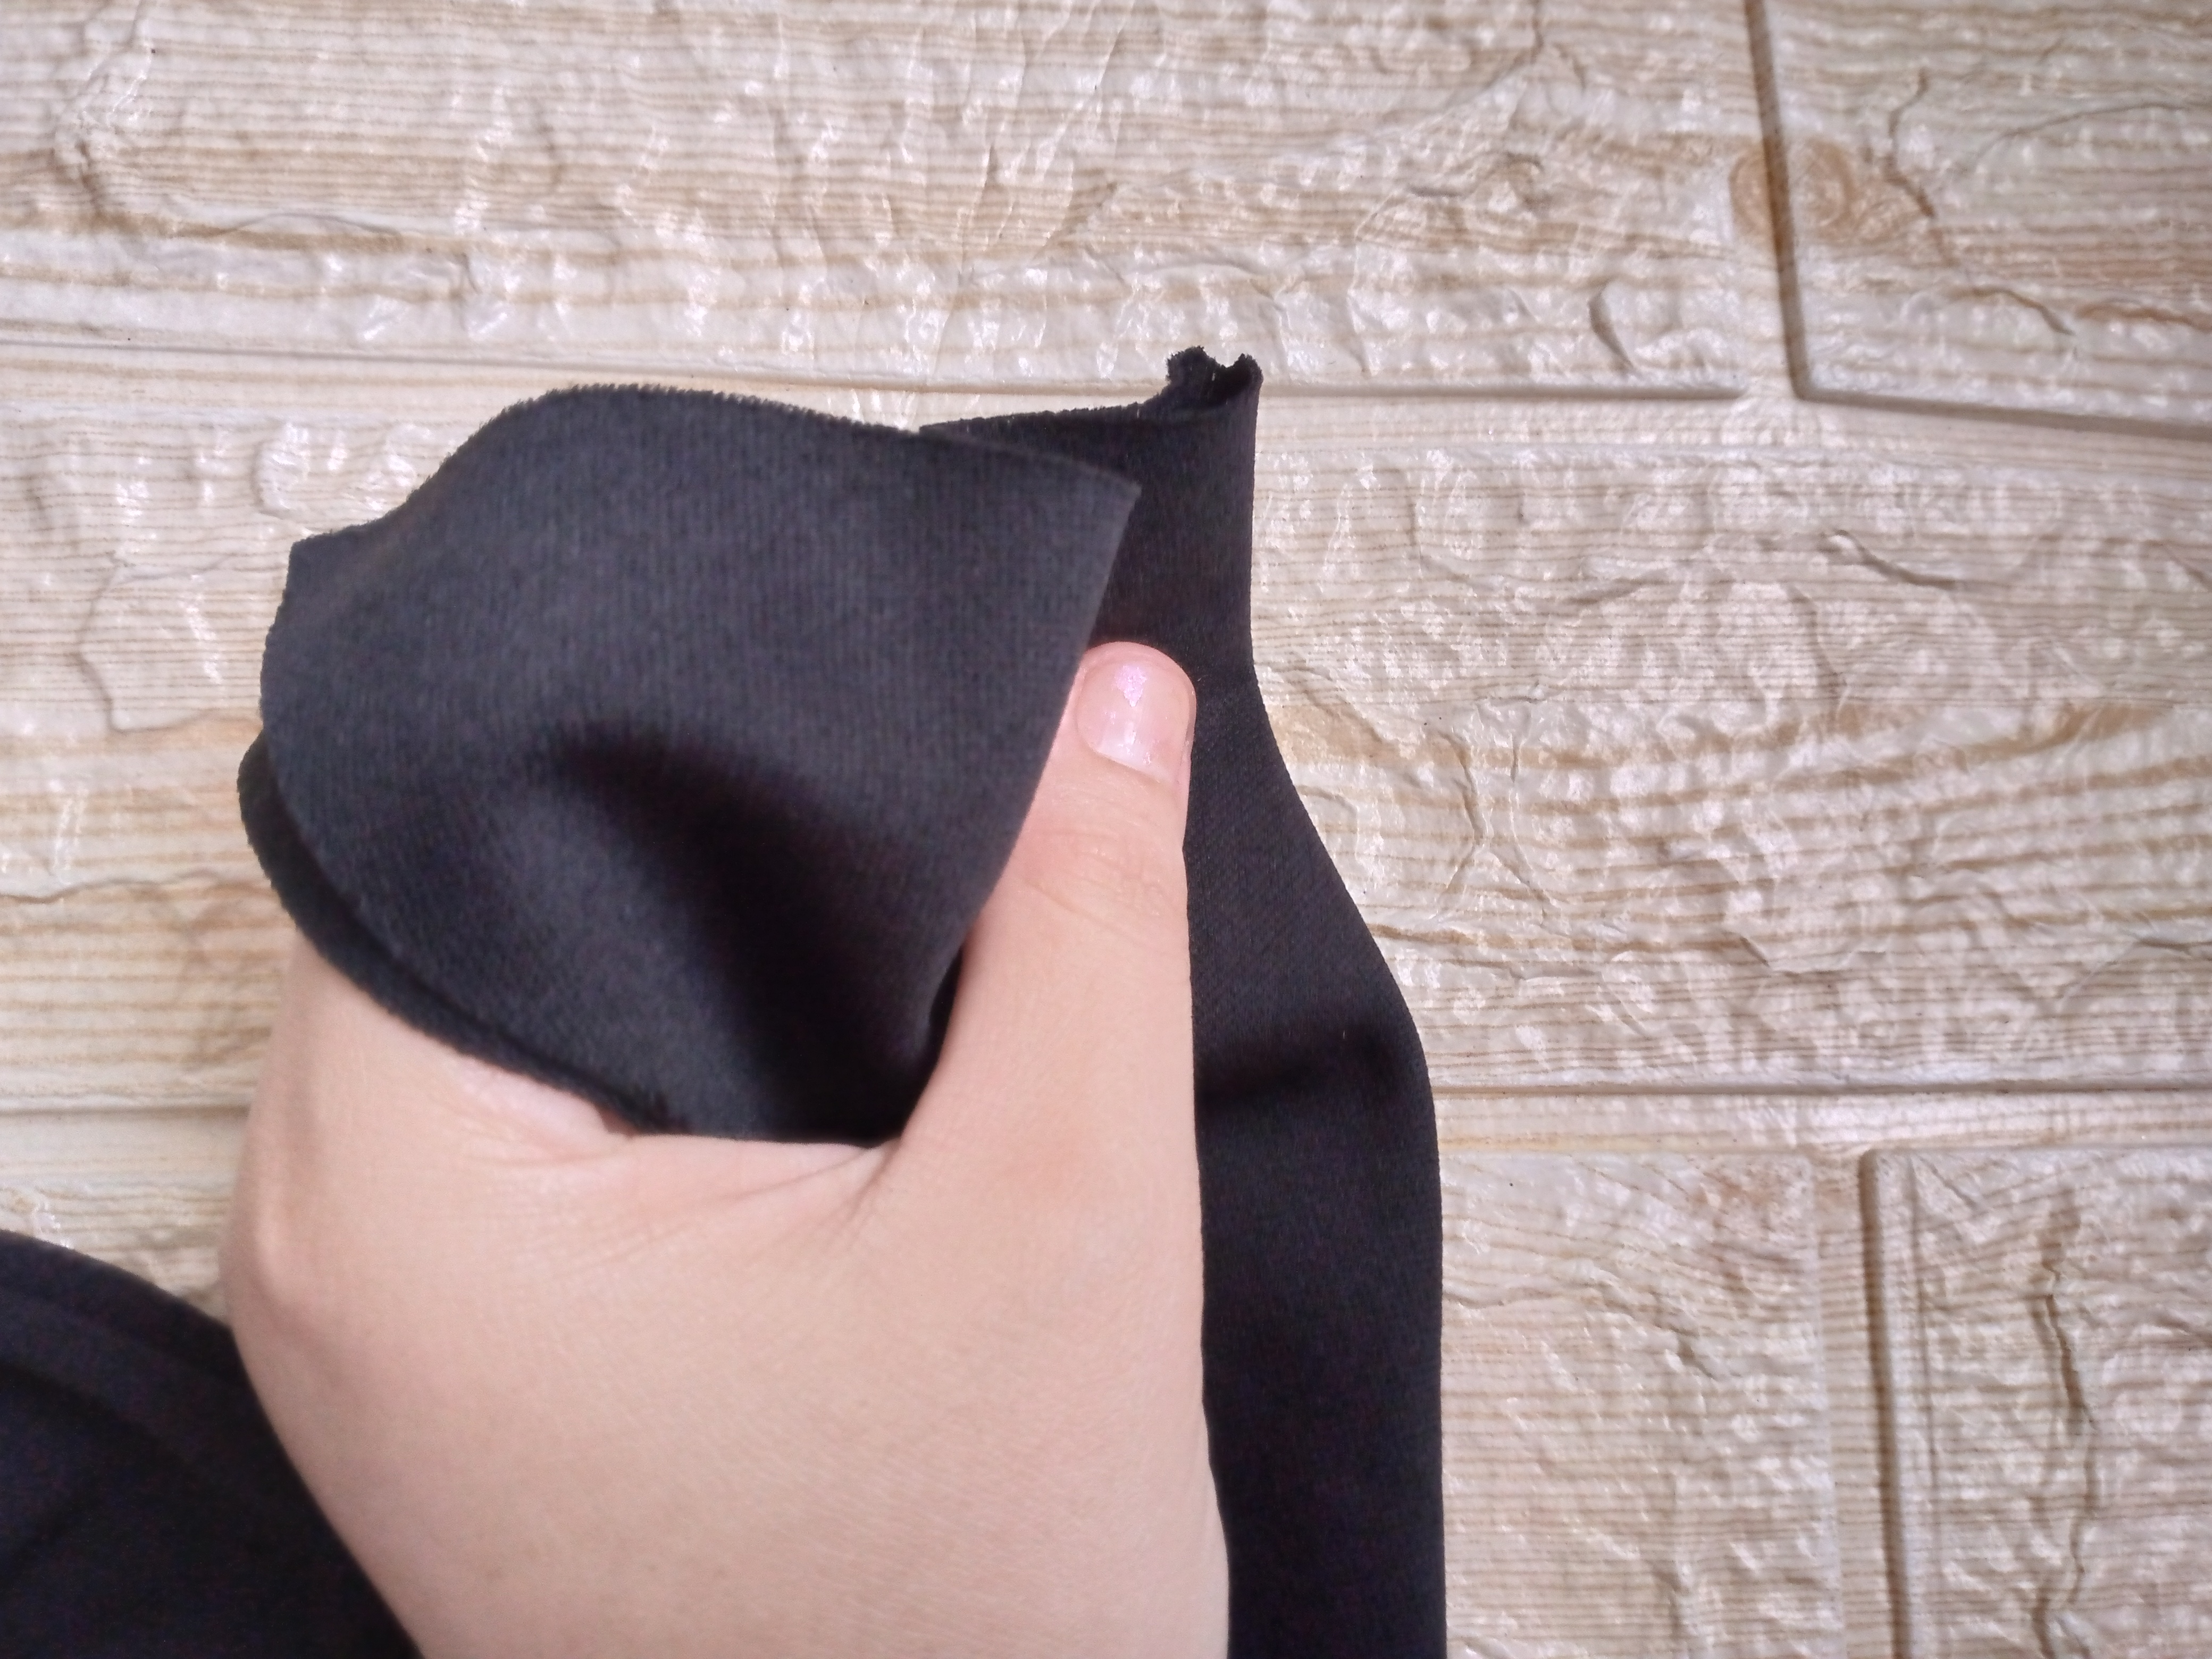
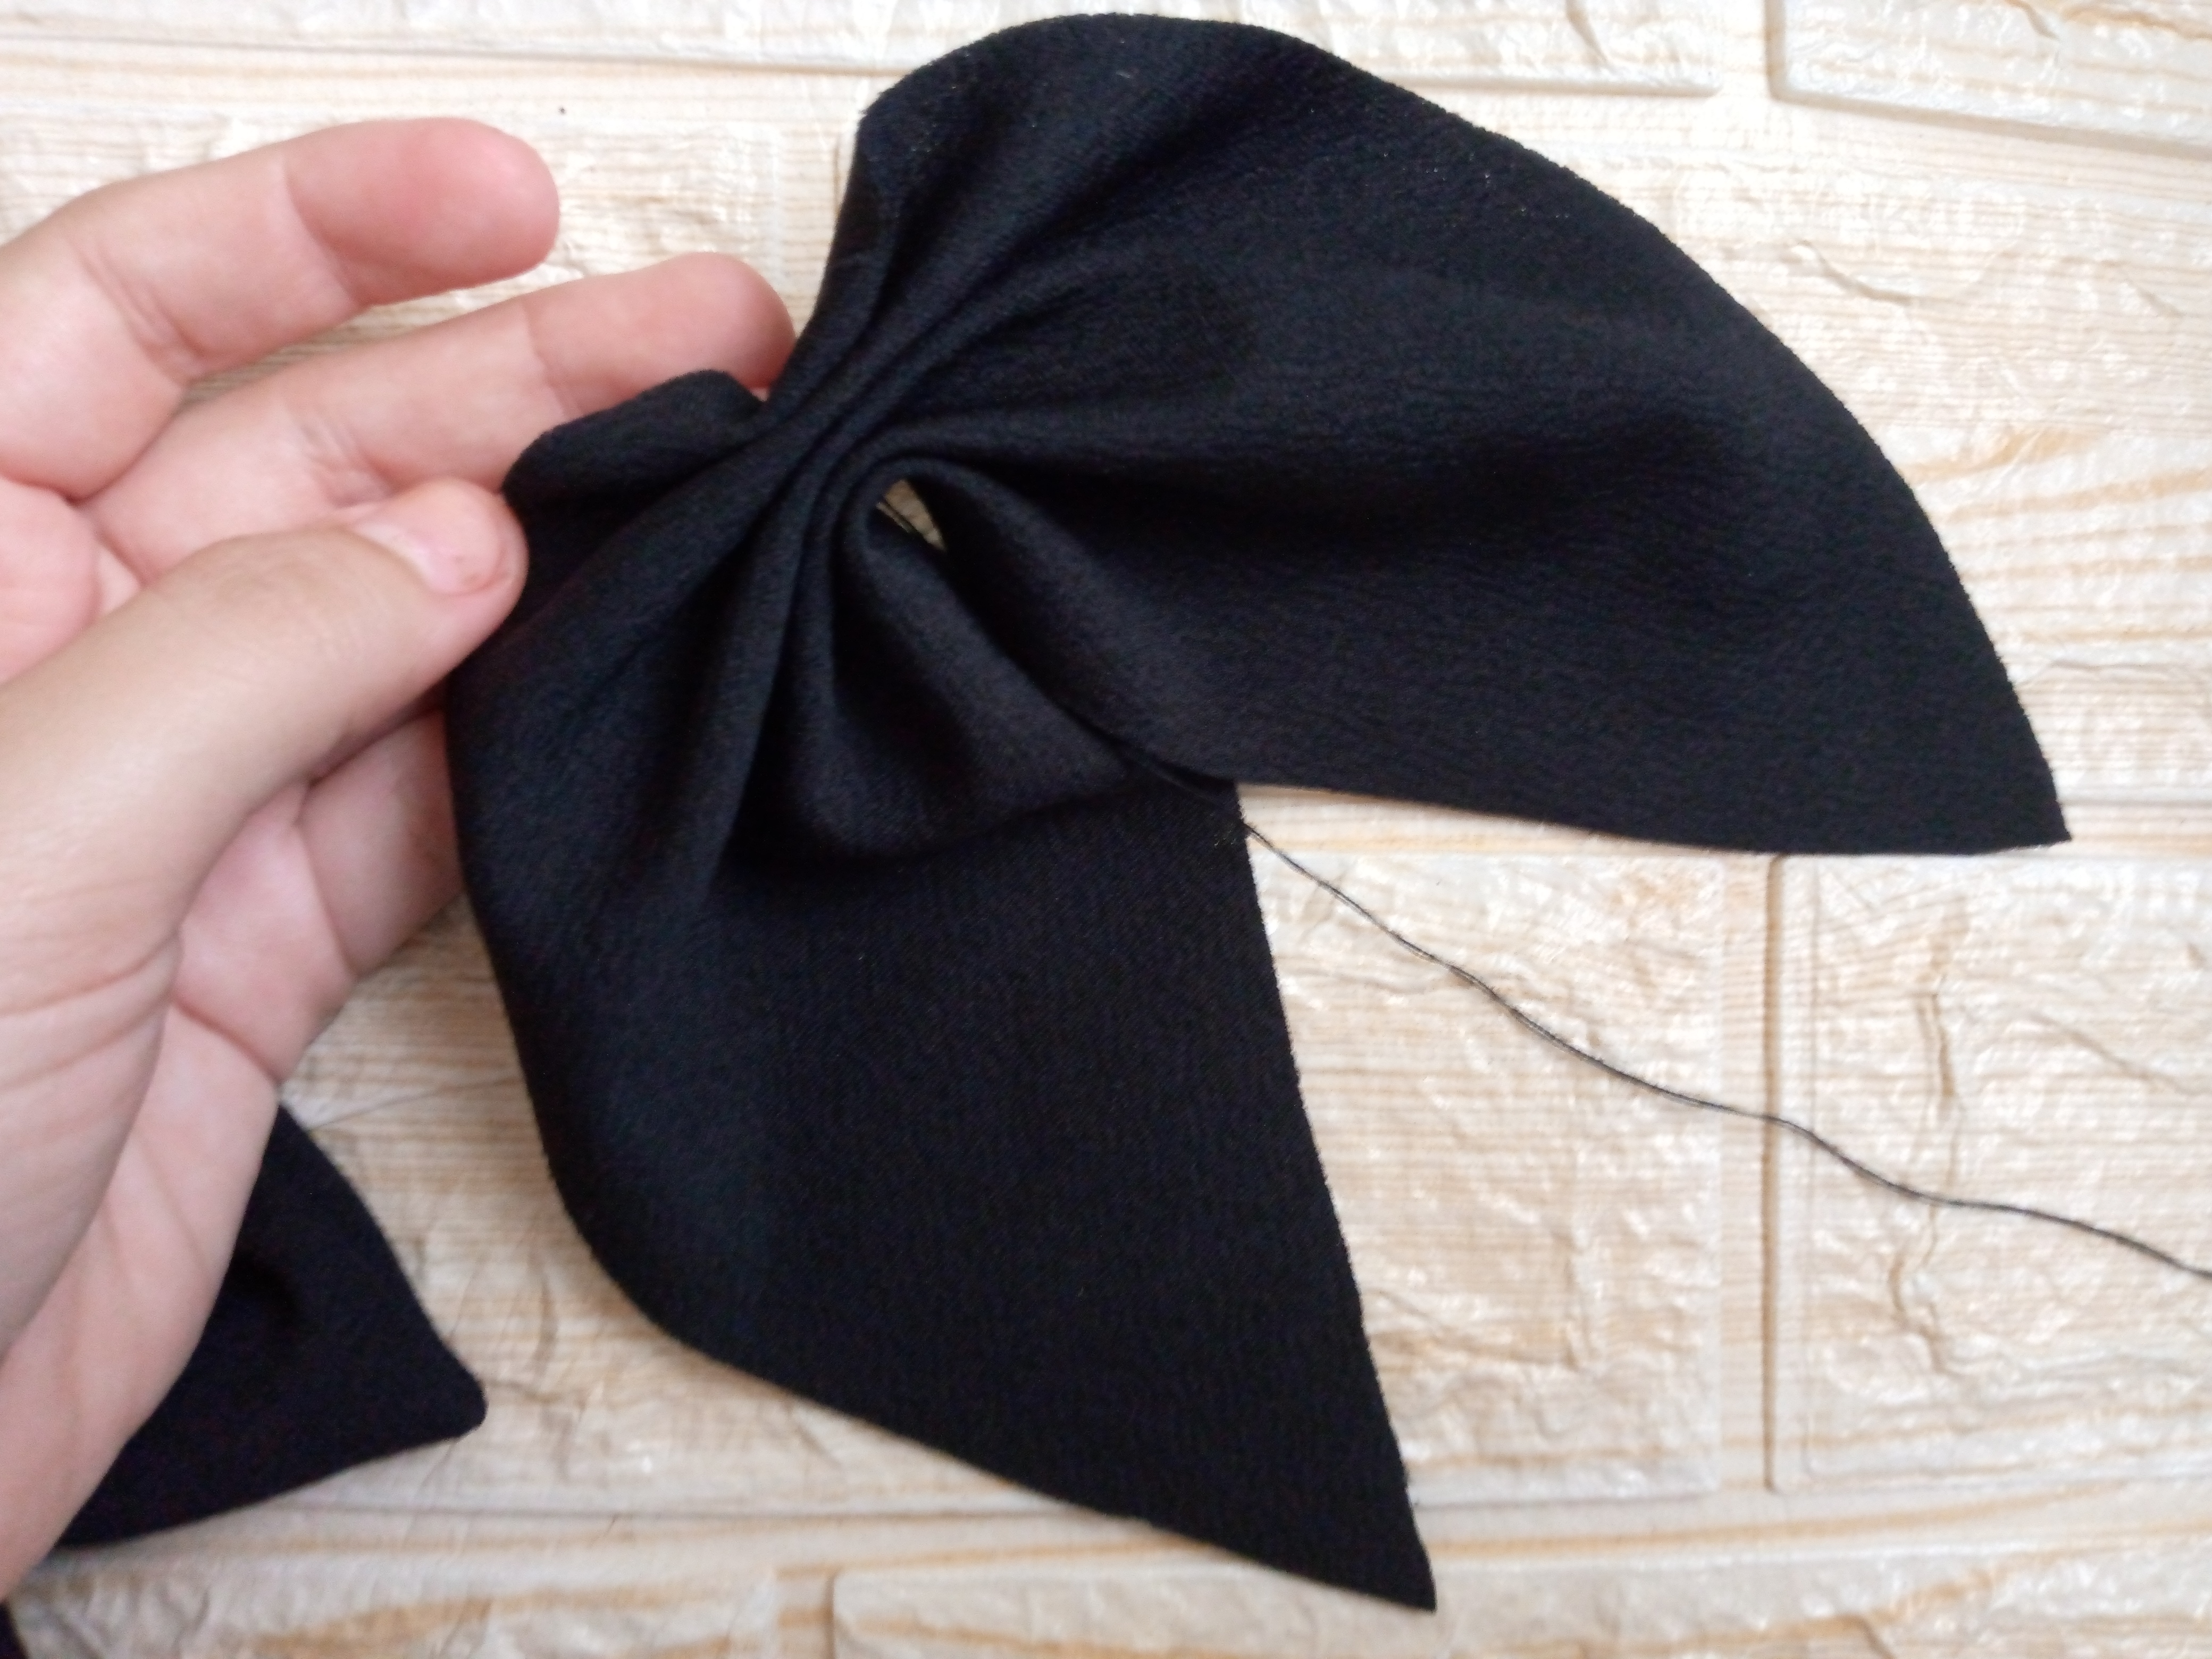
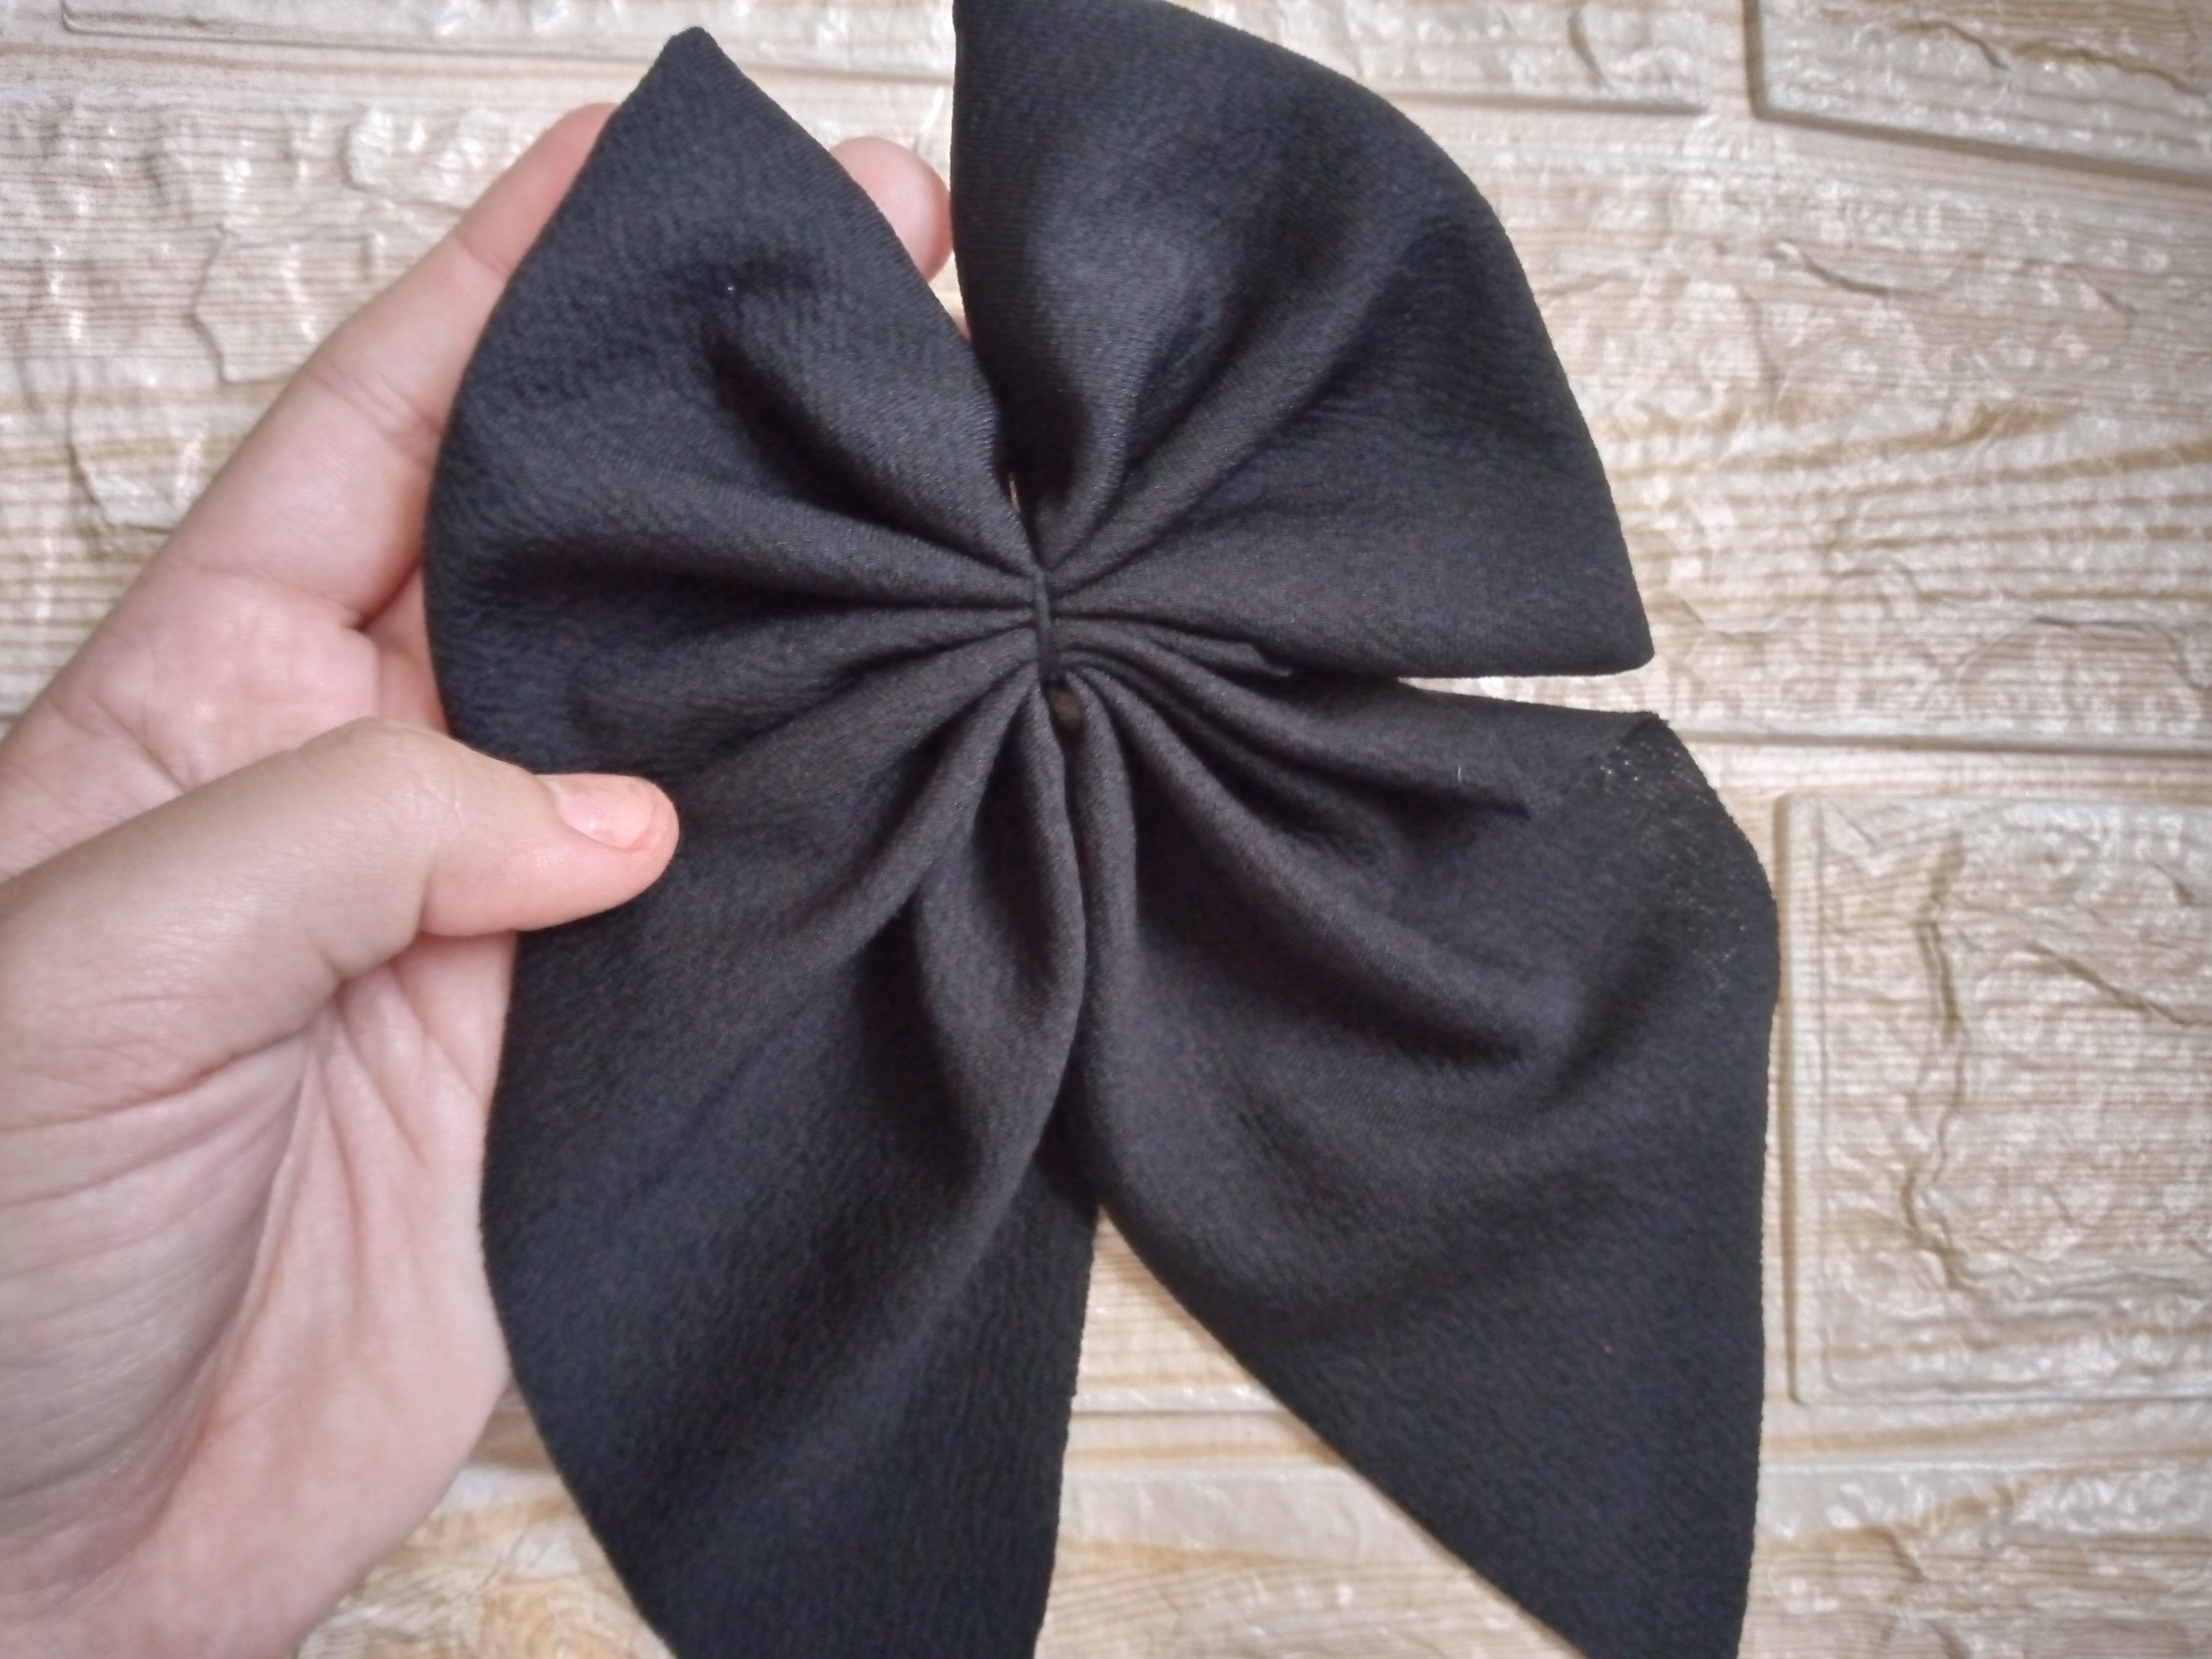
Here, after turning both pieces over, what we will do is take the square, fold it in half to know where we are going to sew and we will make small planks. I have made four, right in the middle of the bow, and then with our needle and thread sew, adjust well and make as many turns as you want. The idea is to adjust it well so that the planks do not come loose and even less the bow. This way, this piece is well made.
Paso 04
Step 04
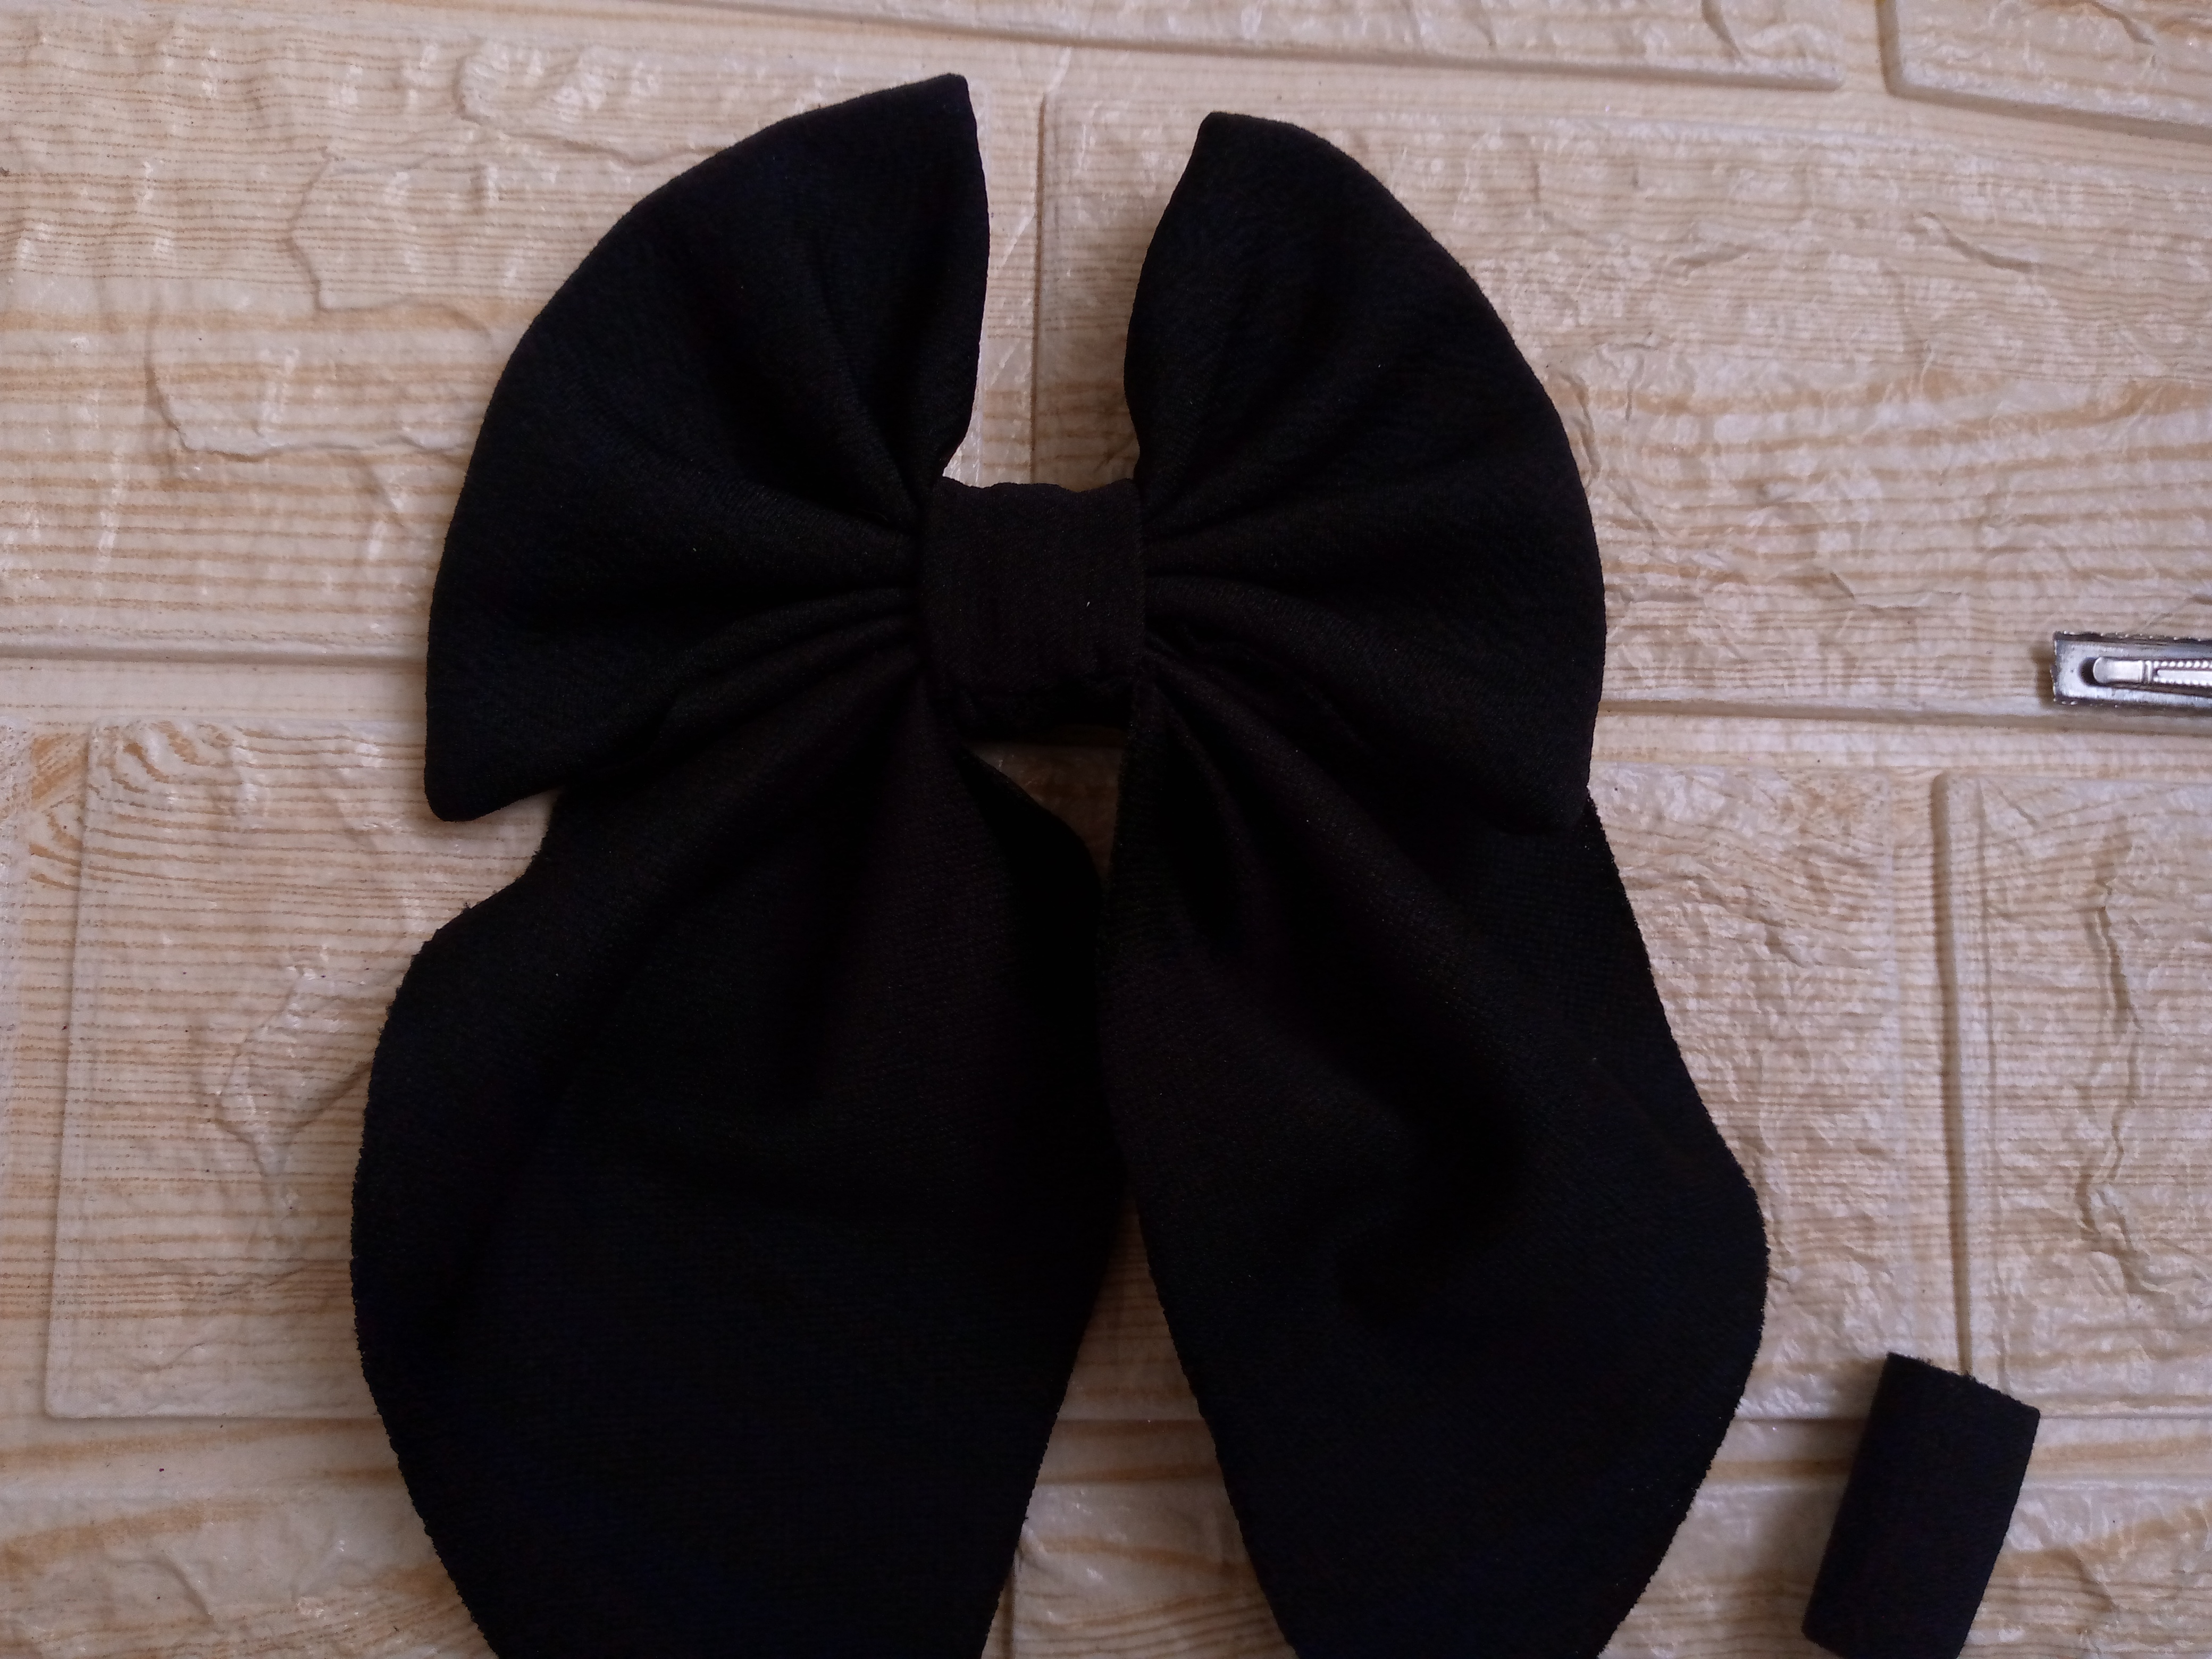
We are going to sew the triangle in the same way as we sewed the bow, for this I am going to be marking in this case the middle of it with a small cut that indicates to me that there I am going to be gathering the piece, so what I will do is make small planks like I did with the square and pass the needle and thread of course through the entire middle, in this way we also put together the piece that goes under the square so our bow is complete here I have joined both pieces at the end and it is already taking the shape of a bow.
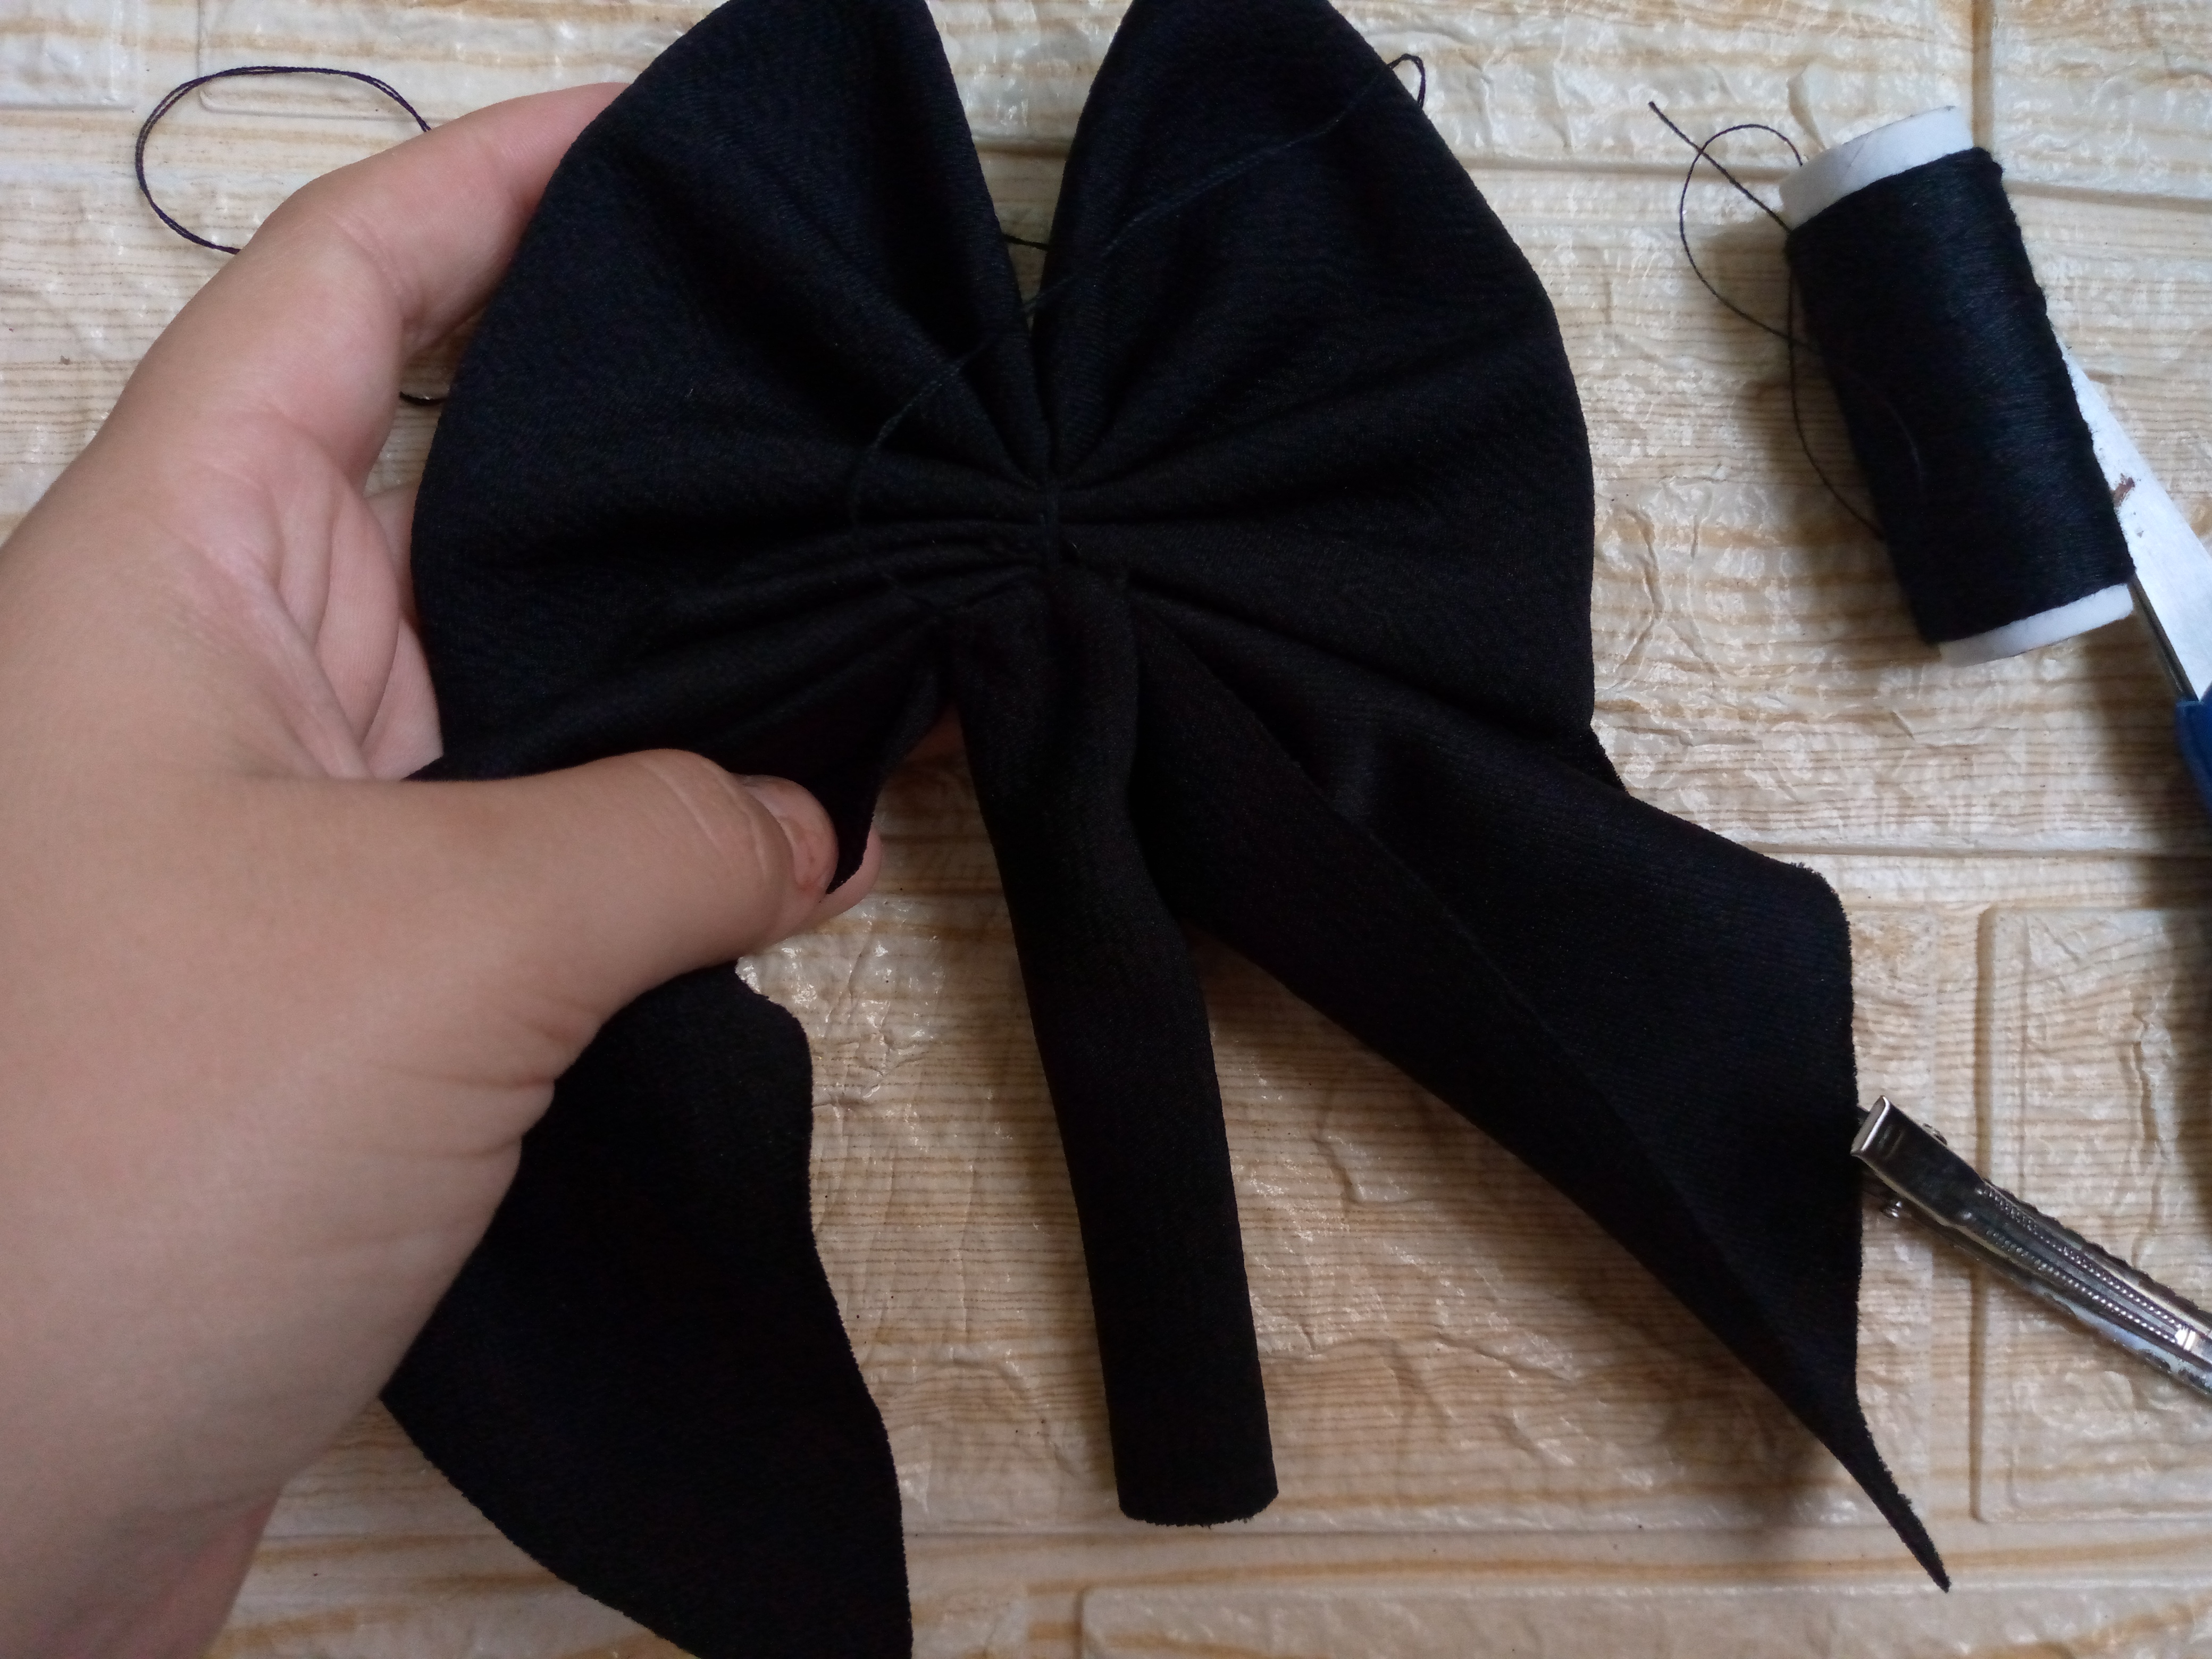
Paso 05
Step 05
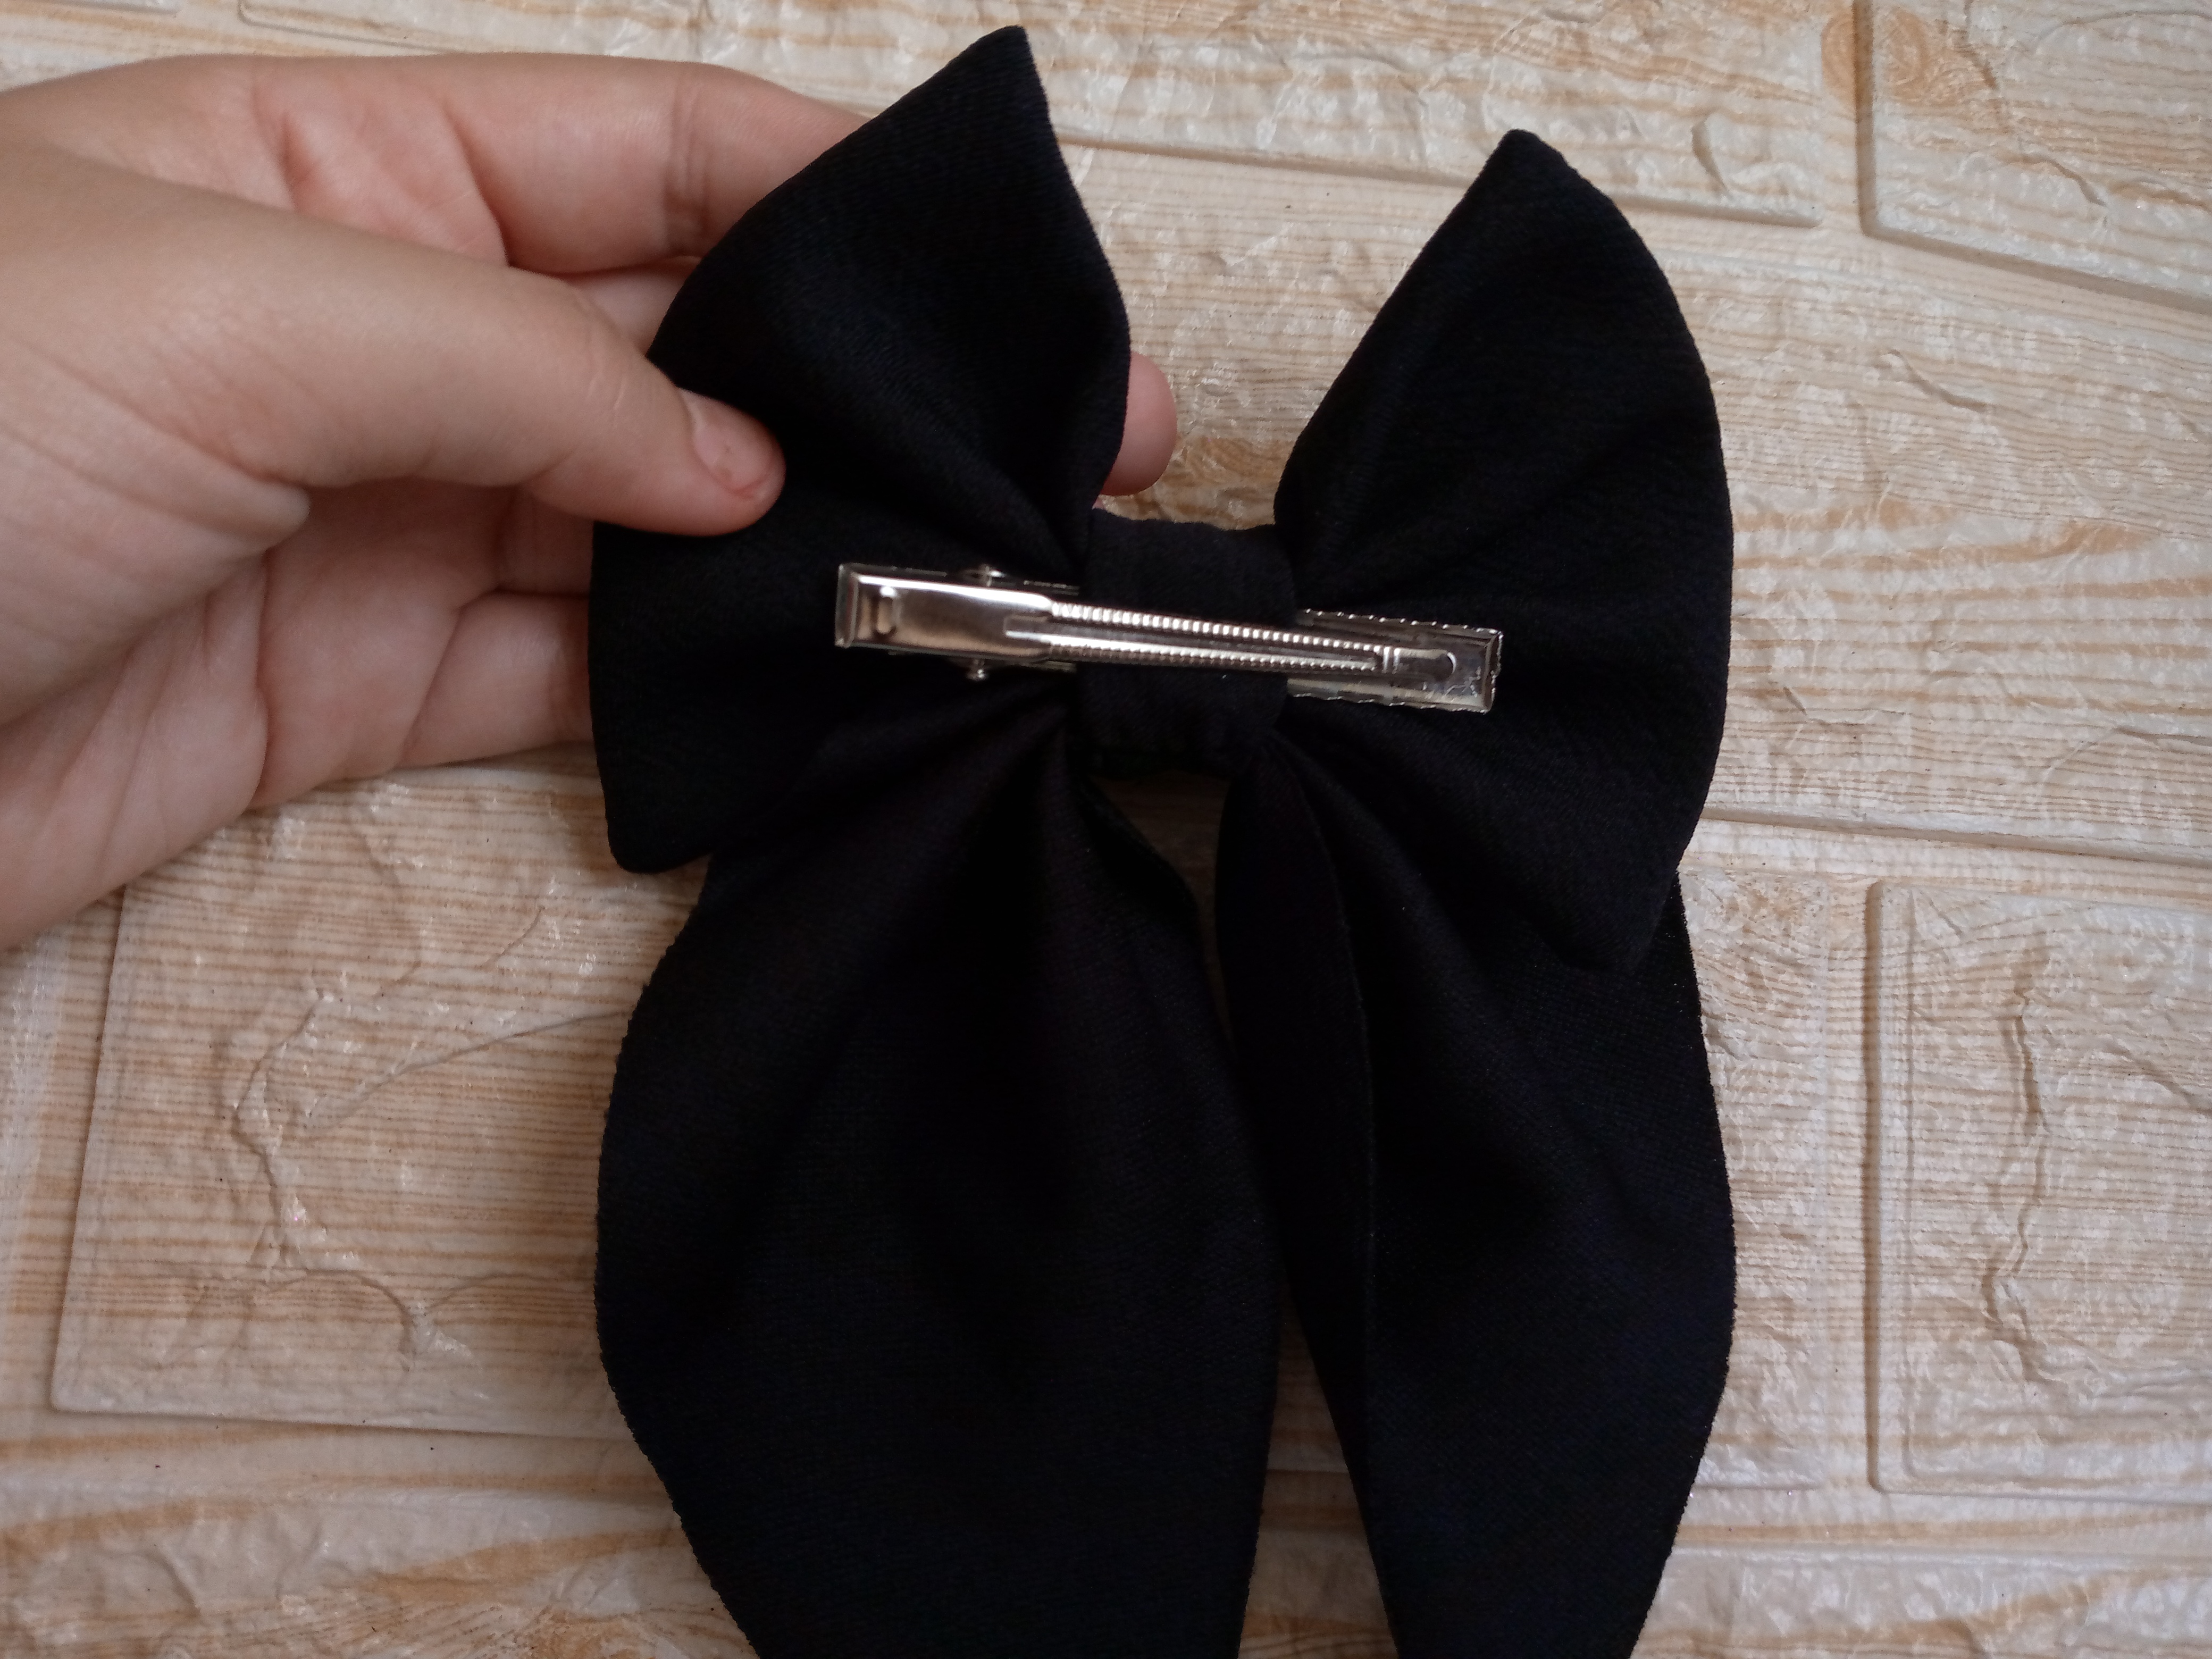
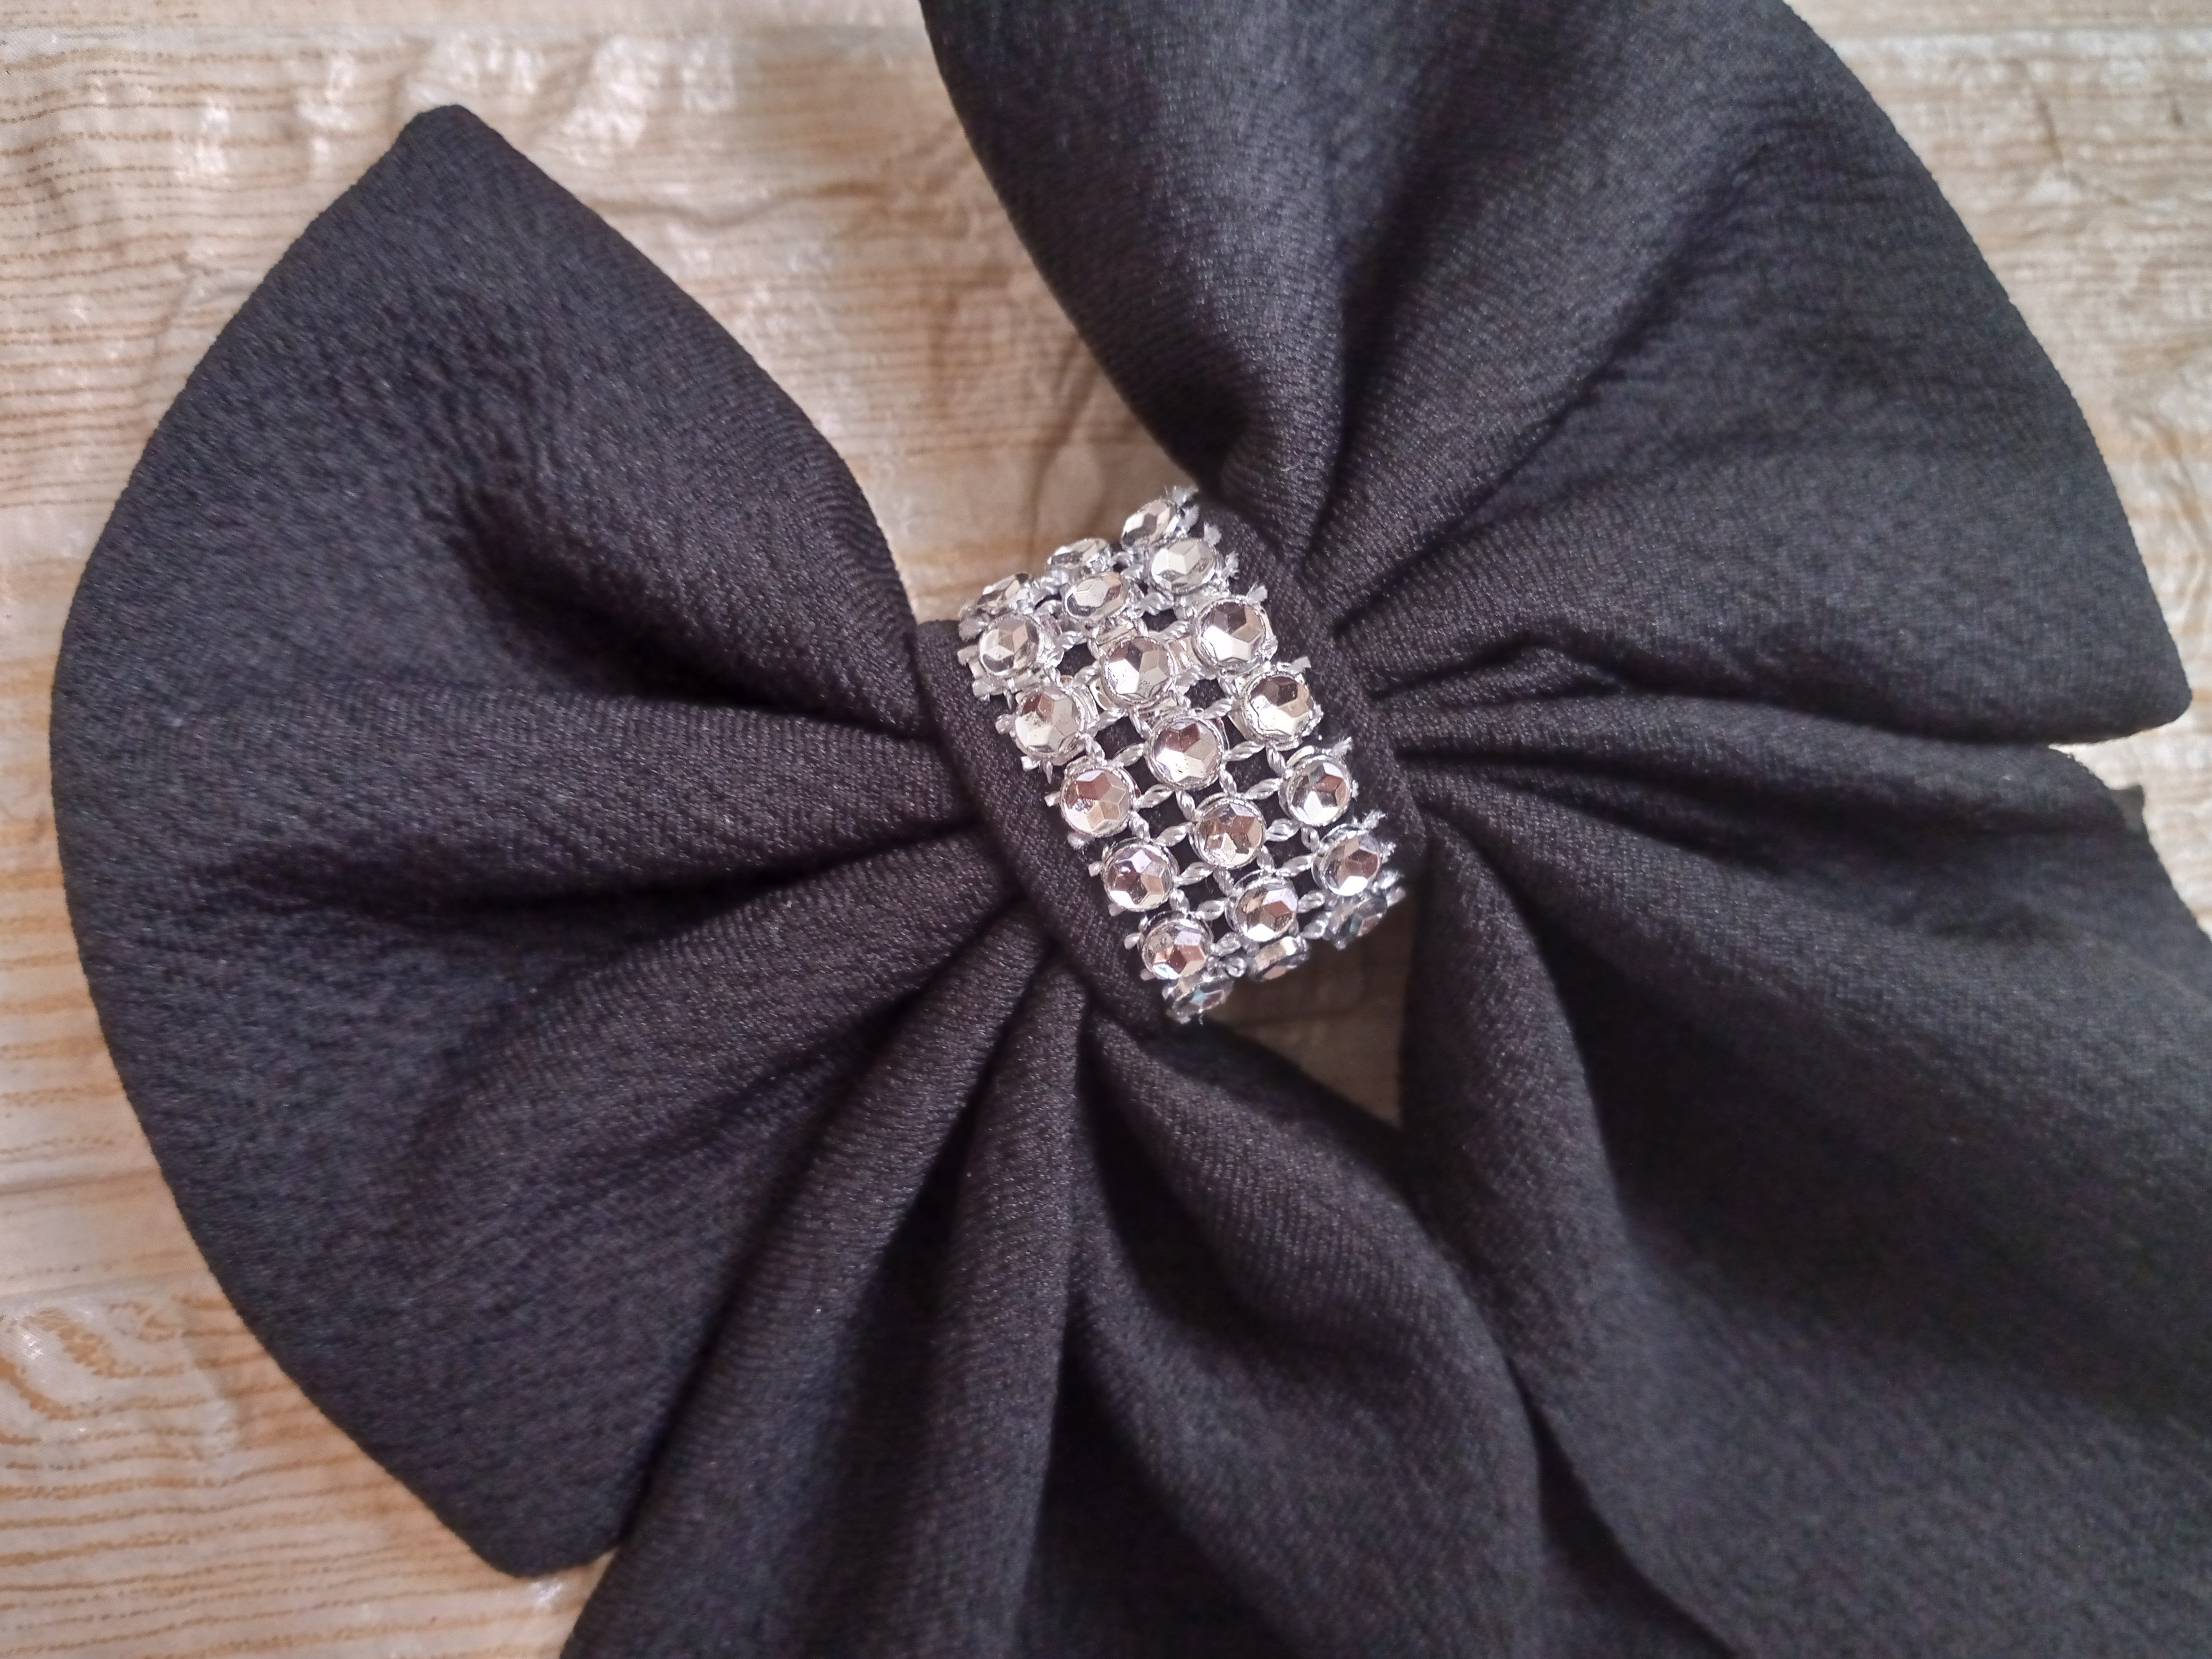
We finish by joining both parts of my bow with our rectangle piece and sew along the back with an invisible seam, turn it over and sew the other end that we have left over, if we have any left over we can easily cut it before sewing it, this in order to have a hole to insert the hook that we will put in it, in my case I did it like this because I like to change from small and large clips like these, that's why I decided to do it like this, to finish decorating it I used a piece of silver plastic ribbon and sewed it along the edges holding it well so that it doesn't come out or come undone.
.jpg)
Resultado //Result:
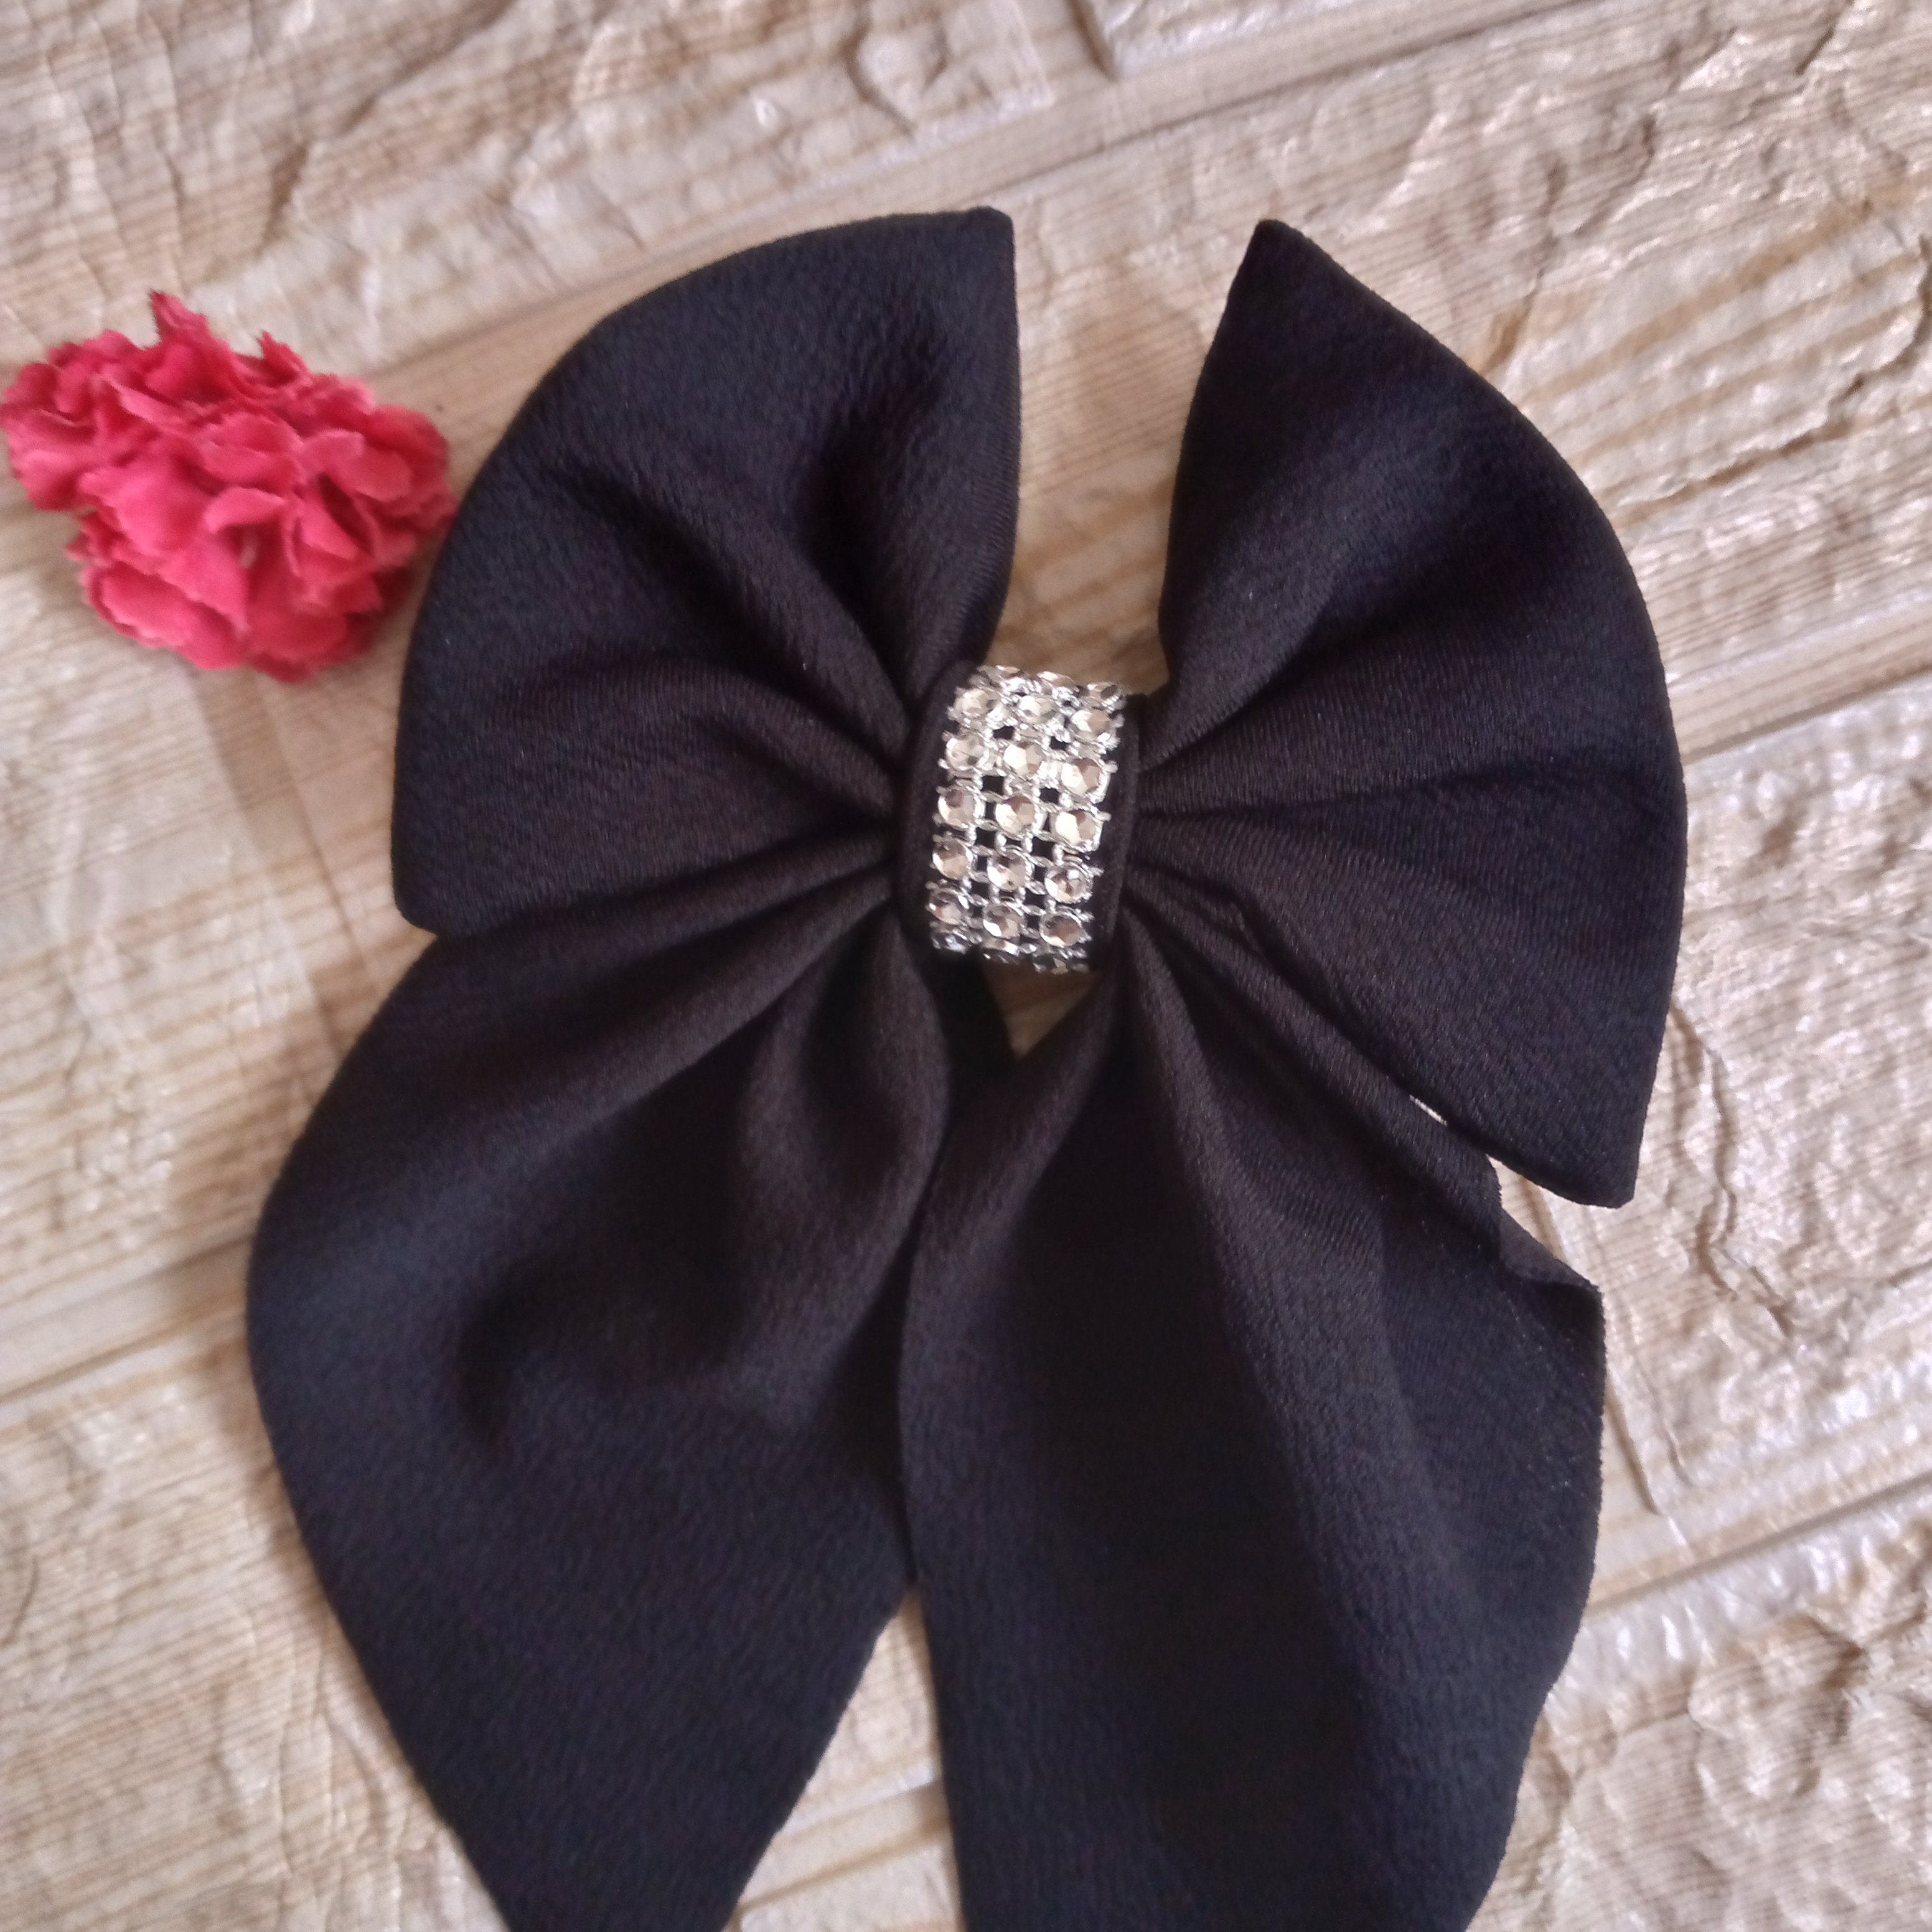
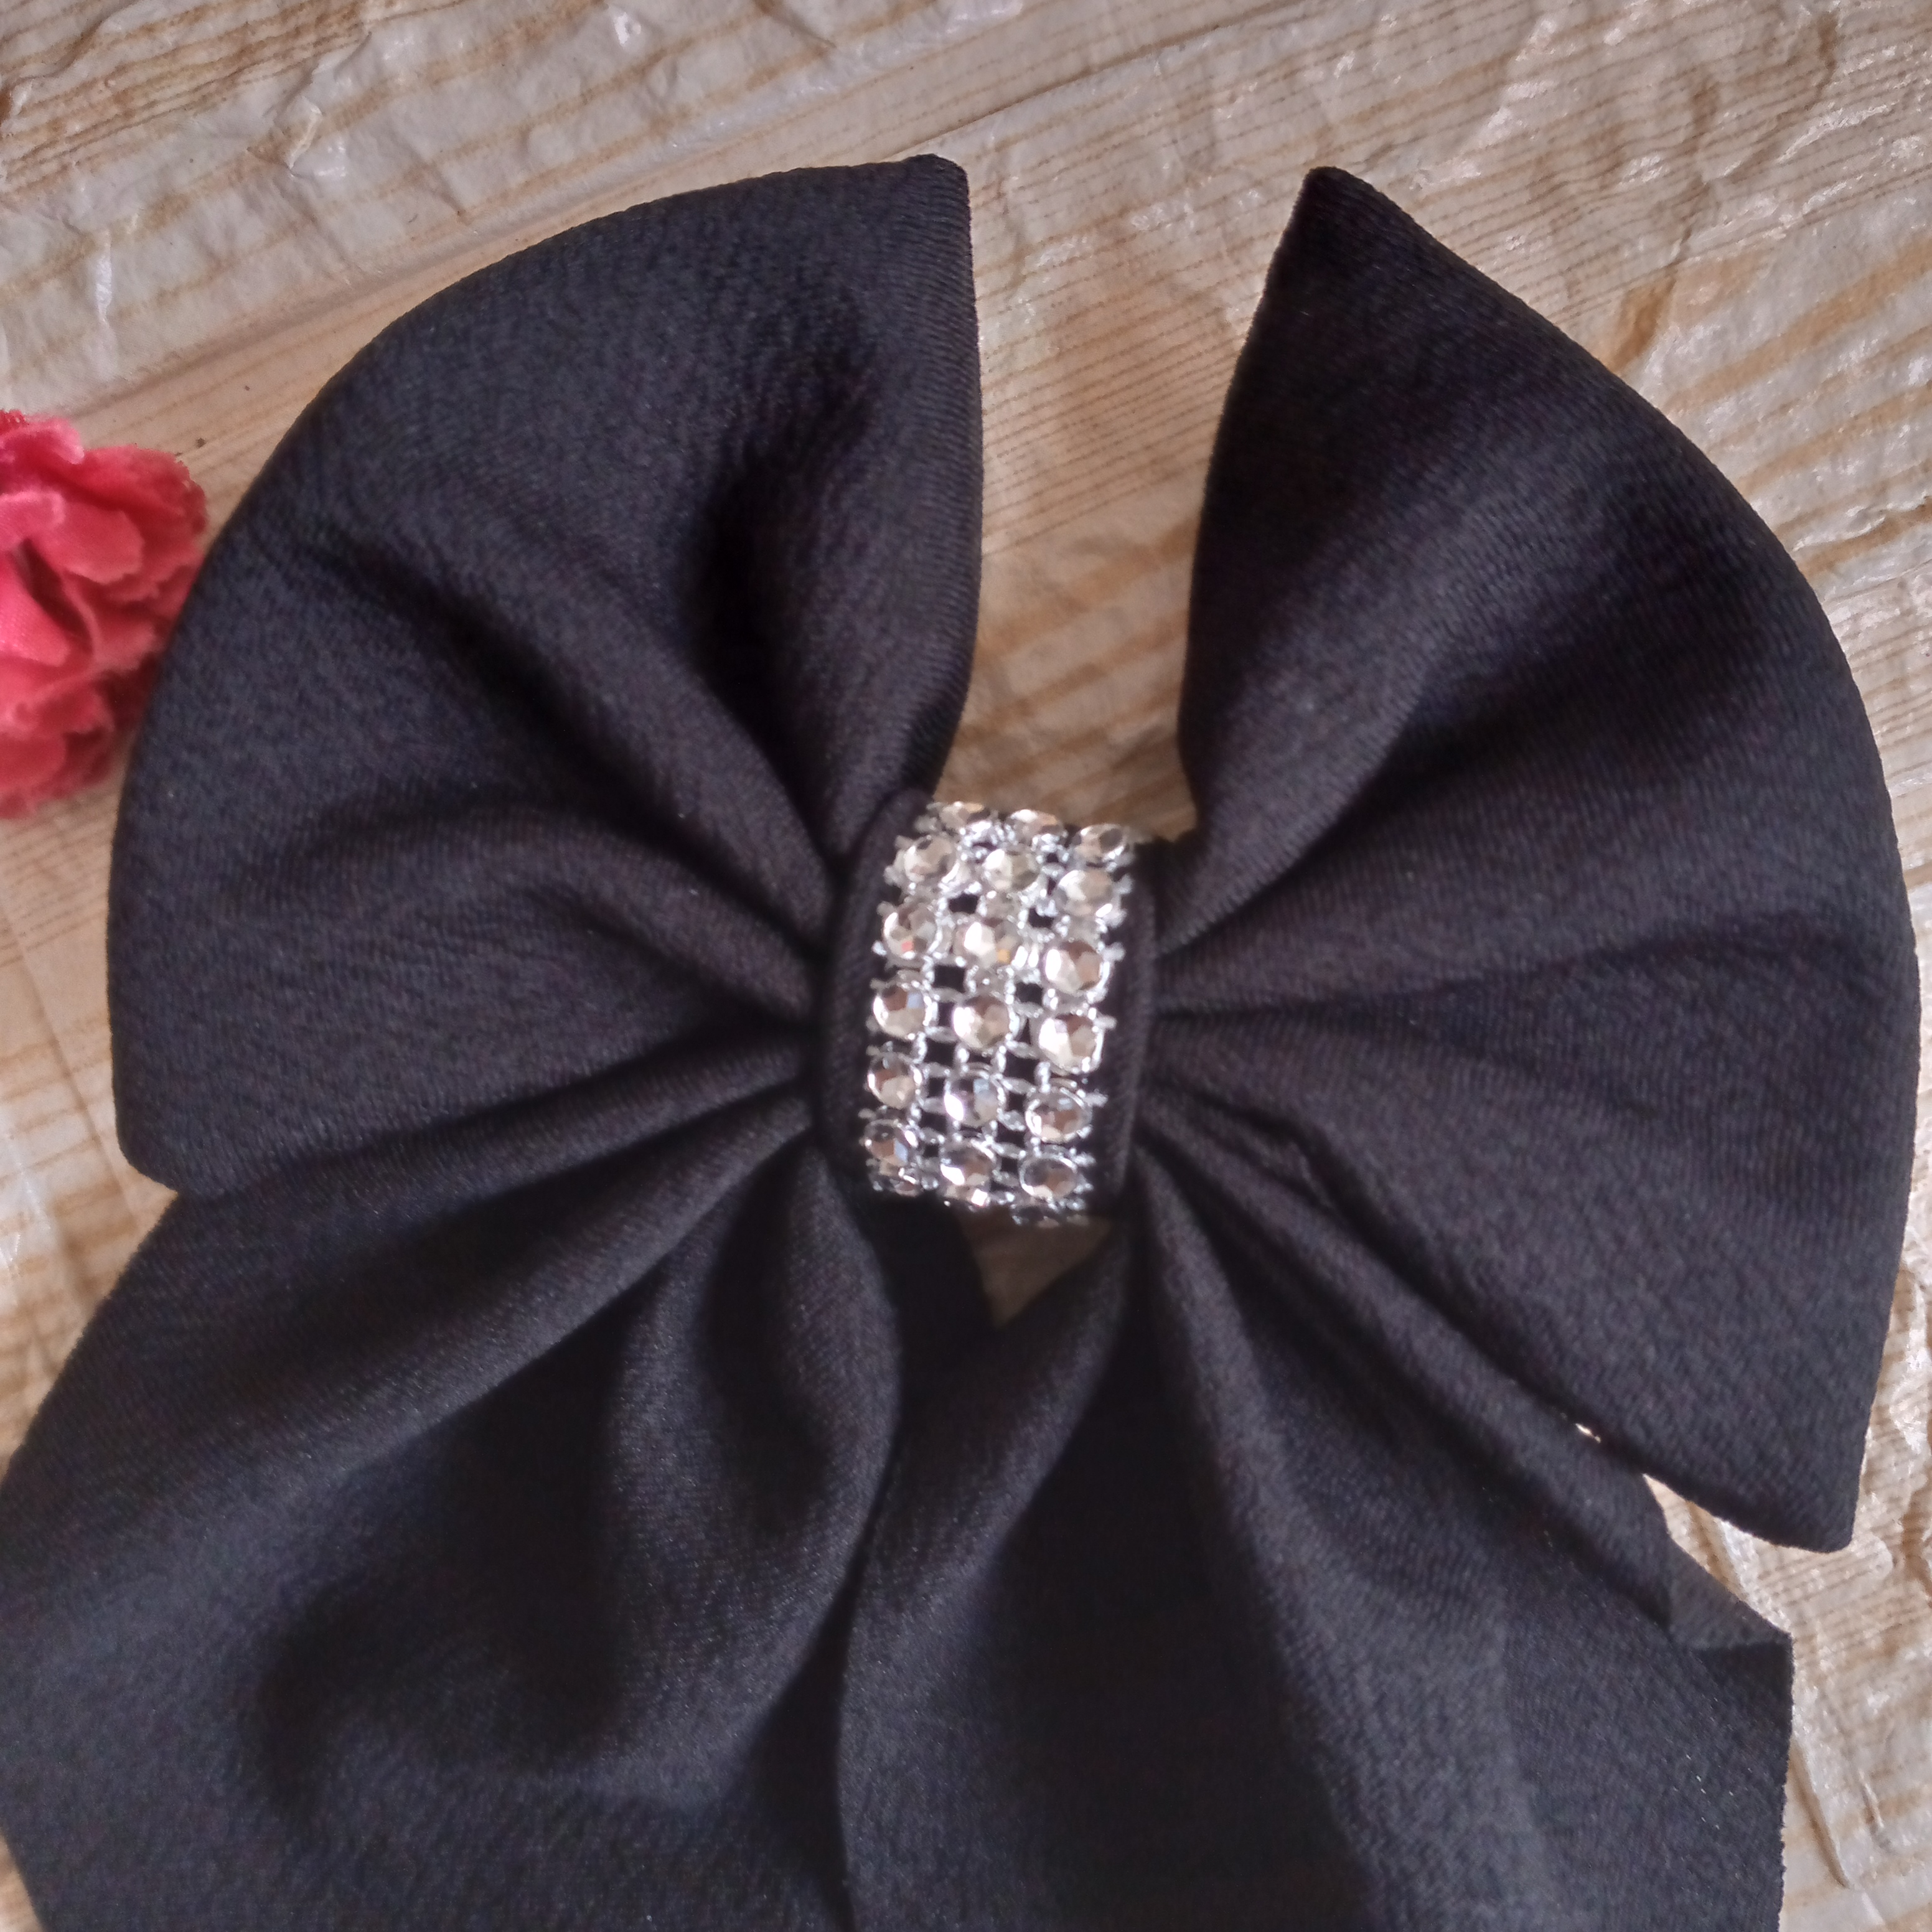
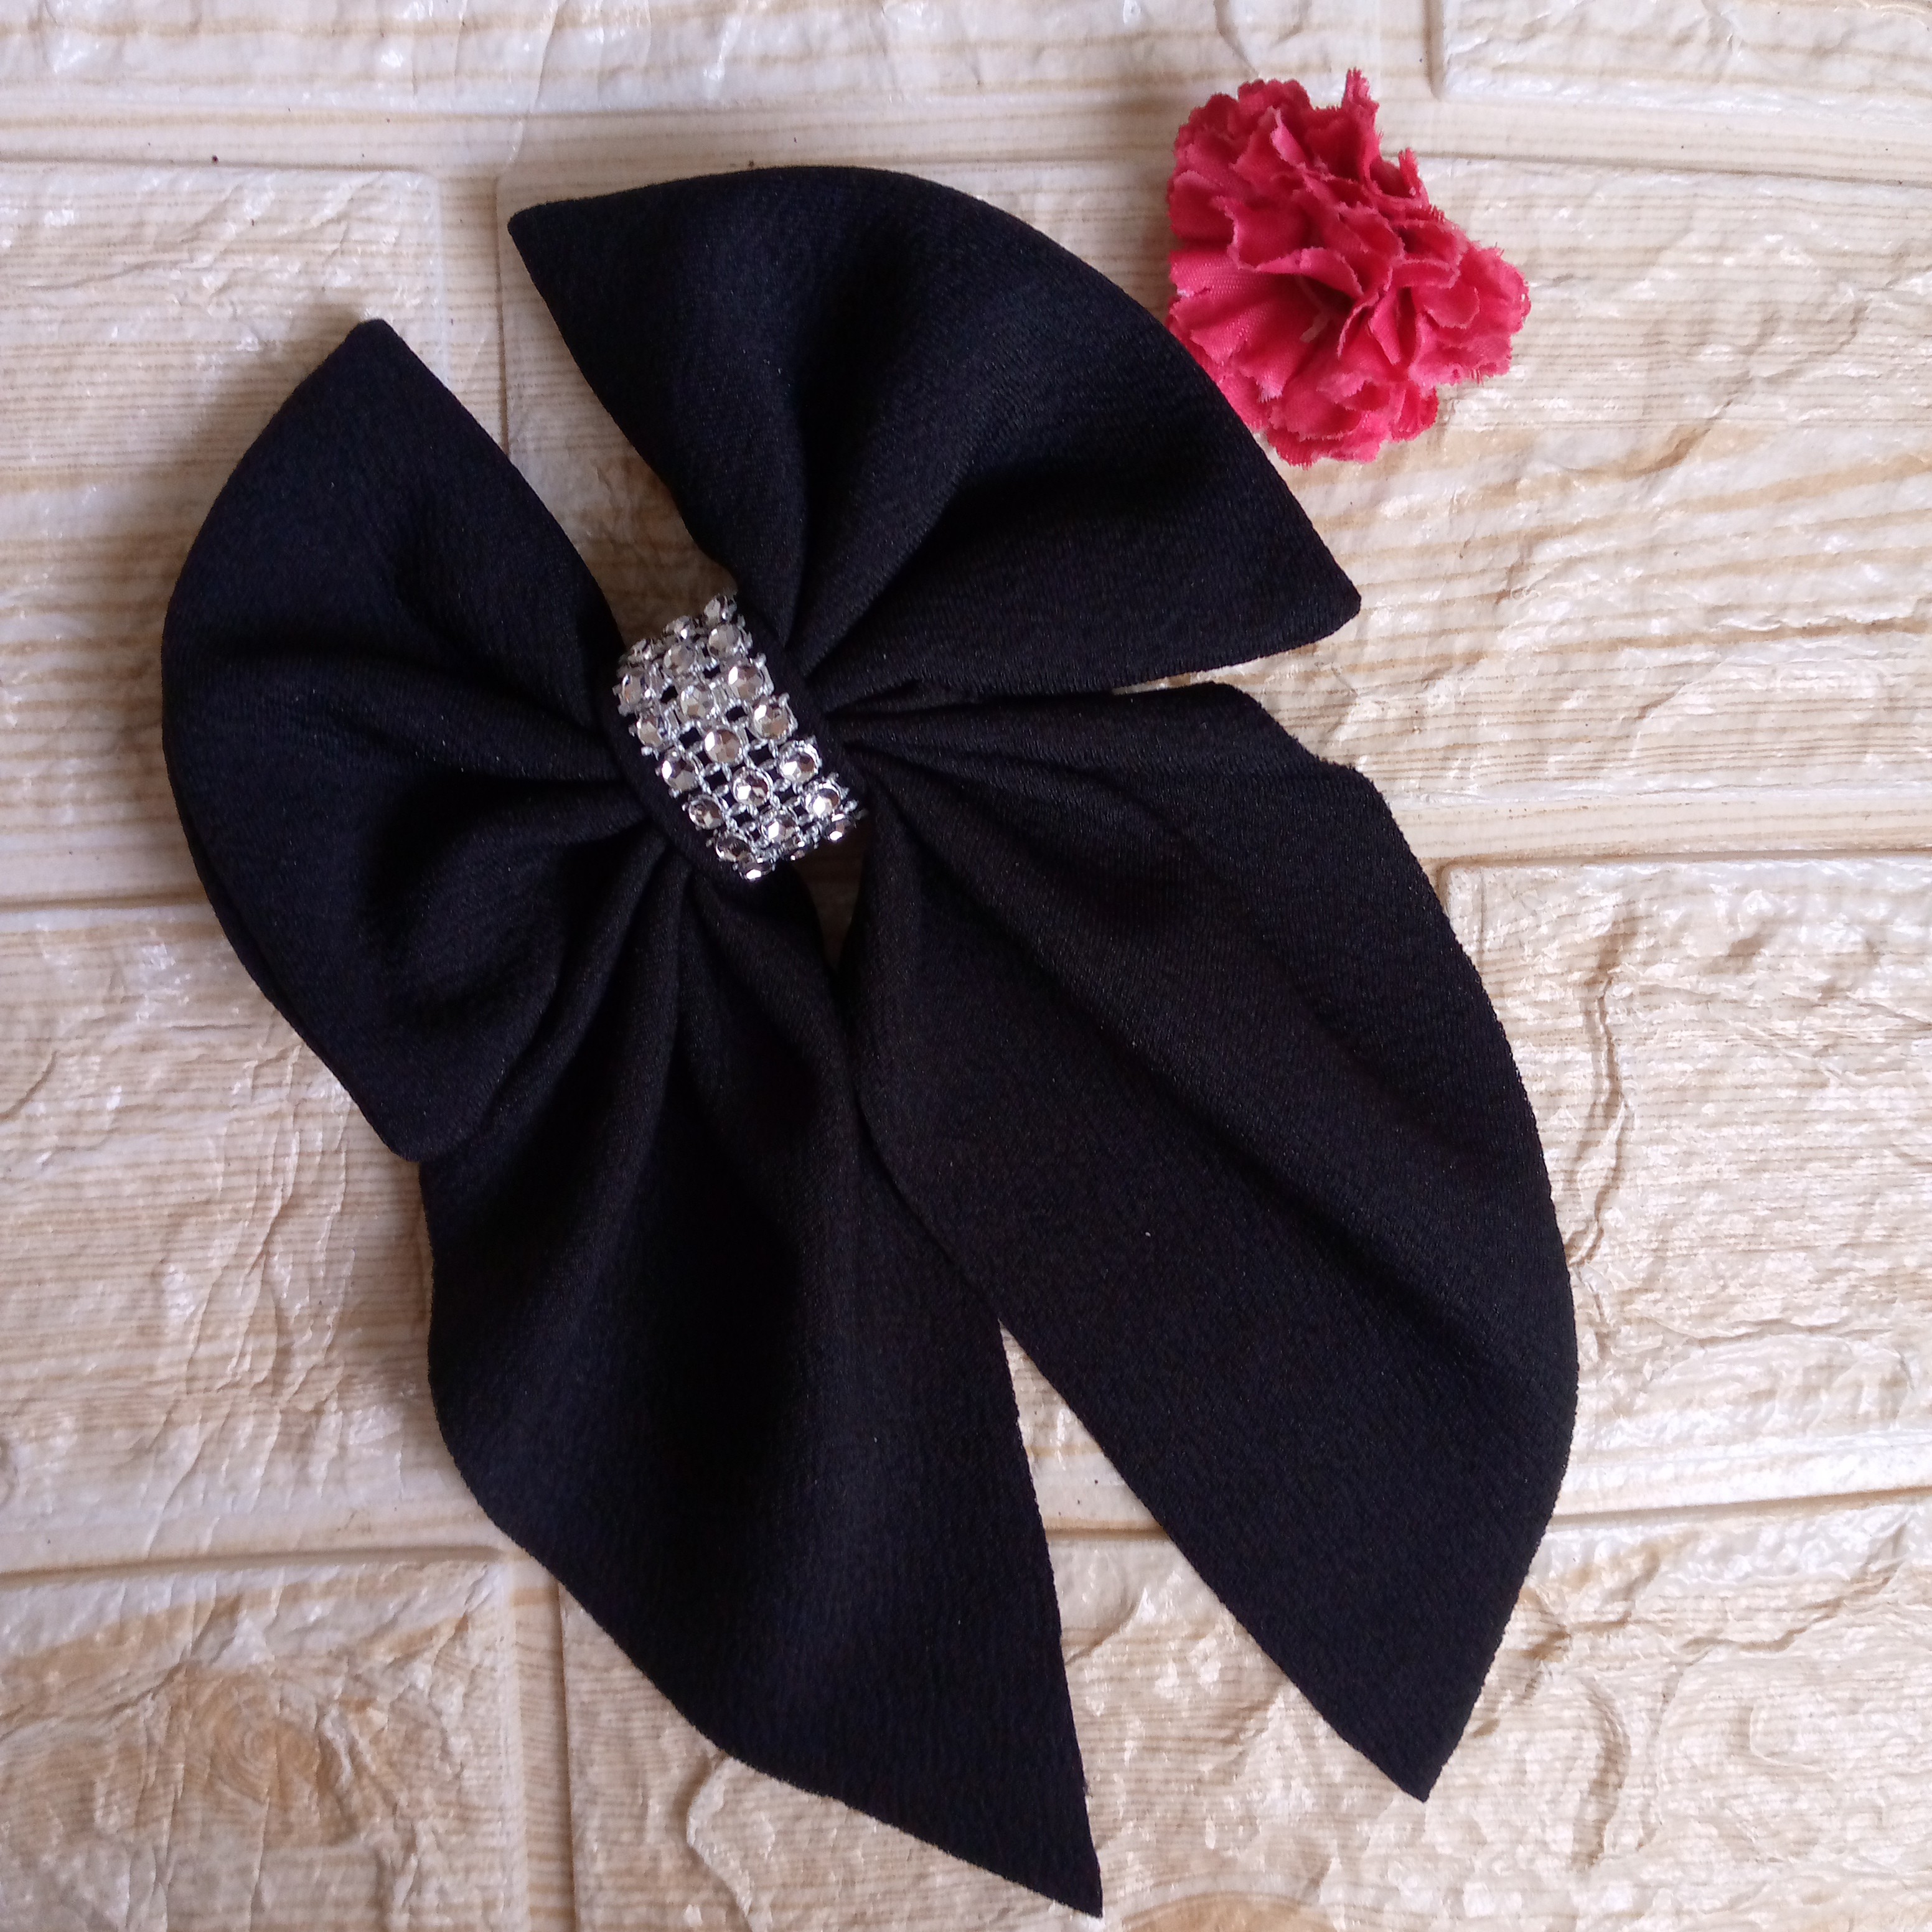
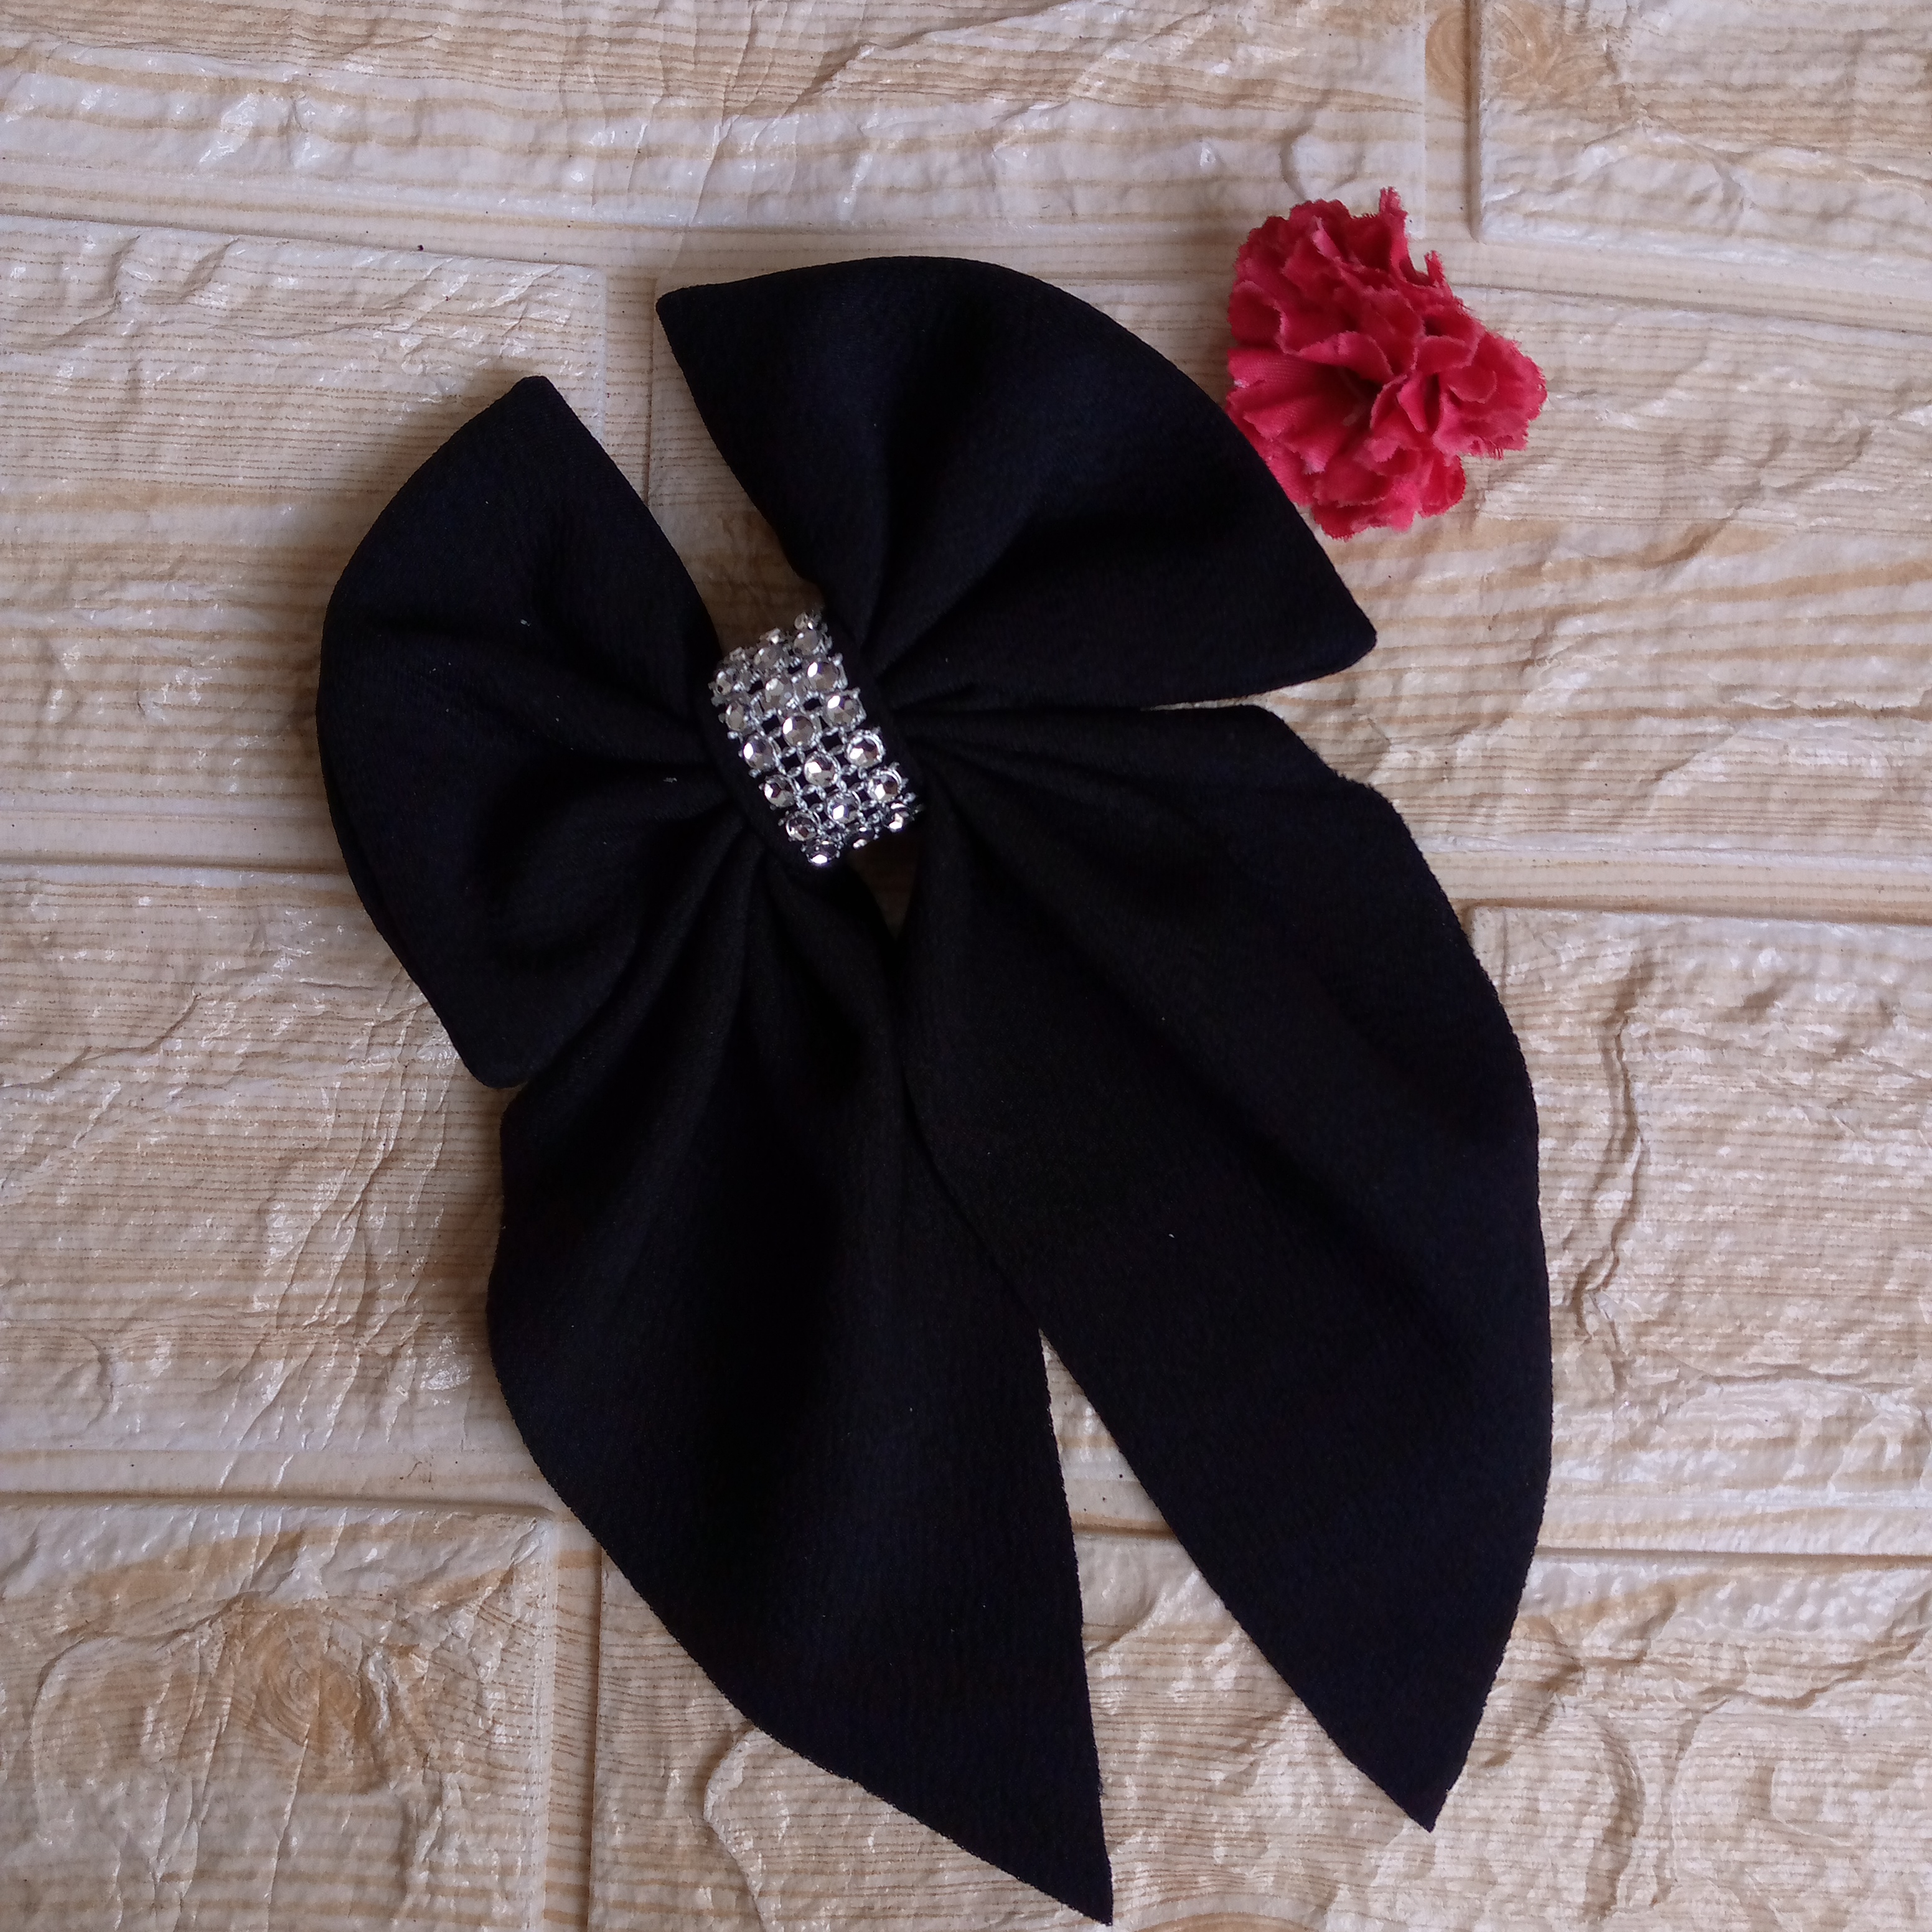
These are the final results. I really like the size of this bow because it is not that big and with our hair half up we can use it much more easily in our hair. If you liked it I would be happy to know about it here in the comments and tell me what you think. These bows are special for girls because of their flirtatious model. If you have a girl you can try to recycle your fabric scraps and make a nice flirtatious bow. Friends, I'll read you on another blog. Thank you for visiting my content. Greetings and God bless you. See you soon.
.jpg)
Creating things with love 🌷❤️
🦋✨ All the images in this publication are my author ,📱taken with my TecnoSpark8C cell phone |📸Photos edited in PicsArt and Canva. Text translated in Google Translate.
Follow me for more content 📌
Quedó lindo, lo bueno es que puedes reutilizar los retazos de tela y realizar estos bellos lazos 🎀
Gracias amiga 🥰
¿ᴺᵉᶜᵉˢᶦᵗᵃˢ ᴴᴮᴰ? ᵀᵉ ˡᵒ ᵖʳᵉˢᵗᵃᵐᵒˢ ᶜᵒⁿ
¡Felicitaciones!
1. Invierte en el PROYECTO ENTROPÍA y recibe ganancias semanalmente. Entra aquí para más información.
3. Suscríbete a nuestra COMUNIDADEntra aquí para más información sobre nuestro trail., apoya al trail de @Entropia y así podrás ganar recompensas de curación de forma automática.
4. Creación de cuentas nuevas de Hive aquí.
5. Visita nuestro canal de Youtube.
Atentamente
El equipo de curación del PROYECTO ENTROPÍA