Buenas tardes, mi querida familia de Hive de mi gran comunidad Hive Diy, espero estén todos excelente. Hoy quiero mostrarles como convertir una hoja de papel reciclado en un hermoso copo de nieve.
Good afternoon my dear Hive family from my great Hive Diy community, I hope you are all excellent. Today I want to show you how to turn a sheet of recycled paper into a beautiful snowflake.
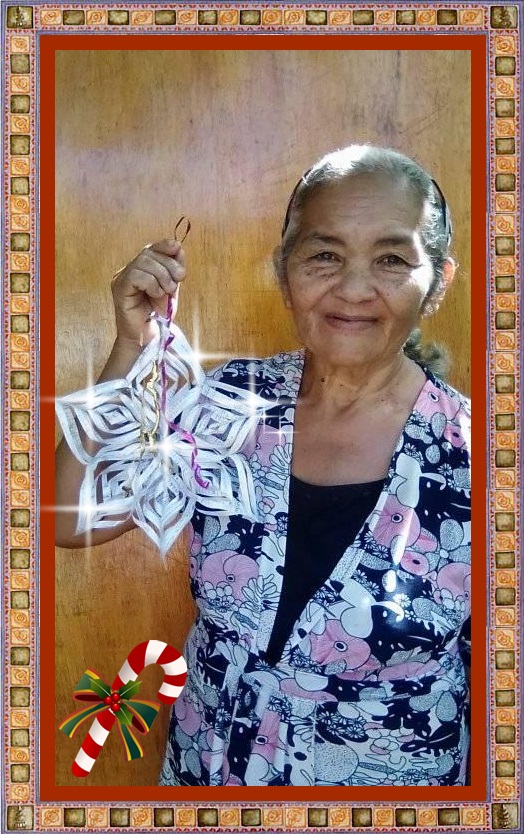 Mi modelo favorita, mi madre feliz con su regalo.//My favorite model, my mother happy with her gift.
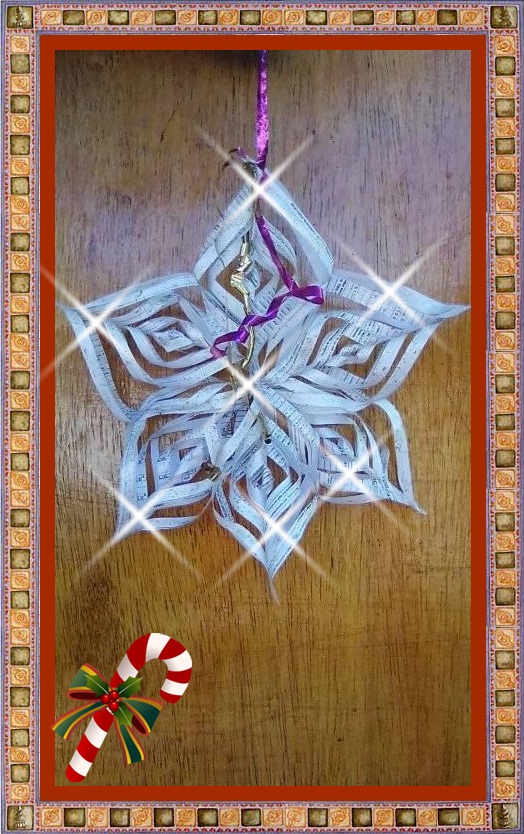
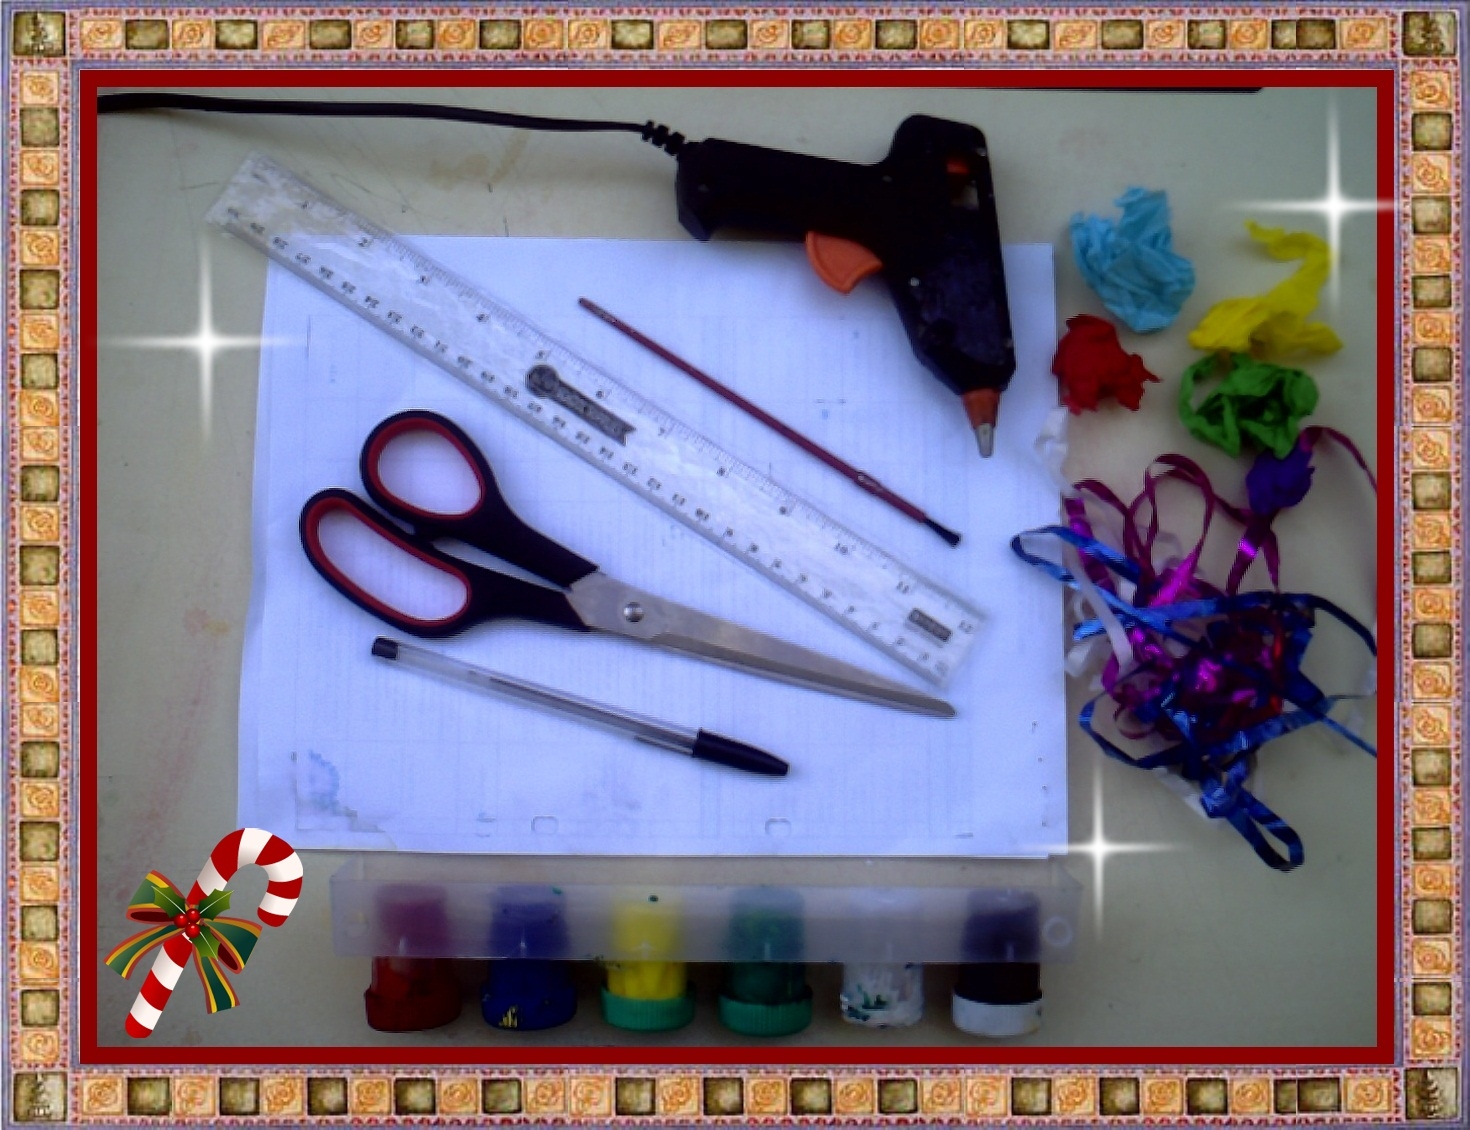
Los materiales utilizados son:
- 2 Hojas de papel reciclado.
- Tijeras.
- Una regla.
- Silicon caliente.
- Cintas de colores recicladas.
- Lápiz.
- Pincel.
- Escarche líquido.
The materials used are:
- 2 Sheets of recycled paper.
- Pair of scissors.
- A rule.
- Hot silicon.
- Recycled colored ribbons.
- Pencil.
- Brush.
- Liquid frost.
La realización.
The realization.
Paso 1:
Step 1:
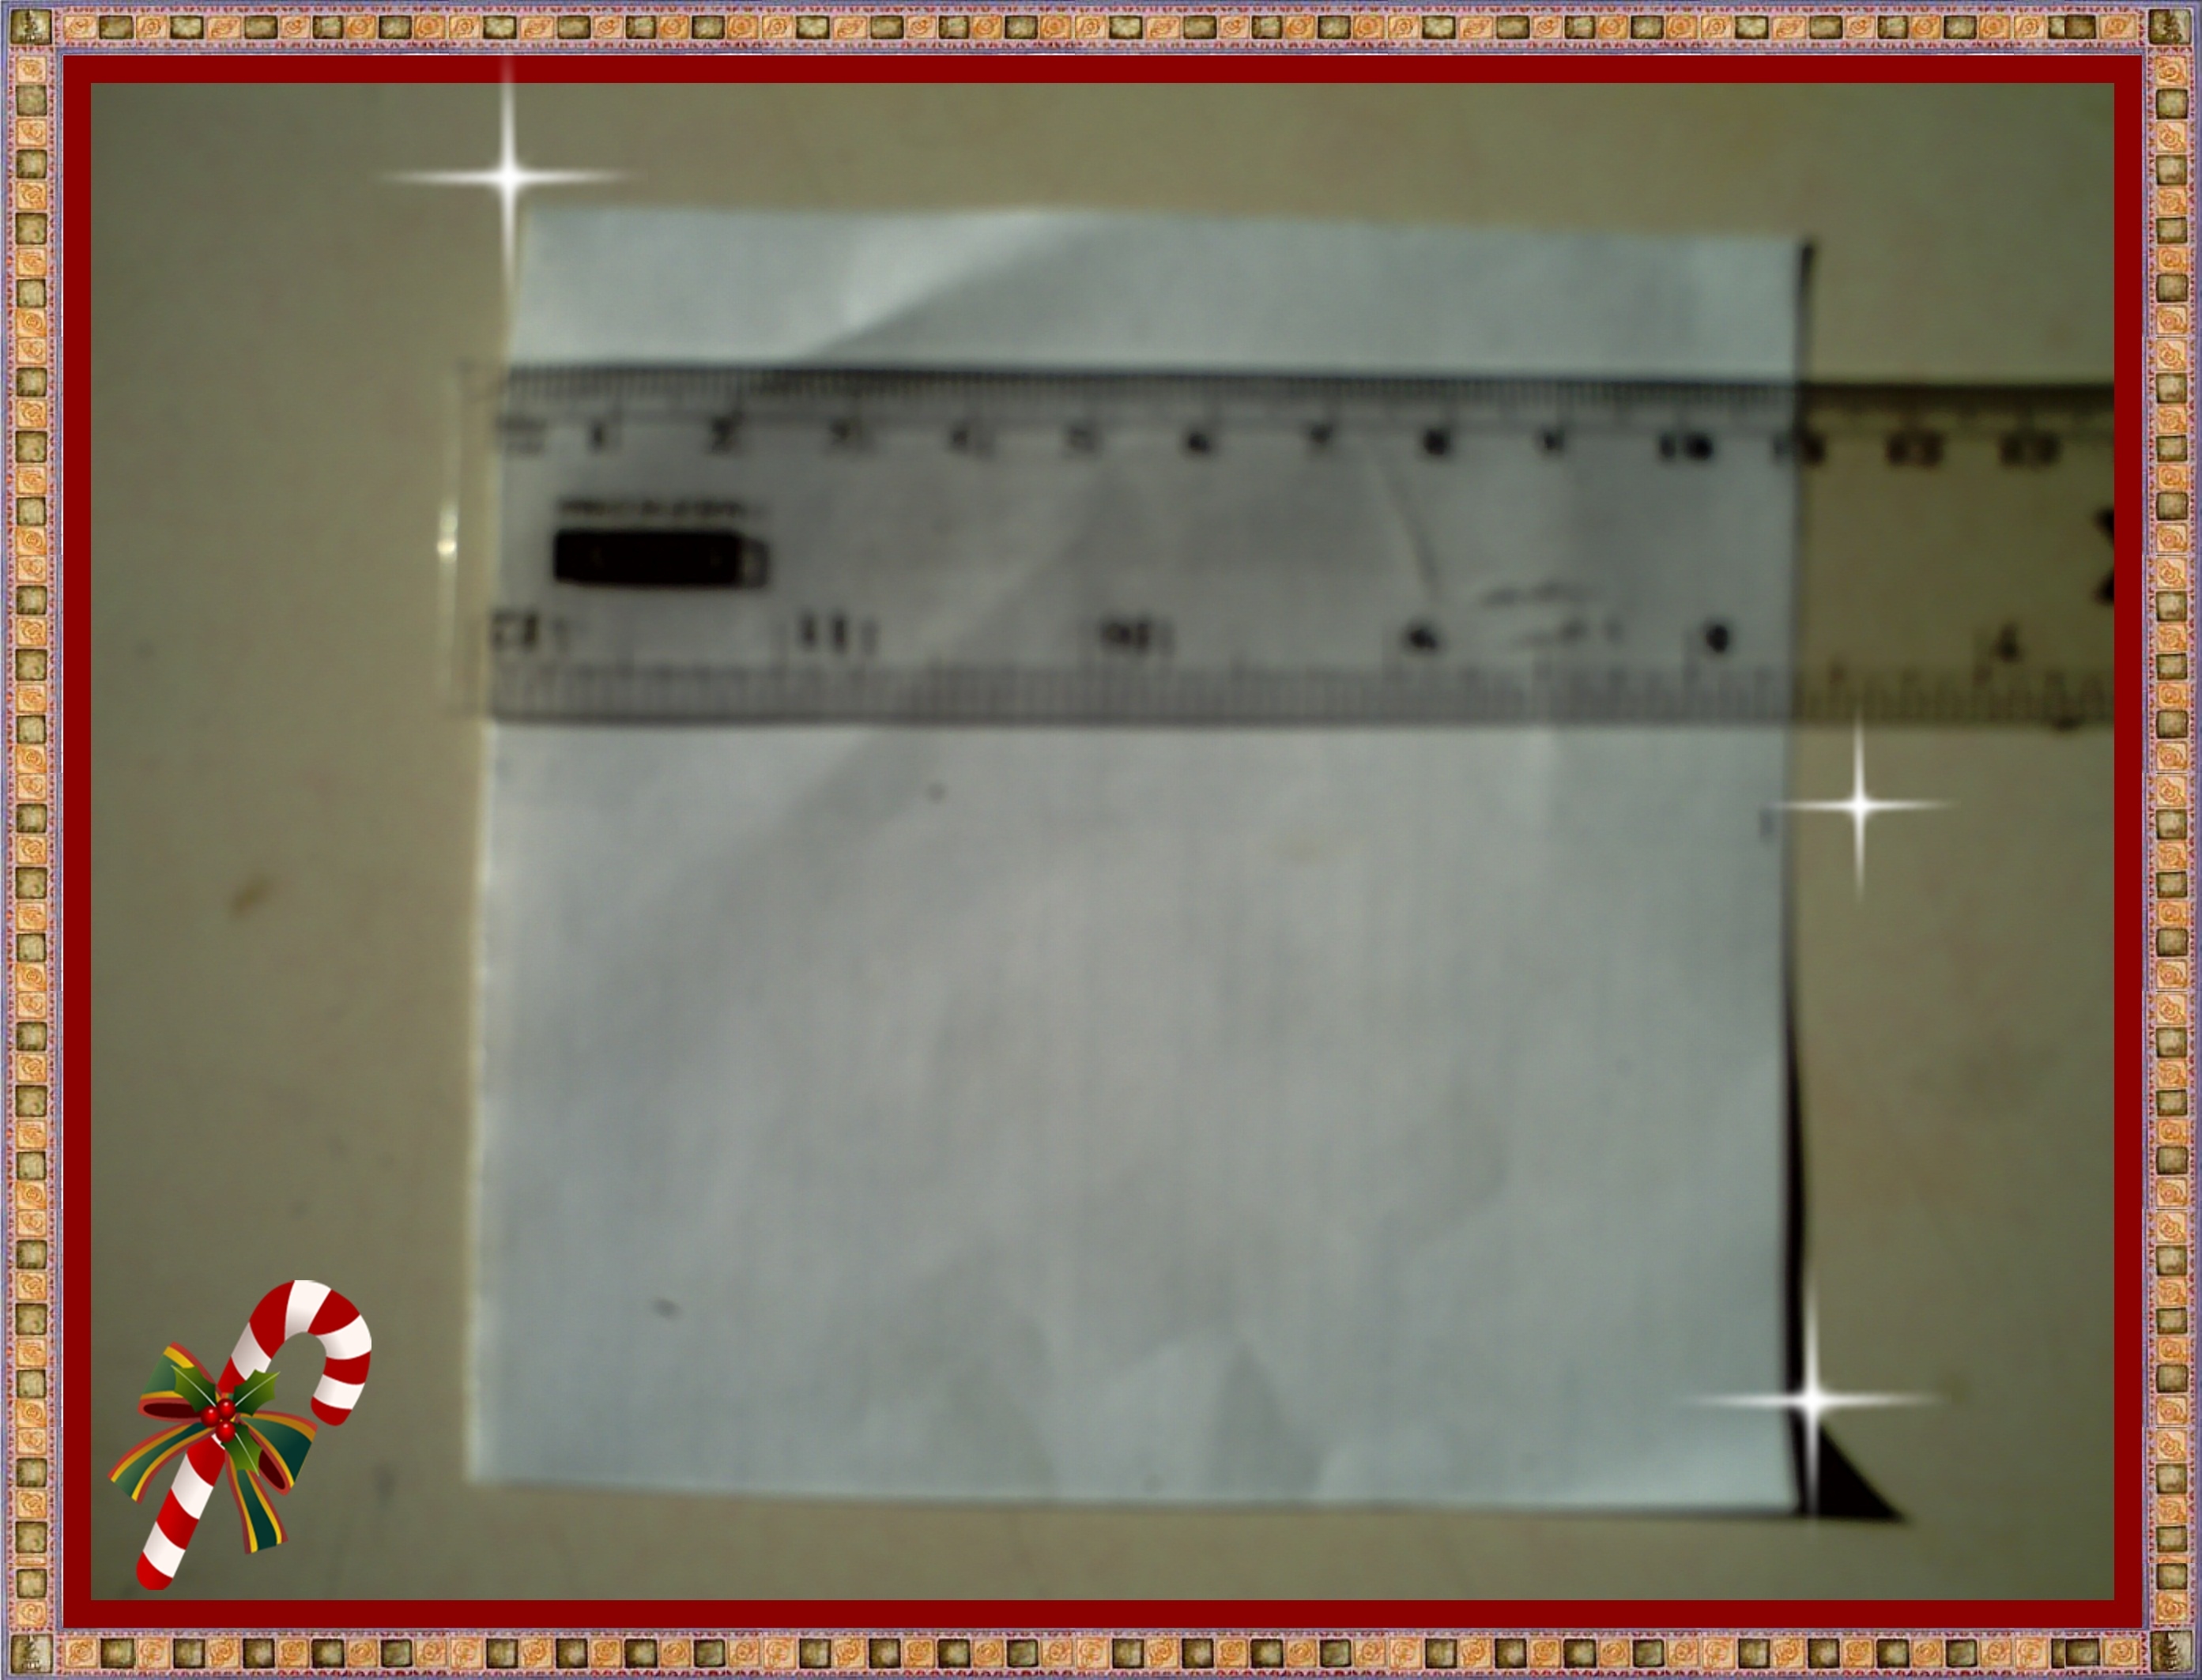
Cortamos 6 cuadros de papel de 11x11 centímetros.
We cut 6 squares of 11x11 centimeter paper.
Paso 2:
Step 2:
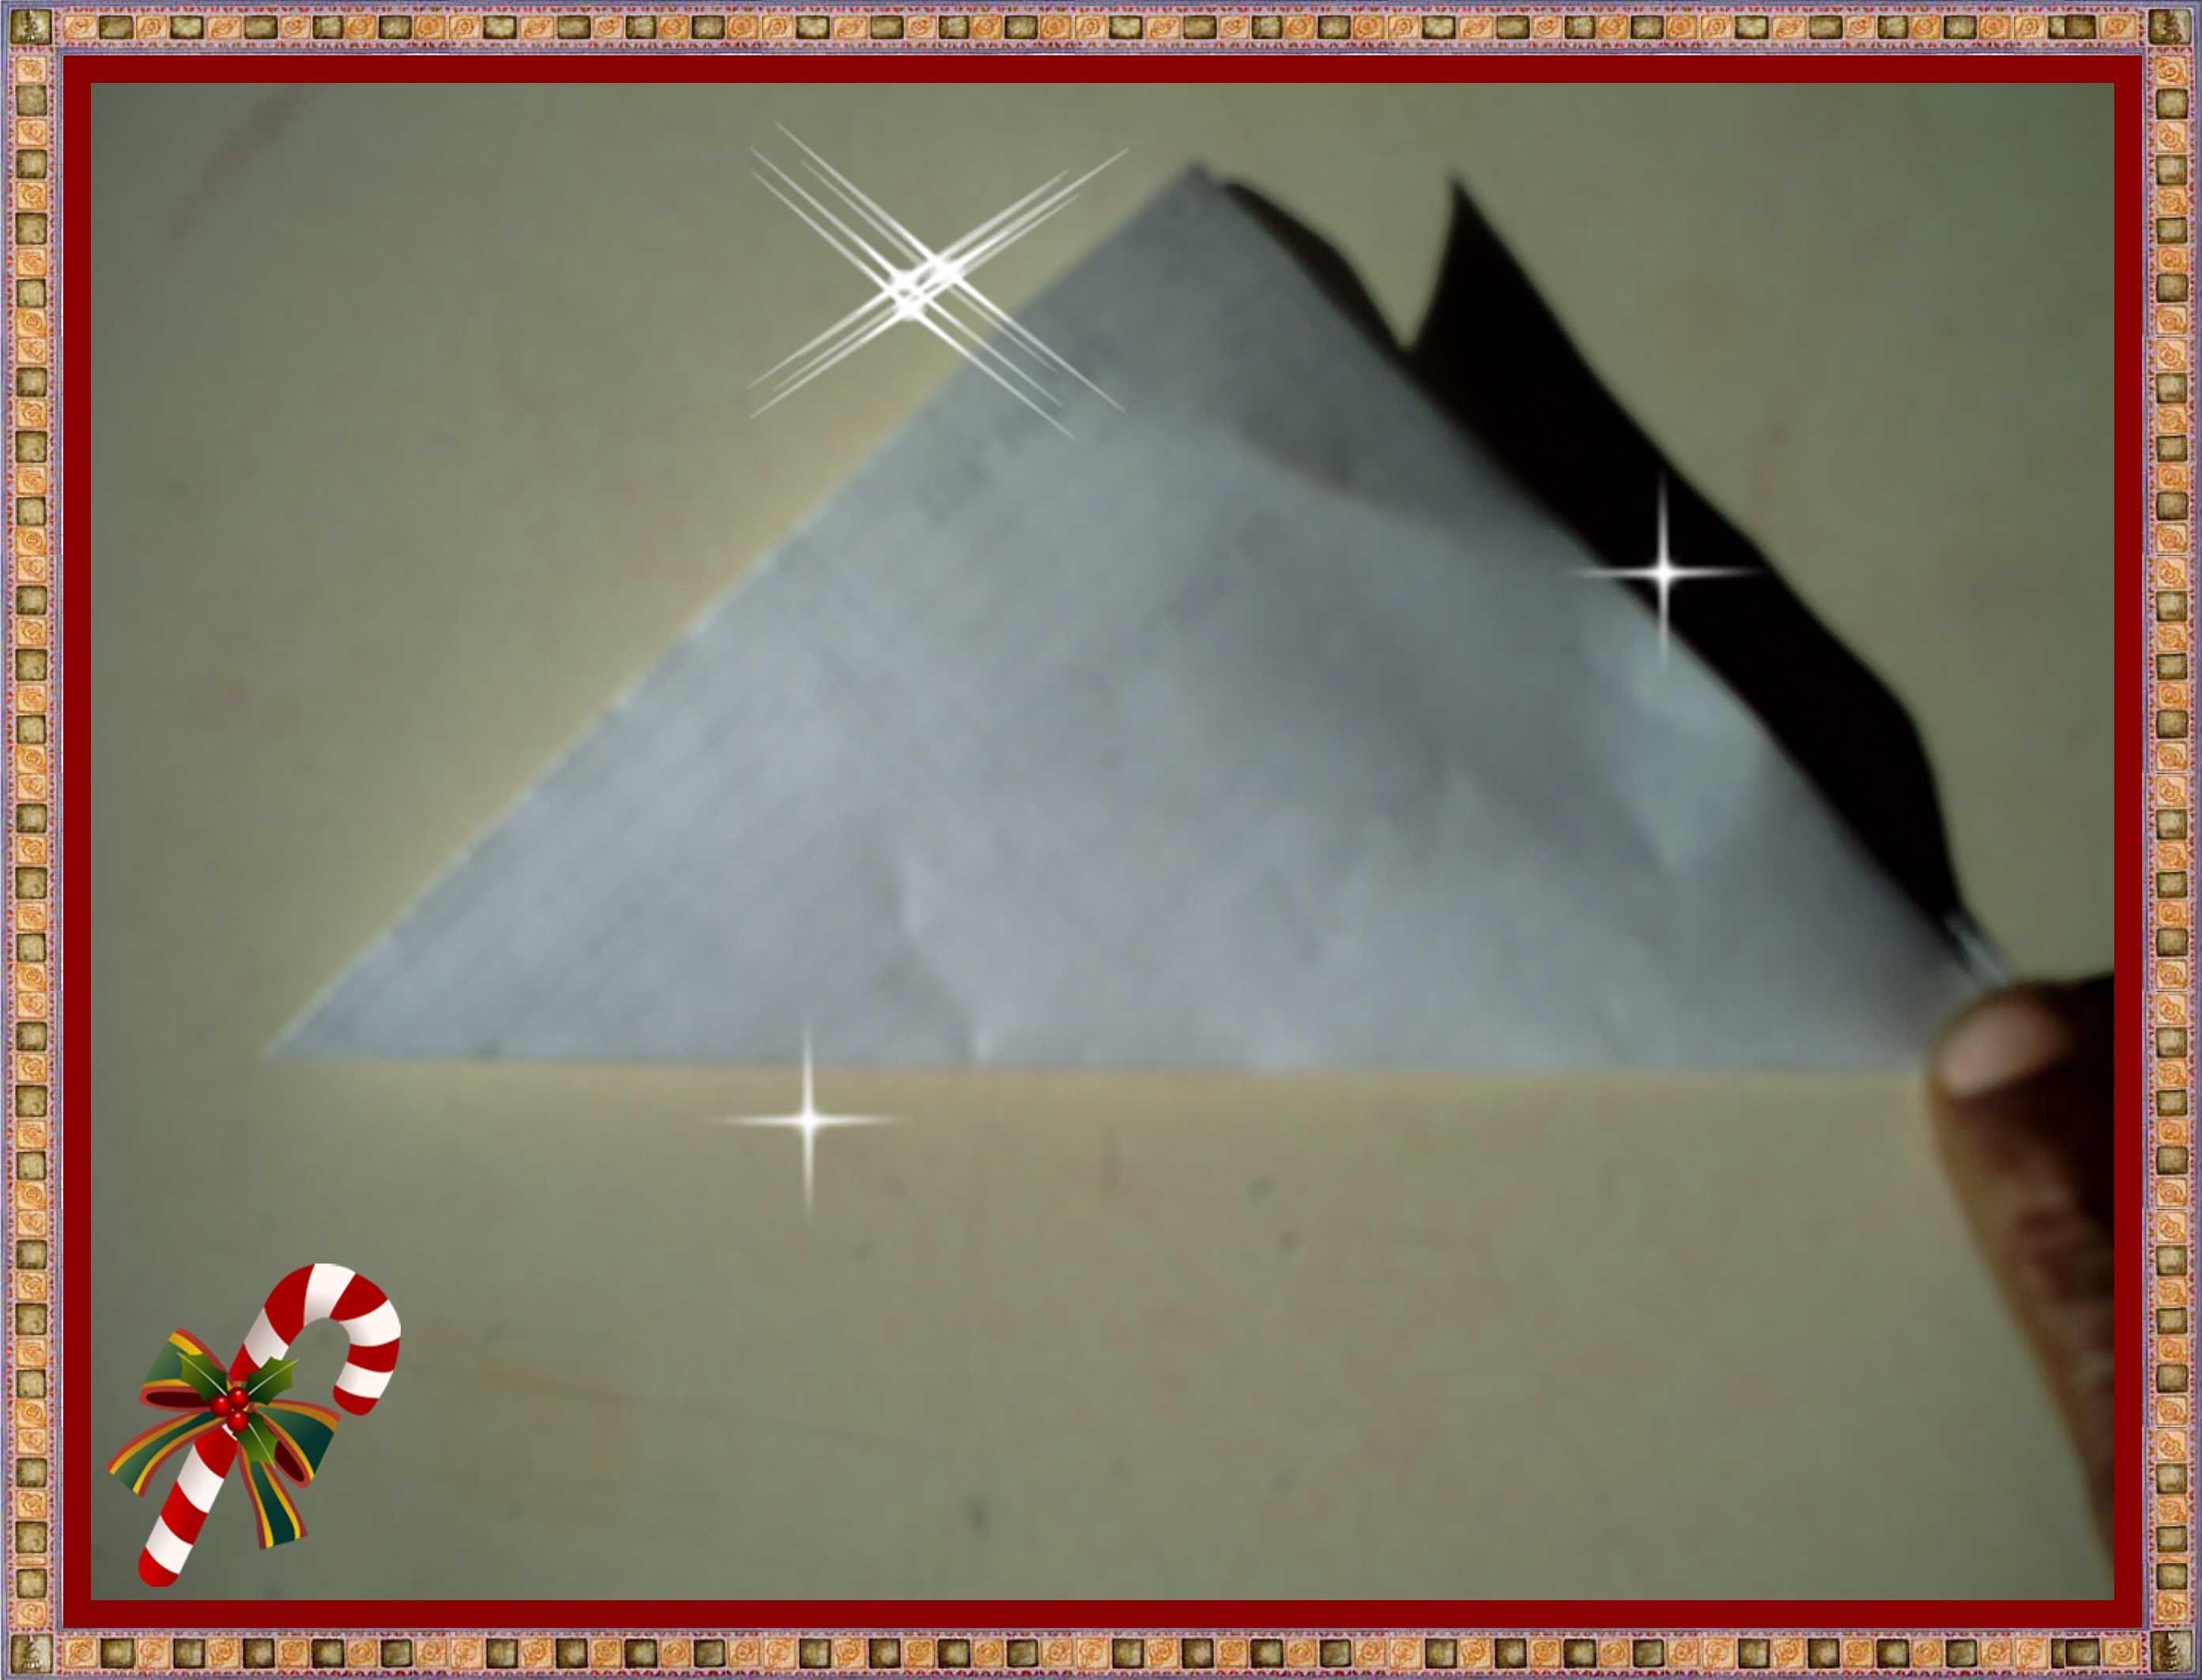
Doblamos una de las puntas de nuestro cuadrado de papel y hacemos un triángulo.
We fold one of the ends of our square of paper and make a triangle.
Paso 3:
Step 3:

Tomamos la punta de nuestro triángulo de papel y lo flexionamos y realizamos un triángulo más pequeño.
We take the tip of our paper triangle and flex it and make a smaller triangle.
Paso 4:
Step 4:
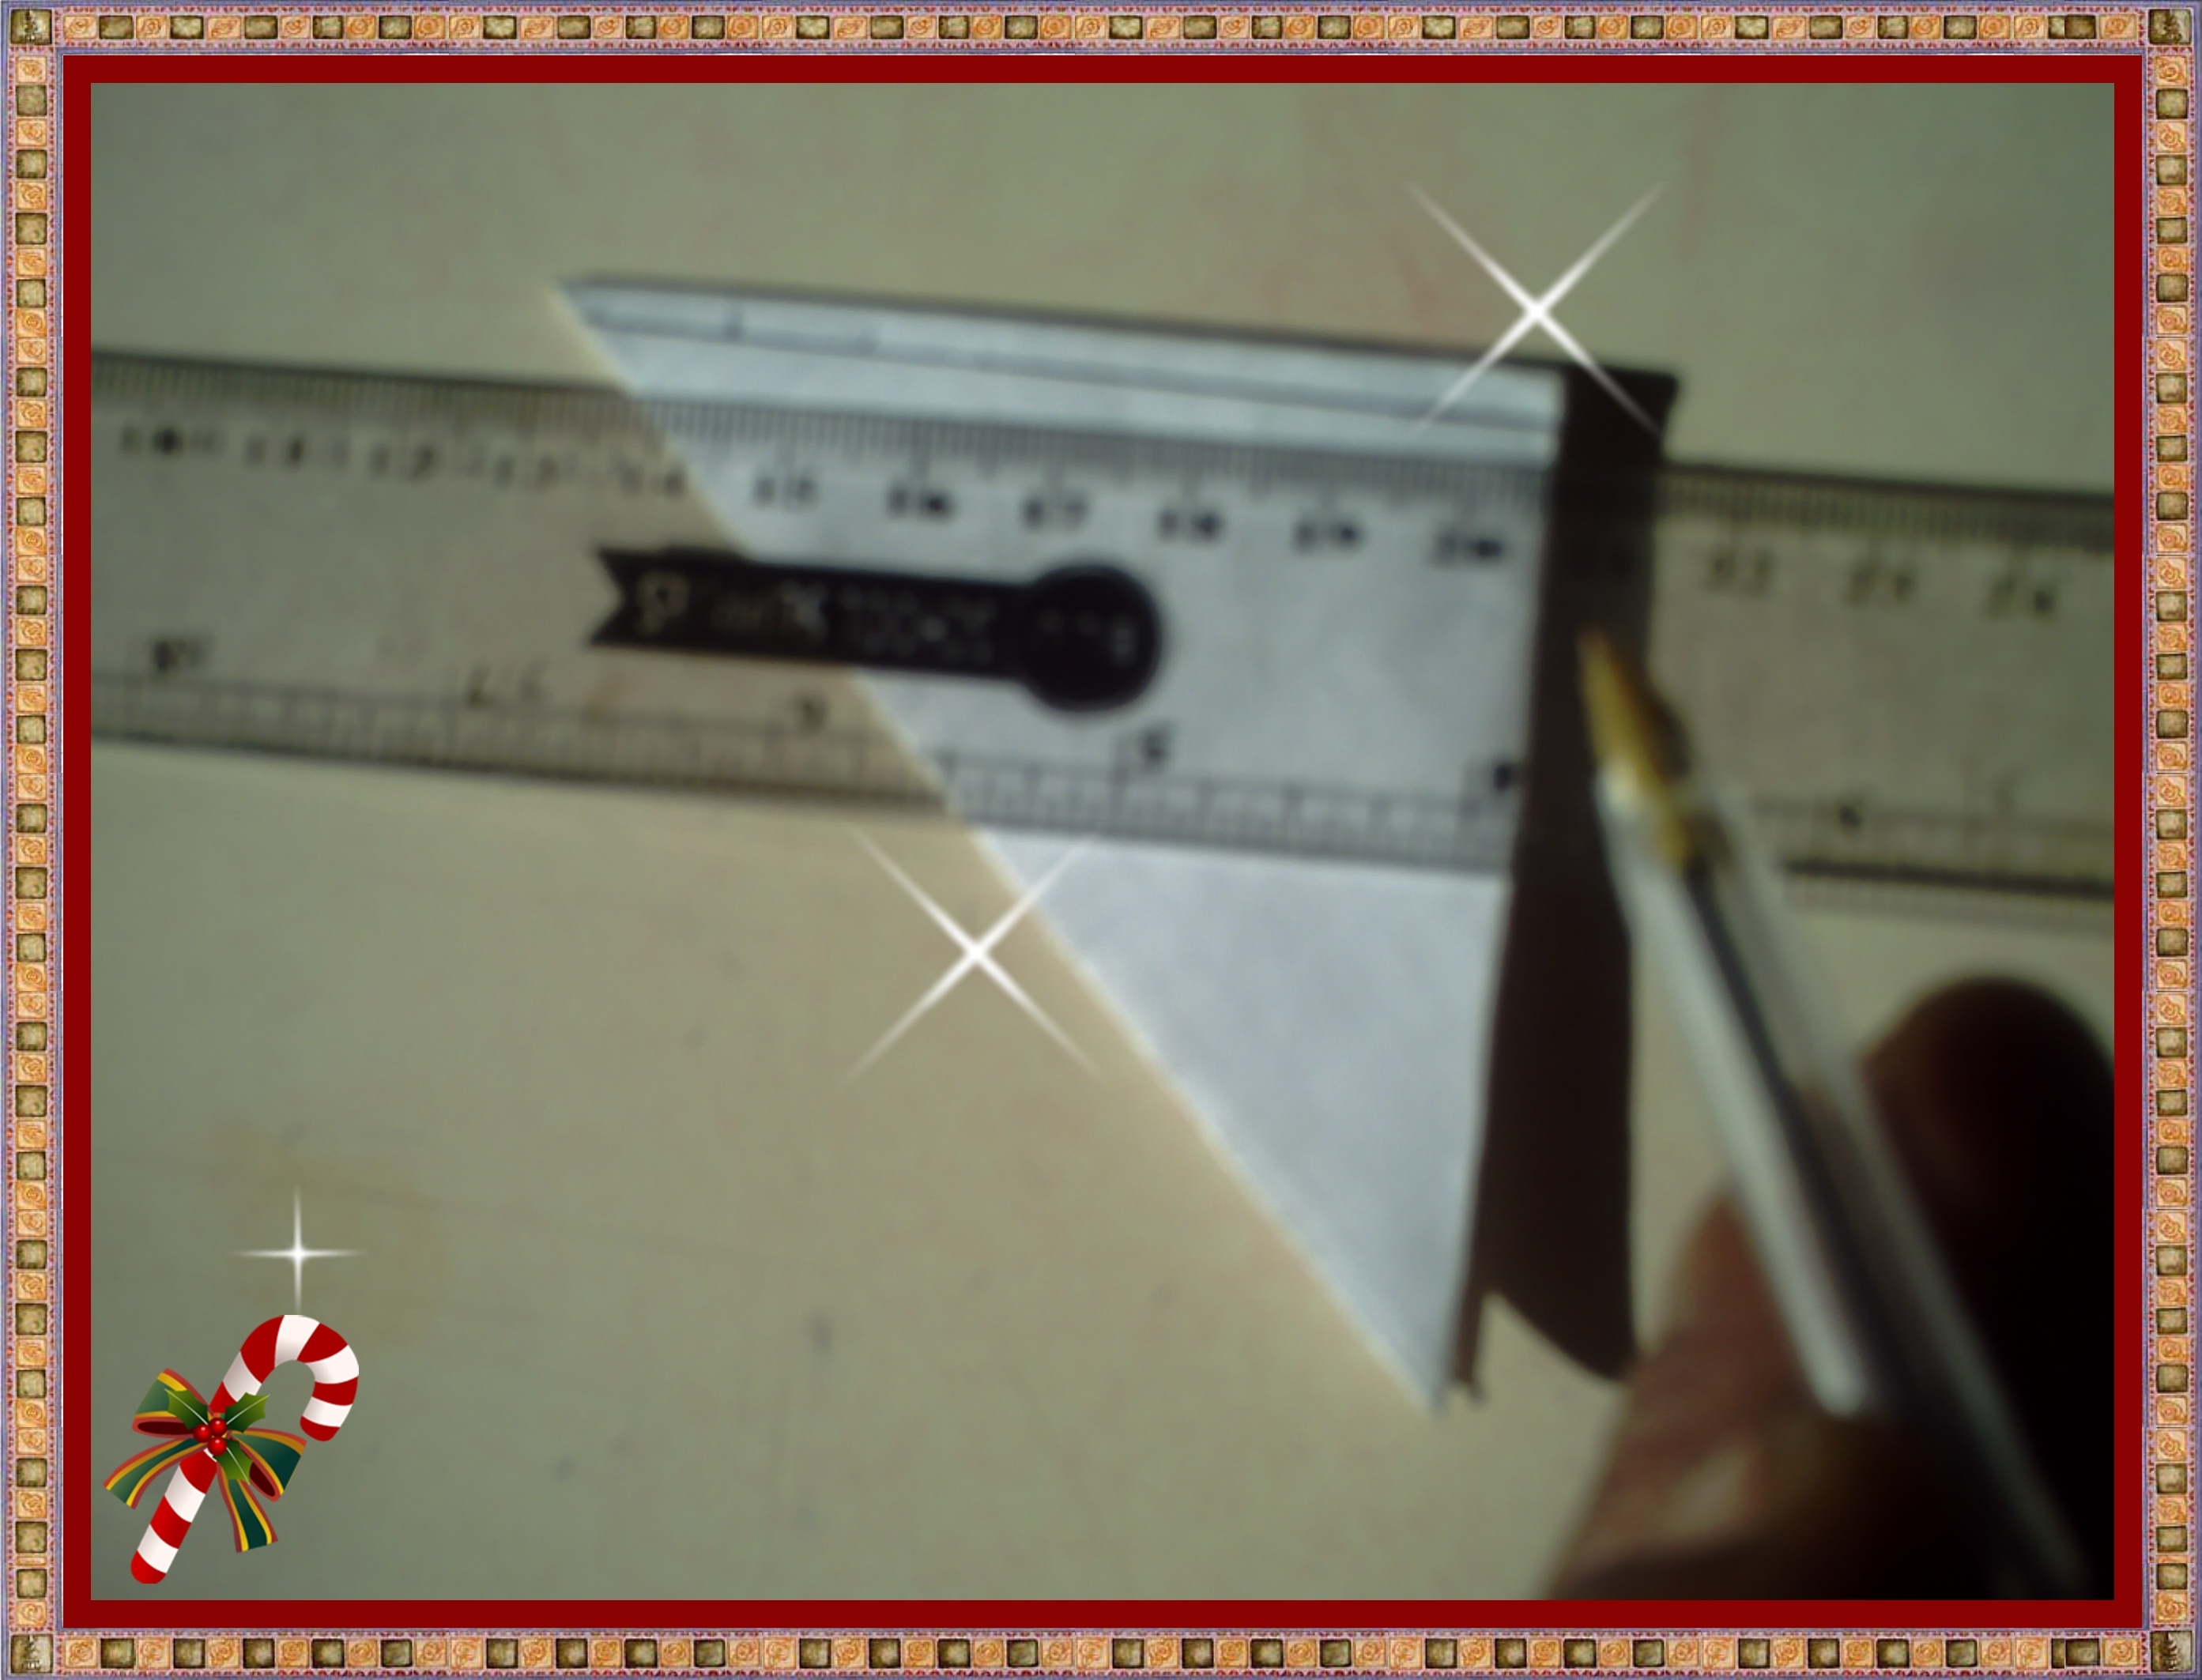
Trazamos una línea de unos 5 milímetros en la base del triángulo.
We draw a line of about 5 millimeters at the base of the triangle.
Paso 5:
Step 5:
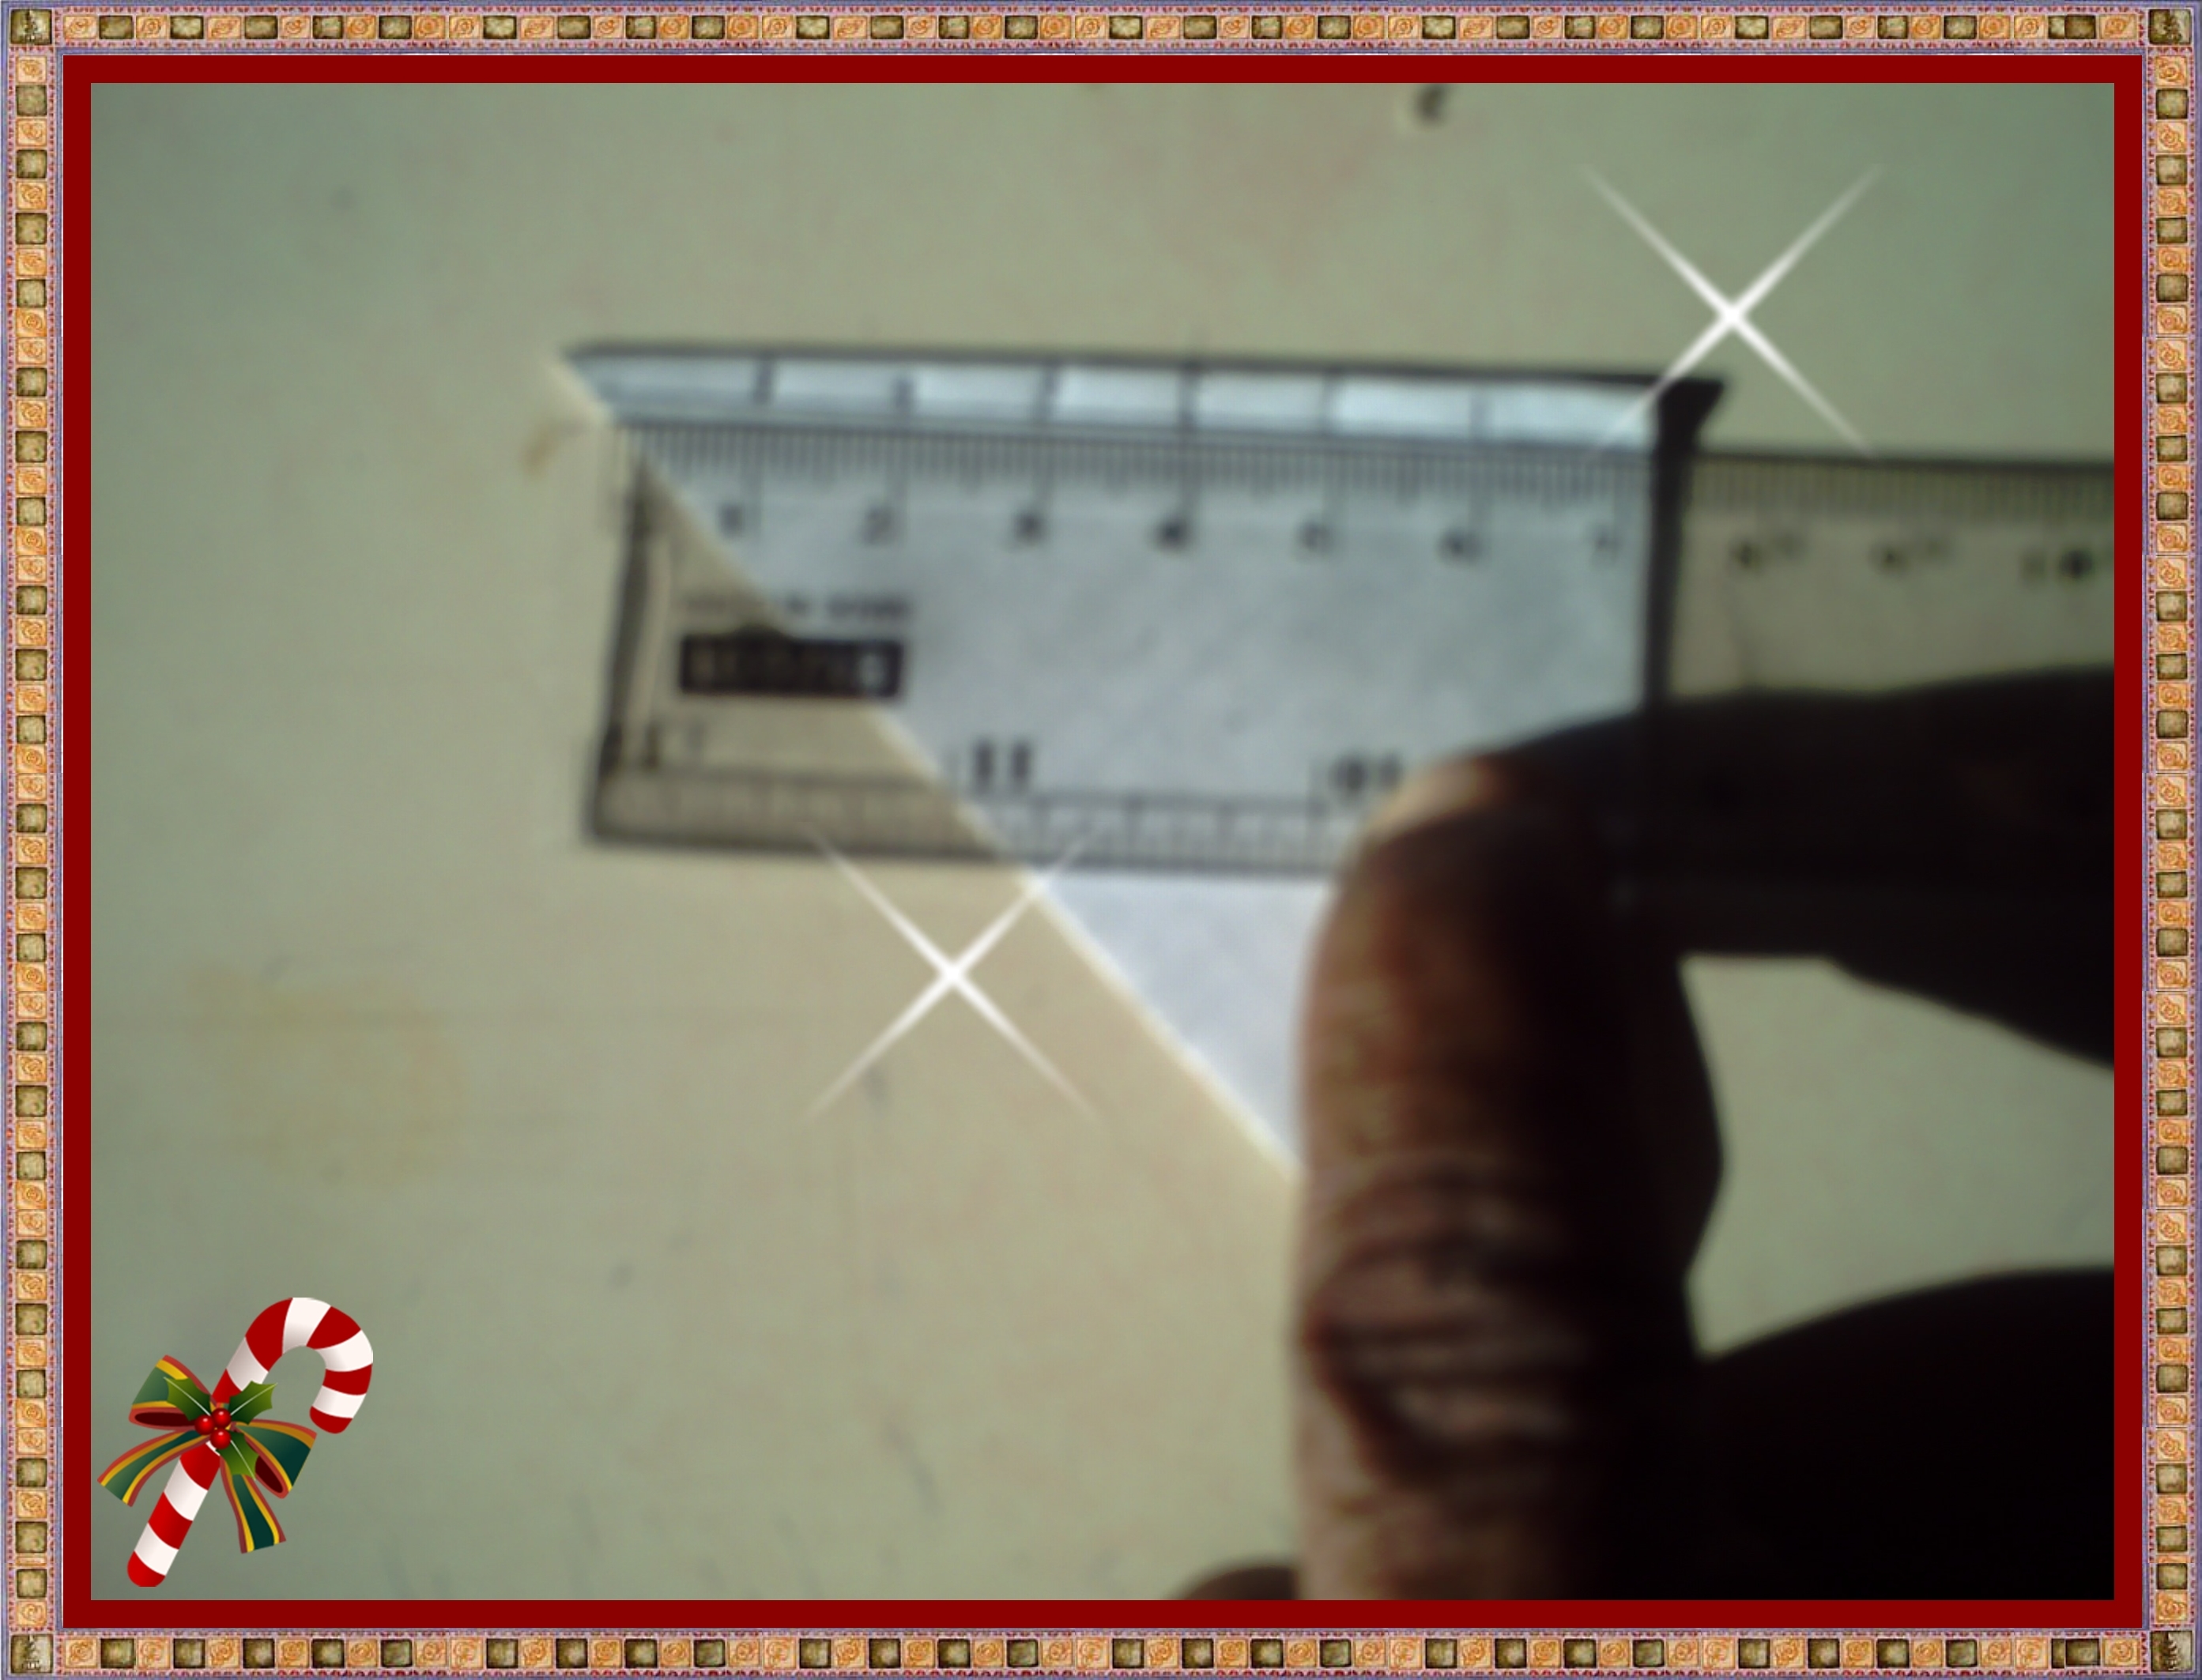
Hacemos marcas de un centímetro sobre la línea que habíamos marcado anteriormente.
We make one centimeter marks on the line that we had previously marked.
Paso 6:
Step 6:

En la parte donde se unen las dos puntas de nuestro triángulo, hacemos marcas de un centímetro.
In the part where the two points of our triangle meet, we make centimeter marks.
Paso 7:
Step 7:
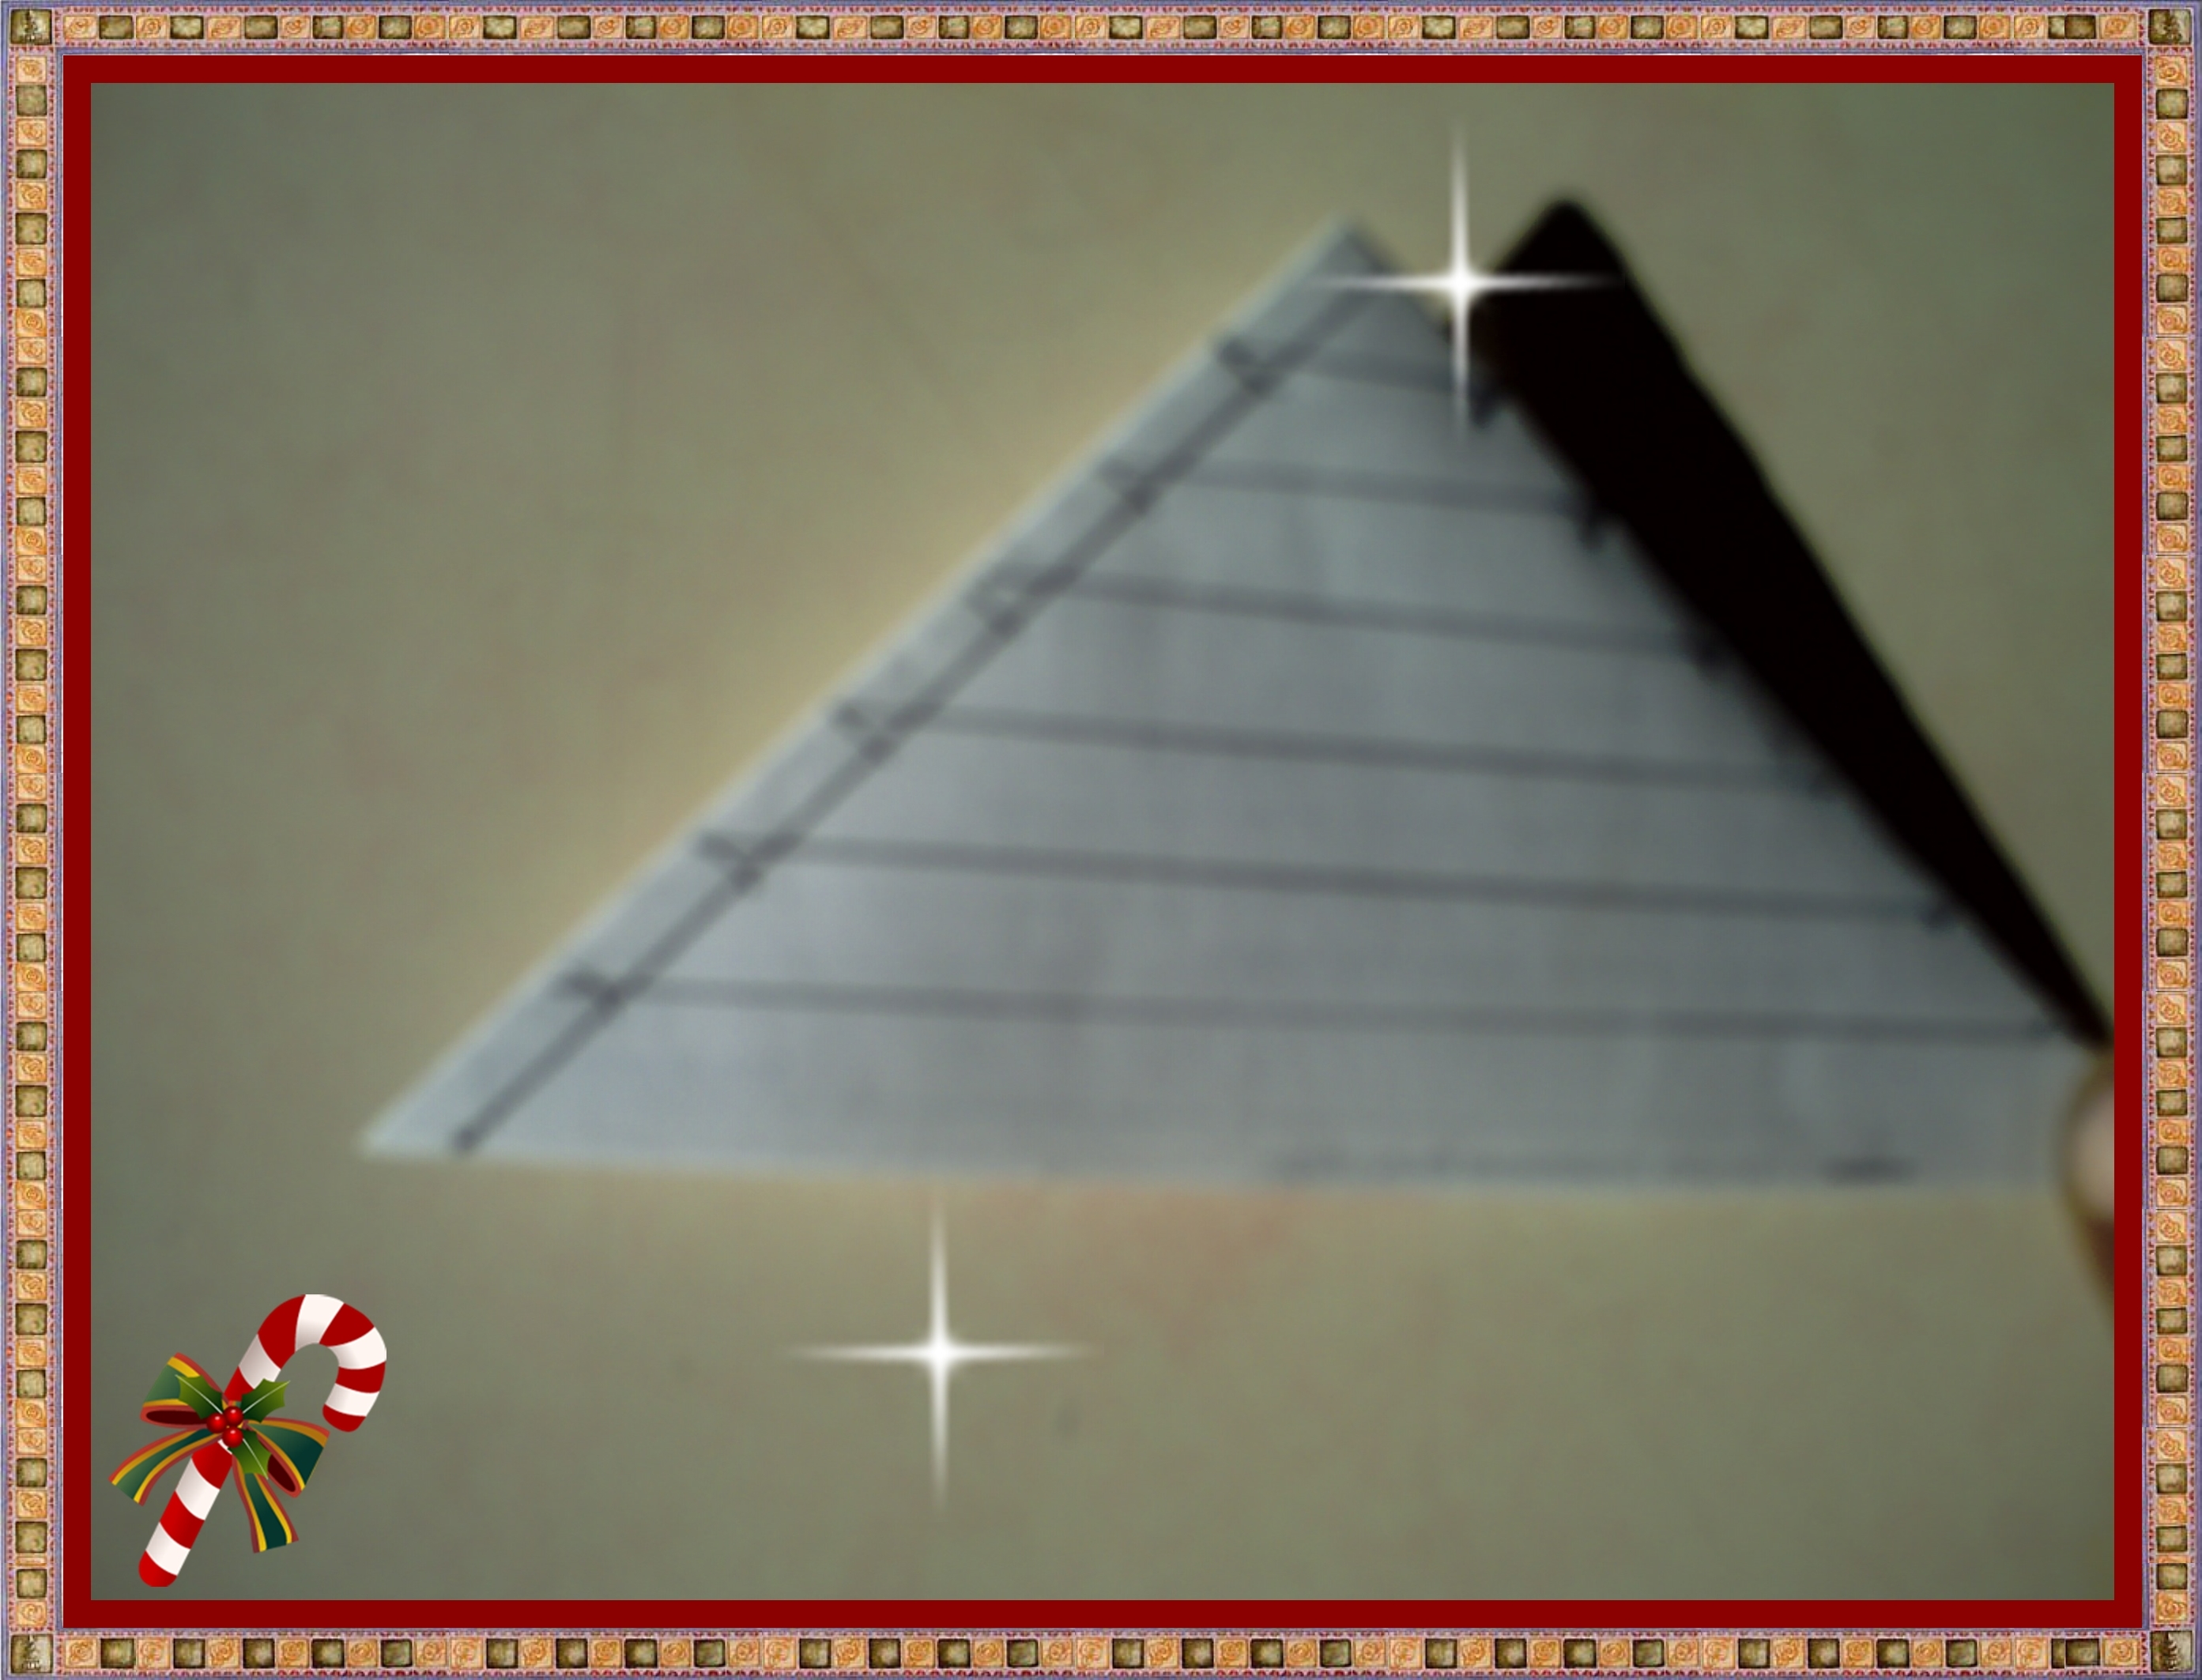
Unimos los puntos marcando unas líneas rectas.
We join the points by marking some straight lines.
Paso 8:
Step 8:

Cortamos sobre las líneas marcadas, respetando la línea que hicimos en la base del triángulo, la cual será el centro de nuestra figura.
We cut on the marked lines, respecting the line we made at the base of the triangle, which will be the center of our figure.
Paso 9:
Step 9:

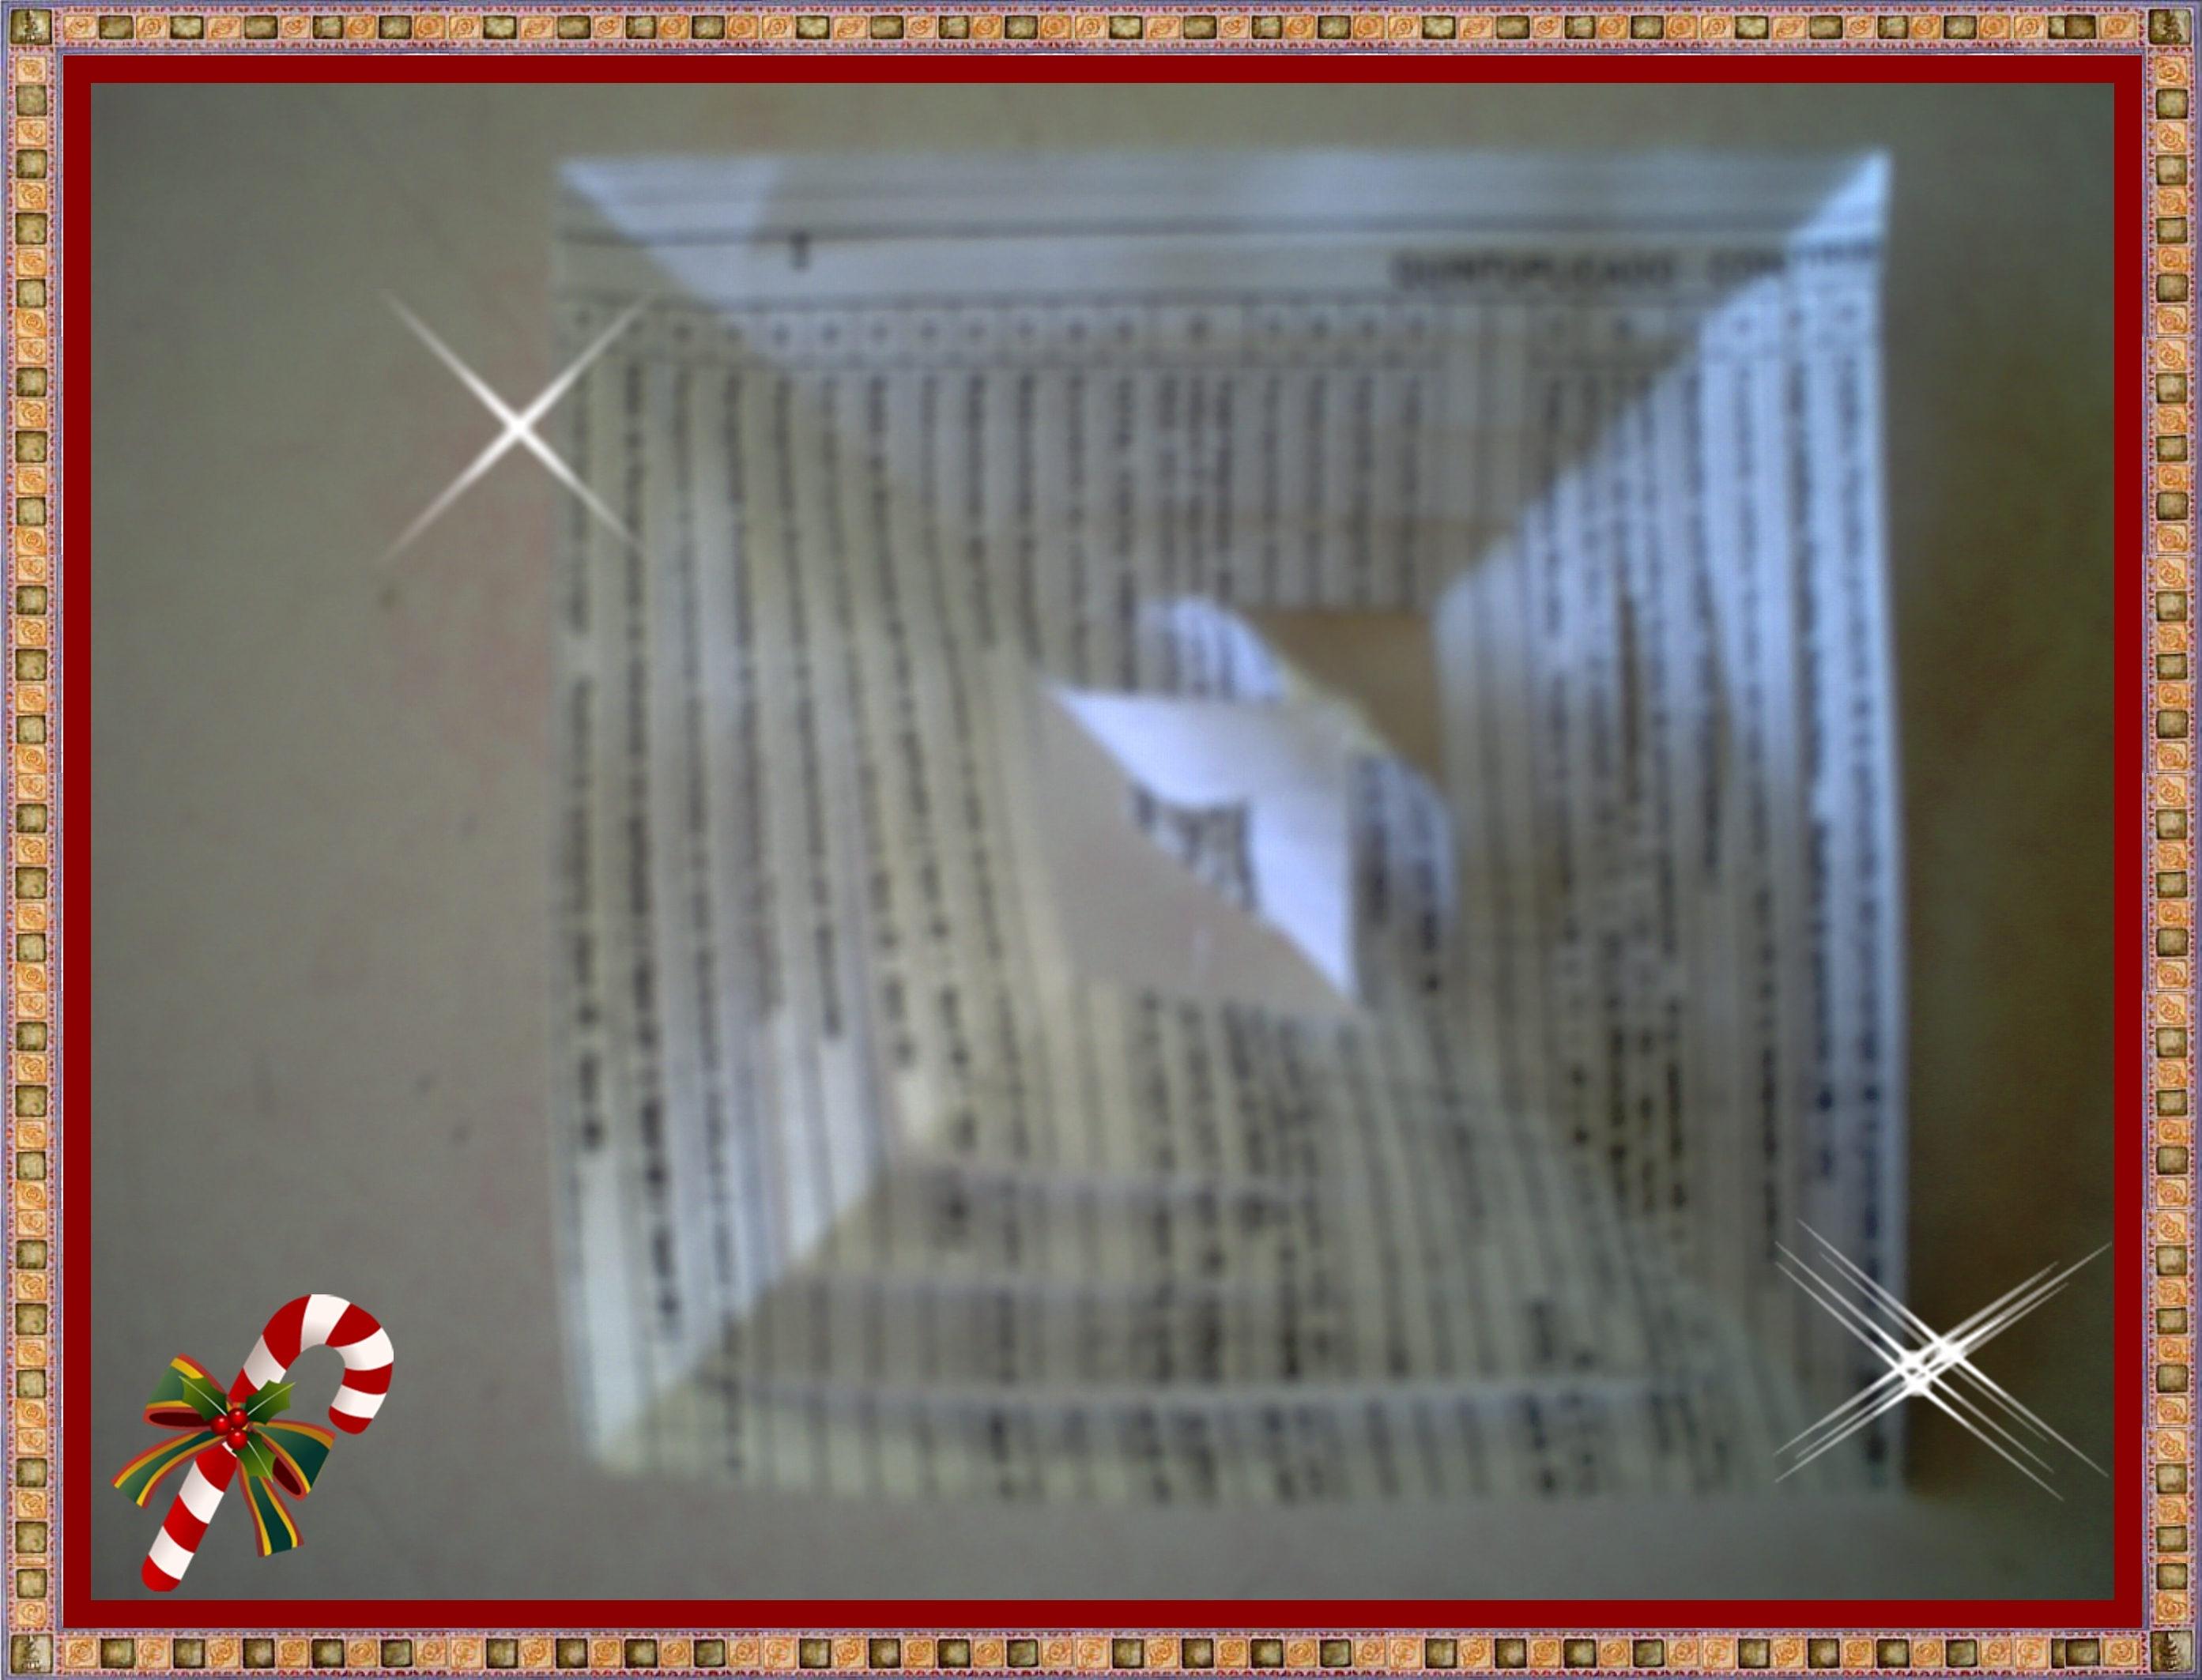
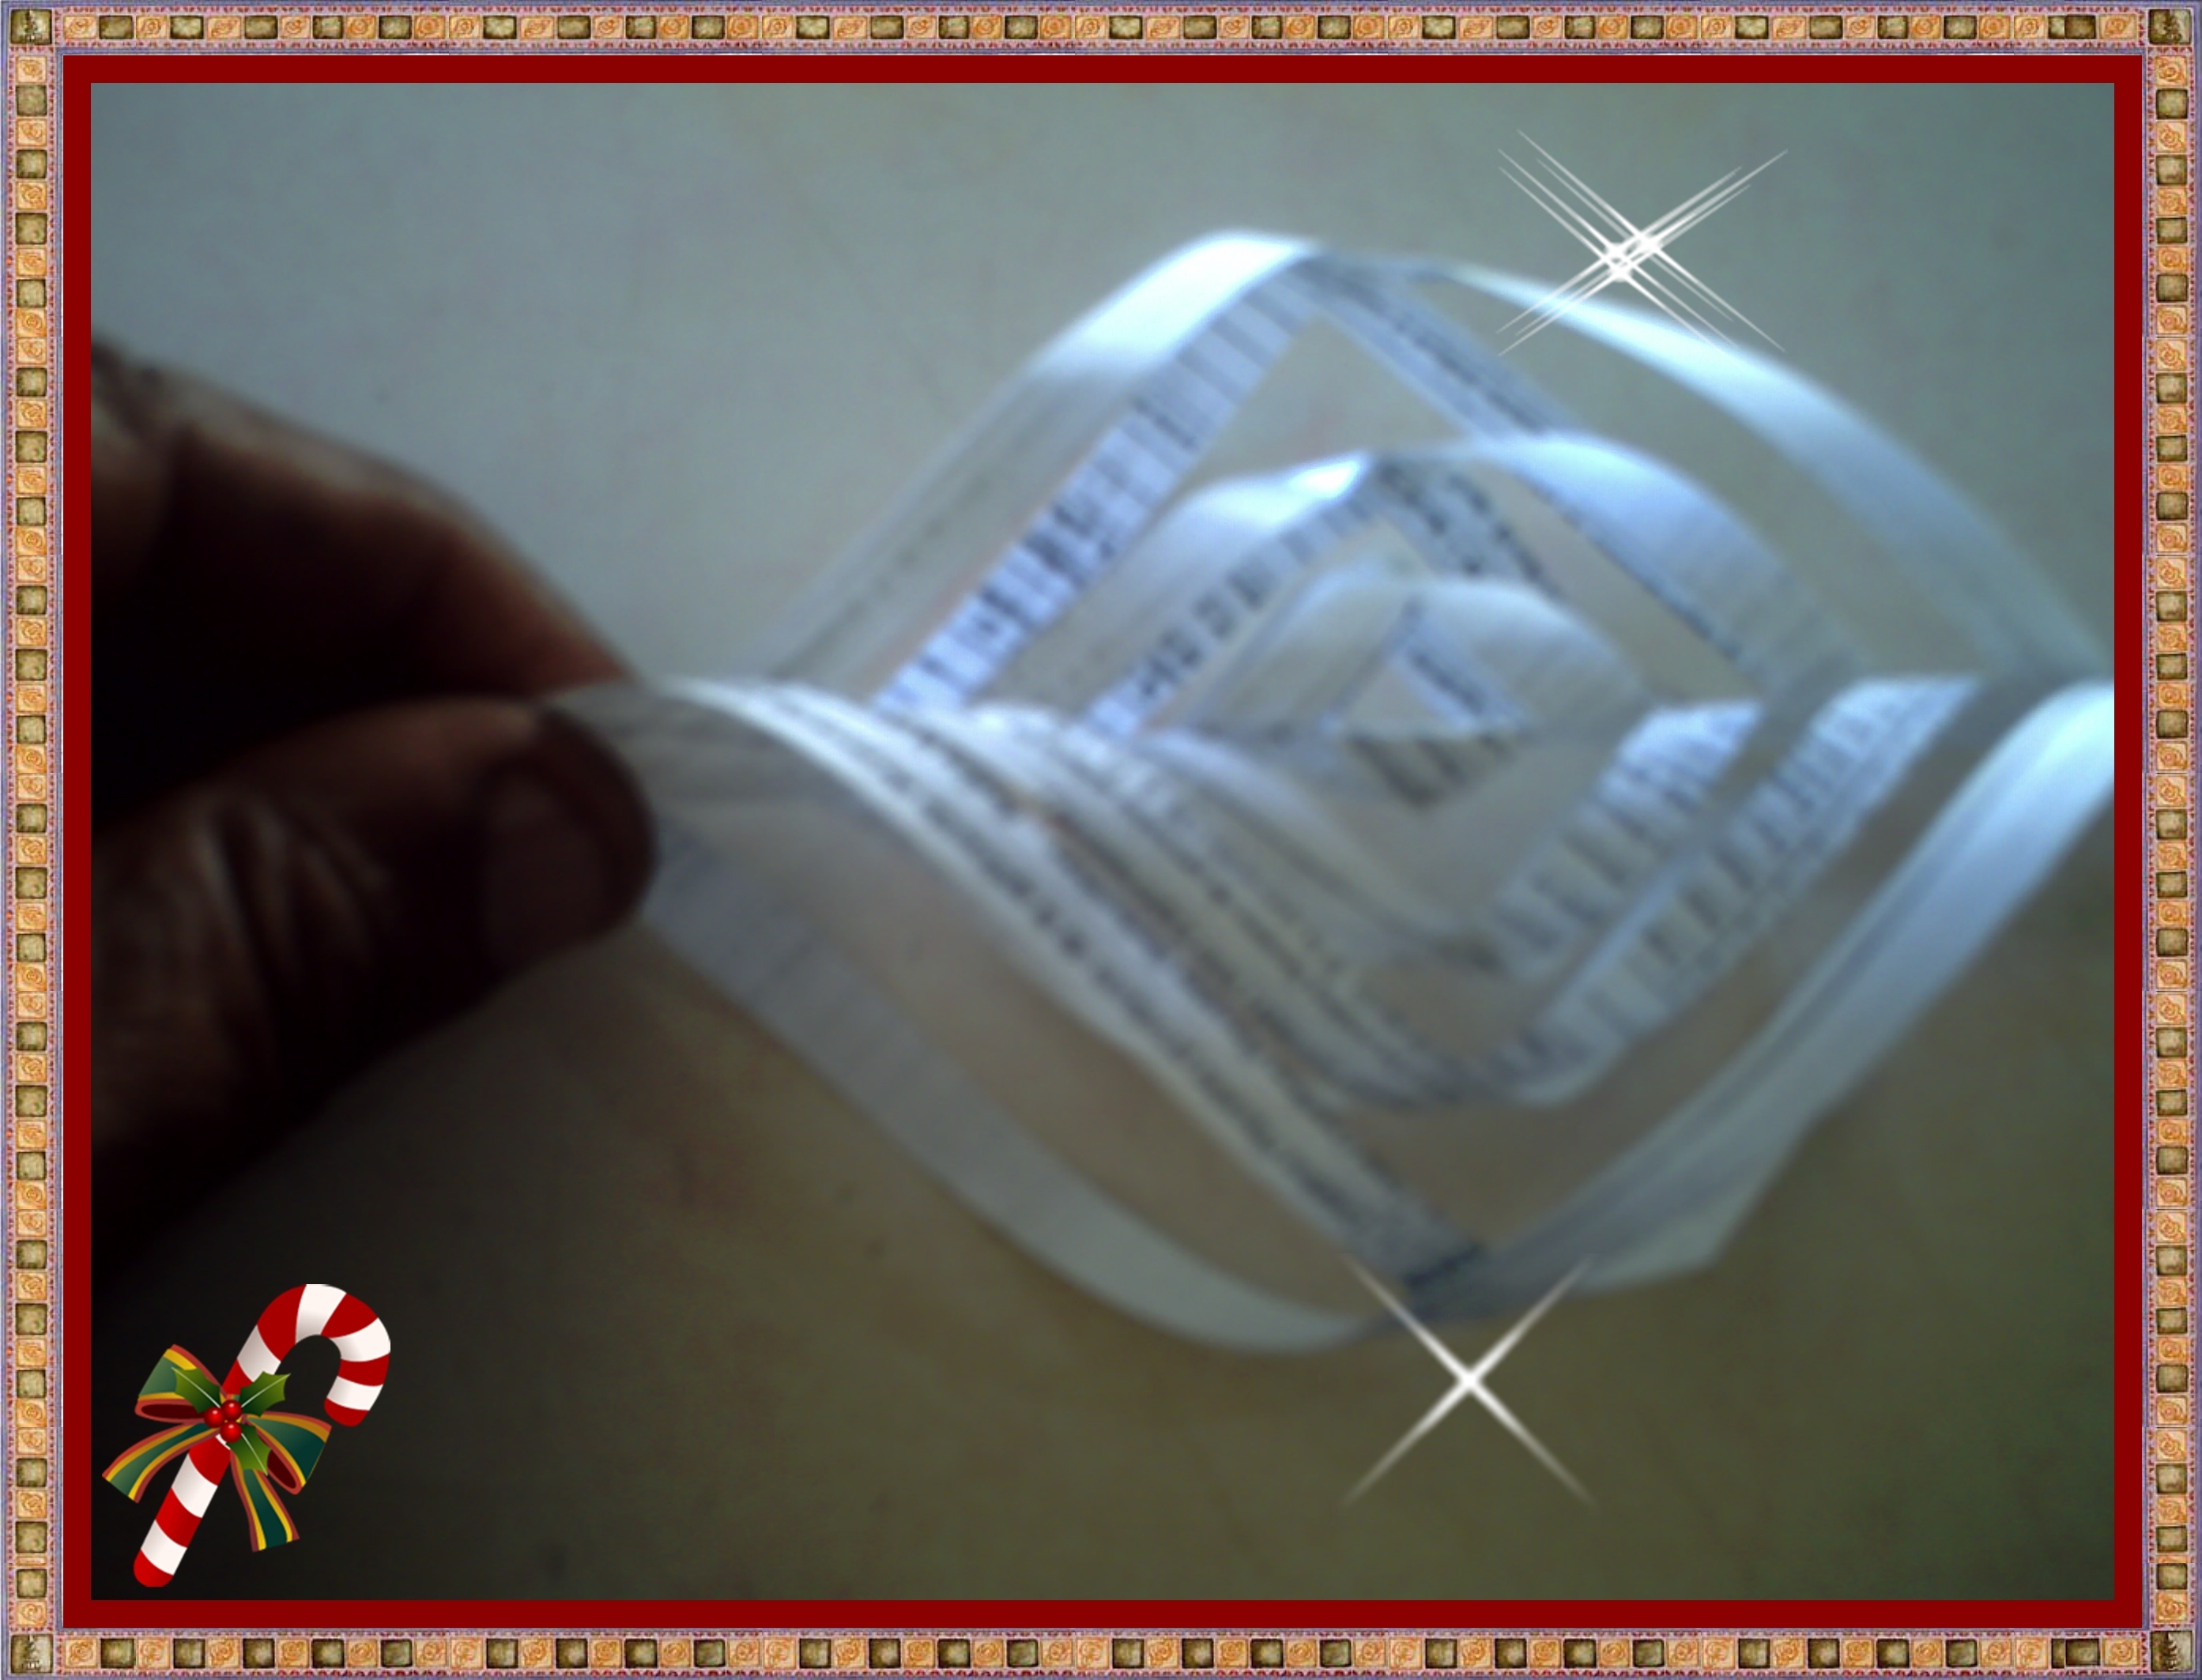
Ya recortado los 6 triángulos, los abrimos.
Already cut the 6 triangles, we open them.
Paso 10:
Step 10:

Comenzamos a pegar las puntas del centro de nuestros cuadrados. Pegamos dos puntas por el frente y luego lo volteamos y pegamos las dos puntas posteriores y así sucesivamente hasta pegar todas las puntas.
We begin to glue the center tips of our squares. We glued two ends on the front and then we turned it over and glued the two rear ends and so on until all the ends were glued.
Paso 11:
Step 11:

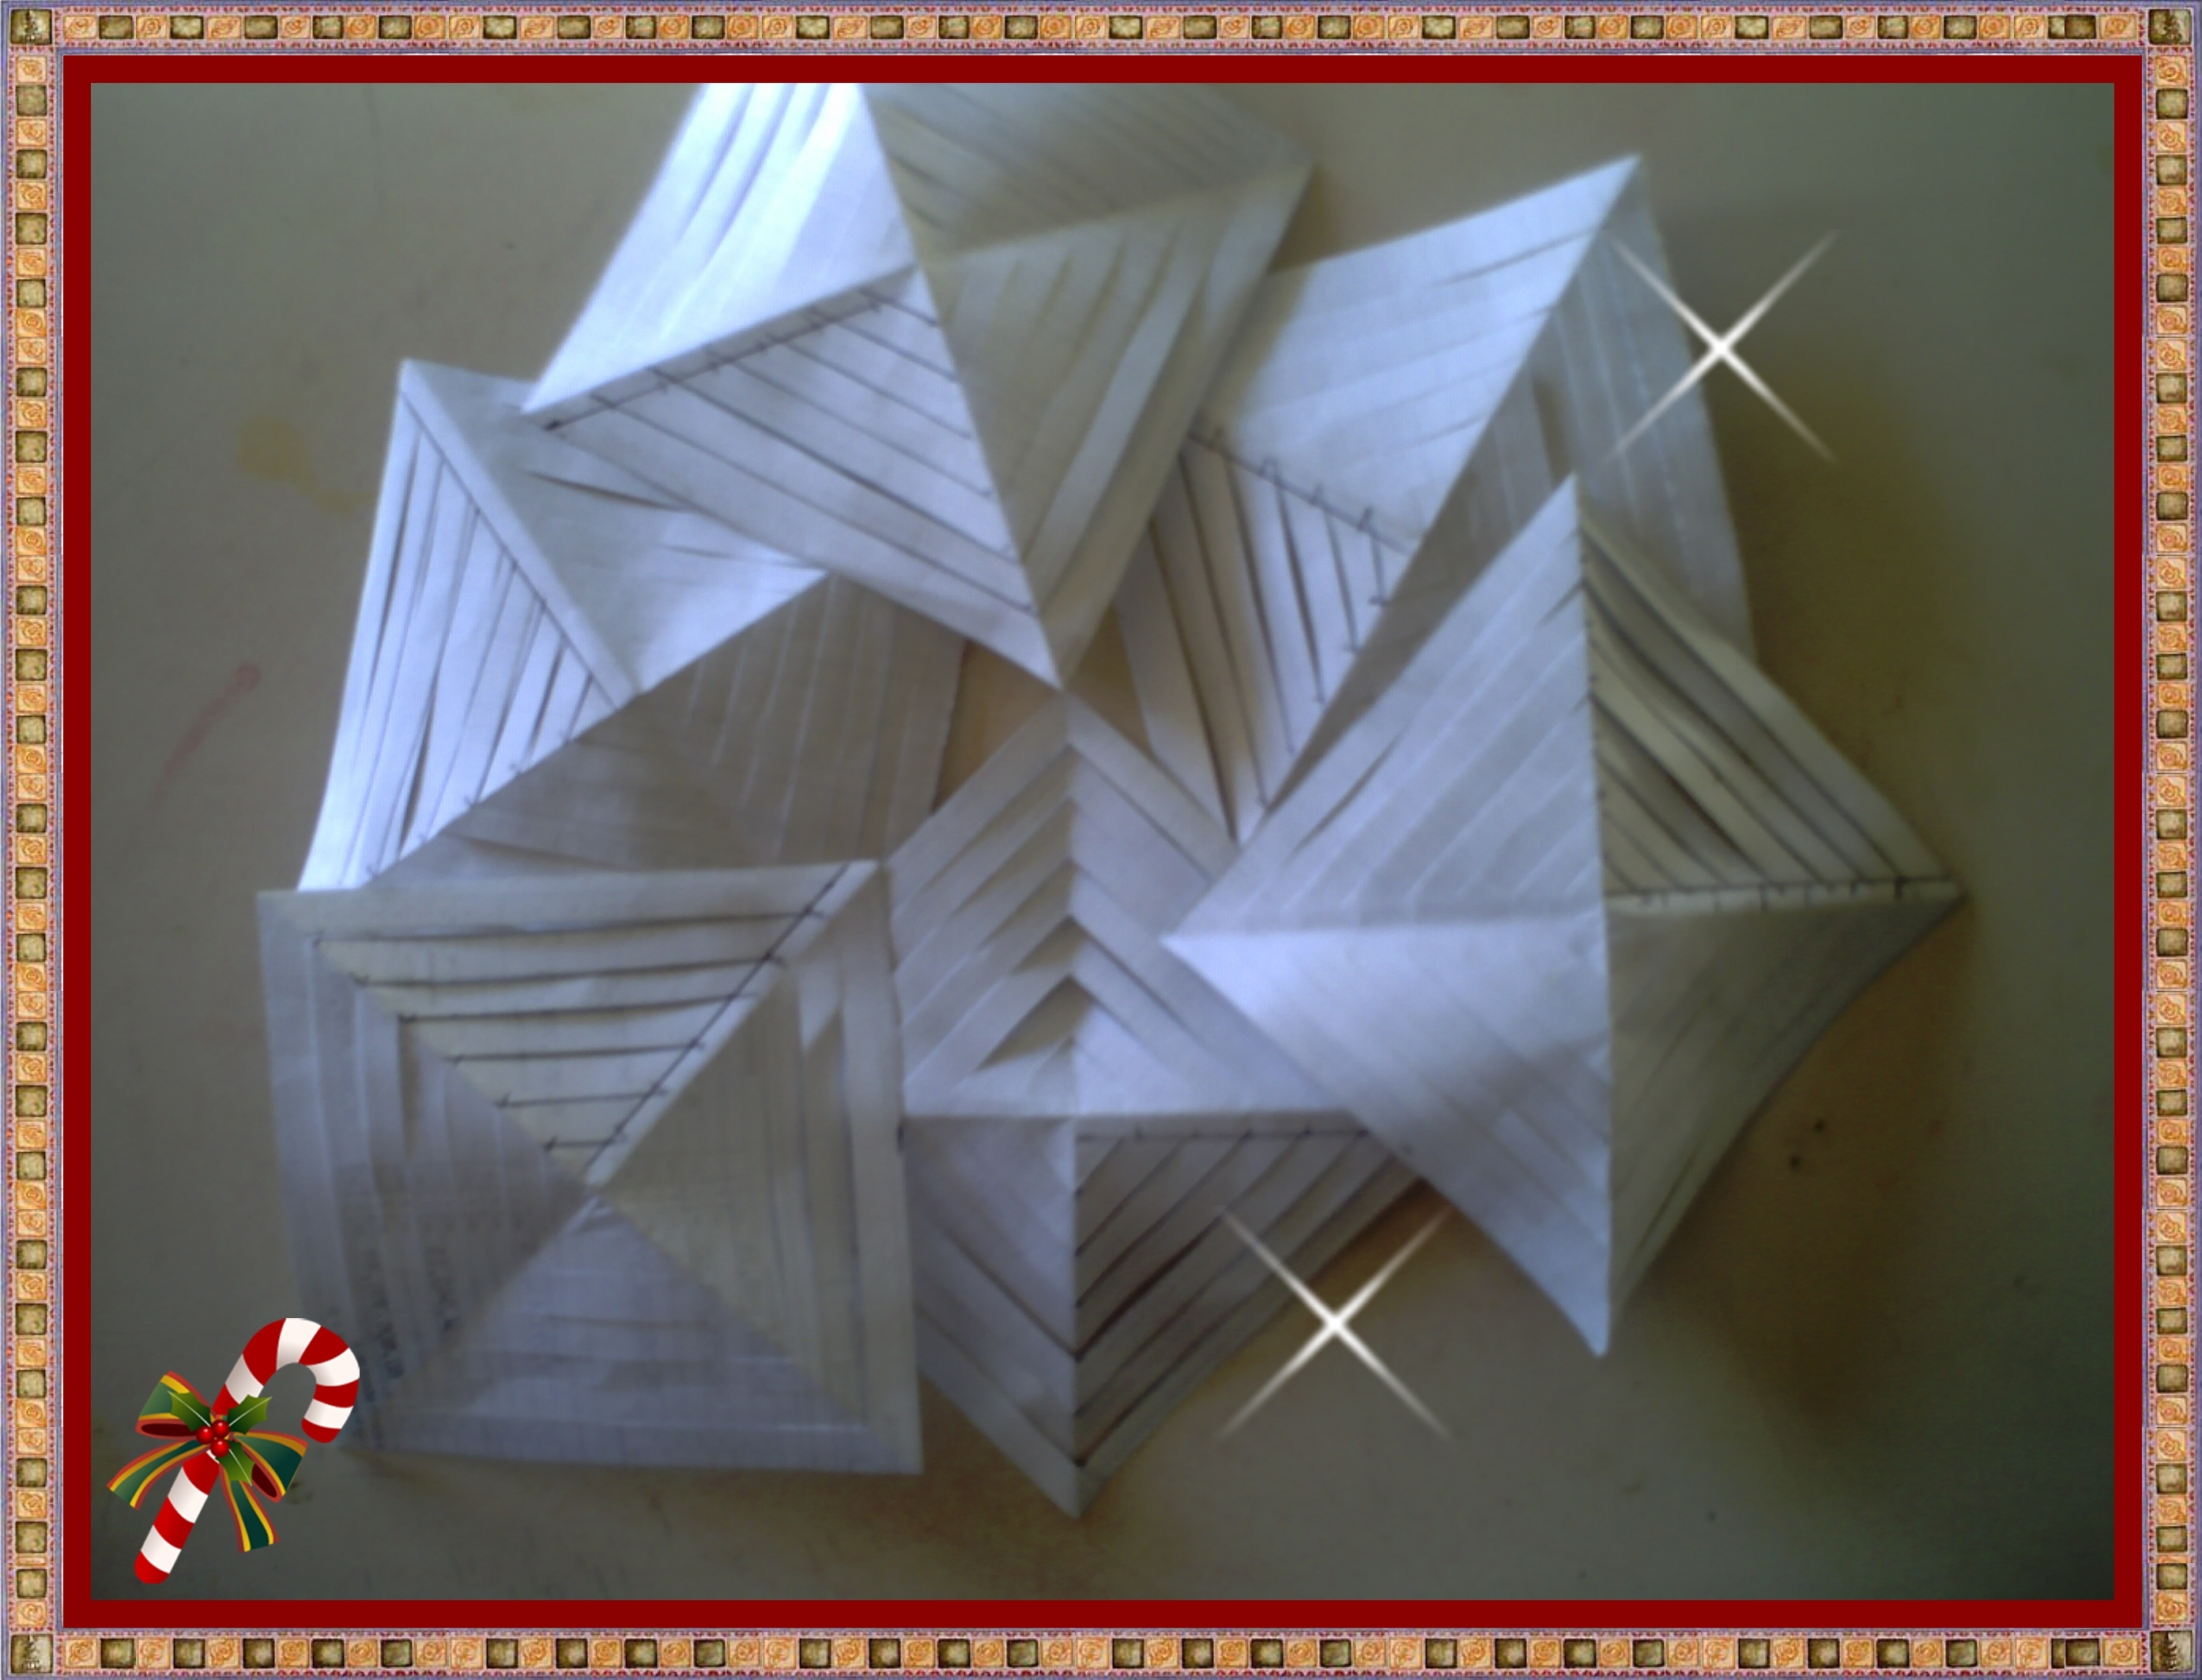
Al terminar de pegar todas las puntas deben revisar que los que eran unos cuadrados queden de esta forma.
When you finish gluing all the tips, you should check that the ones that were squares are in this way.
Paso 12:
Step 12:

Pegamos una a una la base de nuestros 6 pétalos del copo de nieve.
We glue the base of our 6 snowflake petals one by one.
Paso 13:
Step 13:
También pegamos las 6 puntas de nuestro copo de nieve.
We also paste the 6 tips of our snowflake.
Paso 14:
Step 14:
Pintamos con la escarcha líquida uno a uno las cintas de nuestro copo de nieve para que luzca genial.
We paint with the liquid frost one by one the ribbons of our snowflake so that it looks great.
Paso 15:
Step15:

Cortamos y pegamos unos trozos de cinta de colores para sujetar y que se vea aún más hermoso nuestro copo de nieve.
Cut and glue some pieces of colored tape to hold and make our snowflake look even more beautiful.
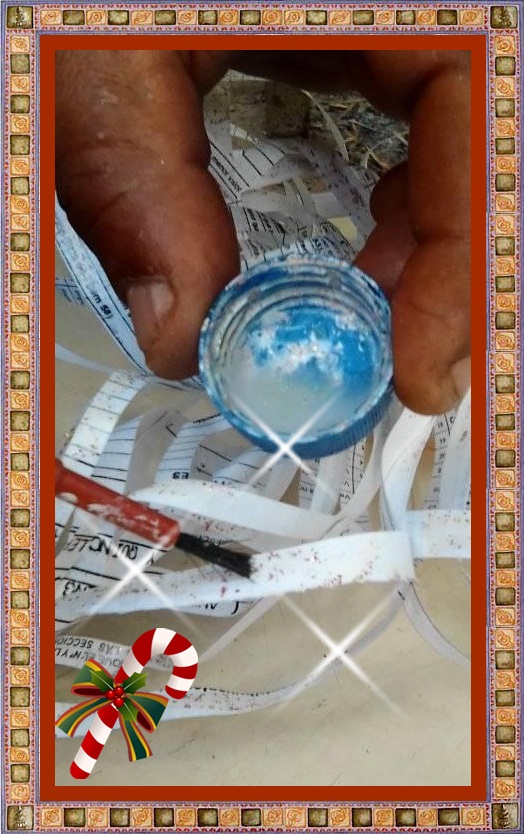
Para preparar la escarcha líquida:
To prepare the liquid frost:
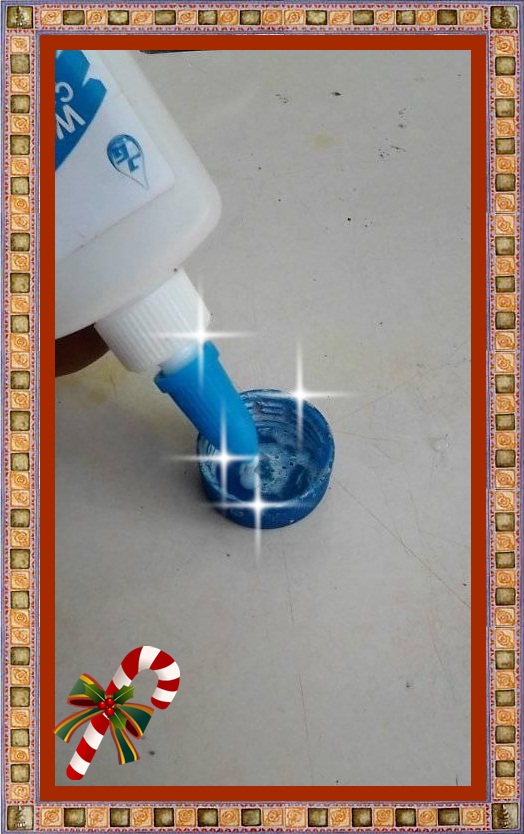
Colocamos un poco de pega blanca en un recipiente.
We put some white paste in a container.
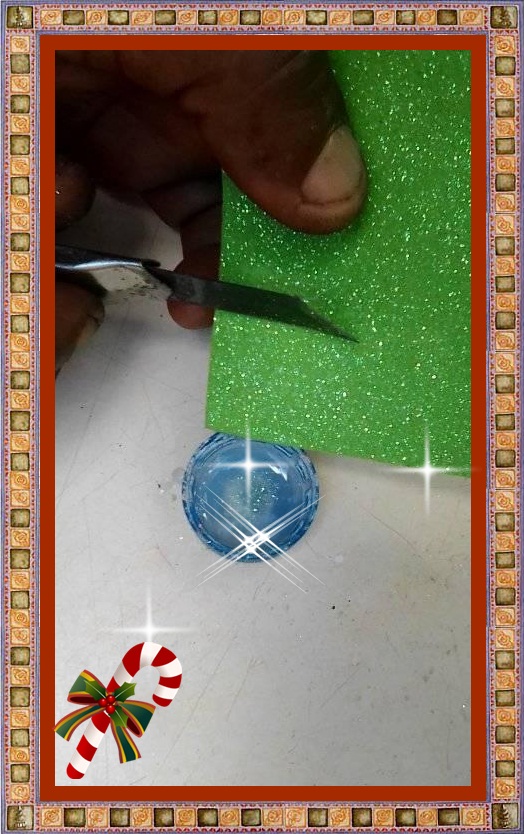
De los trozos de foami escarchados de reciclaje, raspamos un poco y lo echamos junto a la pega y ya tendremos escarcha líquida.
From the pieces of frosted recycling foam, we scrape a little and put it next to the glue and we will have liquid frost.
Ya está listo nuestro copo de nieves.
Our snowflake is ready.
Este fue el primer regalo de navidad que le di a mi hermosa madre, a ella le gusto mucho y espero que a ti también.
This was the first Christmas gift I gave my beautiful mother, she liked it very much and I hope you do too.

5.png)
Nos vemos muy pronto...
See you very soon...
Congratulations @antonio72! You have completed the following achievement on the Hive blockchain and have been rewarded with new badge(s):
Your next target is to reach 50 upvotes.
You can view your badges on your board and compare yourself to others in the Ranking
If you no longer want to receive notifications, reply to this comment with the word
STOPTo support your work, I also upvoted your post!
Check out the last post from @hivebuzz: