
Dinosaurs are one of the ancient animals of the past which are my favorite, I first got to know dinosaurs when I watched the film King Kong which was published in 2005.
So, to make this dinosaur a reality, today I want to make a handicraft of a T-Rex type dinosaur using a piece of green Origami paper.
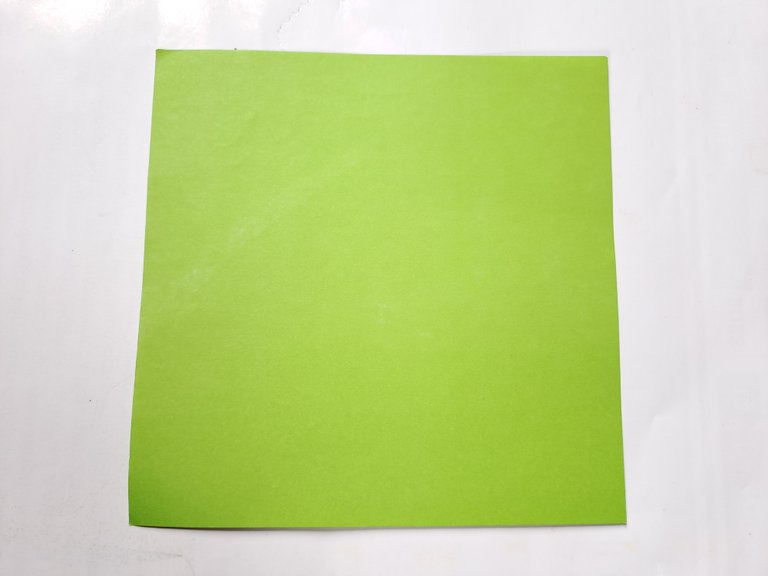
This is a tutorial for making a T-Rex Dinosaur from origami paper.
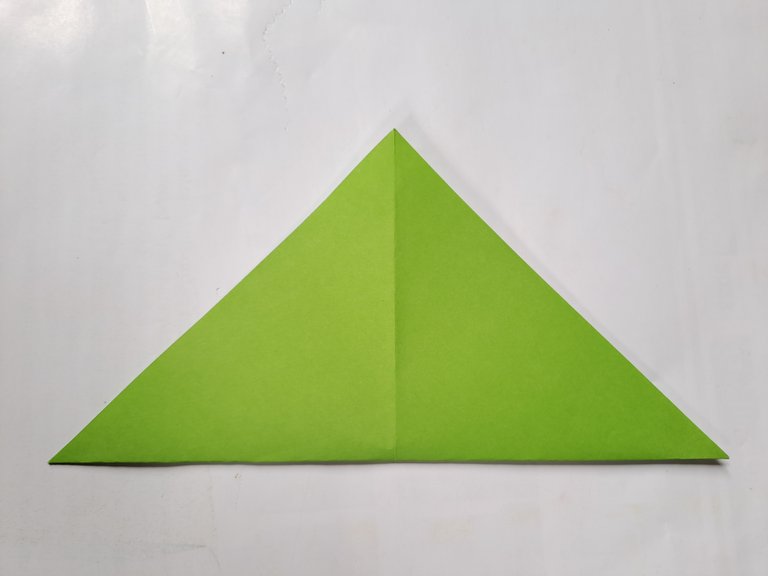
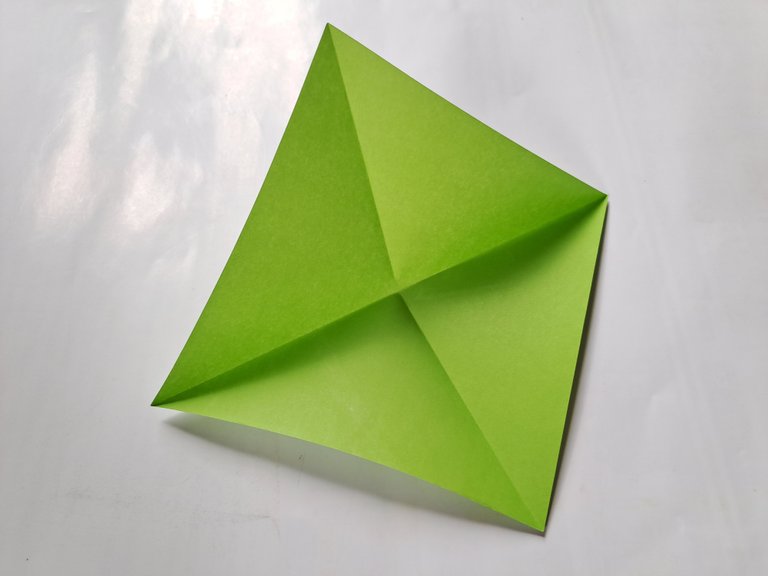
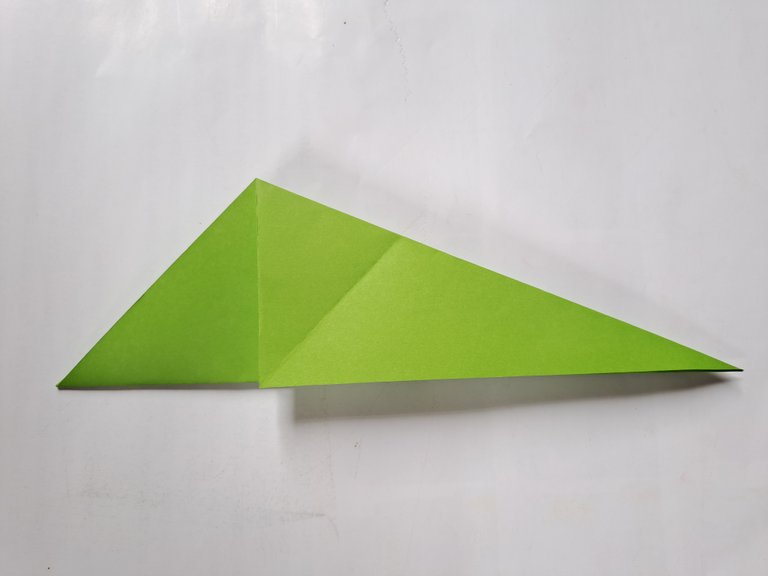
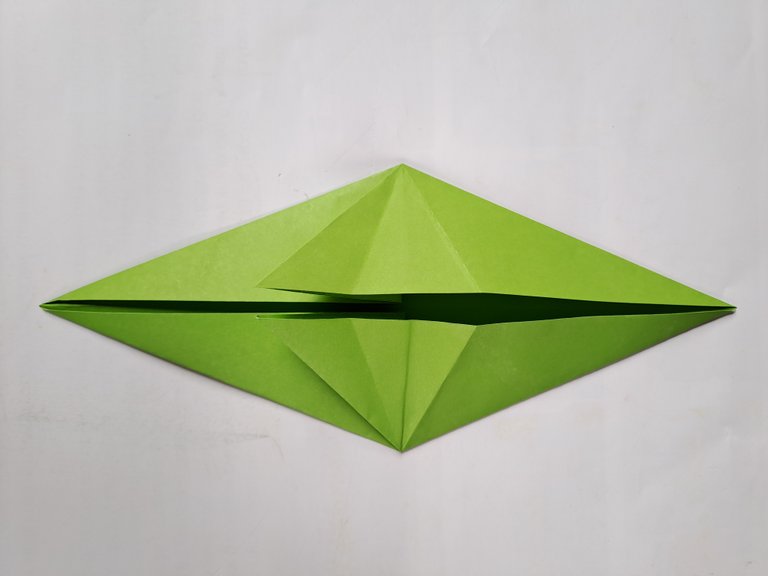
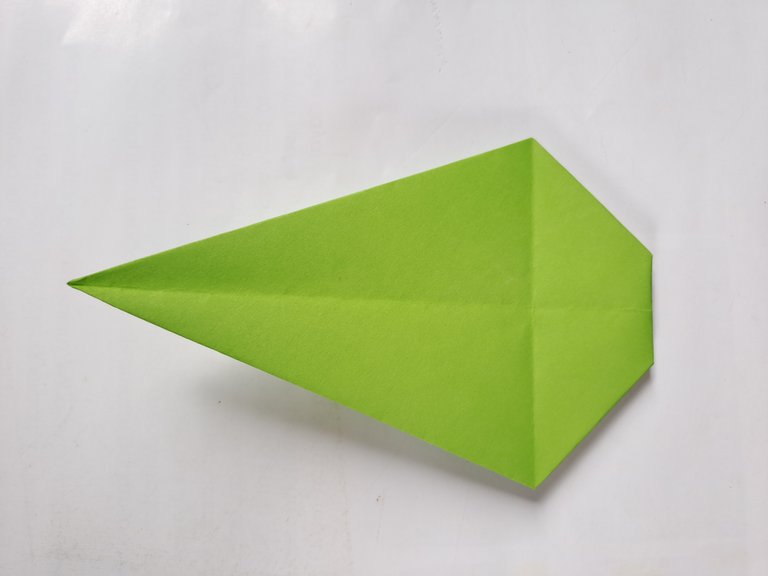
First of all, fold the origami paper in from one end to the other until the origami paper forms a triangle, then unfold it and fold the origami paper again from one end to the other from the opposite direction so that when the origami paper is opened in the middle of the paper an X-shaped line is formed.
 |  |  |
|---|
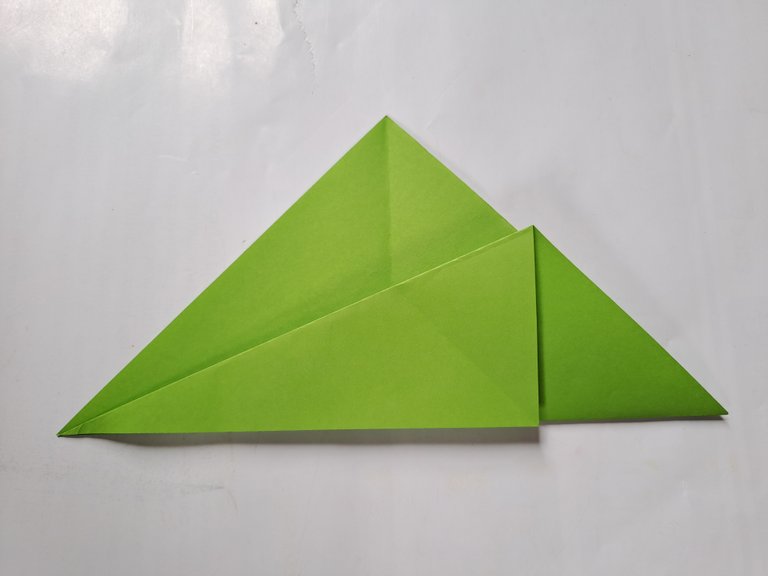
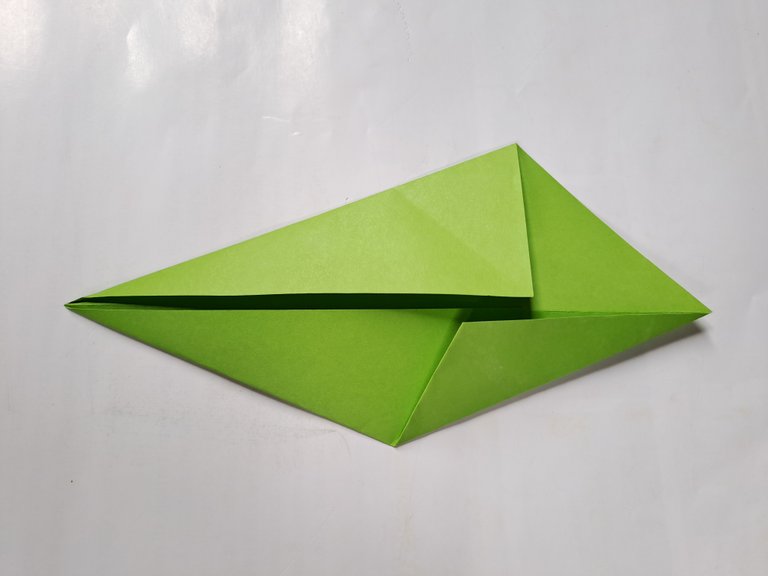
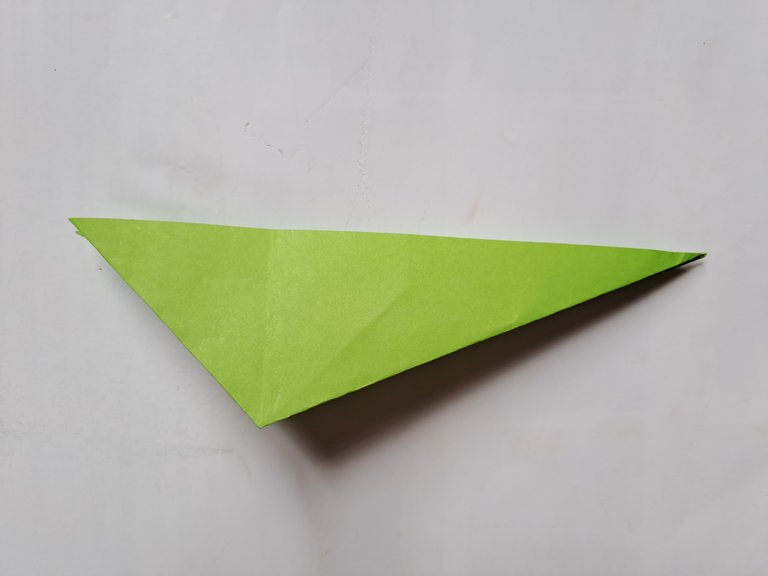
After that, fold the origami paper again until it forms a triangle and then fold one side of the origami paper downwards like the picture below, then do the same thing to the back area of the paper so that the fold pattern is the same.
 |  |
|---|
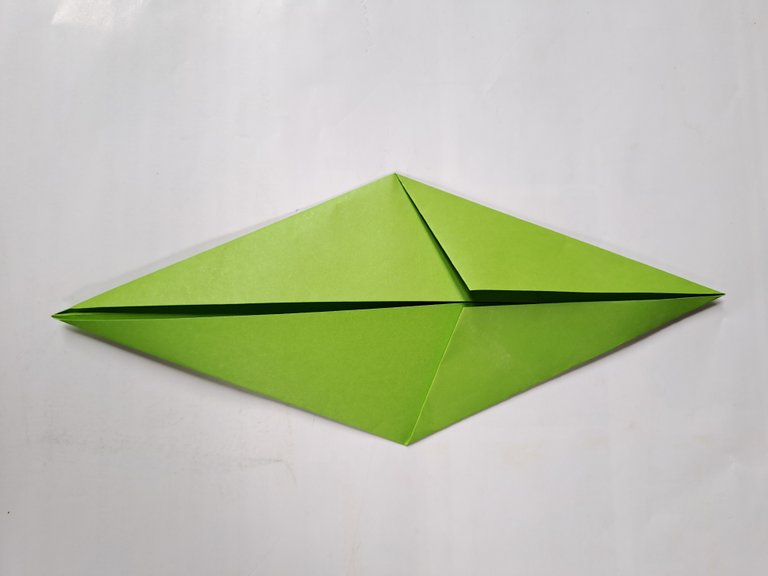
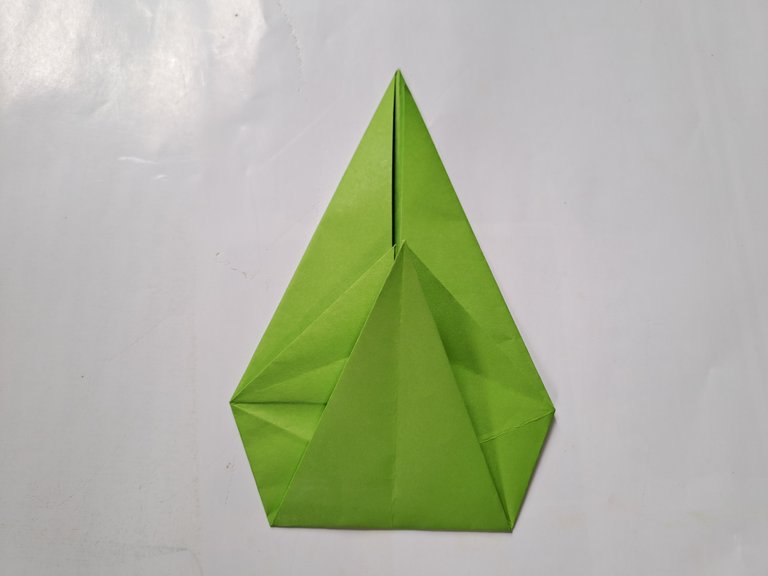
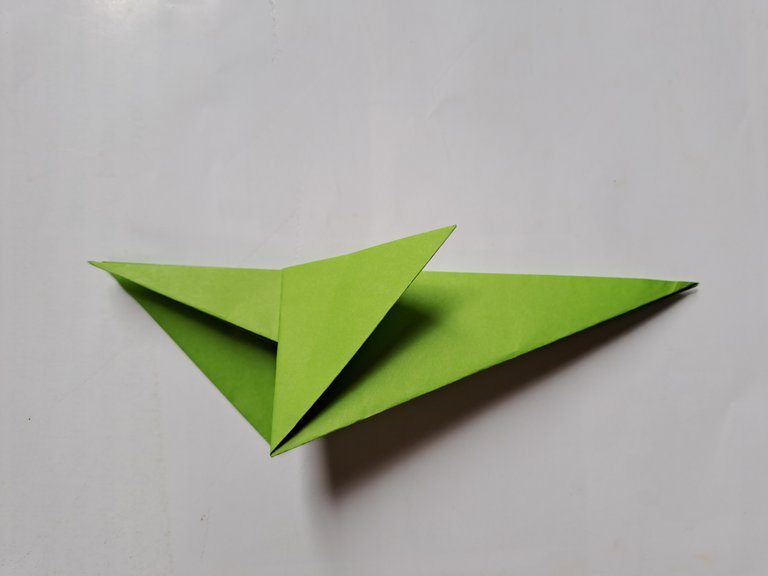
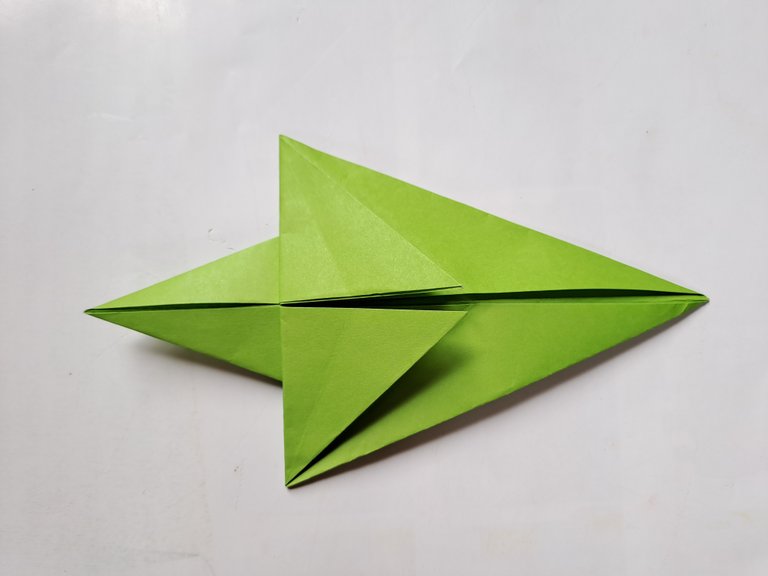
After that, open the middle fold of the origami paper until the bottom fold at the top becomes parallel to the middle, then fold the left and right sides of the top of the origami paper until the origami paper forms two pointed sides like the picture below.
 |  |
|---|
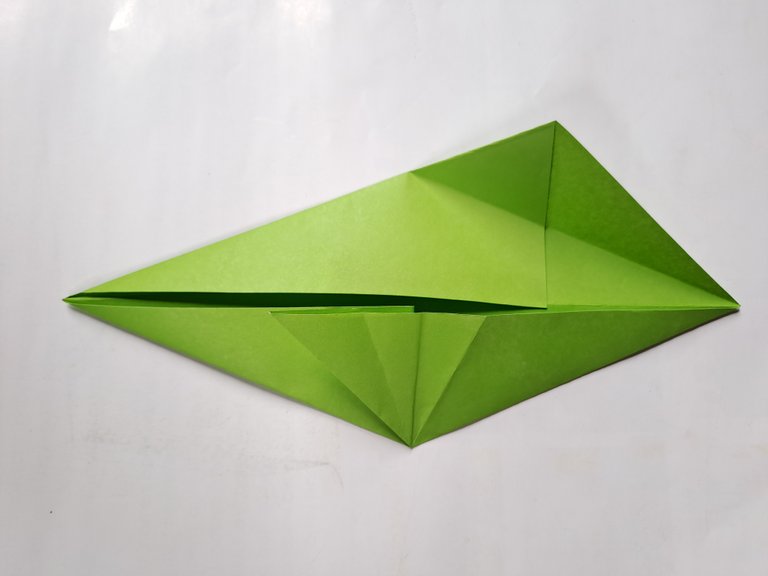
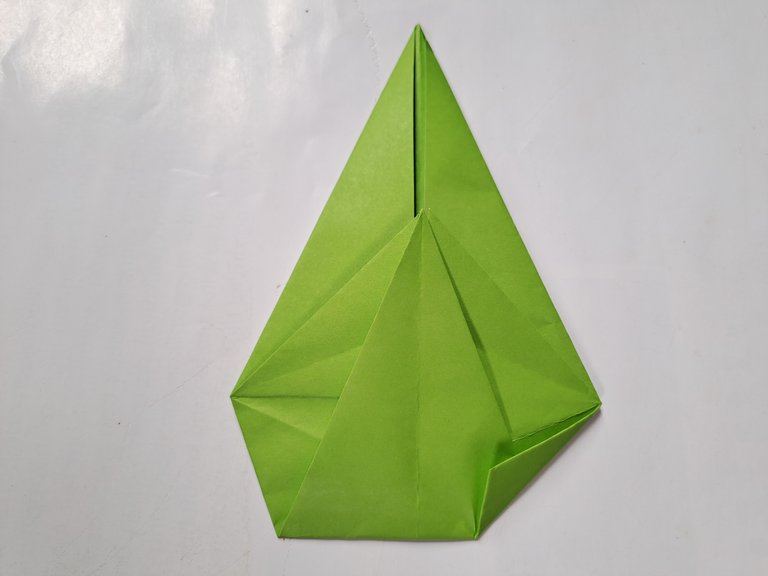
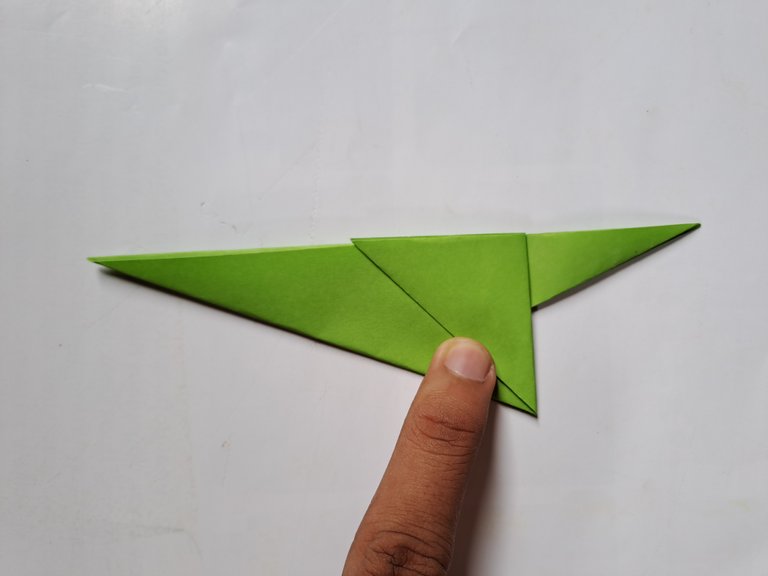
After that, slightly open the folds on the left and right sides of the origami paper until there is a sharp piece of paper sticking out in the middle of the paper, then fold it towards the back of the sticking out paper like the picture below.
 |  |
|---|
Then fold the bottom of the paper halfway up like the picture below.
Then slightly fold the left and right sides of the bottom of the paper as shown in the image below.
 |  |
|---|
Then turn the paper over and fold the paper in the opposite direction as shown in the picture below.
 |  |
|---|
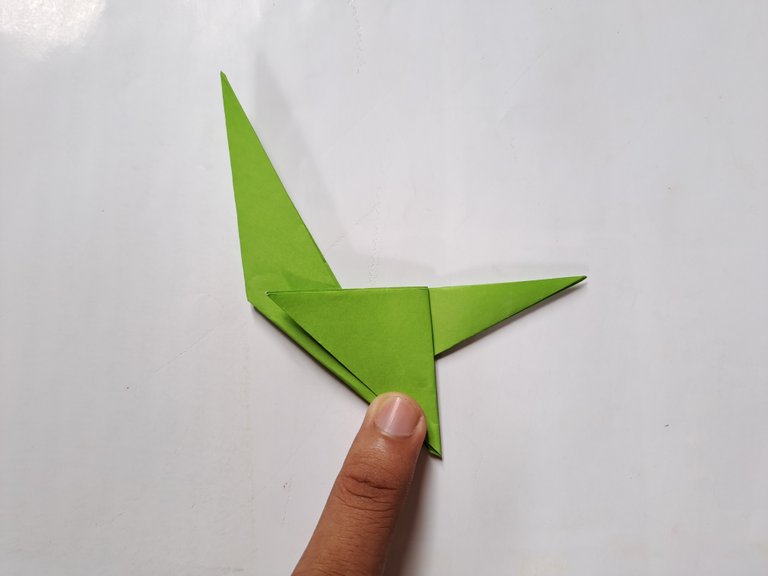
Then, fold the origami paper in half so that the shape looks like the picture below, then fold the back side of the paper inside out, then turn the origami paper over and fold the back side of the origami paper inward again like the picture below.
 |  |  |
|---|
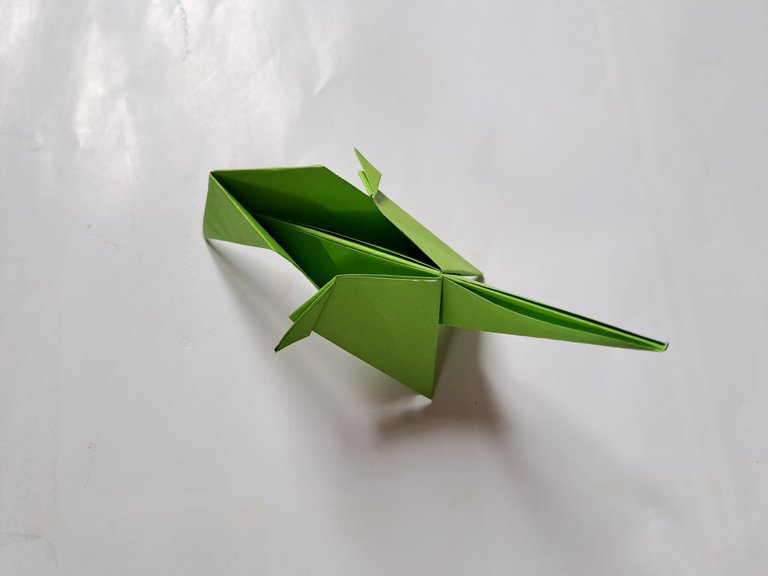
After opening the origami paper, the shape will look like the image below.
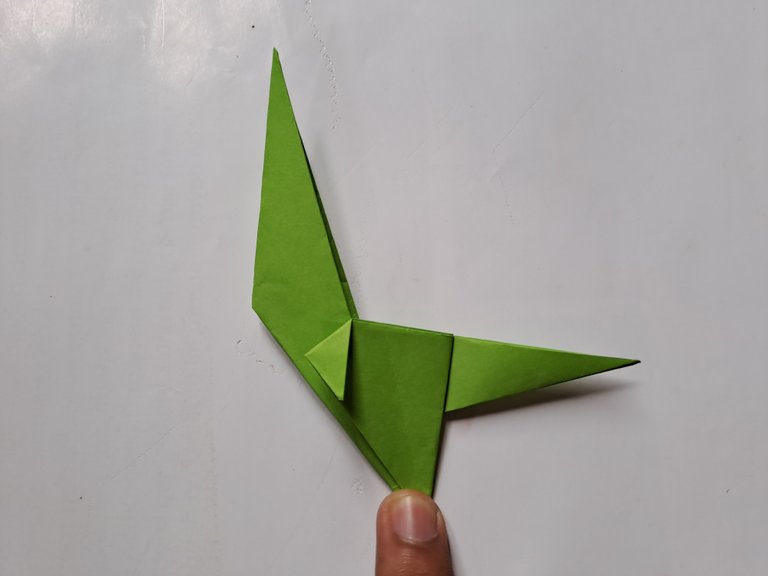
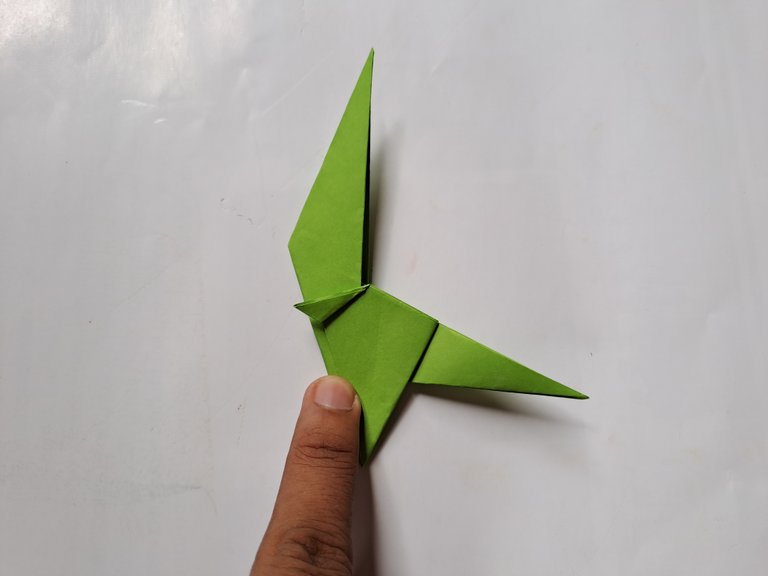
Then fold the left and right sides of the front of the orgami paper until the front starts to stick up.

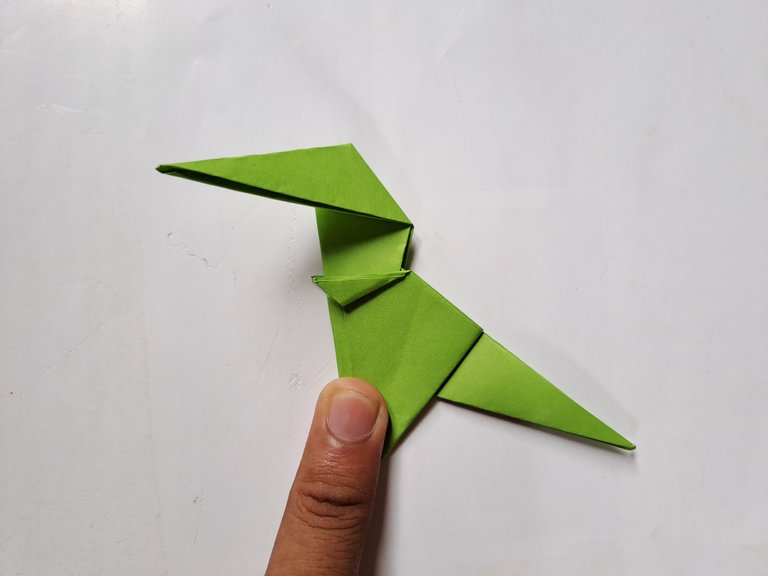
After that, fold the origami paper in half again until the shape looks like the picture below.
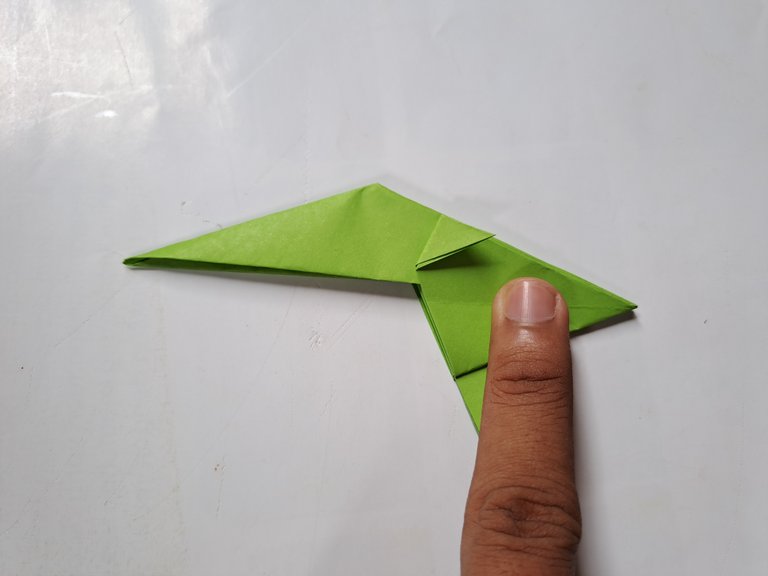
Then fold the middle part of the paper slightly downwards and fold it slightly upwards as shown in the picture below to create a small hand pattern for the T-Rex dinosaur. Do the same thing for the other hand on the back of the origami paper.
 |  |
|---|
 |  |
|---|
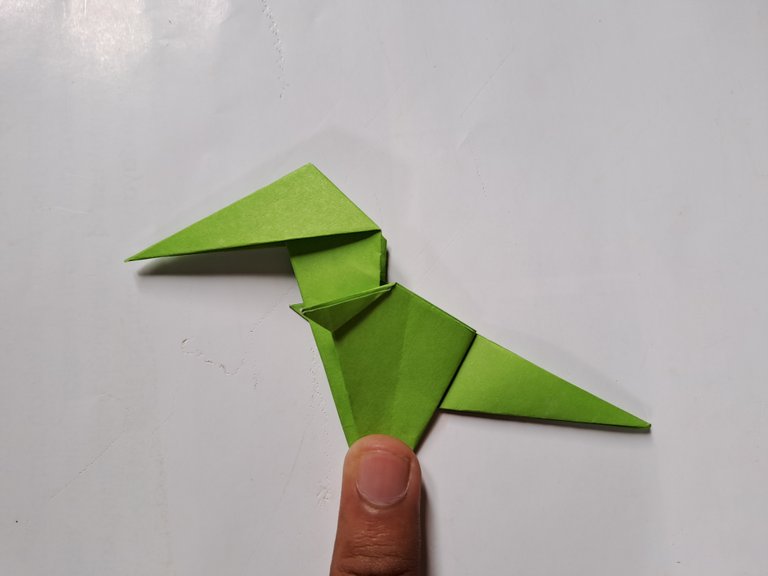
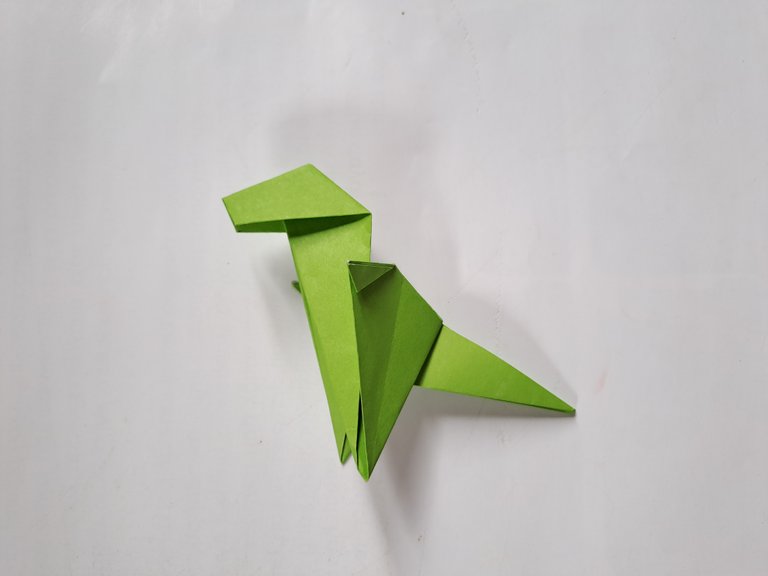
Then fold the top of the origami paper towards the front to make the T-Rex dinosaur head pattern.
Then open the fold of the head again and fold it again towards the front of the previous fold but follow the fold line pattern that we have made above so that the fold of the Dinosaur's head is stronger with a slight inward fold like the picture below.
 |  |
|---|
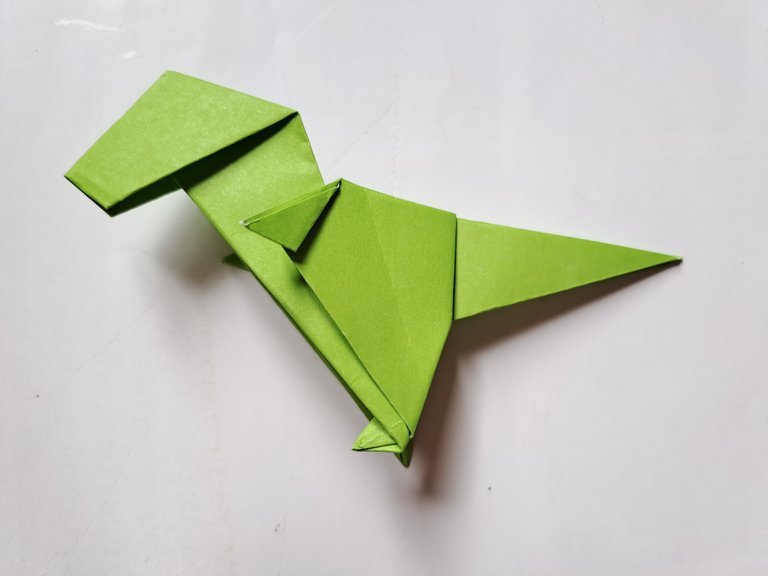
After that, fold the tip of the Dinosaur's head towards the back, then open the front of the head again and then fold the tip of the head inward like the picture below.
 |  |  |
|---|
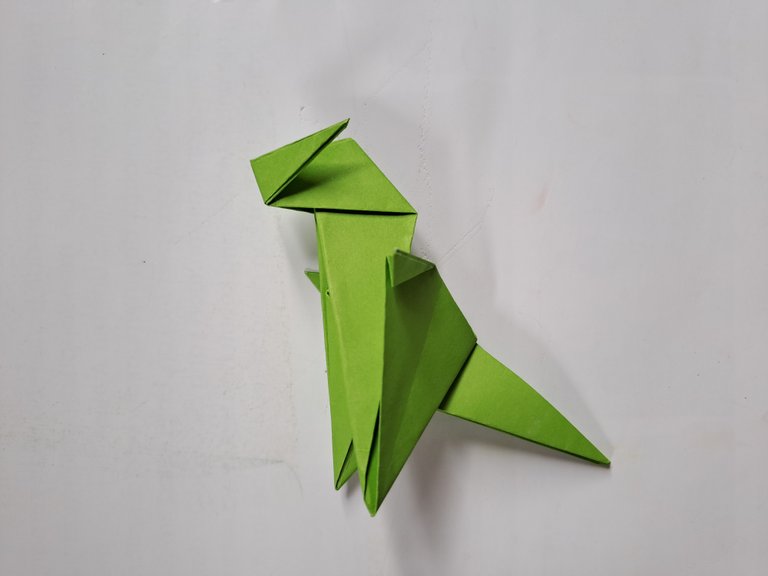
After that, fold the two dinosaur legs slightly inwards like the picture below so that the shape of the T-Rex dinosaur is perfect.
 |  |
|---|
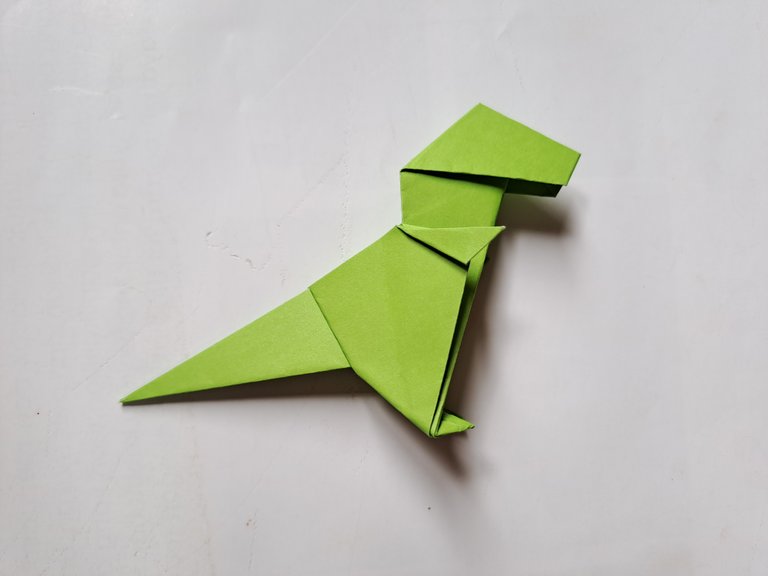
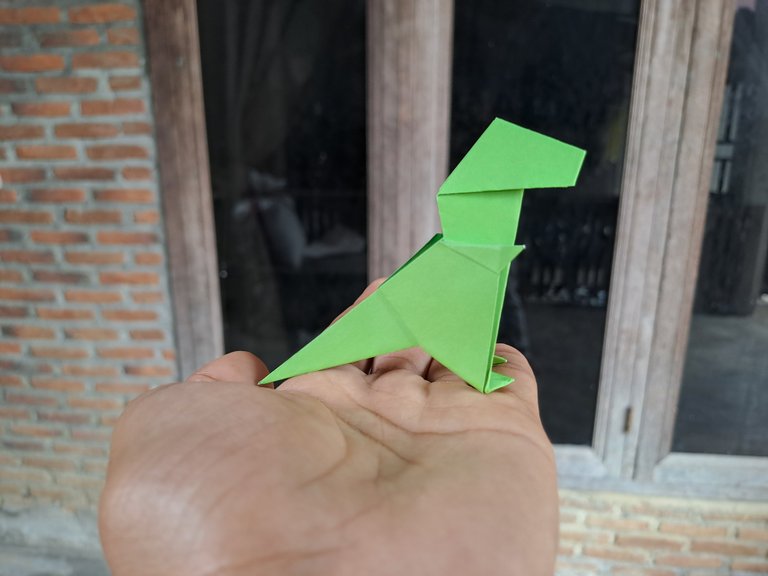
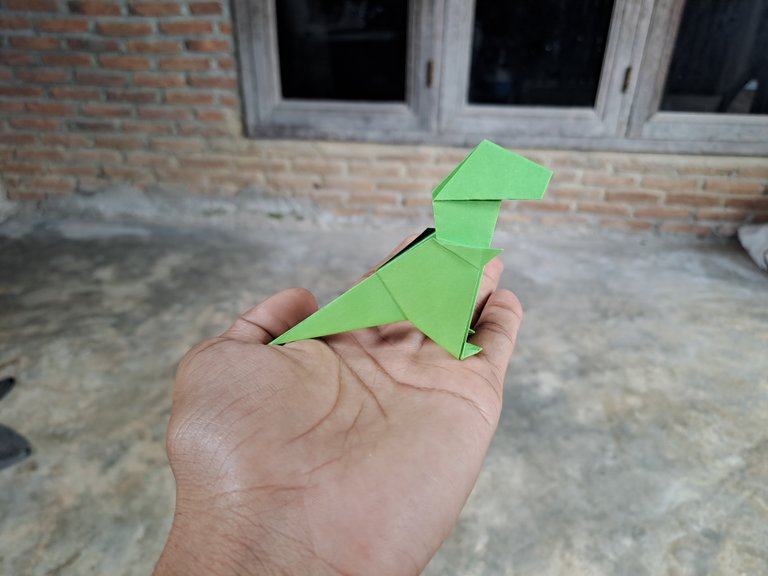
After all the tutorial steps above have been followed properly, finally the T-Rex Dinosaur has now been completed perfectly and the T-Rex Dinosaur can also stand like a 3D image.

This is the T-Rex Dinosaur that I made with my own crafts using a piece of origami paper to share with Hive DIY friends.
Thank you friends who have visited my handicraft post today, see you in my next handicraft post.
Very useful tutorial, Thank you for sharing friends❤
Thank you friend
Sending Love and Ecency Vote!

Thank you for the verification, friend
Very amazing 🥰
Thank You
Welcome