Hi Hive DIY friends
Goats are animals that are very easy to find in our place and are one of the people's favorite livestock, I myself really like eating delicious goat meat, behind all that goats also have a beautiful body shape that makes me interested in making goats from origami paper.
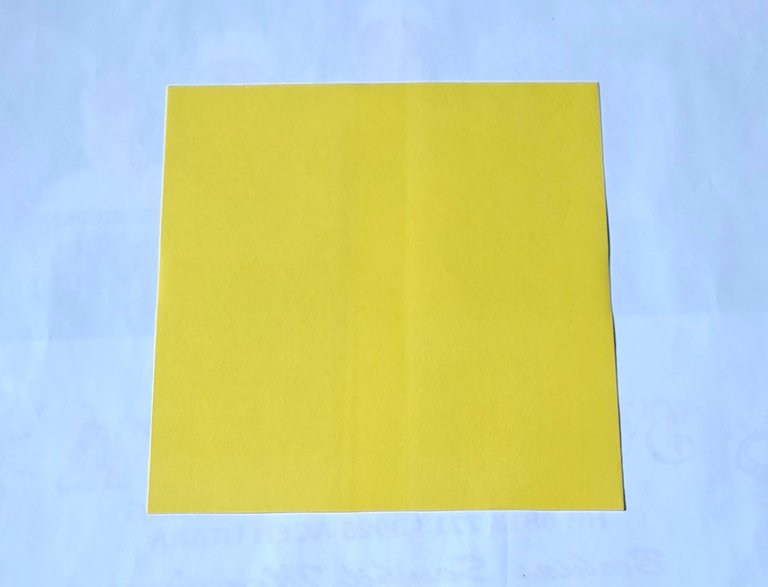
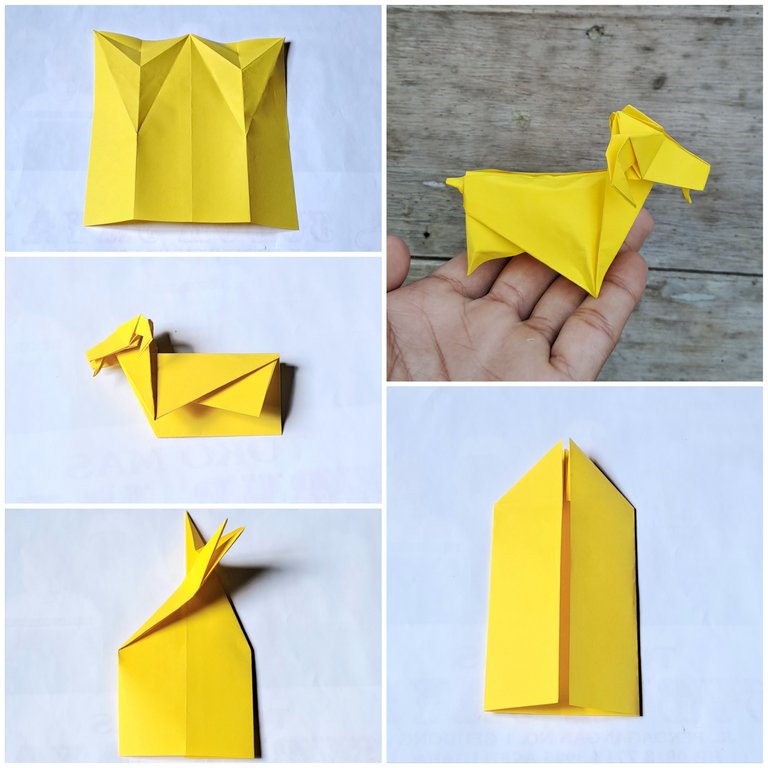
To make a goat from origami paper we only need to use a sheet of origami paper, here is a tutorial on making a goat from origami paper.
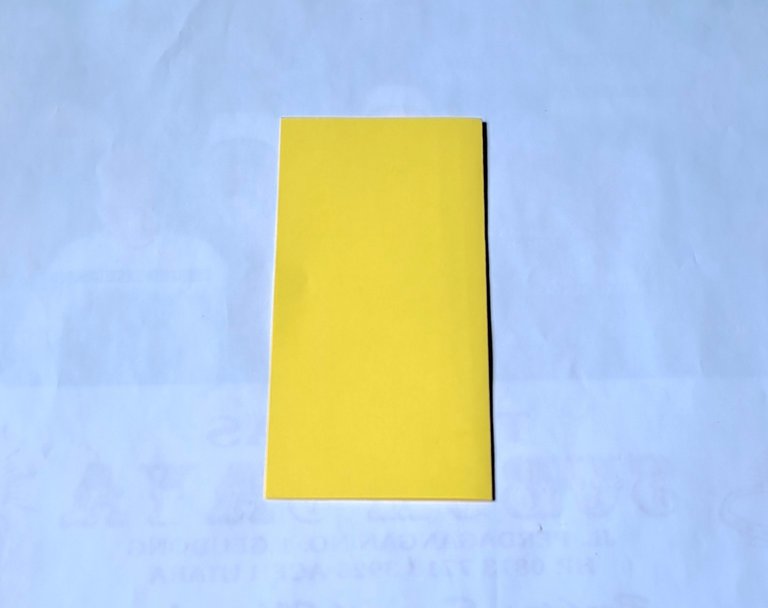
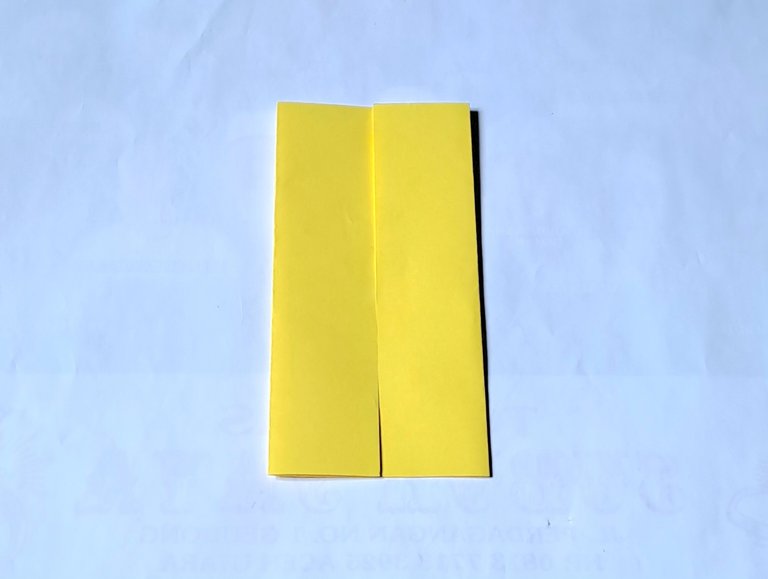
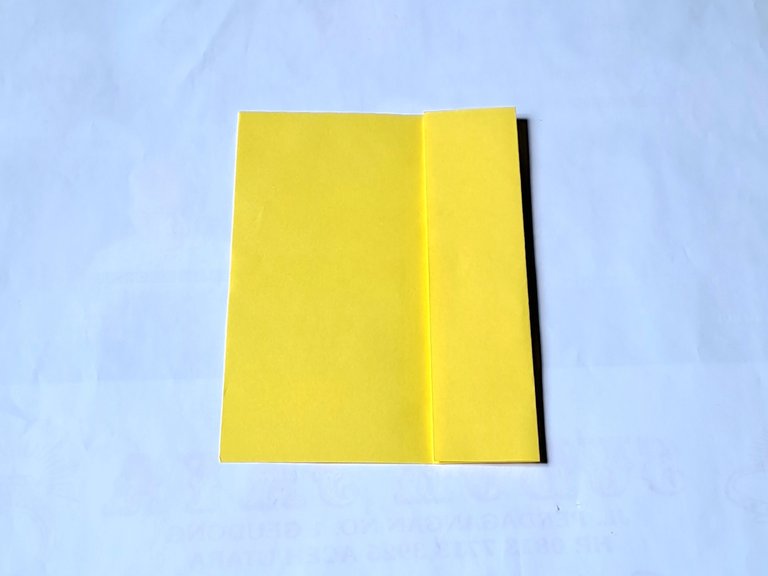
First fold the origami paper in half, then unfold it again and now fold the right and left sides of the origami paper to the middle as shown in the picture below.
 |  |
|---|
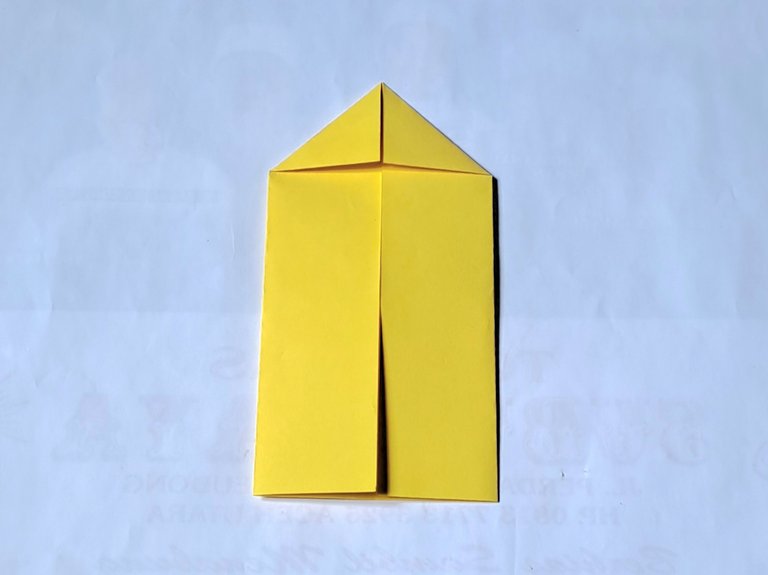
After that, fold the right and left sides of the top down, then also make the folds into inward folds as shown in the picture below.
 |  |
|---|
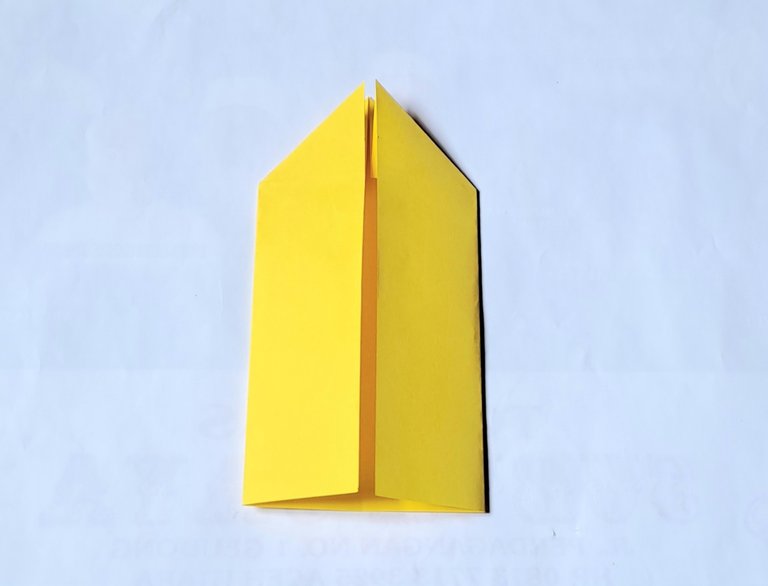
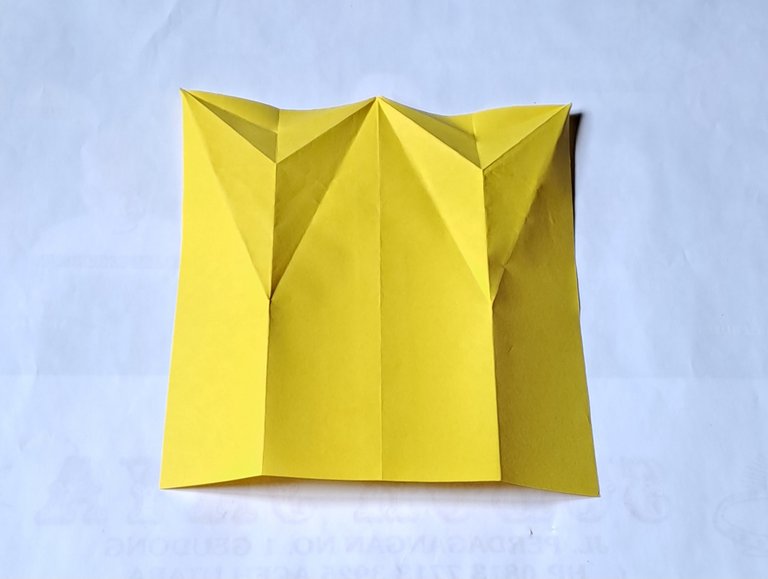
Then fold the right and left sides of the top inward once more, after that unfold all the folds again and now fold the right and left sides of the paper inward, then fold the ends of the right and left sides of the paper outward again, then fold the ends of the right and left sides once again down, after that fold the right and left sides of the paper inward again as shown in the picture below.
 |  |
|---|
 |  |
|---|
 |  |
|---|
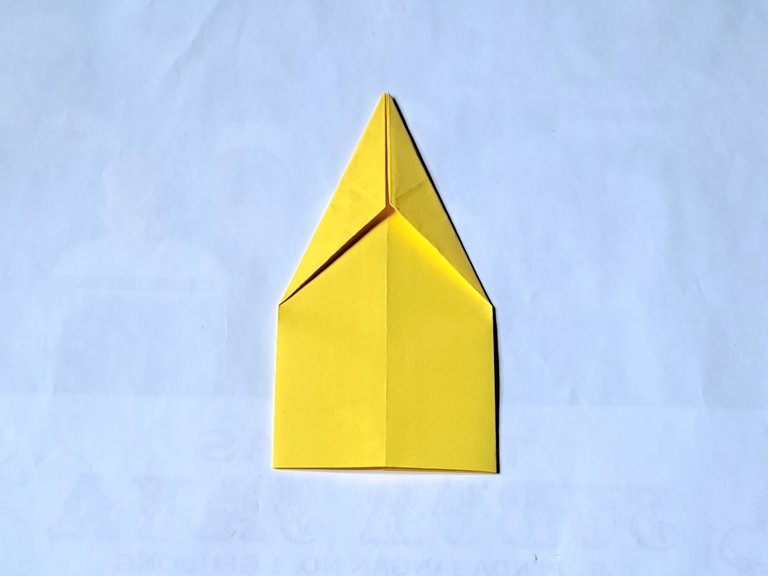
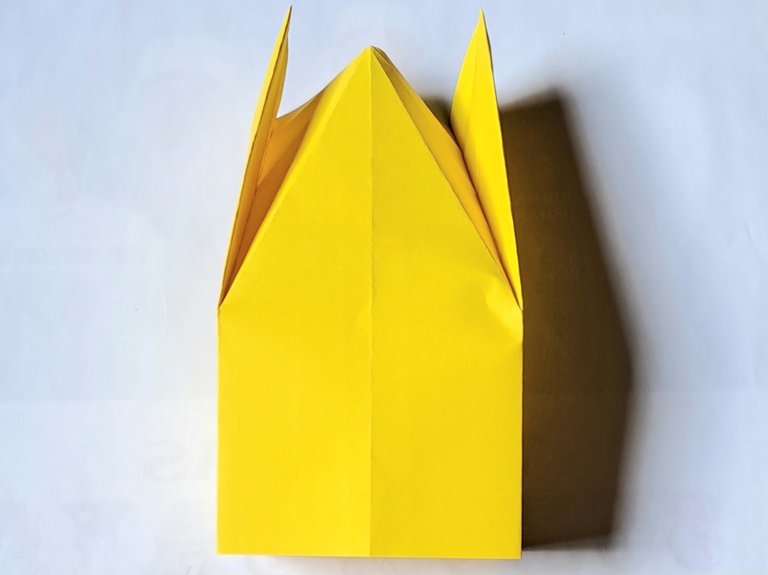
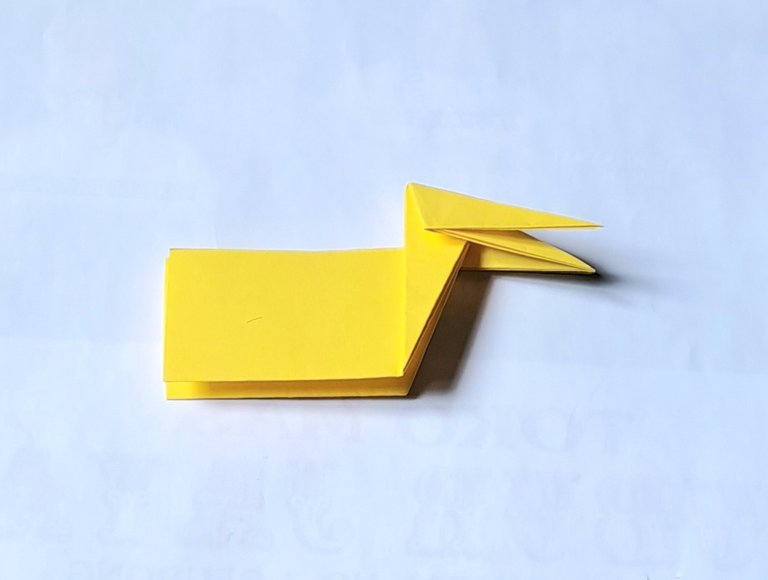
Then fold the right side of the paper to the left, then unfold it again and fold the left side of the paper to the right again, after that fold the right and left sides of the paper simultaneously so that the middle part sticks out and also fold the middle part of the paper in half as shown in the picture below.
 |  |
|---|
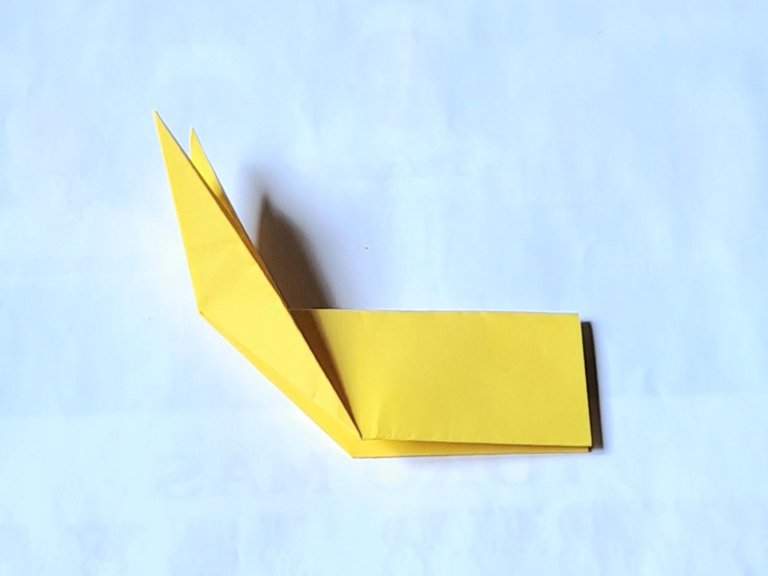
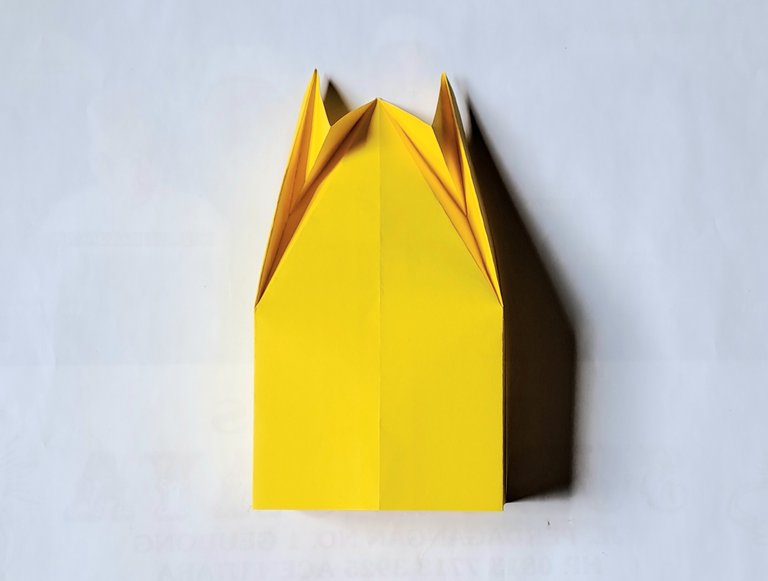
Then fold the right side of the paper down, then make the fold into an inward fold as shown in the picture below.
 |  |
|---|
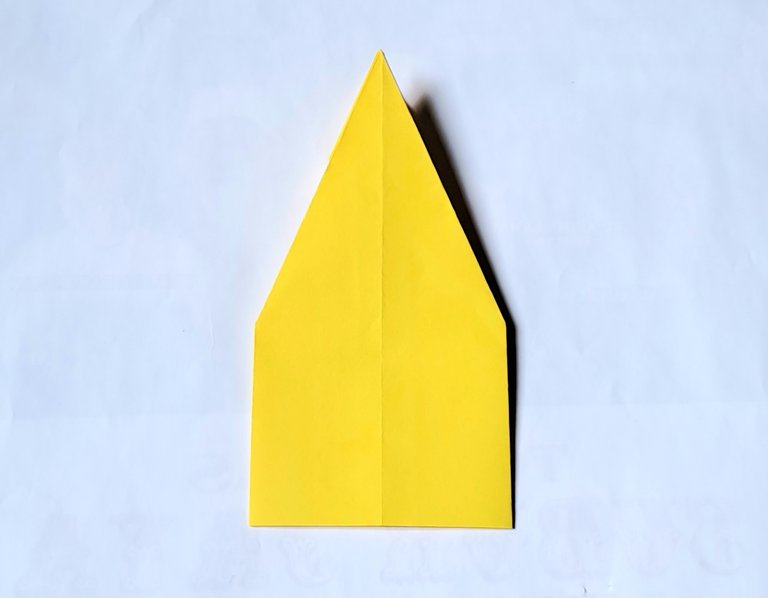
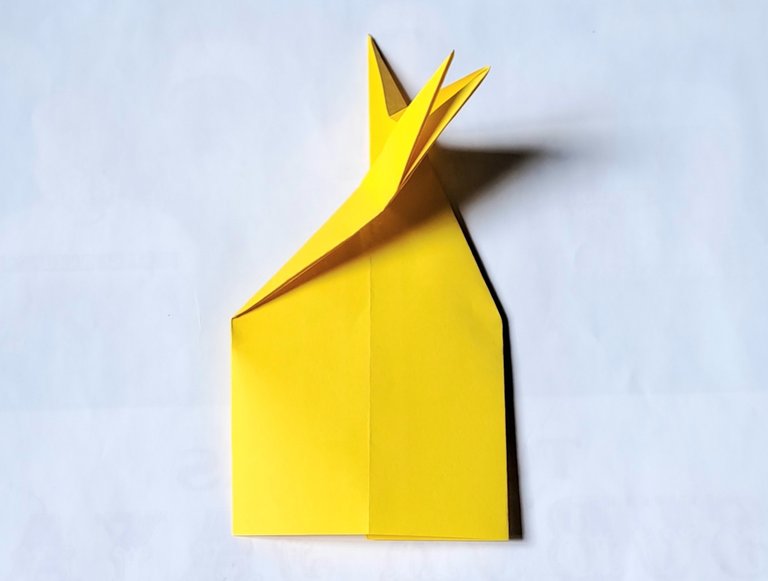
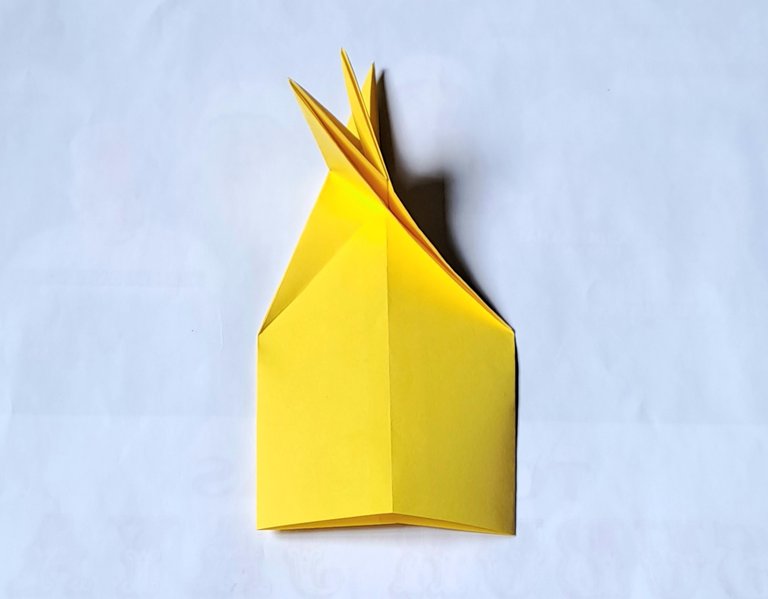
Then fold the top down by folding the middle inward and the ends forward, then fold the middle part of the goat's head backward to make the ear pattern.
 |  |
|---|
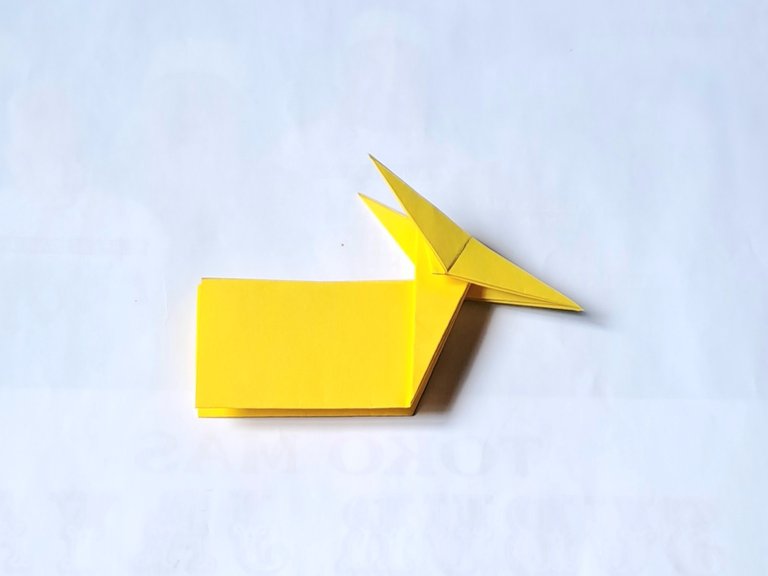
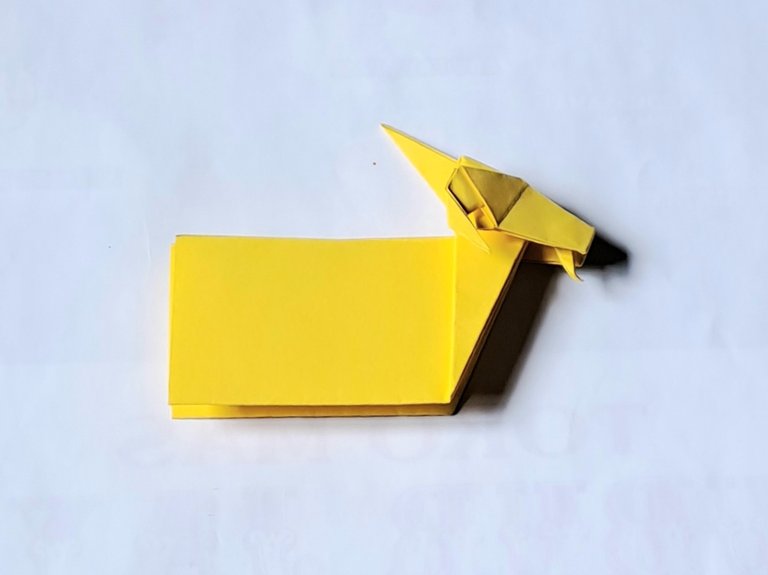
Then fold the front end down and also fold the ends outward down to make the goat's beard pattern, and also fold the end of the beard a little forward, then fold the horns down, also make the folds into inward folds, then fold the ends of the horns again once again down, also make the folds into inward folds, do the same on the side of the horns next to it as shown in the picture below.
 |  |
|---|
 |  |
|---|
 |  |
|---|
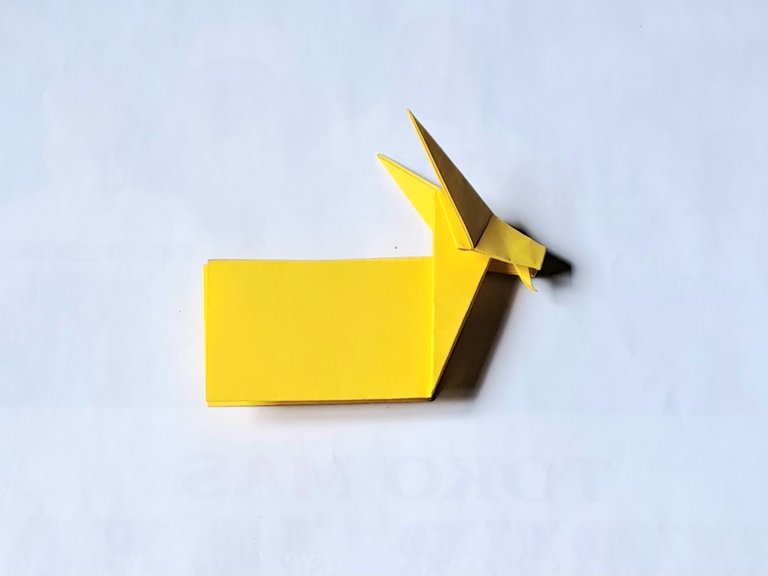
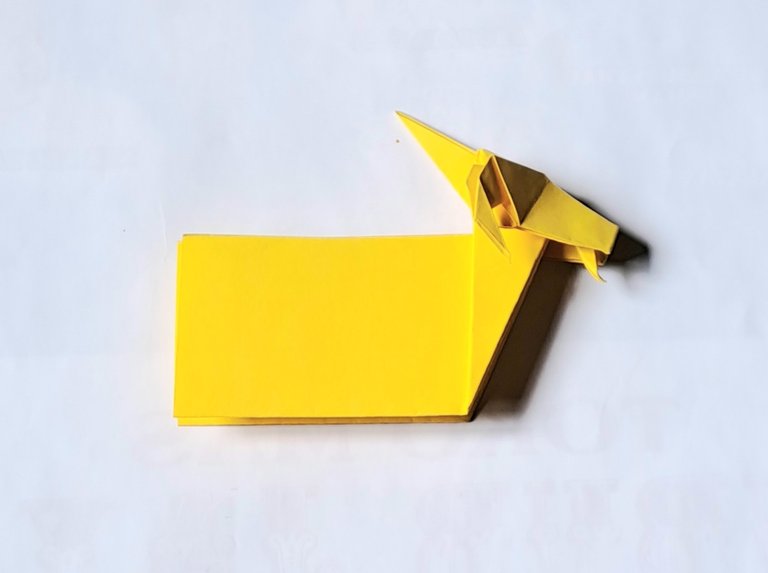
Then fold the back of the goat's body up, then fold the body inward again and pull the ends down, do the same on the other side.
 |  |
|---|
 |  |
|---|
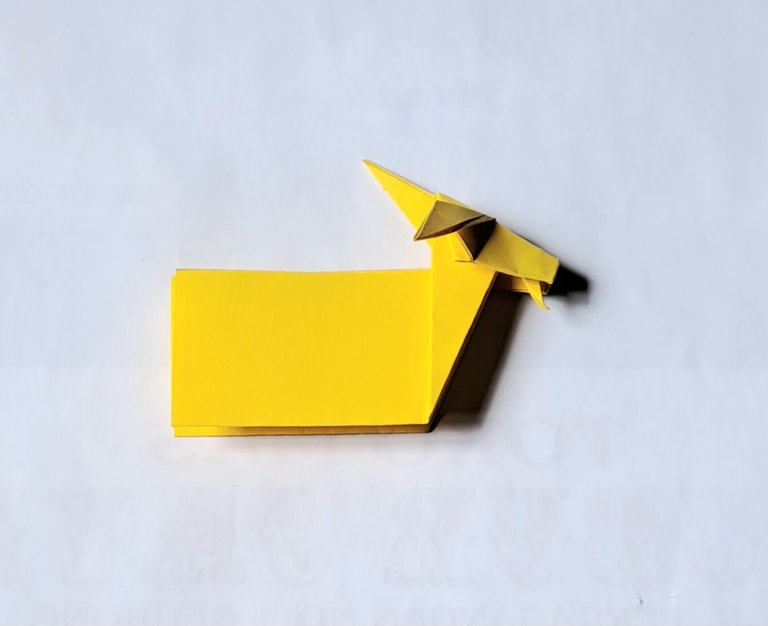
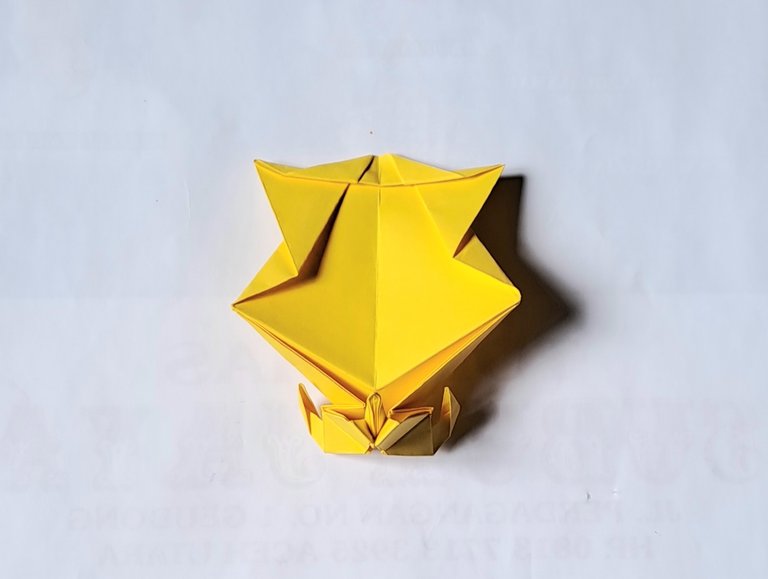
Then open the middle of the paper, then fold the back inward and fold the ends outward again, then fold the middle of the paper in half and now the goat's tail is now finished, press a little on the tail to make the tail pattern even more beautiful.
 |  |
|---|
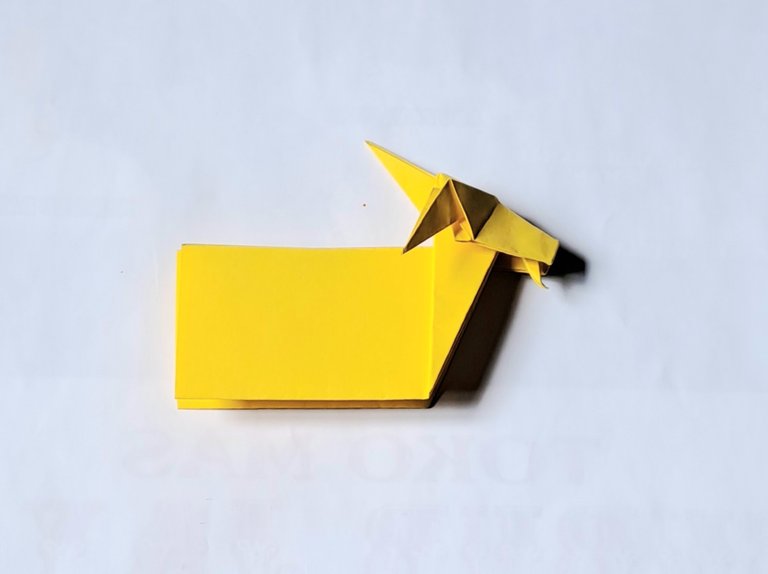
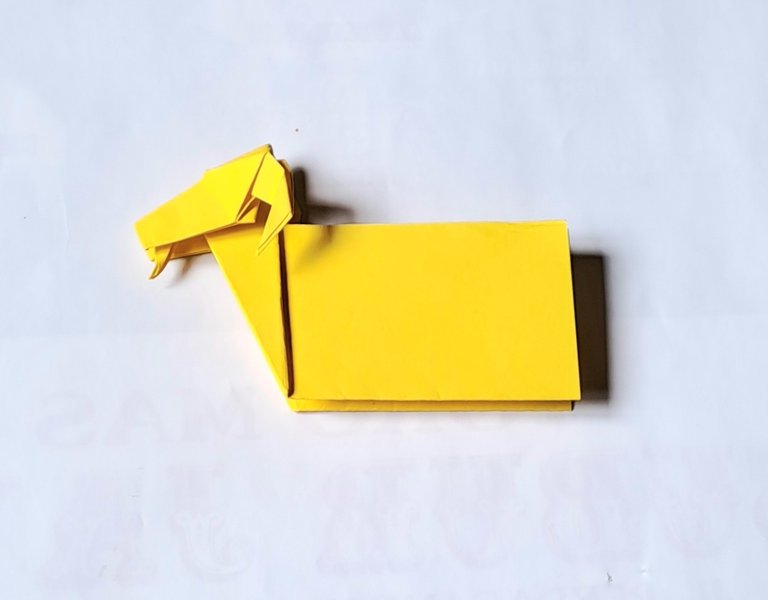
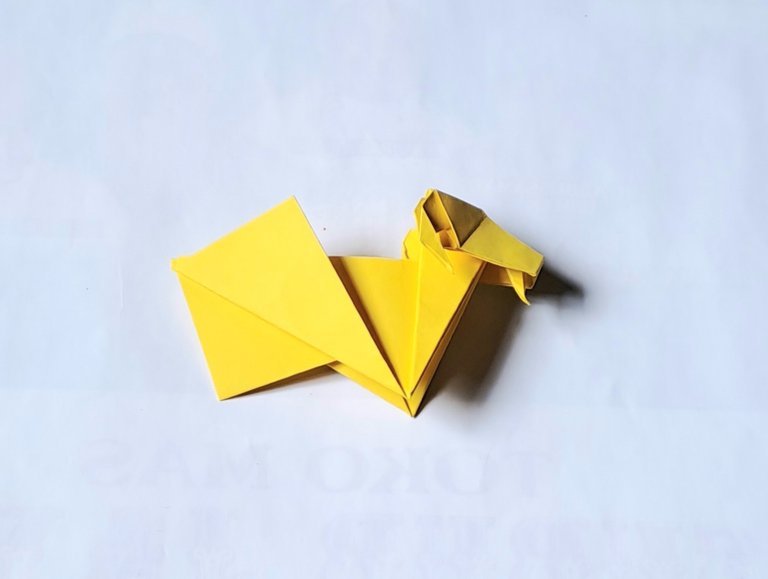
Then press the upper body down slowly, also press the middle of the front legs and back legs from the right and back sides inward to make the goat's leg pattern even more beautiful as in the picture below.
 |  |
|---|
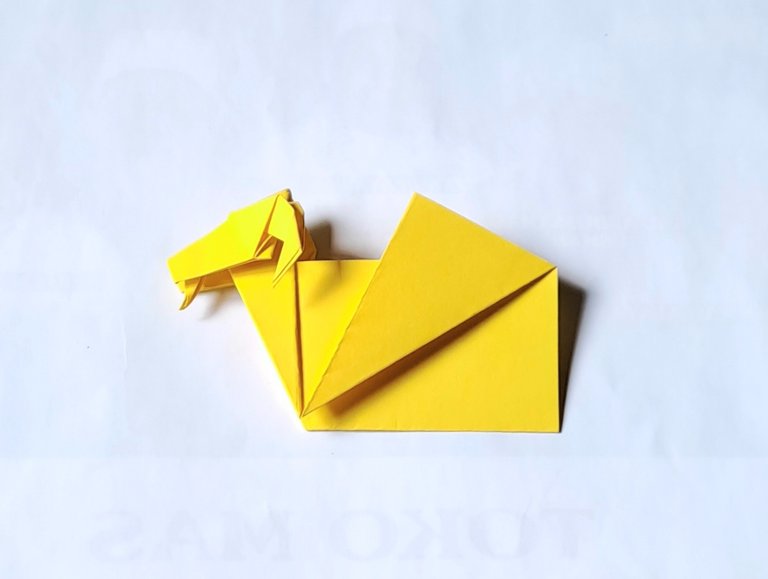
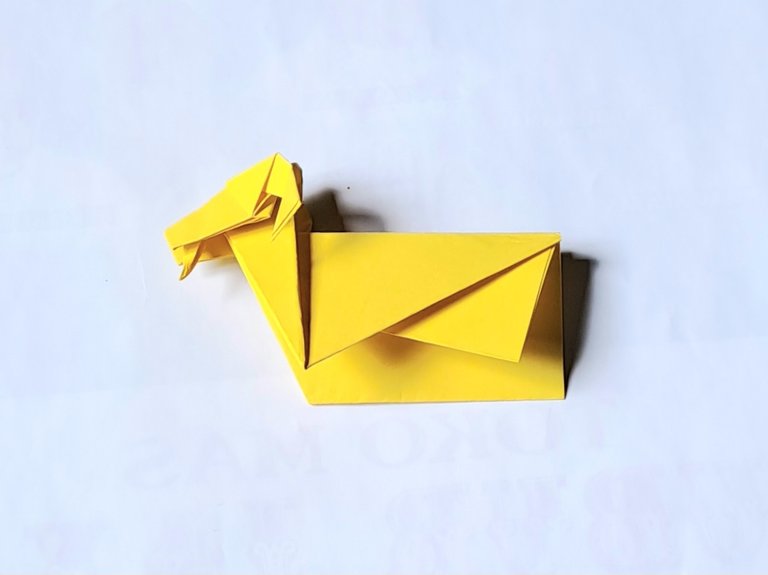
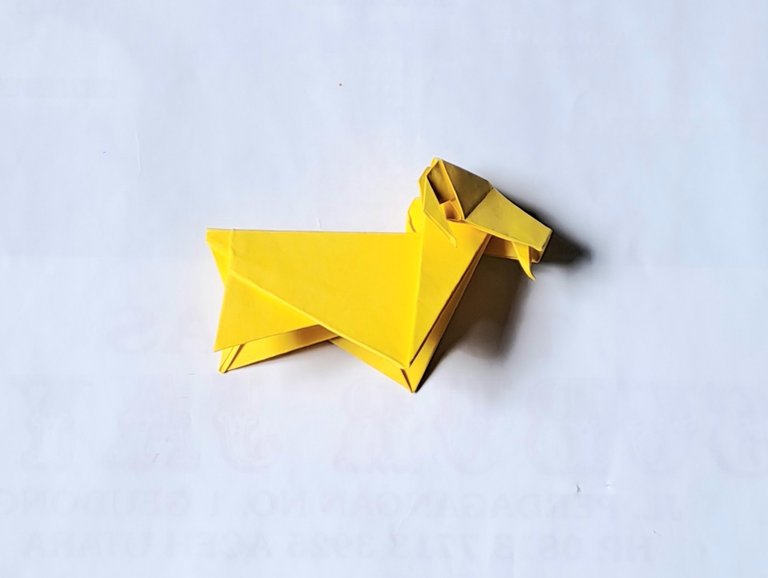
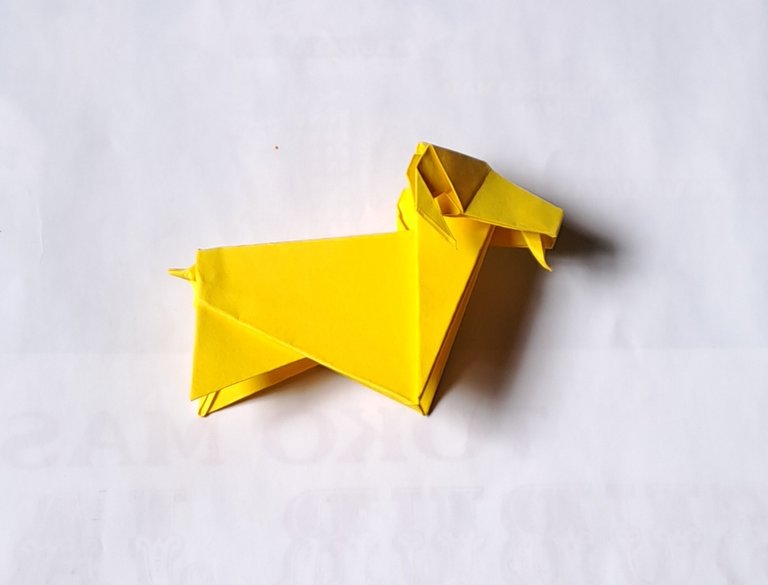
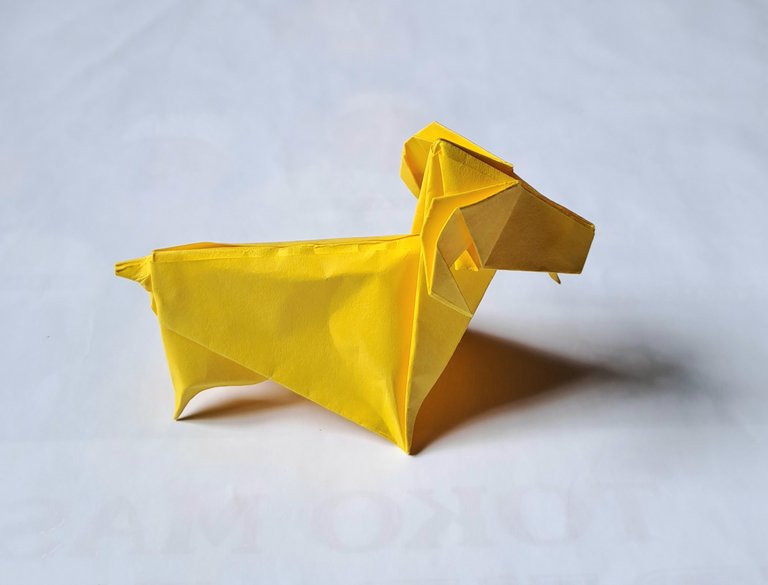
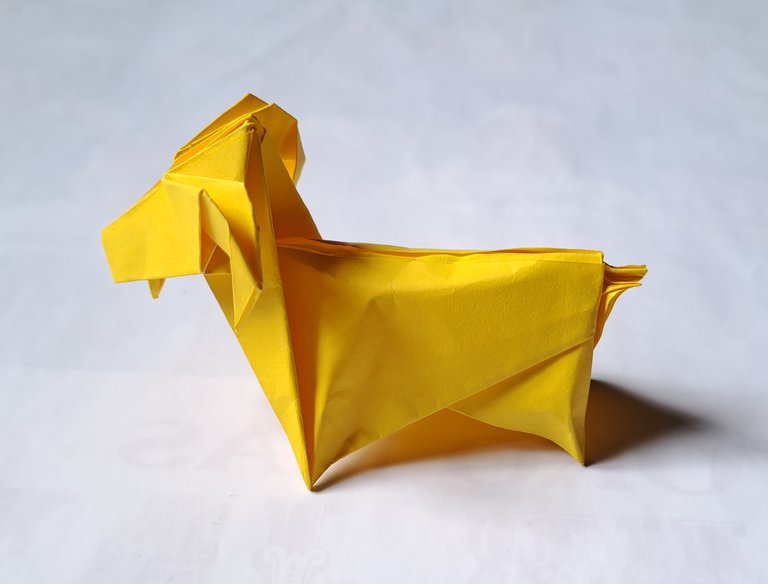
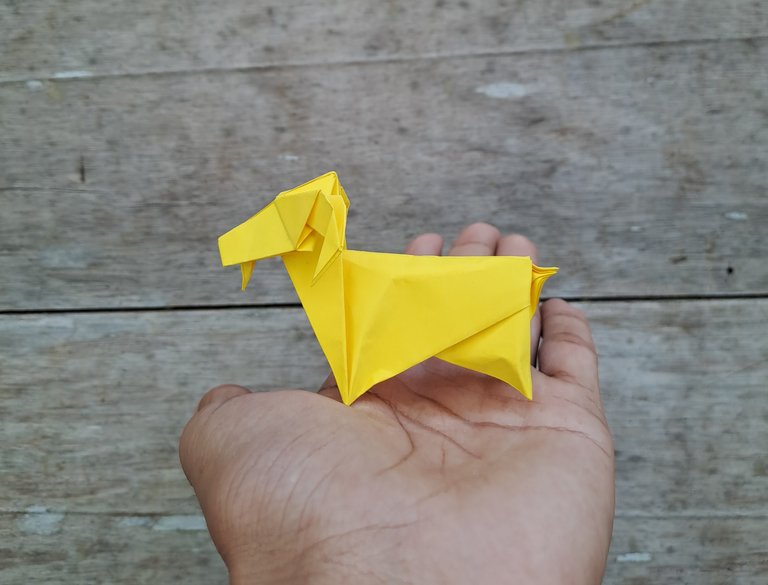
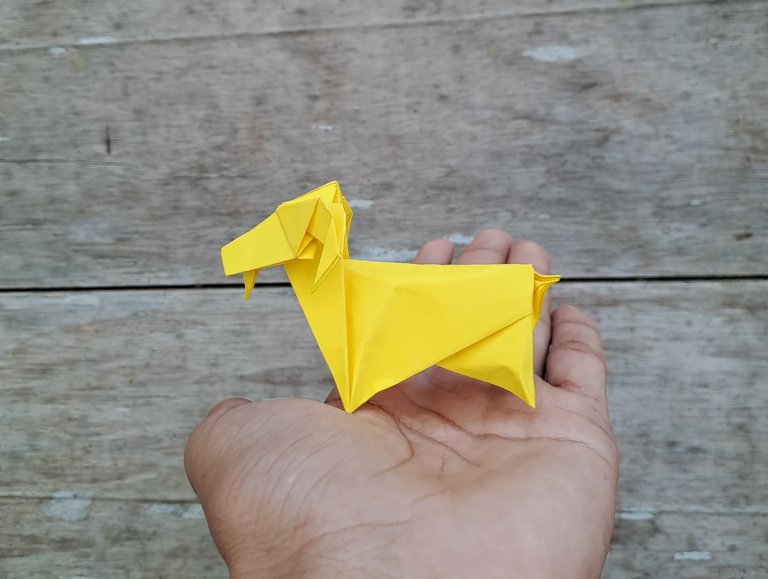
After all the folds are finished being folded slowly, the beautiful goat from origami paper is now perfectly finished and looks very beautiful, hopefully my friends like the results.
 |  |
|---|
This is the origami goat that I can share the tutorial with my friends today, thank you for visiting my post.
Your origami goat looks good, well done and thanks for walking us through the entire process.
Thank you for your support
It's perfect and nicely done. Thanks for sharing and wishing you success