Hi Hive DIY friends
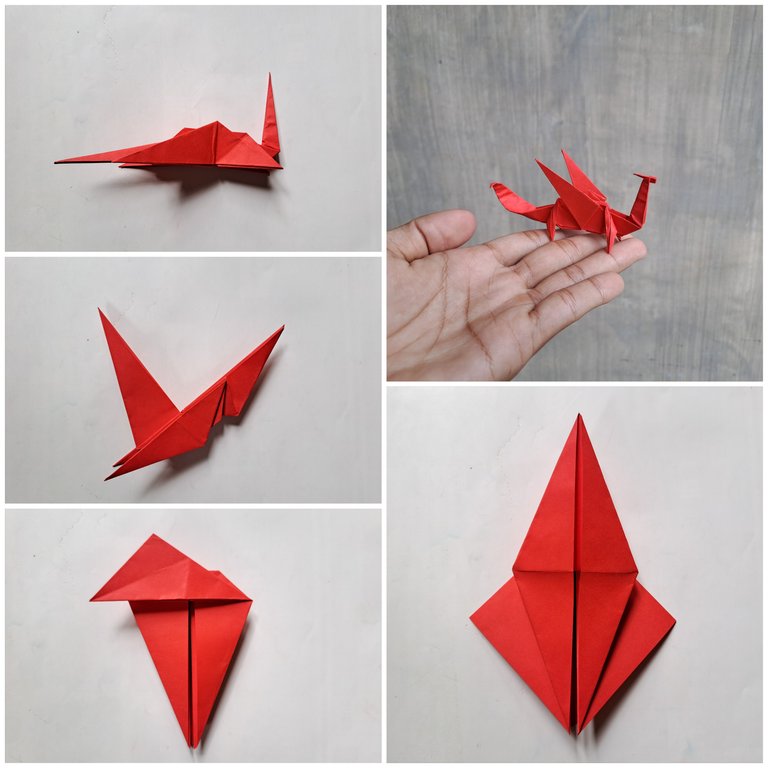
Today I want to share my handicraft again that I made using a piece of red origami paper, what I will make today is a dragon.
Dragons are very beautiful mythical animals and in my opinion are depicted with very beautiful art, when I was little I also really liked seeing dragons which made me want to make a dragon today to realize my favorite childhood mythical creature.
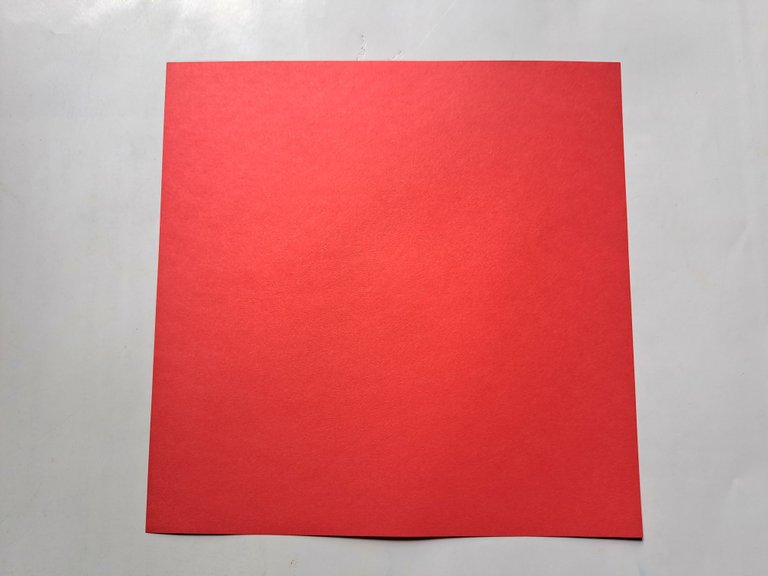
Here is a tutorial on making a dragon using a piece of origami paper.
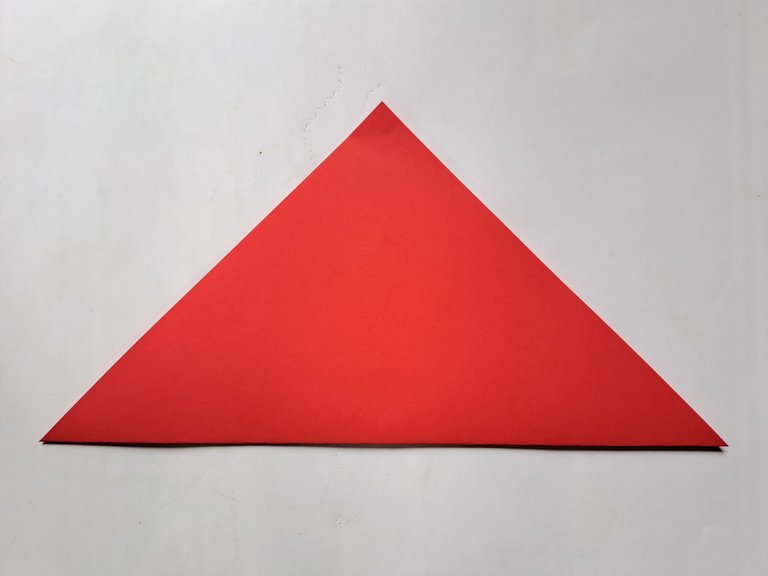
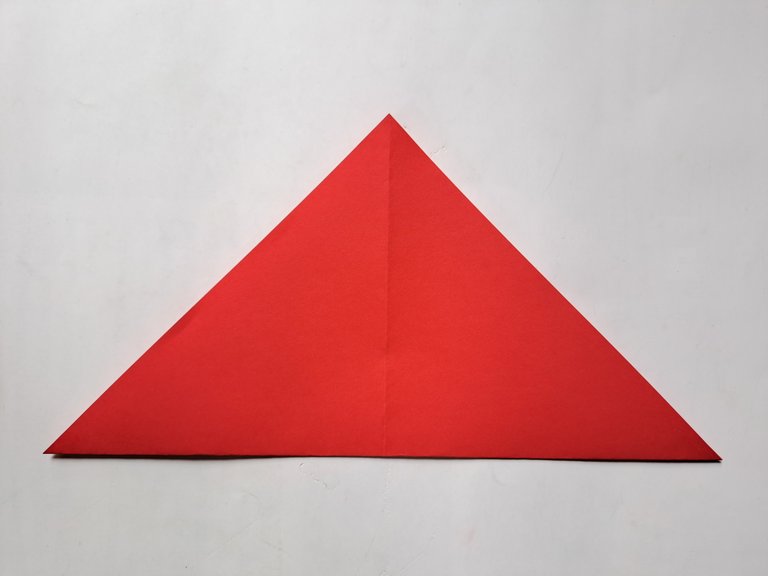
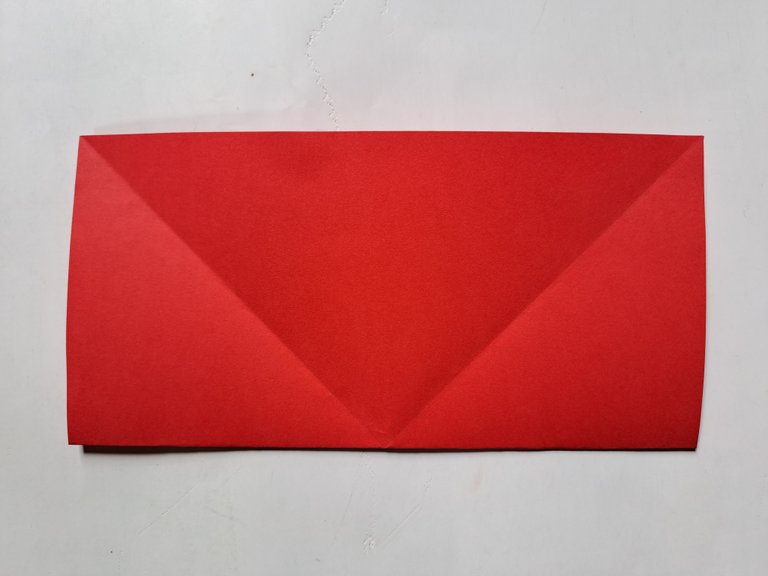
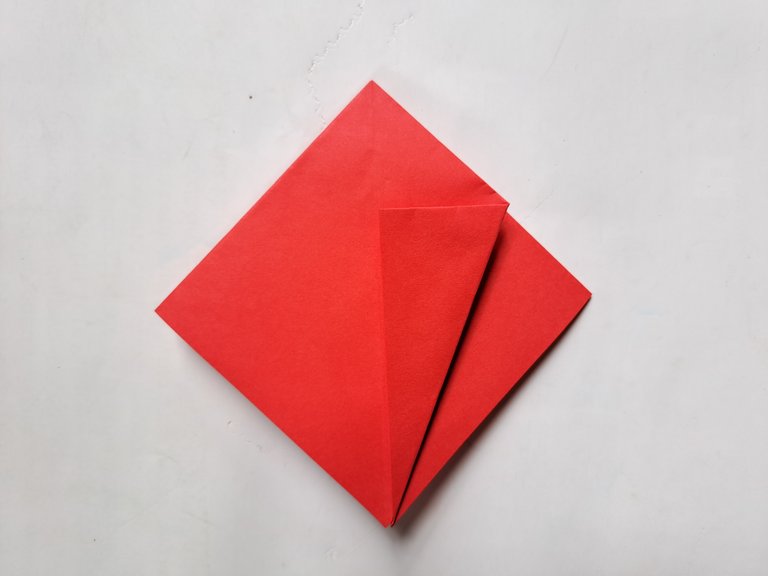
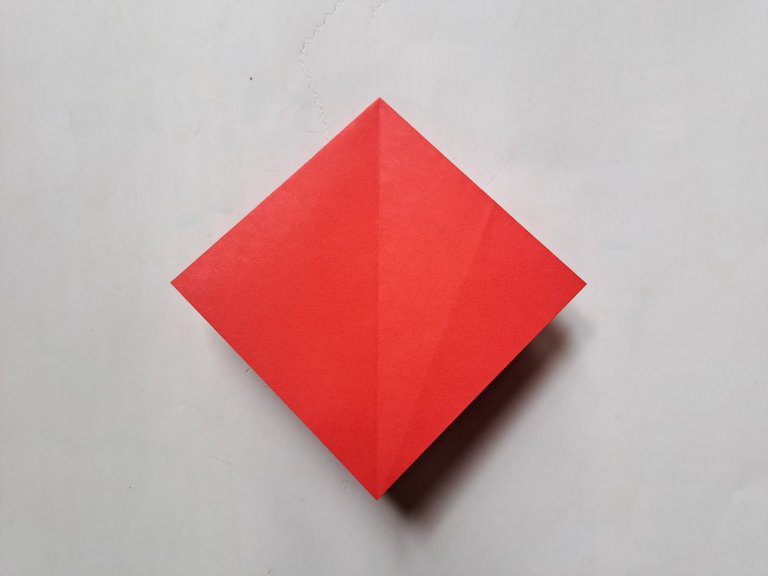
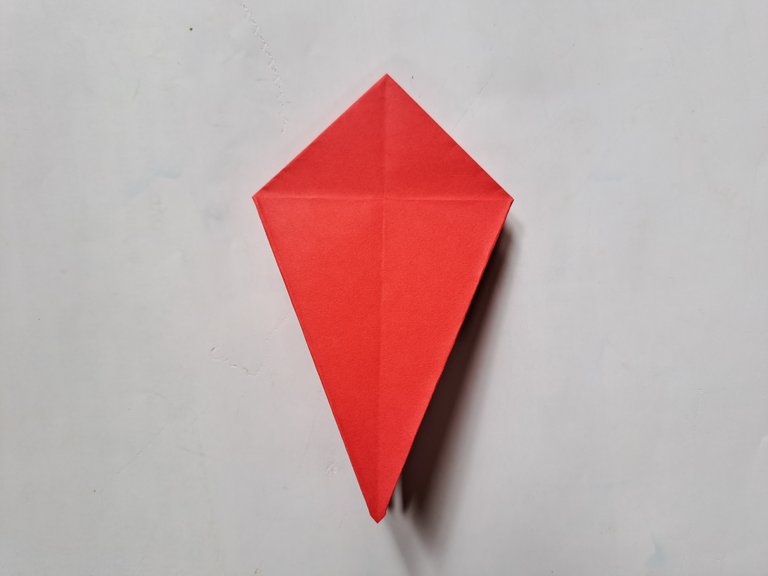
First, fold the origami paper into a triangle shape, then unfold it and fold it once again into a triangle from the opposite direction as shown in the picture below.
 |  |
|---|
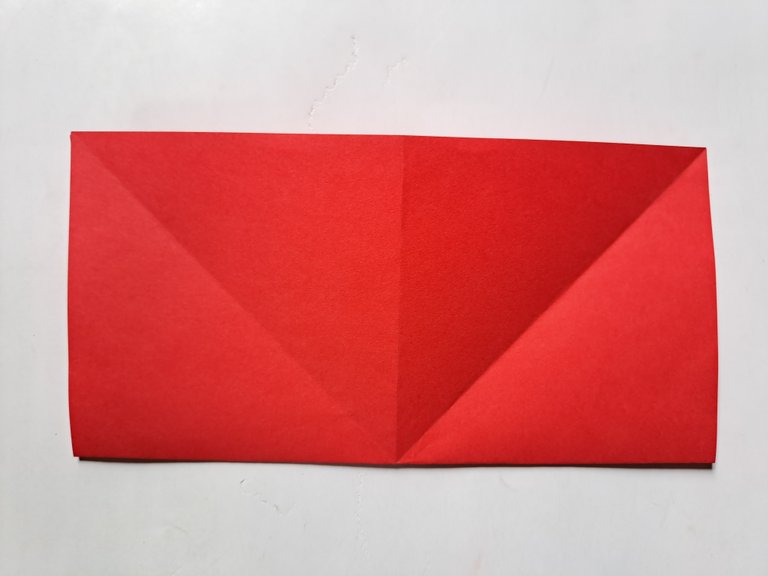
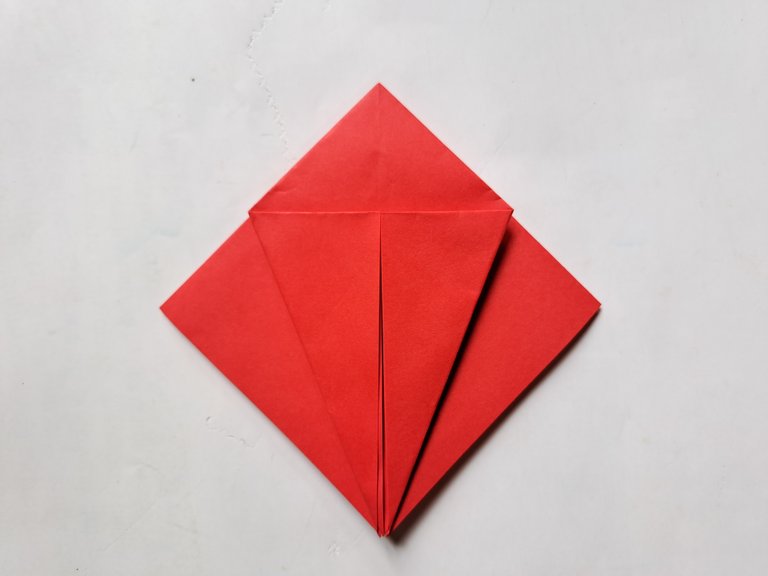
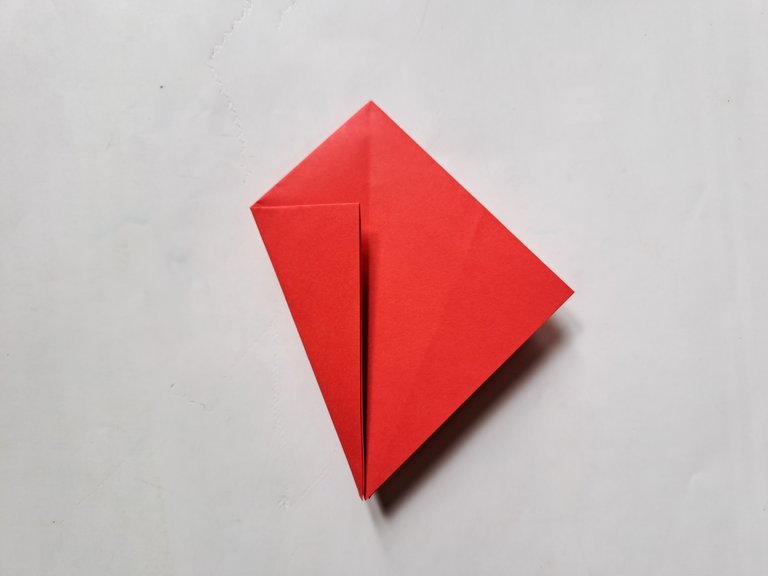
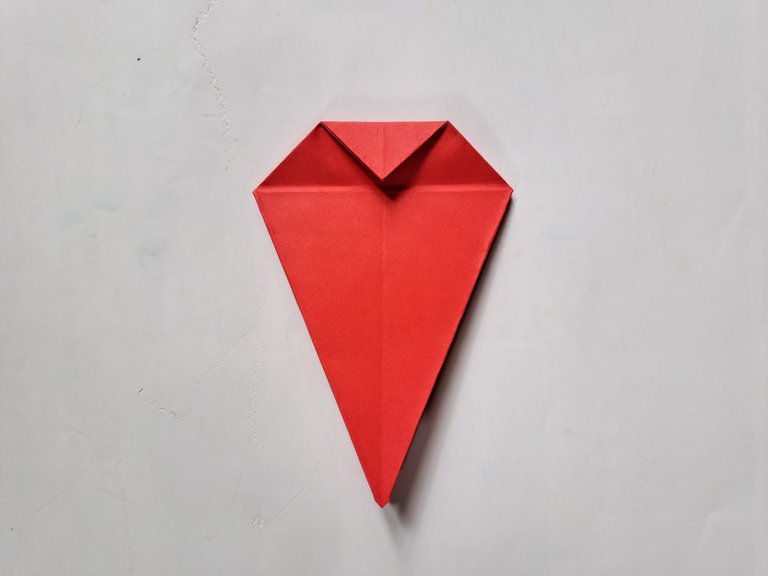
After that, turn the origami paper over and fold it into two origami papers, then unfold it again and fold it once into two parts of the origami paper as shown in the picture below.
 |  |
|---|
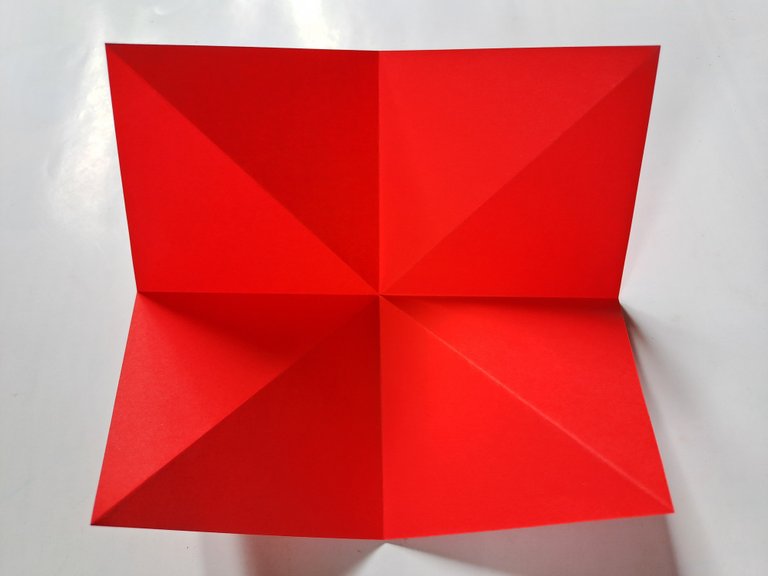
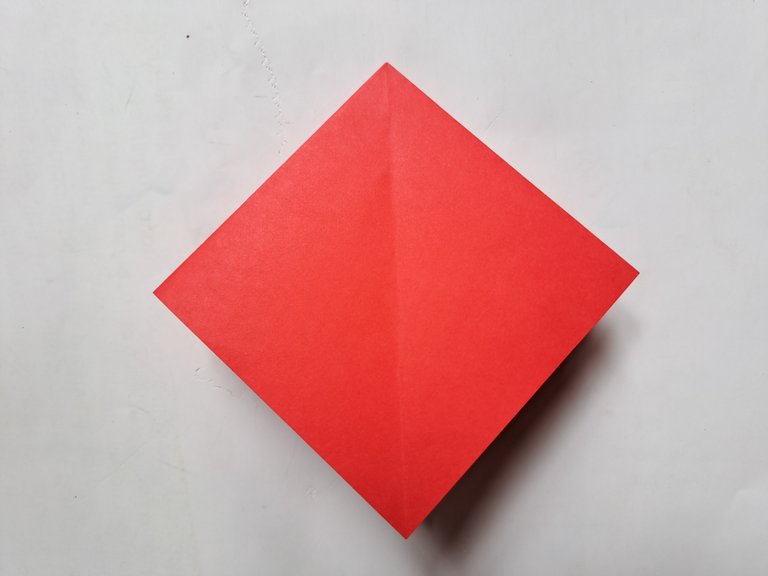
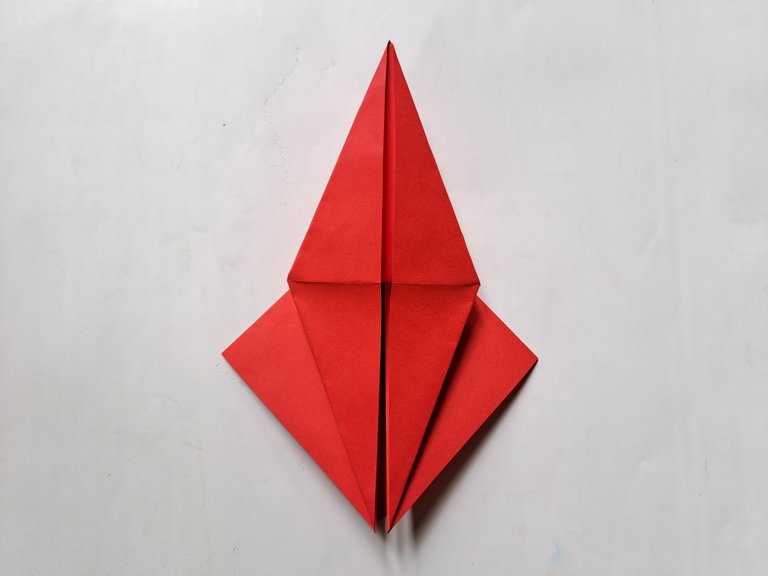
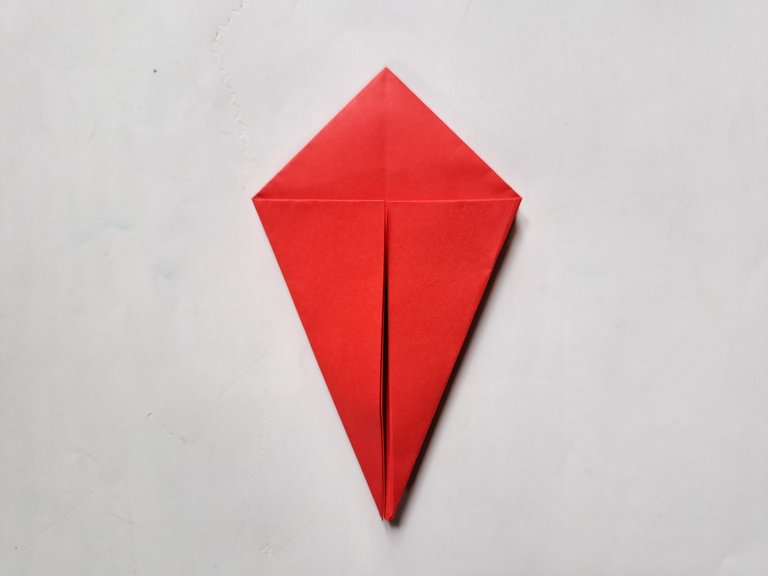
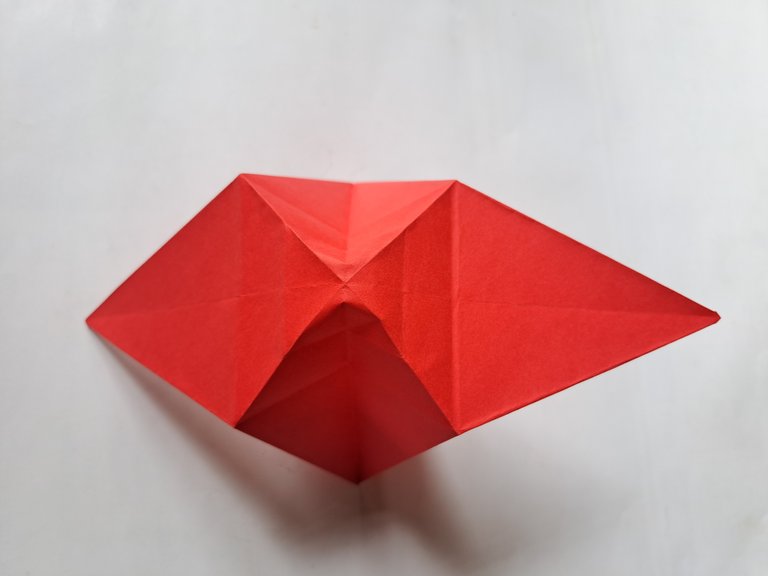
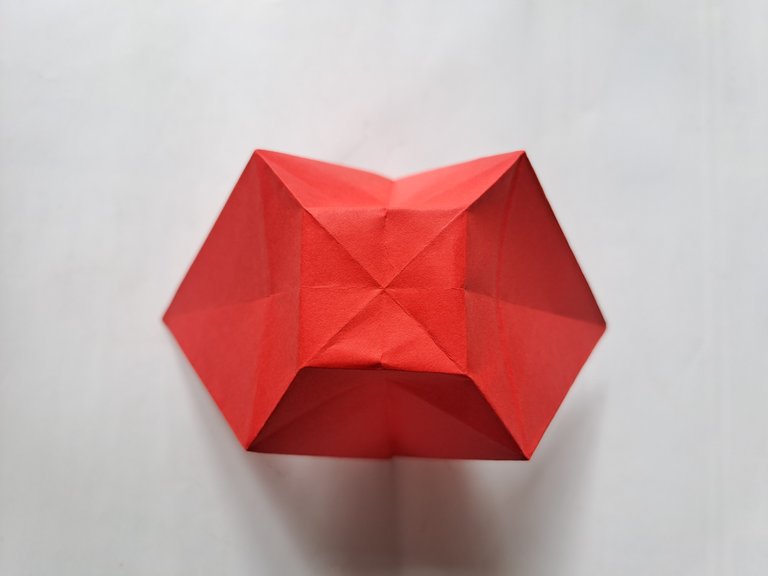
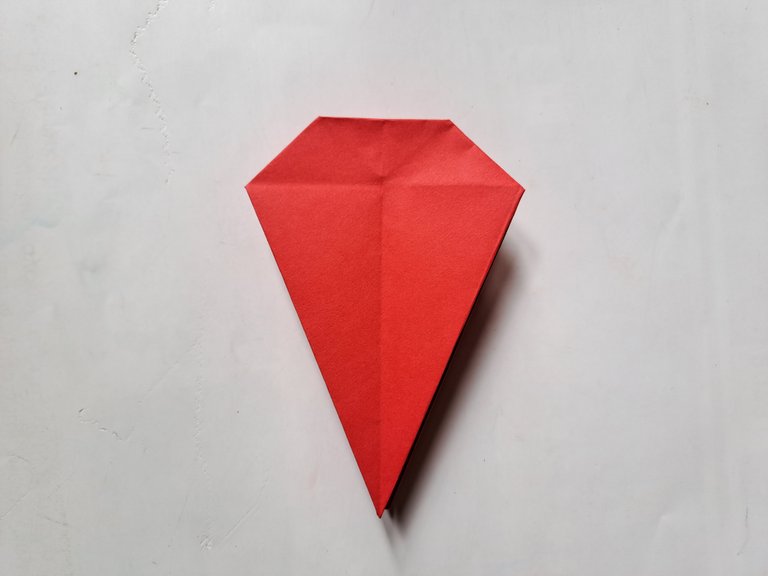
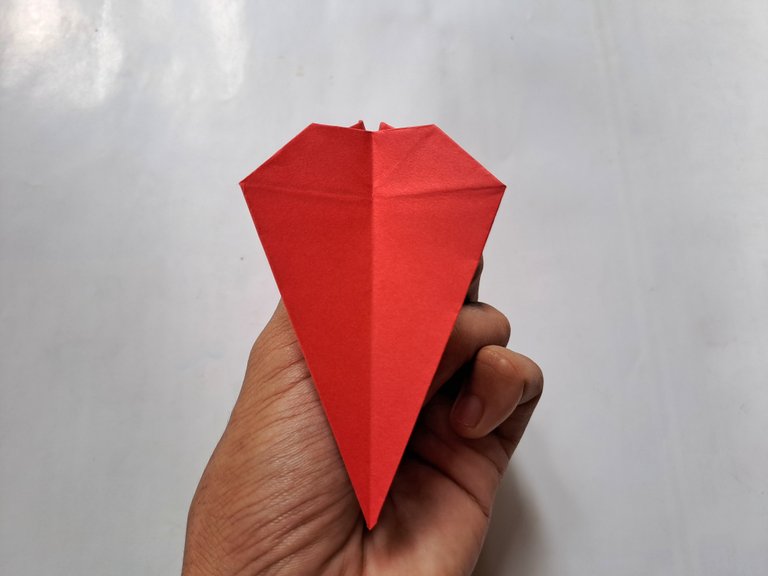
When the origami paper has a six-star line pattern like the picture below, then fold each left and right side of the origami paper inward and bend the top down so that the origami paper is square like the picture below.
 |  |
|---|
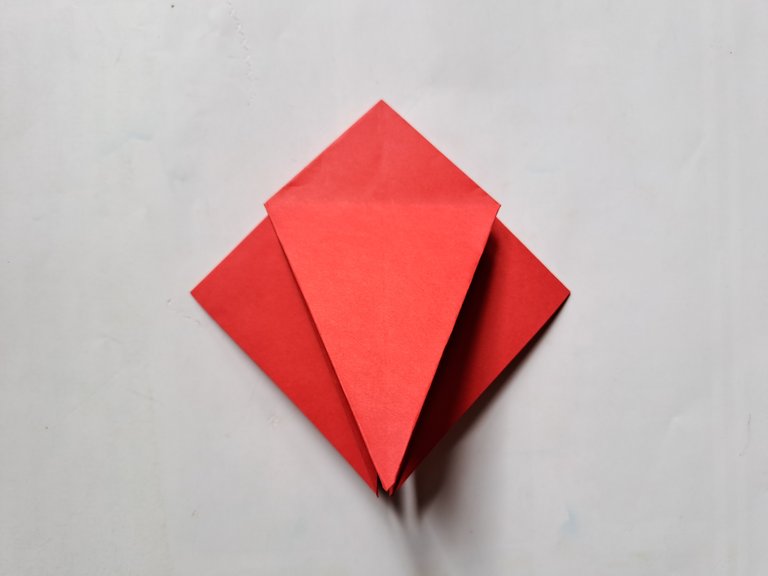
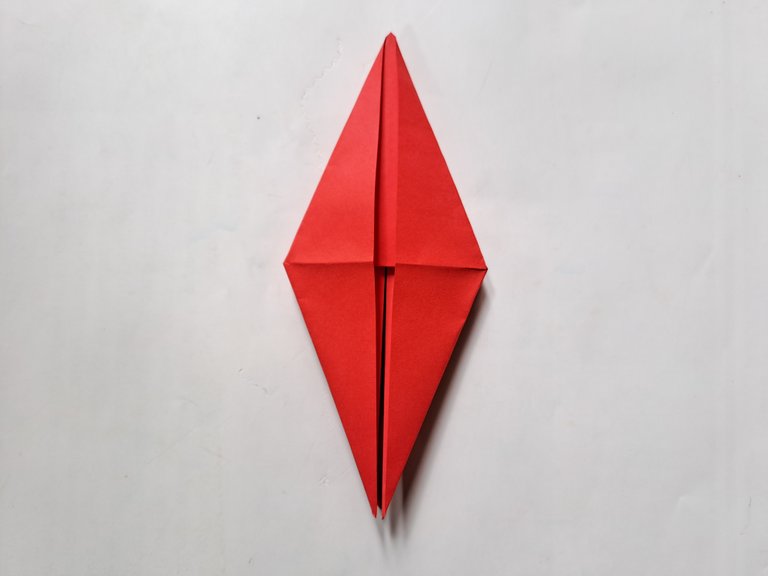
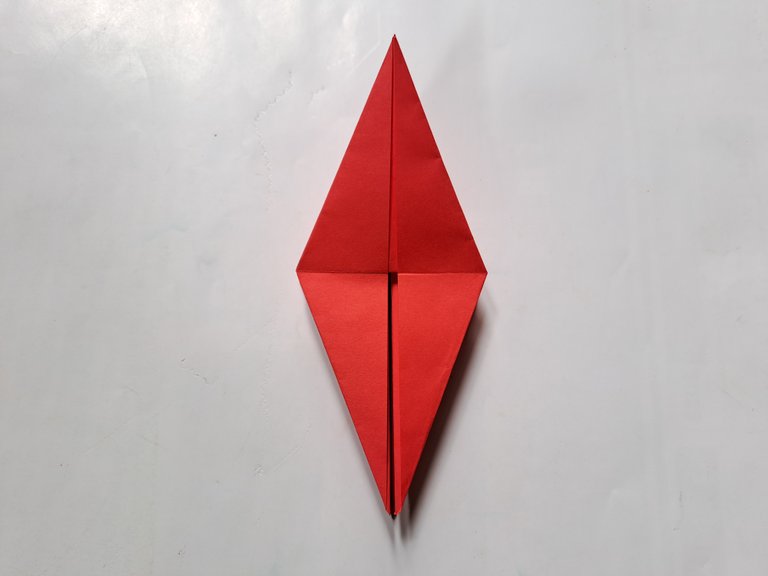
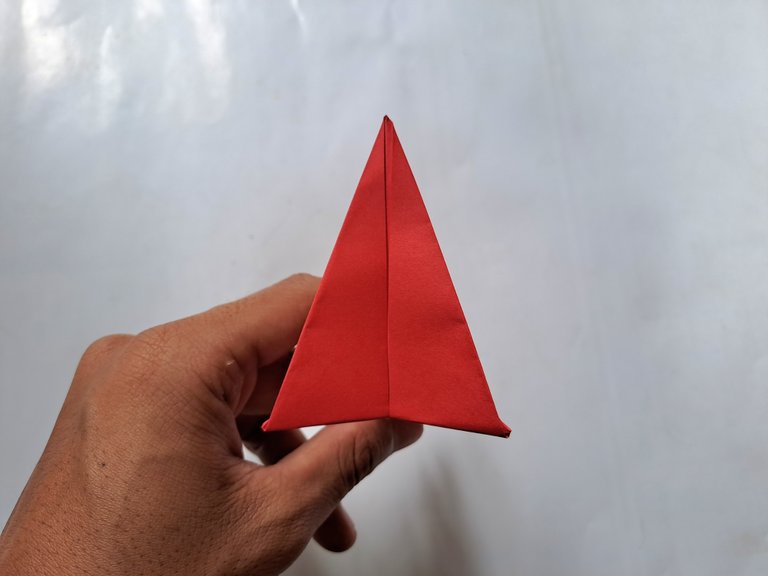
Then fold the right and left sides of the origami paper slightly towards the middle, then unfold it again and now unfold the origami paper upwards, then fold the right and left sides of the origami paper towards the middle, then fold the top side of the origami paper downwards as shown in the picture below.
 |  |
|---|
 |  |
|---|
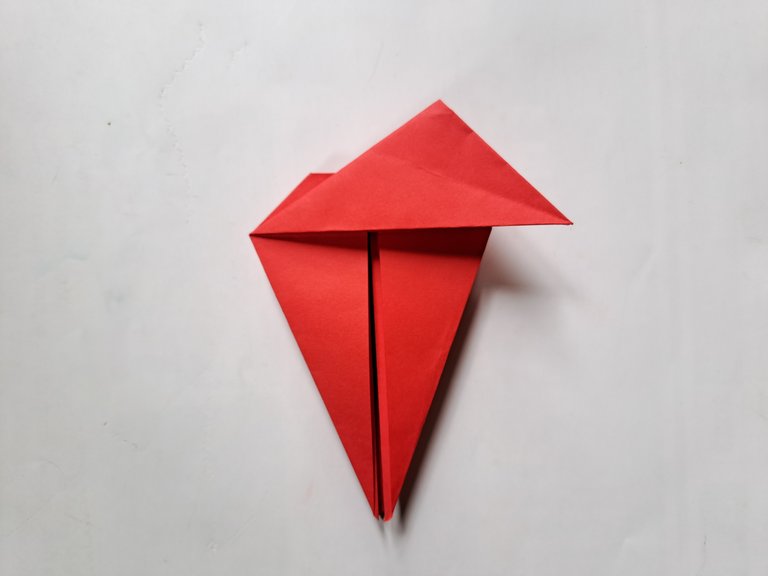
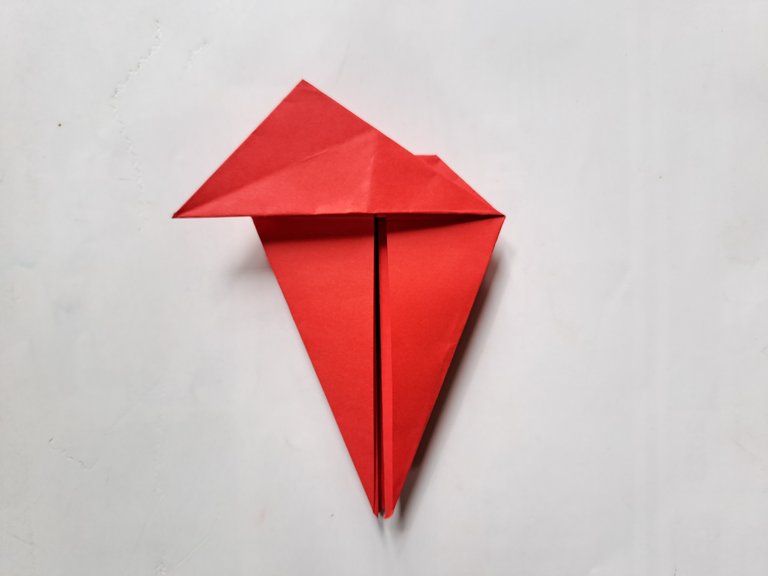
Then turn the origami paper over and now fold the right and left sides of the origami paper towards the middle as shown in the picture below, then unfold it again and open it halfway up, then fold the right and left sides of the origami paper halfway inwards, then fold the paper downwards as shown in the picture below.
 |  |
|---|
 |  |
|---|
 |  |
|---|
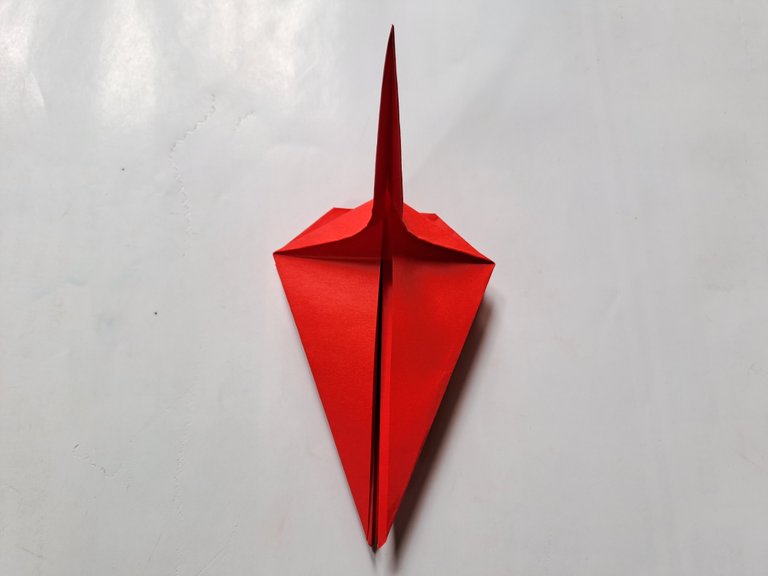
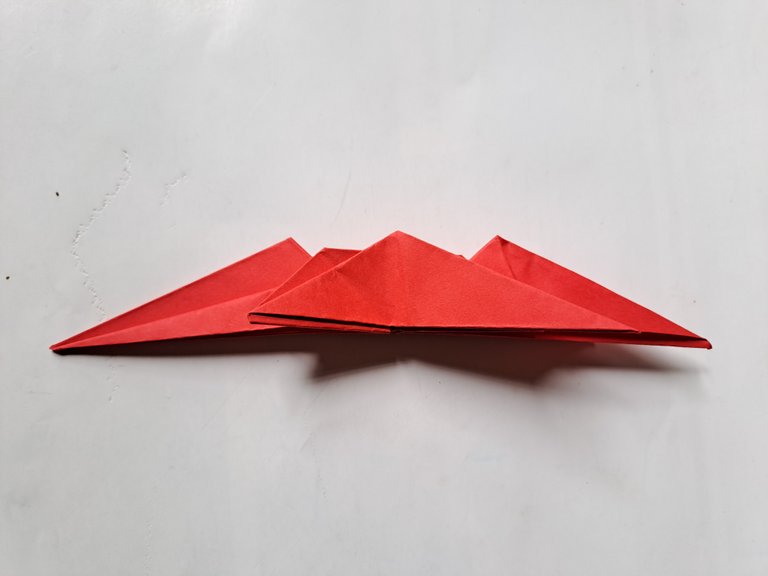
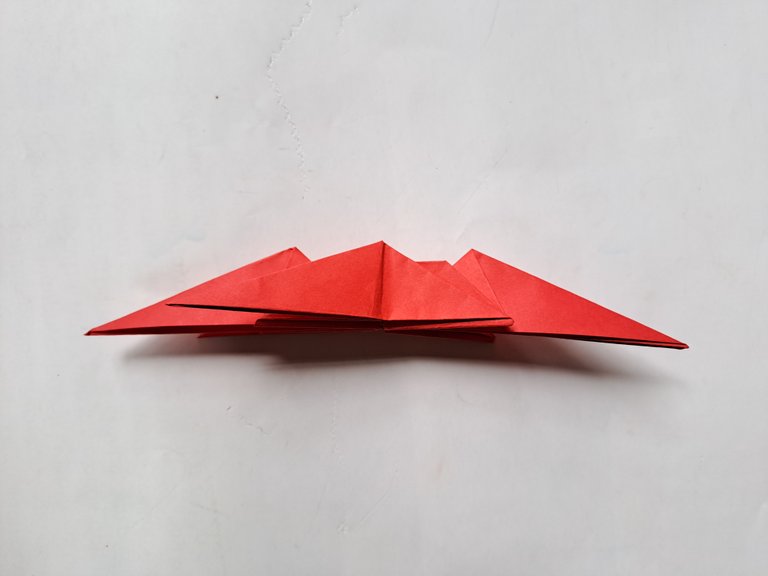
Then fold the top of the paper down a little, then unfold it again and now pull the bottom of the origami paper to the right and left so that the paper opens like the picture below.
 |  |
|---|
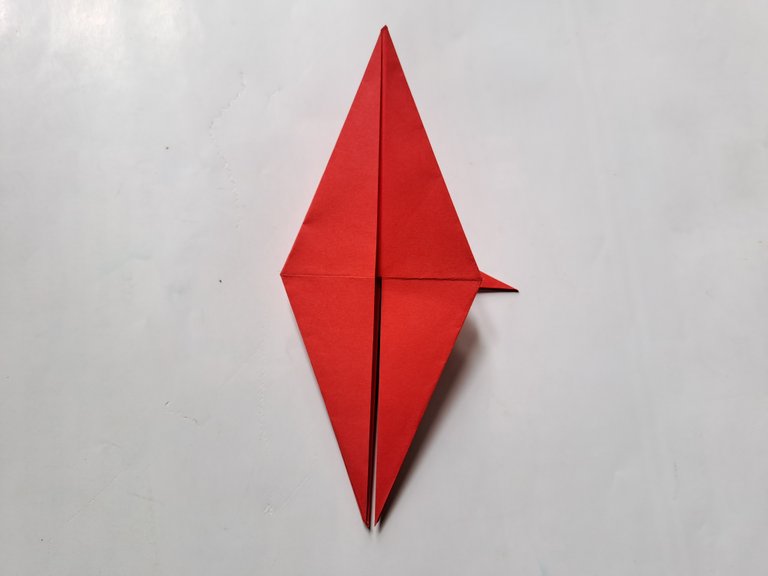
After that, make the box shape in the middle of the paper so that it is clearly visible and now bend the box inward again and fold the right and left sides of the paper towards the middle so that the paper is shaped like the picture below.
 |  |
|---|
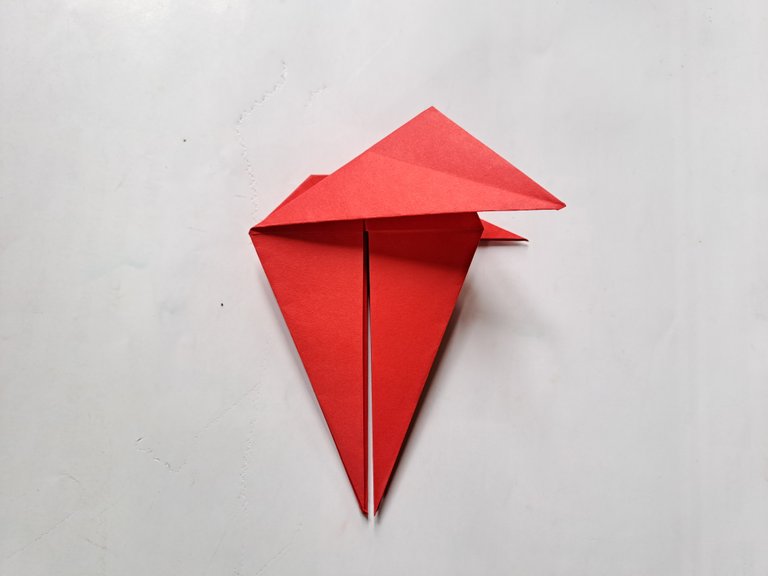
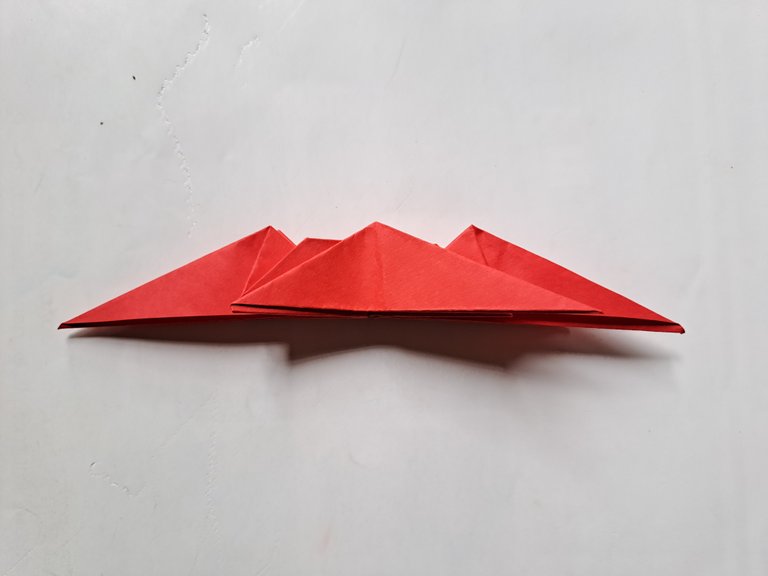
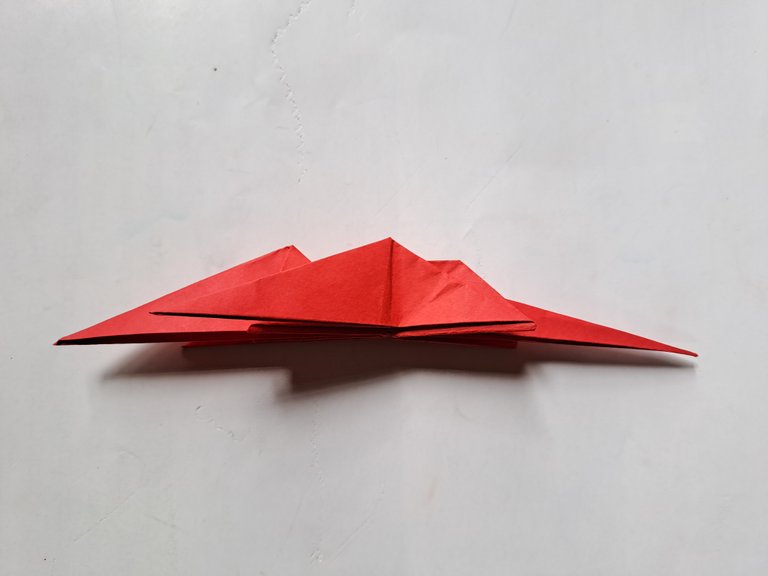
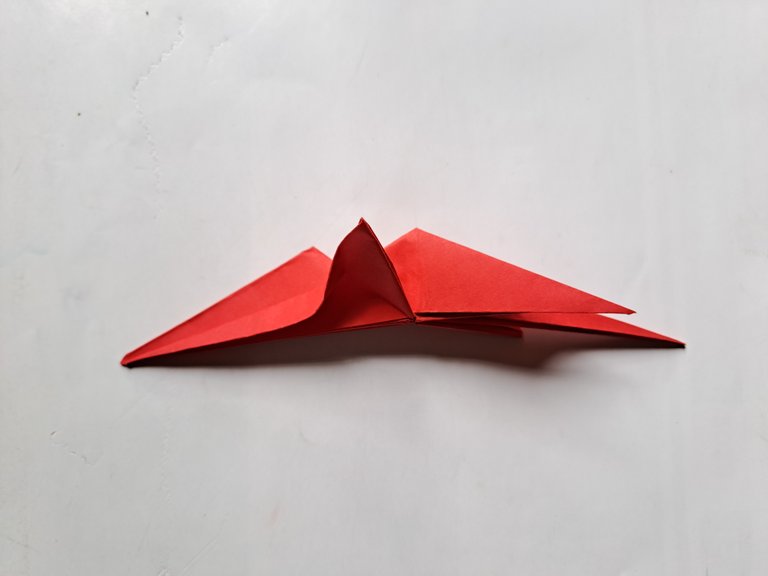
Then open the origami paper up and now fold the top of the origami paper to the left and right, after that fold the left and right sides of the top of the origami paper so that the middle of the origami paper sticks out upwards.
 |  |
|---|
 |  |
|---|

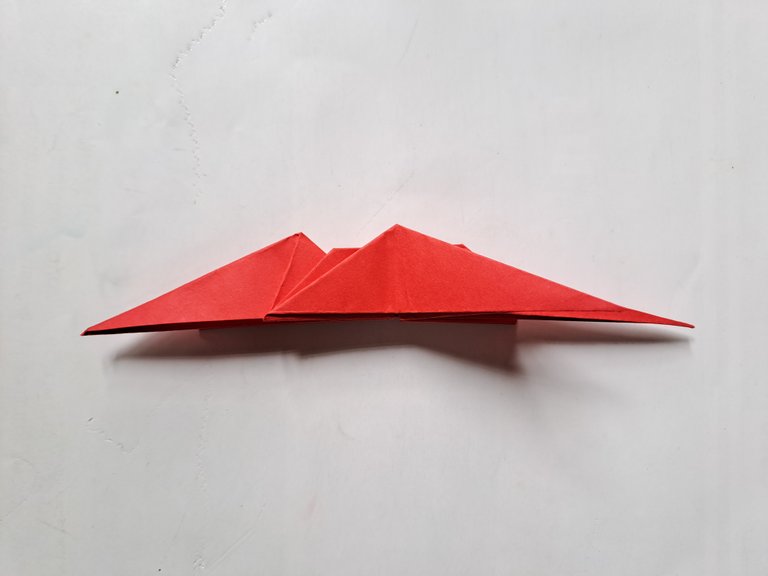
Then turn the origami paper over and open the origami paper up again, then fold the top of the origami paper to the right and left, then bend the right and left sides of the origami paper towards the middle so that the middle sticks out upwards.
 |  |
|---|
 | 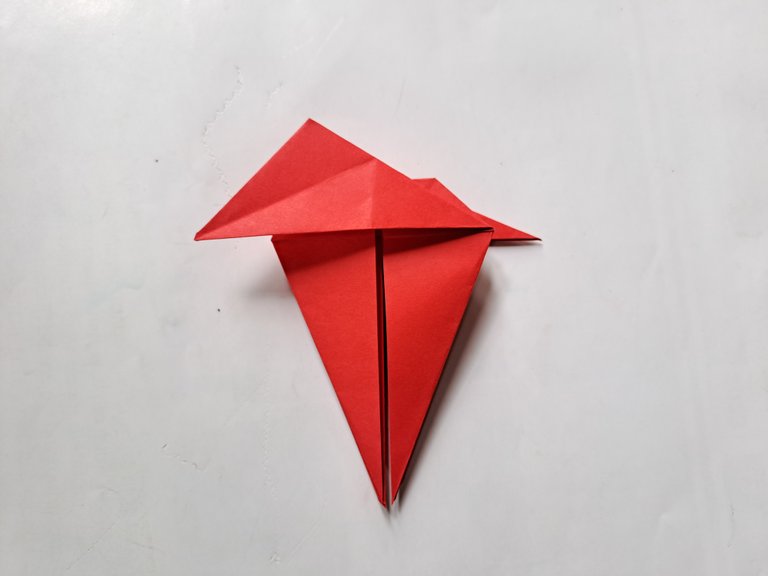 |
|---|
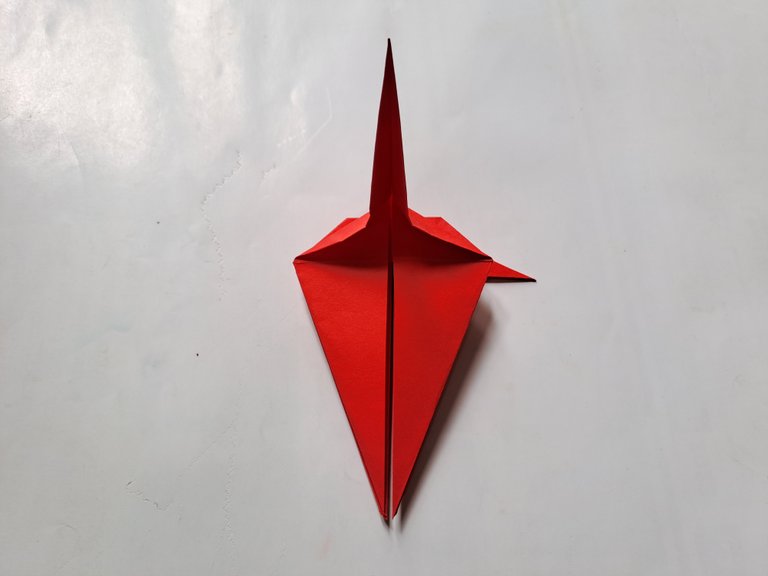 |  |
|---|
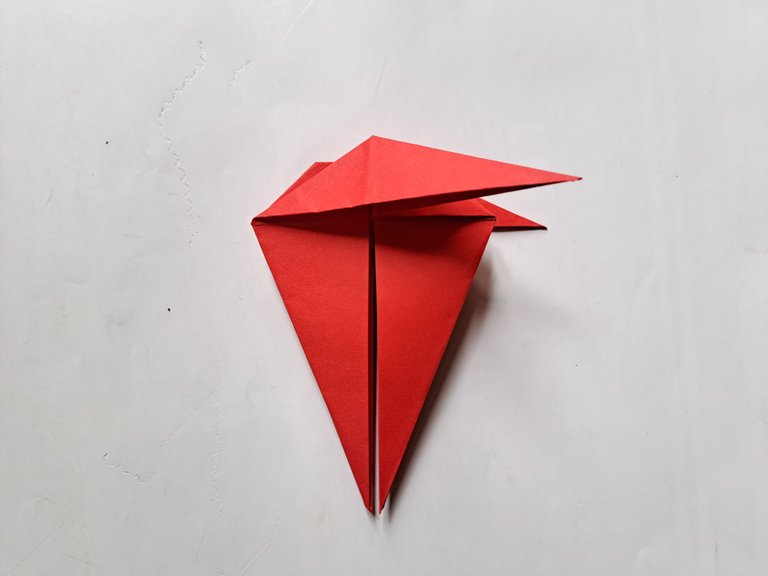
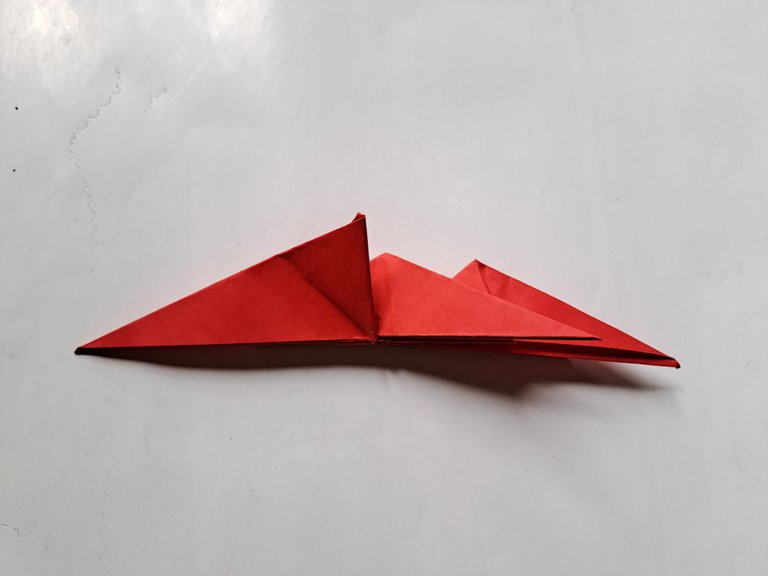
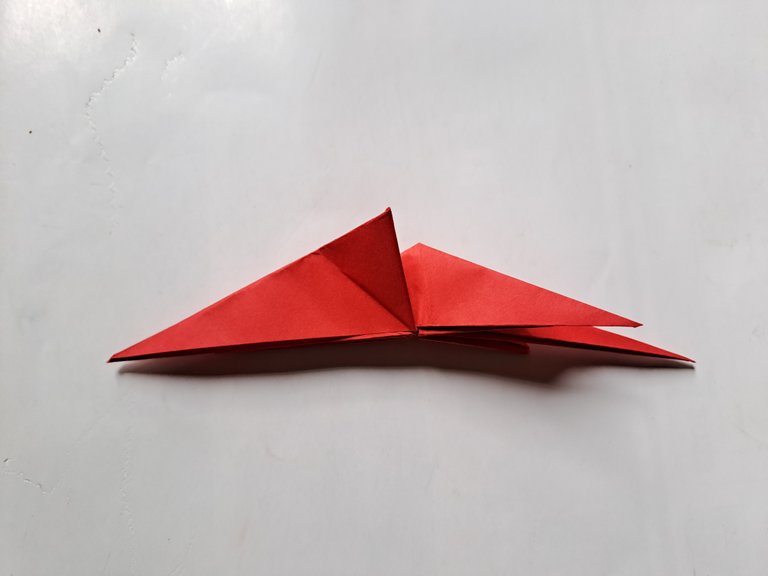
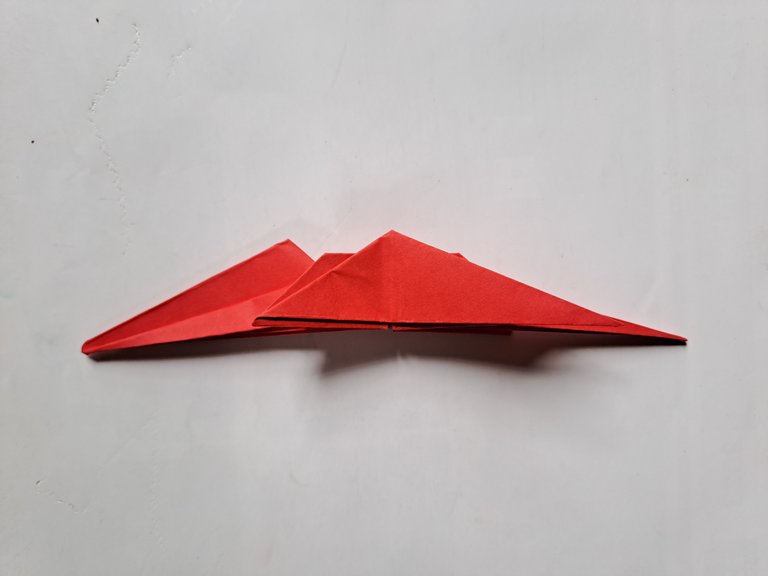
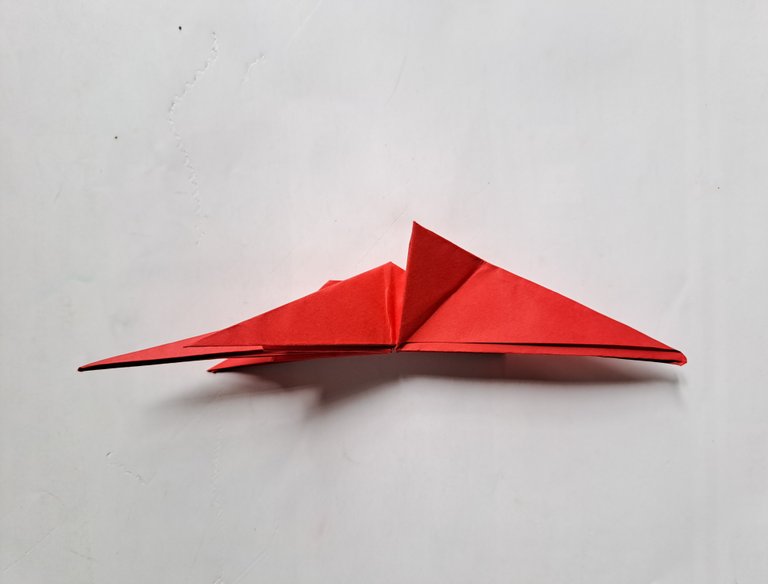
Then open the back of the origami paper and fold the origami in half as shown below.
 |  |
|---|
After that, fold it inwards while pulling the origami paper a little like the picture below so that when the fold is pulled it becomes perfect, the fold of the paper from the side of the origami paper becomes like the picture below.
 |  |
|---|
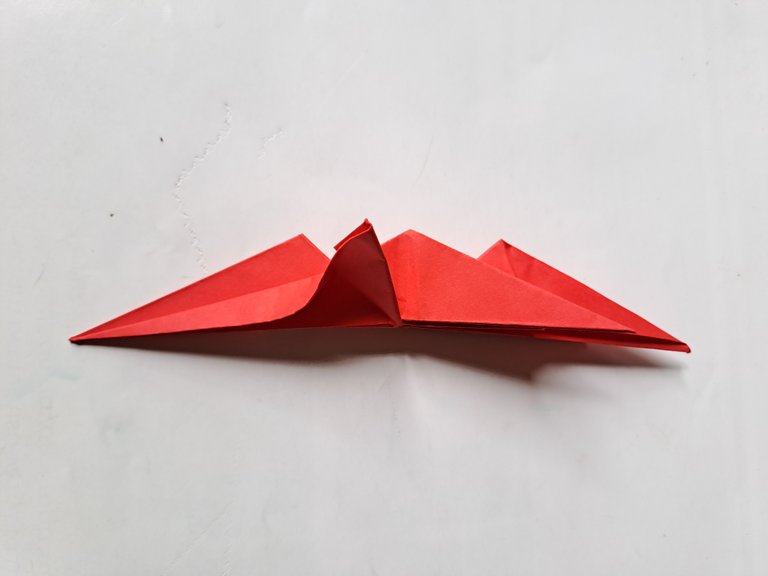
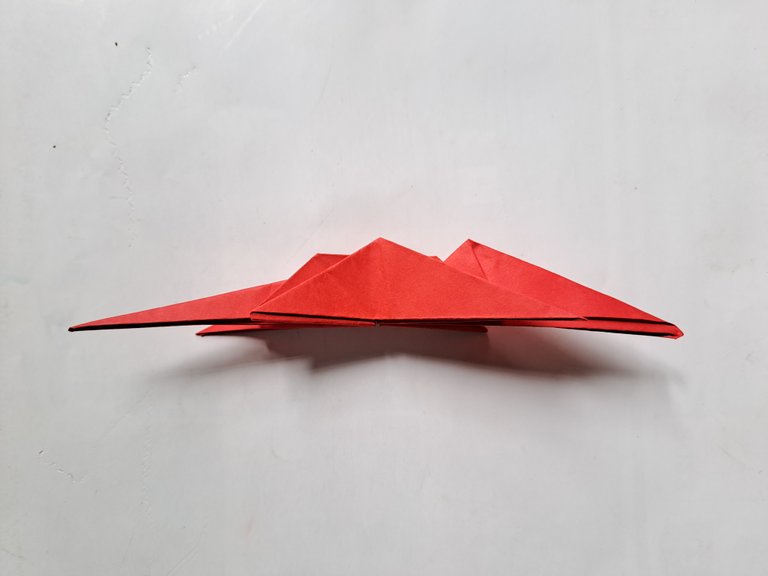
Then fold the outer side of the paper towards the back, then turn the origami paper over and also fold the outer milk of the paper towards the back like the picture below.
 |  |
|---|
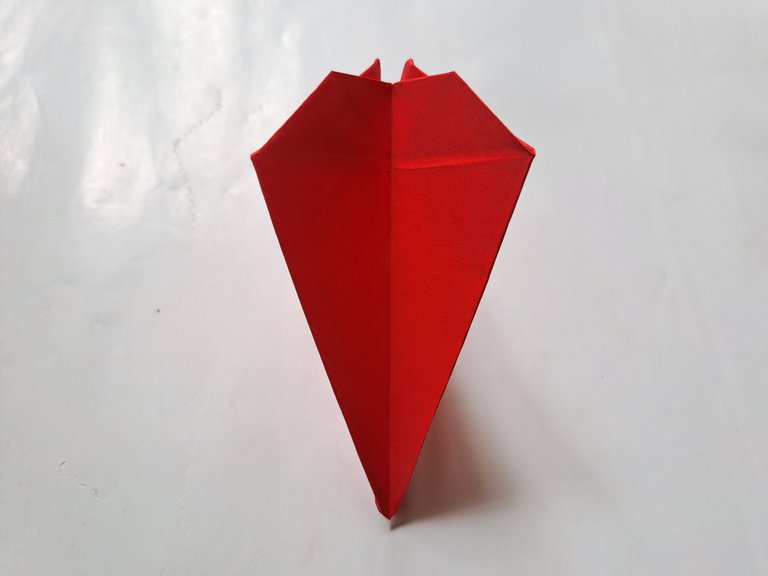
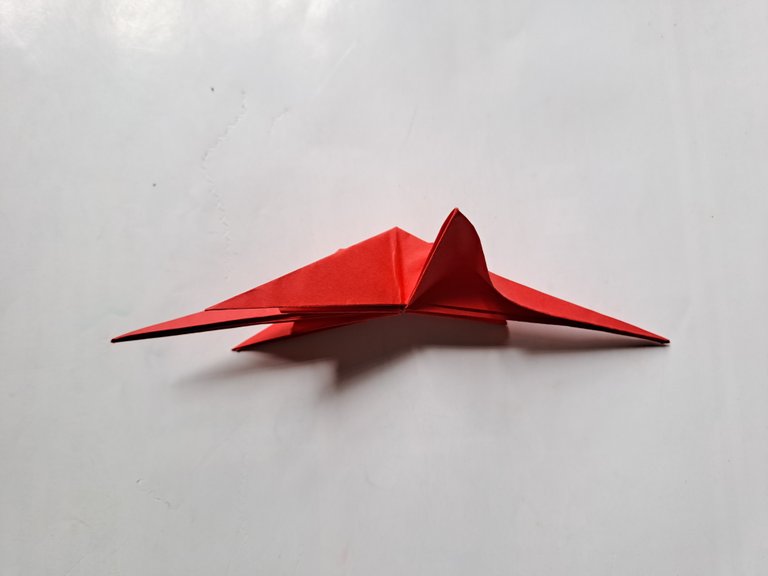
Then open the back fold of the paper again and fold the origami paper halfway up like the picture below.
 |  |
|---|
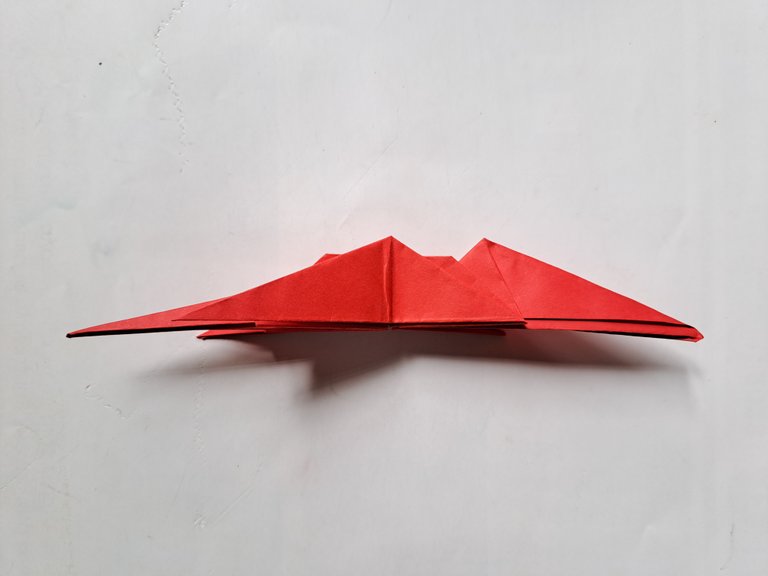
After that, fold it inwards while pulling the origami paper out like the picture below so that the shape is aligned when viewed from the side.
 |  |
|---|
Then open one side of the front side of the paper a little and fold it down the front of the paper to the pointed end, then fold the paper down again like the picture below.
 |  |
|---|
 |  |
|---|
Then turn the paper over and also open the fold a little like the method above and also fold the paper down a little to the pointed end, then fold the paper down again like the picture below.
 |  |
|---|
 |  |
|---|
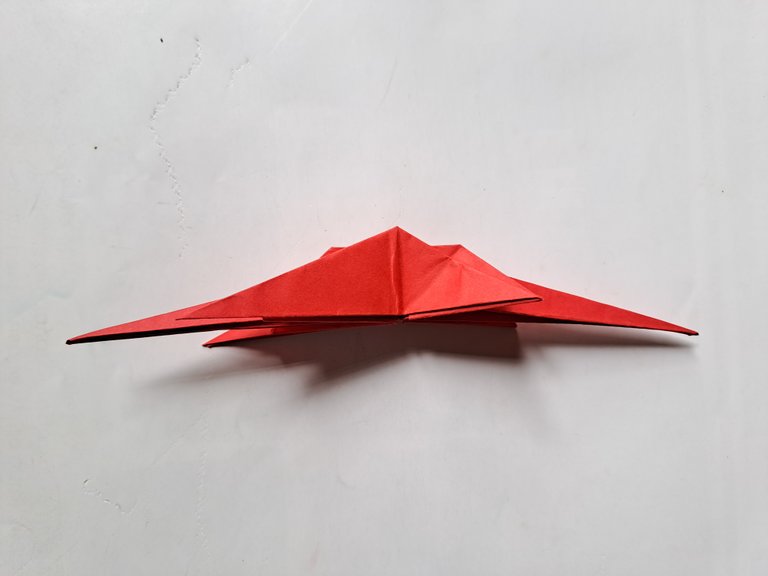
Then open the back fold side up and fold it down again until it reaches the pointed tip as shown in the picture below, then turn the paper over and open the back fold upwards and fold the paper down until it reaches the pointed tip, then fold the fold downwards again as shown in the picture below.
 |  |
|---|
 |  |
|---|
 |  |
|---|
 |  |
|---|
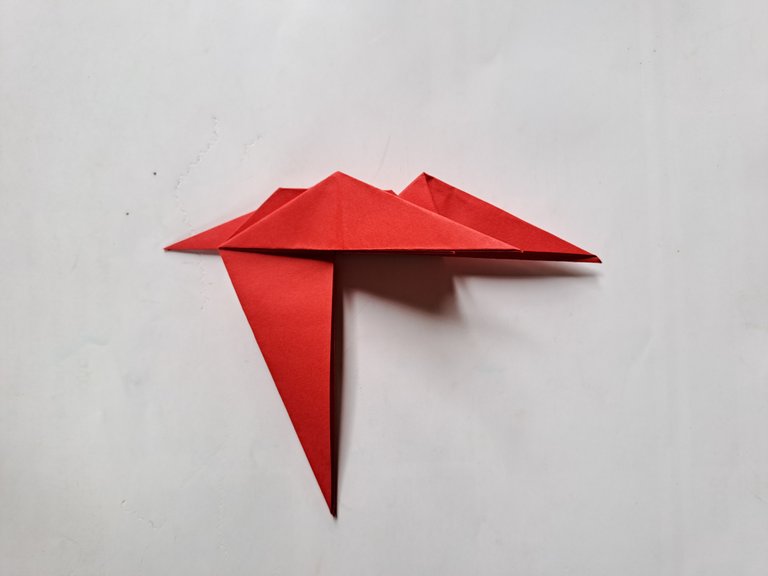
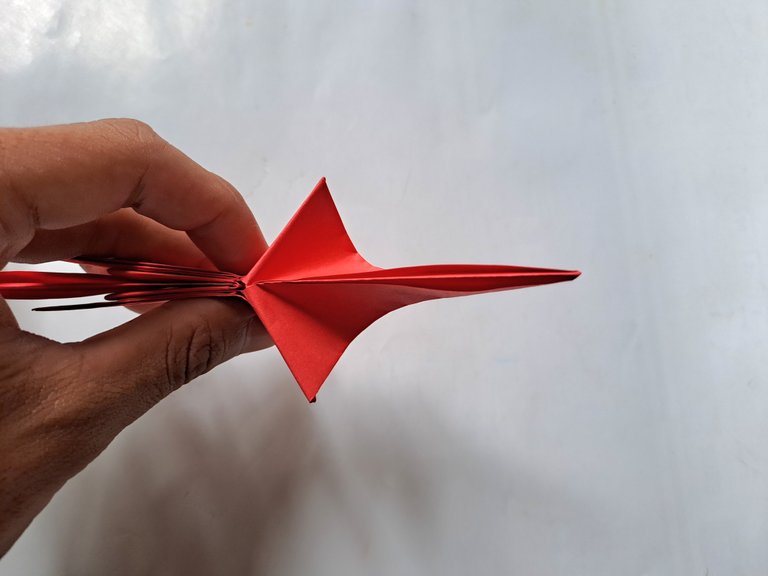
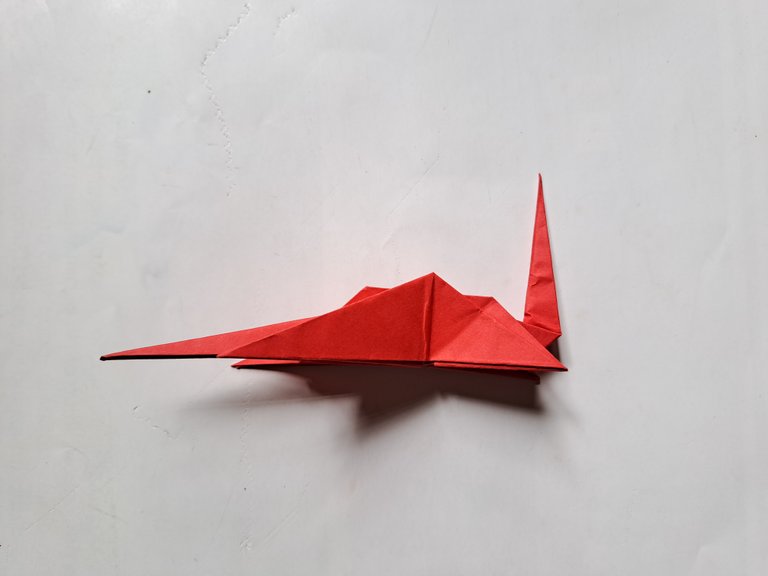
Then pull the front fold of the paper upwards to make the dragon's head, then fold the tip of the head slightly downwards and fold it up again slightly, then fold it again in the middle of the paper so that the dragon's head is perfect.
 |  |
|---|
 |  |
|---|
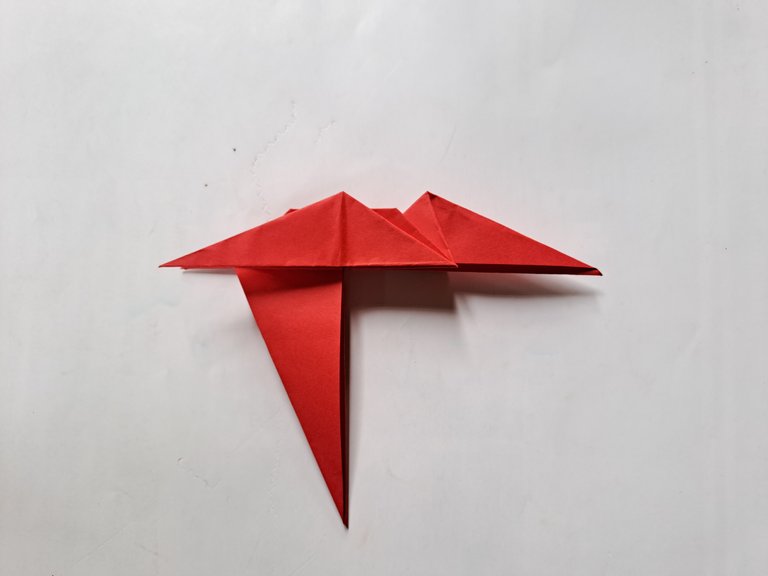
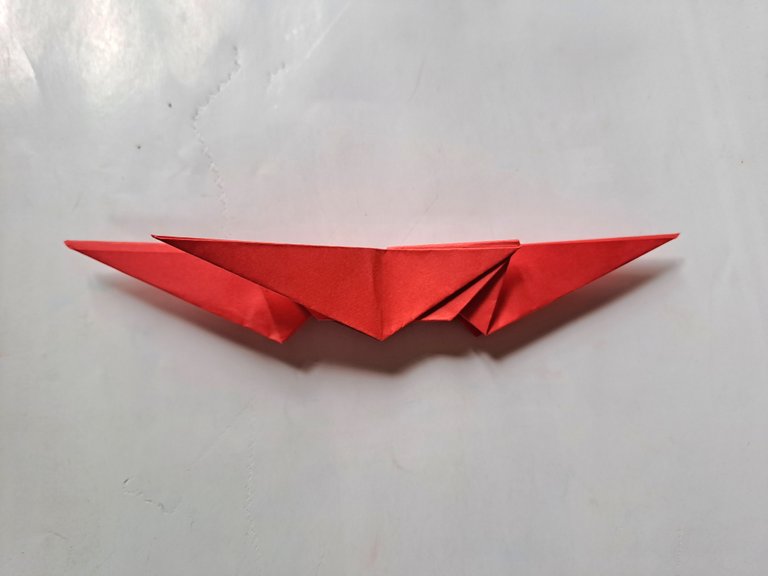
Then bend the front legs of the dragon upwards and then fold them down so that the dragon's legs are perfect, also make the left leg and both back legs in the same way as shown in the picture below.
 |  |
|---|
 |  |
|---|
 |  |
|---|
 |  |
|---|
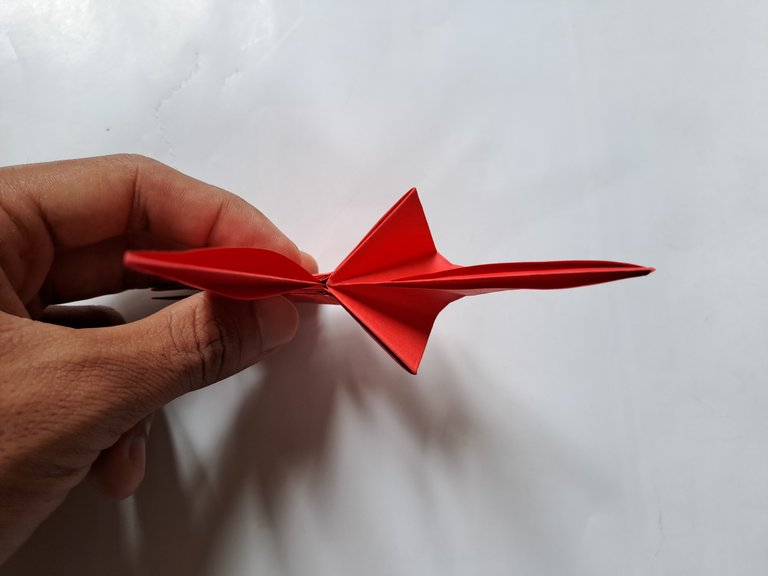
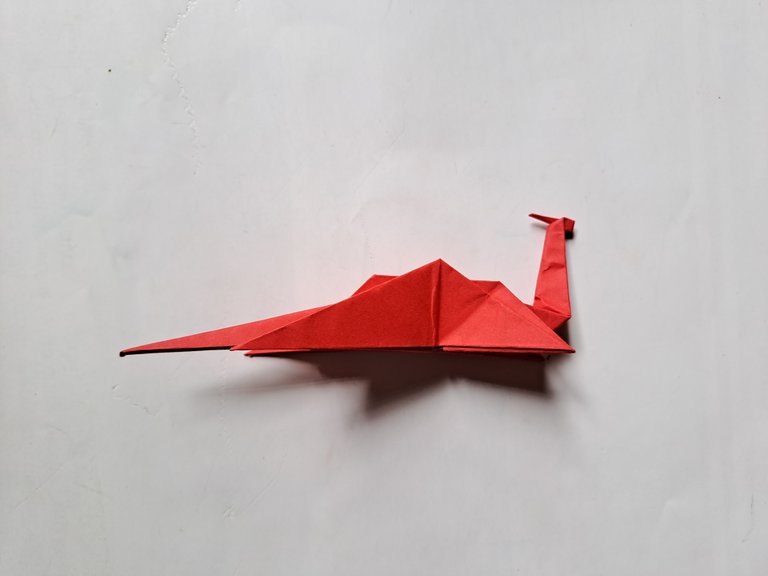
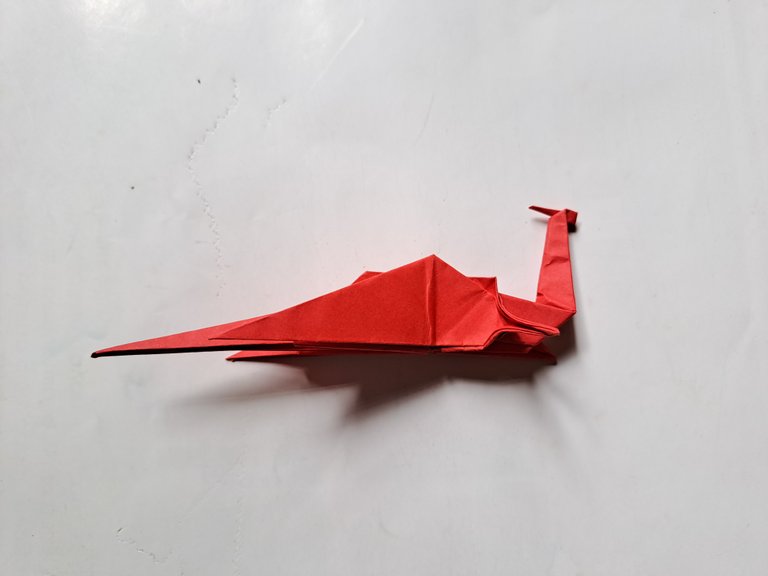
Then fold the right and left wings of the dragon upwards as shown in the picture below.
 |  |
|---|
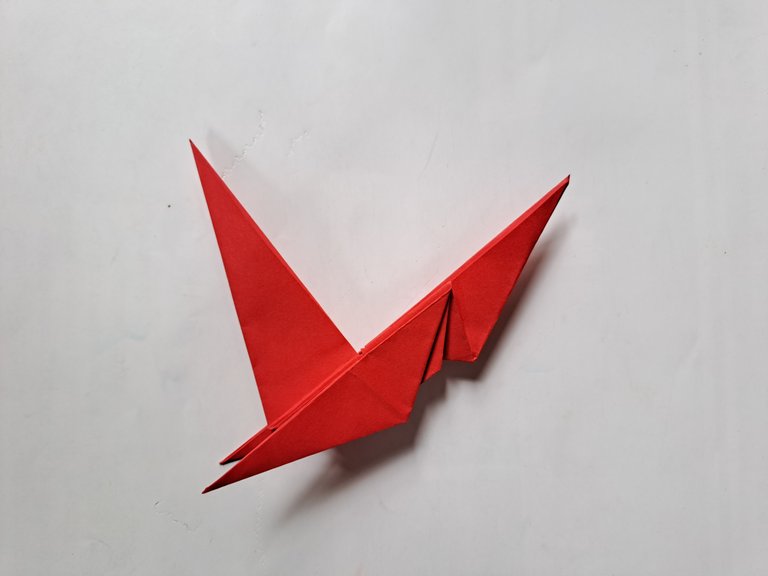
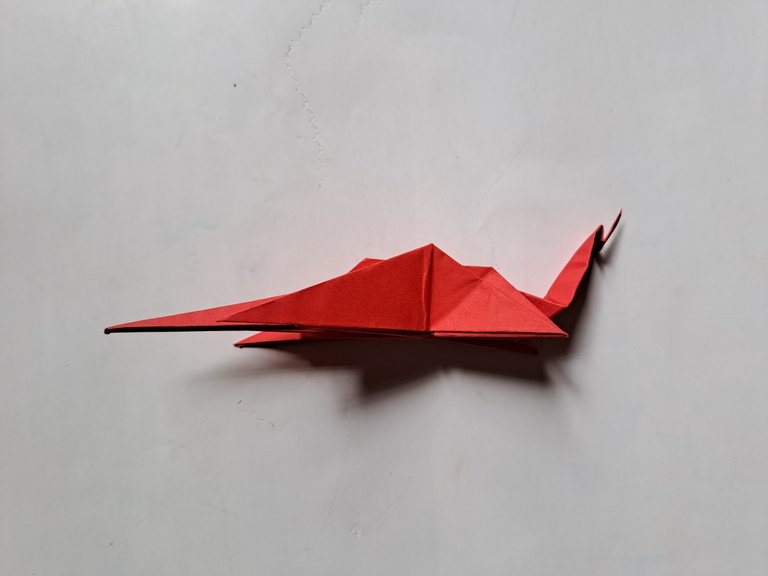
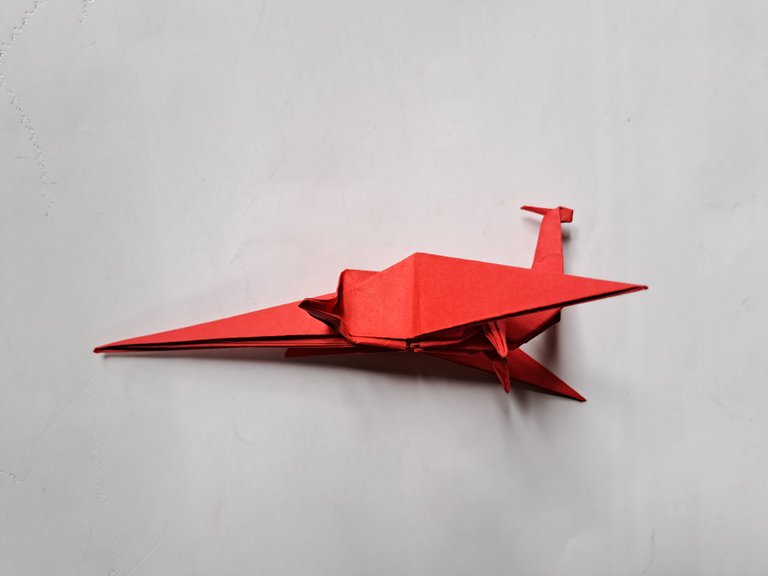
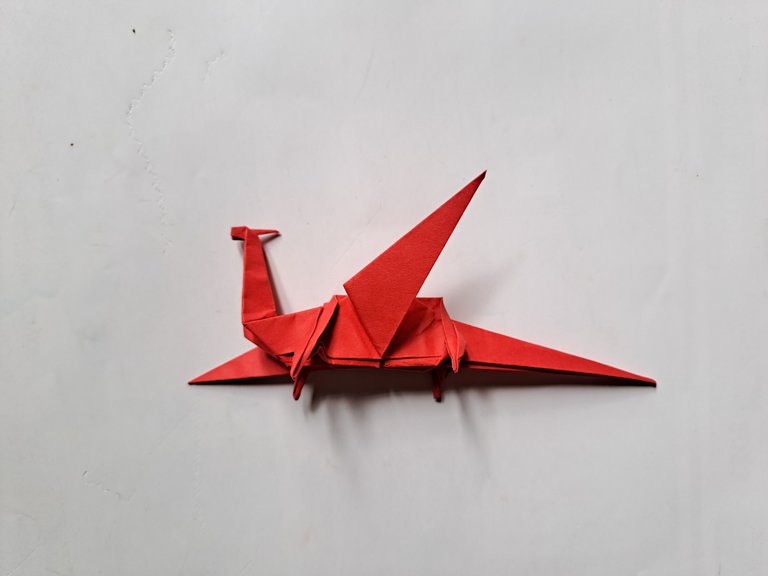
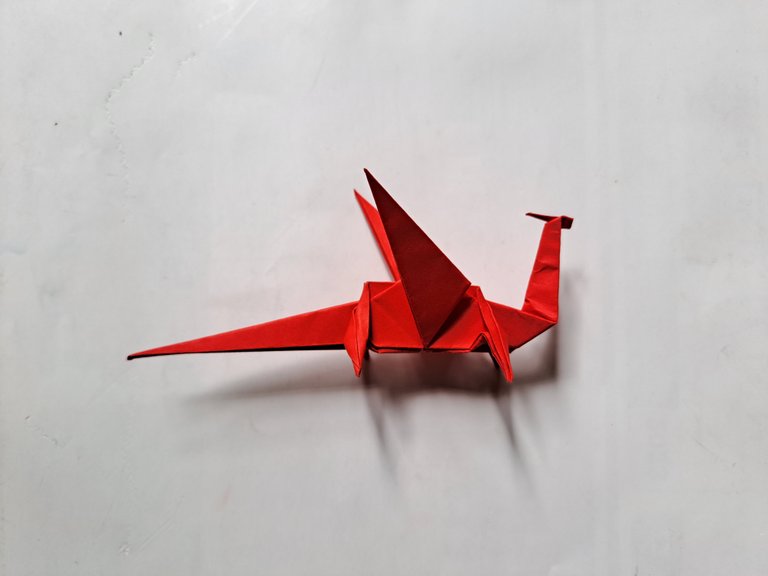
Then, open the middle of the dragon's tail and roll the tail forward so that the dragon's tail is perfect.
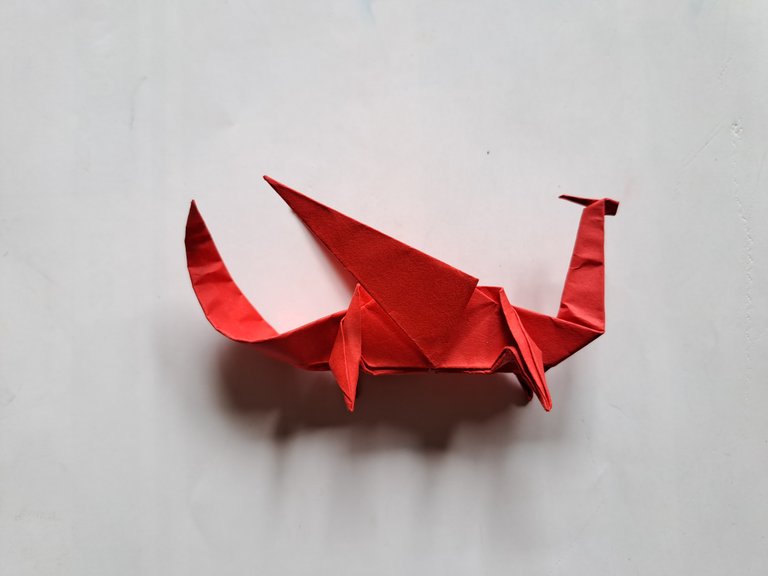
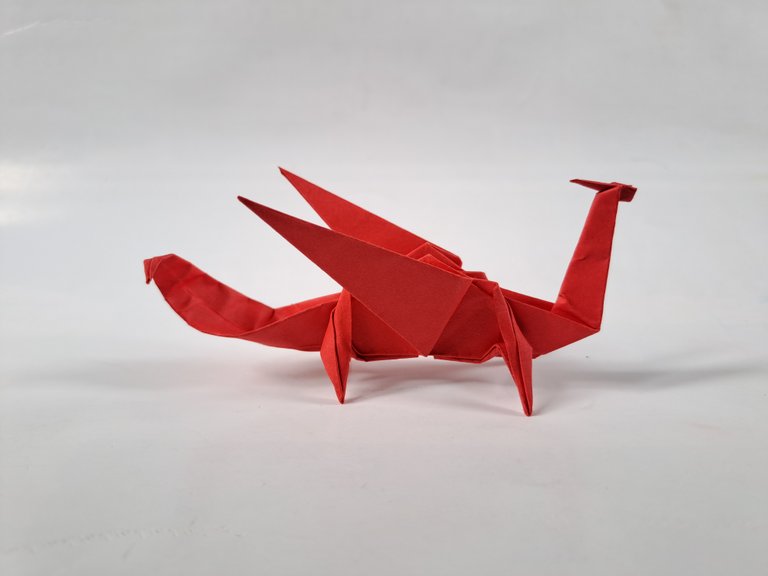
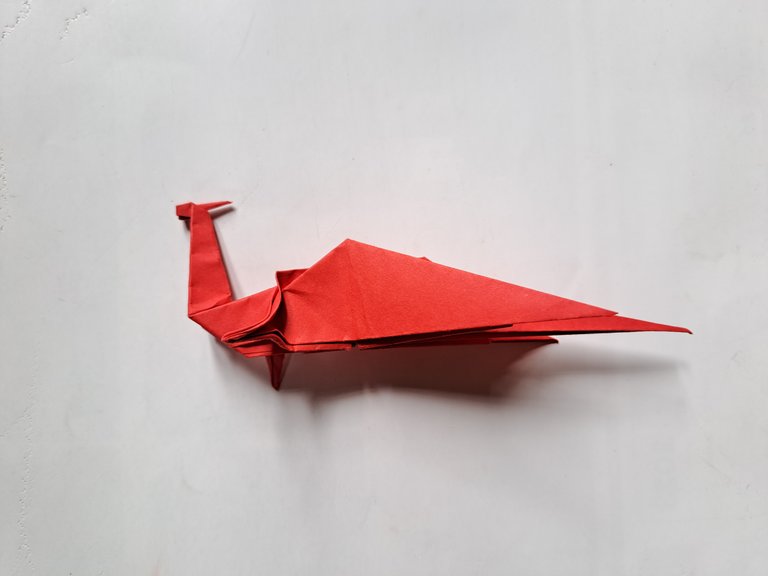
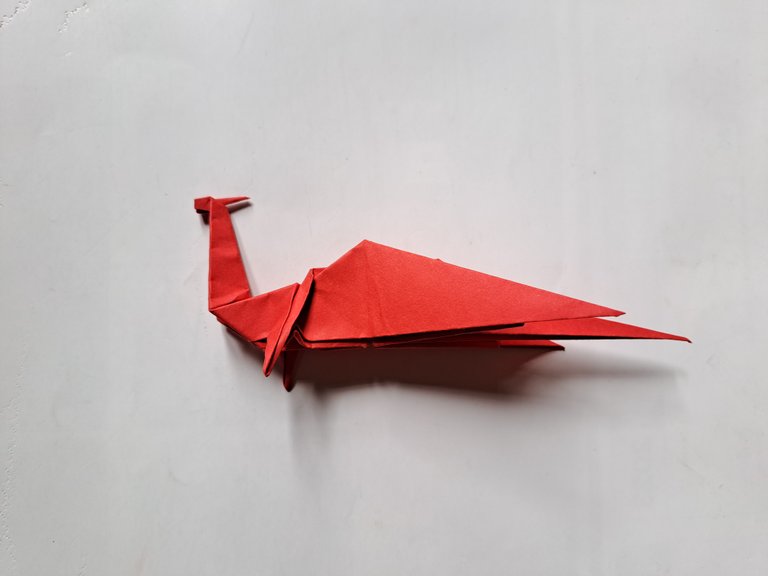
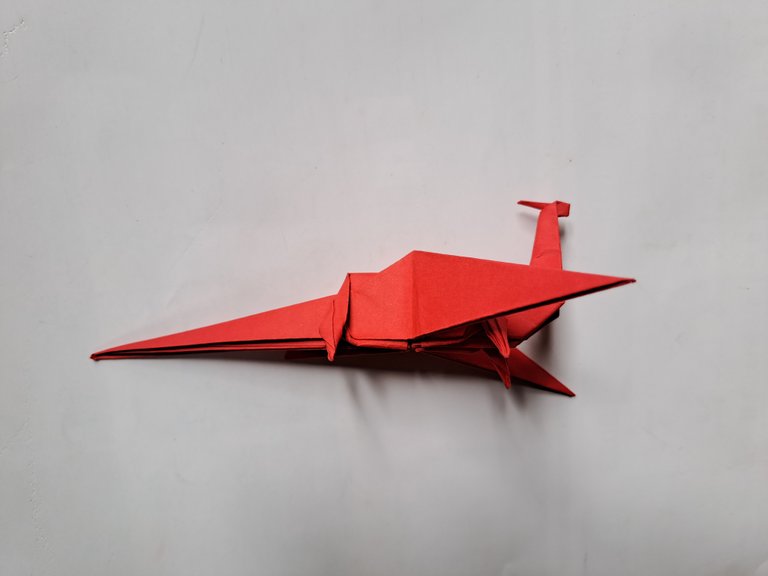
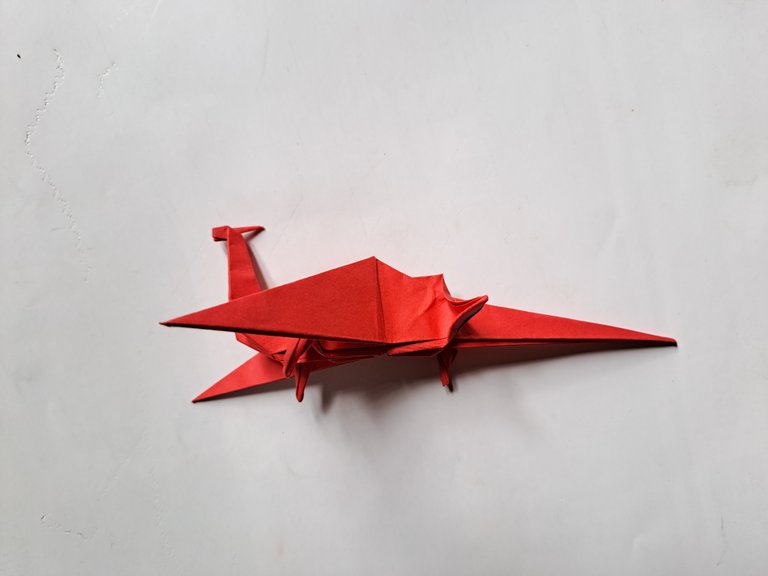
After all the folds are followed correctly, the origami dragon is now perfectly finished.
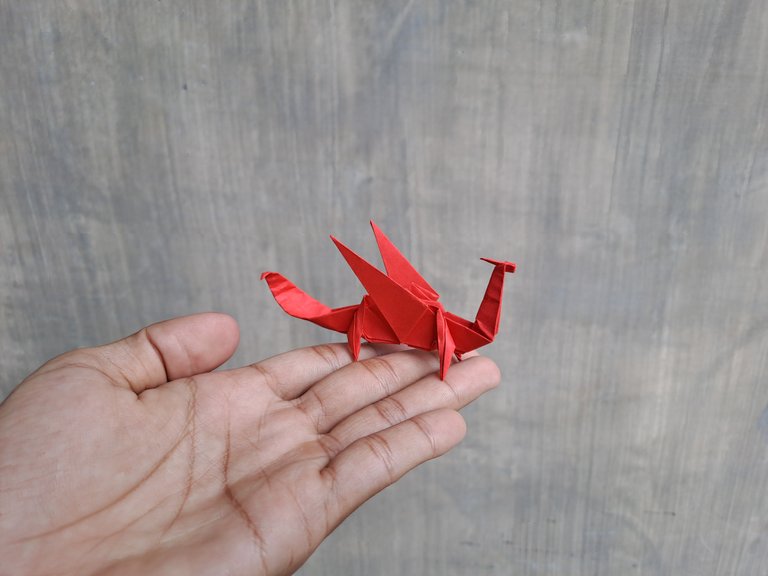
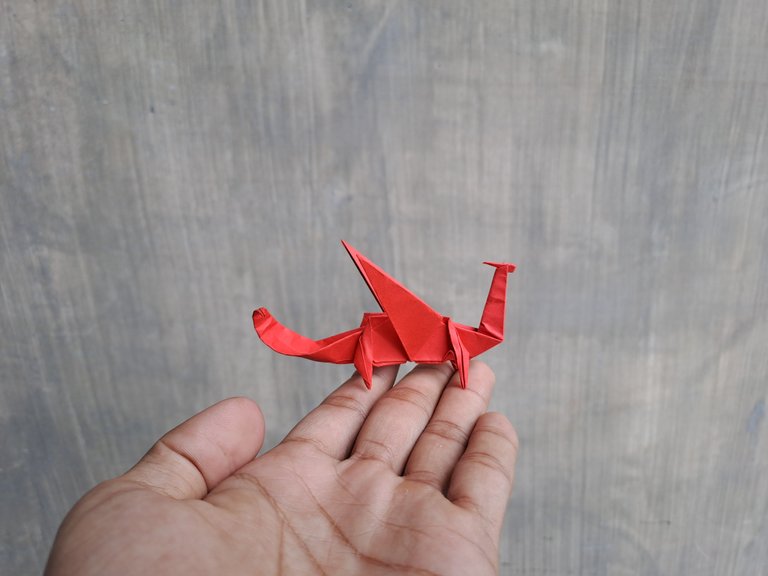
This is my handicraft from origami paper today, thank you for friends who have visited my handicraft post, see you in my next handicraft post.
Congratulations, you received an ecency upvote through the curator @ahmedhayat. Keep spreading love through ecency
Thank you for your support, brother.
It looks simple but it's absolutely amazing. You styled it so well. !discovery 25
Thank you brother, I really like making origami like that, thank you for your support
This post was shared and voted inside the discord by the curators team of discovery-it
Join our Community and follow our Curation Trail
Discovery-it is also a Witness, vote for us here
Delegate to us for passive income. Check our 80% fee-back Program
Thank you for your support