| English | Spanish |
|---|---|
| Hello lovers of art and craft👋❤️. Another day, another strive, another hive, it is really amazing to see many amazing people on hive who are lovers of art and make crafts out of recycle bins or things that are no longer needed. The activity of decorating or repairing your home, or making things for your home yourself, rather than paying someone else to do it for you that is what DIY is all about. And it is another week in doing DO IT YOURSELF, I derived joy whenever I hear DIY why right?? that's because I am doing it myself and I will be so proud of it whenever someone asked me where did you get. All I just have to say it I made it myself and it amazes people and they will surprise and even shocked about it.For this week I decided to make a key holder or keychain for my own use. I have been wondering what can I do and create because it's been awhile I have posted here and I actually missed the vibes and how I see my family post also. There are alot of key holder in different from, some can be cute and some can be plain. Just because it is for my personal I decided to do it for my own taste and to my own liking. | Hola amantes del arte y las manualidades 👋❤️. Otro día más, otra zancadilla, otra colmena, es realmente increíble ver a muchas personas increíbles en colmena que son amantes del arte y hacen manualidades con cubos de reciclaje o cosas que ya no se necesitan. La actividad de decorar o reparar su casa, o hacer cosas para su casa usted mismo, en lugar de pagar a alguien para que lo haga por usted que es lo que DIY se trata. Y es otra semana en hacer DO IT YOURSELF, me derivó alegría cada vez que escucho DIY ¿por qué derecho? eso es porque lo estoy haciendo yo mismo y voy a estar tan orgulloso de ello cada vez que alguien me preguntó de dónde sacaste. Todo lo que tengo que decir es Lo hice yo mismo y sorprende a la gente y se sorprenderá e incluso sorprendido por ello. Esta semana he decidido hacer un llavero para mi uso personal. Me he estado preguntando qué puedo hacer y crear porque ha sido un tiempo que he publicado aquí y en realidad se perdió las vibraciones y cómo veo mi post familia también. Hay un montón de titular de la clave en diferentes de, algunos pueden ser lindos y algunos pueden ser lisos. Sólo porque es para mi personal decidí hacerlo para mi propio gusto y a mi propio gusto |
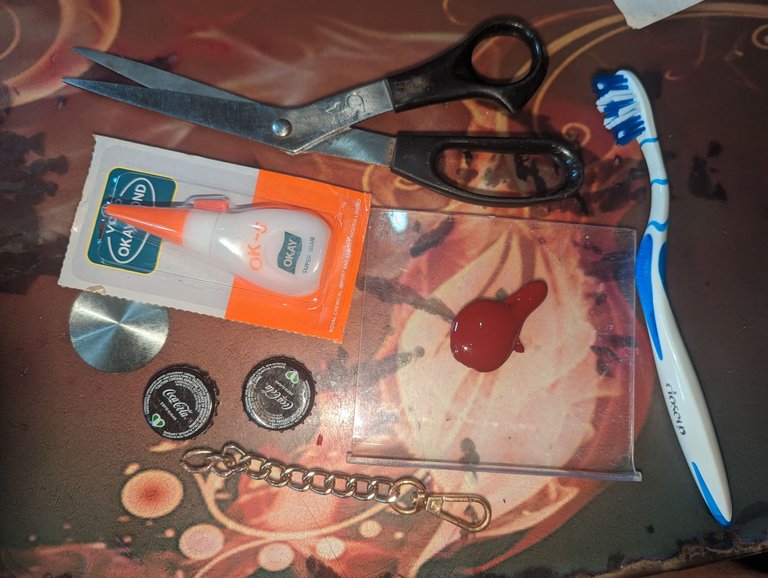
| Materials I used for this beautiful craft | Materiales que he utilizado para esta bonita manualidad |
|---|---|
| Glue | Pegamento |
| Paint | Pintar |
| Scissors | Scisosrs |
| Cover of a bottle | Cubierta de una pintura |
| Brush | Cepillo |
| Chain from a bag | Cadena de una bolsa |
| Step 1 | |
|---|---|
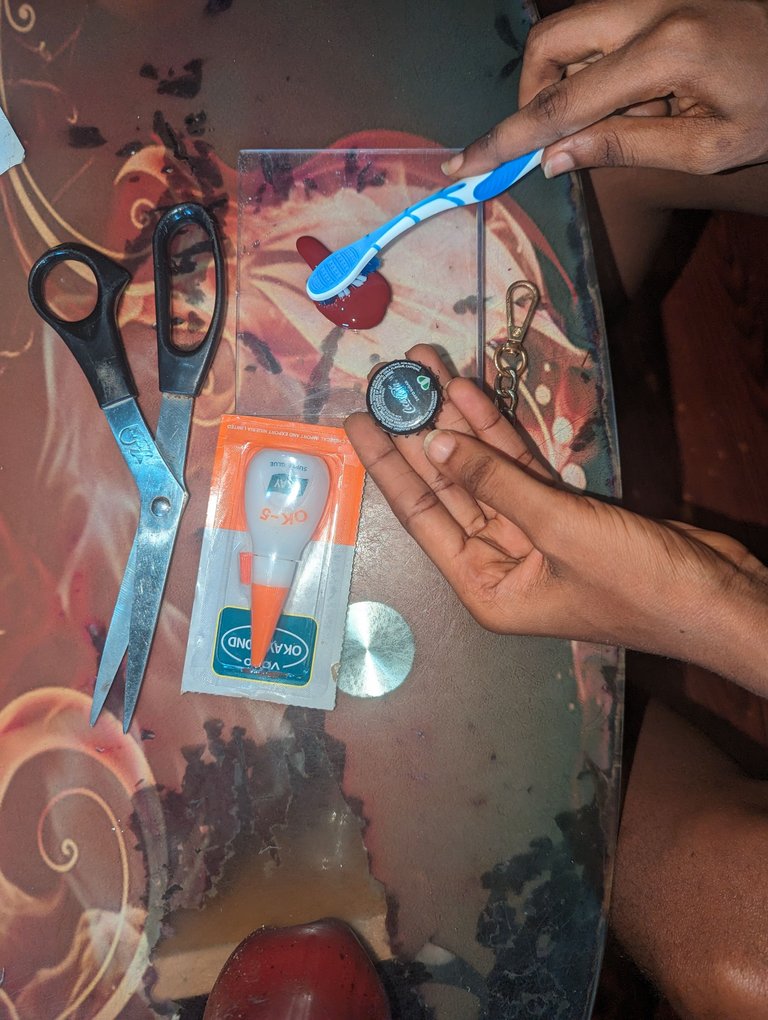
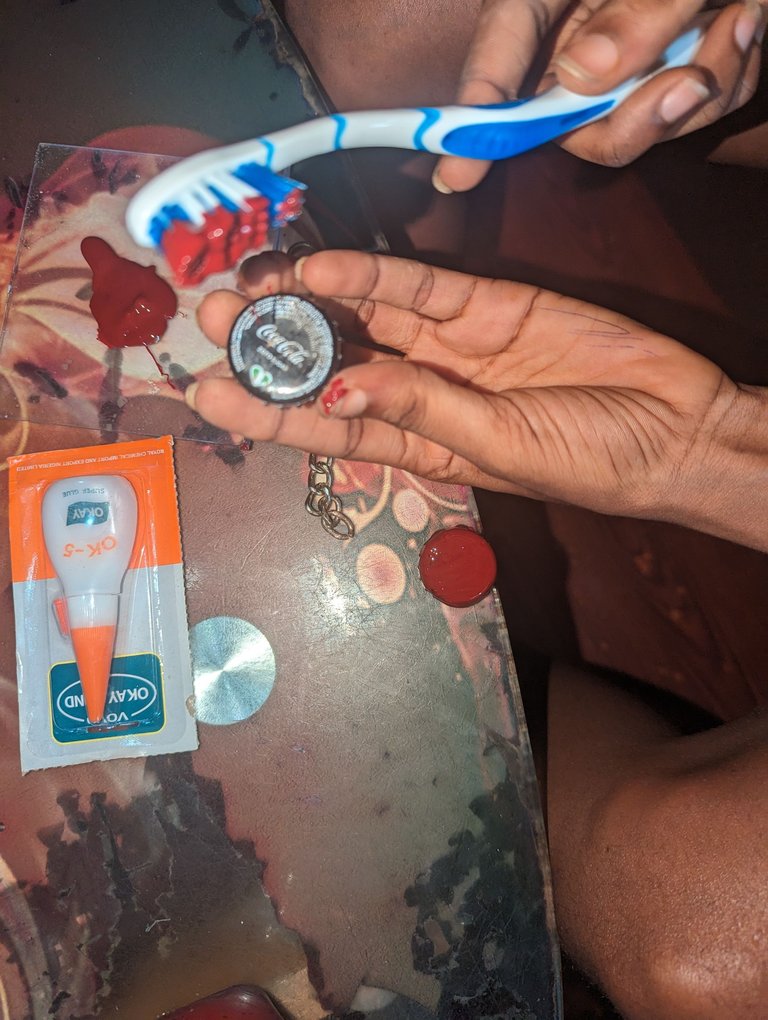
| I started with taking my brush and dipping it inside the paint, I first of all pour the paint in a flat place for it to be convenient while painting it so there won't be difficult to colour. Then I take one of the cover and started the painting, as you can see in the above imagine I am using a red paint to color the cover | Empecé cogiendo mi pincel y sumergiéndolo en la pintura, primero de todo vertí la pintura en un lugar plano para que fuera conveniente mientras lo pintaba para que no fuera difícil de colorear. Después cogí una de las fundas y empecé a pintar, como puedes ver en la imagen de arriba estoy usando pintura roja para colorear la funda |
| Step 2 | |
|---|---|
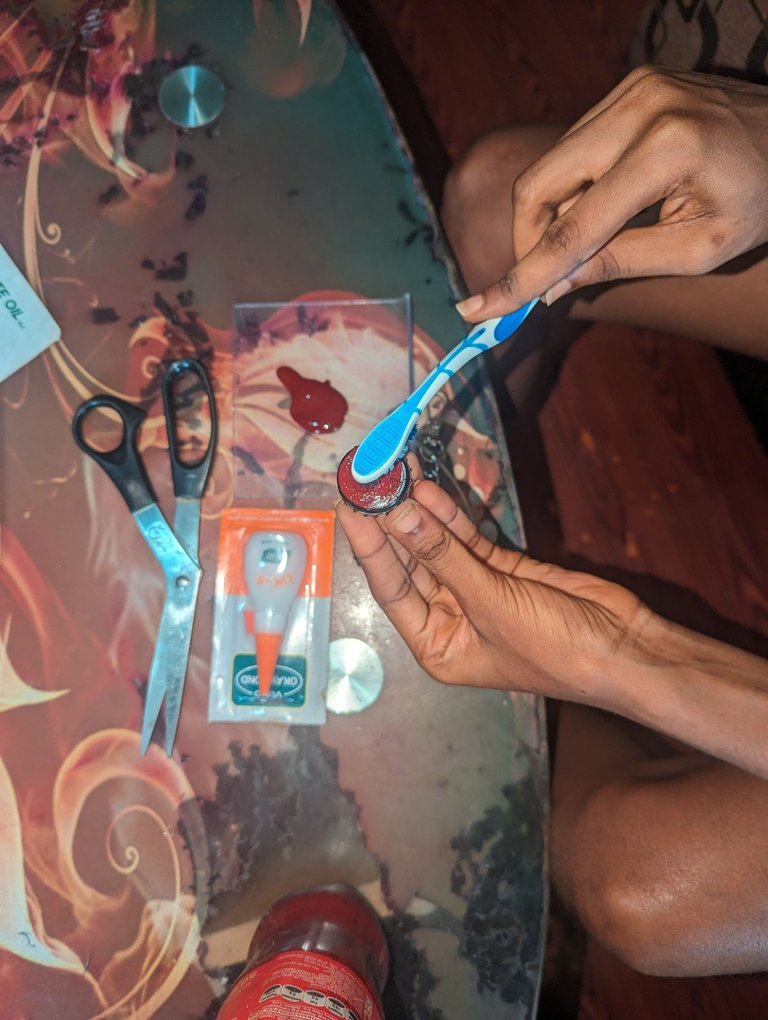
| You can use different color of your choice that's to your satisfaction, but I decided to use a red paint to beautify it in my own way. I have to paint it well so that the colour of how the cover is shouldn't be showing anymore. We have to paint it to become red instead of black anymore, you have to use a think paint so it will give a good result at the end of the day. | Puedes usar otro color que sea de tu agrado, pero yo decidí usar una pintura roja para embellecerlo a mi manera. Tengo que pintarlo bien para que ya no se vea el color de como es la tapa. Hay que pintarlo para que se vuelva rojo en vez de negro ya, hay que usar una pintura piensa para que de un buen resultado al final. |
| Step 3 | |
|---|---|
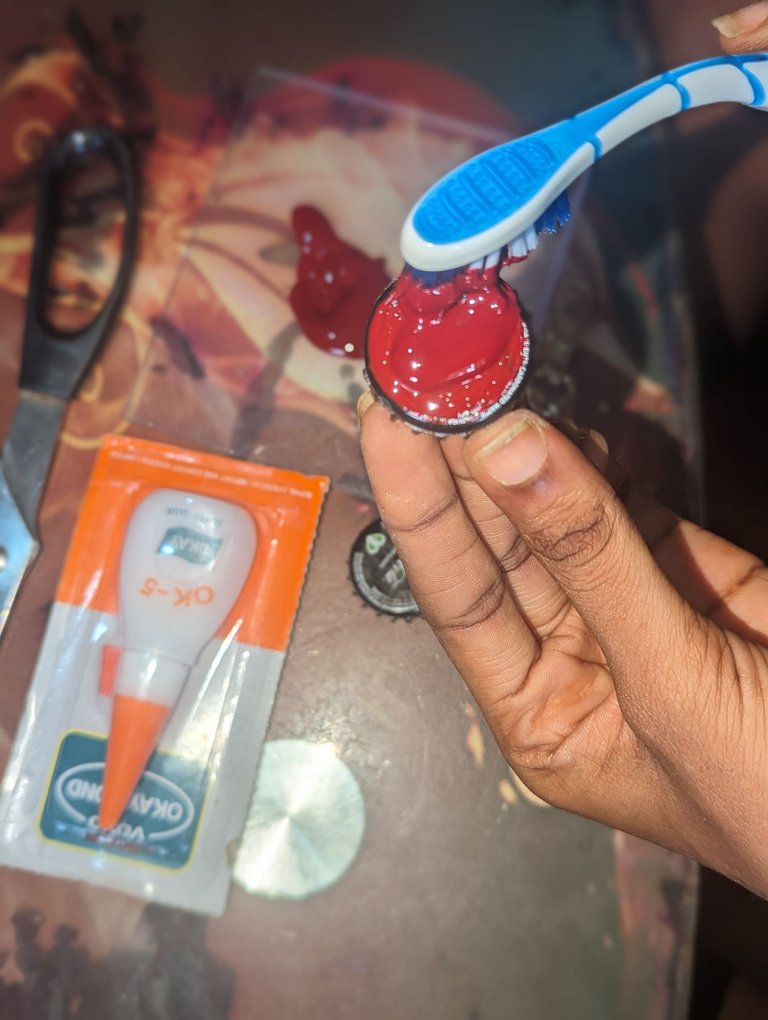
| I have painted the first cover the next thing to do is to go with the same process of the first one we did. You have to also paint it so well as well, so that they will look alike and cute together. | He pintado la primera tapa lo siguiente es seguir con el mismo proceso de la primera que hicimos. También hay que pintarla tan bien también, para que se parezcan y queden monas juntas. |
| Step 4 | |
|---|---|
| The paint have to be also thick and deep so that the black or original colour of the cover won't be no longer seen. The brush should be of help, I actually make use of a brush that has expired already. If you have a brush 🖌️ for painting you can use for your own, I didn't have one that was why I used an expired toothbrush. The original colour should disappear when painting that's where the beauty comes and what craft and art is all about | La pintura también tiene que ser espesa y profunda para que no se vea el color negro u original de la cubierta. El pincel debe ser de ayuda, yo de hecho hago uso de un pincel ya caducado. Si tienes un pincel 🖌️ para pintar puedes usarlo para el tuyo, yo no tenía por eso usé un cepillo de dientes caducado. El color original debe desaparecer al pintar, de ahí viene la belleza y de eso se trata la artesanía y el arte. |
| Step 5 | |
|---|---|
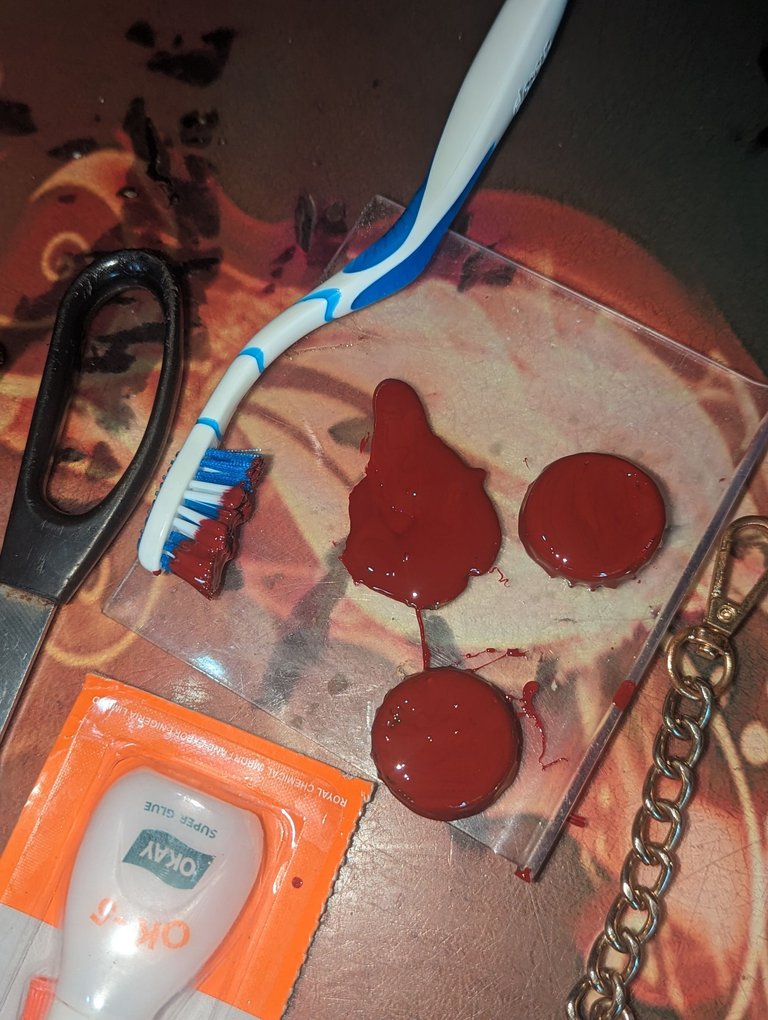
| I am done with the colouring and how I want the painting to be, if you want yours faded you can allow that but I made mine own thick so the colour will be deep and shown. So after that I decided allow it to dry maybe for about 30mins or even an 1hr because I just allowed it to dry for 20mins and it came of and I had to do it again and waited for about an 1hr for it to dry up. | He terminado con la coloración y cómo quiero que sea la pintura, si desea que el suyo se desvaneció se puede permitir que, pero hice la mía propia gruesa por lo que el color será profunda y se muestra. Así que después de eso decidí dejar que se seque tal vez por unos 30 minutos o incluso un 1hr porque yo sólo lo dejó secar durante 20 minutos y se salió y tuve que hacerlo de nuevo y esperó alrededor de un 1hr para que se seque. |
| Step 6 | |
|---|---|
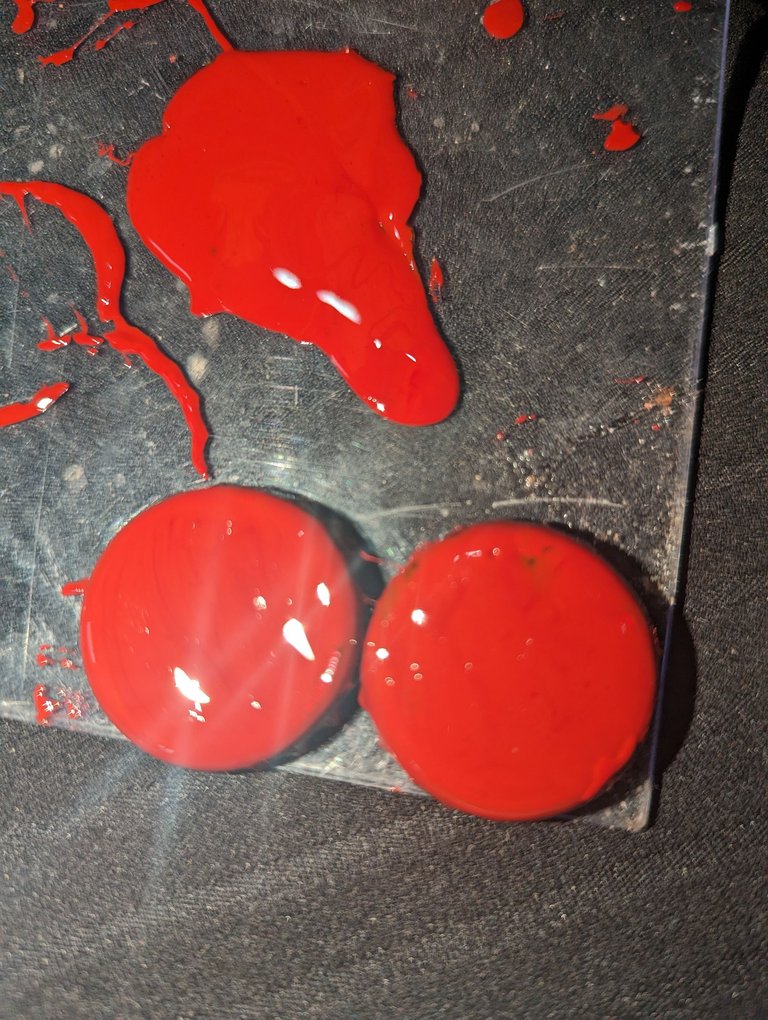
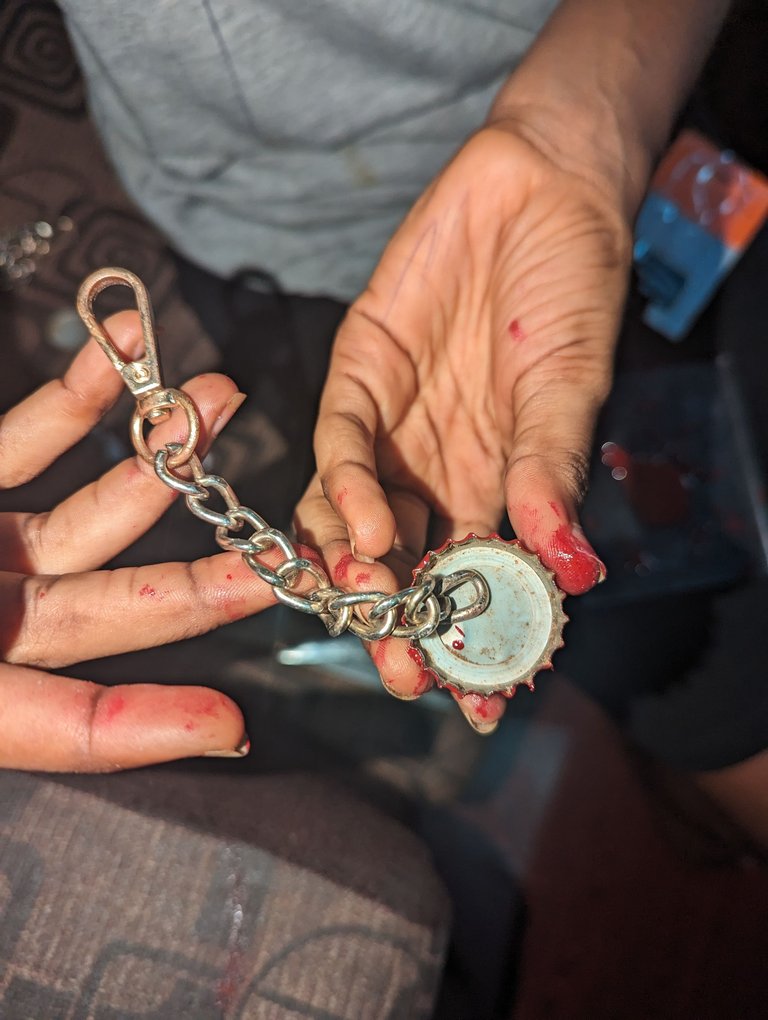
| Now here is the outcome after when it has dry up and as you can see there is changes between the first one above and the second one here. The paint looks dull in the one above and now this second one now is bright and looking cute just because the color is bright. I was happy here because it is giving the result I already wanted and I don't want any issues again here. | Ahora aquí está el resultado después cuando se ha secado y como se puede ver hay cambios entre el primero de arriba y el segundo aquí. La pintura se ve opaco en el de arriba y ahora este segundo ahora es brillante y mirando lindo sólo porque el color es brillante. Yo estaba feliz aquí porque está dando el resultado que ya quería y no quiero ningún problema de nuevo aquí |
| Step 7 | |
|---|---|
| My hand was already full of paint just because of the mistake I did earlier instead of me waiting for maybe up to an hour or more than that. I just continued and decided not to give up since the paint didn't come off again, I used a chain from a disposed bag I just had to cut it and use it for what I wanted to use since we can make things out of disposable stuff. | Mi mano ya estaba llena de pintura solo por el error que cometí antes en vez de yo esperar quizás hasta una hora o más que eso. Solo continué y decidí no darme por vencida ya que la pintura no volvió a salir, use una cadena de una bolsa desechable solo tuve que cortarla y usarla para lo que quería usar ya que podemos hacer cosas de cosas desechables. |
| Step 8 | |
|---|---|
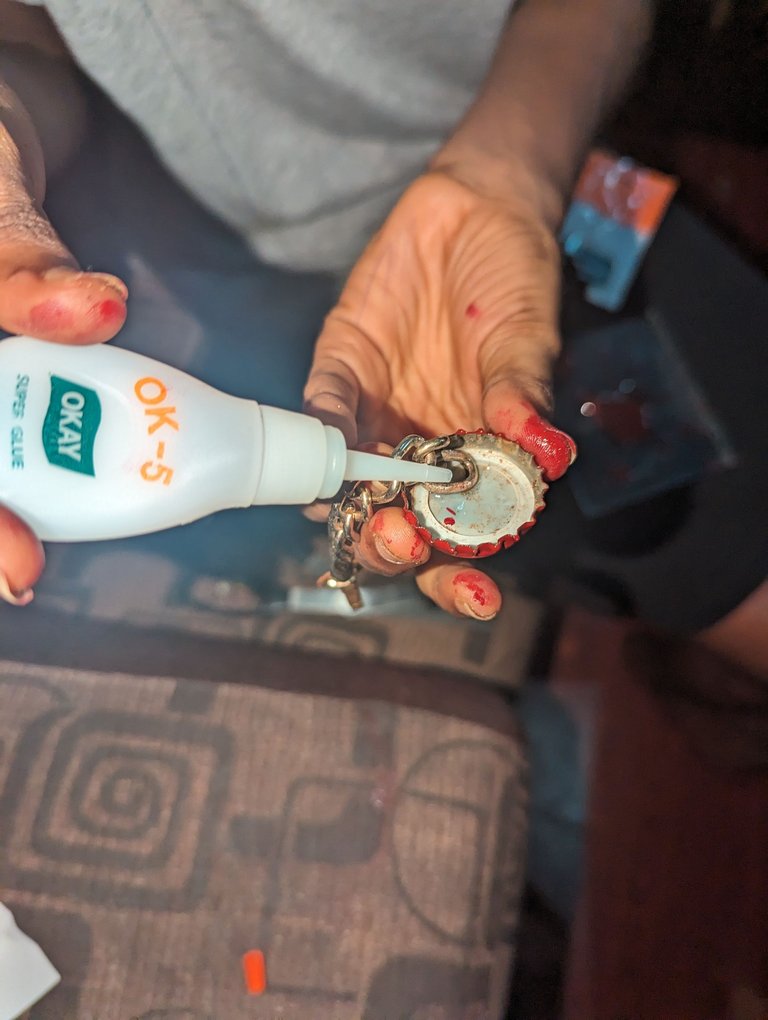
| I took my glue and pour a little there so it will be able to stick to it and be stable. I actually make use of super glue which they sell around here then I covered it with the other cover. In form of a circle. | Tomé mi pegamento y verter un poco allí por lo que será capaz de pegarse a ella y ser estable. En realidad hago uso de super pegamento que venden por aquí luego lo cubrí con la otra cubierta. En forma de círculo. |
| Step 9 | |
|---|---|
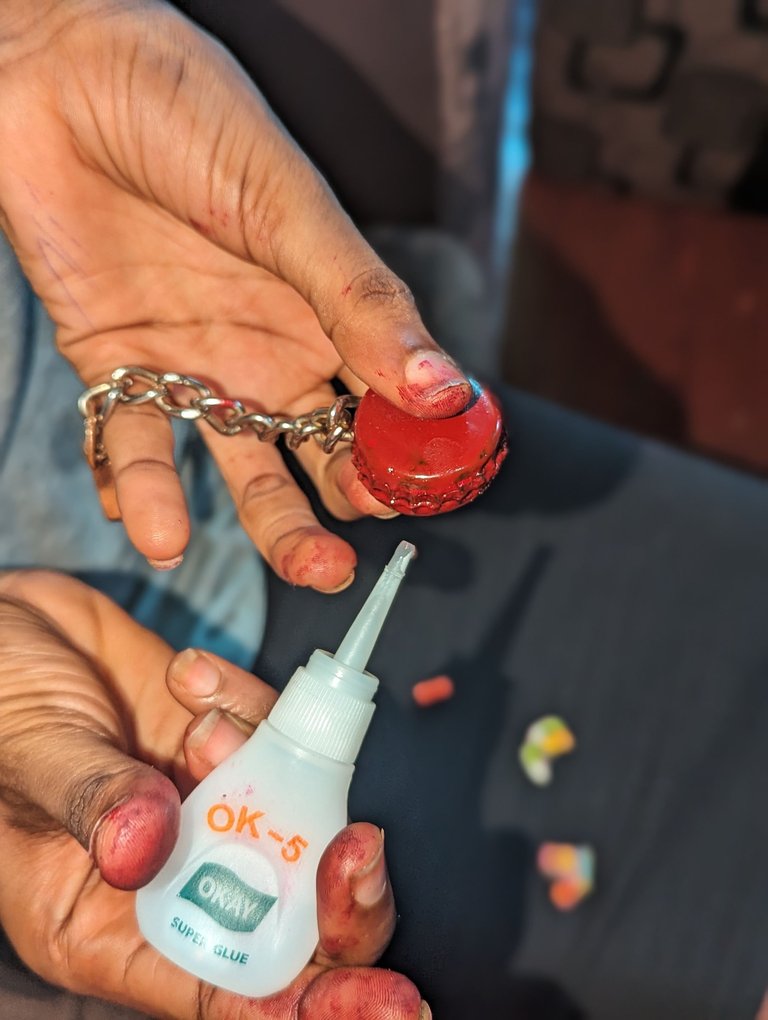
| It is now in form of a circle or box then I glue the side all round for it to be able to stick and won't be able to remove. That is where the holder comes in, I used that circle as my holder, I can hold it with the chain. Even if it dropped it will be noticed immediately something dropped on the ground. | Ahora es en forma de un círculo o caja entonces pego el lado todo alrededor para que sea capaz de pegar y no será capaz de quitar. Ahí es donde entra el soporte, he utilizado ese círculo como soporte, puedo sujetarlo con la cadena. Incluso si se cae se notará inmediatamente que algo ha caído al suelo. |
| Step 10 | |
|---|---|
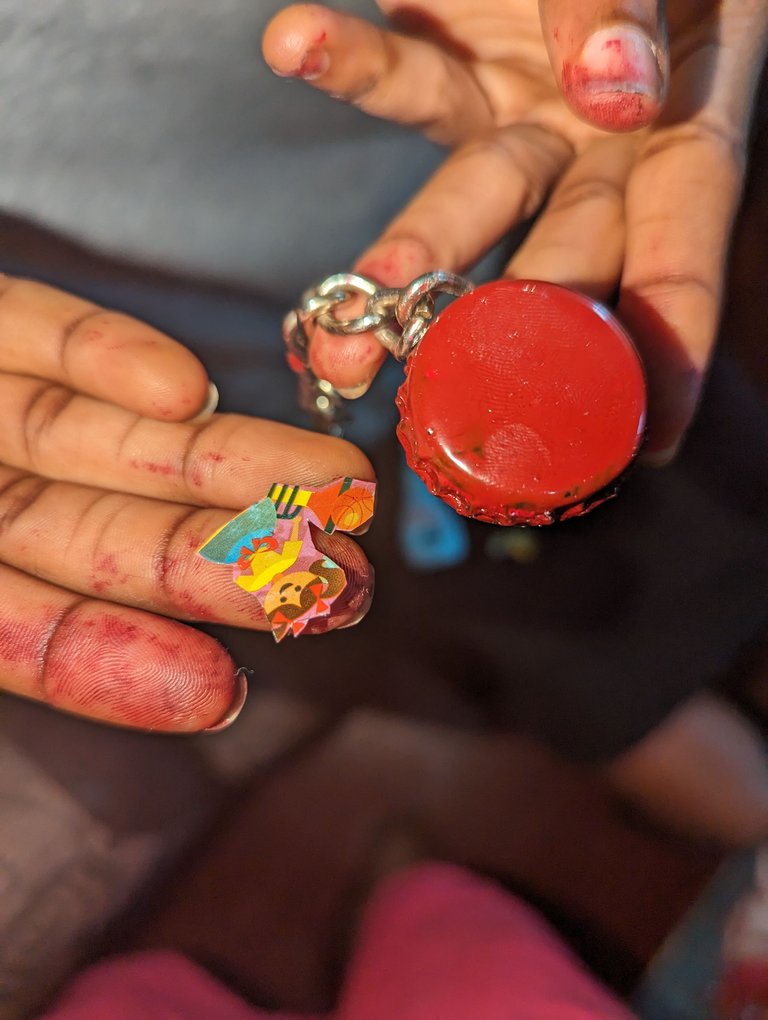
| So I then cut out a sticker from a book to glue and beautify the holder | Así que recorté una pegatina de un libro para pegarla y embellecer el soporte |
| Step 11 | |
|---|---|
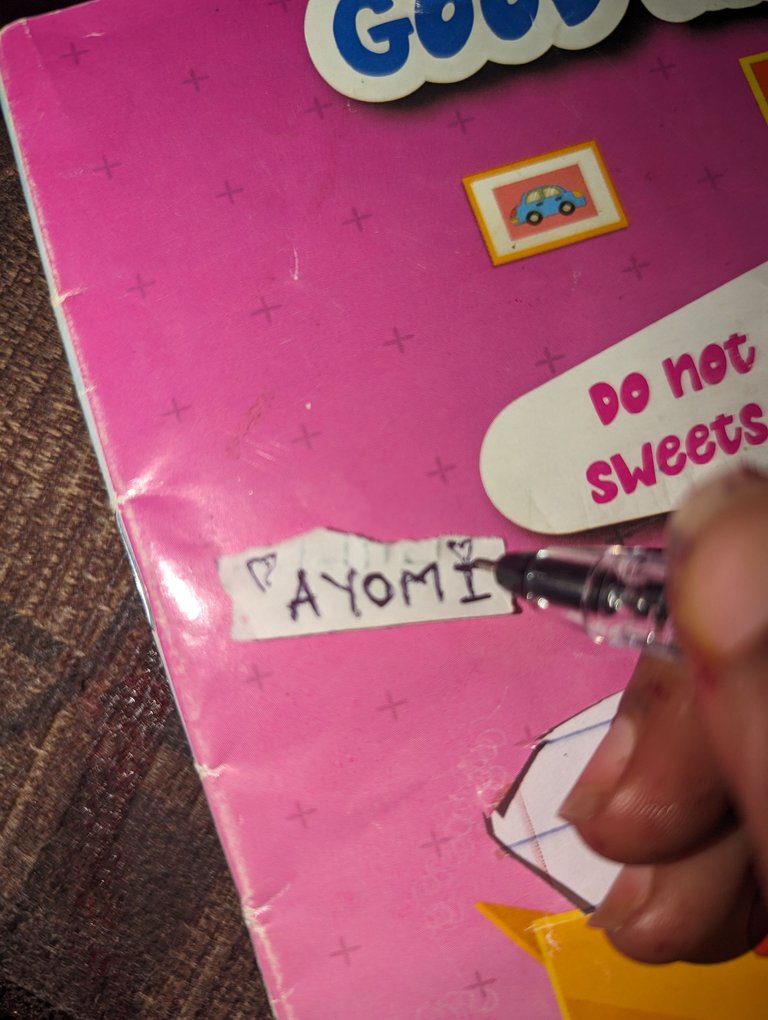
| This is book I cut out the sticker from and I also wrote my name to look special and one of a kind. I am very sure when someone seems it they will admire it because I also customized it. | Este es el libro del que recorté la pegatina y también escribí mi nombre para que pareciera especial y único. Estoy segura de que cuando alguien lo vea lo admirará porque yo también lo personalicé. |
| Step 12 | |
|---|---|
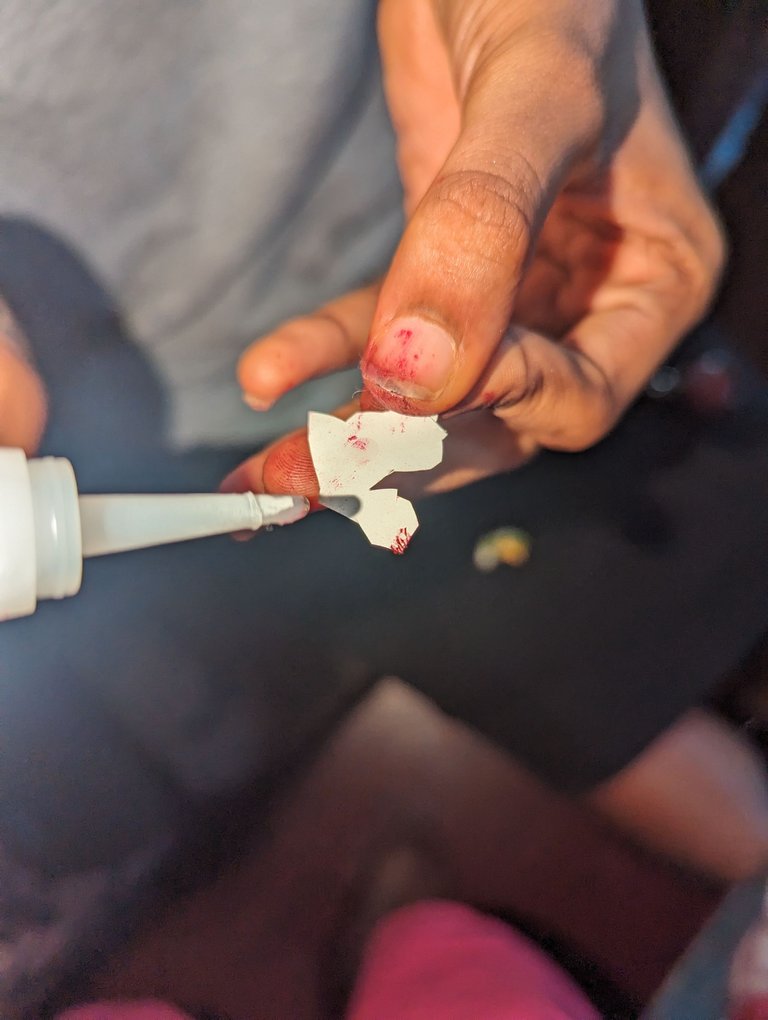
| I then put the glue on the stickers to place at the back and the front of the covers and here are the results below 👇 | Luego puse el pegamento en las pegatinas para colocar en la parte trasera y delantera de las tapas y aquí están los resultados a continuación 👇 |
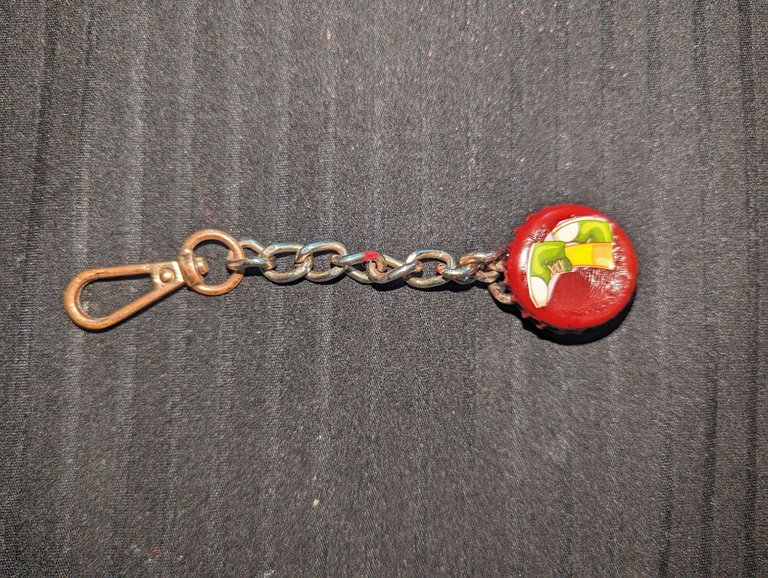
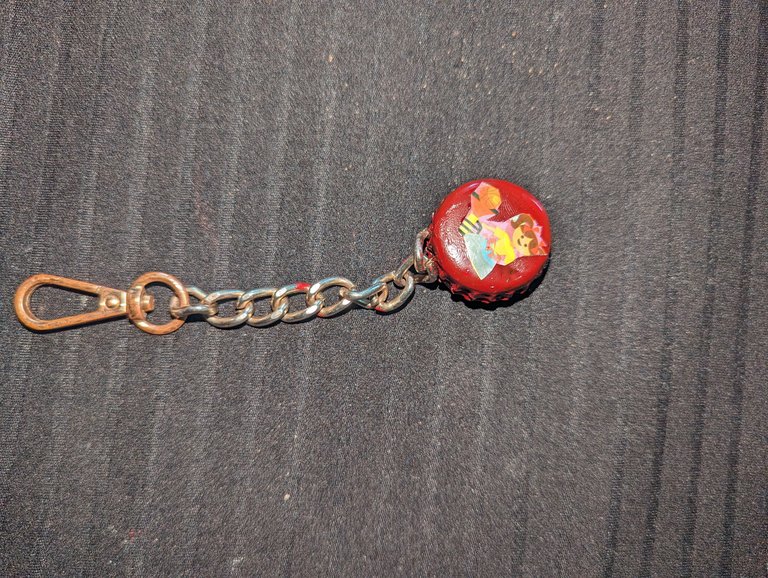
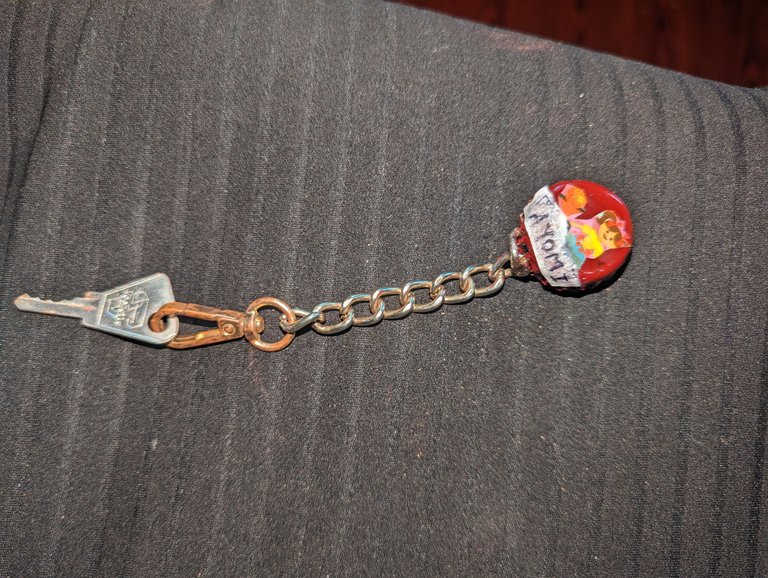
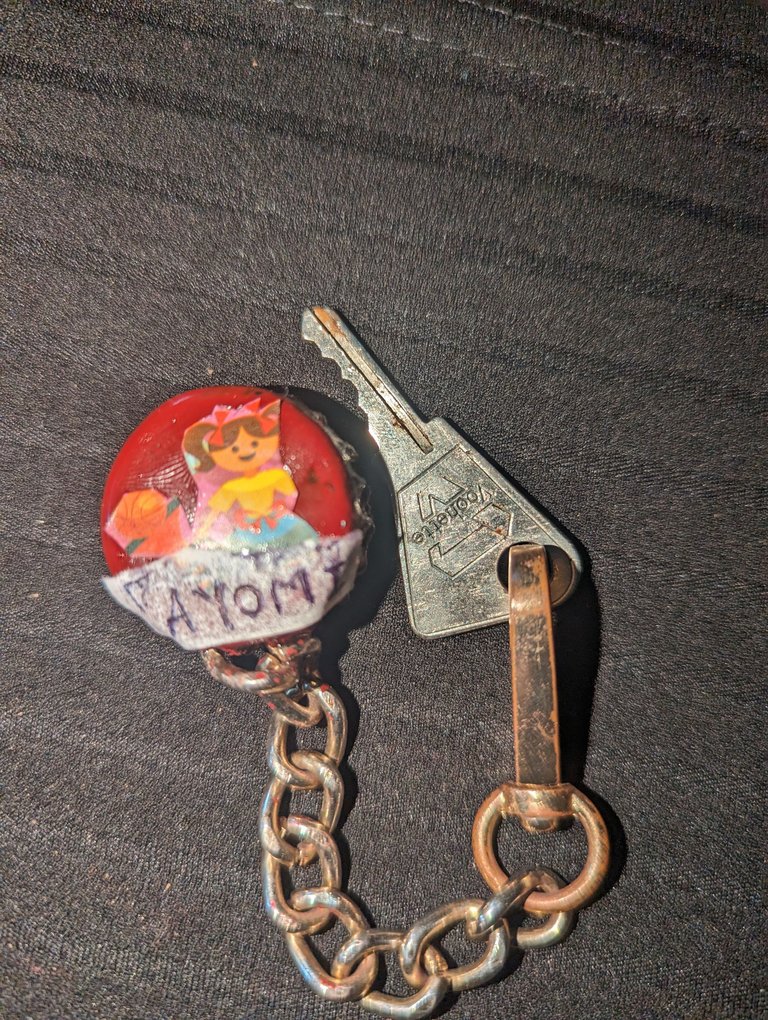
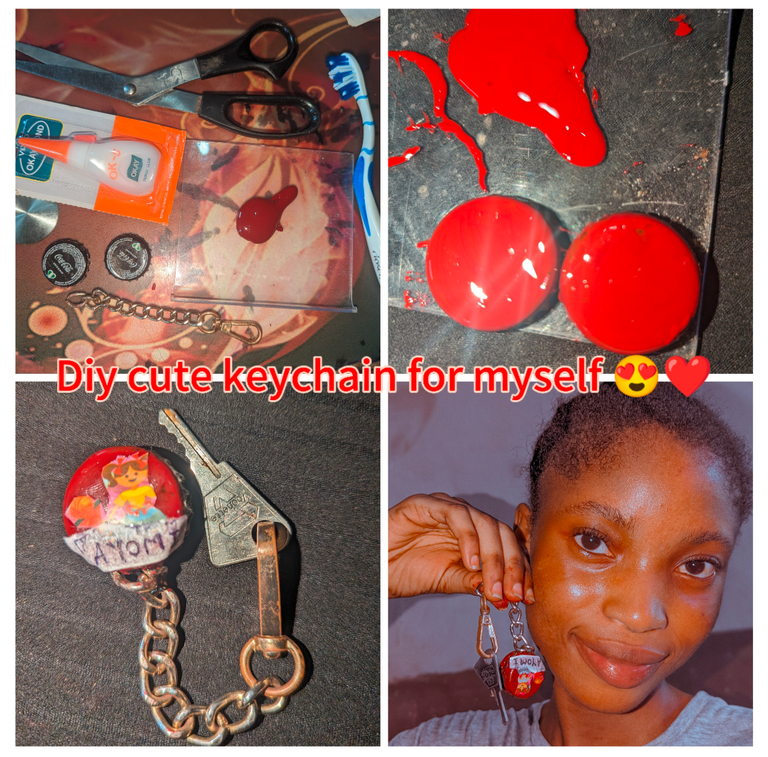
| And here is my final outcome of my DIY CUTE KEYCHAIN i made for my personal use, I put in my room(at school) key holder and now I think I have started my money for the key holder that I am suppose to get outside. I love this because I made it myself and I also customized it and I am very sure my friends will admire and also love it as well whenever they see it with me. | Y aquí está mi resultado final de mi DIY CUTE LLAVERO que hice para mi uso personal, puse en mi habitación (en la escuela) titular de la clave y ahora creo que he empezado mi dinero para el titular de la clave que se supone que debo conseguir fuera. Me encanta porque lo hice yo misma y también lo personalicé y estoy muy segura de que mis amigos lo admirarán y también les encantará cada vez que lo vean conmigo. |
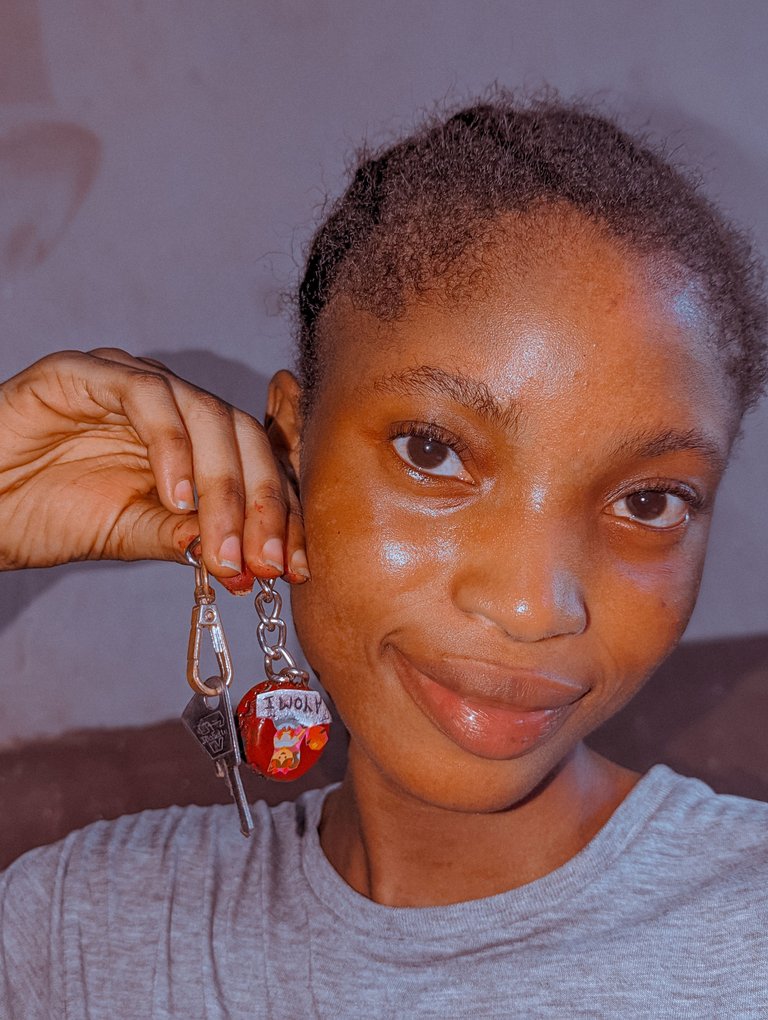
| This is me here feeling myself with my cute keychain and I am really happy participating in this week DIY(do it yourself). Thanks for your time and your unwavering support always 😍❤️. If you are interested on my last DIY post you can click on this link and support love and vote. Thanks for stopping by ☺️ 💖 | |
| Another day, another strive, another hive!!!💪💪 | Esta soy yo aquí sintiéndome con mi llavero lindo y estoy muy feliz participando en esta semana DIY(do it yourself). Gracias por vuestro tiempo y vuestro apoyo incondicional siempre 😍❤️. Si estáis interesados en mi último post DIY podéis pinchar en este enlace y apoyar el amor y el voto. Gracias por pasarte por ☺️ 💖 |
| Otro día, otro esfuerzo, otra colmena!!!💪💪 |
you are very creative !discovery 30
Thanks so much ❤️@idayrus
This post was shared and voted inside the discord by the curators team of discovery-it
Join our Community and follow our Curation Trail
Discovery-it is also a Witness, vote for us here
Delegate to us for passive income. Check our 80% fee-back Program
Discord Felicitaciones, su publicación ha sido votada por @ dsc-r2cornell. Puedes usar el tag #R2cornell. También, nos puedes encontrar en
Thank you @dsc-r2cornell 😊
There's a special feeling about designing and creating something of your own. This is cute:)
Exactly I felt so happy doing things for myself. Thanks for your support 😘❣️
Congratulations @ayomipo! You have completed the following achievement on the Hive blockchain And have been rewarded with New badge(s)
Your next target is to reach 3000 upvotes.
You can view your badges on your board and compare yourself to others in the Ranking
If you no longer want to receive notifications, reply to this comment with the word
STOP