| ENGLISH | SPANISH |
|---|---|
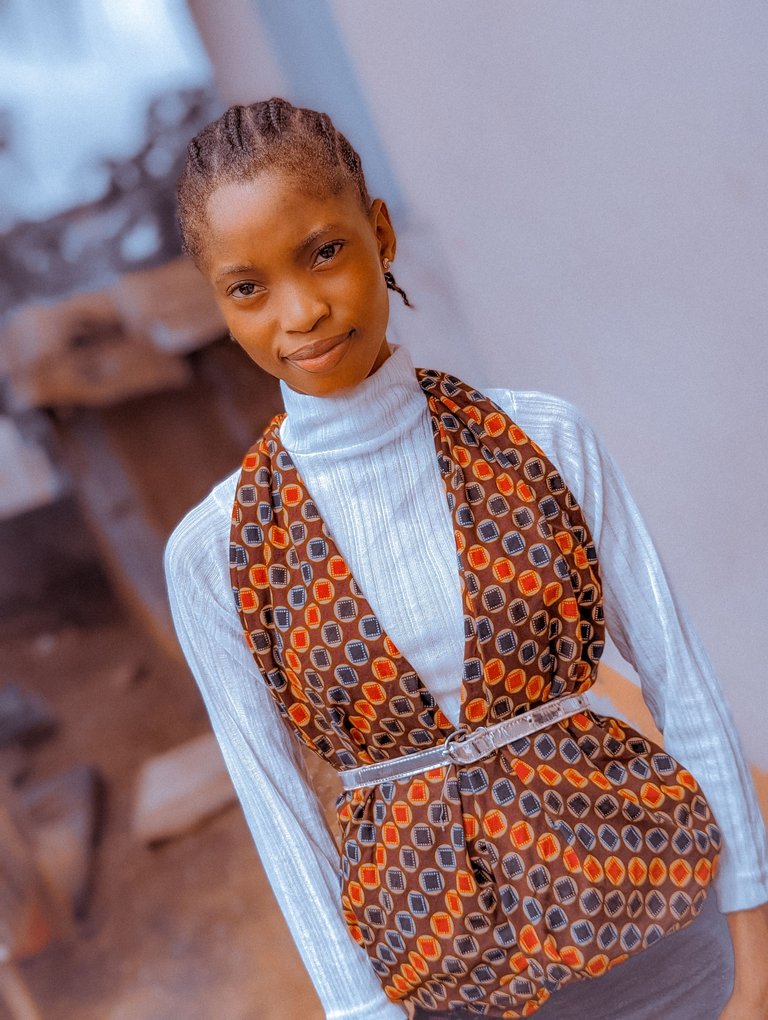
| Hello Hivers, how's your day? Another day, another strive, another hive. I love this quote though so I decided to also use it. It's my first time joinig this community and I also decided to share things I do myself at home when I am bored. The activity of decorating or repairing your home, or making things for your home yourself, rather than paying someone else to do it for you that is what DIY is all about. I will emphasize more on the part of rather than paying someone, so I wanted to sow a piece of Ankara which my mom gave me as part of my share. So that I will also have a uniform cloth to wear on the upcoming occasion and I was here in school and my fellow students charged me high just to help in sowing a jacket. I was had a little discomfort because I don't really have much with me and I collect my piece of cloth and went pack home. I decided to do try some tricks that will make sense so I won't also be let out in the upcoming occasion. I have been doing this stuff for days until I was able to perfect it well and I saw it came out good, glad I will love to show it here with my new family. Come with me as I make a jacket with just your piece or wrapper or ankara cloth.😌 | Hola Hivers, ¿cómo va tu día? Otro día, otro esfuerzo, otra colmena. Me encanta esta cita, así que he decidido utilizarla. Es la primera vez que me uno a esta comunidad y también he decidido compartir cosas que hago en casa cuando me aburro. La actividad de decorar o reparar tu casa, o hacer cosas para tu casa tú mismo, en lugar de pagar a alguien para que lo haga por ti es de lo que se trata el DIY. Voy a hacer más hincapié en la parte de en lugar de pagar a alguien, así que quería sembrar un pedazo de Ankara que mi mamá me dio como parte de mi parte. Así que también voy a tener una tela uniforme para usar en la próxima ocasión y yo estaba aquí en la escuela y mis compañeros me cobró alto sólo para ayudar en la siembra de una chaqueta. Yo estaba un poco incómodo porque realmente no tengo mucho conmigo y yo recoger mi pedazo de tela y se fue paquete a casa. He decidido probar algunos trucos que tengan sentido para que no se me escapen también en la próxima ocasión. He estado haciendo estas cosas durante días hasta que pude perfeccionarlo bien y vi que salió bien, contento me encantará mostrarlo aquí con mi nueva familia. Ven conmigo como hago una chaqueta con sólo su pieza o envoltura o tela ankara.😌 |
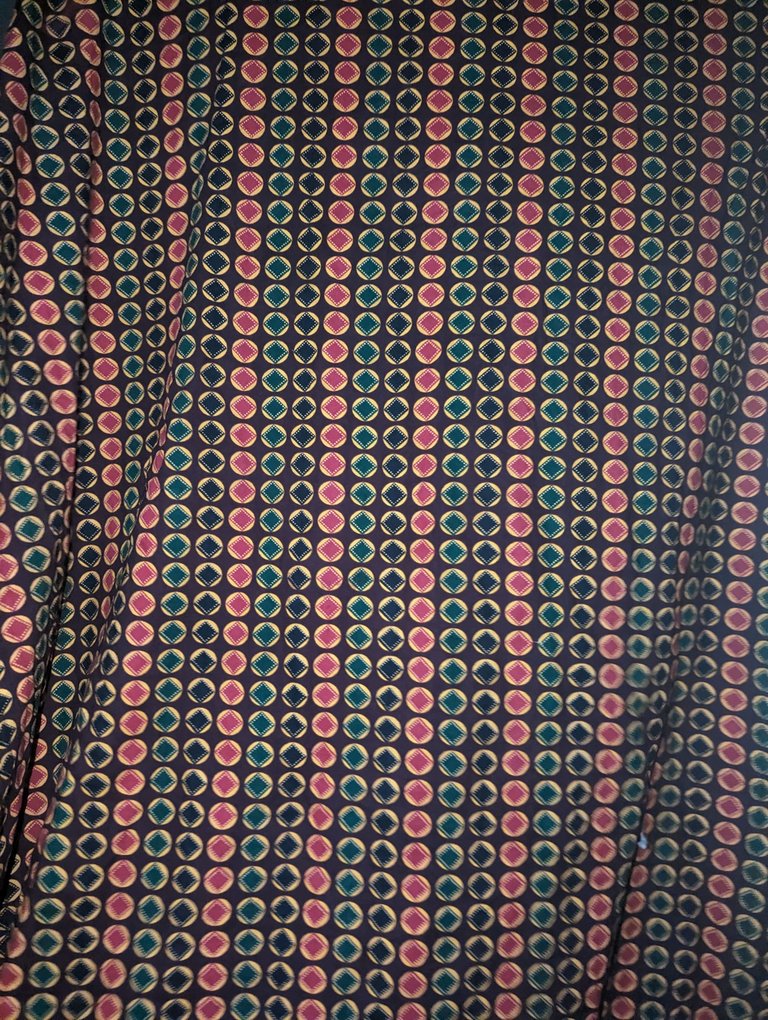
| Here is the Ankara I am going to use for my practical, it is very long. It is not really necessary you using long or short, we are actually making jacket so being short will be more preferable. All jackets are always short, though it depends on your choice but I will be using the one available at the moment. | Aquí está el Ankara que voy a utilizar para mi práctica, es muy largo. No es realmente necesario que la uses larga o corta, en realidad estamos haciendo chaquetas así que siendo corta será más preferible. Todas las chaquetas son siempre cortos, aunque depende de su elección, pero voy a utilizar el que está disponible en este momento. |
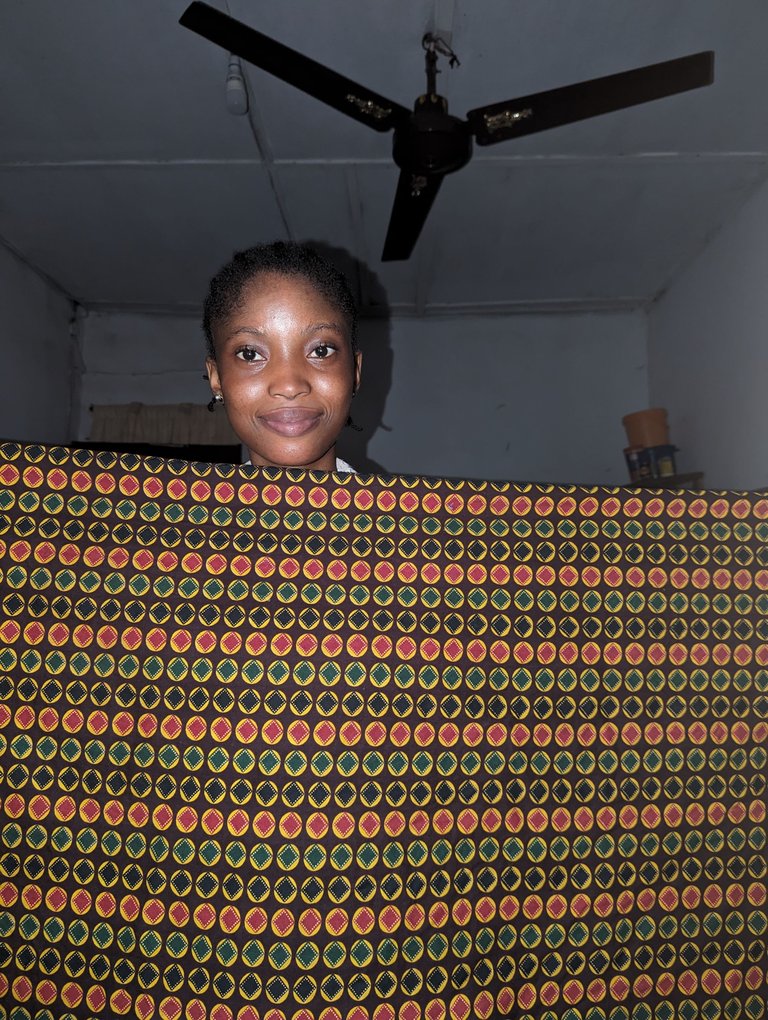
| Step 1 | |
|---|---|
| This is the view of how long it is, this is actually a wrapper I use at home. I decided to check it out for practical use them I will use the main material I was to wear for the occasion later. So I spread this out and make it straight and exact, because it won't be good for my to wear a rough jacket | Esta es la vista de lo largo que es, esto es en realidad una envoltura que uso en casa. Decidí comprobarlo para el uso práctico ellos que utilizaré el material principal que debía usar para la ocasión más adelante. Así que extendí esto y hacerlo recto y exacto, porque no será bueno para mi para llevar una chaqueta áspera |
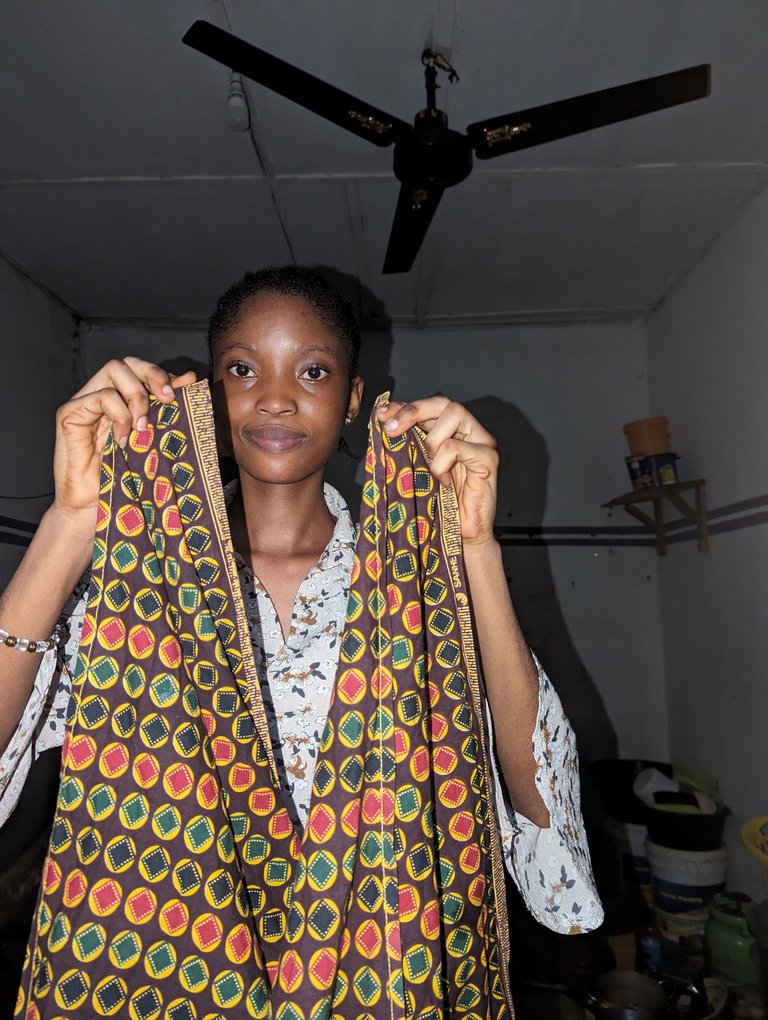
| Step 2 | |
|---|---|
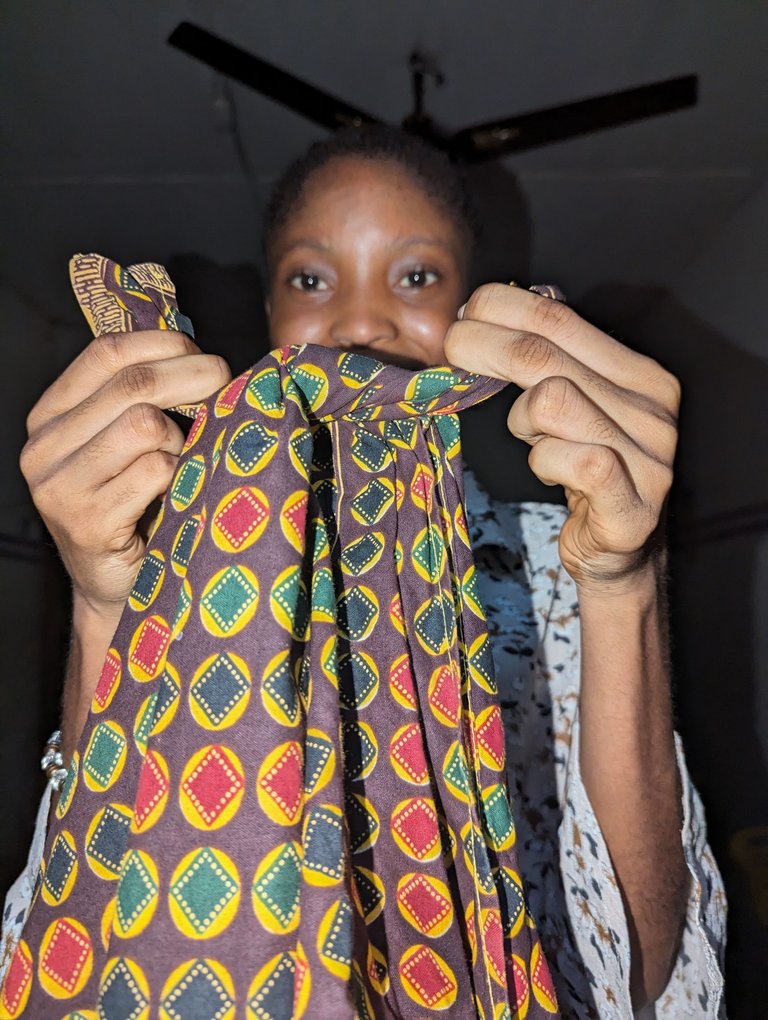
| After doing that, I divided it into two which made it shorter, just in a four corner shape then I hold the tip on the cloth | Después de hacer eso, lo dividí en dos que lo hizo más corto, justo en una forma de cuatro esquinas entonces sostengo la punta en el paño |
| Step 3 | |
|---|---|
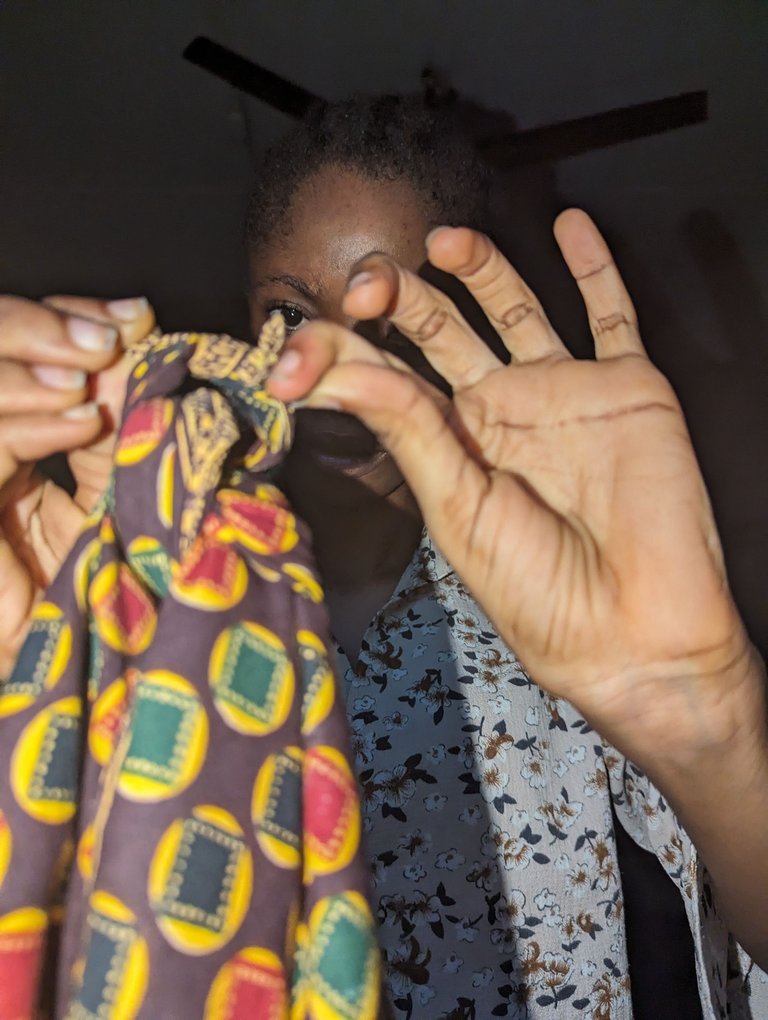
| Then I tied it, I am doing this because I will be able to wear it and the process of that. It must be intact and tight. | Luego lo até, estoy haciendo esto porque voy a ser capaz de llevarlo y el proceso de eso. Debe estar intacto y apretado. |
| Step 4 | |
|---|---|
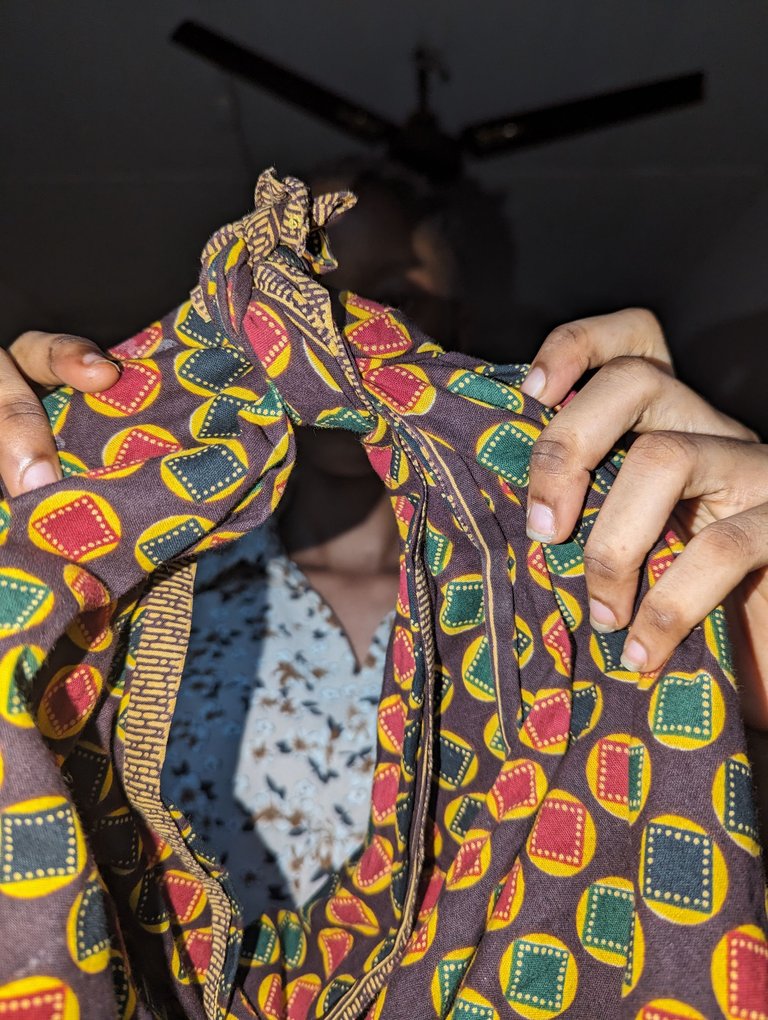
| I have to do it for like two to three times so enable the place be firm so it won't disturb us from our result. | Tengo que hacerlo unas dos o tres veces para que el lugar esté firme y no nos moleste el resultado. |
| Step 5 | |
|---|---|
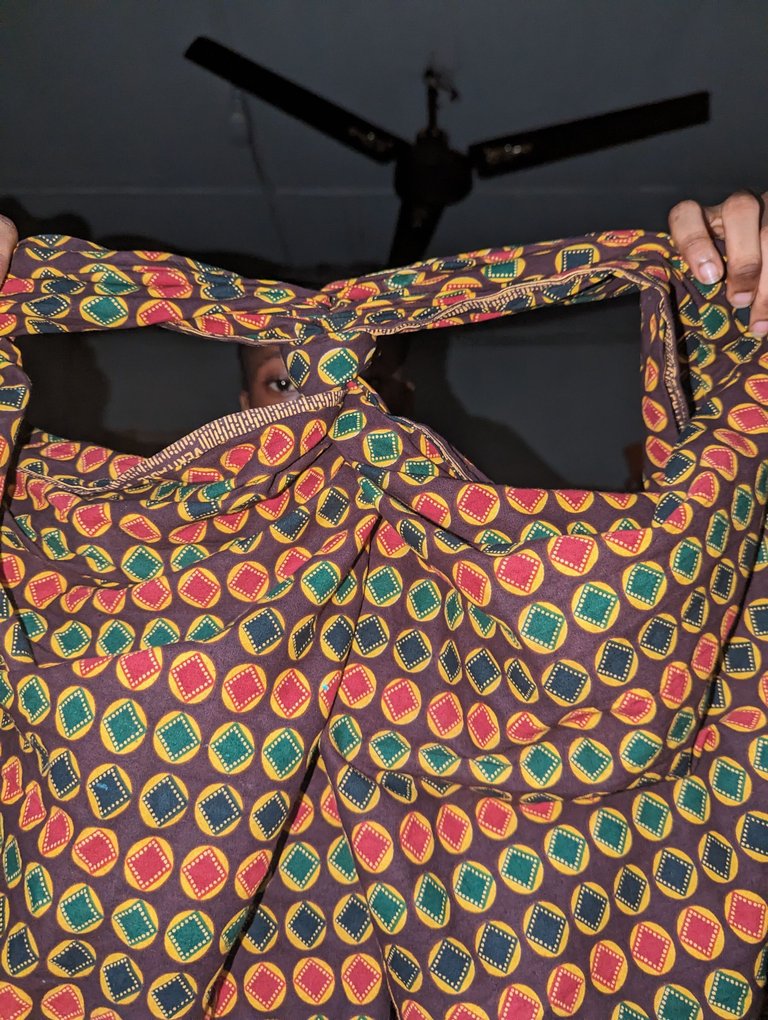
| After the assurance that it is really firm, there should be a round shape just like this and we should search for how it should be like this 👇 | Después de la seguridad de que es realmente firme, debe haber una forma redonda así y debemos buscar cómo debe ser así 👇 |
| Step 6 | |
|---|---|
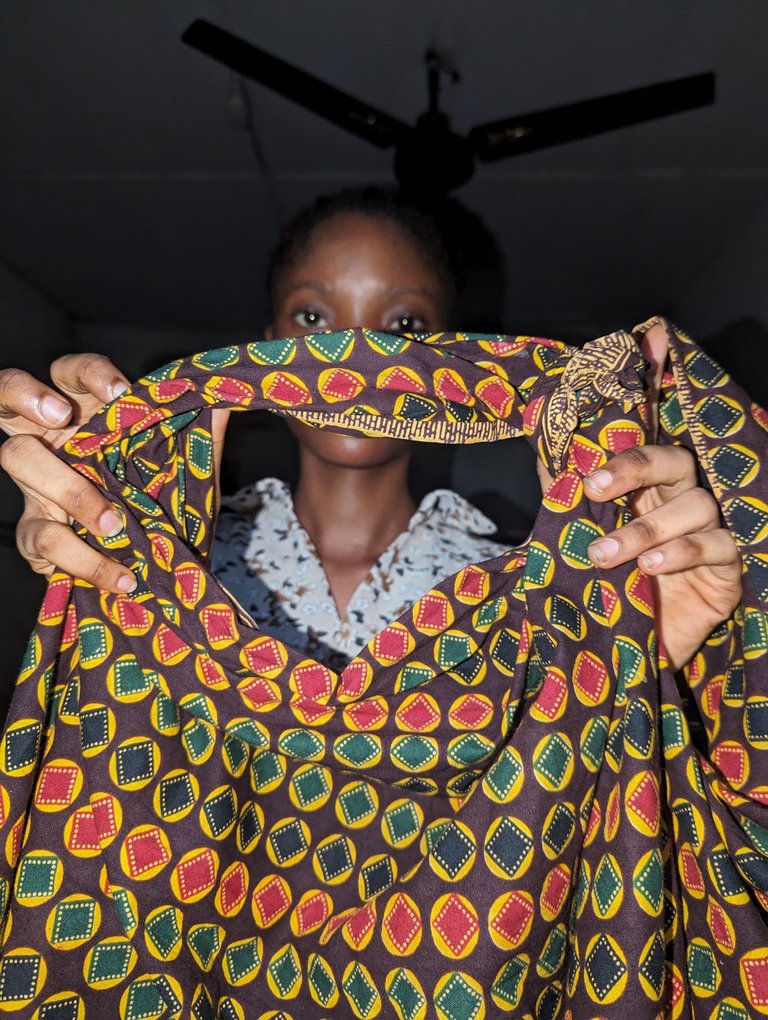
| For me to be able to get this, I spread that cloth and make a hole between them. This is the part where I will be able to put my hands like you wearing as a normal jacket. | Para poder conseguir esto, extiendo esa tela y hago un agujero entre ellas. Esta es la parte donde voy a ser capaz de poner mis manos como usted usa como una chaqueta normal. |
| Step 7 | |
|---|---|
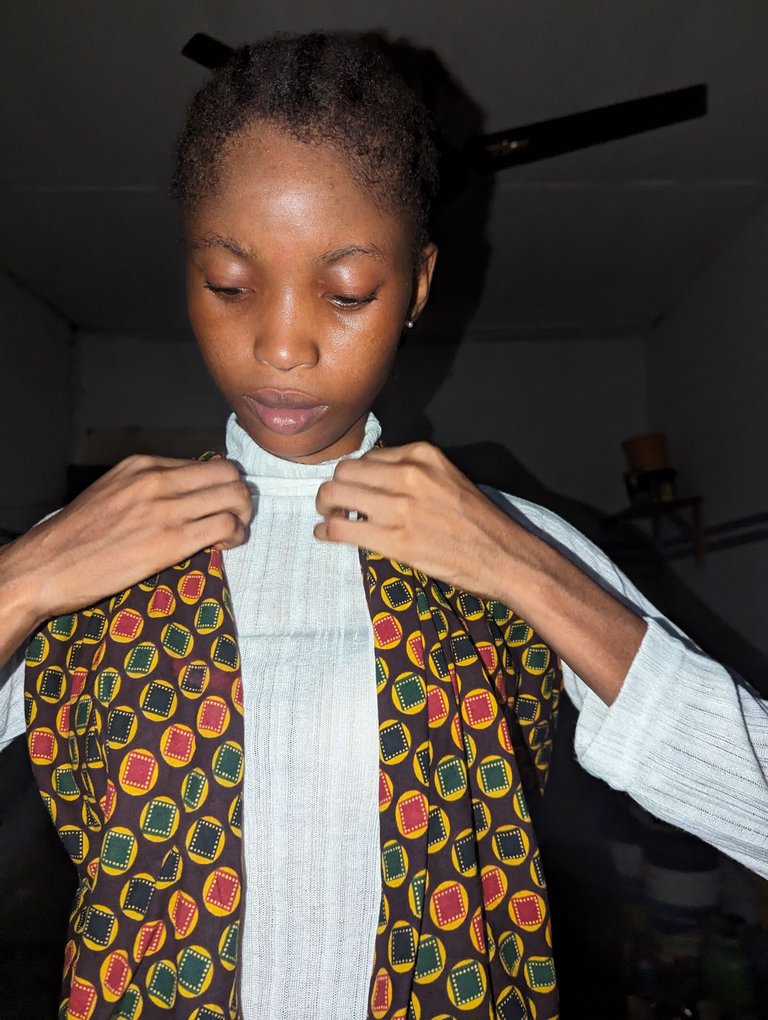
| I decided to change my outfit because I will love the top that will totally go with the material. I am wearing a turtle nake top which will be actually perfect for this type of jacket. | Decidí cambiar mi outfit porque me encantará el top que irá totalmente con el material. Estoy usando un top de tortuga nake que será realmente perfecto para este tipo de chaqueta. |
| Step 8 | |
|---|---|
| I decided to wear the wrapper as a jacket and I think it is already looking like a jacket already or what do you think 🤔 | He decidido ponerme el envoltorio a modo de chaqueta y creo que ya va pareciendo una chaqueta ya o que opináis 🤔 |
| Step 9 | |
|---|---|
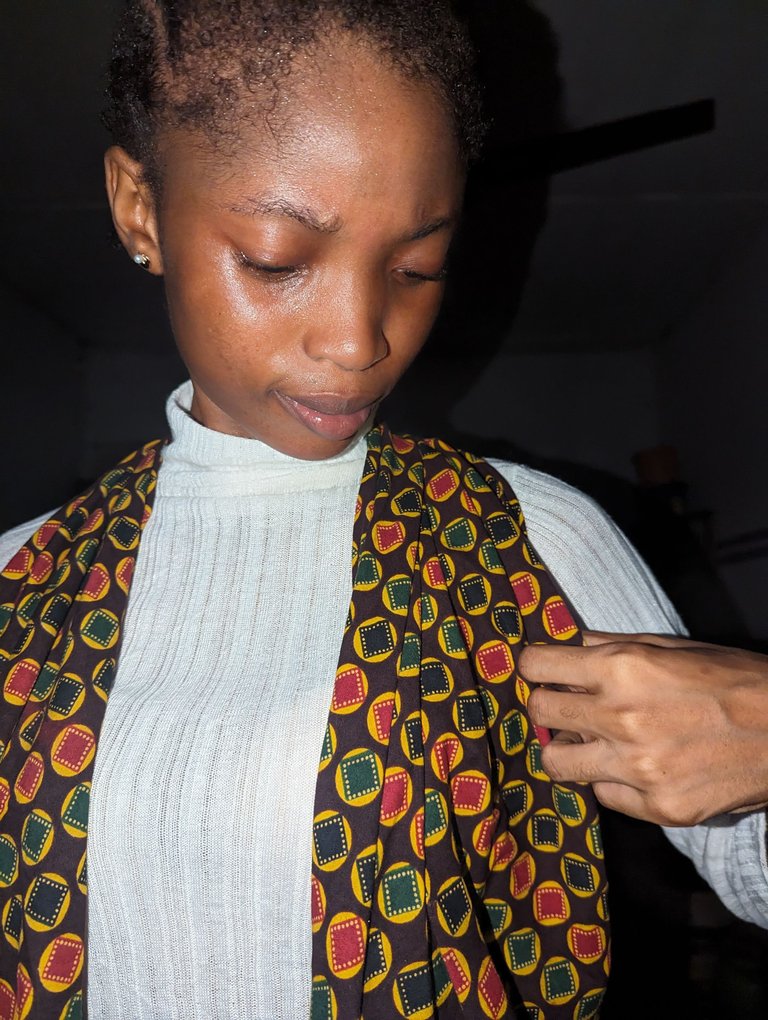
| Then I decided to adjust them well, straighten the plains that is why I said your wrapper must be neat and if possible ironed so that the spilting of the wrapper will be neat and fine. | Entonces decidí ajustarlos bien, enderezar las llanuras por eso dije que su envoltura debe estar prolija y si es posible planchada para que el derrame de la envoltura sea prolijo y fino. |
| Step 10 | |
|---|---|
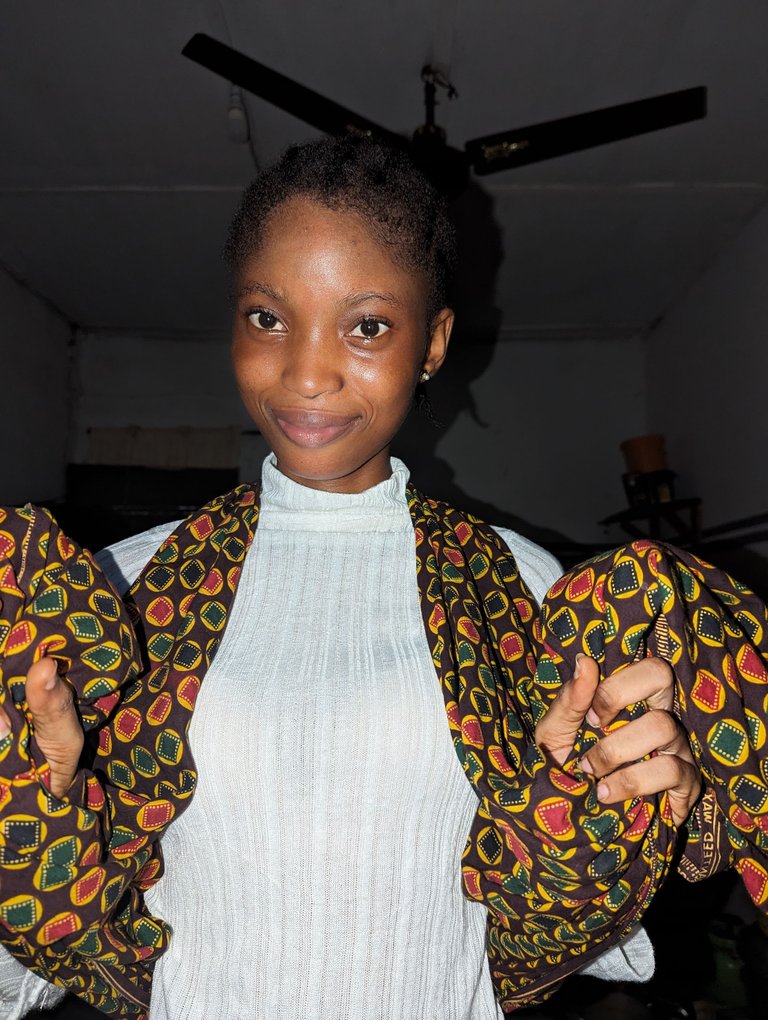
| The next thing I did was to tighten the part of the cloth, you have to hold it well to your size so it will be comfortable and fit you so well. | Lo siguiente que hice fue apretar la parte de la tela, tienes que sujetarla bien a tu talla para que sea cómoda y te quede tan bien. |
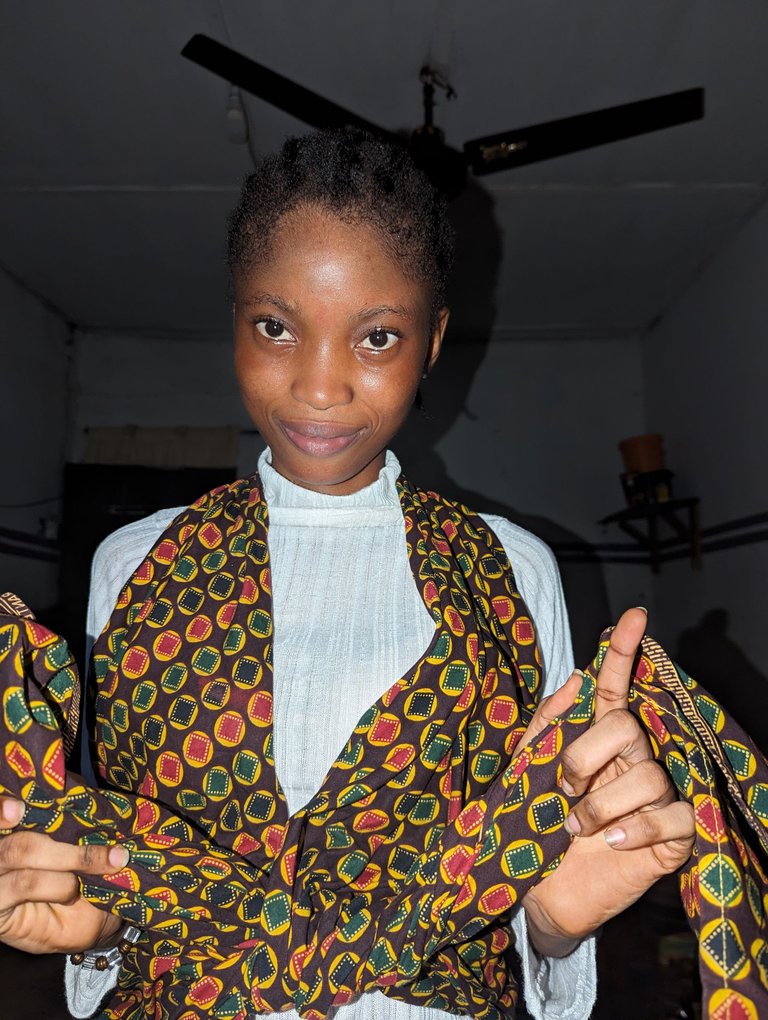
| Step 11 | |
|---|---|
| So I decided to tie it so well and adjust everything and I put the hands inside each other just like a normal jacket. This did not even take me up to 5mins and I am already getting excited with my outcome. | Así que me decidí a atarlo tan bien y ajustar todo y puse las manos dentro de la otra al igual que una chaqueta normal. Esto no me llevó ni siquiera hasta 5mins y ya me estoy emocionando con mi resultado. |
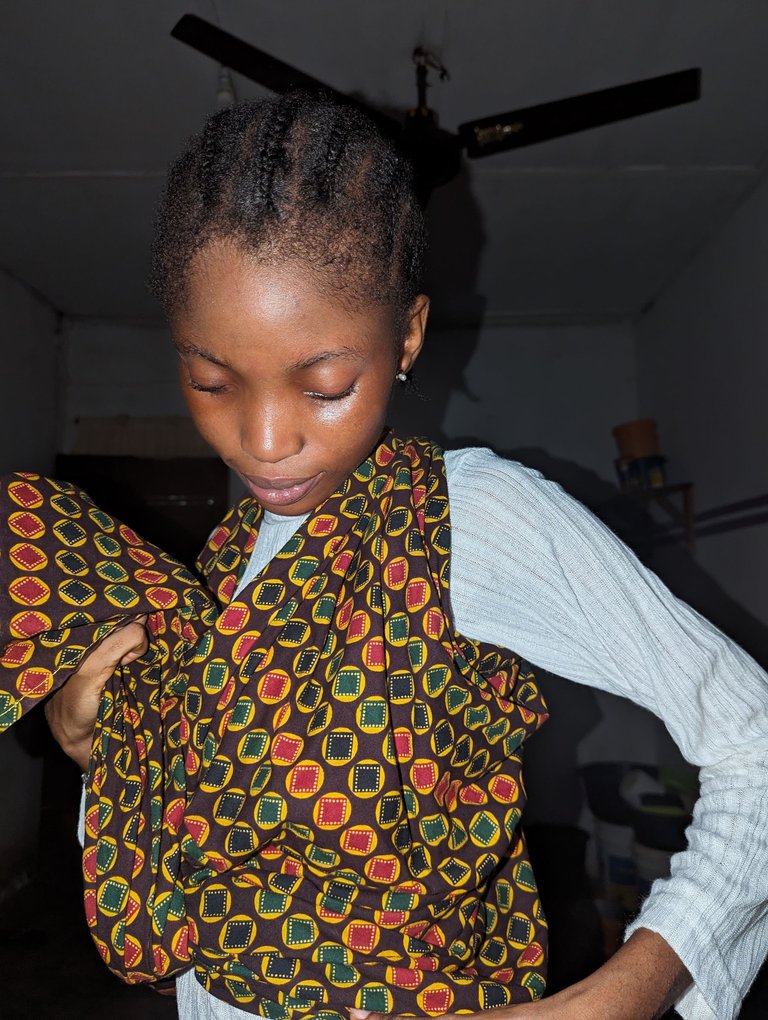
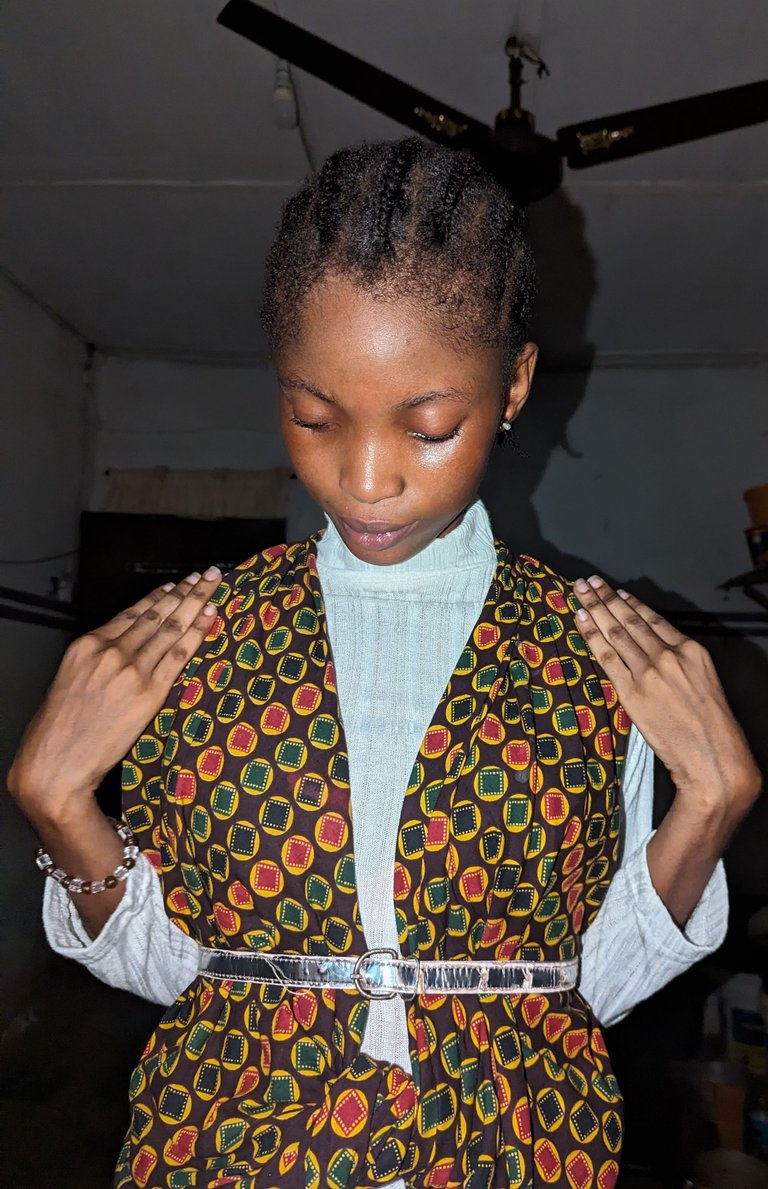
I decided to add a belt to beautiful my jacket and see how it looks and I guess it is looking so cute as I thought 🤔
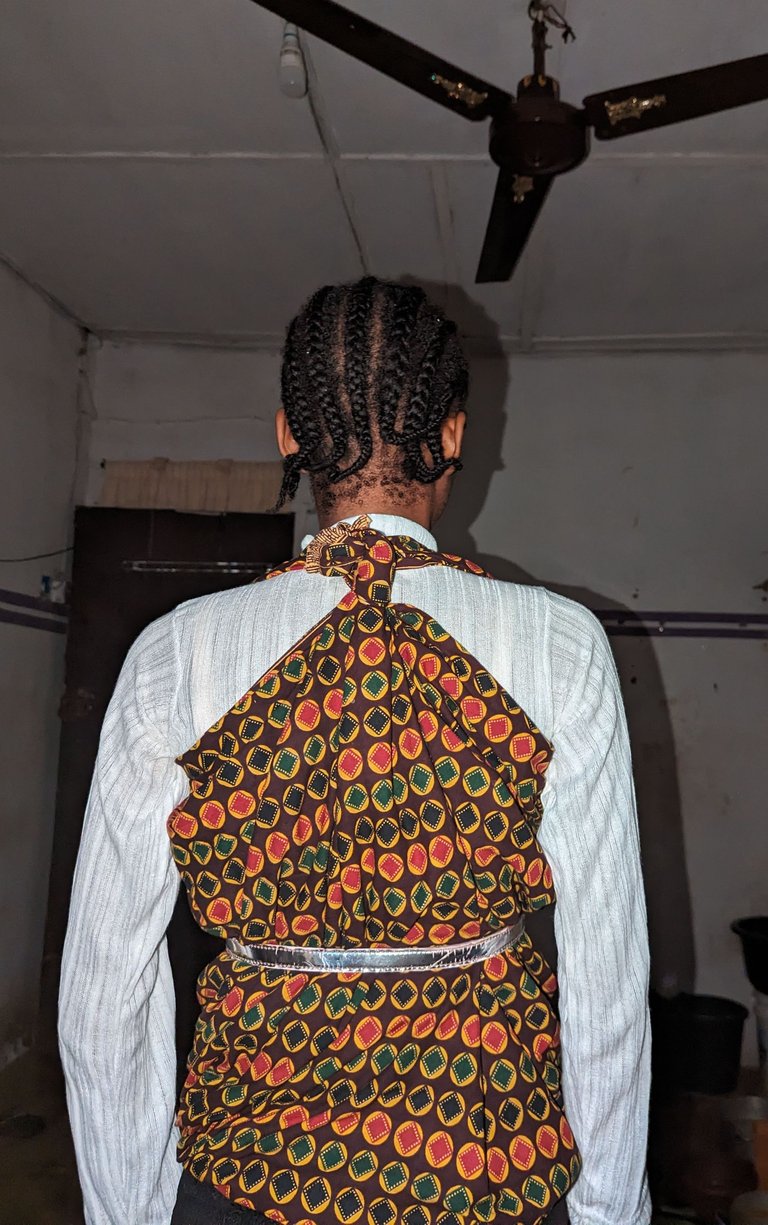
| At first I was discouraged on how the view at the back was but no one was with me with help me adjust it, so I decided to leave it that way. When someone is with you they can also help with the back view because my own hands can't get there that was why it looks that way. | Al principio me desanimó la vista trasera, pero no había nadie conmigo que me ayudara a ajustarla, así que decidí dejarla así. Cuando alguien está contigo también te puede ayudar con la vista trasera porque mis propias manos no pueden llegar ahí y por eso se ve así. |

| This is final look of my DIY I did it myself and I am super proud of how the outcome looks. You should also try this at home and see how it will actually looks on you.What do you think about my first DIY?? Do you think I did well or I have to do better?? | Este es el look final de mi DIY lo hice yo misma y estoy super orgullosa de como queda el resultado. También deberías probarlo en casa y ver cómo te queda a ti. ¿Qué opinas de mi primer DIY? ¿Crees que lo he hecho bien o que tengo que hacerlo mejor? |
Thanks for stopping by 💖
Congratulations @ayomipo! You have completed the following achievement on the Hive blockchain And have been rewarded with New badge(s)
Your next target is to reach 2500 upvotes.
You can view your badges on your board and compare yourself to others in the Ranking
If you no longer want to receive notifications, reply to this comment with the word
STOPDiscord Server.This post has been manually curated by @bhattg from Indiaunited community. Join us on our
Do you know that you can earn a passive income by delegating to @indiaunited. We share more than 100 % of the curation rewards with the delegators in the form of IUC tokens. HP delegators and IUC token holders also get upto 20% additional vote weight.
Here are some handy links for delegations: 100HP, 250HP, 500HP, 1000HP.
100% of the rewards from this comment goes to the curator for their manual curation efforts. Please encourage the curator @bhattg by upvoting this comment and support the community by voting the posts made by @indiaunited.
Thanks for always @indiaunited @bhattg 🥹❤️
It looks stylish and beautiful. It seems easy to make this. Love it. Well done! Keep up the good work!
Thanks so much @diyhub I feel loved 😍❤️
Buen trabajo, te ha quedado muy útil y práctico
Escrito por lionsaturbix / Written by lionsaturbix
¡¡¡Buen trabajo!!! Gracias por publicar tu excelente contenido en Hive Diy.