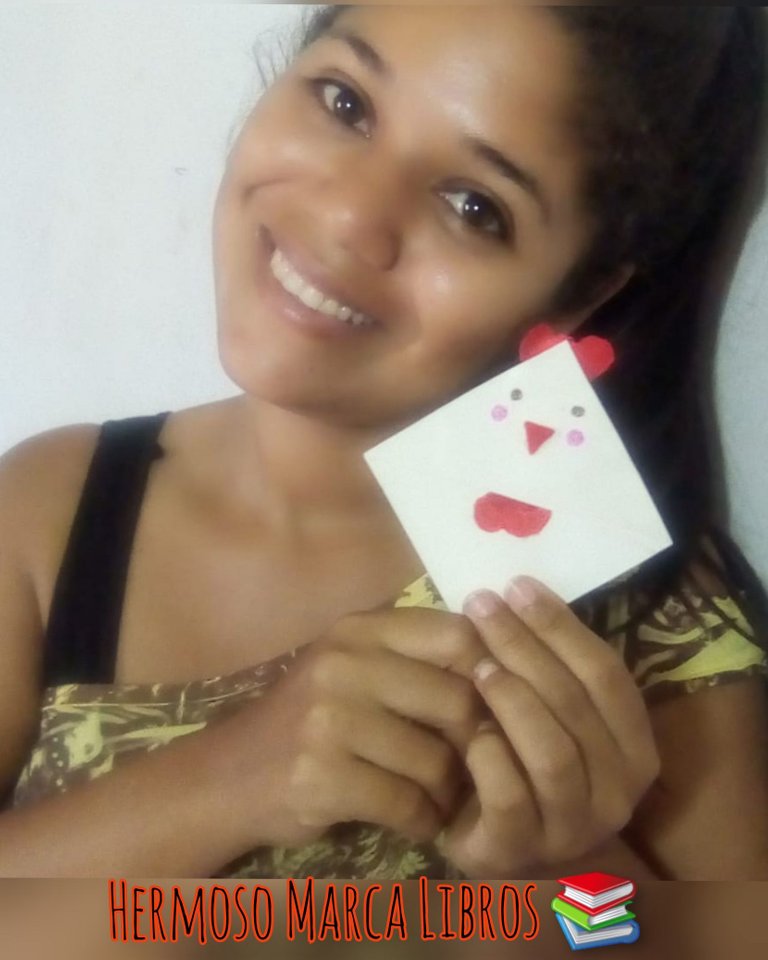
HOLA Gente Hive Diy
Saludos muy cordial y efusivamente, espero se encuentre muy bien y estén pasando un excelente martes, aquí una de mis pequeñas pero valiosas manualidades para los amantes de la lectura, les muestro como elaborar un marca libro con motivo de un linda gallina. A pesar de su fácil elaboración, a los que nos encanta sumergirnos entre las aventuras que desglosan las hojas de los libros. Con mucho cariño les dedico este pequeño instrumento que es de gran apoyo a los lectores y está llena de amor para dar a sus apreciados libros. Agradezco una vez más por la grata acogida que me Han dado en esta hermosa Comunidad.
Sin más preámbulos les menciono los materiales que vamos a utilizar y acompañenme a ver wl paso a paso que esta muy similar y divertido.
Hello Hive Diy people
Greetings very cordially and effusively, I hope you are very well and are having a great Tuesday, here is one of my small but valuable crafts for reading lovers, I show you how to make a book mark with the motif of a cute chicken. In spite of its easy elaboration, those of us who love to immerse ourselves in the adventures that the leaves of the books break down. It is with great affection that I dedicate this small instrument that is of great support to the readers and is full of love to give to their appreciated books. I thank you once again for the warm welcome you have given me in this beautiful community.
Without further ado I mention the materials we will use and join me to see the step by step that is very similar and fun.
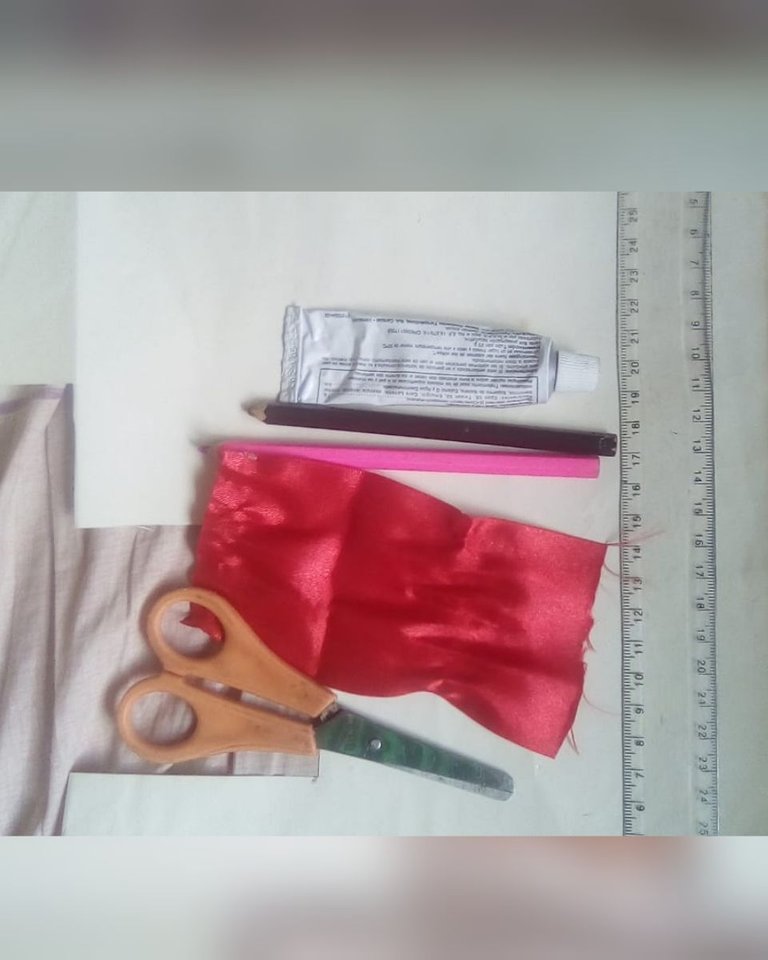
Materiales
▫️ Cartulina
▫️ Regla
▫️ Tijera
▫️ Pega
▫️ Cinta roja
▫️ Colores o crayolas (marrón y rosa).
Materials
▫️ Cardboard.
▫️ Ruler
▫️ Scissors
▫️ Glue
▫️ Red tape
▫️ Colors or crayons (brown and pink).
Ahora si mis queridos lectores les muestro como elaborar esta linda manualidad y muy útil, acompanemme a ver todo el proceso
Now my dear readers I show you how to make this beautiful and very useful craft, join me to see the whole process
Procedimientos:
Procedure:
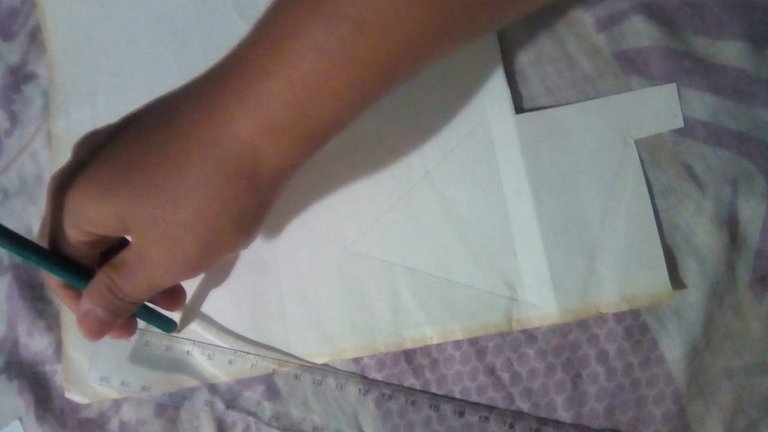
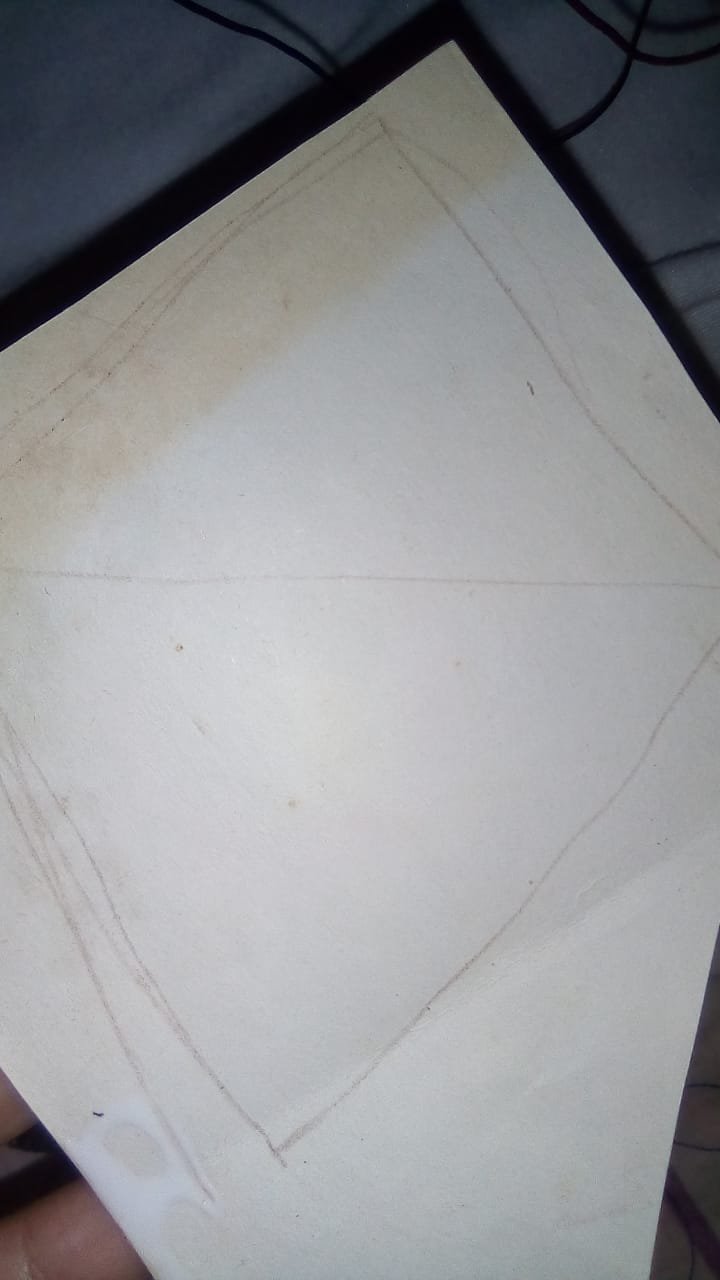
Comenzamos marcando con el lapiz de color marrón un cuadrado de 8x8 para formar el cuerpo de la gallina y cortamos.
We start by marking with the brown pencil an 8x8 square to form the hen's body and cut it out.
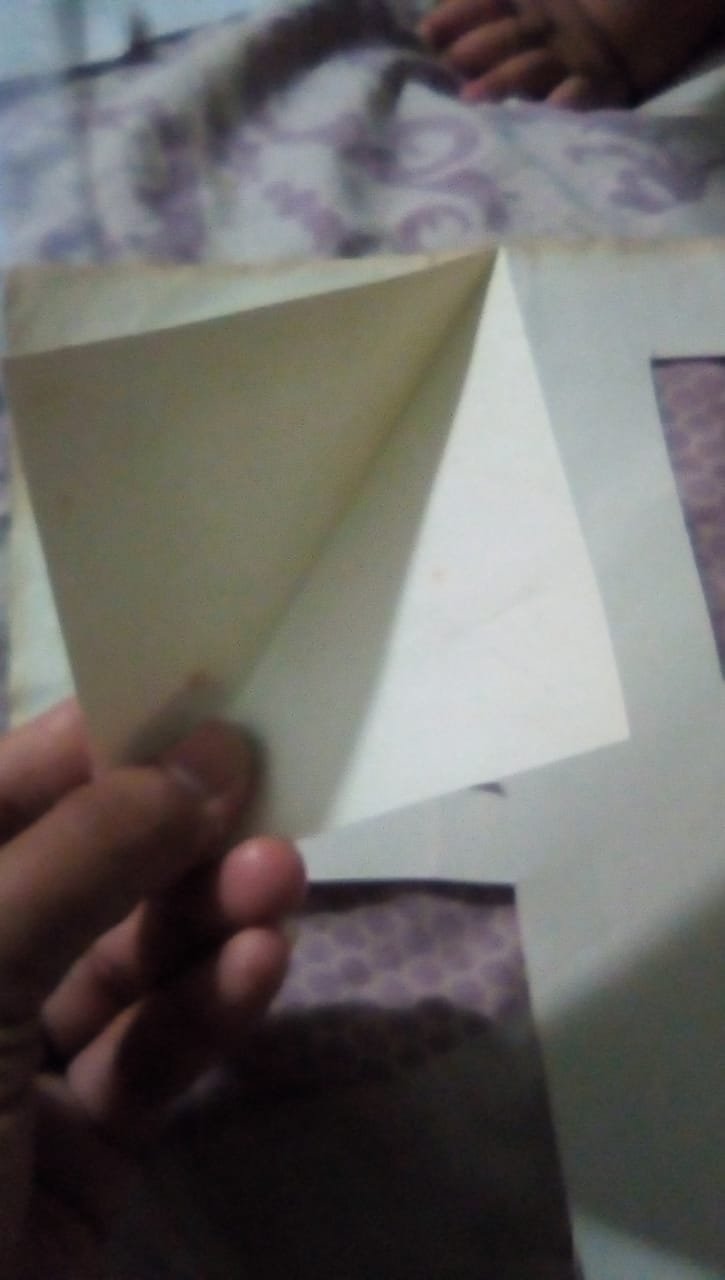
Teniendo el cuadrado listo, lo doblamos a la mitad en forma de triángulo.
Having the square ready, we fold it in half in the shape of a triangle.
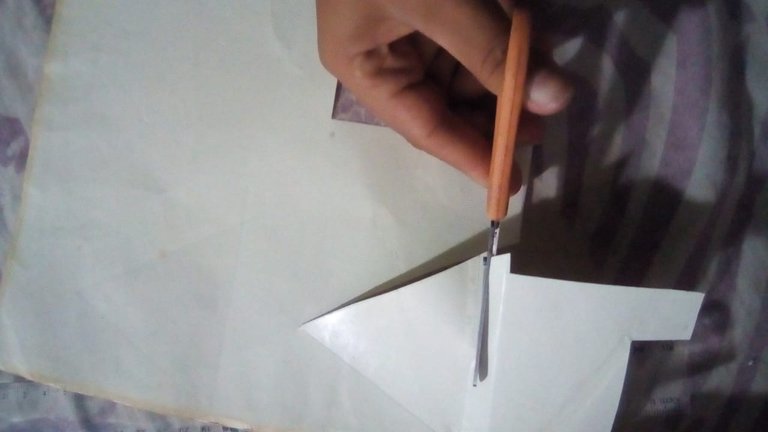
Luego marcamos un triángulo del mismo tamaño que el anterior en la cartulina de color amarilla y lo recortamos.
Then we mark a triangle of the same size as the previous one on the yellow cardboard and cut it out.
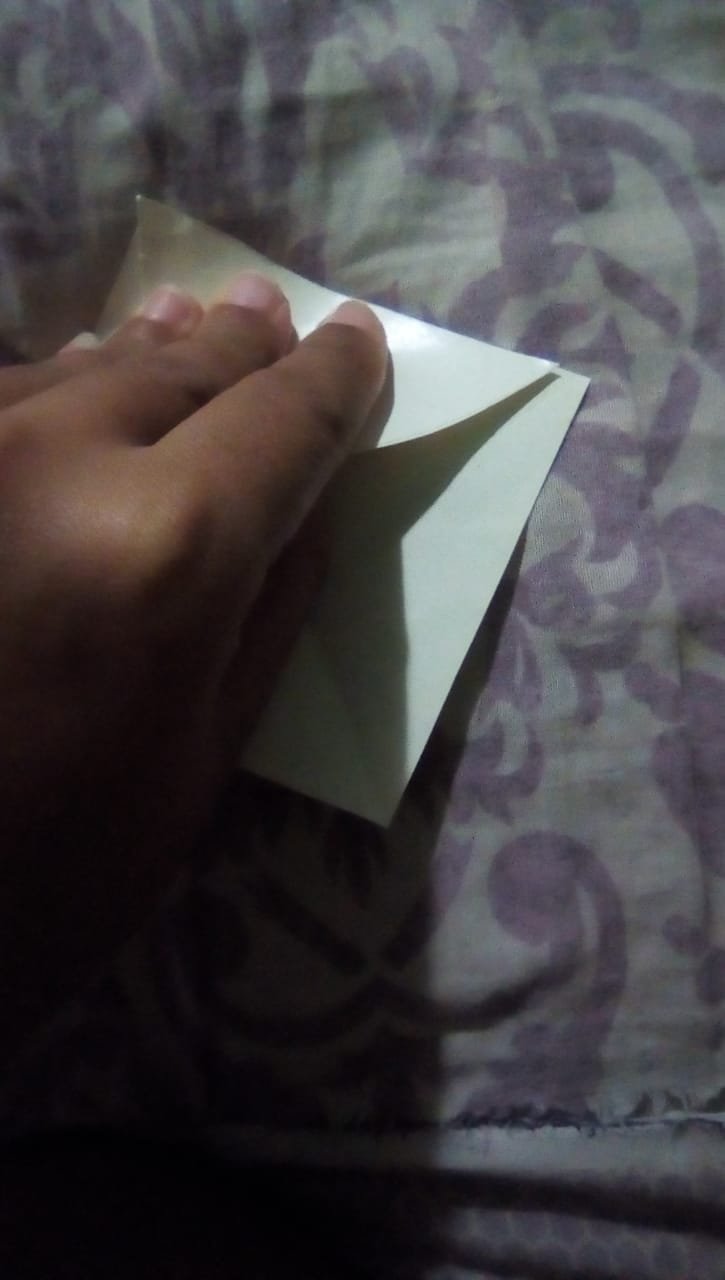
Procedemos a pegar el triángulo antes cortado encima del cuadrado ajustando bien en la esquina, dejando un lado sin pegar para poder meter las páginas del libro de esta manera.
We proceed to glue the previously cut triangle on top of the square, adjusting it well in the corner, leaving one side unglued to be able to put the pages of the book in this way.
Seguidamente marcamos un medio corazón en la cinta roja y una montañita de tres curvas de esta manera para las crestas de la gallina.
Then we mark a half heart on the red ribbon and a little mountain of three curves in this way for the hen's crests.
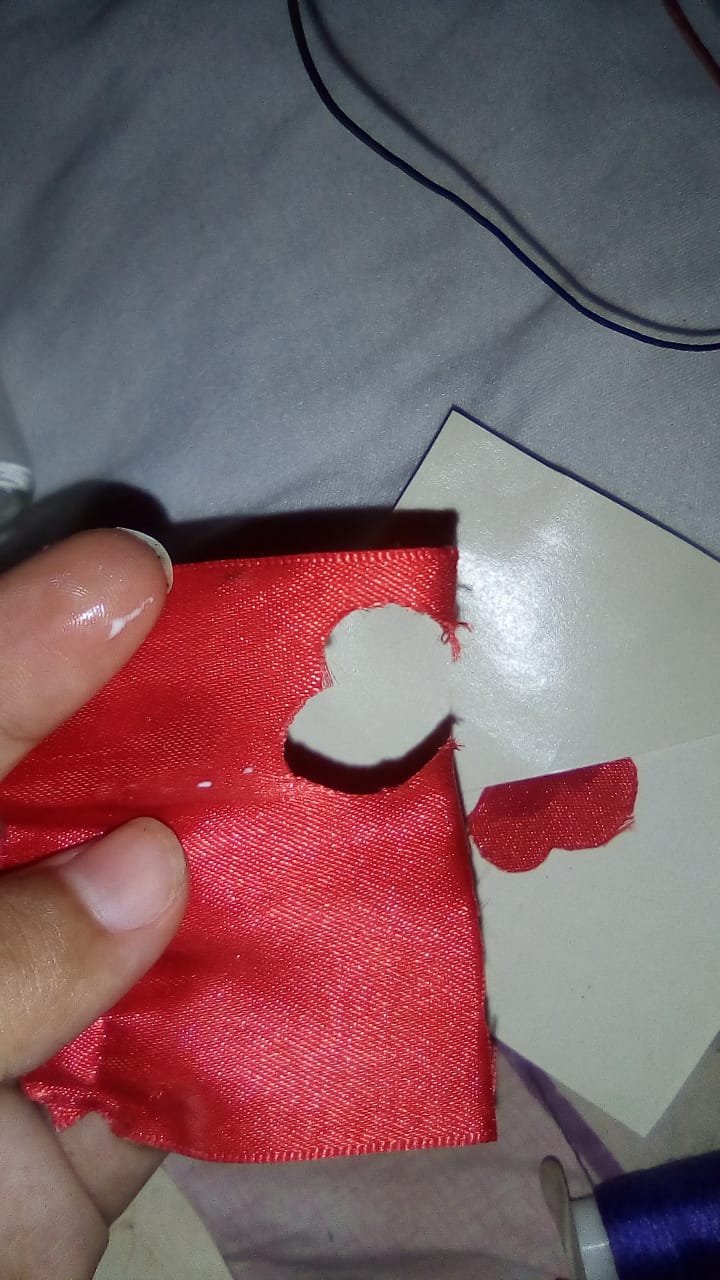
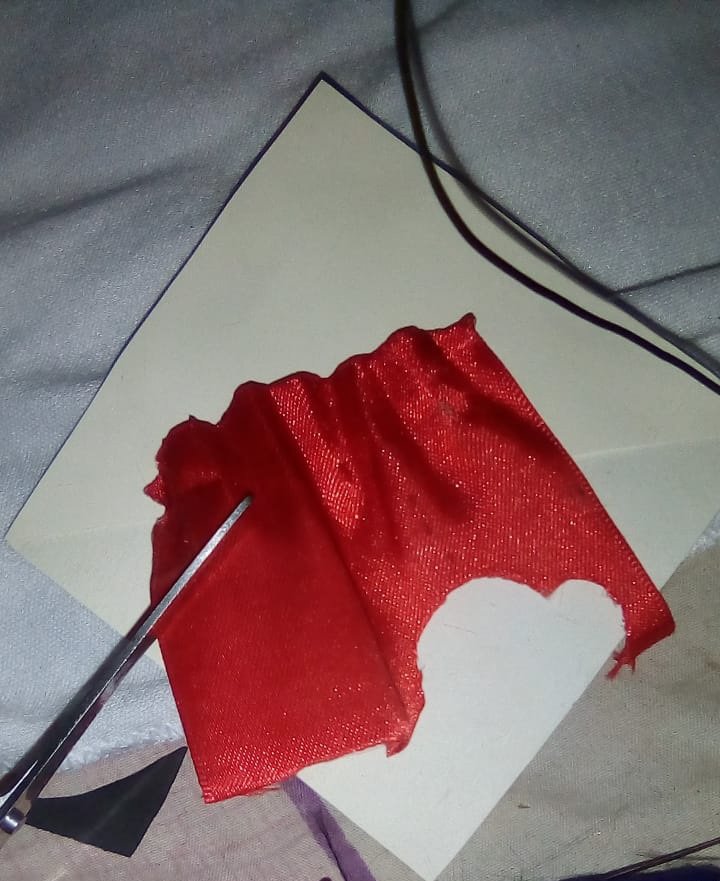
Luego cortamos y pegamos uno en la esquina superior y el otro por debajo de la abertura del triángulo.
Then we cut and glue one in the upper corner and the other below the opening of the triangle.
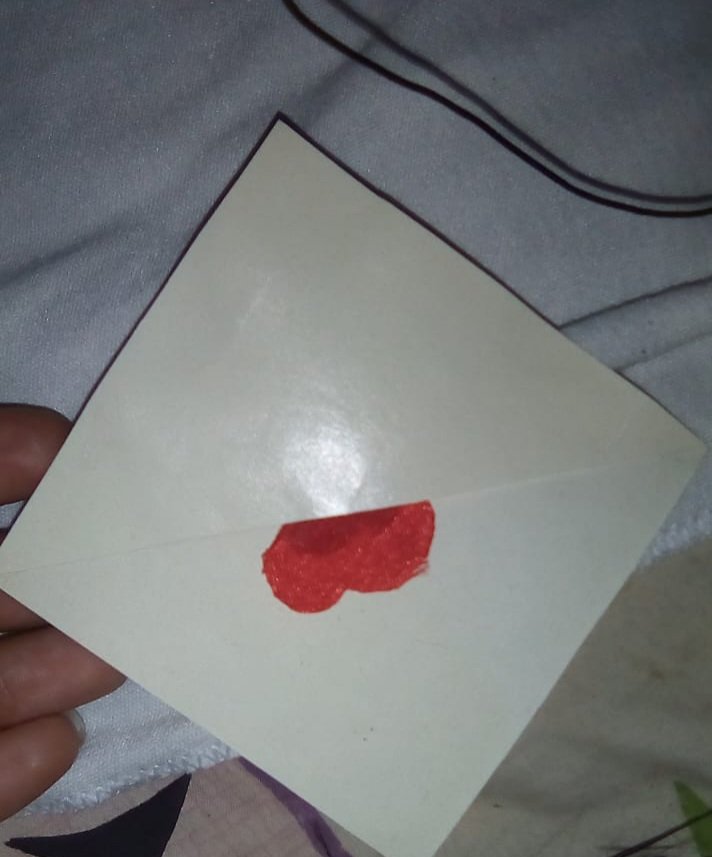
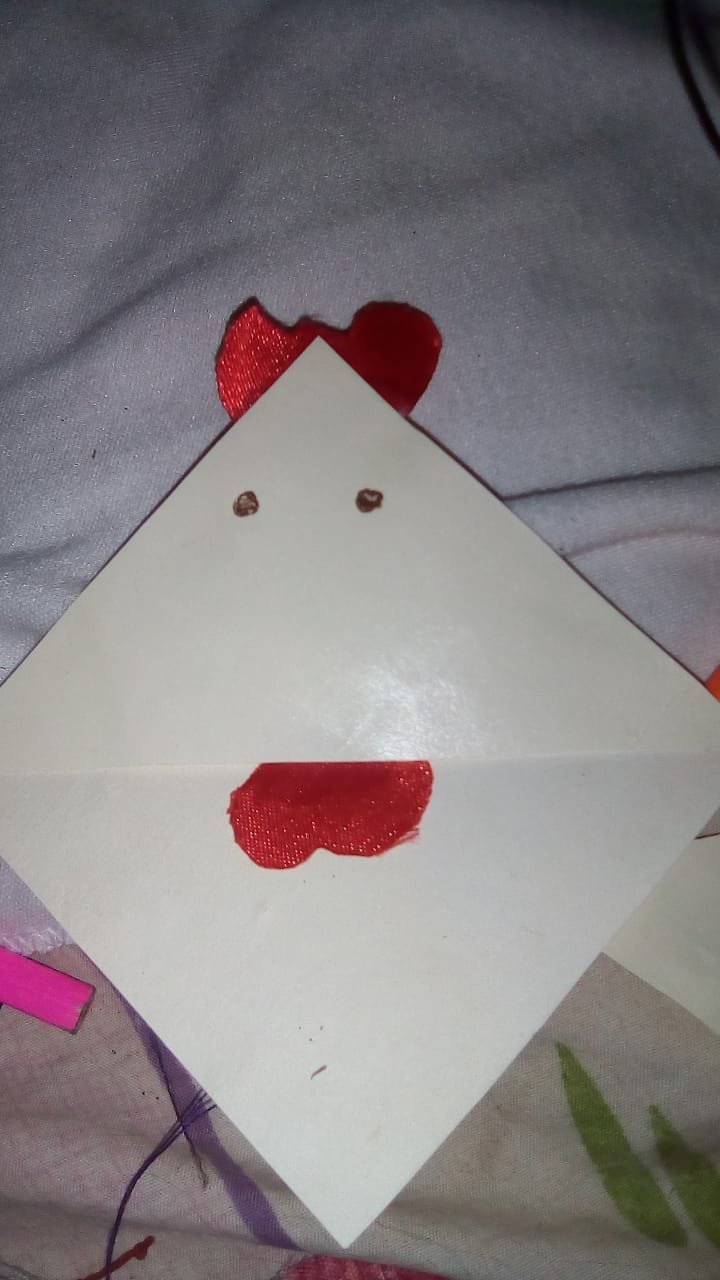
En este paso procedemos a cortar un triángulo pequeño en la cinta roja para semejar el pico y pegamos en la cartulina amarilla.
Para finalizar nuestro marca libros agarramos el lapiz color marrón le hacemos los ojos a la gallina y con el rosa le damos un toque de rubor a las mejillas.
In this step we proceed to cut a small triangle in the red ribbon to resemble the beak and glue it on the yellow cardboard.
To finish our bookmark we take the brown pencil to make the eyes of the hen and with the pink we give a touch of blush to the cheeks.
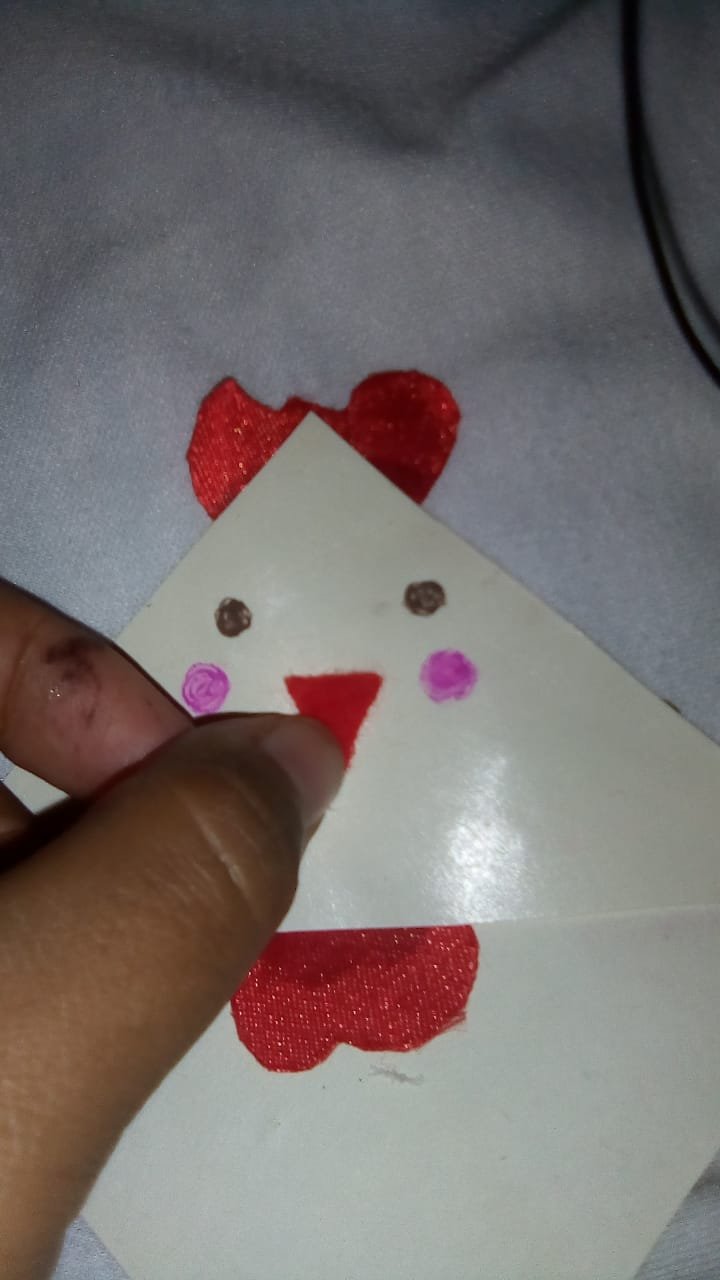
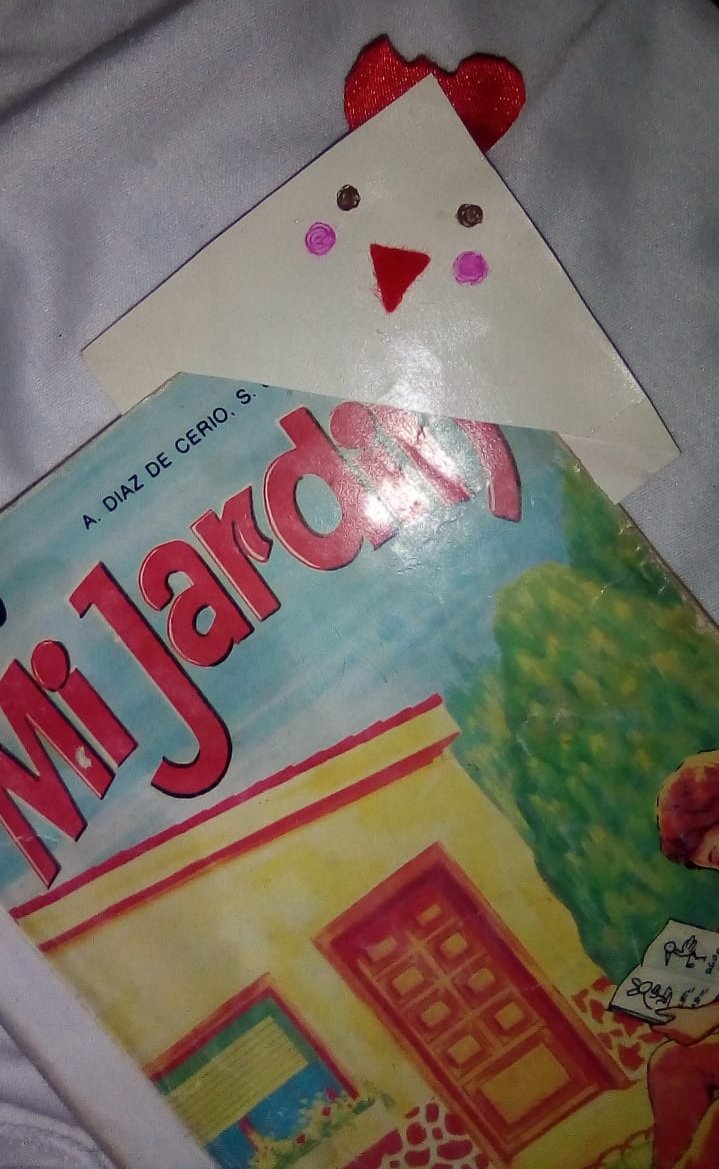
Y así nos quedó nuestra hermosa gallina "Turuleca"
And this is how we got our beautiful hen "Turuleca "
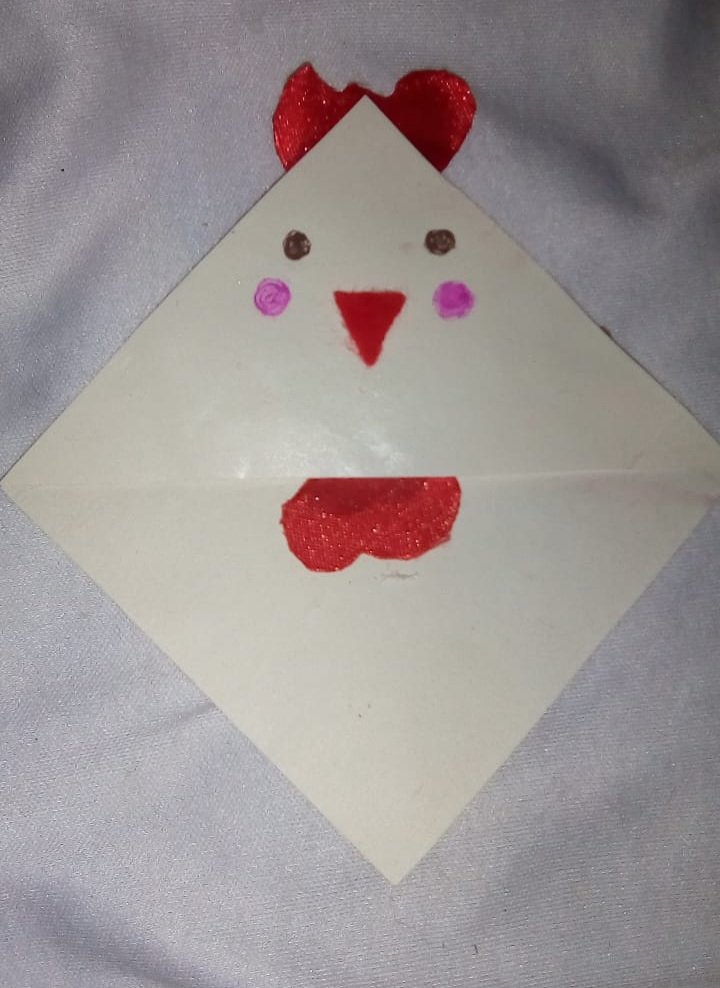
Espero les halla gustado mi creación, puedan elabararla y disfruten haciendo los que les guste, cuando se trabajo con lo que les gusta lo hacen con más amor pasión y entrega, no se olviden amigos estaré revisando sus comentarios y respondiendo.
I hope you liked my creation, you can make it and enjoy doing what you like, when you work with what you like you do it with more love, passion and dedication, do not forget friends I will be reviewing your comments and responding.
Sin más que agregar por hoy, me despido agradecida por esta oportunidad brindada, se les quiere mucho, hasta mañana Hive, que pasen
Without more to add for today, I say goodbye thank you for this opportunity, you are very much loved, see you tomorrow Hive, have a nice day
Translated with www.DeepL.com/Translator (free version)
Thank you for sharing this amazing post on HIVE!
Your content got selected by our fellow curator @rezoanulvibes & you just received a little thank you via an upvote from our non-profit curation initiative!
You will be featured in one of our recurring curation compilations and on our pinterest boards! Both are aiming to offer you a stage to widen your audience within and outside of the DIY scene of hive.
Join the official DIYHub community on HIVE and show us more of your amazing work and feel free to connect with us and other DIYers via our discord server: https://discord.gg/mY5uCfQ !
If you want to support our goal to motivate other DIY/art/music/homesteading/... creators just delegate to us and earn 100% of your curation rewards!
Stay creative & hive on!