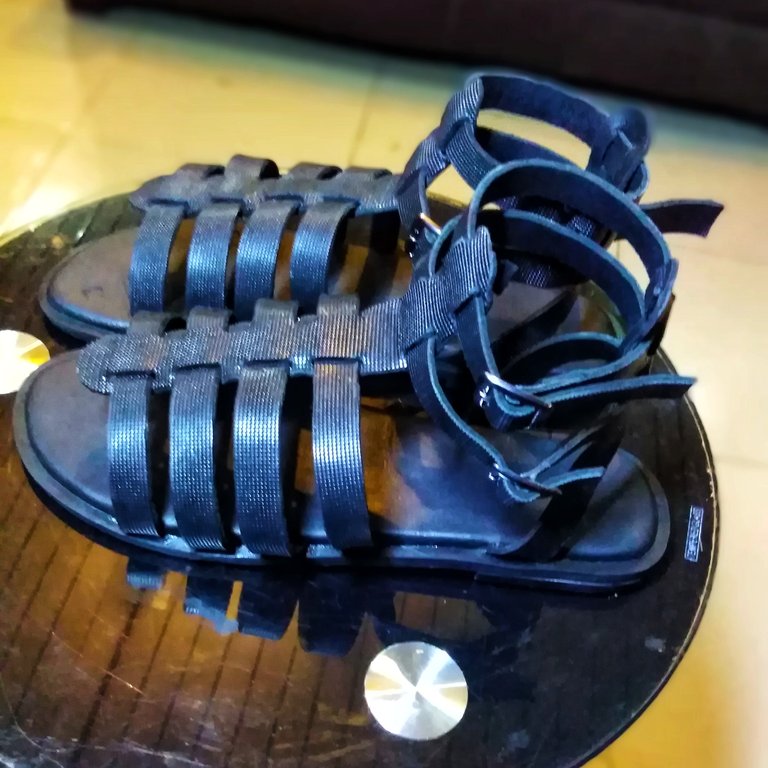
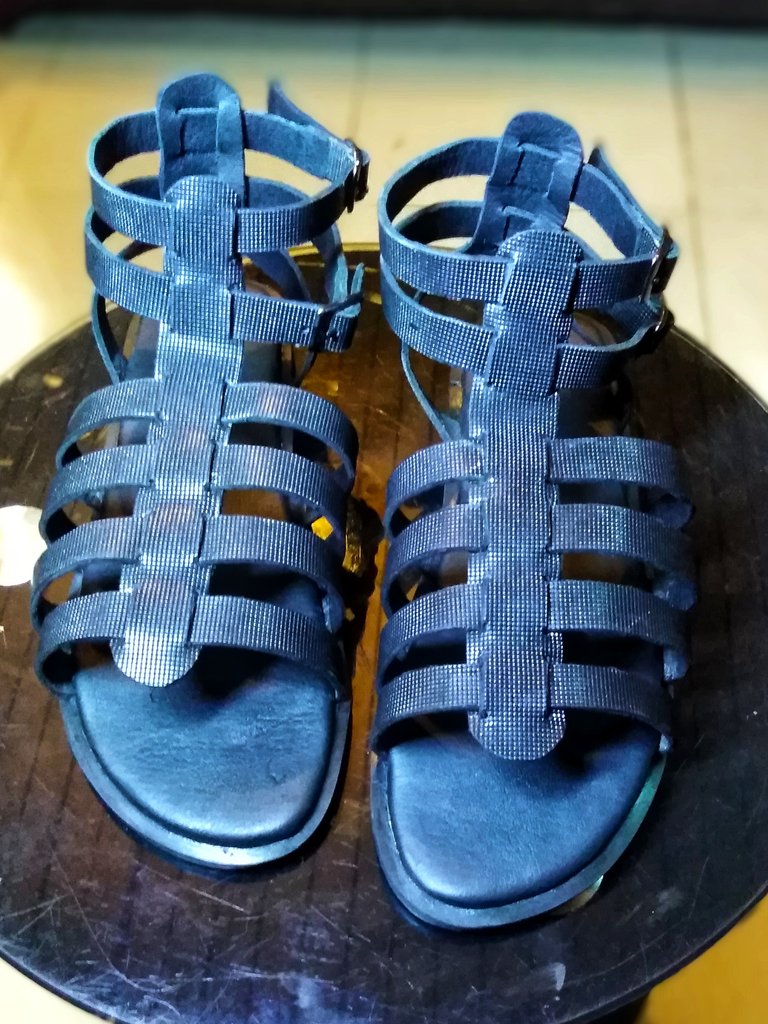
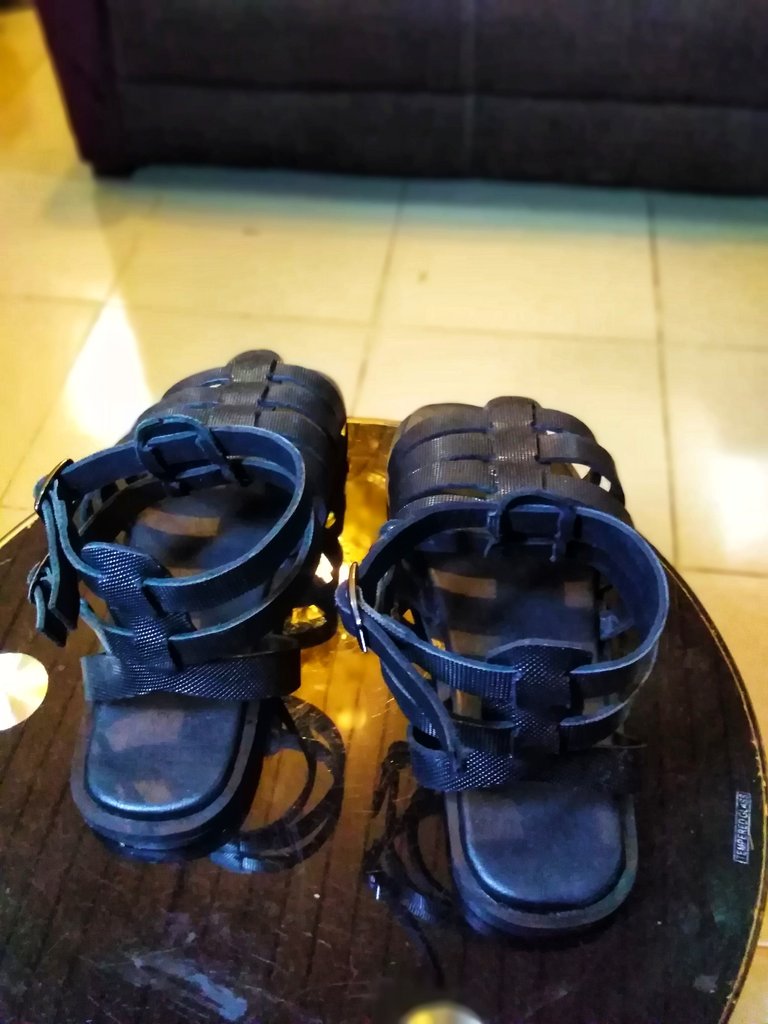
Hello everyone hope you are having a good day. So in my last post : idea for the creation of my next sandals I showed you the type of sandals I was working on, Well after what seemed like an eternity I'm finally done, here are some pictures
These photos were taken by me and one of my cousins(not on the hive blockchain) on her huawei y7
If you notice you'll see that the back of this sandals is different from the one in my previous post, this is because I prefer an open back, you'll see that the leather I used is also different . Okay let me get to the process of making it.
So, the materials I used are:
●Leather (for upper and lining)
●Gum
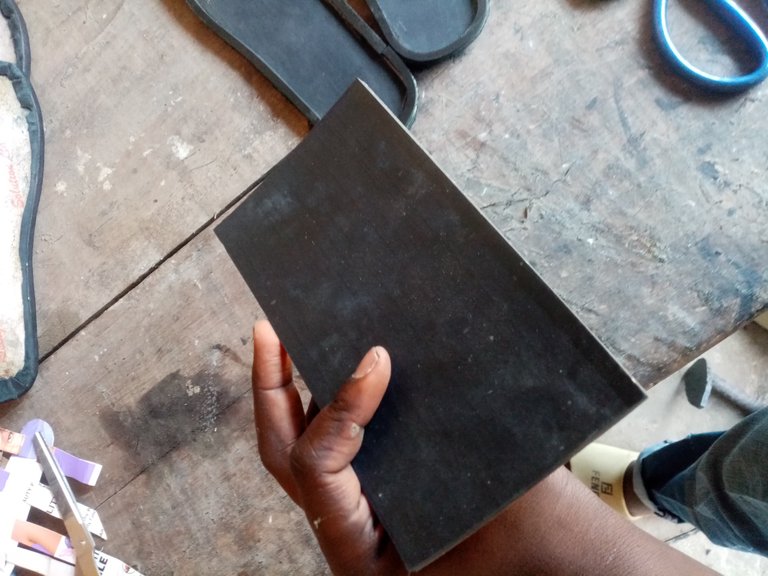
●Nora (4mm and 6mm)
●Bontex
●Maco(Eva)
●Welt
●2 pairs of buckle
● Cardboard or an unused paper pack
Then the tools
●2 pairs of scissors (one for cutting leather the other for cutting other materials)
●Cutting knife
●A filing machine
●A small brush for gum
●punch
●Hammer
●Mallet
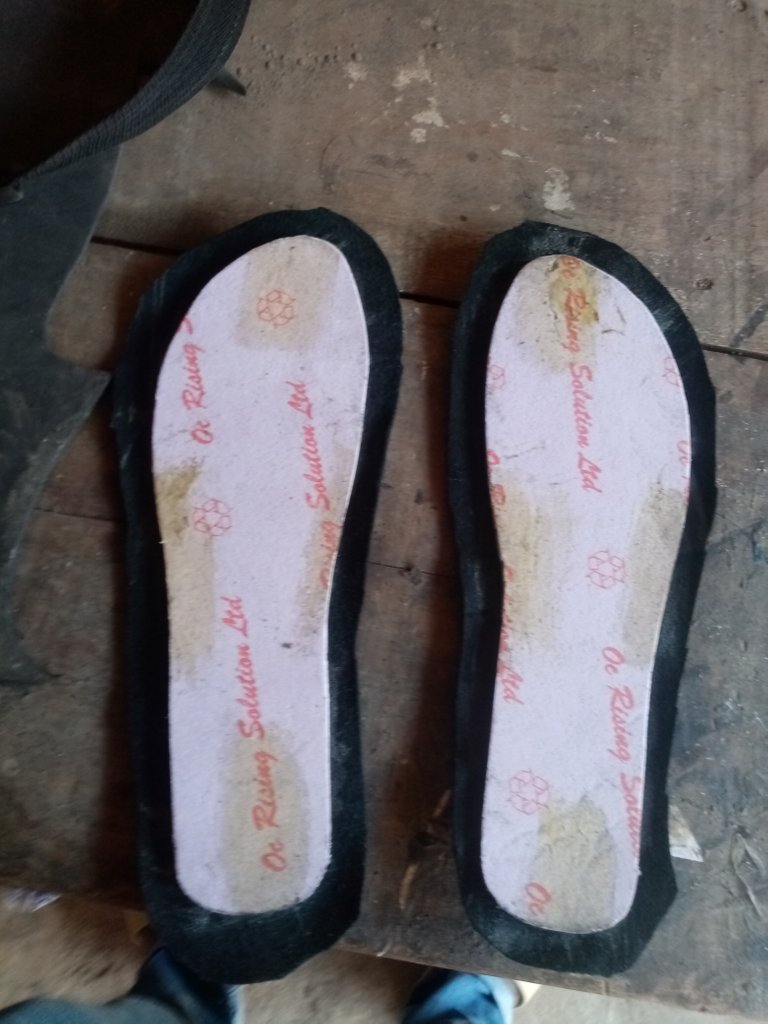
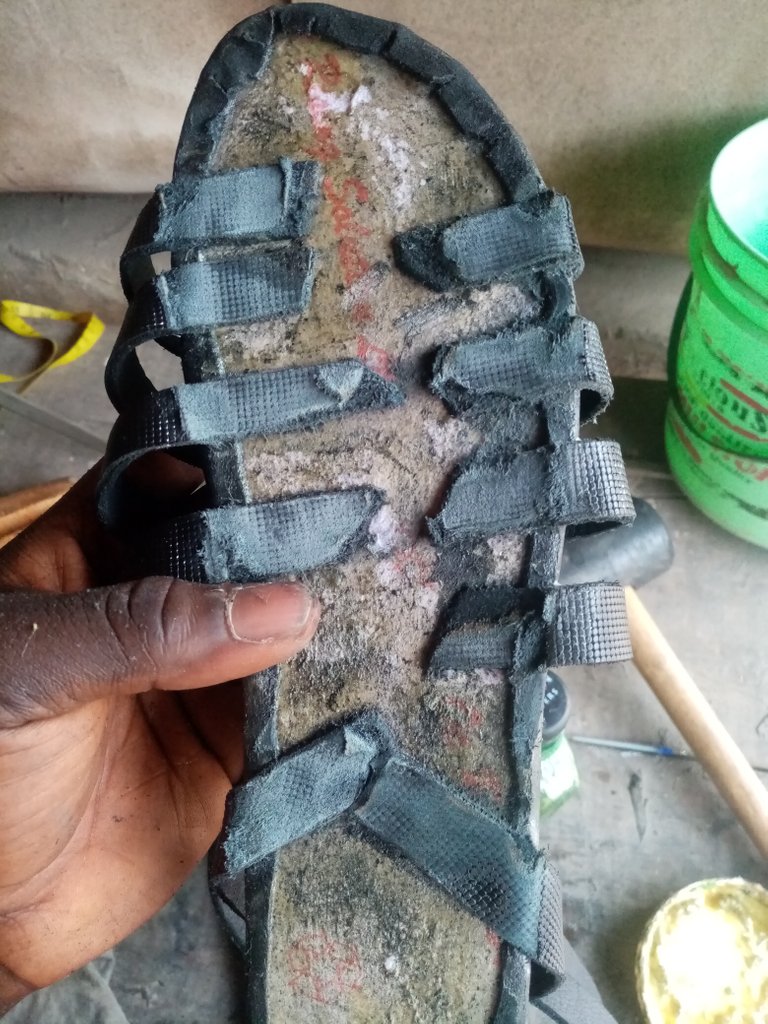
This sandals is divided into three parts, the sole, the insole and the upper, but I made both the insole and the sole together.
The sole and the insole
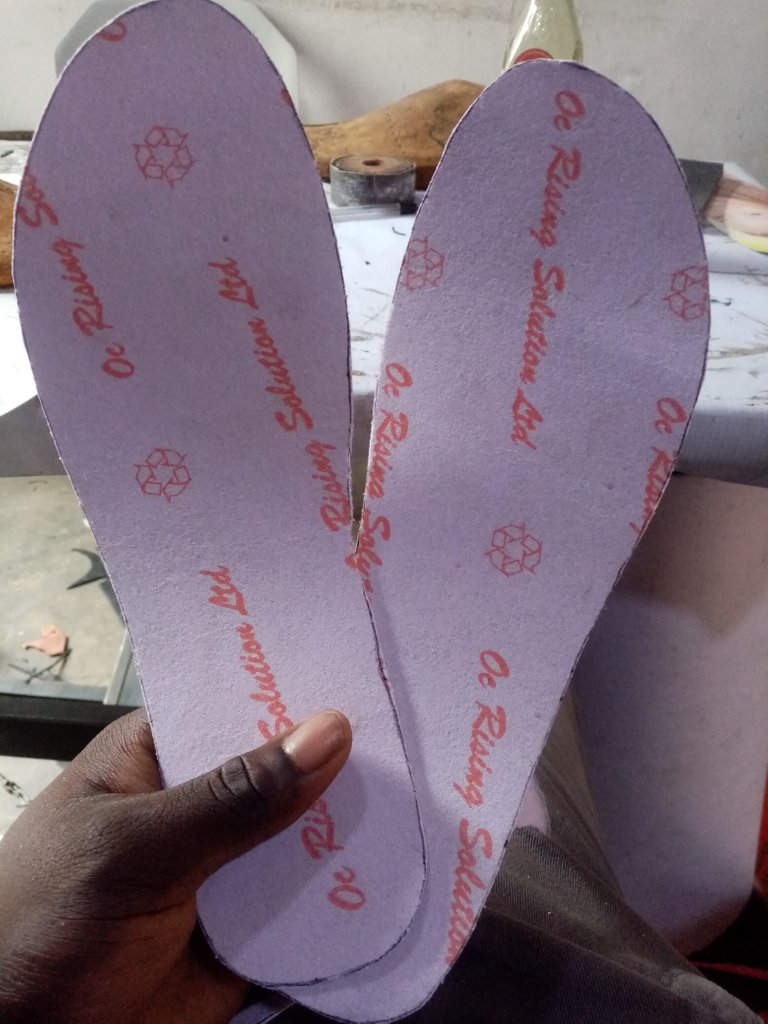
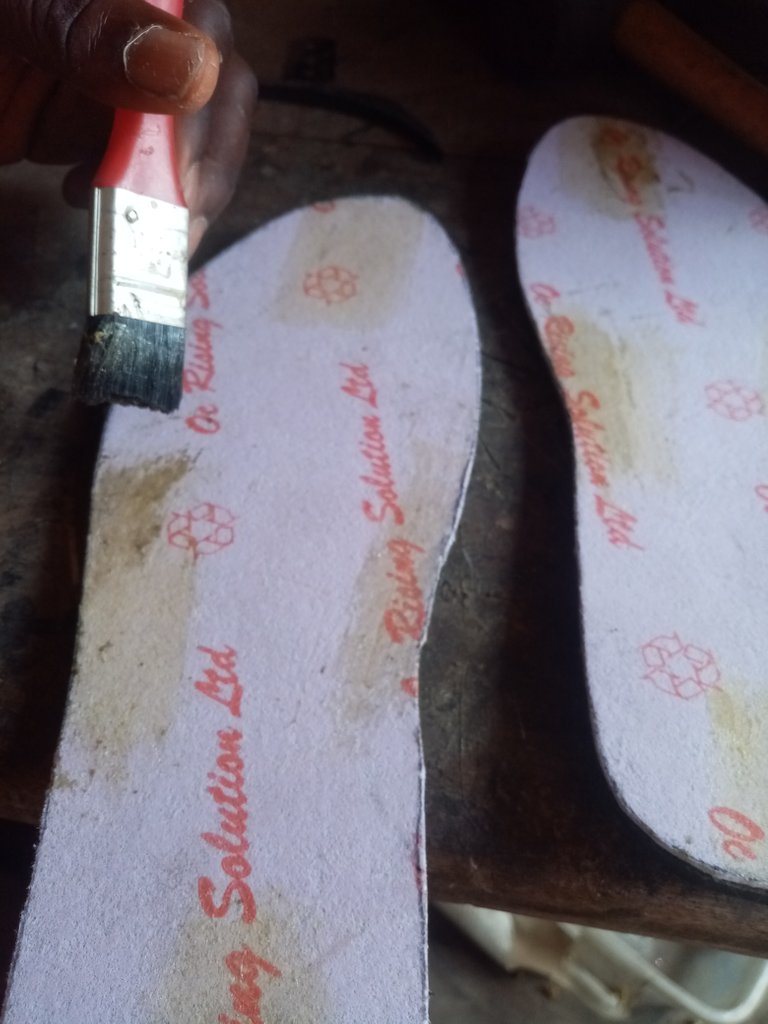
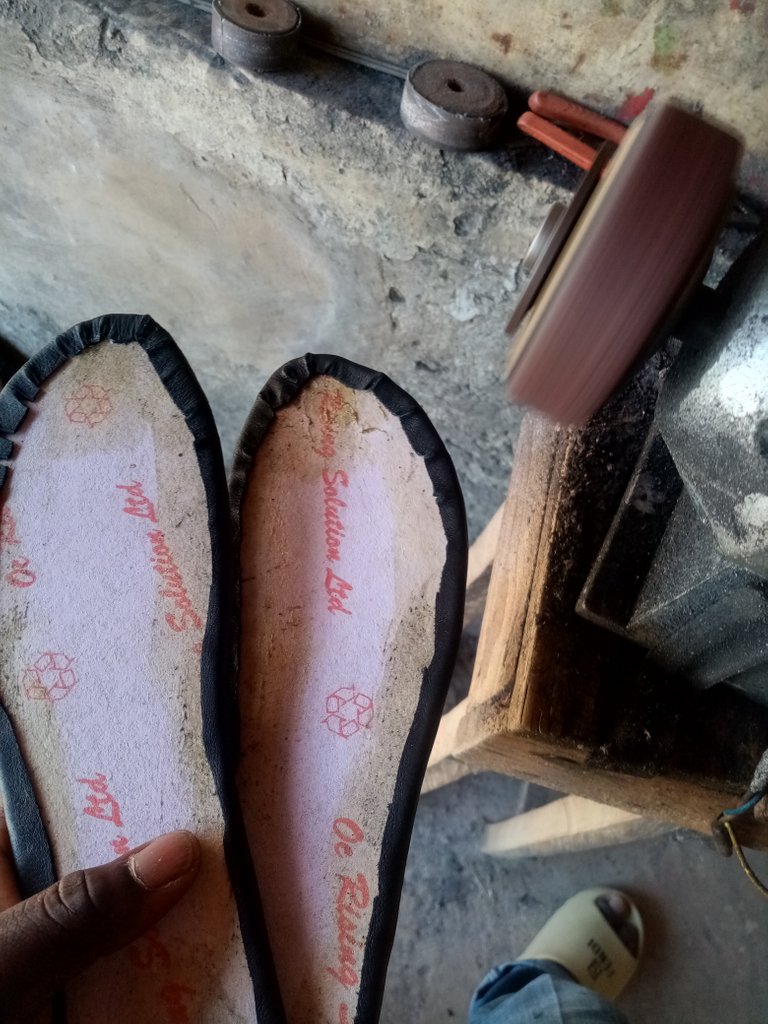
So, first I got a sketch of an Insole that was my size this wasn't difficult for me as I already created one the last time I made footwear
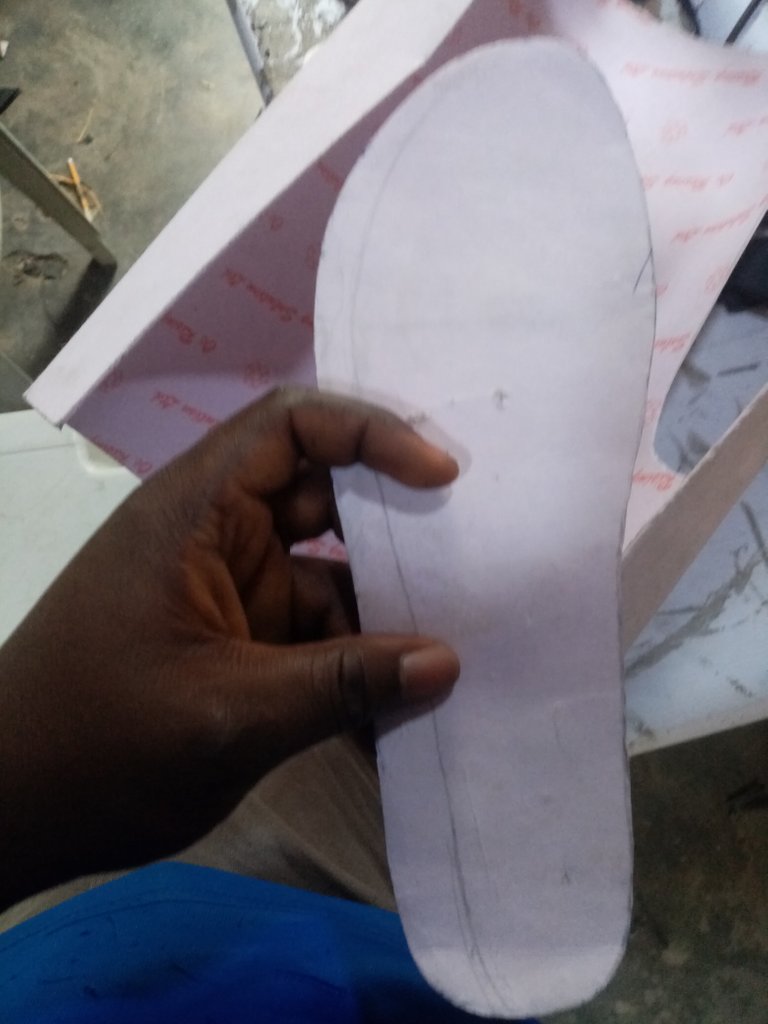
Then I traced it on my bontex and cut out

Then I placed it on my maco(Eva) and traced the shaped before applying gum to both the maco(Eva) and the bontex

Once the gum was dry I placed the bontex on the maco(Eva) and cut it out
Then I applied little gum at the four corners of the bontex side of the Insole sandwich
After it dried I put it together
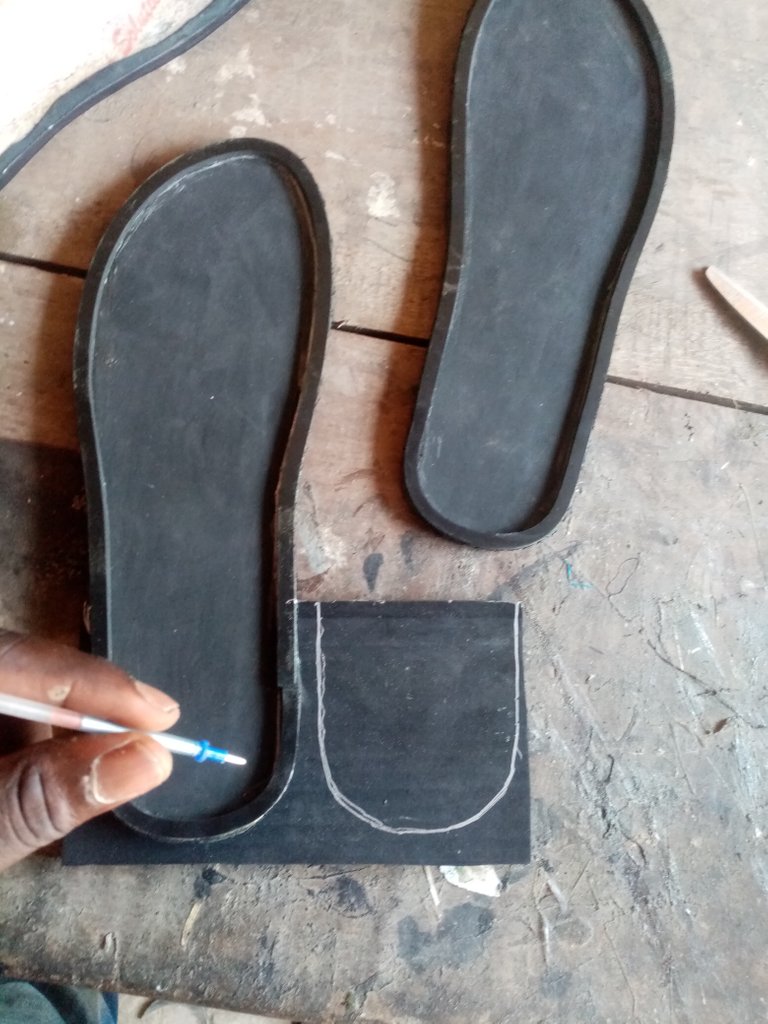
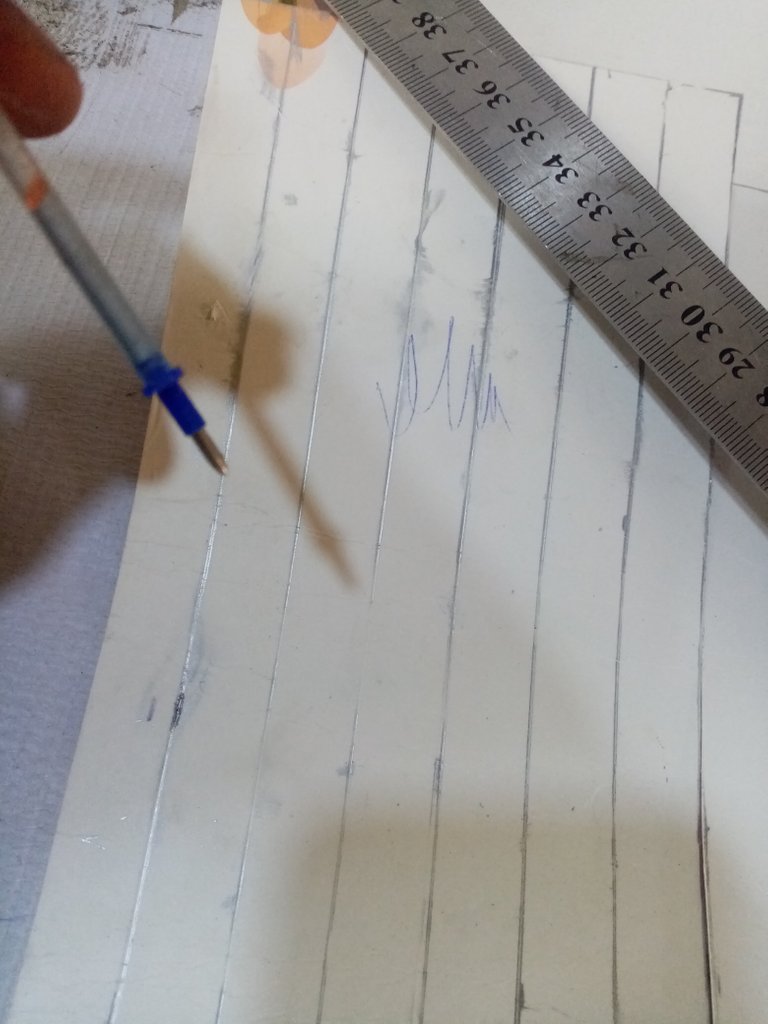
Then I used this to trace on my Nora (for the sole)
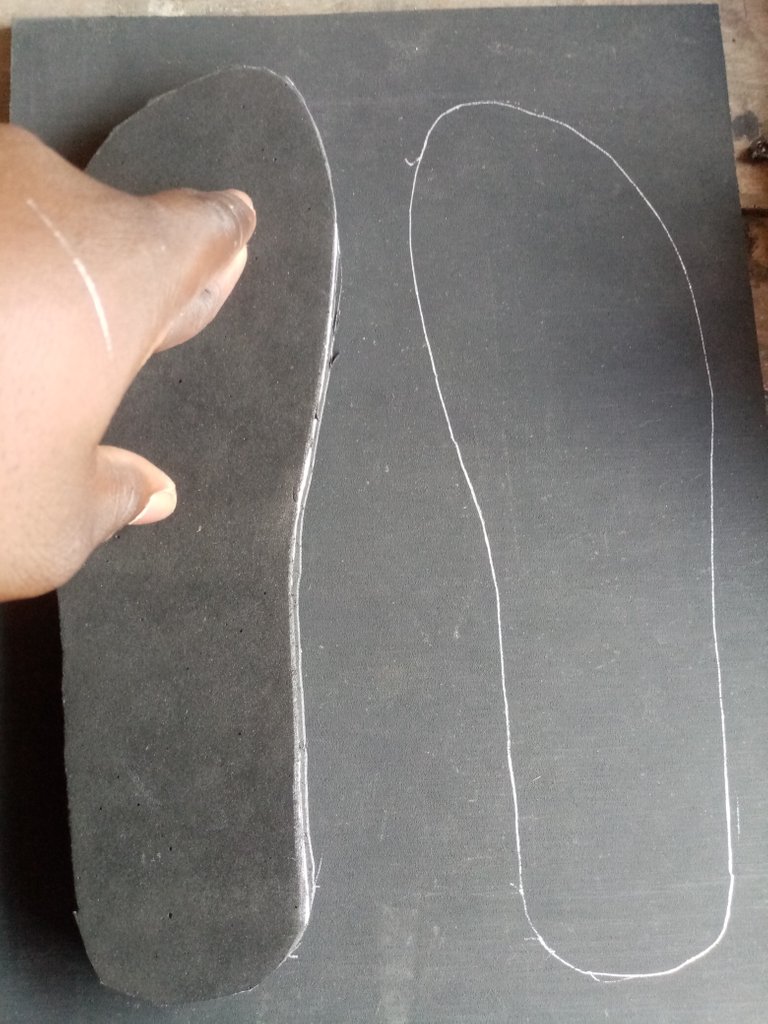
Notice how I left enough space in between the two sketches
Then I cut out the shape with the space
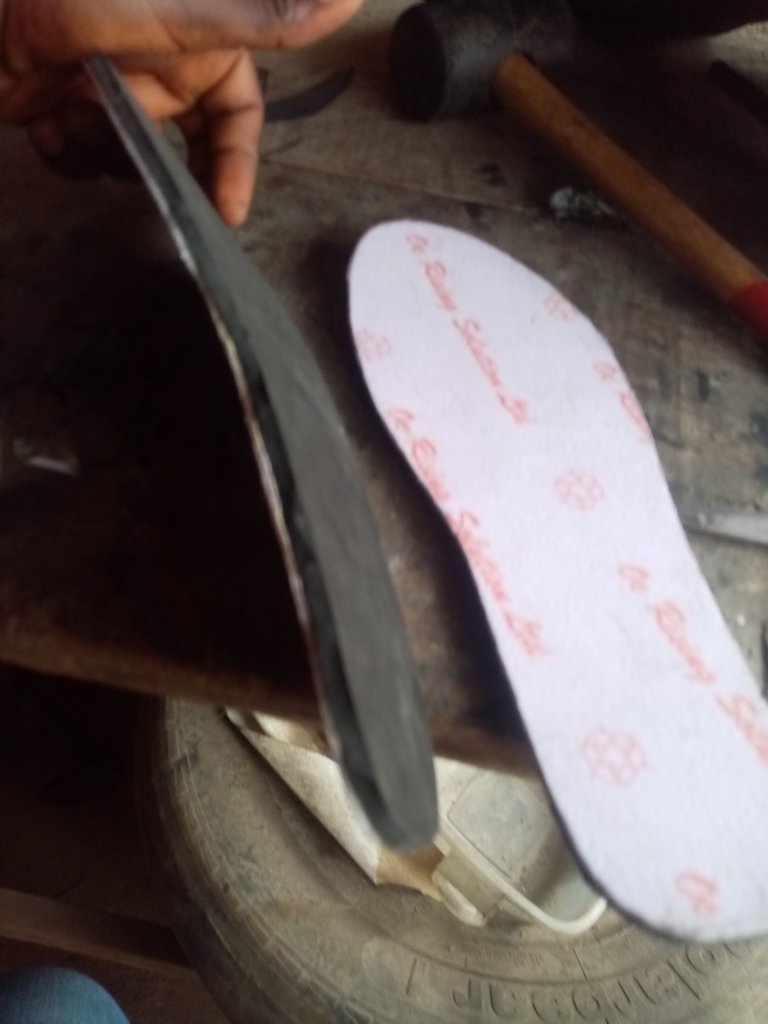
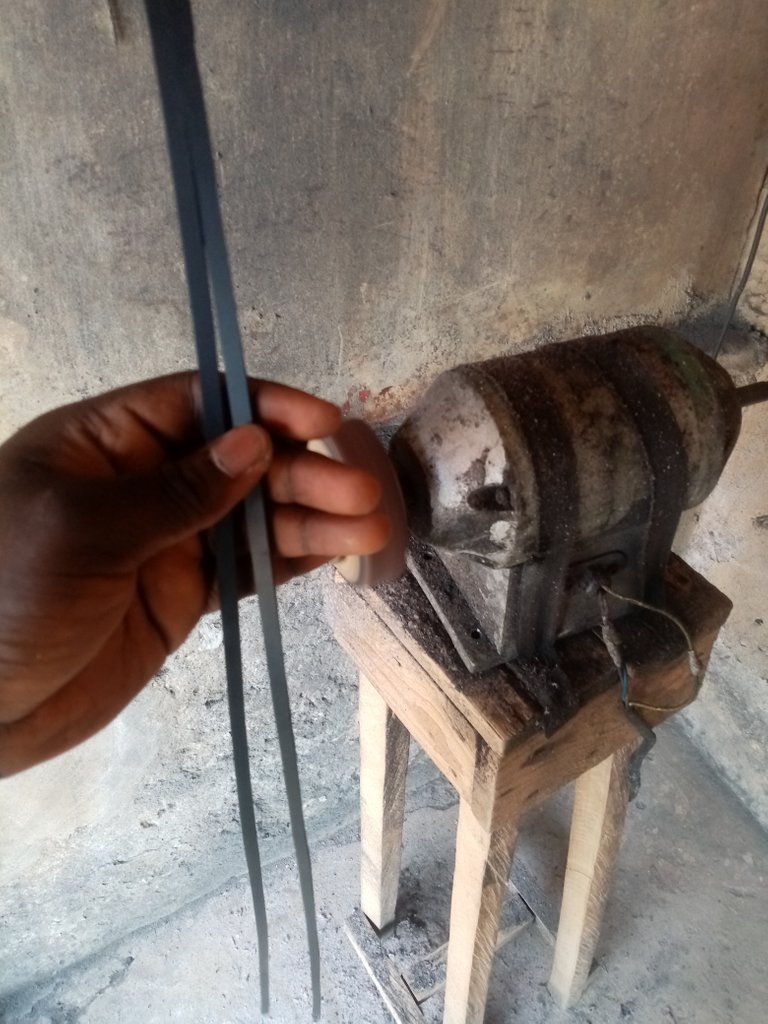
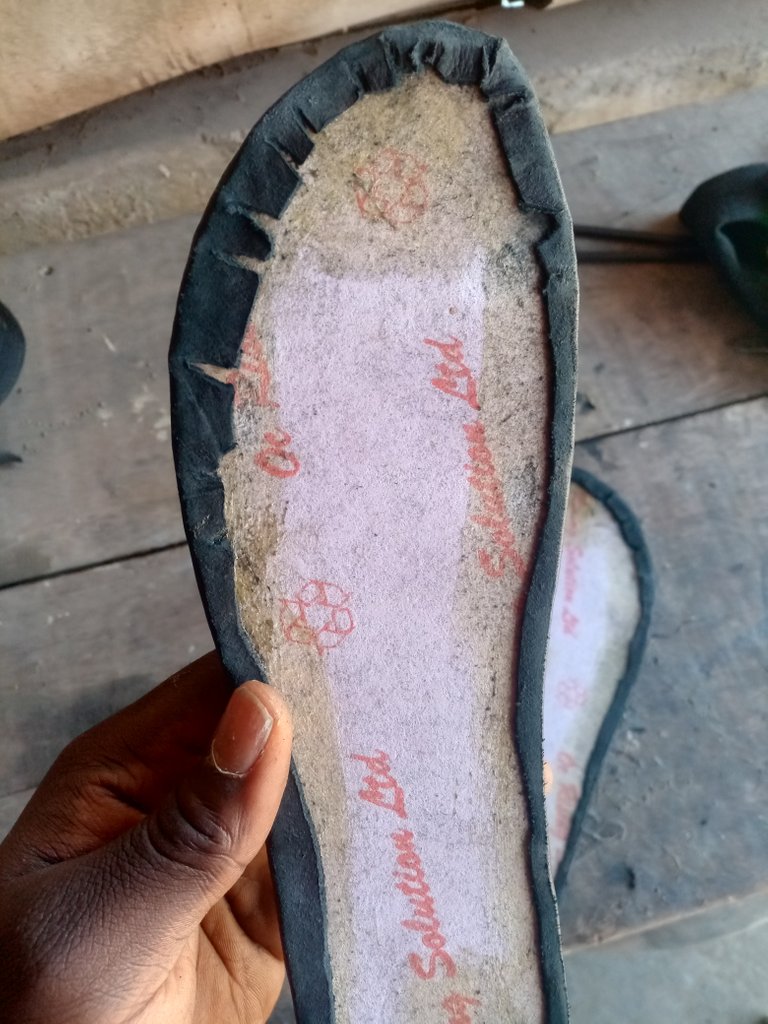
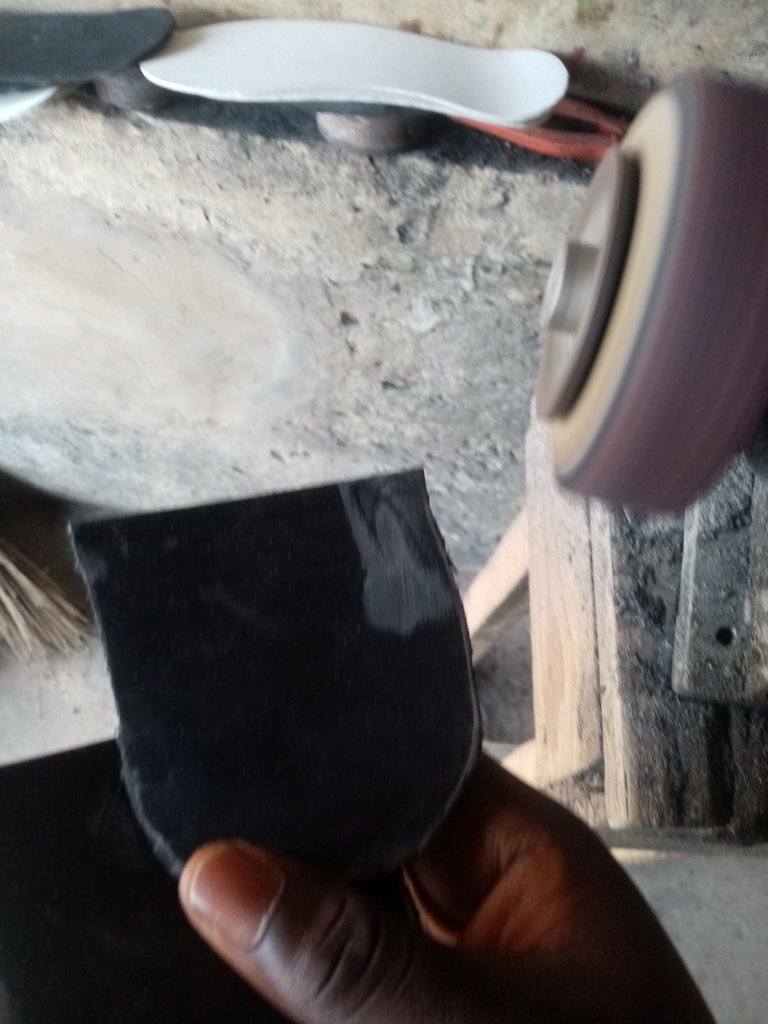
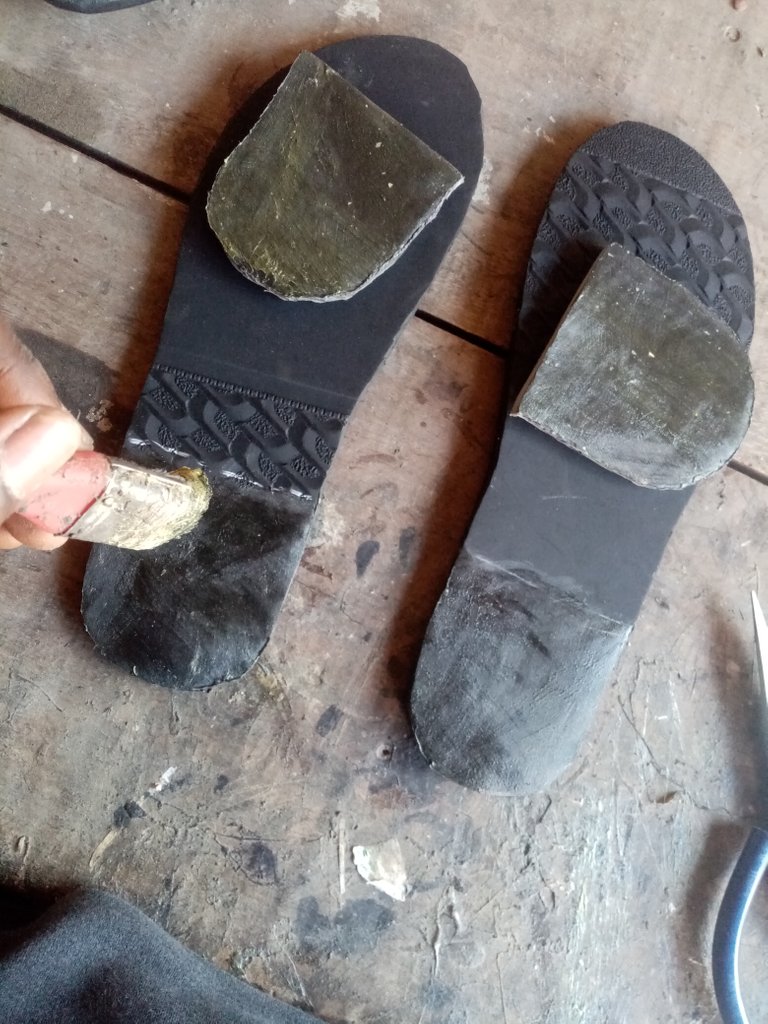
Then I took the insole, Nora and my welt and smoothed them with my filing machine
Before filing
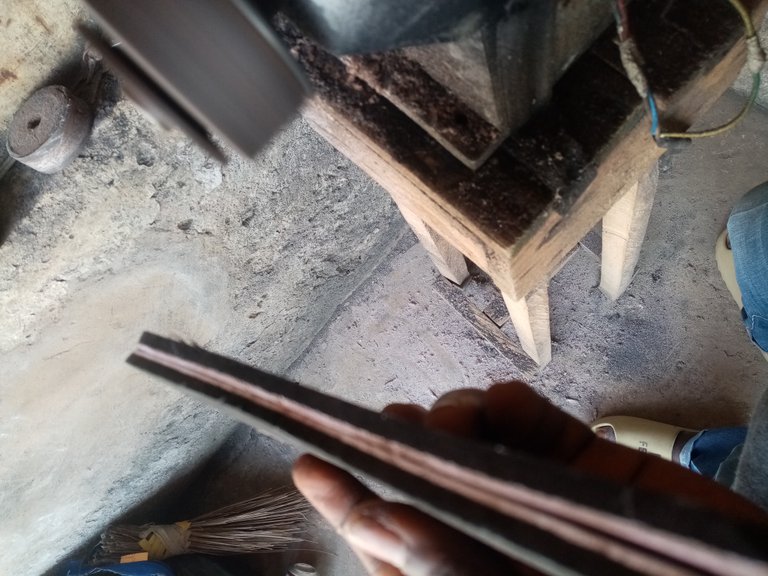

After filing
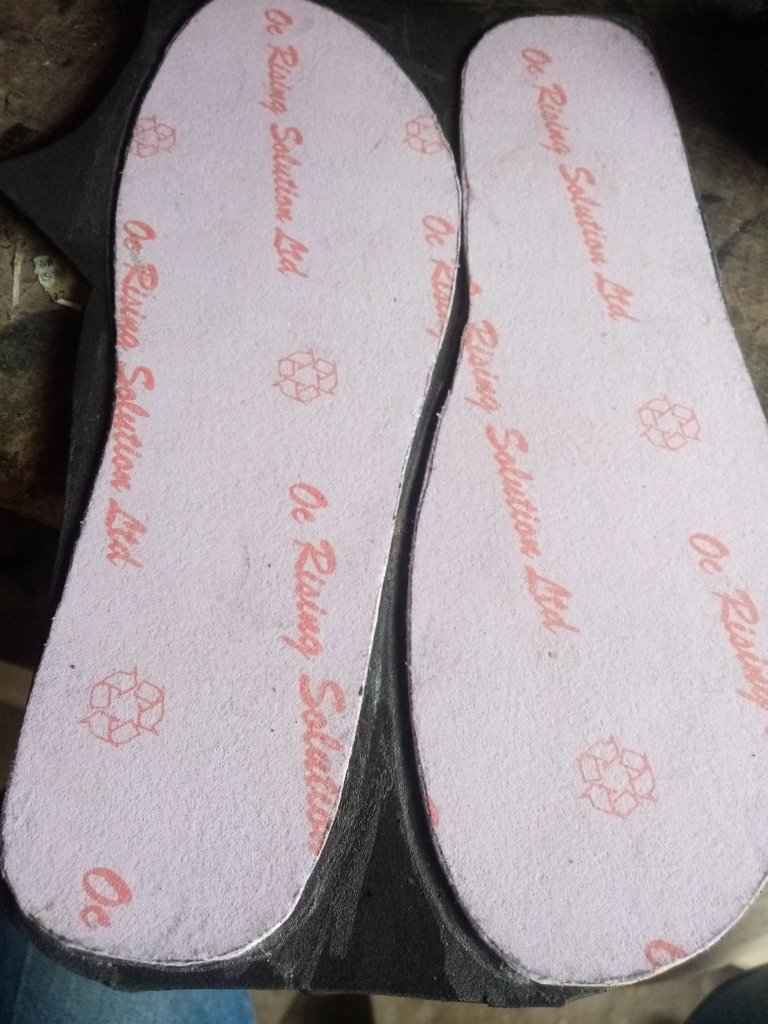
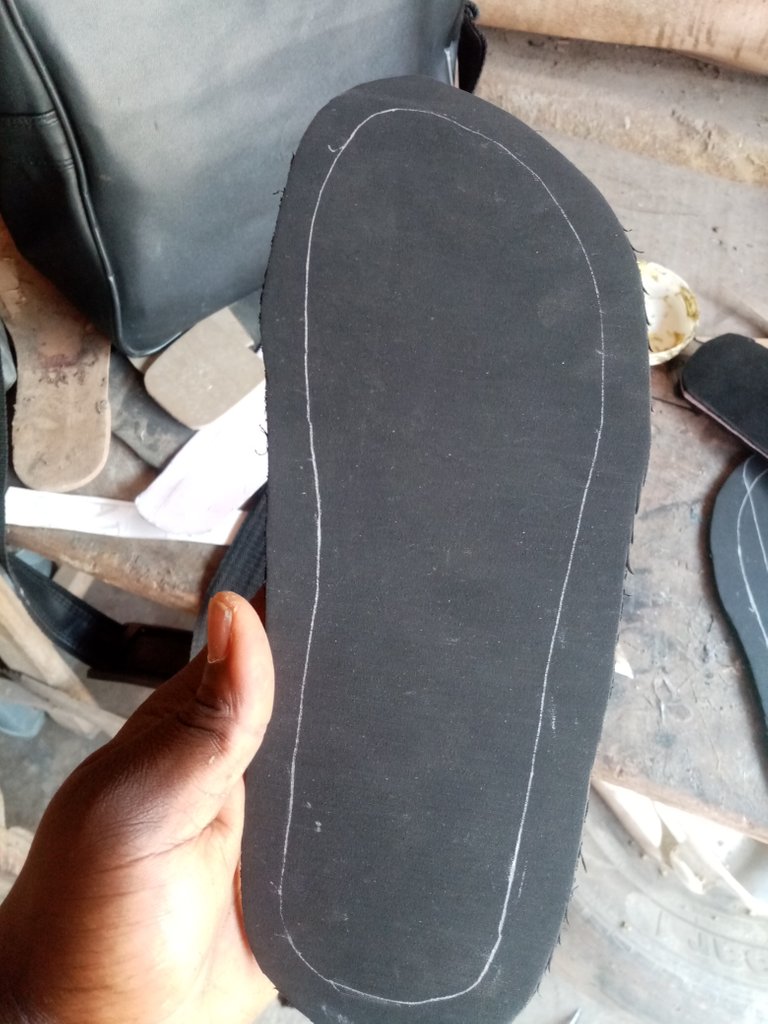
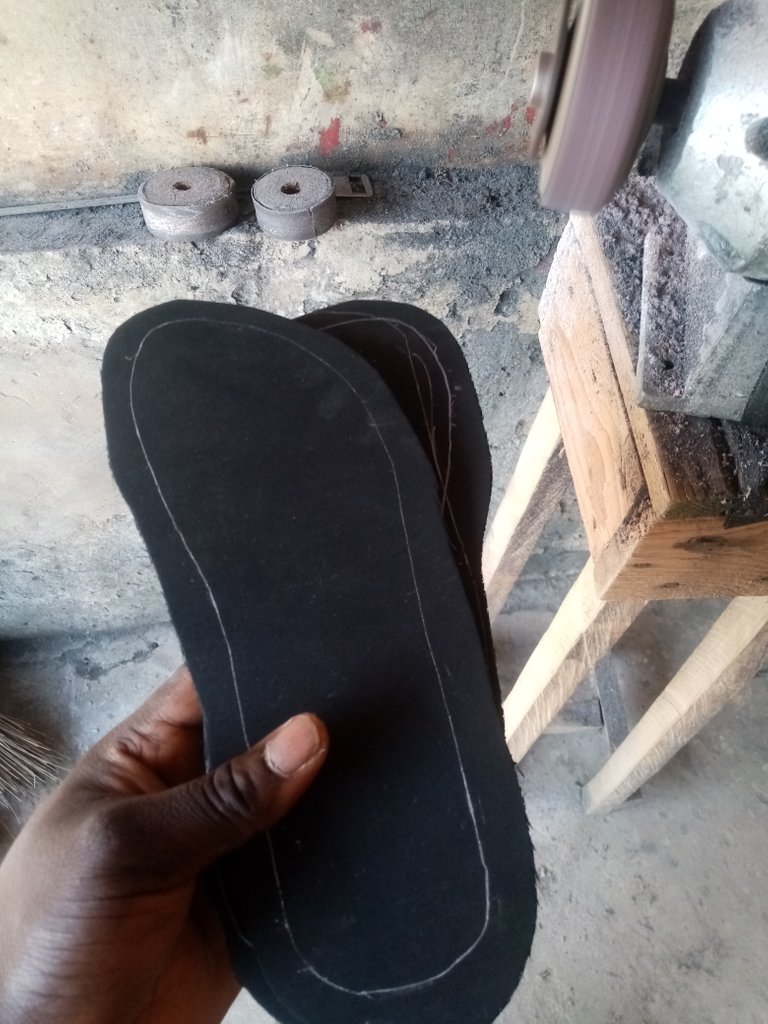
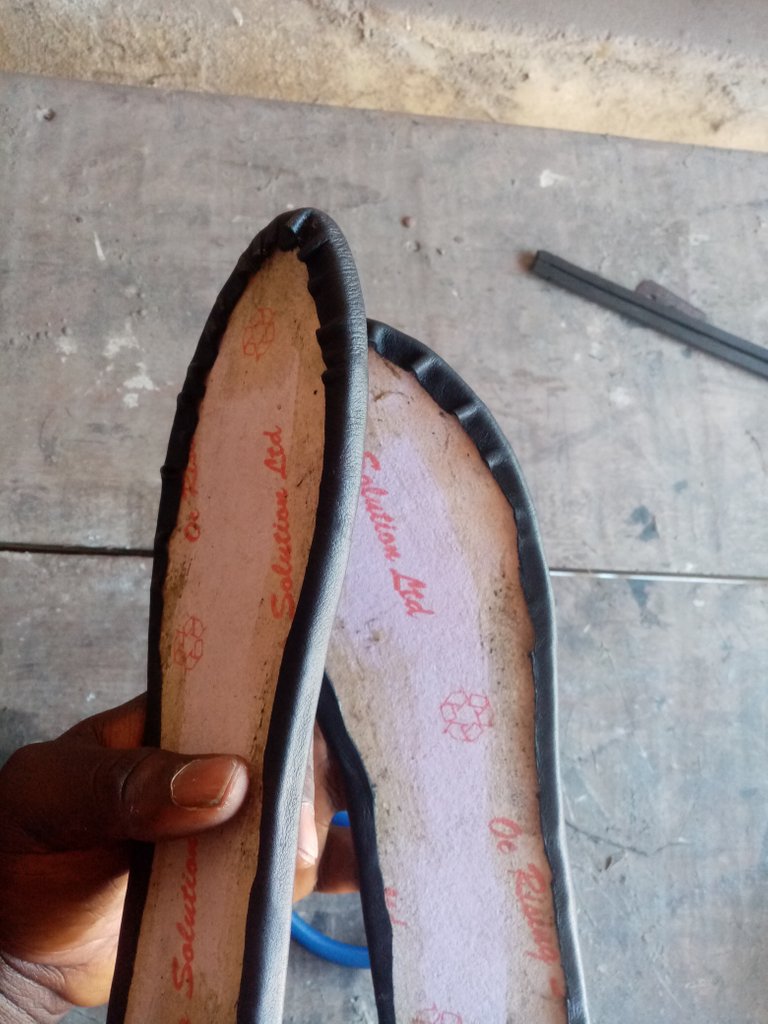
Then, I separated the insoles and traced them on my lining leather. I made sure I left a little space in between
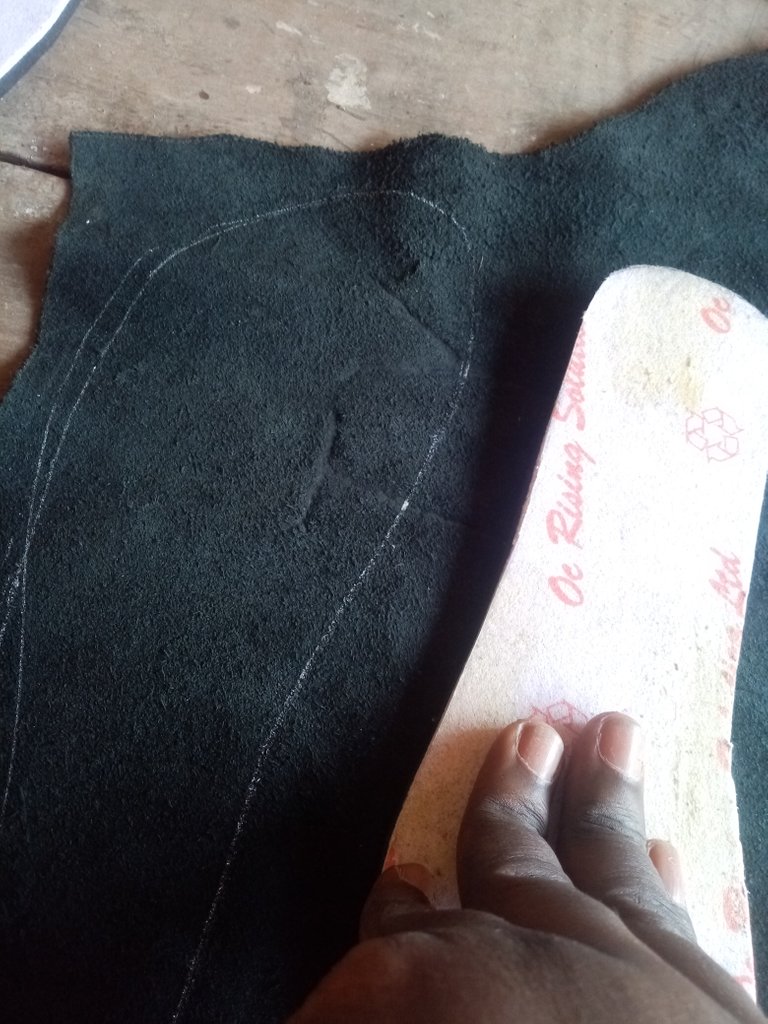
After that I applied gum on the maco(Eva) side of the Insole and also on the traced part of the lining leather
Once it was dry I placed them together and beat them with a mallet
After which I cut it out with the space
Then I applied gum at the edges of the bontex side of the Insole and also on the leather
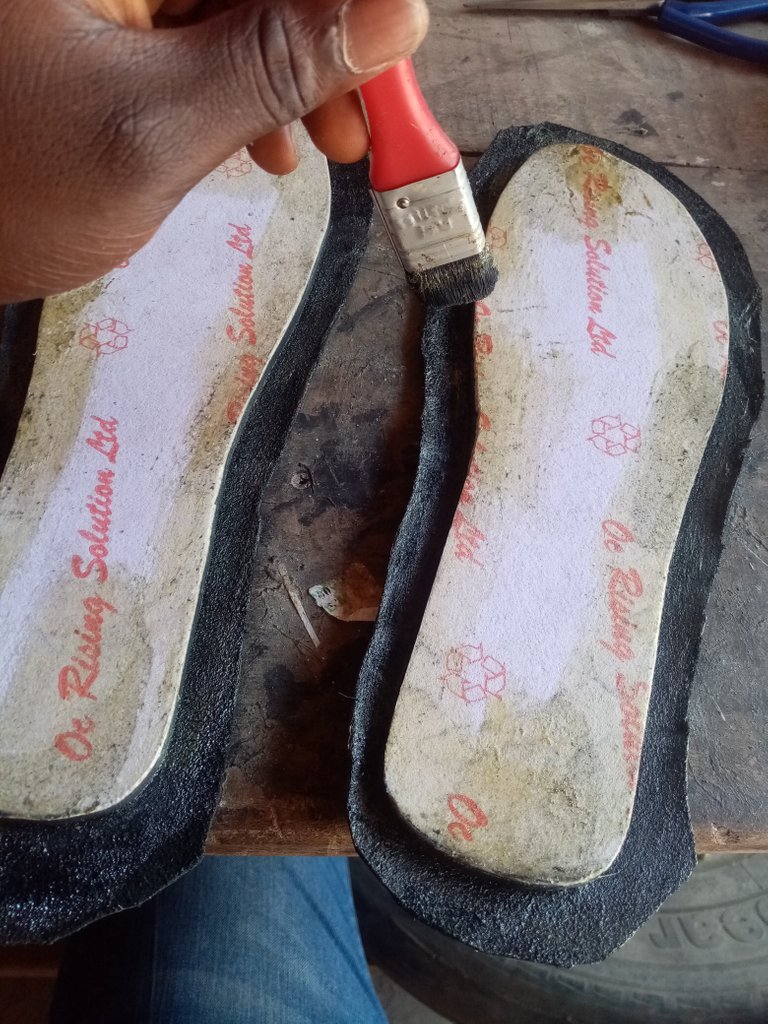
Once it was dry I folded the leather unto the insole like this
Making sure all the edges were smooth, Then i used scissors to cut all the folds
I then used the filing machine to smoothen the folded side
before
After
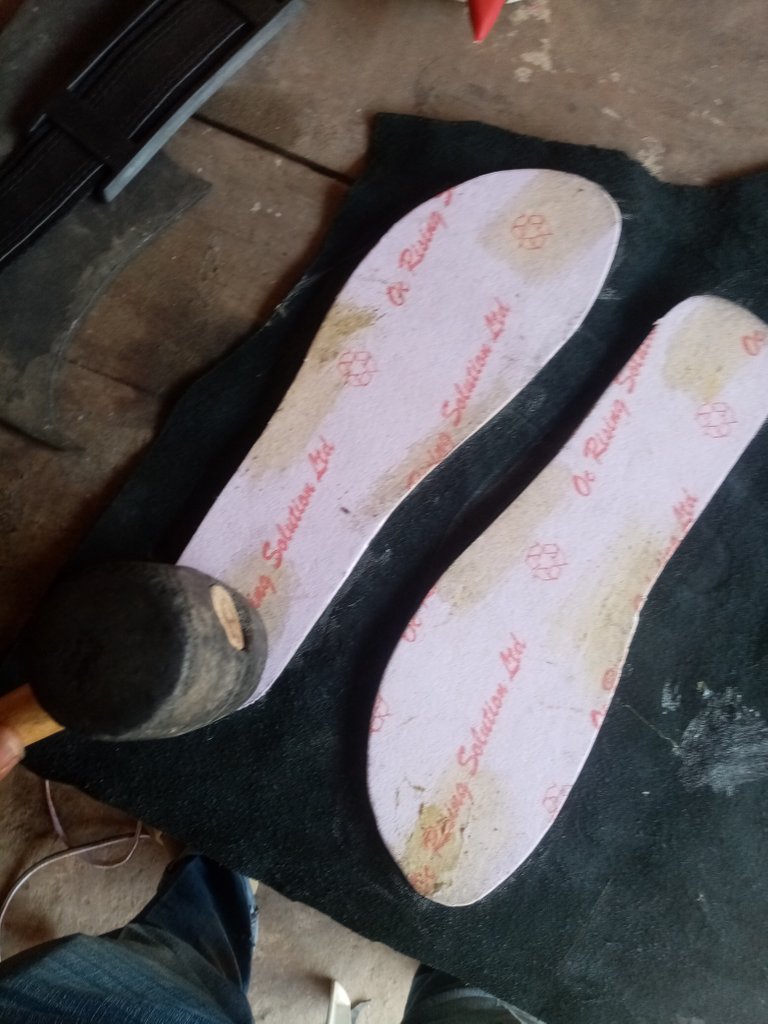
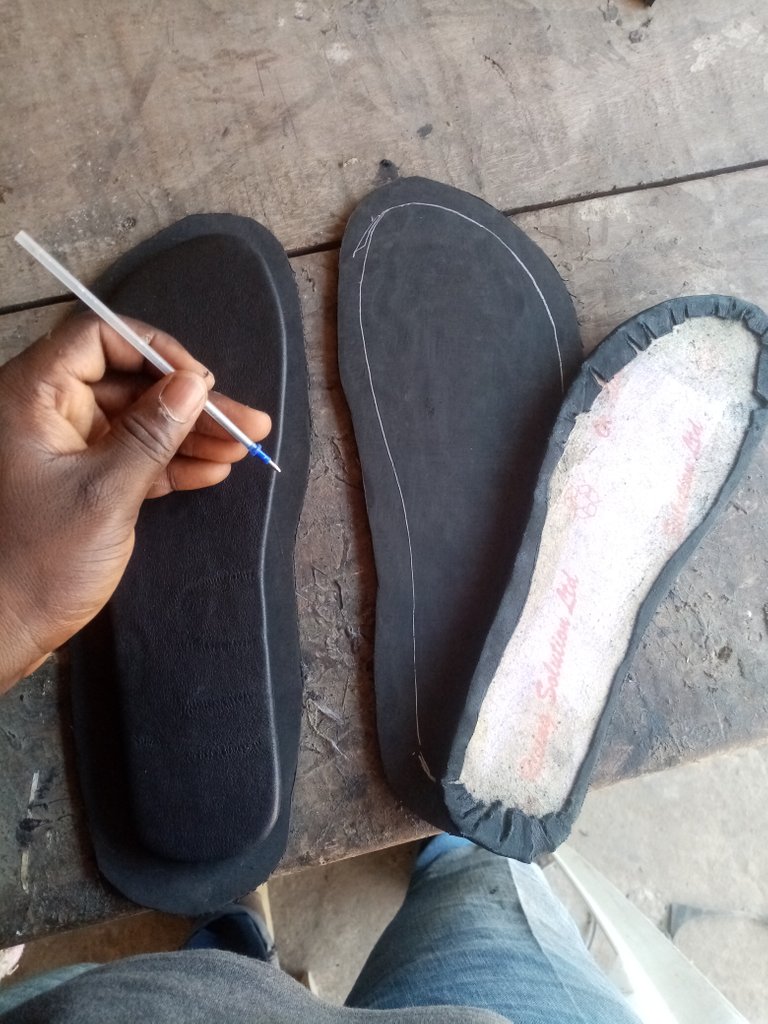
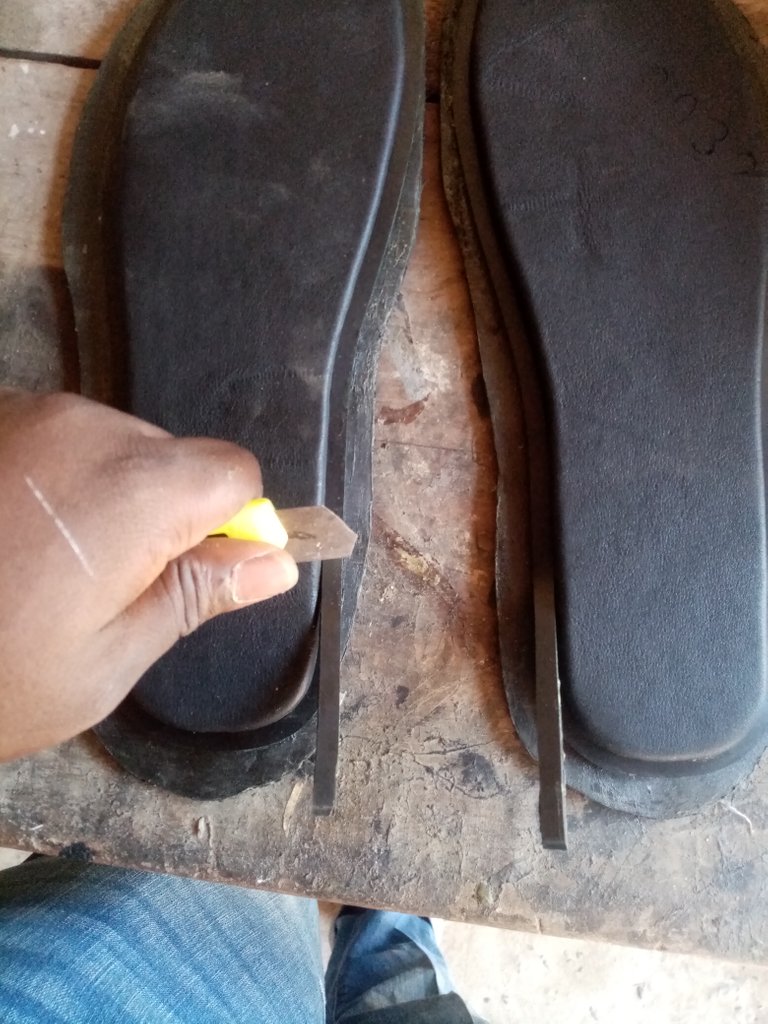
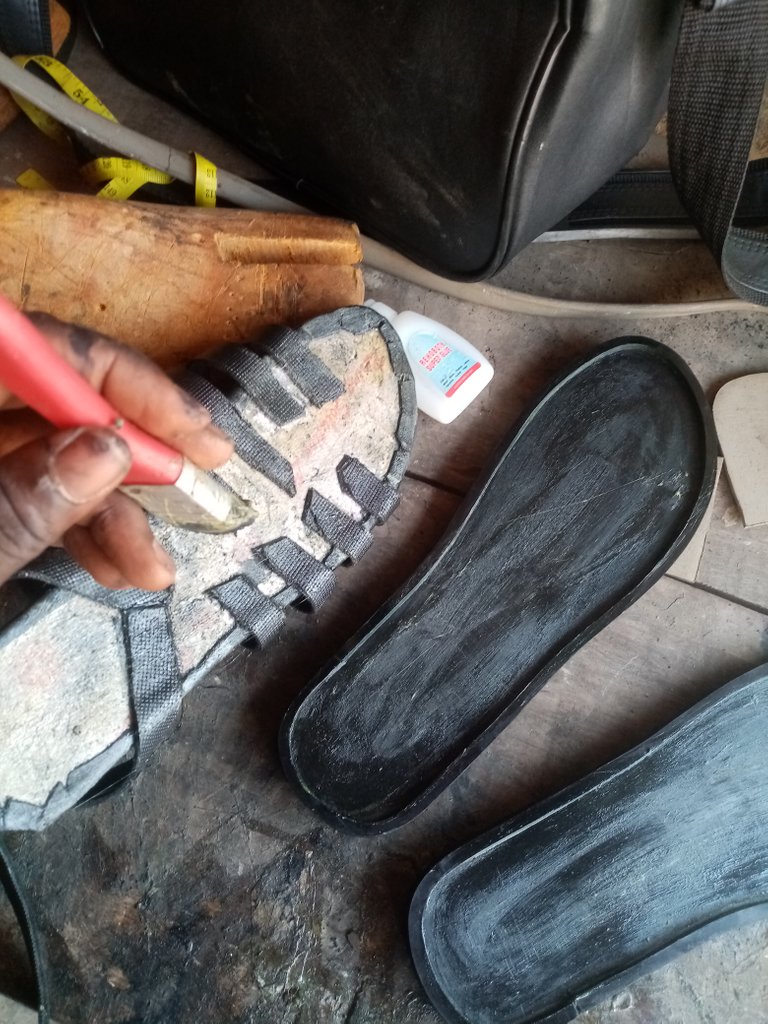
Then I placed the insole on the already cut out Eva and traced it
I applied gum at the edges of the Nora and also on the welt
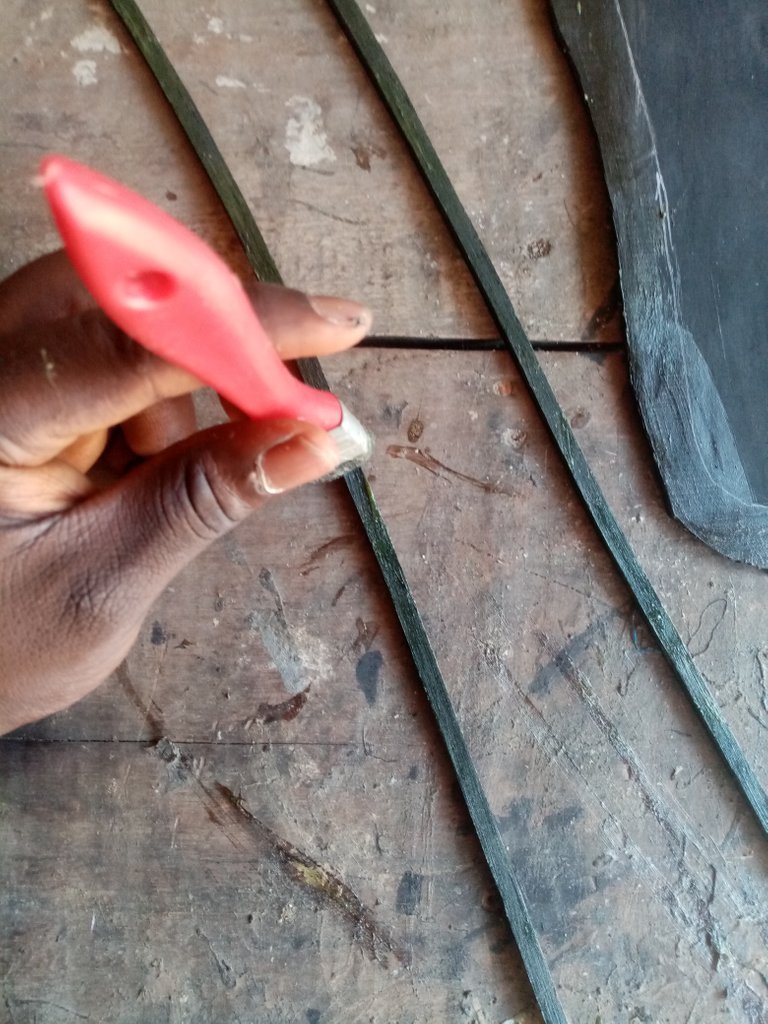
Once It was dry I placed the insole in the tracing then put my welt around it making sure it was very firm. Then I used a cutting knife to cut the excess welt
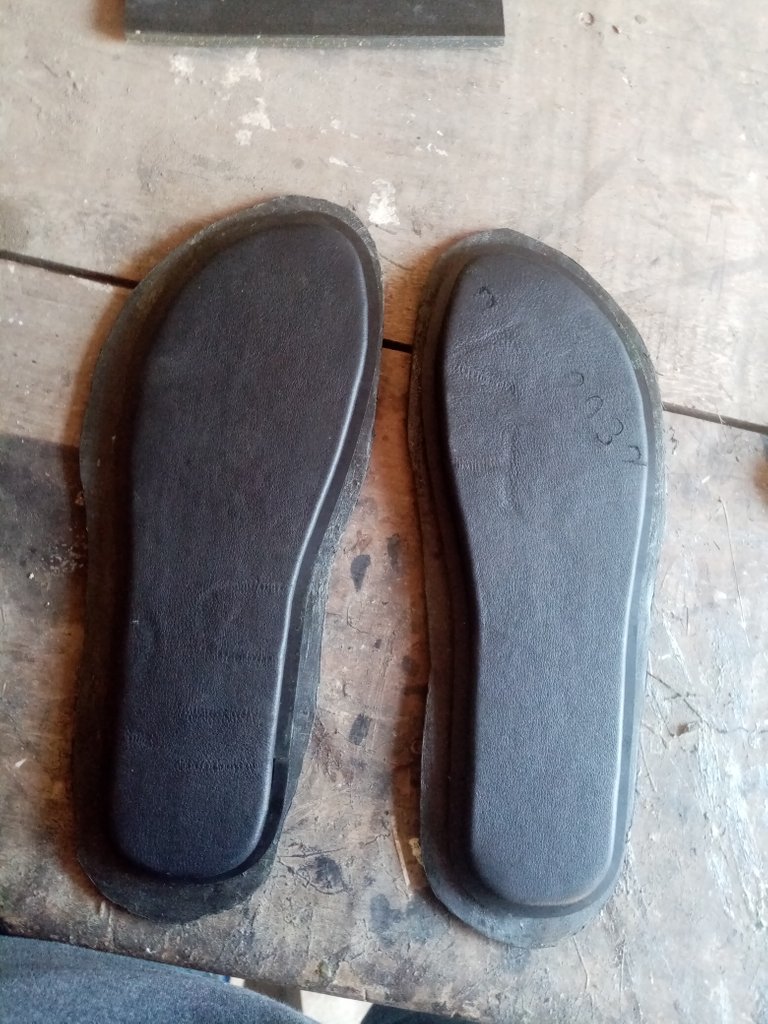
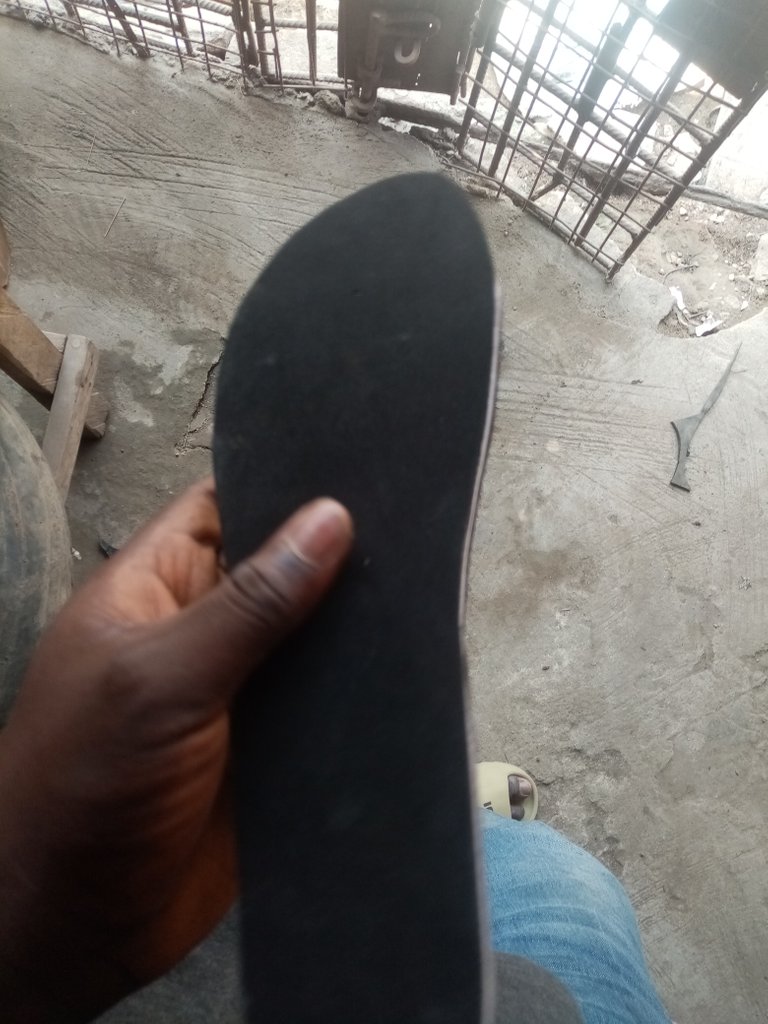
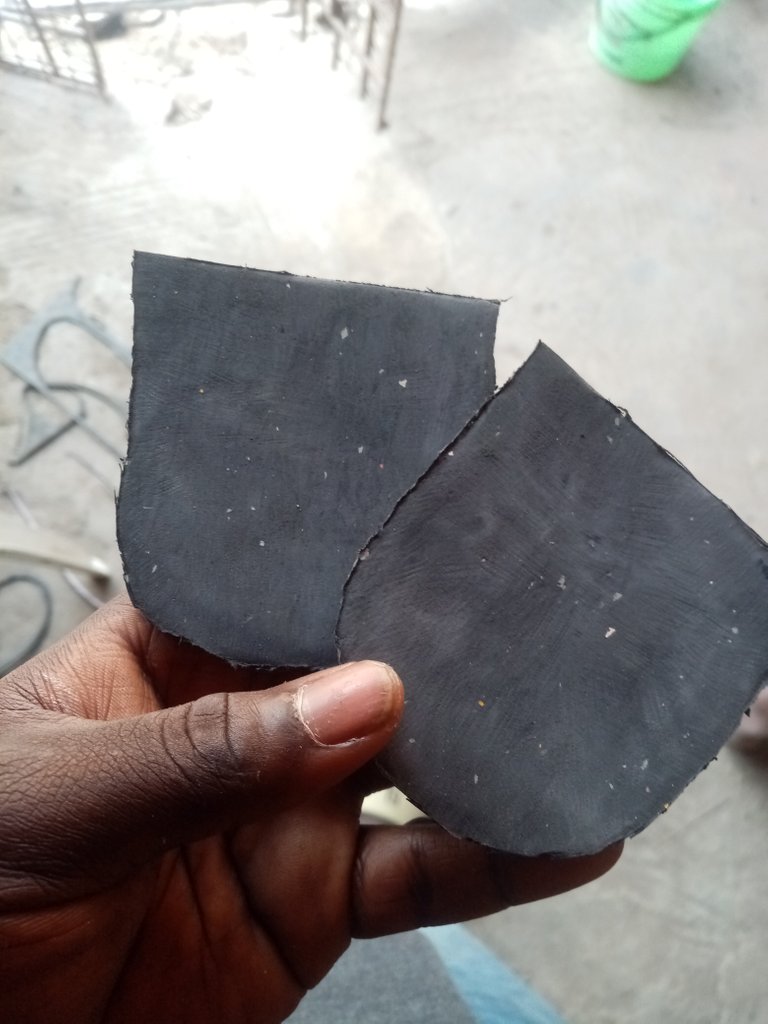
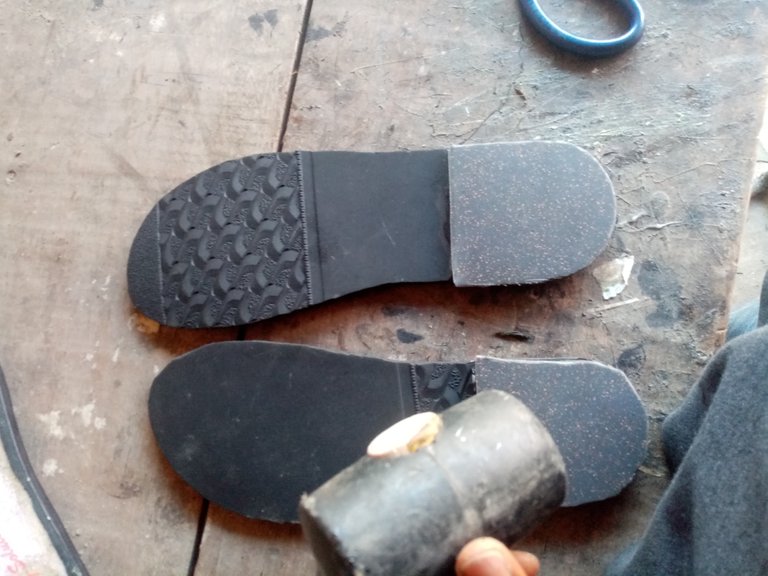
Then I removed the insole from the almost complete sole and cut the excess nora
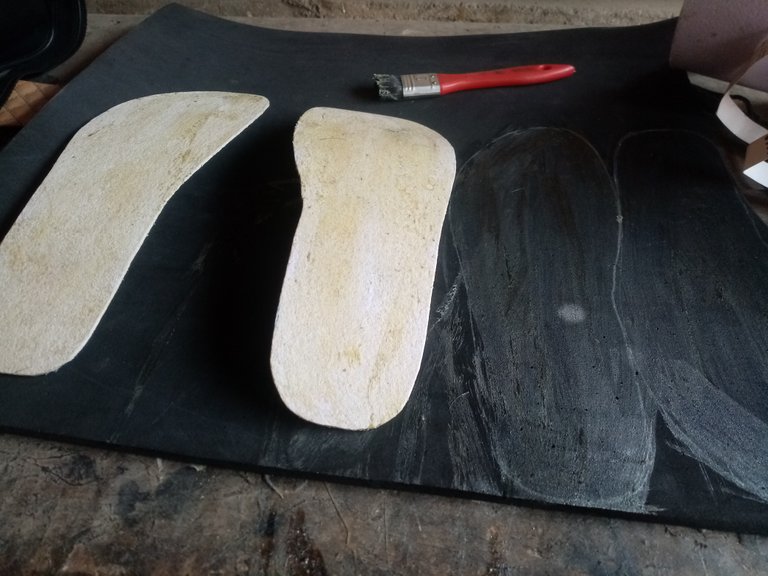
Then I picked up my 6mm thick Nora, traced the heel part of the sole on it and cut it out
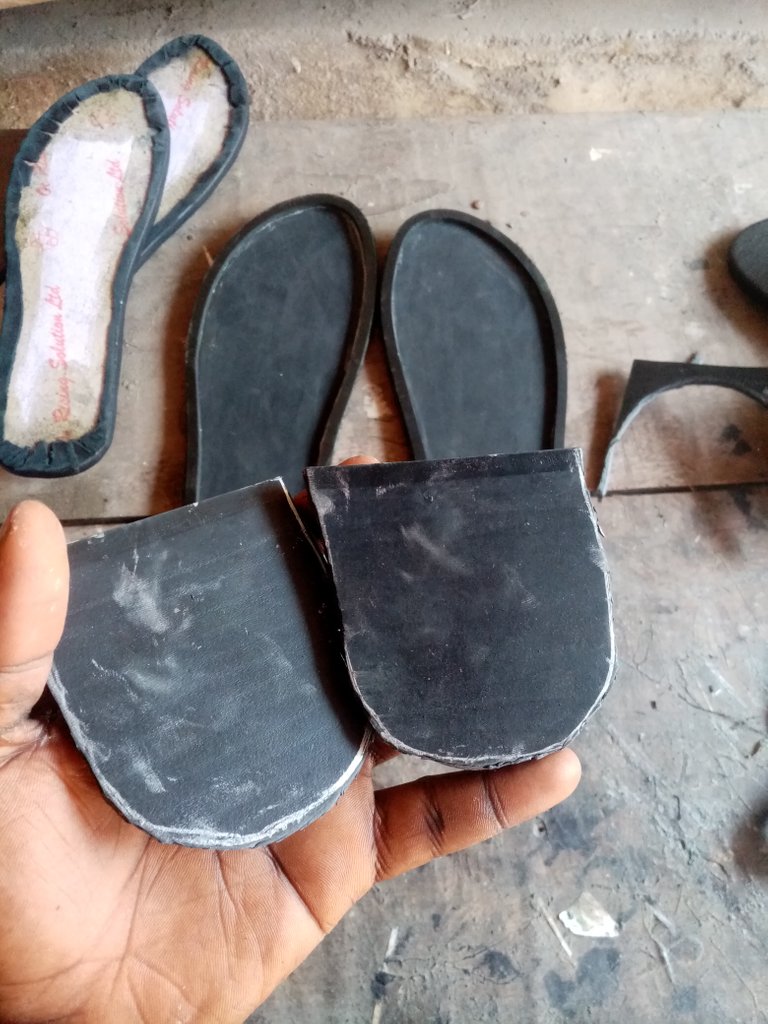
Then I placed the heels on the under side of the sole and drew a line to know where the heel stops
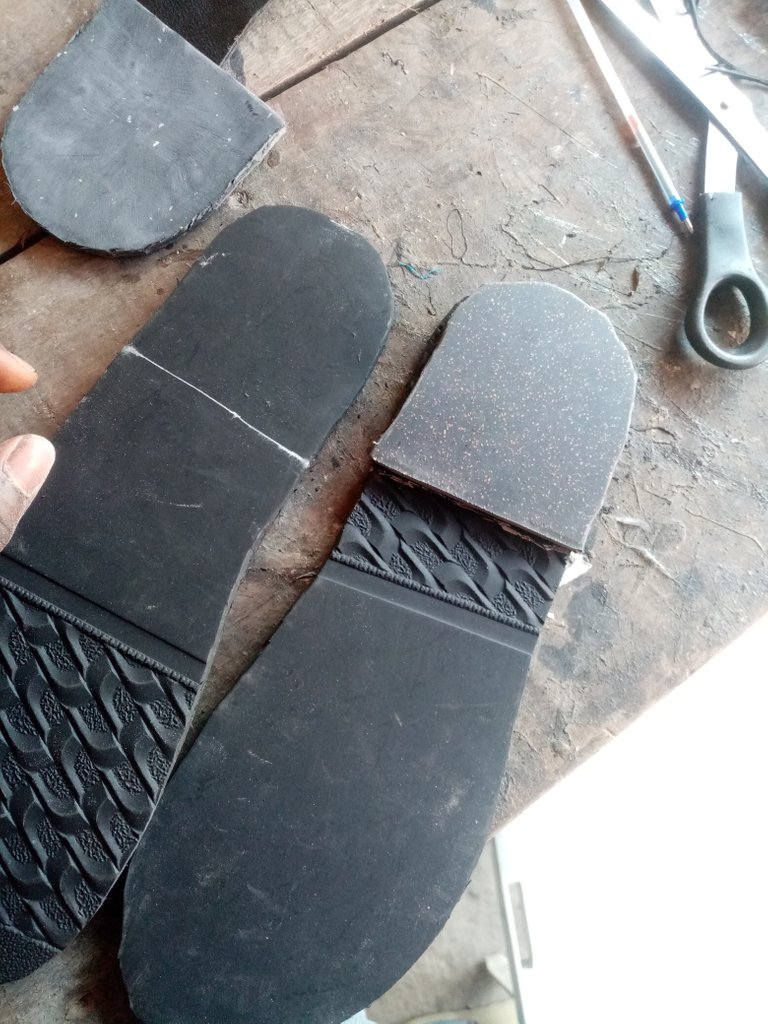
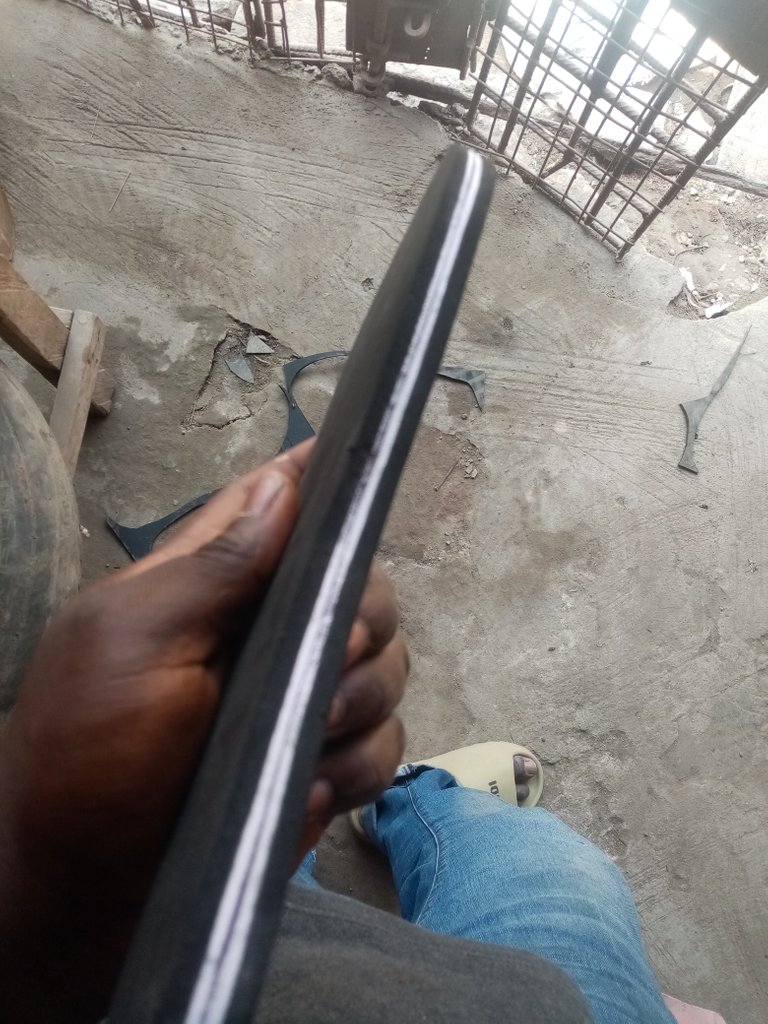
Then I used the filing machine to smoothen both the face and the edges of the heel and the under part of the sole where the heel stays
Before
After
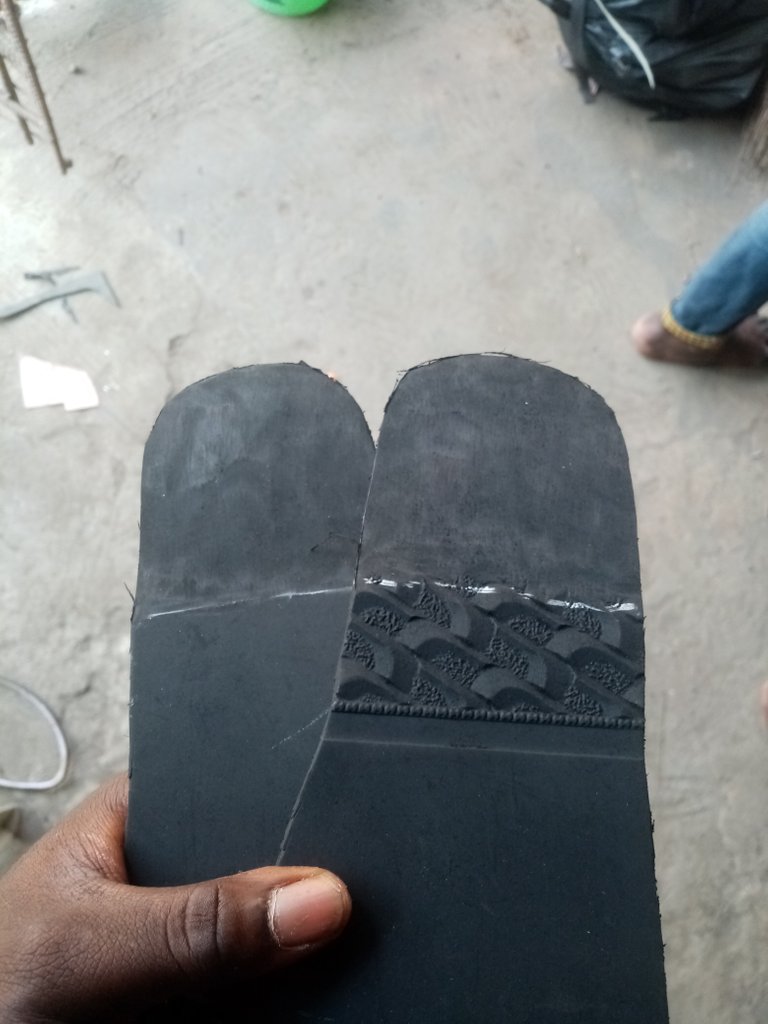
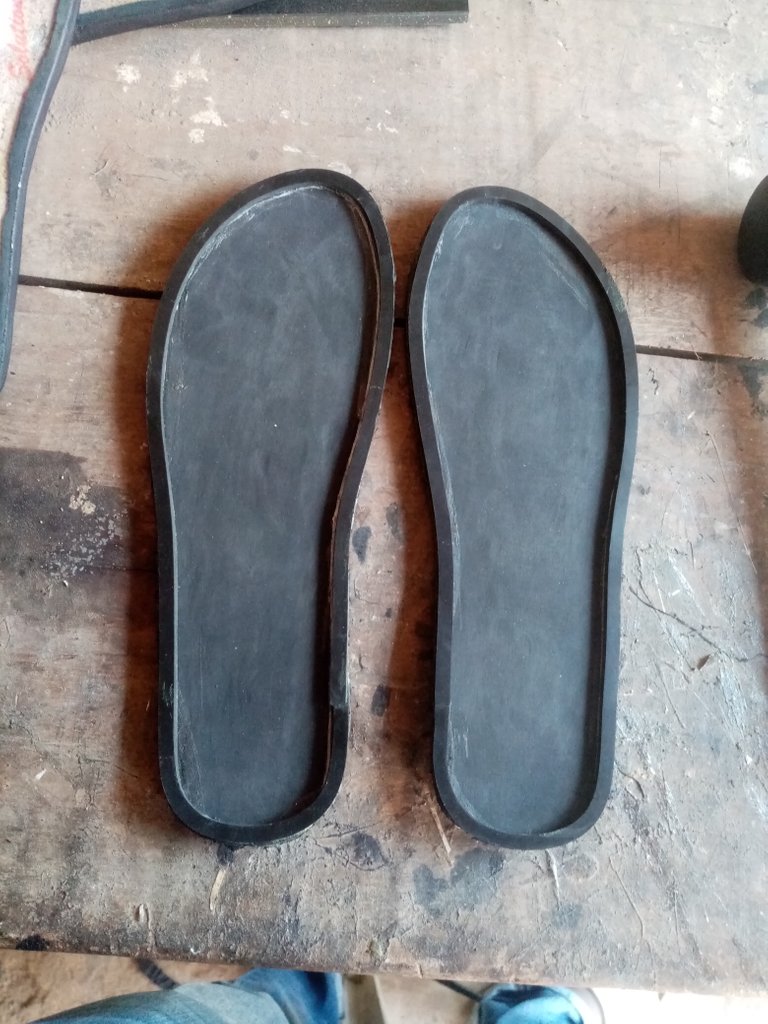
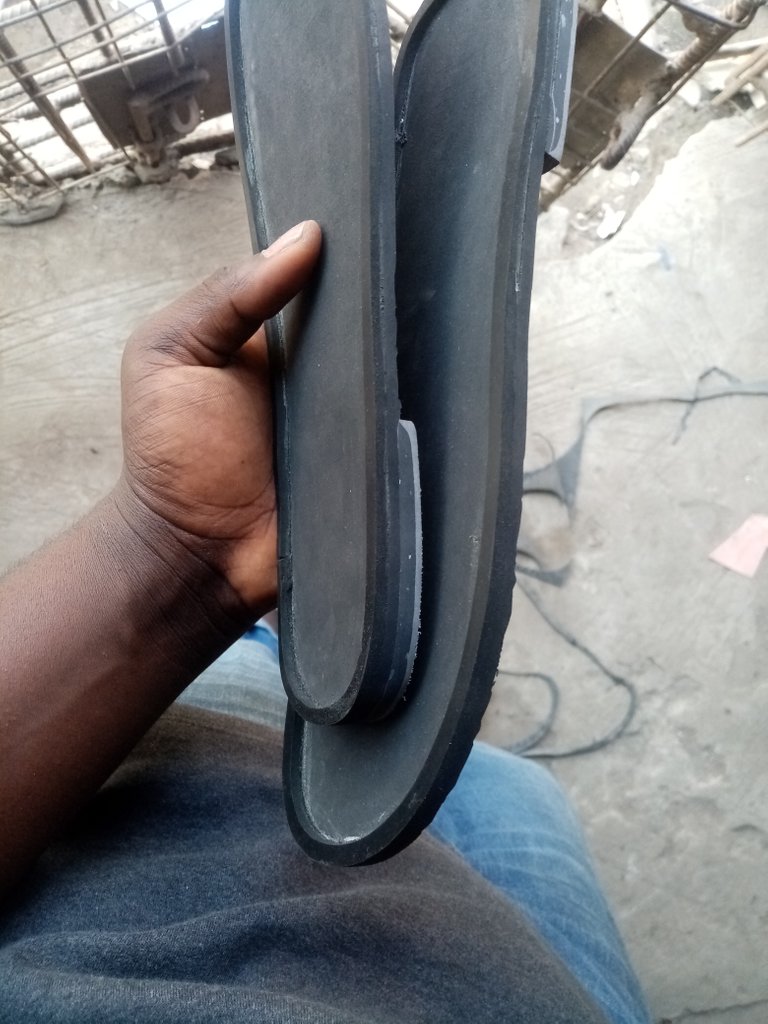
Then I applied gum on the smoothened sides, once it was I dry placed them together and beat them with a mallet
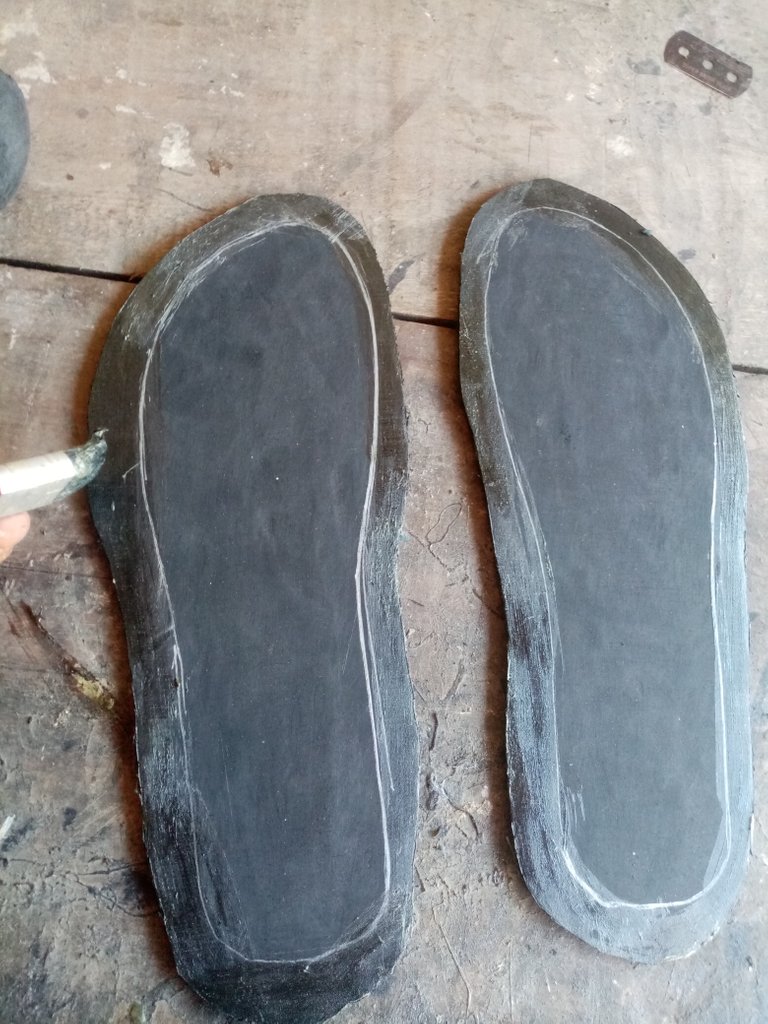
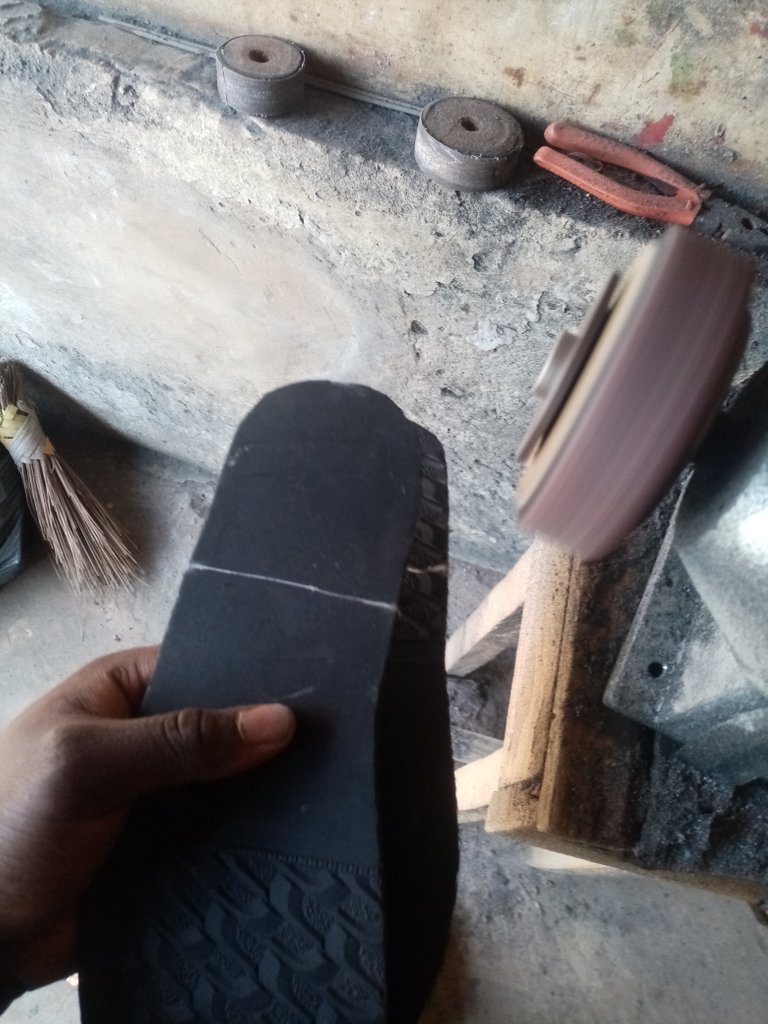
Then I used the filing machine to shape the edges of sole
Before

After
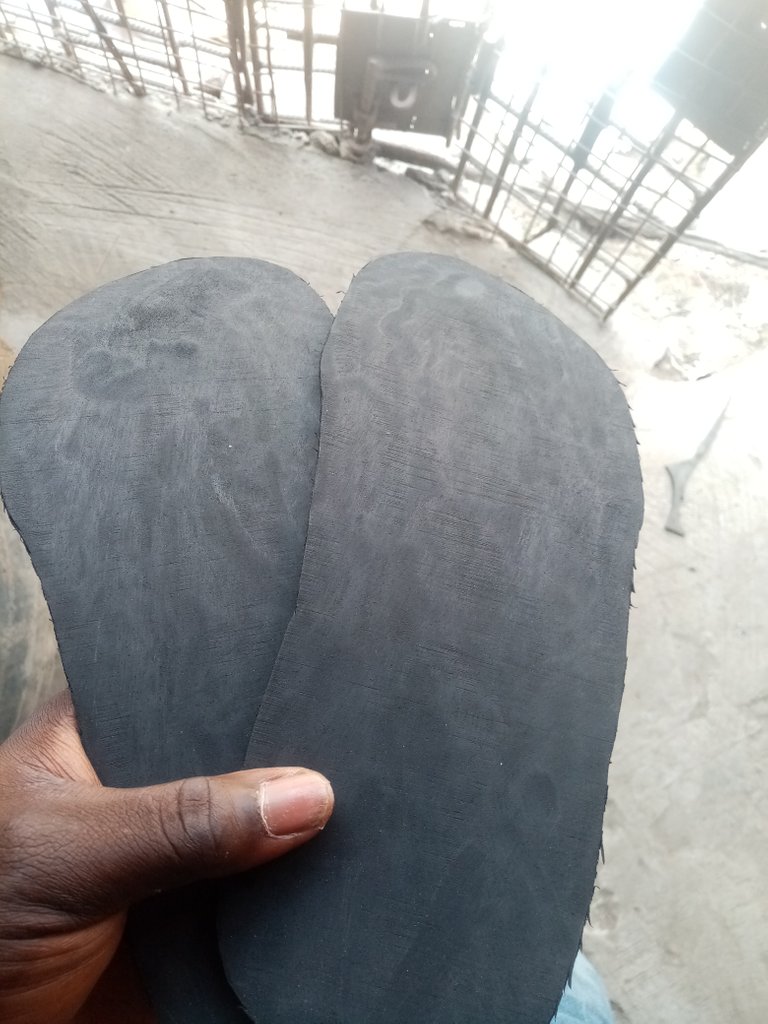
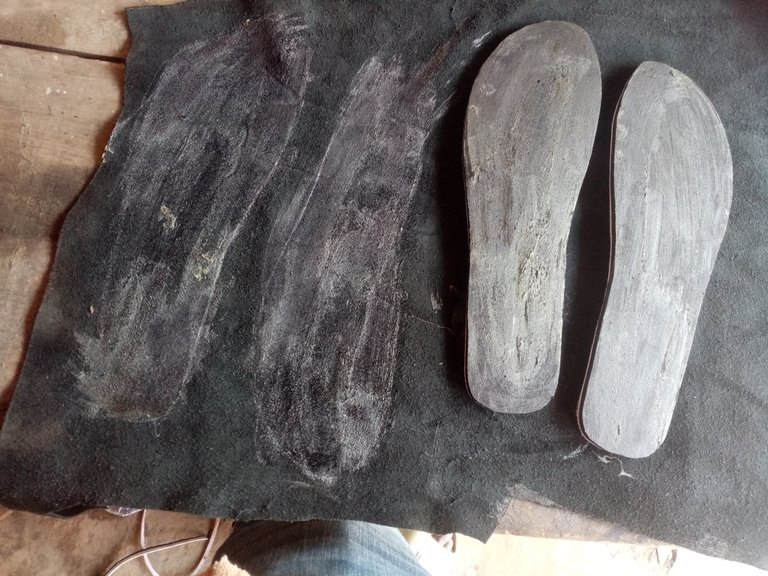
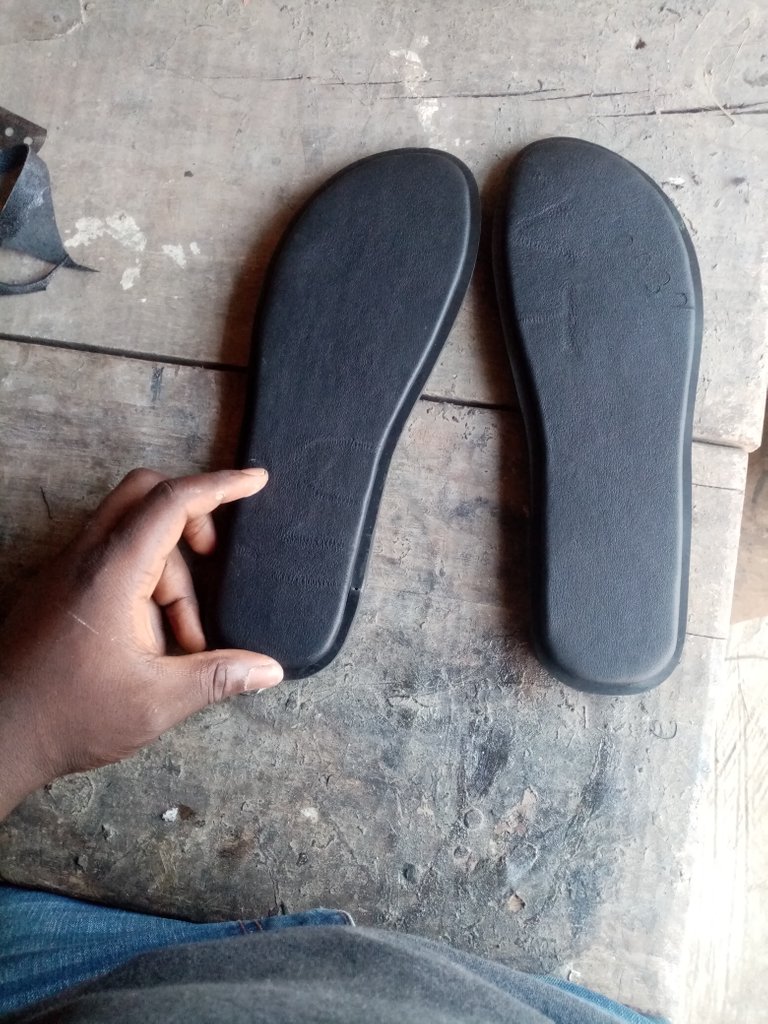
Then I applied dye on the part of the heel that wasn't black

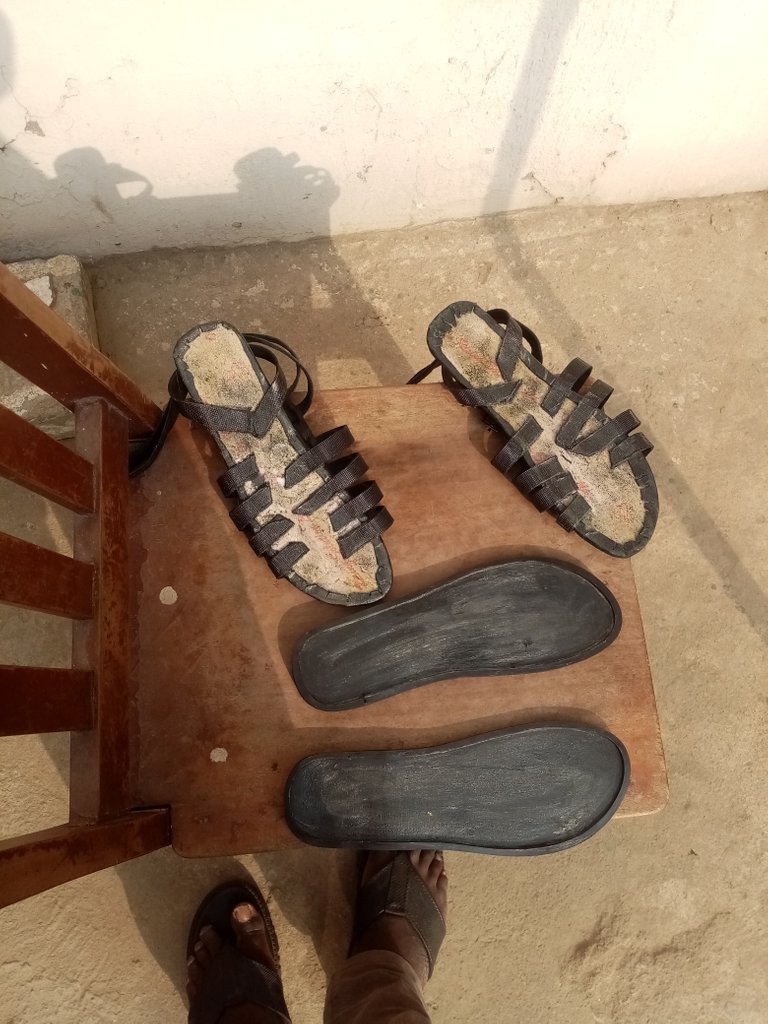
And voila I'm done with both the sole and insole
The upper
Note that in this part some things I did were not necessary but I did them anyway
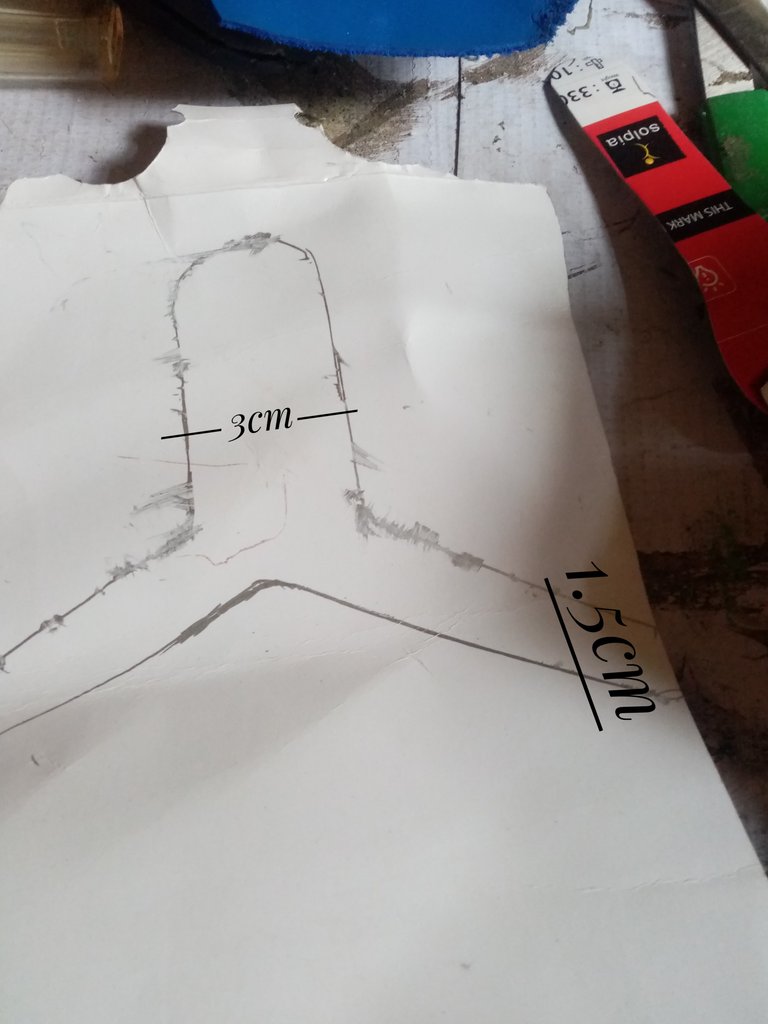
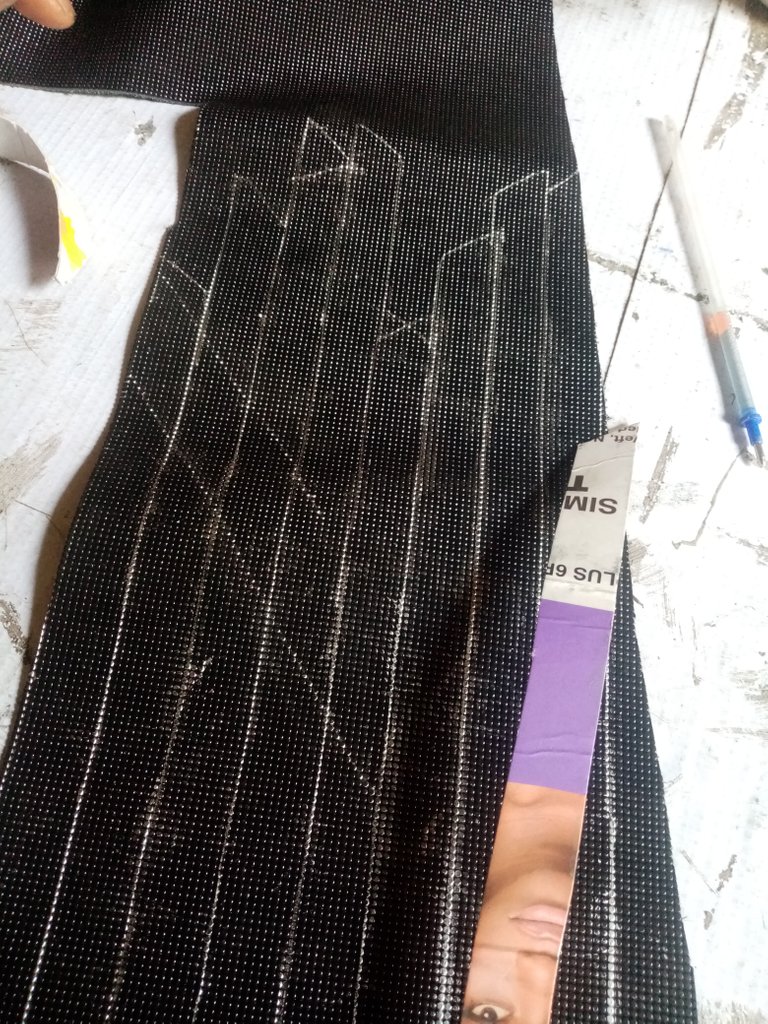
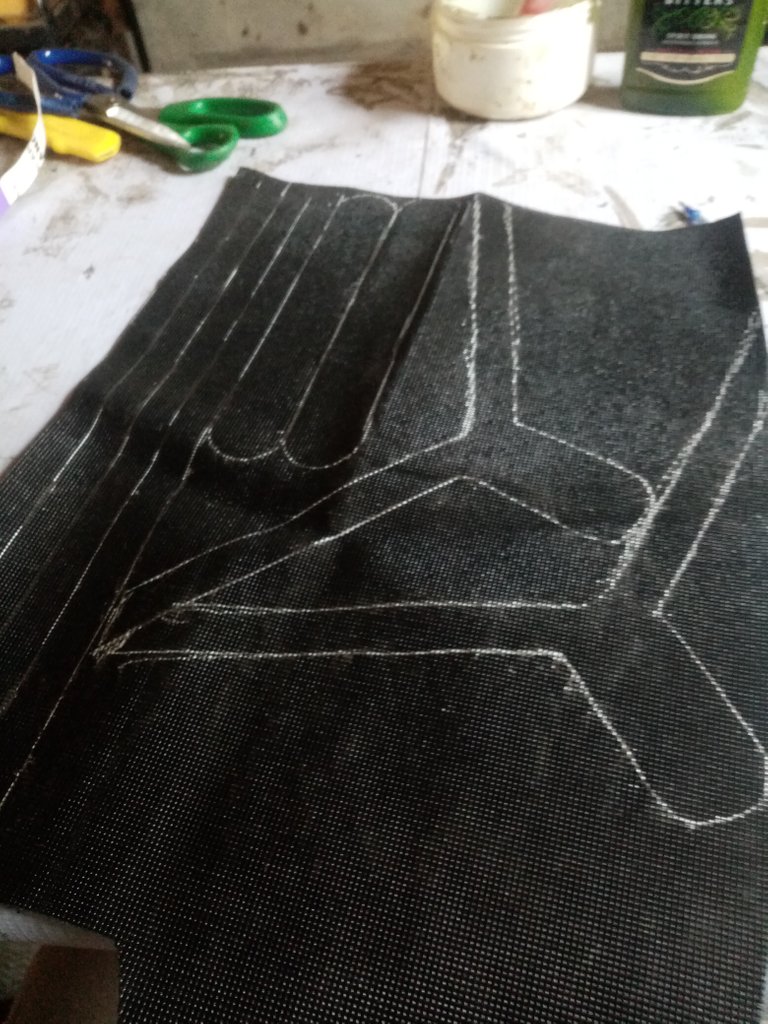
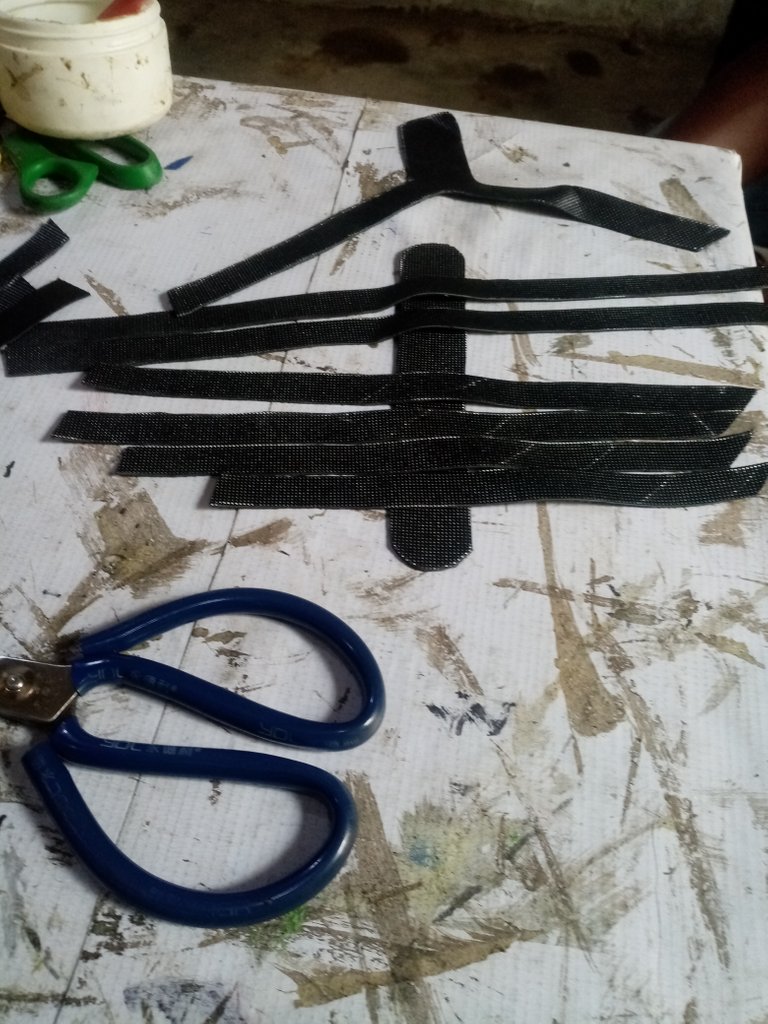
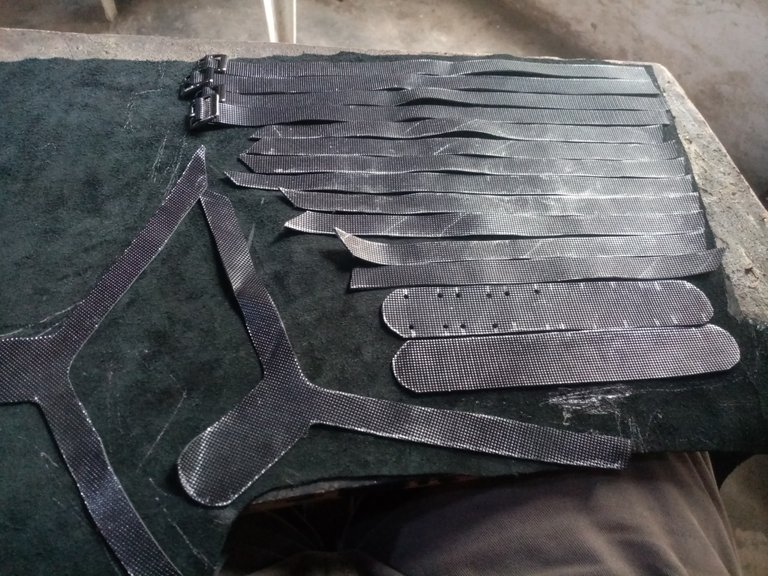
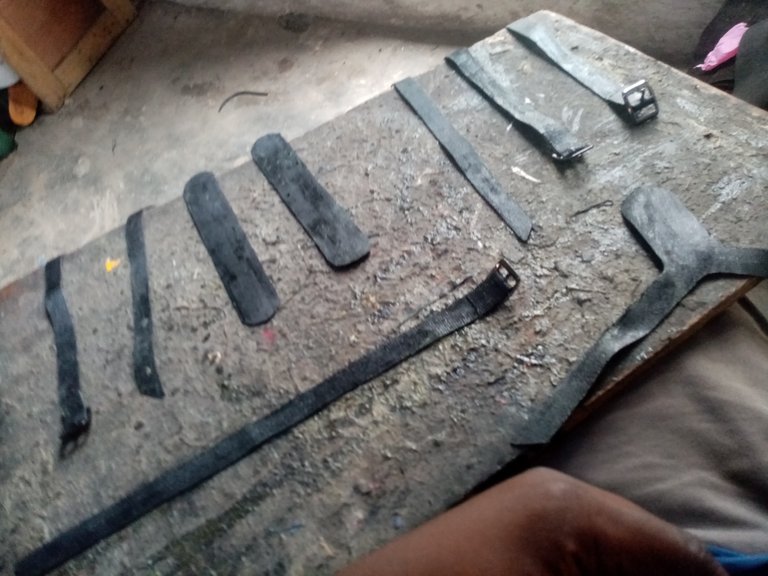
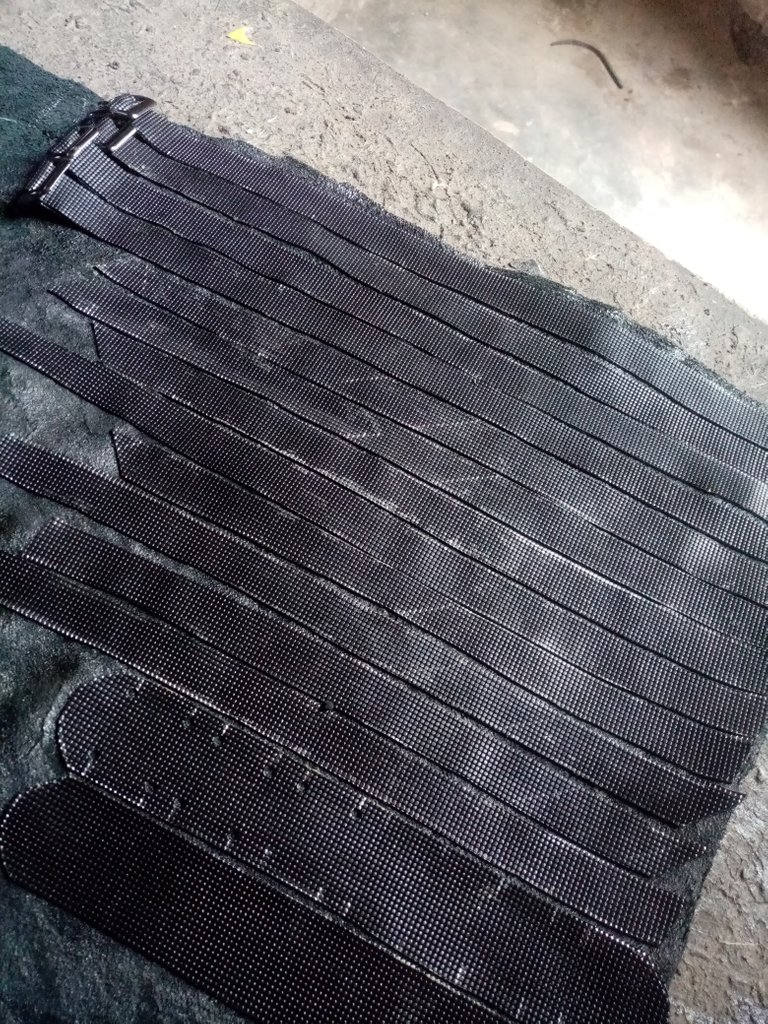
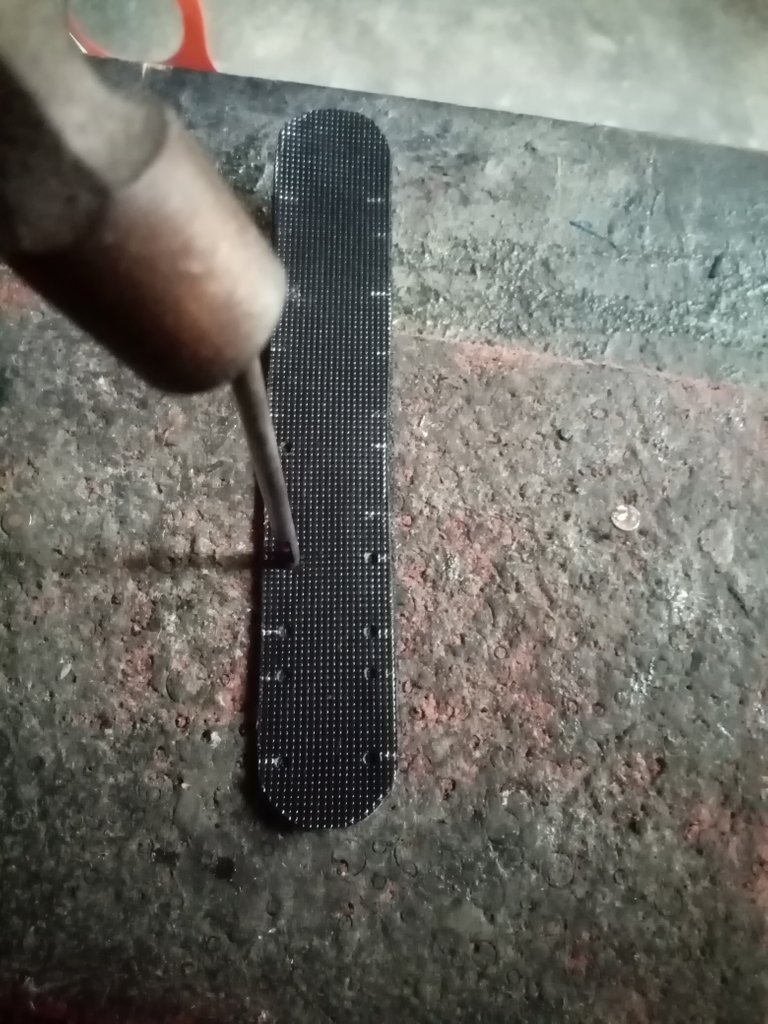
First I drew six 1.5cm strips, and one 3cm strip
Then I cut them

Then I folded the 3cm strip in half and held it like it this
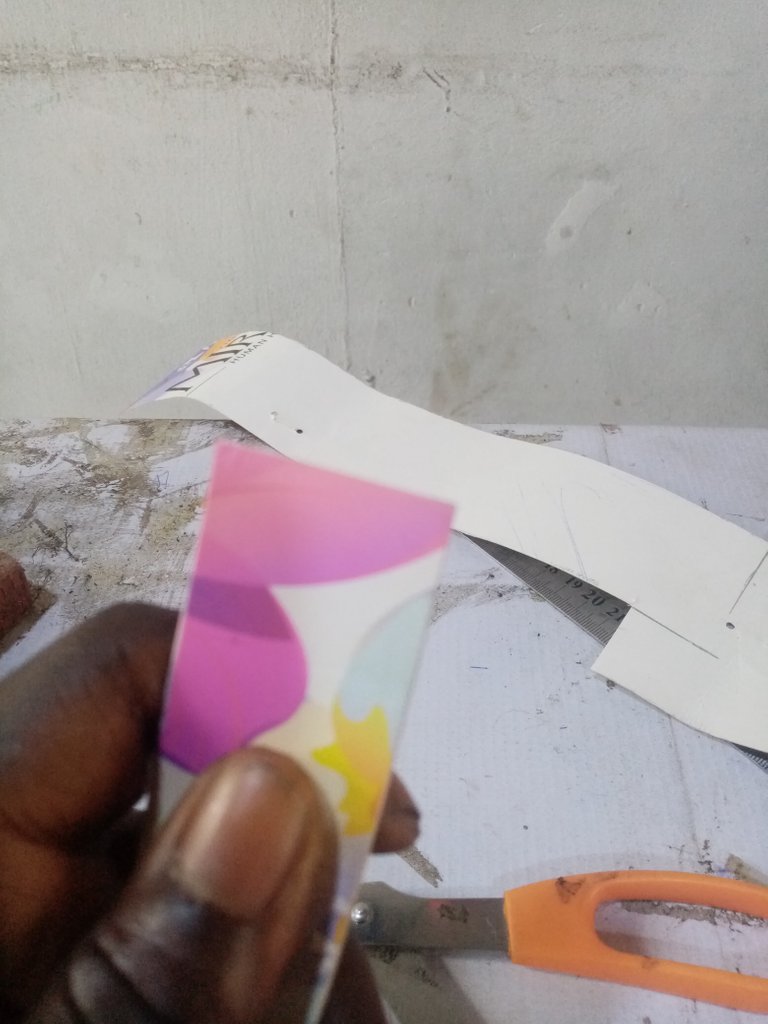
Then I cut it like this
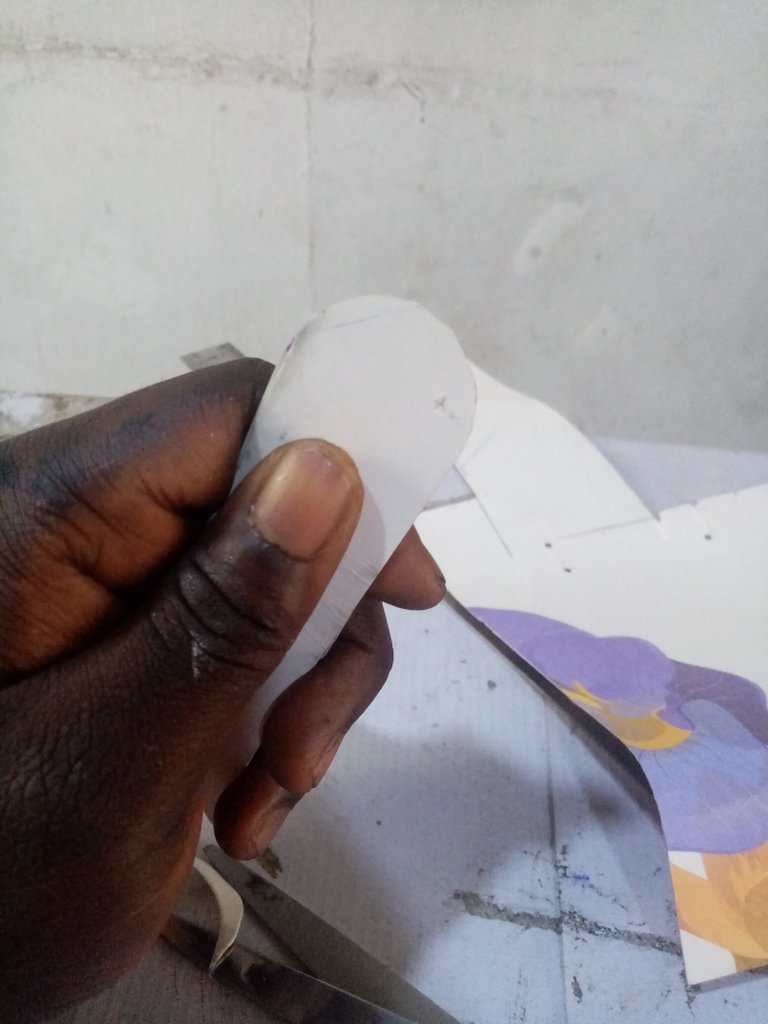
Then I folded it verically into two
Then I used a cutting knife to cut small straight lines on the 3cm strip
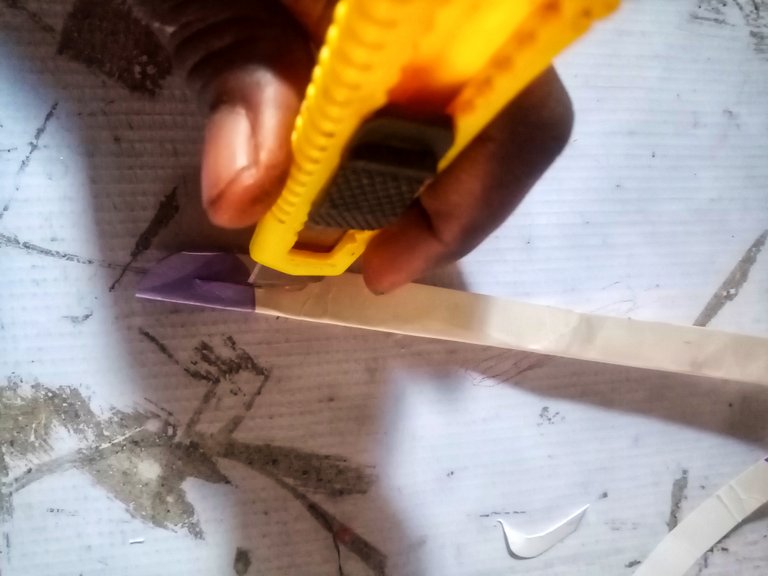
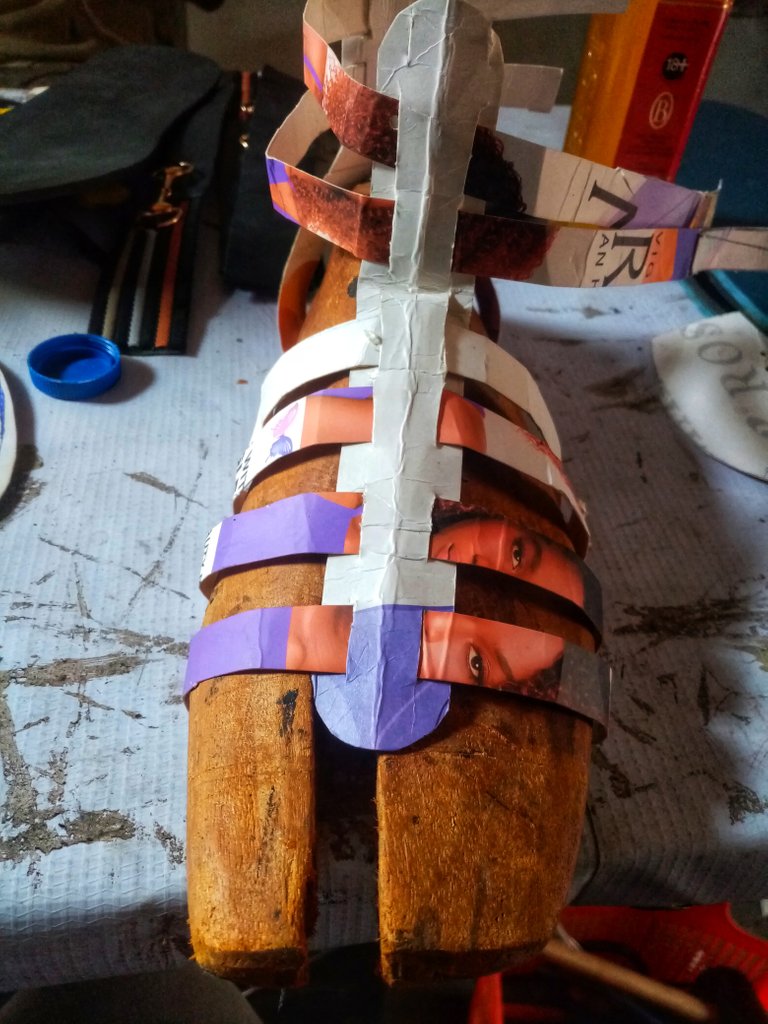
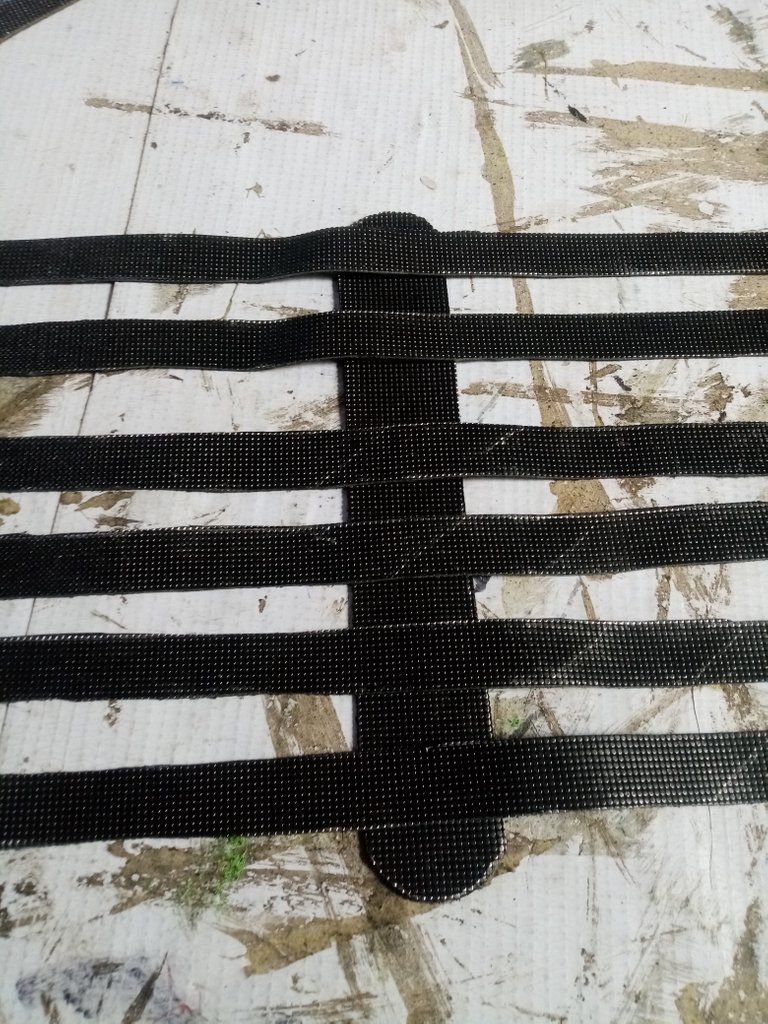
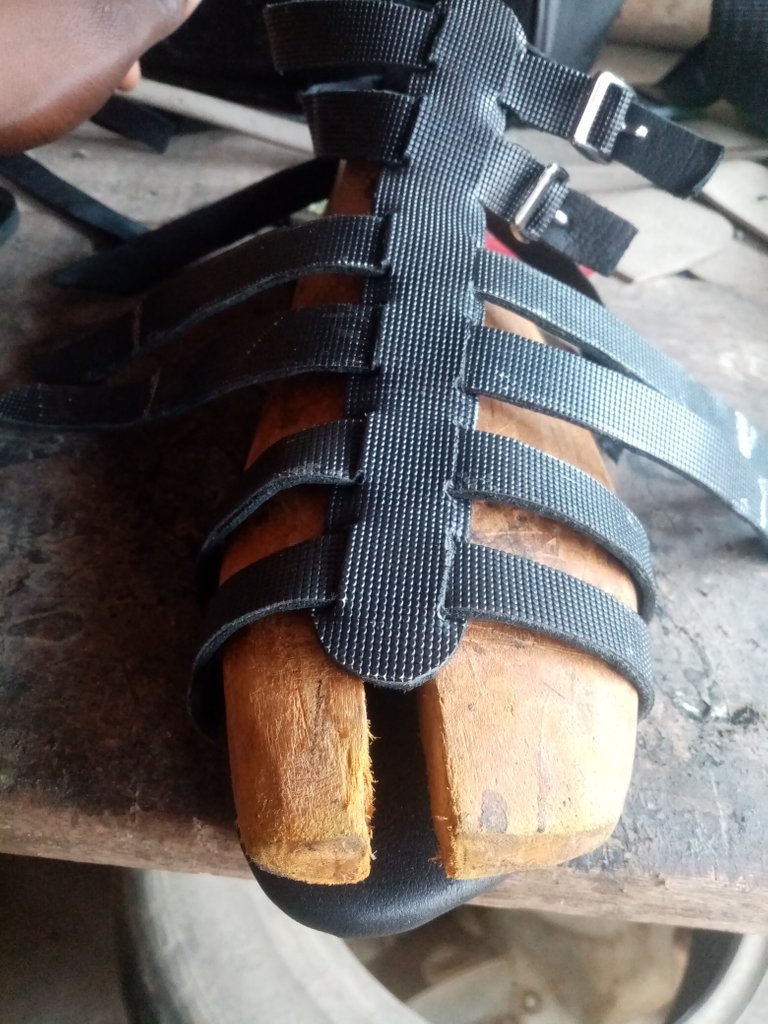
I then put all the strips through all the holes

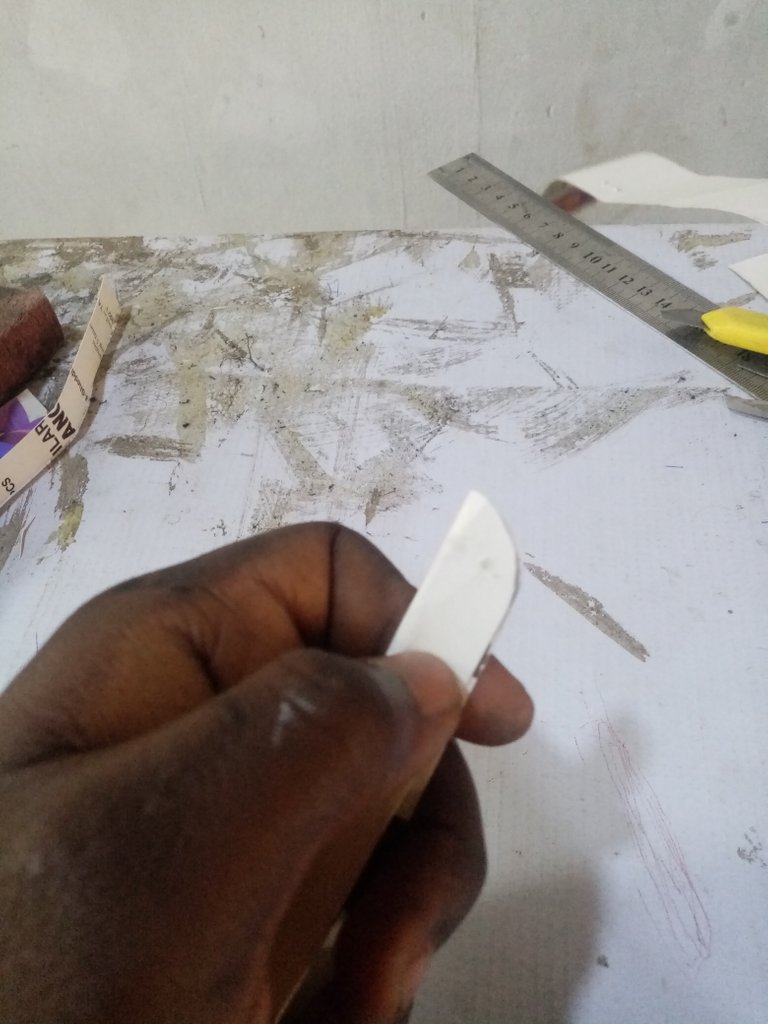
Then I sketched the back on the paper while making sure the top was 3cm and the strips 1.5cm and cut it out
Then I folded it verically into two and used the cutting knife to make two vertical lines on it
I then arranged everything on a last to see how it would look
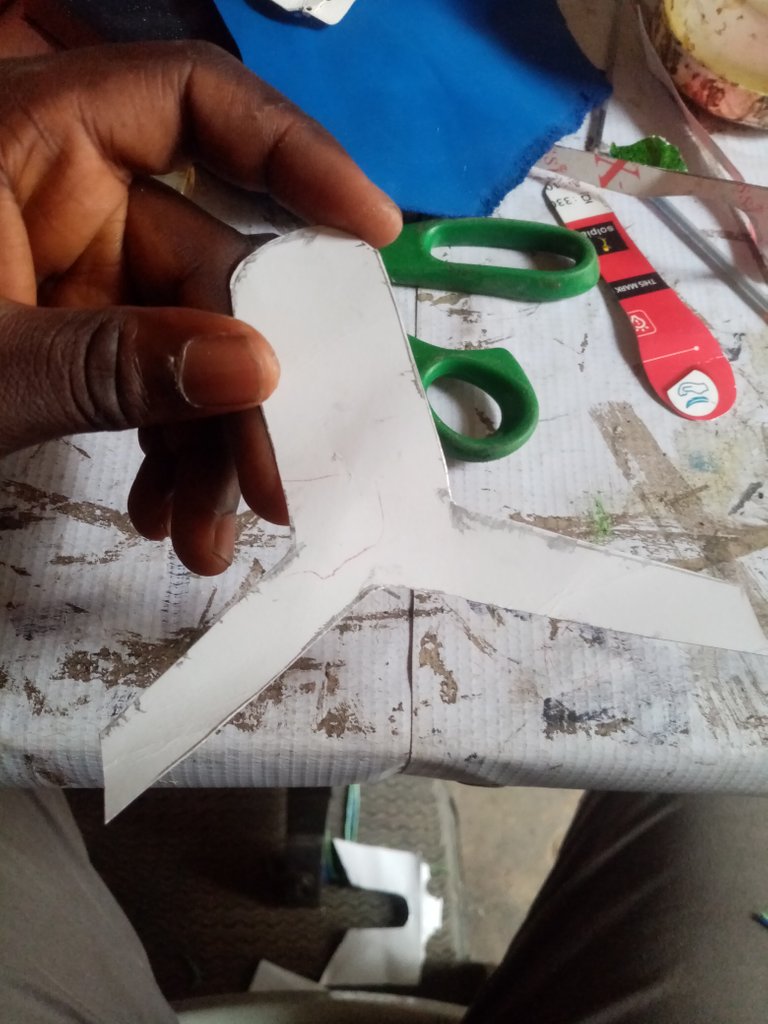
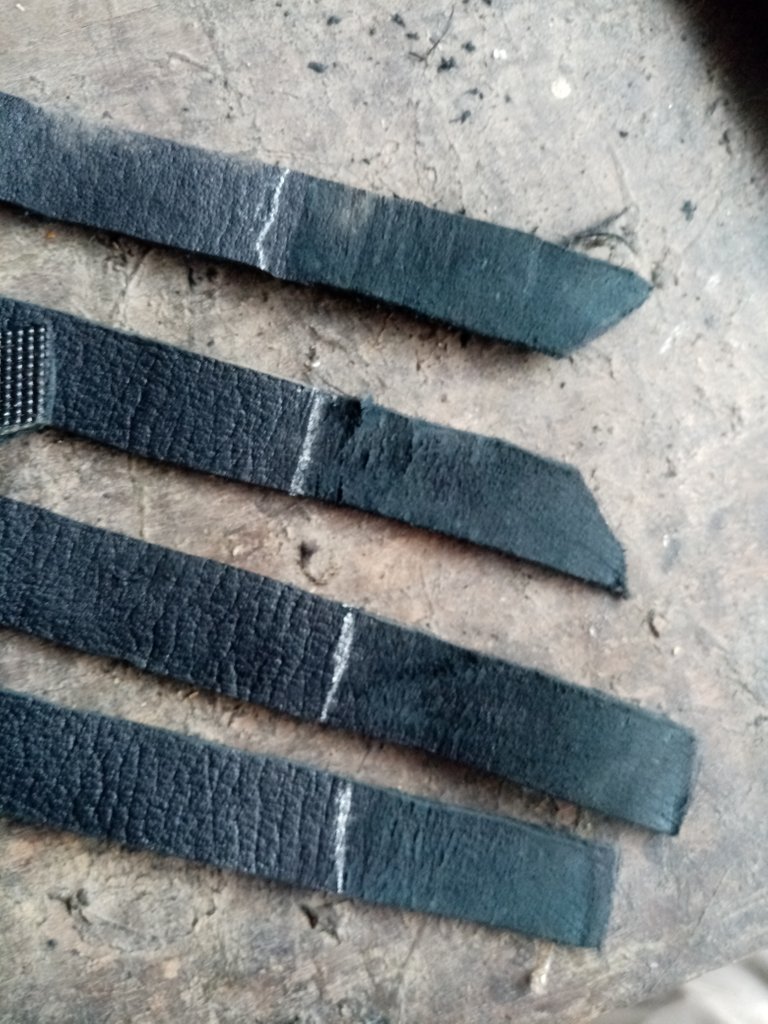
Now I used the paper to trace on and cut out my leather
Then I arranged and marked where the 1.5cm straps will be on the 3cm strap
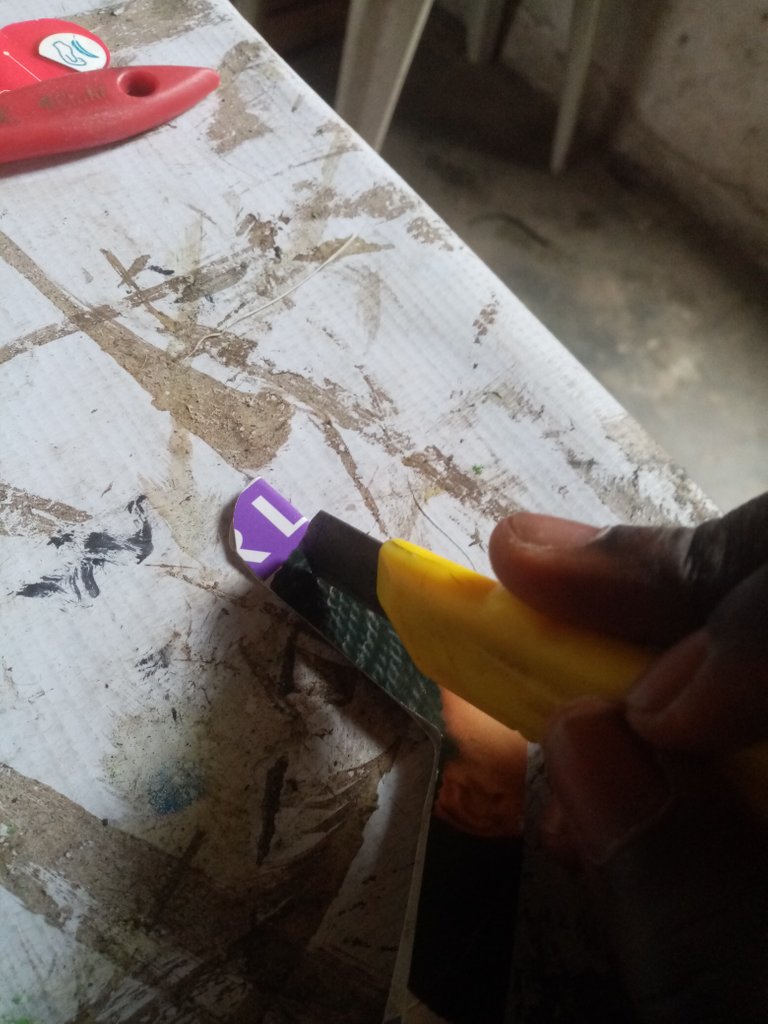
I then picked the four longer straps and made a hole in each using a punch and hammer
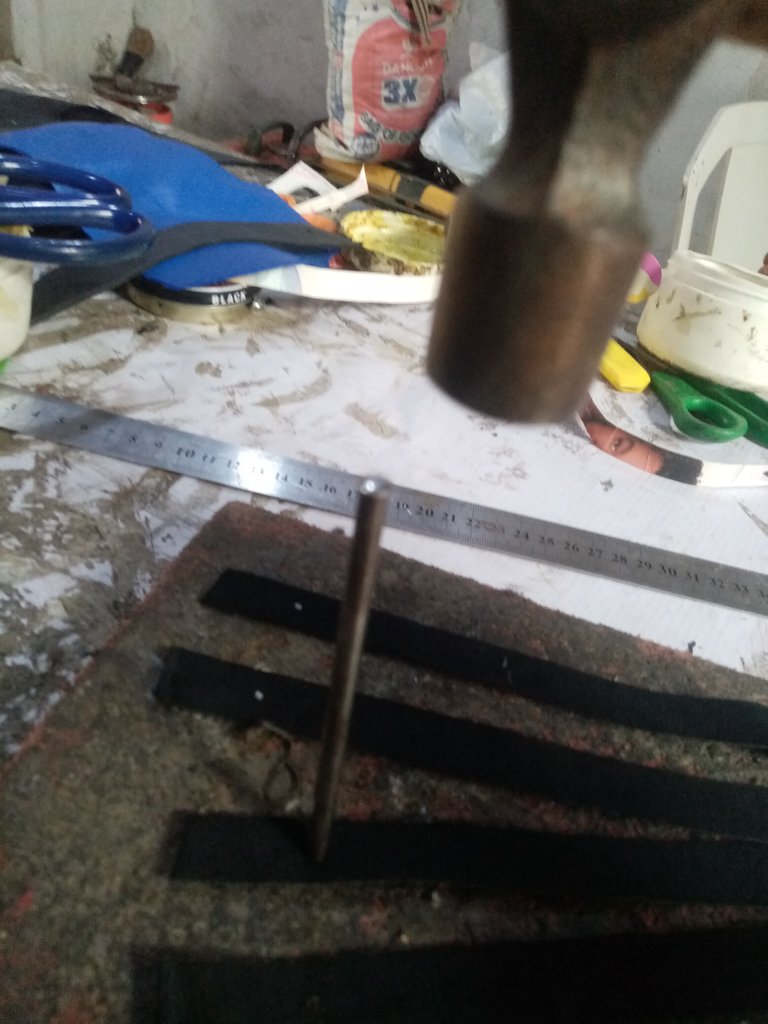
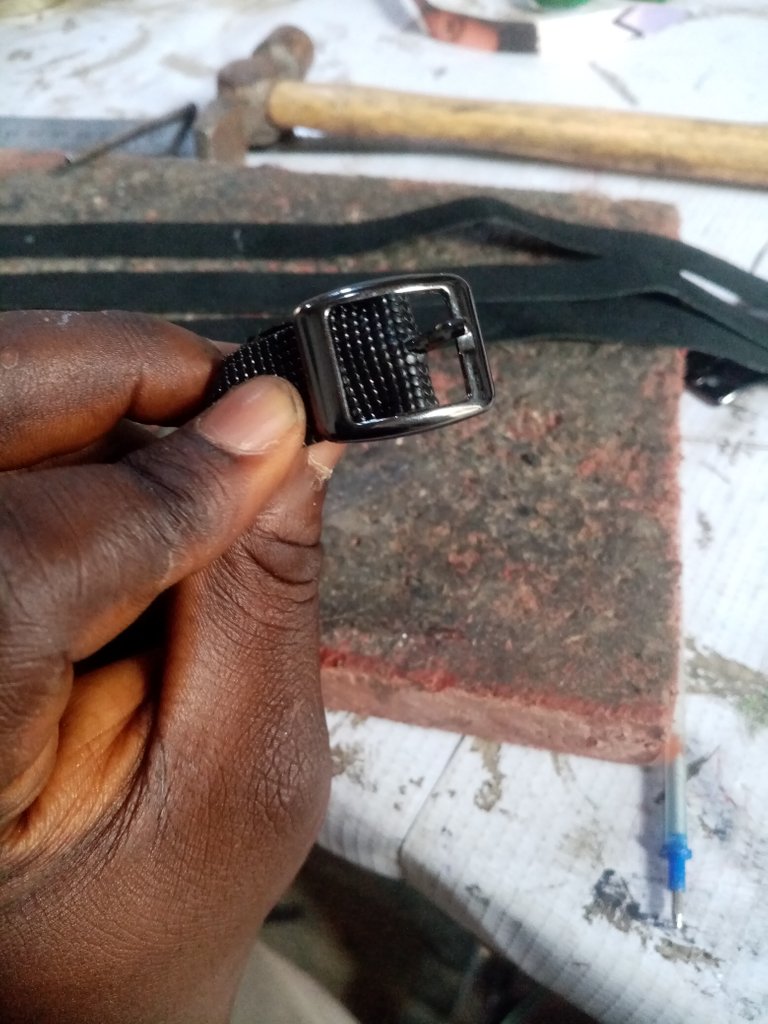
Then I put buckles on all four and applied gum to seal it

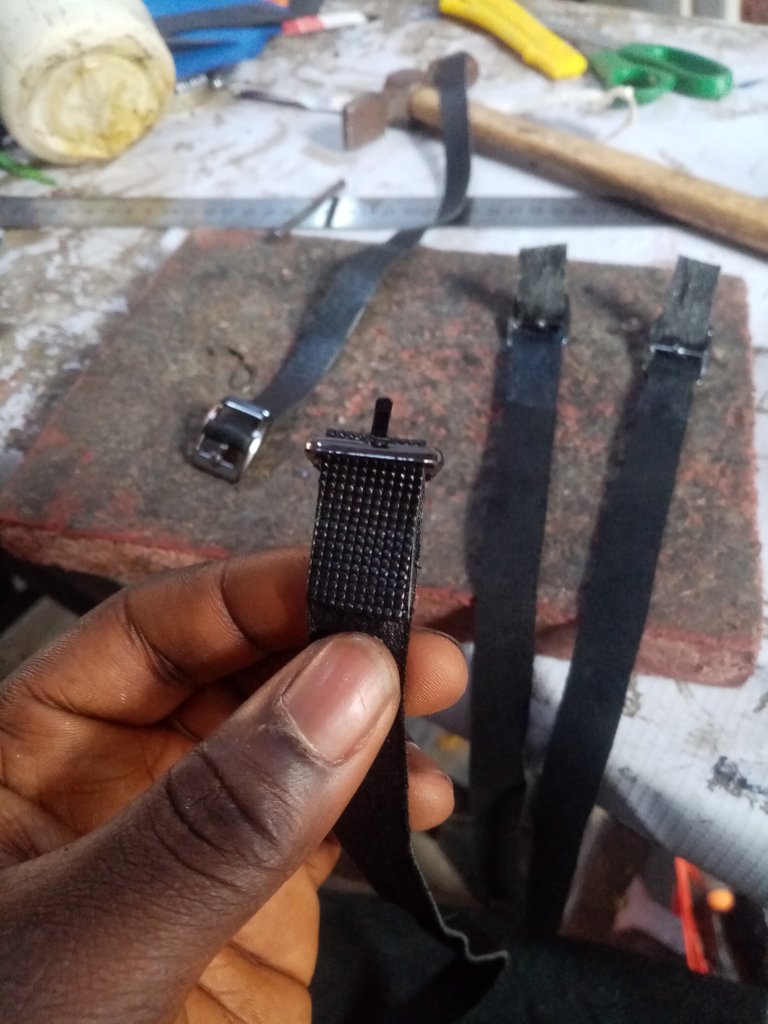
Then I placed all the straps on the lining leather and traced them out, before applying gum on both the lining and the straps
Once it was dry I placed them together, beat it, and cut it out

Then on all the 3cm straps (including the one at the back) I used my punch and hammer to create holes at the places I marked earlier
After that I used my cutting knife to connect two holes each

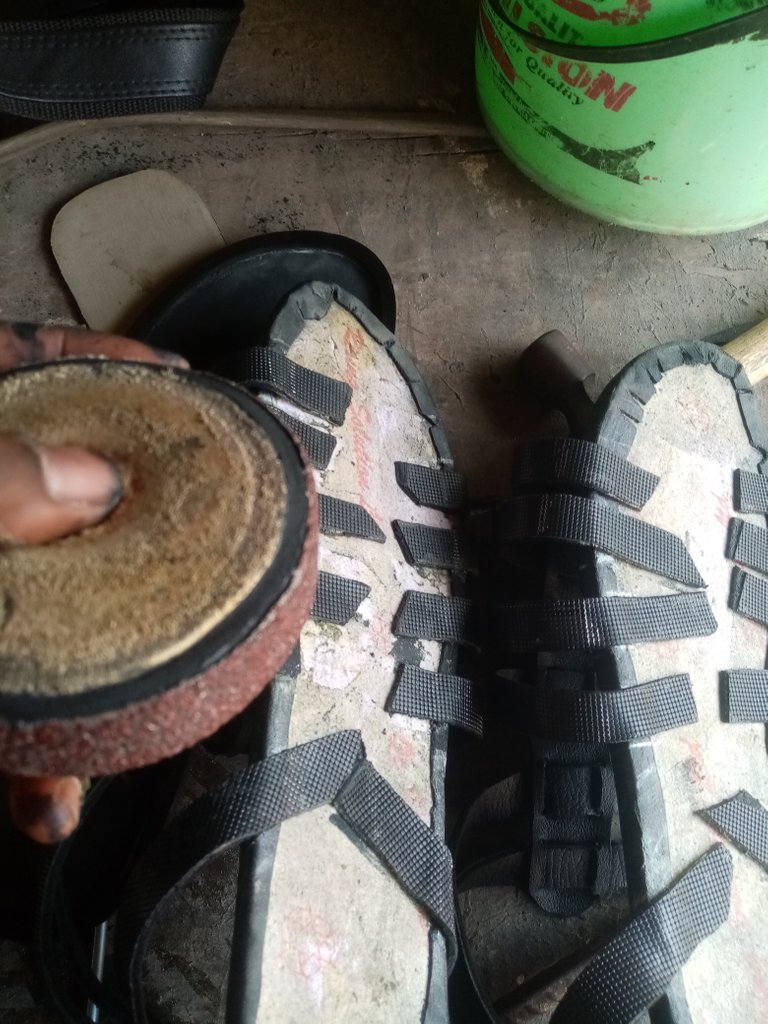
Then I arranged everything together and used a last to adjust it and mark it
There wasn't electricity so I used an abrasive to smoothen the edges of the straps

Then I applied gum to the edges of insole and the and the smoothened sides of the straps once it was dry I put them together
Out of exhaustion it seems I forgot to take photos of this part sorry for any inconvenience
Then I used the an abrasive to smoothen the straps on the insole
Before
After
After this I applied gum to insole and the sole
I left it under the sun to dry well
Then I placed them together and beat it with a mallet till I was satisfied
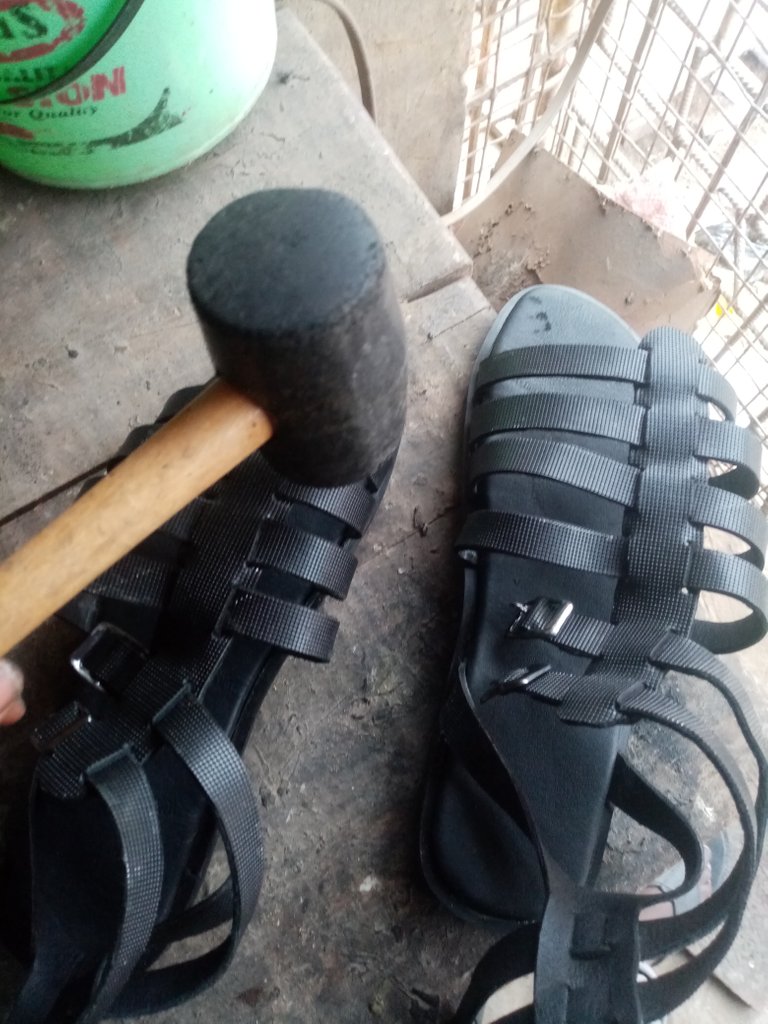
And that's it. It was just as tasking as I thought it would be, thank you for taking your time to read this post, your support and feedback is highly appreciated have a wonderful day /night till next time

NB : All photos in this post except stated otherwise were taken by me on my huawei y5
Hello @bos. What a nice-looking pair of sandals. I like your step-by-step procedures in which you displayed and explained all the items and their uses. The sandals turned out looking good. What I wanted to know is whether they will hold up if you step in water or mud.
Thanks for sharing.
Thanks for your support and feedback
Yes, they will hold up if it happens occasionally but if it becomes frequent it will reduce its warranty
Hi, friend @bos
Welcome to Hive.
I like your post very much.
I congratulate you for having the creativity and equipment necessary to make your own shoes.
They turned out very well. I like them.
I hope this work will be very profitable for you.
A big hug
Thanks a lot 🤗
Congratulations @b0s! You have completed the following achievement on the Hive blockchain and have been rewarded with new badge(s) :
Your next target is to reach 300 upvotes.
You can view your badges on your board and compare yourself to others in the Ranking
If you no longer want to receive notifications, reply to this comment with the word
STOPTo support your work, I also upvoted your post!
it came out really neat and nice.
Thank you very much 😊
These are high quality and if there is a more sturdy material to replace the cardboard with than I am sure you could sell for much much more. The design and craftsmanship here is incredible!
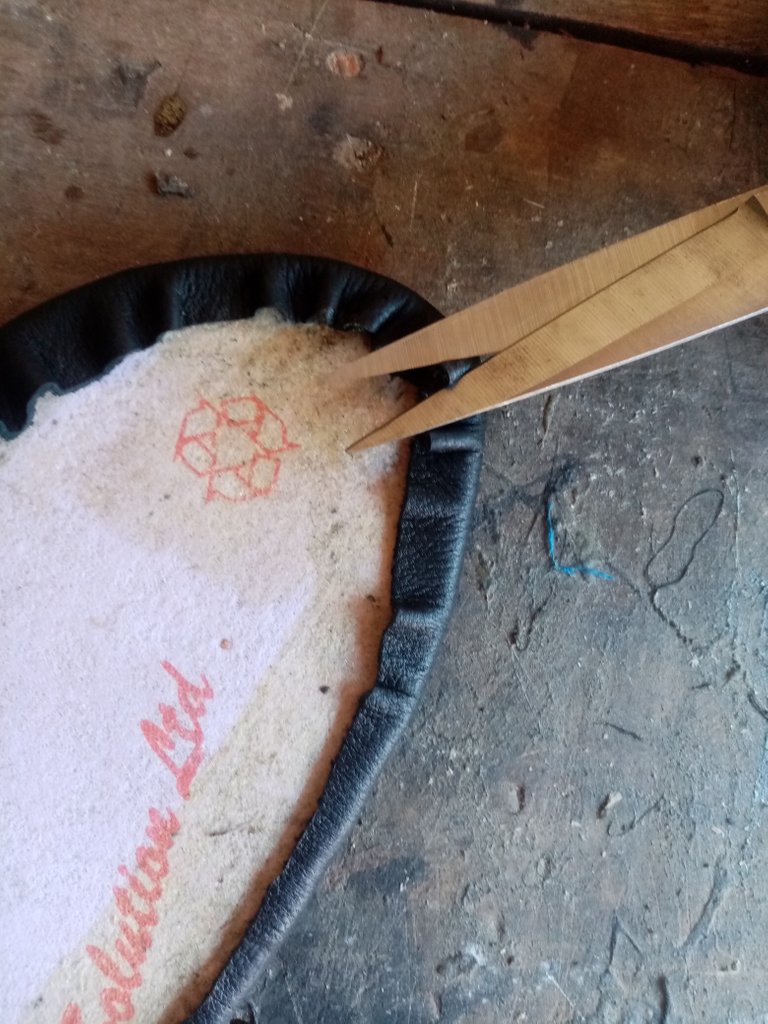
The thing you think is cardboard is bontex its quite thicker than cardboard and is used in making a lot of shoes
Thanks a lot 😊
Yay! 🤗
Your content has been boosted with Ecency Points
Use Ecency daily to boost your growth on platform!
Support Ecency
Vote for Proposal
Delegate HP and earn more, by @b0s.