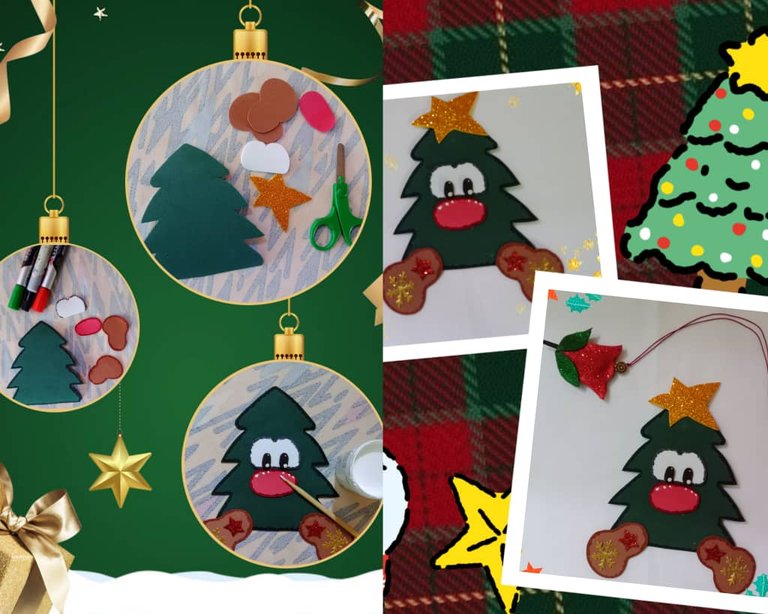
Hello creative friends and Hivediy community, it is a pleasure to greet you wishing you a Merry Christmas with your loved ones, we are just a few days away from the end of the year 2024 and on this date we always make ornaments to decorate the house, doors and windows, also to give to our loved ones; as I mentioned before, this year my decorations are mostly made in foami, a very simple material to use and with excellent results, this time I share the development of a beautiful tree that we can use to place on the tree, decorate the window or to personalize the gift bags, this season is tradition in many families to exchange gifts and nothing better than a bag made with our own hands and decorated with beautiful Christmas motifs such as; tree, bell, boot among others, I invite you to join me in the process of elaboration.
Hola amigos creativos y comunidad Hivediy, es un placer saludarles deseando que hayan pasado una feliz Navidad en unión de sus seres queridos, ya estamos a pocos días de finalizar el año 2024 y en esta fecha siempre realizamos adornos para decorar la casa, puertas y ventanas, también para obsequiar a nuestros seres queridos; como he mencionado anteriormente, este año mis adornos en su mayoría están hechos en foami, un material muy sencillo de usar y con excelentes resultados, en esta ocasión comparto la elaboración de un hermoso arbolito que podemos usar para colocar en el árbol, decorar la ventana o para personalizar las bolsas de regalo, en esta temporada es tradición en muchas familias realizar intercambio de regalos y nada mejor que una bolsa hecha con nuestras propias manos y decorada con lindos motivos navideños como; arbolito, campana, bota entre otros, les invito me acompañen en el proceso de elaboración.

Materials
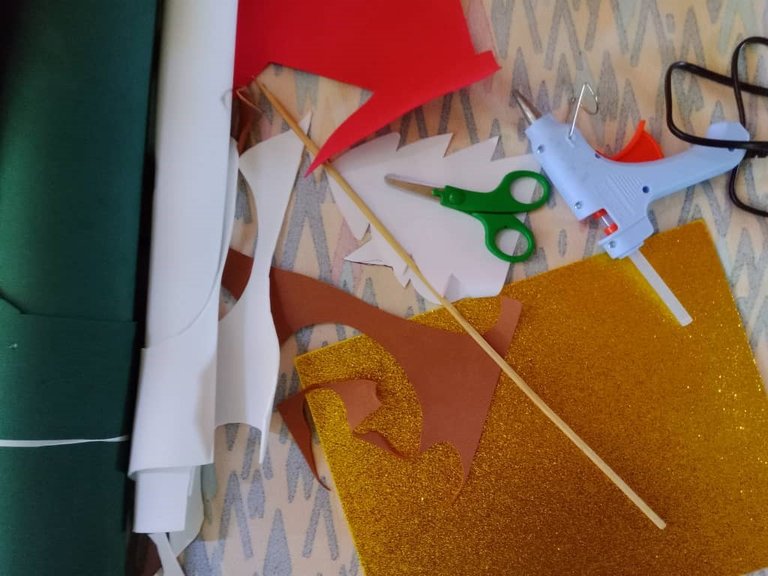
Foami (green, red, white, brown and golden)
Molds
Scissors
Silicone stick
Height stick
Cold paint
Ornaments (snowflakes and stars)
Eyes
Lanyard
Markers
Materiales
Foami (verde, rojo, blanco, marrón y dorado)
Moldes
Tijera
Silicón en barra
Palillo de altura
Pintura al frío
Adornos (copos de nieve y estrellas)
Ojos
Cordón
Marcadores

Elaboration
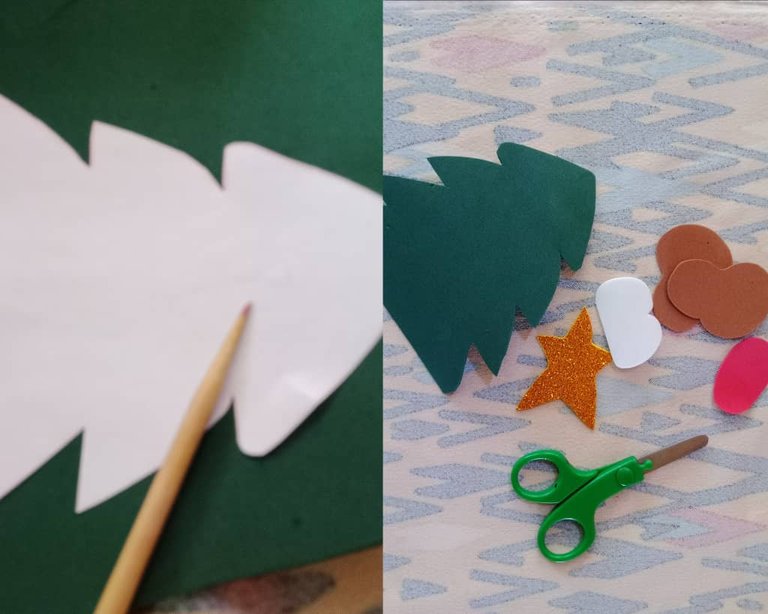
The first step to make this beautiful tree was to mark in foami the pieces; the tree, the legs, the eyes, the mouth and a star that will go on the top, I usually use a height stick to mark in foami because it facilitates the cutting process.
Elaboración
El primer paso para elaborar este hermoso arbolito fue marcar en foami las piezas; el árbol, las patas, los ojos, la boca y una estrella que irá en la parte superior, regularmente para marcar en foami utilizo un palillo de altura pues me facilita el proceso de cortado.

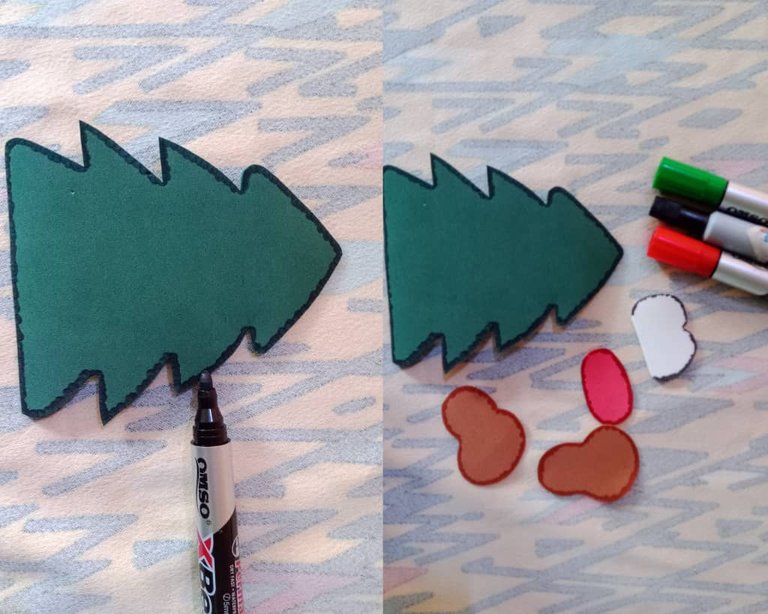
Once the pieces of the tree were cut, I blurred the edges of each one, in the part of the eyes I added small lines with black marker to give an eyelash effect.
Cortadas las piezas del árbol, difuminé los bordes de cada una, en la parte de los ojos agregué pequeñas líneas con marcador negro para dar un efecto de pestaña.

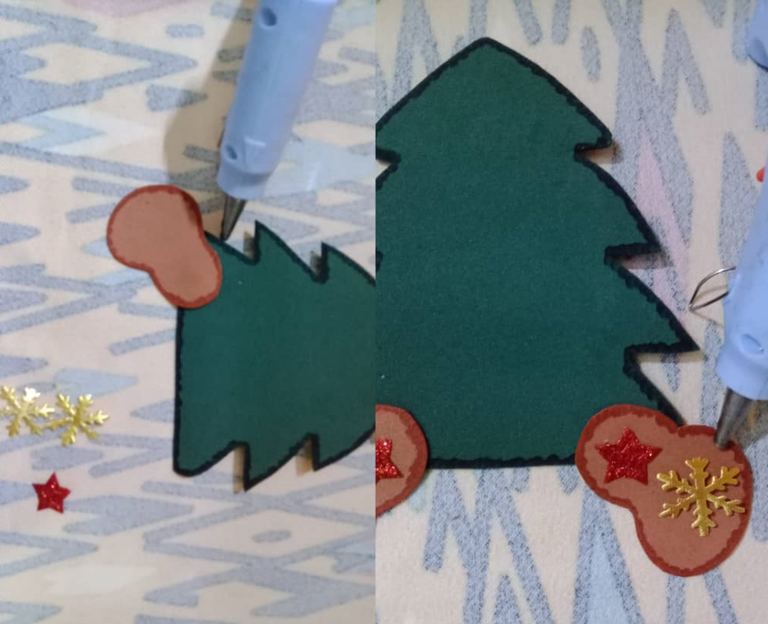
The next step was to glue the legs at the bottom, at each of the ends, I added to decorate a snowflake and a star on each of the legs.
El siguiente paso fue pegar las patas en la parte inferior, en cada uno de los extremos, agregué para decorar un copo de nieve y una estrella en cada una de las patas.

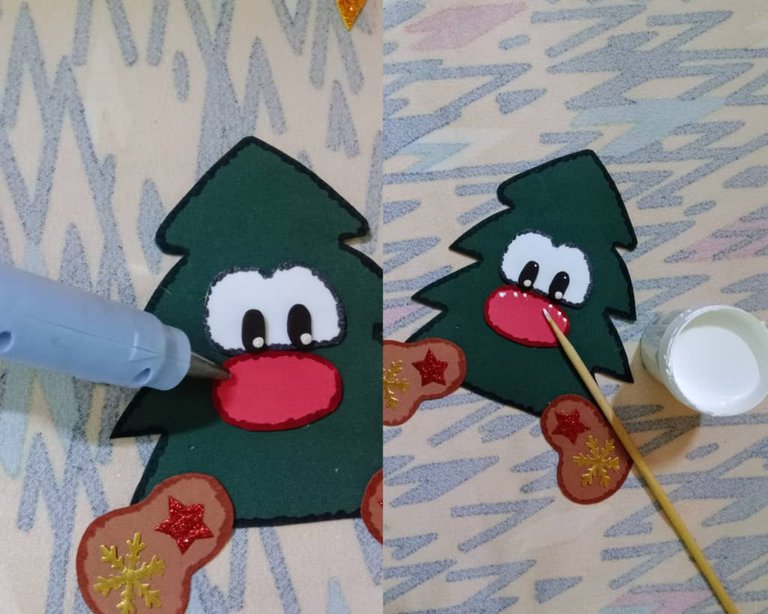
The fourth step was to glue the base of the eyes and the eyes on top of them using hot silicone, at the time of gluing the eyes I added a dot of silicone to prevent them from melting because they are made of moldable foami.
El cuarto paso fue pegar la base de los ojos y encima de ellos los ojos para ello use silicón caliente, al momento de pegar los ojos agregué un punto de silicón para evitar que se derritan pues están hechos en foami moldeable.
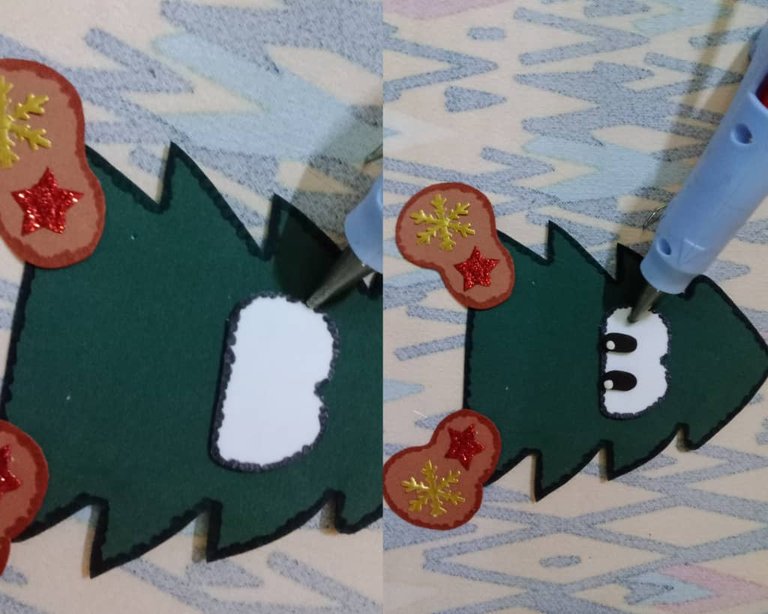

Then I glued the mouth also using hot silicone and with the help of the height stick I marked three white dots on each side, these simulate the snow that the tree has because of the cold weather this season.
Luego pegué la boca usando también silicón caliente y con ayuda del palillo de altura marqué tres puntitos blancos a cada lado, estos simulan la nieve que tiene el arbolito por el frío que hace en esta temporada.

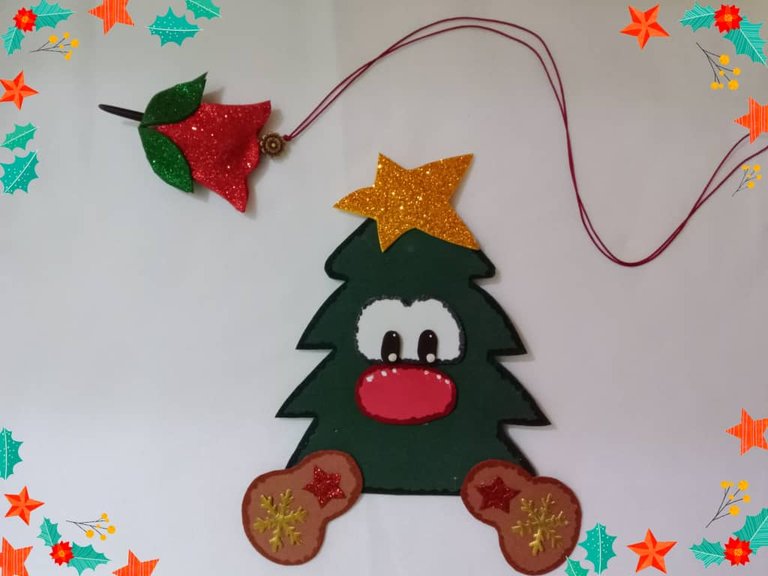
The last step was to add silicone to the star on the back, then I glued it on the tip of the tree, on the back I placed a string, this will serve as a hanger, I made a knot at the bottom added silicone and glued, with these simple steps is finished a beautiful tree to decorate for Christmas.
El último paso fue agregar silicón a la estrella en la parte de atrás, luego la pegué en la punta del árbol, en la parte trasera coloqué un cordón, este servirá de colgadero, hice un nudo en la parte inferior agregué silicón y pegué, con estos sencillos pasos está terminado un hermoso arbolito para decorar en Navidad.
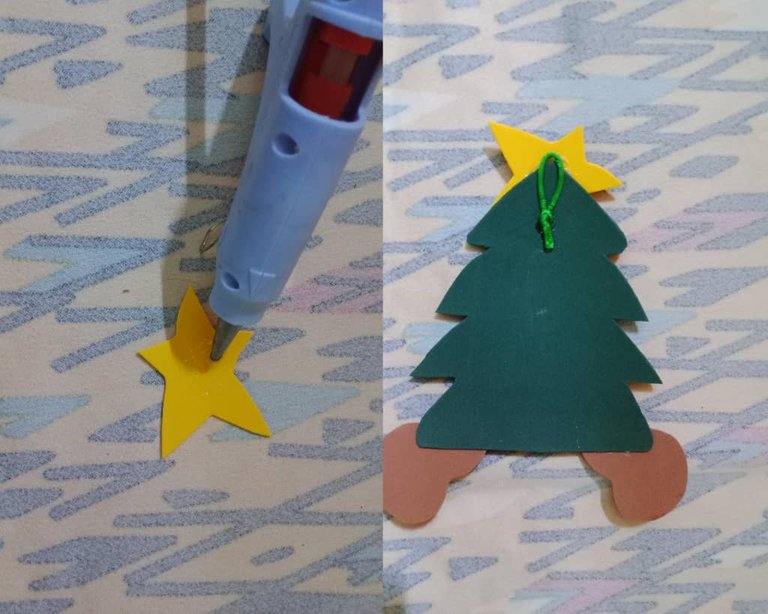

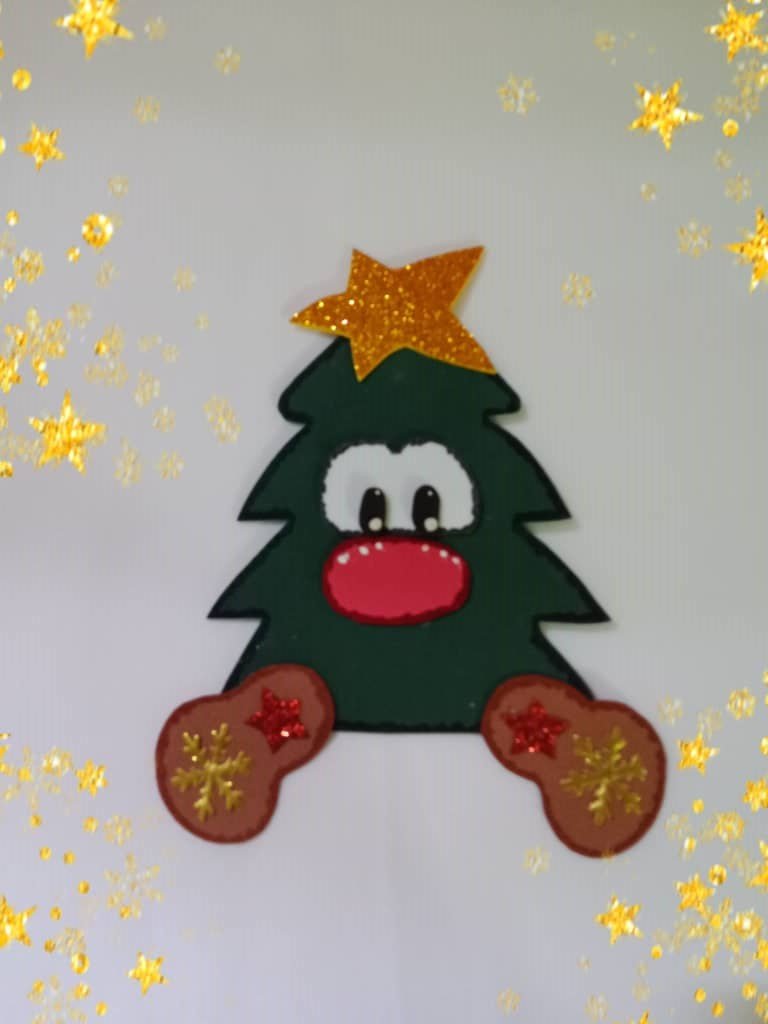
The result of the tree I loved, it is also simple to make, the initial idea was to make a cushion, but when I checked the sewing bag I realized that I have no stuffing, the pattern is larger and corresponds to a sleeping tree, I had to make several adjustments and reduce to achieve the right size for Kamila, she wears her brown slippers and the star is the hat, she lives in a low temperature area and needs protection from the cold, so she spends most of the day sleeping and at night she enjoys her delicious chocolate in front of the fireplace while watching her favorite TV show, this project will be a gift for a cute little girl who loves Christmas and creates beautiful stories about this beautiful time of the year, I hope the tutorial will be useful.
El resultado del árbol me encantó, además es sencillo de hacer, la idea inicial era hacer un cojín, pero al revisar la bolsa de costura me di cuenta que no tengo relleno, el patrón es más grande y corresponde a un árbol dormilón, tuve que hacer varios ajustes y reducir hasta lograr el tamaño adecuado para Kamila, lleva sus pantuflas marrón y la estrella es el gorro, habita en una zona de baja temperatura y necesita protegerse del frío, por eso pasa la mayor parte del día durmiendo y en las noches disfruta su delicioso chocolate frente a la chimenea mientras ve el programa de televisión favorito, este proyecto será un obsequio para una linda niña que ama la Navidad y crea hermosas historias sobre esta linda época del año, espero el tutorial les sea de utilidad.


          All images are my own.

   Todas las imágenes son de mi autoría.
Quedó muy lindo y alegre. Bendiciones 🎅.
Hola @yunacrochet, me alegra que te haya gustado,es sencillo de hacer y con pocos materiales.
Saludos!🎄🎅🎄
Undoubtedly, your creativity shines through this beautiful Christmas tree of yours. Assembling all these simple materials to make this Christmas tree is wonderful. Great job friend
Cheers @diyhub, it's a simple project to do but with a lovely result, looks great even though it's sleepy 🎄🎅🎄.
Happy weekend!
This post was shared and voted inside the discord by the curators team of discovery-it
Join our Community and follow our Curation Trail
Discovery-it is also a Witness, vote for us here
Delegate to us for passive income. Check our 80% fee-back Program
Thank you very much.
Happy weekend!
Es un lindo diseño ...me encantó
!LUV
!PIZZA
!discovery 40
(1/1) sent you LUV. | tools | discord | community | HiveWiki | <>< daily@belkyscabrera, @chacald.dcymt
Hola amiga, me alegra que te haya gustado, es un árbol dormilón muy cuchi 🎄🎅
Thank you!
This looks so cute and I am not sure but it looks not too difficult to make since you explained so nicely. :)
It is a very simple ornament to make and useful for various Christmas decorations, the result I liked, it looks cuchi.
Happy weekend! 🎄🎄🎅
Well, then I will definitely try it once. Happy weekend to you too!⛄☃️
I'm sure it will look great on you. Thank you very much 🎅
the result is very beautiful, you are very skilled at making it.
Hi @reachdreams, glad you liked it, it's a nice simple ornament to make.
Cheers!
$PIZZA slices delivered:
(1/5) @chacald.dcymt tipped @belkyscabrera
Quedó lindo y muy divertido
Hola amiga, es un lindo árbol con sueño, pero se ve muy bien je, je 🎄🎅