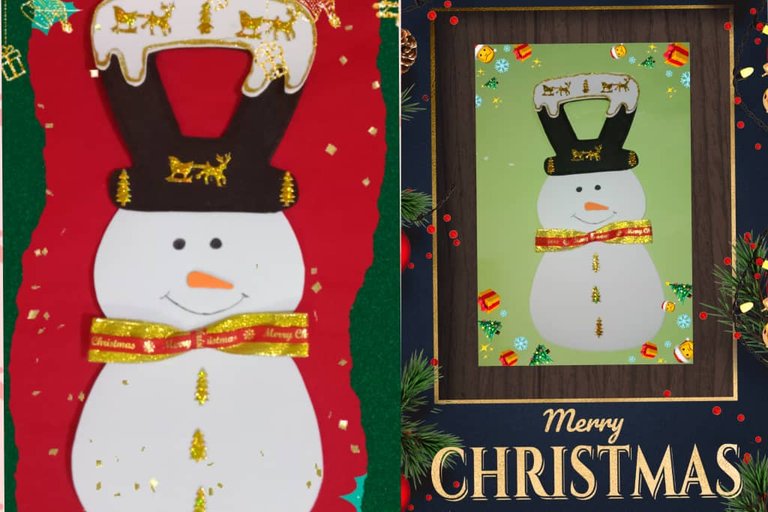
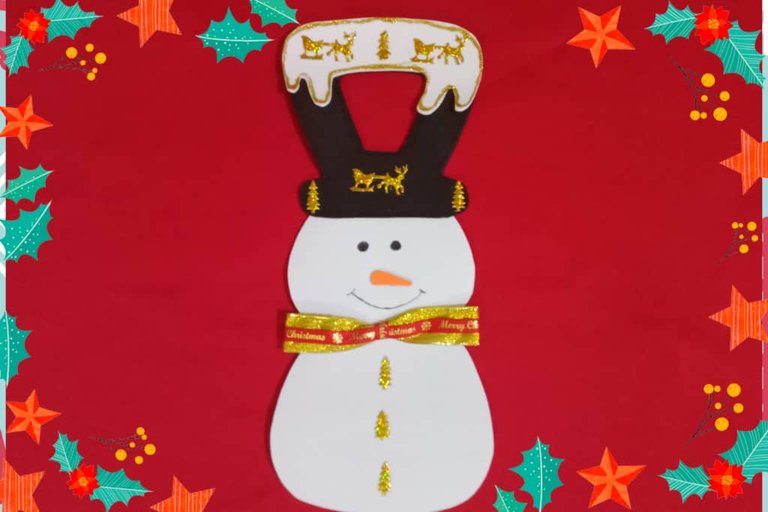
Greetings creative friends and Hivediy community, it is a pleasure to greet you and share again a project with you, Christmas is closer every day and I continue to develop Christmas decorations, this time it is a door handle with snowman motif, is made like most of the decorations I've done so far in foami and for decoration I used golden trees, I tell you on a recent visit to the haberdashery of the Castle the largest fabric store in my city, I found several ribbons that bring Christmas decorations; reindeer, stars, snowflakes, trees among others and without hesitation I bought some of them, because they are easy to use, very practical and the price is also affordable.
I liked these ribbons to add new elements and to decorate the projects I am doing and those I still have to finish, definitely in the visits to the castle I always discover a new trend in ornaments, this time were these ribbons with decorative elements, to use them simply cut the figure that you are going to use in the base, as they come together in a thin strip, cut them and you have several details to add to the projects, this snowman is quite simple to make and will look great decorating the door of our house, I invite you to join me in the process of elaboration.
Saludos amigos creativos y comunidad Hivediy, es un placer saludarles y compartir nuevamente un proyecto con ustedes, la Navidad está cada día más cerca y sigo elaborando los adornos navideños, en esta ocasión se trata de un picaporte con motivo de muñeco de nieve, está elaborado como la mayoría de los adornos que he hecho hasta ahora en foami y para su decoración usé arbolitos dorados, les cuento en una reciente visita a la mercería de el Castillo la tienda de tela más grande de mi ciudad, encontré varias cintas que traen adornos navideños; renos, estrellas, copos de nieve, arbolitos entre otros y sin dudarlo compré algunas de ellas, pues son sencillas de usar, muy prácticas y el precio también es accesible.
Me gustaron estas cintas para agregar elementos nuevos y para adornar los proyectos que estoy haciendo y los que aún debo terminar, definitivamente en las visitas al castillo siempre descubro una nueva tendencia en adornos, en esta ocasión fueron estas cintas con elementos decorativos, para usarlas sencillamente recorta la figura que vas a usar en la base, ya que vienen unidas en una tira delgada, las cortas y tienes varios detalles para agregar a los proyectos, este muñeco de nieve es bastante sencillo de realizar y se verá muy bien decorando la puerta de nuestra casa, les invito me acompañen en el proceso de elaboración.

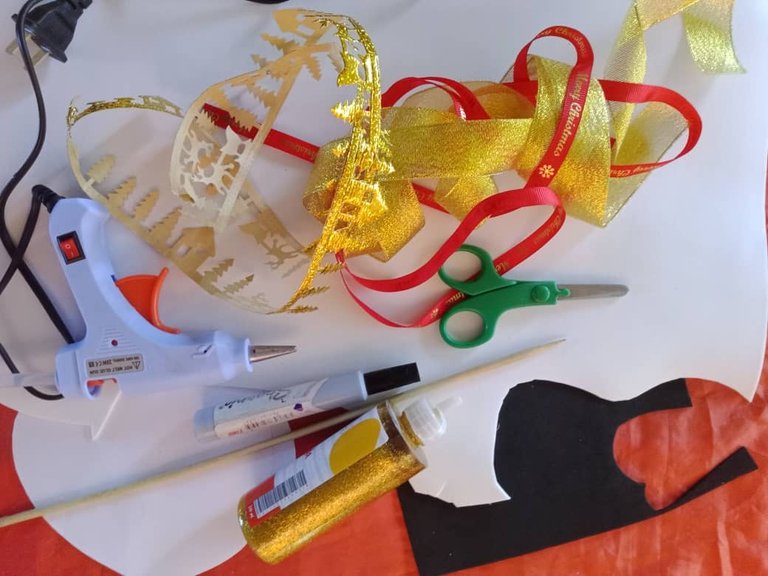
Materials
Foami
Ribbons
Scissors
Silicone stick
Frosted glue
Height stick
Silicone gun
Materiales
Foami
Cintas
Tijera
Silicón en barra
Pega escarchada
Palillo de altura
Pistola de silicón

Elaboration
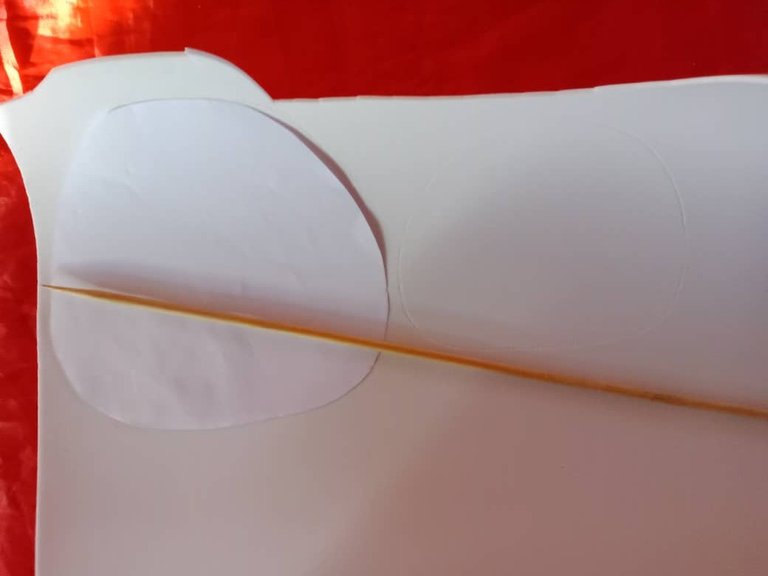
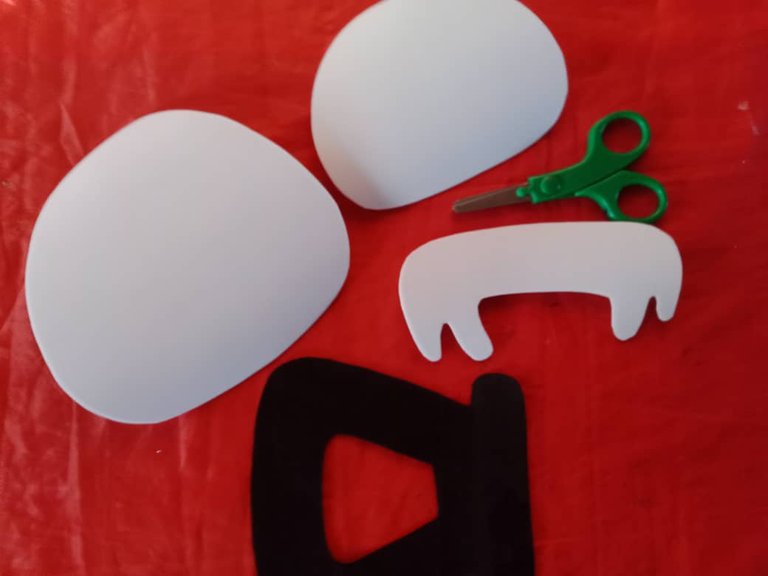
The first step to start this project was to take the molds, as I mentioned before these molds have not been provided in the sewing course to make projects in fabric, which I have made mostly in foami and the result I liked because they have been very well, after copying the molds with the help of a toothpick height marked in white foami head, snow and body, the hat in black, then cut.
Elaboración
El primer paso para iniciar este proyecto fue sacar los moldes, como he comentado anteriormente estos moldes no los han facilitado en el curso de costura para hacer los proyectos en tela, los cuales yo he elaborado en su mayoría en foami y el resultado me ha gustado pues han quedado muy bien, luego de copiar los moldes con ayuda de un palillo de altura marqué en foami blanco la cabeza, nieve y el cuerpo, el gorro en color negro, luego corté.

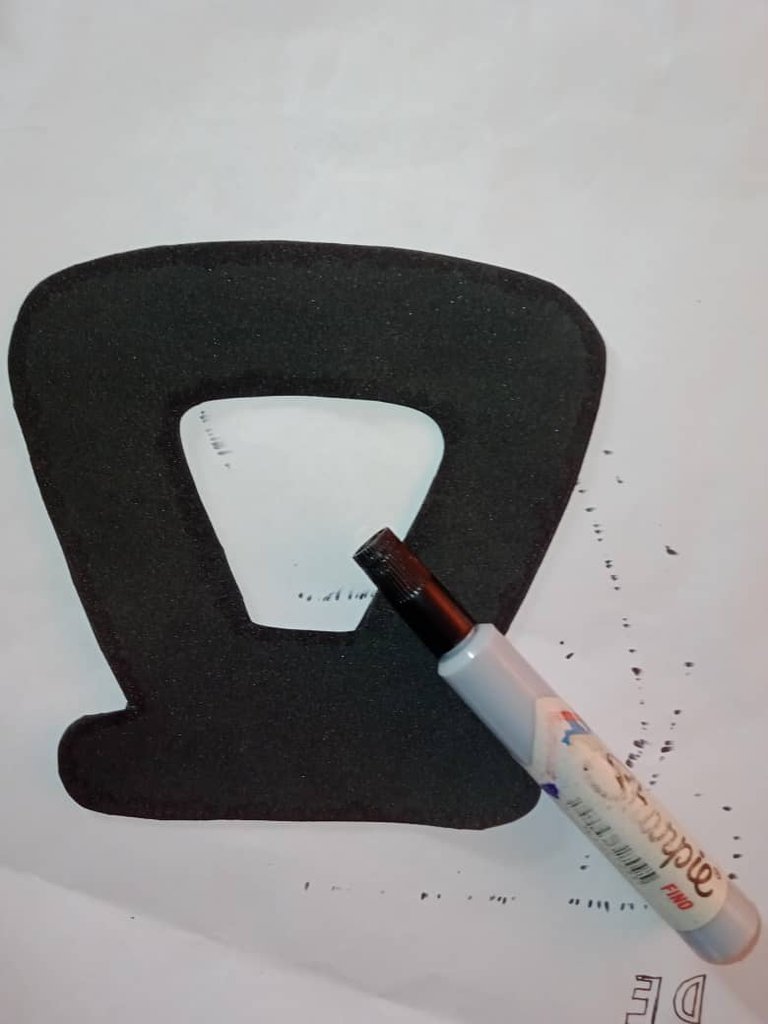
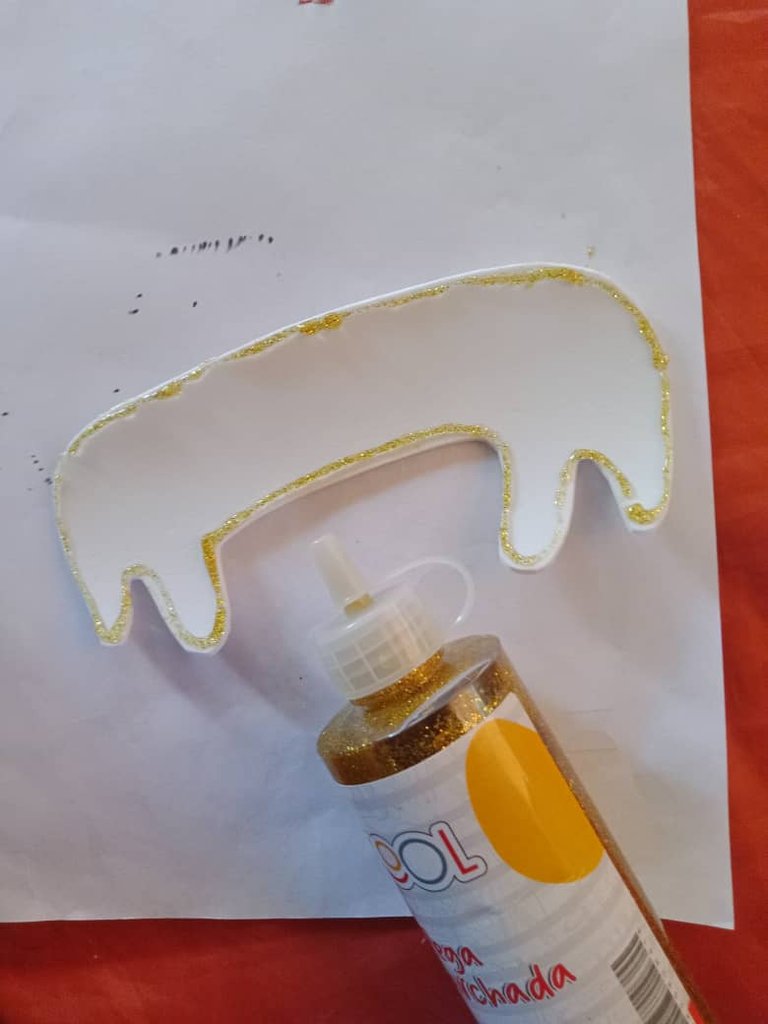
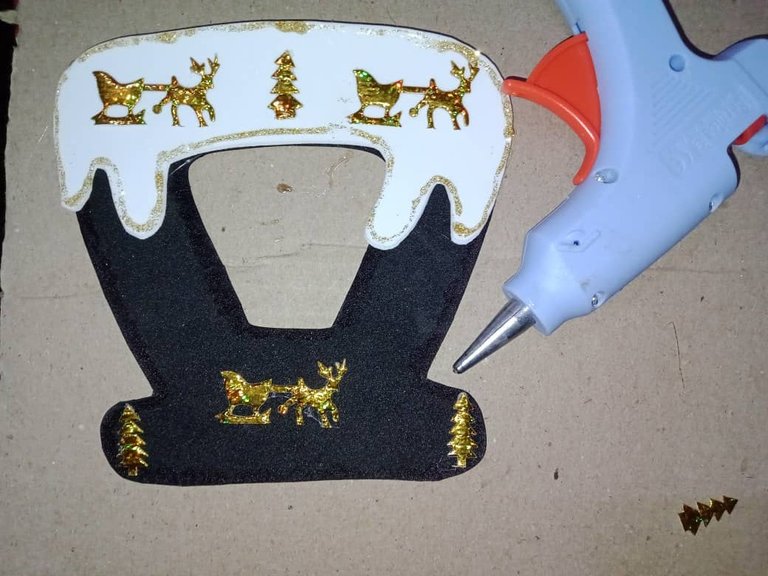
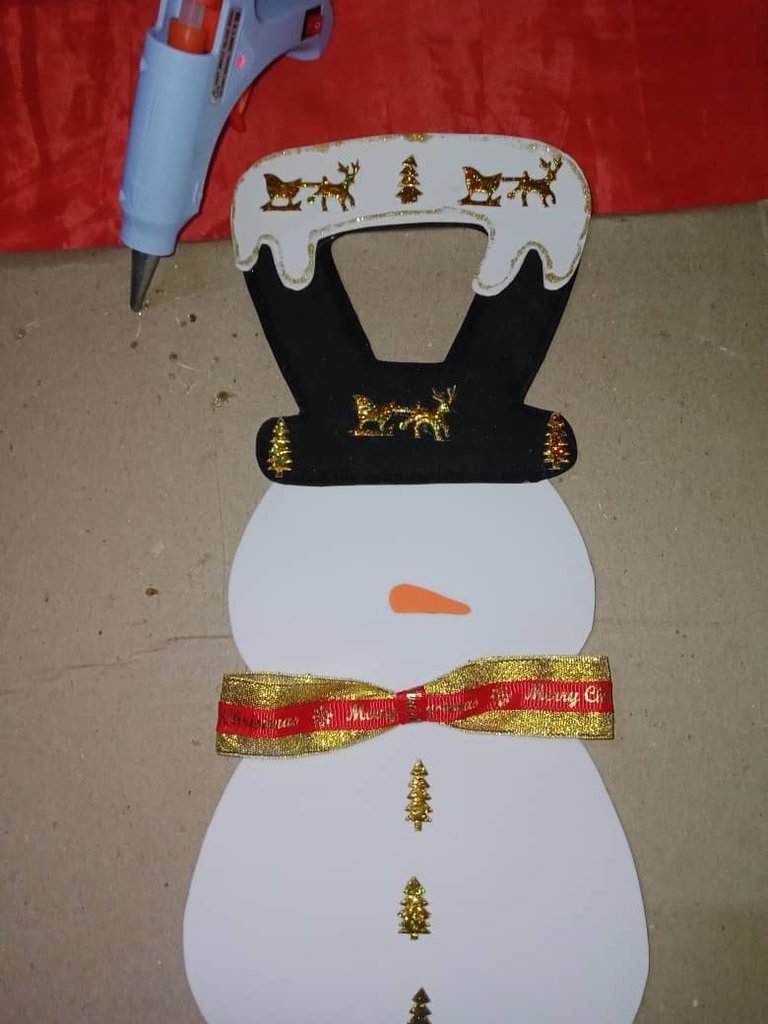
To decorate the snowman I used the little trees that come in the ribbon that I mentioned at the beginning, I placed them on the hat and the buttons that are usually round in this case will be a golden trees, cut the hat blurred the edges with black marker added to the snow that carries the hat a frosted glue and let dry for about 3 hours then glued the trees and reindeer.
Para decorar el muñeco de nieve usé los arbolitos que vienen en la cinta que les mencioné al principio, los coloqué en el gorro y los botones que regularmente son redondos en este caso serán unos arbolitos dorados, cortado el gorro difuminé los bordes con marcador negro agregué a la nieve que lleva el gorro una pega escarchada y deje secar por aproximadamente 3 horas luego pegué los arbolitos y los renos.

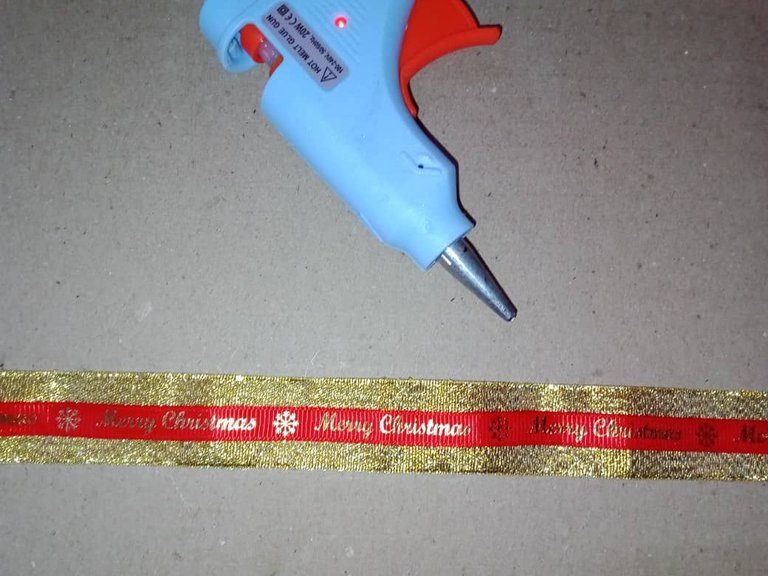
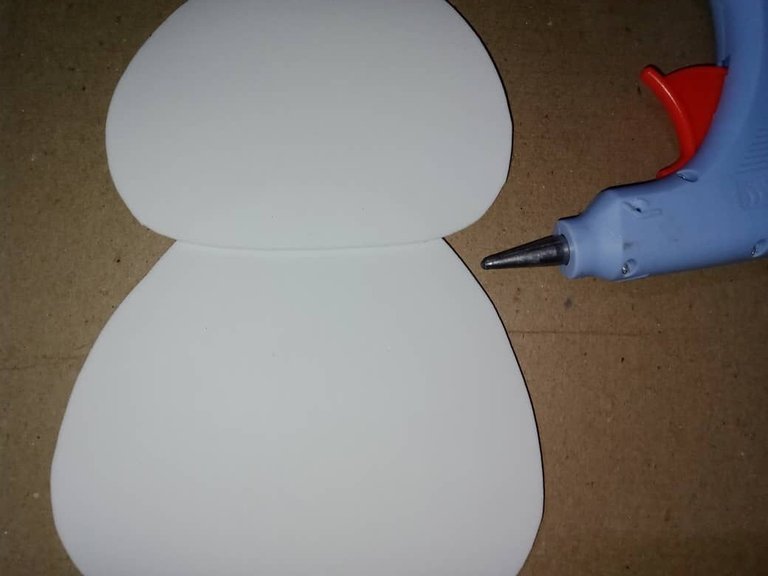
The next step was to assemble the bow or tie that the snowman will wear, I cut a golden ribbon of twenty (20) centimeters, a red ribbon also of twenty (20) centimeters I folded taking both ends to the center, I glued the red ribbon with silicone on top of the golden one and made a knot in the middle with red ribbon, then I joined the head to the body and glued the snowman's tie.
El siguiente paso fue armar el lazo o corbatín que llevará el muñeco de nieve, corté una cinta dorada de veinte (20) centímetros, una cinta roja también de veinte (20) centímetros doblé llevando ambos extremos al centro, pegué la cinta roja con silicón encima de la dorada e hice en el medio un nudo con cinta roja, luego uní la cabeza al cuerpo y pegué el corbatín del muñeco de nieve.
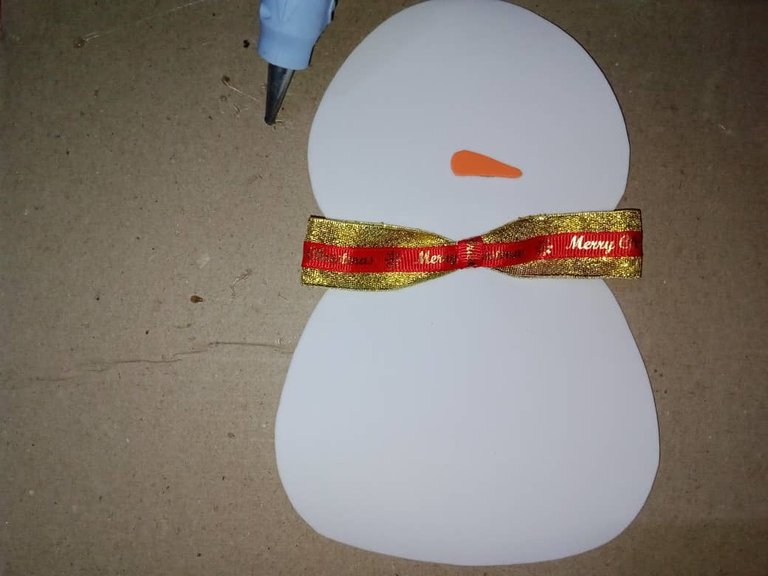

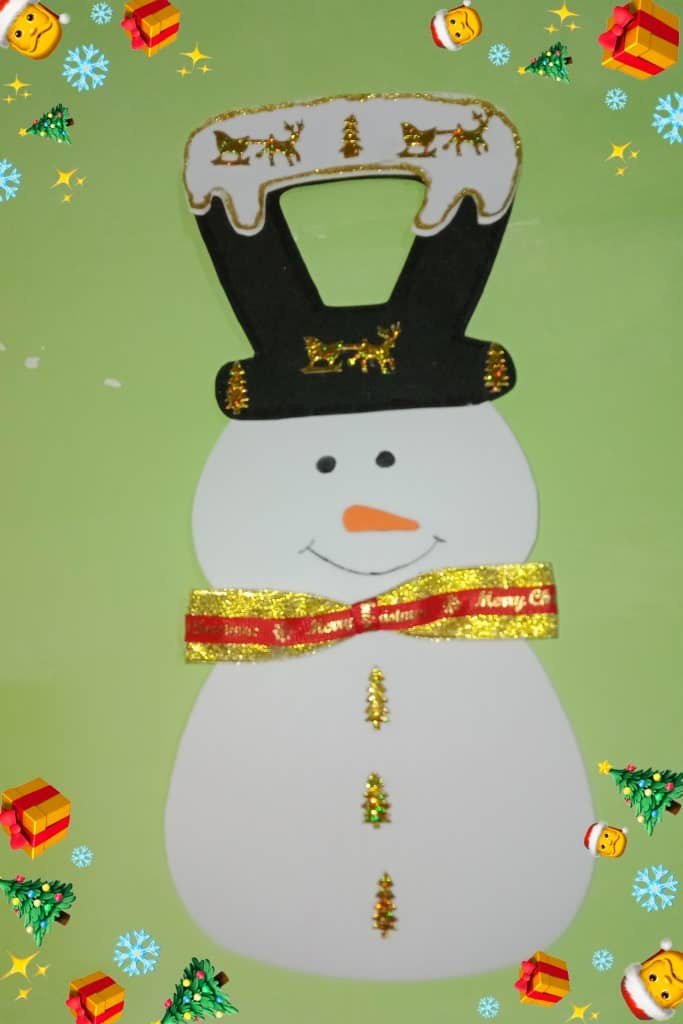
I added the bow tie and the nose, I glued the hat and with black marker I painted the eyes and mouth, I added the little trees that will be the buttons, in the back I placed a hanger, but if you prefer it can also be used directly on the door handle, I put the hanger to use it in both options, as a decoration on the wall or simply place it on the door, with these simple steps is already finished a beautiful snowman in foami with which we can decorate the doors of the house.
Agregado el corbatín y la nariz, pegué el gorro y con marcador negro pinté los ojos y la boca, agregué los arbolitos que serán los botones, en la parte de atrás coloqué un colgadero, pero si lo prefieres se puede usar también directamente en la manija de la puerta, le puse el colgadero para utilizarlo en ambas opciones, como decoración en la pared o sencillamente lo colocamos en la puerta, con estos sencillos pasos ya está terminado un hermoso muñeco de nieve en foami con el cual podemos adornar las puertas de la casa.

Visiting the store the castle and haberdashery was an excellent idea, because I could get these ribbons that I love because they bring several details that we can use to embellish and give a different style to Christmas decorations, I wanted to buy the snowflakes but there were very few and were in poor condition, I hope this tutorial will be useful.
This is my second entry to the initiative Get Active! Initiative Hive DIY N° 22 / Christmas Decoration.
Visitar la tienda el castillo y la mercería fue una excelente idea, pues pude conseguir estas cintas que me encantan porque traen varios detalles que podemos usar para embellecer y darle un estilo diferente a los adornos navideños, quería comprar los copos de nieve pero habían muy pocos y estaban en mal estado, espero este tutorial les sea de utilidad.
Esta es mi segunda entrada a la iniciativa Get Active! Initiative Hive DIY N° 22 / Christmas Decoration.


Blessings!
Bendiciones!


Translated with https://www.deepl.com/translator
          All images are my own, captured by a Síragon LC-3000 camera.

   Todas las imágenes son de mi autoría, capturadas por una cámara Síragon LC-3000.
Está muy lindo el muñeco ☃️.
En El Castillo de aquí solo venden telas y una que otra cosita, pero nada de cintas ni cuentas, nada.
Mucha suerte en el concurso 🙋🏽♀️
Hola amiga, me alegra que te haya gustado, es ideal para decorar la puerta.
Ah pensé que todas las sucursales de el castillo eran similares, la de acá tiene un área de mercería muy surtida, de hecho si no te enfocas en lo que necesitas terminas comprando otras cosas que no estaban en el presupuesto jeje
Saludos!
Si. Me dicen que el de Cumaná también tiene variedad de productos.
Que descanses. Feliz noche.
Feliz sábado! 👍🌺🌷
Que lindo te quedo, me gustaron mucho los dibujos de renos y arbolitos que tiene como decoracion, sin duda, una excelente opcion para decorar la puerta 😍
Hola estimado Buhito, me alegra que te haya gustado, los adornos de los renos y arbolitos me gustaron desde que los vi en la tienda, son una excelente opción para decorar y agregar brillo.
Saludos!
This is incredible friend and with Christmas around the corner this would be nice.
Greetings @diyhub team, the snowman is an excellent choice to decorate the door, also simple to make.
Happy weekend!
Te quedó muy bonito, me encantaron los detallitos
Hola amiga, los detallitos son mi parte favorita, se ven muy bien en el gorro del muñeco.
Feliz fin de semana!