Hello creative community around the world, happy and blessed Sunday together with family and friends, today ends the month of April to give way to the month of May, as a well-known phrase says: "May with M for Mom", which celebrates Mother's Day (second Sunday of May) to honor and pay tribute to women for the beautiful and tender role they play in society: Mother.
Today I share with you a #tutorial to make a beautiful multipurpose beach bag in denim fabric, ideal to give to mom, or can be used for daily outings or trips, has large capacity and internal pockets to organize clothes and personal hygiene products, in its preparation in addition to the denim fabric can be used Denim, canvas sky, waterproof canvas or fabric of our preference, making it is simple and depending on the taste of each person is put closure or clasp; this time I put closure; I show you the step by step, join me.
Hola comunidad creativa en todo el mundo, feliz y bendecido domingo en unión de familiares y amigos, hoy termina el mes de abril para dar paso al mes de mayo, como dice una conocida frase: "Mayo con M de Mamá", en el cual se celebra el día de las madres (segundo domingo de mayo) para homenajear y rendir tributo a la mujer por el bello y tierno rol que desempeña en la sociedad: Madre.
Hoy comparto con ustedes un #tutorial para elaborar un Hermoso bolso playero Multiusos en tela Drill, ideal para obsequiar a mamá, o puede ser usado para las salidas diarias o viajes, tiene gran capacidad y bolsillos internos para organizar la ropa y productos de higiene personal, en su elaboración además de la tela dril se puede usar Denim, loneta sky, loneta impermeable o la tela de nuestra preferencia, hacerlo es sencillo y dependiendo el gusto de cada persona se le pone cierre o broche; en esta ocasión le puse cierre; les muestro el paso a paso, acompañenme.

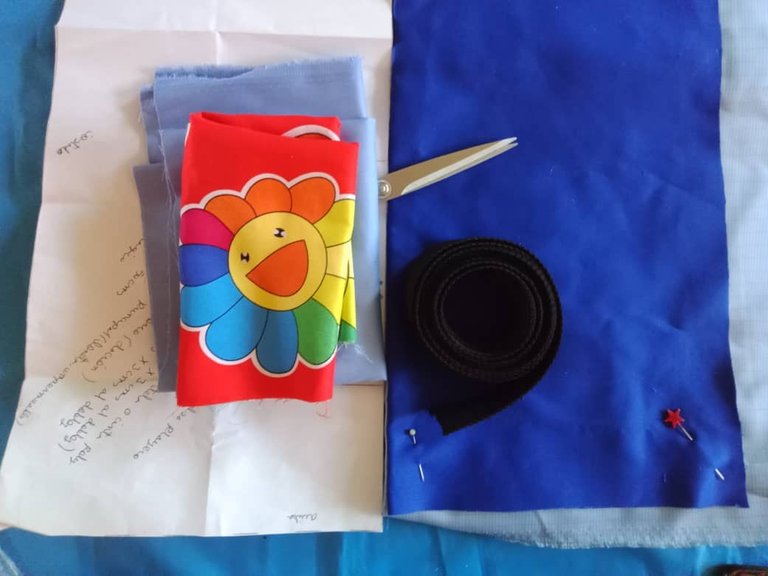
What do we need?
Mold
Drill fabric 50 cm (main fabric)
Taffeta lot 50 cm (lining)
Zipper (50cm)
Slaider (1)
Scissors
Thread
Sewing machine
¿Qué necesitamos?
Molde
Tela Drill 50 cm (principal)
Tela Tafeta lot 50 cm (forro)
Cierre (50cm)
Slaider (1)
Tijera
Hilo
Máquina de coser
How to do it?
The first step is to mark the molds on the main fabric and lining, then we cut the pieces.
¿Cómo hacerlo?
El primer paso en marcar los moldes en la tela principal y forro, luego cotamos las piezas.
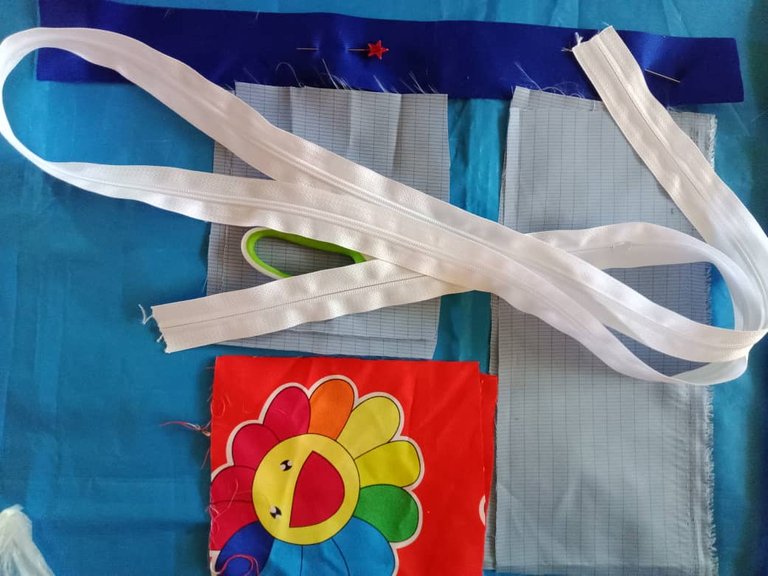
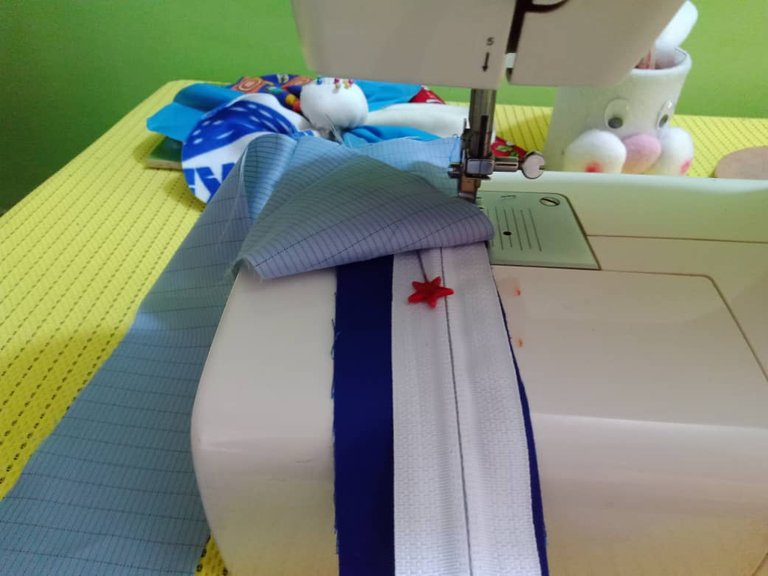
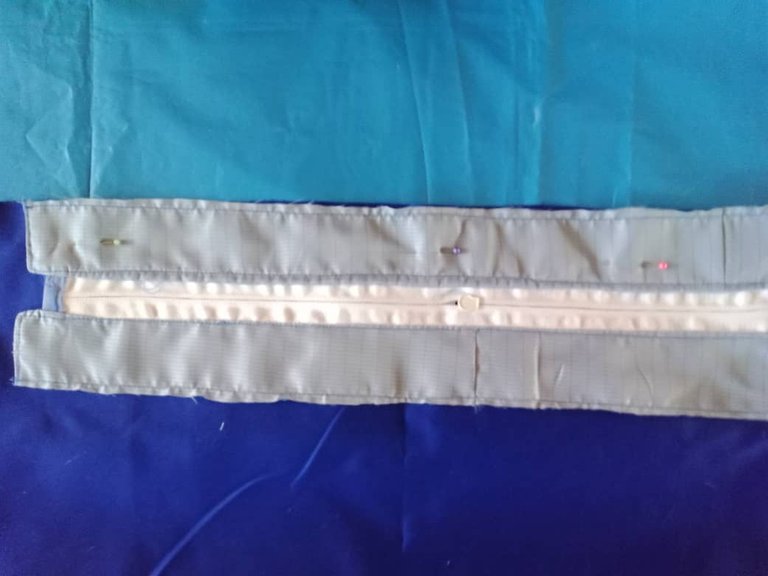
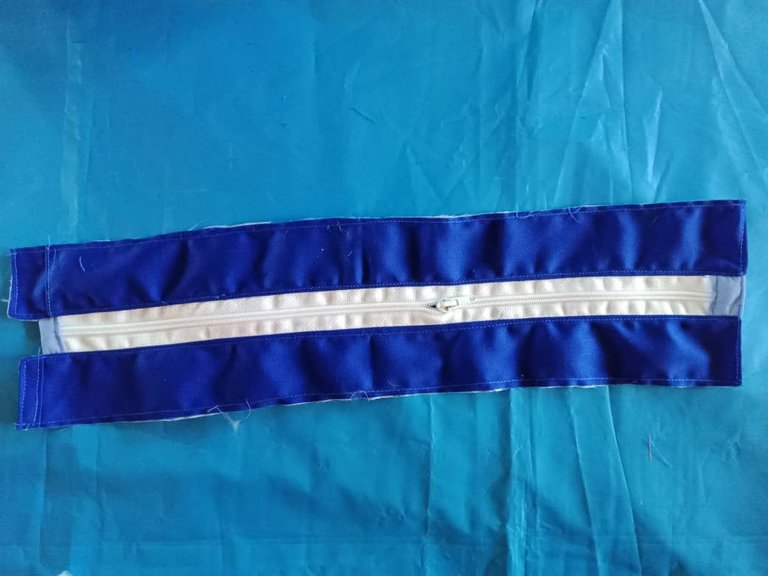
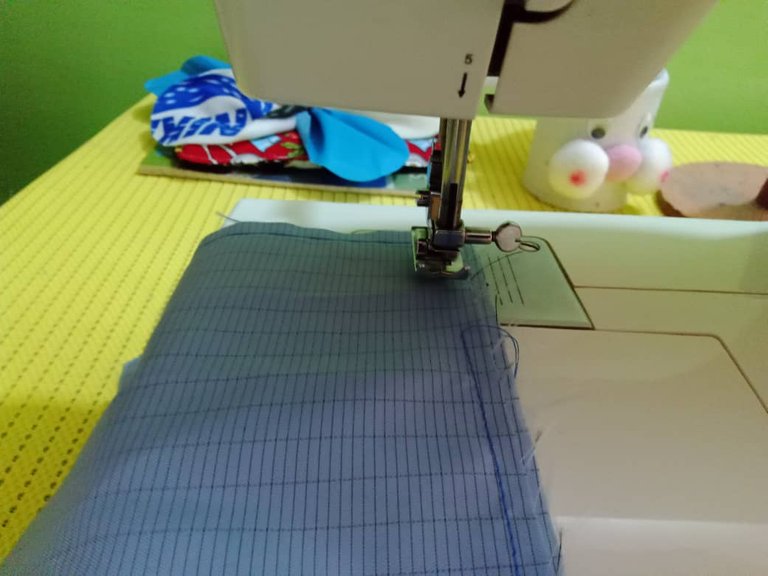
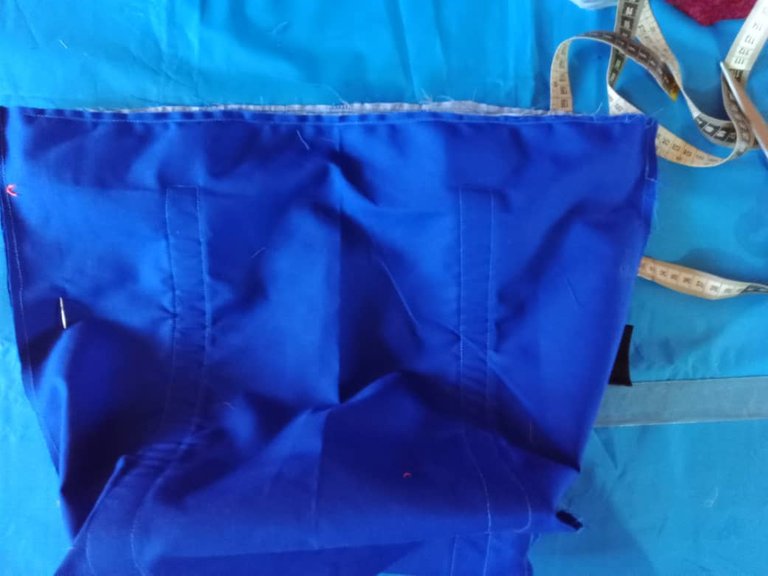
Then I measure the width of the bag at the top and cut the gusset for the zipper, two strips of 5 cm wide by 55 cm long and two strips of lining fabric with the same measures, to glue the zipper I face right to right the main fabric and one side of the zipper and the lining fabric we place it right to the back of the zipper, we sew with straight stitch and turn the fabric right side out so that the zipper is in the middle, then we repeat to secure, in the same way we sew the other side of the zipper, I like to glue the zipper at once with its slaider at the foot of the machine, approximately 0.5 cm, then I fold the ends of the gusset and repeat. The closure is paid on the main fabric.
Seguidamente mido el ancho del bolso en la parte superior y corto el fuelle para el cierre, dos tiras de 5 cm de ancho por 55 de largo y dos en tela de forro con las mismas medidas, para pegar el cierre enfrento derecho con derecho la tela principal y un lado del cierre y la tela del forro la colocamos derecho con revés del cierre, cosemos con puntada recta y volteamos la tela por el derecho de tal forma que el cierre quede en el medio, luego repisamos para asegurar, de la misma forma se cose el otro lado del cierre, me gusta pegar el cierre de una vez con su slaider a pie de máquina, aproximadamente 0,5 cm, luego doblo los extremos del fuelle y repiso. El cierre se paga en la tela principal.
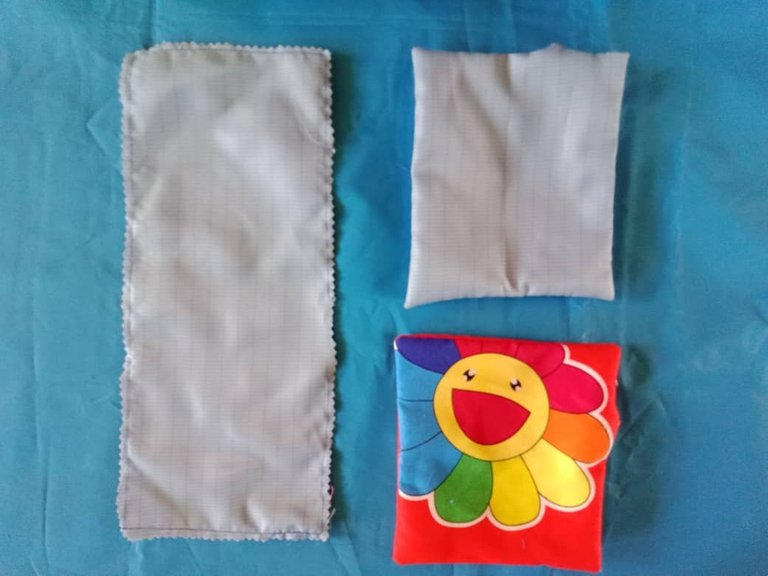
Once the zipper is attached, I sew the pocket pieces right sides together and leave a 10 cm opening for turning.
Pegado el cierre, coso la piezas de los bolsillos enfrentando derecho con derecho y dejando una abertura de 10 cm para voltear.
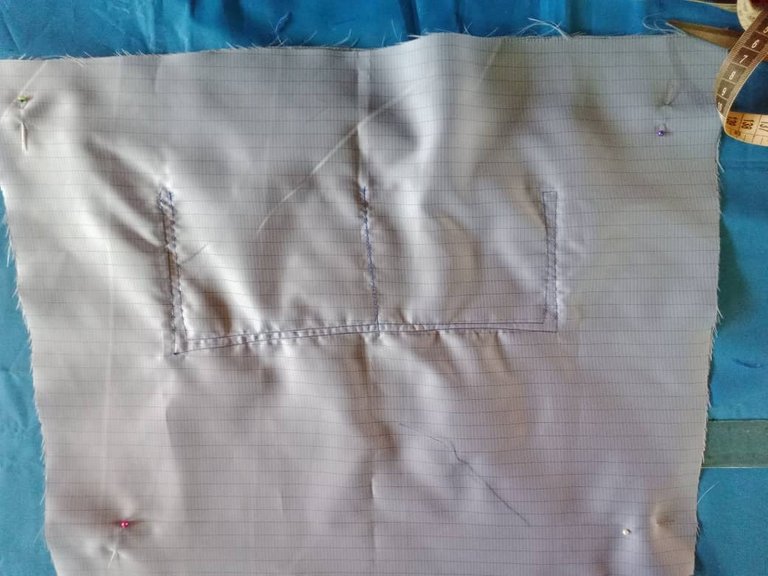
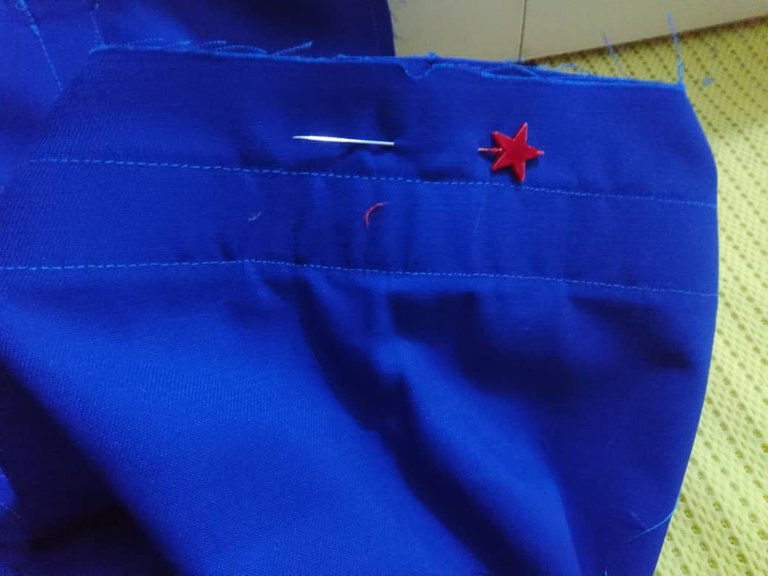
On the main fabric I pinned the flower pocket and placed the poly tape from top to bottom, this with the idea of reinforcing the bag, for the handles I left 45 cm (this model of handle that covers the bag from the top to the base is called Asa corrida), I sewed with straight stitch the handle and pocket on the main fabric.
En la tela principal sujeto con alfileres el bolsillo de flor y coloco la cinta poli desde arriba hacia abajo, esto con la idea de reforzar el bolso, para la asas dejé 45 cm (este modelo de asa que cubre el bolso desde la parte superior hasta la base se llama Asa corrida), cosí con puntada recta el asa y bolsillo en la tela principal.

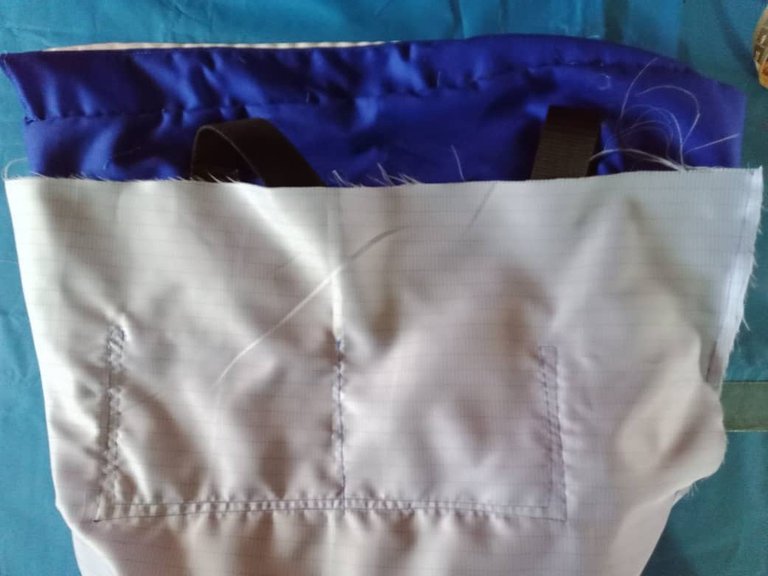
Then I glued the pockets on the lining, all the details that you want to add to the bag are done in this step; since we have not yet passed side seam to the bag.
Luego pegué los bolsillos en el forro; todos los detalles que se deseen agregar al bolso se hacen en este paso; ya que aún no hemos pasado costura lateral al bolso.

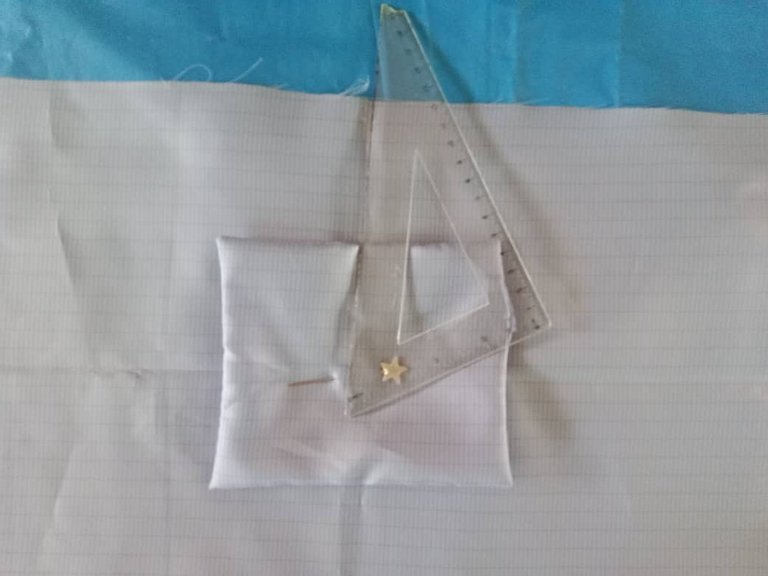
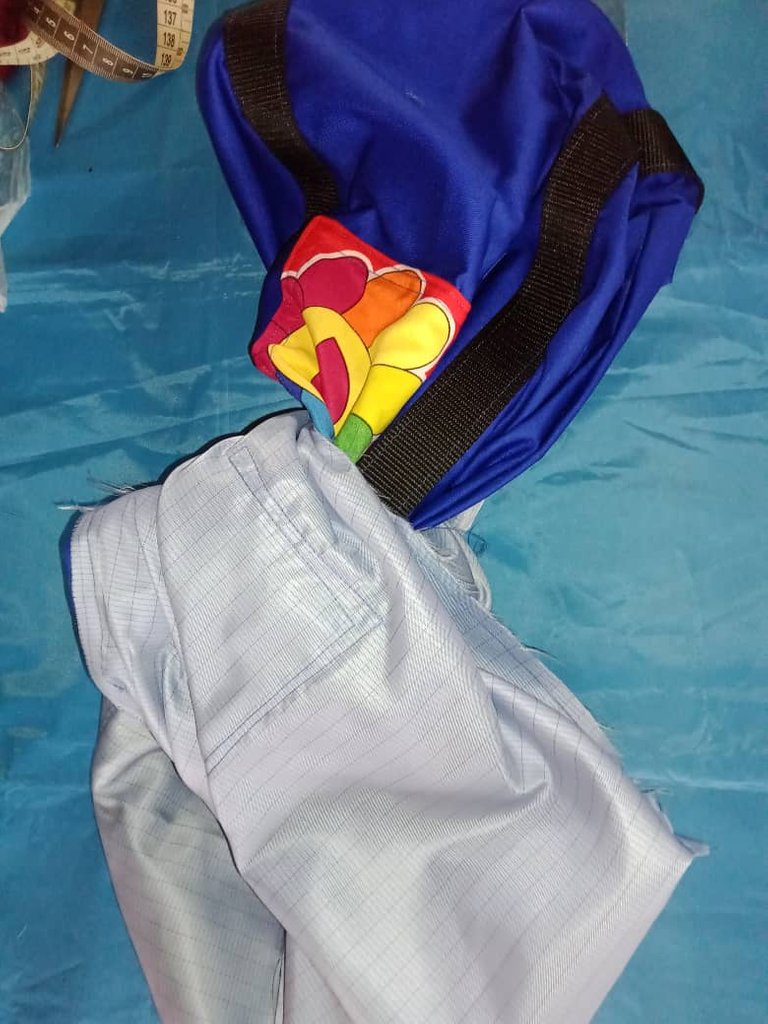
Once the pockets are glued on the main fabric and lining, we proceed to close the sides and base of the bag, for this we face right to right the denim fabric and join with straight stitch, in the corners of the base we form a triangle and pass sewing, this process is the same for the lining, in which an opening of 12 cm is left to flip.
Ya pegados los bolsillos en la tela principal y forro se procede a cerrar los laterales y base del bolso, para ello enfrentamos derecho con derecho la tela dril y unimos con puntada recta, en las esquinas de la base formamos un triángulo y pasamos costura, este proceso es igual para el forro, en el cual se deja una abertura de 12 cm para voltear.
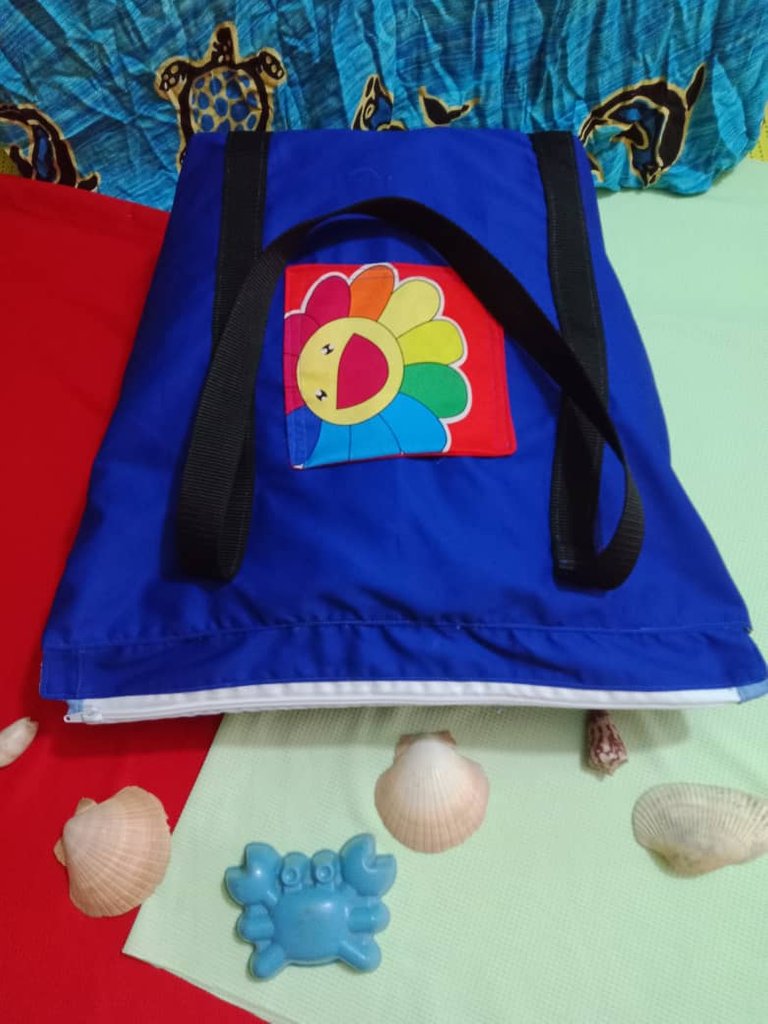
The last step is to face the lining and main fabric right sides together, sew a seam along the contour of the upper part taking as a reference the seam line of the gusset, flip the opening of the lining, close it with a hidden stitch and the beach bag is ready.
El último paso es enfrentar derecho con derecho el forro y tela principal, se pasa una costura en el contorno de la parte superior tomando como referencia la línea de costura del fuelle, volteamos por la abertura del forro, la cerramos con puntada escondida y así está listo el bolso playero.
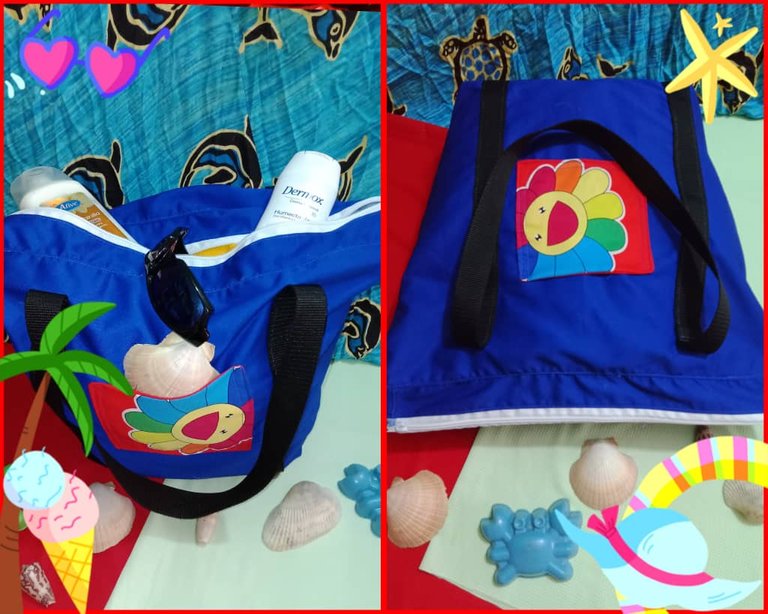
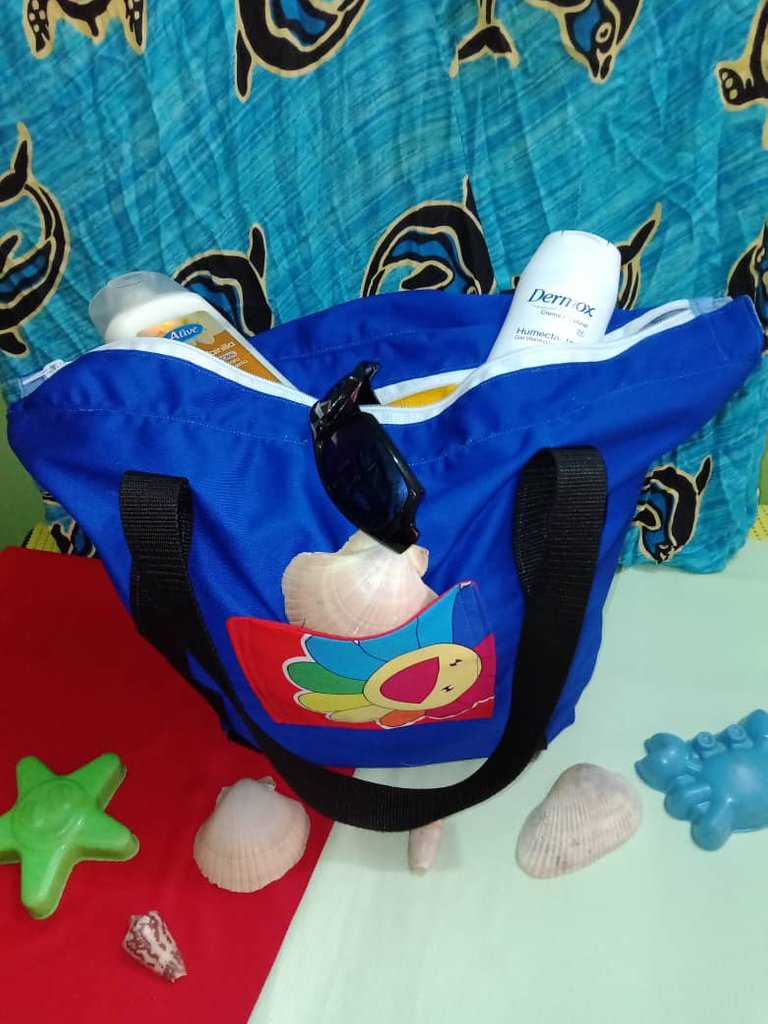
Sewing this bag made me very happy, it is a beautiful project that I can use for my daily errands and I have plenty of space to carry what I need, I show you the result.
Coser este bolso me hizo muy feliz, es un hermoso proyecto que puedo usar para mis diligencias diarias y tengo mucho espacio para llevar lo que necesito, les muestro el resultado.
![]
()
¡Bendiciones!
Blessings!
Gracias por leer mi post.!

          All images are my own, captured by a Síragon LC-3000 camera.

   Todas las imágenes son de mi autoría, capturadas por una cámara Síragon LC-3000.
Te quedó genia el bolso amiga, es un gran proyecto de mucha utilidad. !! Me encantó. Saludos
Hola bella, me alegra que te haya gustado, estoy encantada de tenerlo porque tiene mucho espacio y puedo llevar lo "esencial" cuando hago diligencias, jeje.
Feliz y bendecida noche!
Los colores del bolso, mas el detalle de la flor, ahhh! Creo que todos coincidimos en querer uno, tu proyecto es una idea sensacional como para emprender, pensaste en cada detalle, integraste el cierre, todo muy profesional. Ya quisiera ir a la playa y lucir un bolsito así de lindo, el centro de las miradas.
Saludos @hivediy, agradecida por tu hermoso comentario, me alegra que te haya gustado el bolso, está perfecto para la playa y salidas diarias, es muy cómodo y espacioso, perfecto para llevar las "cositas" que regularmente llevamos en la cartera.
No lo había pensado, gracias por la idea, es buen proyecto para iniciar un emprendimiento, ya tomo apuntes.
Feliz noche!
Amiga te quedó muy bello me gusta mucho🌹😍😍😍🤗❤️❤️❤️
Saludos amiga, muchas gracias por pasar, es un bolso con mucho espacio, ideal para las compras o una salida a la playa.
Feliz día!