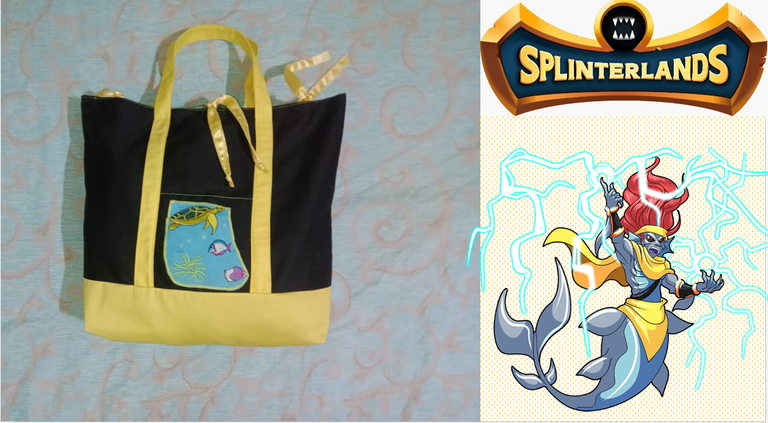

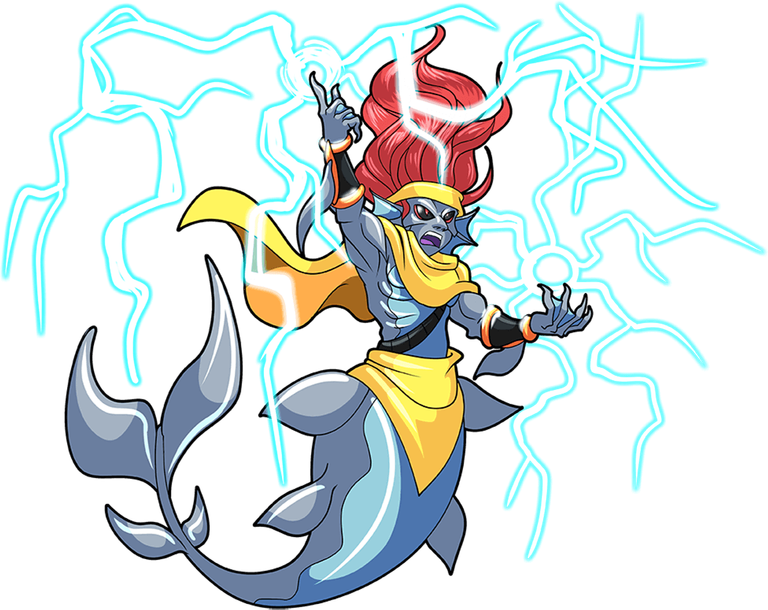
Ruler of the seas; this is a beach bag for a very special friend who had her birthday at the beginning of the month, for its elaboration I took as reference the mentioned card and its striking colors, which by the way, are my friend's favorites (yellow, black and blue); according to the description of the card it is a ruler monster of the seas with great attack abilities, also a legendary card.Greetings creative community and friends of #hive around the world, I wish you are healthy and happy; today I share my creative project inspired by
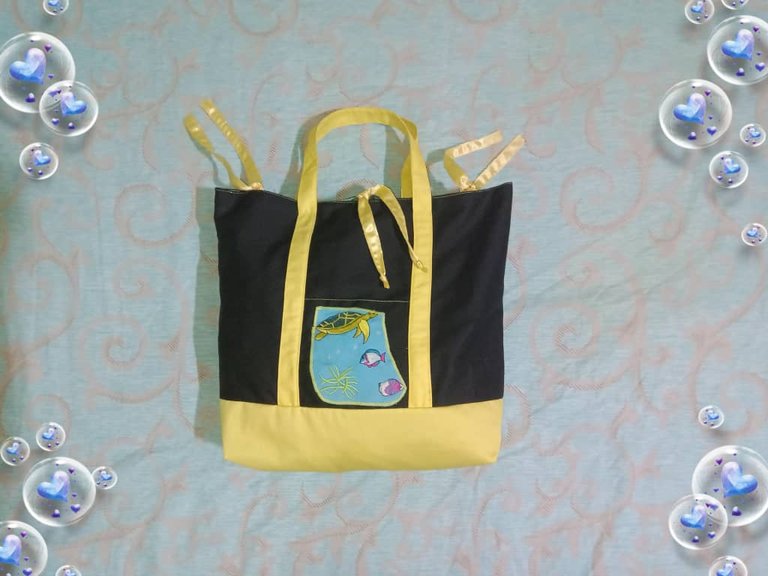
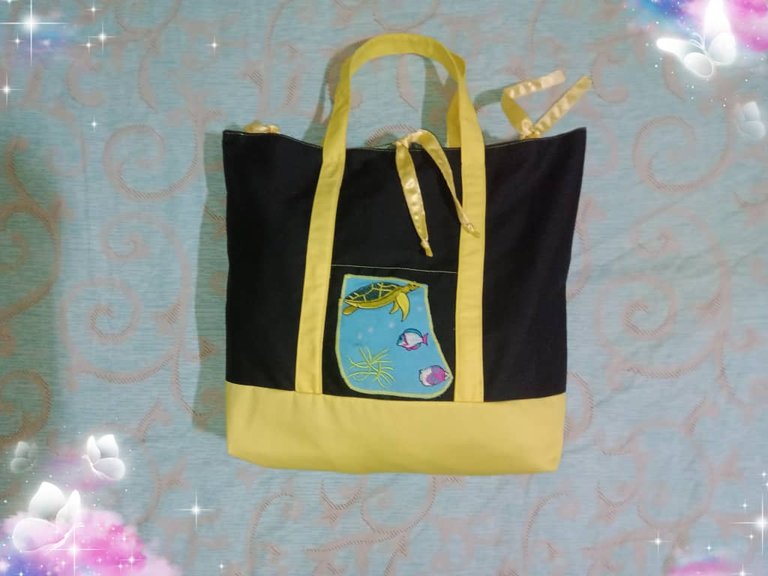
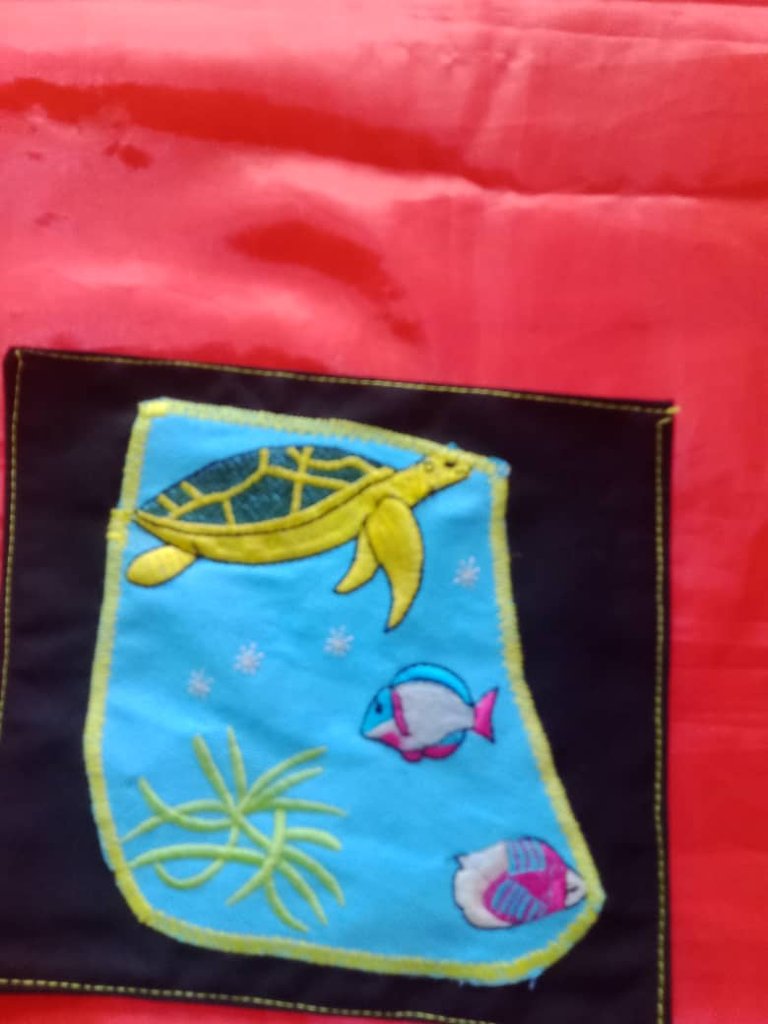
As it is a water character immersed in the seas, I added a marine decoration with a blue background of turtles and seaweed in the front pocket, I recycled it from a shopping bag.

Ruler of the seas; se trata de un bolso playero para una amiga muy especial que cumplió años a principios de mes, para su elaboración tomé como referencia la carta mencionada y sus llamativos colores, que por cierto, son los favoritos de mi amiga (amarillo, negro y azul); de acuerdo a la descripción de la carta es un monstruo gobernante de los mares con grandes habilidades de ataque, además una carta legendaria.Saludos comunidad creativa y amigos de #hive en todo el mundo, deseo se encuentren sanos y felices; hoy comparto mi proyecto creativo inspirado en
Como es un personaje de agua inmerso en los mares, agregué una decoración marina con fondo azul de tortugas y algas en el bolsillo delantero, este lo recicle de una bolsa de compras.


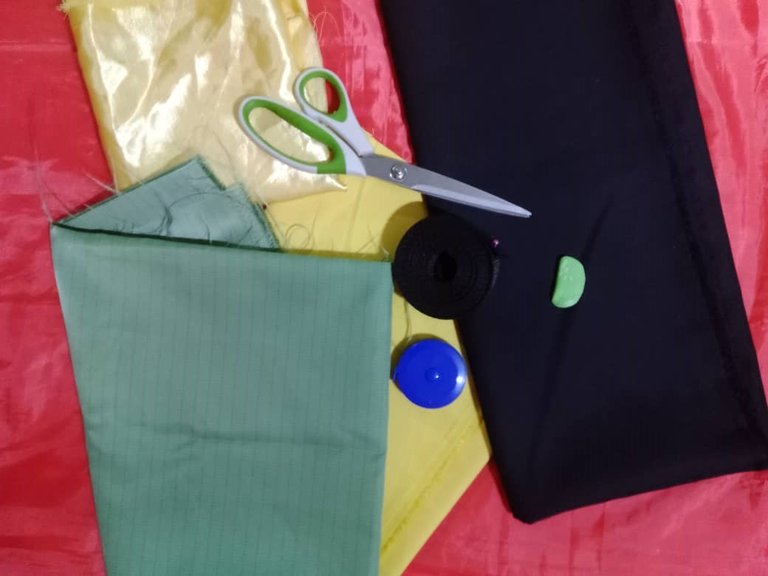
Drill fabric (yellow and black)
Taffeta lot (lining)
Satin (gold)
Tape measure
Soap sponge
Scissors
Sewing machine
Thread

Tela drill (amarillo y negro)
Tafeta lot (forro)
Satén (dorado)
Cinta métrica
Jaboncillo
Tijera
Maquina de coser
Hilo


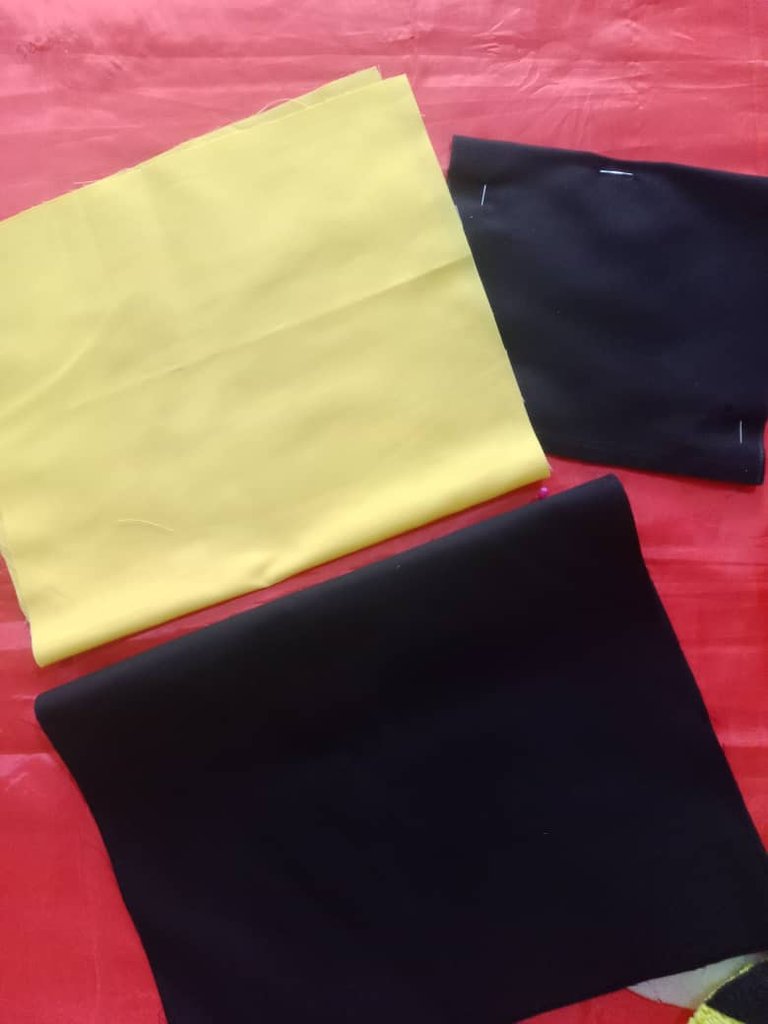
I started by cutting the pieces for the bag; 2 rectangles in black fabric (46 * 23 centimeters), 2 squares for the pocket (15 * 15 centimeters) for the base a rectangle of 46 * 30 centimeters and the lining I cut in one piece.

Inicié cortando las piezas para el bolso; 2 rectángulos en tela negra (46 * 23 centímetros), 2 cuadrados para el bolsillo (15 * 15 centímetros) para la base un rectángulo de 46 * 30 centímetros y el forro lo corté en una sola pieza.

To make the front pocket, I glued with zigzag stitch the ornament on one of the squares, then I faced them on the right side, sewed the outline leaving an opening, flipped and repised.
Para hacer el bolsillo delantero, pegué con puntada de zigzag el adorno en uno de los cuadrados, luego los enfrenté por el derecho cosí el contorno dejando una abertura, volteé y repise.

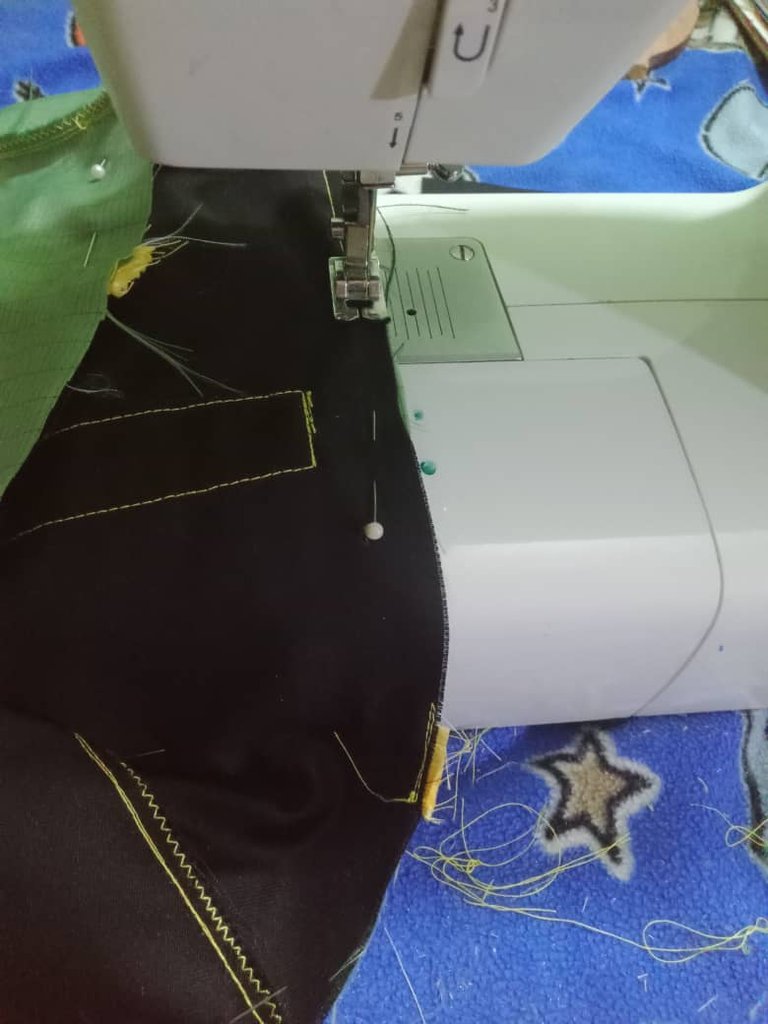
Finished the pocket, I sewed it to the front of the bag centered and on each side the poly ribbon or handle (80 centimeters), in the back I also sewed the other handle and in golden fabric I sewed the strips to close the bag.
Terminado el bolsillo, lo cosí a la parte delantera del bolso centrado y a cada lado la cinta poli o asa (80 centímetros), en la parte trasera también cosí la otra asa y en tela dorada cosí las tiras para cerrar el bolso.
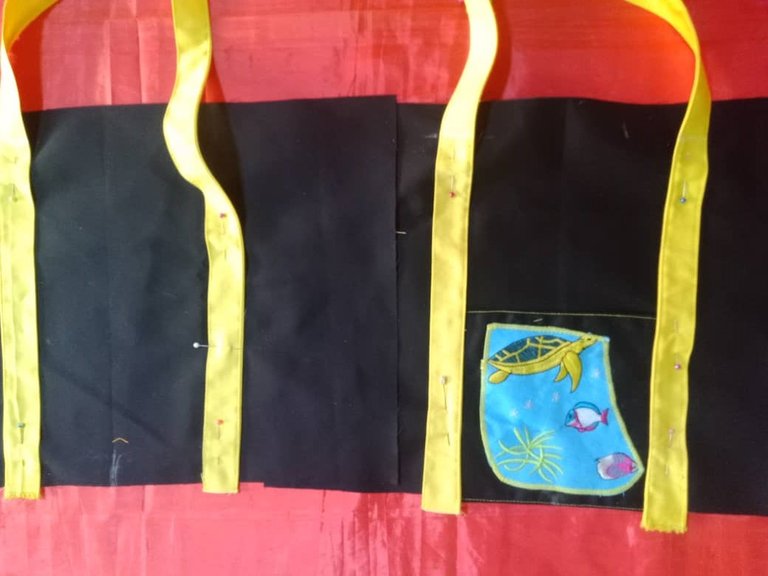
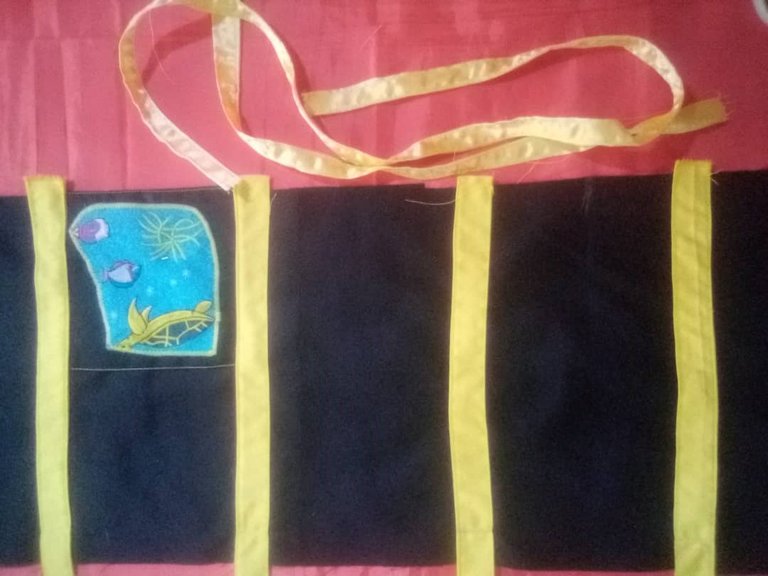

Then I glued the base of the bag to the back and front pieces, facing the right sides and matching the handles. Once the pieces were sewn, I took the measurements of the bag and cut the lining.
Luego pegué la base del bolso a las piezas trasera y delantera, enfrentando los derechos y haciendo coincidir las asas, cosidas las piezas tomé la medidas del bolso y corté el forro.
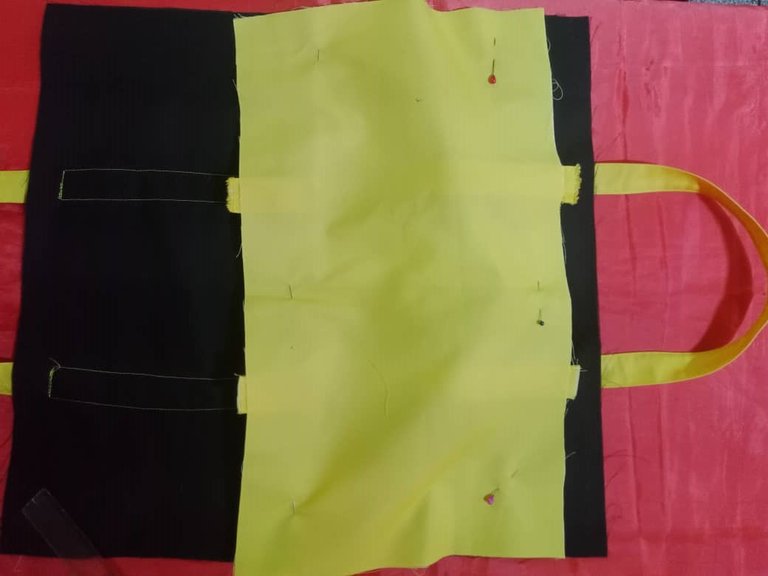
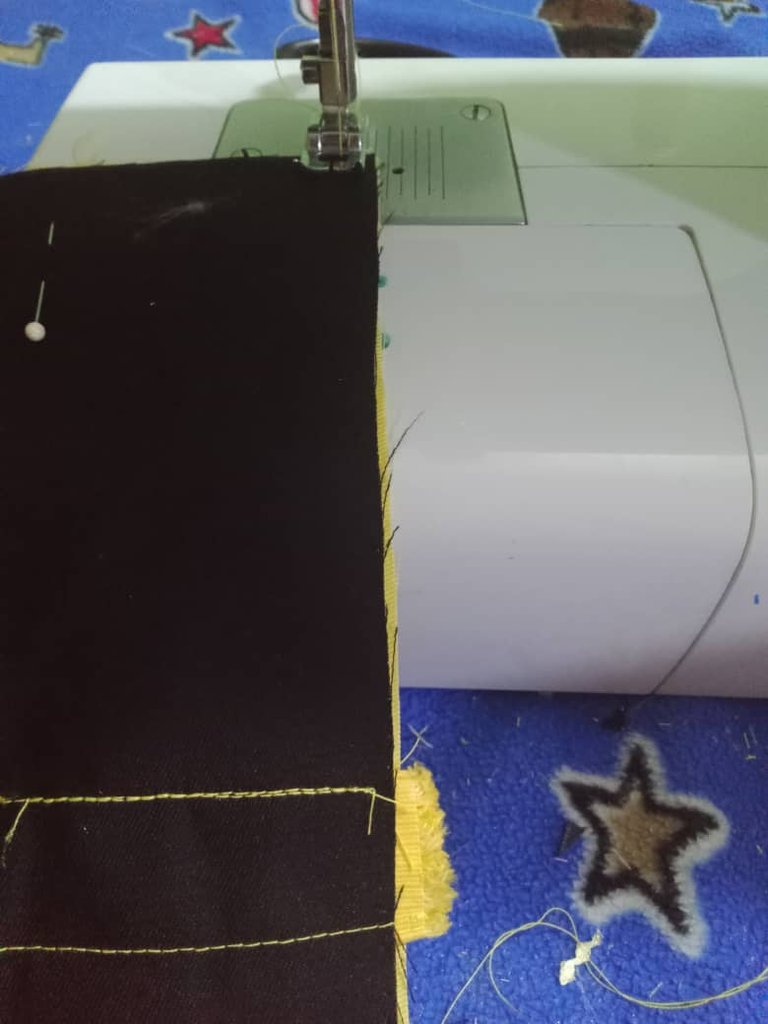
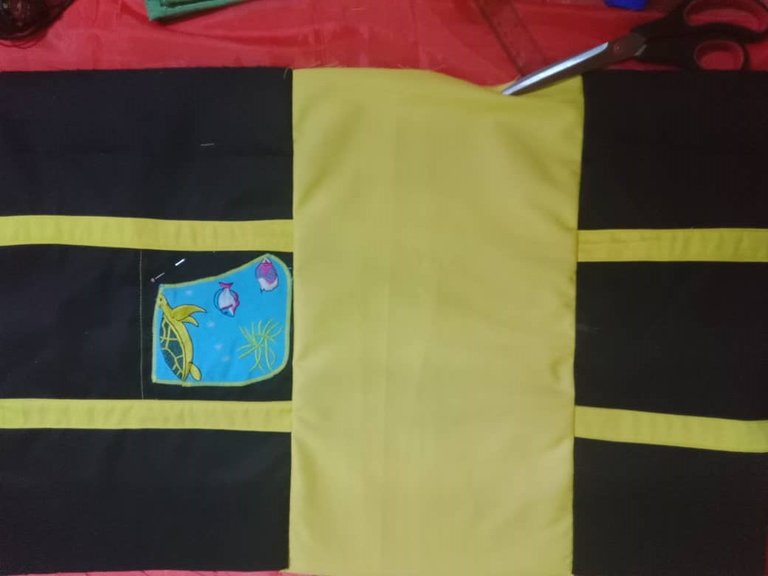

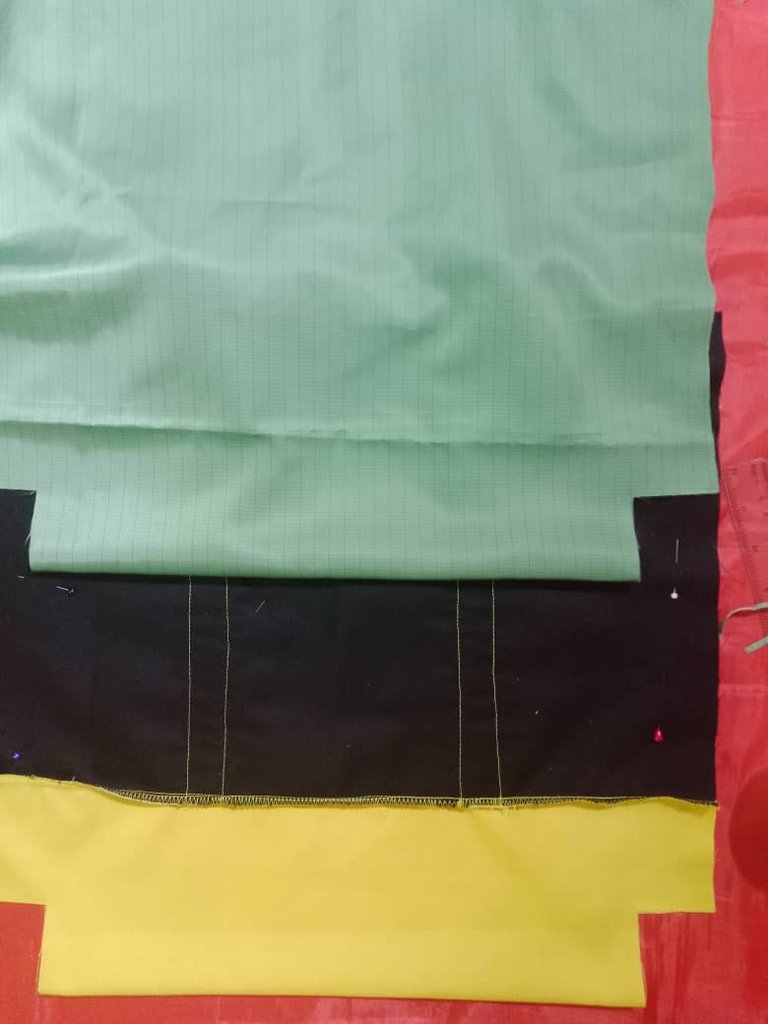
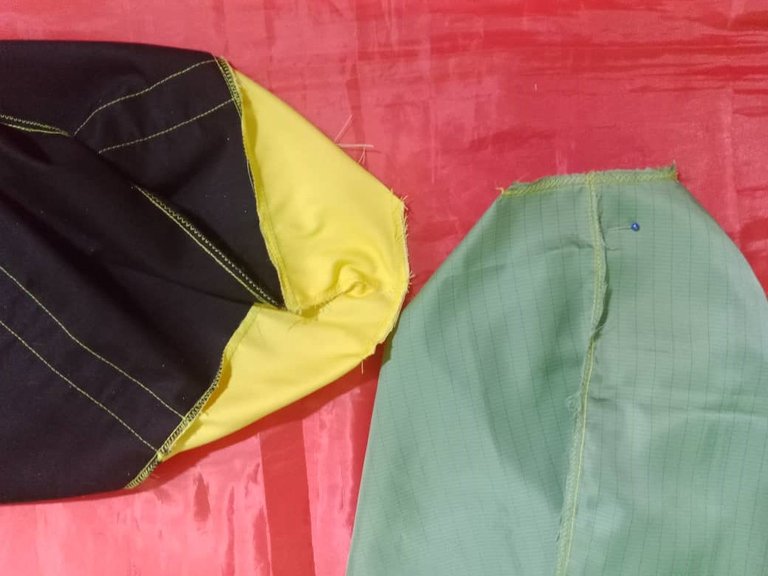
In step number 5, to make the base of the bag, I marked and cut a square of 5 * 5 centimeters at the bottom of the main and lining, then I faced the side and bottom seams and sewed with straight stitch.
I also closed the sides of the main part and lining, facing the fabrics on the right side, pinned and sewed with a straight stitch.
En el paso número 5, para hacer la base del bolso, marqué y corté un cuadrado de 5 * 5 centímetros en la parte inferior del principal y forro, luego enfrenté las costuras lateral e inferior y cosí con puntada recta.
También cerré los laterales de la parte principal y forro, enfrentando las telas por el derecho sujeté con alfileres y cosí con puntada recta.

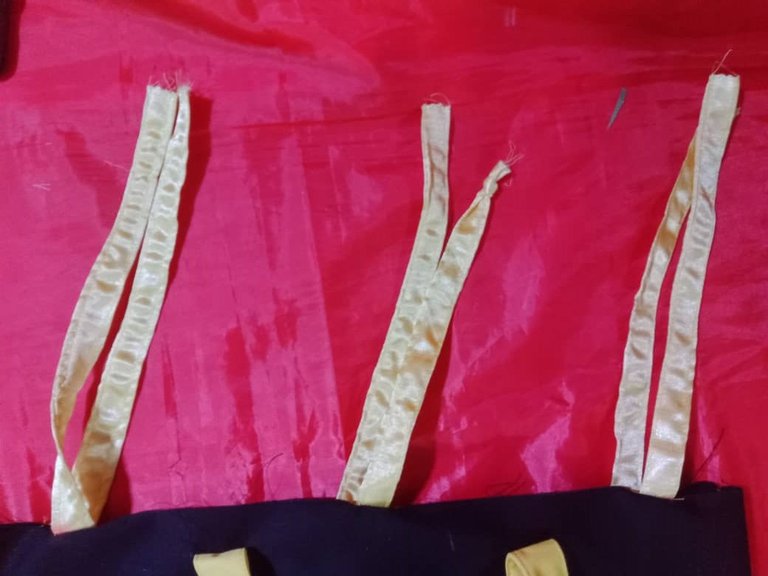
To finish I glued the golden strips on the edge of the main fabric leaving a margin of ten centimeters between each one, then I faced right side of the lining and right side of the main fabric and sewed along the top contour, leaving an opening to flip, flipped the piece, closed the opening, and so is finished the beach bag inspired by Ruler of the seas.
Para finalizar pegué las tiras doradas en el borde de la tela principal dejando un margen de diez centímetros entre cada una, luego enfrenté derecho del forro y derecho de la tela principal y cosí por el contorno superior, dejando una abertura para voltear, volteada la pieza, cerré la abertura repisé y así está terminado el bolso playero inspirado en Ruler of the seas.
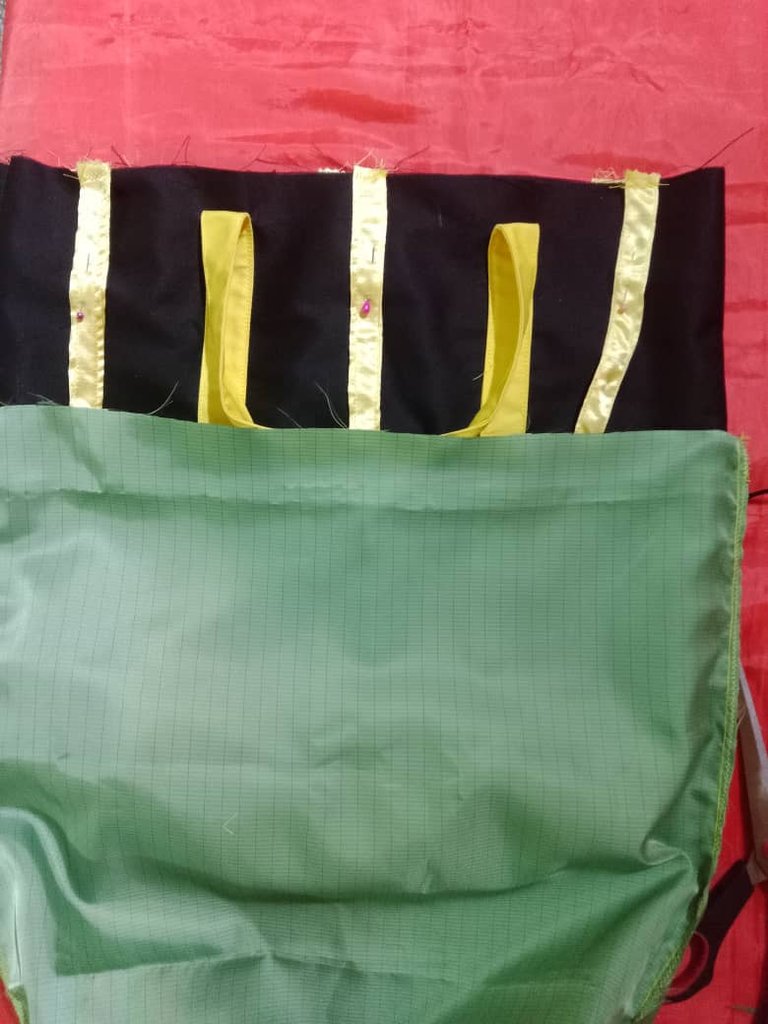
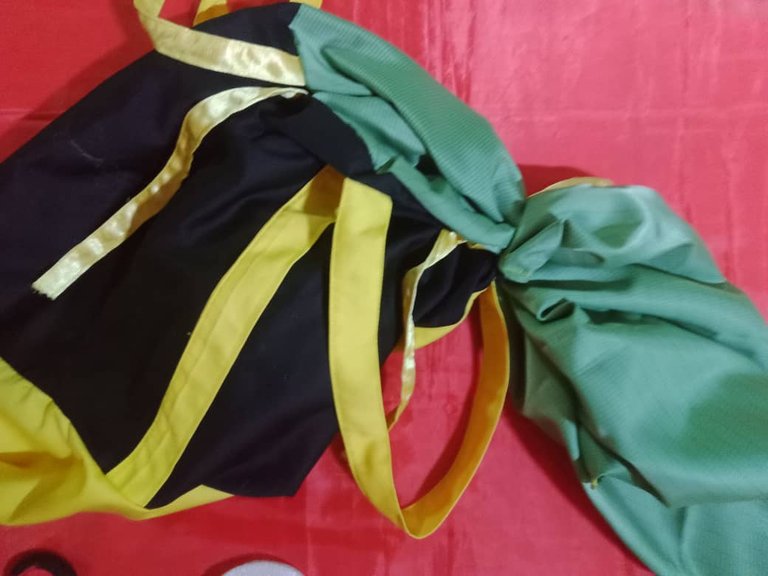


I liked the result of the bag looks very good, initially I was going to use poly tape for the handles, then I replaced them with yellow ones made with fabric, with this color highlights more the pocket and combine the handles and the base of the bag; a detail is that it has no closure, I placed ribbons to tie.

Me gustó el resultado del bolso se ve muy bien, inicialmente iba a usar cinta poli para las asas, luego las sustituí por unas amarillas hechas con tela, con este color resalta más el bolsillo y combinan la asas y la base del bolso; un detalle es que no tiene cierre, le coloqué cintas para amarrar.


Hasta luego!
              All images are my own, captured by a Síragon LC-3000 camera. Dividers courtesy of @kattycrochet.


   Todas las imágenes son de mi autoría, capturadas por una cámara Síragon LC-3000. Divisores cortesía de @kattycrochet.
Exelente trabajo, me gustó mucho el bolso, buena inspiración querida @belkyscabrera . Feliz día 🌹🌷🥀🌻💮🌺🌸💐🌼🪷🪻☘️
Hola amiga, me alegra que te haya gustado, definitivamente la combinación de amarillo y negro es espectacular.
Que tengas un lindo día! 🌸🤗🌻🌺💐🌻🌺🌸💐
Hola. Me encantó este bolso playero. A tu amiga le fascinará. Es el bolso ideal para lucir y llevar todo bien organizado a la playa. Los colores 🌈 me encantan. 🙋
Saludos, me alegra que te haya gustado, es cierto, la combinación de colores se ve genial, el bolso tiene suficiente espacio donde llevar las cosas que necesitamos en la playa 🌴🌻👙🩱🩳.
Feliz miércoles!
congratulations, you received an ecency upvote through the curator @ahmedhayat. Keep spreading love through ecency
Greetings @ahmedhayat, grateful for the support.
Have a nice day! 🌸🌻🌺💐
Hermoso amiga creo que lo puedo hacer cosiendo a mano ya que no dispongo de una máquina pero se ve fácil de realizar a mano
Saludos amiga, con costura a mano también puedes hacerlo, el proceso es sencillo y lo puedes decorar con lo que más te guste, a mi amiga le encanta todo lo relacionado con el mar.
Feliz miércoles!